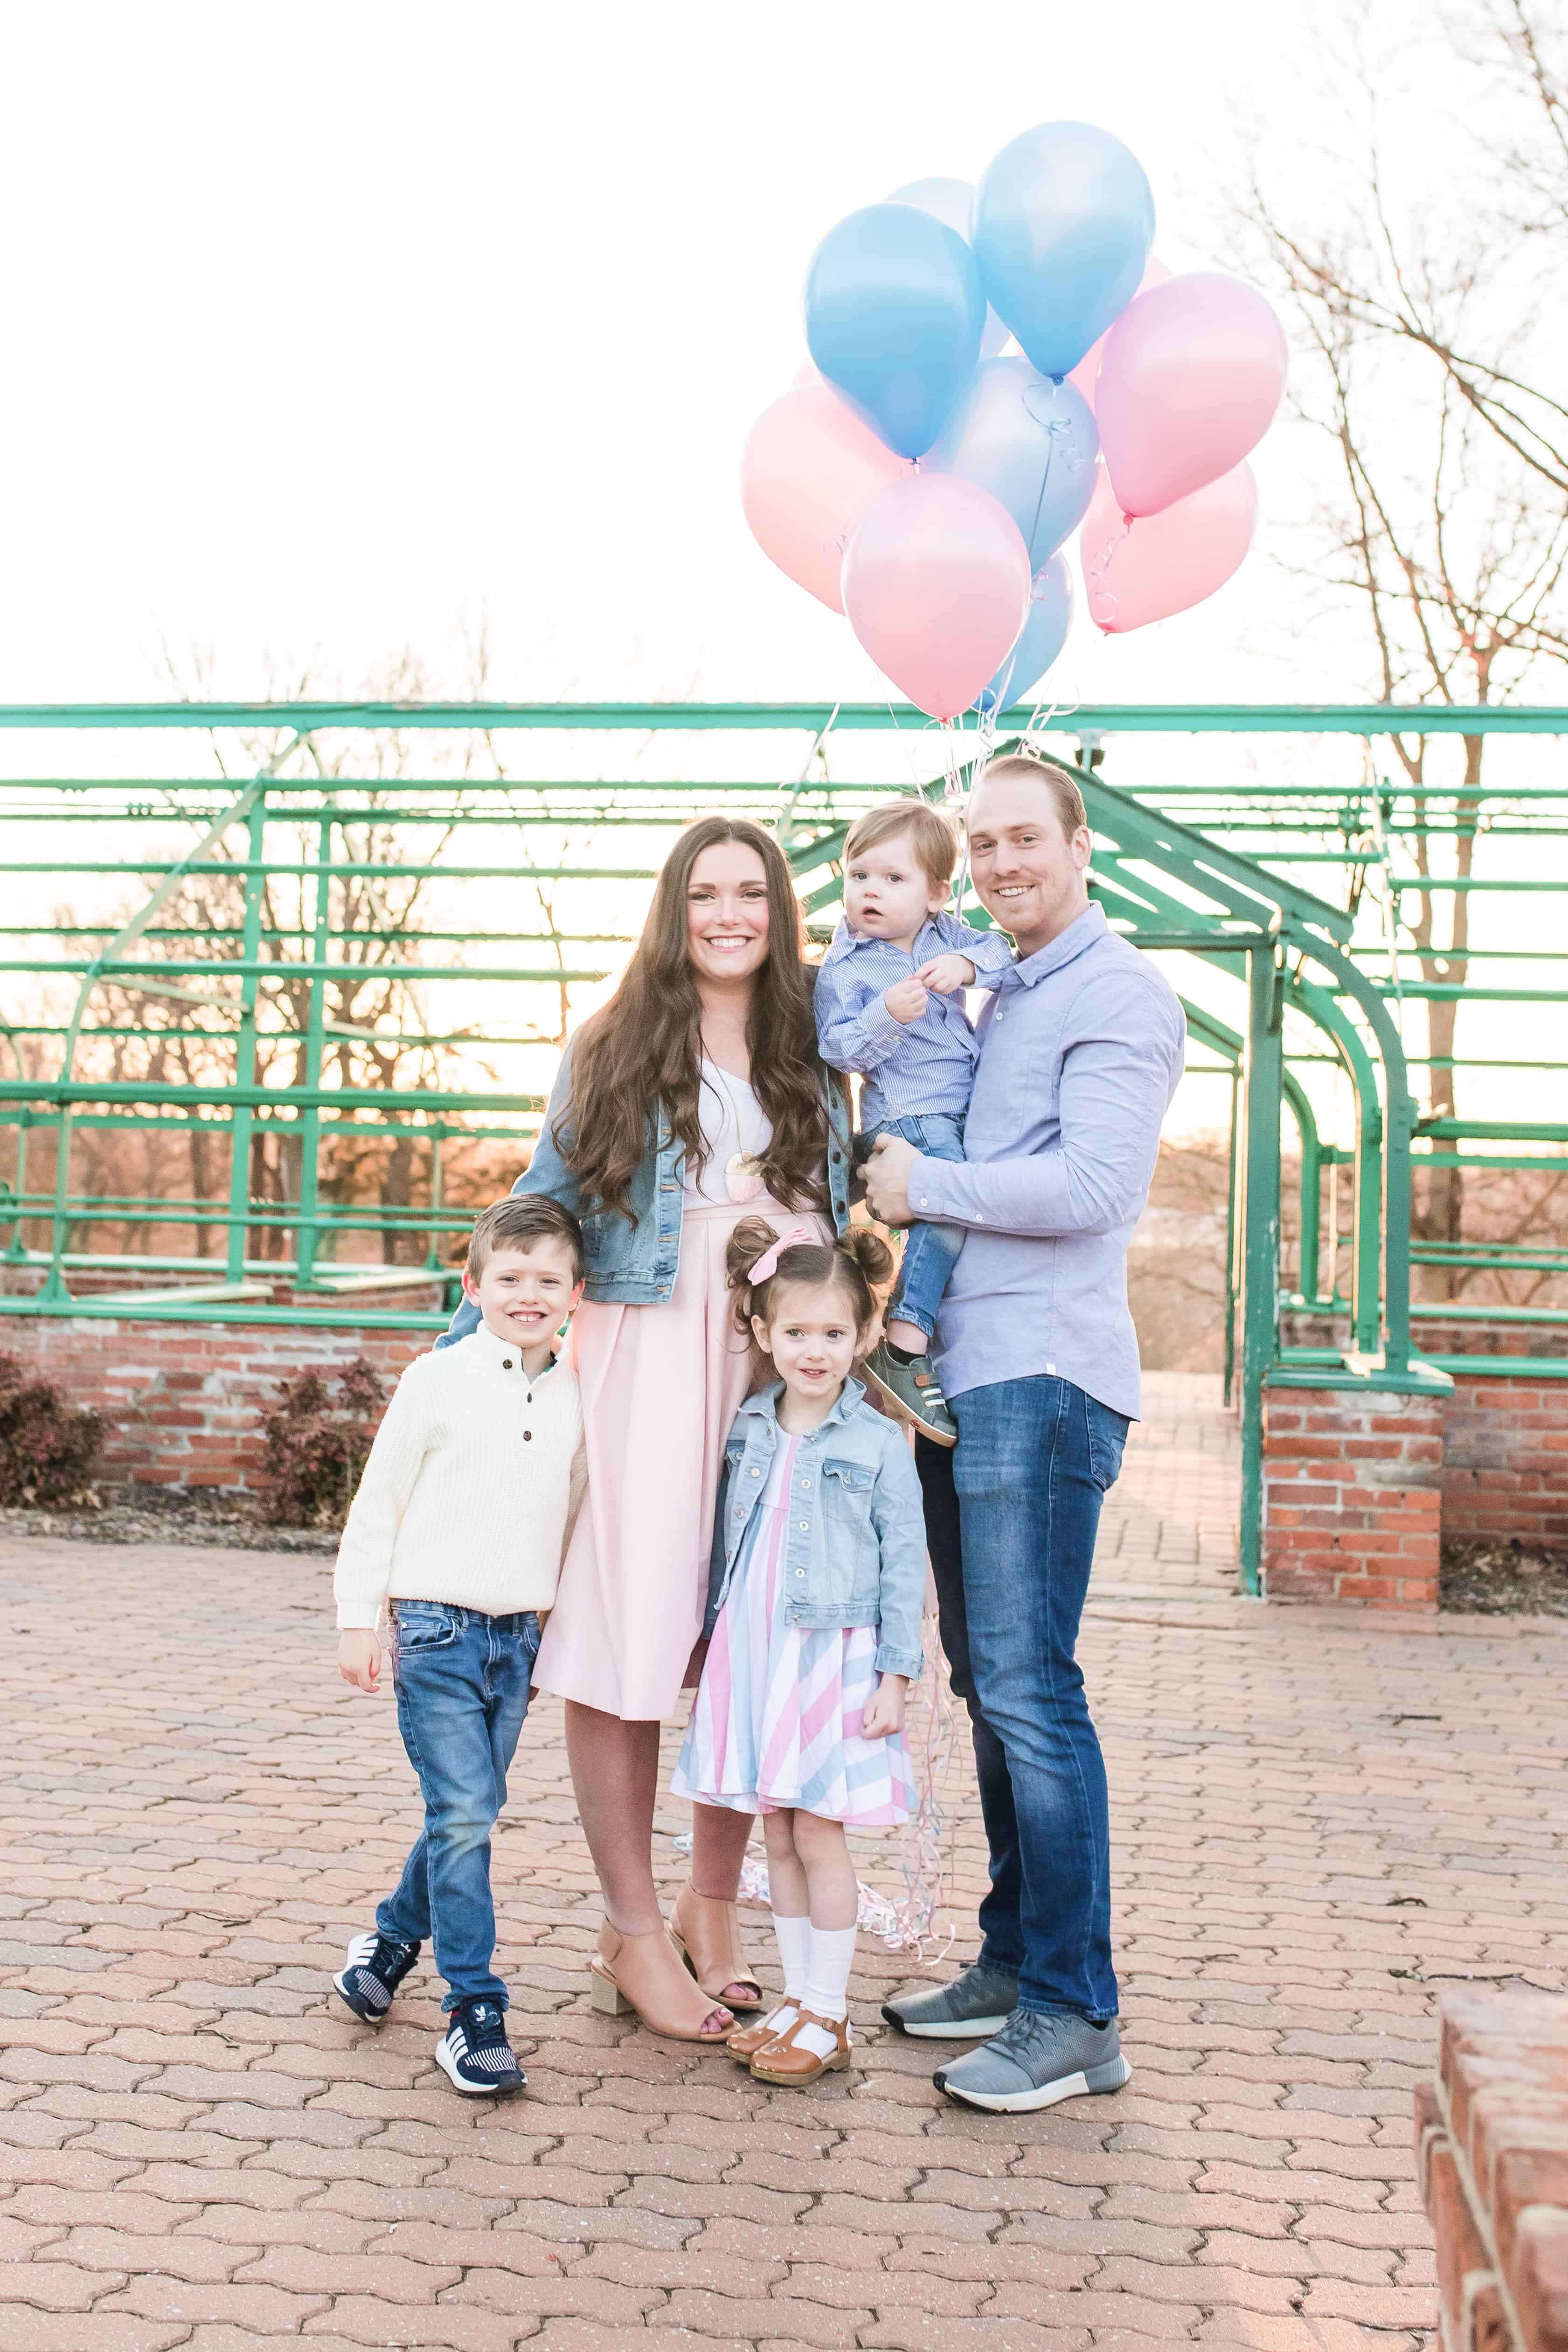
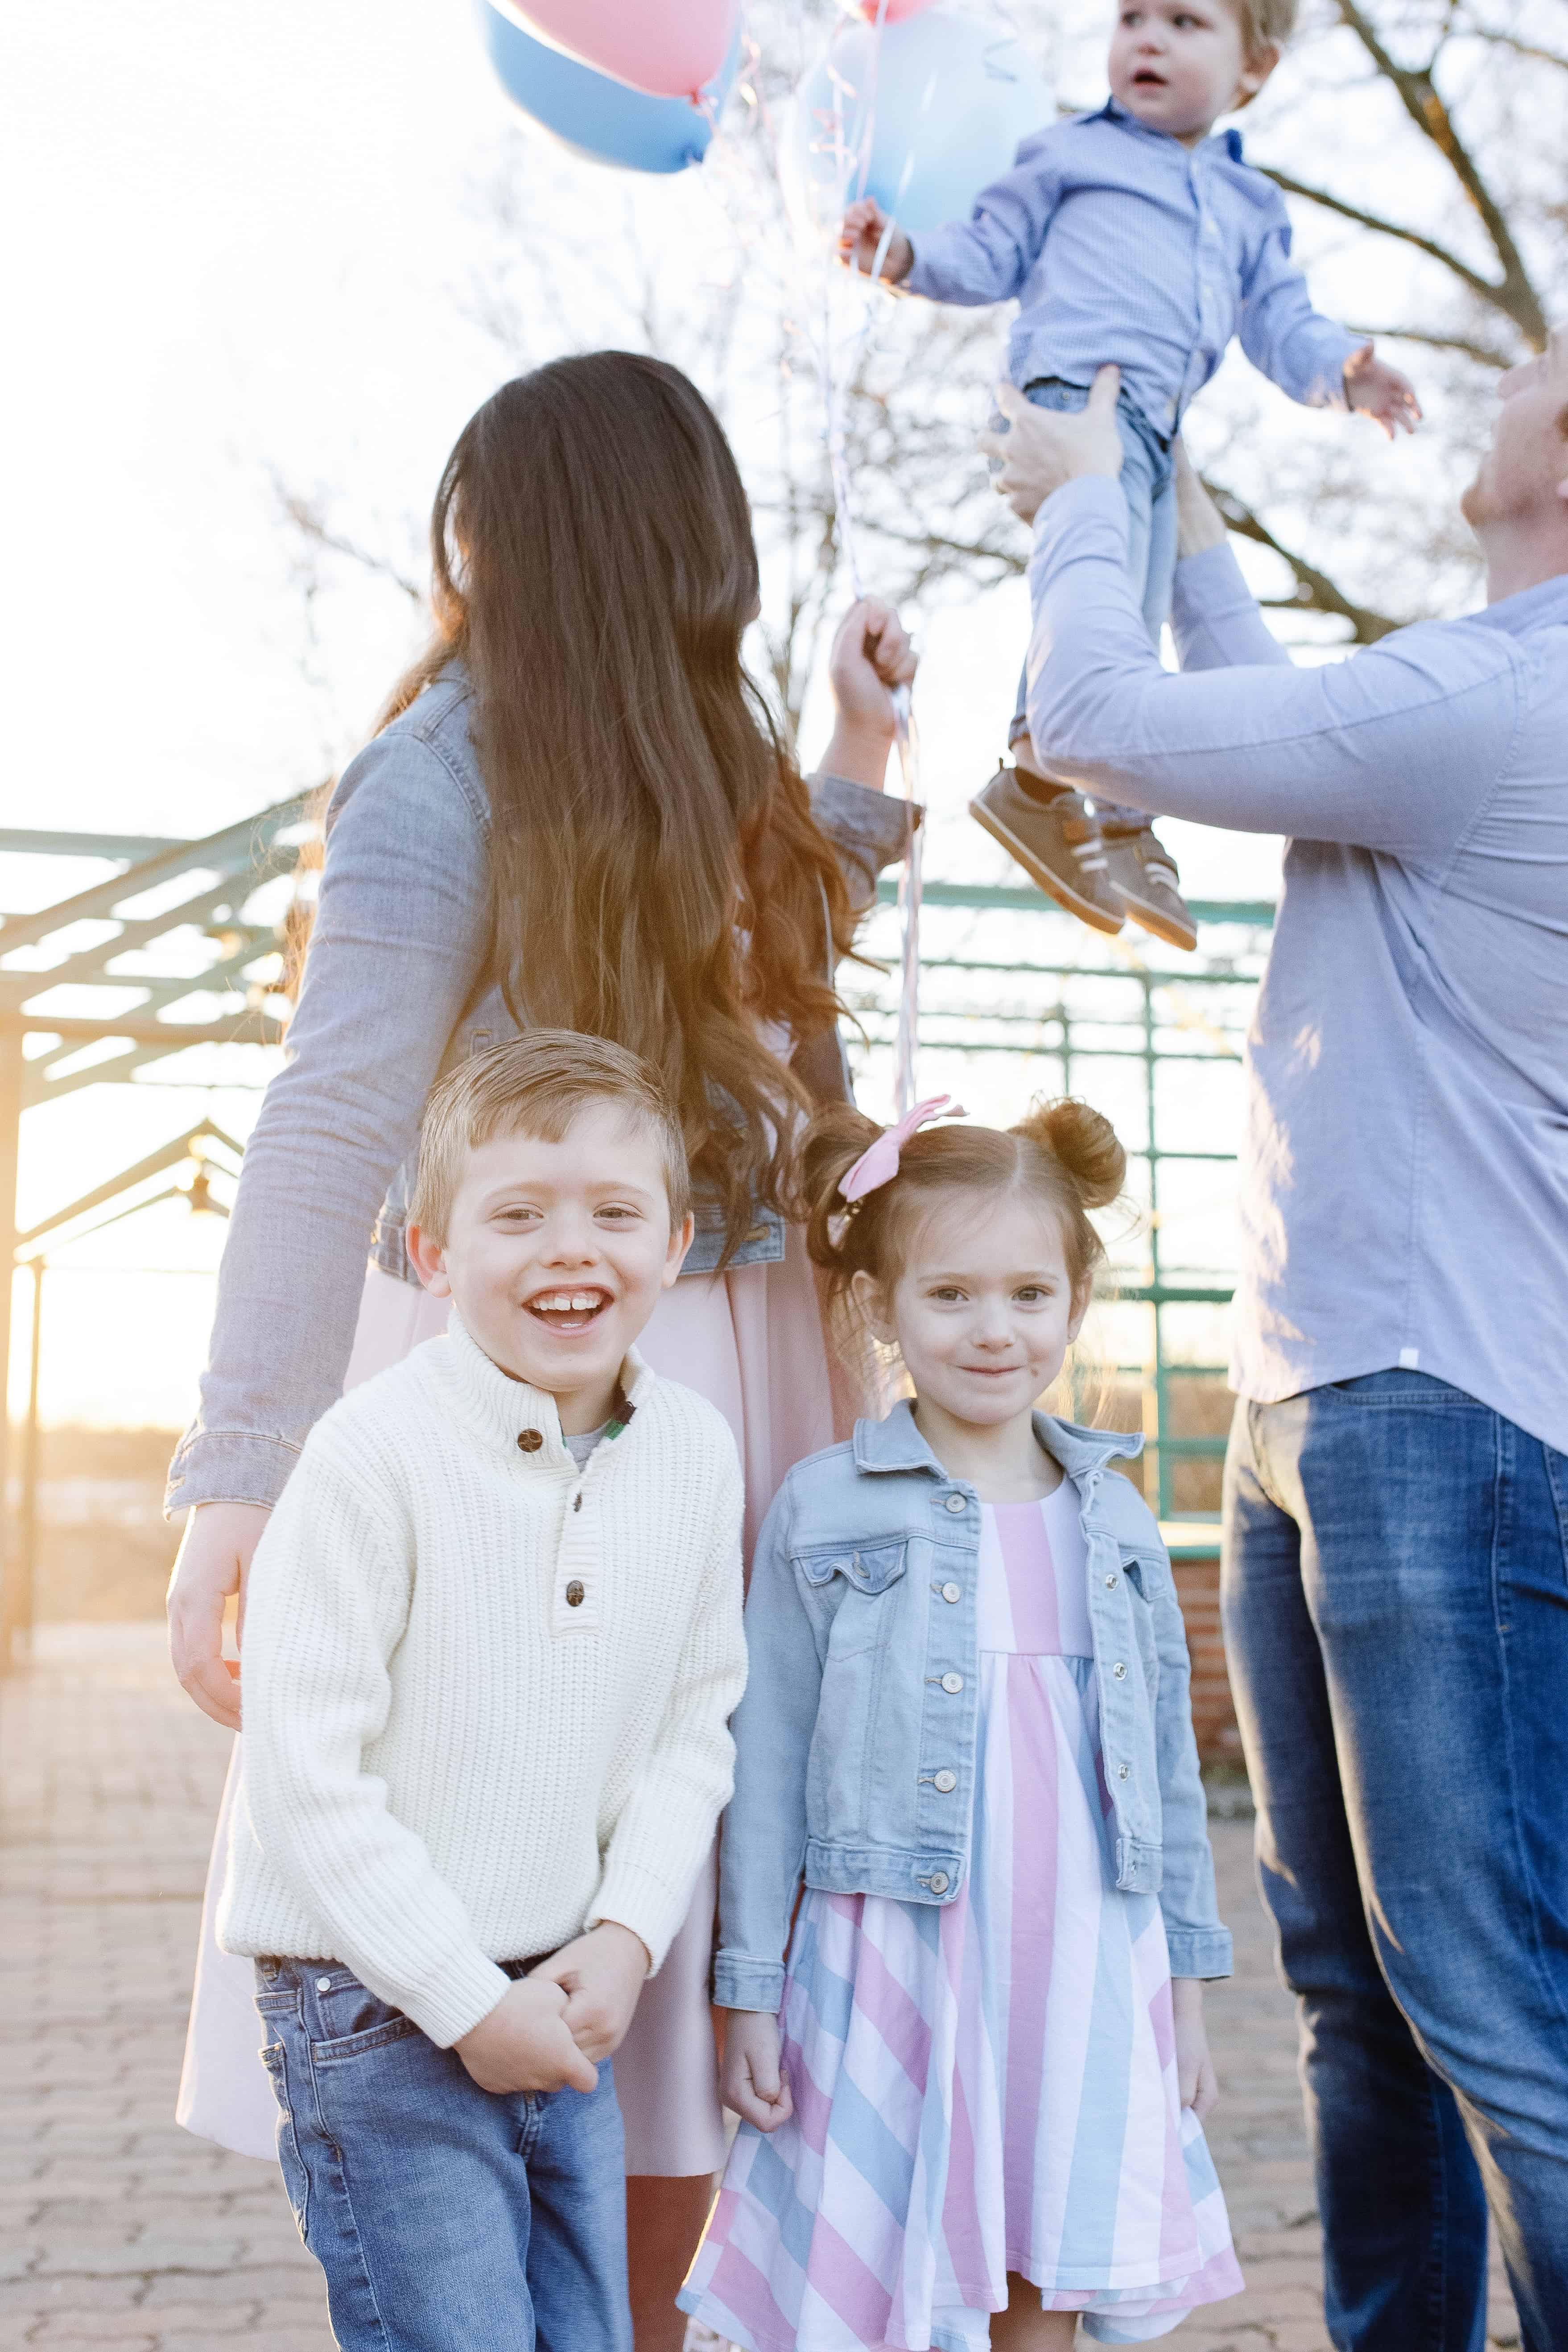
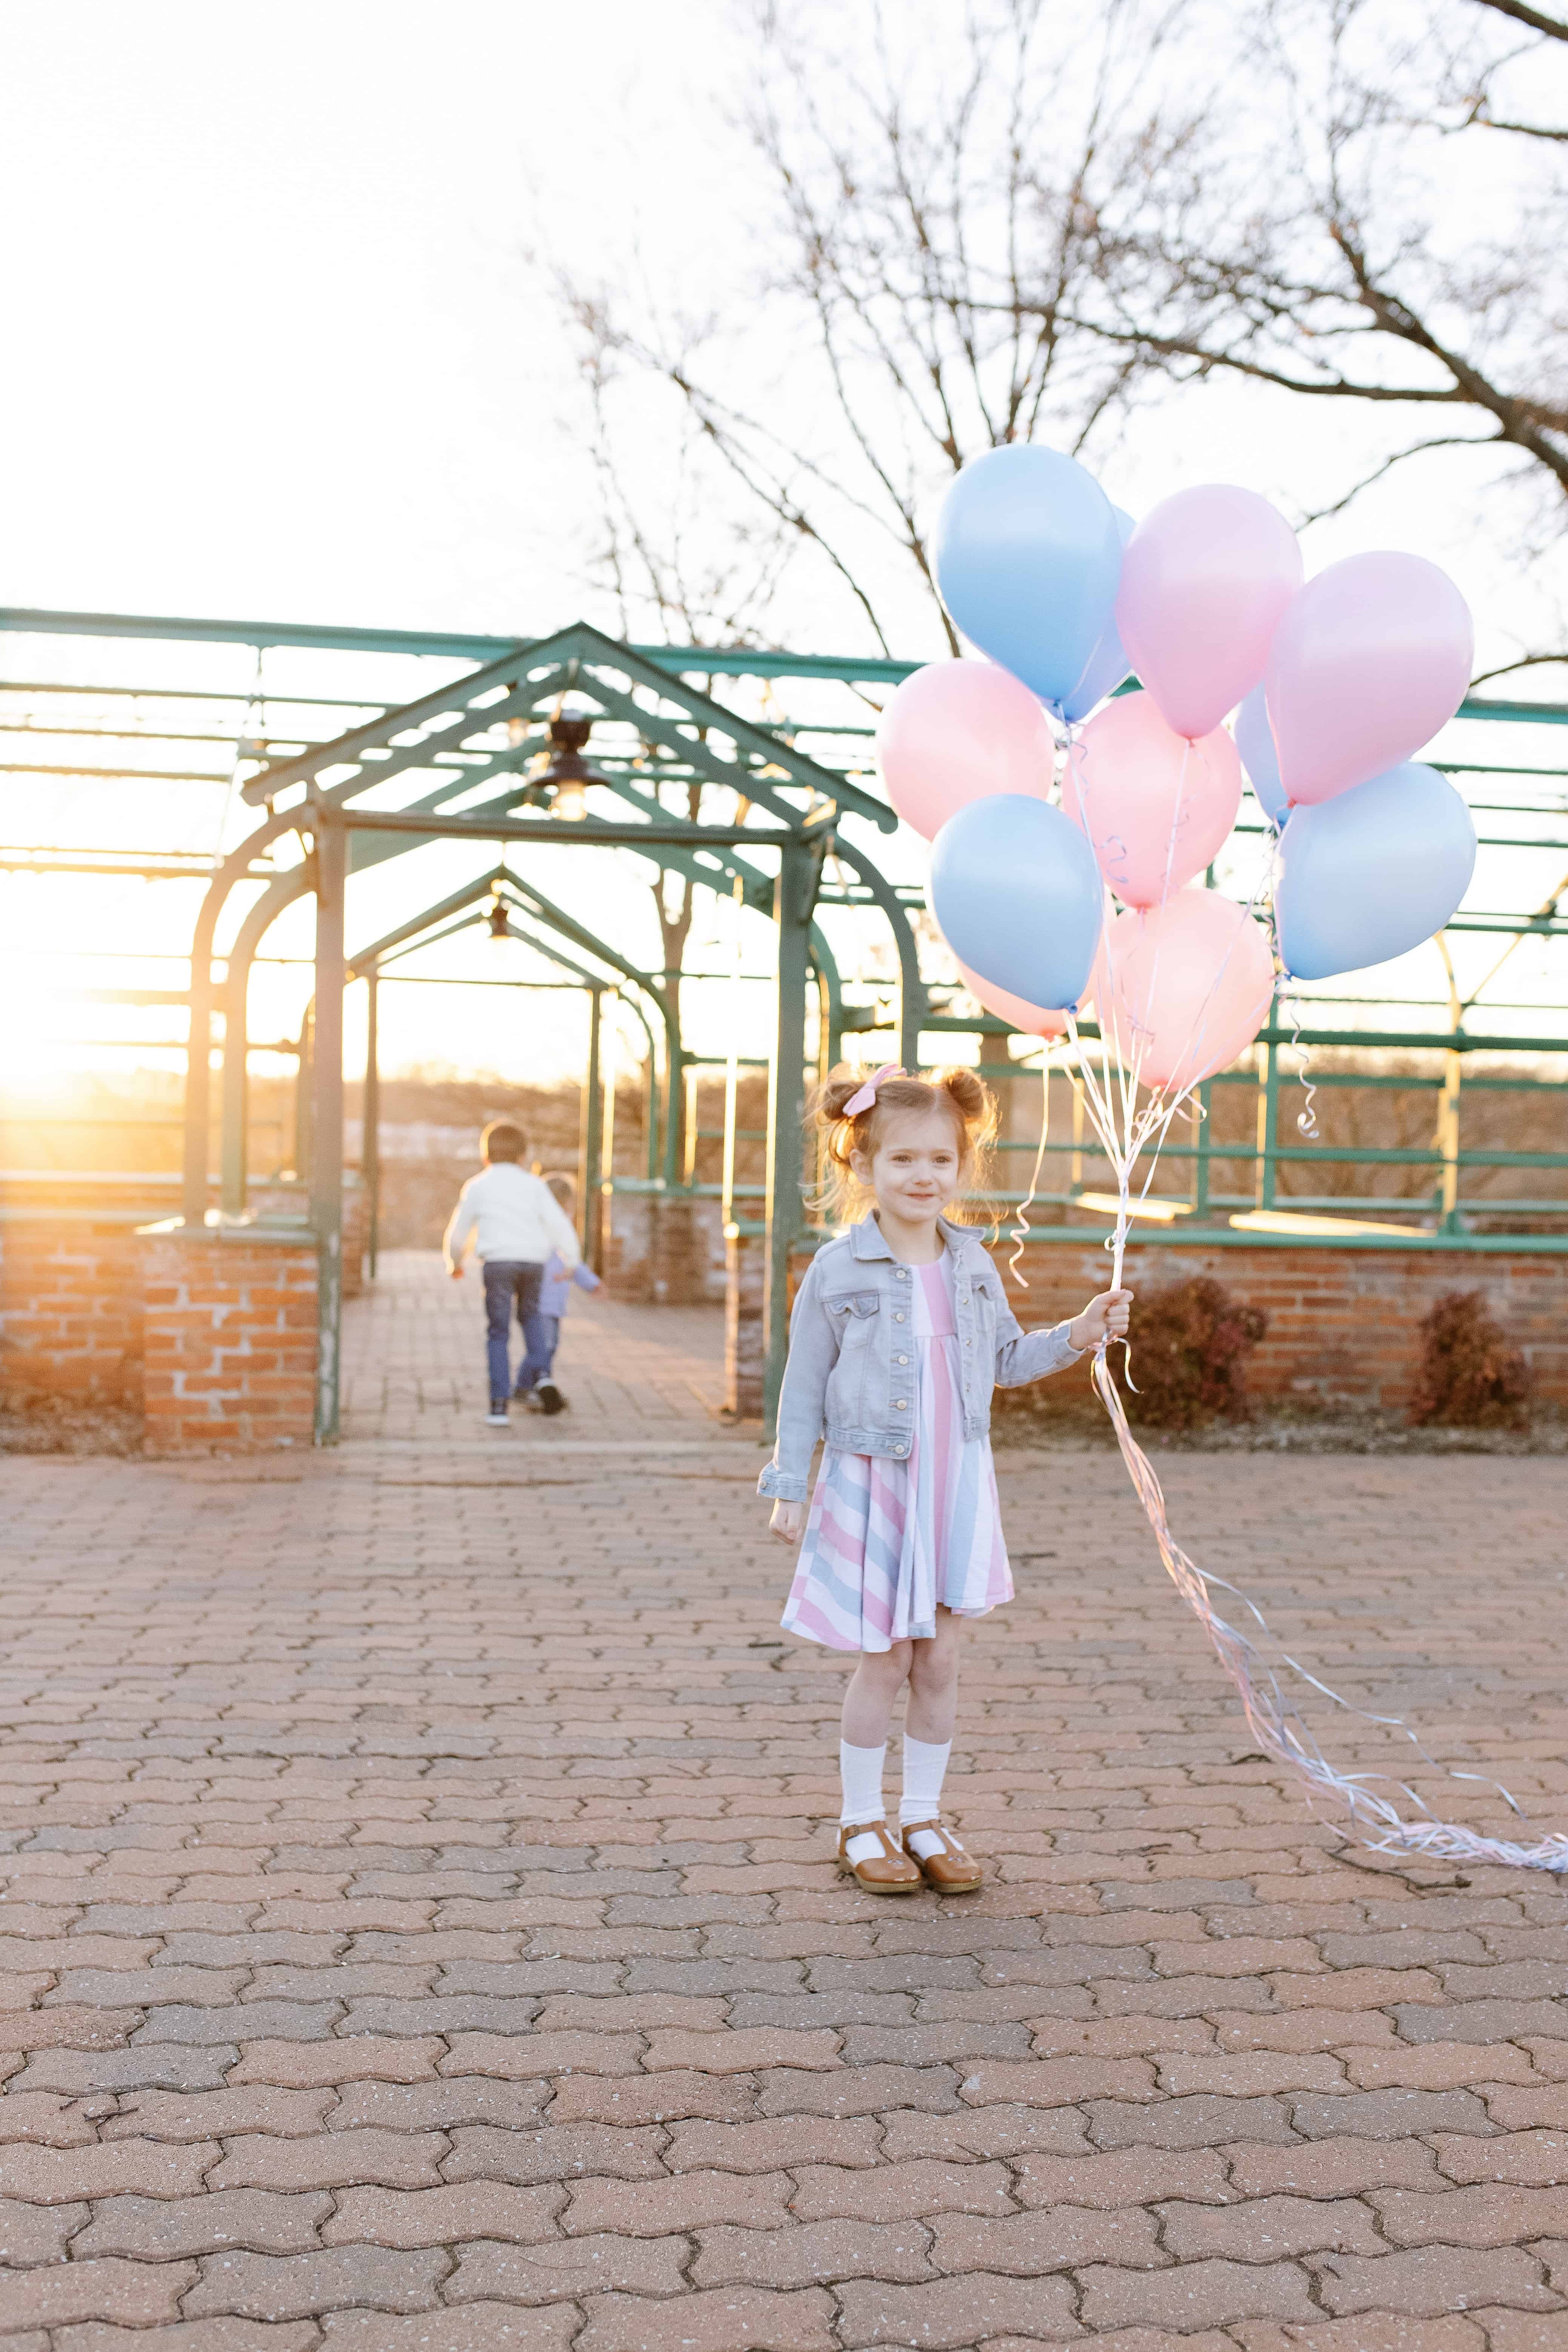
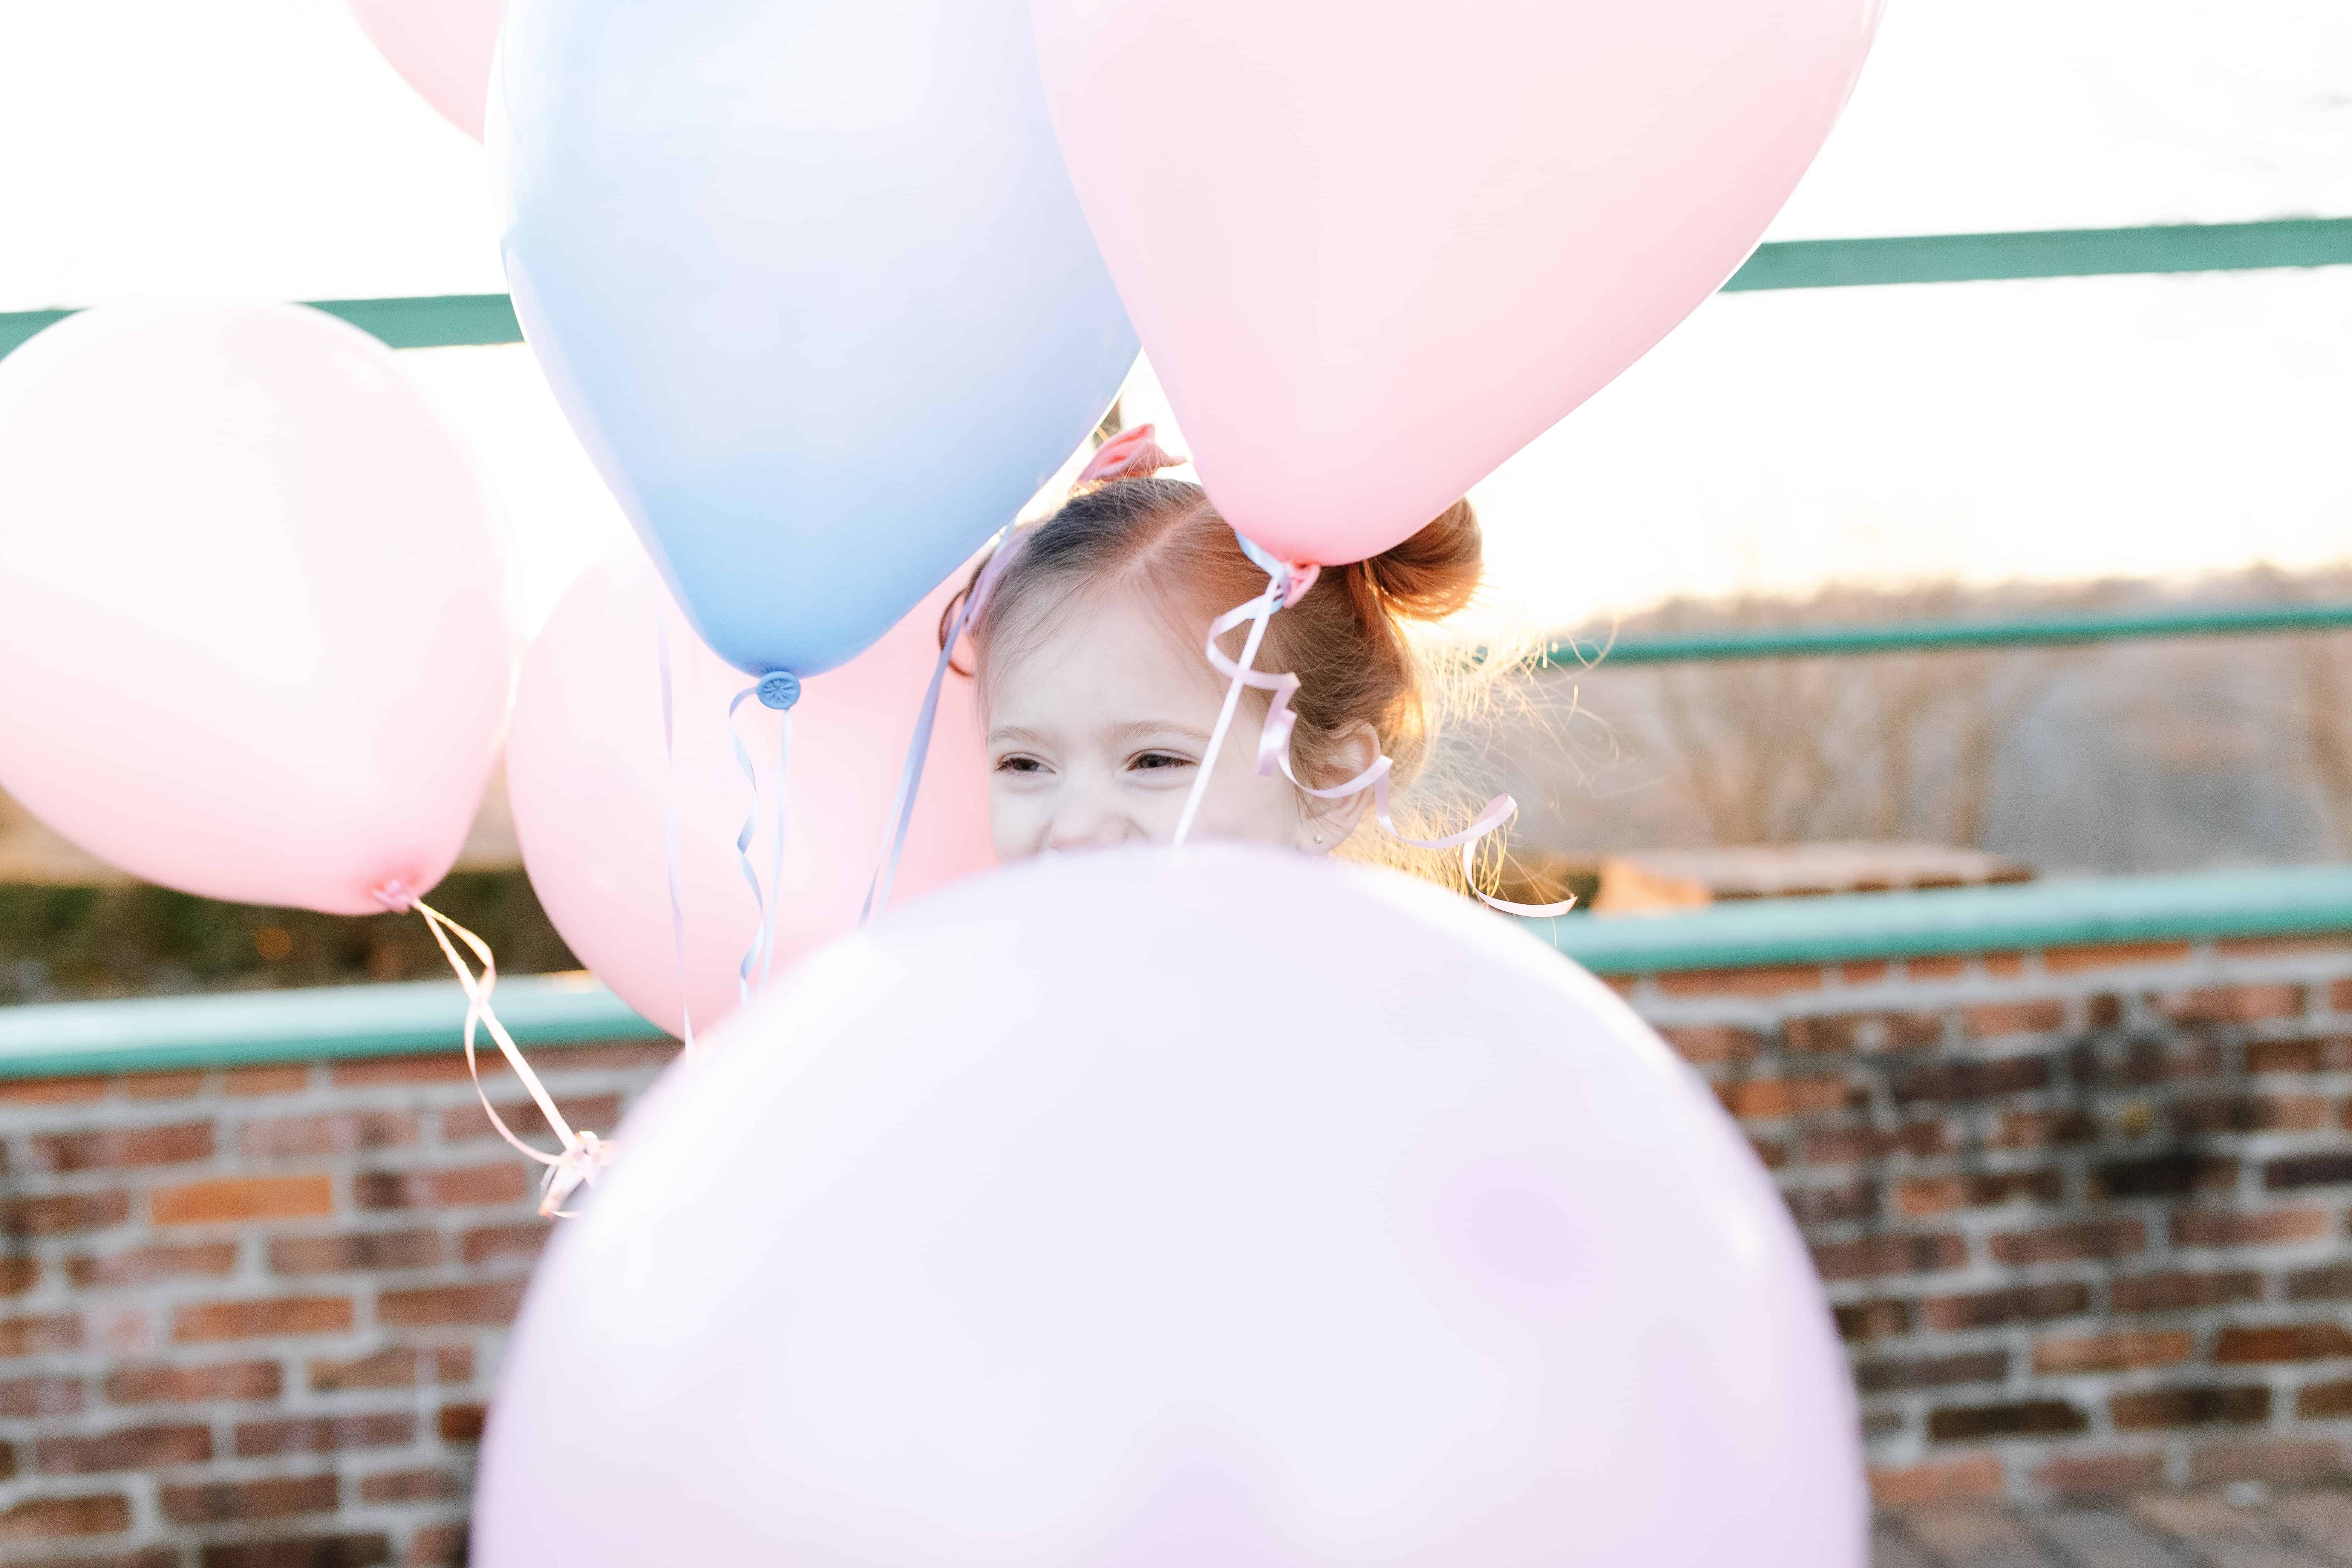
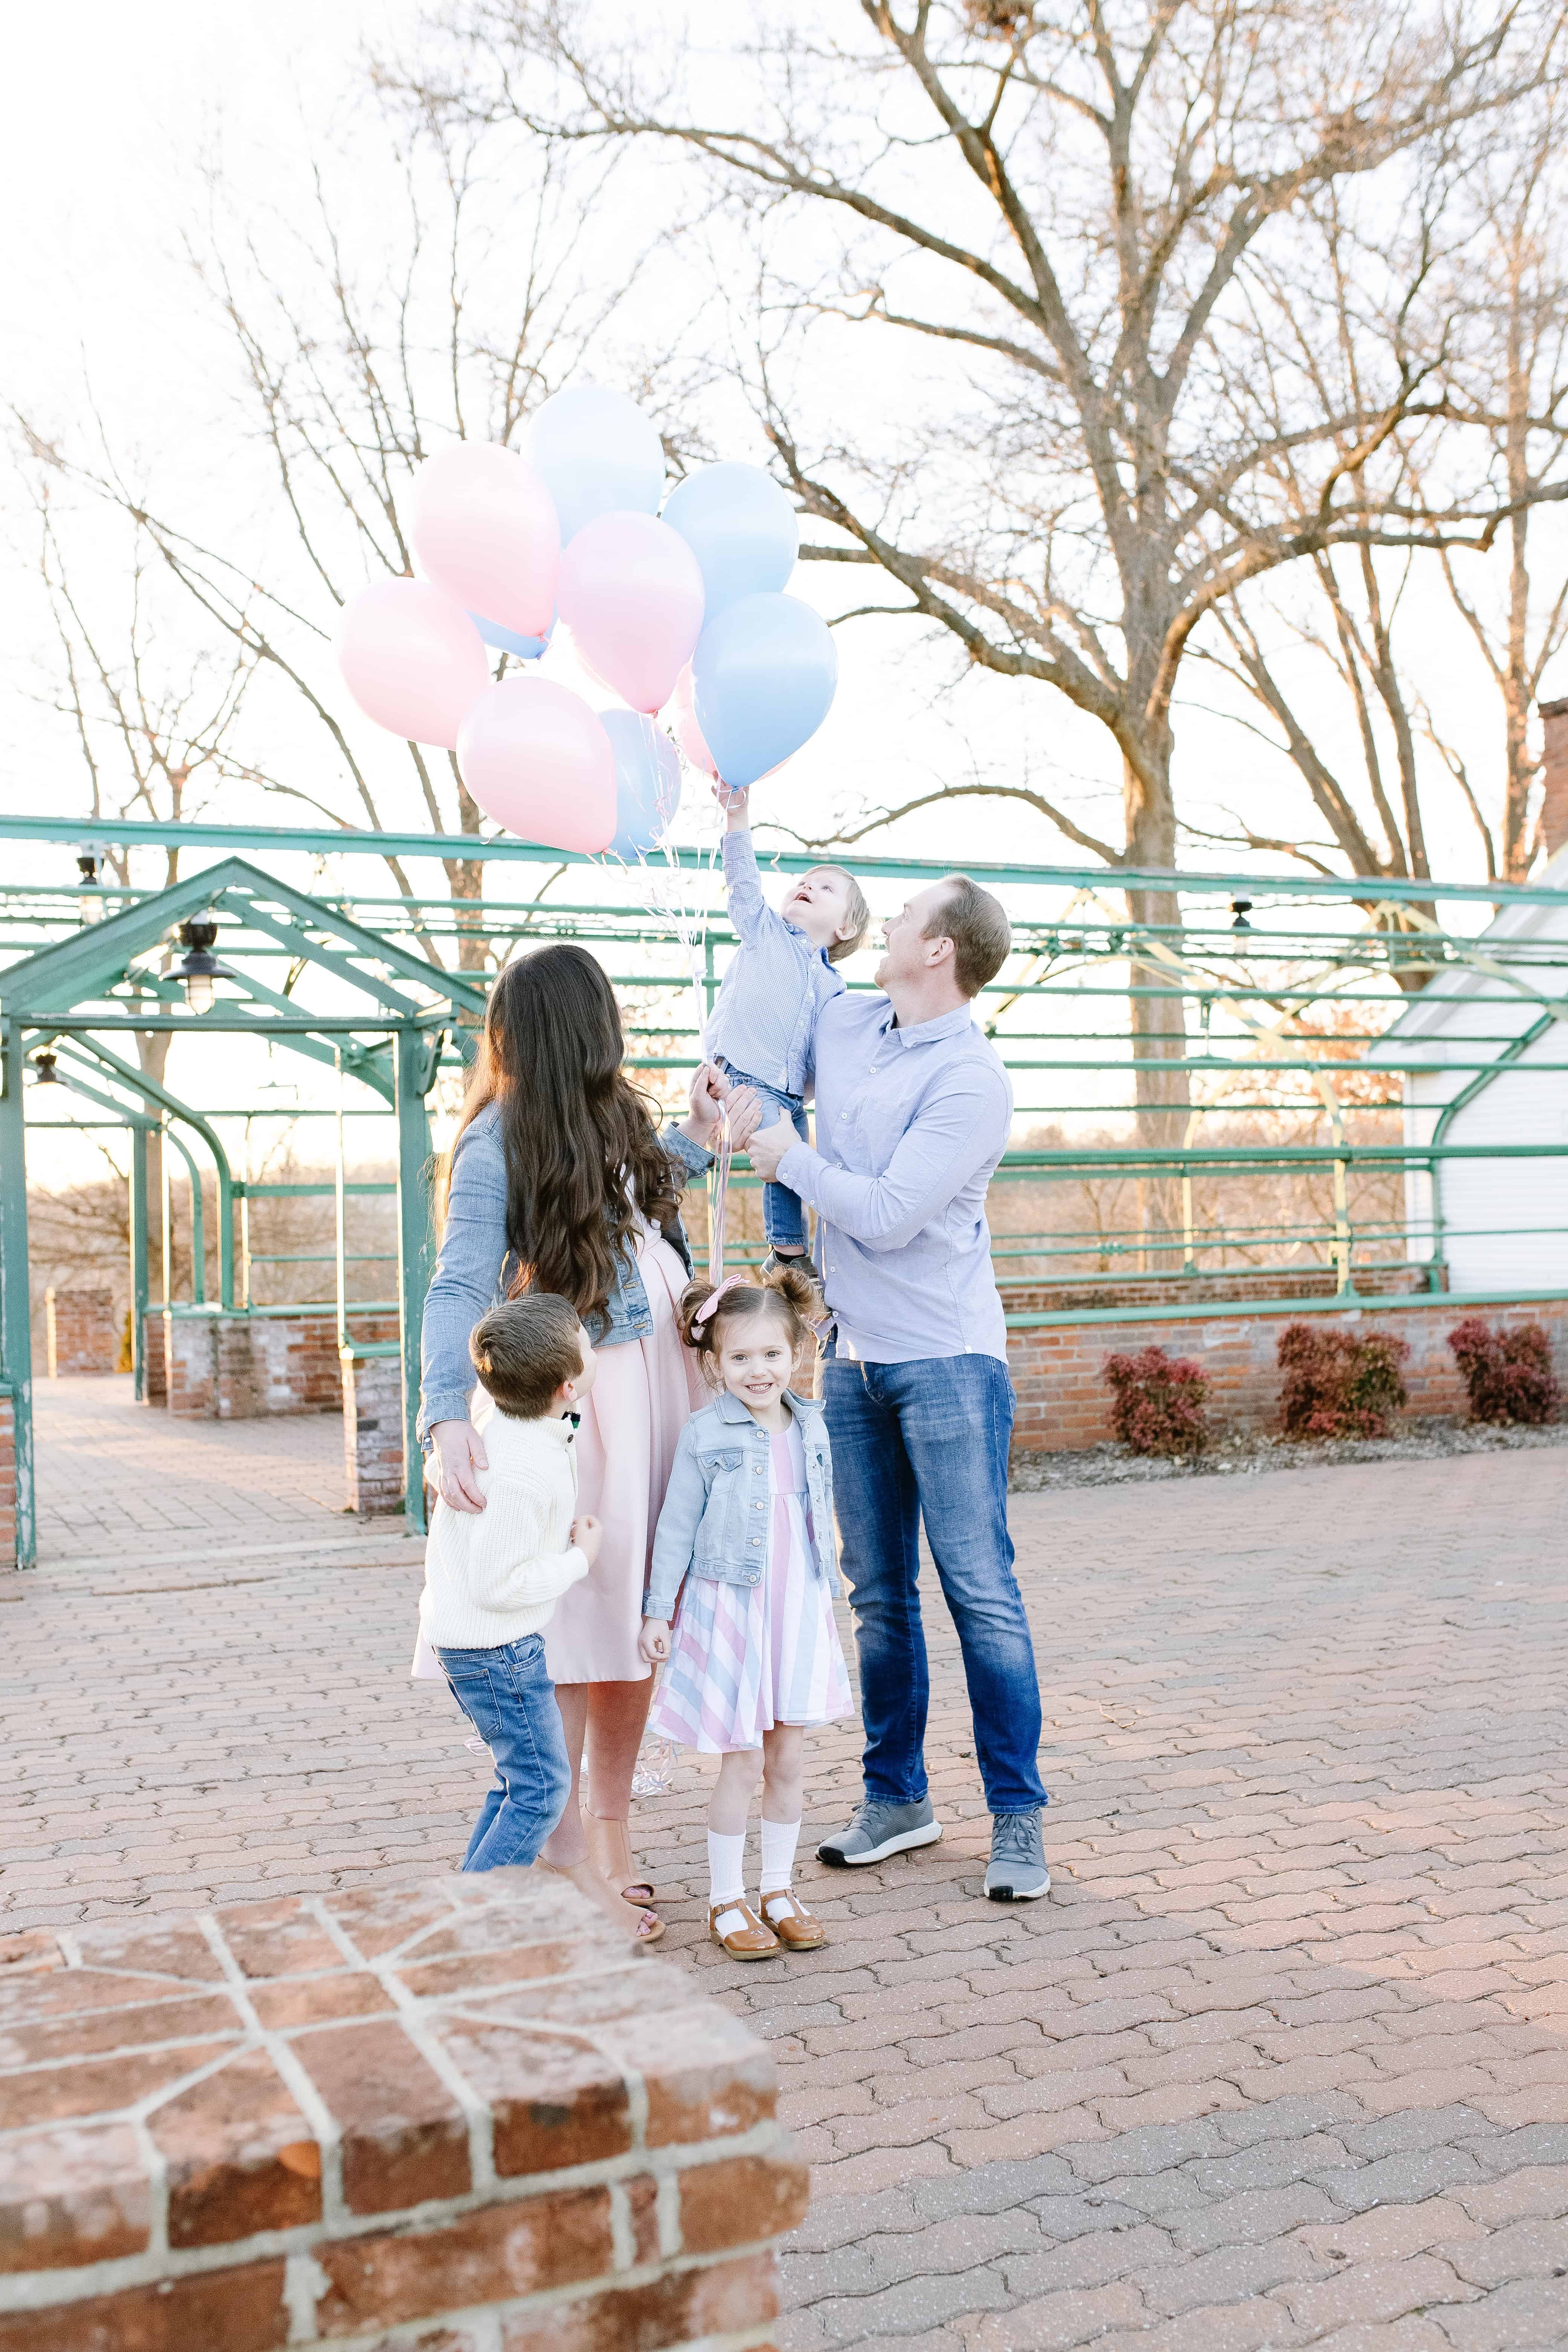
If you follow me on Instagram, you probably saw that we announced that we will be welcoming our 4th baby in August. We are all over the moon, and so excited to meet baby number four, and wanted to share a few more of the shots from our shoot with Liz Olson Photography, and answer a few of the inevitable questions we will get.
So lets get started with the big one that everyone will ask…maybe just in their heads haha. Was it planned? Yes and no. We were pretty 50/50 on having another baby, and ultimately were going to decide this summer.
We had no plans of having another baby in 2019, so that was a bit of a shock, but by no means did we think we were 100 percent done.
We are due at the end of August. That puts me just finishing up the first trimester this week, and I am so excited to even type that haha. We found out about the babe about a week after Christmas.
This was by far the latest I have realized I was pregnant, but I was really sick 2 times in December, and thought maybe that threw me off. Also I am turning 30 this year, and somehow I keep thinking that will change things haha.
I told the kids a few weeks ago when Sam was out of town. It was kind of spur of the moment. I was wearing the worlds most unflattering sweat pants and t shirt and Avé [kindly] looked at me and goes, “mommy your tummy is big.”
First off, I think it was just the way I was wearing my pants under my already just gorgeous stomach from the other 3, so she really knew how to make a girl feel good ha! But Jack heard the question and instantly yelled “is there a baby in your tummy? Are we going to have a baby??” He was SO excited. They both were.
They were jumping up and down, and Jack couldn’t stop hugging me. The excitement continued right on into the next day when they told their teachers and classmates that, “mommy had a baby in her tummy.” They even went so far as to give the baby a gender (girl) and name. THINGS WE DON’T KNOW!
And on the subject of people finding out. Sam is OVER THE MOON. Like him and Jack are the most excited humans on the planet. And I couldn’t love him more for that.
Logistically this is the first baby since Jack where we didn’t have an exact plan going into the pregnancy. I am a major planner, so that took me a second to be okay with. I was all set to diet and really get back to pre kids weight this year, so I would be lying if I said that didn’t make me upset for a minute. The body changes that come with pregnancy are HARD.
And there is a lot of pressure to be back in a bikini, 10 lbs lighter and 10 times toner by the time your baby turns one. Although I workout daily, that hasn’t been my reality, and that is hard for me, so was honestly a hard pill to swallow, knowing I was going to be growing again.
Ultimately we CAN NOT WAIT to meet this sweet baby. This will for sure be our last baby, which has come with so many emotions. There is one side of me that is really embracing knowing that my body is done.
But there is also a side of me that is sad knowing how fast this amazing phase of my life has gone, and just wanting to cherish it. I feel incredibly blessed to have been given FOUR humans to grow and mold, and honestly we just can’t wait to do life as a family of 6.
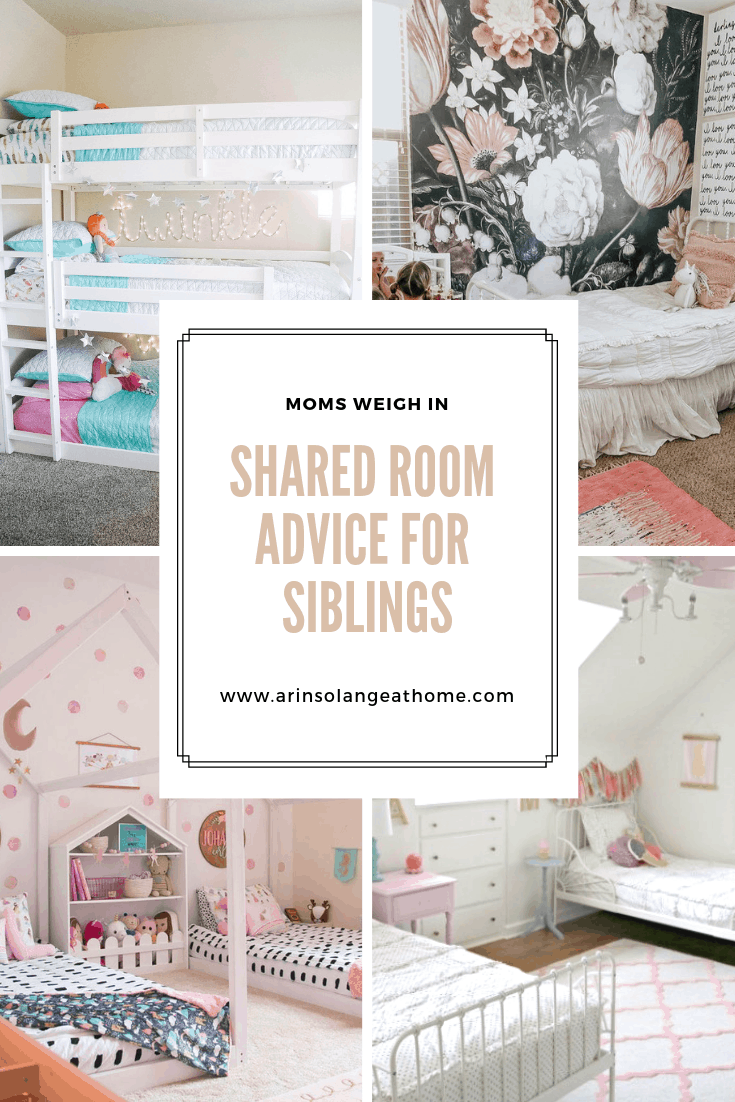
Have you thought about having your kids share a room? We know if we add to our family that that will likely be a reality for us in our home, so I wanted to do some research on how to best make that transition when we are ready, because I know we need to update Walker’s room soon, and it makes sense to make it easily changeable to a room for him and Jack. What can I say – I’m a planner! ha. I reached out to several friends with kids sharing room for advice on siblings sharing a room. All the advice, and some gorgeous shared rooms are rounded up in this post, so be sure to check out all these talented ladies while you’re reading!
My goal with these blurbs of advice is to give you some insight on advice for making sibling shared rooms work, as well as give you some great resources of amazing moms you can follow along with that have siblings sharing rooms that would undoubtedly give you more advice when you need it!
Noelle Bryant Shared Room for Sisters
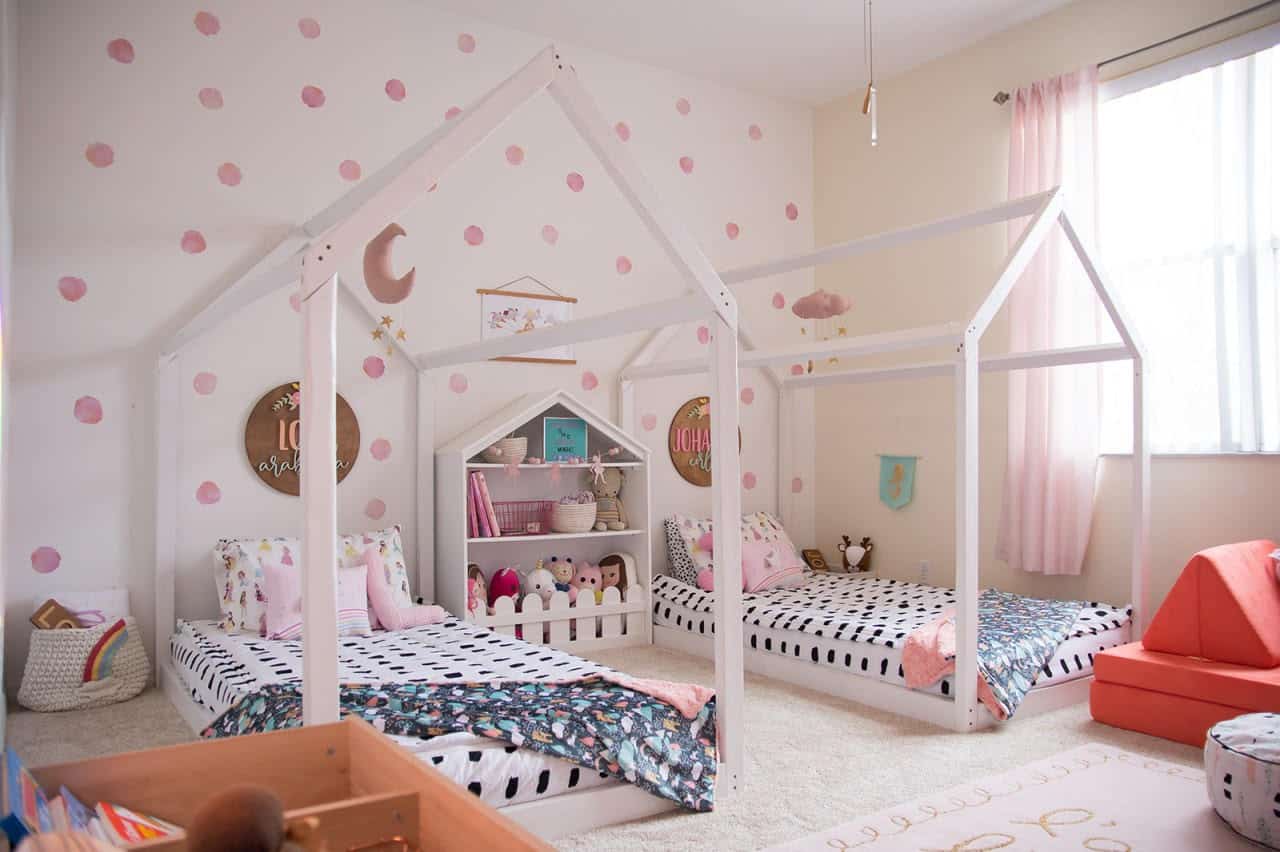
I reached out Noelle to give me a little advice to pass along on shared rooms. She has 2 little girls that share a gorgeous room, with these DIY Beds, and has many photos of their room HERE to check out when you’re done!!
“Deciding to put our girls together in one room came easy for us. They love being together and when we found out we were expecting our twins we knew it would be best to put the girls together sooner than later. Their bond has grown immensely since they’ve been together and we plan to keep them together for a while!
We chose to do two twin beds over a bunk bed because the girls were so young still (3&2 years old at the time) and we are huge fans of the Montessori Floor Bed style beds. We took the idea of the Montessori floor-bed and transformed that into these super adorable house frame floor beds which we provide the DIY for as well! These are functional and aesthetically pleasing so it’s a win-win for me! “
I love How Noelle just knew it would be a good fit for her girls, and totally believe that its probably true that it helps create an amazing bond long term! My next blogger weighing in is my friend Courtney. She is SO sweet, and one of my favorite accounts to follow on Instagram, so I knew I needed her advice. She gives some great tips on how to make it work best, and why they set up their room the way they did!
Courtney Spena Advice on Siblings Sharing a Room
I first asked Courtney at what ages she moved her girls into the same room. Her response was
“Okay, so we moved Mabel into Abigail’s bedroom shortly after she turned 2 (Abigail was 6.5). Ideally, I would have waited longer- maybe more like 2.5/3 years? But we needed her out of the crib so we could get it ready for little brother who was coming! The first few nights were tricky, but after that- it has been a wonderful experience! The girls love sharing a room together and always talk together after we leave the room. Abigail falls asleep much faster than Mabel, and always wakes up before her, but they have adjusted well to being together.”
Next I asked if she had one big piece of advice to pass along. She Responded with –
“My biggest advice is to use one of those “ready to wake” clocks- ours is a stop light, but I have seen a few different versions! (It also helps to have child #2 sharing with obedient, rule following first born to get the lay of the land :p )” (thank goodness for me, My Jack is definitely an obedient first born too! ha)
And last, one thing I really wanted opinions on was the bunk bed or single bed decision. Her answer to why they went with sing beds was:
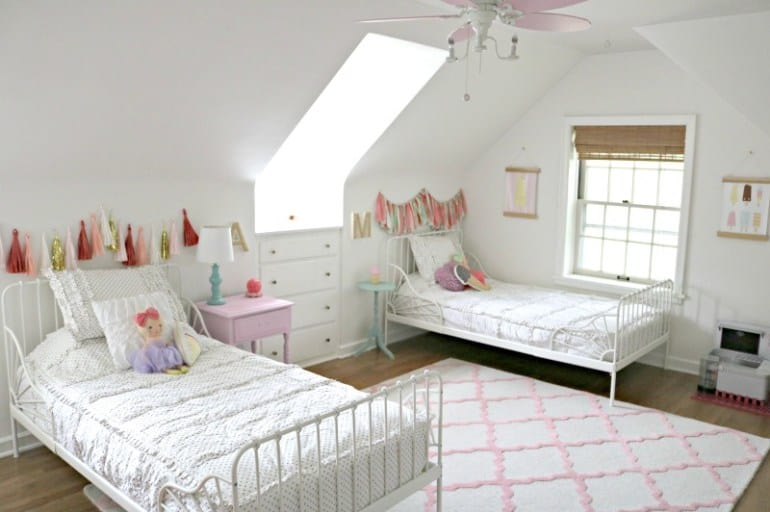
“While, Abigail would have loved to have had bunk beds- we just felt that Mabel was too young for that set up. So we went with the adorable Ikea Minnen beds. They are so sweet and simple and I love the style and look of them in their rooms. They are twin sized, so they will be able to use them and sleep on them for years to come!”
Next up I had a super fun opportunity to ask one of my best friends for some advice. She has run the gamut on room sharing. When her third was born they chose to have their daughters share a room as soon as their youngest moved out of their bedroom. The girls are only 18 months apart, so at the time had one in a crib and one in a bed. She has since moved into a town home in transition between homes, and has successfully transitioned her THREE KIDS into sharing a room. She is going to share some advice with you all, but also shares tons on her Instagram stories, so is definitely one to follow if you’re looking for great ongoing advice!
Navy Patten Advice on Siblings sharing a Room
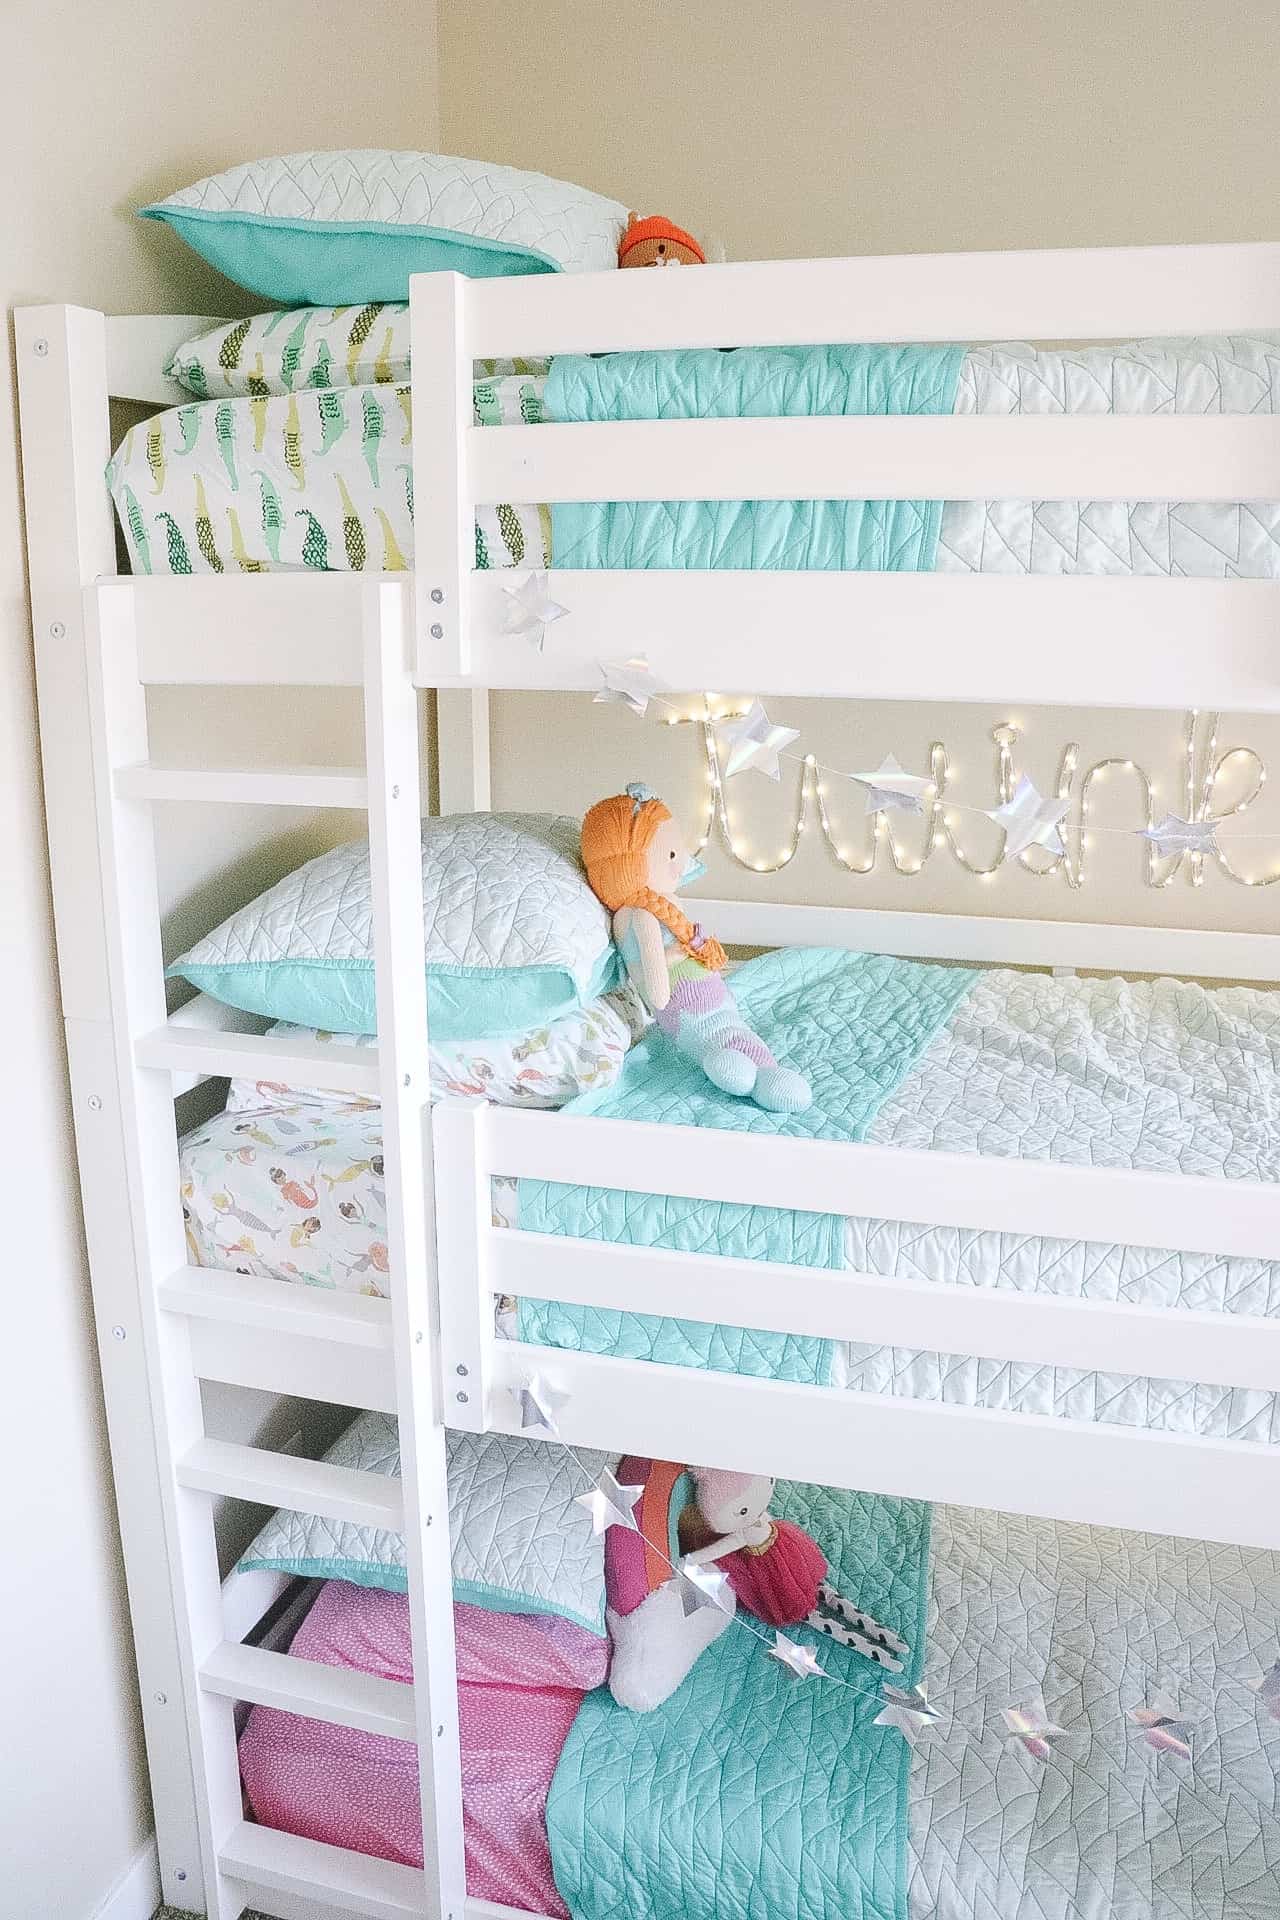
“I have had my kids have their own rooms and share rooms. As much as I was scared to have them share each time, it has been a super easy transition! We’ve had twin beds, a twin bed and a trundle, bunk beds and a triple bunk bed! So far we are LOVING the triple bunk, the only negative is making the top bunks, but since we were going for having all three kids share a room its been great!
My kids LOVEEEE their shared bunk beds and love all sharing a room. Josh and I love it too! It gives their room a ton of play room and I love the way it looks when all the beds are made. We use a music machine every night and they all go down at the same time. We’ve rarely had a time where they are keeping each other up, or waking the other sibling up (my kids are heavy sleepers and know when its bedtime, its BEDTIME).
When we move I think I will keep a bunk bed in Jacks room because he loves the bunk beds so much, but the girls I will switch over to twin beds. Twin beds are obviously a lot easier to make and I would be lying if I said it didn’t drive me to the crazy house when I have to make the middle bunk and smack my head 1000 times!”
Next up is my friend Michelle. She has 2 girls that share a room, and I was so excited to get her advice, because similar to myself her girls that share are her first and third, so there is a bit bigger age gap than some!
Michelle Diltz Shared Room Advice
When I asked her why she went with shared rooms for her girls her answer was:
“We decided to have the girls share a room and use our extra room for a playroom. I shared a room with my sister growing up and I have so many fond memories. Oh and it totally made it easier for me to steal her clothes.. It definitely works for us right now with the girls being 3 & 6. When they get a little older we will let them decide if they’d like their own space.”
And I again wanted to find out why she went with single beds over bunk beds her answer was:
“We went with single beds because I really liked the style of the beds and it worked with the overall style and design I envisioned for their room. I do think Bunk Beds would work as well in this space and the girls are already begging for them so we might just try that out in the near future.”
I love that there has been a great mix of reasons (both great reasons) for bunk vs single beds so far. I think for me I love the look of single beds, but think bunk beds are SO functional, but definitely know that Walker wouldn’t be ready, so it was great to read someone else was in the same boat.
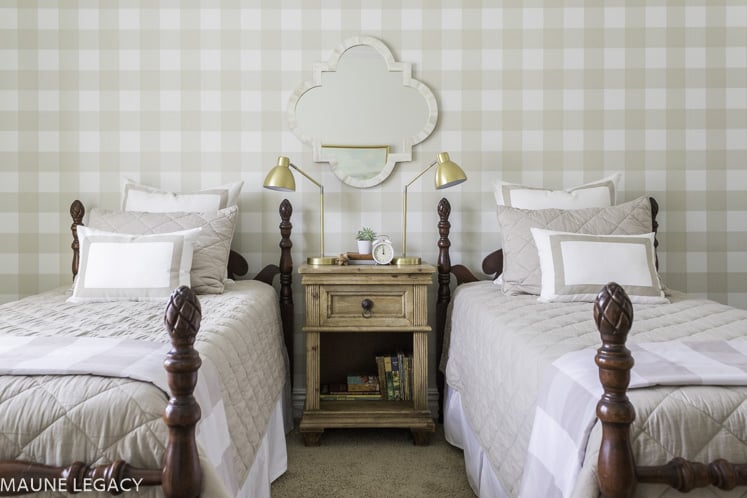
Next up I have advice from my friend Jennifer. She shares so much gorgeous decor on her blog, and is a mom to FIVE littles, so I knew she would have amazing advice to share. She recently redid her boys room and shares some advice on them sharing a room.
Jennifer Maune’s Shared Room advice for Siblings
“With a large family, our kids have no choice but to share, however, I wouldn’t have it any other way. They have developed really close relationships and I love to hear them sharing secrets and giggling at night. We chose twin beds for their room because I wanted them to sleep close to each other and it hasn’t caused too many issues.
We do have a playroom so we don’t have to store toys in their room. If we didn’t have a playroom, I would probably opt for bunk beds. We have a dresser in their room for clothes and we’ve been smart with the shelving in their closets for clothes storage as well. I do have one son who has a room all to his self and he has asked when he’s going to get to share a room with one of his siblings, which makes my heart happy to know they all enjoy being together.”
Jennifer’s Boys room is gorgeous and so classic. I love how it won’t go out of style as trends change! Next I wanted to get more advice on shared rooms from the start. Lynneah is a twin mom, so although I feel like that seems like a no brainer when you see it, once I thought about the logistics of it, I realized that twin mama’s face this daily!! Below is some advice from Lynneah!
Lynneah Bennett Shared Room advice for Twins
As said above I asked Lynneah, of Twins and Coffee Mama, for some shared room advice from the perspective of a twin mom! She is a mom of boy girl twins living in the PNW with big dreams of helping millennial mothers learn to embrace the chaos of motherhood through realistic expectations and a whole lotta coffee.
Her Advice was:
“I am all about realistic parenting. And to me, that means my twins sharing a bedroom. For the obvious reasons, of course. The question I get most often about their sleeping situation is “do they wake each other up?” And no. They don’t.
I was actually fairly surprised about that, but when we found out about the twins the last thing we could afford was a bigger home. So sharing a bedroom it was. It turned out to be the easier thing, especially when you’re dealing with two sleeping infants. It is so much easier to stumble in mombie mode over to one room to soothe both babies, than it would be to get to both rooms.
Roomsharing was probably the hardest when we decided to sleep train. At that point in time, they didn’t wake each other up by crying. Instead I would wake the other up just by going into their room to soothe the one that was awake. Sometimes I wonder how I got through those kind of nights! But now that they’re getting into toddlerhood, the roomsharing has turned out to be a blessing. More often than not, half of their nap times are spent babbling and talking to each other through their cribs.
We used to have their cribs side by side, but just recently moved them across the room from each other because they would sit there and play for what seemed like hours instead of going to sleep. We also keep their clothing combined as they’re the same size, and it helps me keep less things around. Marie Kondo is all the rage right now and I’d be lying if I told you she hadn’t made her way into my home!
So far, the twins sharing a room has been great for our family. It all comes down to making do with what you have.”
Last I have some fantastic advice from JeeYoung. Her boys share a room with both a bed and a crib, which I think is a great option for SO many moms out there!!
JeeYoung’s Shared Room Advice
JeeYoung has a blog post on her boy’s shared room and talks about them sharing. She shares that it a was fairly spur of the moment decision. The boys adjusted really quickly, and have done really well sleeping through the rare nights where someone wakes in the middle of the night. (WHICH IS TOTALLY MY BIGGEST FEAR. Check out her post here for more about how her boys transition went!
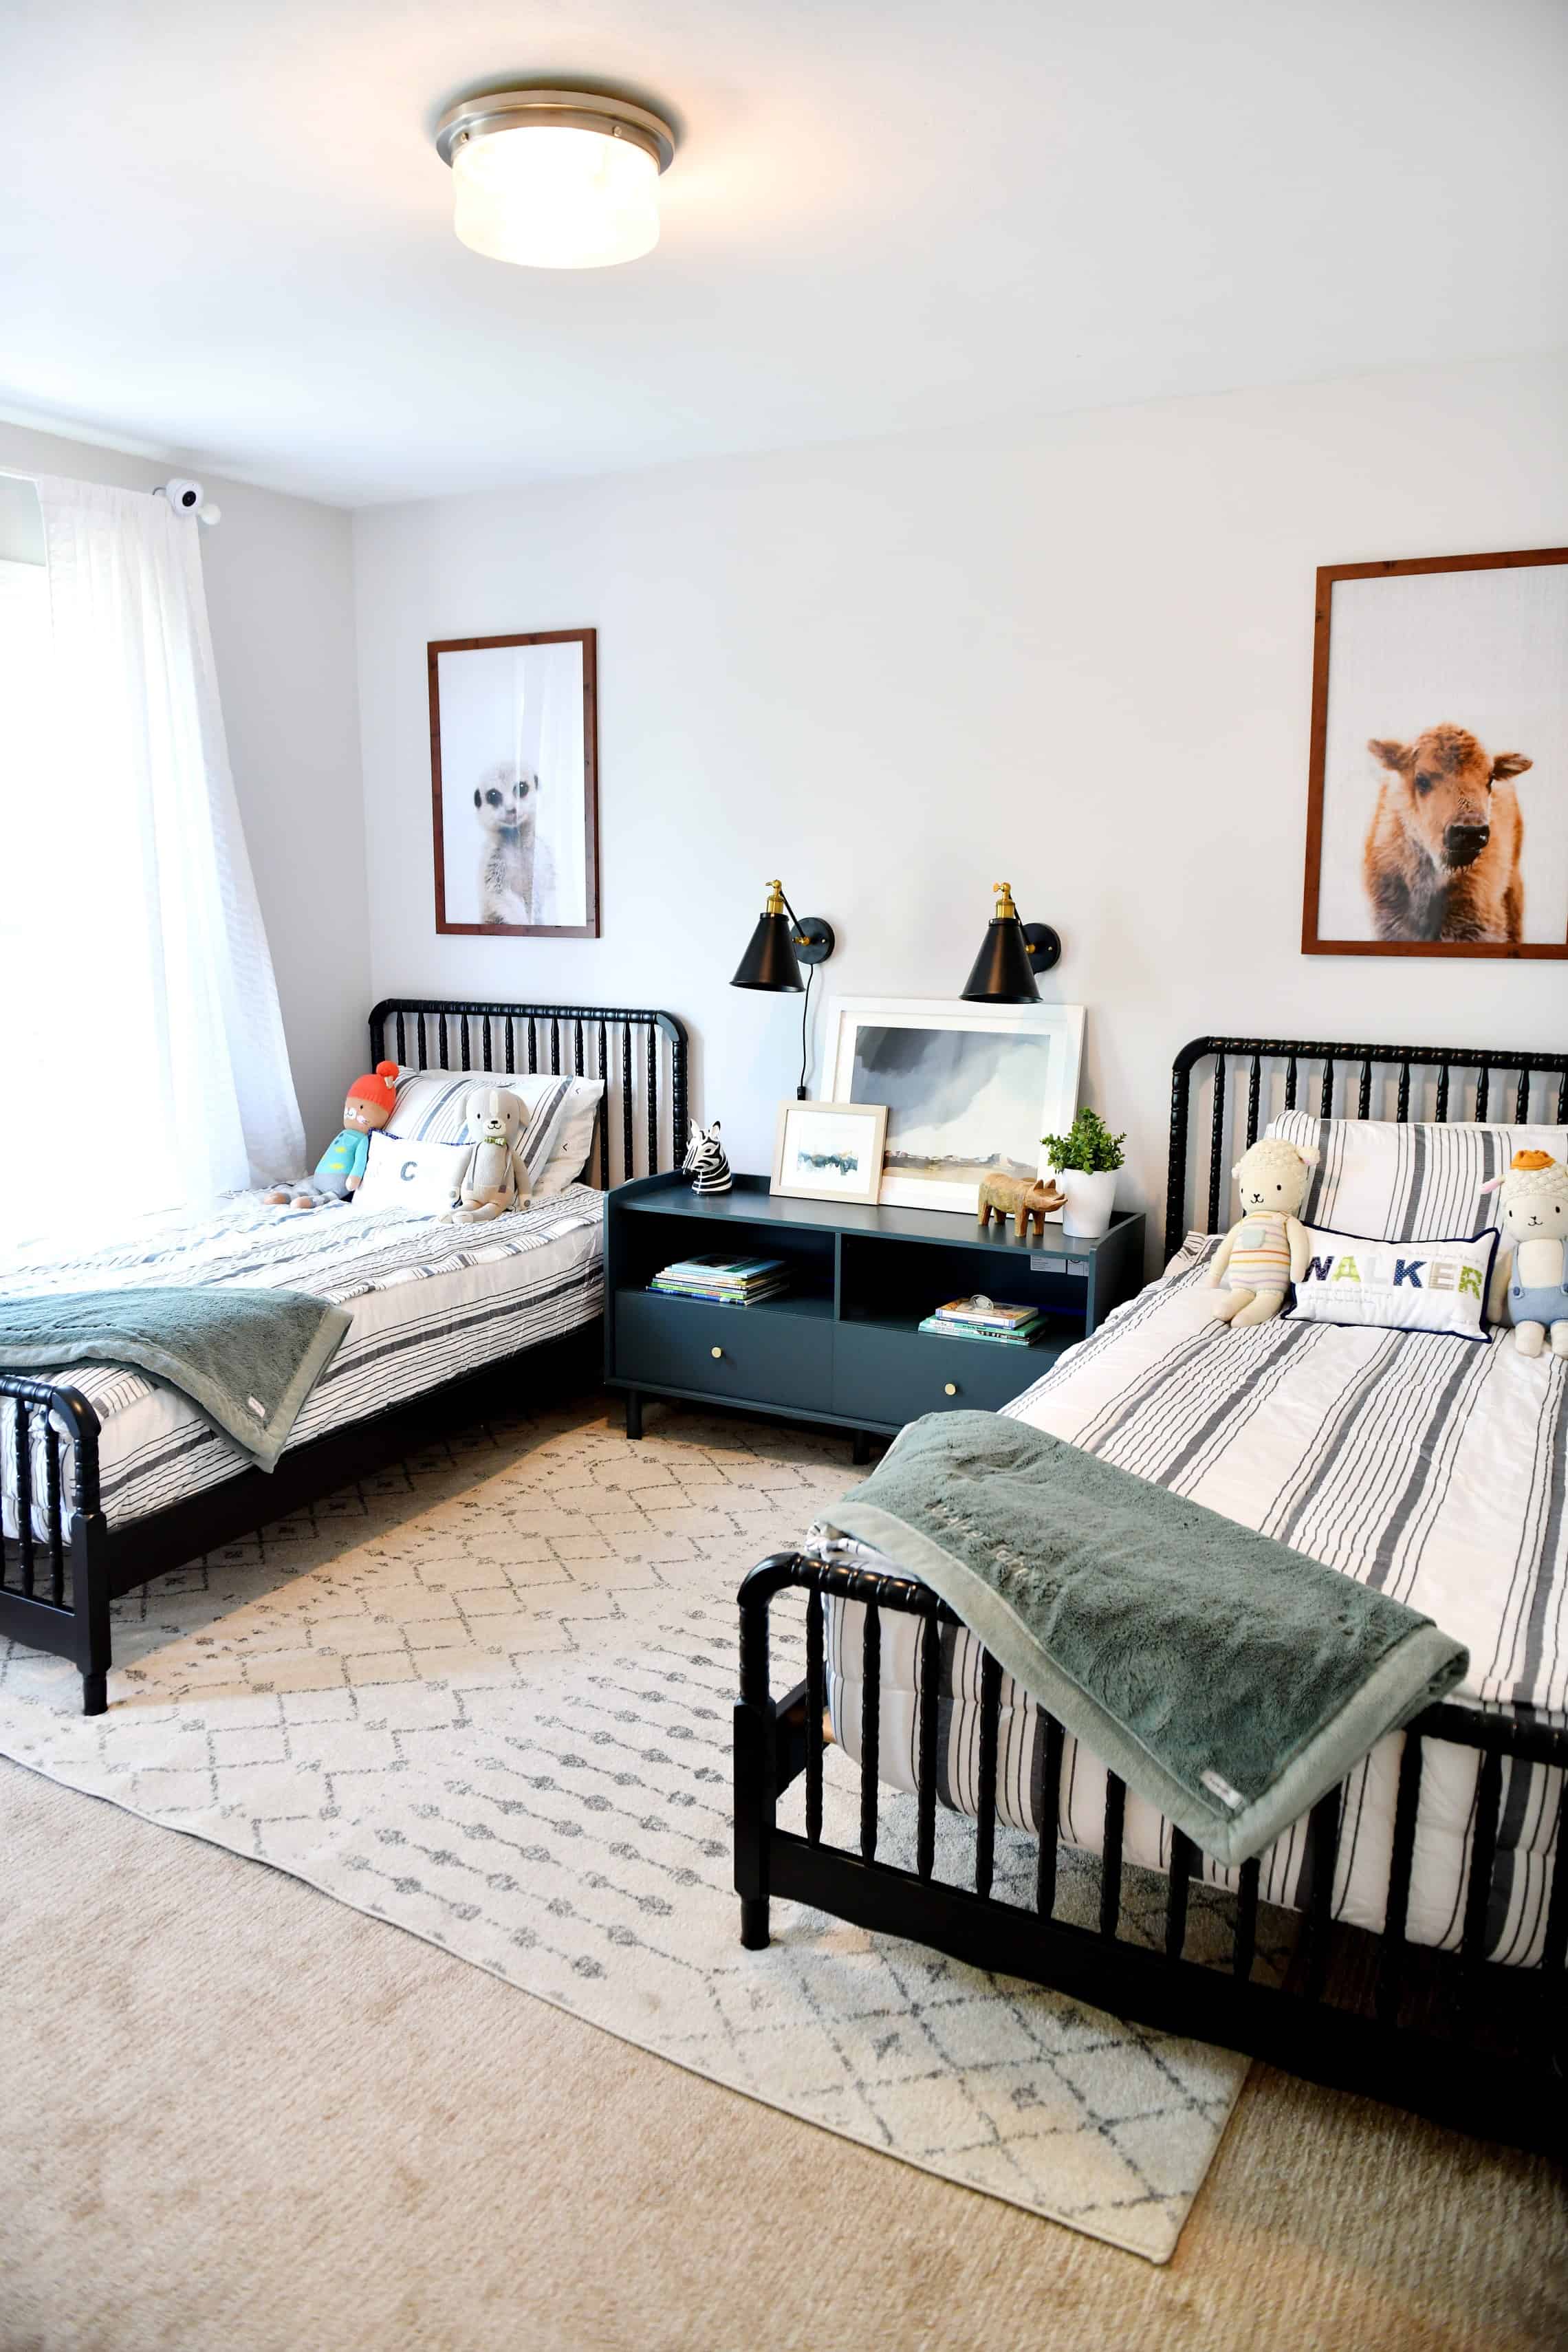
The time has come…I officially have my two boys sharing a bedroom too. Ages 6.5 and almost 2, and so far so good. We went with 2 twin beds as you can see, because my younger son definitely doesn’t need access to a bunk bed yet. They go to bed at different times, so for the most part all things have gone well, but I think my biggest piece of advice so far is to let them enjoy it. Know that the room is creating amazing memories.
We did a low fuss room to keep less distractions, and less nightlights than prior rooms so they were encouraged to sleep, and that has been super helpful! Check out the full room tour here!
Over all, I hope this post gives you some great advice on ways you can room your kids together. Along with that some great resources in ladies to follow along with that are in similar positions! If you’re looking for some of my other rooms I have decorated check them out below. Jack’s room has bunk bed’s so is a great room for shared room insiration!
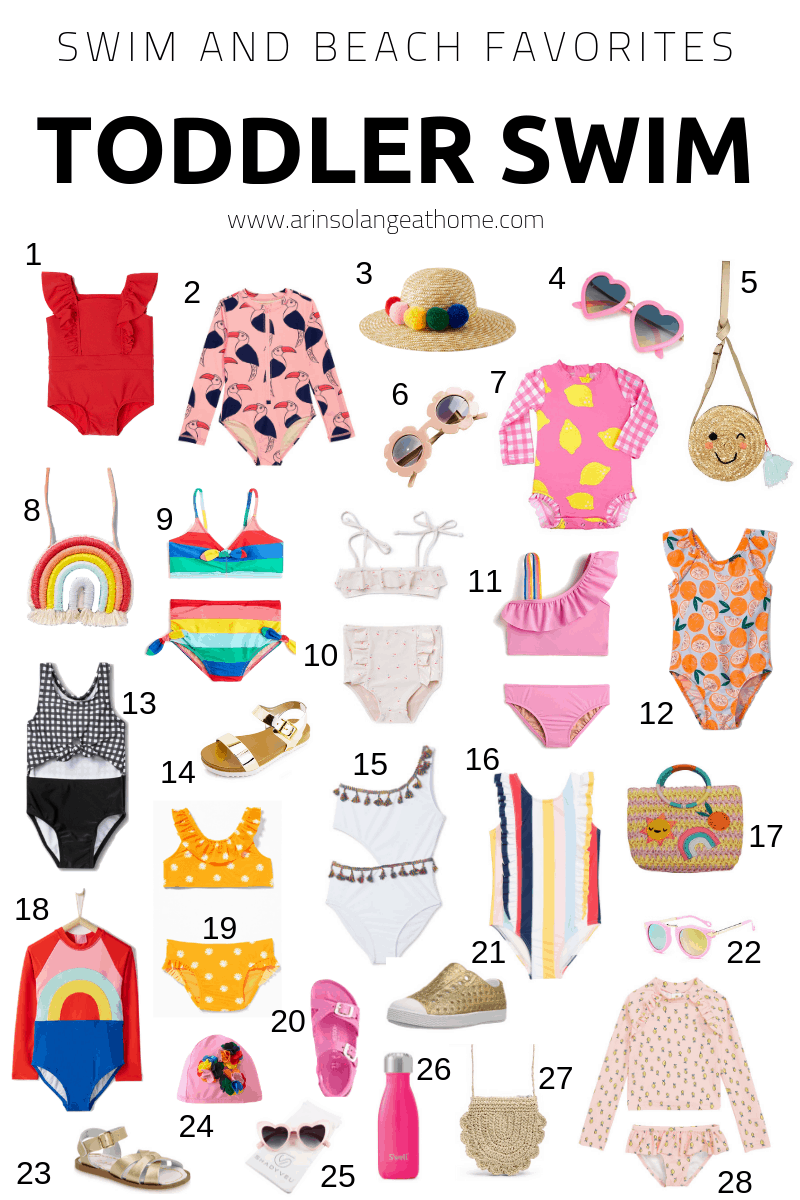
Spring break is around the corner, and I always try to grab new swimsuits for my kids on the earlier side so they don’t sell out, and this year there are some SERIOUSLY cute options! I rounded up the best swimsuits for toddler girls and some fun accessories to pair with them. Enjoy the round up and be sure to check back for the boys and ladies picks in the next week! AND if you’re looking for more fun options, my friend Navy rounded up the cutest suits here!
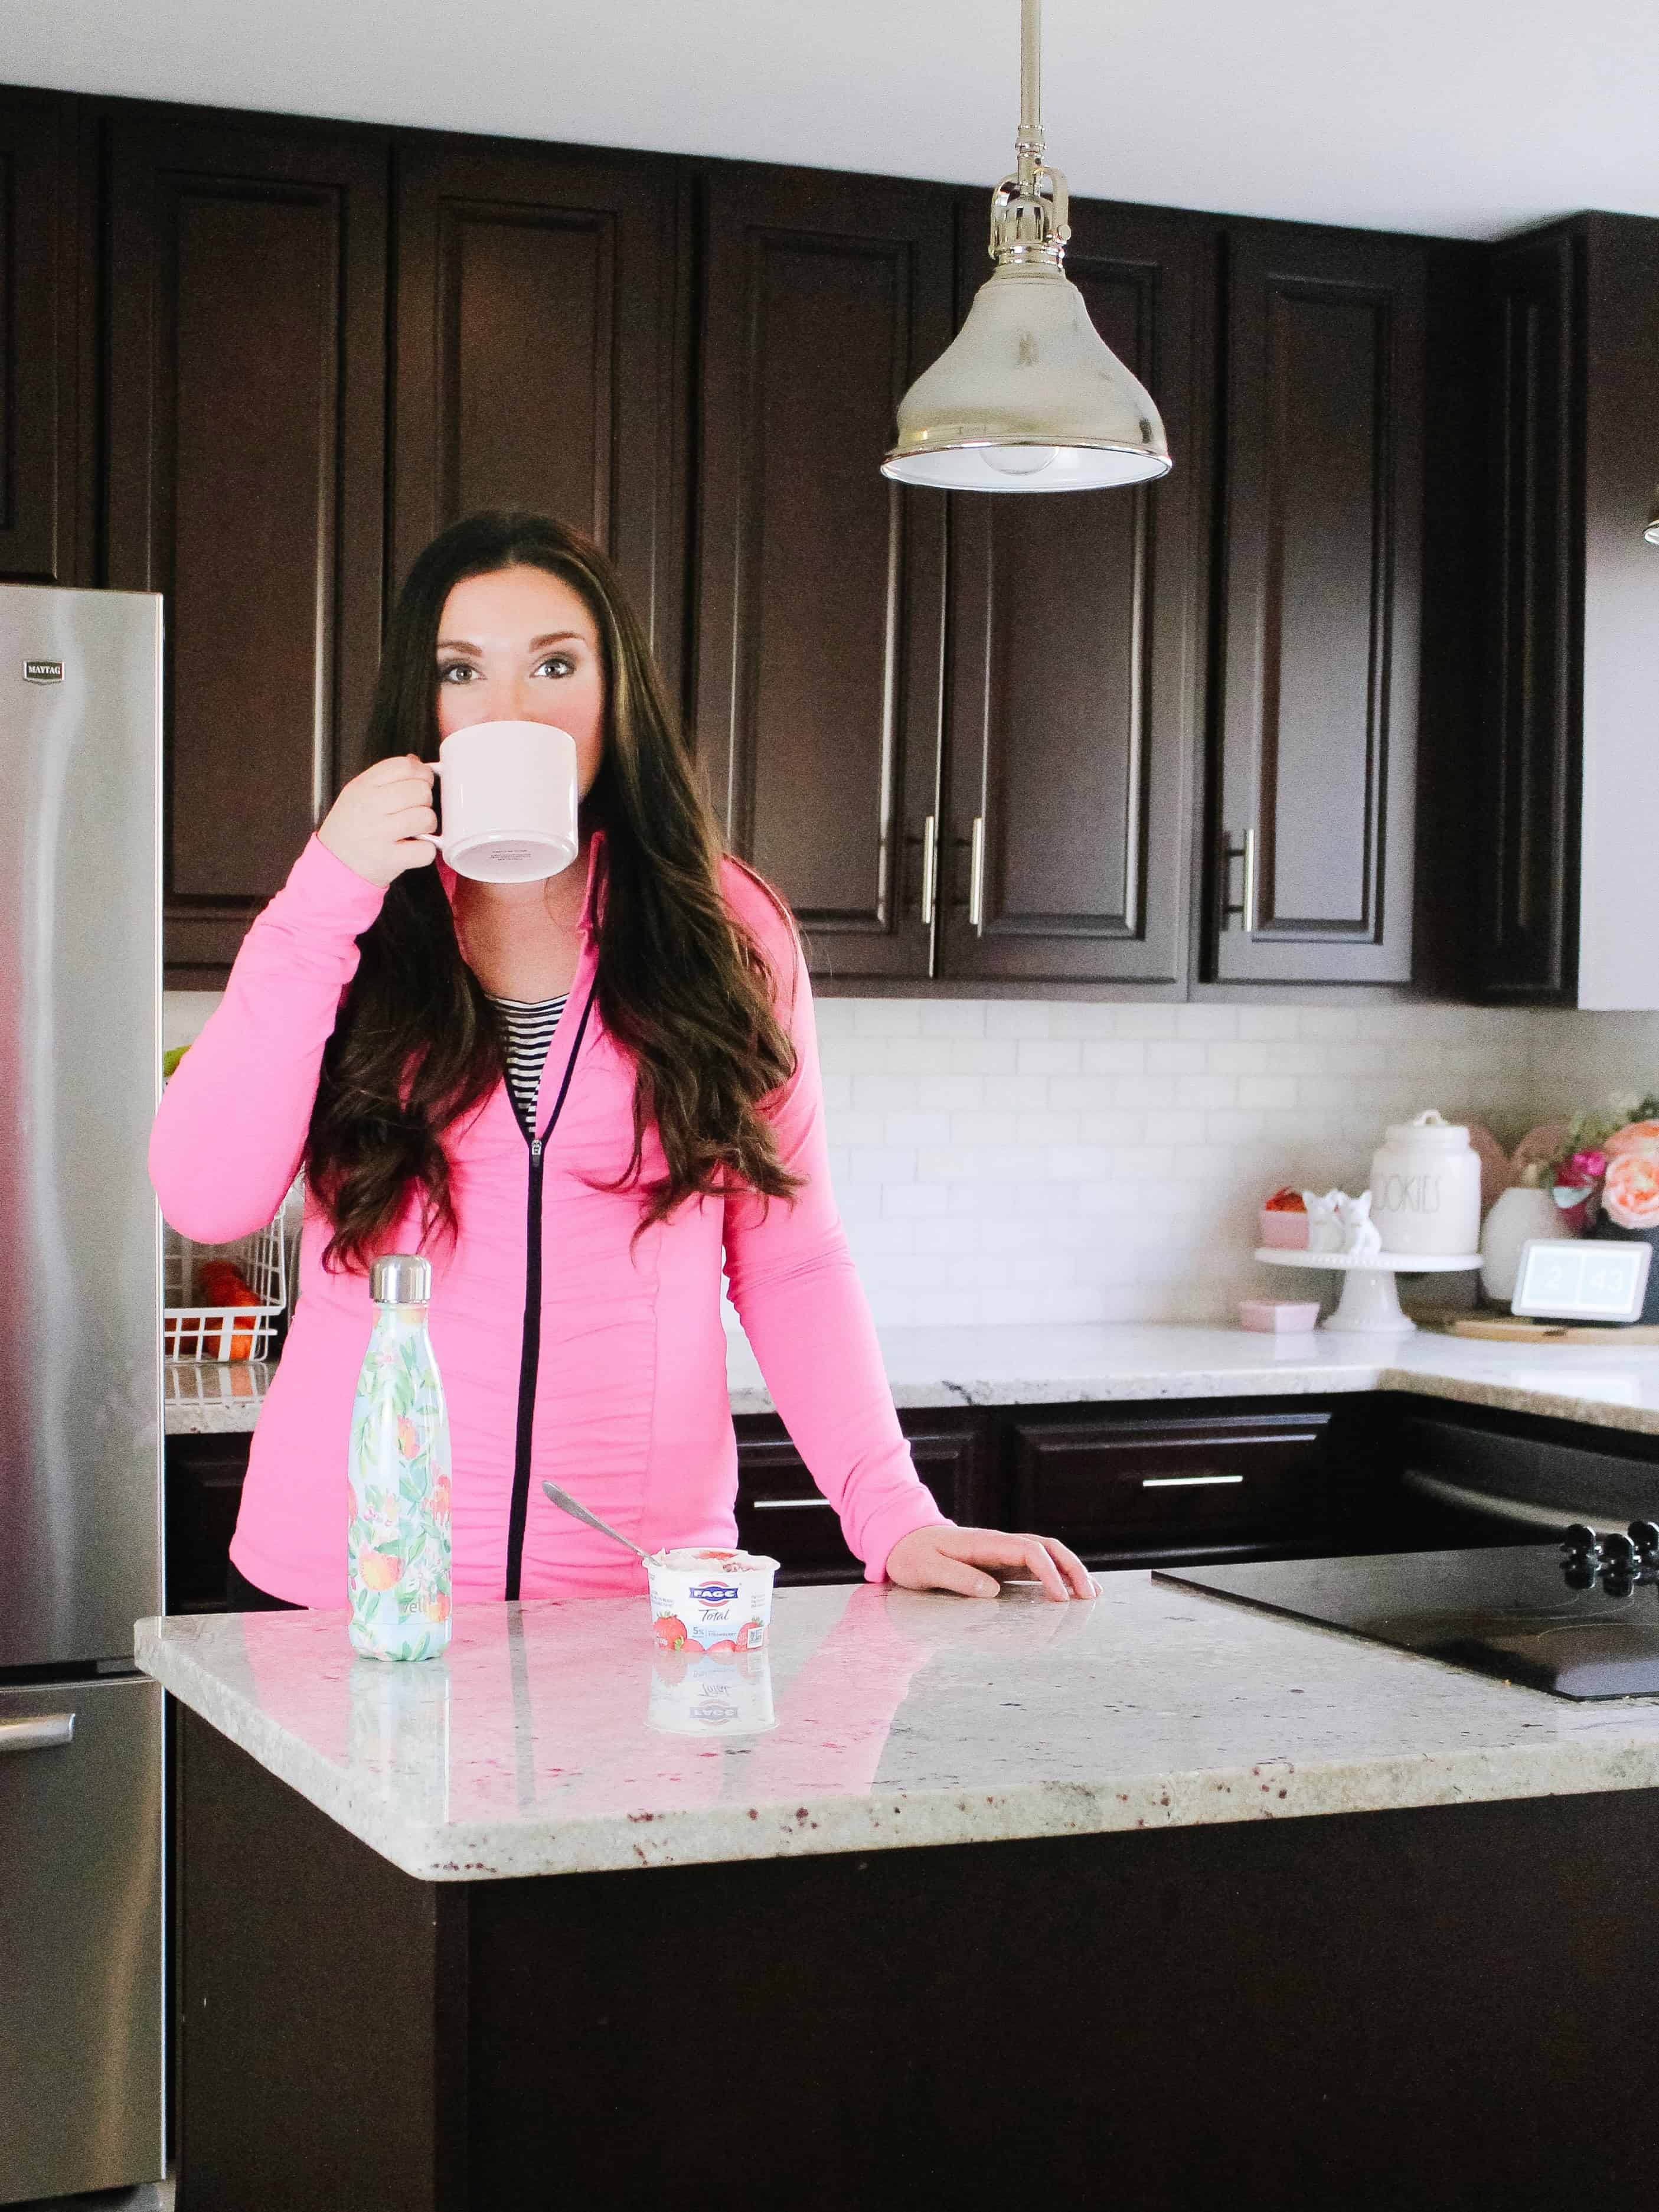
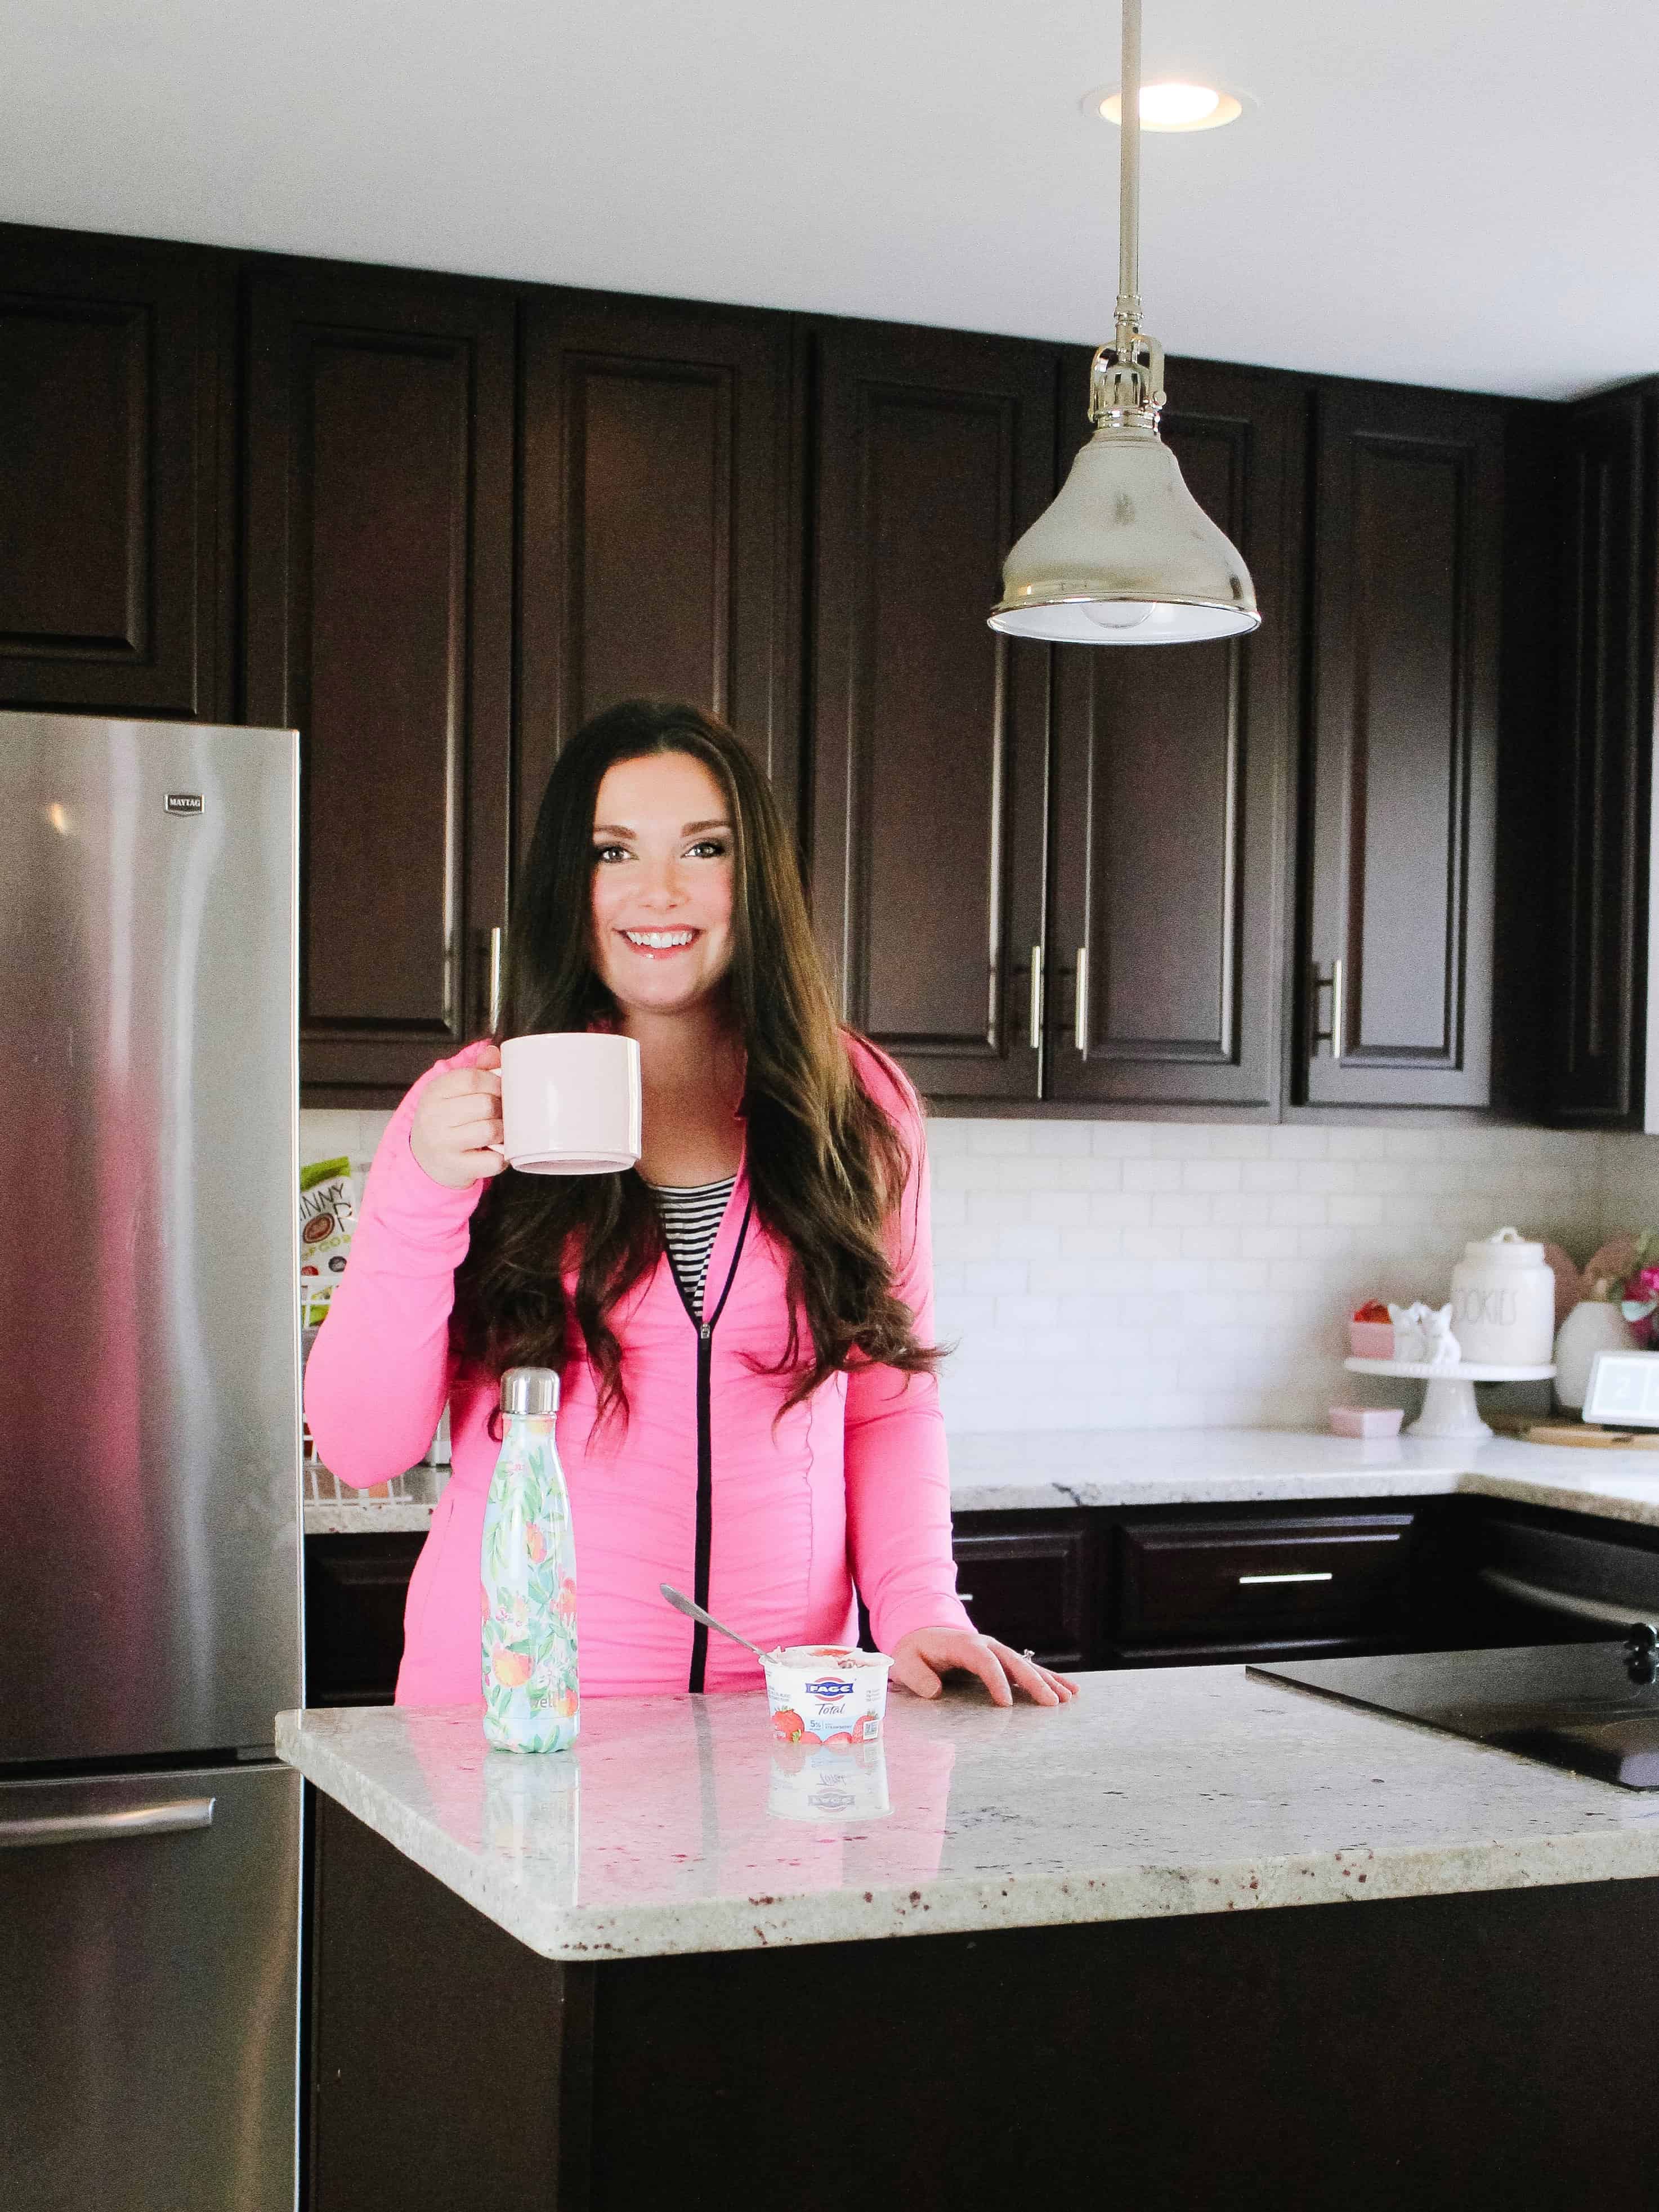
I am a busy mom with 3 little ones that are always running in different directions, and needing to be in different places. That said, I have been realizing that my own health still has to remain a priority, so this year I have been putting a huge emphasis on making smaller healthier choices. I was so inspired by how easy FAGE Total Split Cups, and their ease in changing my breakfast and snack routine, and wanted to talk you all through a busy mom’s daily schedule in pursuit of small healthy choices!
This post was sponsored by FAGE however all thoughts and opinions are my own.
Starting my Morning off Right
For me, morning is the time of day I feel I have the most control over as a mom. I have been trying to get up an hour before my kids to get some work done, or simply get my coffee consumed before my kids are up. For me this is a simple step towards being more mentally healthy and prepped for the year.
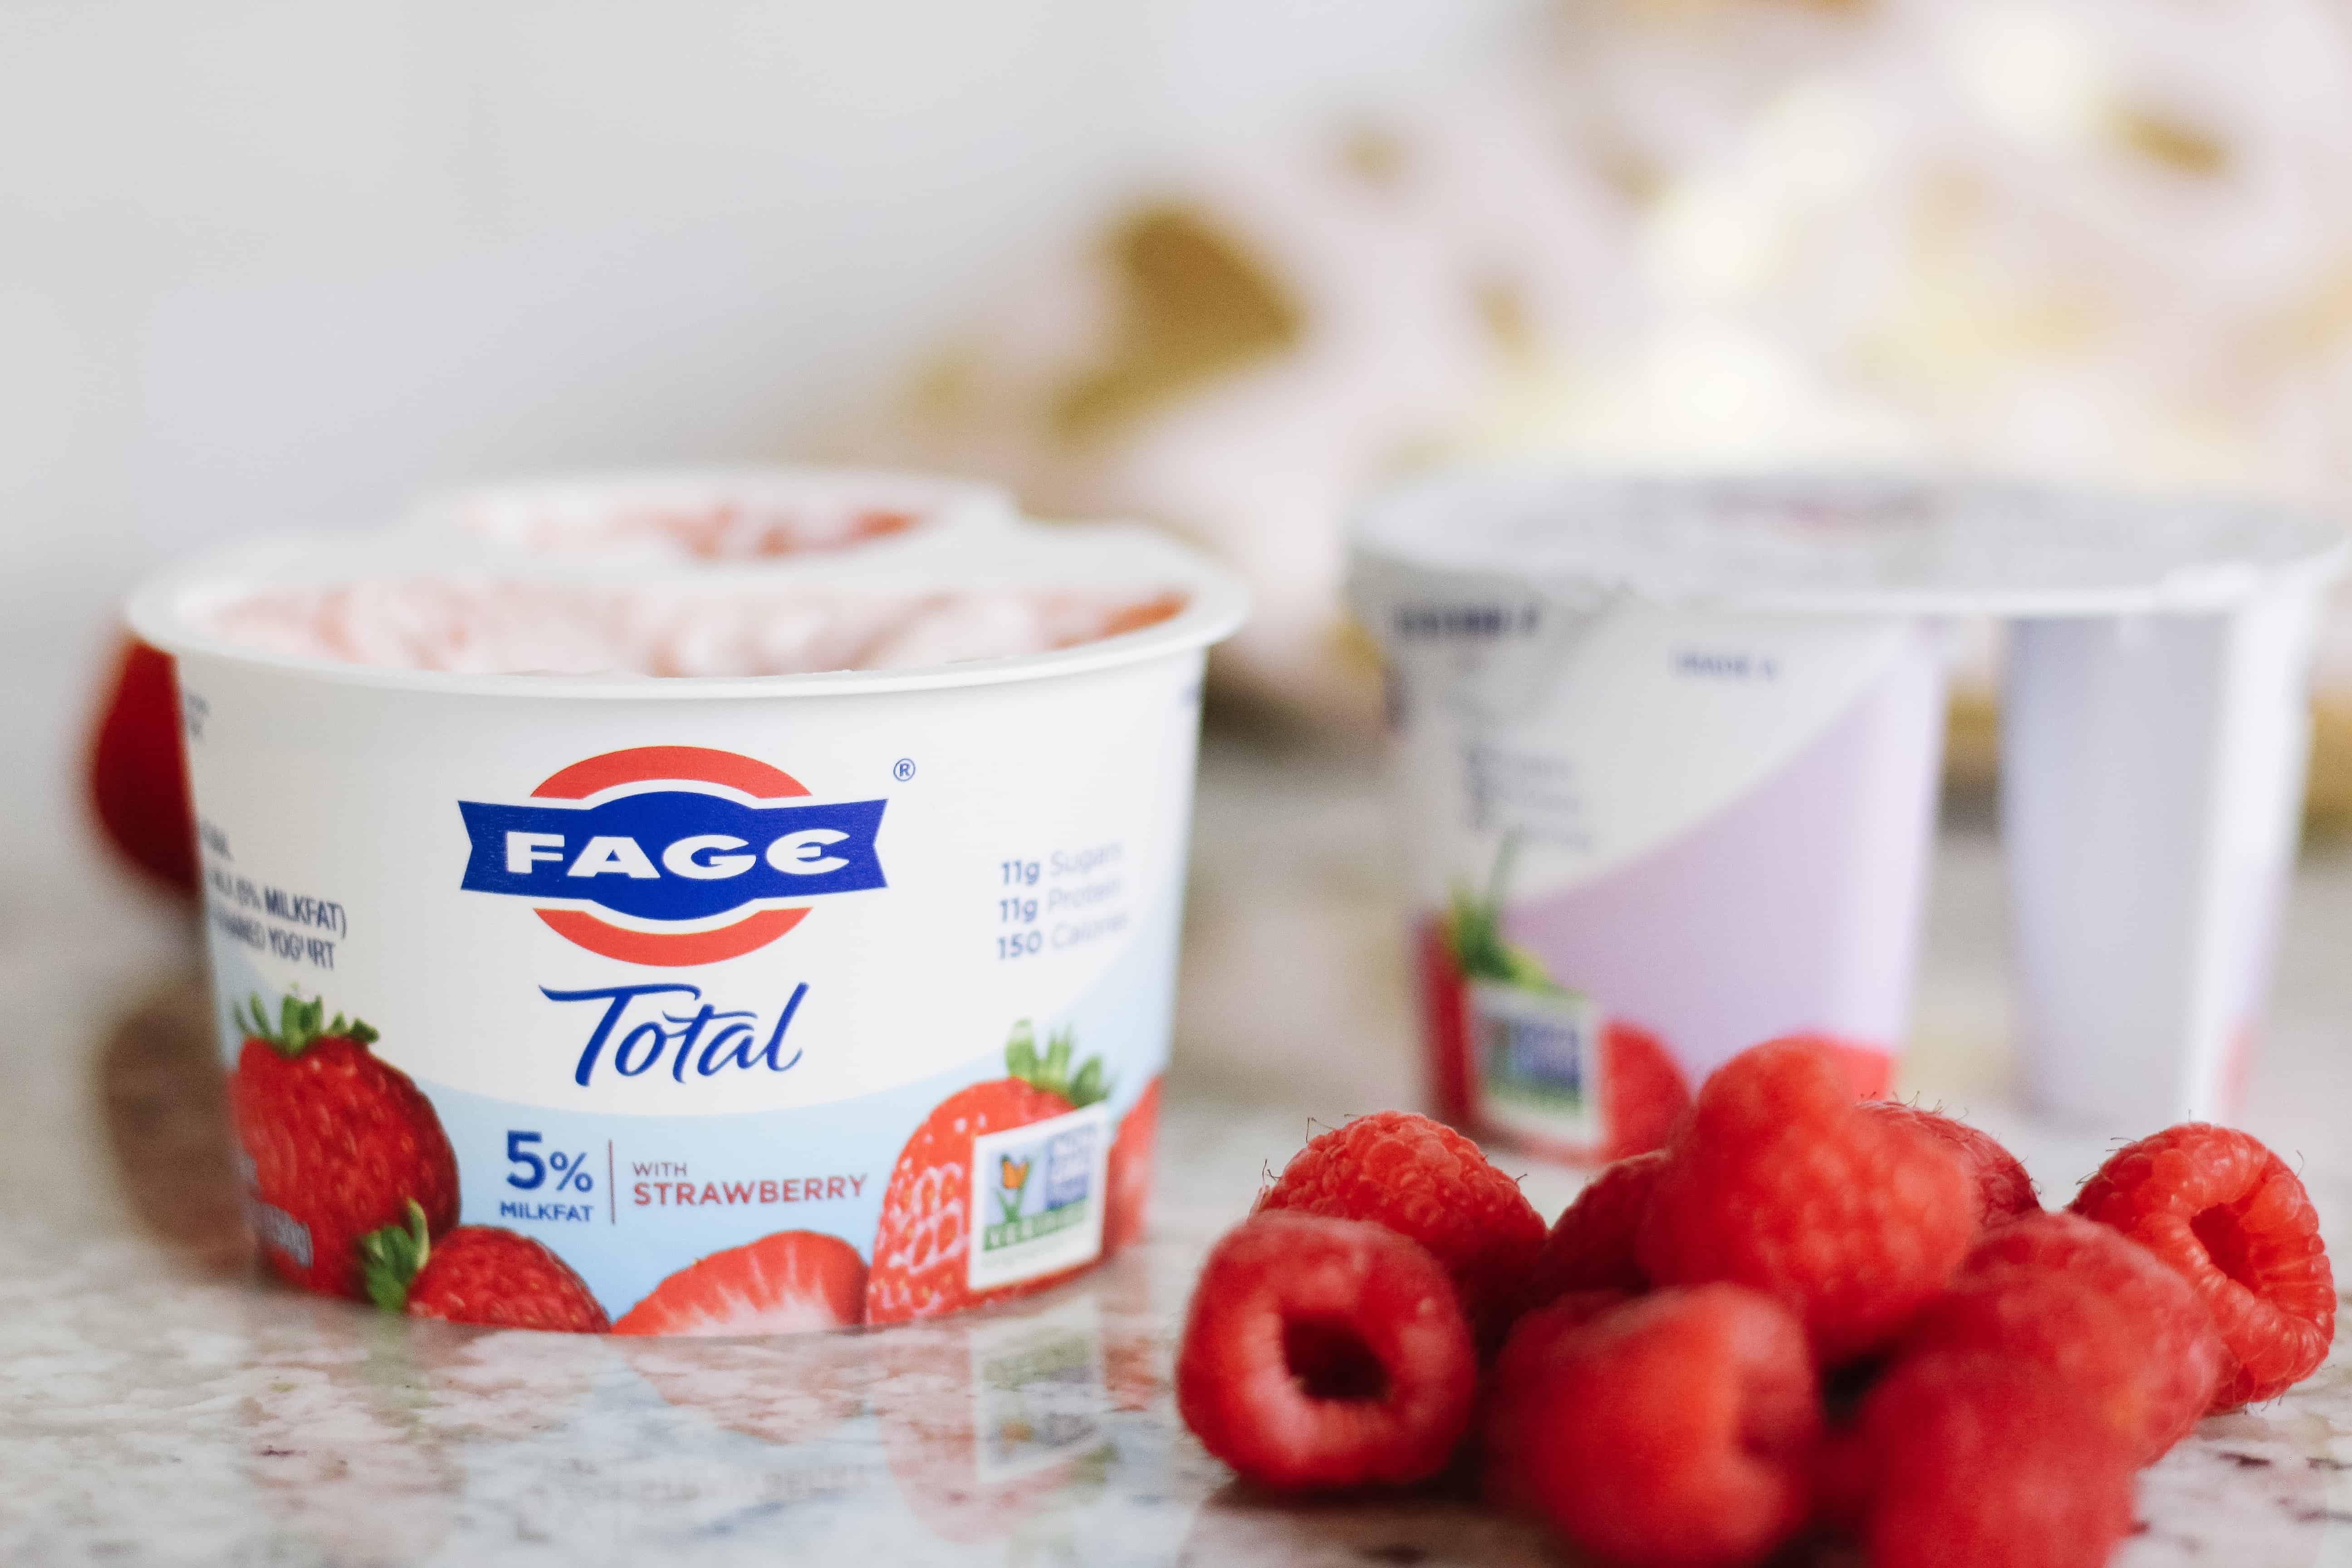
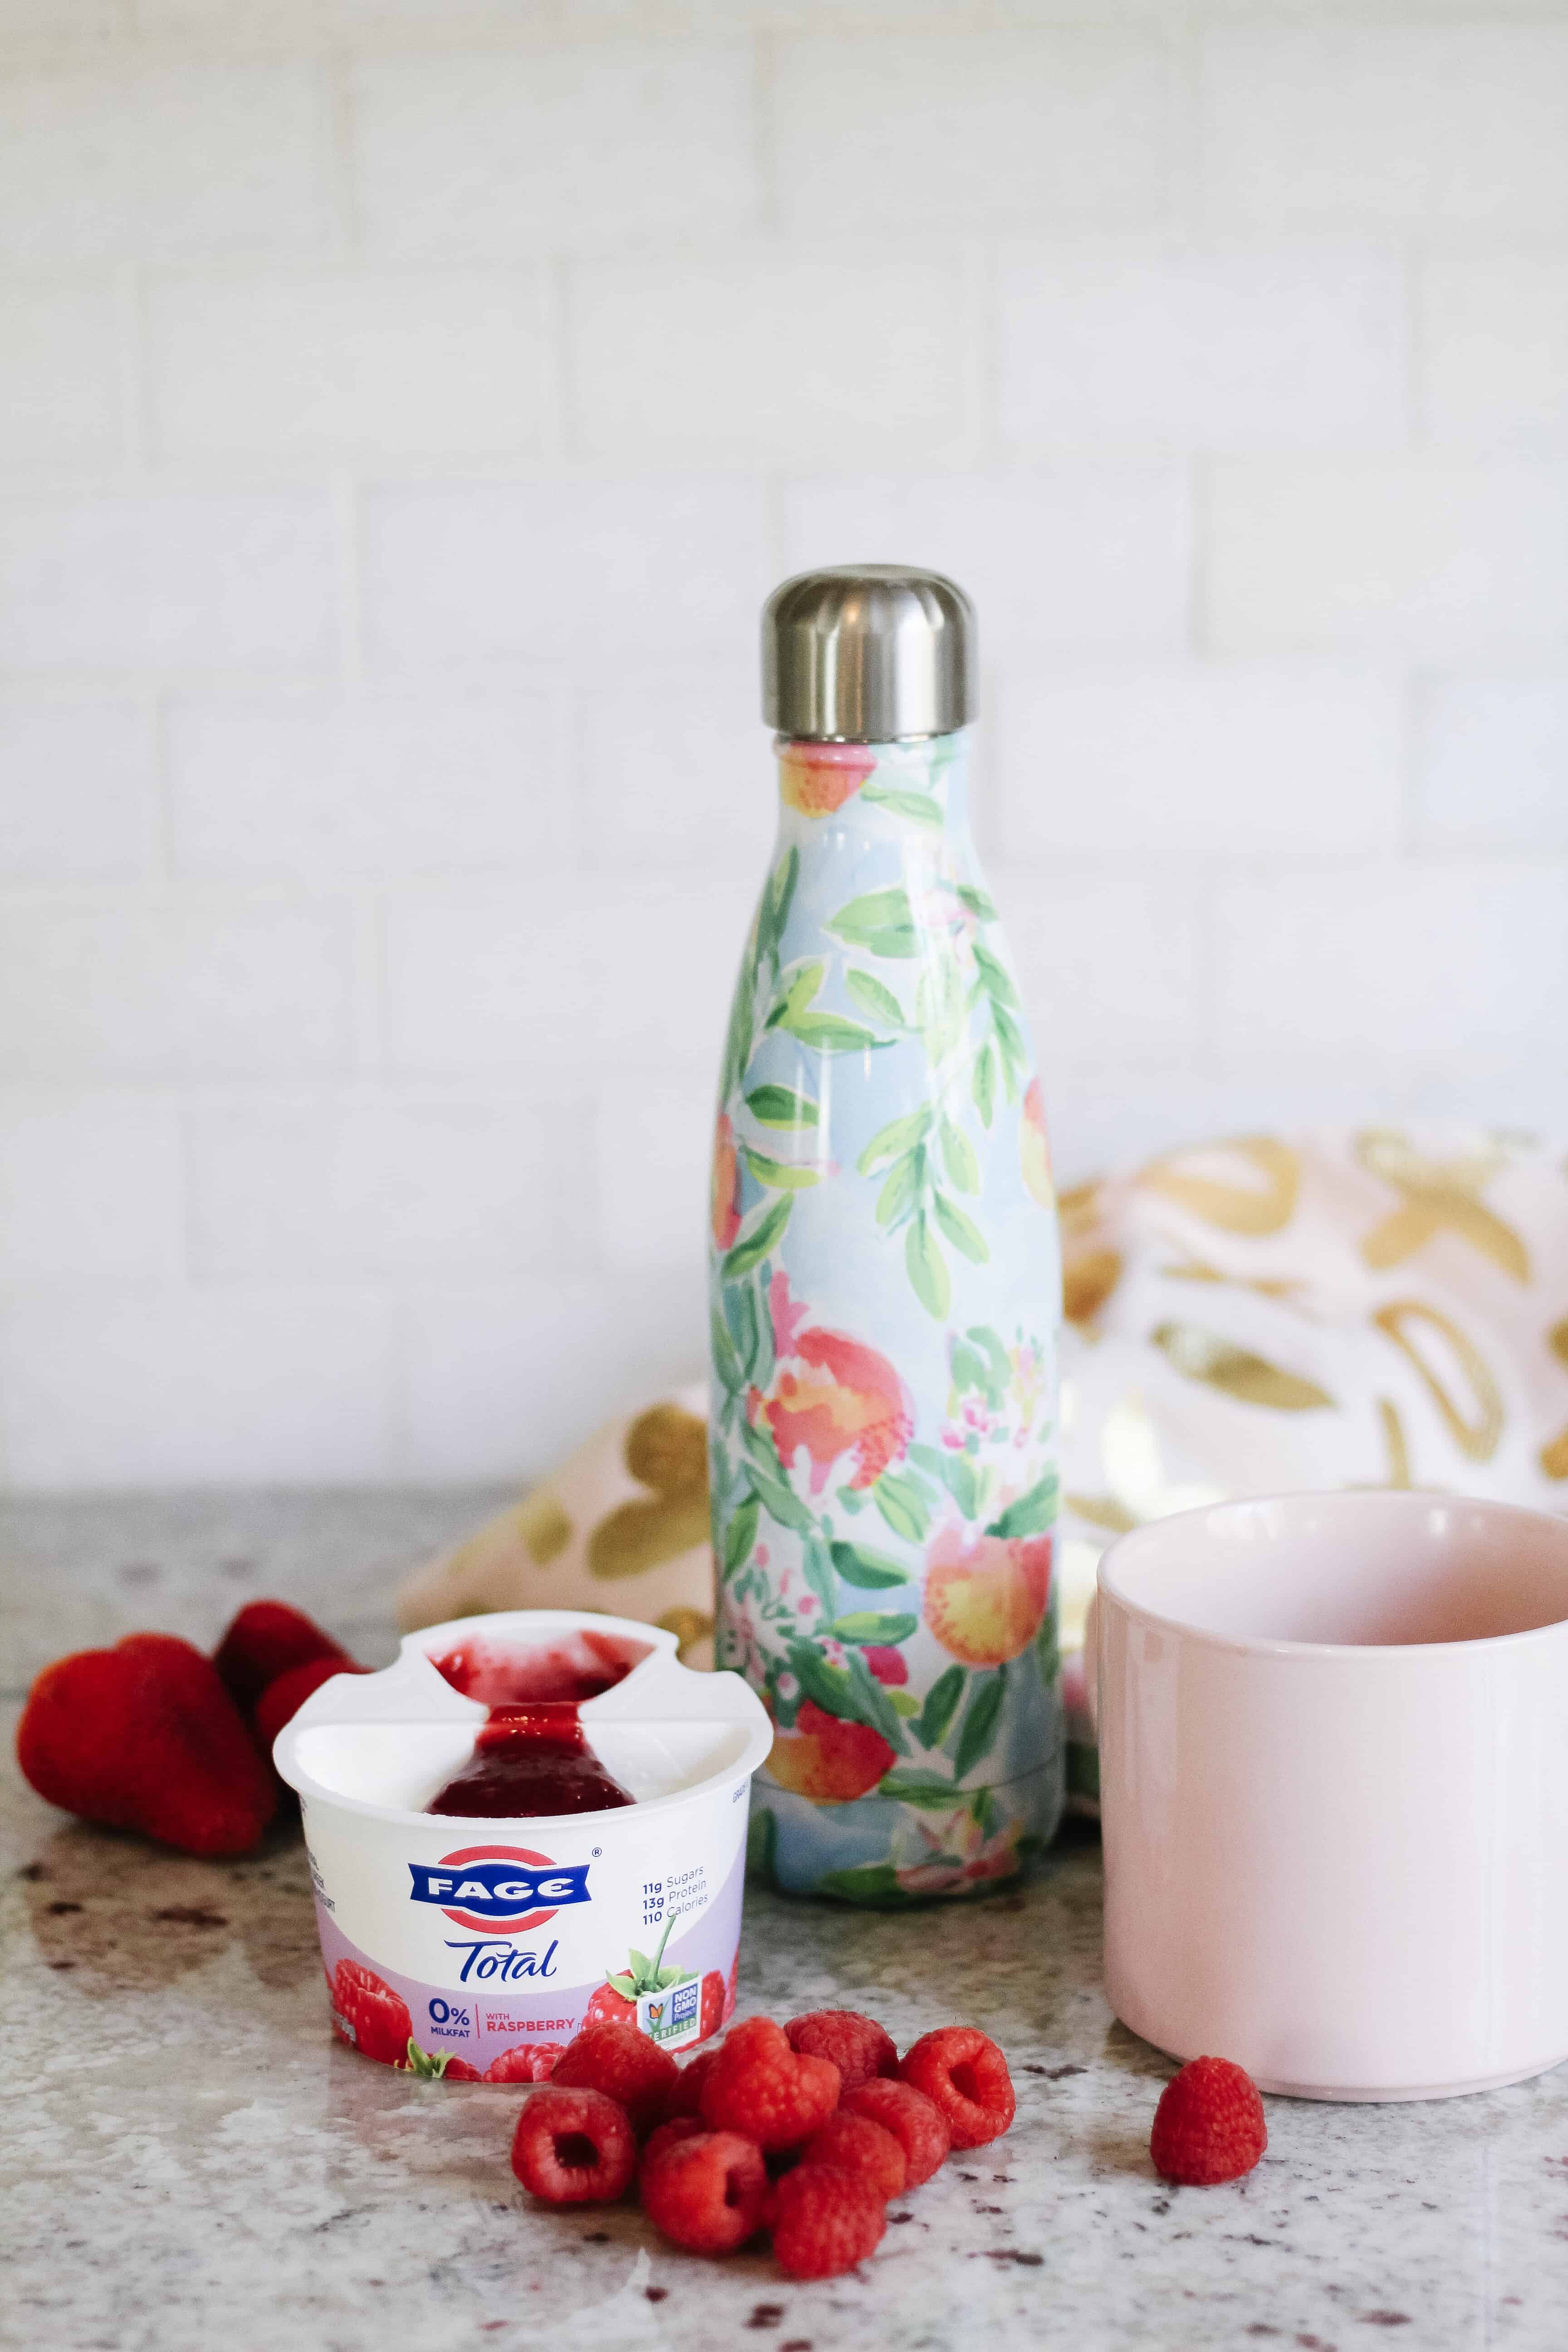
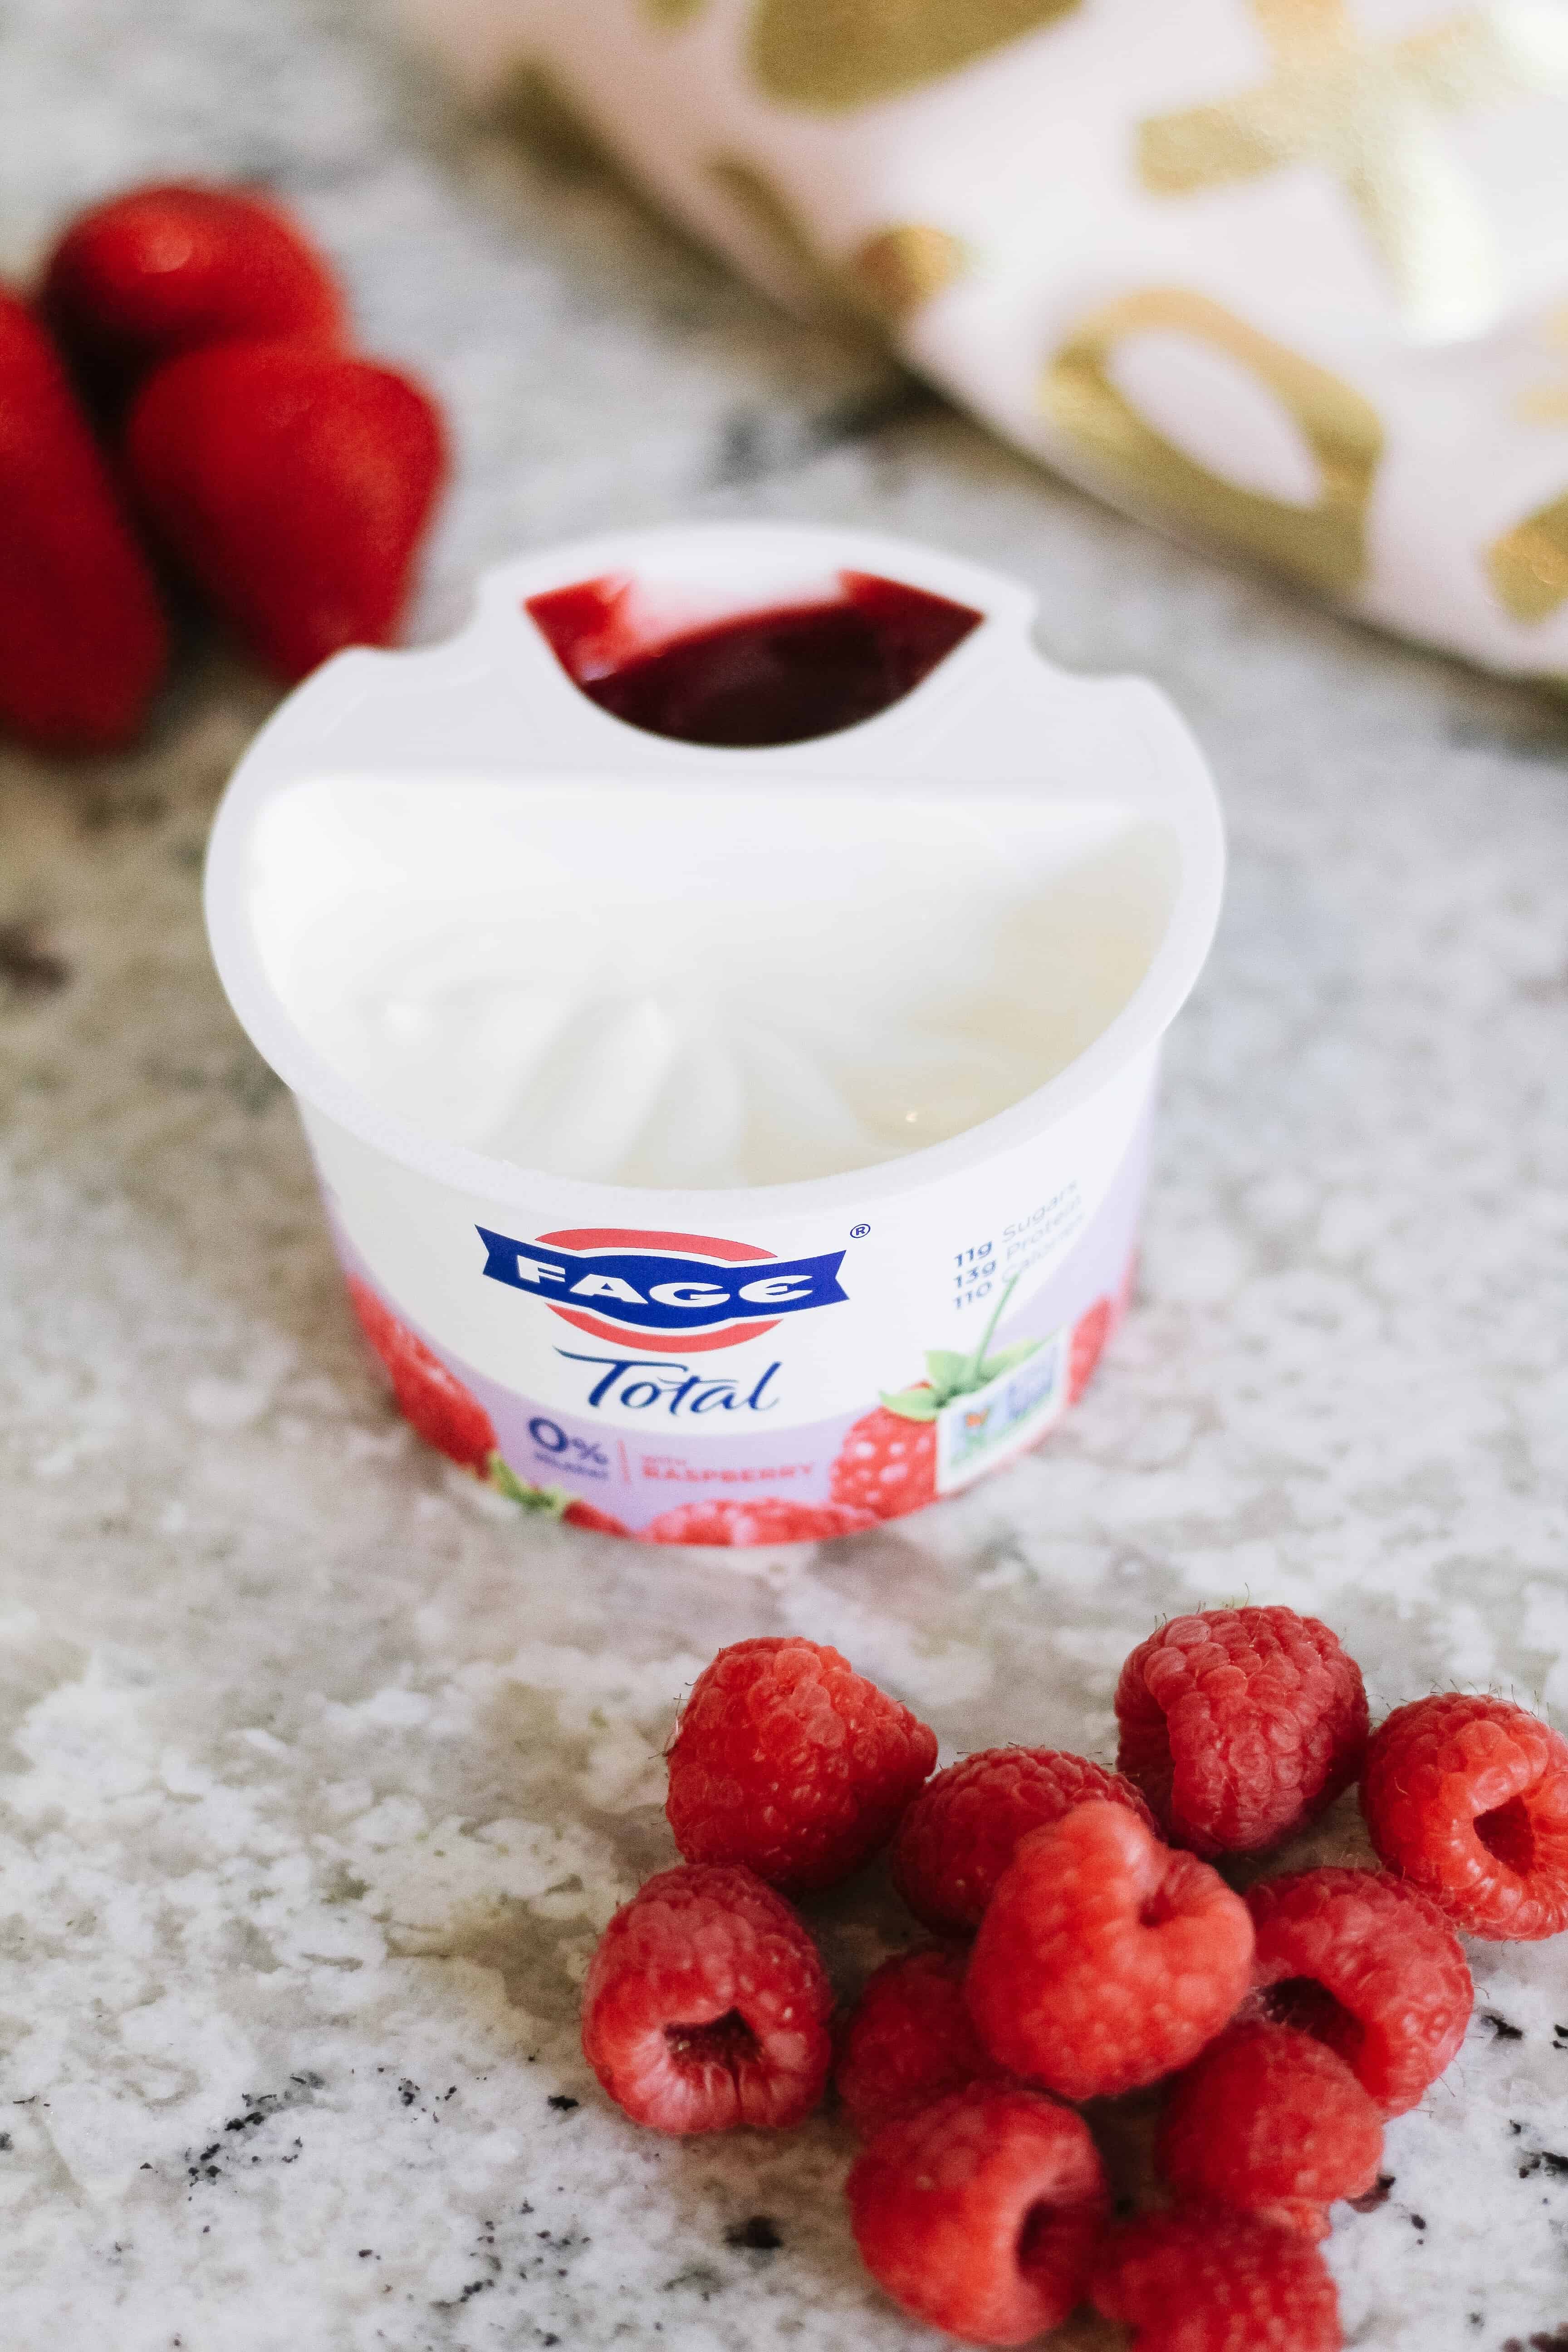
I also find that I am at my best if I eat a small breakfast in the morning. Anything too heavy, and I am sluggish and struggle through my workout, but if I don’t eat I don’t feel well. I have been so excited about the FAGE Total Split Cup fruit varieties. They reduced the sugars by 30% with no artificial sweeteners, but they taste amazing, so they have made a healthy breakfast an easy step in the morning. They are available in three fat varieties, so you can find just what you’re looking for to fit your lifestyle: FAGE Total 5% Whole Milk, FAGE Total 2% Low-Fat and FAGE Total 0% Nonfat Split Cup. This has been especially helpful for our house because I prefer to give the kids the higher fat content while I eat the lower! I find that it can be hard to control lunch and dinner (you never know if you’ll have an event or social situation), so FAGE Total Split Cups allow for a simple choice in the morning that cut down on your daily sugar intake!
Staying Active with a Busy Mom’s Daily Schedule
For me, staying active means heading to the gym after school drop off most mornings. It is my hour to myself, and allows me to get my workout in first thing in the morning. I know that’s not possible for all busy moms, but just remember that staying active can mean walks in the evening with your kids, or a family bike ride. Or maybe it means a quick workout video during your kids nap or after they are in bed. I set the goal this year to just stay consistent, and create the habit. I think once that habit is formed it makes it much easier to continue. Remember that if you’re not working out in the morning, that the FAGE Total Split Cups are quick and easy for on-the-go, a protein-rich snack to give you the energy you need!
Making Time for You
For every mom this looks different, and your amount of time you can give yourself is likely different, but remember that just like you’re taking care of your physical self with small simple steps, you should take care of your mental self. Like I stated before, for me that time for me is mornings alone at the gym, and making sure that one or two times a week I run some errands and get out of the house alone. That for me fills my cup and allows me recharge.
Sam and I also have scheduled date nights most Friday nights. For the two of us that has been key for a happy marriage and mental state. We budget for that time alone together, and for us it’s a way we are making sure to make these small steps towards an overall healthier lifestyle!
If you’re looking for ways to make small steps towards a healthier you, make sure you check out this location finder and find a FAGE Total Split Cup near you, to make one of those steps so much easier. What steps will you be taking and fitting into a busy mom’s daily schedule this year to be a healthier you? I would love to hear in the comments!
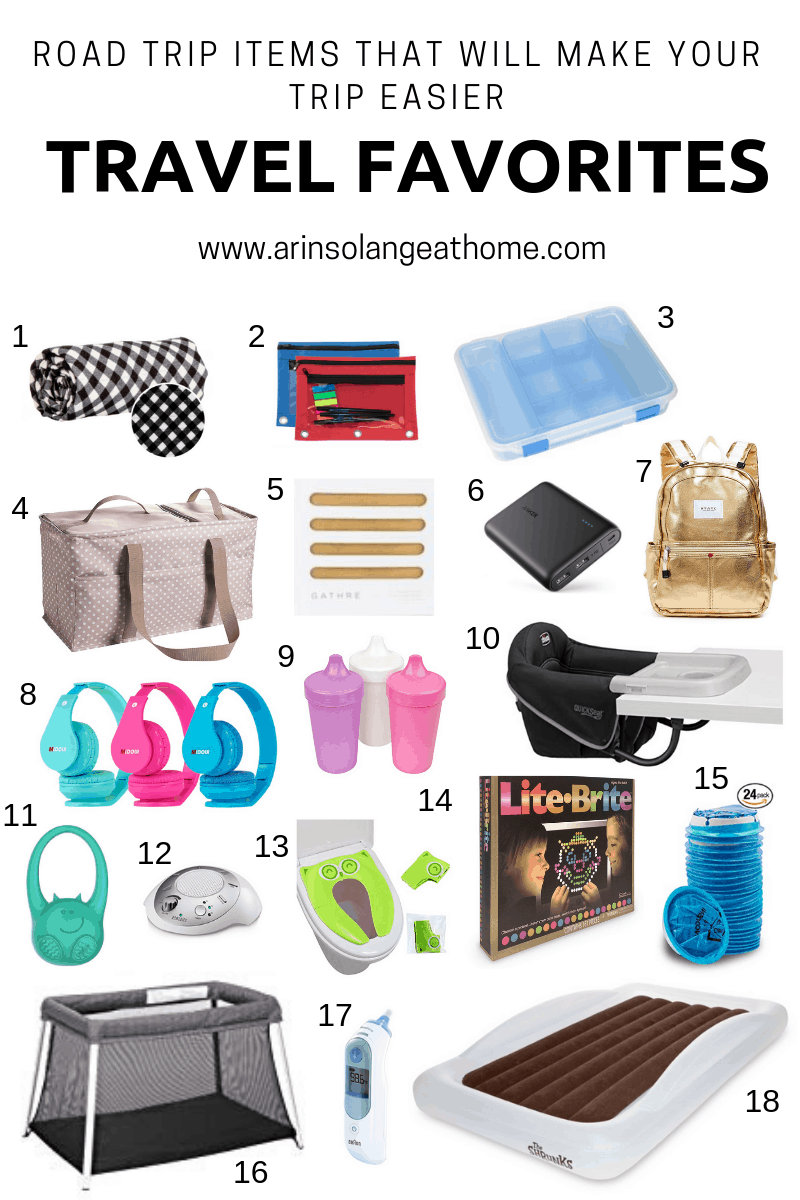
I have been wanting to do this blog post for a while. Over the past 6.5 years with kids we have taken so many trips. Some flying, and many driving, so I wanted to share what my favorite items are. I definitely think that kids road trip must haves are a bit different than flying, due to space and time, so I will try to explain why I picked these items, and elaborate on a few other tips for you all!
Before I get to the breakdown of the kids road trip must haves, one thing I will say when it comes to road trips, is there is a fine line between taking advantage of the added space due to your car, verses over packing. You can definitely enjoy some of the luxuries you don’t get to bring via a plane ride, but don’t go overboard.
** a few items that aren’t on the above graphic
Bring a few trash bags – If there is an accident in the car or throw up you will want one. On top of that using one for dirty laundry during the trip is super helpful. We always just throw the bag in on the way home and it never goes past the laundry room.
A Roll of Paper towels – That sounds simple, but is so easily forgotten. It can save the day if needed.
Medicine – I will touch on this during the breakdown from the graphic, but when we travel in the car we always bring kids tylonel type medicine. We have been caught in so many situations where we need it.
Batteries – So many kids items take batteries. When we travel I bring a few double and triple A batteries. (believe me I learned the hard way with a 2 am trip to the drug store for batteries in Hilton Head years ago!)
Kids Road Trip Must Haves
Tula Blanket – I have a few different blanket brands that are my favorite, but I love that these big blankets are super soft but roll or fold up small due to the fabric!
Double pocket pencil pouches – I keep crayons in one and a small notepad in one, or sometimes matchbox cars or animals.
Sterilite Container – I can not take the credit for this, however I think its genius and I have used it on our last few road trips. I pack one of these for each kid with snacks in each compartment, other than one of the long ones. I take that one out and put one of these juices in it. They have a visual of their snacks for the trip, have access to them, and can decide if they want to eat them all at once, or spread it out. I also like that the container serves as a flat surface to color.
These utility totes are my favorite. I have a a few styles, but love the ones with compartments. You can pack them up with food, toys, diapers and wipes, you name it. I love that I can just easily carry it into the house or hotel when we get there.
Gathre mat – I always throw one in. Whether its for on the way if we end up needing to pull over to picnic, or for when were on vacation and I need a place for my kids to do a craft or eat something messy. Its a small item that can make life easier.
External charger. If your car doesn’t have charing ports near your kids seats and they will be using tablets or something similar this will save the day.
Kids Backpacks – have your kids pack the toys they want in one backpack. I keep it at their feet, but mostly love that it gives them a bag thats the same size to pack up.
Replay Recycled cups – I bring these because I can put anything in them and they are an easy clean. I don’t like the kids to have juice boxes and such in the car, so in the car they save us from messes, and can transition from different liquids on the trip.
Countertop high chair – if you have a child highchair age, this is a great investment. We got one when our oldest was a baby and have used it SO MANY times over the years.
Toddler Monitor – Disclaimer I don’t yet have this, but will be getting it before out next trip. This toddler monitor can hang on your hotel room door or any other door and alert you if your child opens it. I think for a hotel room or something similar it would be great so I could shower. my older two kids are more than fine to be left alone in the room while I am in the bathroom showering, but this would give me piece of mind!
White noise Machine – I love that this one can be battery oporated or plugged in.
Lite Brite – The new Lite Brite’s are super small with a little container that holds the pegs. They are great for travel!
Vomit bags – I know it sounds crazy, but these are amazing. We keep a stash in our glove box ALWAYS, but on road trips I put one on each side of the third row, because if that urge hits I want them to catch it. Trust me you will be happy someday that you made this purchase.
Travel crib – we personally got this one when we had walker. It is smaller than most and can be carried in as a backpack. Either way, a pack n play is a must.
Thermometer – I touched on this with the medicine comment above, but if there is one medical thing you pack, make it your thermometer. You won’t want to have to buy one, and you never know when you will need one. My kids tend to get run down on vacations super easily and thats when they get sick.
Toddler blow up bed. – this bed is AMAZING. We got ours about 4 years ago, and the outer material is much much much more durable than an average blow up bed. You put a crib sheet over the middle part and my kids love it. Jack is 6.5 and still uses it when we travel, so it does age well, and I can honestly say I think its worth the price. It comes with its own pump too!
Overall, traveling with kids is a bit stressful. There is a lot to pack, and you will try to guess what you can live without more than you want to. These items I can honestly say that all of these kids road trip must haves are items I LOVE (aside from the toddler monitor that I don’t yet have), and I truly feel will make your time with young kids and travel much easier! Is there anything you never leave home without? Drop it in the comments! And for more travel favorites check out this post on my mom travel favs!
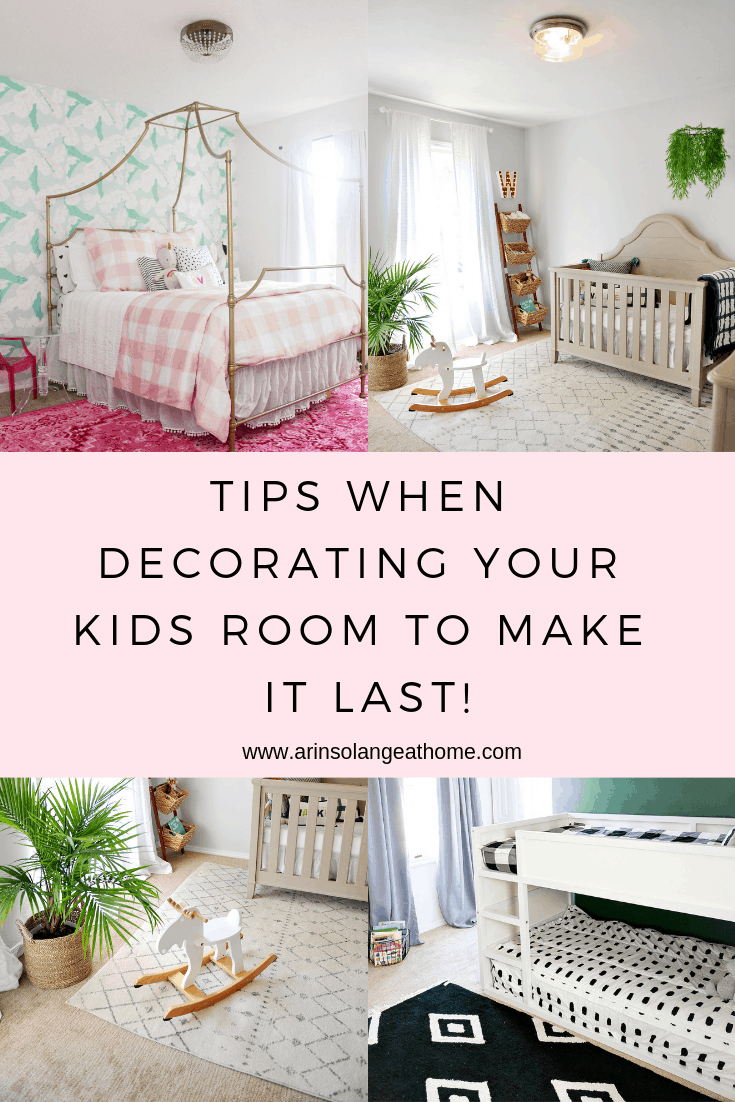
When you are decorating your kids r0om’s, it is obviously not a shock that it is a huge expense. One thing that we all try to think about as parents is how we can make design and furniture choices that will grow with our child. I wanted to put together a post on tips I personally follow with my kids rooms when I am decorating them to allow for growth with age, as well as their changing taste. So read on for tips on how to decorate a kids room to last.
One thing to keep in mind with this post is that as a lifestyle blogger who focuses A LOT on decor, some of my decor choices are a bit bolder than they would be if I didn’t do this. I also change my kids rooms much more than I would if this weren’t my job.
This post contains affiliate links
How To Decorate a Kids Room to Last
I am so excited to share with you guys some easy tips you can use for making this a reality in your own homes, and hopefully that will keep you from large expenses when your kiddo or you get tired of their current room.
Use Neutrals in Excess
One thing you might be tempted to do when you’re decorating for a child is LOTS of color. Walls and Bedding being the first places I see that happen most of the time.
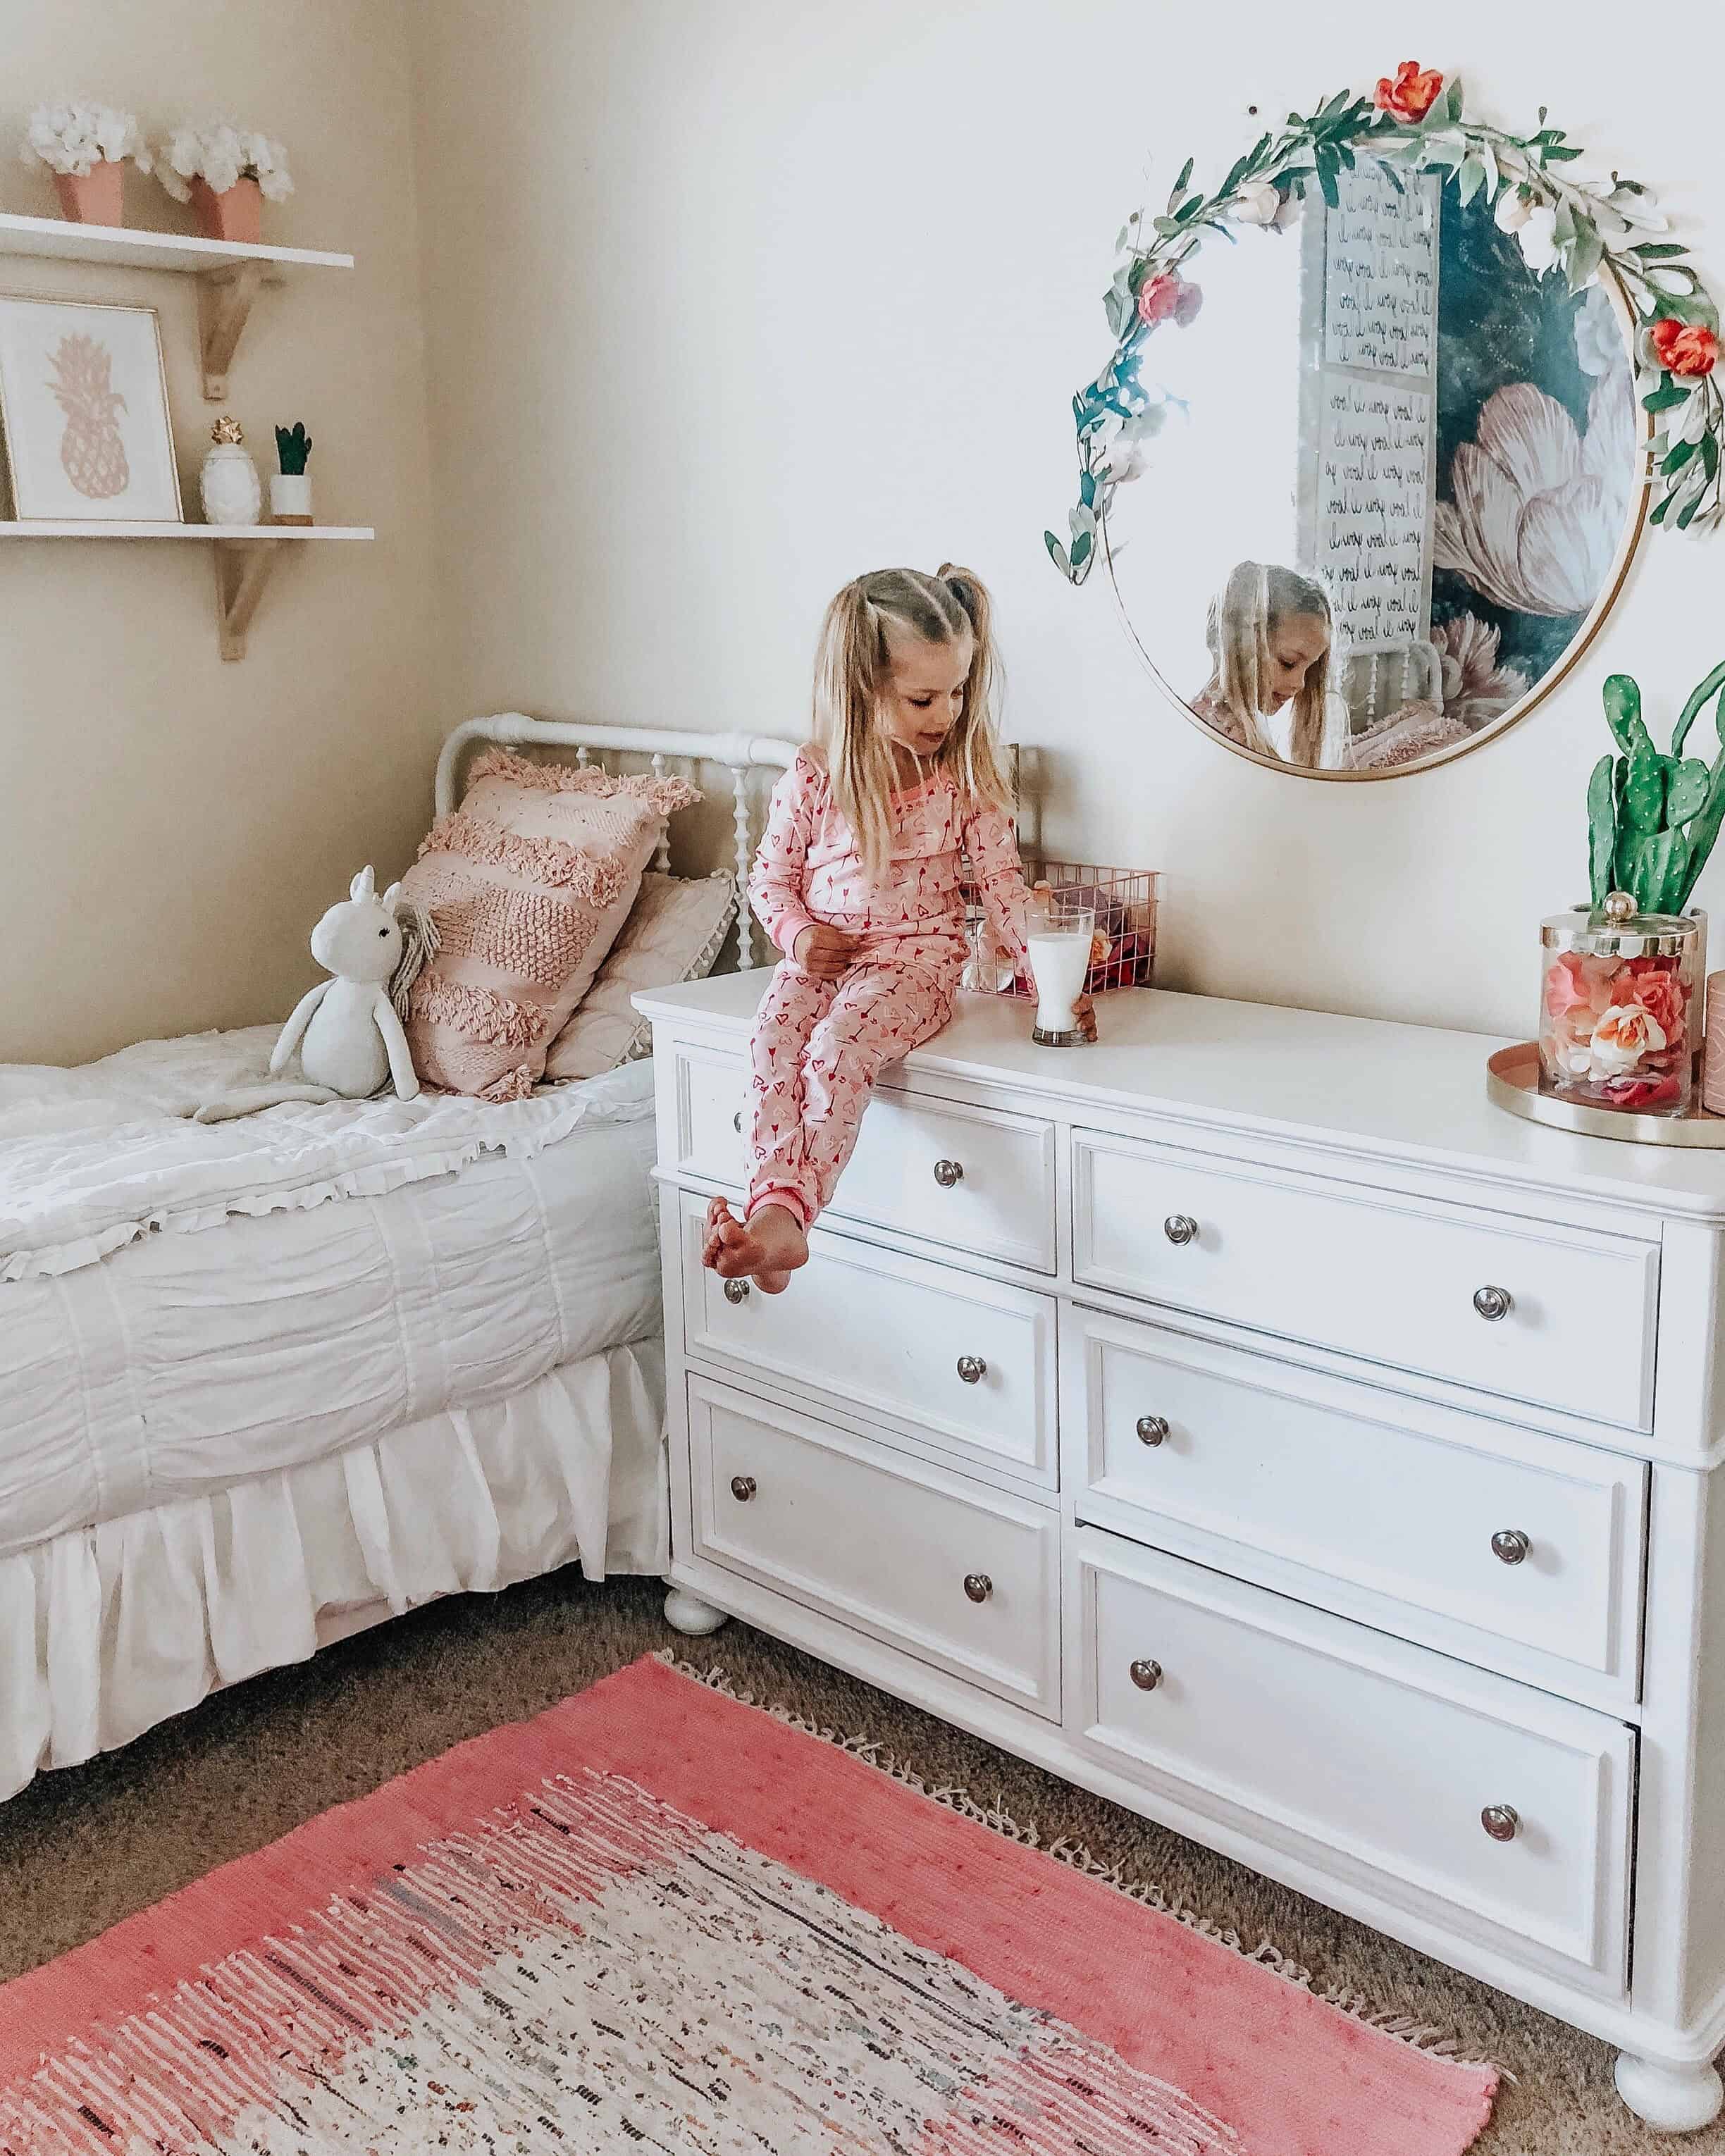
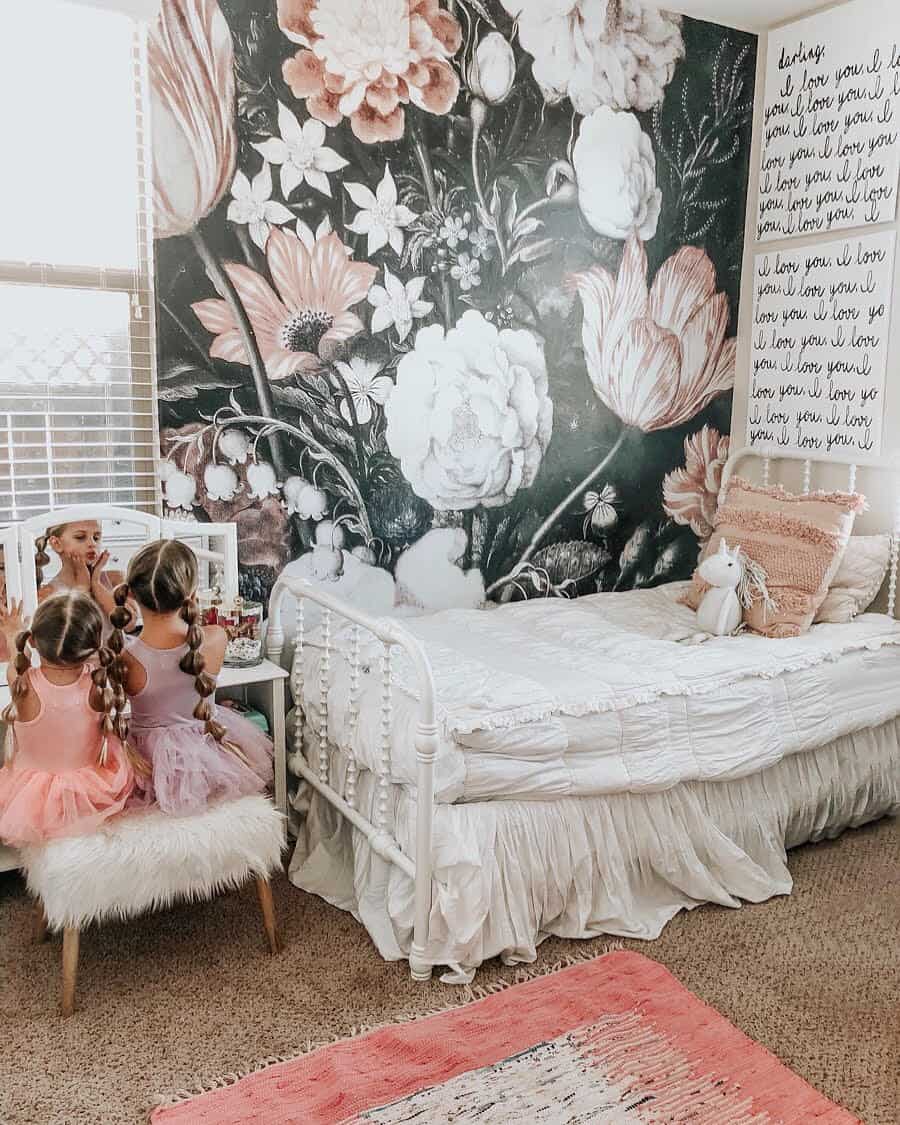
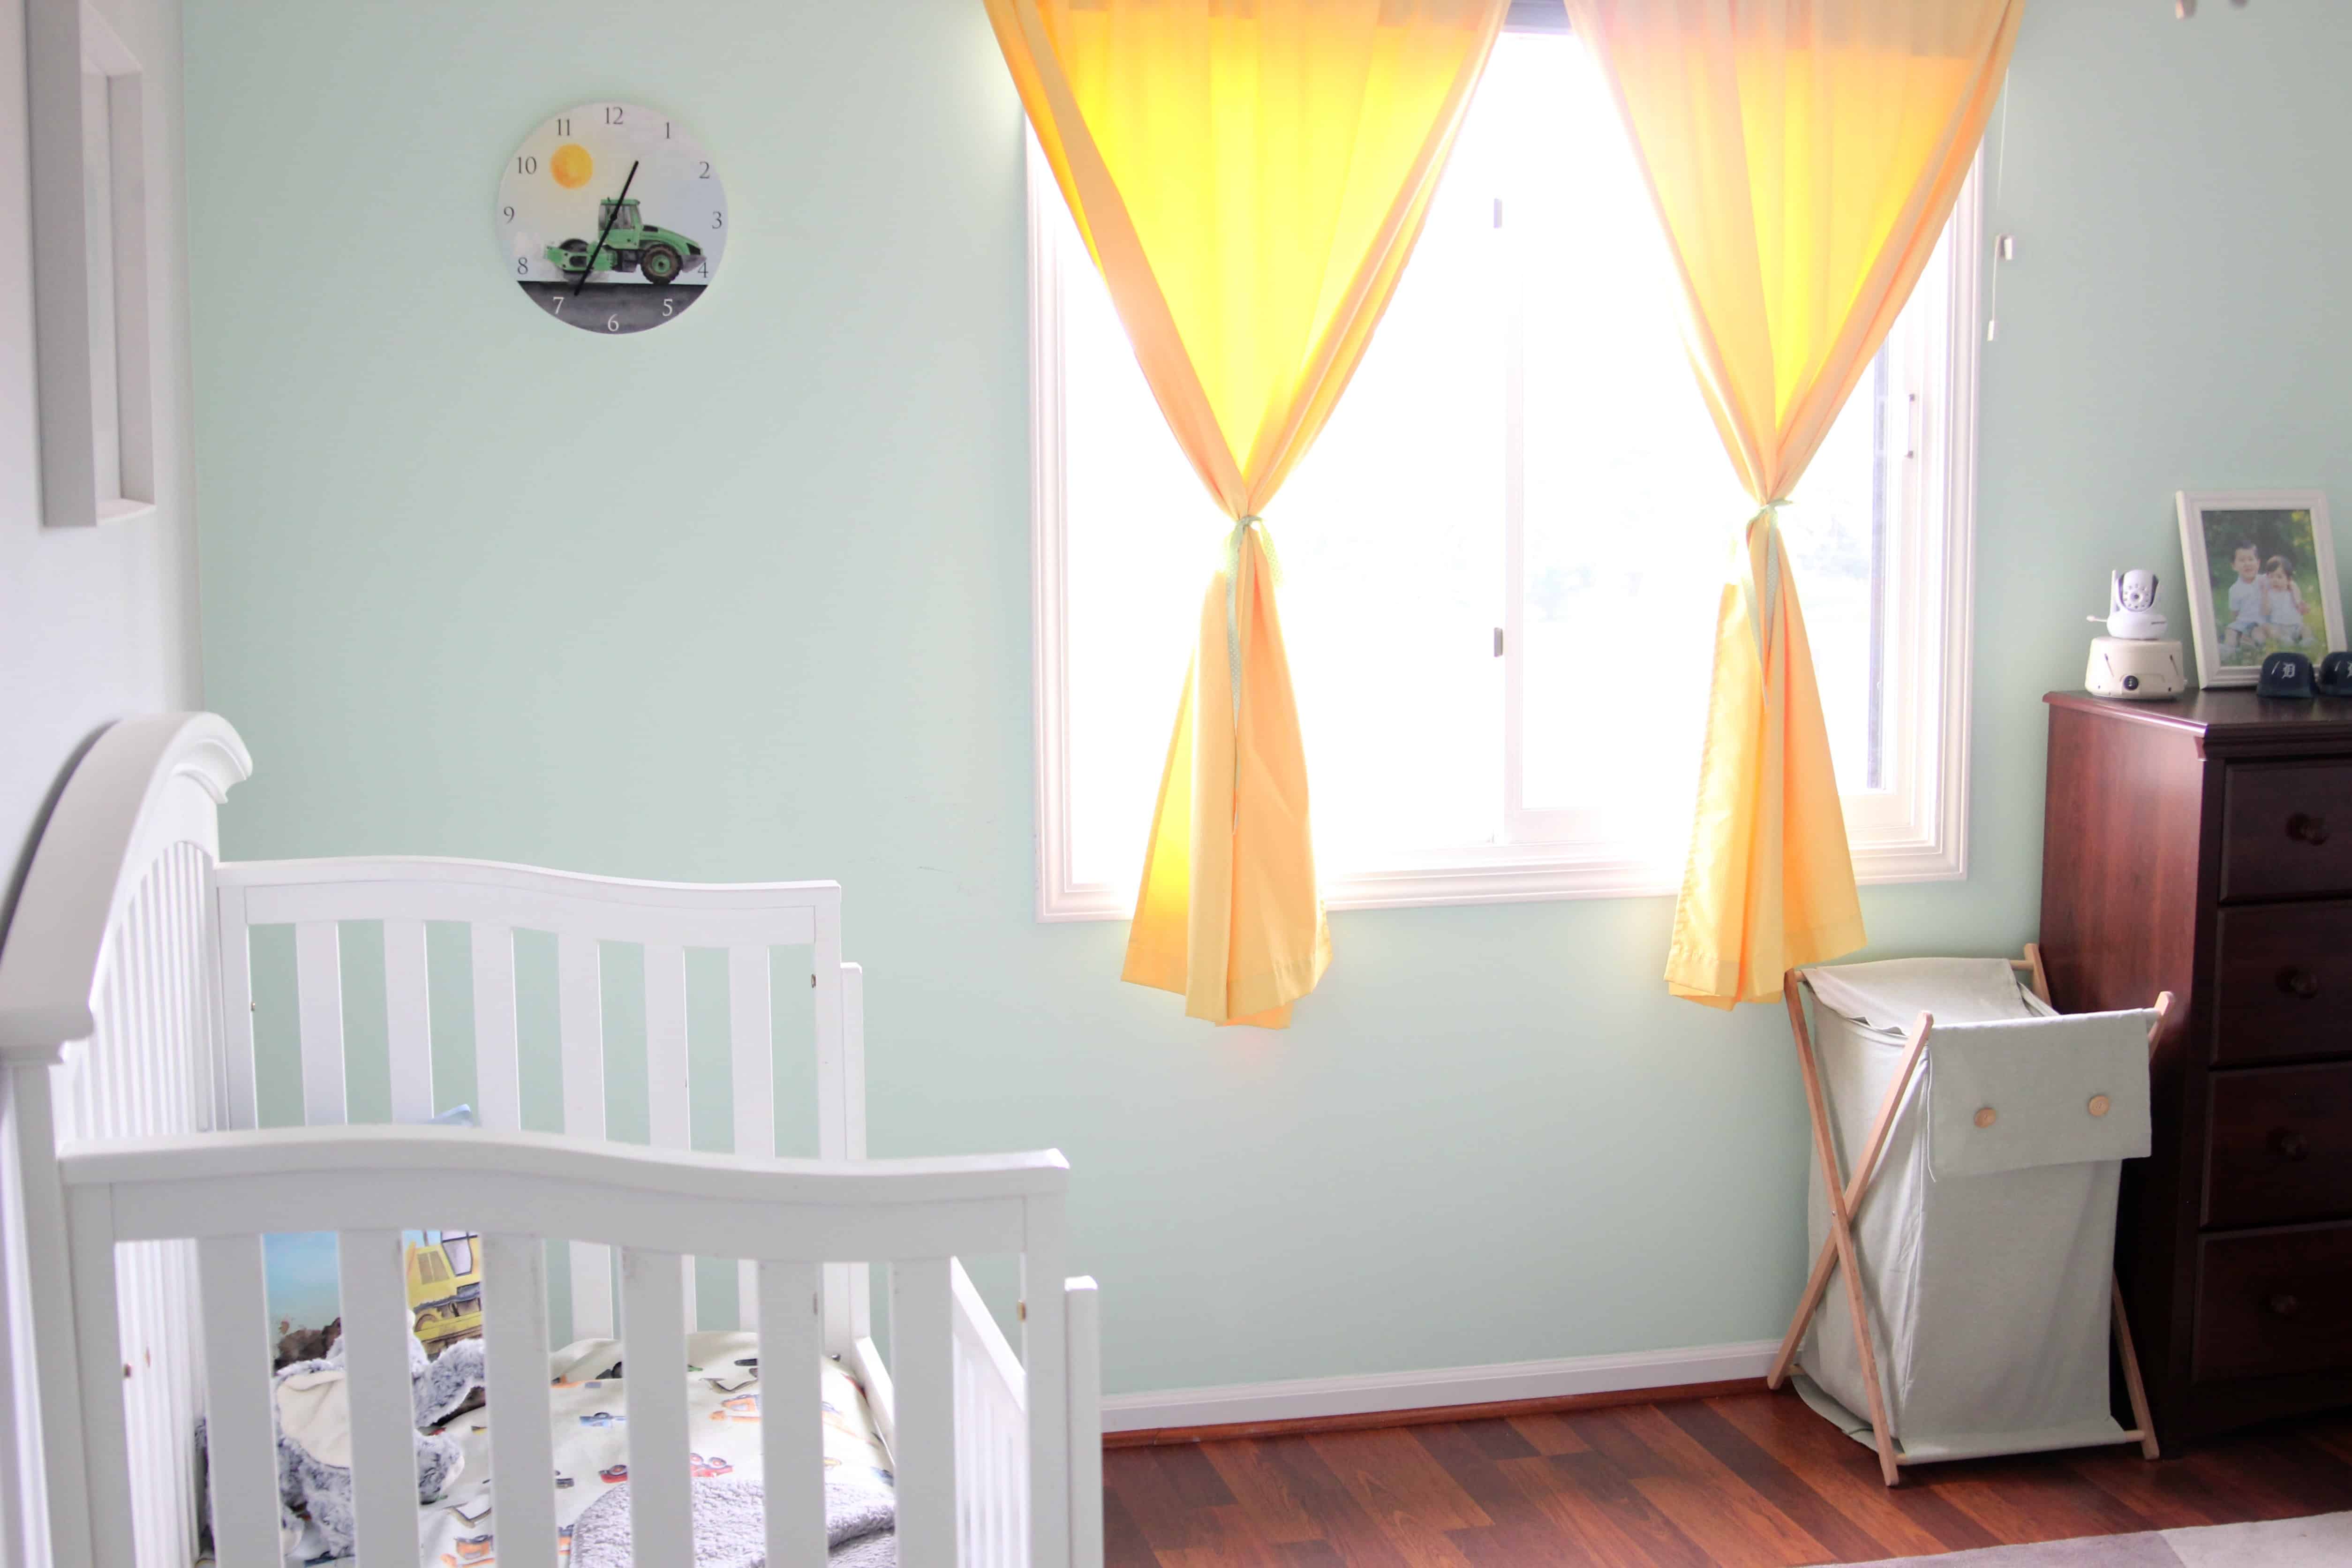
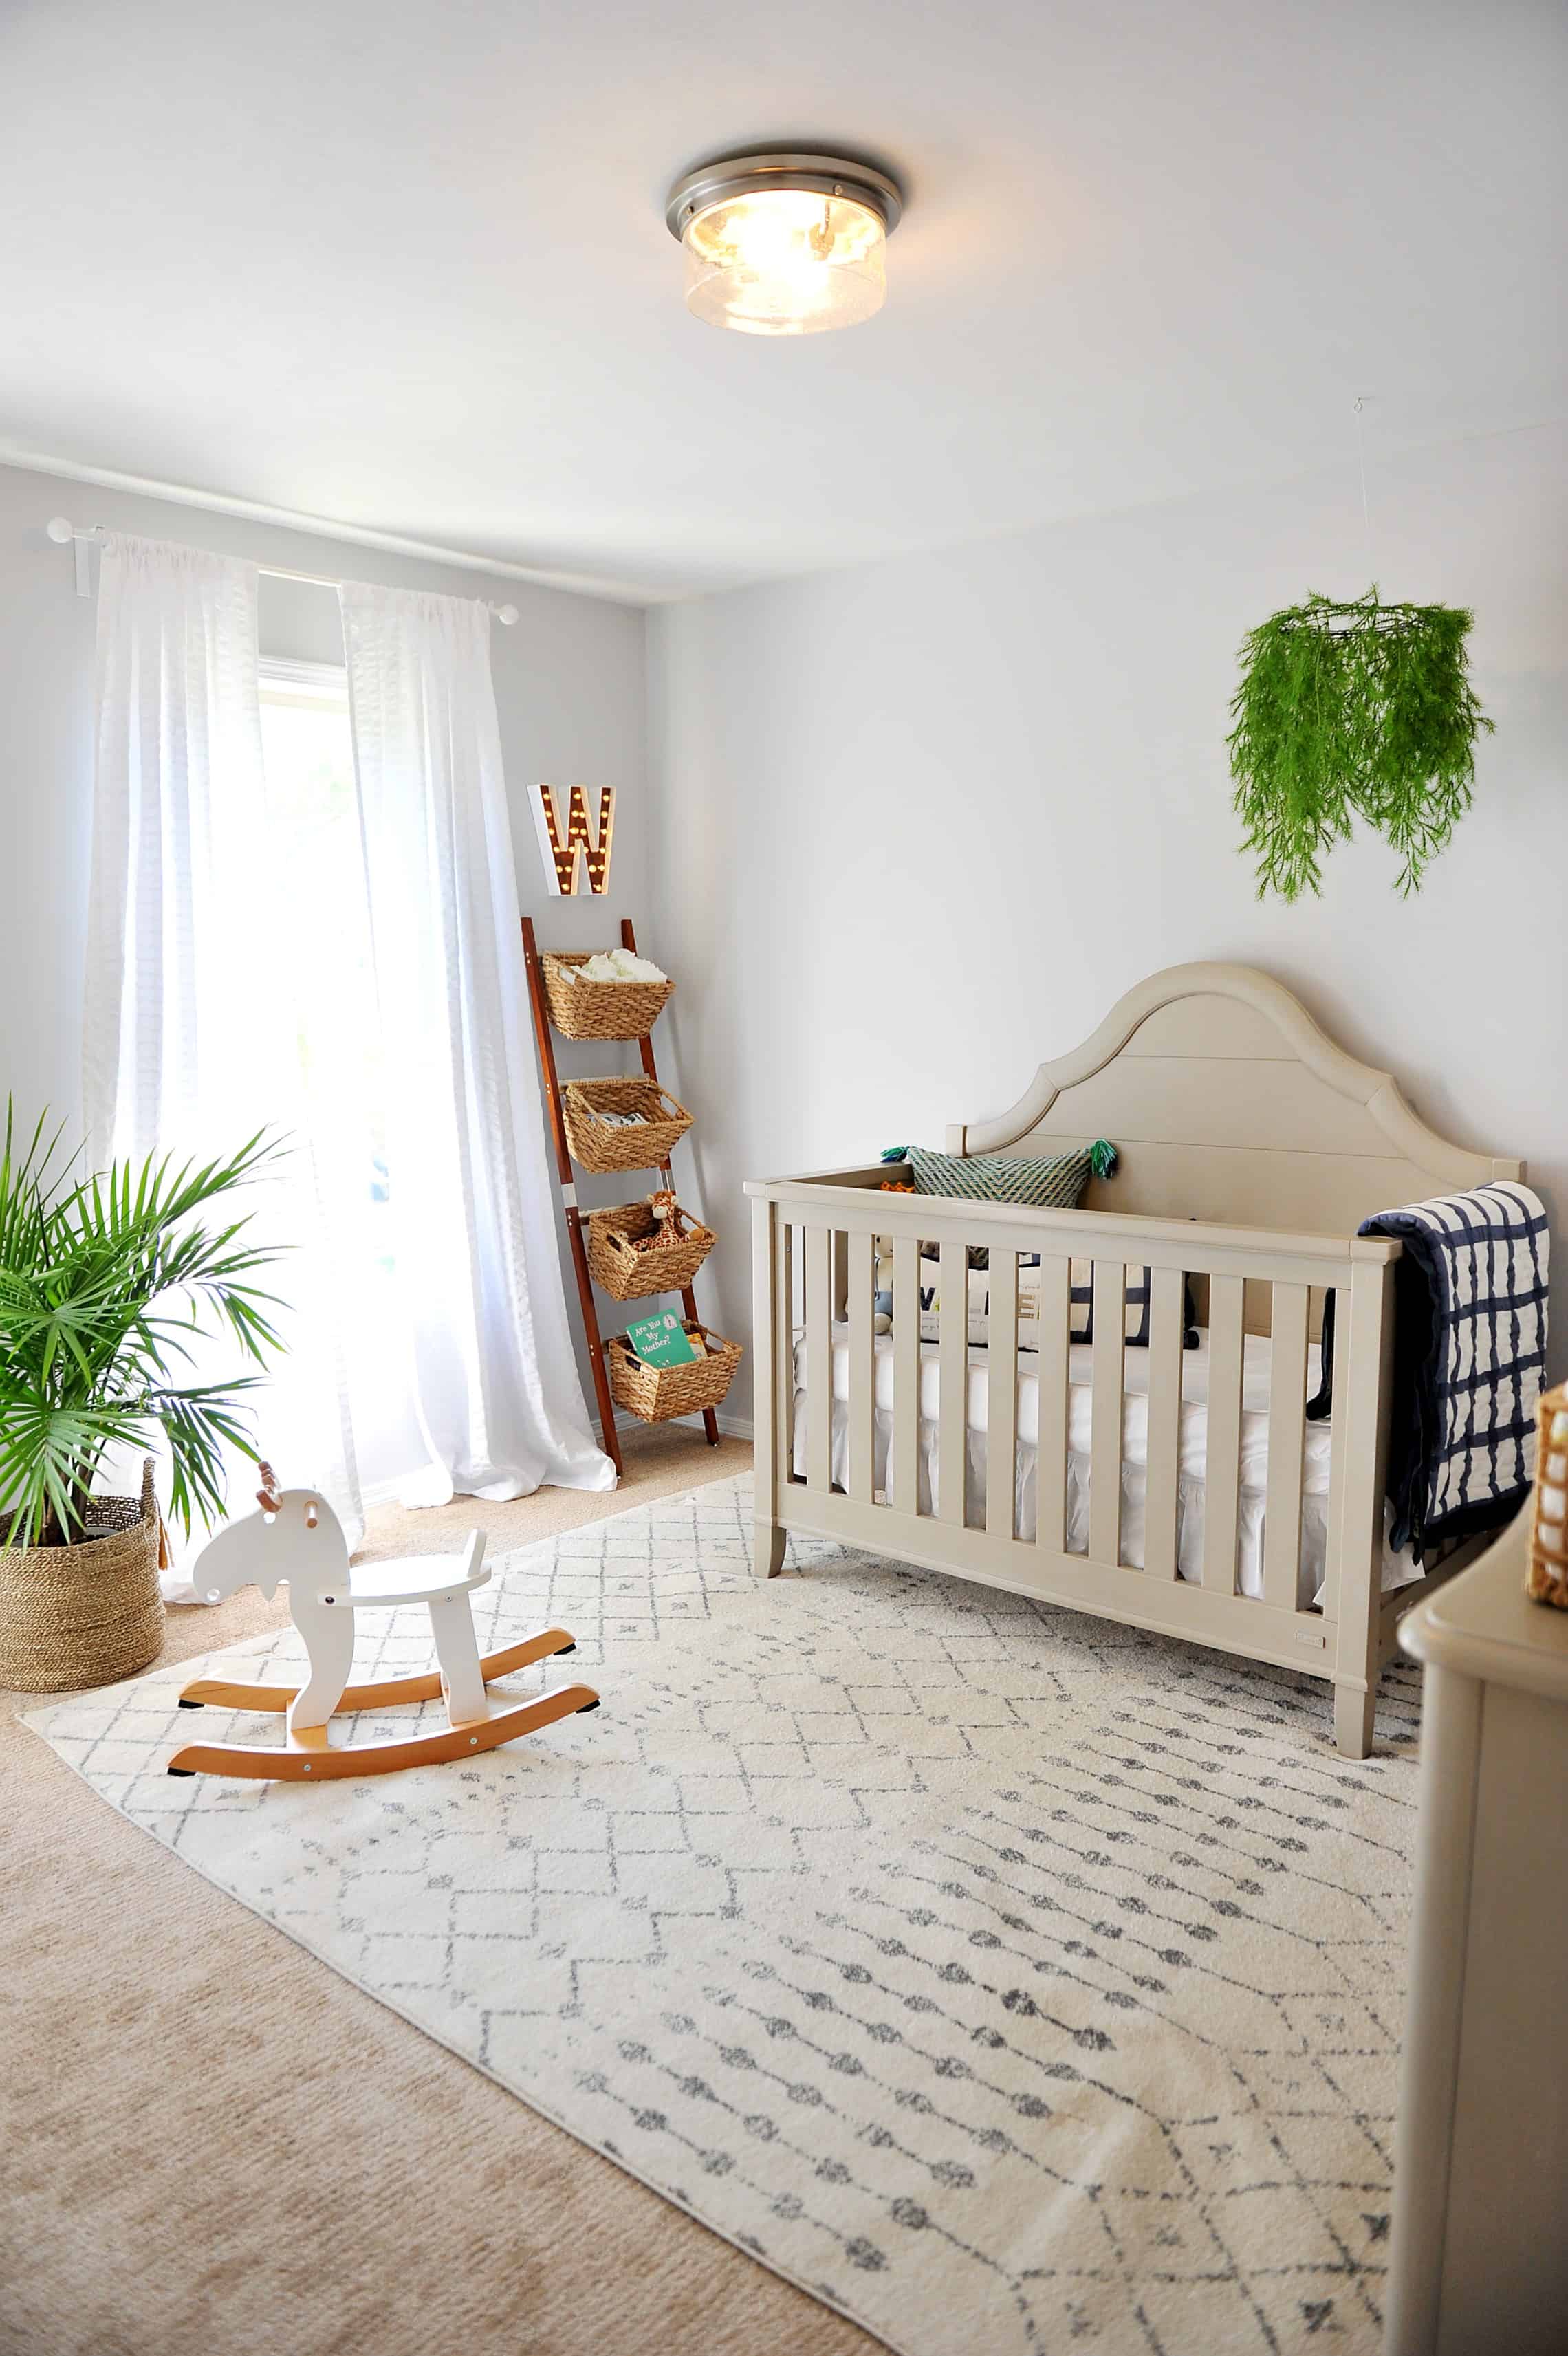
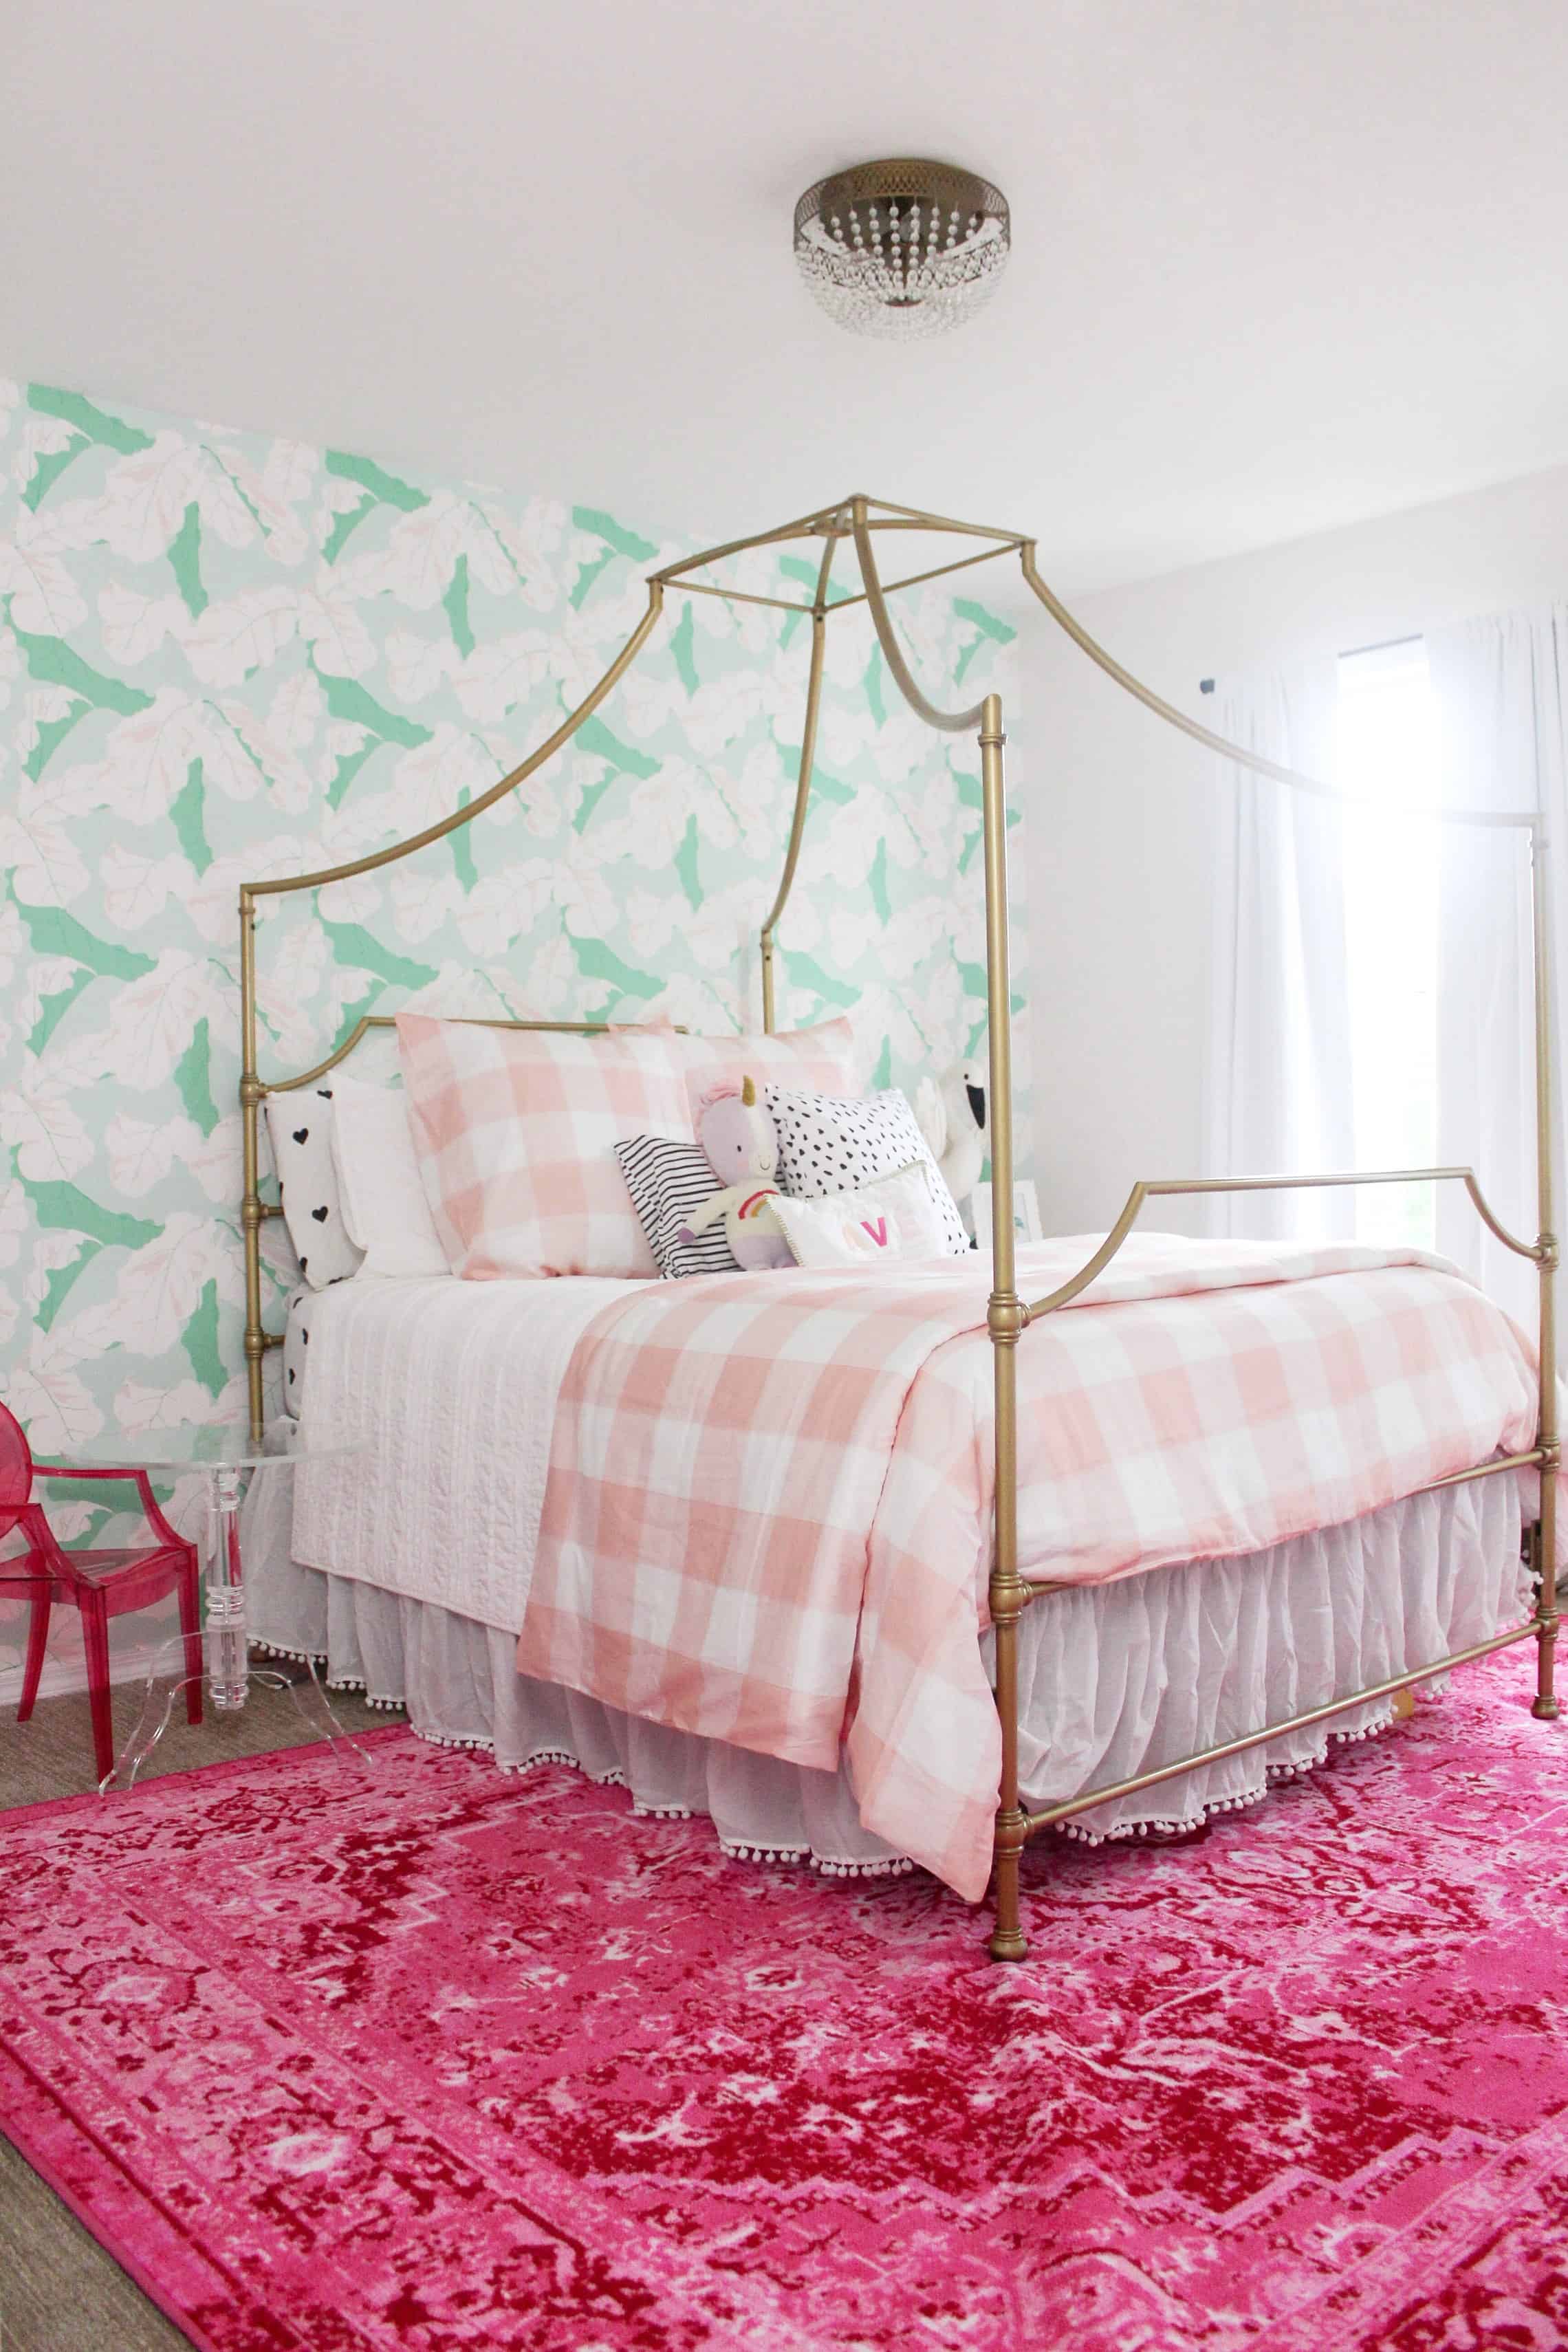
When you’re picking wall color – Neutral or light walls tend to be the best. Most people grow tired of really bold walls. So my advice is go neutral and light. For my boys they have grey walls (with the exception of Jack’s one Green wall), and Avé has a very light pink in her room. I loved that the pink is so pale that it almost looks white. It allowed us to make her room feminine but not overwhelming.
Bedding – Bedding is an easy way to add fun pops while also growing with your child. One of my biggest pieces of advice is to get your child fun sheets they love, but do white or grey bedding. You can add so many fun pops with throw pillows, but the big expense of the comforter or quilt will match any theme.
You can see in Jack’s room that I used neutrals that were black and white. In Avé’s room she has had the same white quilt for years, but I now fold a comforter over the foot of her bed. That same effect can be made with a throw and will be super inexpensive.
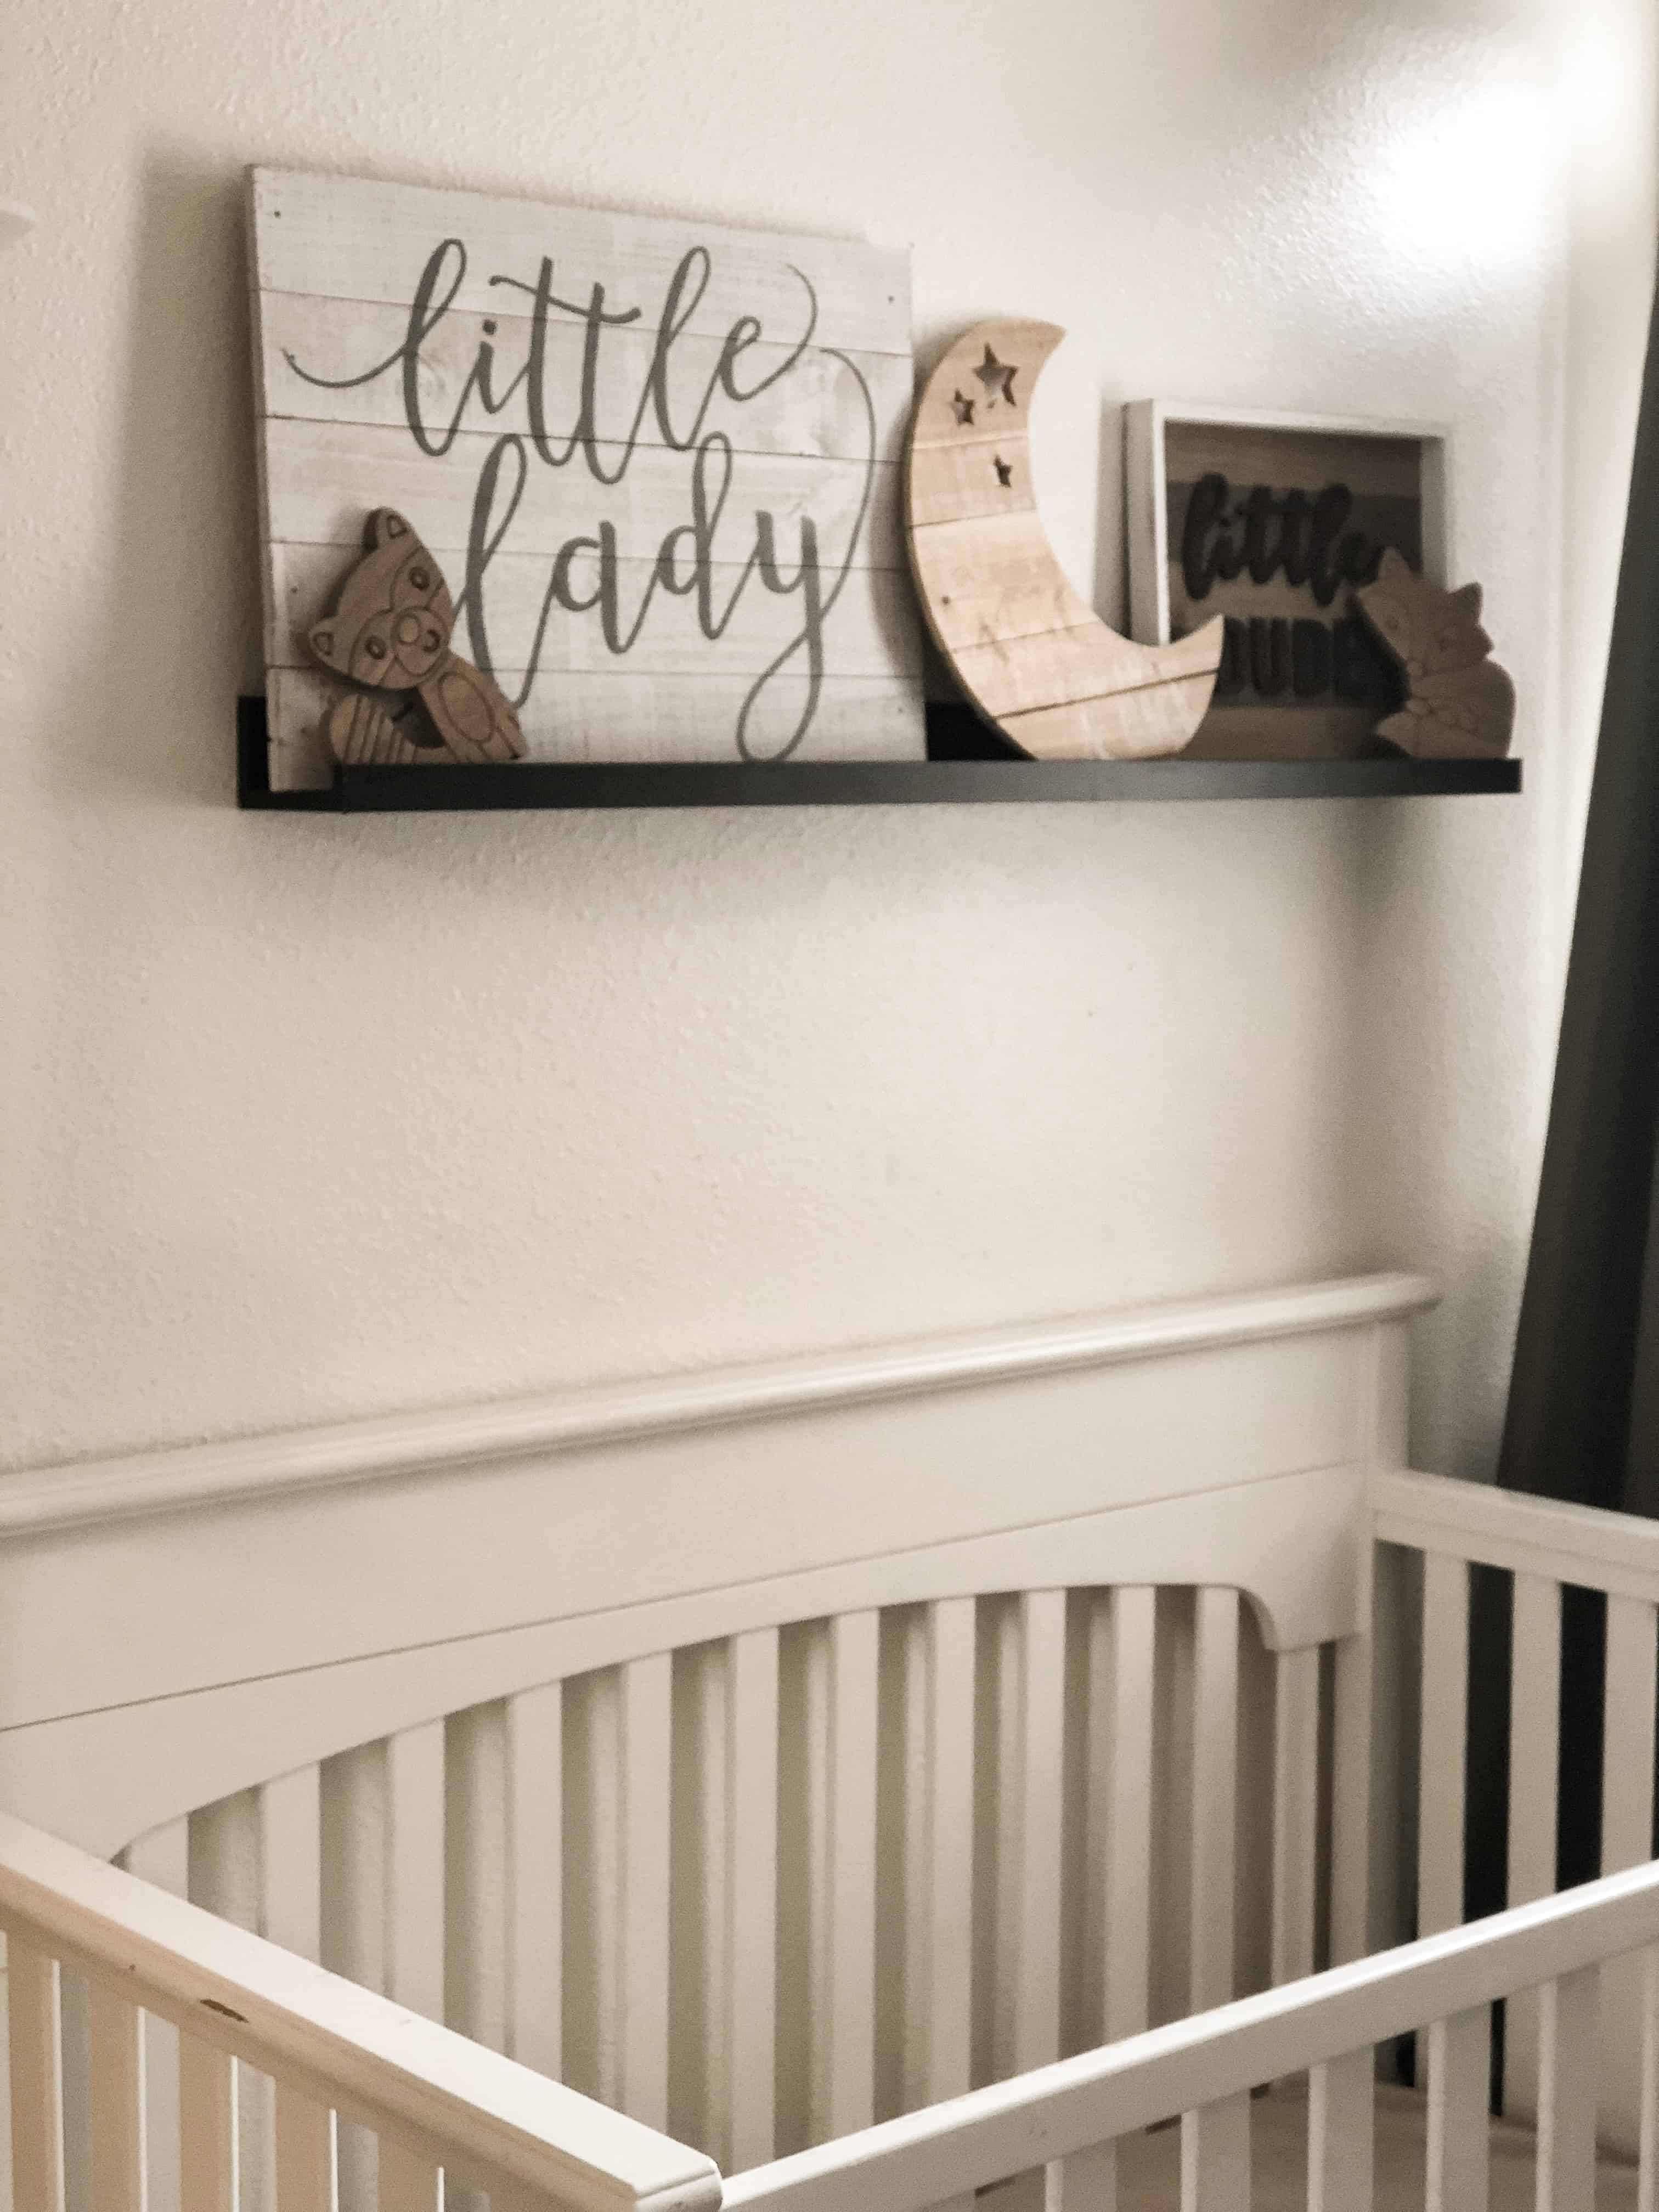
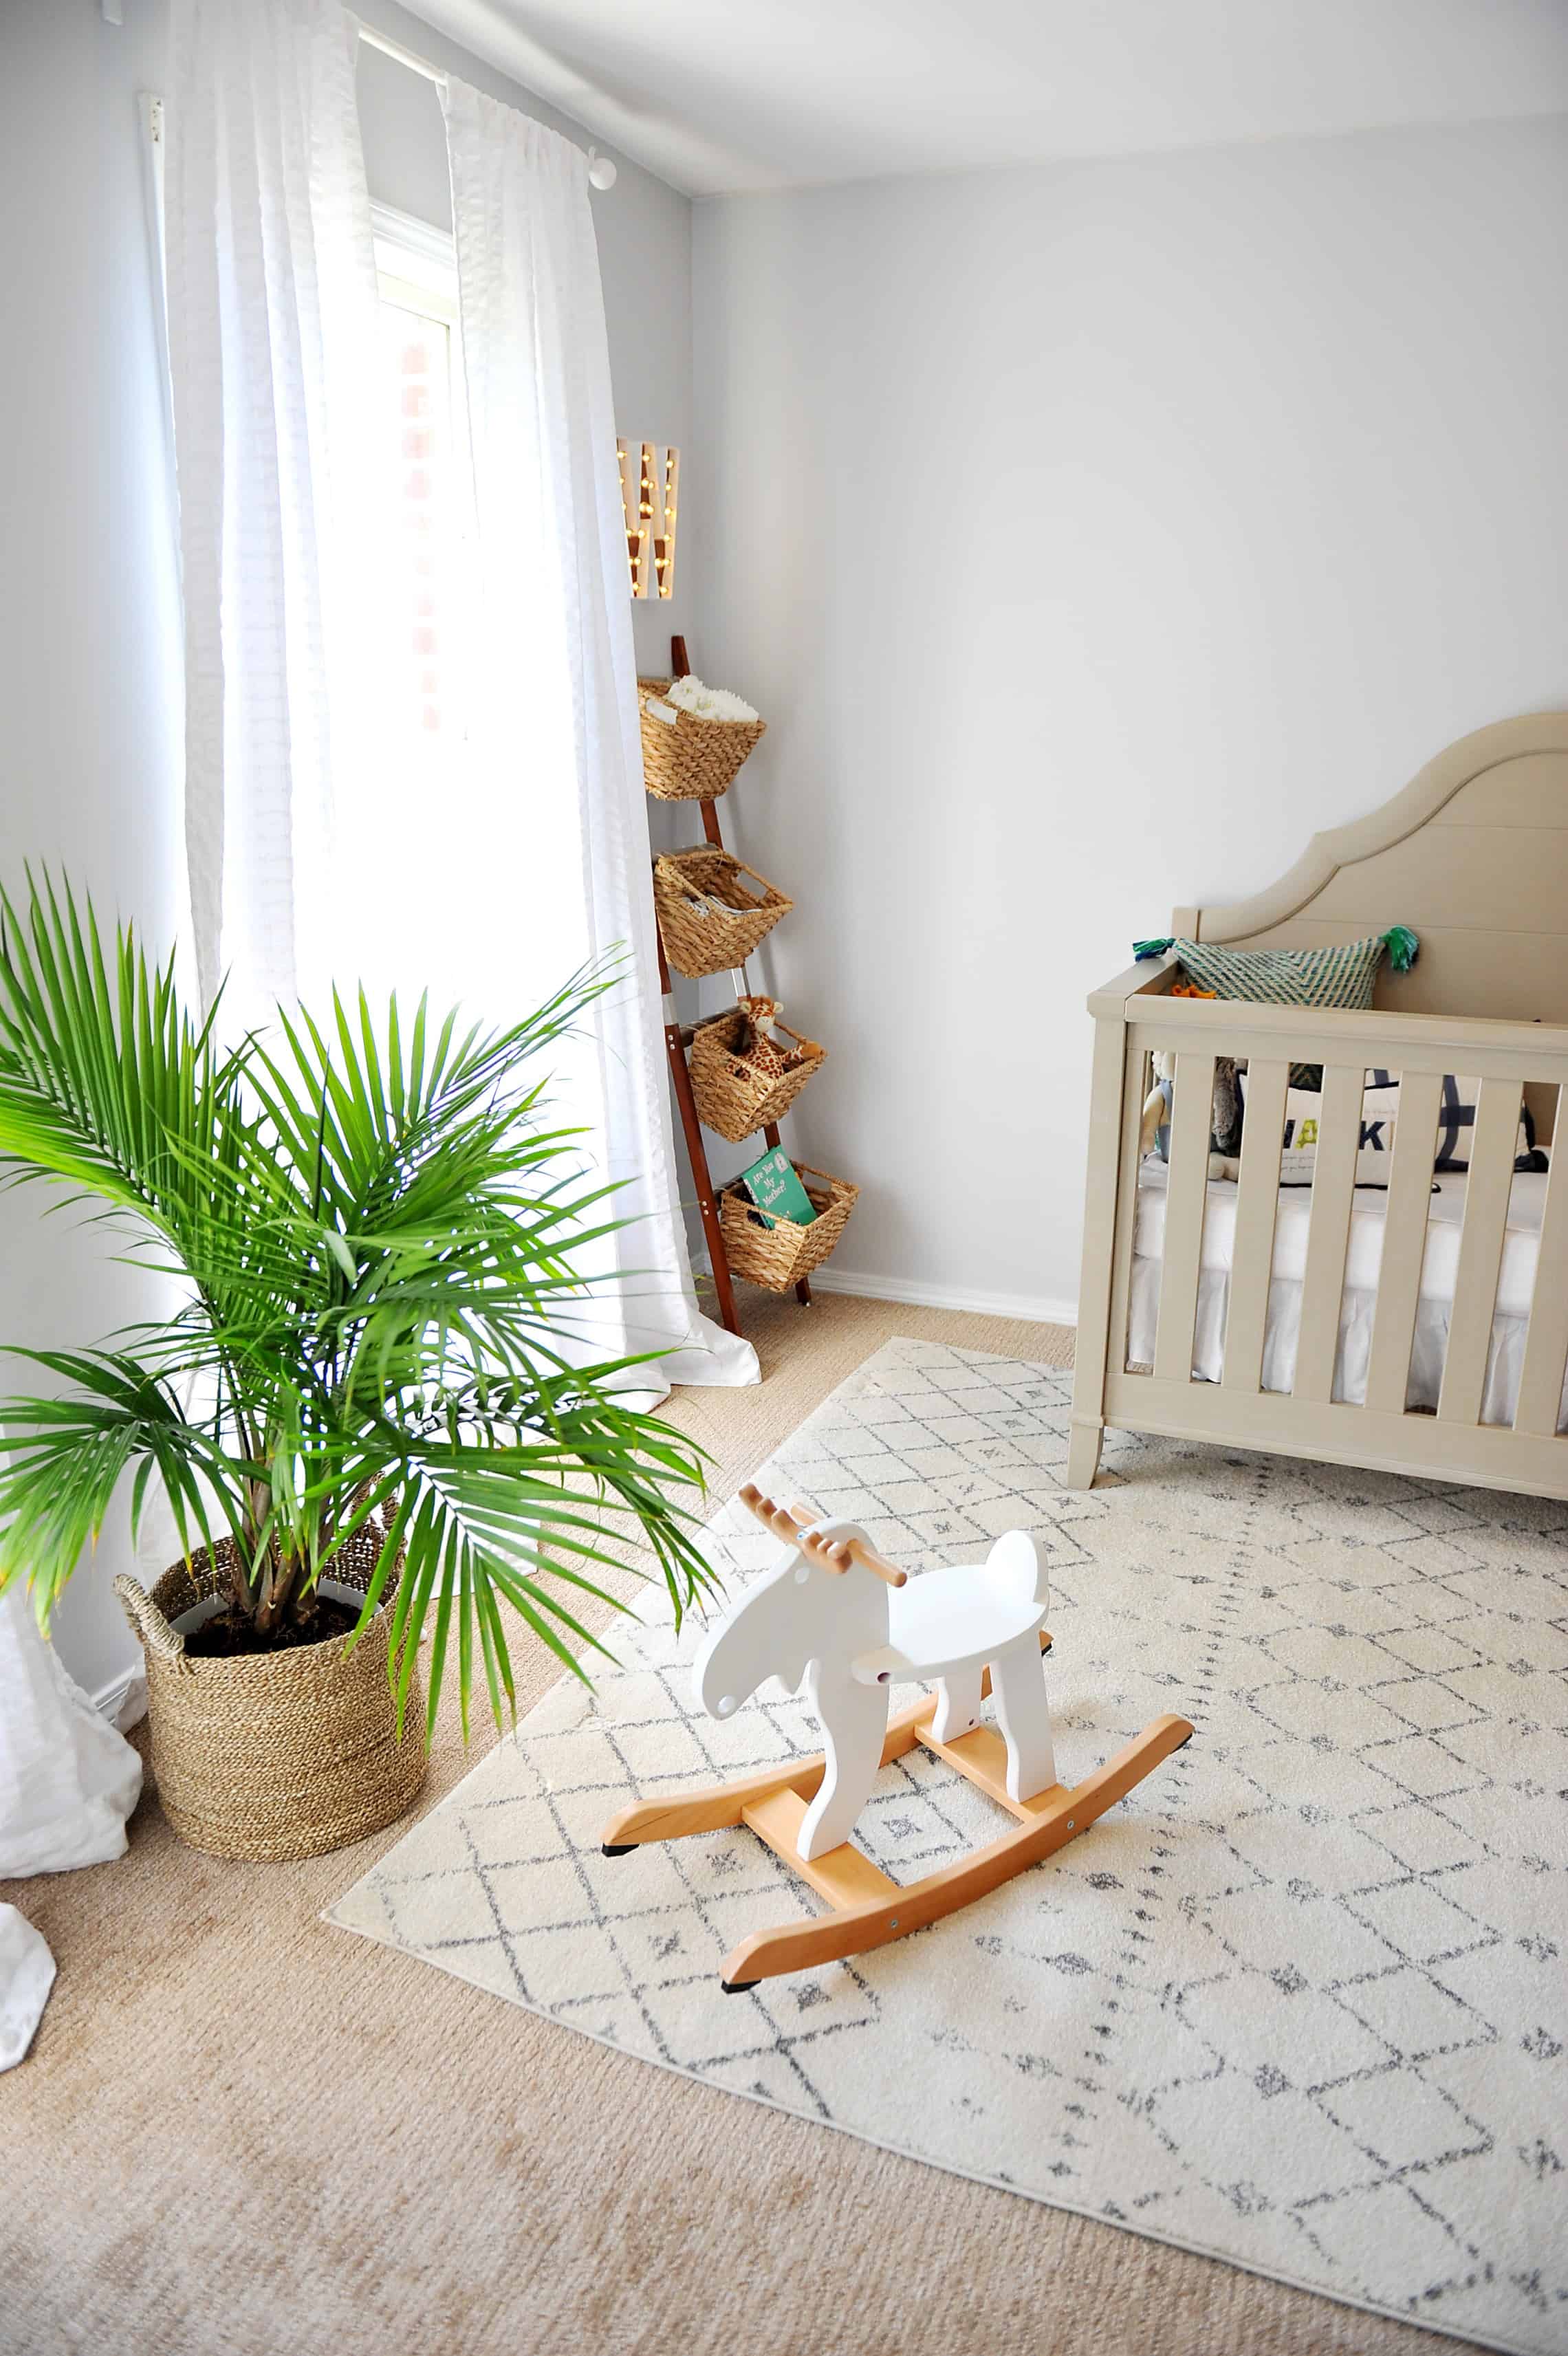
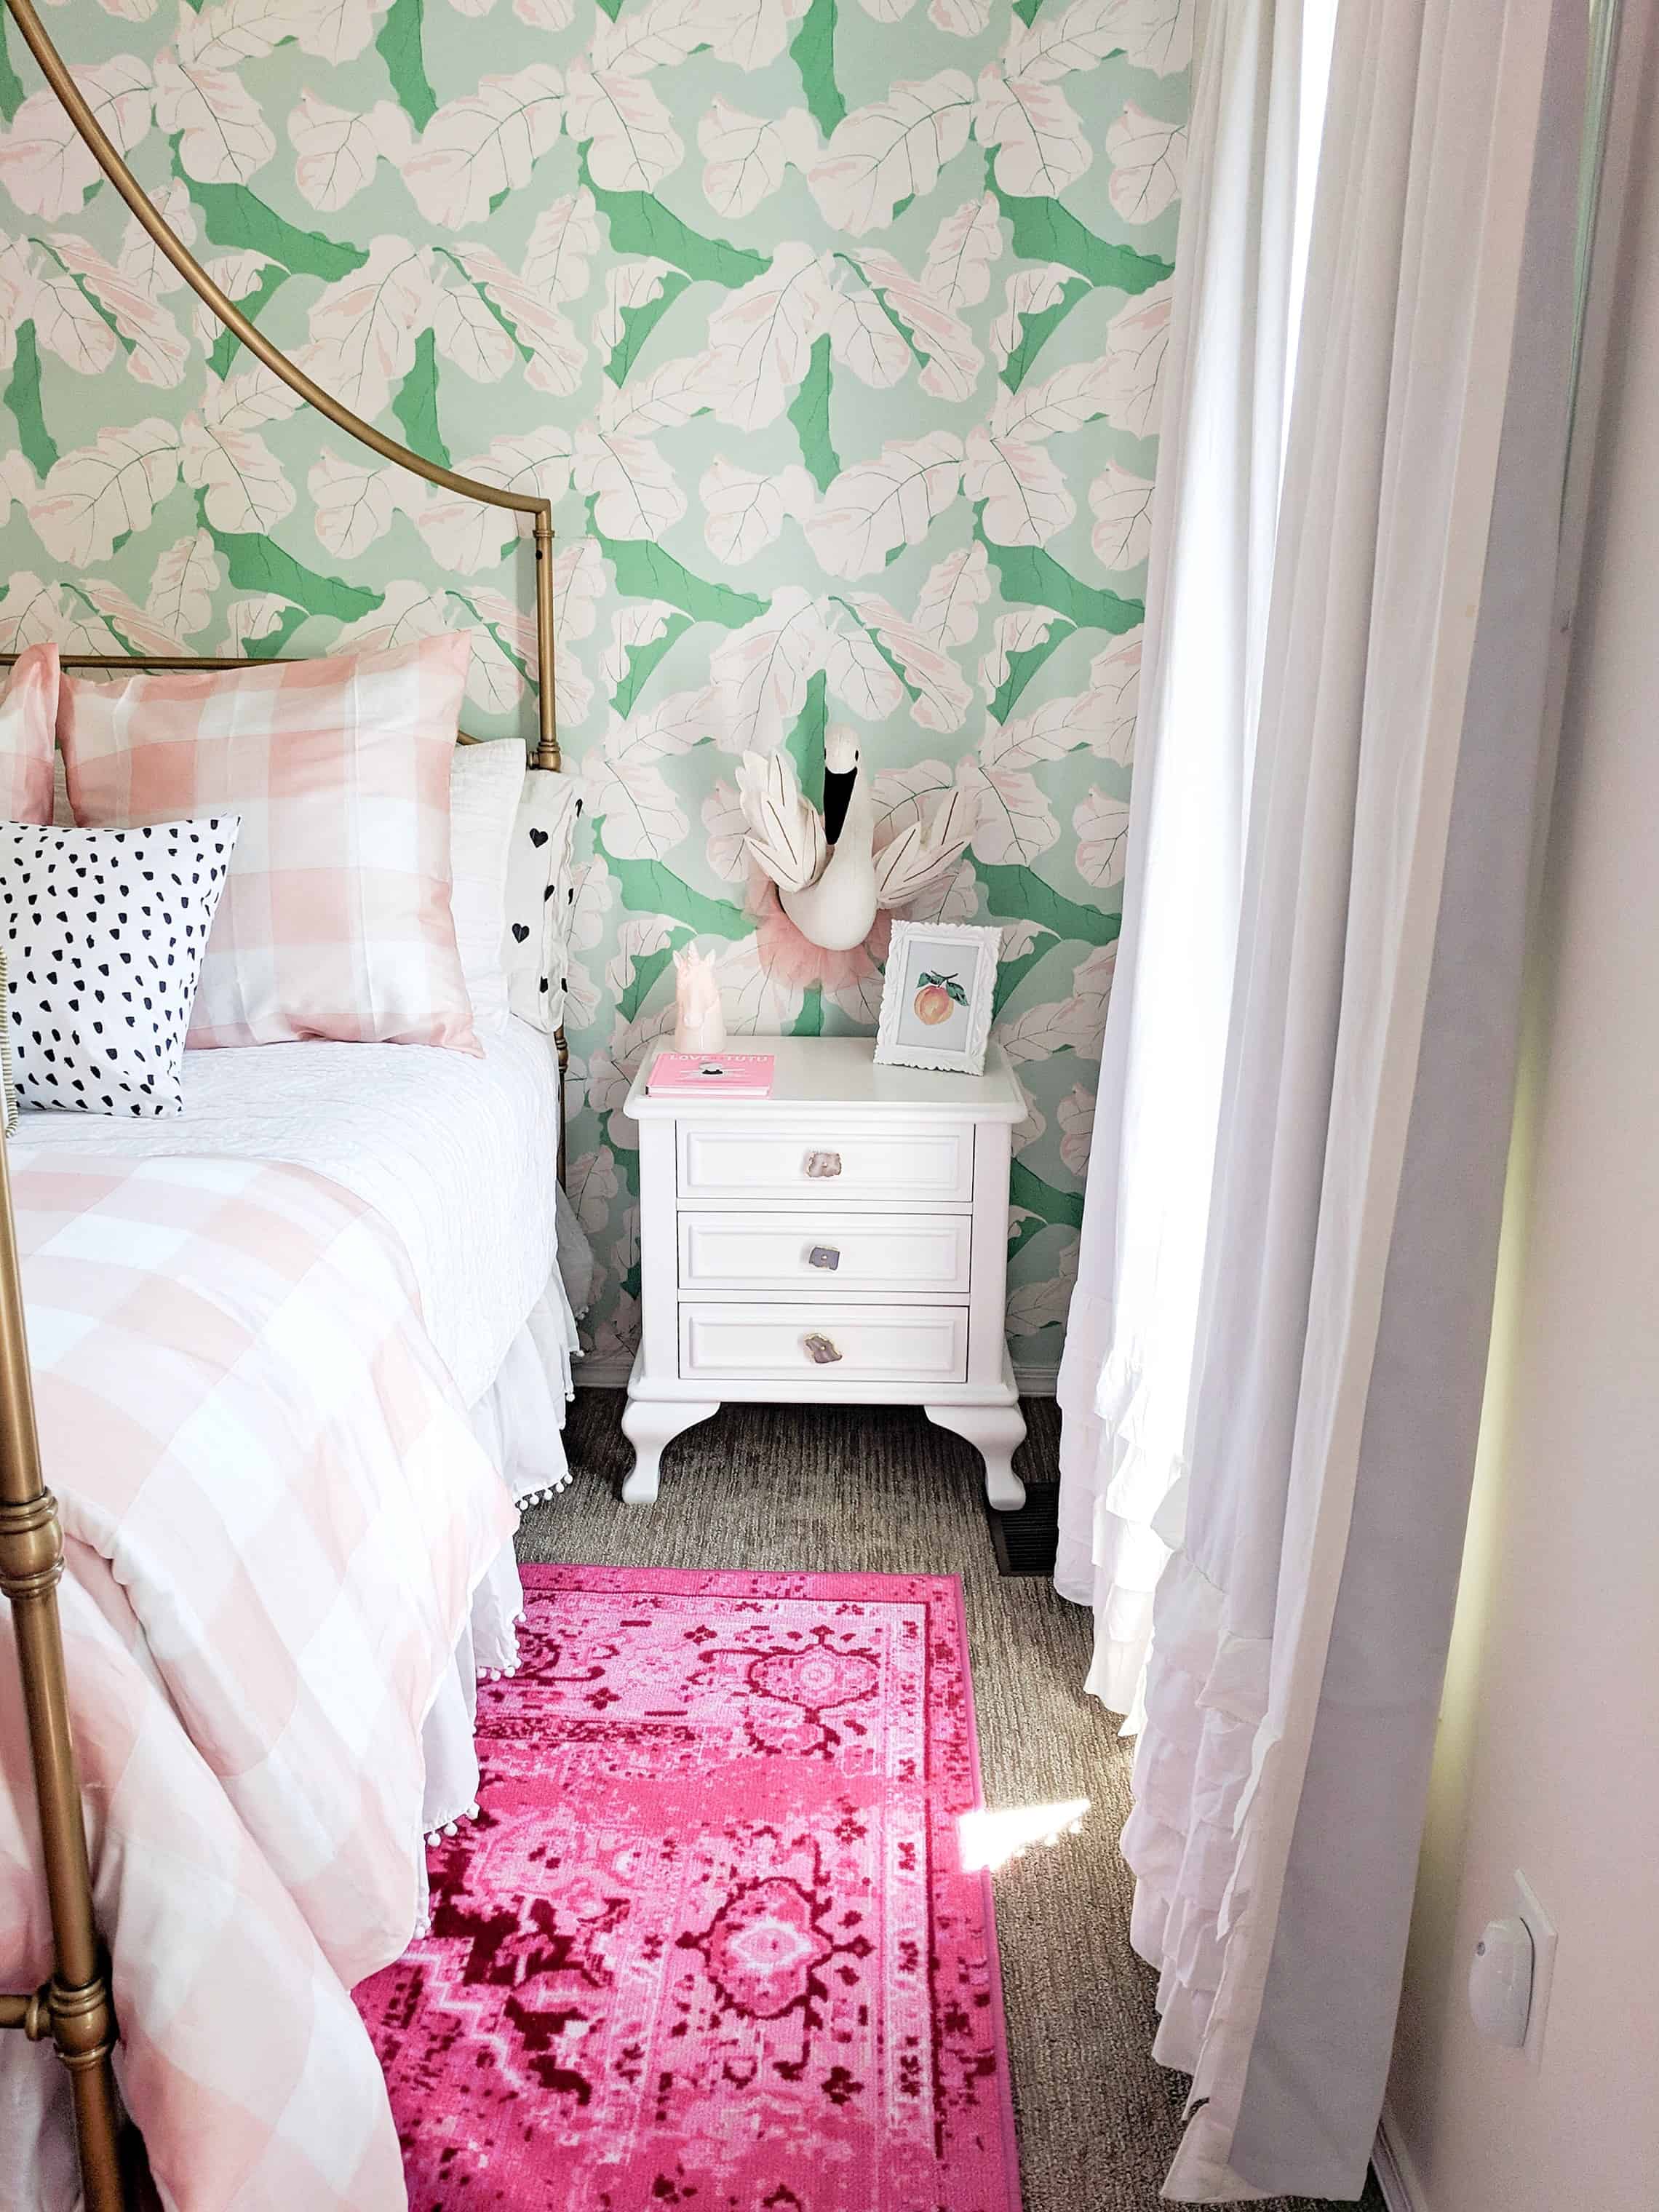
Window Coverings – If you use curtains in bedrooms my suggestion would be to get a good neutral that will last. Curtains are expensive and not exactly a fun way to spend money. I love that the curtains in Walker’s room are textured so they still add a fun pop but are neutral and white. Avé’s are white with ruffles so again add something fun to the room, but will go with anything!
Utilize Frames and Inexpensive Art Work
For all of my kids rooms I have frames that have easily changed out art work. I have changed the locations and the art in both of the big kids rooms, and plan to do the same in Walker’s room soon too! For Jack’s room this felt especially important. He is hitting the age where he cares about having his ‘stuff’ shown in his room, so I wanted to be able to quickly change the theme. For the artwork over his dresser I actually just framed a page from a book.
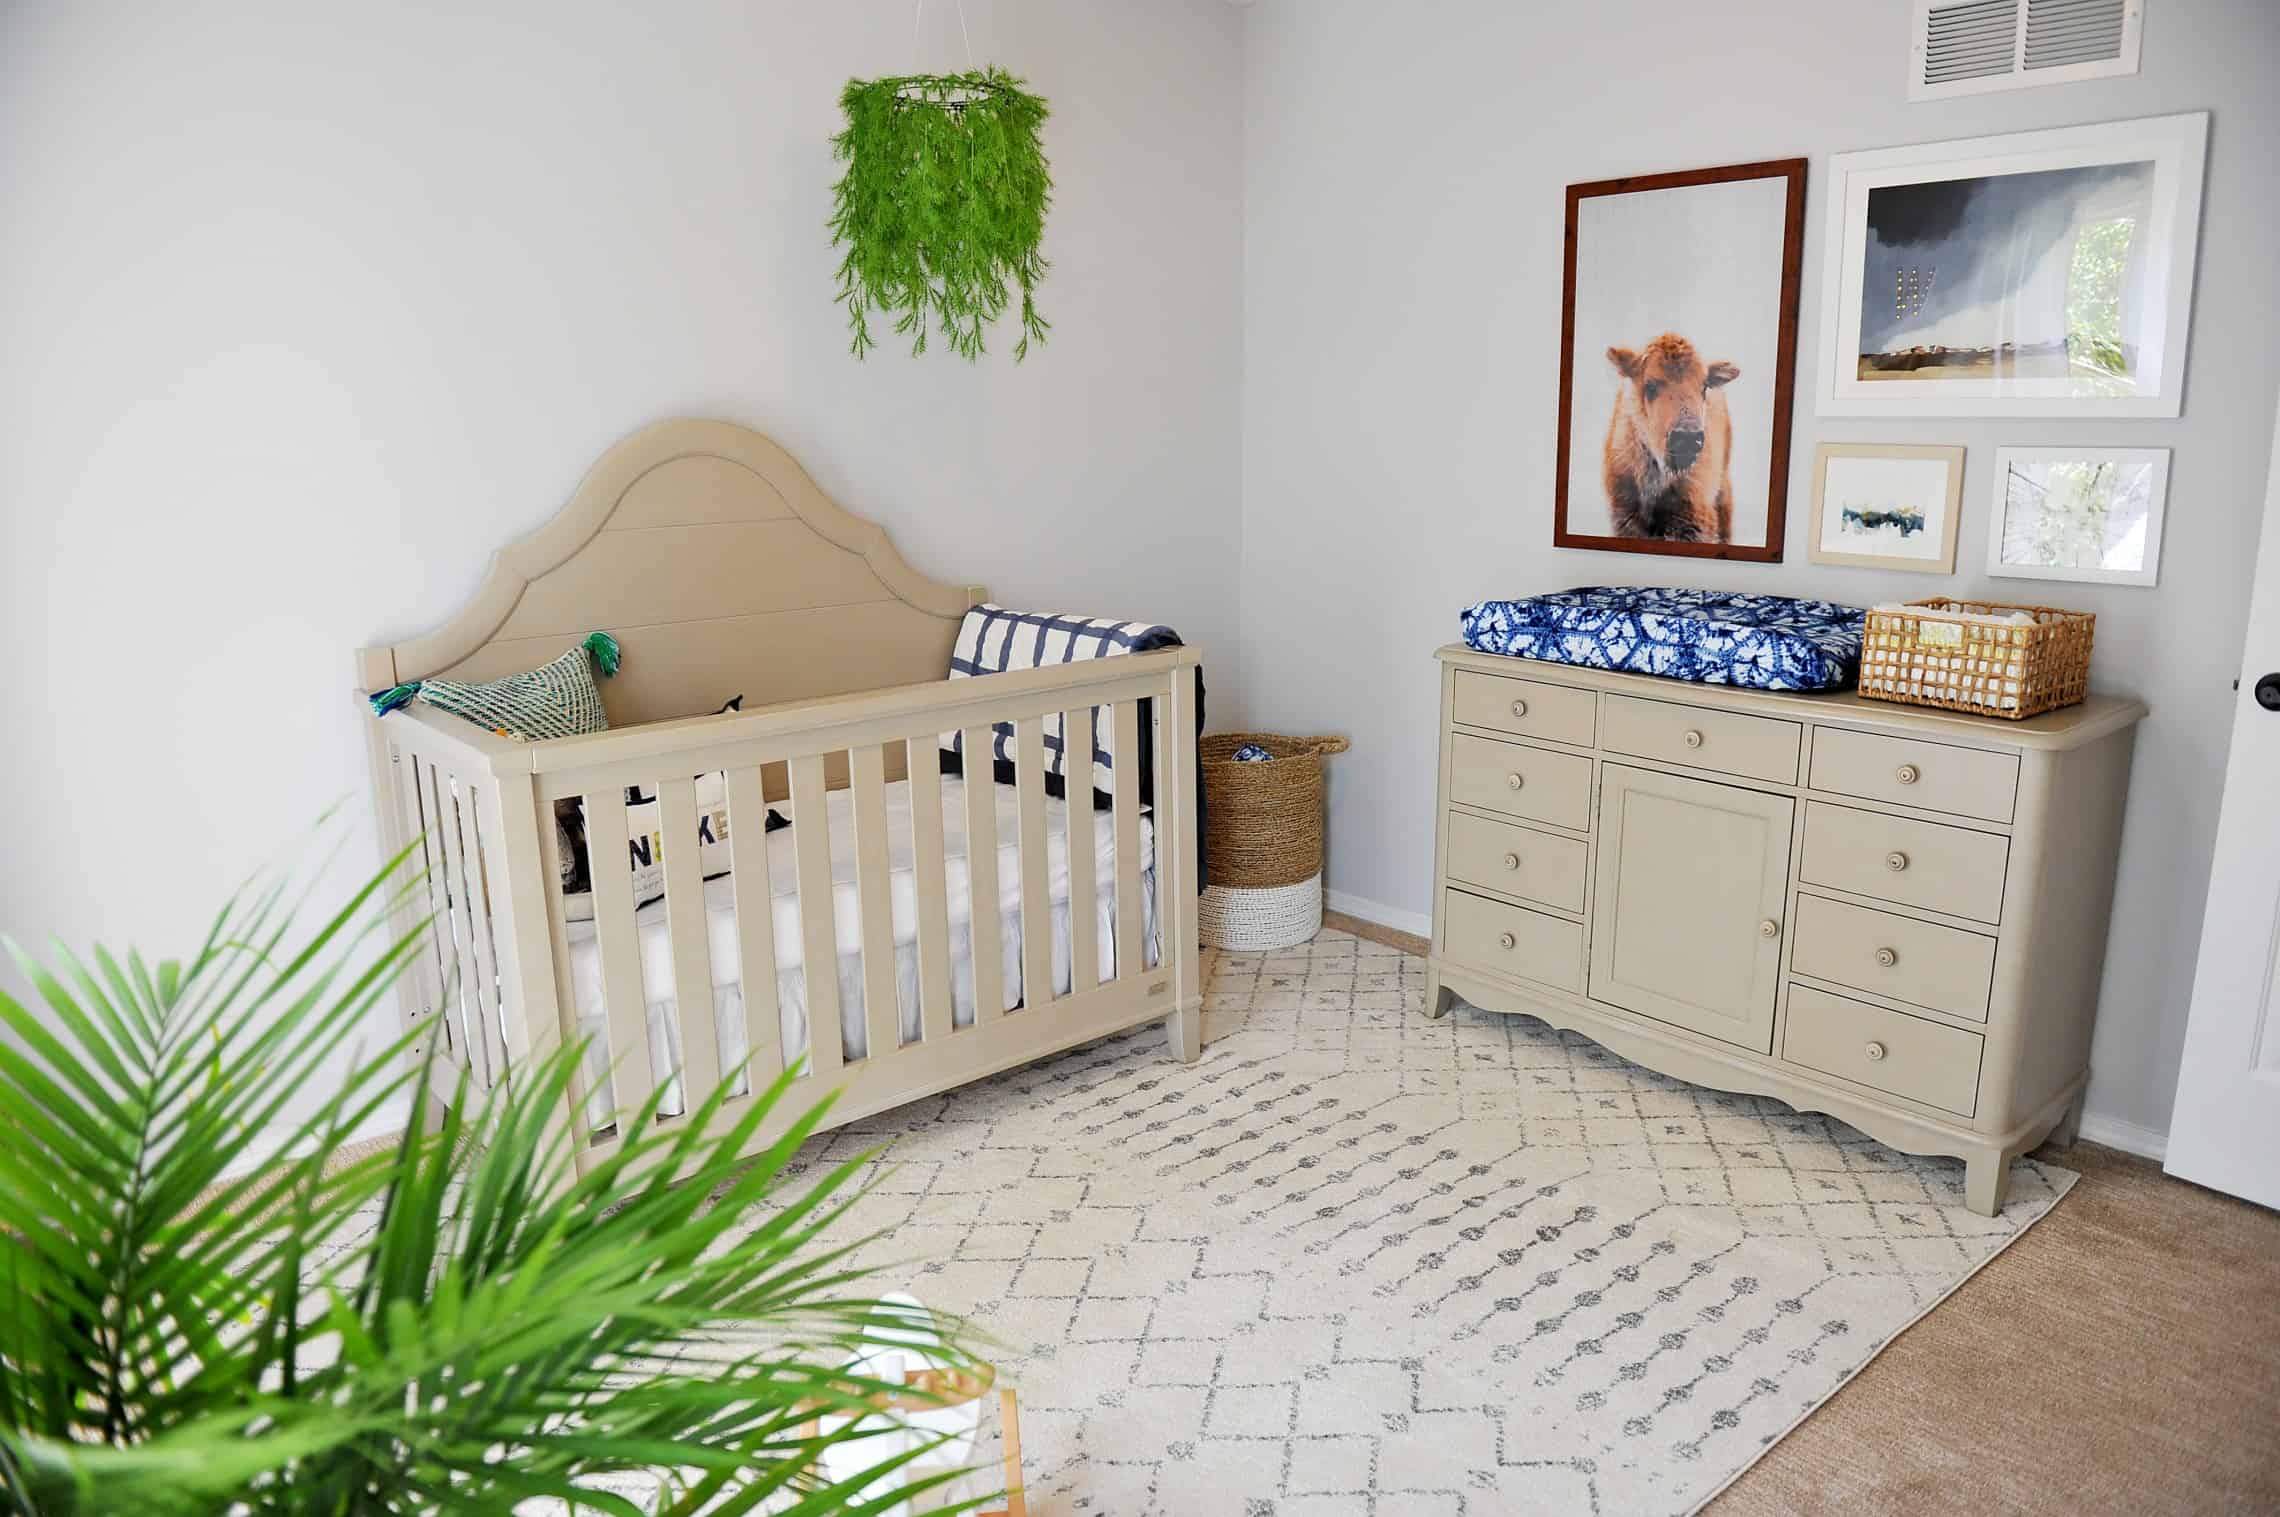
In Walker and Avé’s rooms I have done a lot of art work from Etsy. The downloads are so inexpensive, and allow us to change out artwork often to fit the theme of the room.
Invest Sparingly
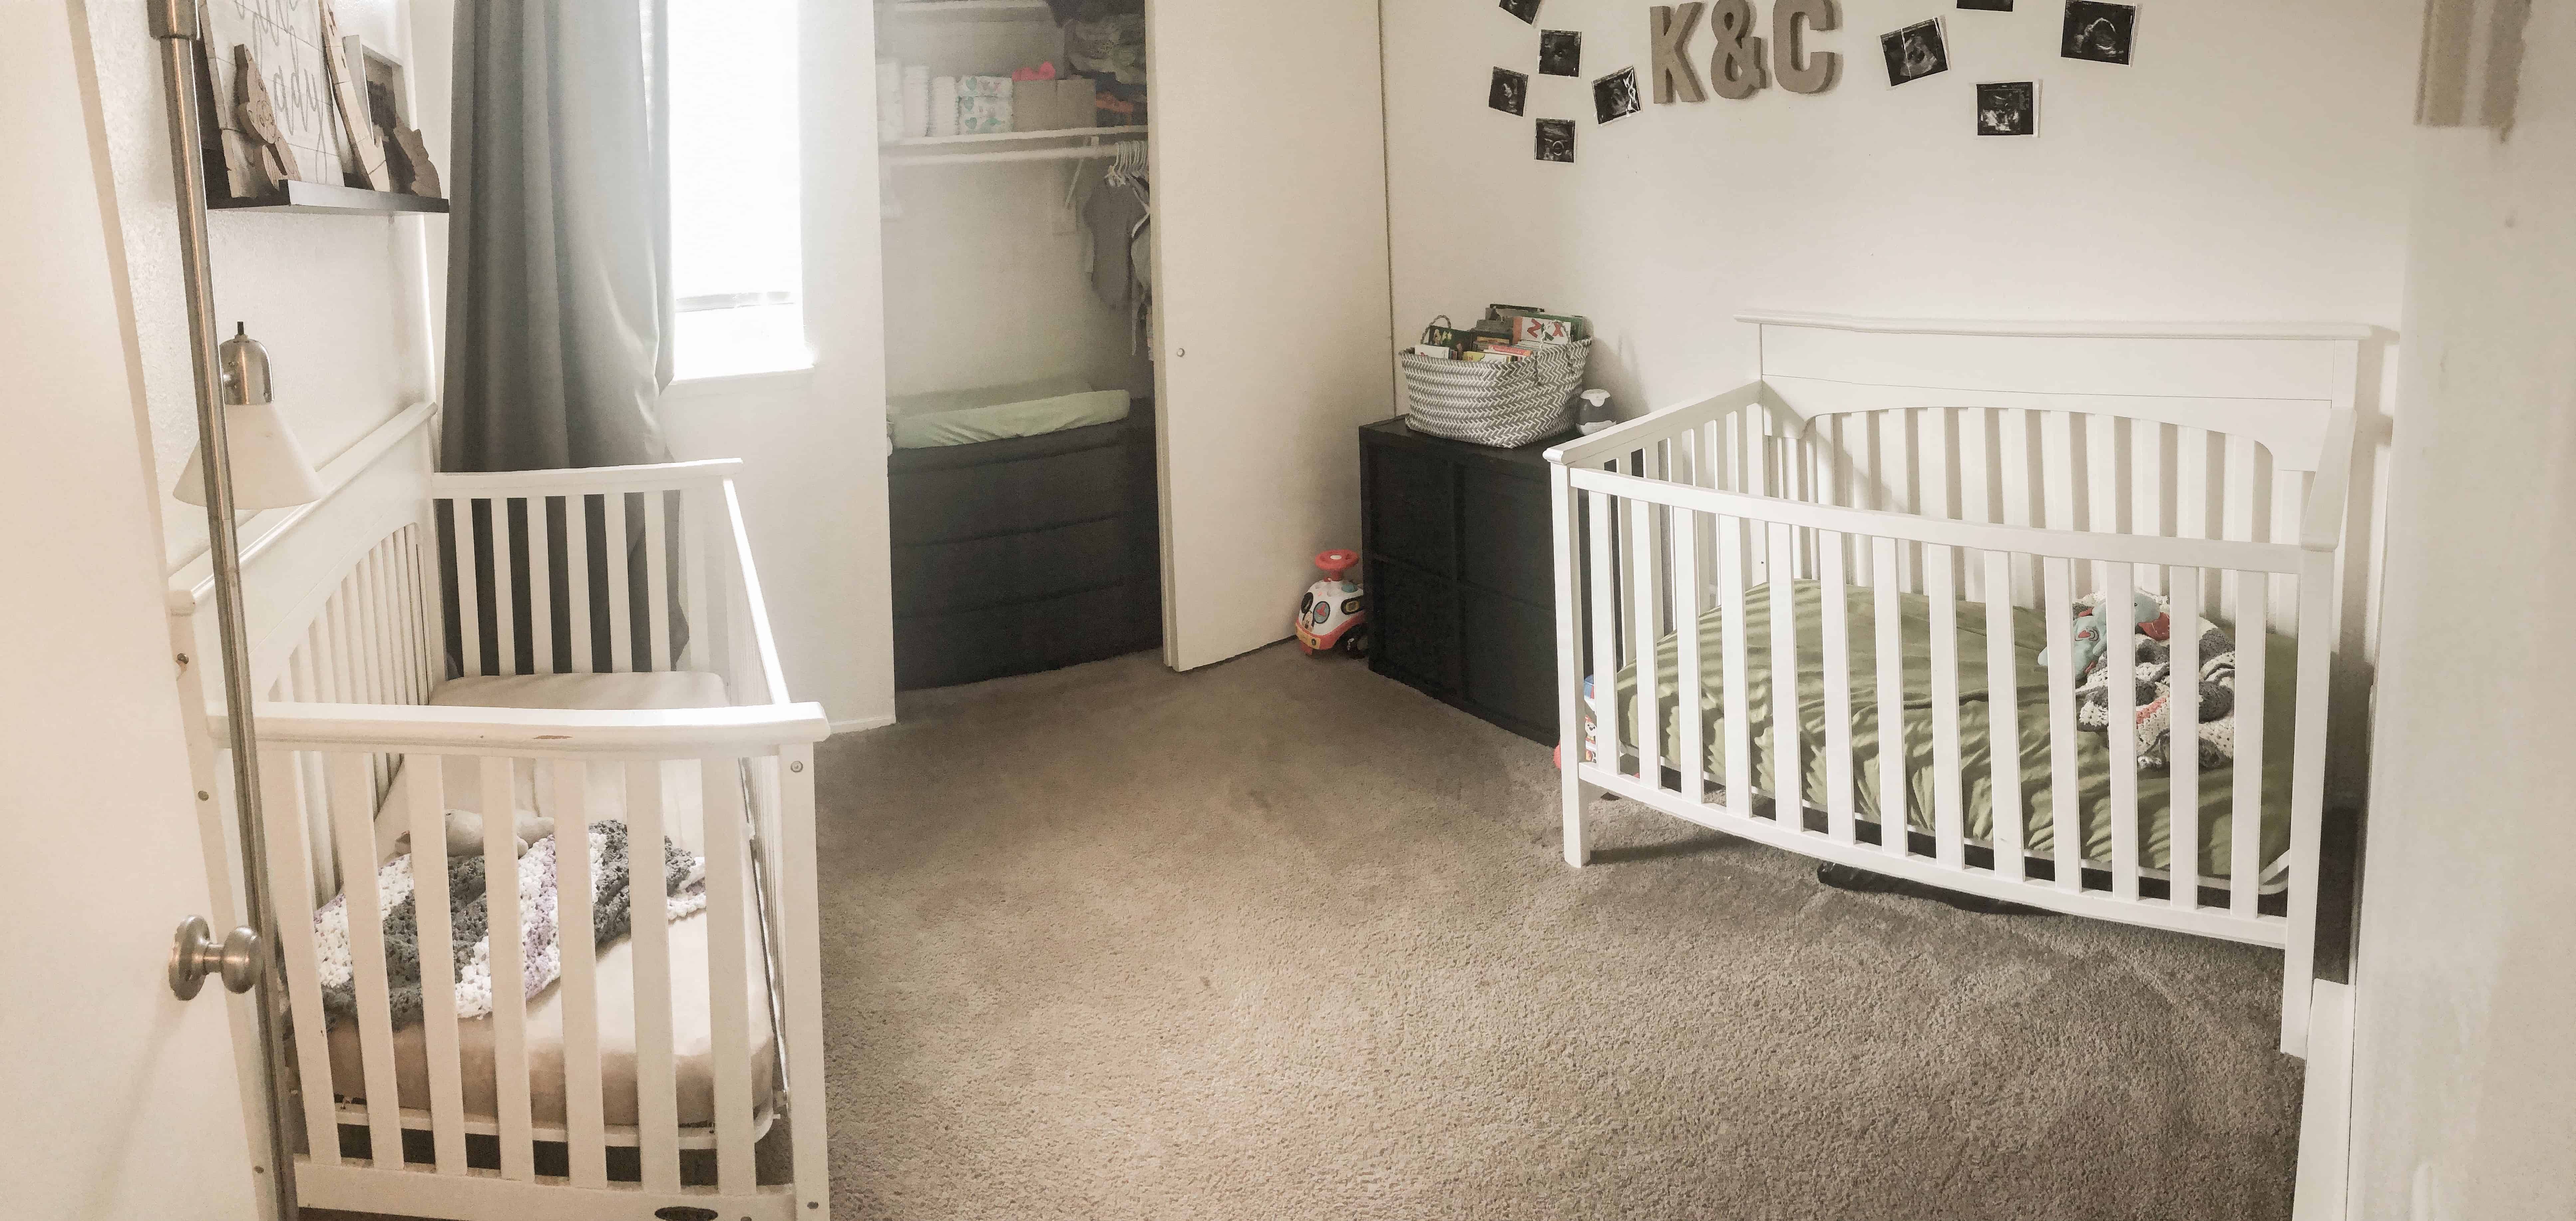
One thing I have learned is if you like to keep up with the times, you might want to be careful with where and how you invest in a kids room. Styles change often, and on top of that kids are HARD on furniture. For us we decided that when we had Jack we would invest in a great nursery set that could last. BUT I will say that both of the boys chewed not the crib, so I wish I hadn’t thought of it as a long term bed for one of my kids, because that won’t work now.
We invested in a great bed that can grow with Avé. The bed can possibly be passed down to her kids if she wishes. I love that its metal, and slightly less destructible than many, but for the boys I won’t be investing in expensive furniture anytime in the near future. I think you can still get great sturdy pieces without spending an arm and a leg!
Have Fun With the Small Stuff
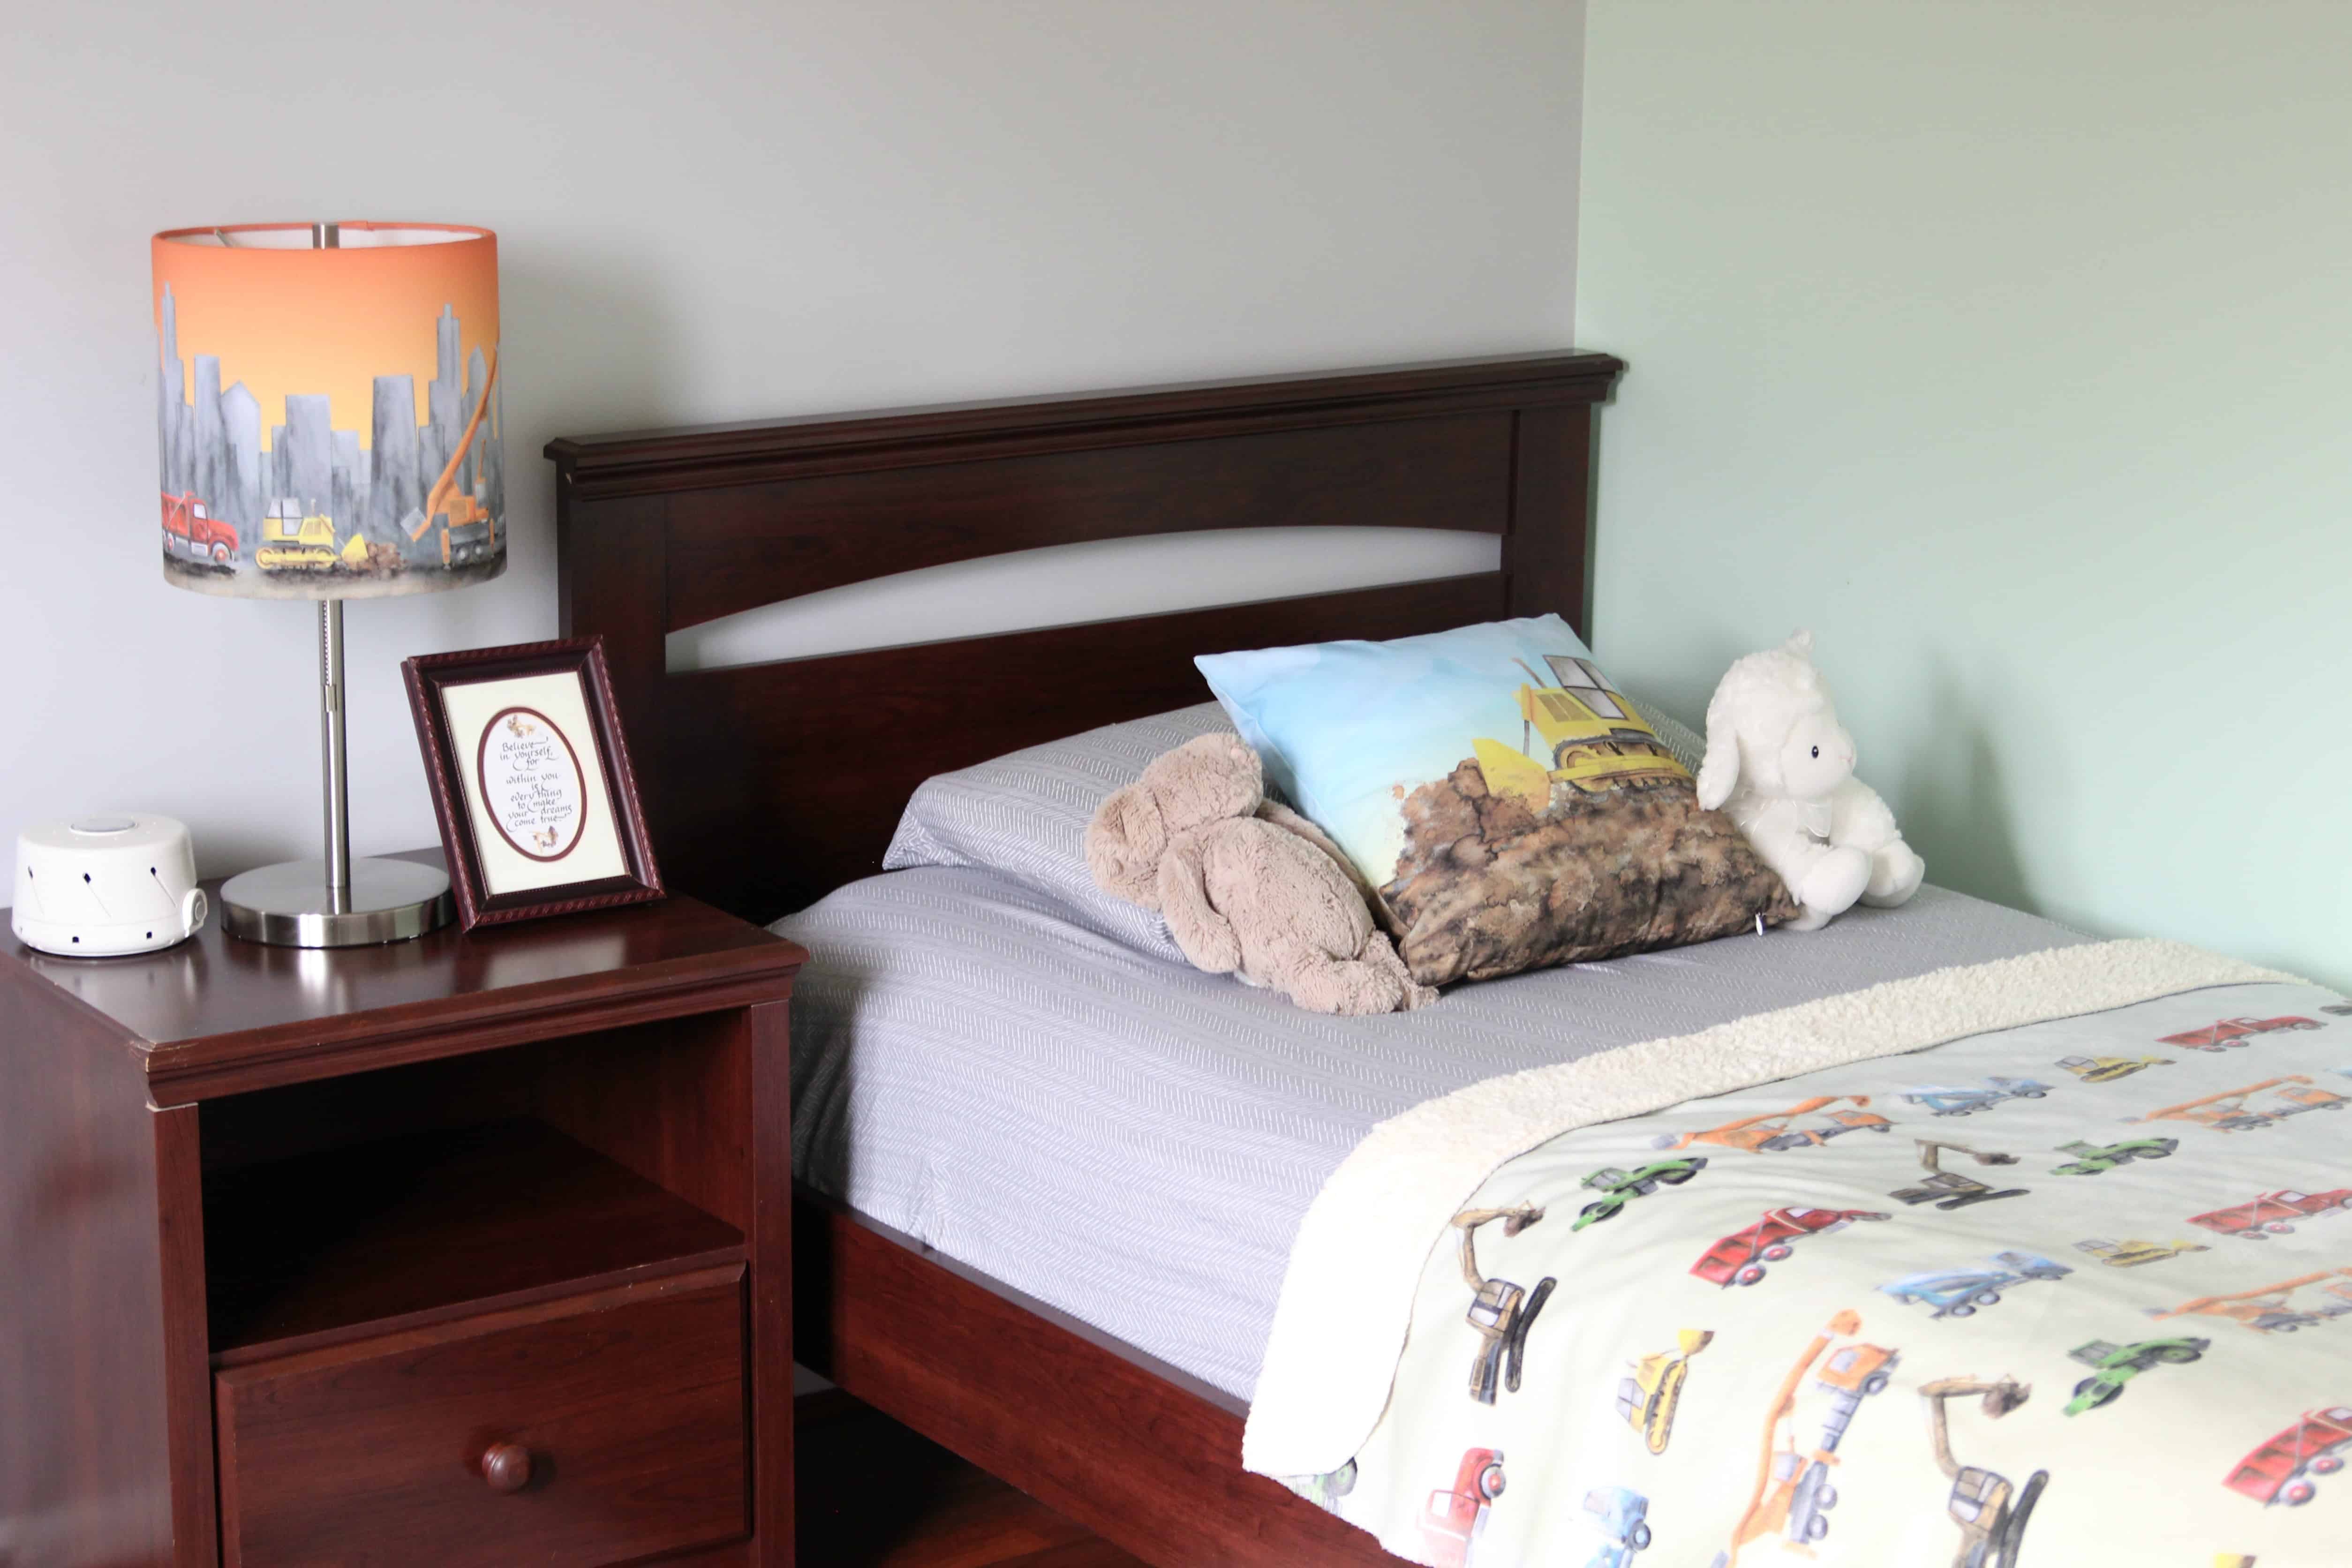
There is no reason not to have fun with the small stuff that can make a huge impact in a room. Some of the biggest changes and pops of fun I have done in my kids rooms have been some of the least expensive parts. Take my daughters room. – I loved her dresser and night stand but I wanted to jazz them up a bit. I got these drawer pulls and LOVE how they made the dressers look way more modern.
Great Throw pillows, or fun shelving that can be decorated are another great way to add fun touches. In both Avé and Walker’s nursery’s the biggest wow factor pieces were DIY’s. Mobiles, Ladders, and a gum ball machine. (CHECK OUT HER NURSERY, AND HIS HERE!)
Overall, have fun!! I think if you follow the rules you would follow most places in your home you will be super happy with how the space turns out. You will find you can adjust it without taking on huge expenses! If you have questions or need options on anything be sure to leave me a comment or shoot me an email.
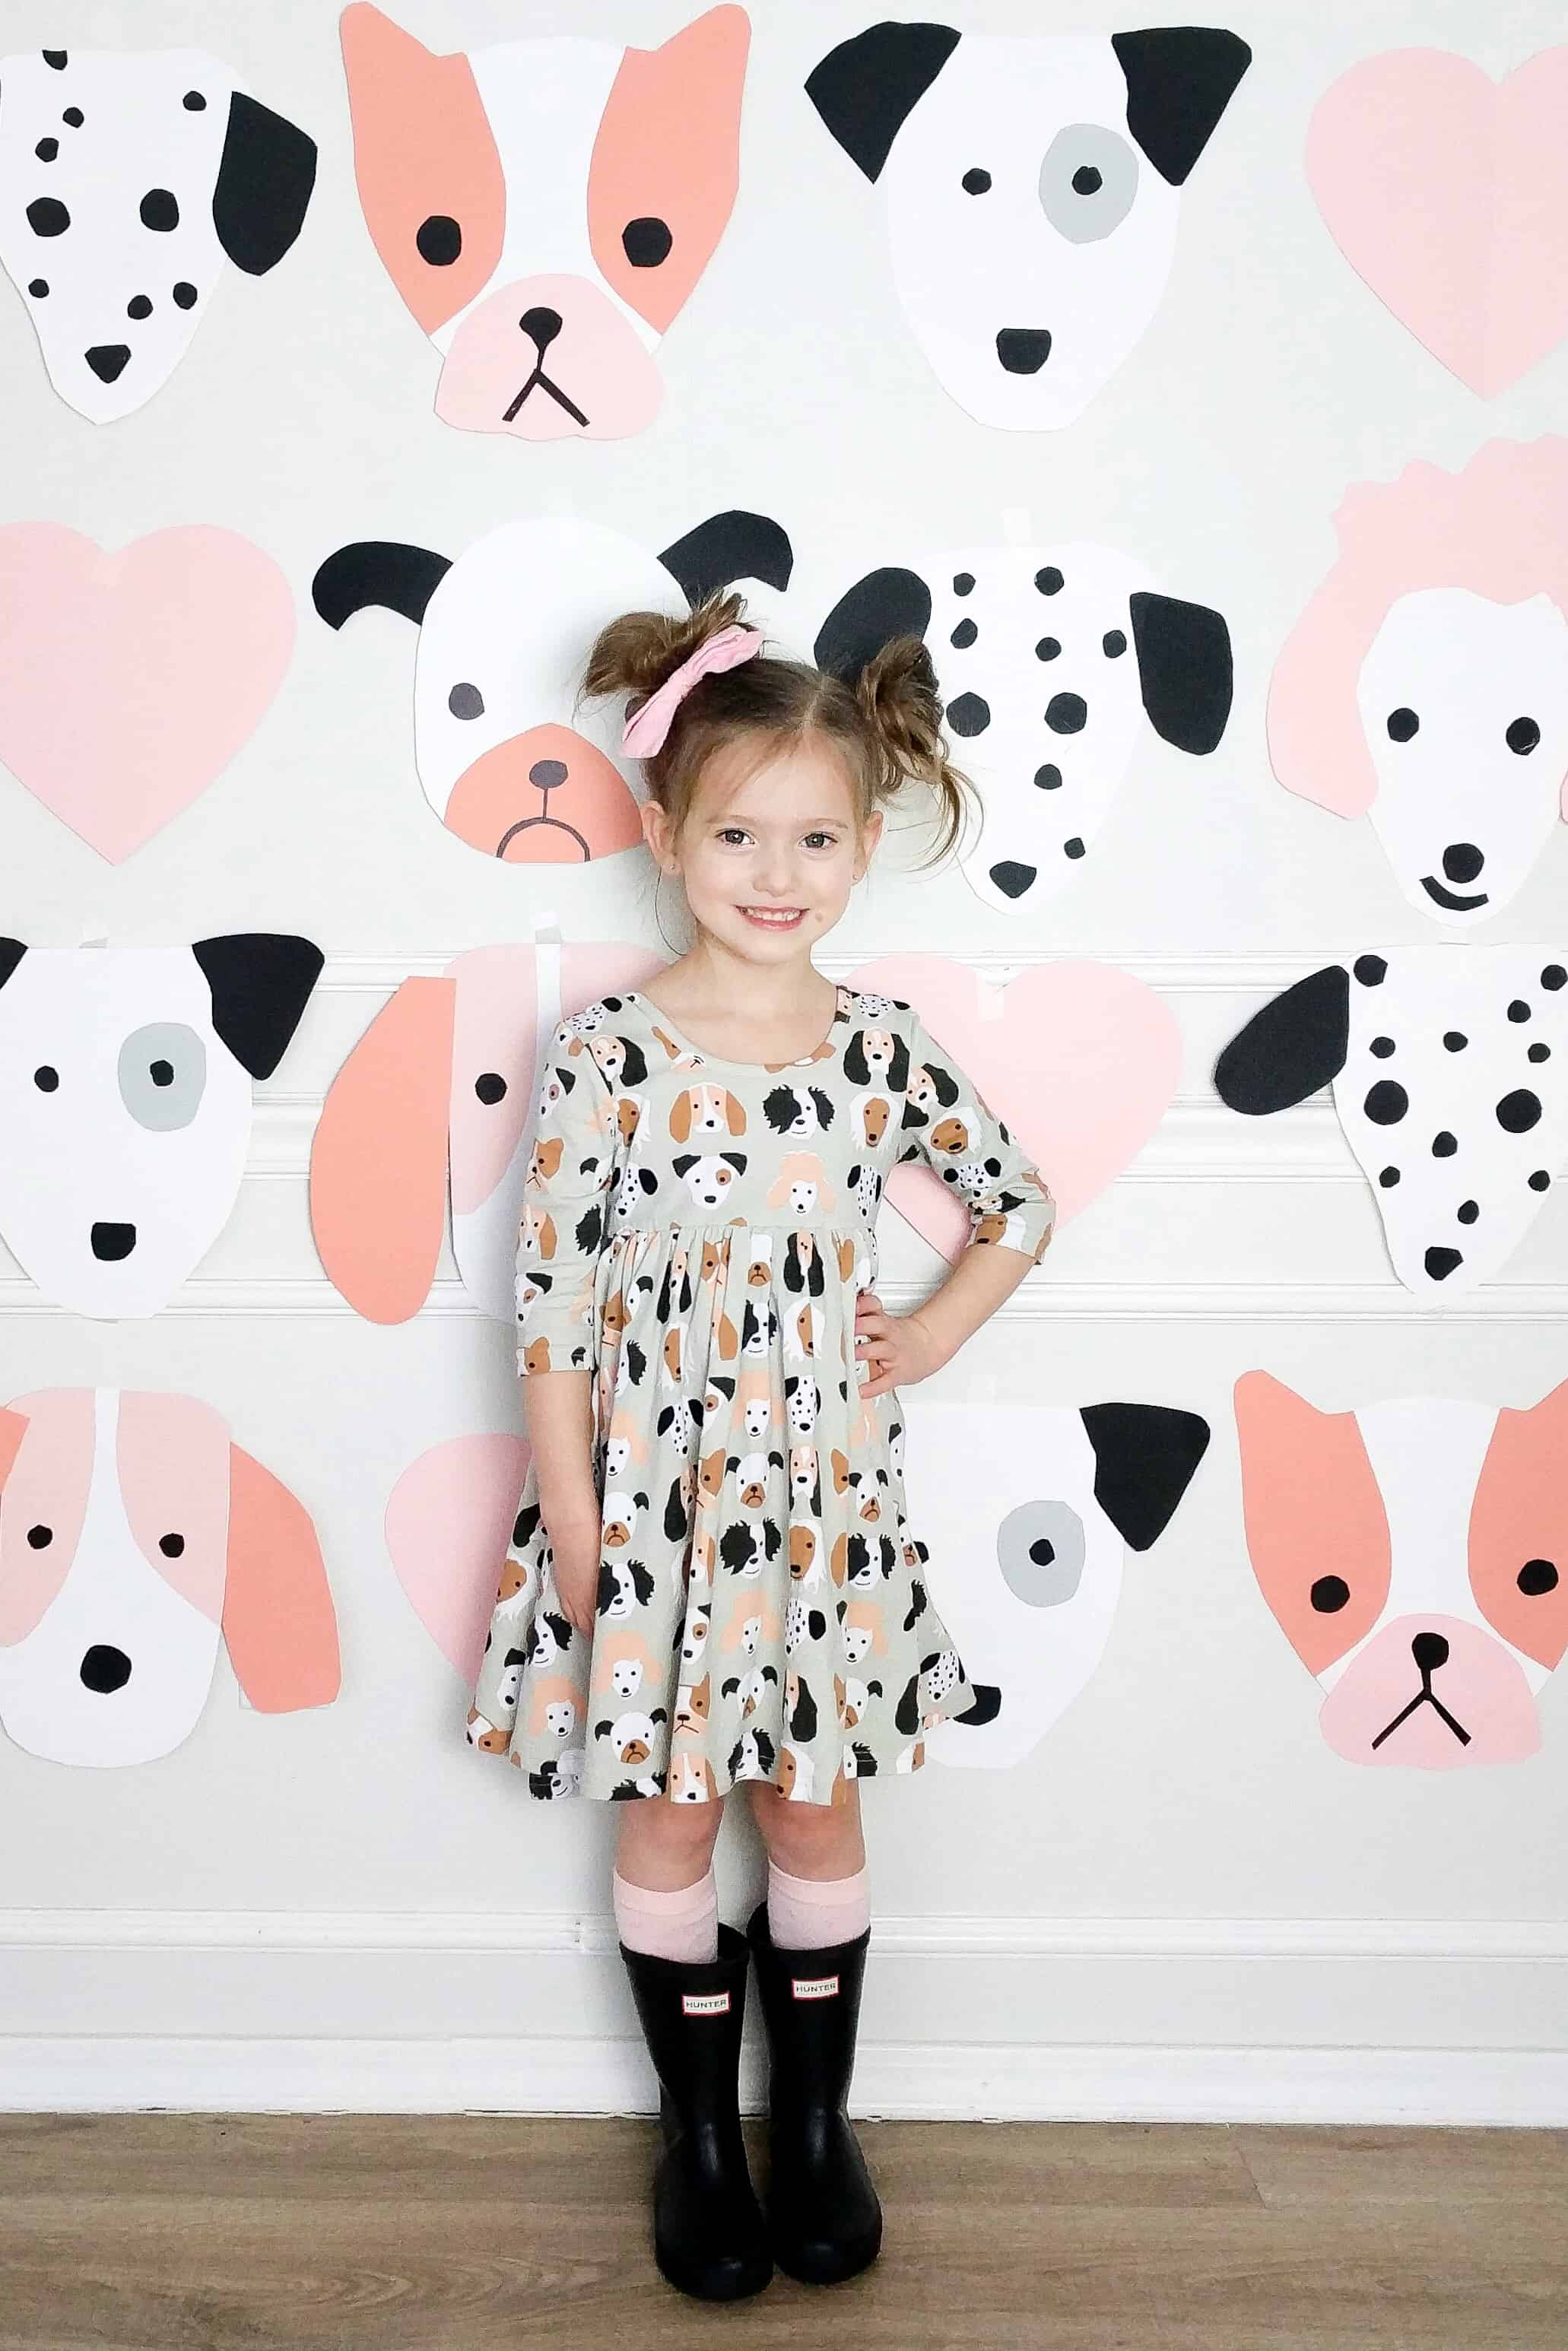
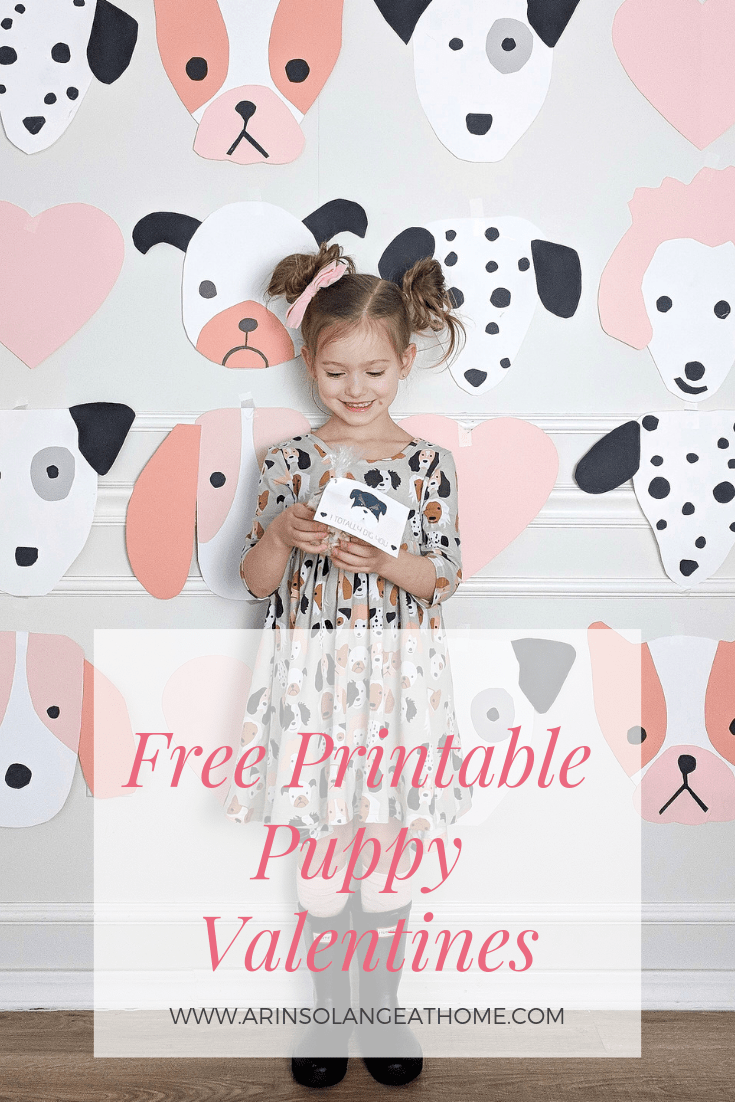
I feel like every little girl (and probably many little boys too!) goes through a puppy phase. (I am almost 30 and still very much in mine haha). If you didn’t see it, Avé wanted a puppy birthday party this past year, so I decided while we were on the kick of puppies I would throw together some free Puppy themed Valentine’s that you all can print out at home.
Let me know if you have any questions. Also if I get enough requests I will make them in blue or green too if you are interested! Just leave me a comment if thats you!
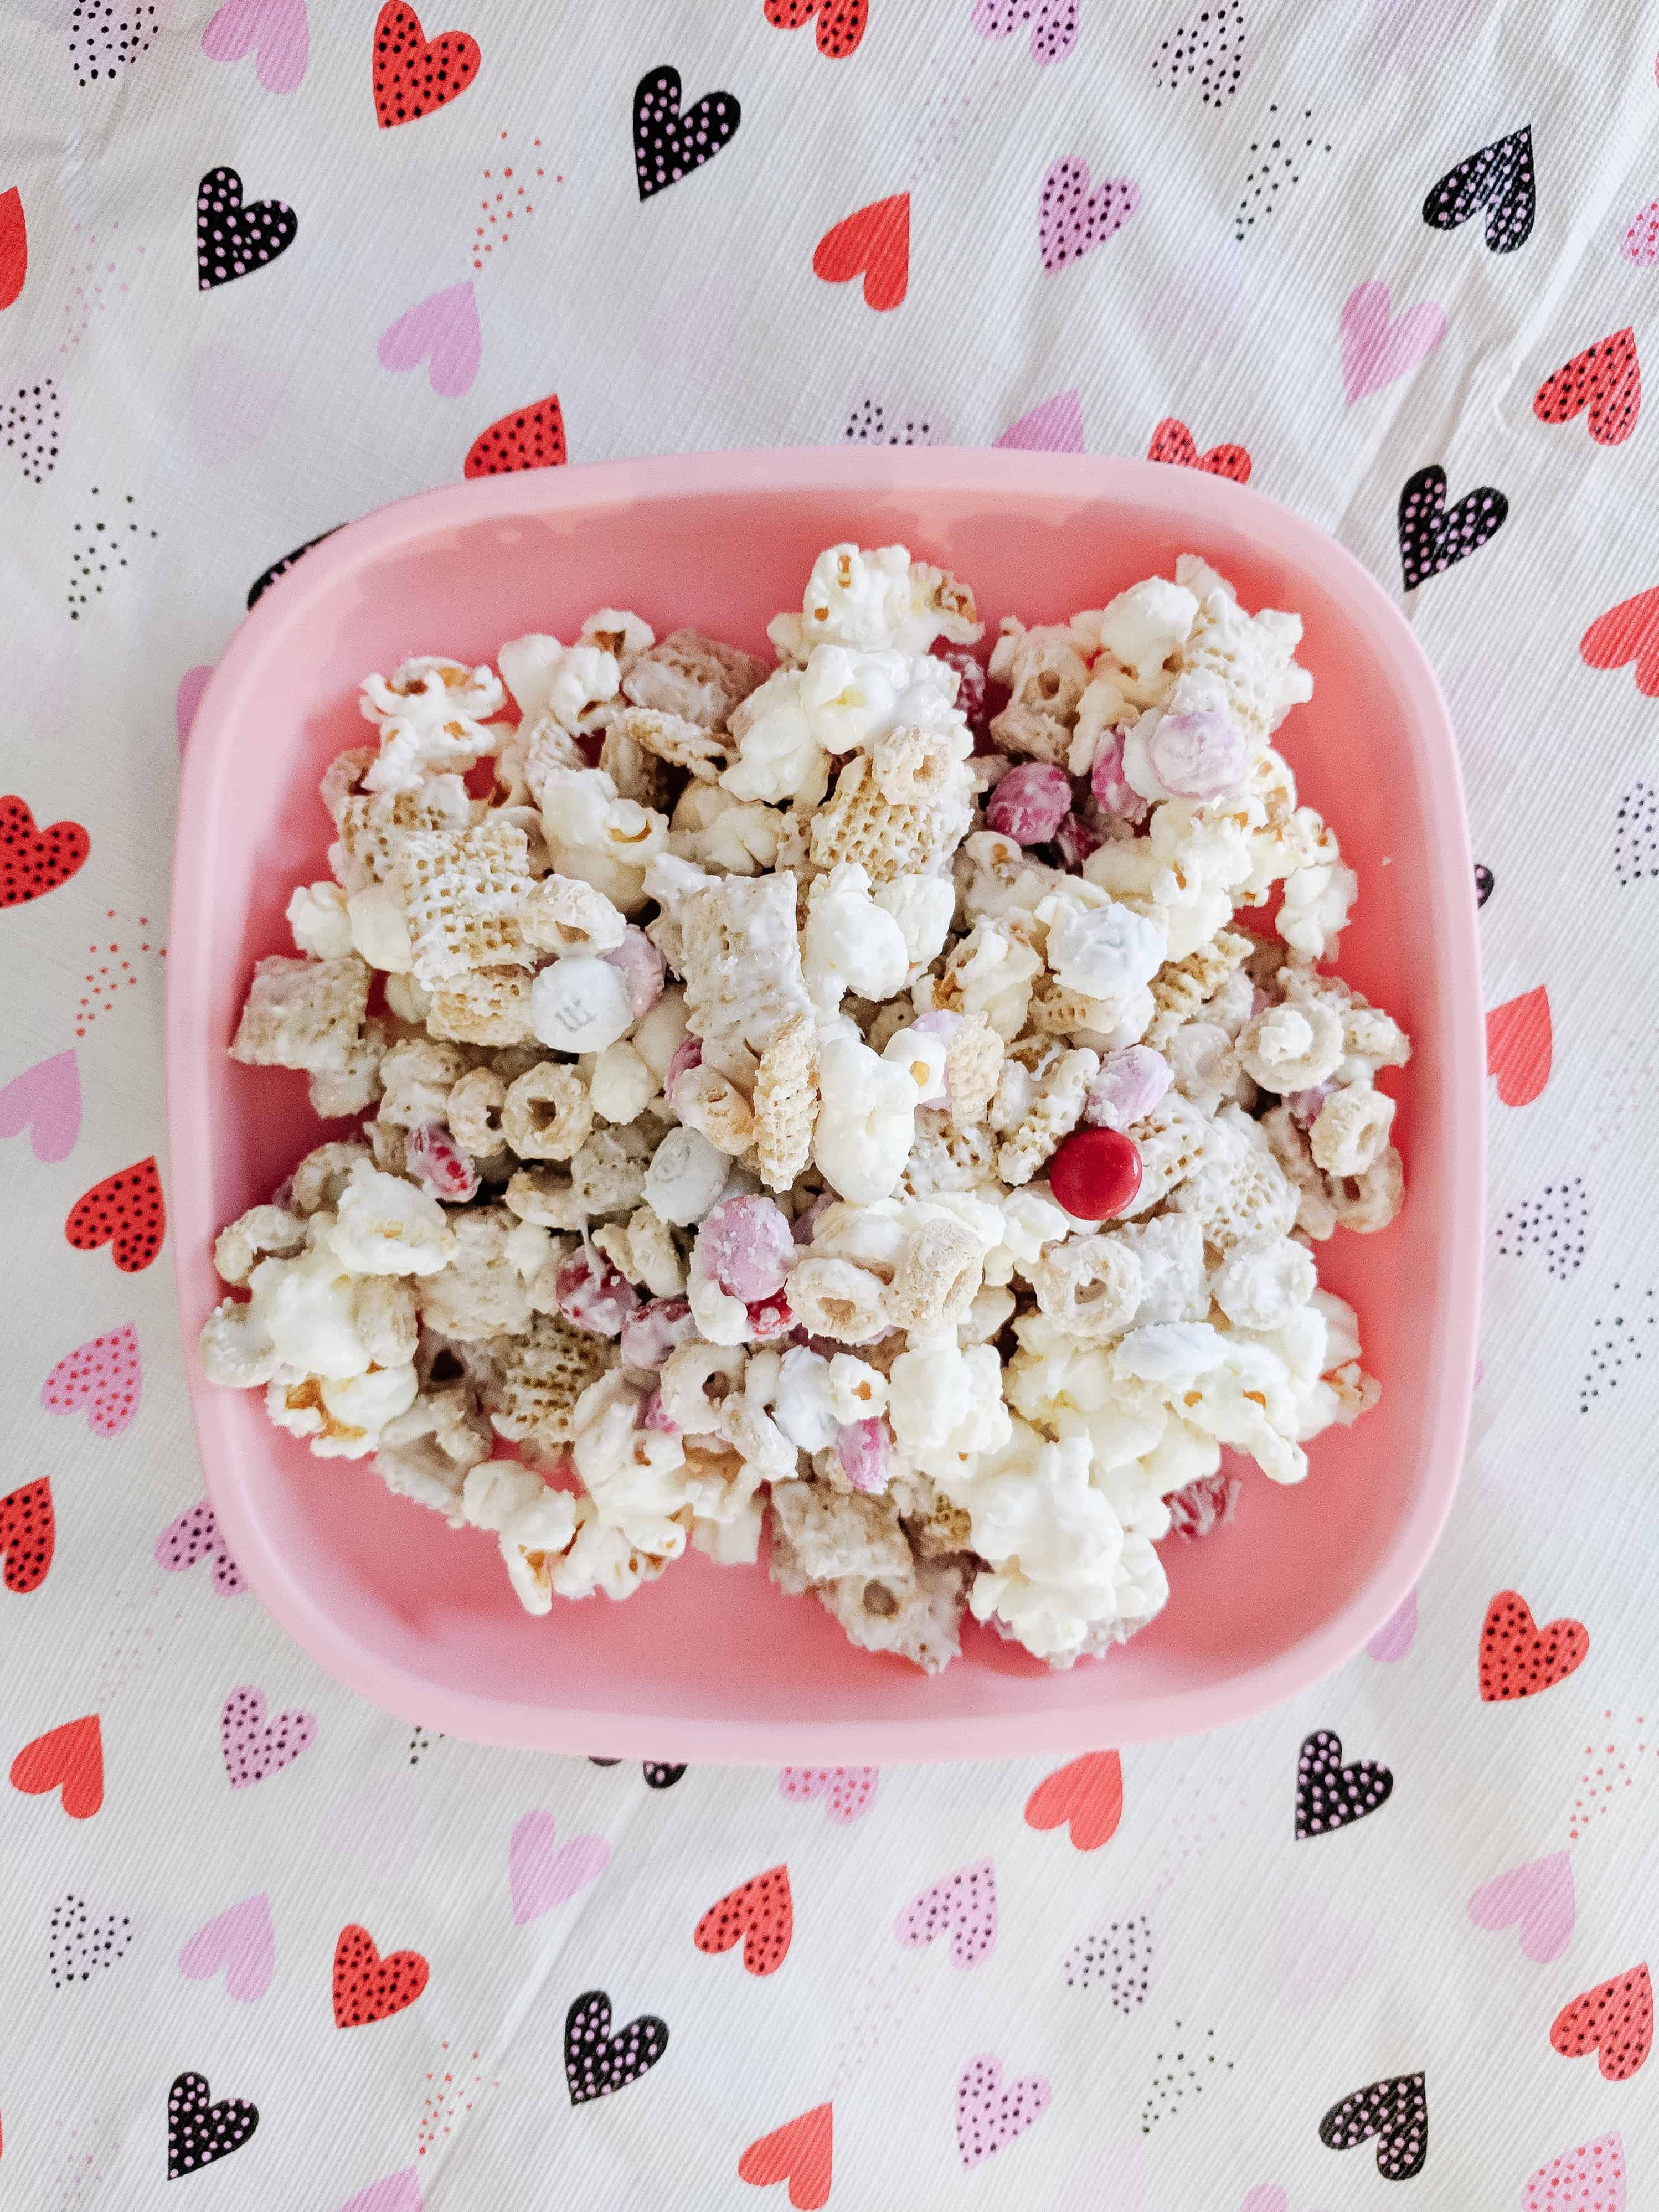
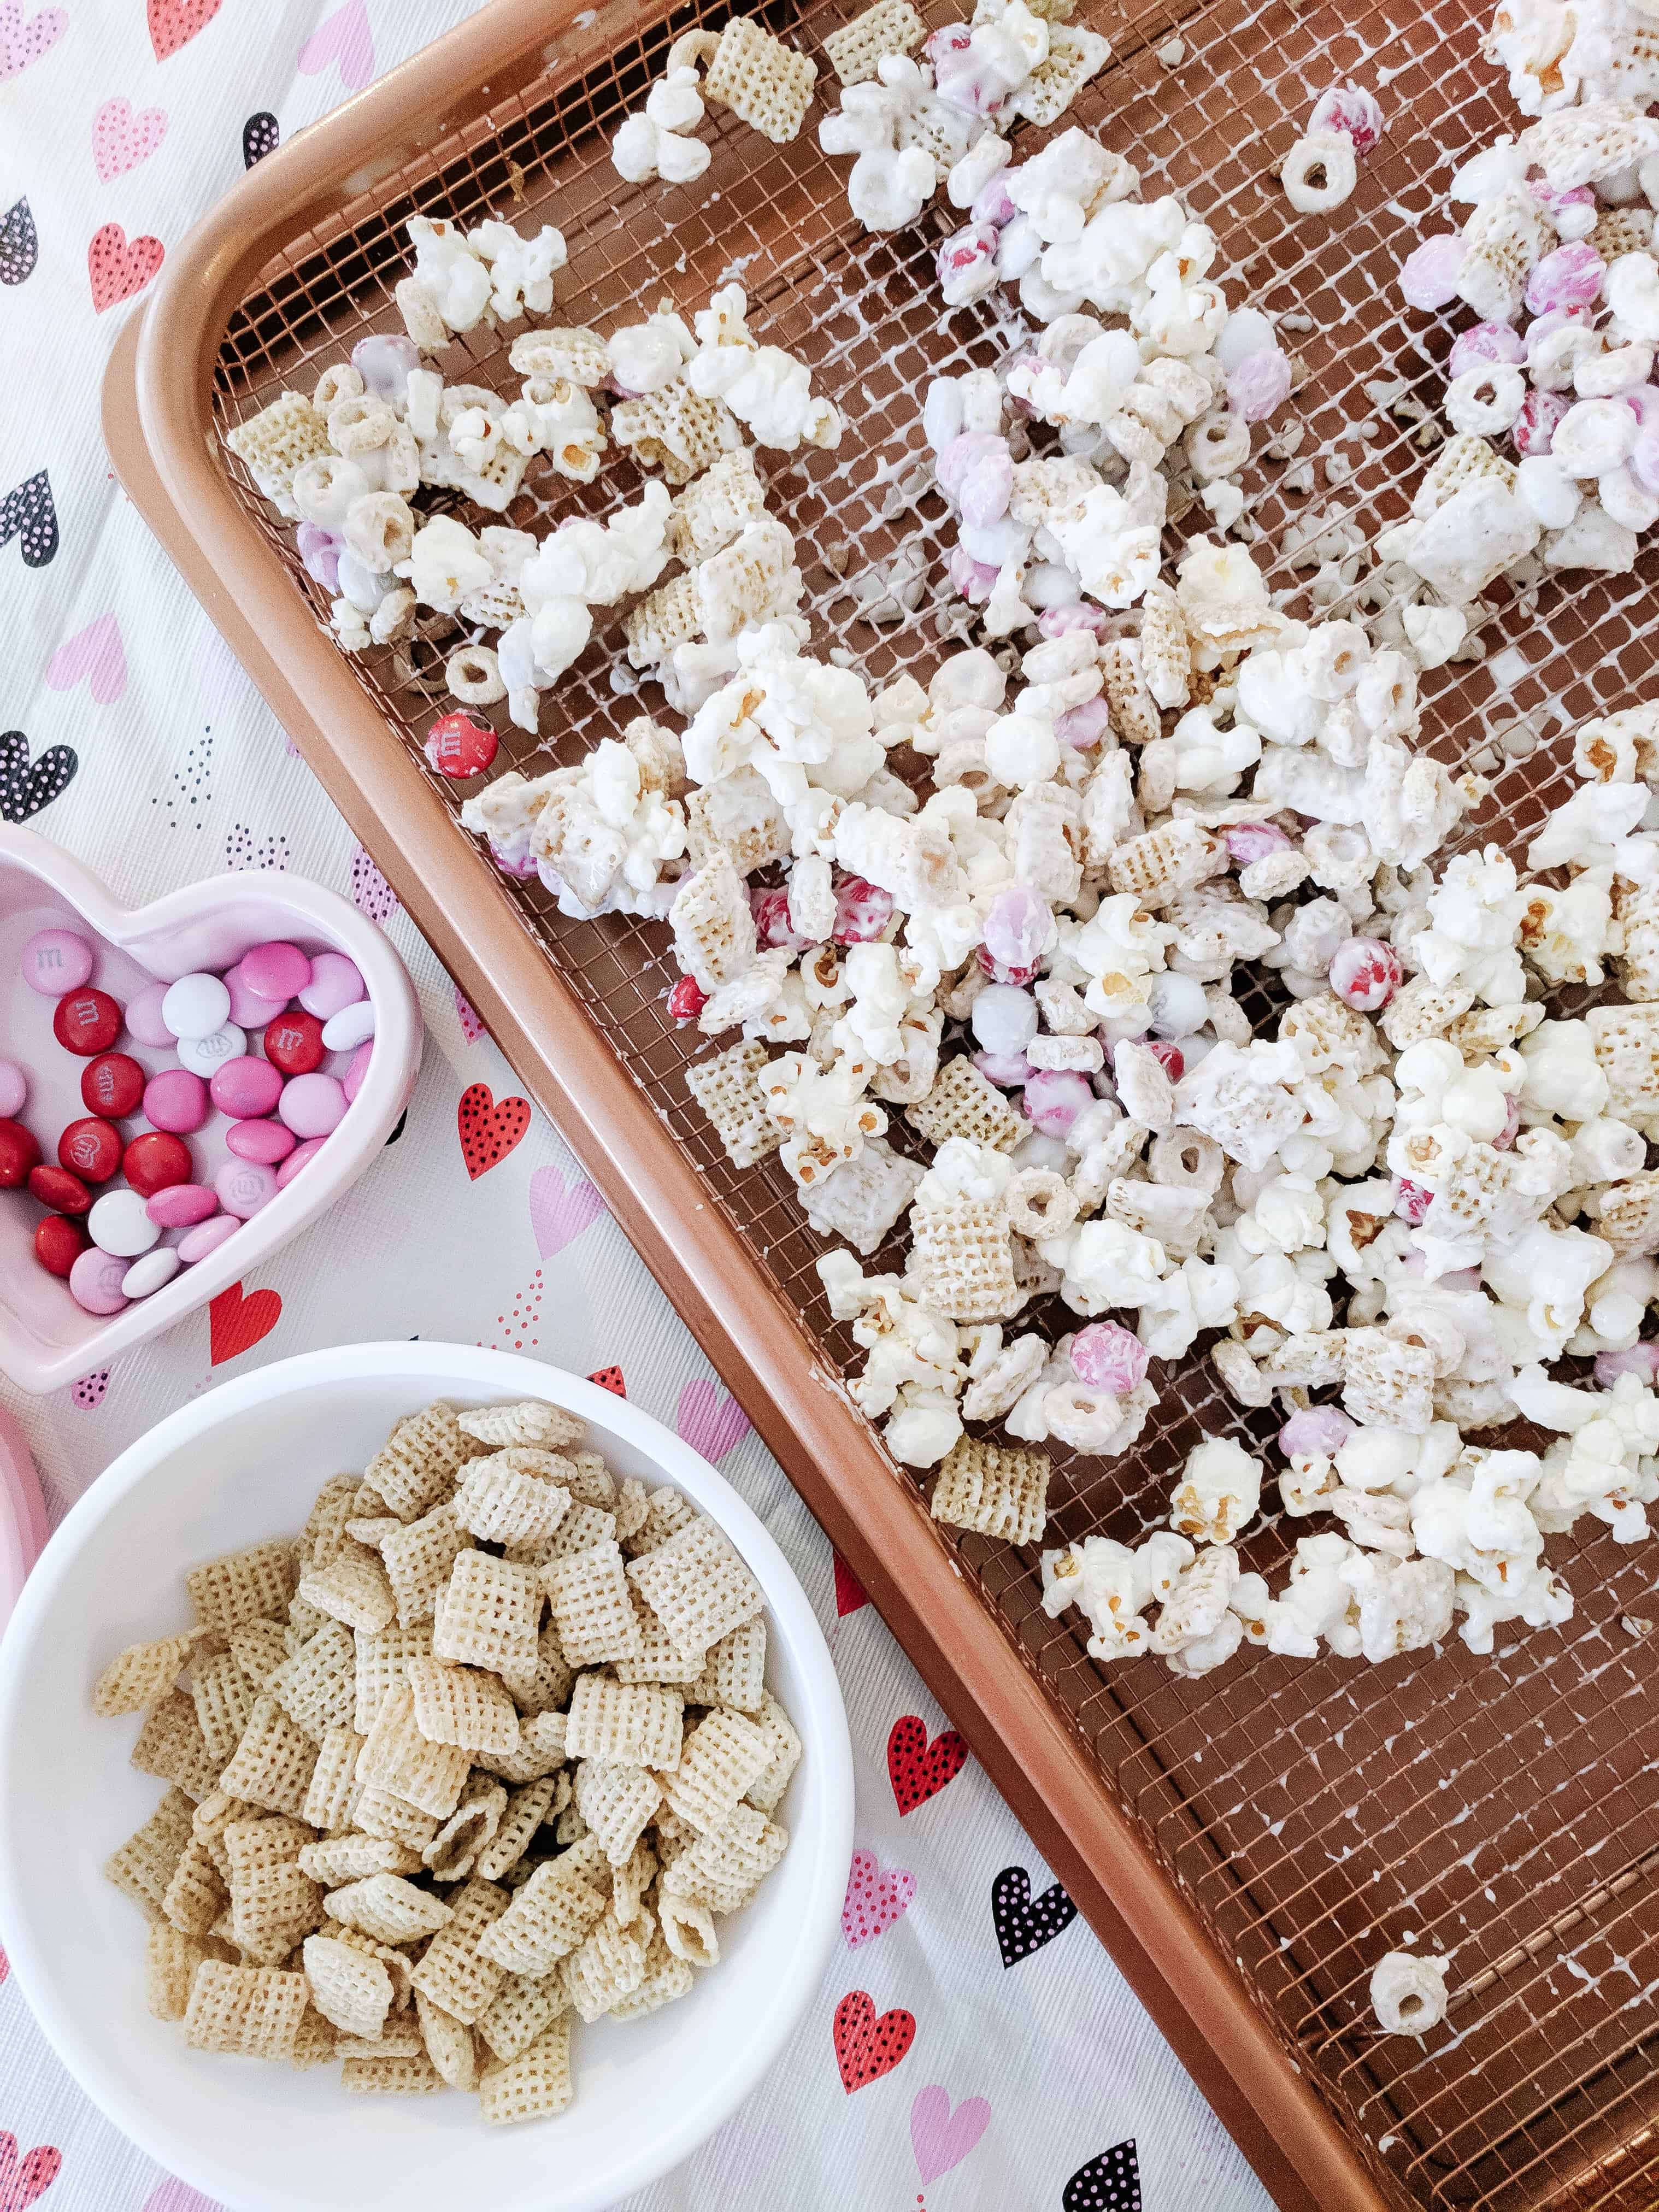
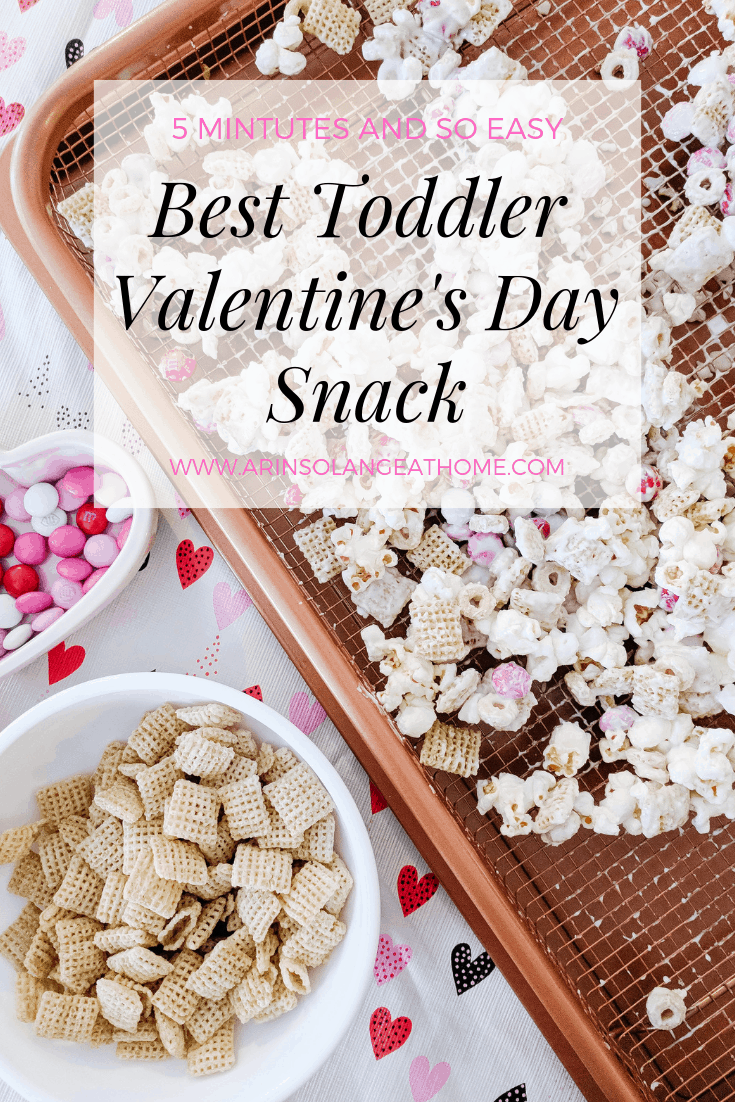
I’ve been making the same snack for my kids for Valentine’s Day every year. I don’t know why I tend to do it only at Valentine’s Day, because it honestly could go for any holiday, or just a fun movie night. It is simple, and you can kind of improvise the ingredients with things you have in your pantry, so your kids are sure to love your combination! This is honestly also the best toddler Valentine’s Day snack to take to school or for homemade Valentine’s for friends too!
Recipe for The Best Toddler Valentine’s Day Snack
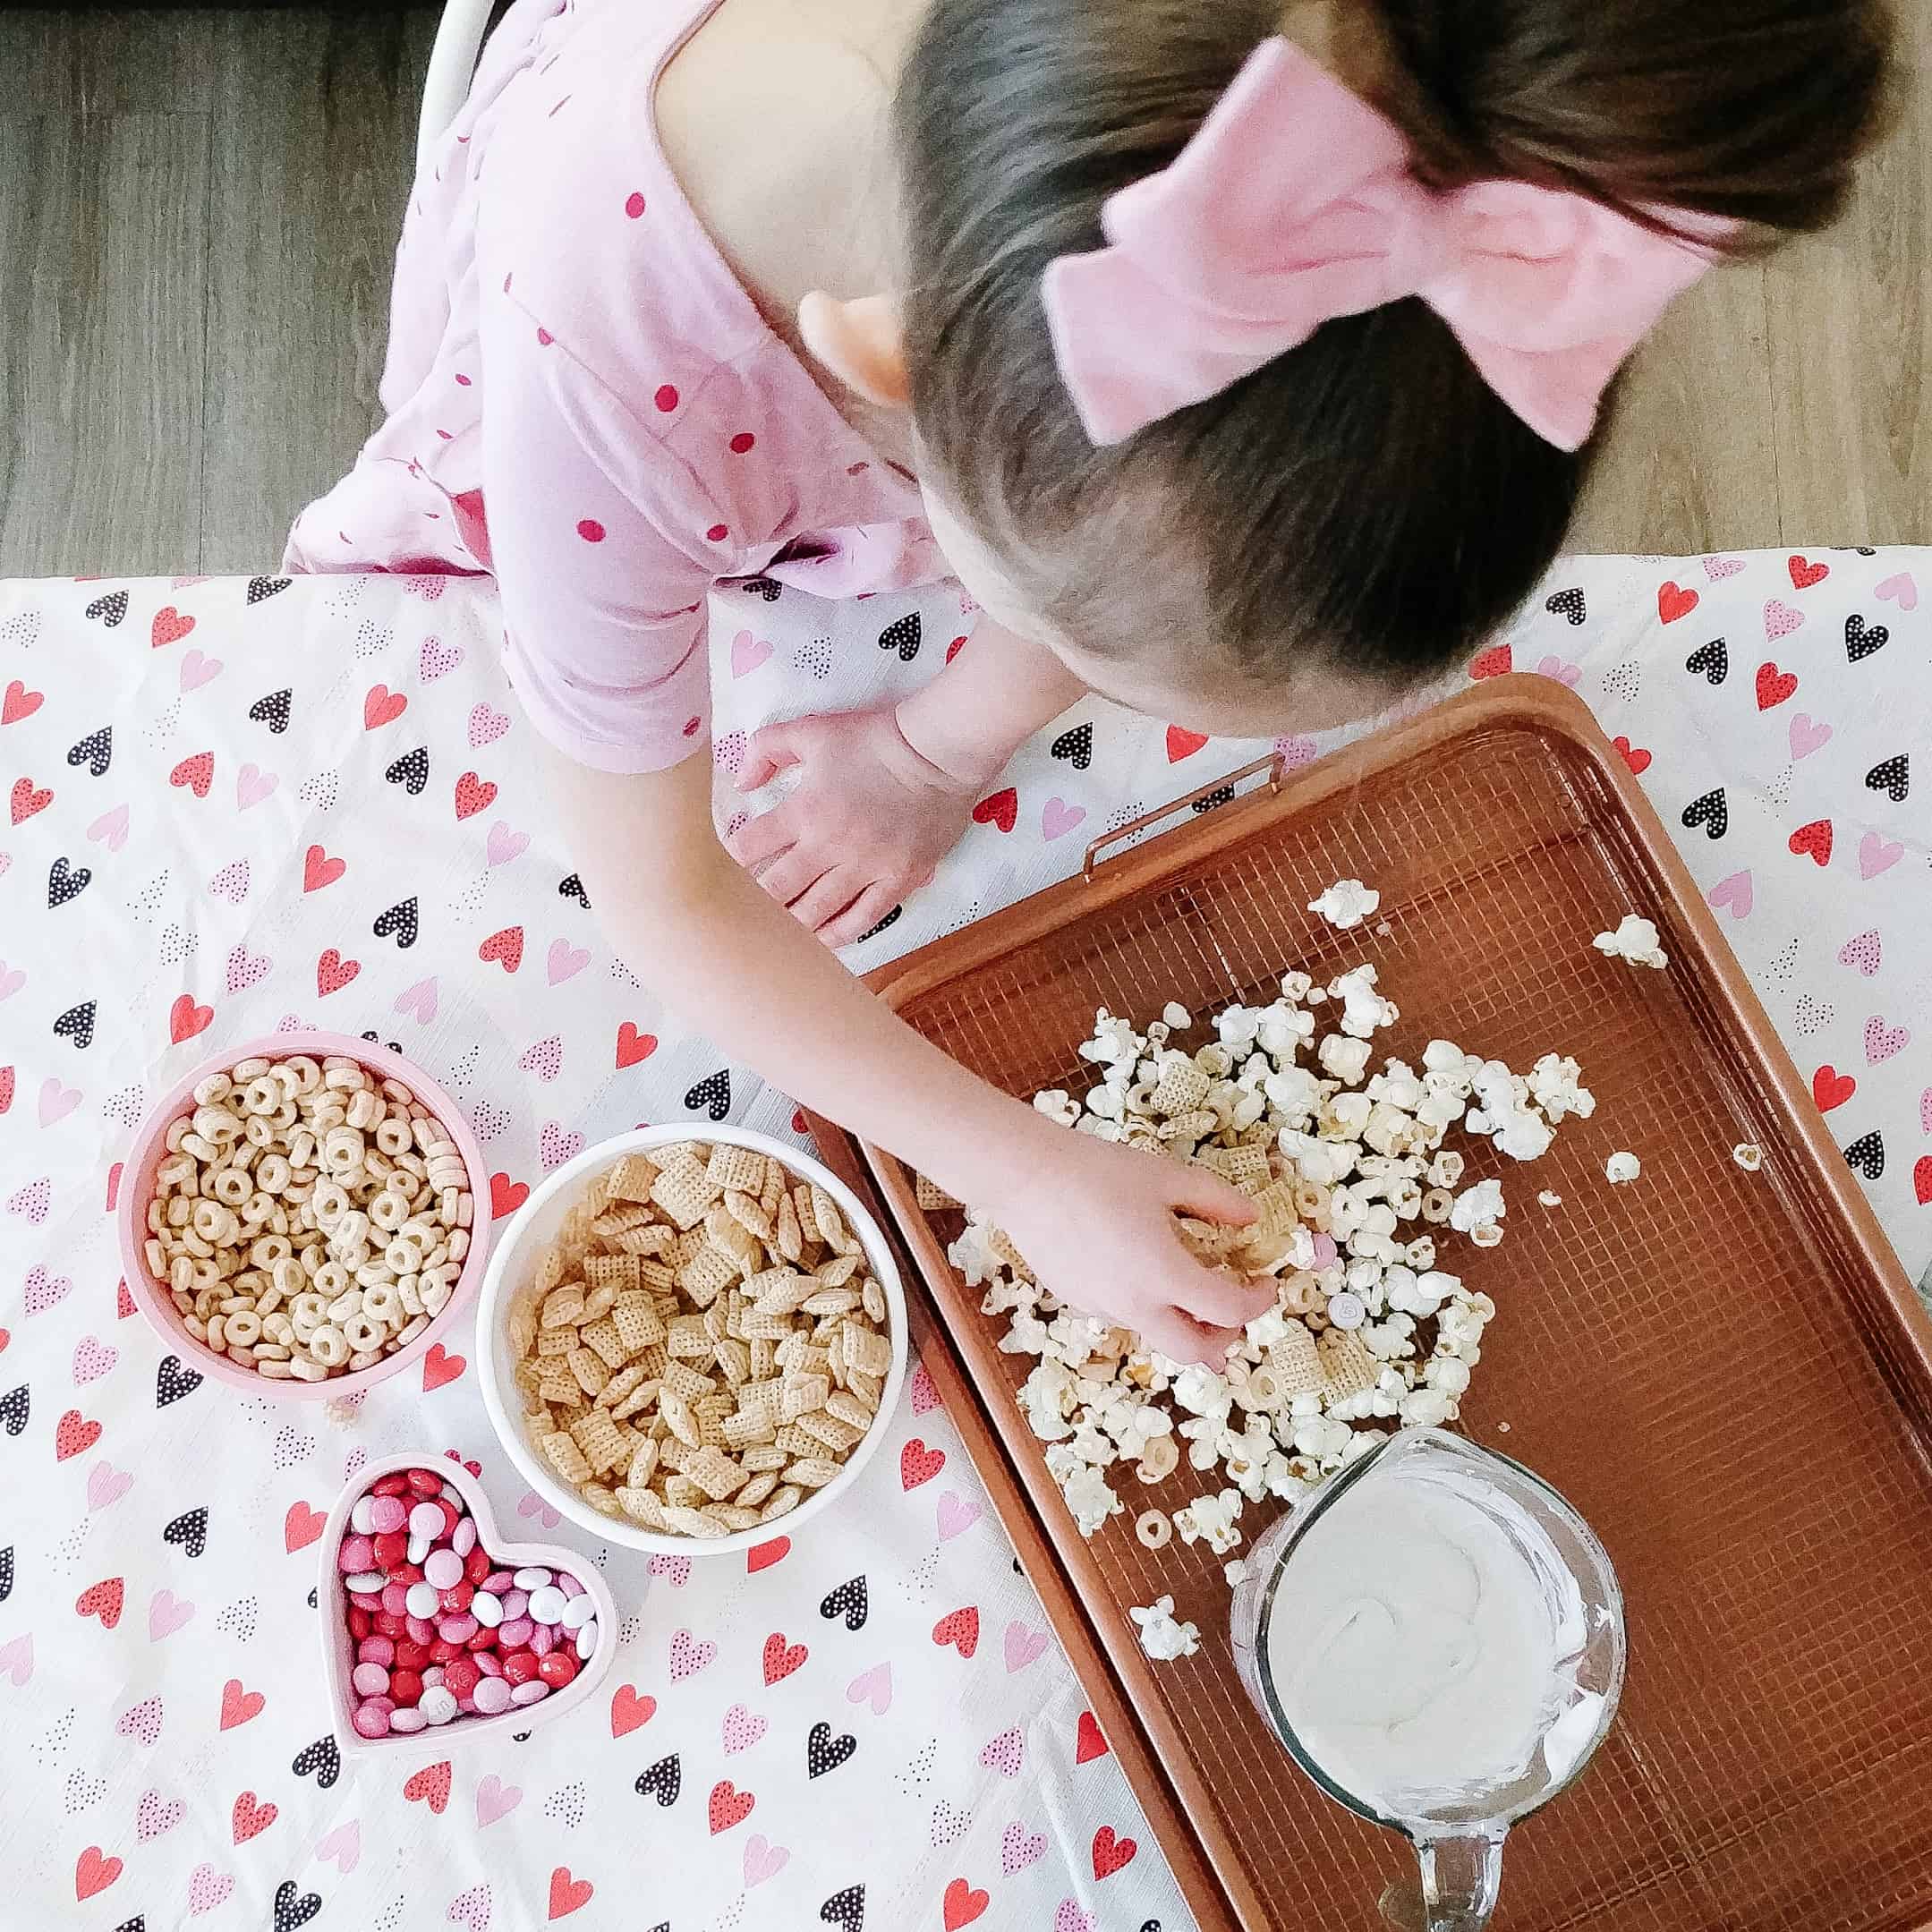
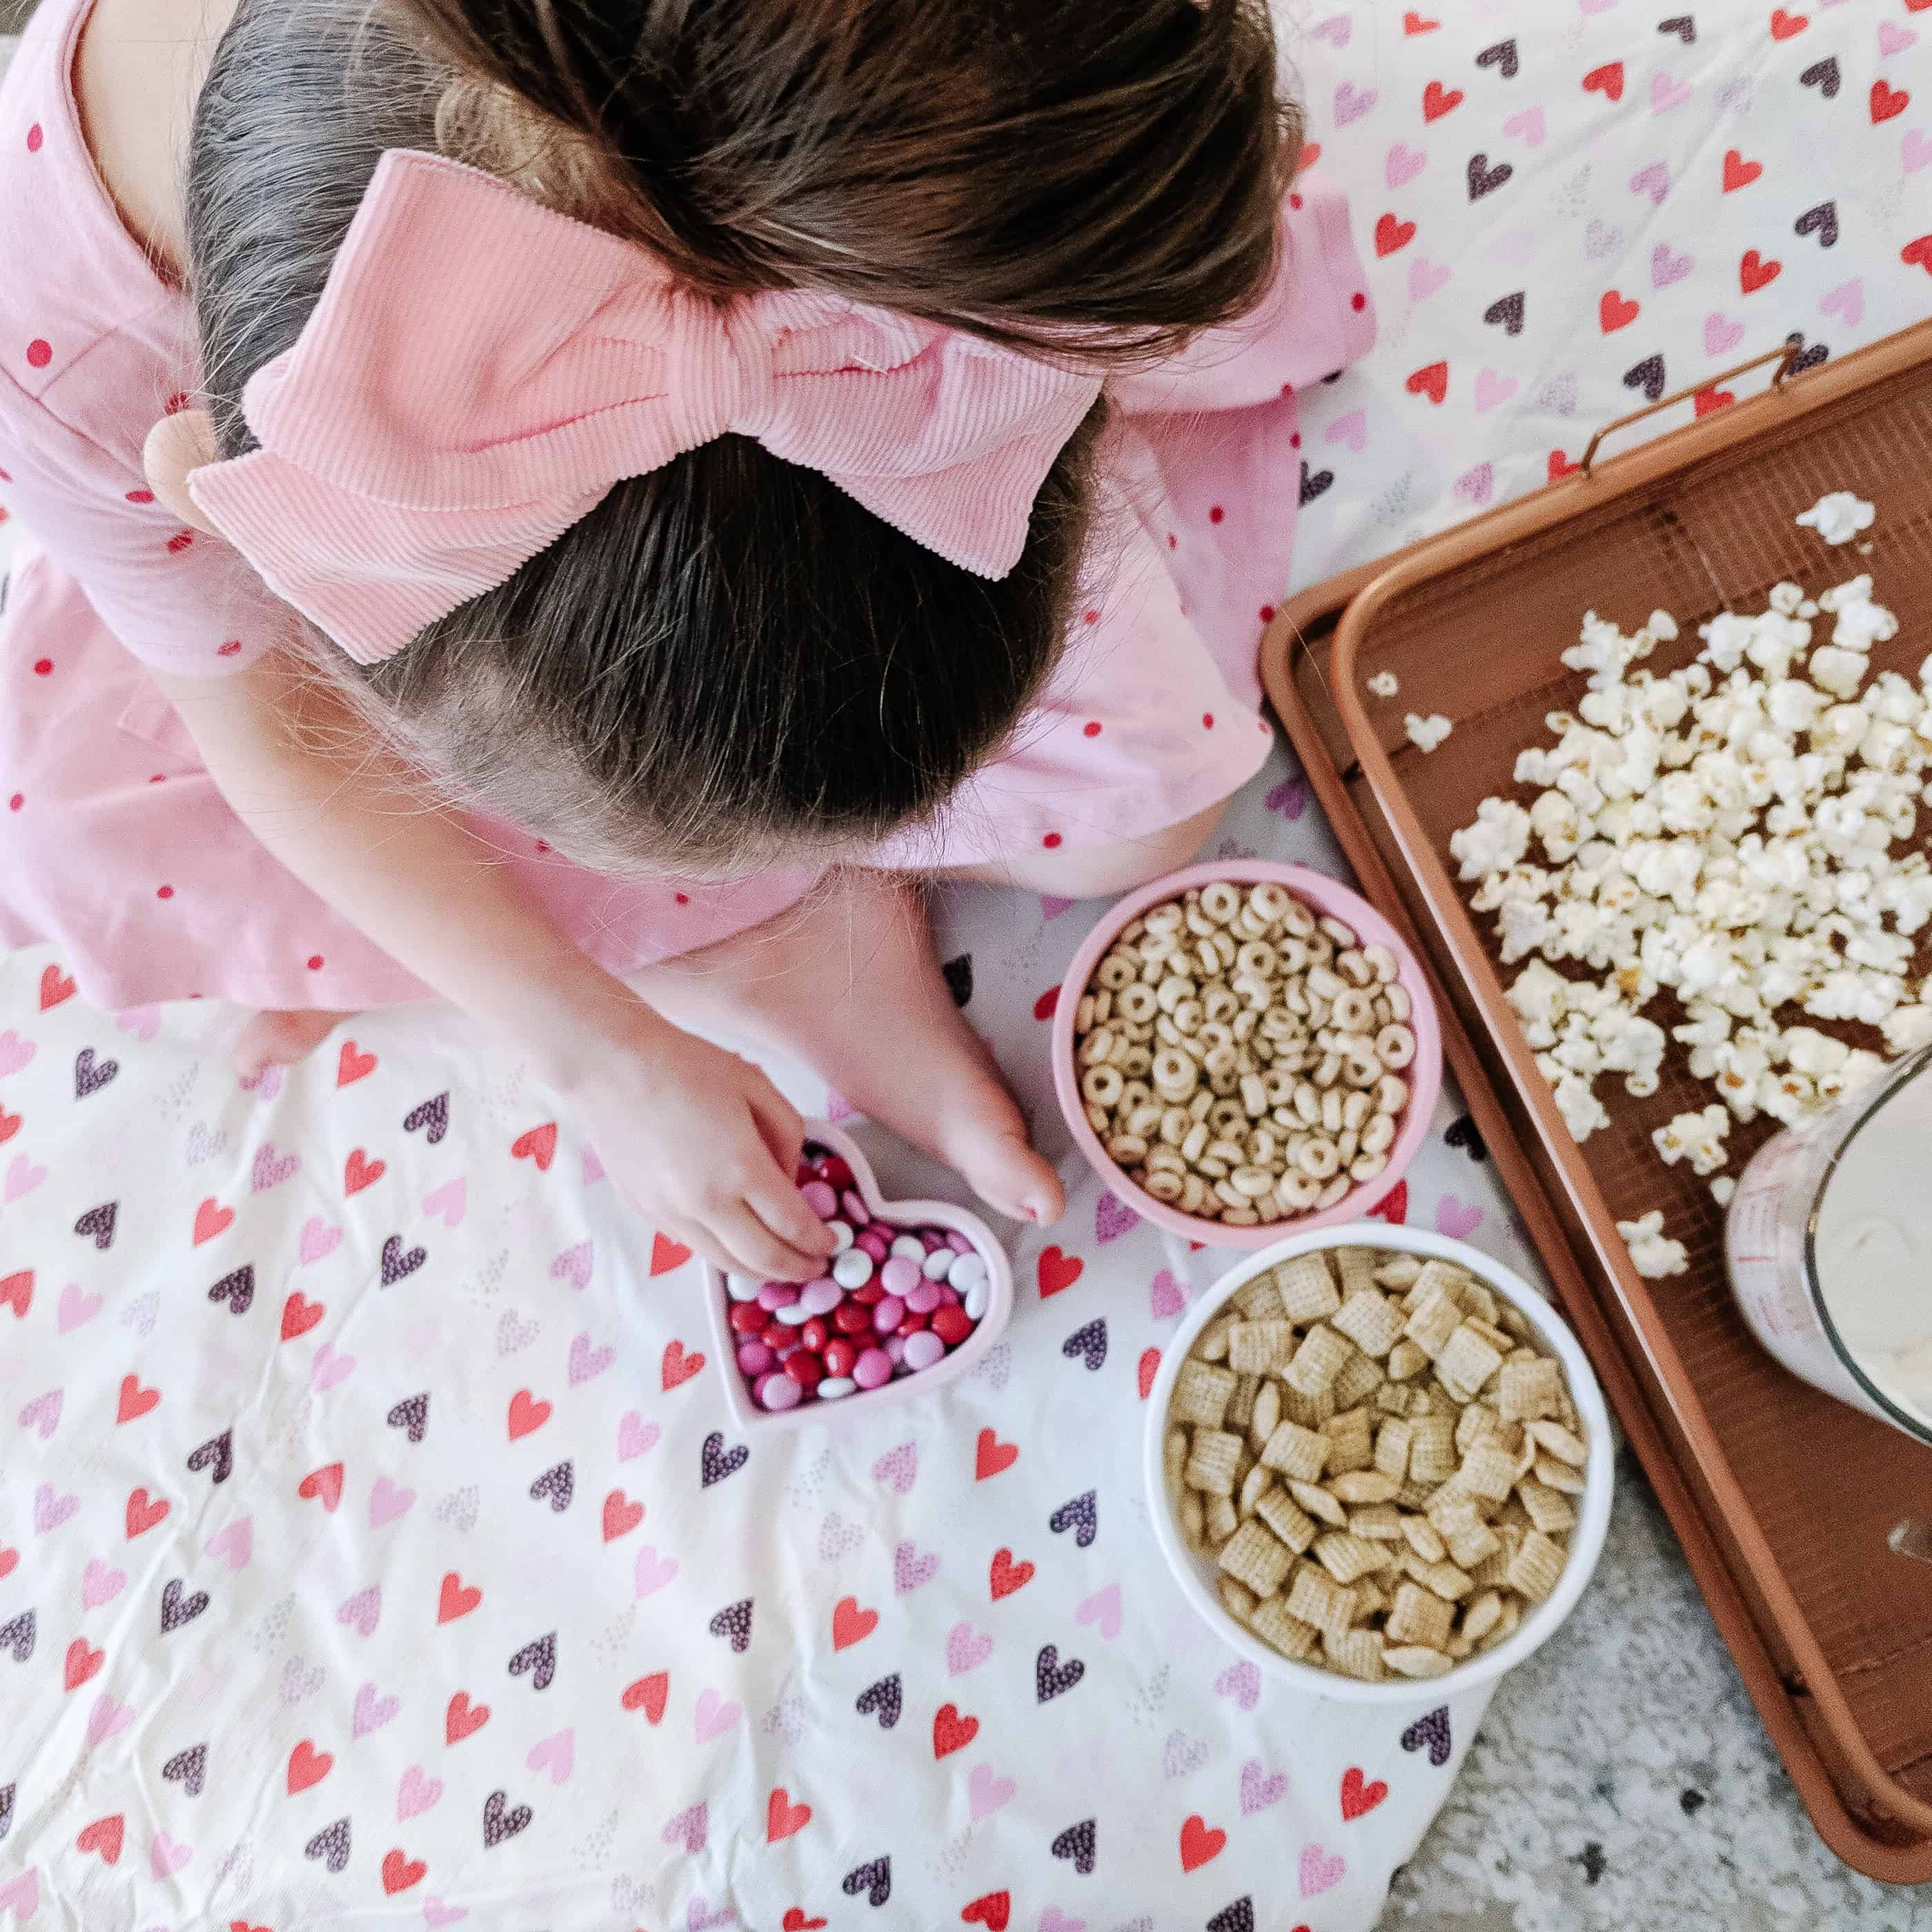
This is about as simple as it gets. For me I combine popcorn (or skinny pop), Chex cereal, Cheerios, and festive M&M’s on a cooling rack inside a baking sheet. Spread it out to make a thin layer and poor melted white chocolate over the whole mixture.
Then take your spatula, and toss the whole mixture until everything gets a light coat of the chocolate, and let it dry.
Thats it. I know, that seems to easy to be good, but kids love it, and I love that its not an overly sweet snack for class parties. You an also easily do different variations on this with different colored M&M’s, add sprinkles, or change up your cereal choices.
My kids also Love it with pretzels! Use up what you have and it will be a hit no matter what.
I would love to hear what you think of the best toddler Valentine’s Day snack, and if you come up with a great combination for the recipe, leave it in the comments so I can try that next time!
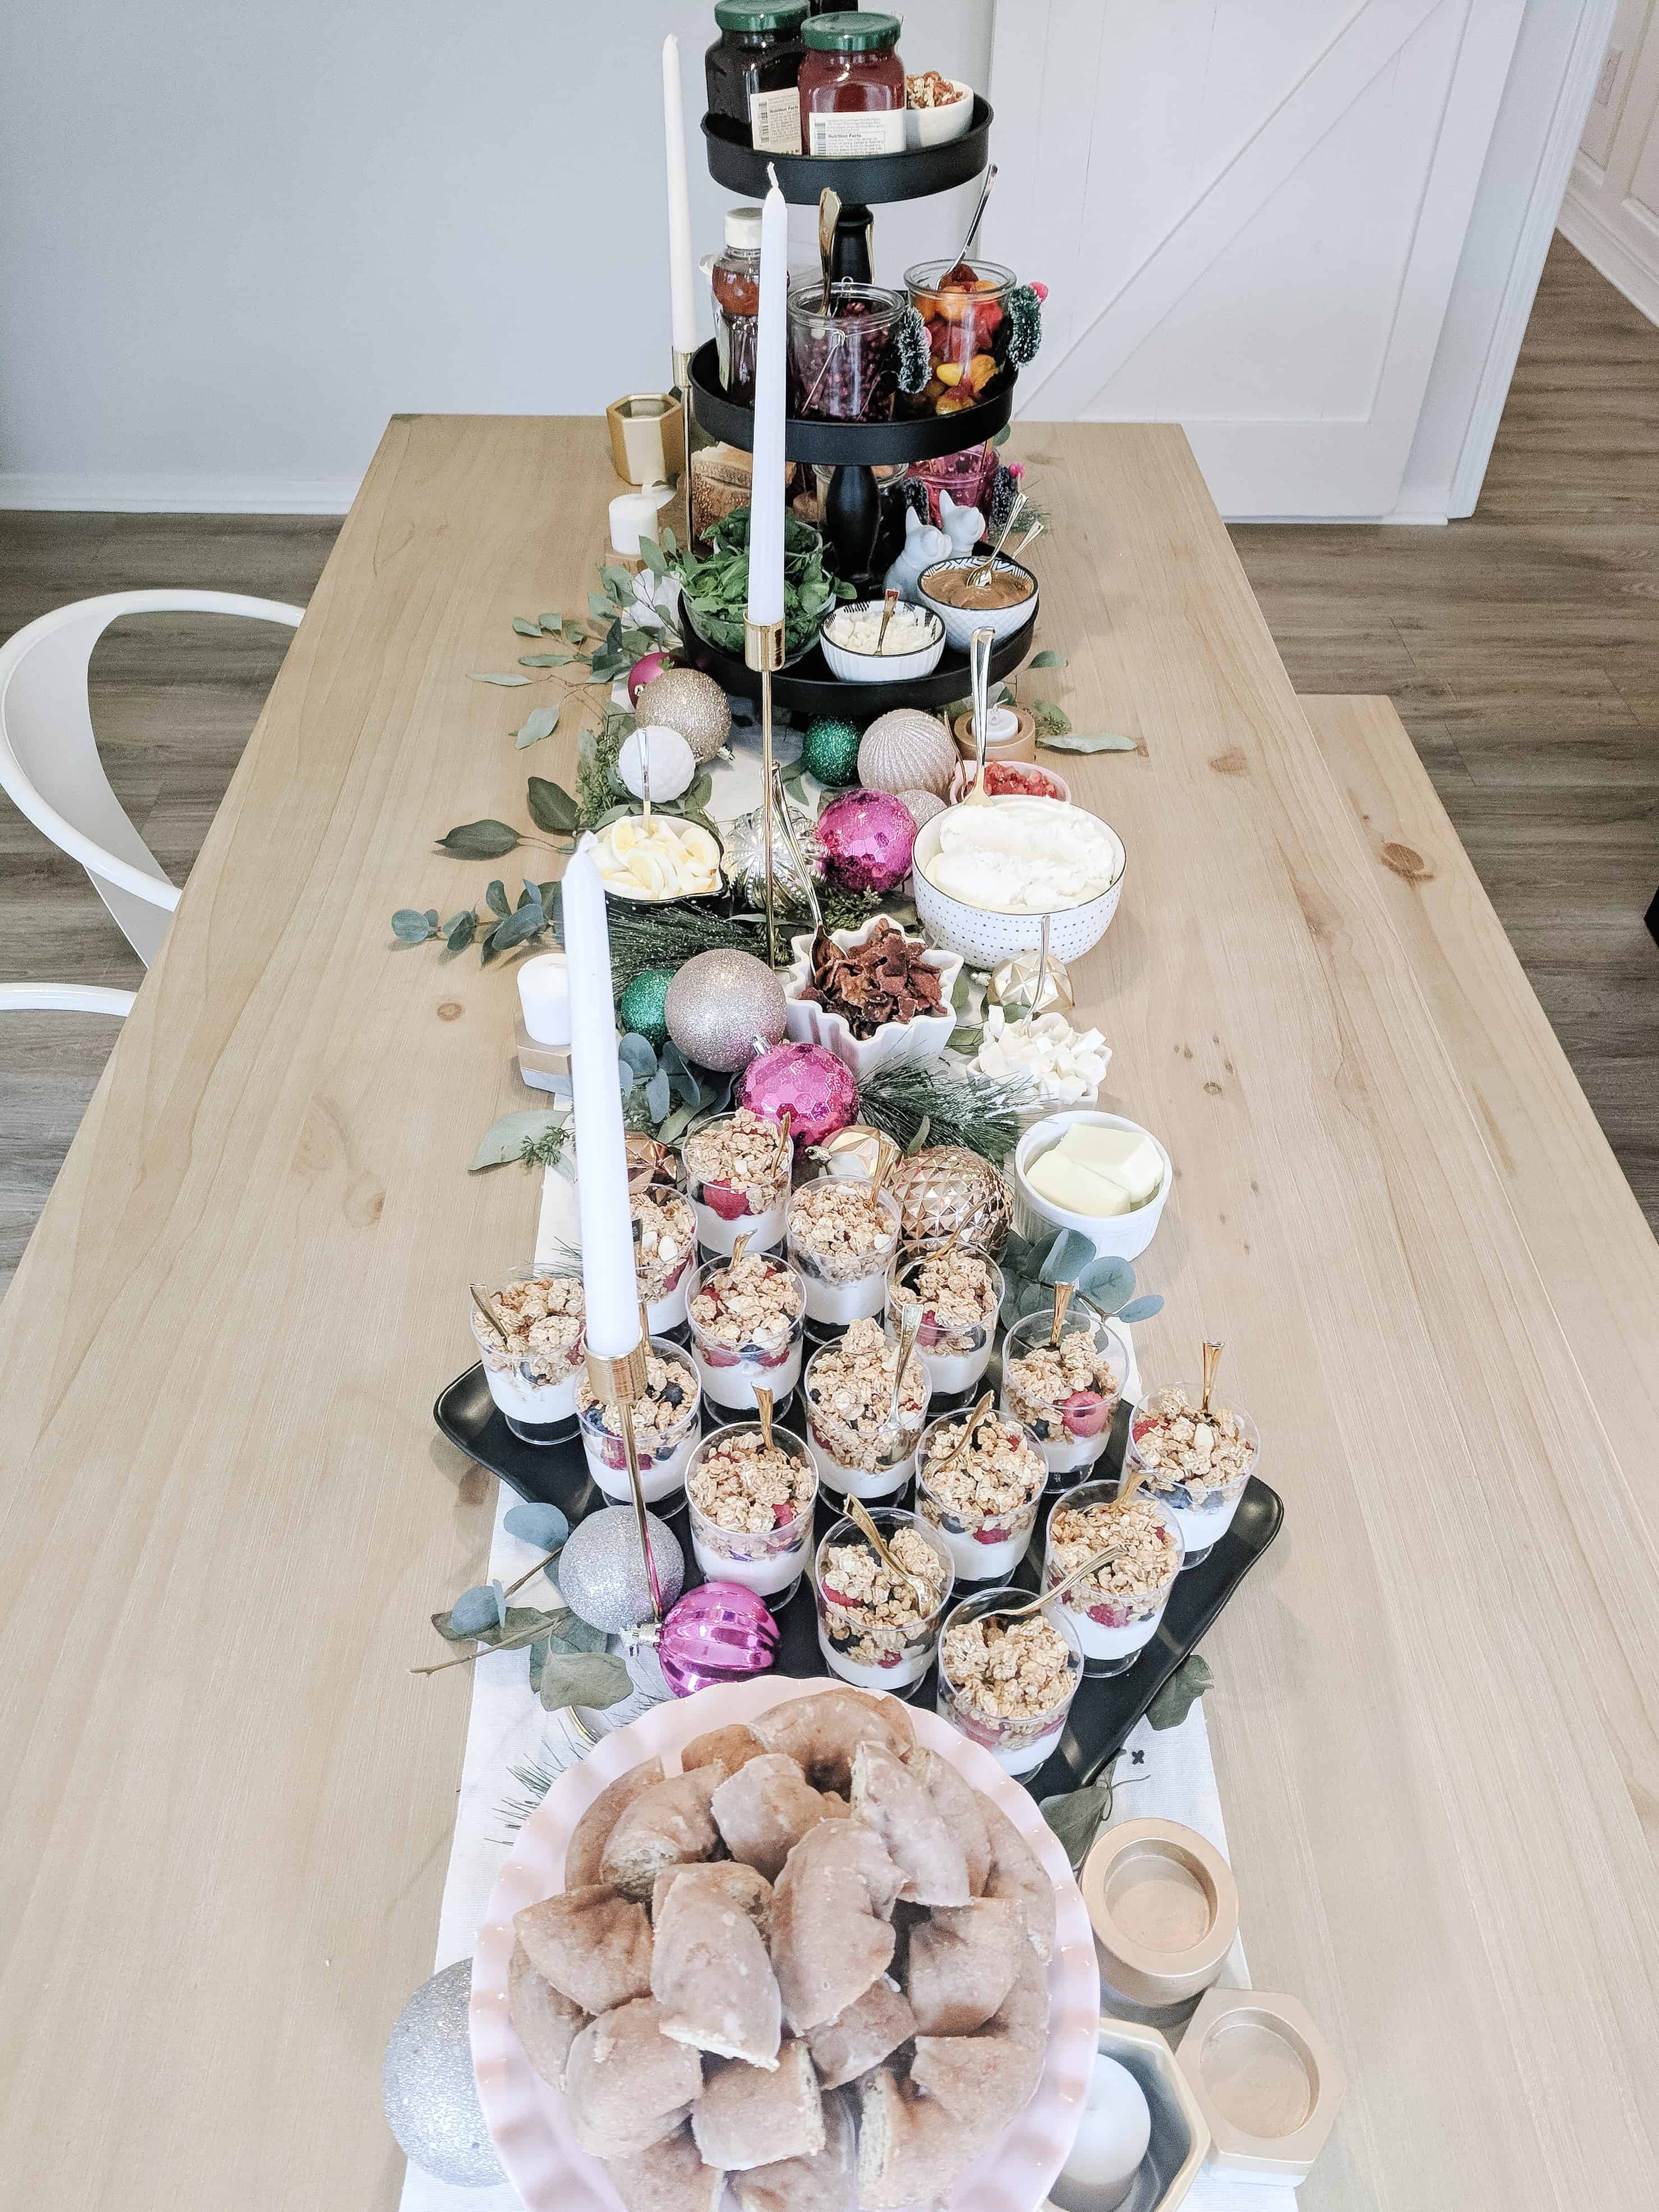
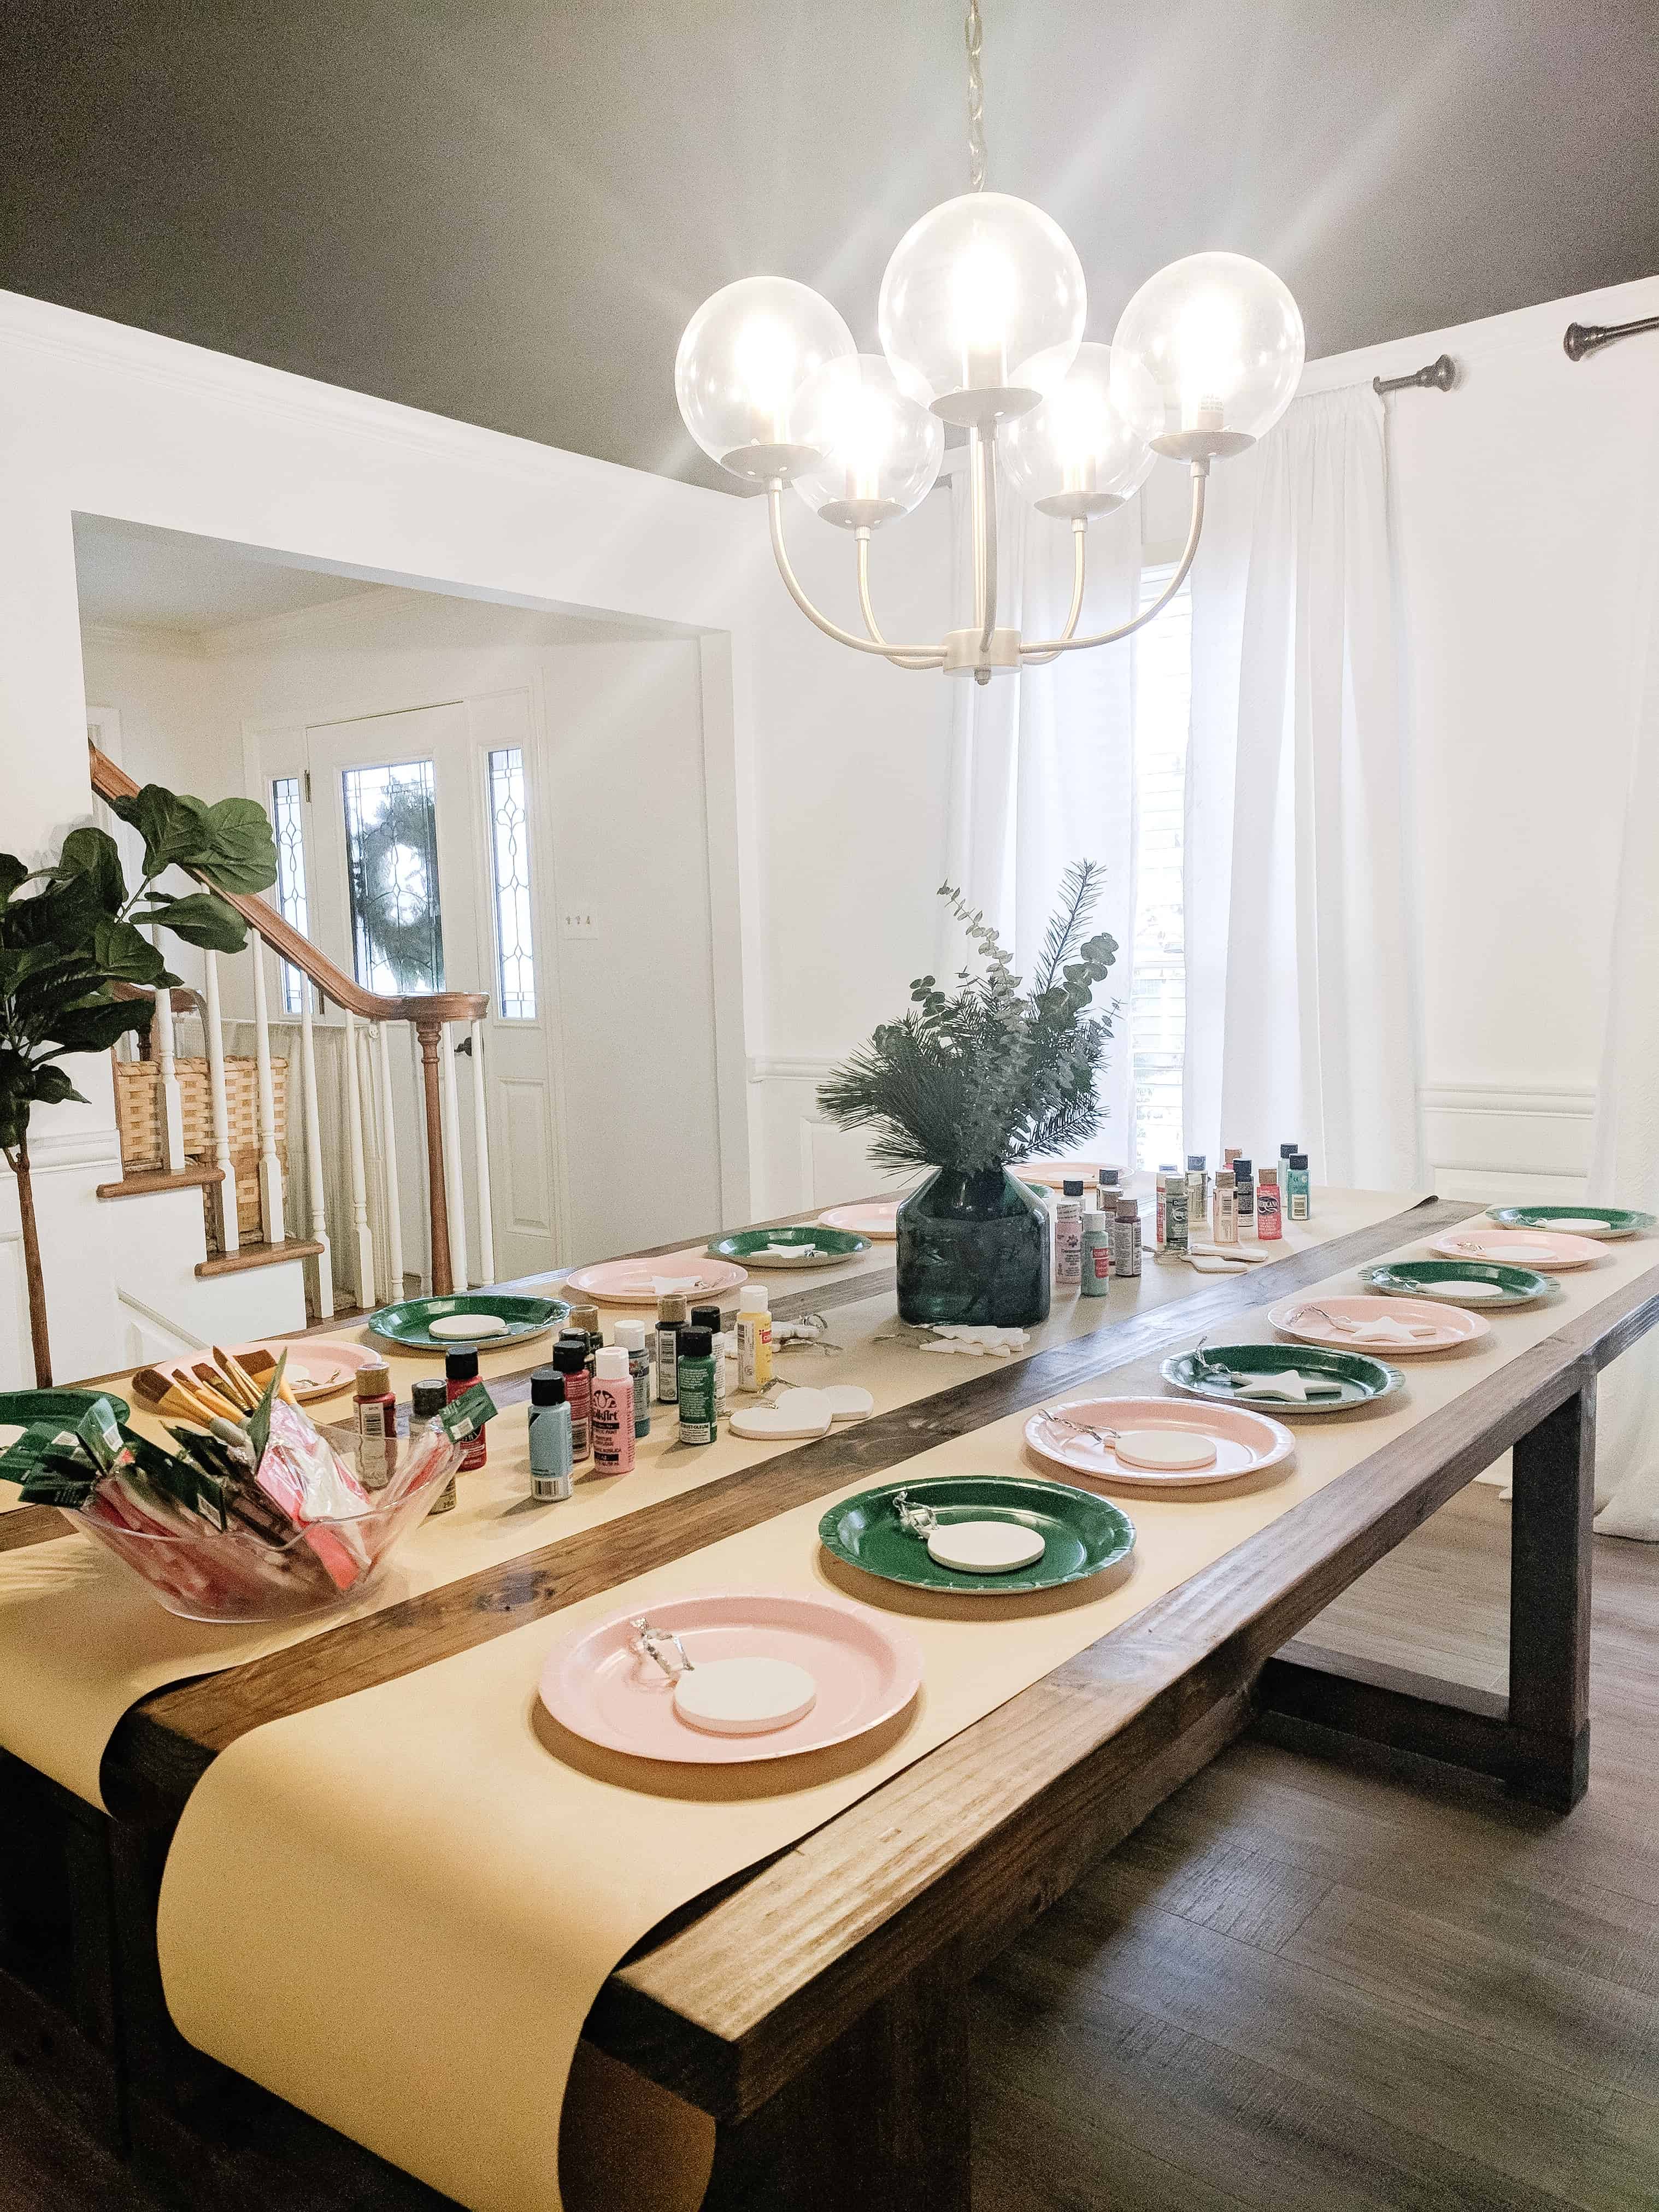
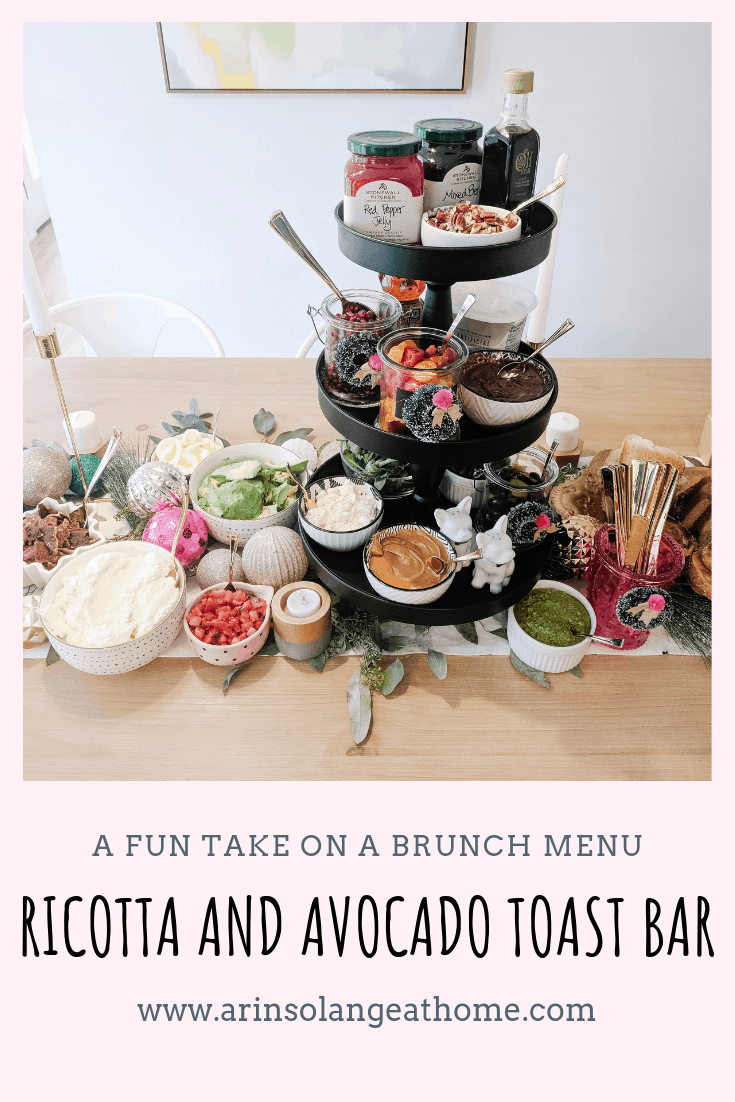
Last month I had the pleasure of hosting a morning with all of my girlfriends from my bible study, along with several other ladies from our church. I knew it was going to be a large enough crowd that I needed to plan for more of stand up style food than I did for the Valentine’s Day brunch last year. I think that can be tricky when it comes to breakfast food, because egg based dishes are much better piping hot, and lots of the finger foods are on the donut side of things, and not healthy. My solution to this was a Ricotta and Avocado Toast Bar, and you guys, when I say IT WAS A HIT, I mean it. I wanted to share with you guys what I included, and how I incorporated the bar with the rest of our food for the morning.
Planning the Menu
When you’re planning a menu for an event the biggest things to take into account, in my opinion, are what the eating situation will be (IE sitting, mingling, inside, outside?), and who are you feeding? I knew that the group of ladies I was inviting would love a few yummy little aspects, but would really appreciate something on the more healthy side too.
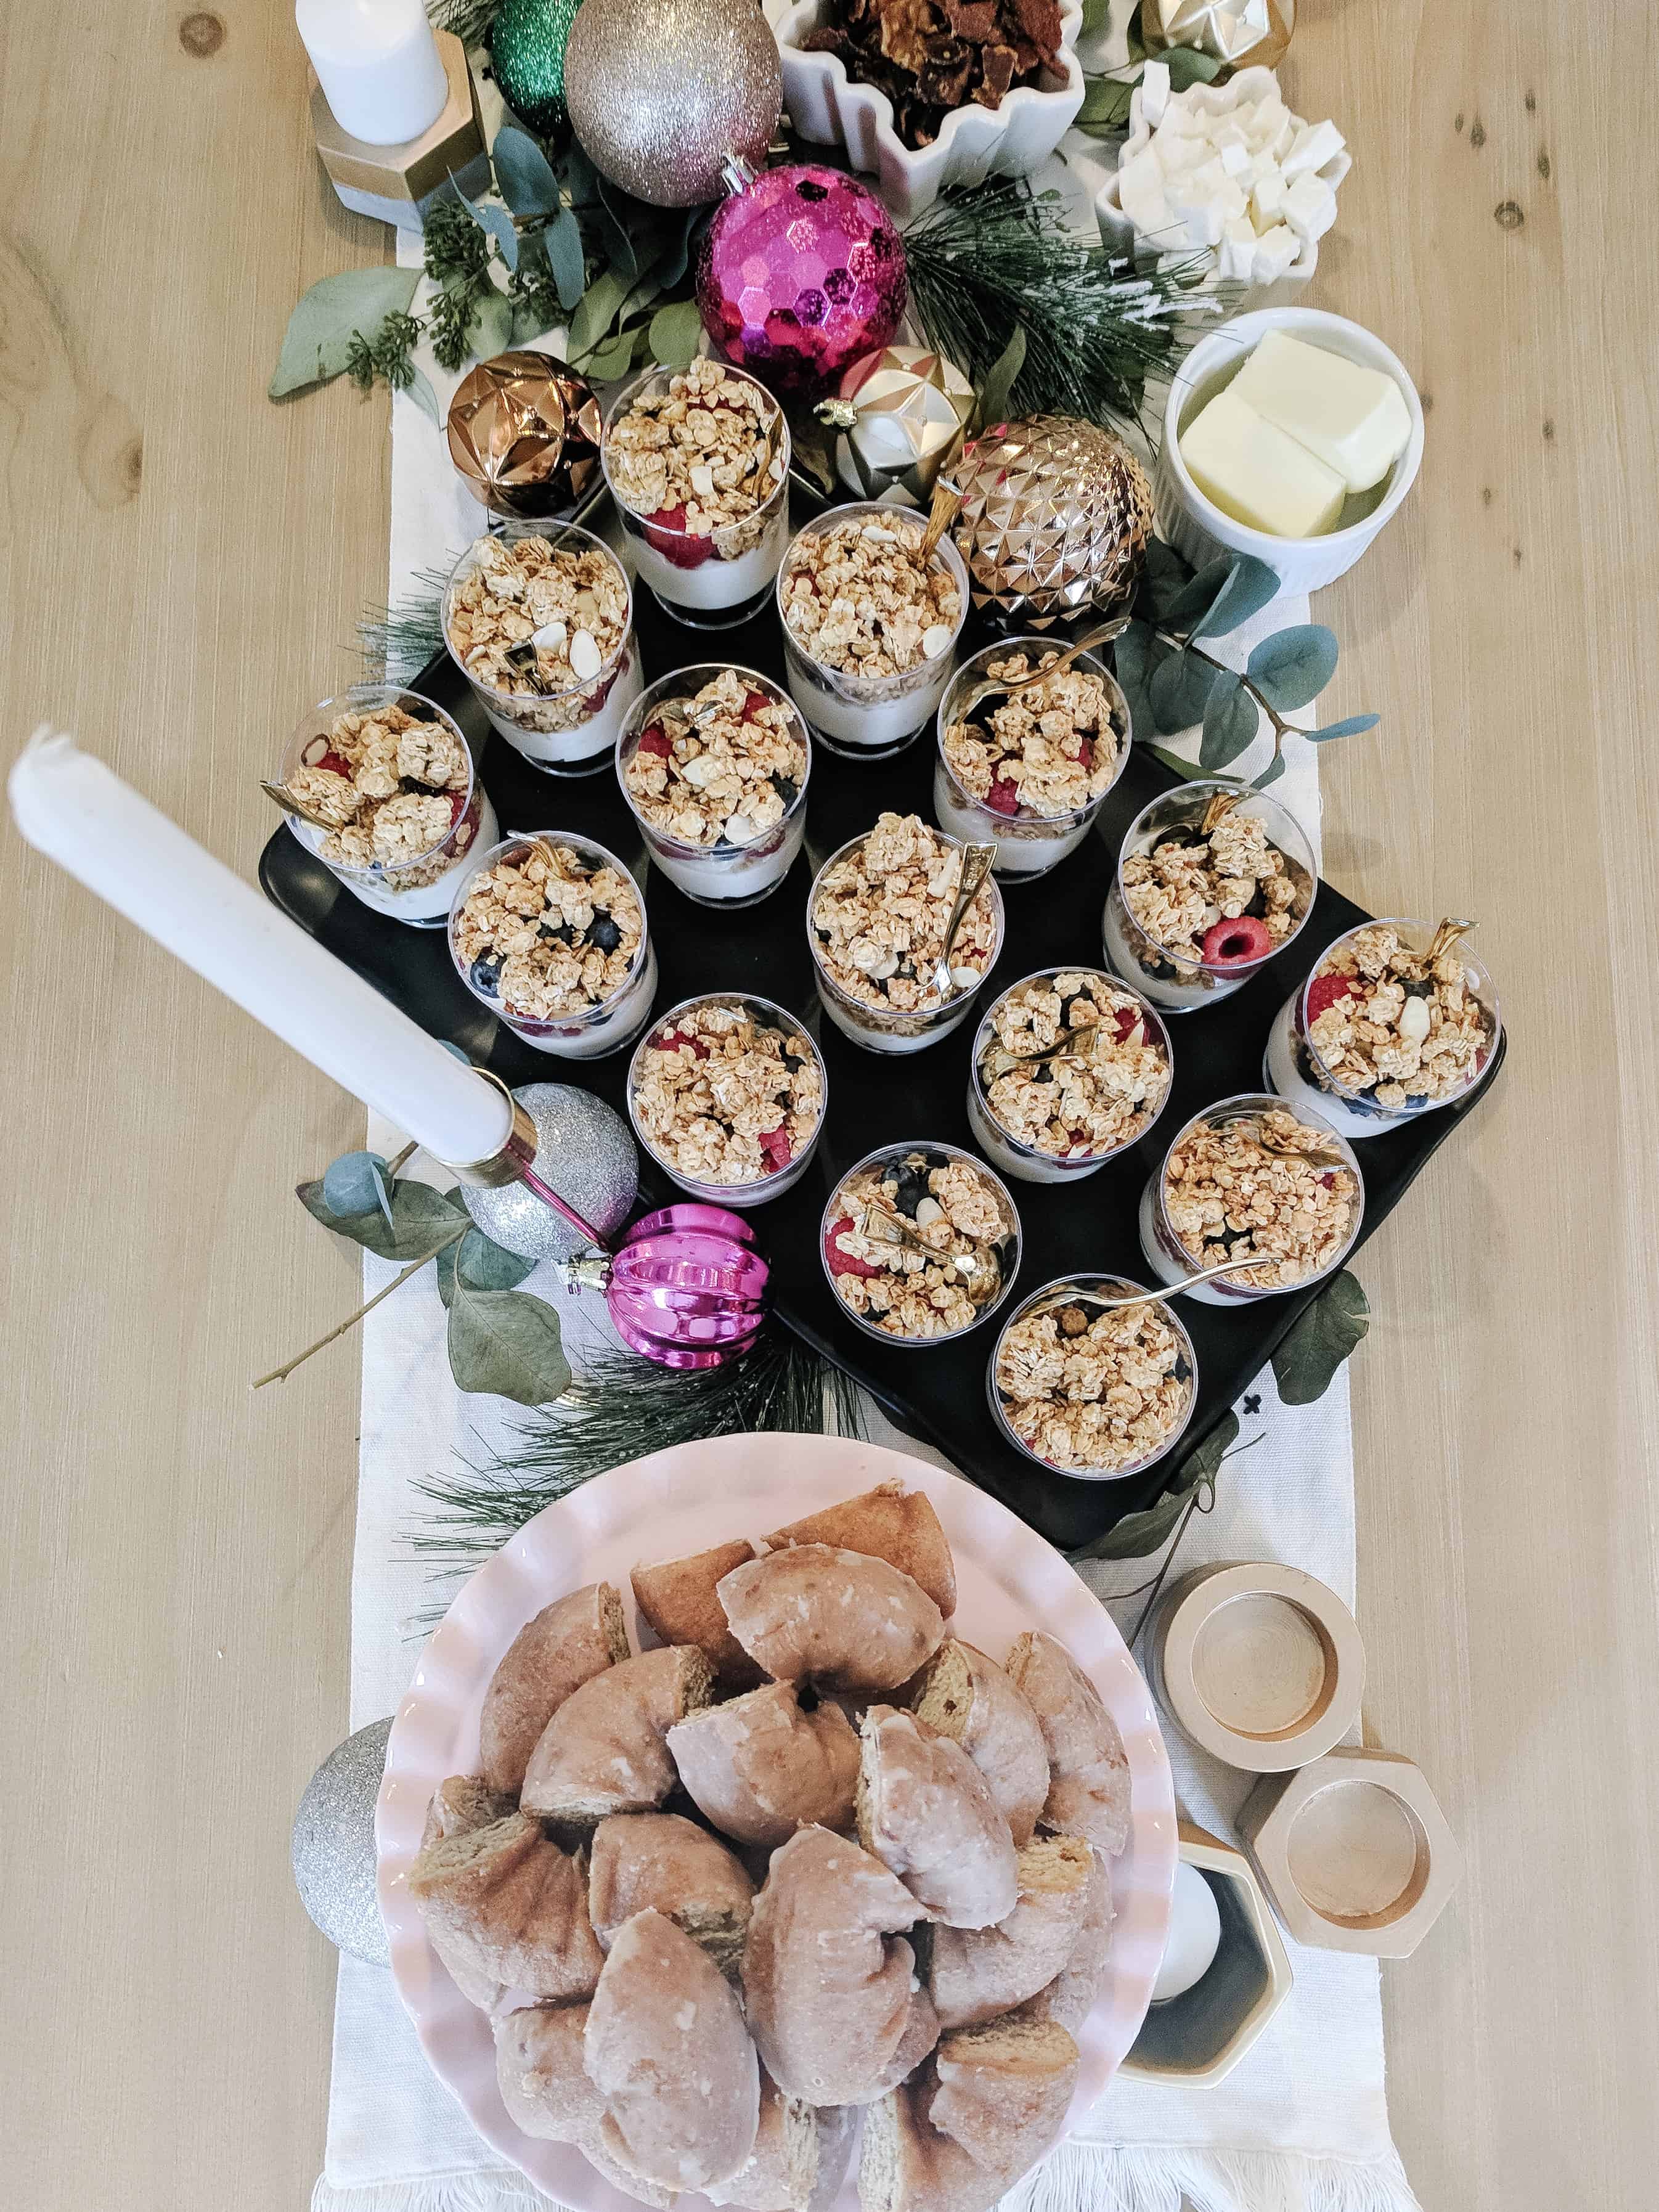
I tend to go simple, and less is more with the number of foods offered, so for this particular event I did cut up donuts, individual yogurt parfaits – which are a great option if people won’t get to sit while eating, and the ricotta and avocado toast bar. There was also a quiche offered because I had some people a little unsure of the toast bar, so I second guessed myself, but it was basically untouched, so not a necessary addition!
Those items touched on all of the food groups, and really allowed for anyone to find something that would hit the spot, and because of that was a huge hit!
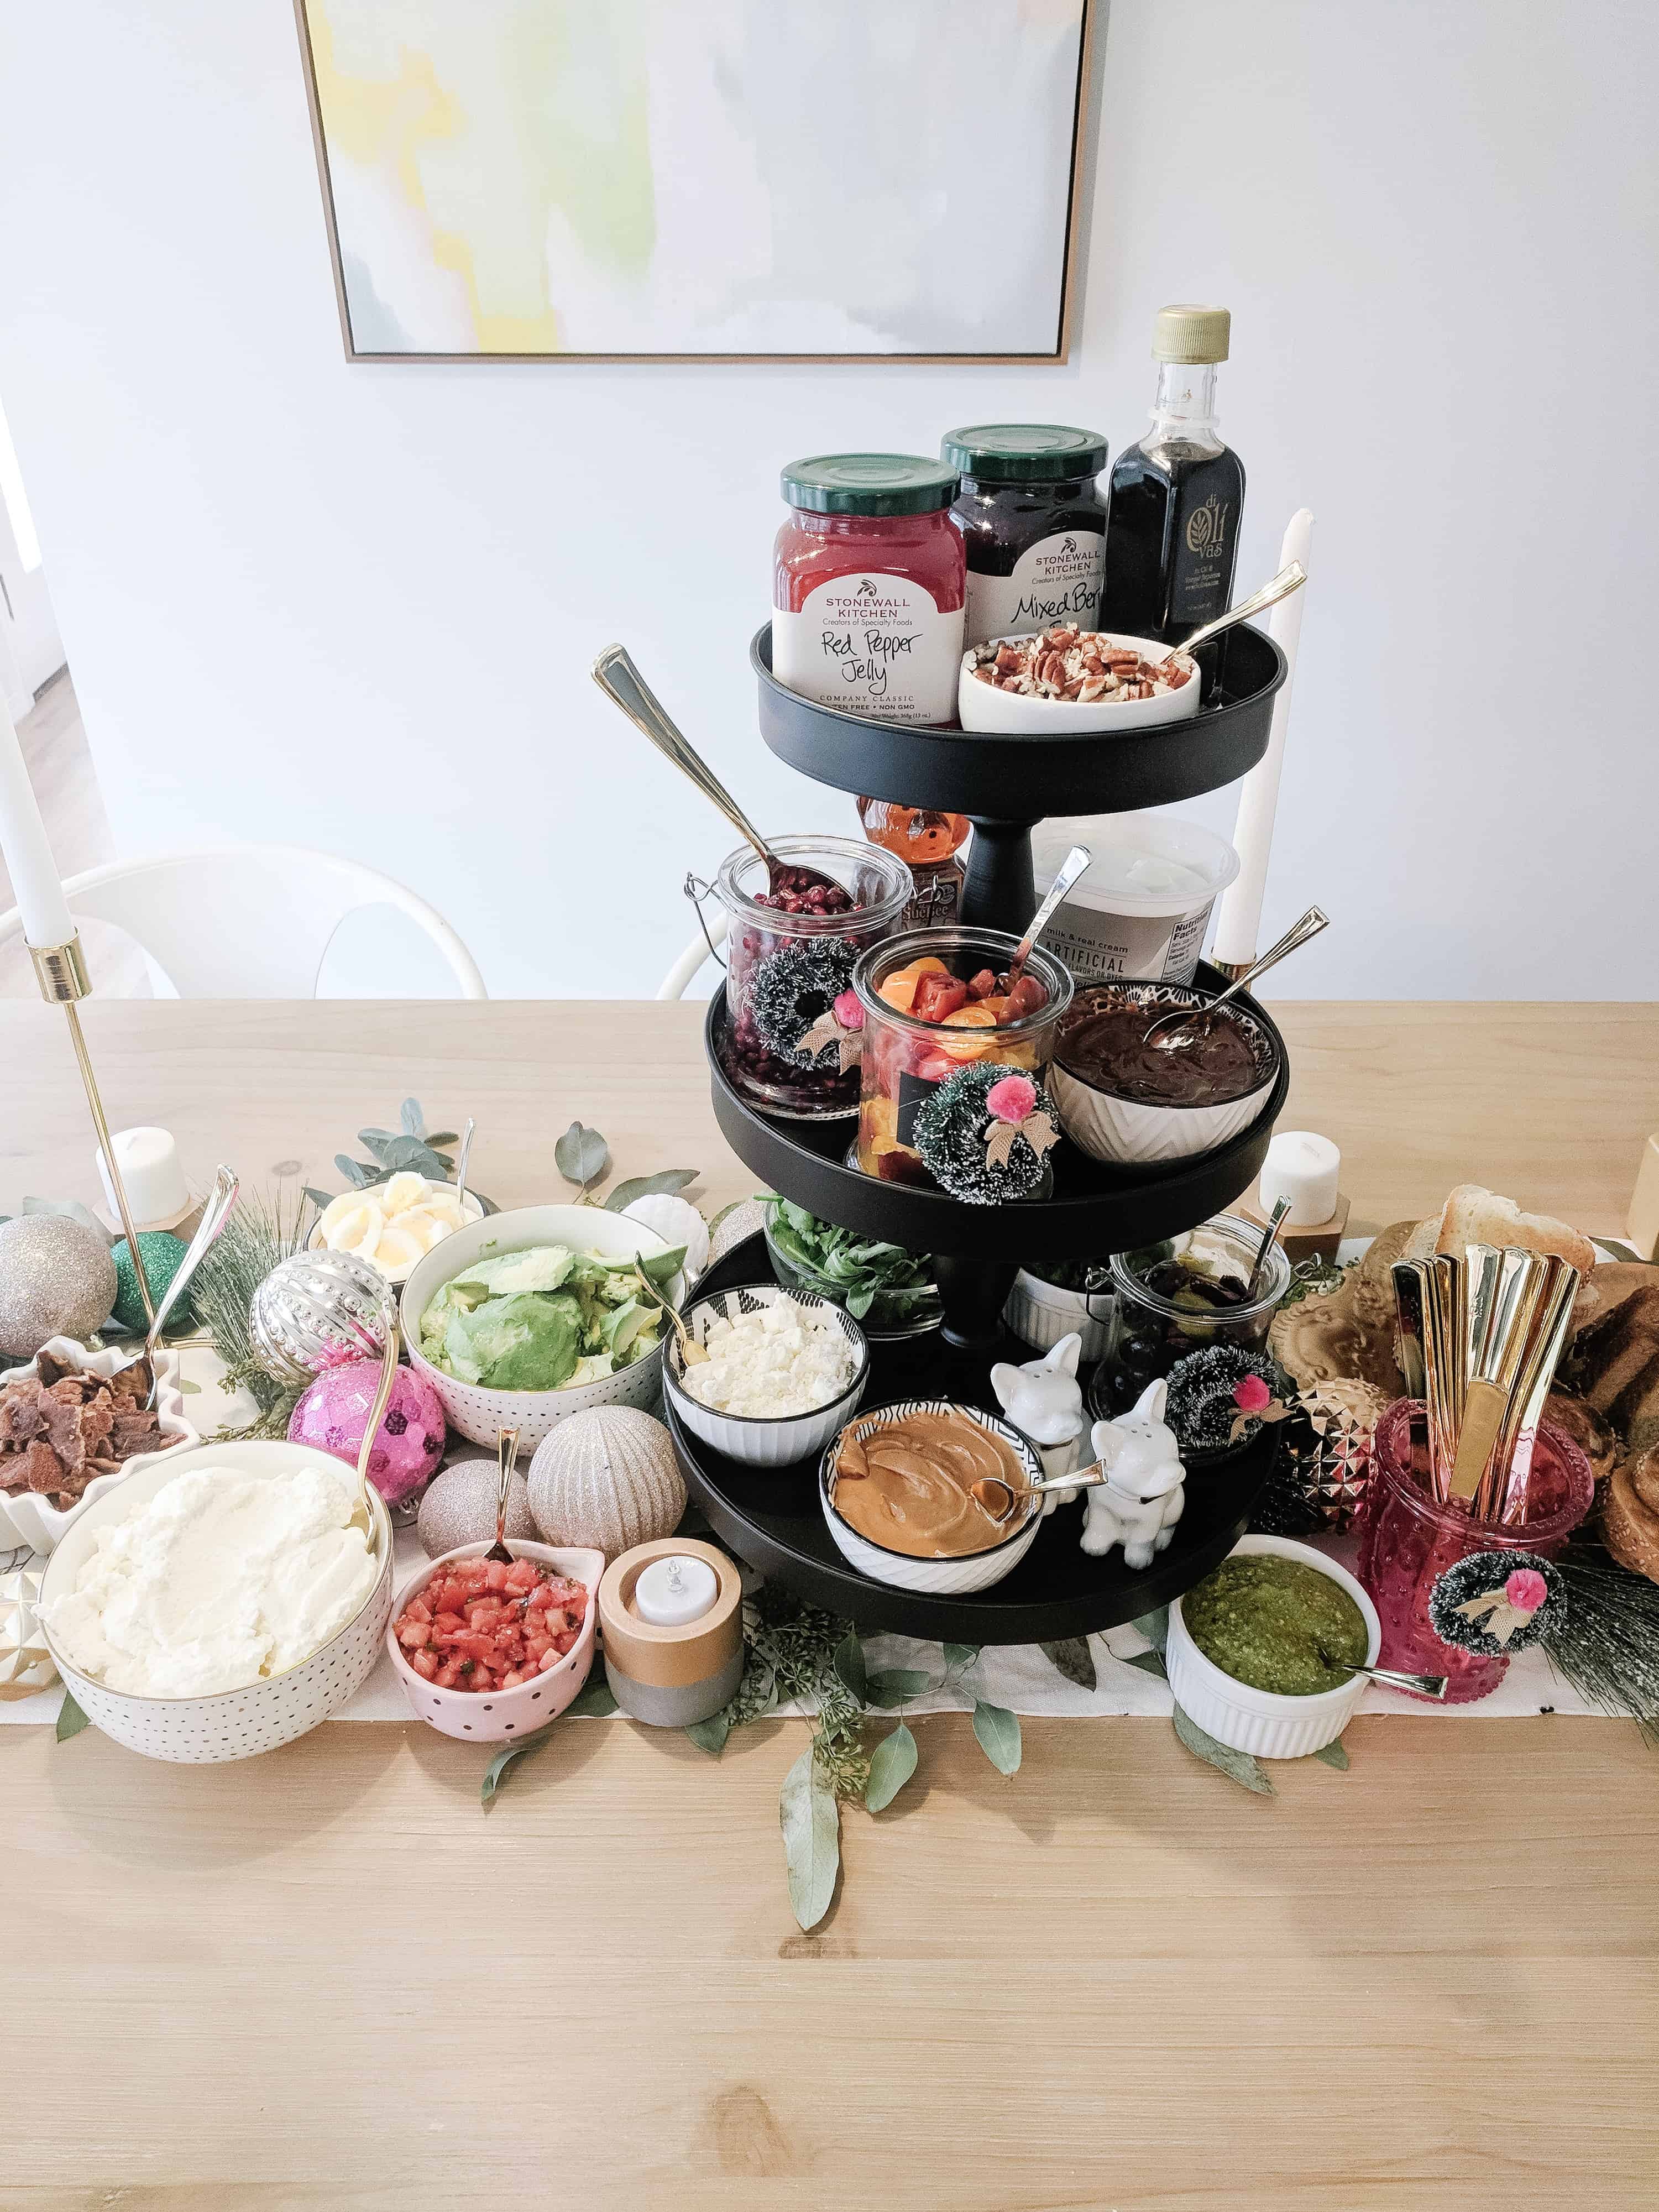
Ricotta and Avocado Toast Bar
When it came to the actual toast bar I started with buying several different kinds of bread. This could go everywhere from bagels, to English muffins, to your selection of toasts. I toasted up a little of each then kept it going as the party was going.
For the toppings I used a 3 tiered tray, as well as several side bowls and dishes to spread out the toppings. Each one had a small spoon or fork of their own in order for them to be easily used, and to encourage nothing left behind! * as a planing tip: when you’re getting ready for something with this many small bowls and containers, set them all out the night before and label each spot so you’re not scrambling when you go to set up. It will save you so much time and effort.
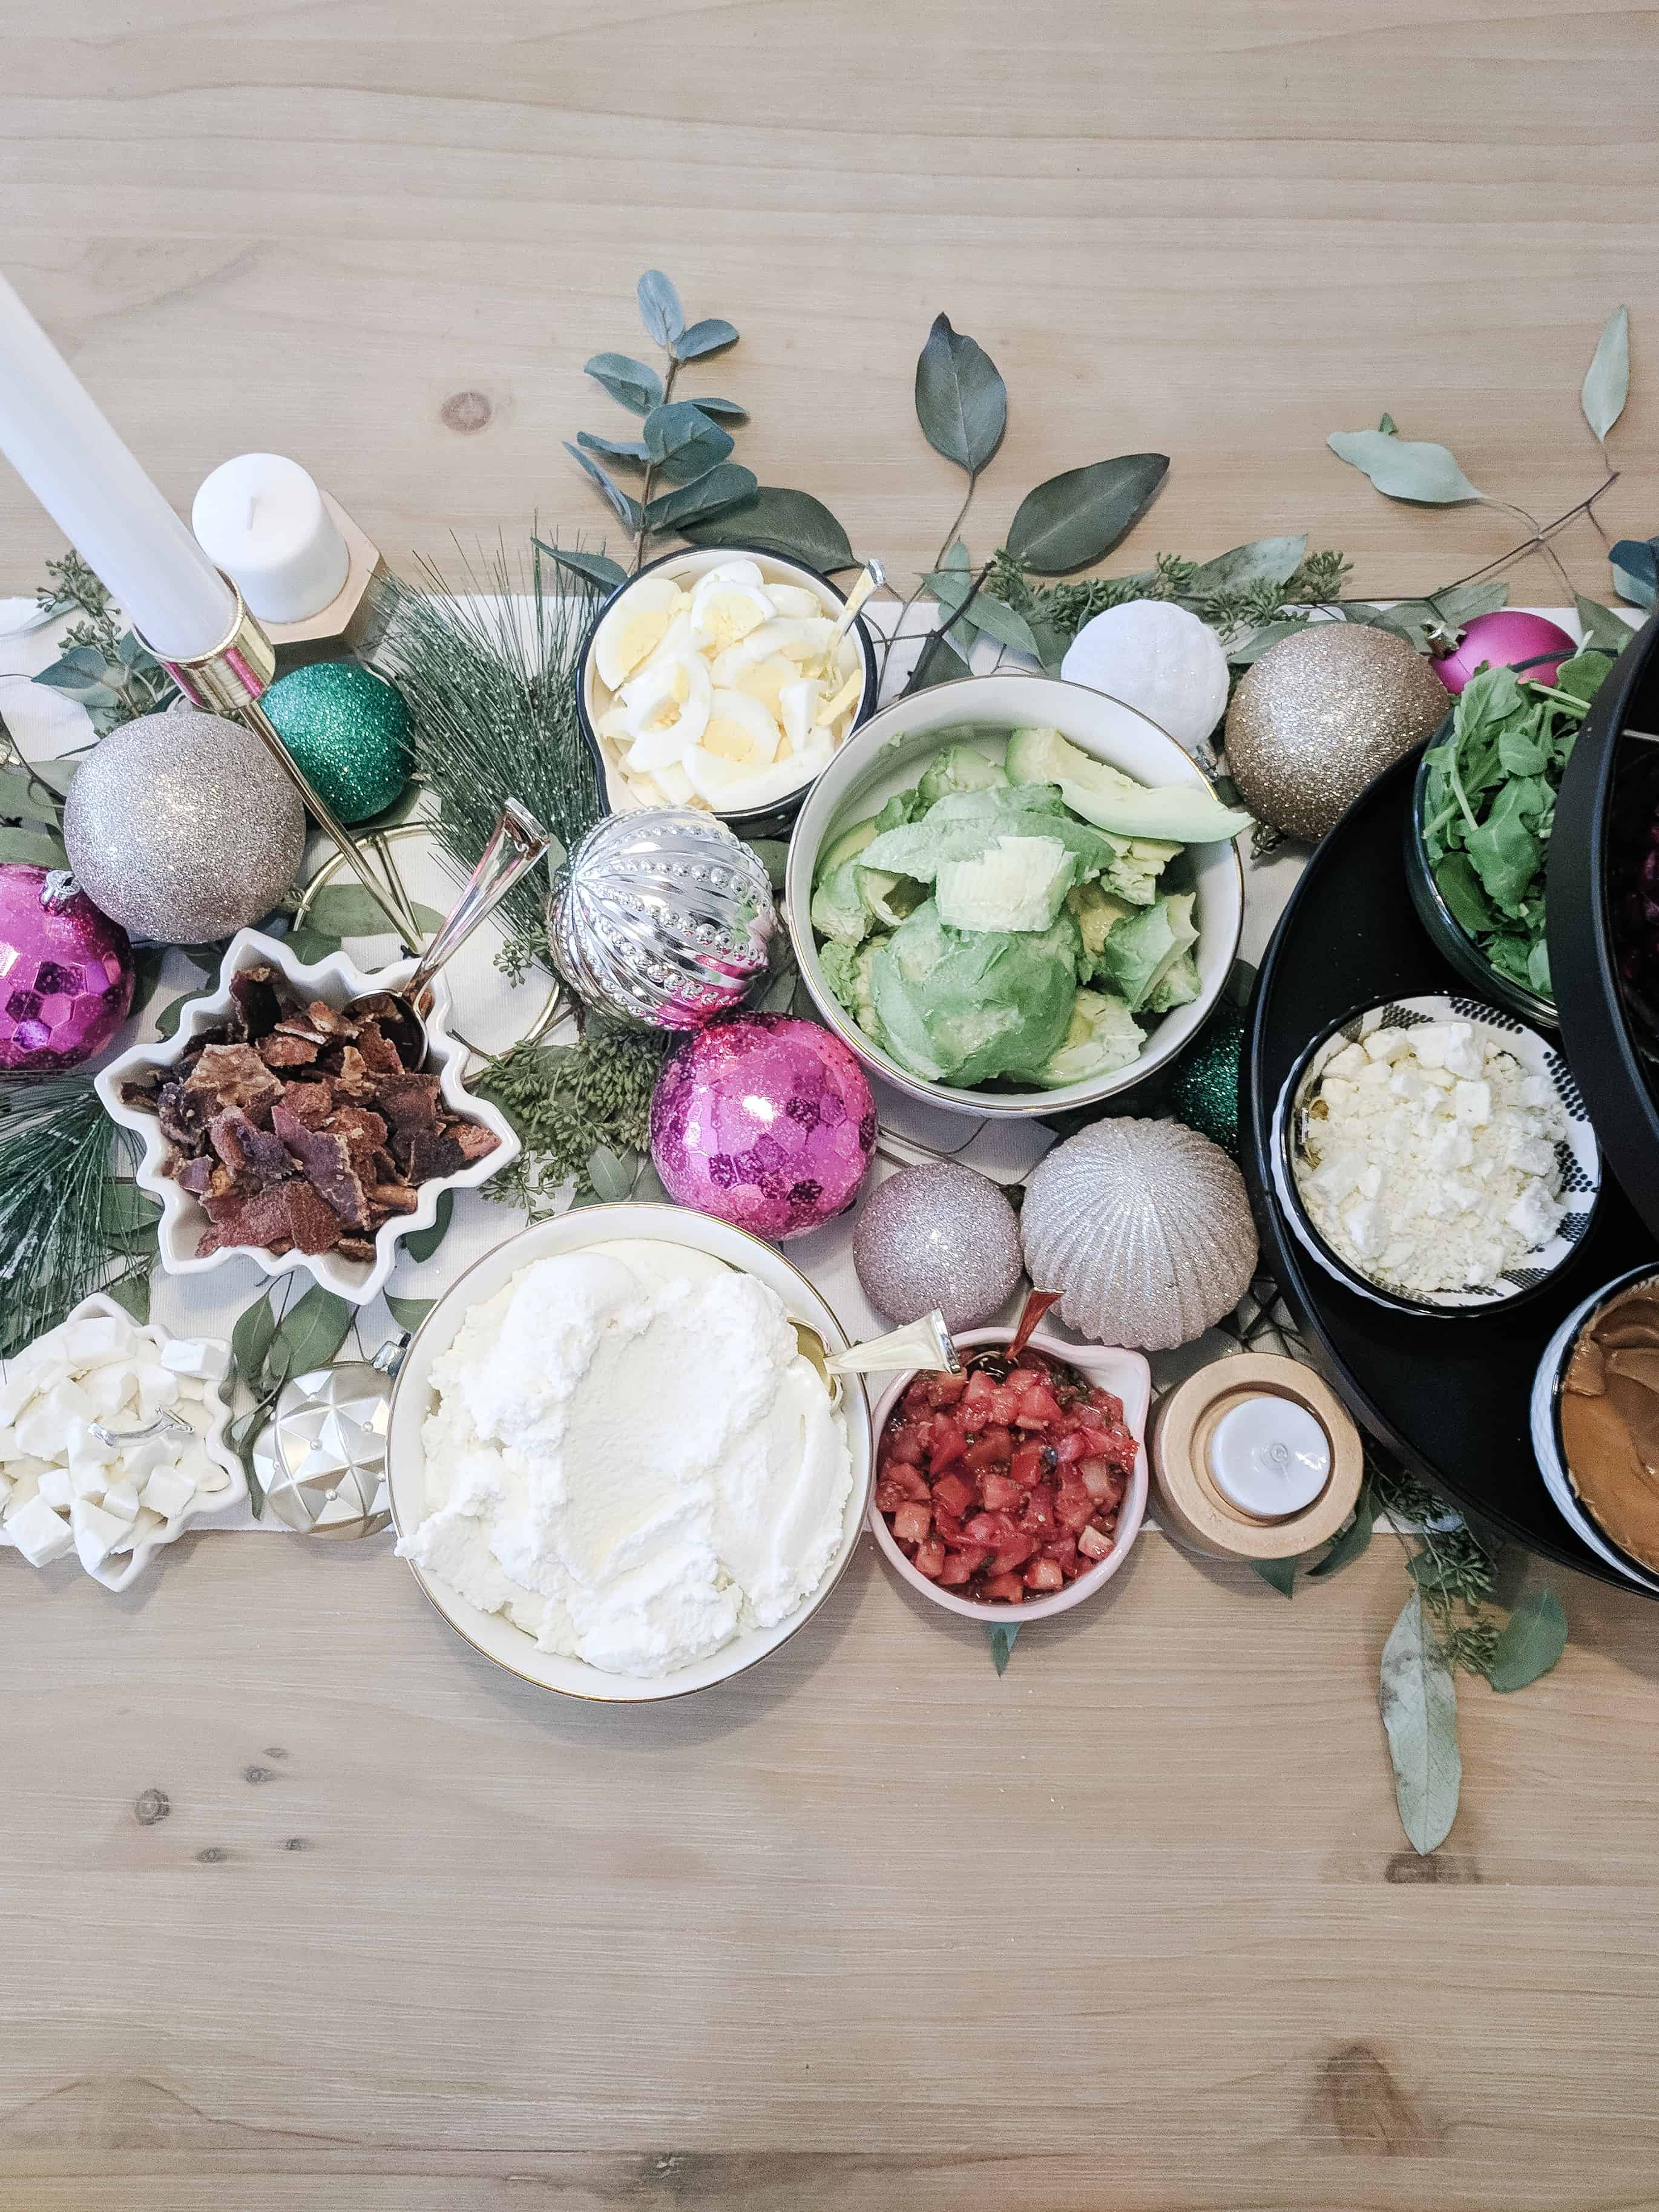
For the Avocado I lightly mashed it right before the party with a little lime juice to keep it from browning and it looked great for the entire party!
This will not be a comprehensive list of options, however I will share what I offered for toppings on the toast bar. So many of these were things I already had which made it super easy!
I did not put much of each item out due to how many toppings I was offering, and had Backups ready for refill if needed. I tried to hit on sweet and salty, fresh and healthy, as well as just a good hearty breakfast option.
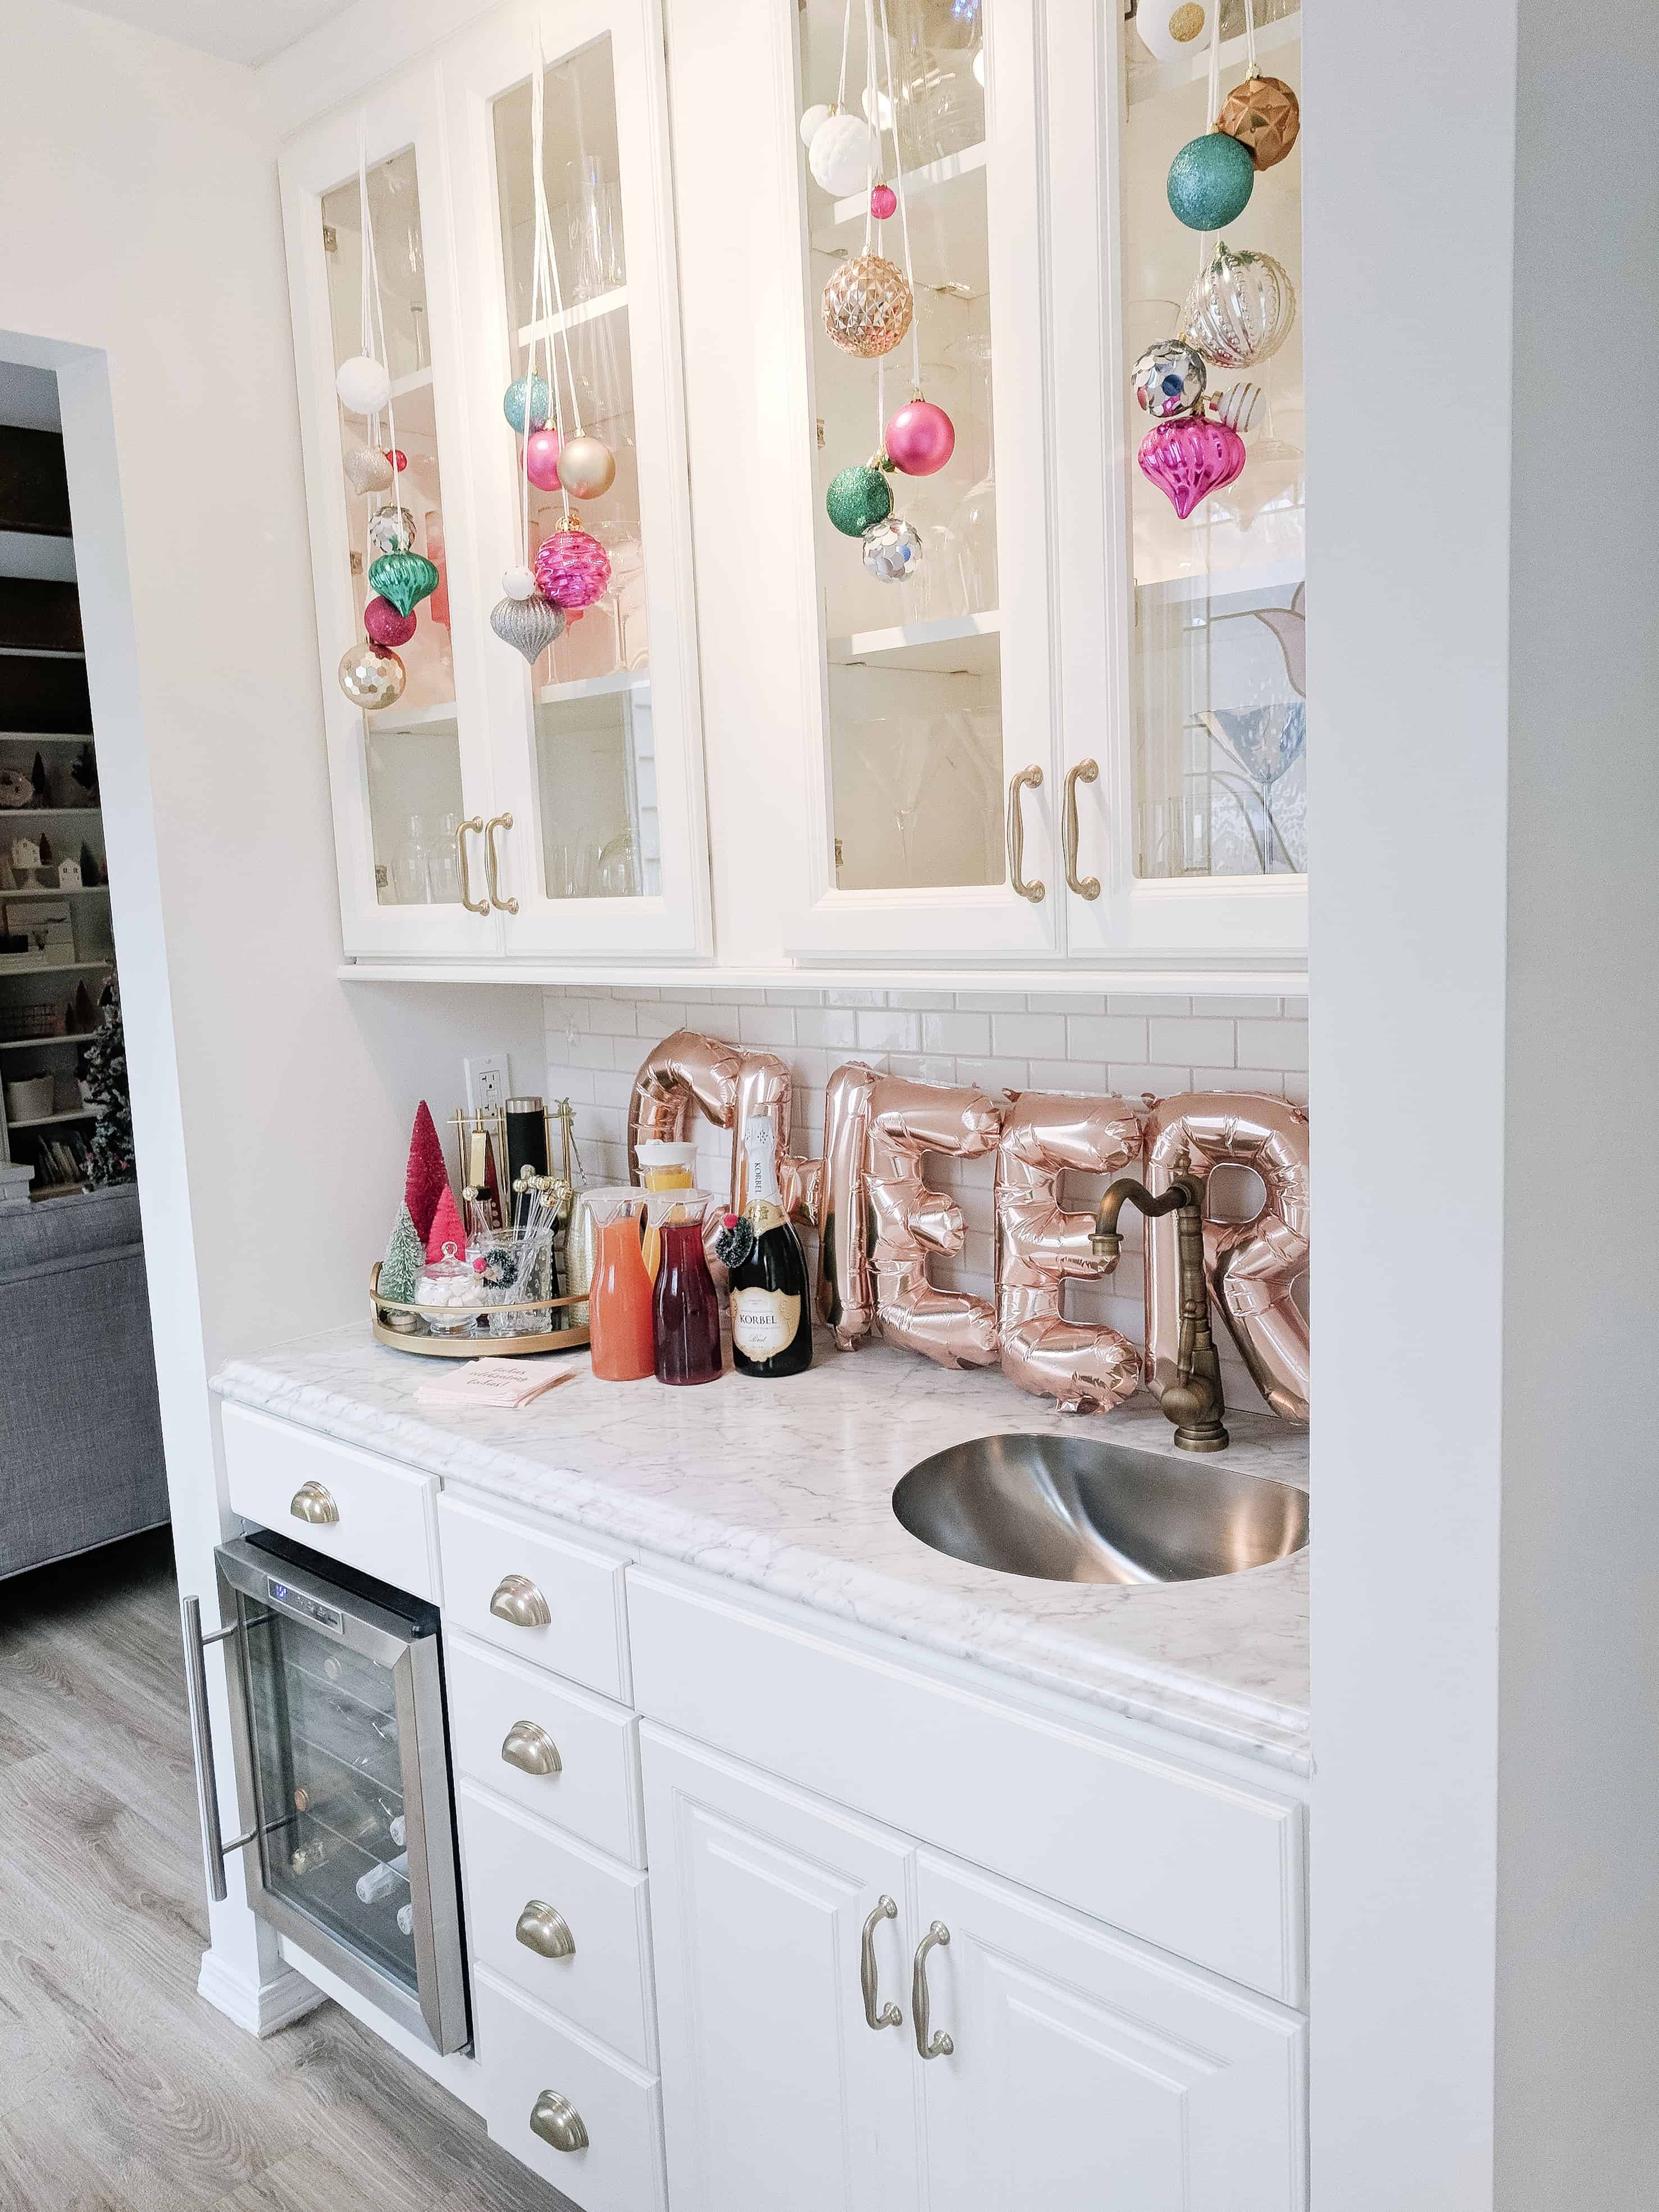
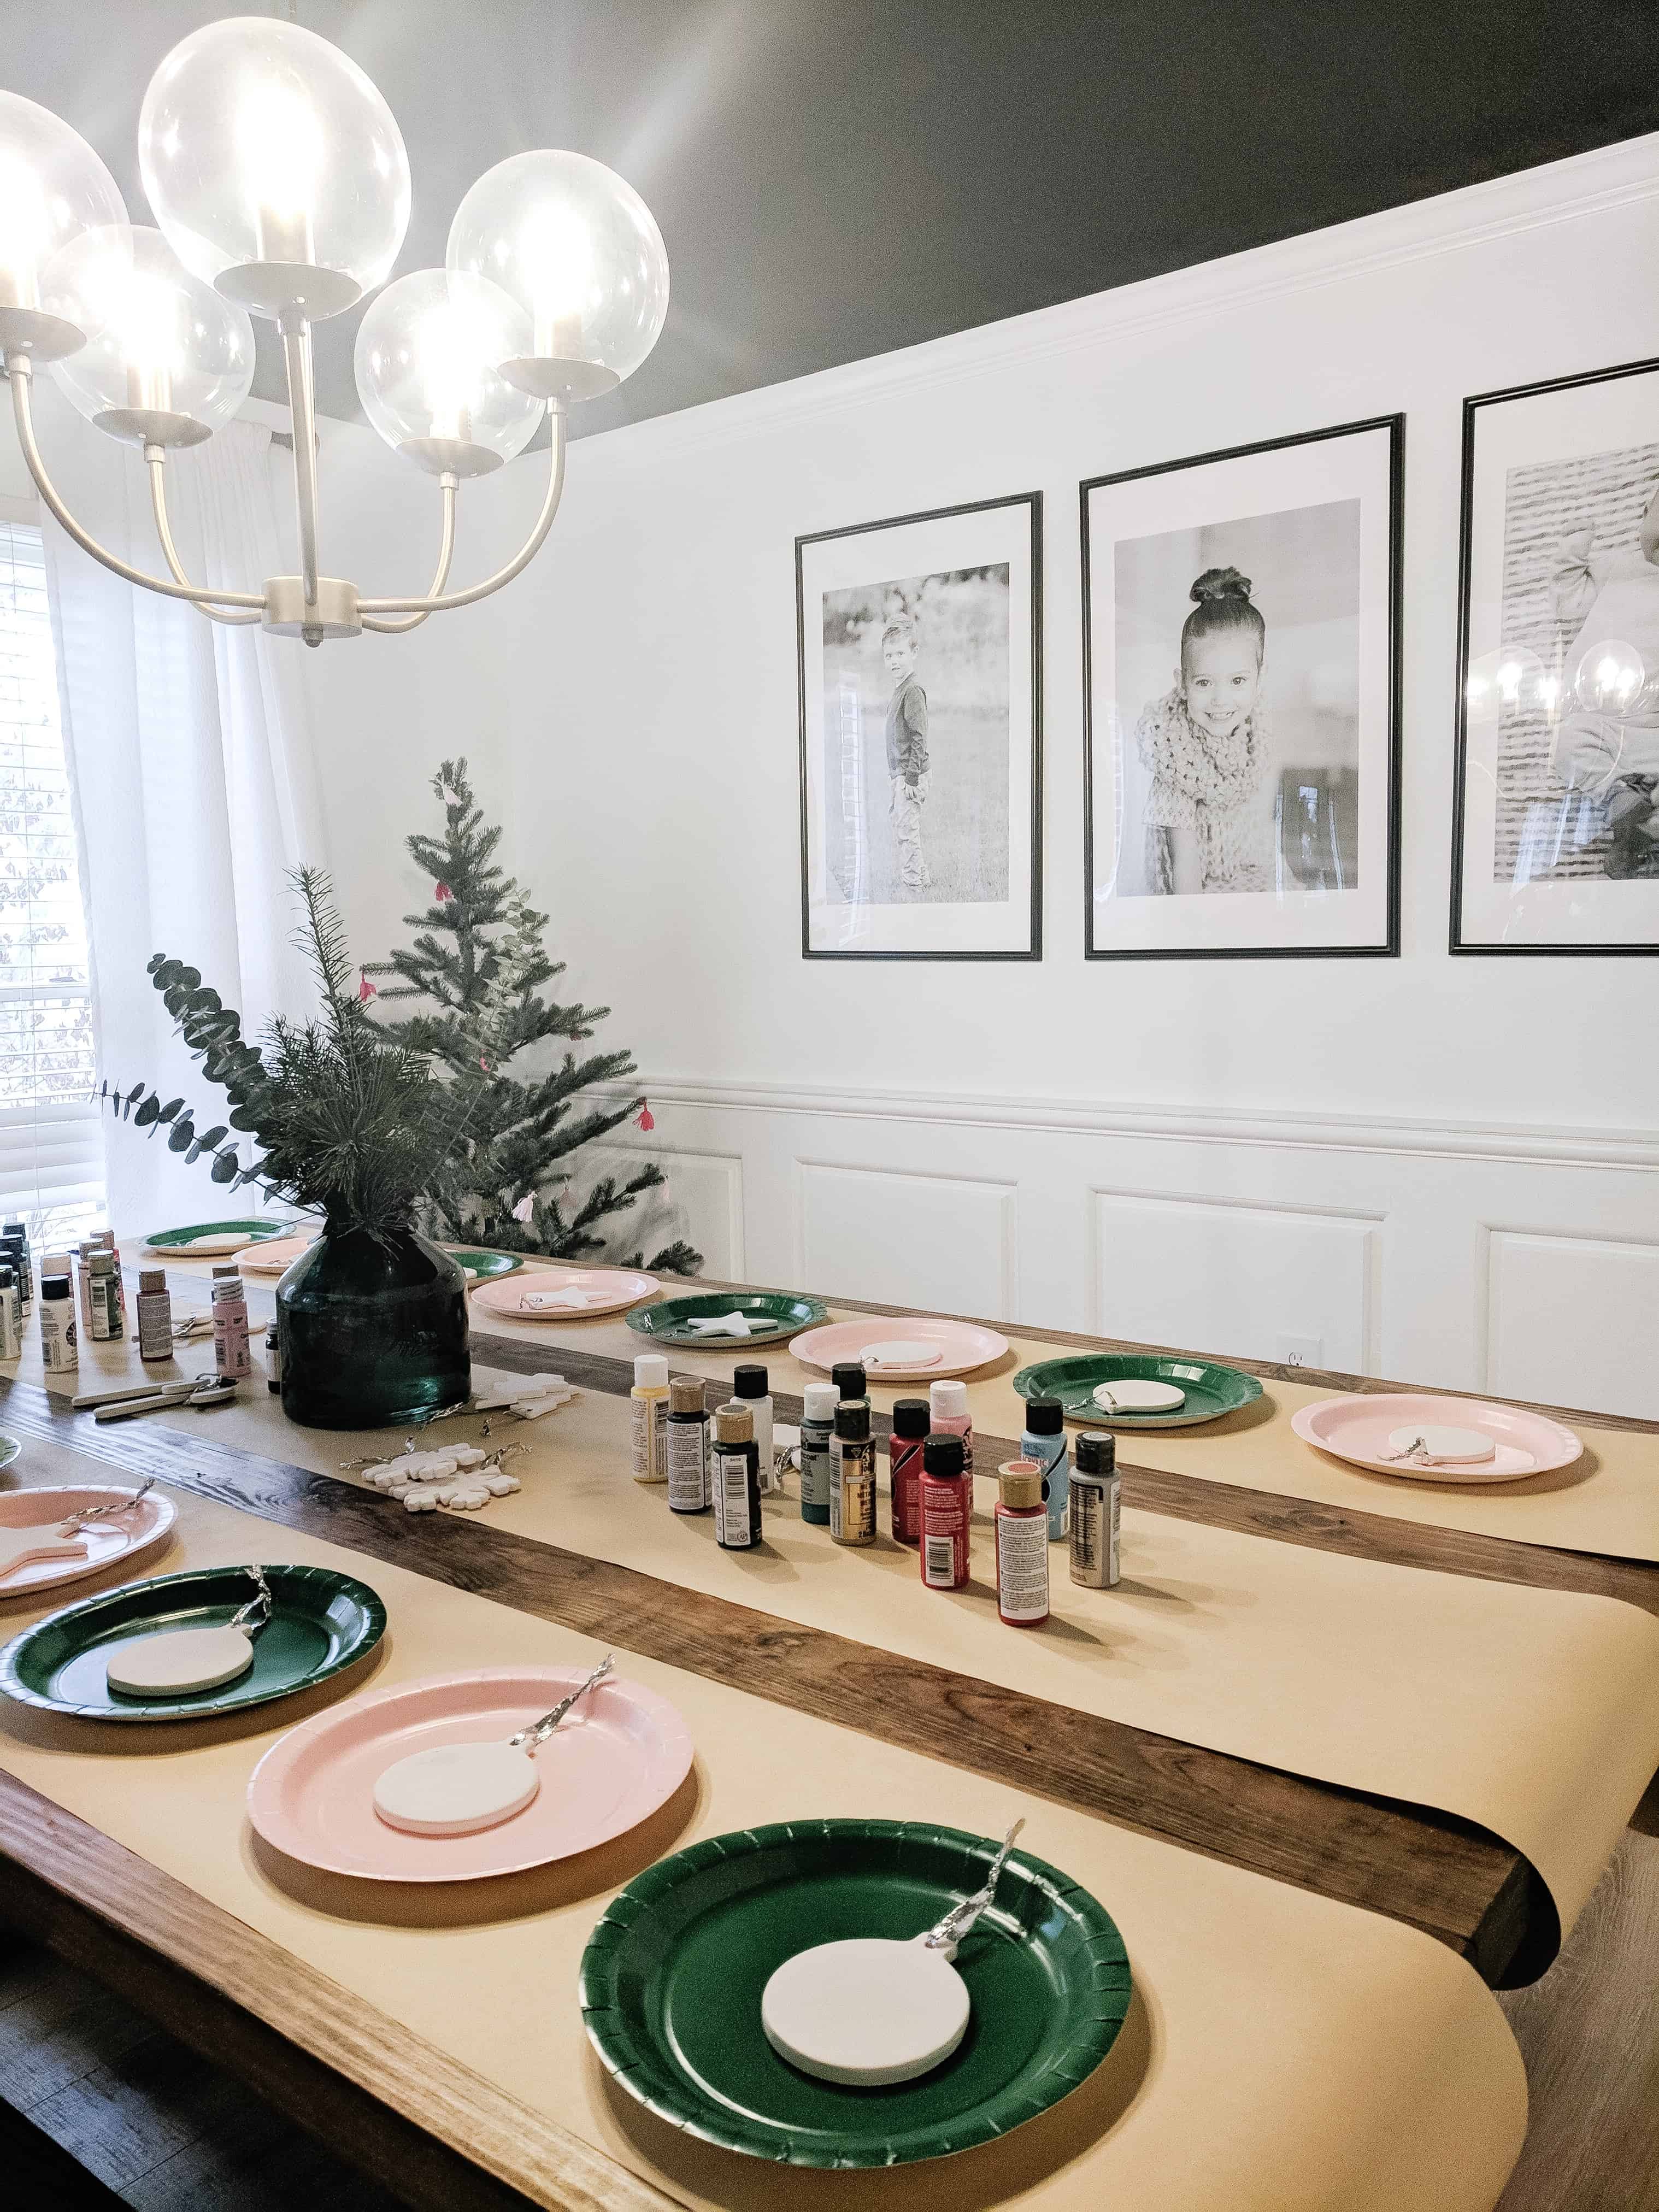
Overall the party was amazing and so much fun for all the girls. We painted ornaments to allow for an activity that kept people busy, and it was such a fun way to spend the morning. If you have any questions on putting together your own Avocado and Ricotta Toast Bar at your next event please feel free to leave me a comment or shoot me an email!
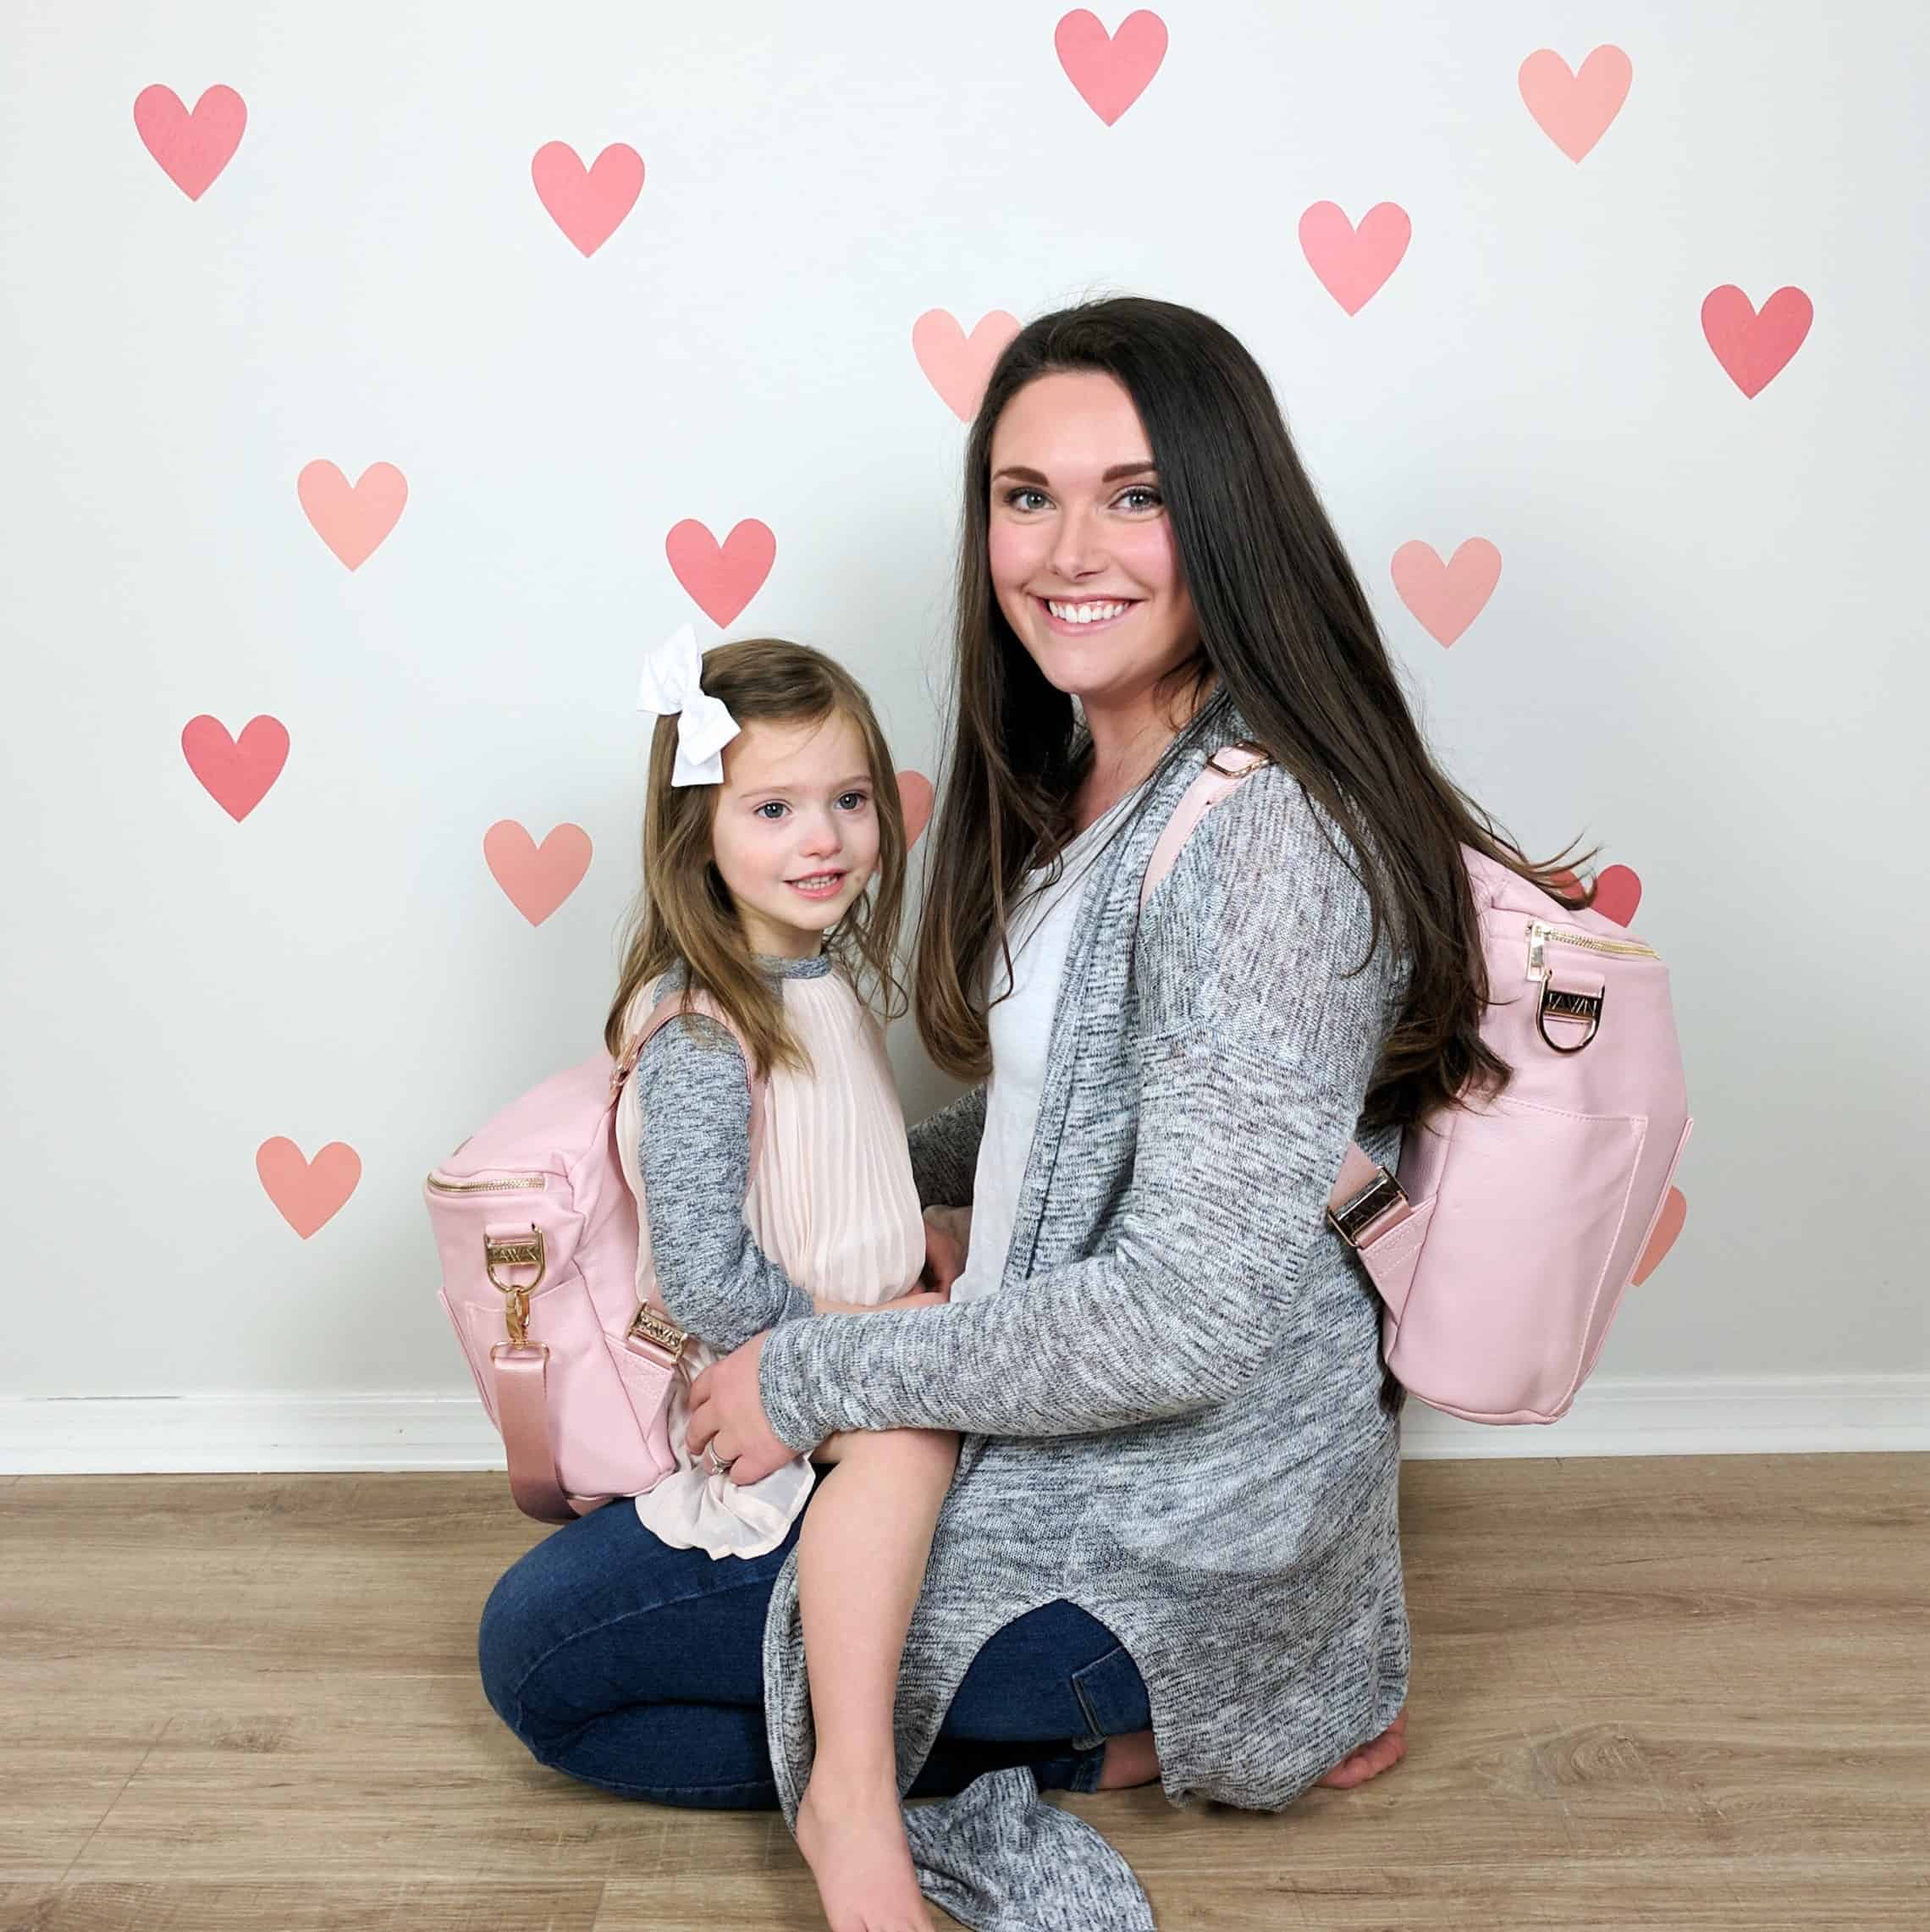
Picking a diaper bag is such a hard choice when you’re expecting a baby. Not only are they expensive, but there are also SO MANY options on the market these days, and its hard to know what to pick and why. This post will focus on the Fawn Design vs Freshly Picked Diaper Bag. I have done a few diaper bag reviews over the past couple of years, and have owned a few more than a few diaper bags over all.
I can genuinely say that all of the diaper bags I have reviewed on this blog and my Instagram have been true reviews, and I do not use the same bag every day, however I have 3 bags out of all of them I have owned and used the I stand behind being the best. The Freshly Picked Diaper bag, The Fawn Design Diaper Bag, and the JuJu Be BFF. The Fawn Design and Freshly Picked bags are both top of the line when it comes to fashion meets function. So in my opinion this post will compare the best two bags you can buy!
Fawn Design vs Freshly Picked Diaper Bag
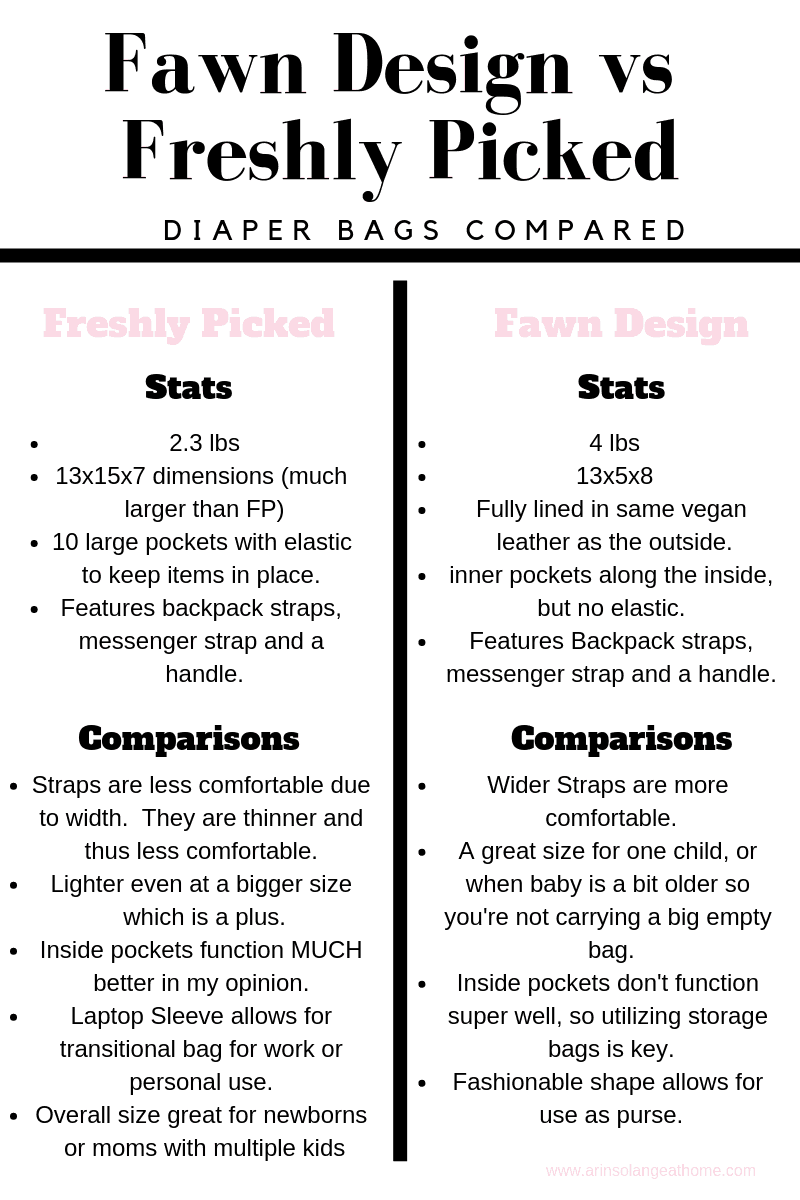
Size
The above chart will definitely give you a lot of the stats on these two bags, but I want to touch on them a bit more. One of the biggest differences in the two bags is the size. The Freshly Picked bag is much taller, thus holds quit a bit more. One thing to remember is that that isn’t always needed. I personally got along fine with the Fawn Design with 2 kids, but I knew I couldn’t with 3. I think that even with 2, when your youngest is an infant a bigger bag is nice.
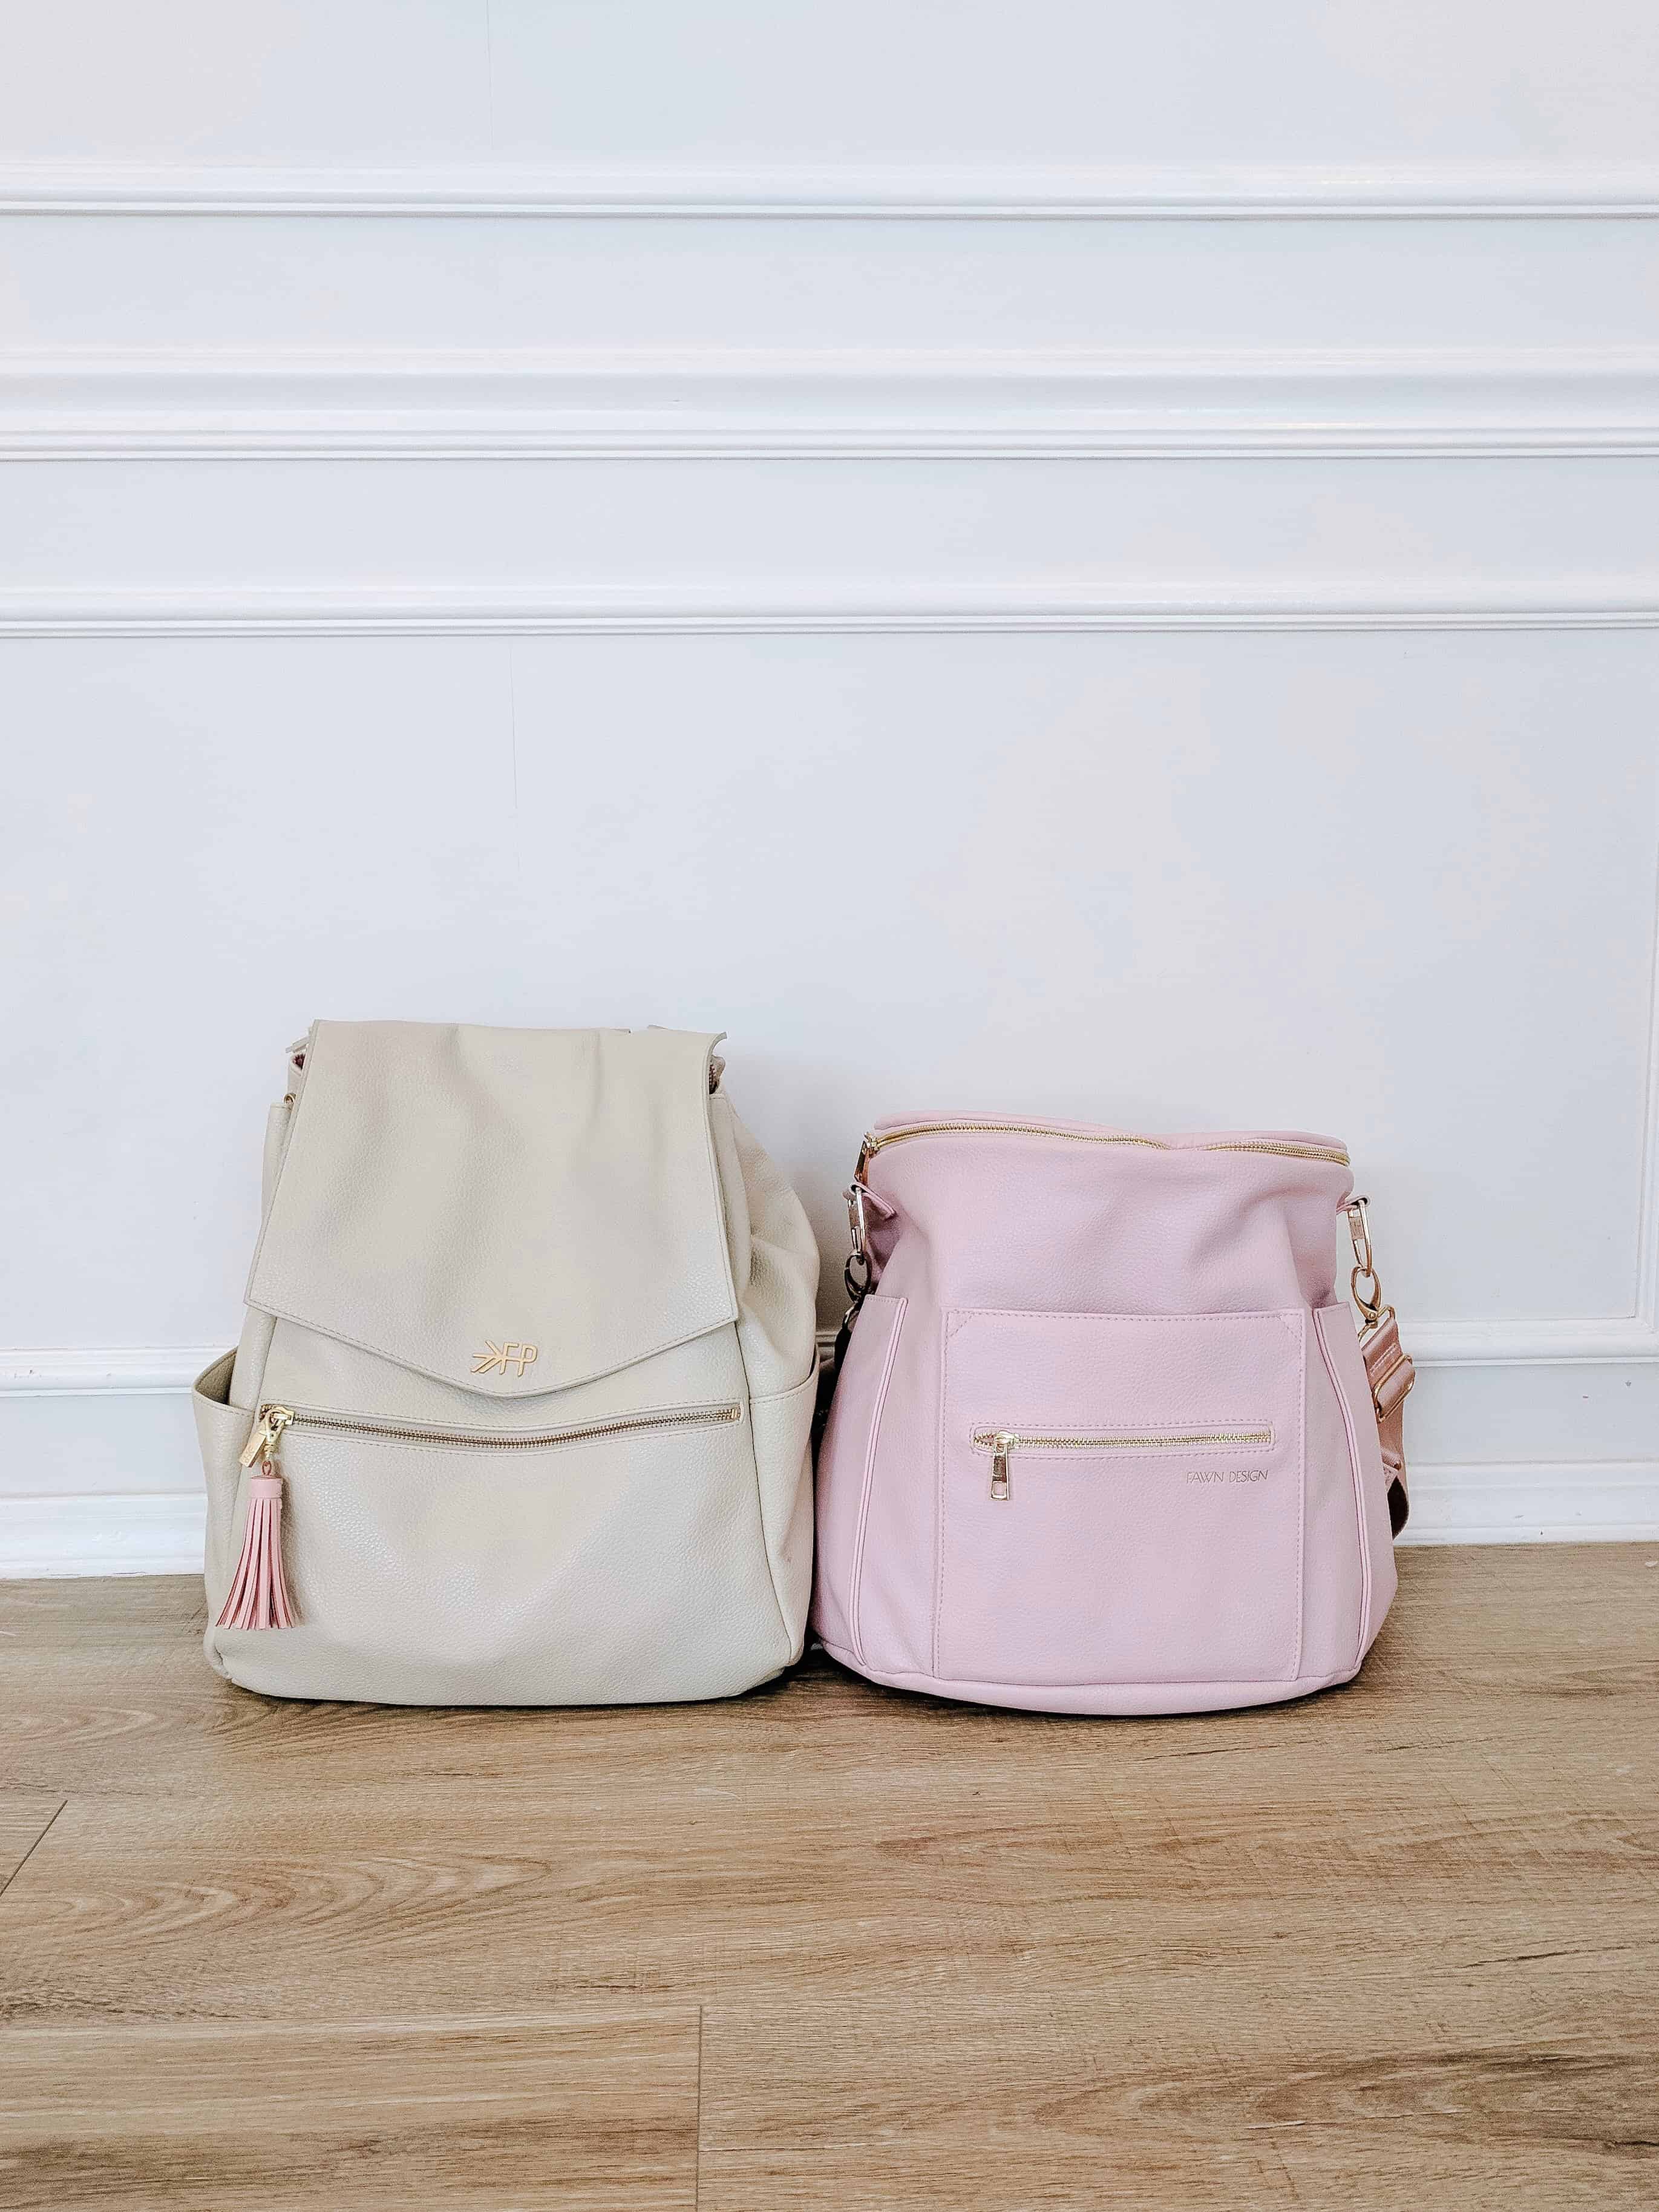
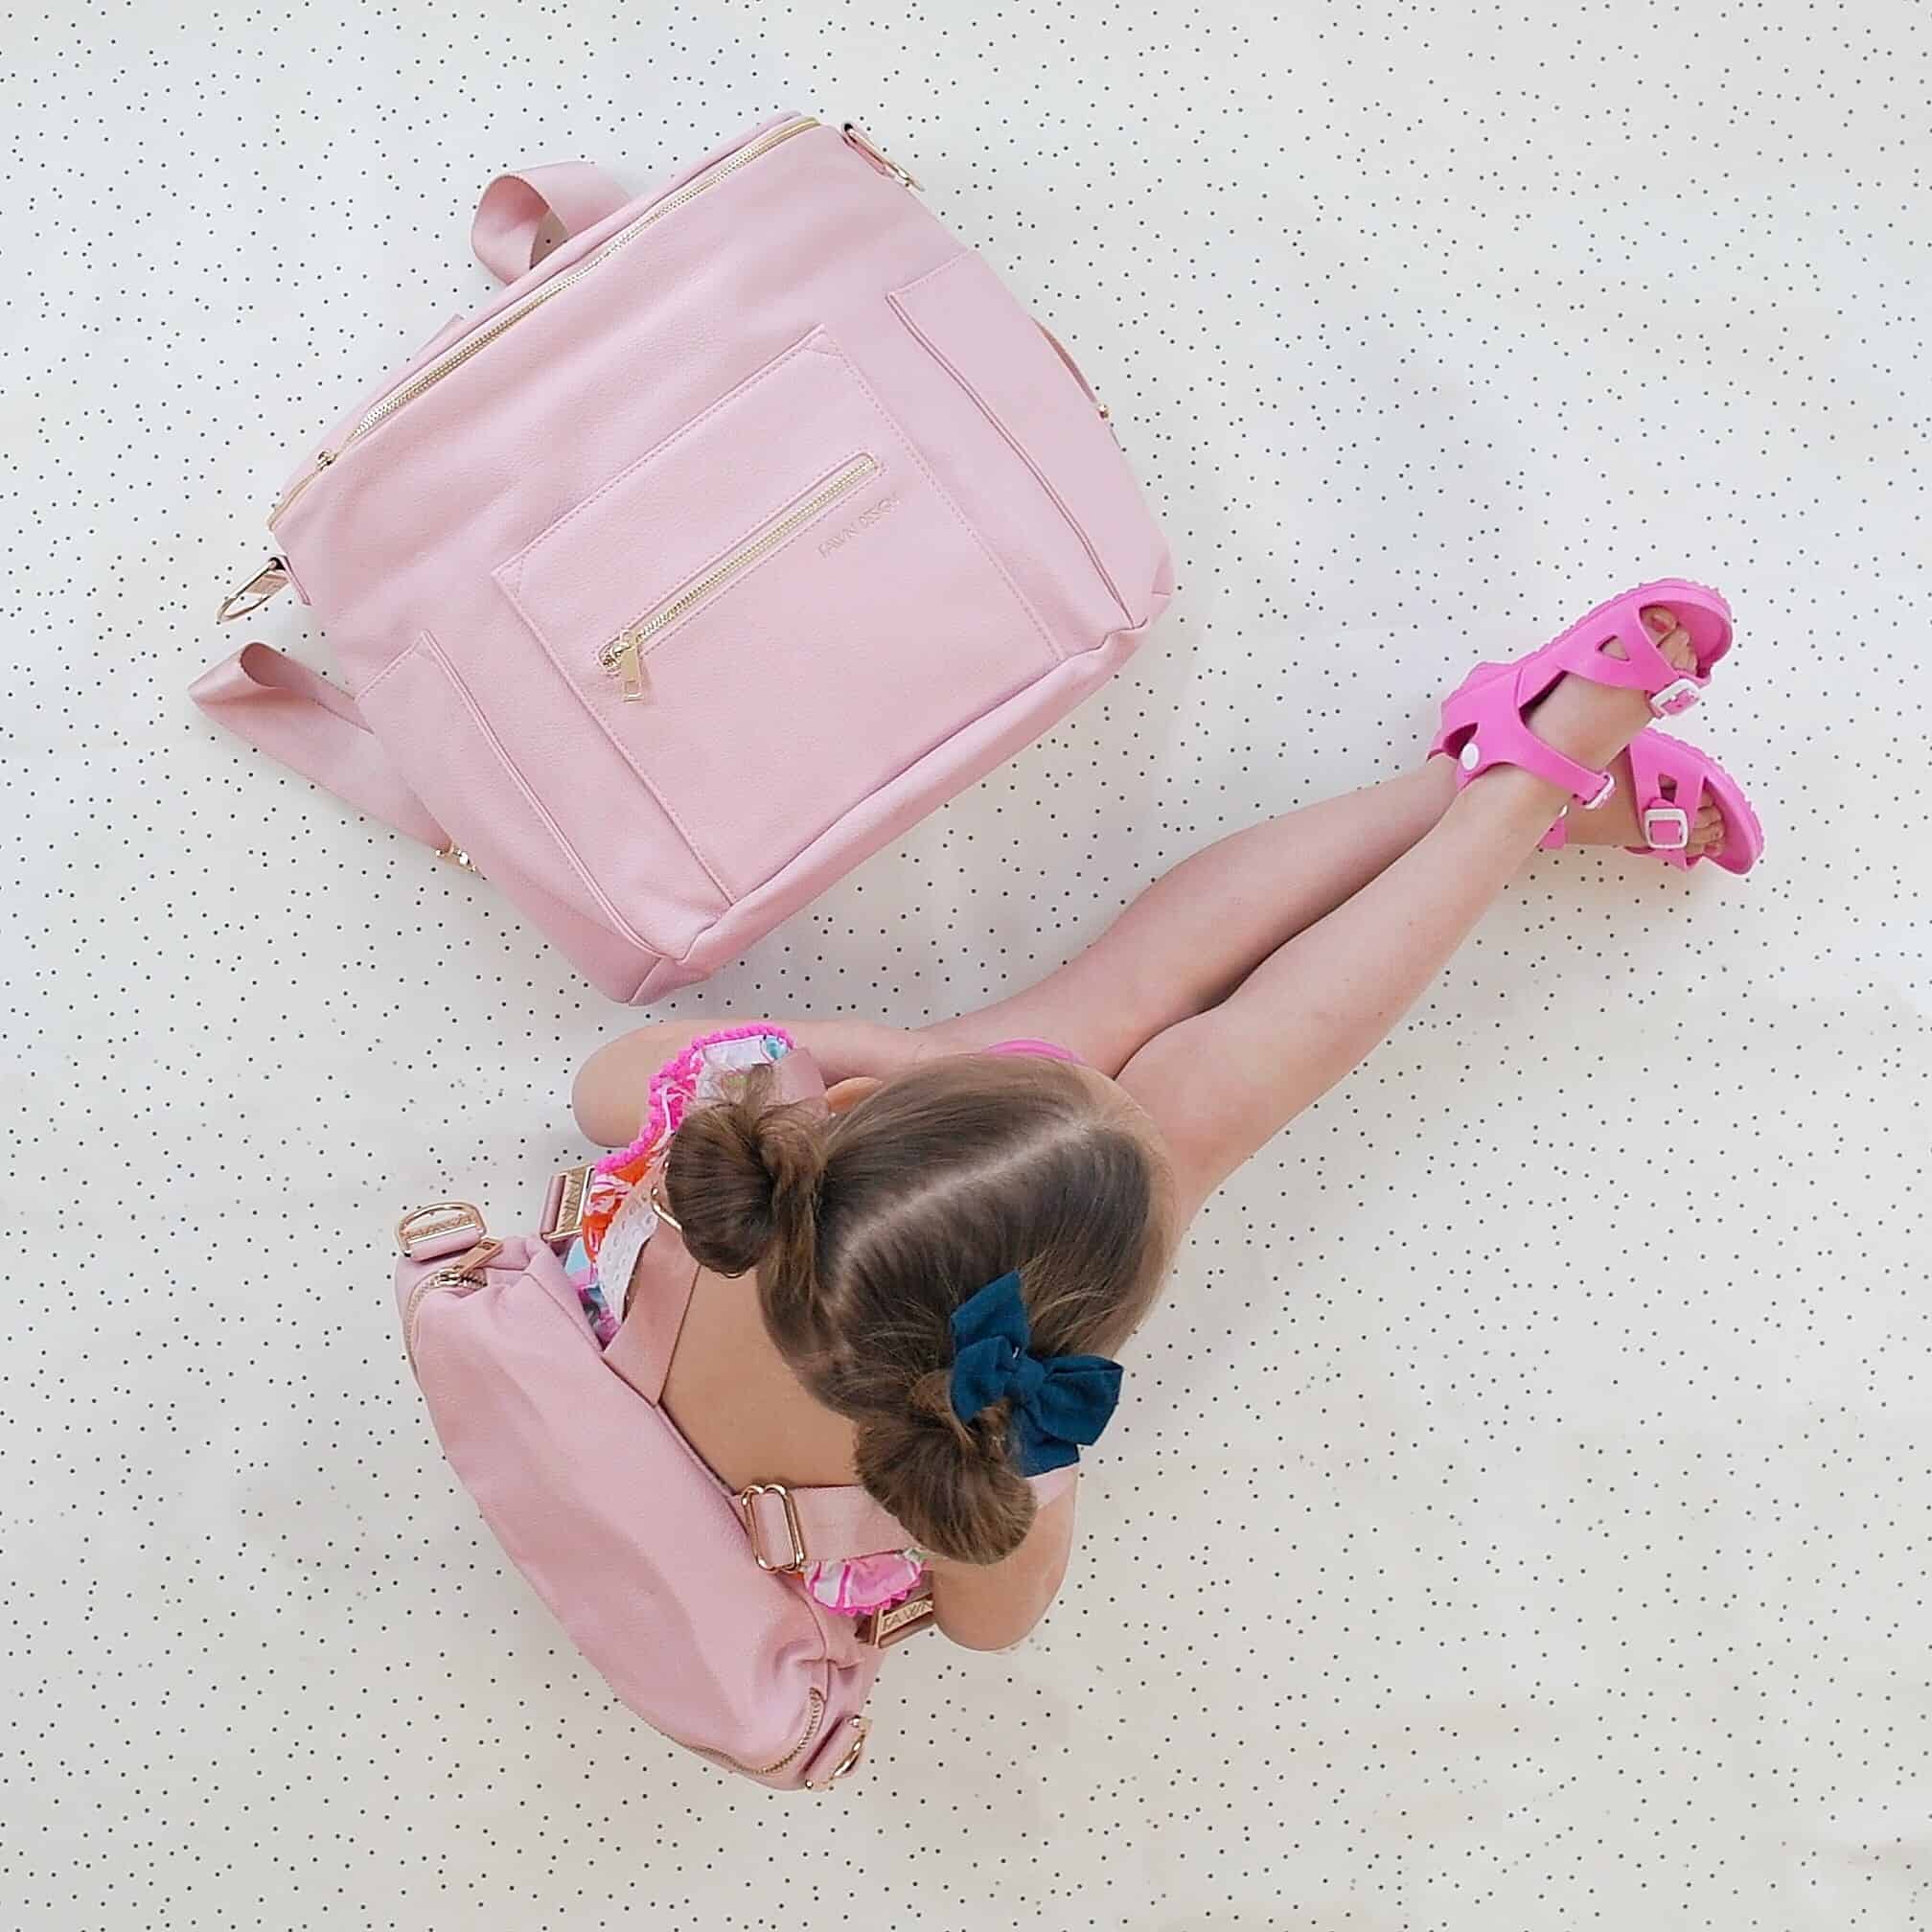
The one thing to note on size however is that the Fawn Design bag due to its size, looks less like a backpack, so I feel can look a bit more fashionable ESPECIALLY when you aren’t with your kids. The Fawn design bag has more of a traditional backpack shape, which for better or worse, has stayed traditional for a reason – it is pretty functional!
Outside Pockets
Overall the Freshly Picked and Fawn Design bags have a similar pocket system. Both have pockets on the outside for bottles or waters. Those pockets are made from vegan leather the outside of the bag is made from. Both bags also feature a zipper pocket on the front. I love both of those features on both bags. The zipper pocket on the Freshly Picked is bigger and in my opinion more of an asset, however I do think that both have features I like. I feel like the outside pockets are nearly identical in function for bottles.
Inside Pockets
The inside pockets is where the bags differ tremendously in my opinion. (and where Freshly Picked wins me over for most days). The Fawn Design bag is fully lined in the vegan leather from the outiside, and the pockets along the inside are also made the that material. To me that makes them a bit less functional. I find that my stuff falls out of them a lot, so most of the time utilize small bags to organize my stuff without pockets in the Fawn design (the good news is that the pockets don’t take up space, so if you use it like one big compartment you aren’t losing space!).
The inside pockets of the Freshly Picked Diaper bag have elastic, and to me are SO FUNCTIONAL. I can put things in each one and they function as little bags. I also love that there is a sleeve where I put my laptop, allowing for it to work as a travel bag a bit better for me, and likely a bag I will continue to use after having kids for both travel or work! For me when it comes to the pockets if you are torn between the two bags, Freshly Picked is a clear winner.
Overall Function
Like I said in the opening paragraph. Both of these bags are amazing when it come to function meets fashion. One area the Fawn Design definitely wins in my opinion is the straps. The width of the straps on the Fawn Design bag are much wider, which make the bag more comfortable to carry. This to me is impressive because it is technically a heavier bag. Both are made from vegan leather, so are equal in that regard. I find that the lining fabrics both come with there own perks, so I don’t see that as a big selling point on either bag.
Over all the questions I would ask myself if you are in the final stages of deciding are:
How many kids do you have or are you planning to have? If you will only ever need to carry enough for one baby the Fawn Design will never get too small.
Will you need to take your laptop with you in your diaper bag? If you said yes, the Freshly Picked is 100% your bag.
Does organization inside the bag matter to you? If so again I think the Freshly Picked wins in that arena, unless you want to get your own small bags to go inside (which many do).
Does the comfort of the straps matter a great deal to you? If so, and you will be wearing it for hours on end often then I would give that win to the Fawn Design bag.
I am more than happy to answer any other questions you have on either of these bags. Just leave me a comment or shoot me an email, and good luck with your final decision when it comes to the Fawn Design vs the Freshly Picked Diaper bag.
(oh and because I have been asked before. I have the Freshly Picked bag in birch. My Fawn Design bags are in a discontinued stone color as well as blush, as well as blush and black minis.)
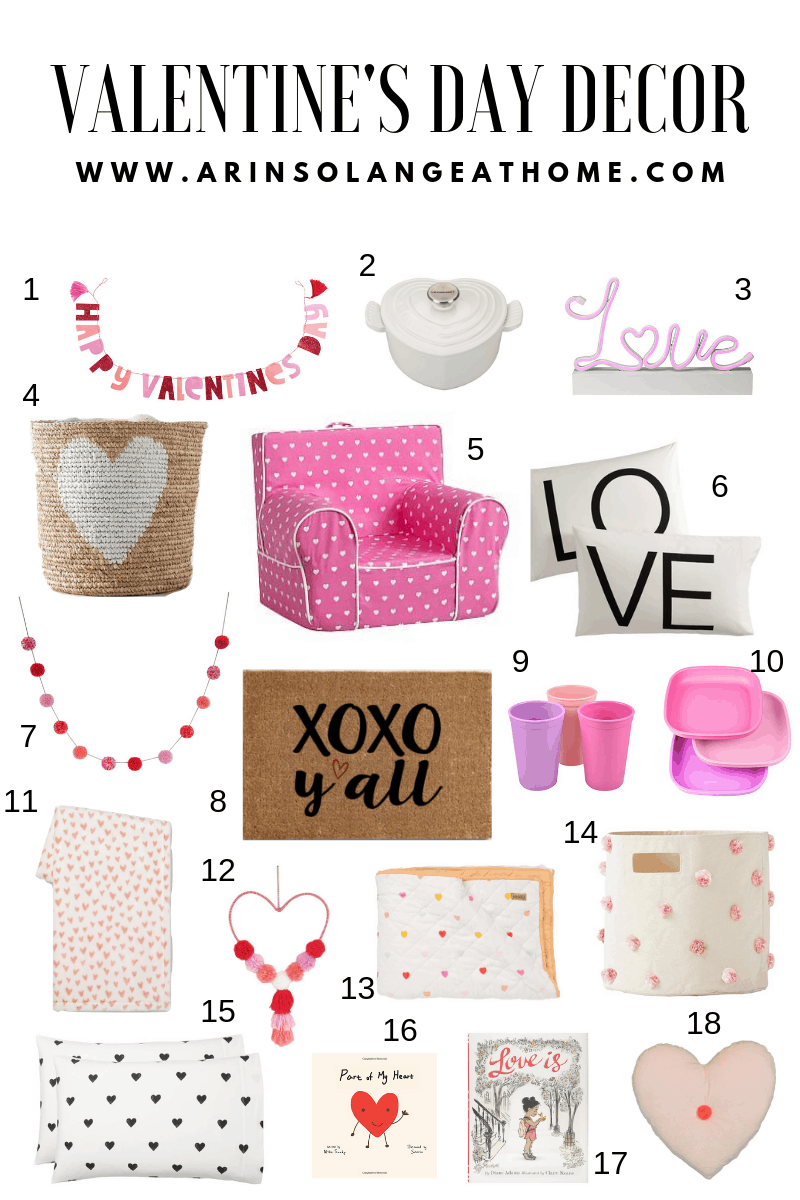
What is better than a holiday where you get to decorate with all things pink and hearts with no apologies? Valentine’s Day is just around the corner and I did my best to round up a bunch of my favorite cute Valentine’s Day Decor for every room of your house.
The plus side to much of it is that if you have a daughter you can likely use it year round in her room, and a lot of the options listed are very affordable!
This was such a fun post to put together with items that I am dying to fill my house with. I hope you find some fun festive items to add to your home this holiday season!!
If you are looking for more Valentine’s Day items below are a couple of posts with super cute items!
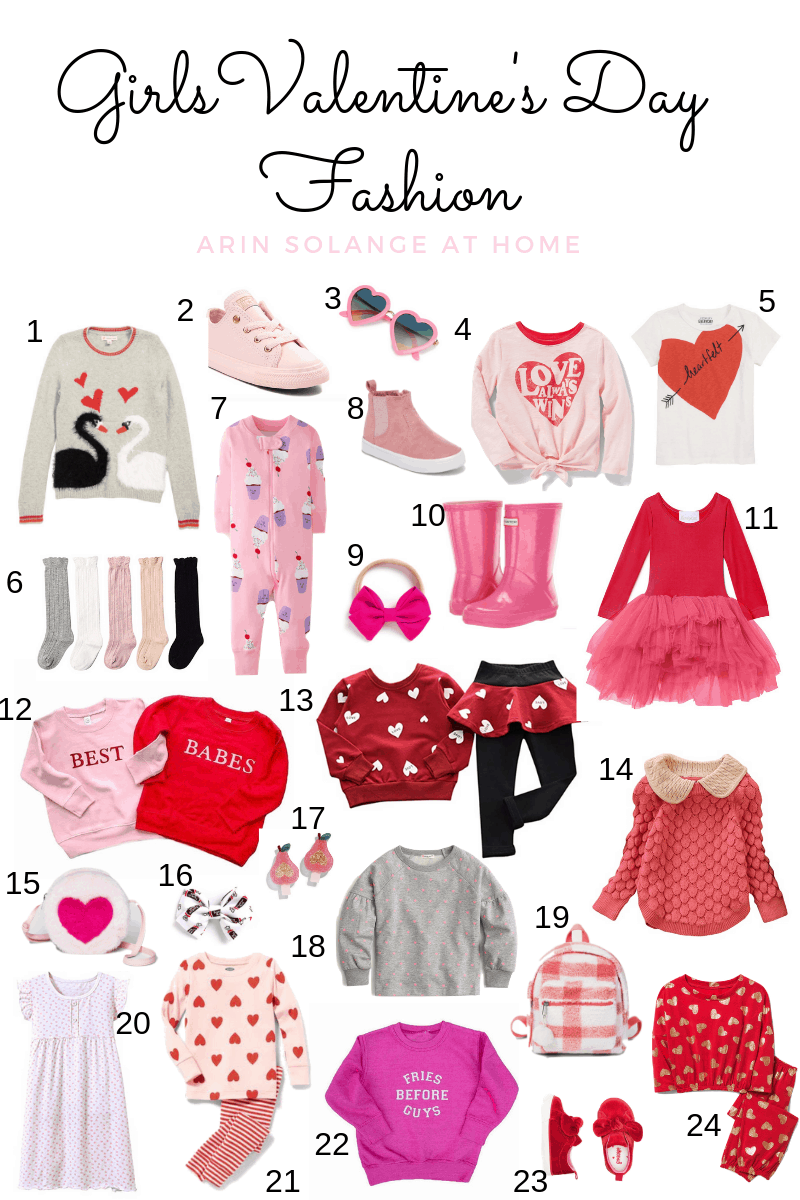
And just like that…onto the next holiday. haha!! I know it is early to start thinking about Valentine’s Day, but there are so many fun things about the holiday for me, so I couldn’t wait to share some. My first round up is of Girls Valentine’s Day outfits.
Valentine’s Day fashion is so fun for little girls because 99.9% of it can be worn any time. I mean lets face it…little girls look cute in pink hearts no matter the season. For that reason I always feel like its easier to get more items for Valentines’s Day than say Christmas.
This post on Girls Valentine Day outfits contains affiliate links
Once you shop this page, be sure to be watching my Instagram page for more Valentine’s Day fun finds that I run across. I will be posting what I find until the holiday is over, and will be continuing to round up other Valentine’s Day posts for you this month.
If there is something specific you would like to see be sure to leave me a comment so I can work on that post!
If you’re looking for some more Valentines inspiration, check out this post on a an adorable Toddler Valentine’s Day party for some inspiration, or grab these free Valentine’s Day printable’s for your houses, and hopefully you found some adorable inspiration for girls Valentine’s Day outfits for the whole season!