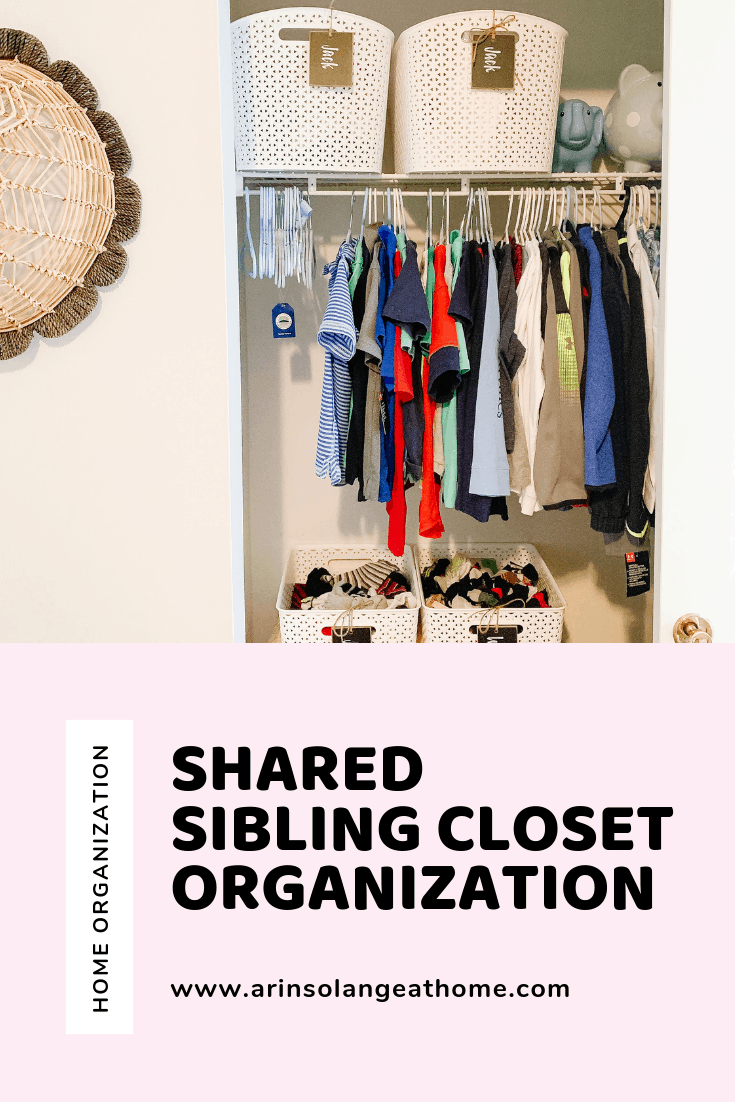
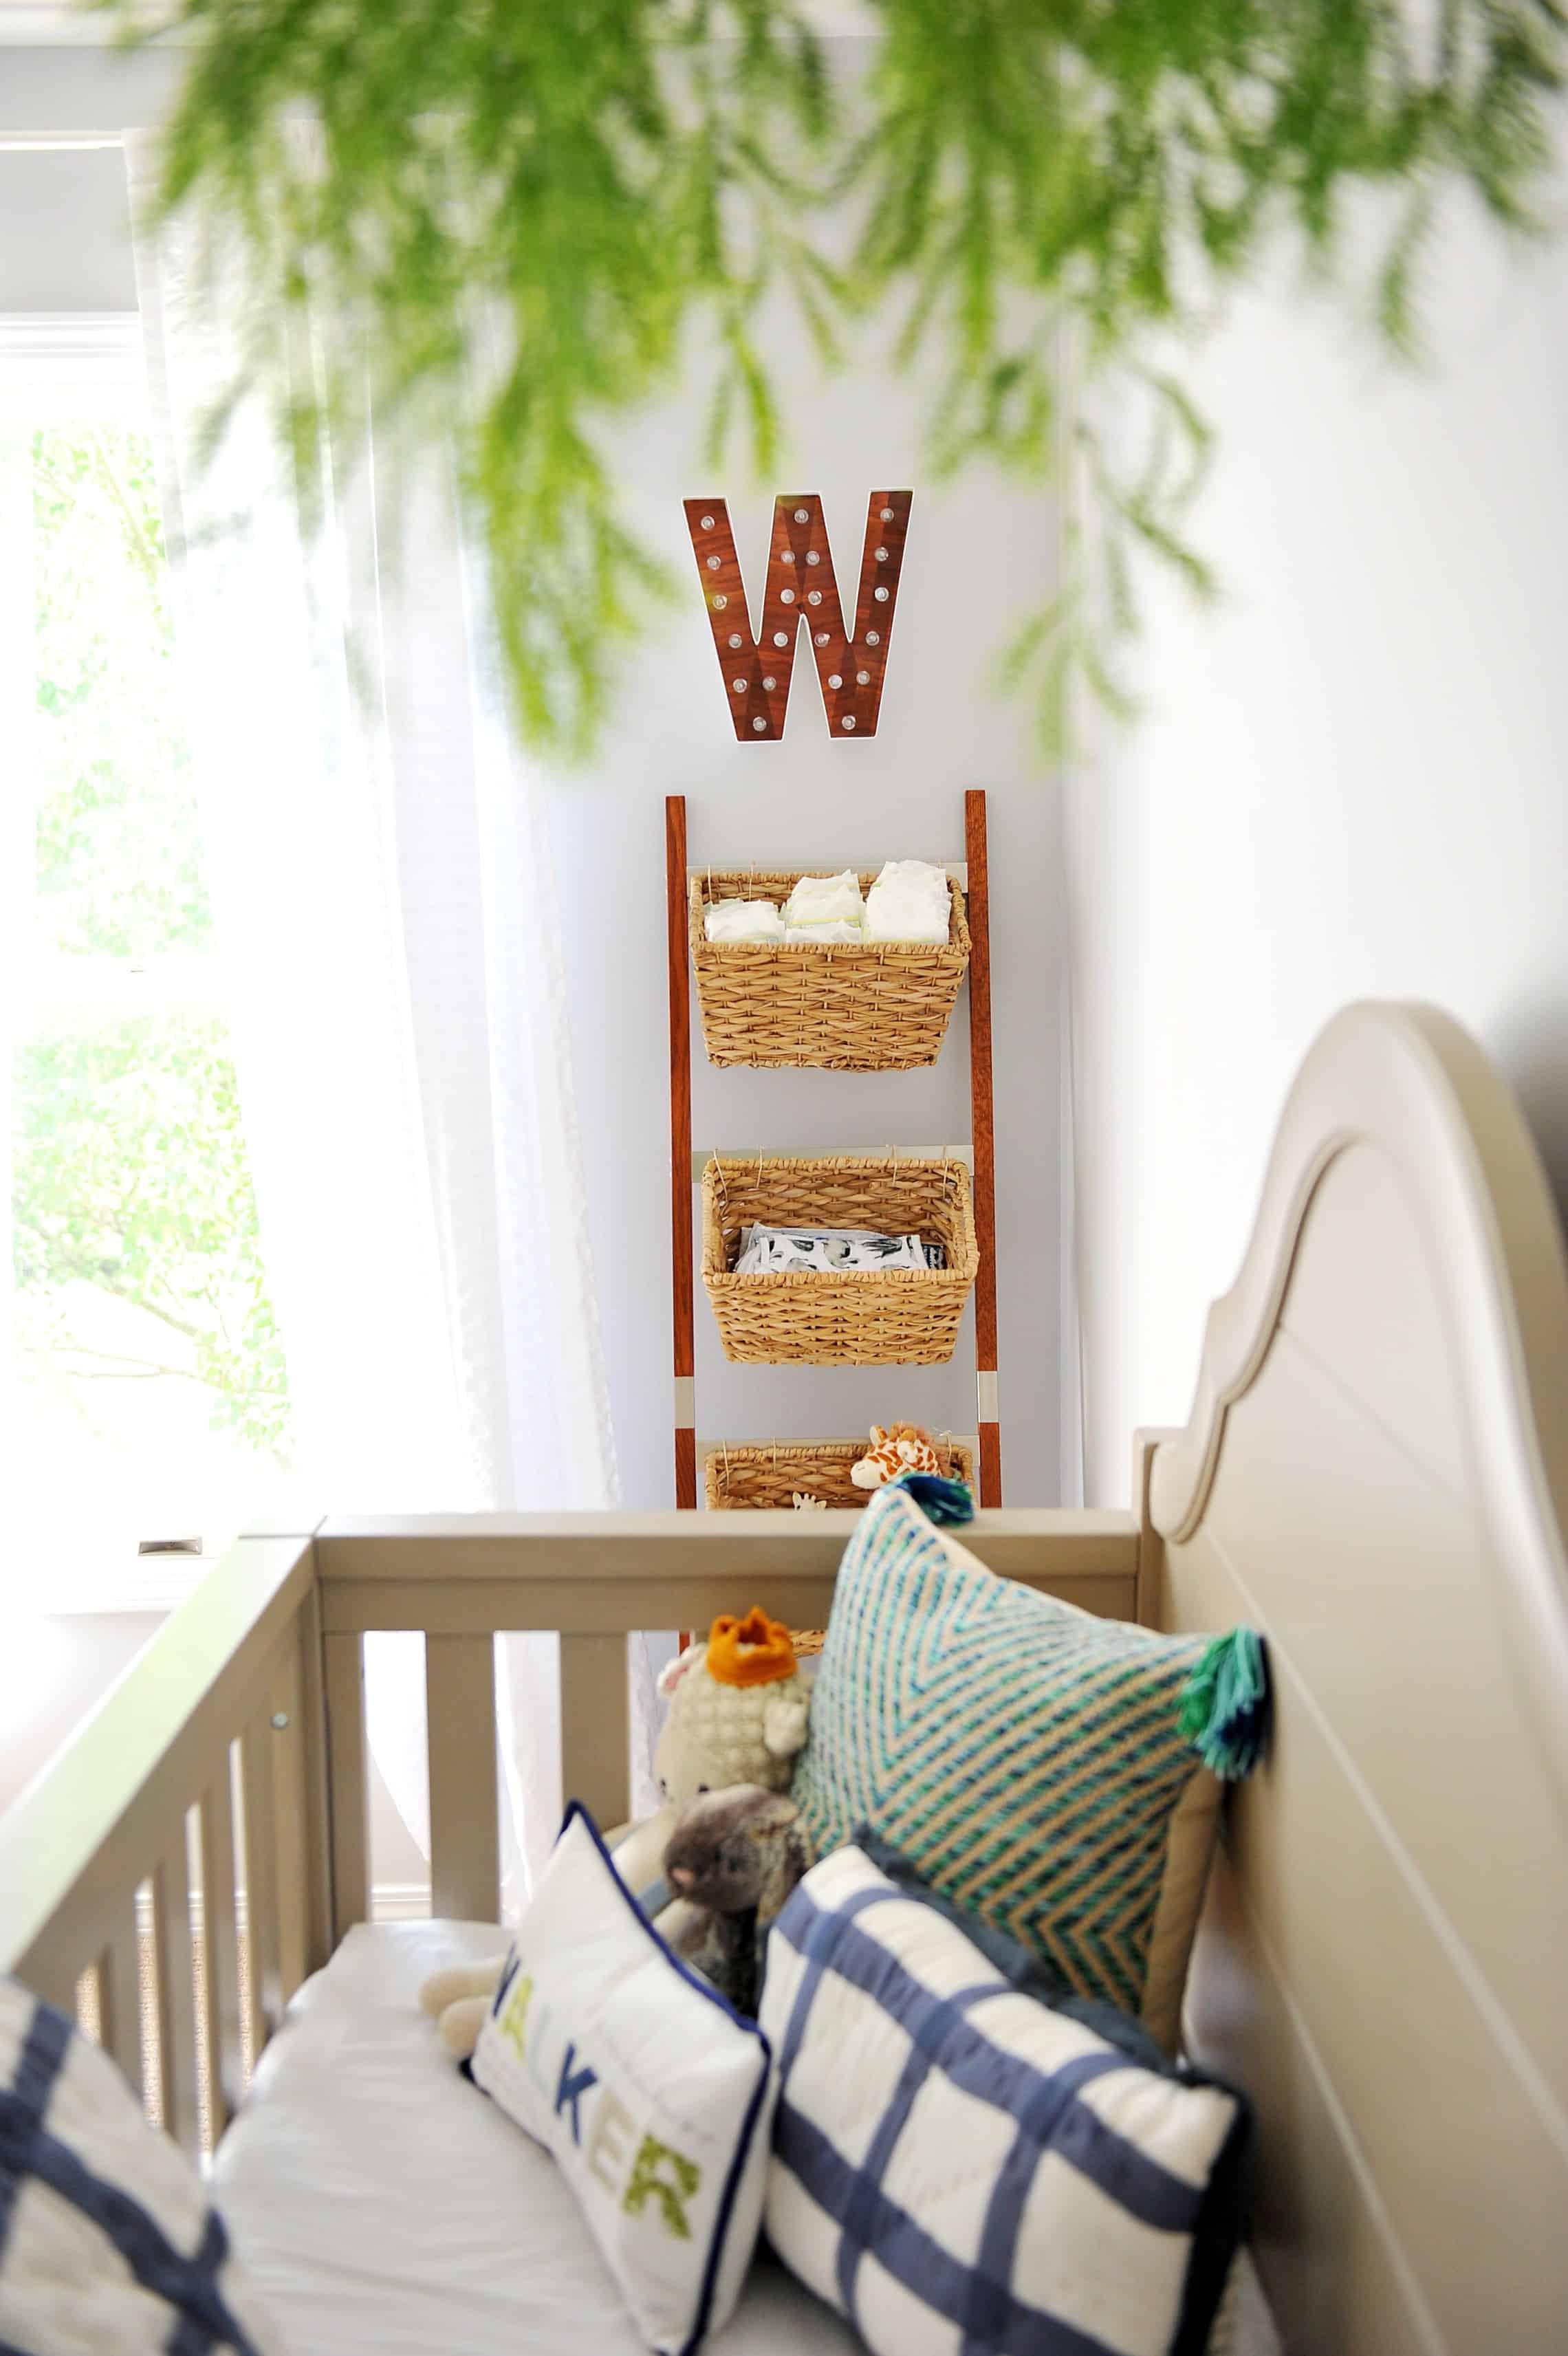
The boys have officially been sharing a room for the past month and a half. I had been wanting to do a blog post on how I organized all their “stuff” for this transition for a while, because that was honestly my biggest worry. When we originally thought about moving them in together we thought we would maybe have a closet overhaul done professionally, but we have since realized we will likely have to move in the next year or two, so decided to do things affordably, and honestly it has worked GREAT. So if you’re looking for shared sibling closet organization tips look no further. On the plus side – a shared closet has made for much easier laundry putting away.
This post contains affiliate links
Shared Sibling Closet Organization Tips
Okay so before I get to the things to buy – because let me be clear, having the right items will help, I will also talk about a few tips and tricks I followed before I combined the boys closets.
Tips
Less is more – For Jack that was easy, but prior to Walker and Jack sharing a closet I had lots of sizes in Walker’s closet at one time. He has so many hand me downs, so I just had it all hanging. I now only have one size at a time in the closet. Items he is too small for are in tubs in the basement.
Think about the child and their age when it comes to how you store clothes. I handled things differently for Jack and Walker. Jack is 6 years old and can get dressed on his own, where as Walker isn’t. I decided two tiers of hanging clothes for Walker was best for space, and to hang ALL clothing aside from swimsuits and PJs. With Jack I did one Tier of hanging with a dresser below for folded clothes he could easily access. I wanted him to be able to access his shorts and pants as well as school uniforms.
LABEL, LABEL, LABLE! – I LOVE these labels from Chalk Designs by Me. They have allowed both myself and my husband know who’s clothing is who’s, but also allow for Jack to know, and sitters or grandma to know if needed.
Utilize baskets – I am a big person on baskets in general, but for this organization system baskets were key. I will explain what baskets we have and drawers below!
Top Shelf of the Closet
Jack Misc – This has jacks baseball stuff, swim suits, hats and so on. He doesn’t have a ton of any of that so it works great.
Jack keepsakes – The older kids get the more they have little stuff that is special to them. I kept a space for him to put them out of reach of Walker.
Walker Pajamas
Walker Swim Suits
Extra Blankets – Roll them and stand them on end for easier storage
Keep Things Within Reach
So like I said we kept certain things in a smaller dresser for Jack, as well as small baskets with both boys socks. There are also small baskets with the boys shoes on the floor of their closet. This keeps things in reach for them, and organized and separated. Underwear for jack are in their little dresser, and Walker’s drawer is empty so that we have a spot for underwear when the time comes.
Items to Buy
For more shared sibling tips, I have a blog post with advice from several moms on sibling room sharing that you can check out here! If you have any questions let me know in the comments below.
Pin Post below on Shared Sibling Closet Organization Tips
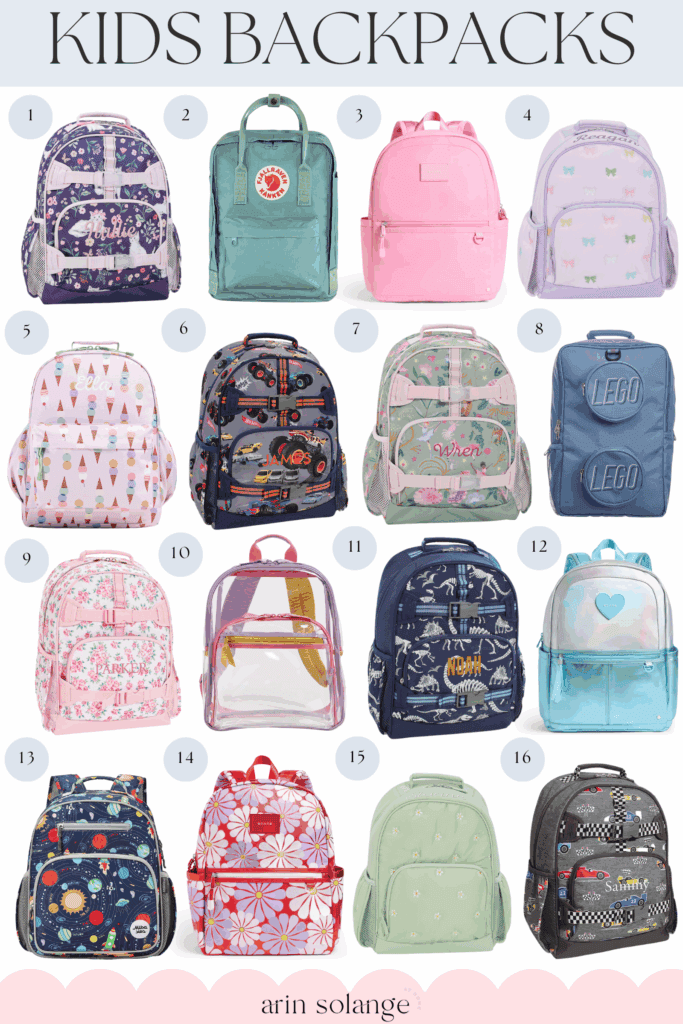
Last year you all loved the backpack round up I did, so I thought I would round up some favorites this year too. Avé is headed into Pre-k and Jack into first grade, so I did a good mix of the best elementary school backpacks for boys and girls! I will note the comments area below which ones we personally have owned, and also want to try something a little different in terms of shopping. I am going to start doing these posts the same way I have in the past, as well as adding stoppable images below to hopefully making shopping even easier for you all. I would love feedback from you all on if this is something you would like long term on posts! ( This will also allow me to add in a couple extras that can’t ever be edited quite right for the posts haha!)
We have owned several of the backpacksfrom the Pottery Barn Kids and they are amazing – my favorite thing about them is they come in three sizes pending your Childs age and the straps on the front attach to their lunch boxes.
People rave about these! A great neutral that supposedly holds up very well!
Avé had a STATE backpack last year and it has held up SO SO SO WELL!
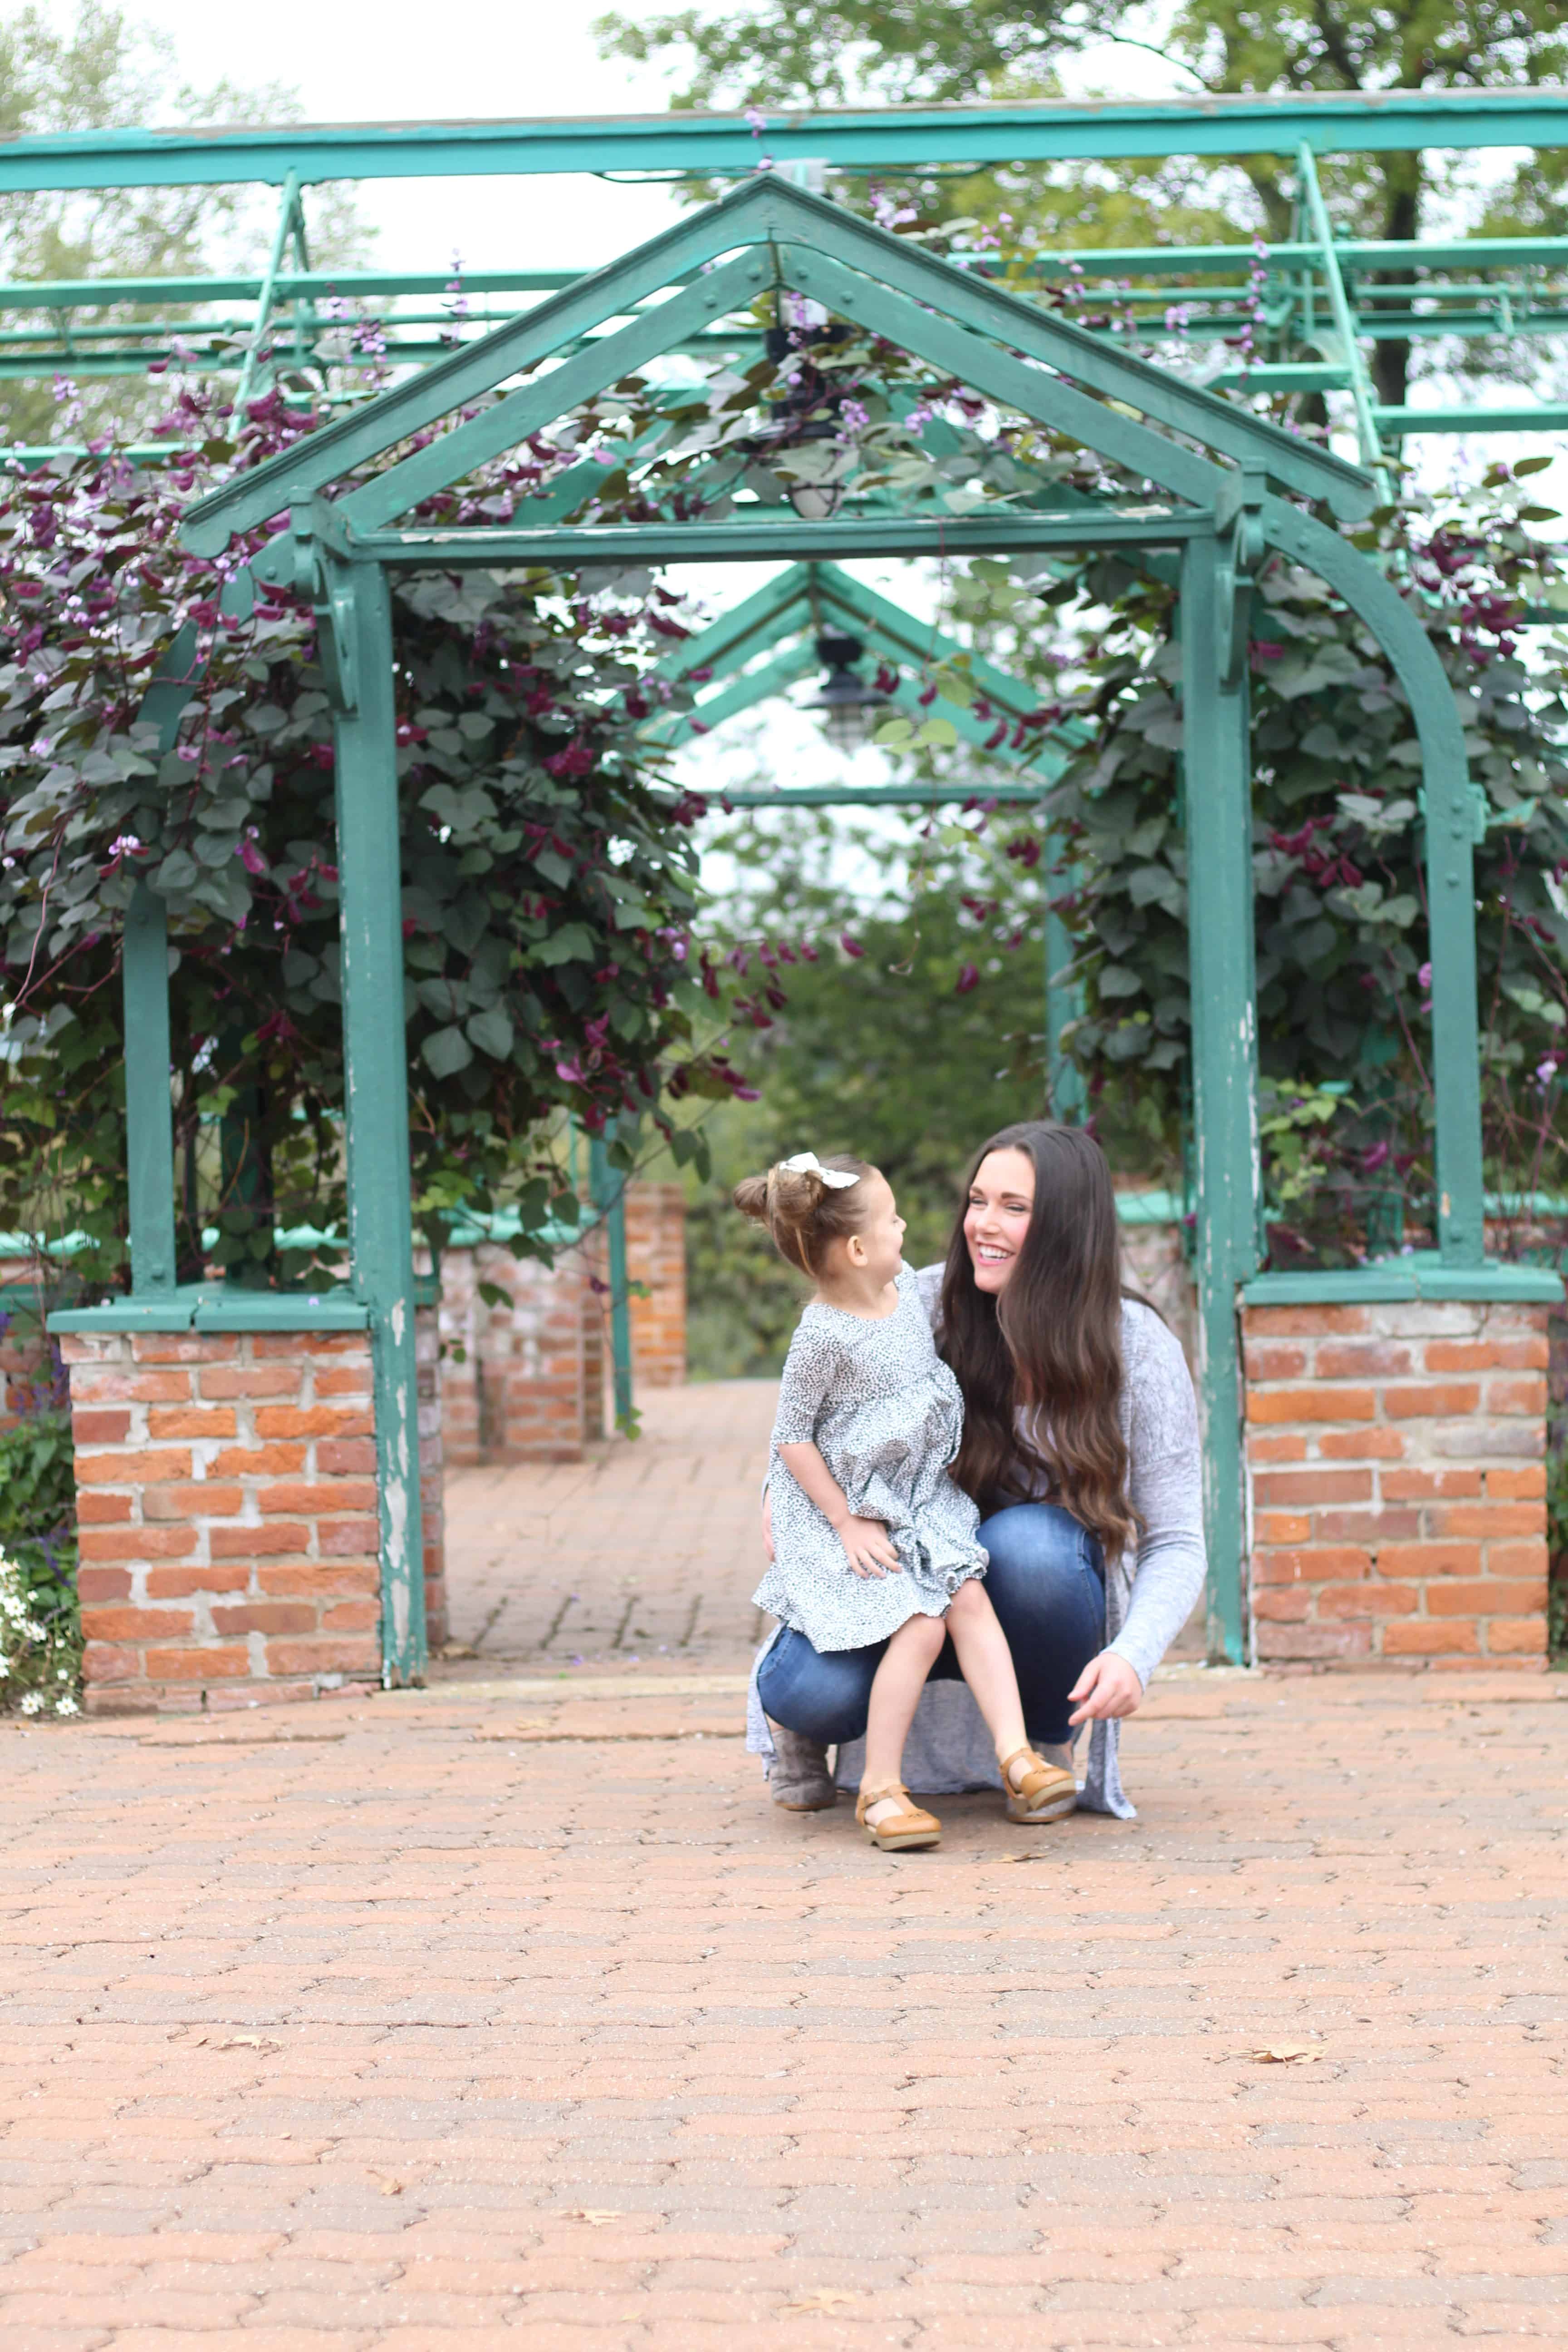
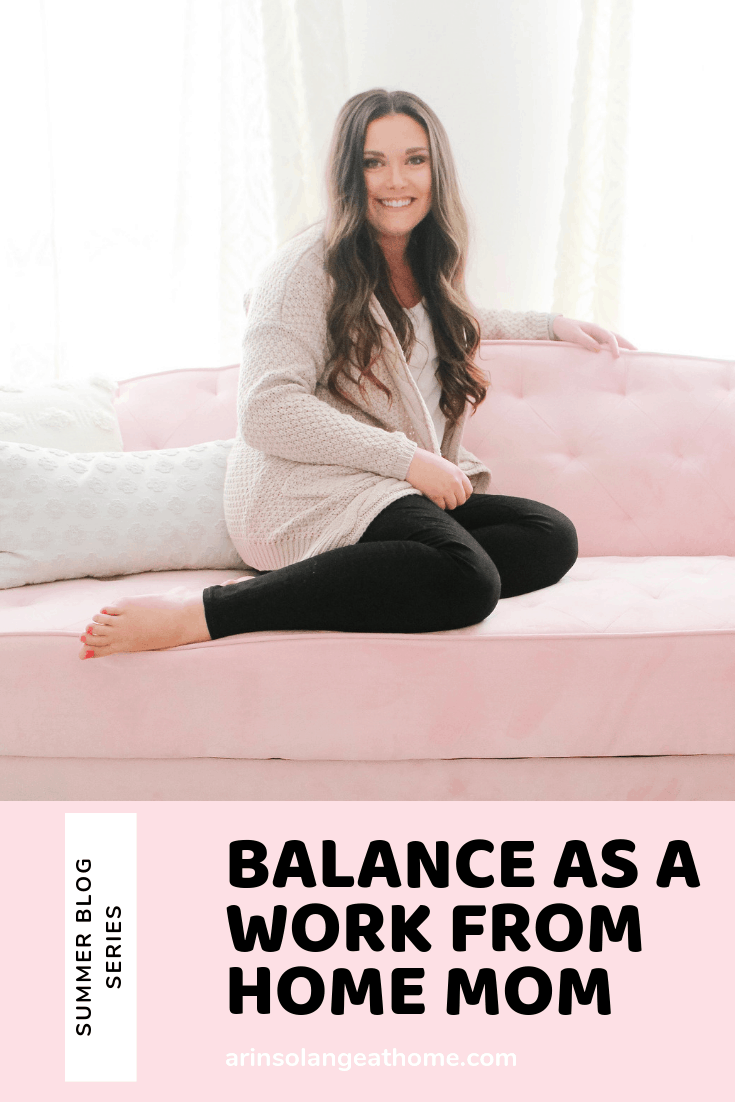
Balance as a Work from Home Mom – Summer Blog Series Week 2
Week two of our summer blog series is already here! I seriously can not believe it. Incase you missed last weeks post, check it out here. My friend Navy and I have teamed up this summer on a summer blog series where each week 8 other ladies will join in. The topic is different, and the other bloggers are different weekly so you will get fun perspectives on great topics every Wednesday. This week we are talking about balance as a work from home mom. Most of the ladies in this series are bloggers as their main job, thus we all work from home. The income we generate, and the amount we see this as a “job” vs “hobby” may differ from person to person, so I think this will be a great topic to get insight on!
Balance as a Work From Home Mom
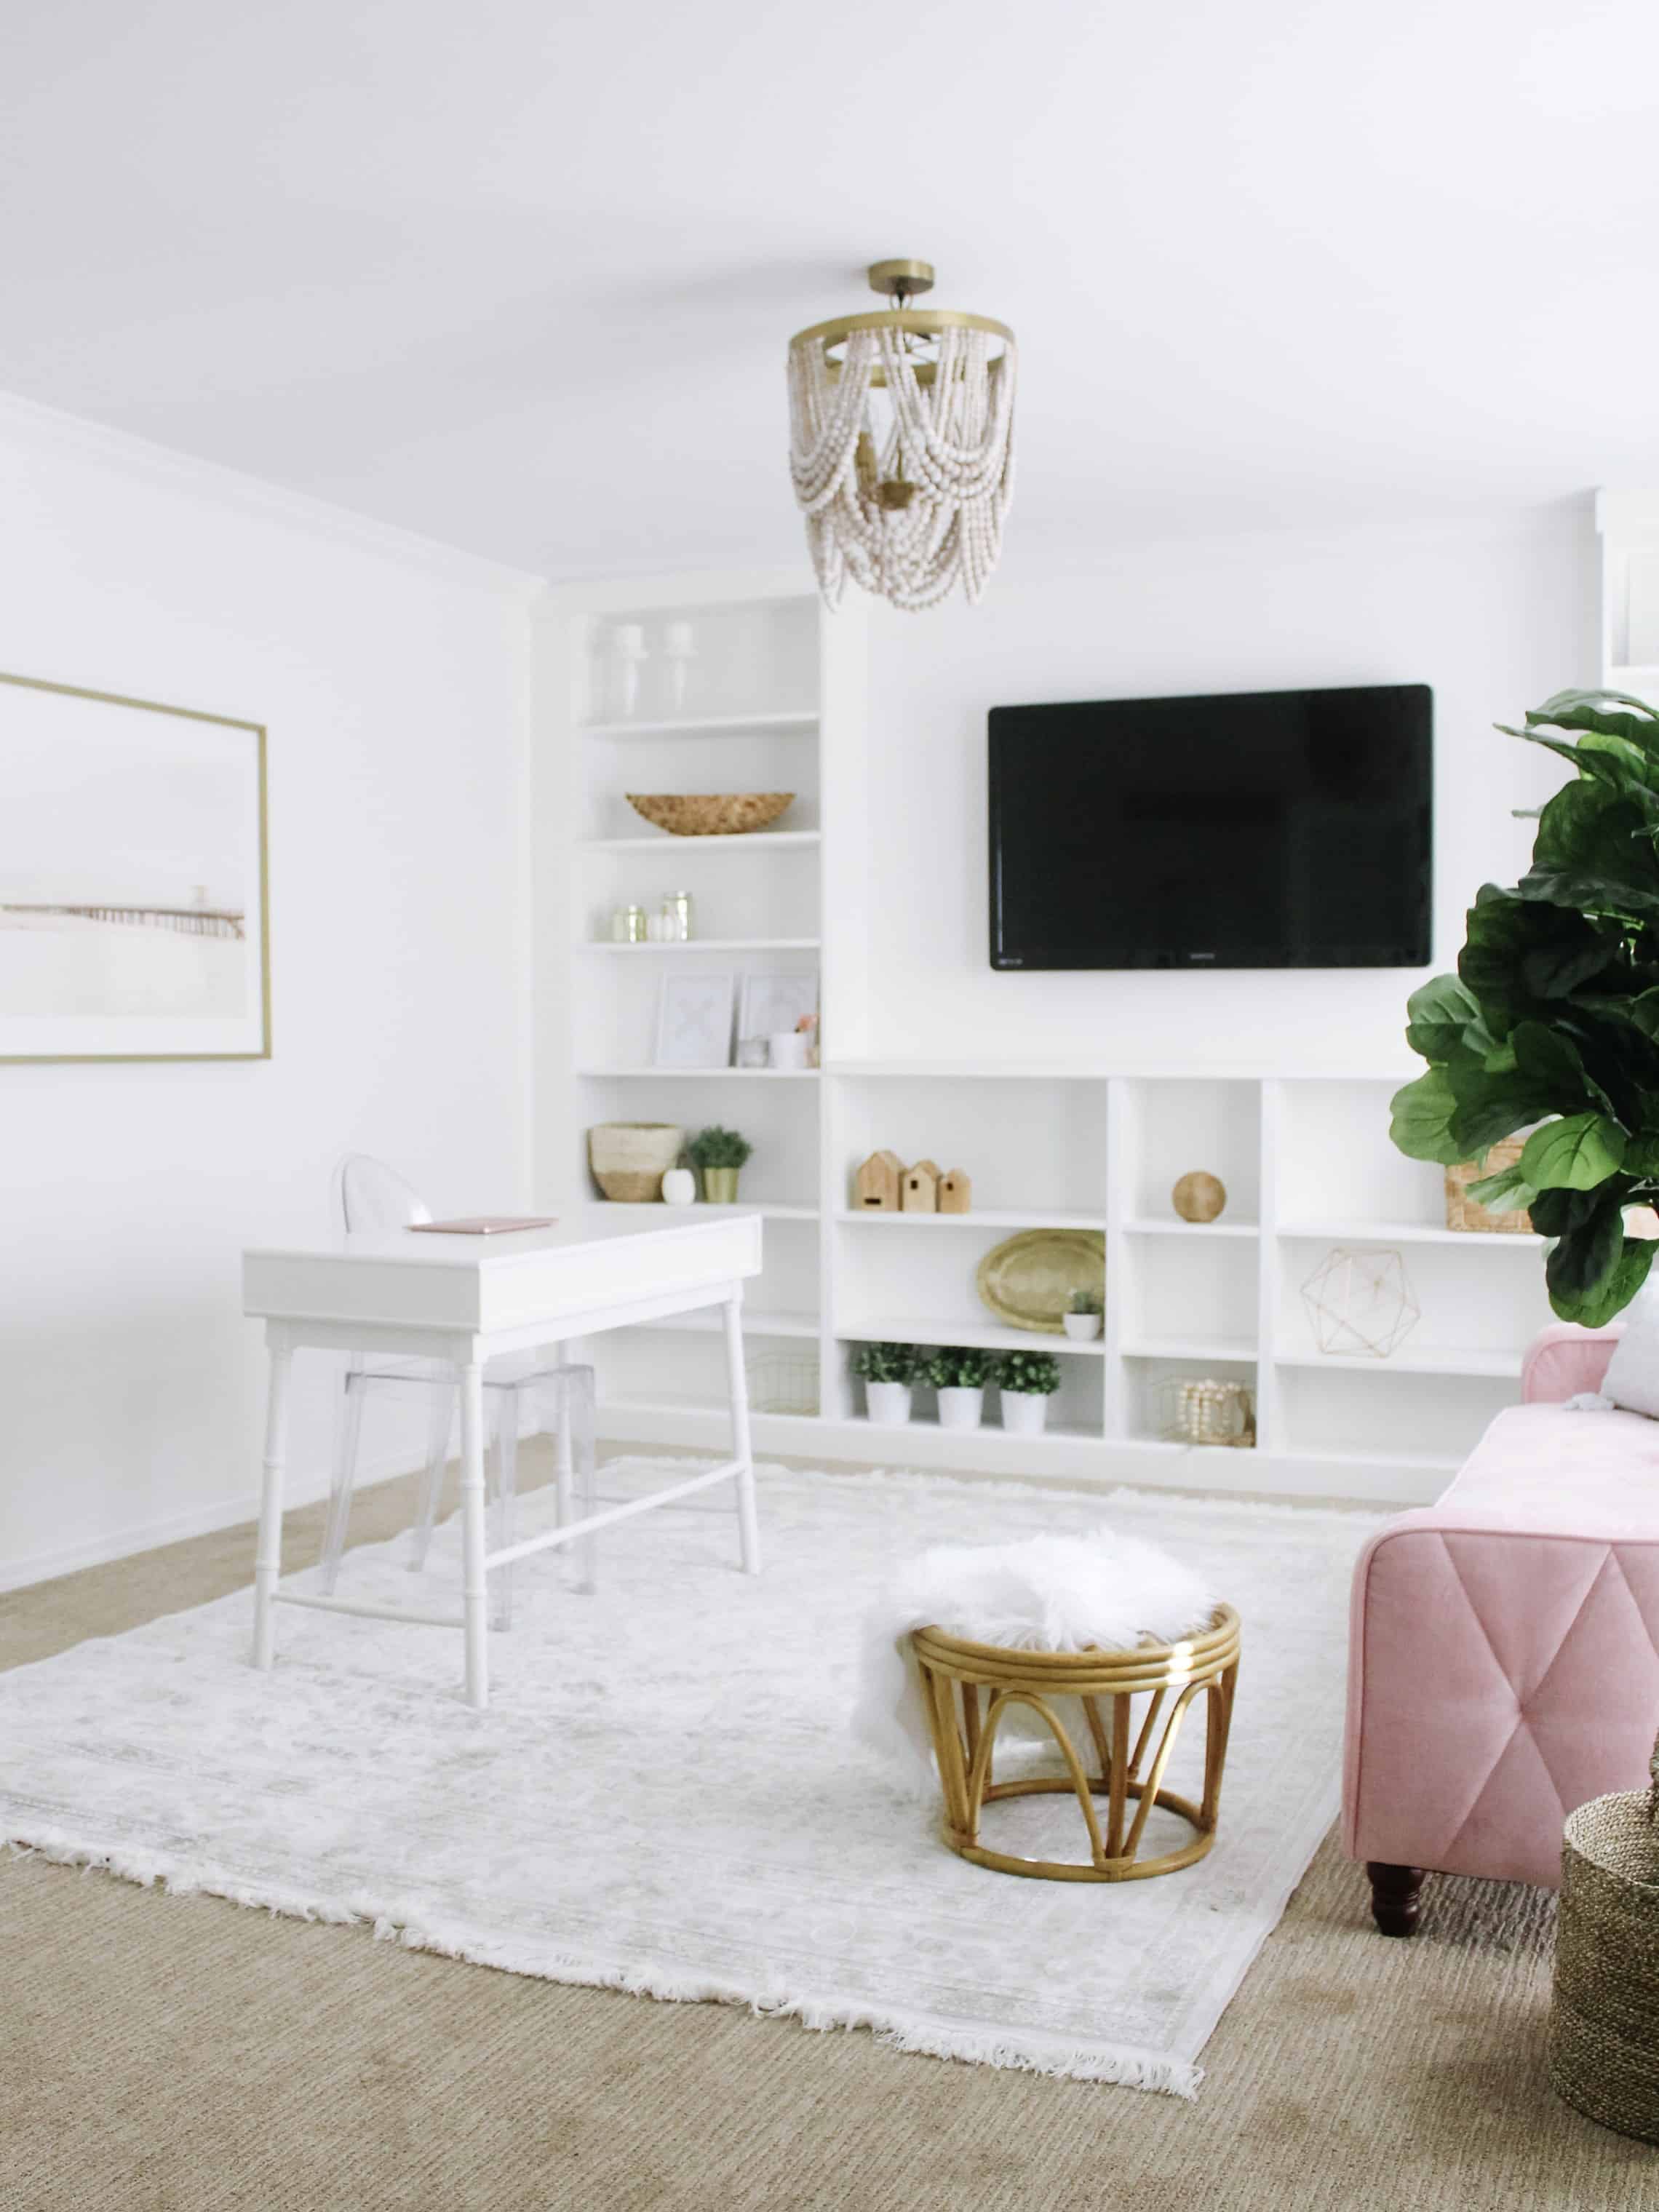
When I started my blog in 2016 (read more about that here), I never thought this would be a job. I thought I would do this as a little hobby. But over time it has evolved into a job. I work probably close to 30/40 hours a week, but as with many jobs like this, the hours are at my own discretion, which has allowed for me to still be a stay at home mom. I get asked a lot how I do that. Do I have help? Do I like it? I am going to talk about what being a stay at home mom/blogger has been like for me, as well as my tips for making it less hard on yourself and your family.
Designated Work Time
The biggest thing that is hard about find balance as a work from home mom is having designated work time. There are no hard lines on when to work, and when to be a mom, or do laundry or all the other things that need to happen. I have found that there are a few things that have helped me to designate work time.
Getting up early – not my favorite, but when you get up early, its time that you wouldn’t have been awake, thus time you are not taking away from other things you would normally need to be getting done. You can easily add 5 extra hours into your week by doing this.
Join a gym with childcare. During the school year my older two kids were in School half day, but I had Walker home daily. We belong to a gym that you can get up to 2 hours of childcare a day at. Some days I only go to the gym for 1 hour to ONLY workout. Somedays I would go for 2 hours and workout for an hour then work. The biggest thing to do is to workout first and set a time or workout goal that has to be completed before you can sit down and work – this takes more self control than you might realize.
Hire help and use that time wisely. We recently hired a sitter for 2 mornings a week. That means most weeks I have 8 hours of hired help. Sometimes I am still carpooling kids, or having to step in, so it is not always perfectly ideal, and that will sort of look different when the baby comes, but for now I designate that time for WORK. It is very rare that I will take that time for anything social. I go straight upstairs for the first 2 hours our sitter comes and get computer and blogging work done. Then many times ill run errands that need to be done for the second 2 Hours. Its good balance for my mental and physical wellbeing, and has allowed me to batch work.
I also recommend you designate time that YOU DO NOT WORK. This is harder than it seems. For me its Fridays. For the most part Fridays I do no work. I focus on my kids and my husband. I go on date night and enjoy my time with Sam, and I don’t think about the Instagram world. I have also tried to set out one other night a week where I get housework done and not blog work after the kids are in bed. This helps with overall stress levels!! Also – holidays and vacations are huge for bloggers, but make sure you do check out sometimes.
Have a Game Plan
Speaking of batching work. Nothing is worse than getting time from a sitter only to sit there and realize you don’t know what to get done. I keep a planner but also a check list in order of what needs to be done weekly. During the time our sitter is here I try to get 3 to 4 blog posts written. That typically means doing nothing but typing for those hours, but allows me to not have to do anything blog wise the rest of the week typically.
I also recommend a game plan of what HAS to be done weekly because the truth is you could work everyday all day and all night every night. When that list is complete take some time to focus on backend things. Chances re you started a blog because you had a passion for something, so spend some time keeping that passion afloat.
Hire Help
I already talked about the fact that we have a nanny. But something else I did this past month was hire someone to take over a backend side of my blog. She works for me for 5 hours a week keeping things on autopilot for me. I set a goal of when I could hire someone to do this for me, and it has been great. It was the one thing that I couldn’t stay caught up on with the rest of my work load, so for me this has been a game changer, and allows me to actually focus on my blog when I need to blog, and my family other times.
Sometimes I think you need to hire someone when it’s out of your comfort zone. It won’t always feel great sending that money off, but in order to balance things it is important.
Do I like being a Work from Home Mom?
Yes and no. When I had kids I never wavered on if I wanted to stay home. I KNEW I wanted to be home with them. But by about 4 years into it I also had some desire to make connections and have something to talk about other than my kids. We moved to St. Louis when I was pregnant with Jack and I have few friends here, and was really lonely. I also knew that my drive and my hard work could be put into something. For me being a work from home mom has allowed me to fuel my soul in both arenas, and be home daily with my kids which is priceless for me, but that doesn’t mean I find it easy.
I think sometimes that unless you’re balancing well, your kids get more of you when you work out of the home. When you can leave your kids when you leave your kids and leave your work when you leave your work. I feel like I’m giving 50% to both areas a lot which is hard!! But for right now I am working hard on making that a bit better balancing things better and better with time. I see the end goal, so I push through, but I think its important to know that it isn’t always easy!
My last big piece of advice is to know this: Being a work from home mom in this capacity is a sacrifice from everyone in the family. If your spouse isn’t on board I wouldn’t take it on. Understand your children will sacrifice in some ways, but also I know for me, they see benefits in other ways. Have a plan, be organized and ask for help when you need it, and you will find so much better balance as a work from home mom.
Read the other ladies Posts this week
All of these bloggers have written posts on the same topic!
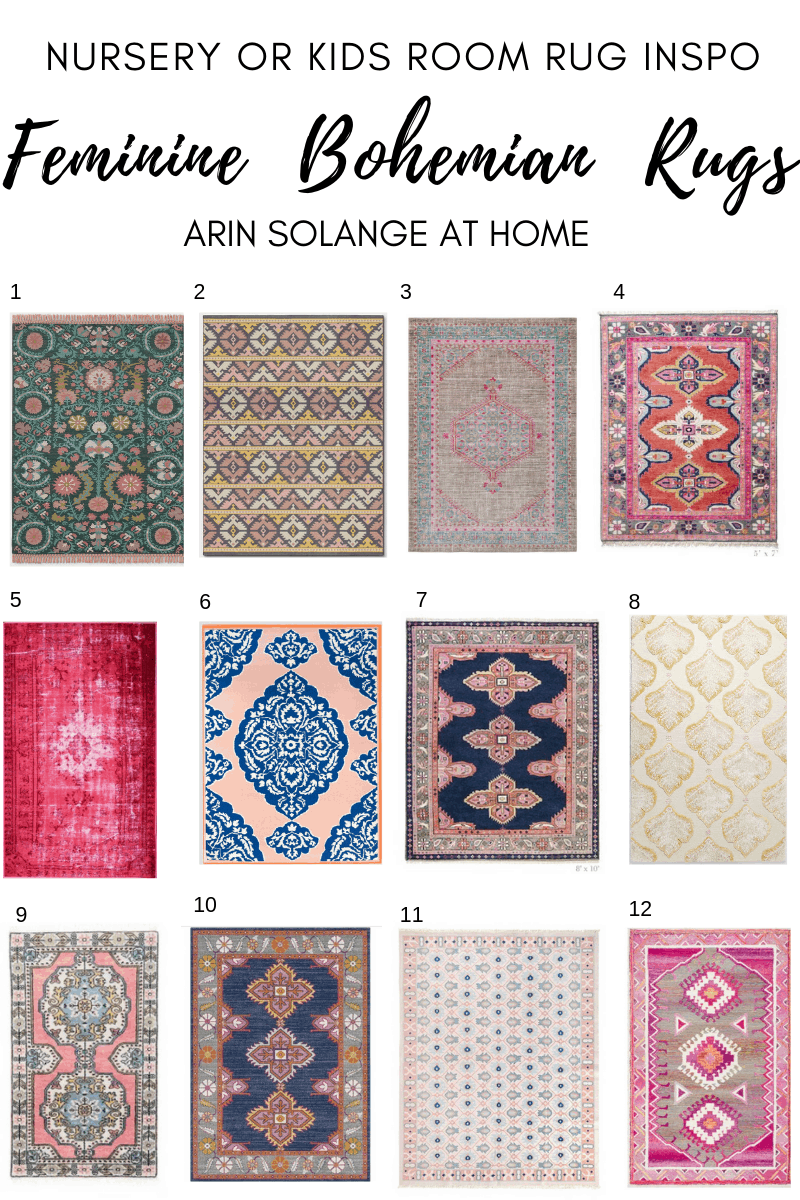
Baby girl will be here in 8 weeks or less, and I am JUST NOW really starting her nursery. I have like 1 aspect planned in my brain and the rest I am having the hardest time committing to this time. Does anyone else get that way when they are pregnant? This time I feel so unorganized which is not like me. ANYWAY, my biggest hold up is the rug. We will not be in our current home super long term, so I would love for the investment piece to be something we can move. (so not wallpaper). I have rounded up all the rugs I have been drooling over in my quest for pink bohemian rugs for you to help me pick…or pick one for yourself!
This post contains affiliate links
Pink Bohemian Rugs
When it comes to baby girls nursery I have been eying a few different options, but really wanted something with a classic yet boho feel, and with pink in the rug, but not all pink. Some of the rugs I have added are maybe slightly more pink than I was looking for, but still rugs I love – IE the all pink one that we already own. It used to be in Avé’s room, and I think I will move it back there, because I LOVE it.
This rug option is super affordable, and I love that it isn’t super pink. I really wanted a rug that just pulled out the pink but wasn’t overly pink for this room!
Check out all the color combos this rug comes in. It is more middle of the road on price, and there is one for about any room color you’re doing.
I have this rug in several variations on this round up because I LOVE THEM. This rug is on the higher end but from what I have heard they are worth every penny. I Love the coral in this one – it could easily go in another room.
This rug is the one that used to be in Avé’s room. We changed it out for a bigger option, but I still prefer this rug over her older one.
I fell in love with this rug, and it reminds one of my front runners. It is gorgeous and so unique. I love that it has tiny pops of blush pink but it isn’t too girly.
My other front runner. This rug is a high end girly option that would totally grow with a little girl.
Talk about a good knock off. This one is almost identical to #7 and a fraction of the price!
Make sure you stay tuned to see what I pick for baby girls room. I am going to order this week,. and plan to share some more room Inspiration both here and in Instagram stories over the coming weeks! If you’re not signed up for my emails be sure to sign up so you don’t miss the final reveal of baby girl’s room, and I would LOVE to hear your favorite number in the comments!
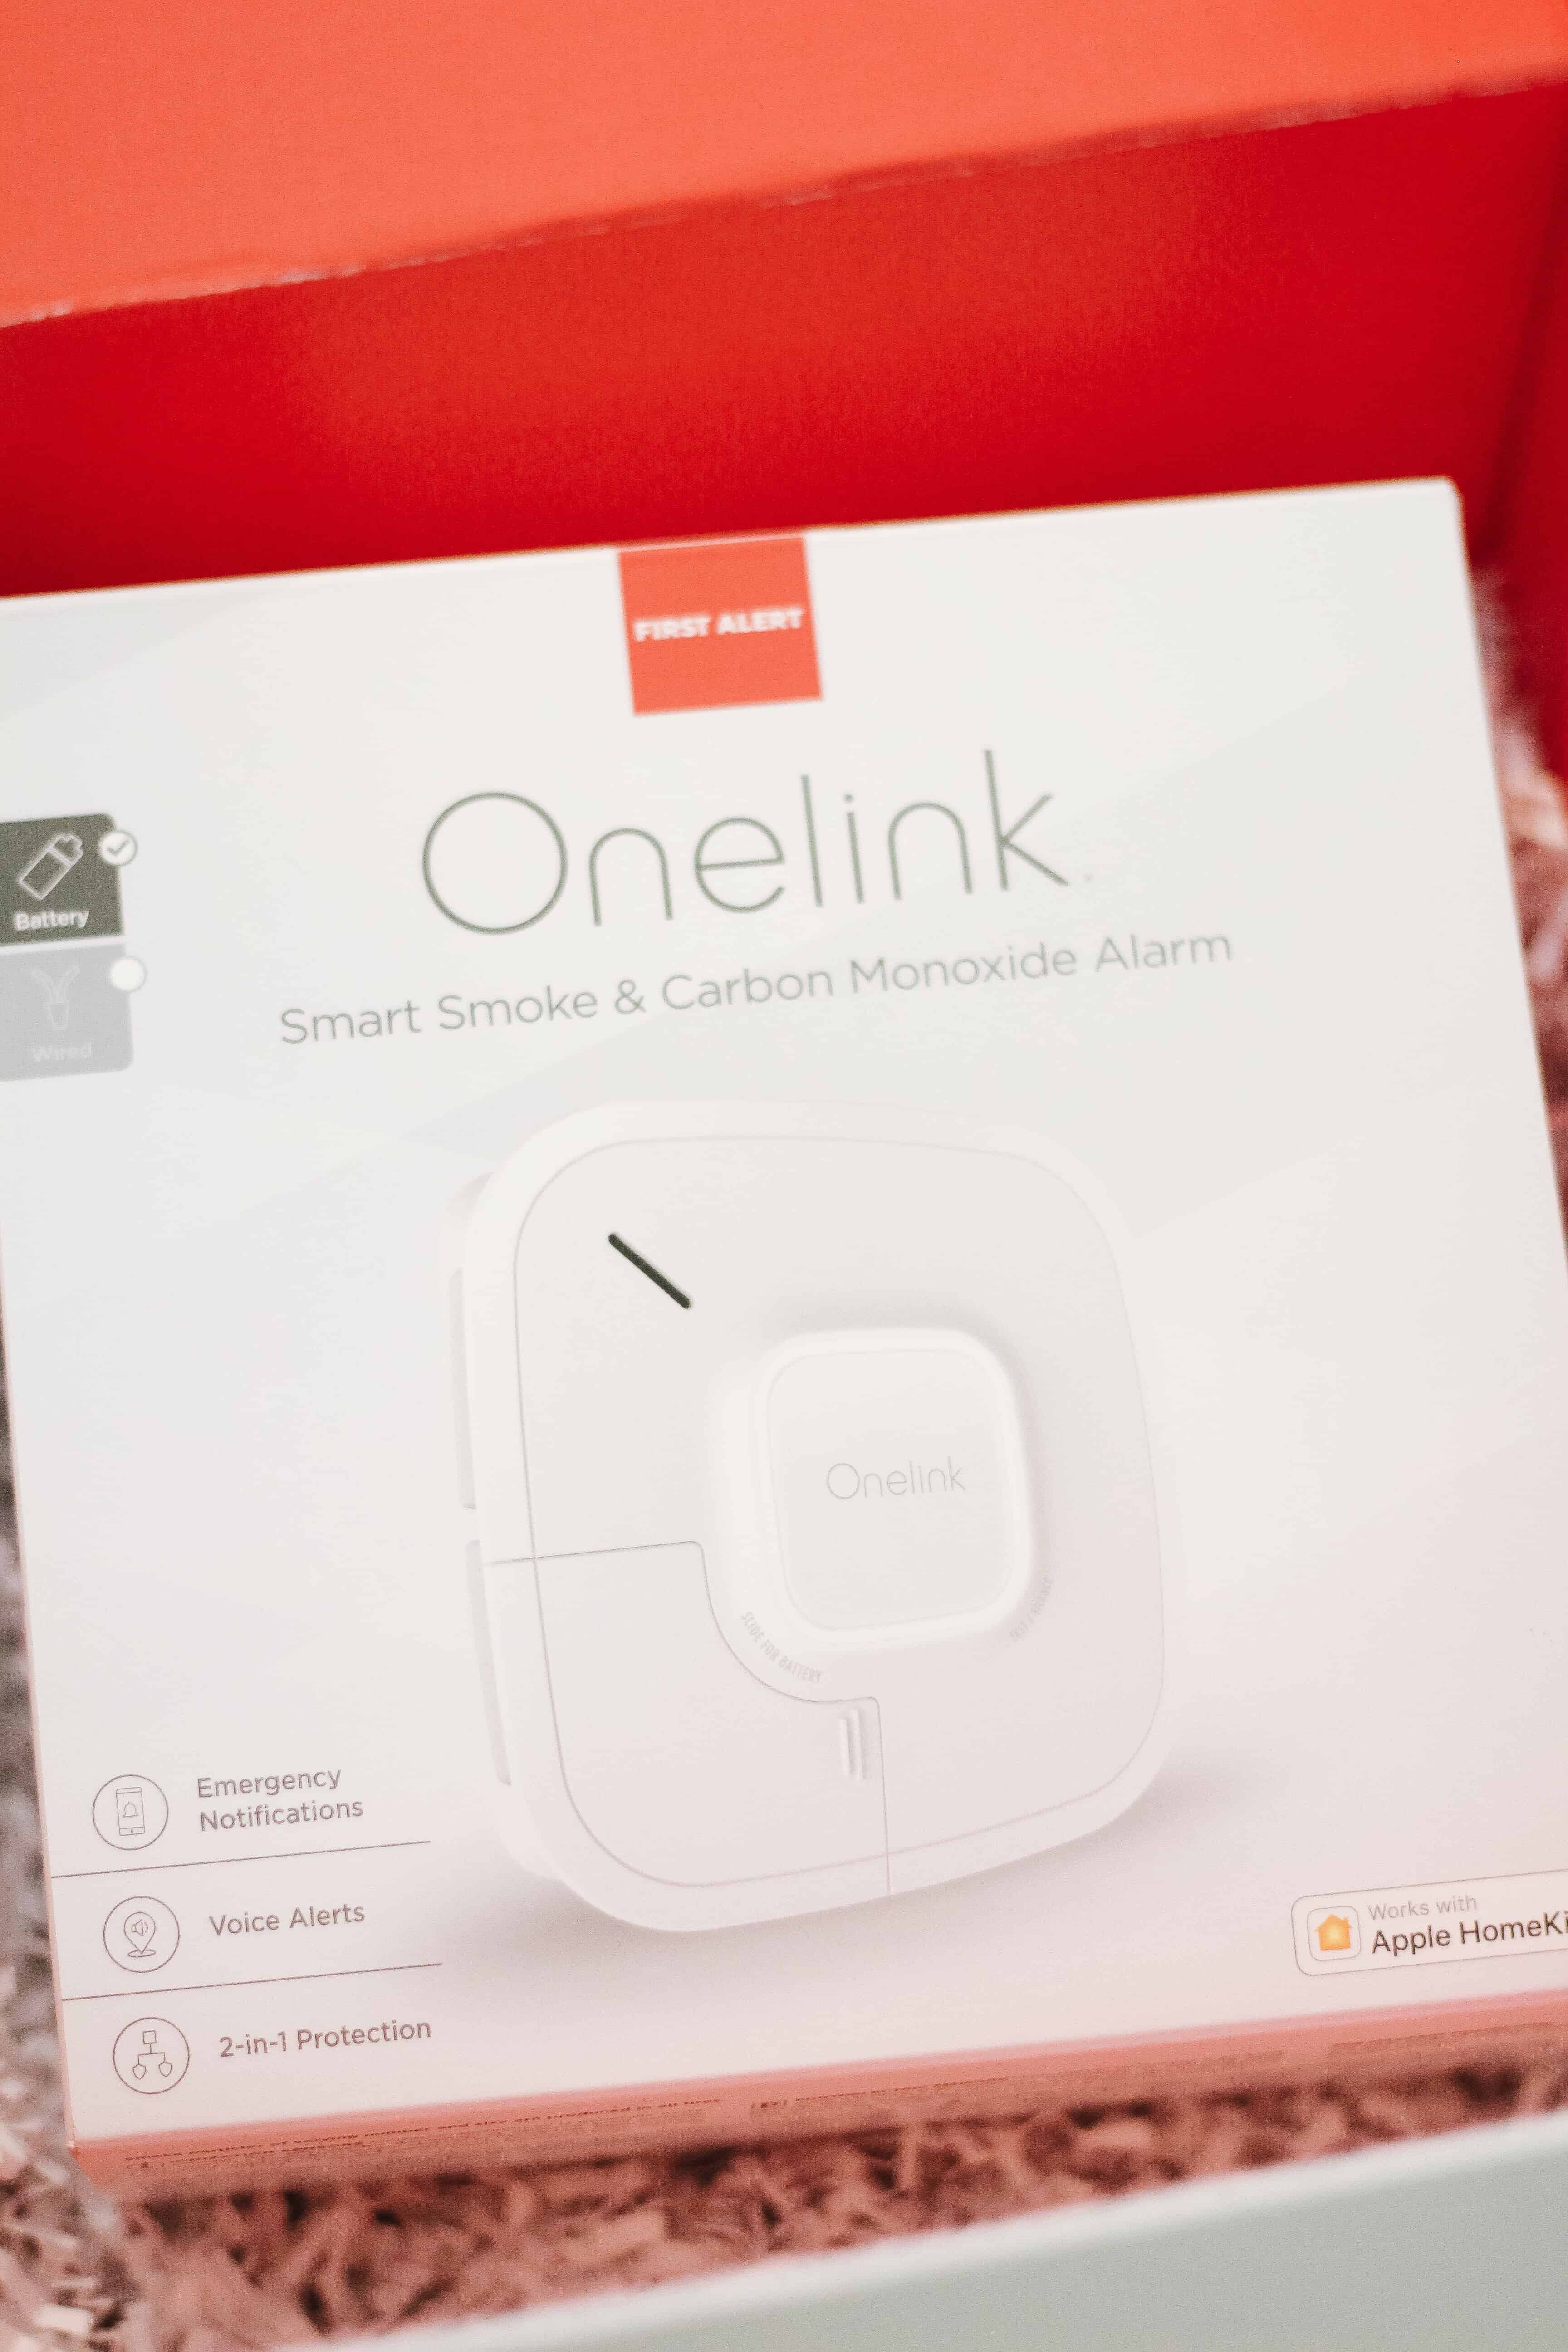
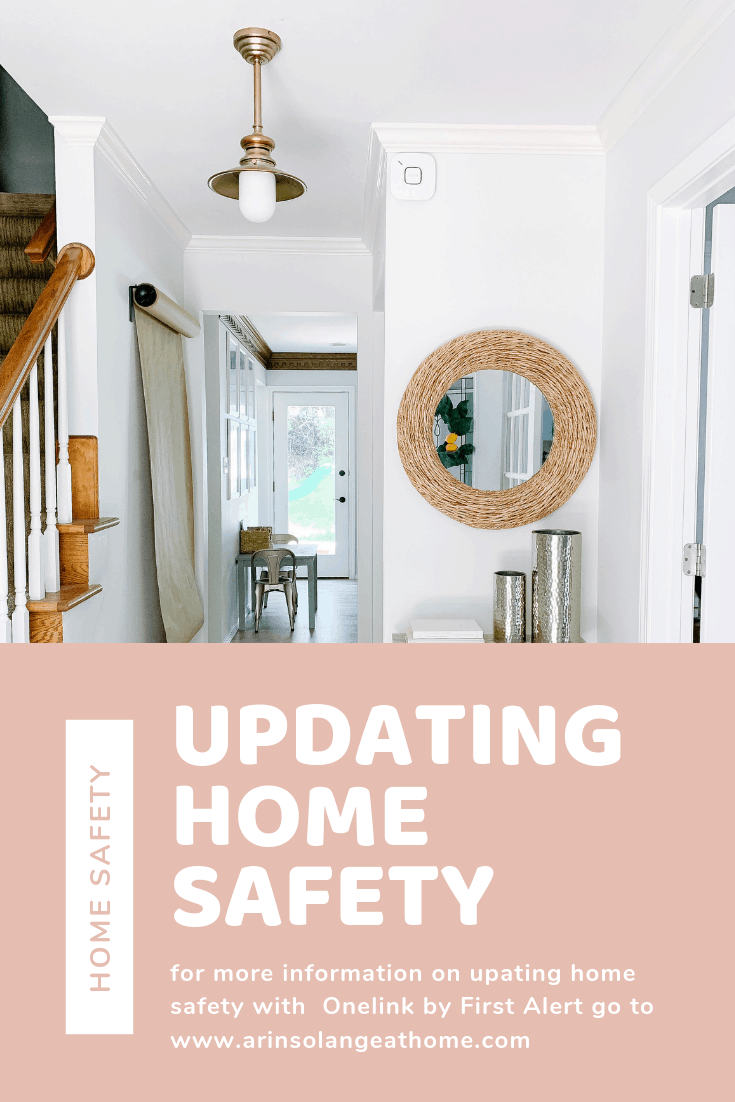
Thank you Onelink by First Alert for sponsoring this post. A smart home should start with smart protection and Onelink by First Alert welcomes you to a smarter, safer home.
I am so excited about today’s blog post you all!! One of my goals this pregnancy was to not only physically make sure our home was ready for another baby, but to make sure our home was safe before she arrives. The thought of 4 babies under one roof, meaning no matter what situation there are so many kids to keep safe in an emergency, honest overwhelmed me. I knew I wanted to take some measures on updating home safety around our house before August so that I could sleep a little sounder knowing we ha things covered.
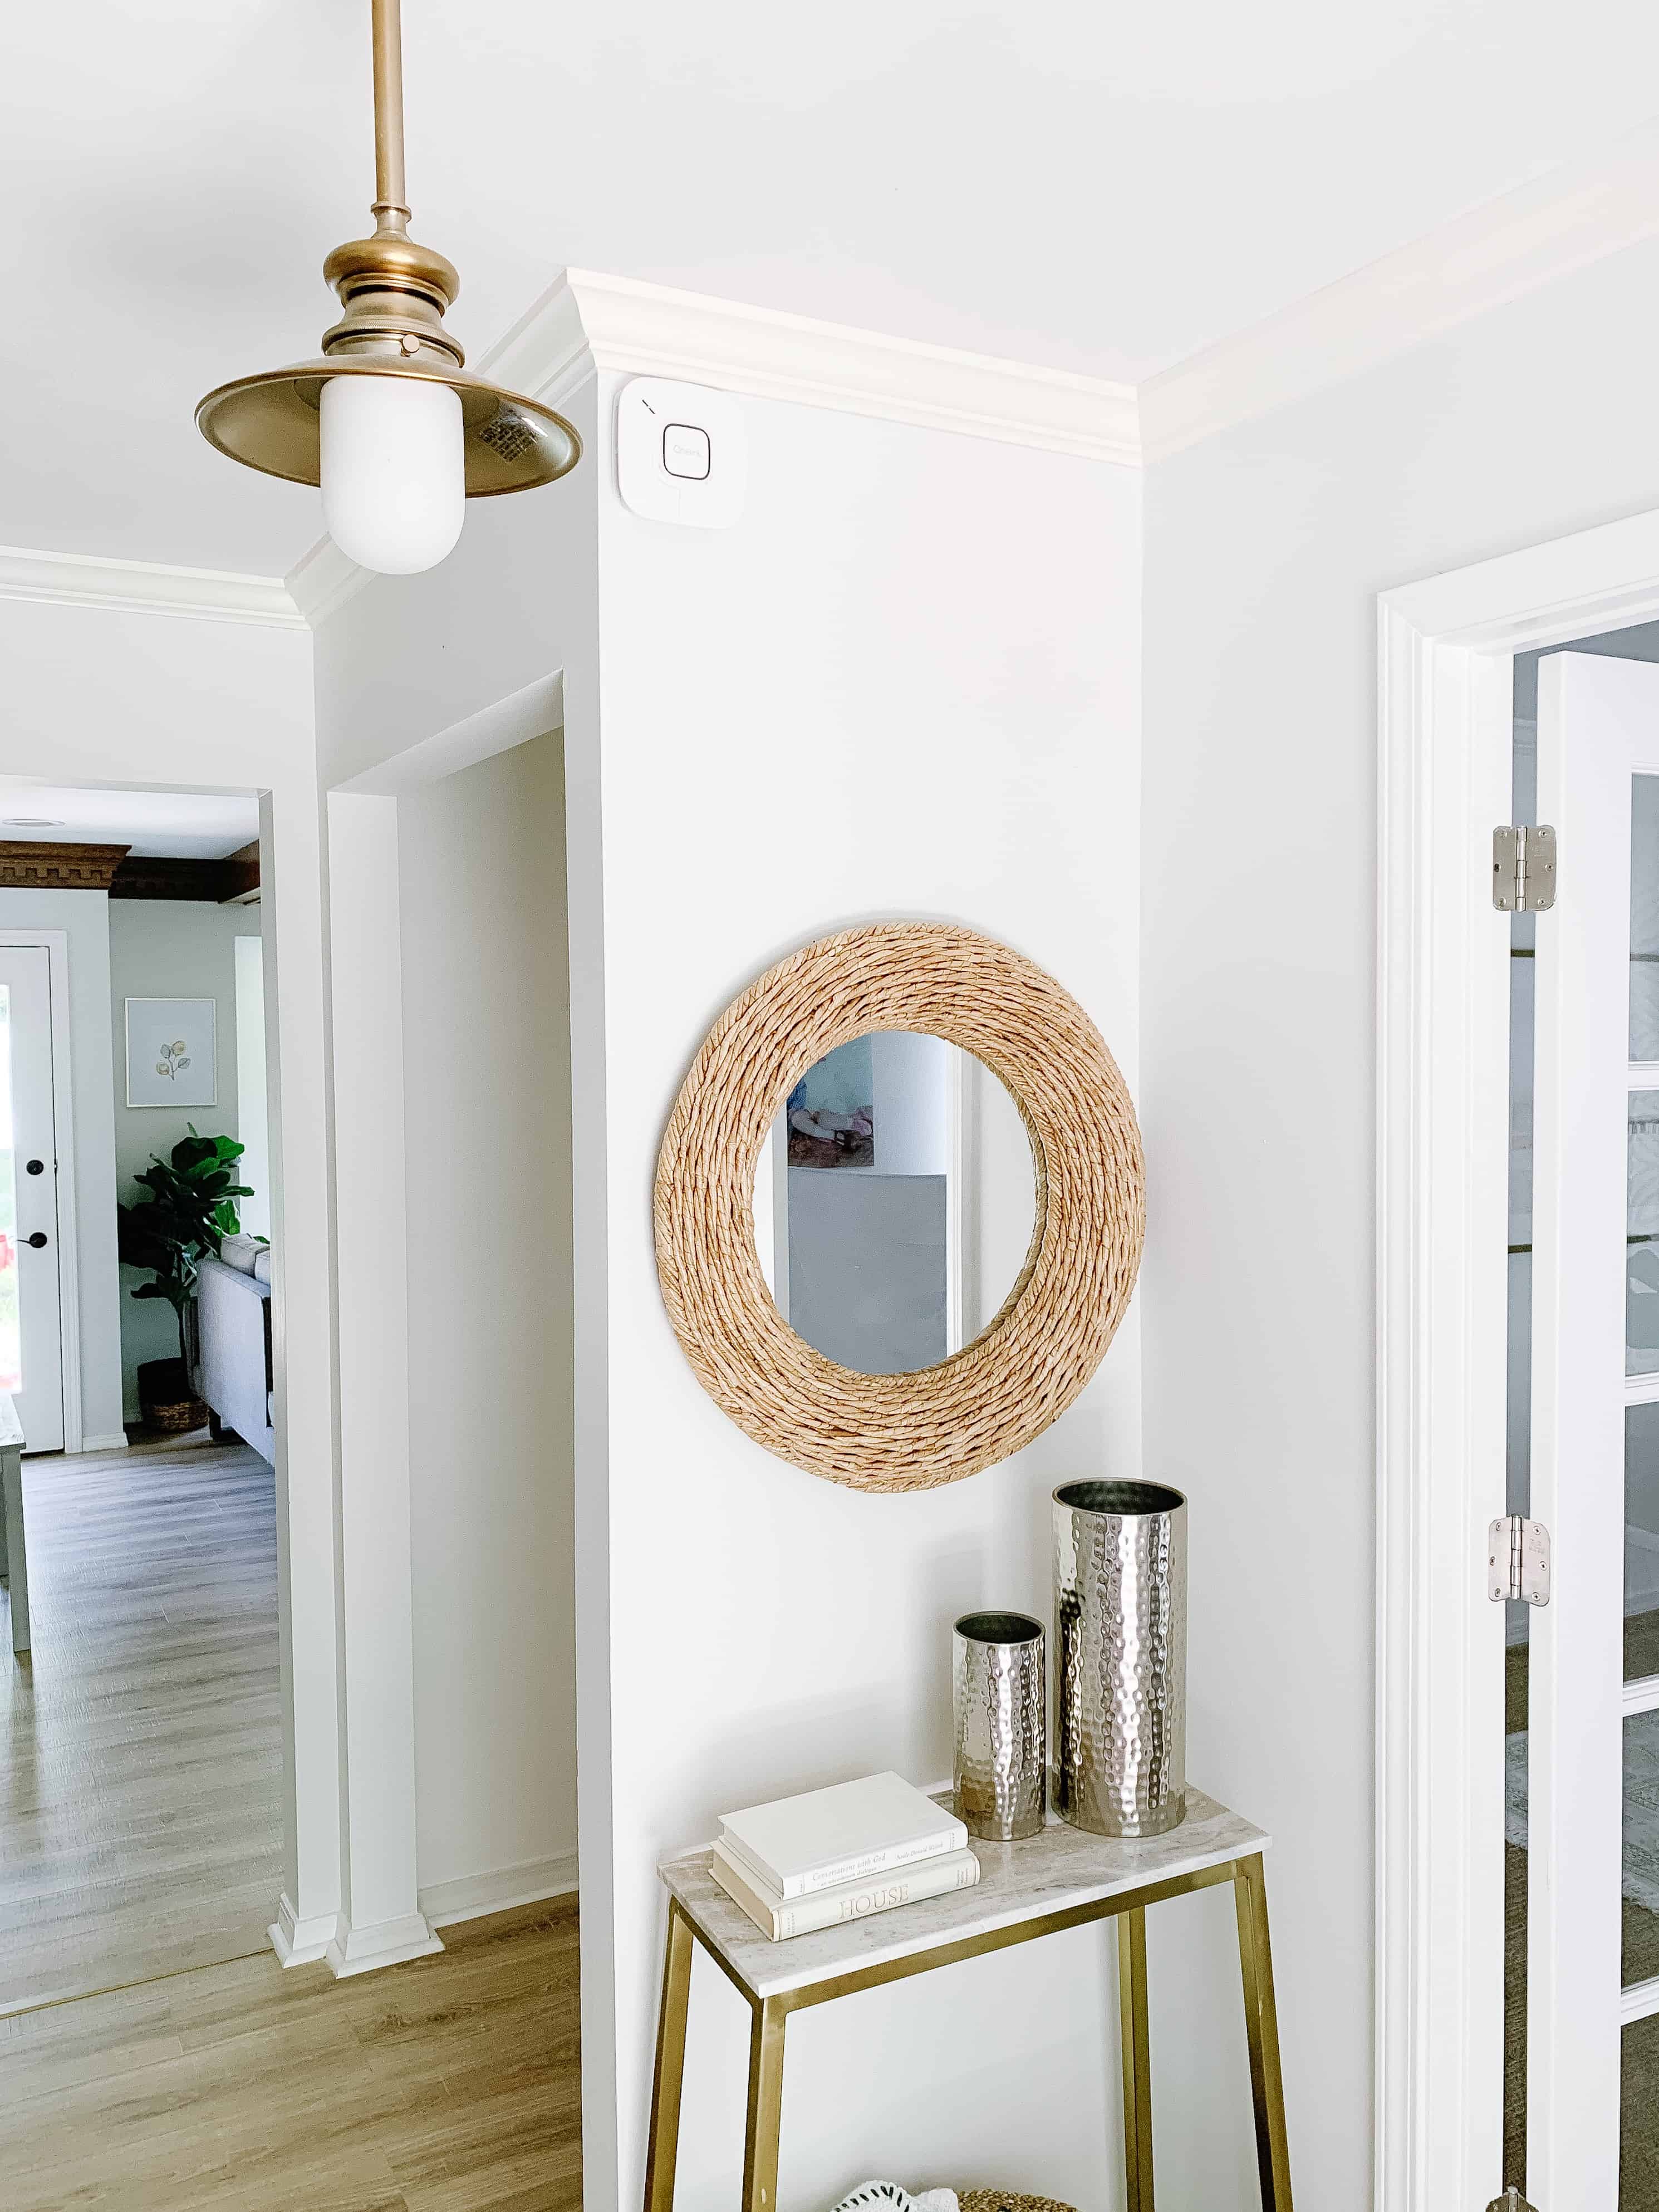
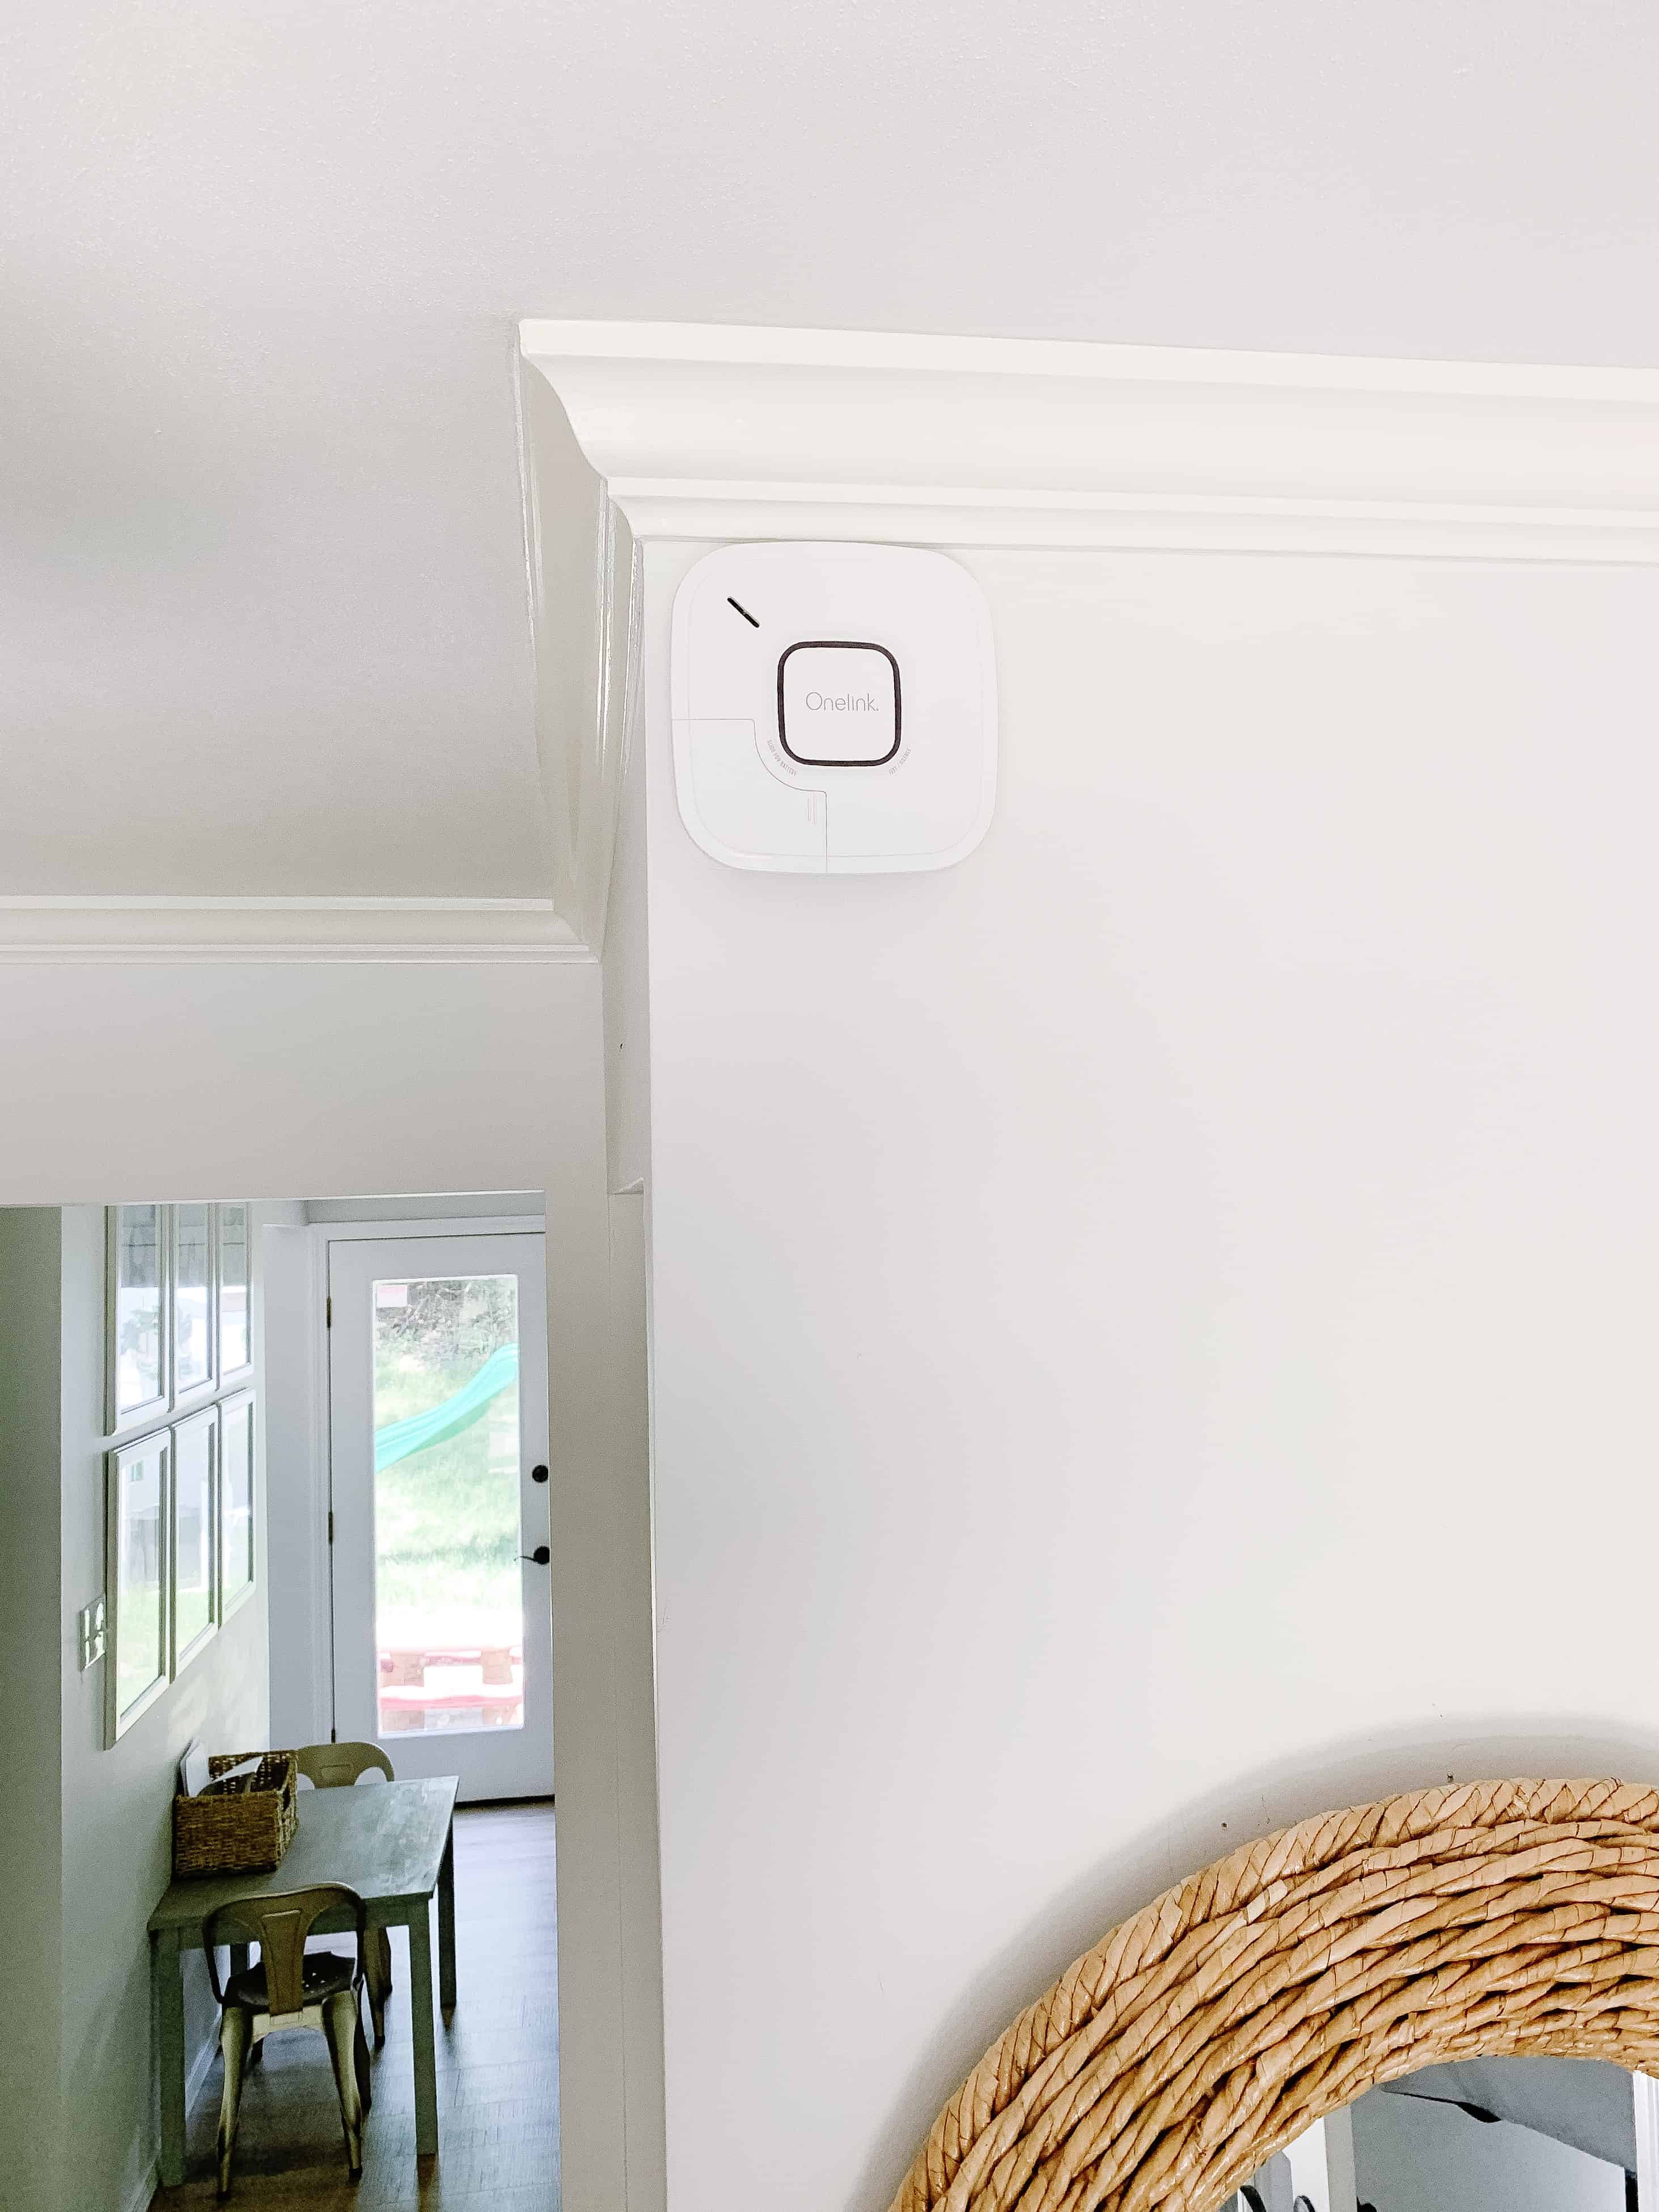
Updating Fire and Carbon Monoxide Alarms
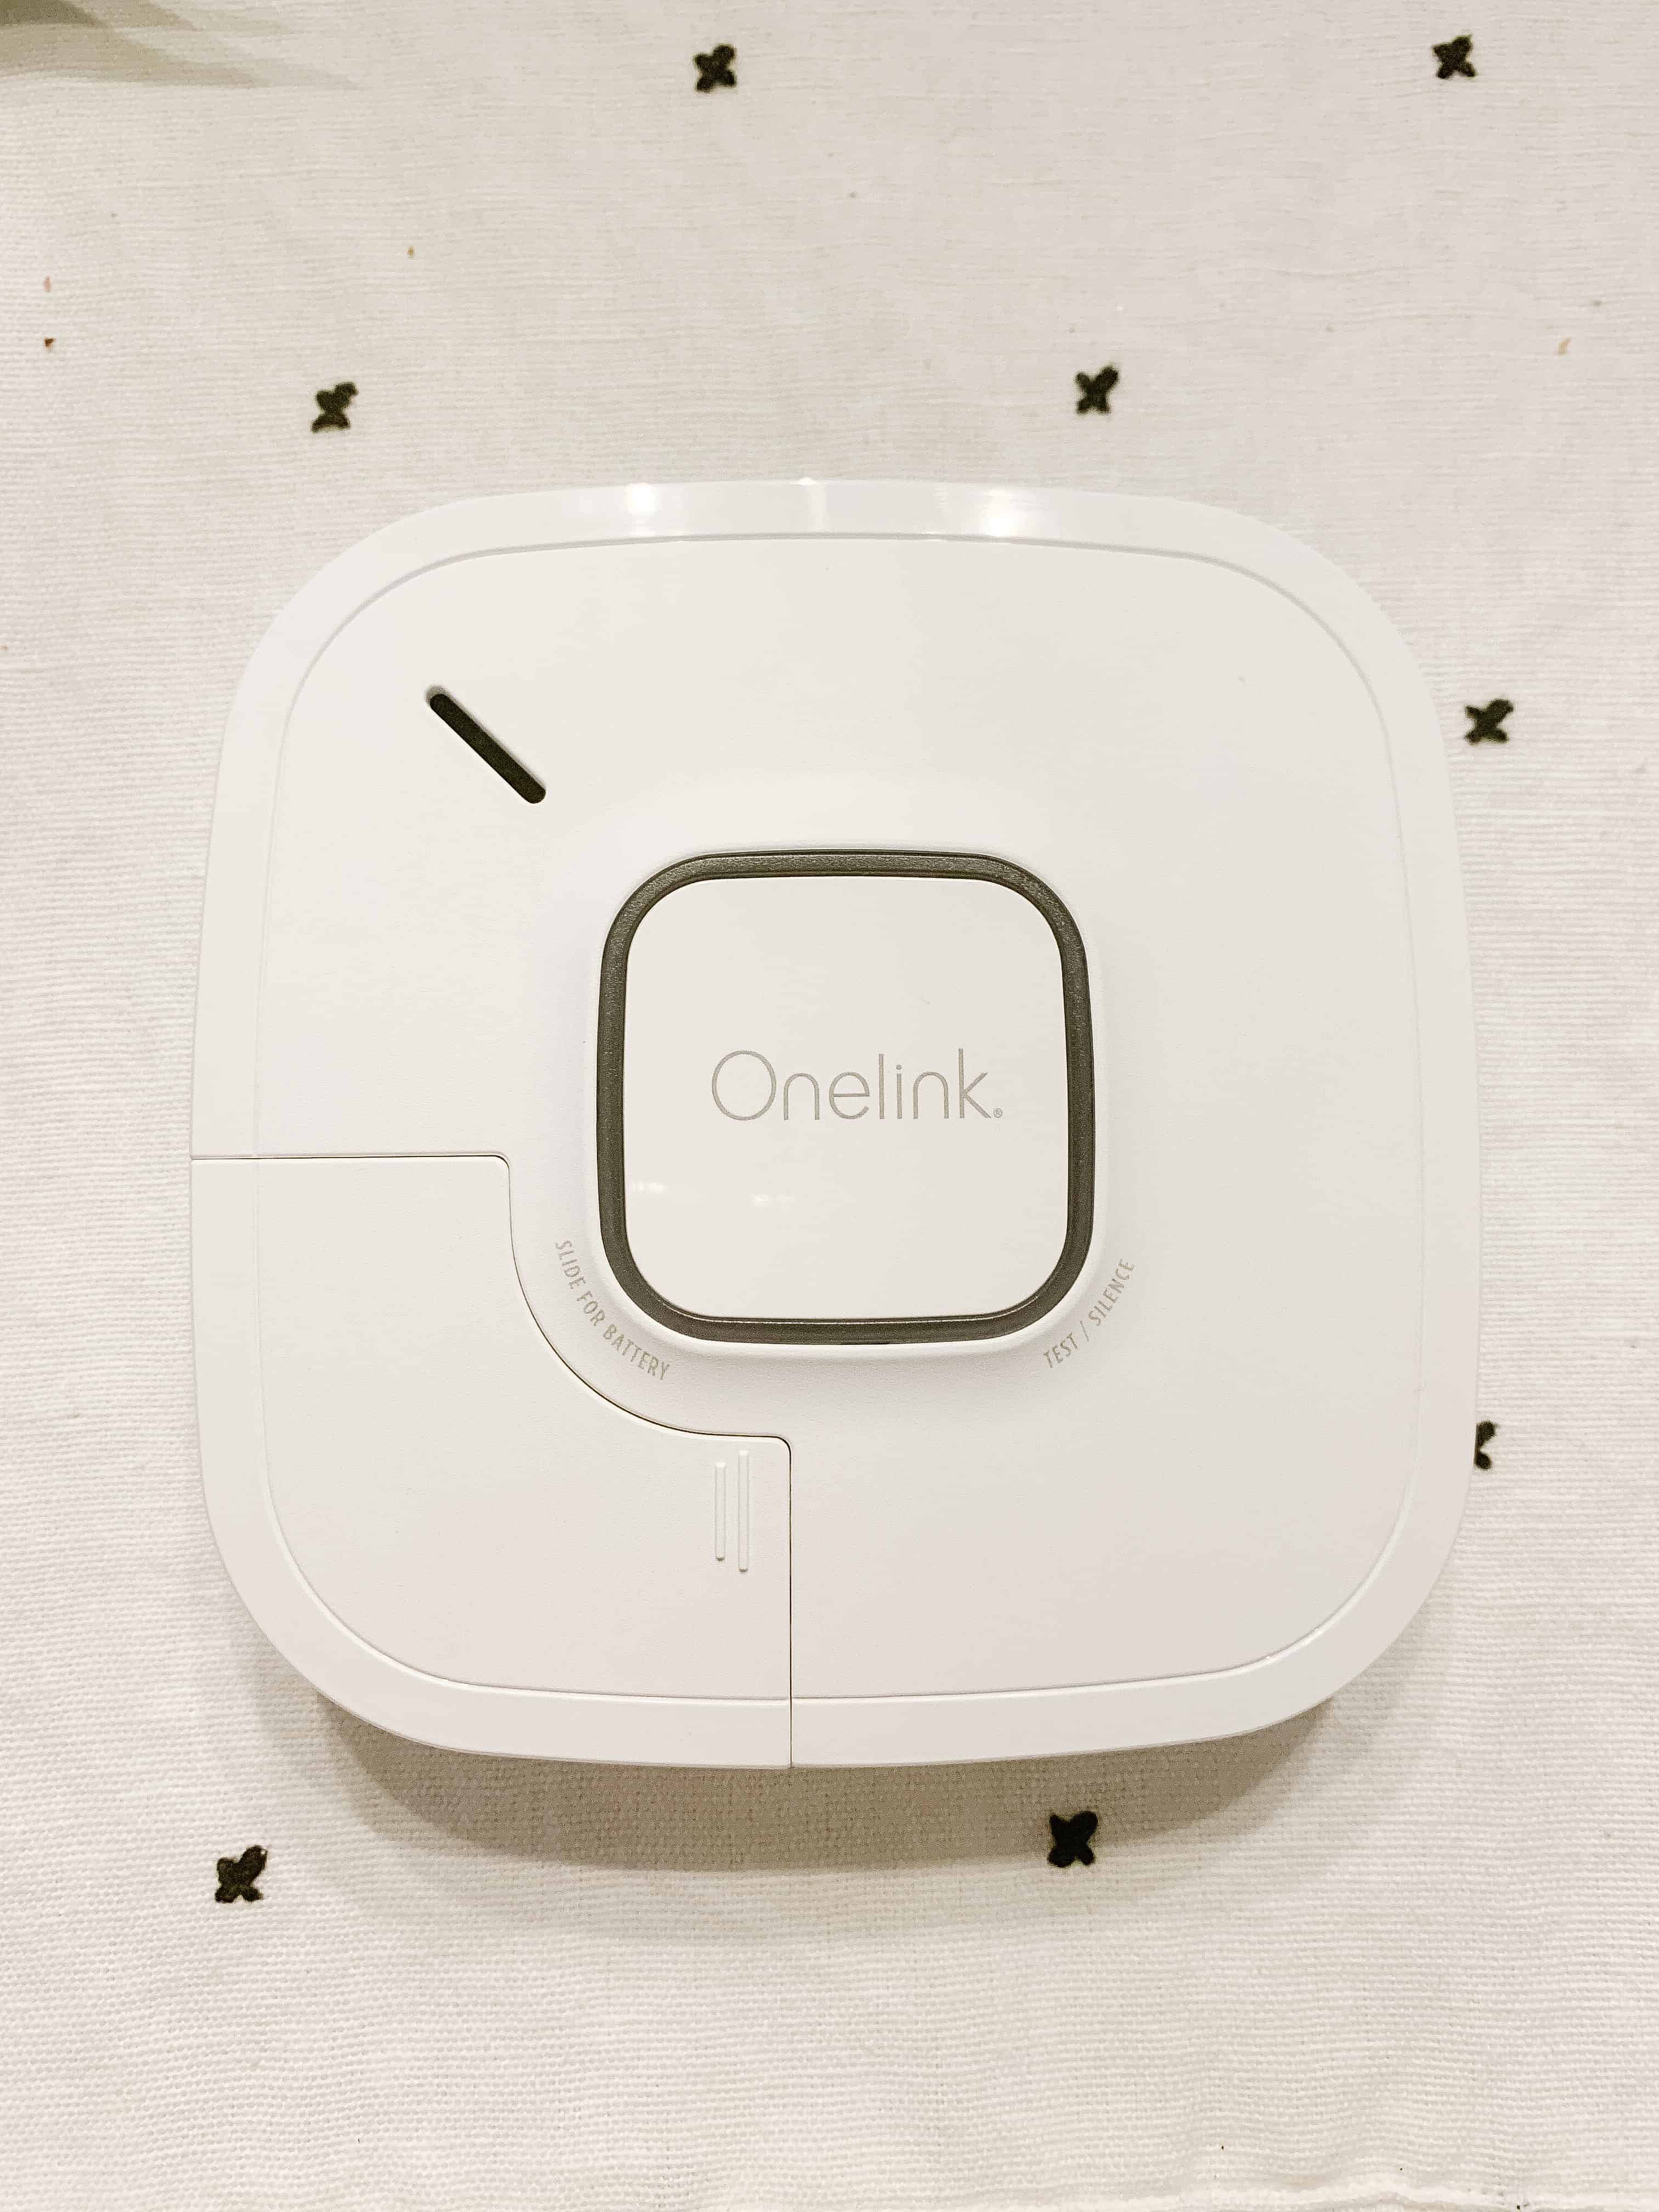
When this opportunity came up with Onelink to share their Onelink Smart Smoke & Carbon Monoxide Alarm I was super excited. I focus a lot of my blog on home decor, but have talked a lot this pregnancy in my Instagram stories about safety and baby proofing. A beautiful home is wonderful, but it is also where I create memories and raise my kids, and one of the important aspects of that is safety. We installed the Onelink Smart Smoke & Carbon Monoxide Alarm which is battery operated, and so easy I could do it. They also offer a hardwired version, so no matter your space you are covered.
So this is as it says above a “smart” alarm. This means as an intelligent smoke and carbon monoxide alarm it will send you push notifications to let you know if there is an emergency whether you are home or away. I think this is amazing for parents of kids who stay home alone, or someone like me who has a sitter in the house with my kids a couple of days a week. This gives us piece of mind to know we are in the loop on such important home safety features! As an addition – we have been trying to really link up a lot of our “smart” home features, and I love that the OneLink alarm is compatible with Alexa, allowing you to communicate with the alarm via Alexa!
Having a Prepared Family
Another way we have been prepping for the baby and updating home safety is making sure the kids have been talked to about the features that are in place, as well as giving them a plan. We have great safety features (i.e. fire ladders and such) throughout the home, but one thing we hadn’t done is really communicated a safety plan with our kids.
We have been going over those plans with Jack and Avé over the past few months in hopes that heaven forbid we ever need an emergency plan they are able to stay calm and be helpful with their younger siblings. This has really helped to ease my own anxiety as well.
Learn more about Updating Home Safety with Onelink by First Alert
Because this is all new to me, and I am just learning, and bettering my home too, I wanted to add a video that will hopefully be of some additional help and info on the Onelink by First Alert. Watch the video below, and be sure to leave me a comment with any questions on updating home safety or how to get your own Onelink by First alert!
For save this post for later, pin the image below!
Alright, today marks the start of a super fun Summer blog series over here with post one, on getting started blogging. My friend Navy who I am sure many of you follow, and myself wanted to do something a bit different on this little space during the summer. We thought it would be fun to have 10 bloggers (ourselves included) write on the same topic each week. SO each Wednesday this summer, her and I will team up with 8 other ladies (different ladies every week), and share our own thoughts, words/take on a given topic. I am really excited myself to see the different opinions and experiences each week, and hope it’s a way for you to get to know me a bit better with each post!
At the end of this post I will link to all 9 other blog posts, so check them out and show them all some love, and be sure to sign up for my weekly emails so you don’t miss out on any of these posts!
Getting Started Blogging
When I asked on Instagram stories for some topics to write on for these posts, this was one that I knew we needed to do. I knew that the answers would be SO different, and truly show the different journeys that have brought us to current day. So today all 10 ladies will be talking about their start to blogging/influencing, when they felt successful, and anything else they want to share!
How did I get started?
For me, I actually started my first blog when Jack (my 6 year old) was a baby. It didn’t last long because I just didn’t know how to make it what I wanted. It was super basic, but I am a perfectionist, and it was all or nothing – so I went with nothing. Fast forward about 3 years and we had moved into our current home. I have always been what you might call a “Pinterest mom”. I LOVE to DIY, decorate, and overly research the best baby gear. Like truly those three things give me way too much joy. I was doing so many projects around our house that I wanted a way to share them with friends and family a bit easier so started a blog.
The start was just that – a blog. I wrote a few posts, shared a few projects, and then really didn’t even share it that much because I was so self- conscious. At that time it was ONLY a blog. I had Facebook and Instagram but was still using them the way I always had.
Enter In Instagram
My blog started in the fall of 2016. (actually thats a lie..I started setting it up in MARCH, and by fall it was live. I am NOT tech at all and the set up process took so much googling and work for me. So when I tell you if I can set up a blog anyone can, I mean it. If there is a will there is a way people!) I did VERY FEW blog posts in 2016 because soon after I found out I was pregnant with Walker and was so tired.
Around that same time (fall of 2016) I started thinking just a little bit about what I was posting. I still only used my cell phone and I wouldn’t say I put a lot of thought into getting a perfect picture (because I didn’t know how), but I put more thought into what I was posting. I was using no hashtags or anything at that time.
At the very end of 2016 we announced our pregnancy with Walker. It was around that time that I set my Instagram to public, but again was still using it very much the same way as before. Over the next couple of months I started using a few hashtags and growing a TINY bit. Then in march of 2017 I connected with a few other bloggers and influencers and really started getting plugged in.
2017 for me was heavily then focused on Instagram. I wanted to have 10k followers for swipe up by the end of the year. That was my big goal. When I first started all the giveaways and such that are around now weren’t a thing. The ones that did exist you had to be invited into and they didn’t let tiny newbies in, and honestly I am grateful for it. I worked really hard to get a great base of followers who have stuck around!!
Influencer or Blogger?
For me, this space is my baby. I work VERY hard to share my blog posts with you all, with my followers, with Pinterest, and just in general. My blog is my biggest and most successful platform so I personally consider myself a blogger more than an influencer. (and for some reason I don’t like the term influencer haha).
That said, as I said before I have been more focused in different areas at different times. 2017 was very Instagram focused, while 2018 I had big blog goals. I would say 2019 has been smaller goals on both platforms, but blogging remains my number one space for goals and focus. With blogging I can see more of a direct input of work to success where Instagram is a hard platform to grow on (organically) anymore.
When did I start feeling successful?
I will never forget my first collaboration for a product that was of decent value. It was for a DockATot and I was sure I had made it. I was pregnant with Walker, and I felt like all my business dreams had come true haha. Fast forward a few months and I will never forget my first paid collaboration for Breyers ice-cream. It was a 3 or 4 post campaign and again I felt like I had made it. This was all around the second half of 2017.
Now I kind of laugh because I would never take either of those contracts, BUT at the time they were amazing and SO much hard work had gone into hitting that particular goal. I felt like if that was as big as I got I was fine. But that feeling quickly wore off and I wanted Bigger and better.
BUT the answer is now. I feel like I am successful. I think I will look back on June of 2019 and think I had a sucessful business running where I was working hard and it was paying off both in a sense of pride and monetarily. That said I hope this is no where near my long term success. Monthly and yearly I have goals just like most people who own a business. Some months I hit that goal, and the months I fall short I feel pretty similar to anyone else who didn’t hit a sales quota. I am constantly pushing myself to work hard, balance things better, and become more successful in all aspects of this job.
To me the success of this job is not only monitored by numbers and money! That is something I want to make loud and clear. When I say I am constantly working hard to be more successful, that means I am working harder at being more authentic and only taking the RIGHT collaborations. I always want to be sure that I am representing myself and brands well. Sometimes when you’re first starting out you learn that the hard way. You don’t put enough effort into a collaboration for a brand, and I am sure I have failed them at times. Also sometimes you take a collaboration that doesn’t fit you at all, in which case I feel like that fails my followers. So I am constantly working to do that better.
I am also constantly working to have better work life balance. My kids will grow up faster than I want. I don’t want to miss it. I am constantly working harder at making sure that my success is in the form of being a better mom while doing this. That with every month I am balancing working and staying home better.
I love that my goals can change, and that I set them myself. That I am in charge of what I deem successful. I also stand behind the fact that if you don’t set goals, and work hard you won’t ever feel successful. Chances are if you do set goals, and work hard to meet them (no matter how small) you will feel successful.
Advice if you’re looking to start?
Be yourself. Create a brand and a page that is unapologetically you. Stick to what you’re good at, and understand that this is a JOB if you want to make money. It can be a hobby. It can be platforms to share your thoughts, or connect with other women, and just be a creative outlet. It can also be platforms to reach bigger goals and build a business, but that is up to you. I recently was talking with a friend and telling her that I get told 2 things frequently:
1. “you’re so lucky” – which is true. I am SO lucky that my dream job is panning out. But that luck has been backed by SO MUCH HARD WORK. I work so many hours. I don’t remember the last time I didn’t work from the time my kids went to bed until 10 or 11 pm. Very few people are successful in a business sense on pure luck. So if you think you’re following women who just got lucky and slap stuff on their feed or their stories and make money while they sip their lattes it’s definitely not the case.
2. “how awesome to make money in your spare time.” – again partially true. I only do this because it allows me to stay home with my kids and work. BUT my kids, my husband, and I all sacrifice time in different ways for it to be this successful. Instead of my kids going to daycare in the day while I work we have a sitter 2 half days a week, and when my husband gets home he takes over. Almost every single night. Weekends I spend a good portion of my time working while my husband has the kids. For us it works, but it’s still a sacrifice. We have had to learn to balance better with time. We have had to give up a lot of relaxing time, and we are much more tired than before this job. When I am successful it is very much so because of the other people who live in this house supporting me and loving me and sacrificing.
For me this is my passion. It’s a job, but it’s also more than that. I am really proud of the hard work I have put in. For me this was a dream that I took a leap of faith with. I have never been a person great at trying things because the thought of failing trumped the thought of soaring. So for me the success in this has been so rewarding. I love the lessons I teach my kids. They love being involved. They get paid and save up their money from photo shoots and think its the best thing ever. (and yes sometimes they don’t want to do them, but most of the time I don’t force it….which is why Avé is queen of my page haha!)
I hope that tells you a bit more about blogging for me. More about my journey, where my heart lies in it, and where I hope to see it going. I also hope that this post truly shows you how much all of you guys supporting me, and following me and all my flaws means to me.
I love helping other women succeed in these platforms, and for the most part I am an open book on getting started blogging. If you have questions I’ll do my best to answer via DM on Instagram or in the comments below!
Check out the rest of the bloggers in Today’s series on getting started blogging!
This post is sponsored by FAGE; however, all thoughts and opinions are my own.
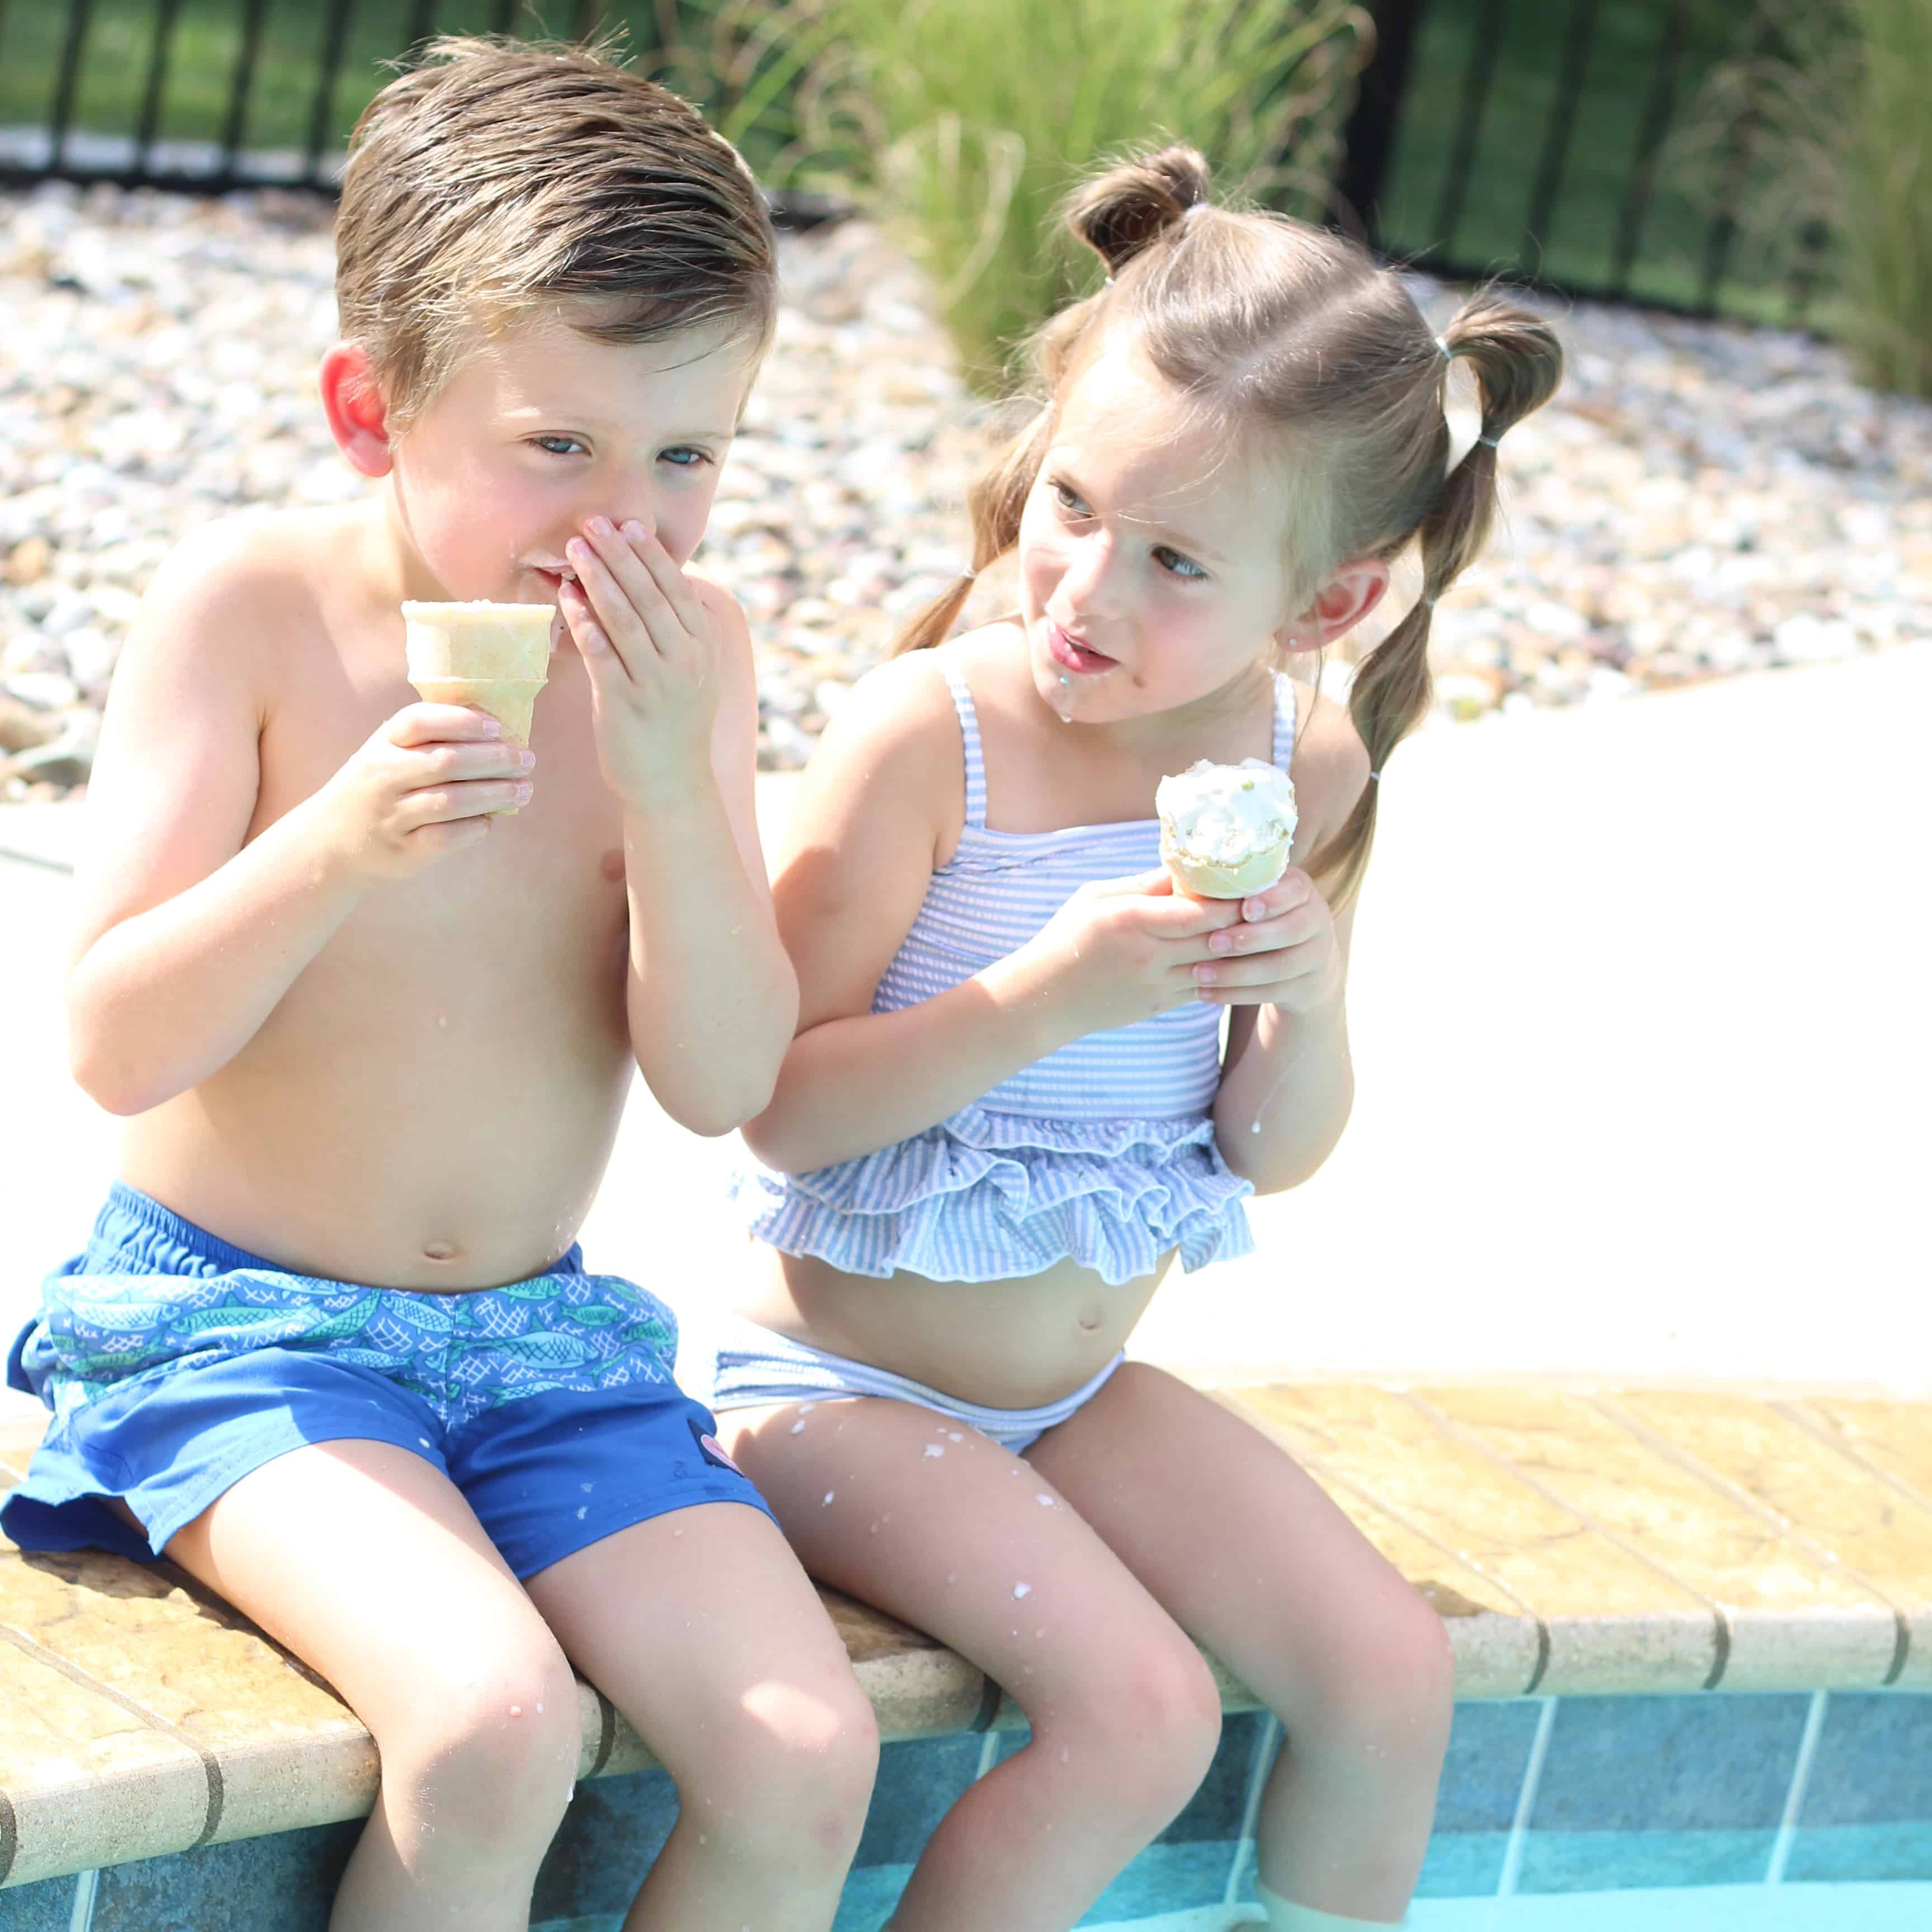
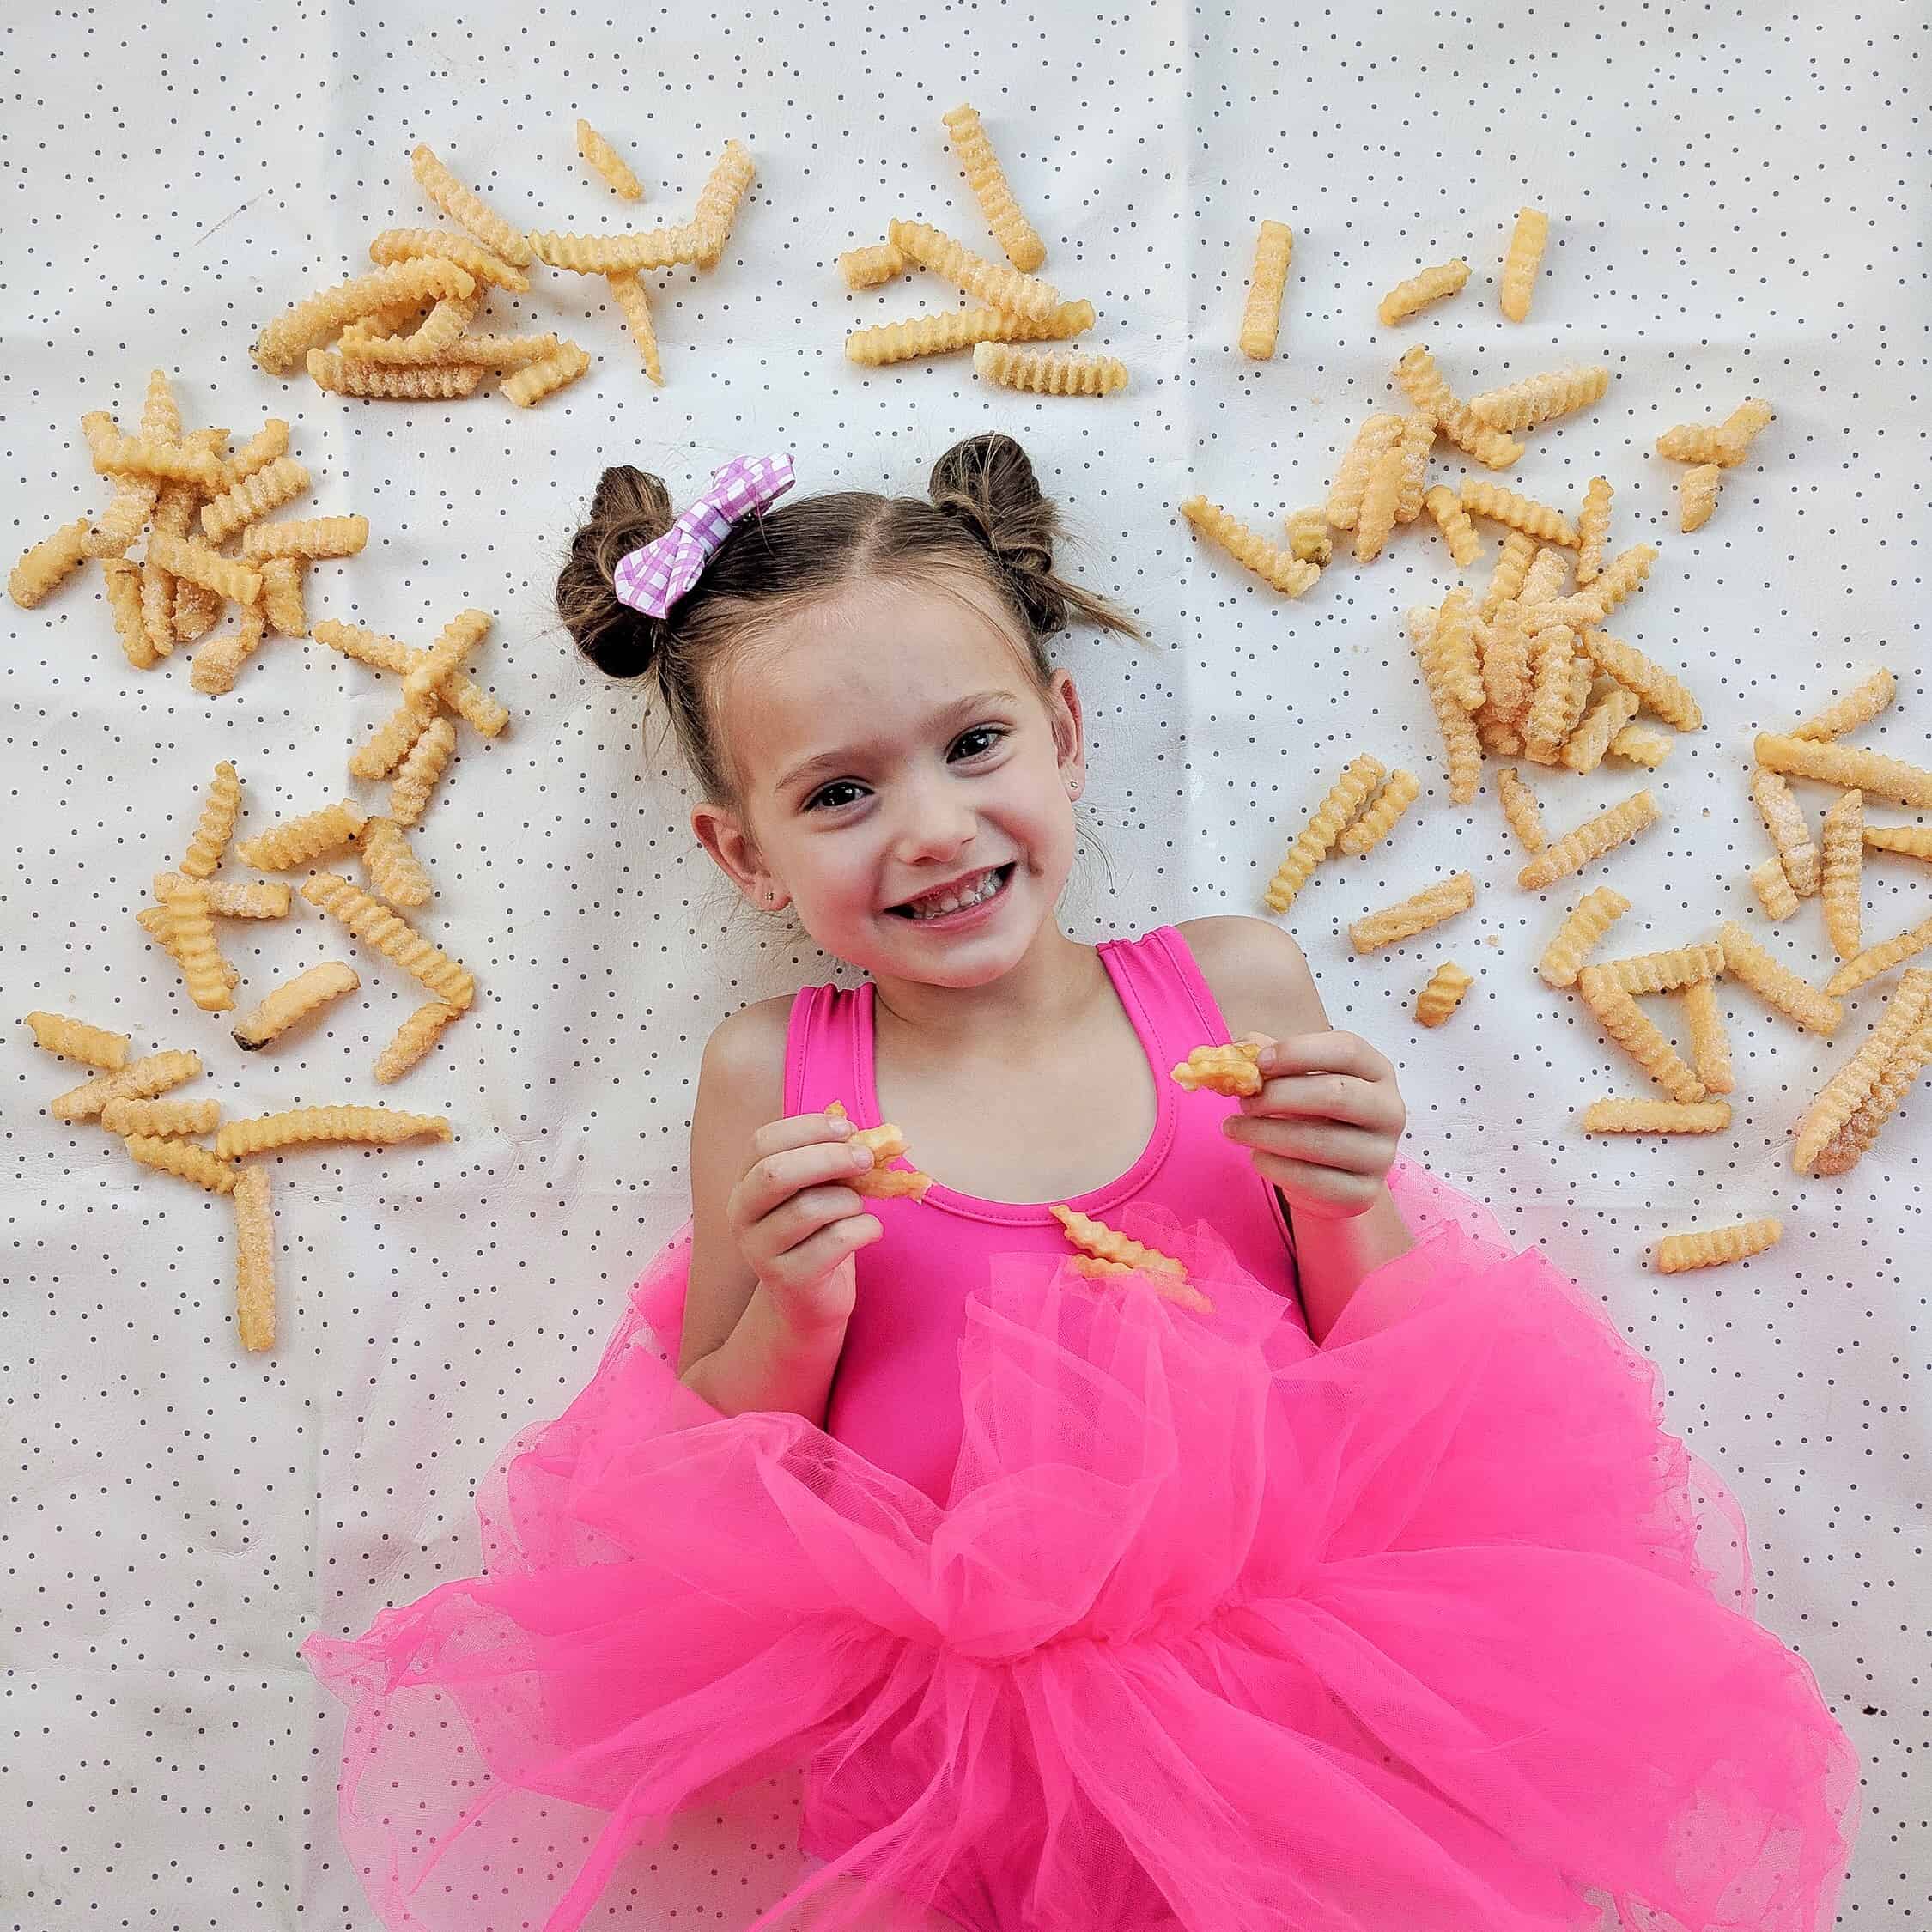
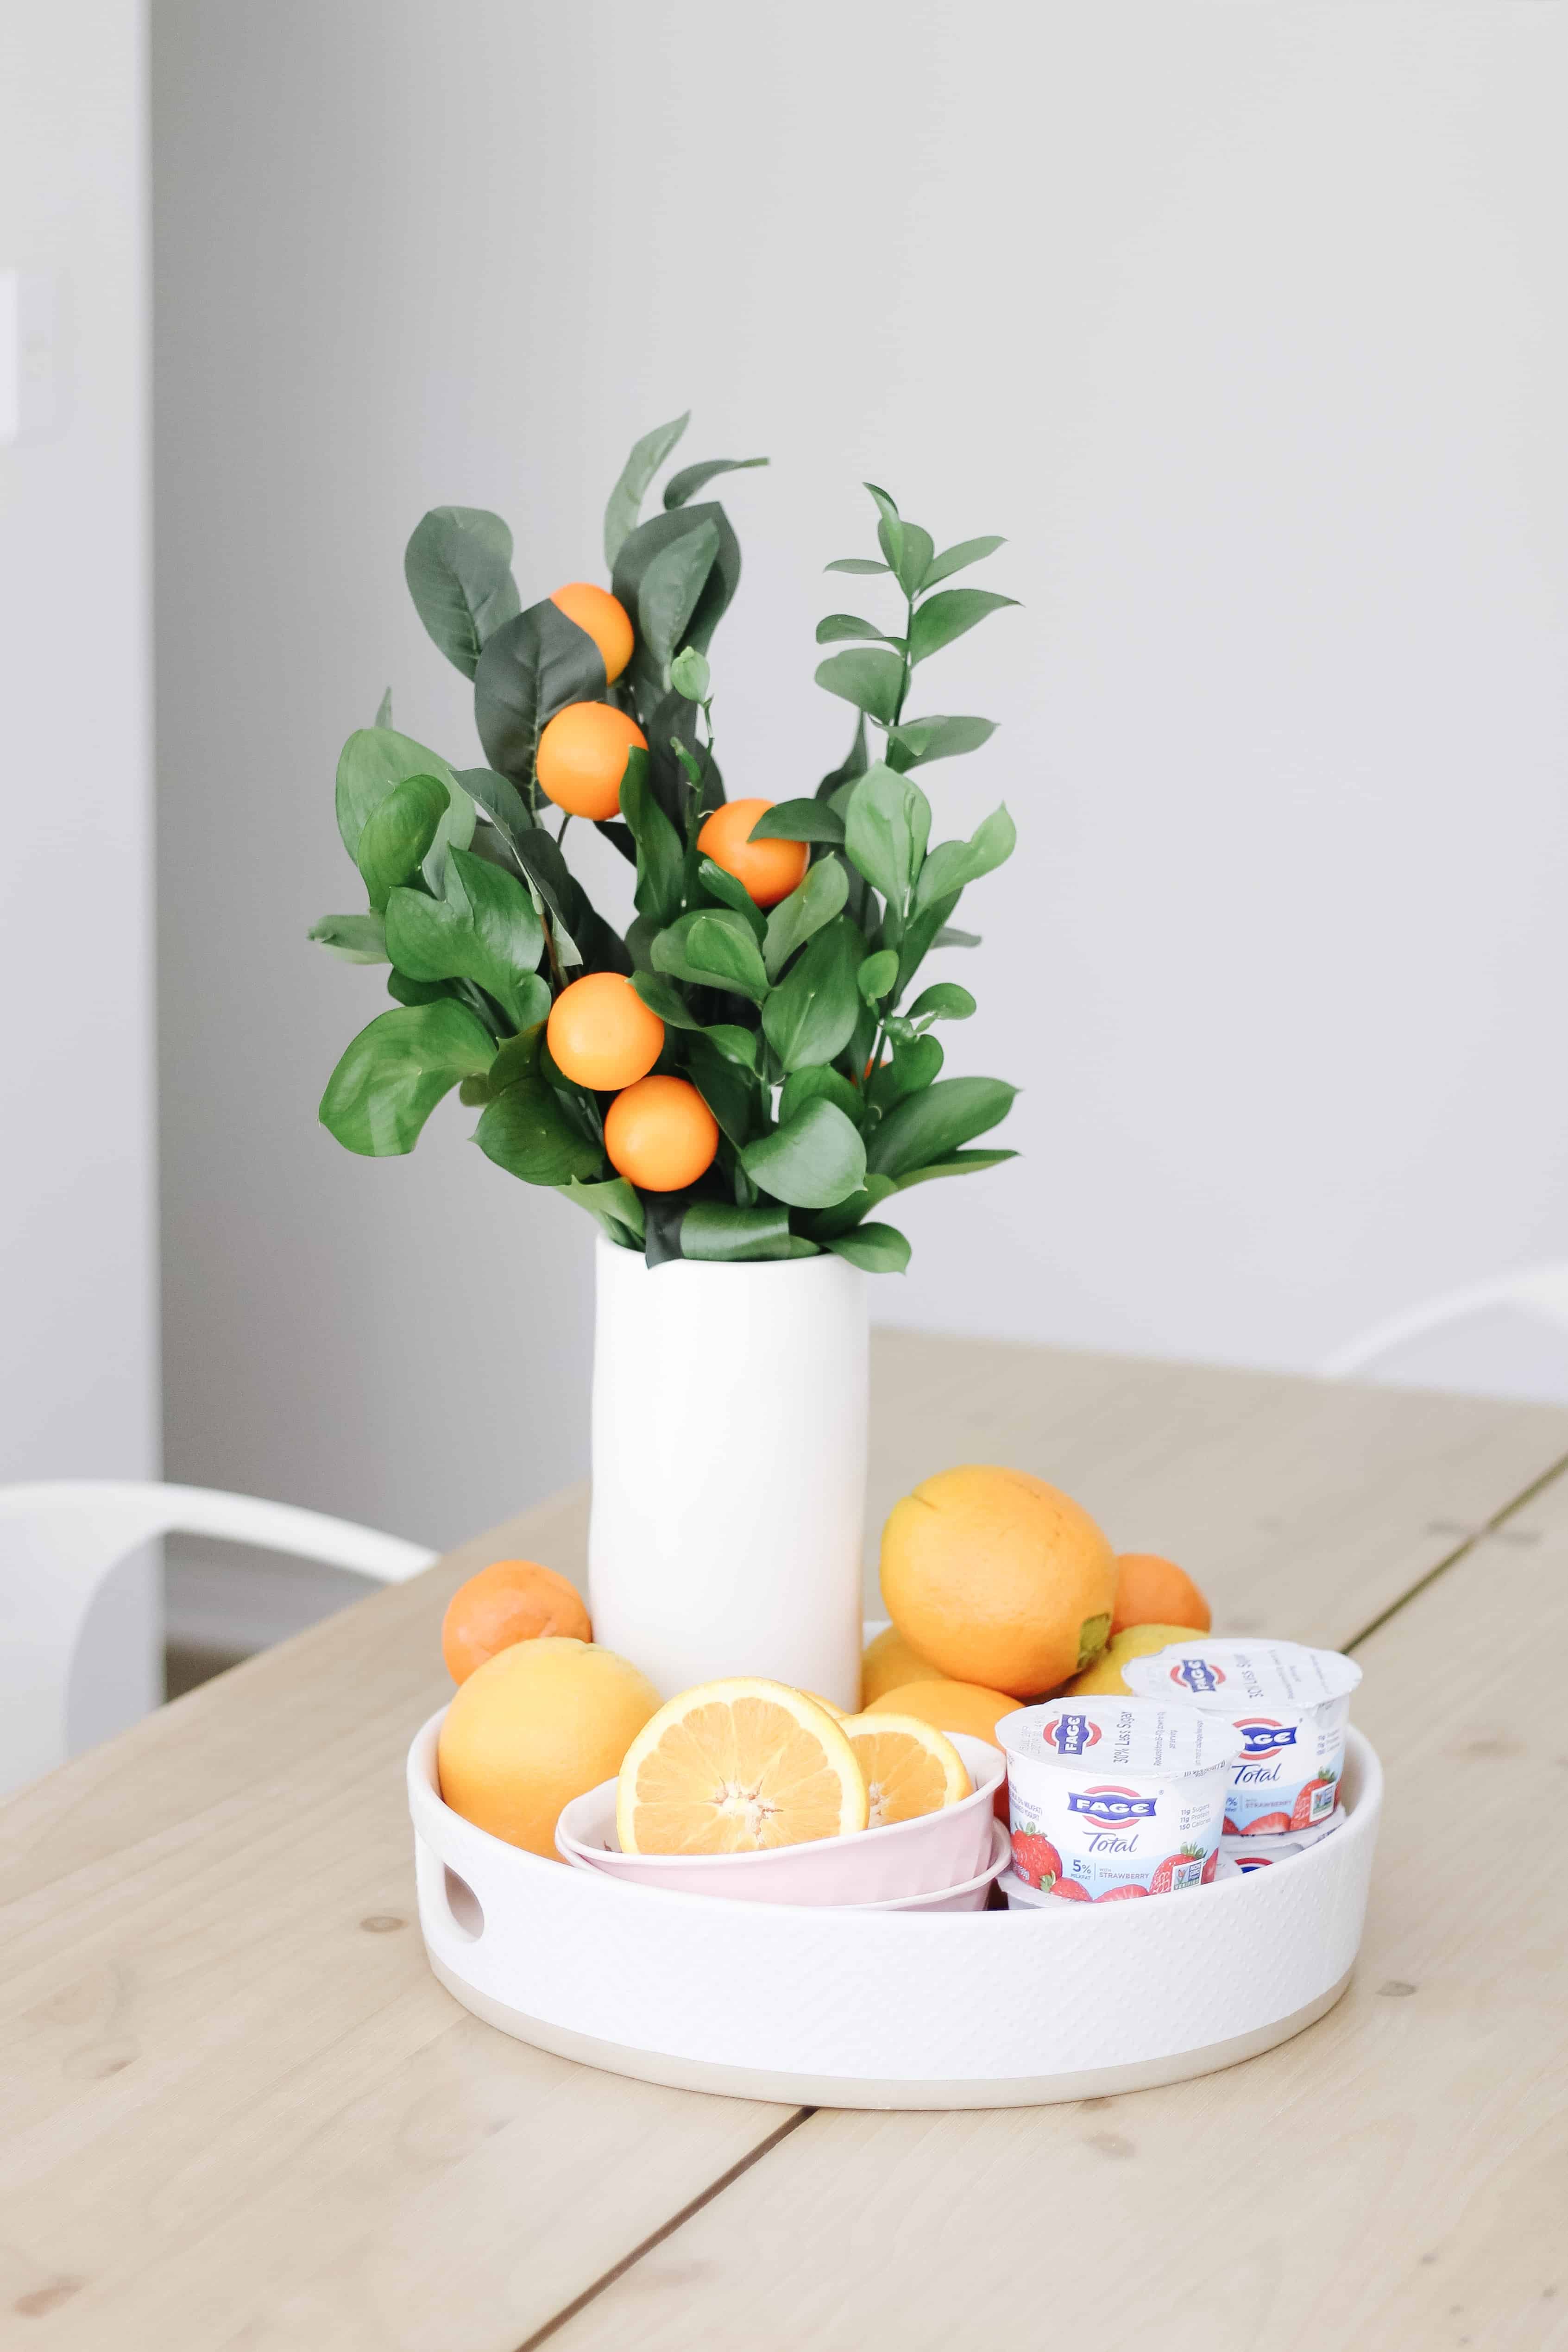
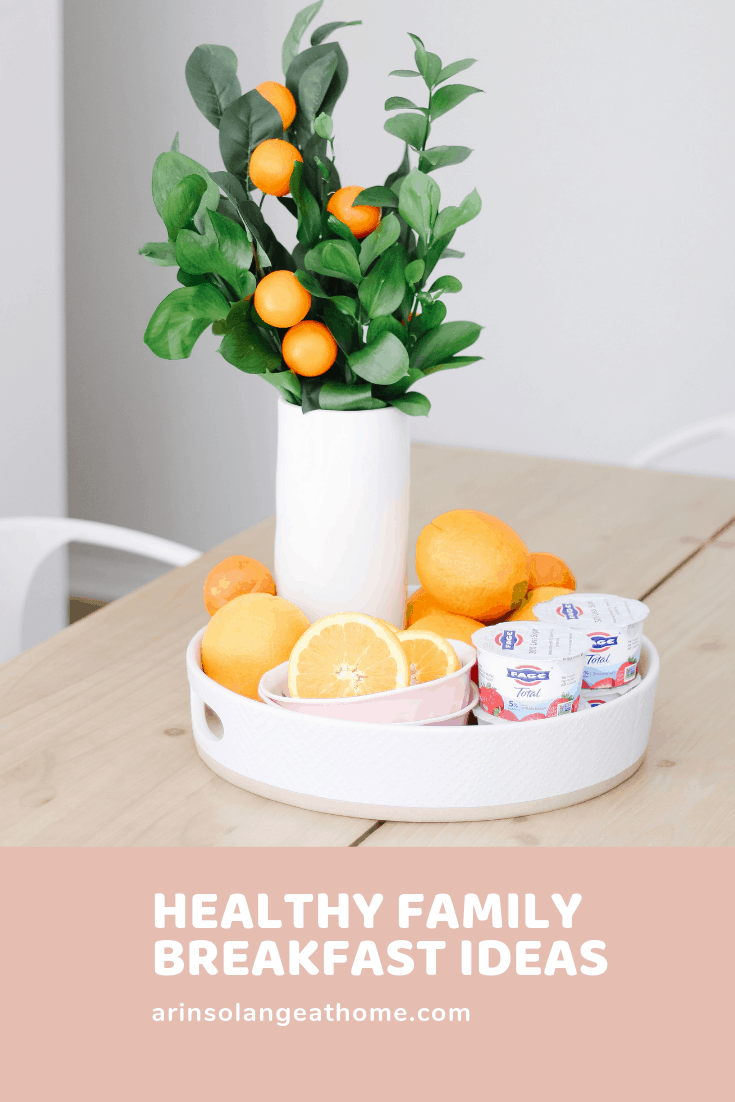
Alright, to all my mom readers – we have officially made it a month into summer vacation, and are still alive to talk about it…so bravo.. This summer I had this grand plan of lots of quality time with all my kids (i.e. less camps) before baby girl comes, and I’m feeling a bit of regret at this point – ha!. I talk a lot on Instagram about how I try to feed my family in a balanced, healthy way, but keep breakfast and lunch SIMPLE. Today I want to talk about family friendly healthy breakfast options that aren’t going to leave you cleaning up your kitchen all morning, and how we do things.
Prep for the Week
Don’t worry, I am not here to tell you I am an amazing food prep mama…if you are though, please teach me your ways! But there are a few things I do prep on Sundays for the week. The biggest thing for me is breakfast meat. Jack, my 6 year old, likes to eat sausage or bacon every morning, so for everyone’s sanity we cook that all at one time. I also make sure that going into Monday our house is stocked with staples for breakfast and lunch so we aren’t scrambling!
Keep things simple for everyone
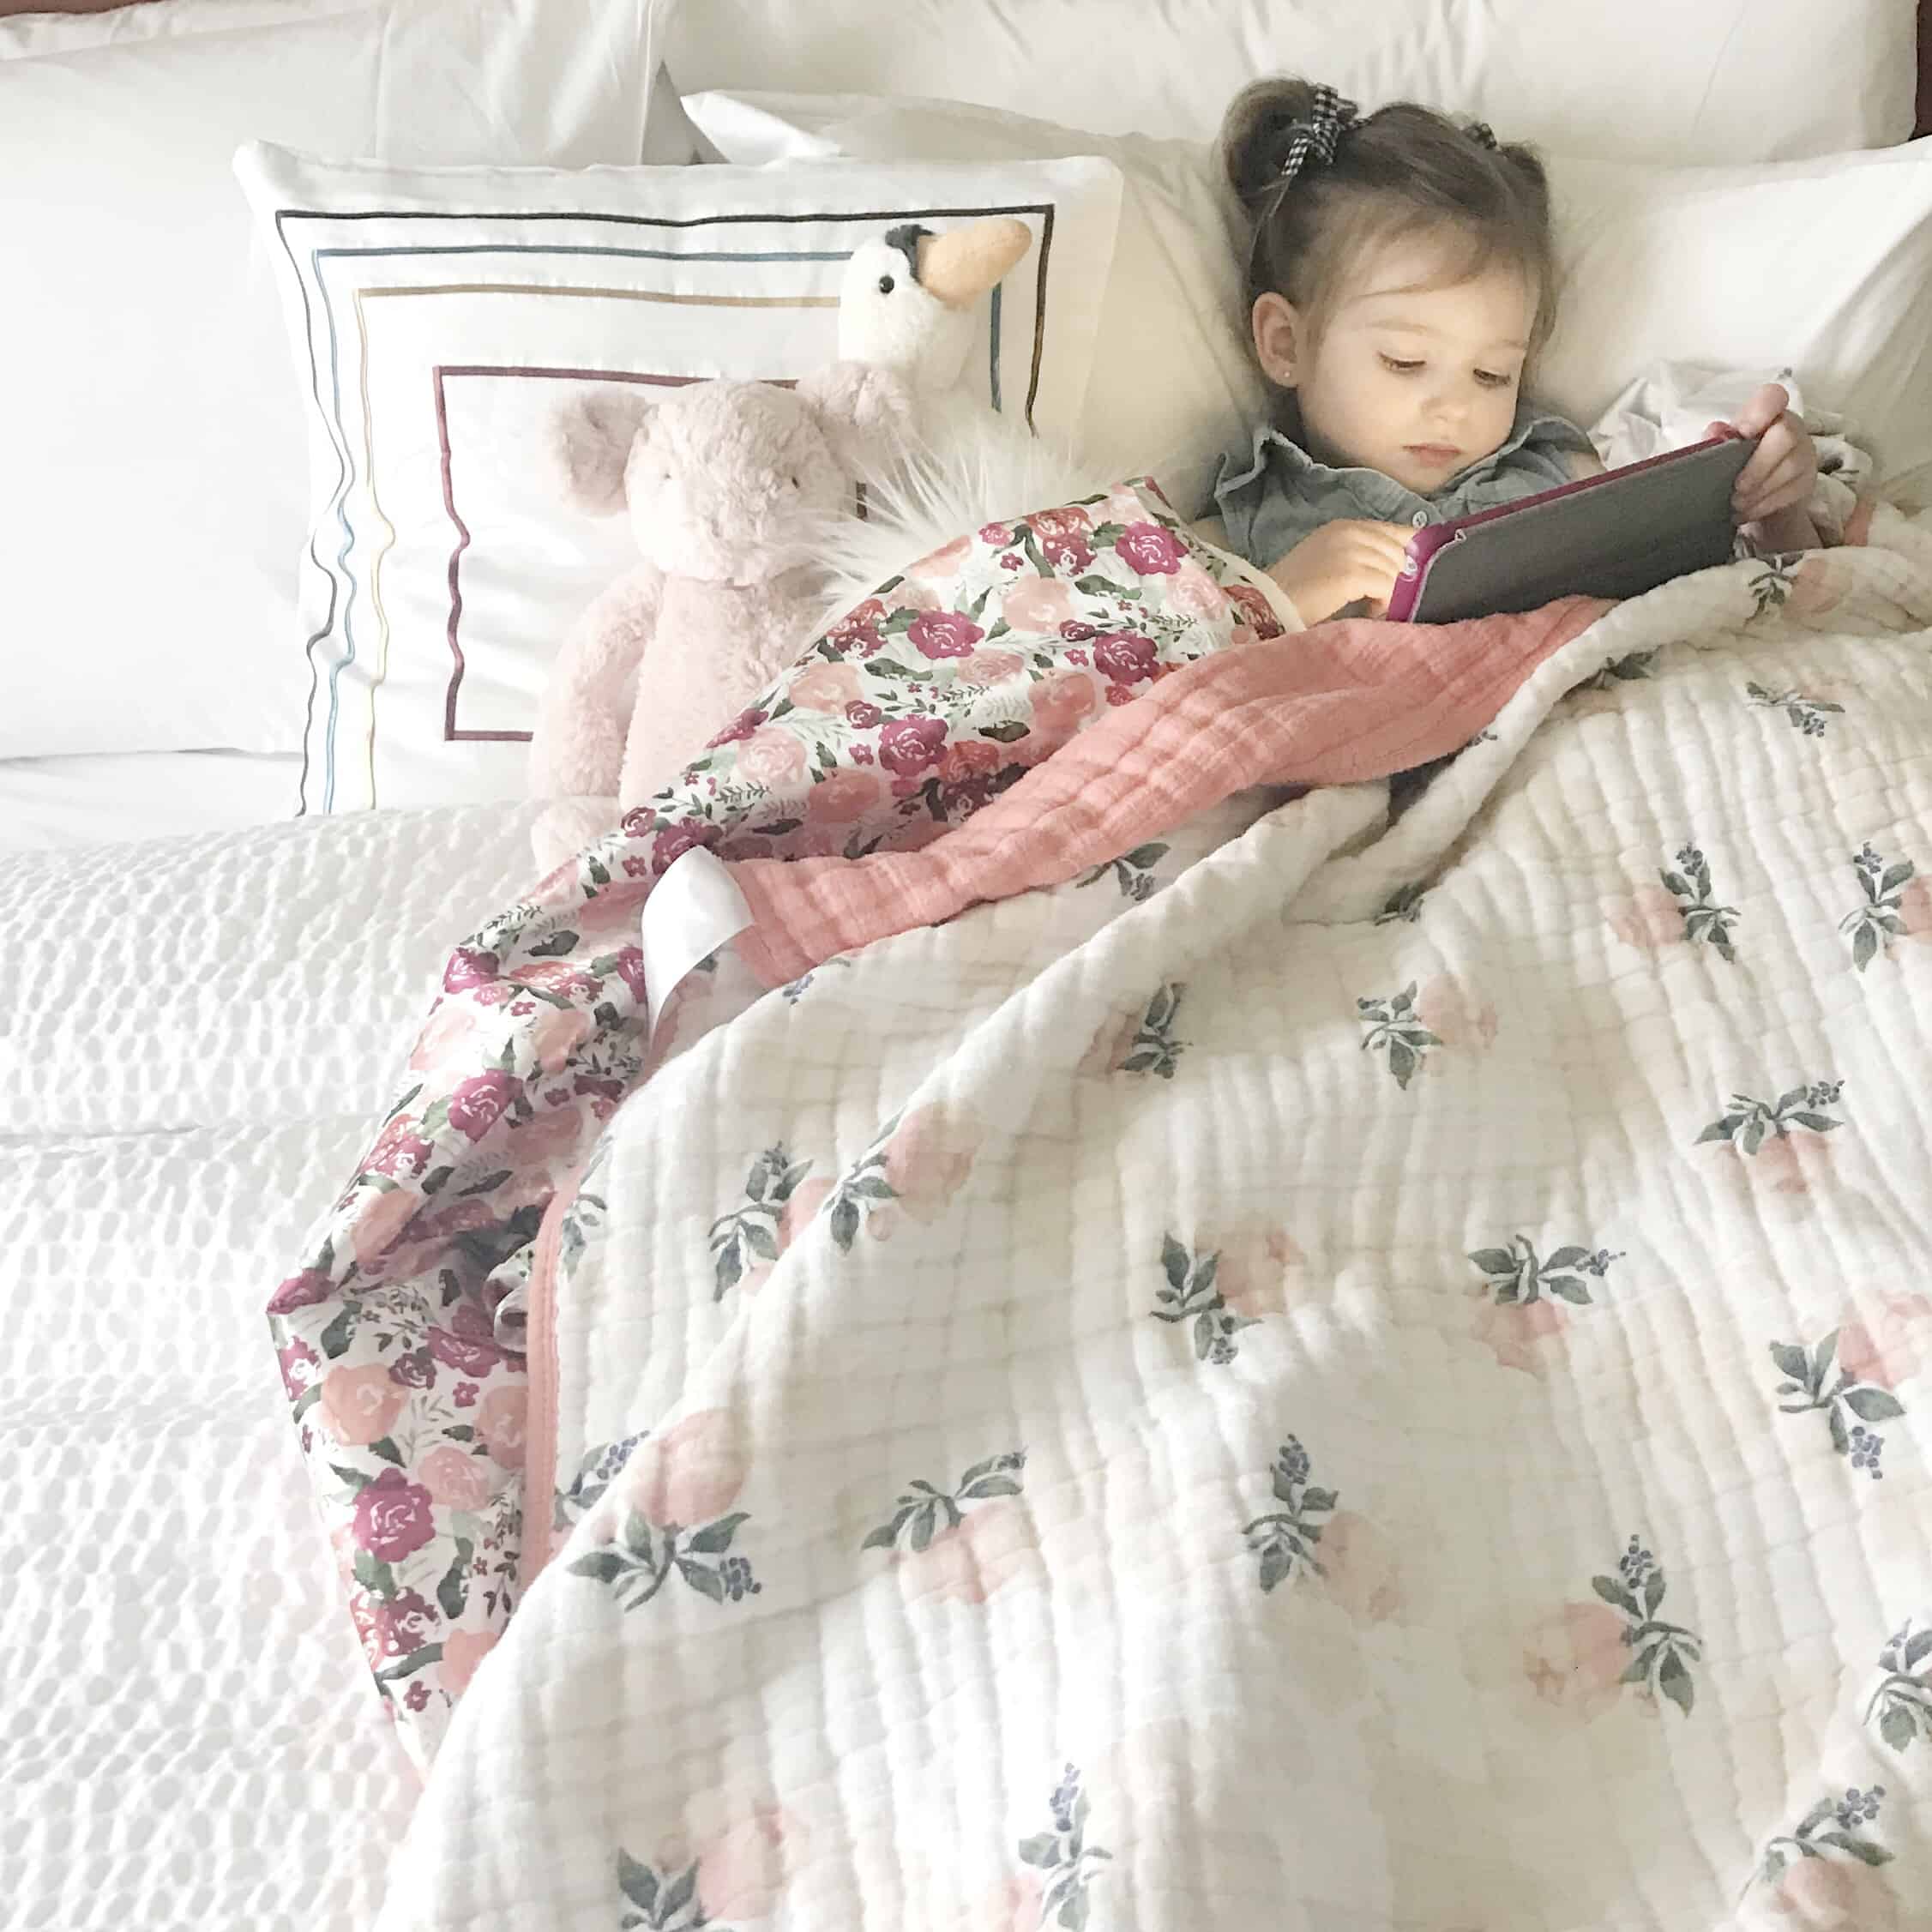
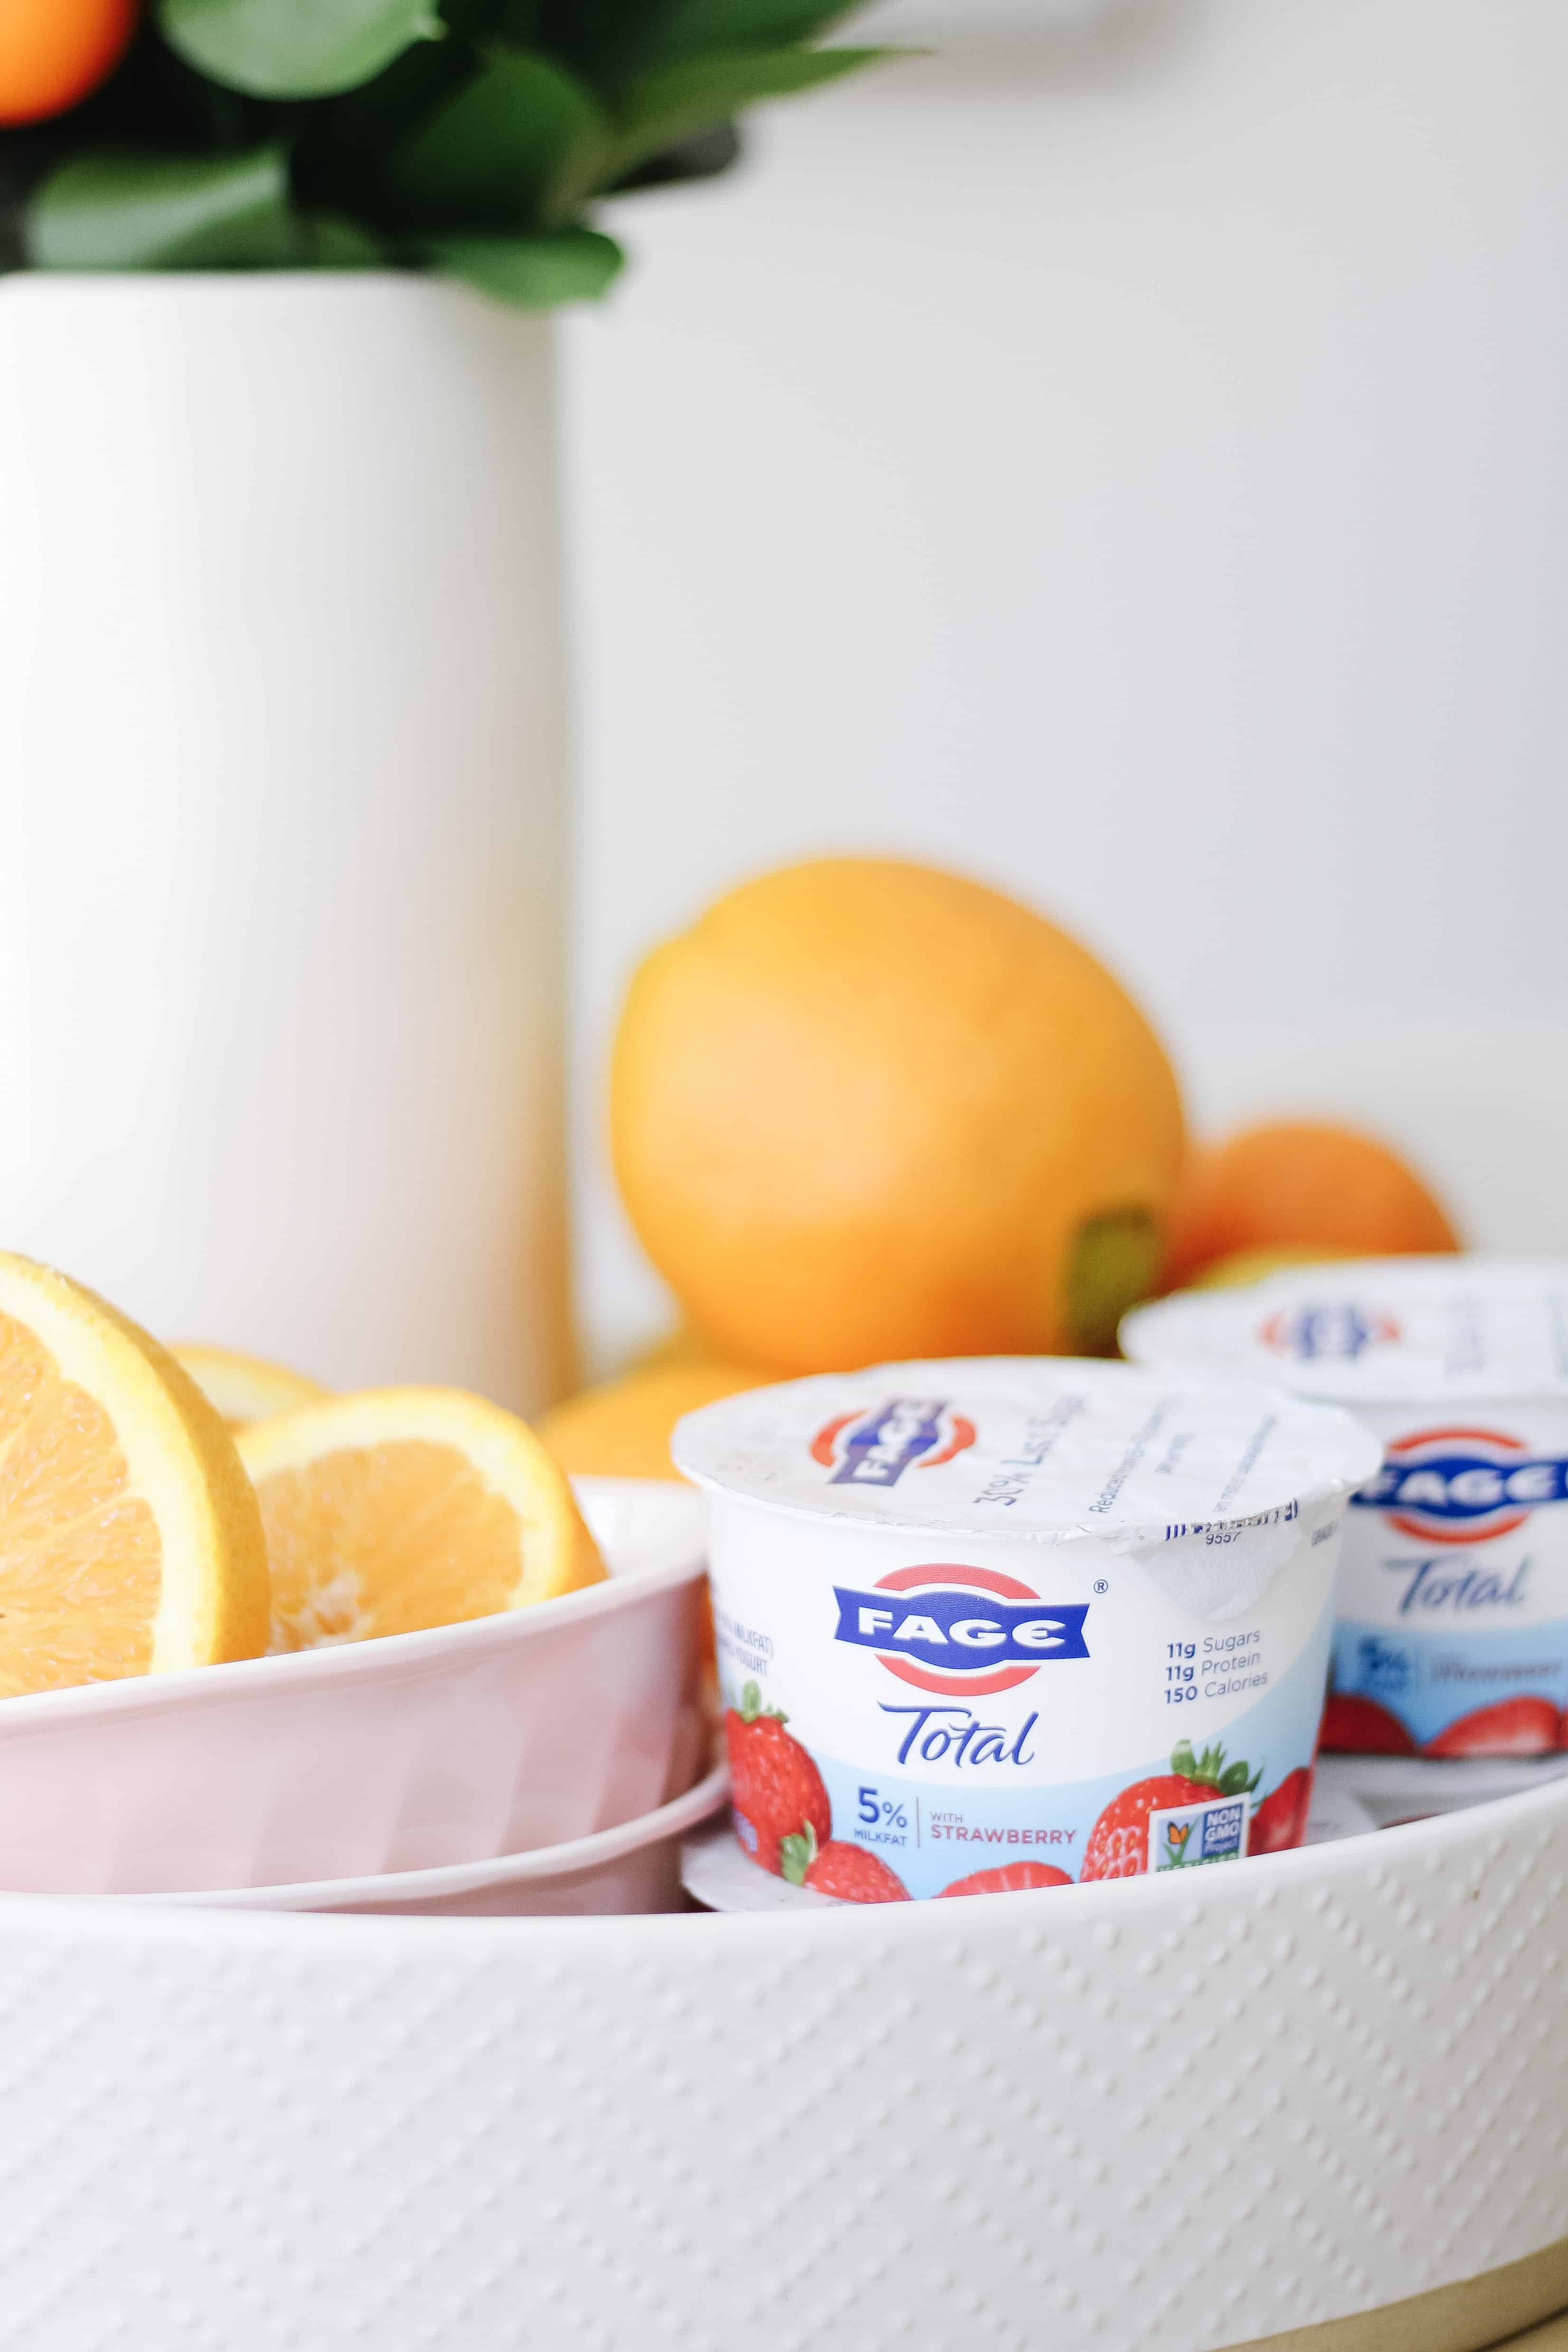
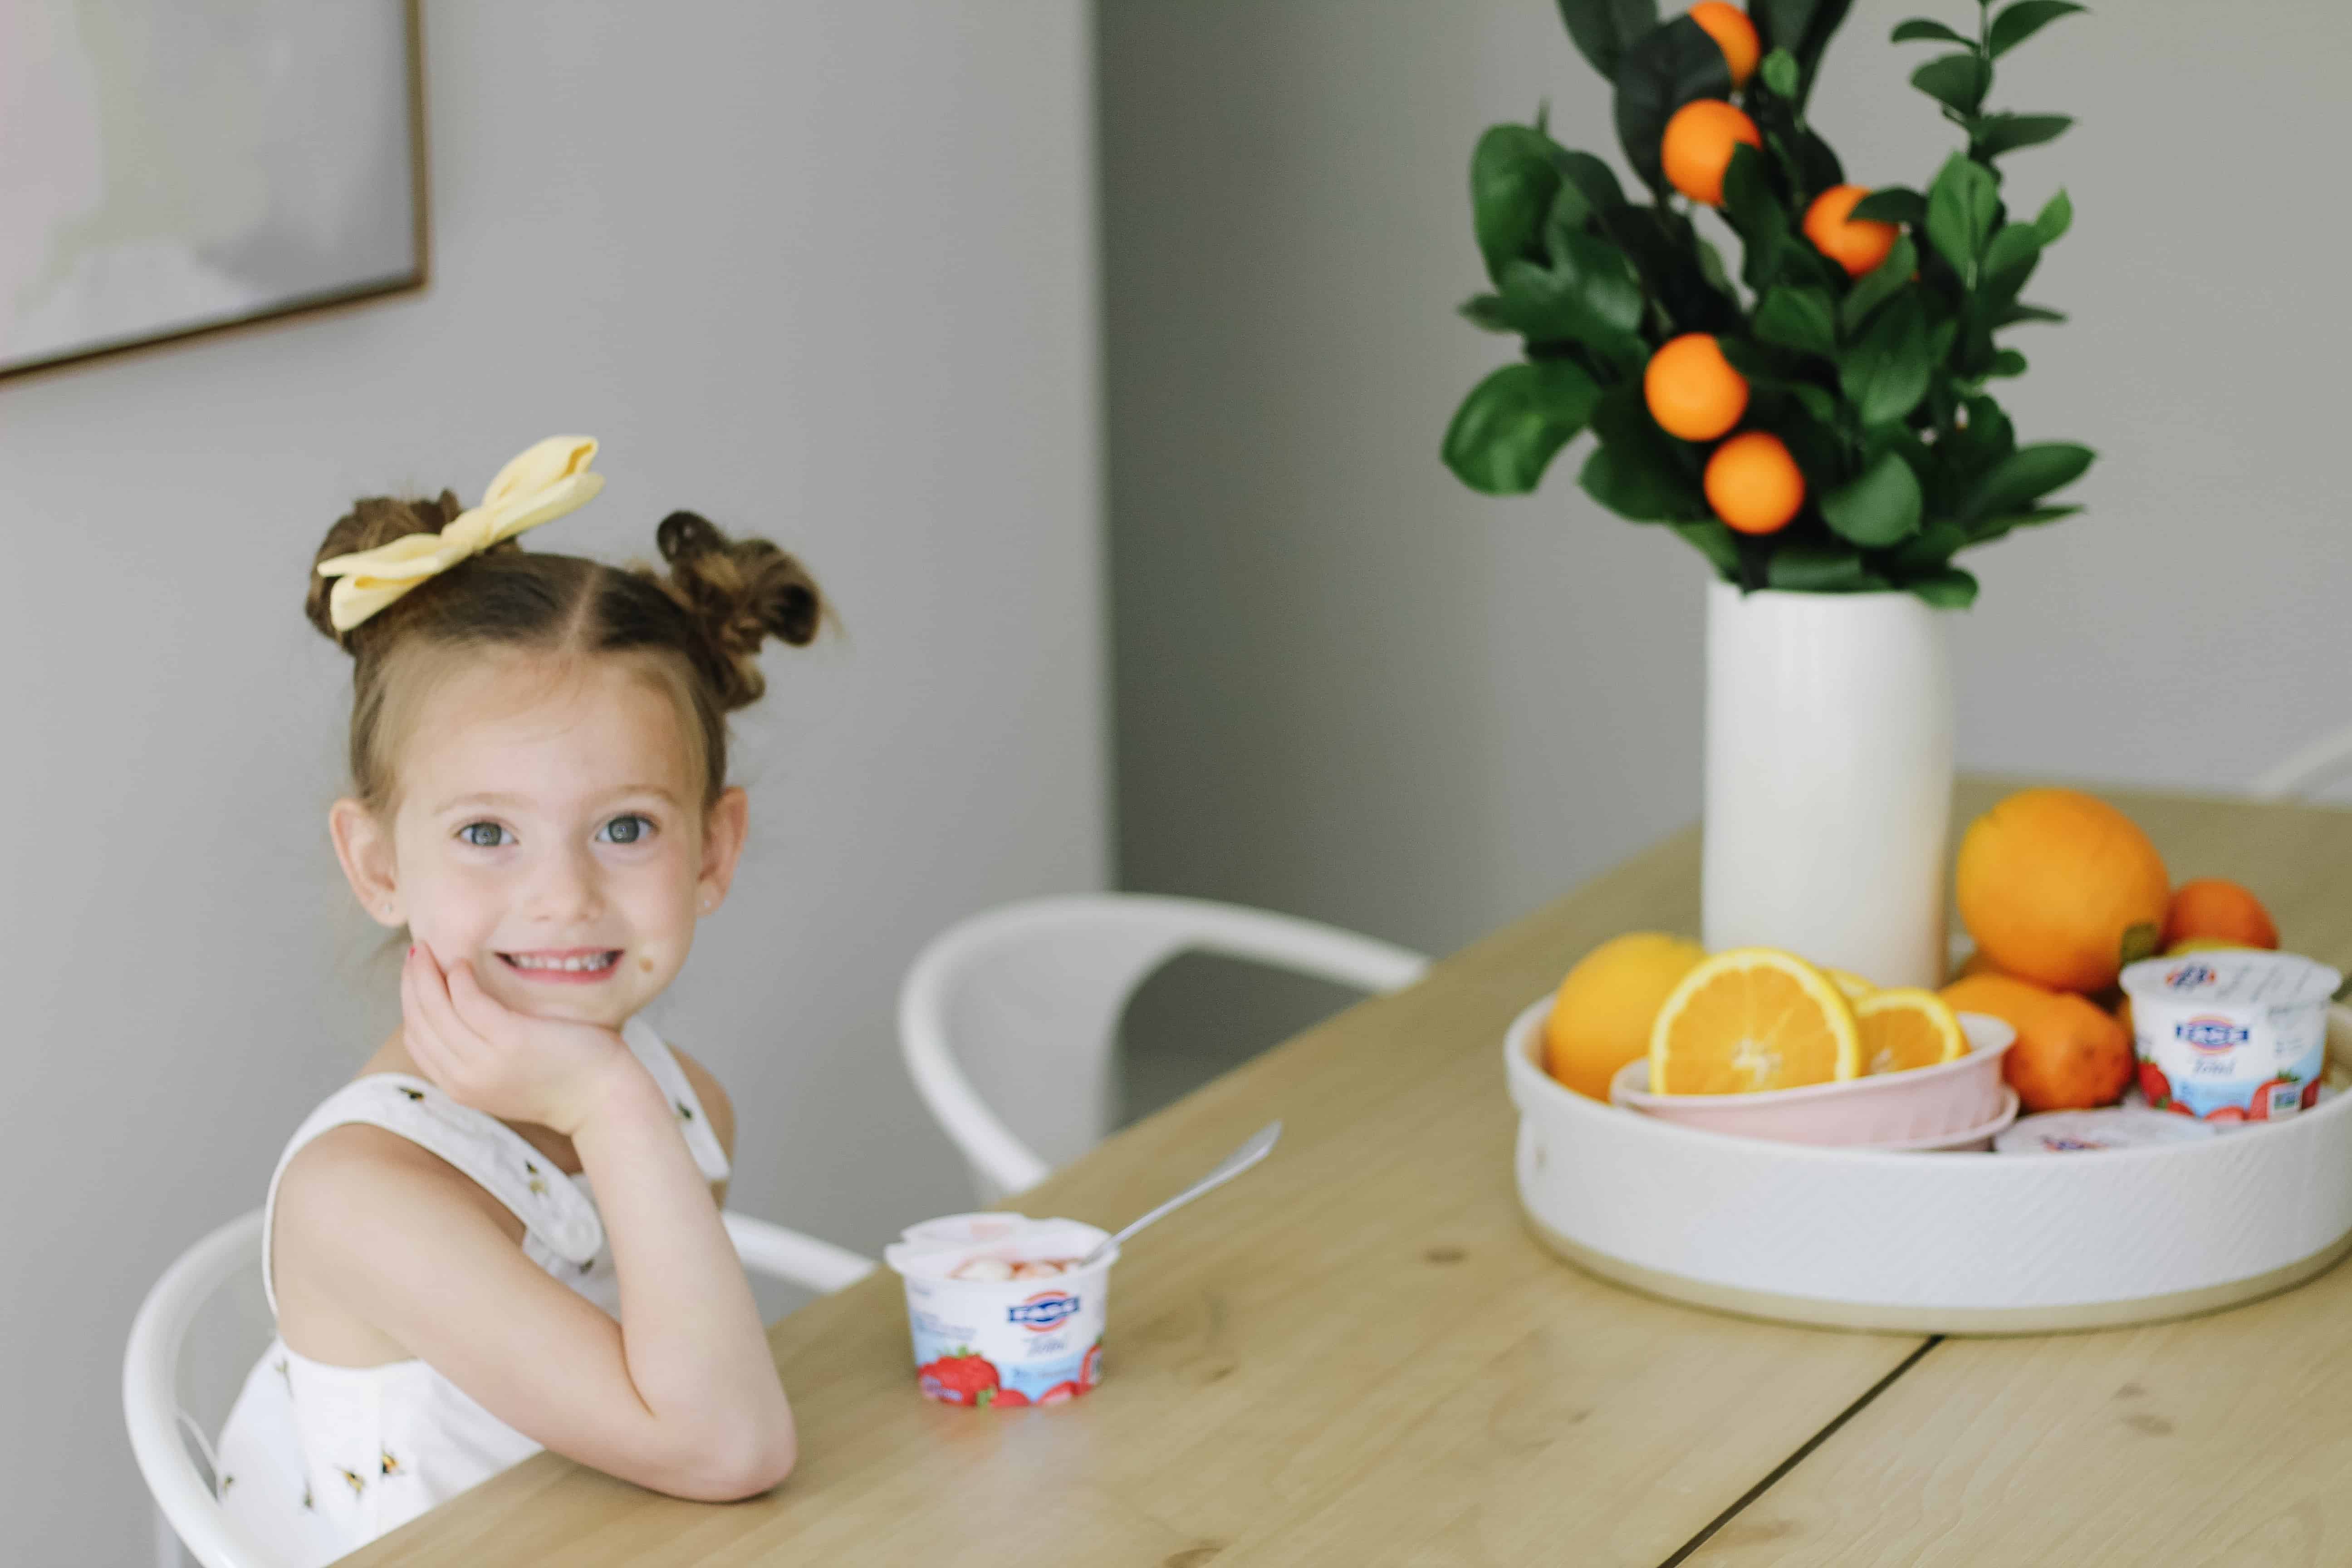
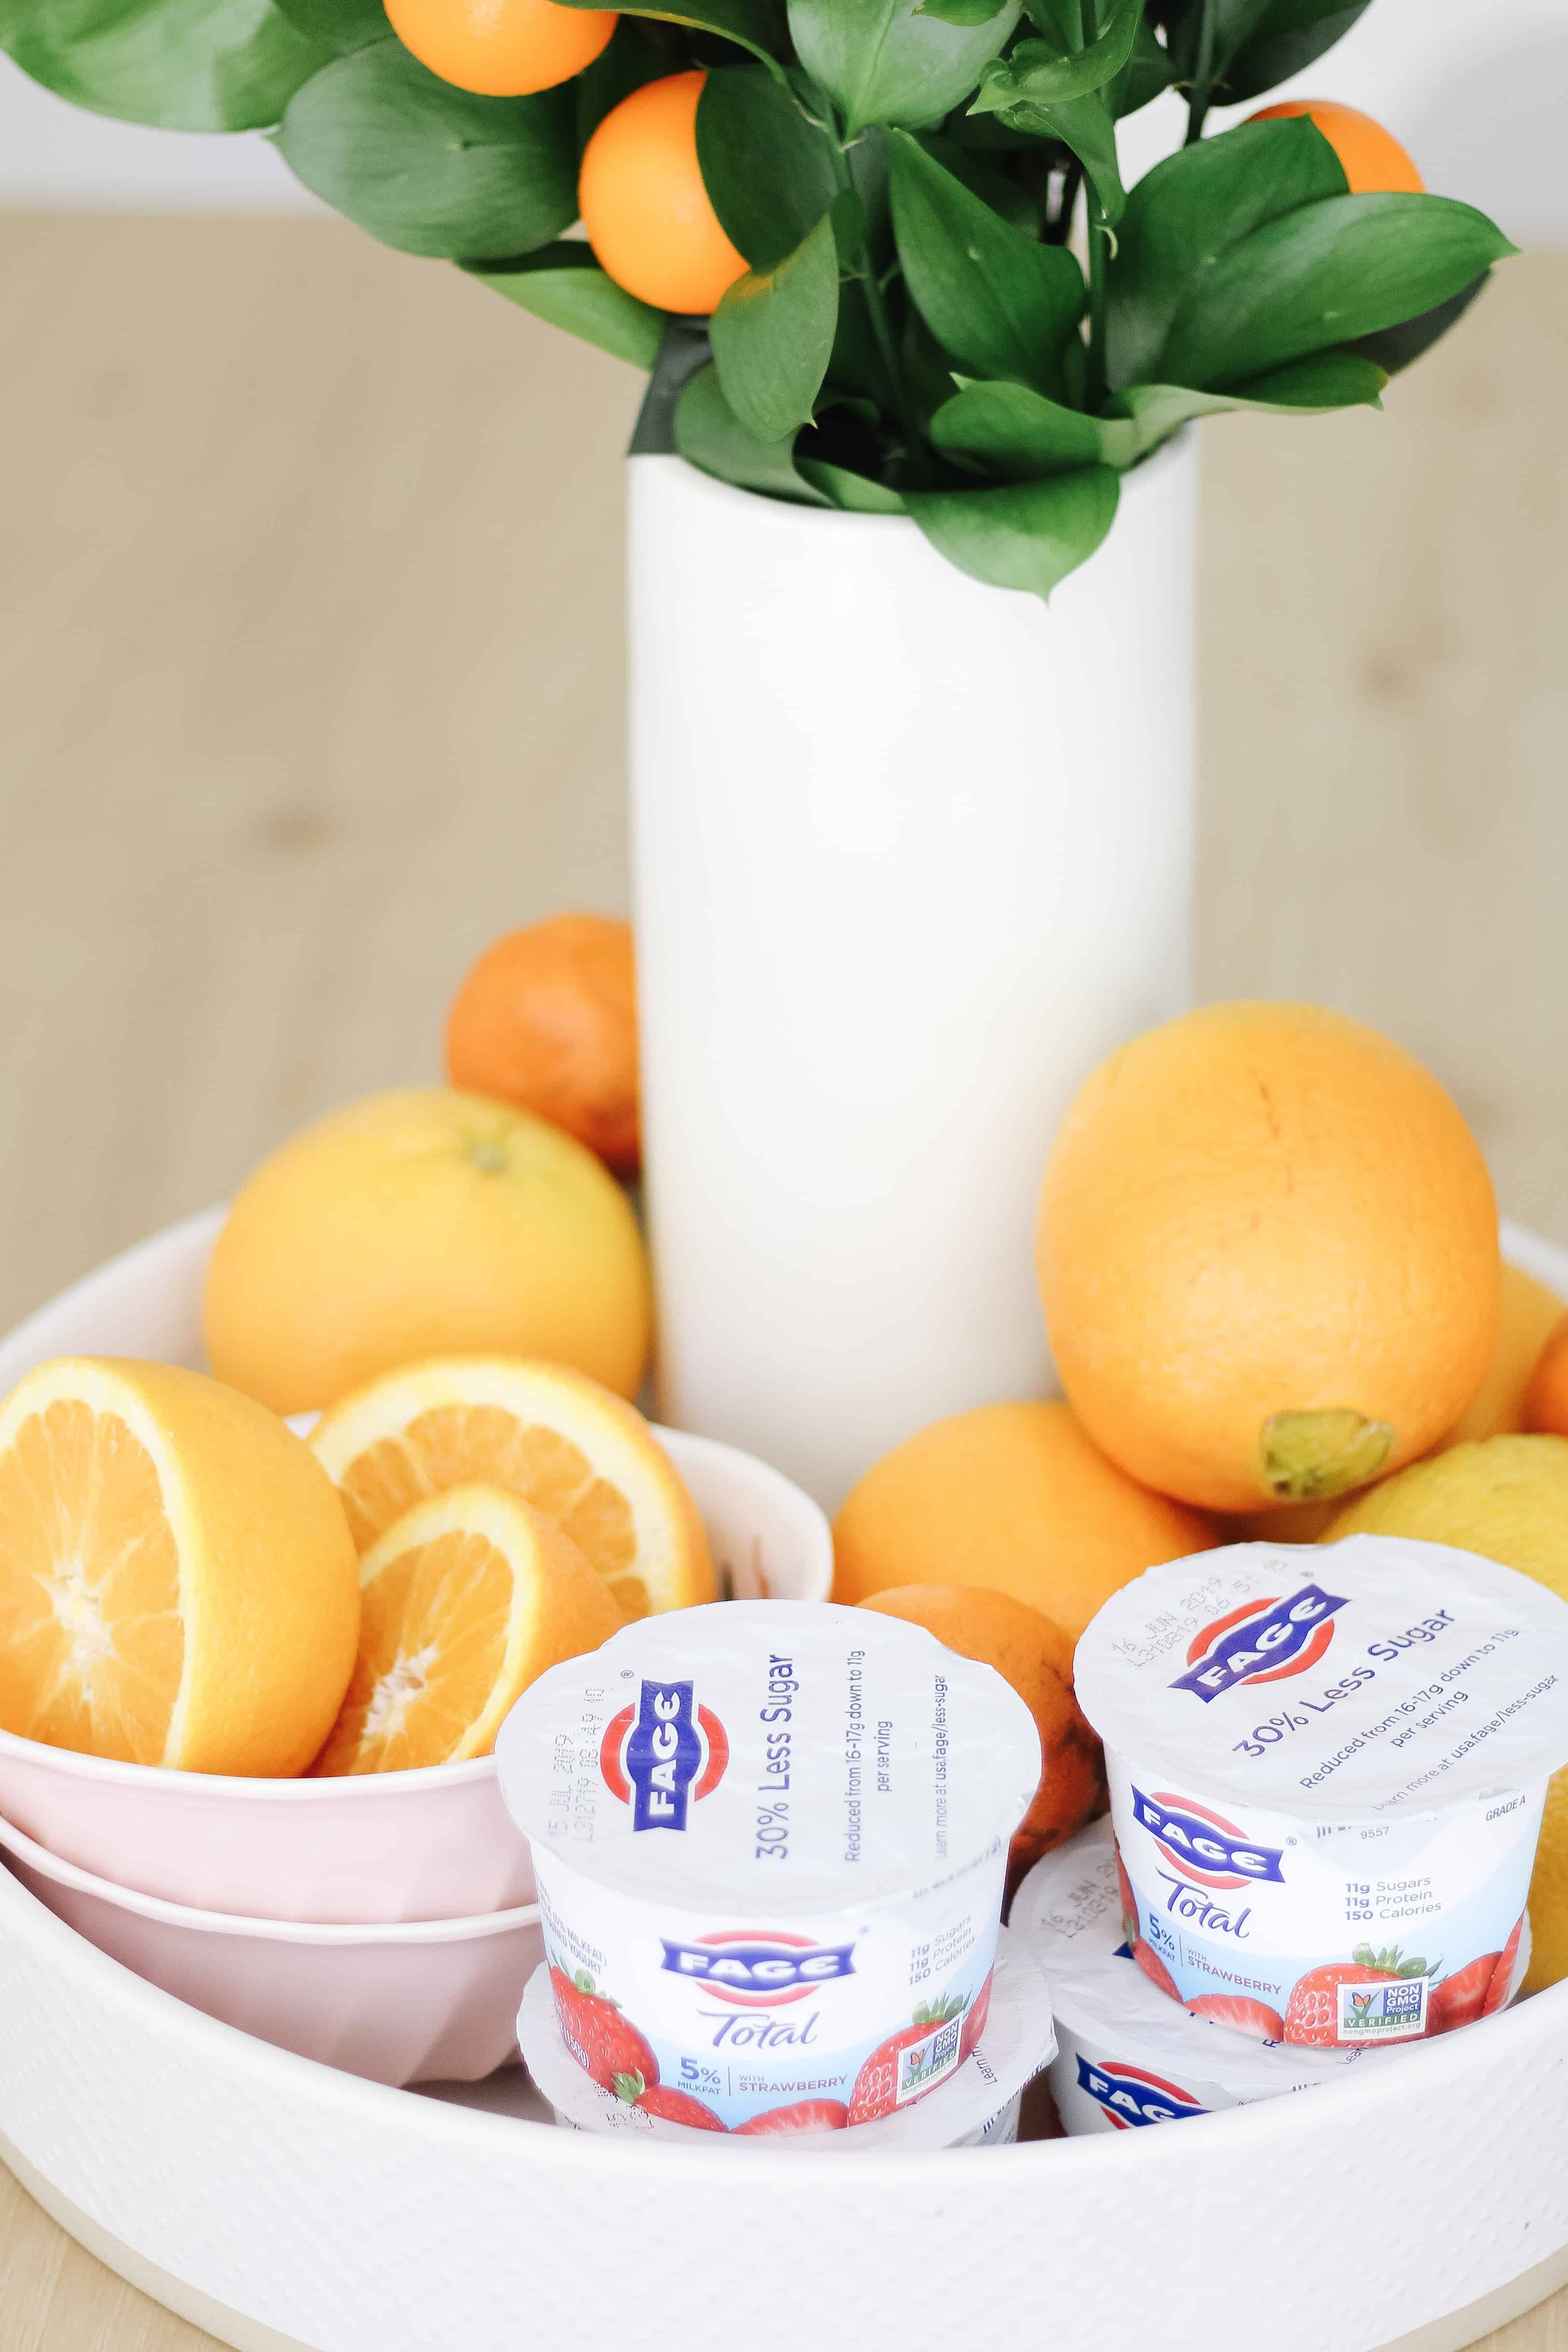
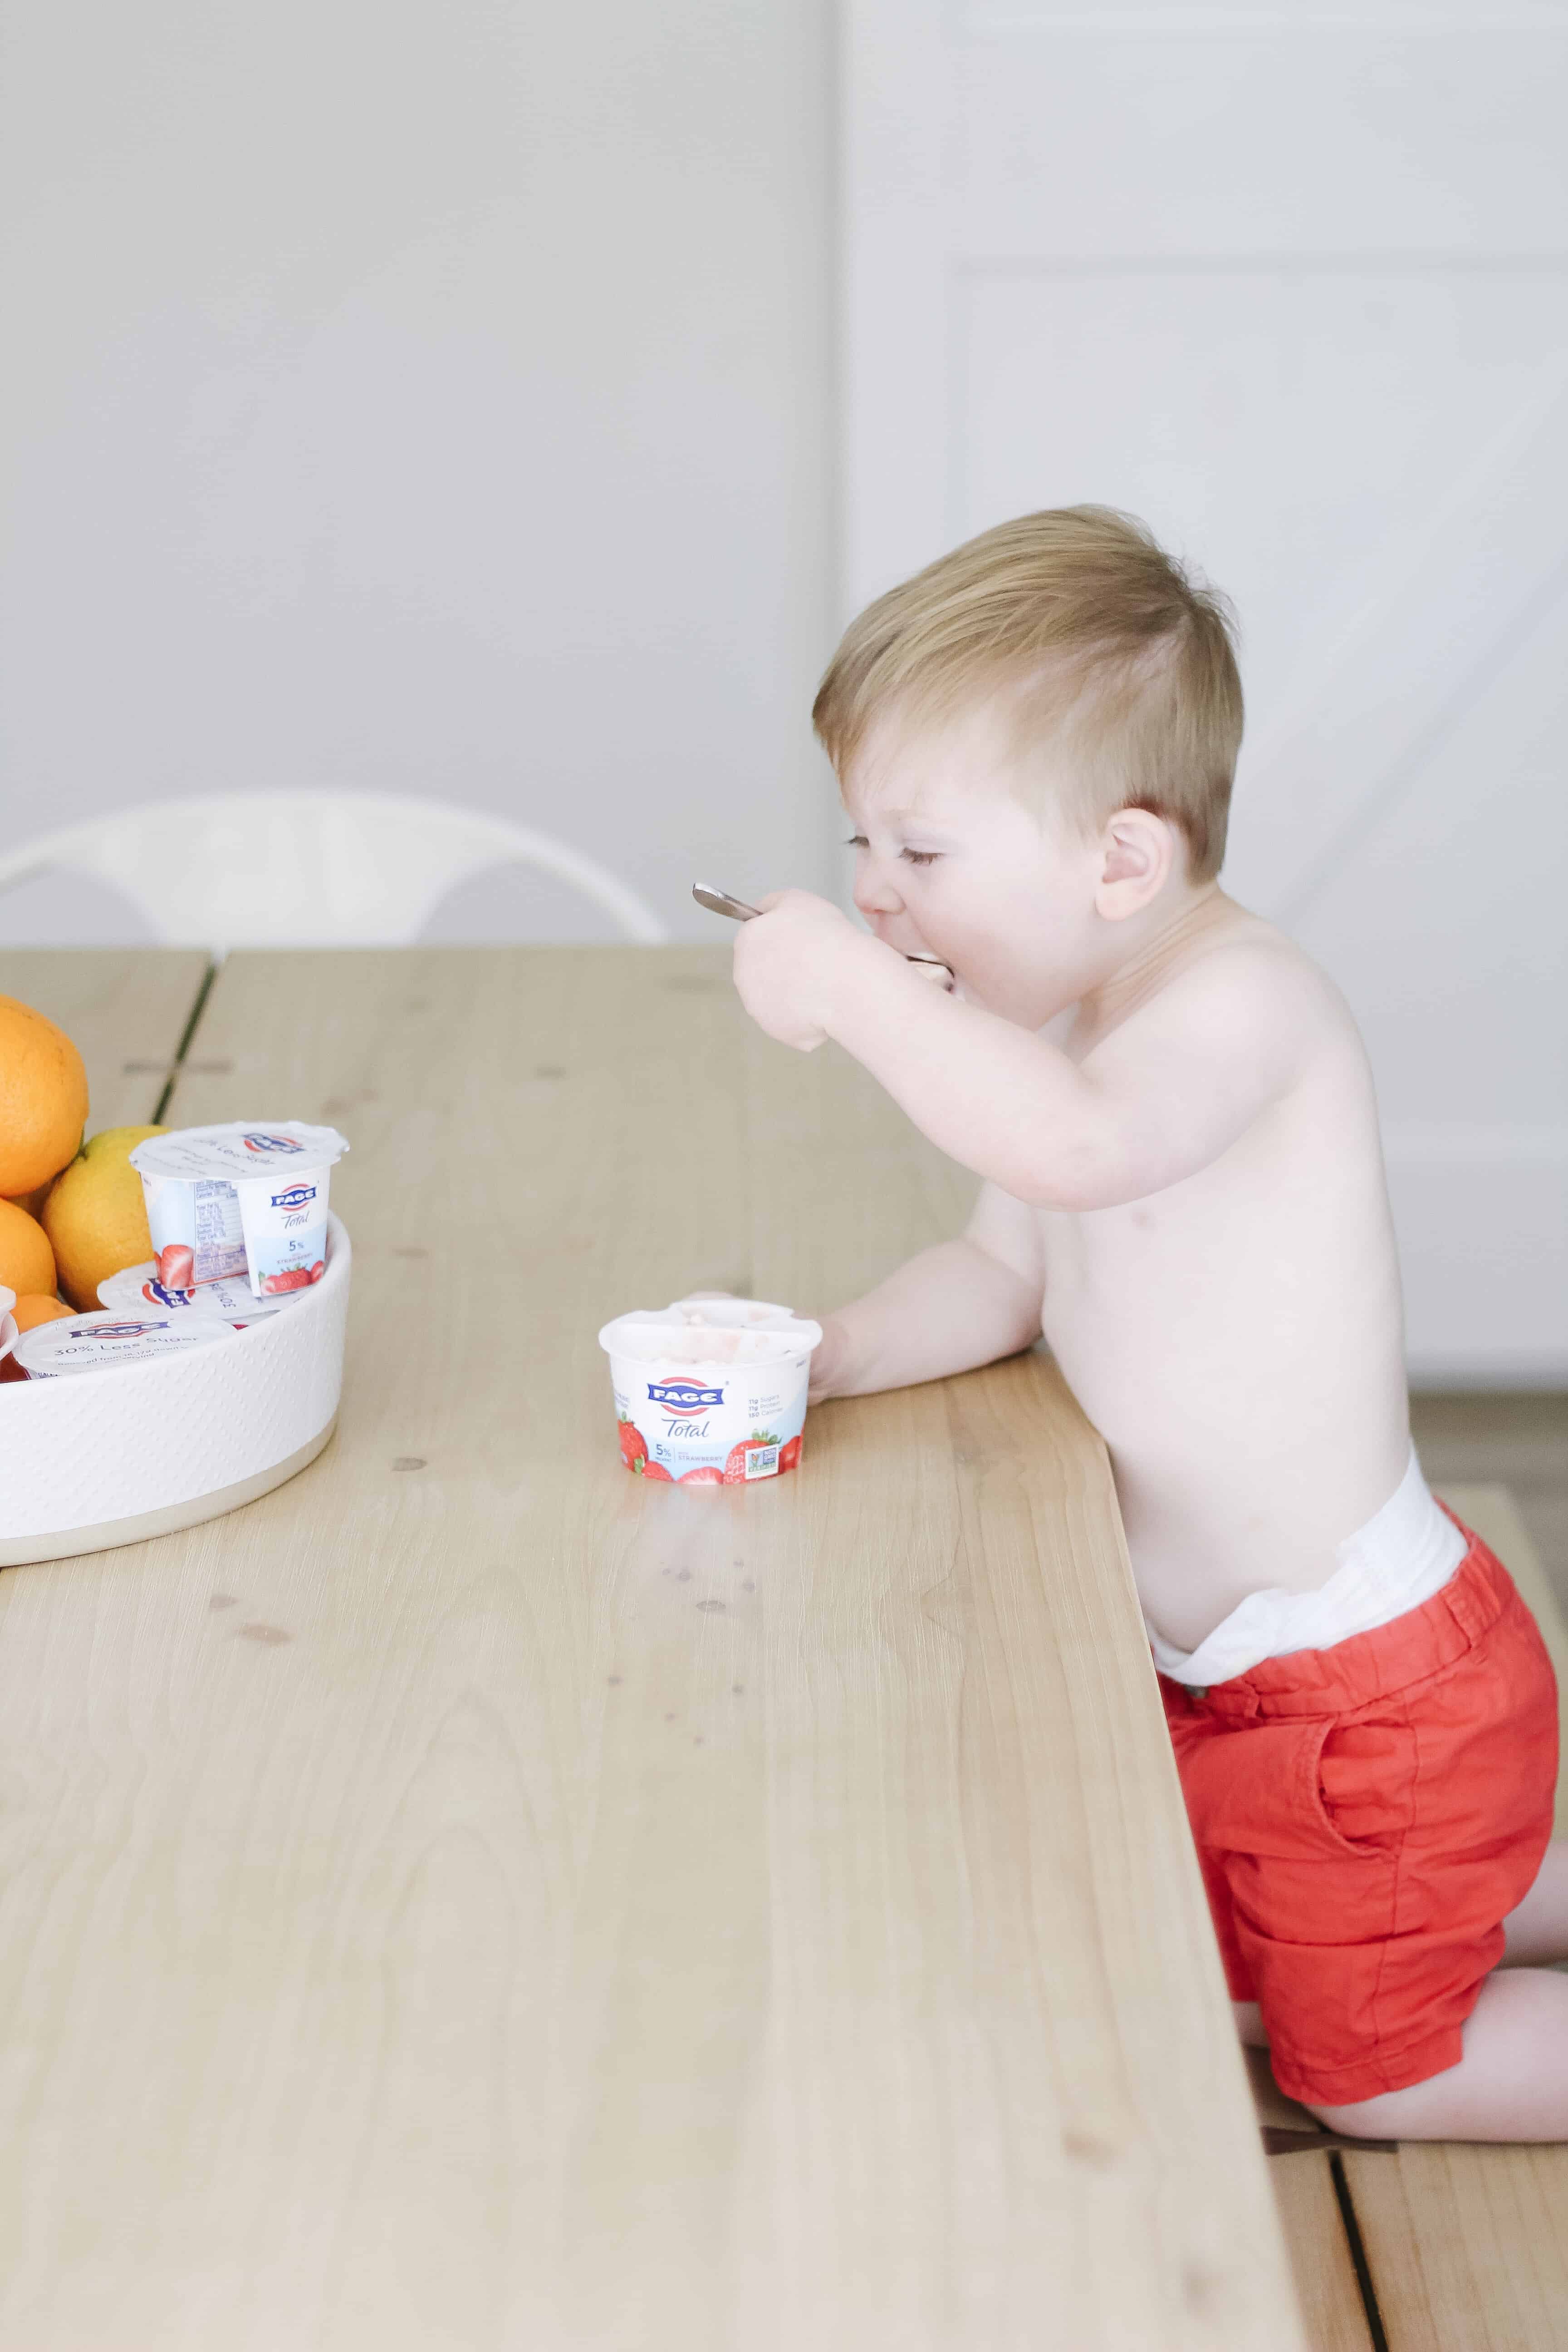
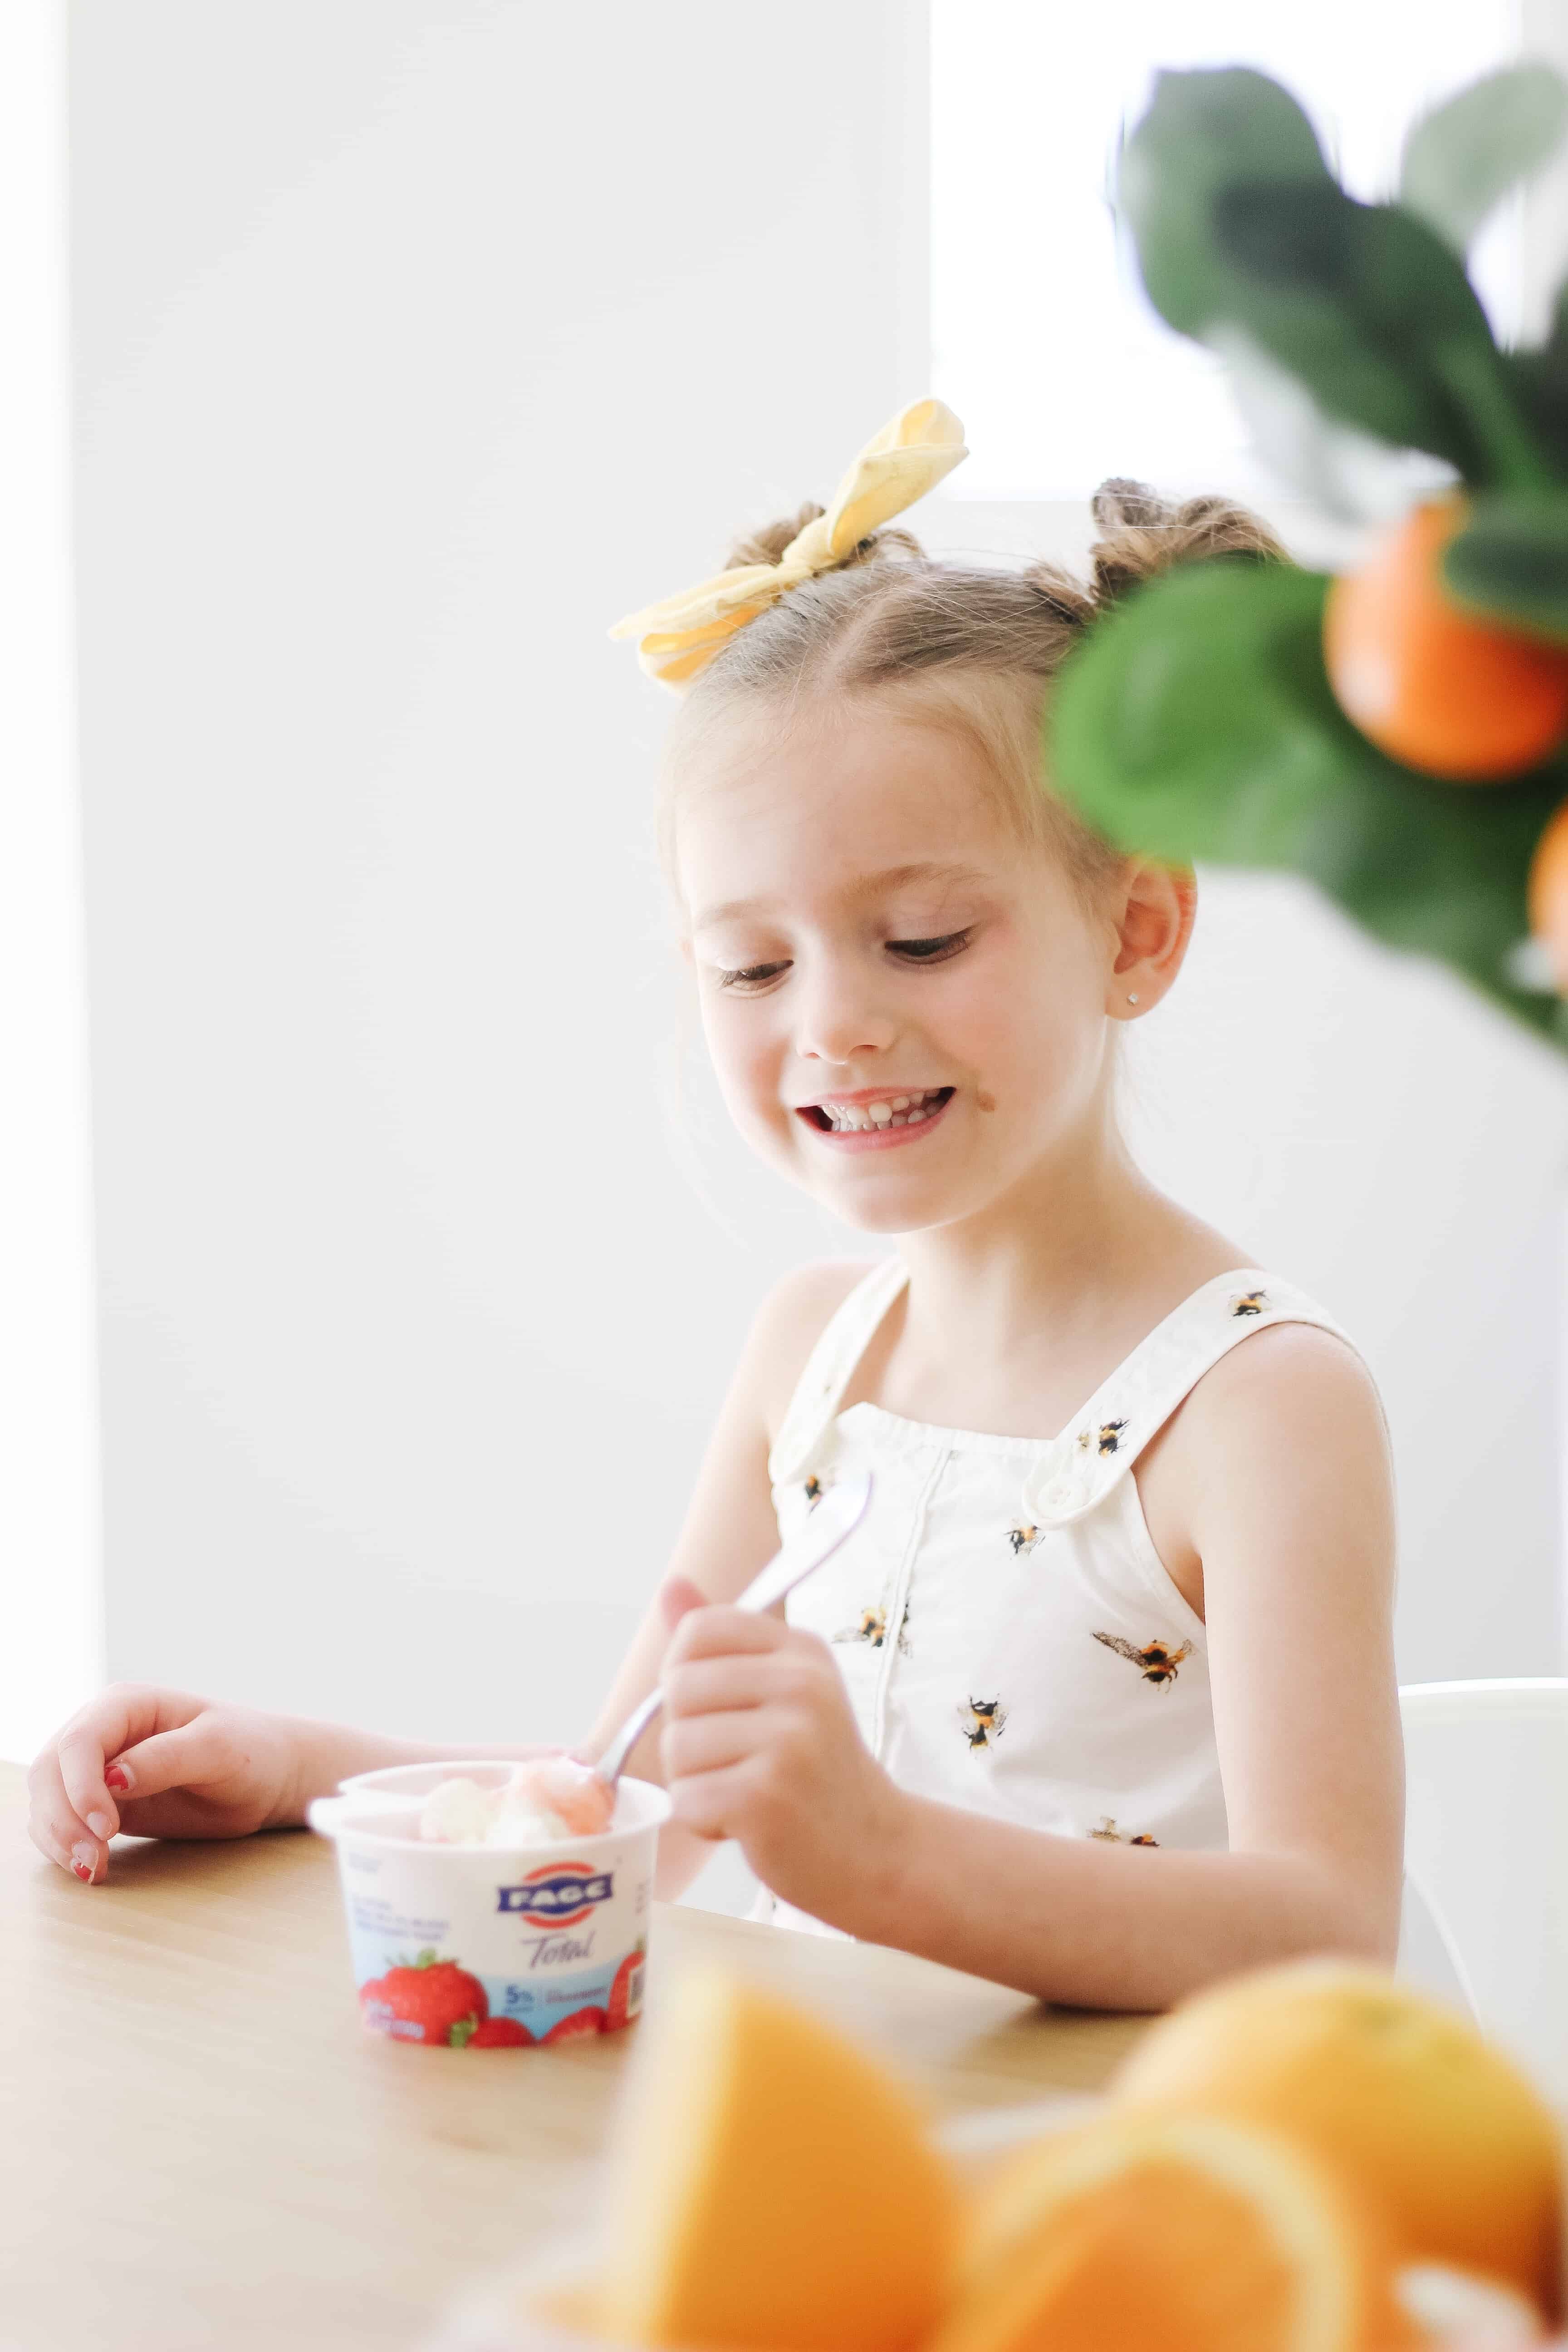
When I stock up on staples for the family I keep things simple. The key to family friendly healthy breakfast options are getting things all or most of you will eat. For us we have been doing a lot of smoothies (see this post on my smoothie recipe), or FAGE Total Split Cup Yogurt and some fruit. The protein in the yogurt keeps everyone full until snack time and the kids LOVE trying new fruit with it.
One thing I have been loving about the FAGE Total Split Cup Yogurts when it comes to family friendly is that they come in different fat contents, so allow for me to give the little one’s higher fat yogurt. I also love that you can control how much fruit topping is mixed in. Avé and I are nearly purists, and use so little of the topping, but the boys pour the whole thing in. Walker even try’s to lick the little fruit part when he’s done haha!
FAMILY friendly Healthy Breakfast
I always feel like as moms, and especially for me as a stay at home mom I feel the need to make sure my kids are eating fun foods for every meal. About a year ago I decided that that’s just not reality. That in school it won’t be that way, and it’s not something I can do at home. We do only foods that are cold or can be microwaved for breakfast and lunch, then focus on a more full, hot meal for dinner. The kids know that is what they will get and they are more than happy with a small amount of options each day for breakfast or lunch that fit those rules. Family friendly breakfast should be just that FAMILY FRIENDLY. So that means you too, mom! Keep your sanity, and stock up on the easy foods that your kids will love and you feel good about.
Pin this post on Family Friendly Healthy Breakfast Ideas Below
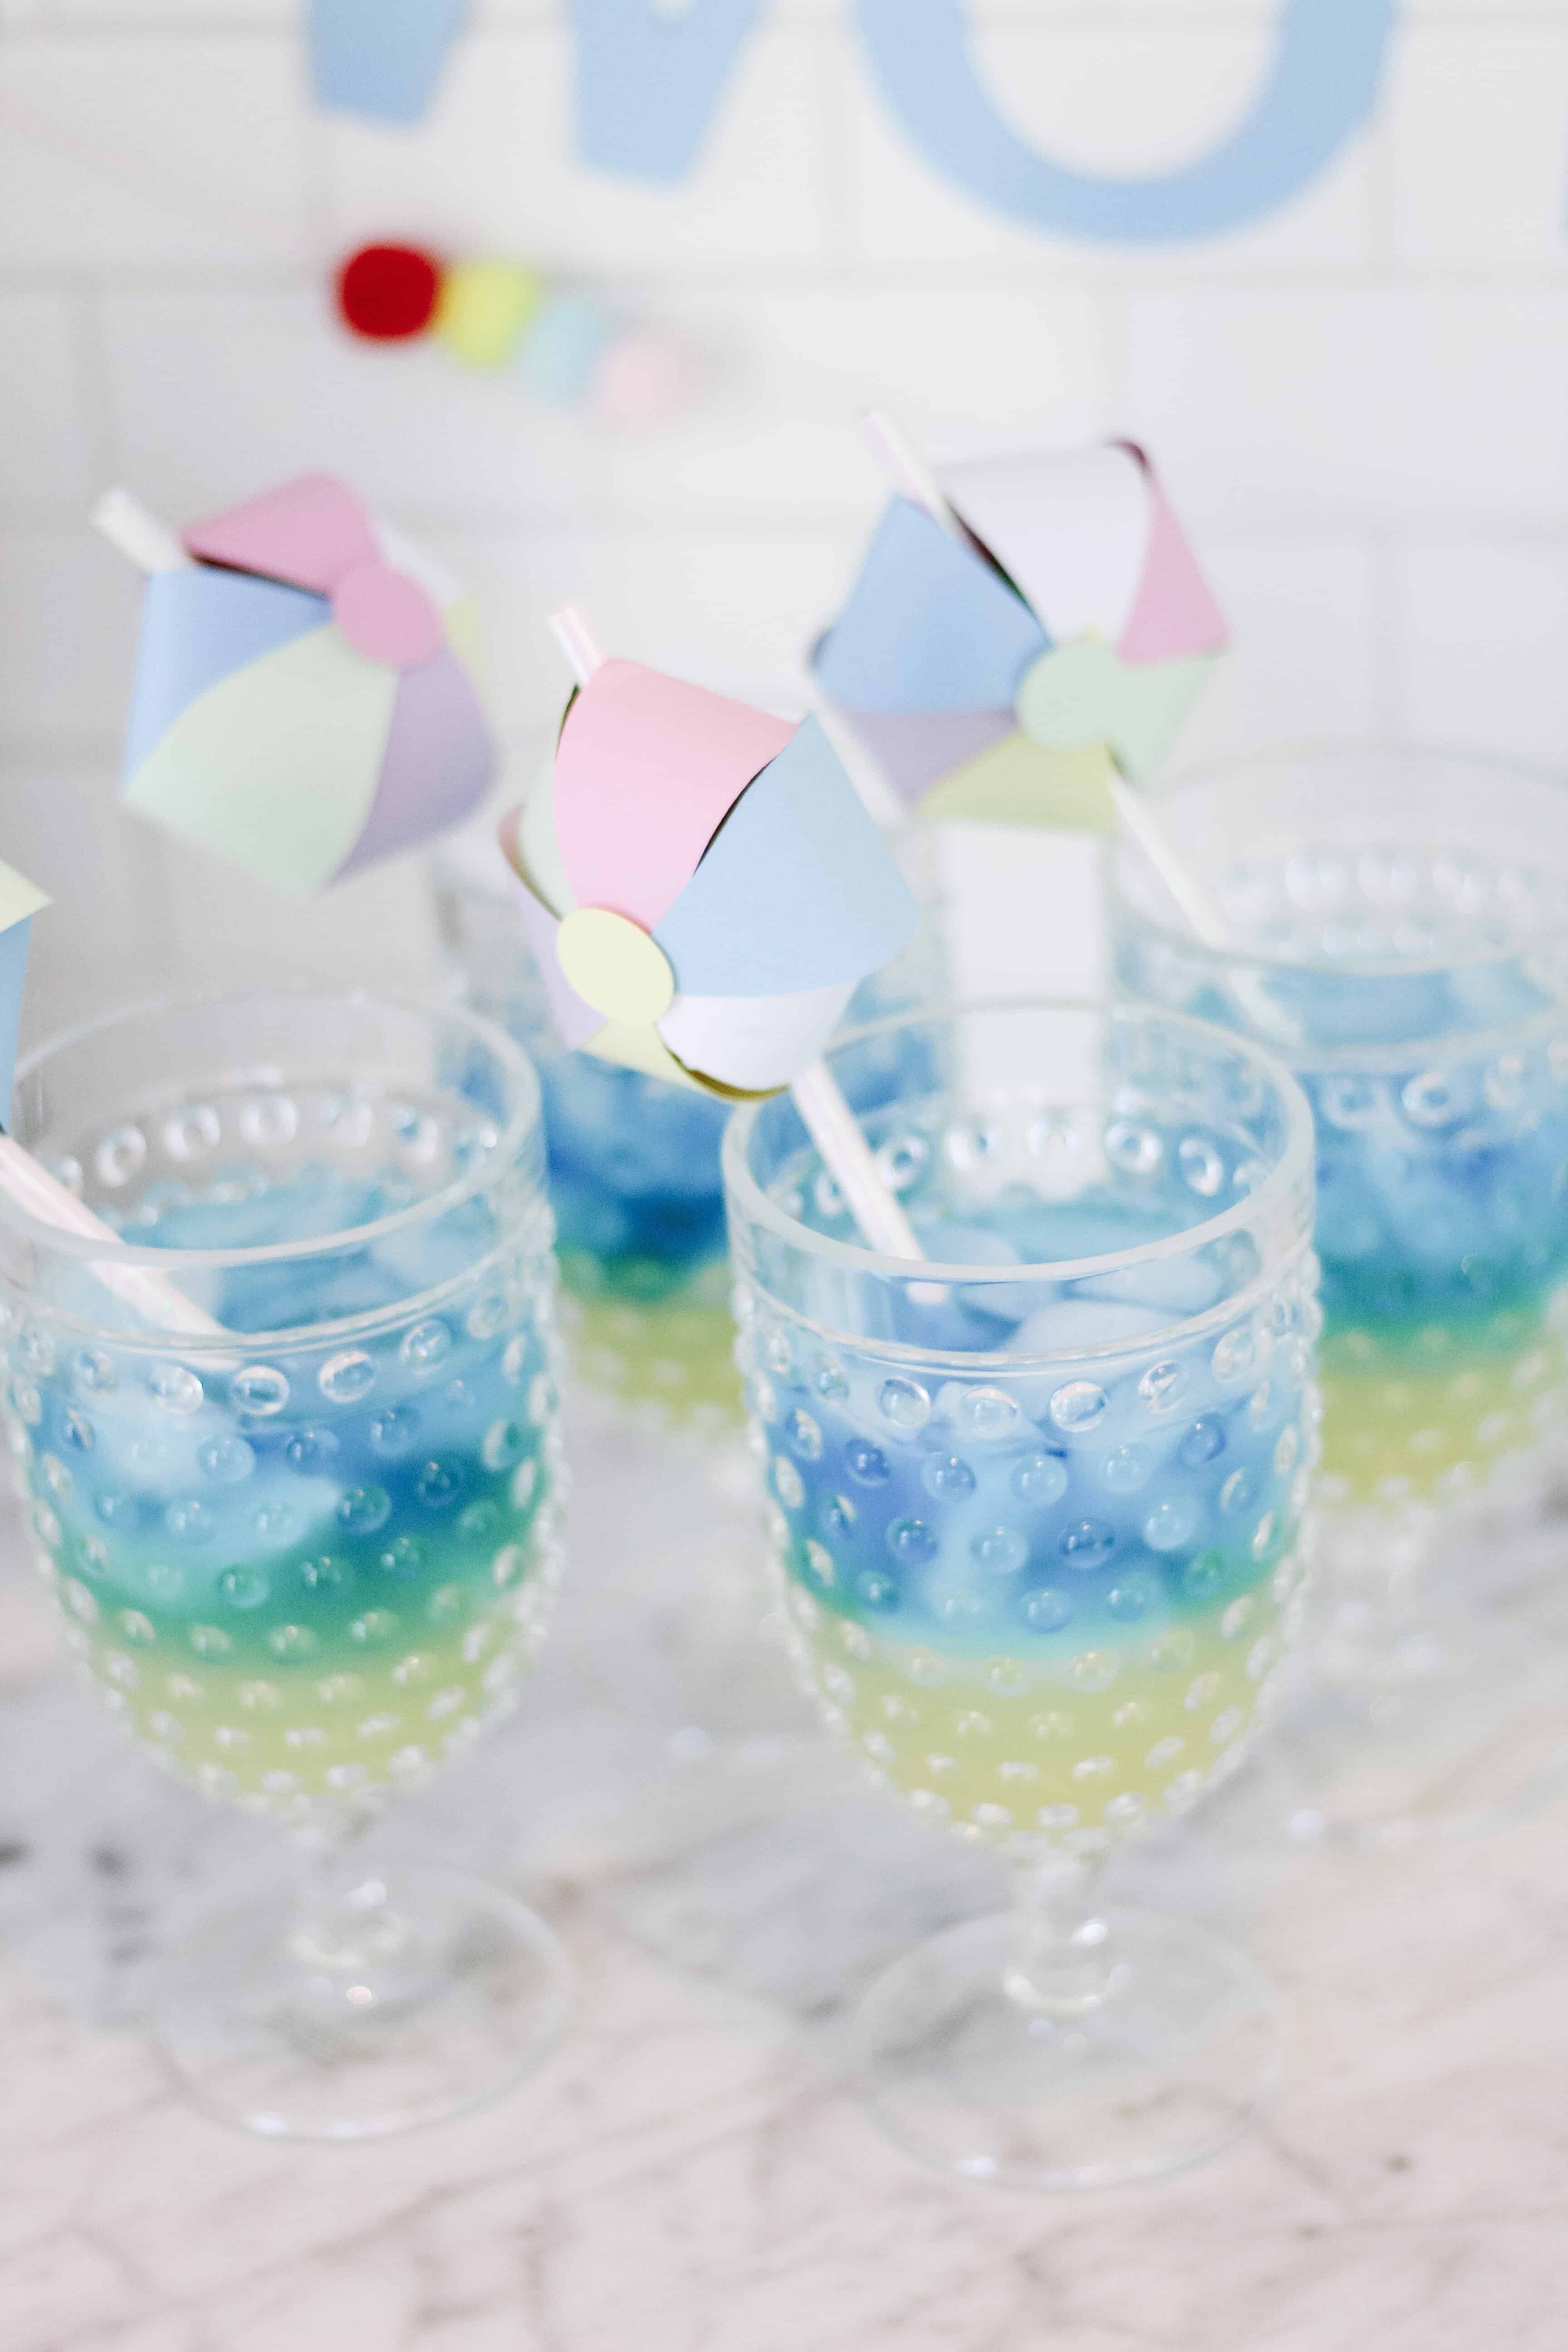
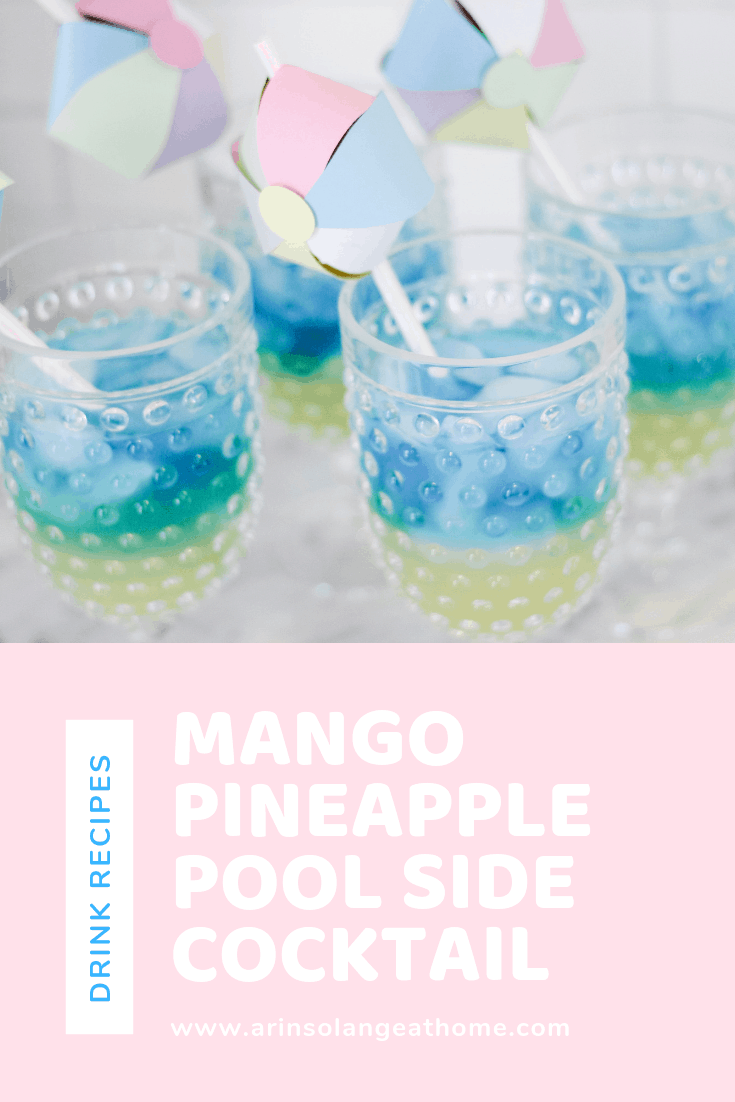
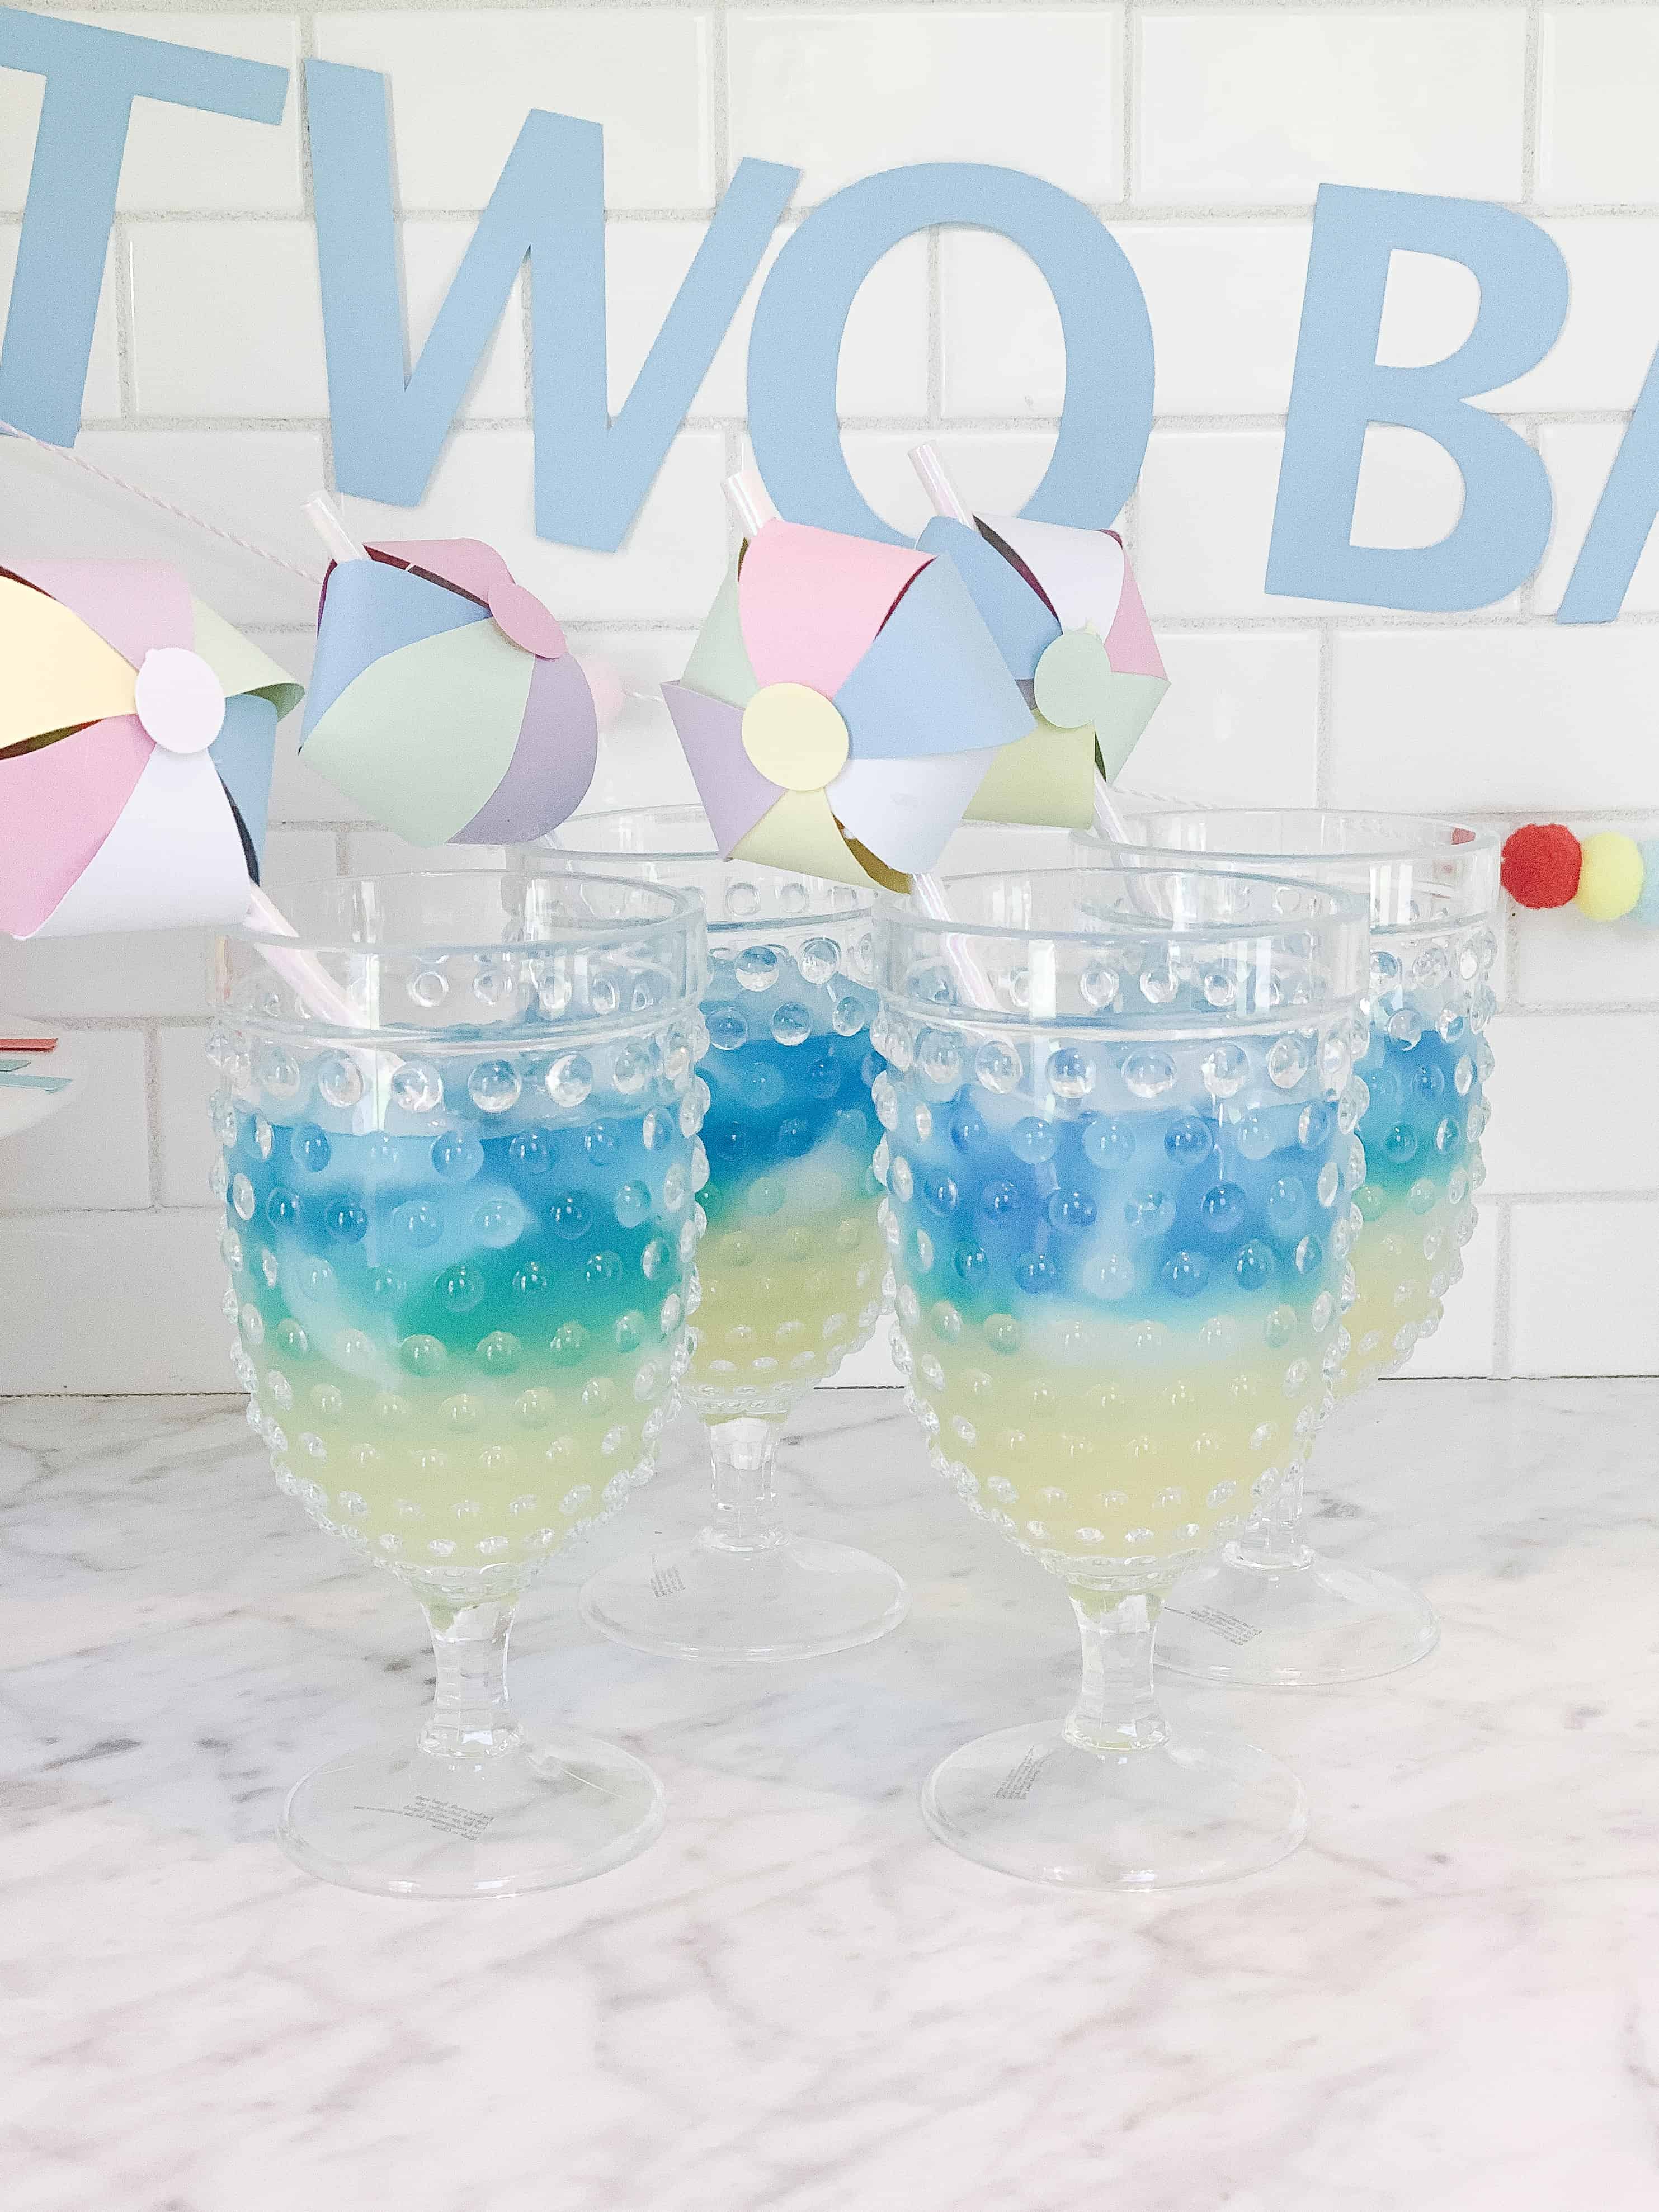
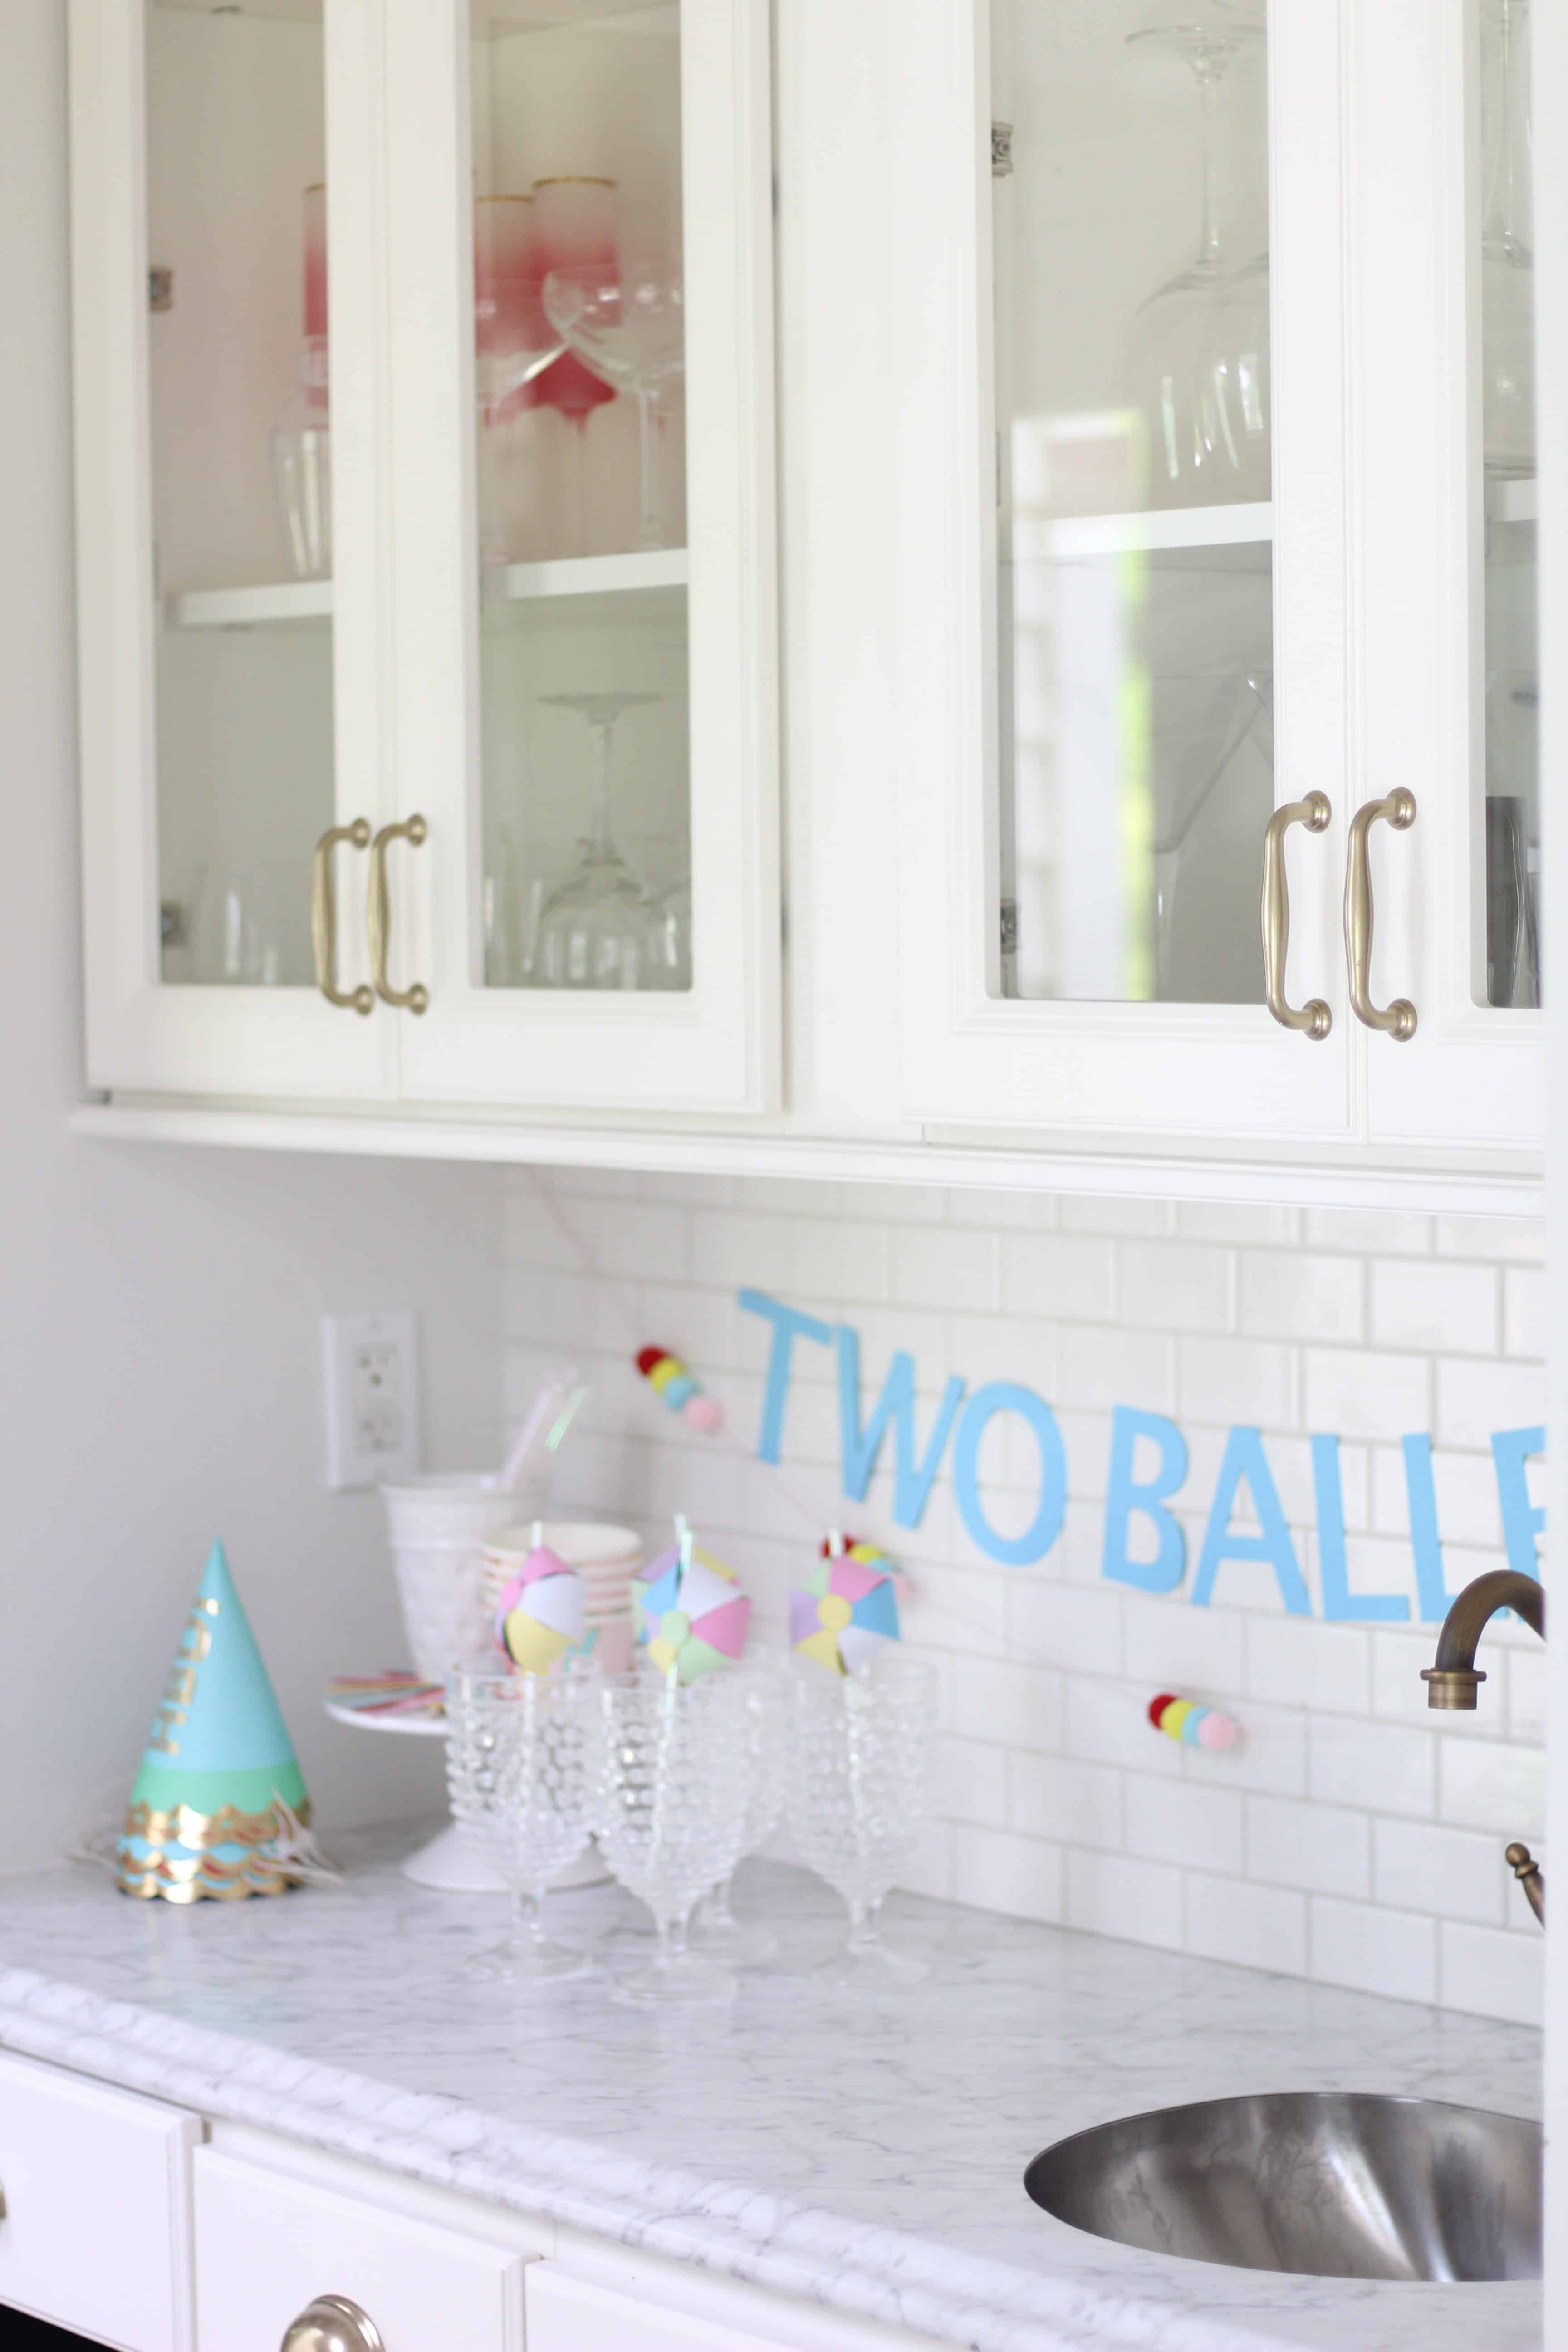
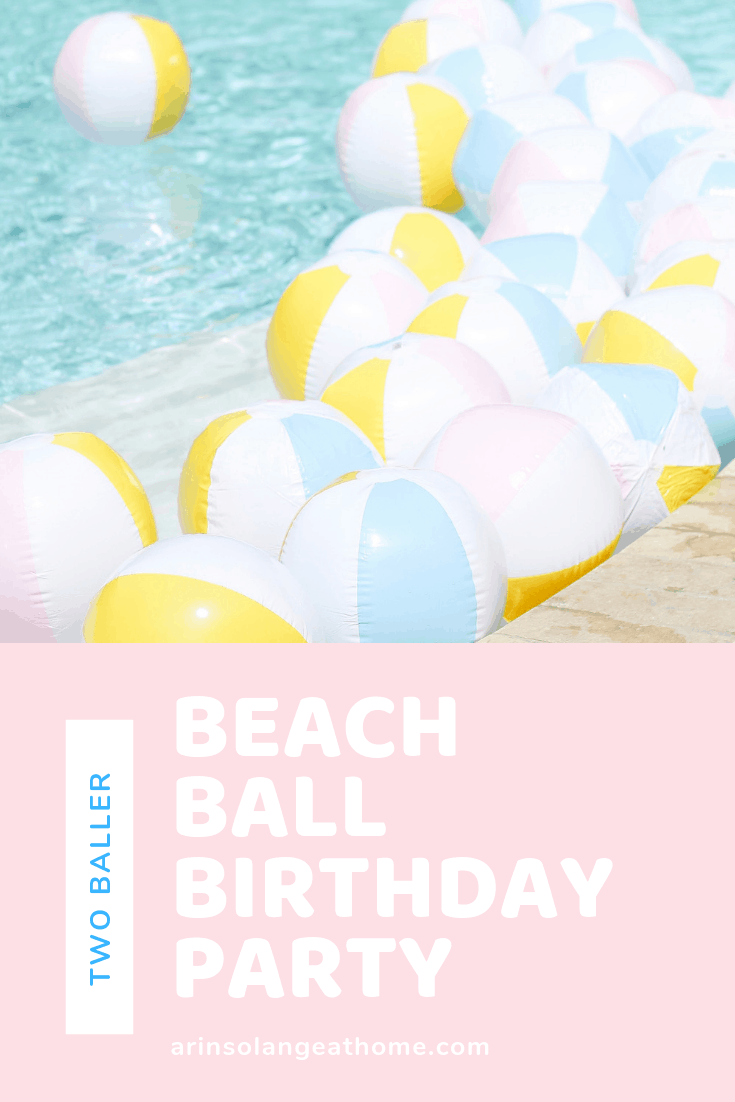
Walker’s ‘TWO BALLER’ birthday party was this past weekend, and it wouldn’t be a party celebrating a 2 year old without some liquid courage to help all the adults prepare for the terrible 2’s ahead. We put together an easy Mango Pineapple Pool Side Cocktail for everyone (except poor, pregnant me) to enjoy. Check out this recipe for a great summery drink that will wow guests and go do a little too easily.
Easy Mango Pineapple Pool Side Cocktail
I so nicely told my husband that I should call this “pee pee pool water” with it being for a kids birthday party, but I’m not sure anyone would drink it.
It is a super easy drink recipe. The trick when making it is you need to make the two layers separate and only combine when serving. We made two carafes – one for the yellow, one or the blue, then poured in glasses. With the leftovers we just put it in one pitcher and it was GORGEOUS and turquoise so still an option.
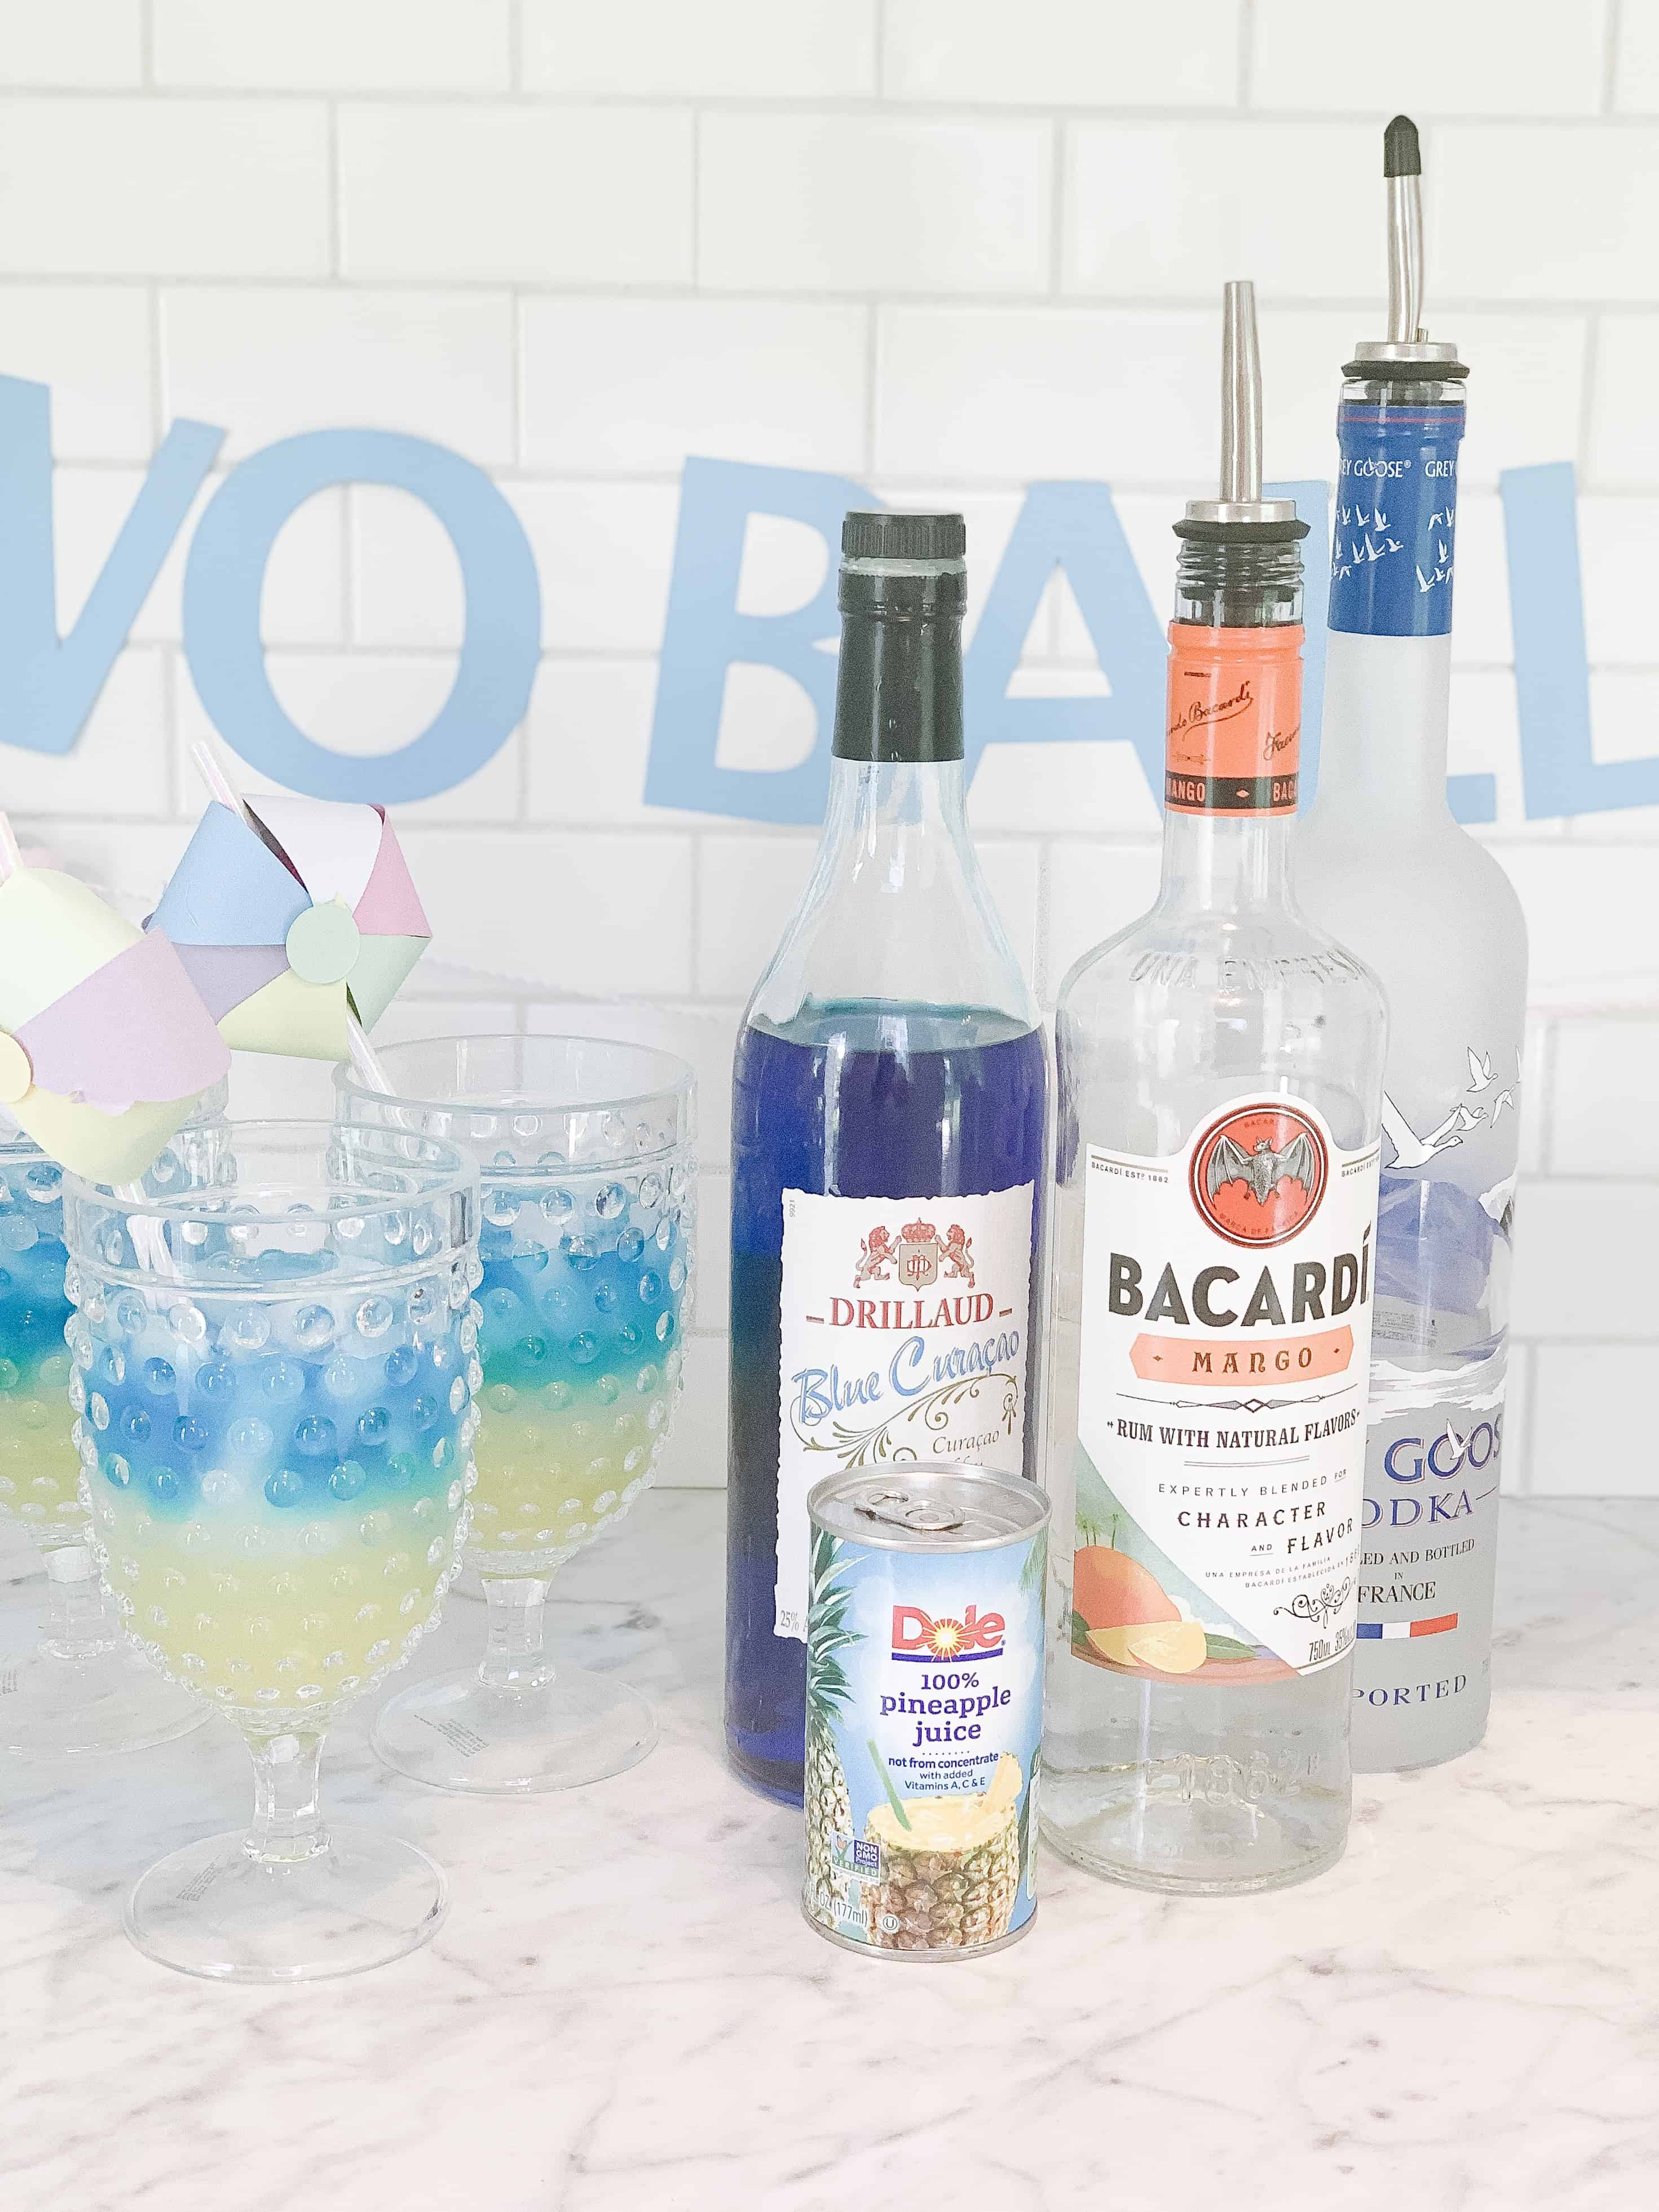
Ingredients:
Mango Rum
Pineapple Juice
Blue Curacao (basically blue triple sec – so if you’re just making for taste you can use that)
Vodka
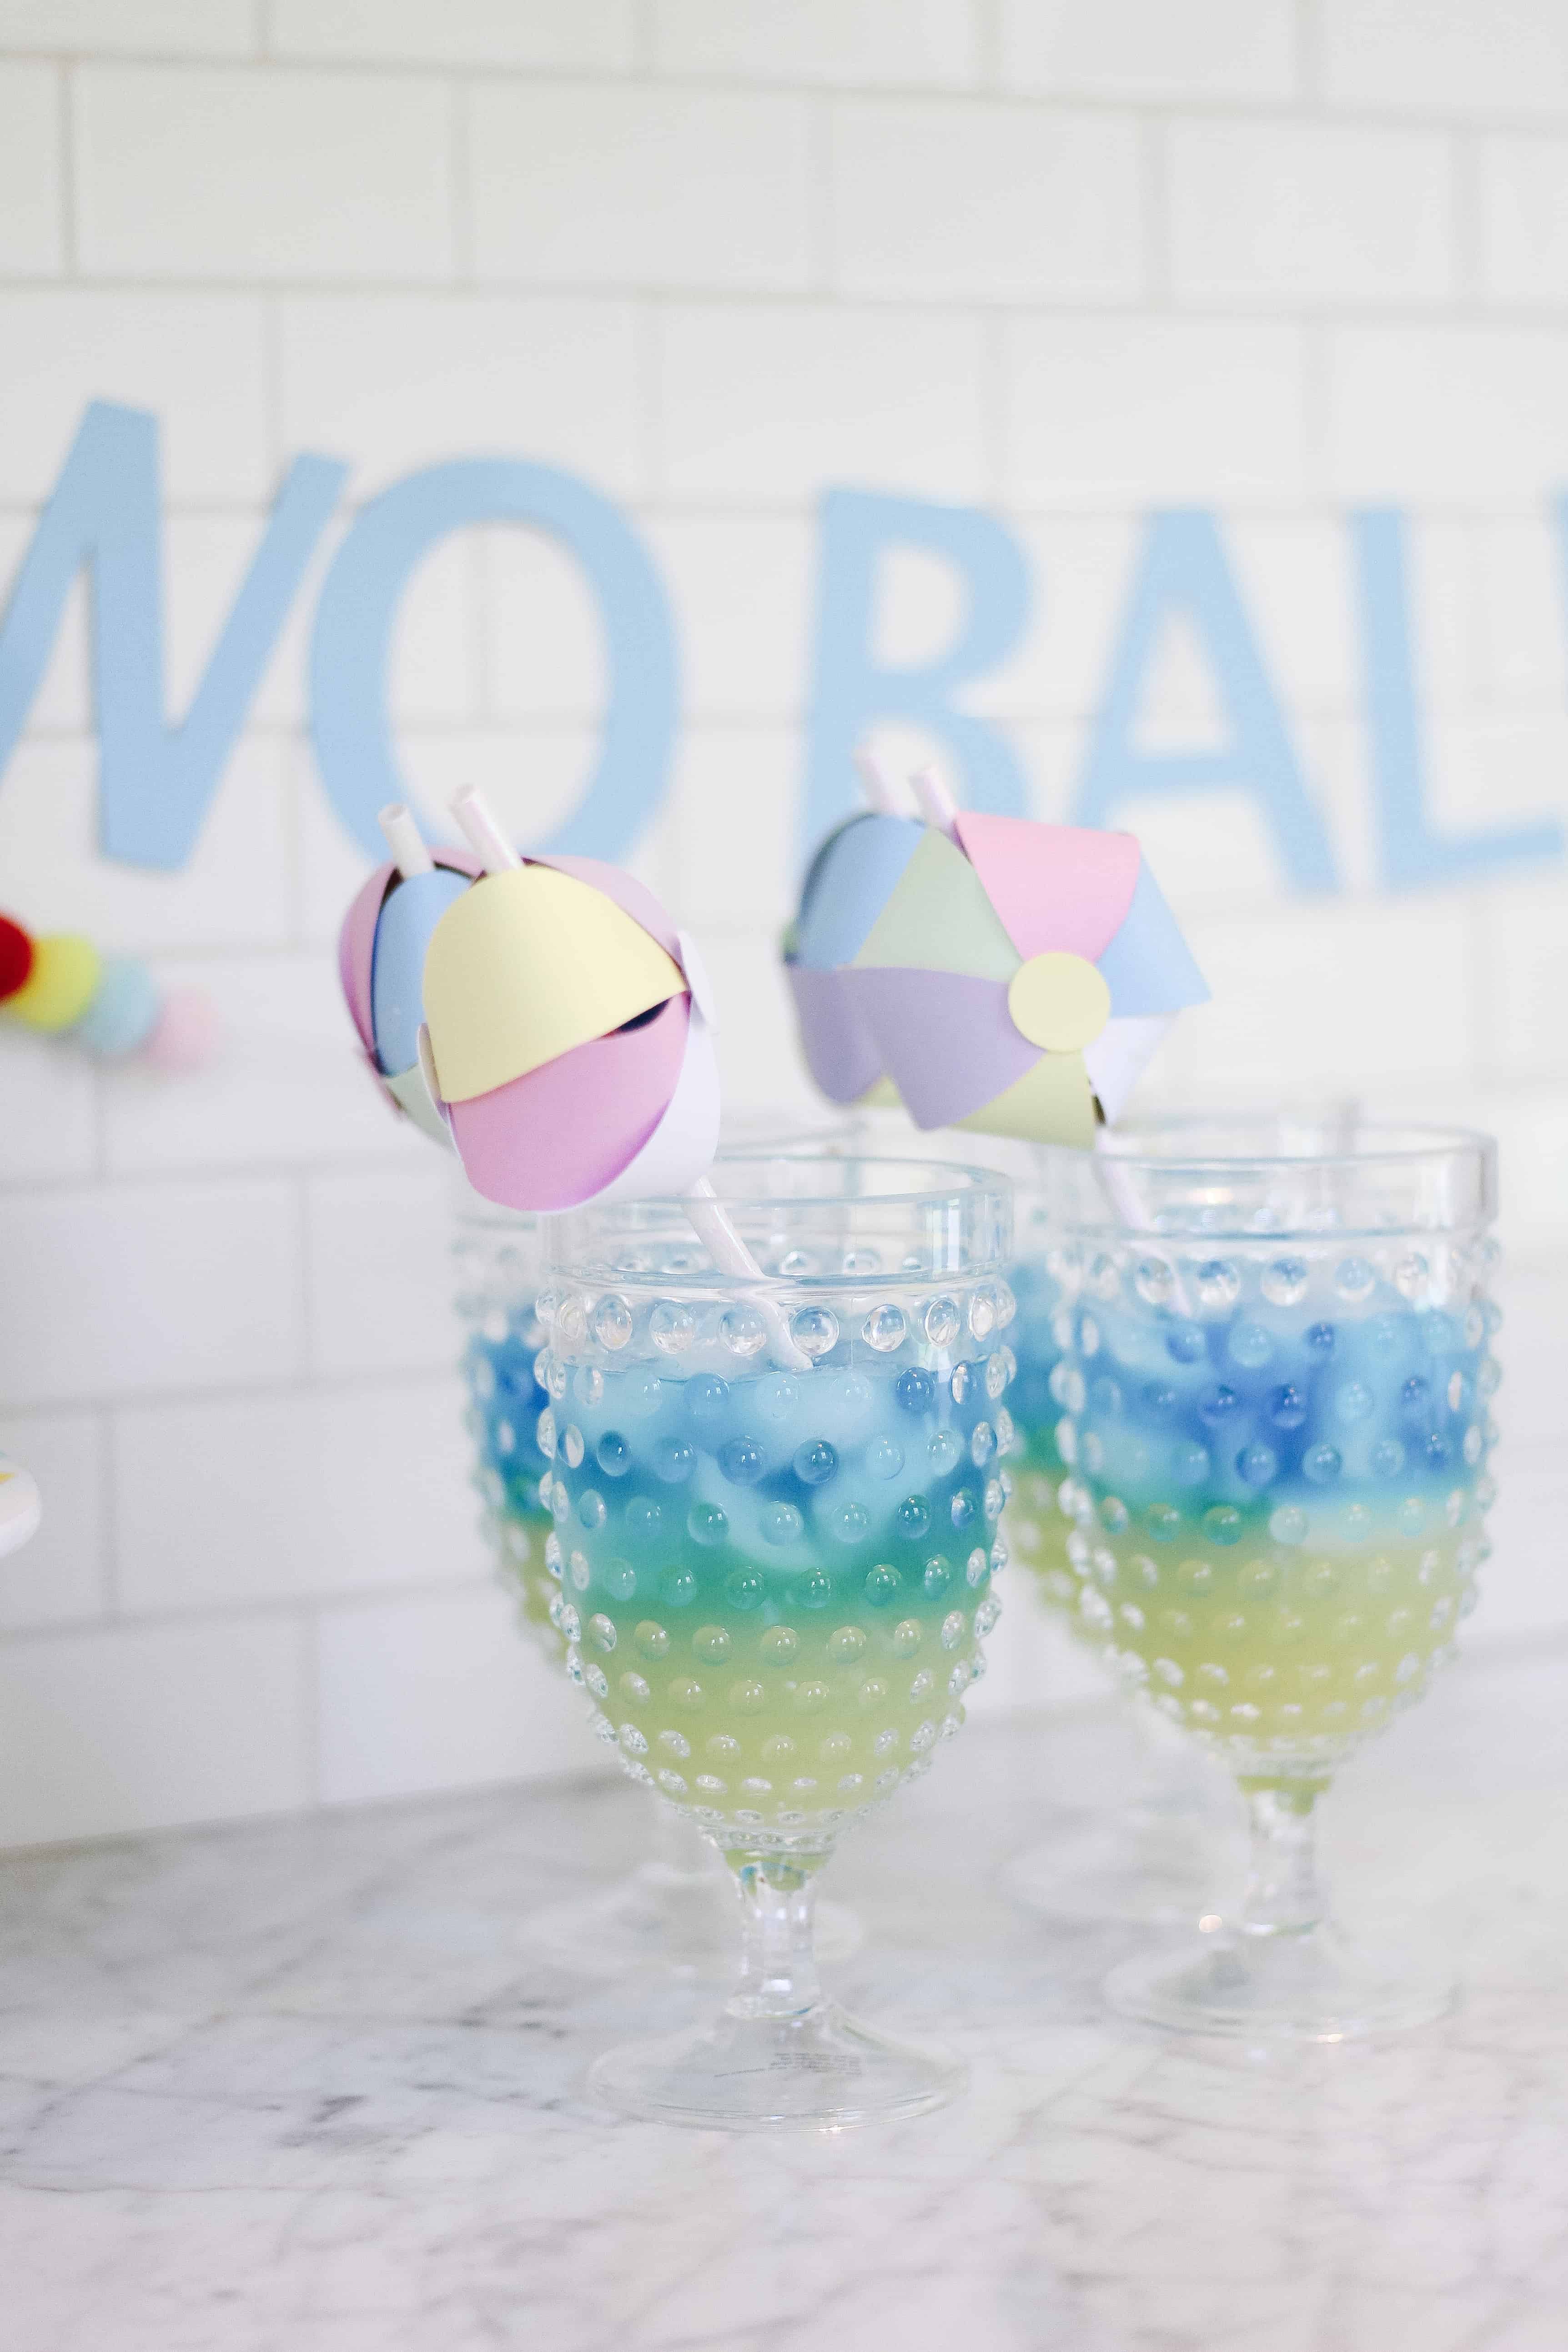
Directions:
Mix/shake: 2 oz. Mango rum + 3 oz pineapple juice
Pour that mixture over a glass of ice (if you want a decorative straw in the glasses, place that in during this step too!)
Mix/shake 1.5 oz vodka + .5 oz blue curacoa
SLOWLY pour that over the other mixture in circles and enjoy.
These are the perfect pool side drink, and honestly are so refreshing. If you want to make them with a bit more liquid you could mix the whole mixture and mix with some club soda to make it sparkling and a bit more hydrating too. The possibilities are endless! Enjoy!!
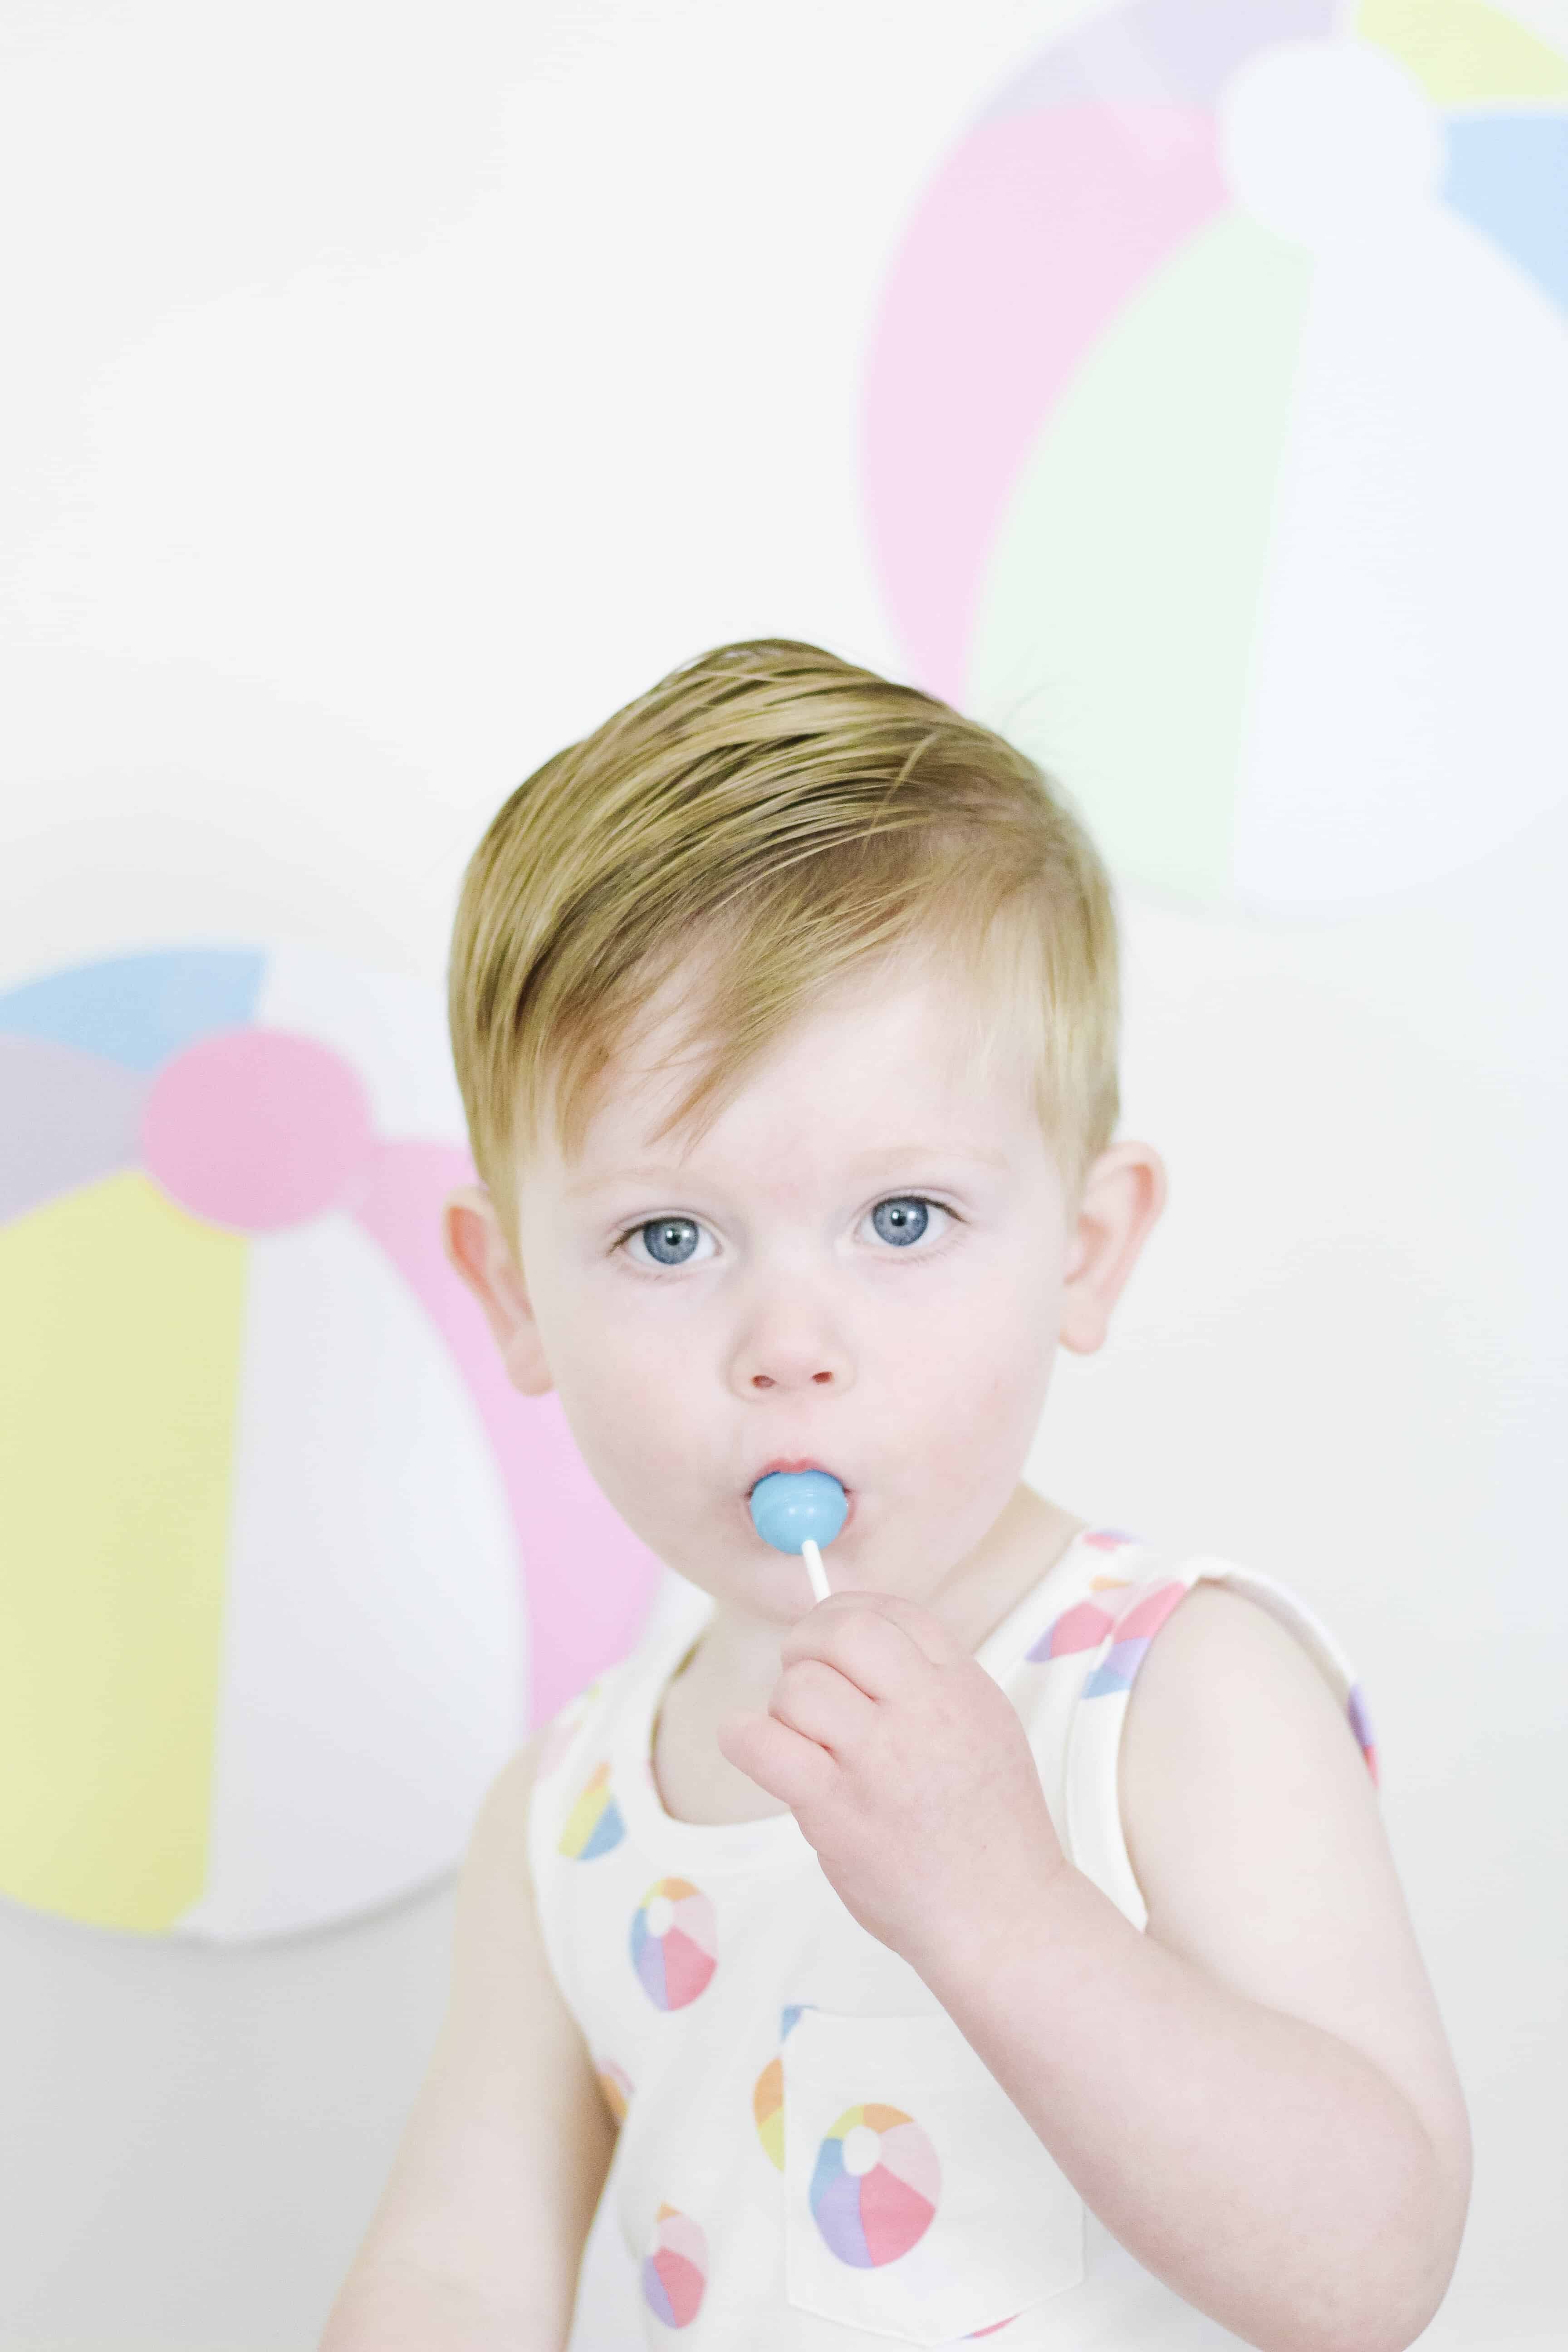
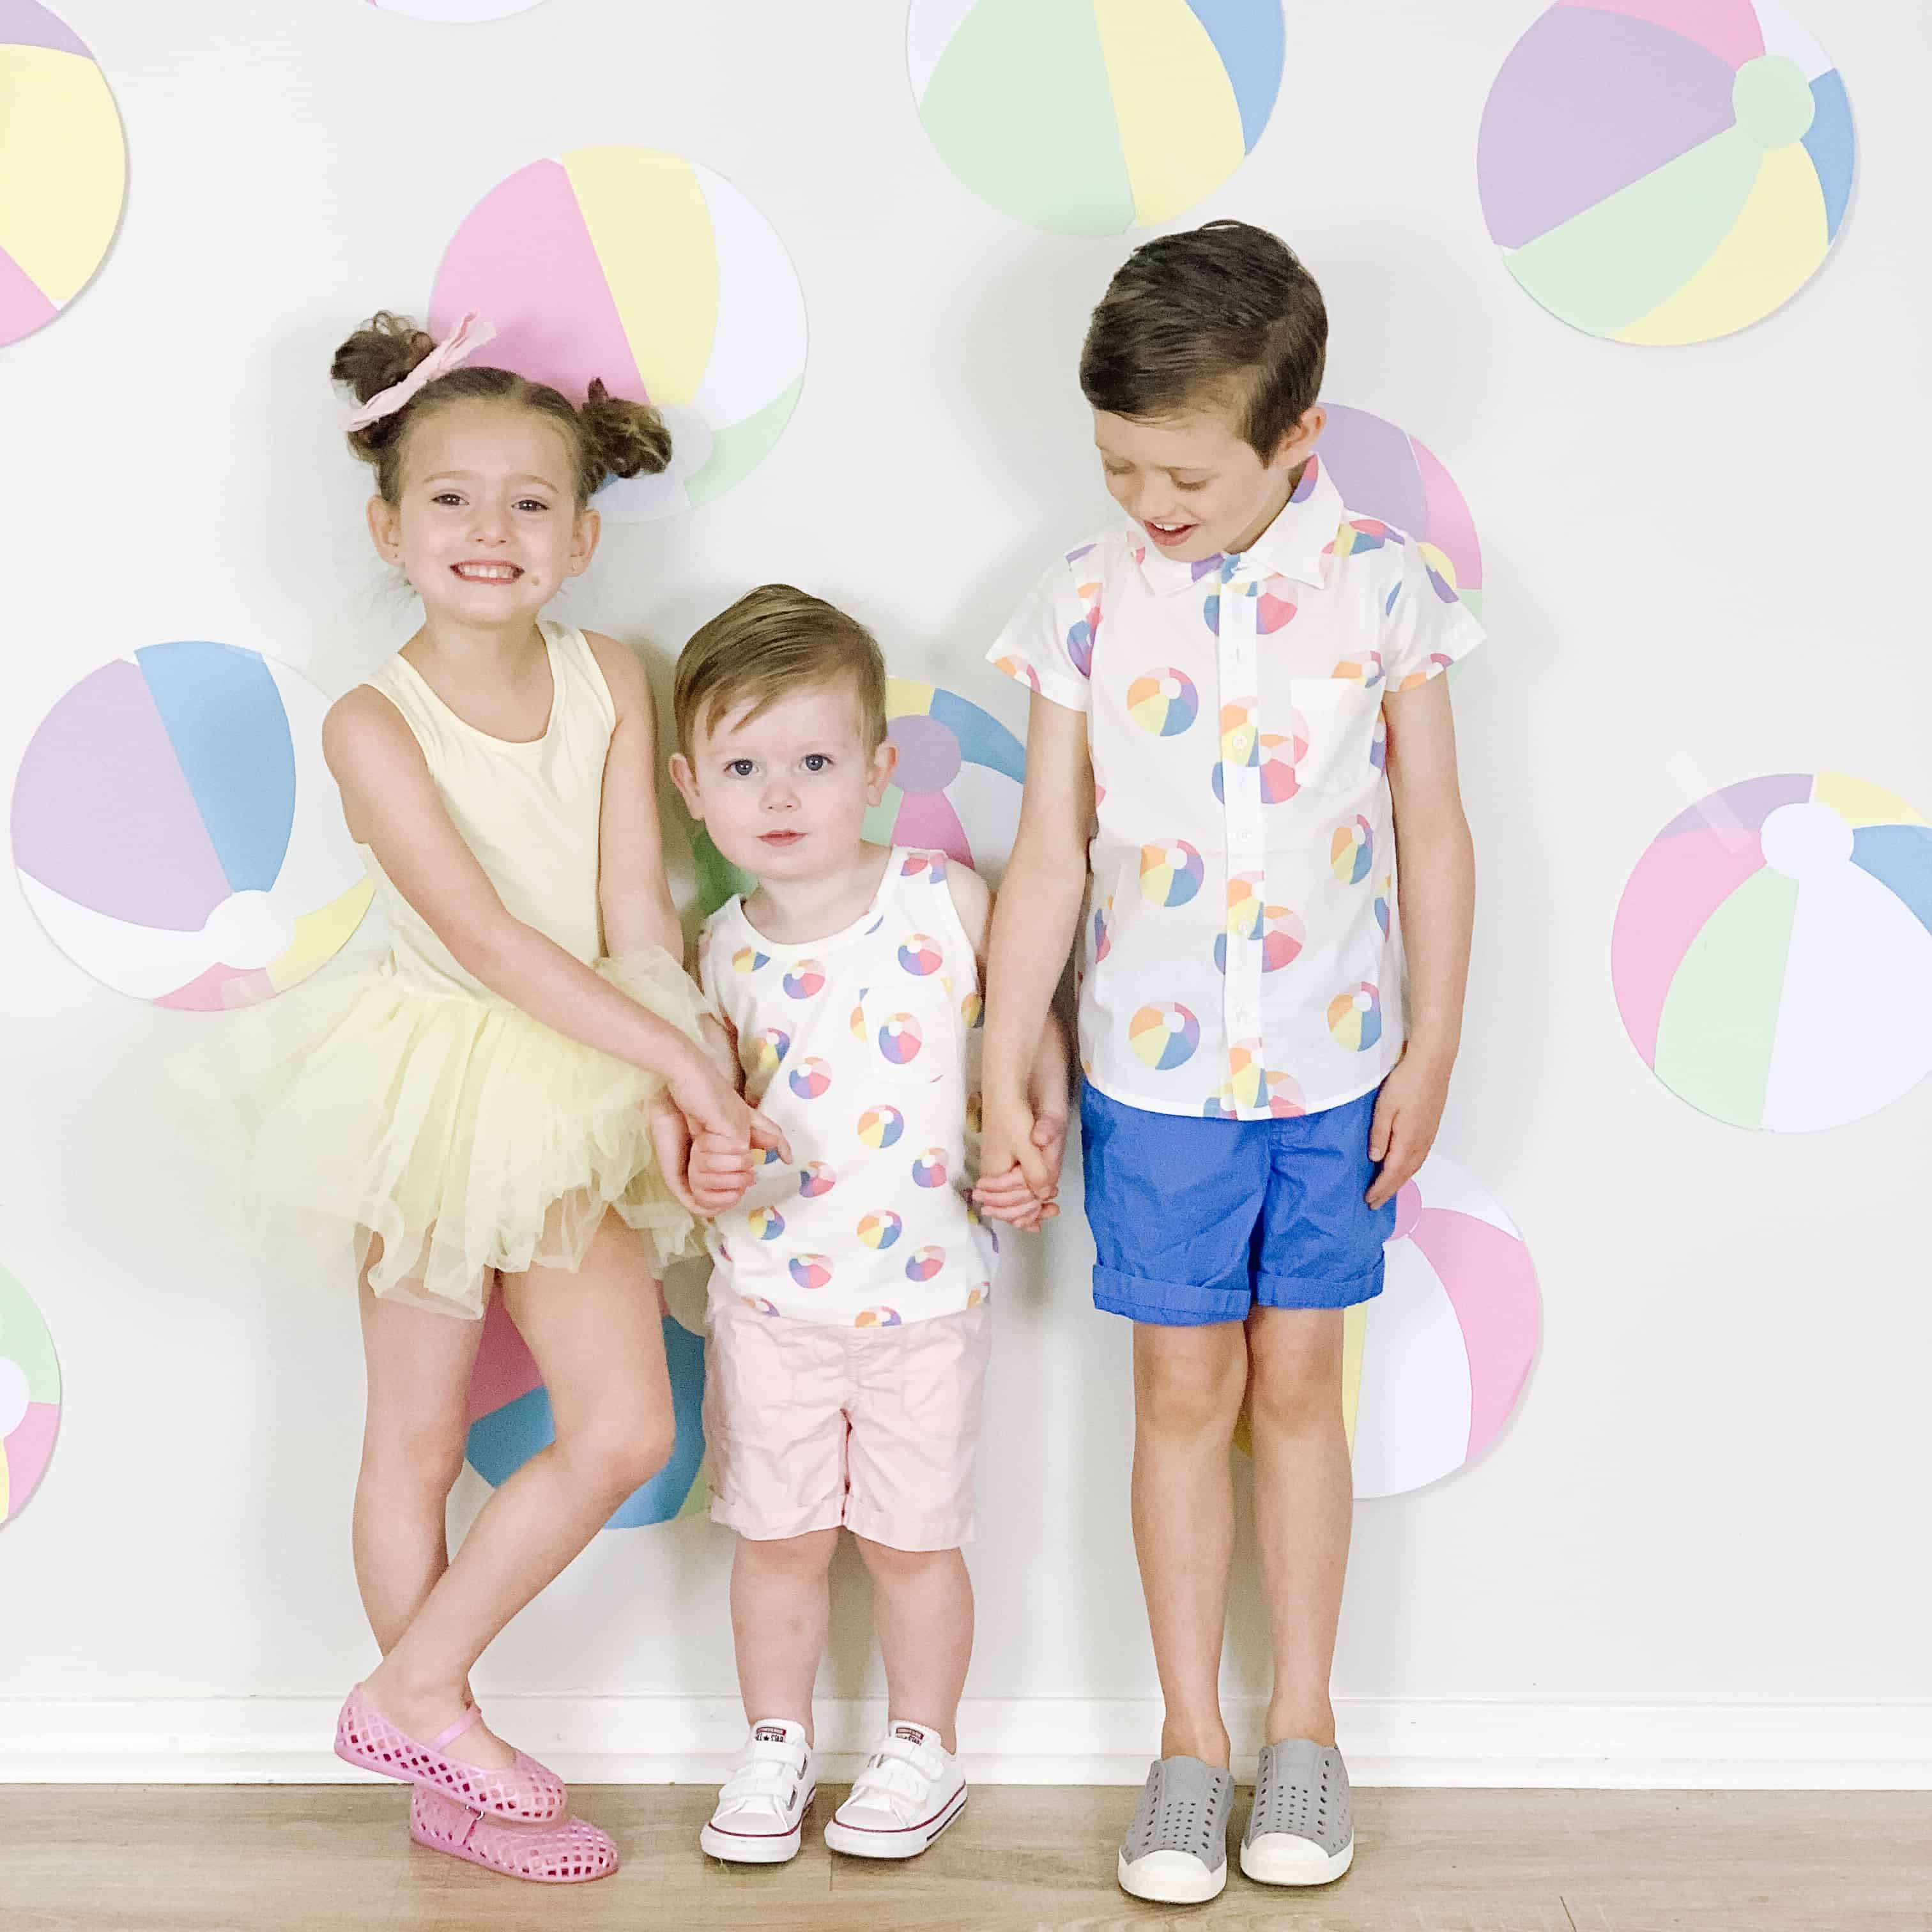
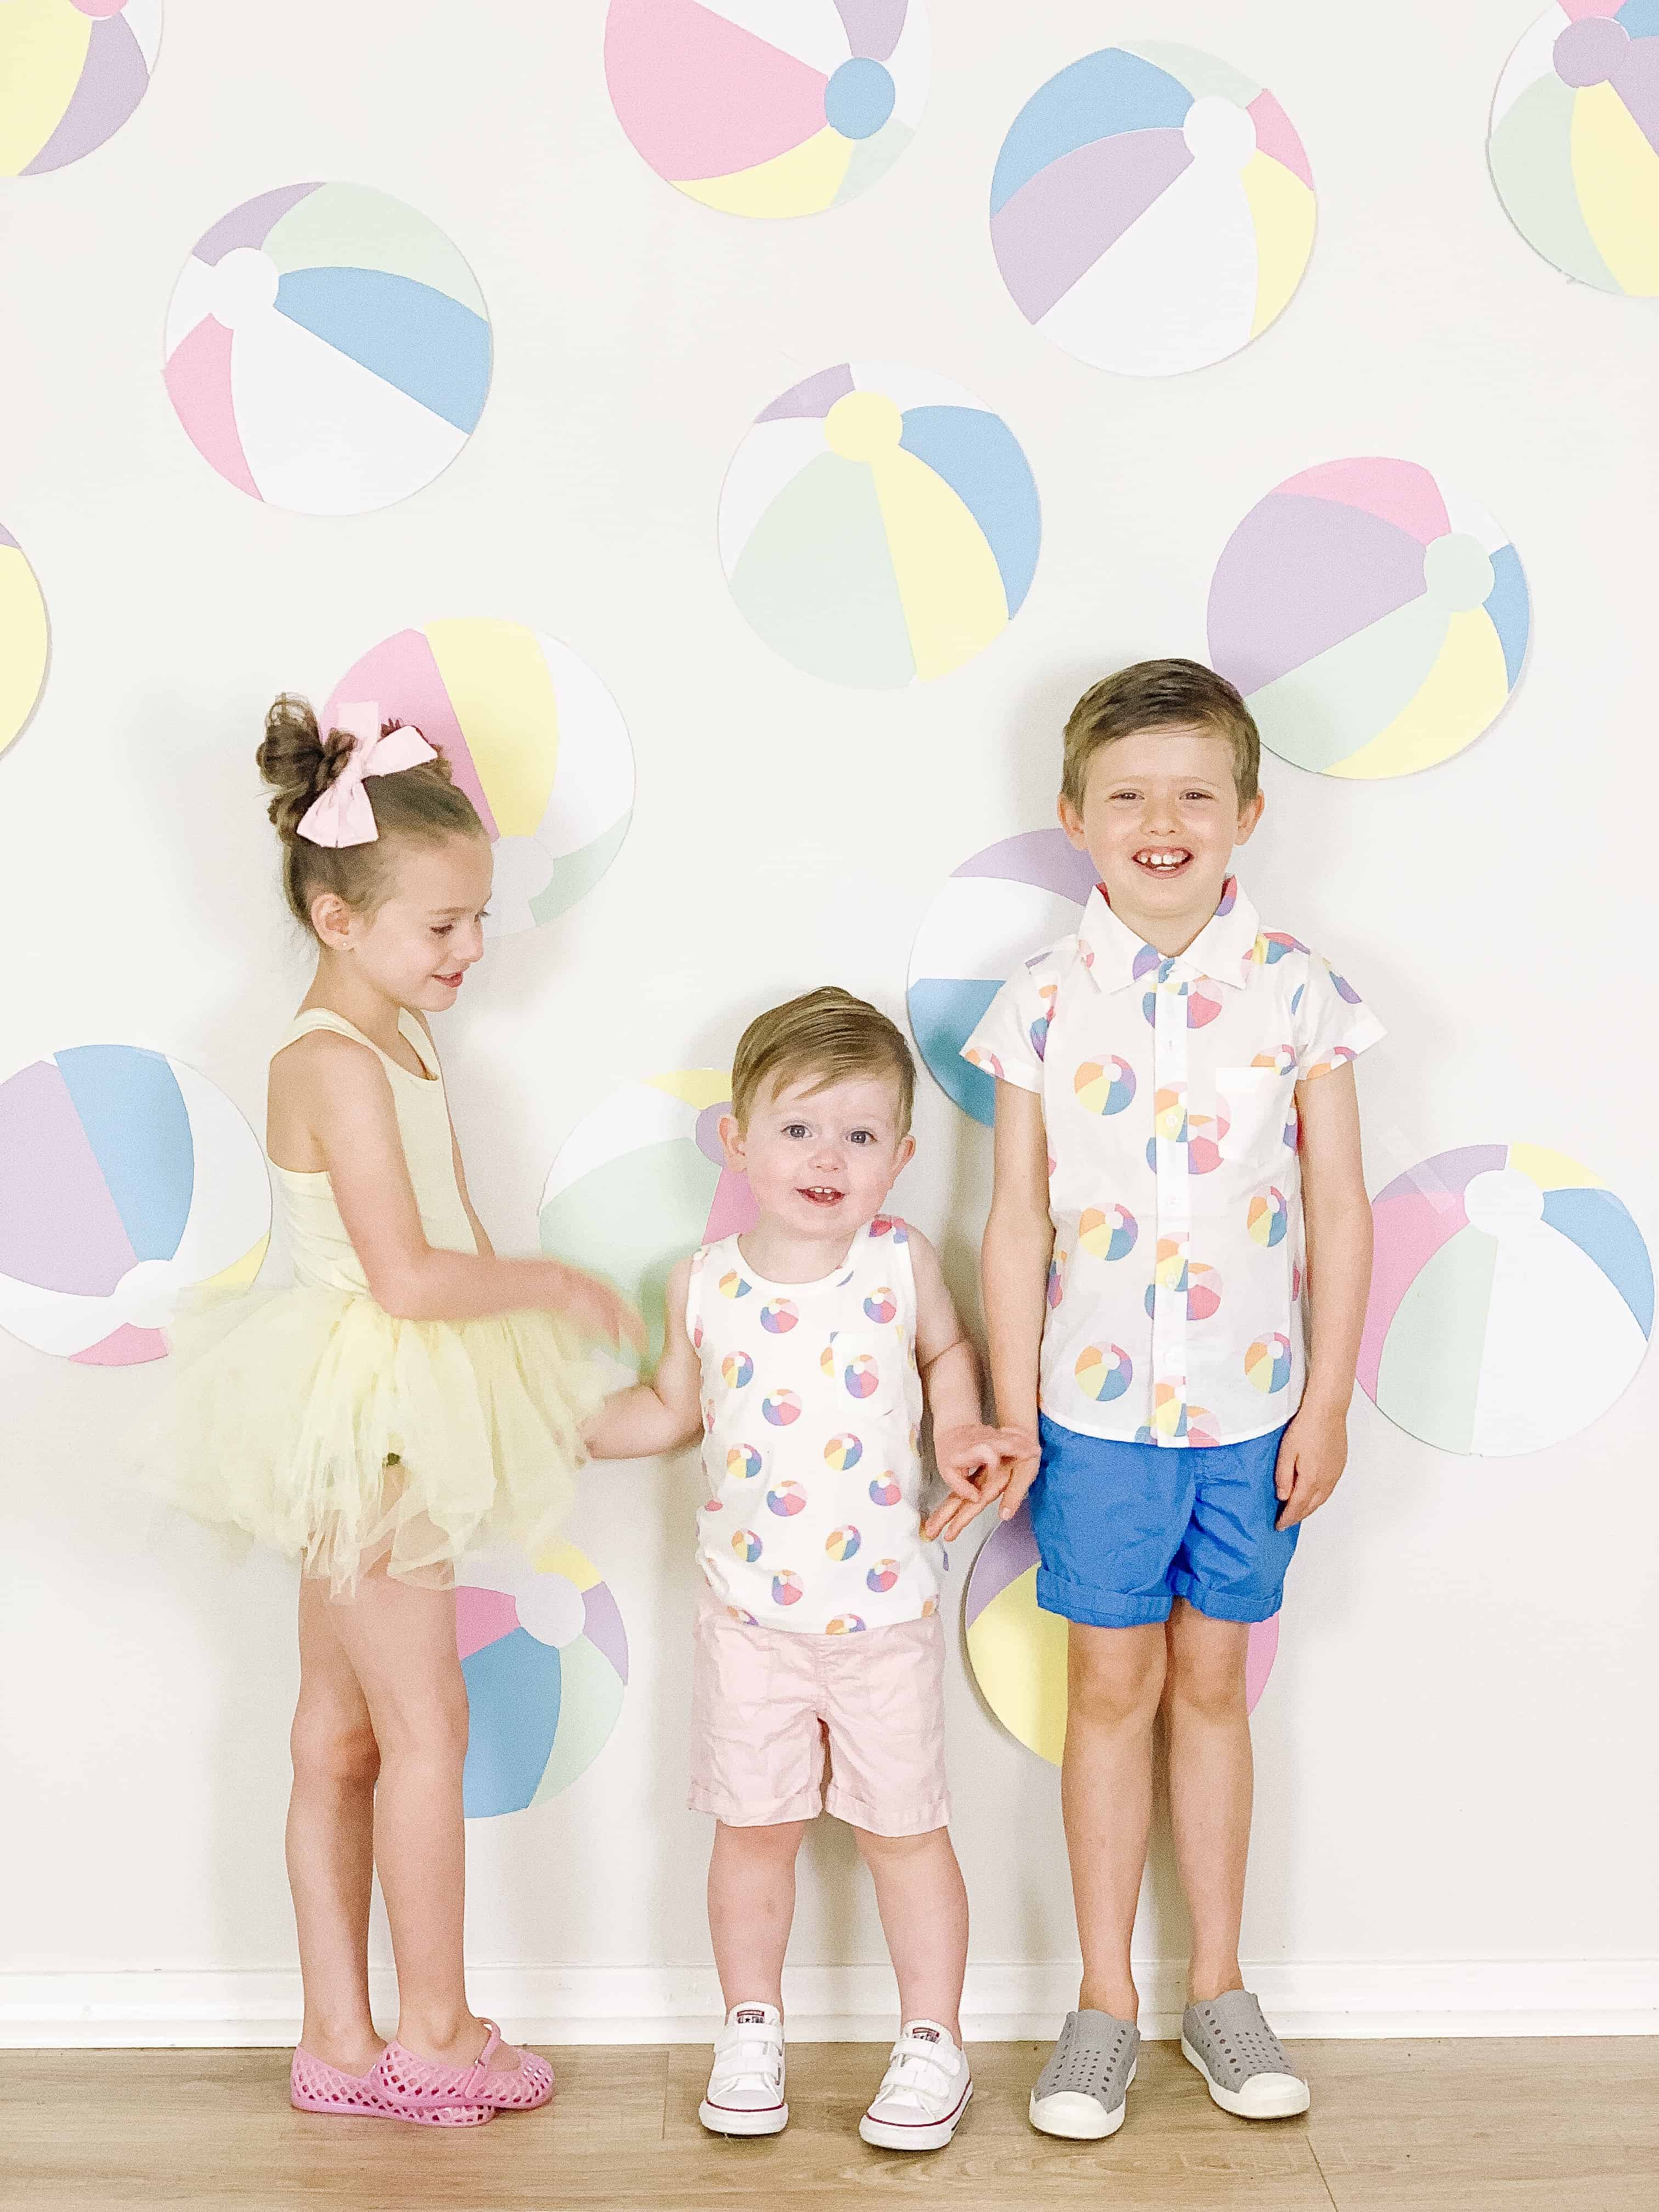
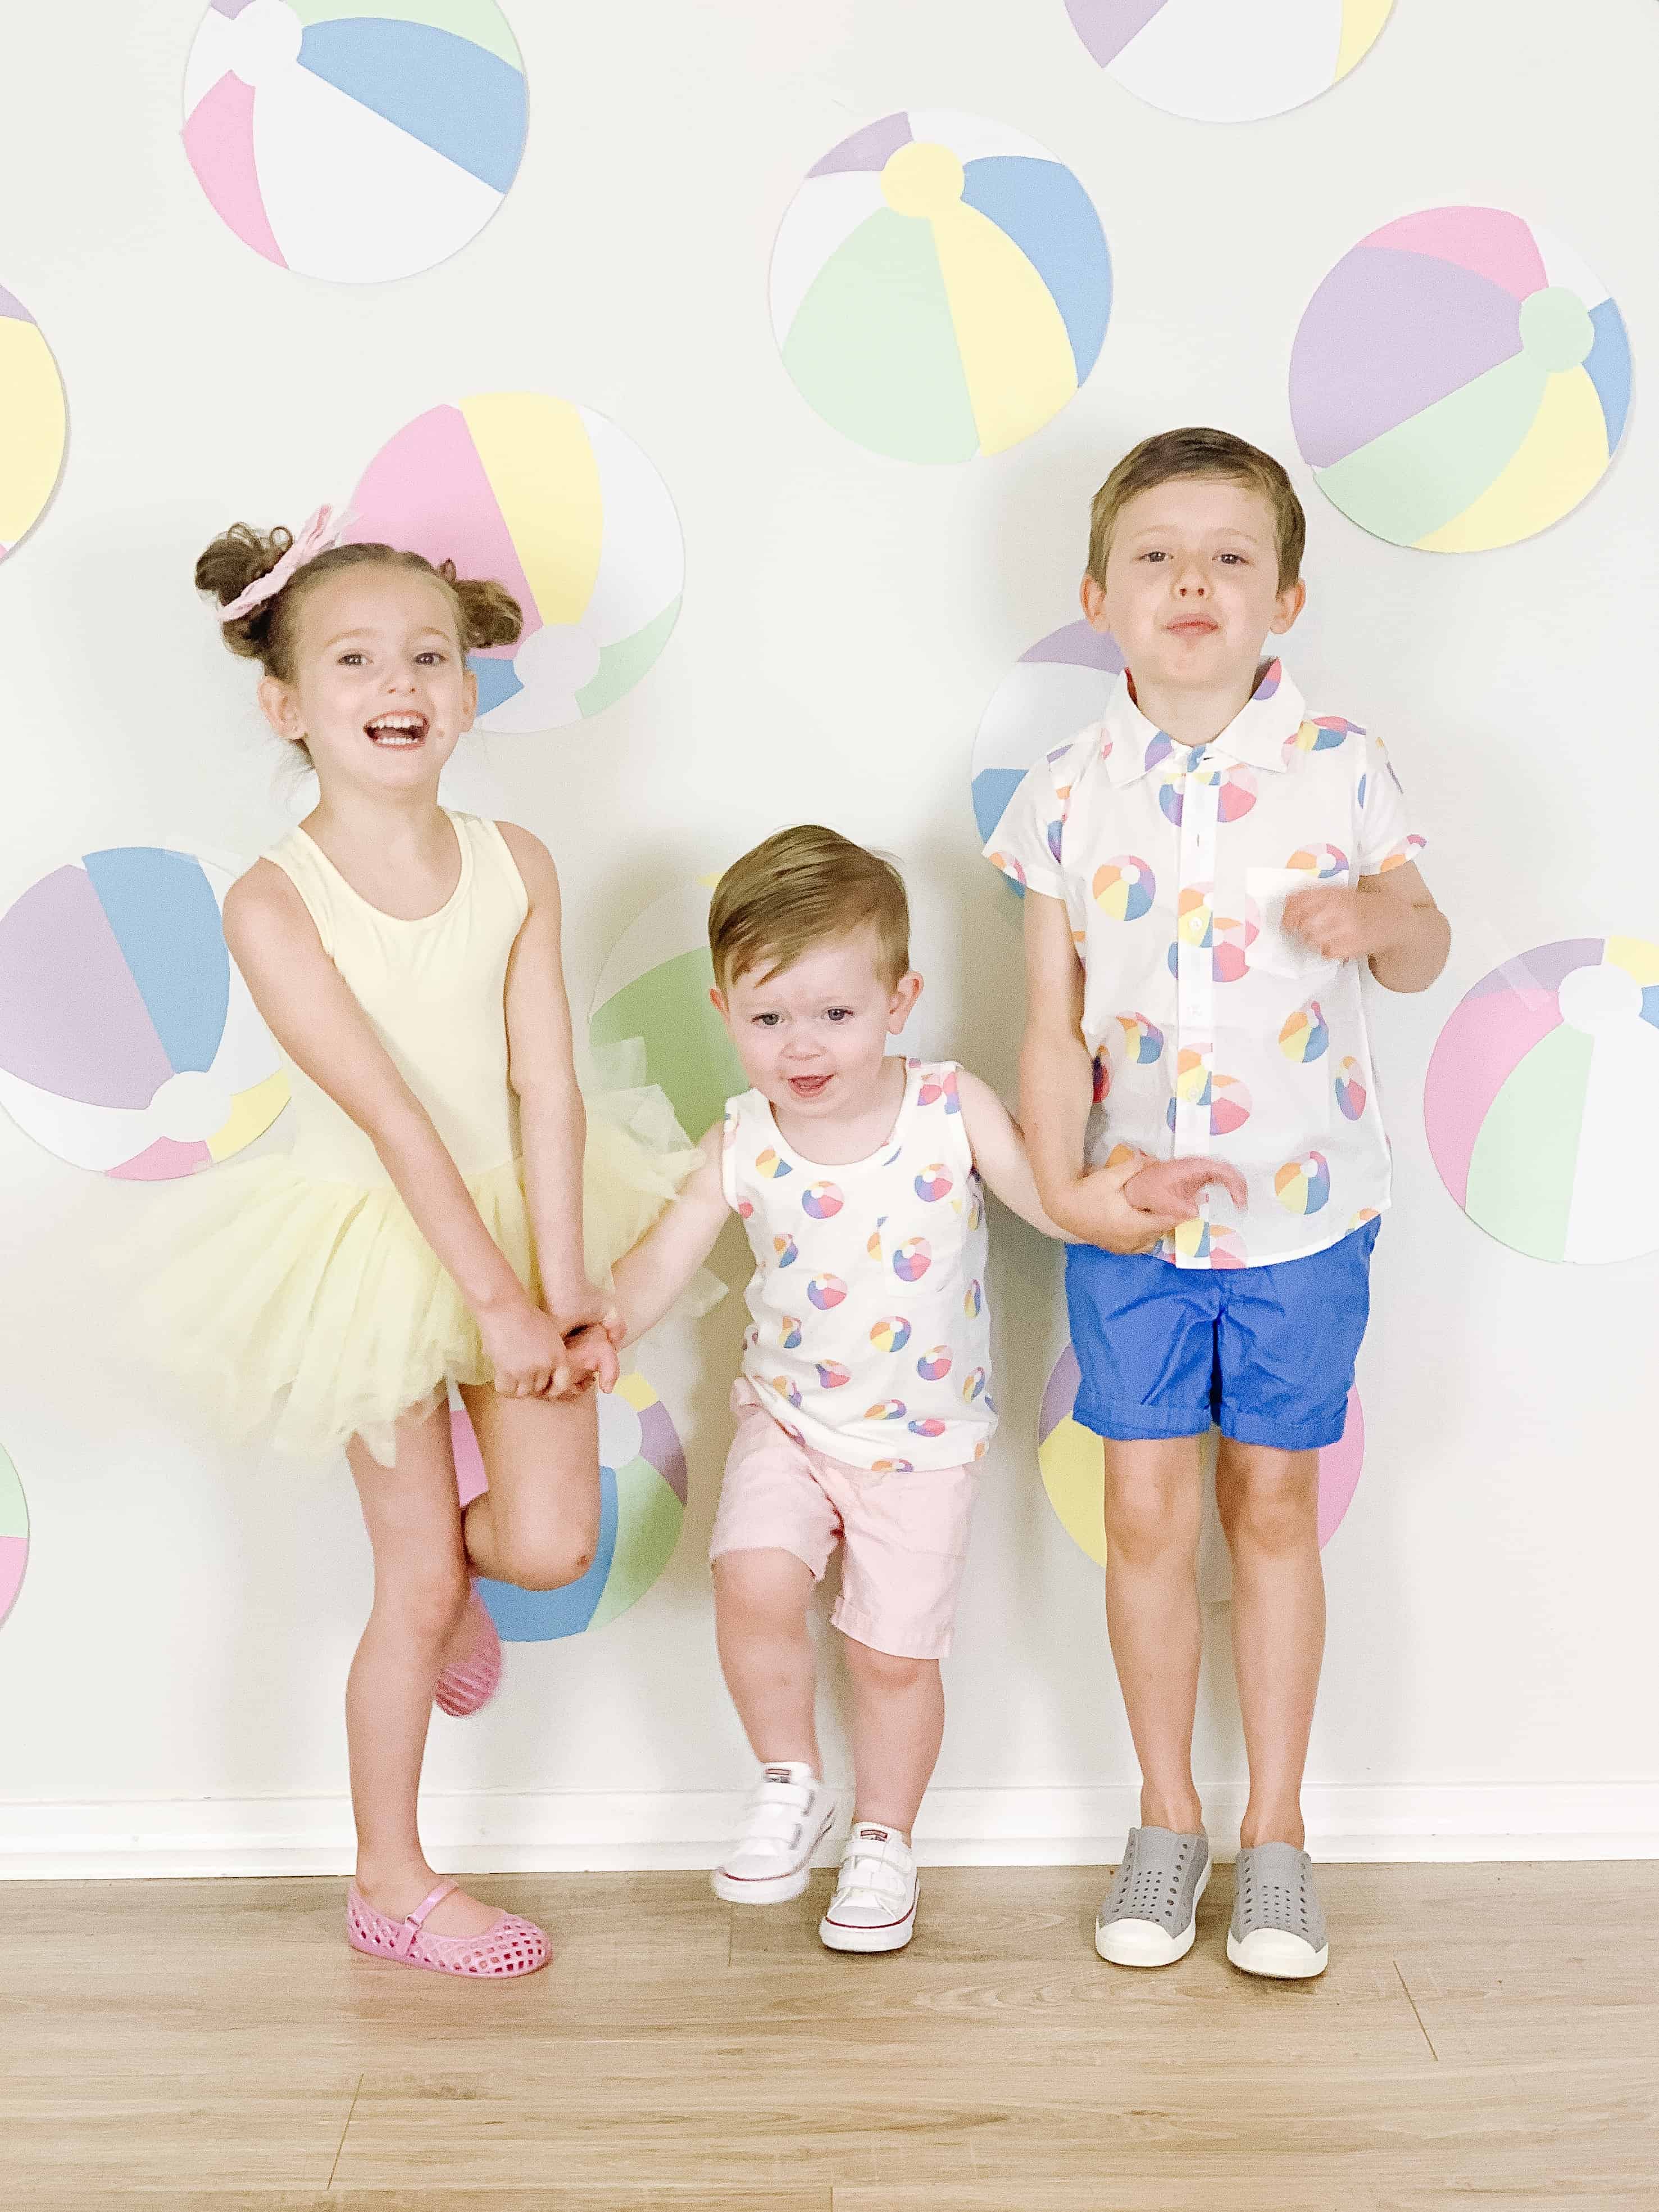
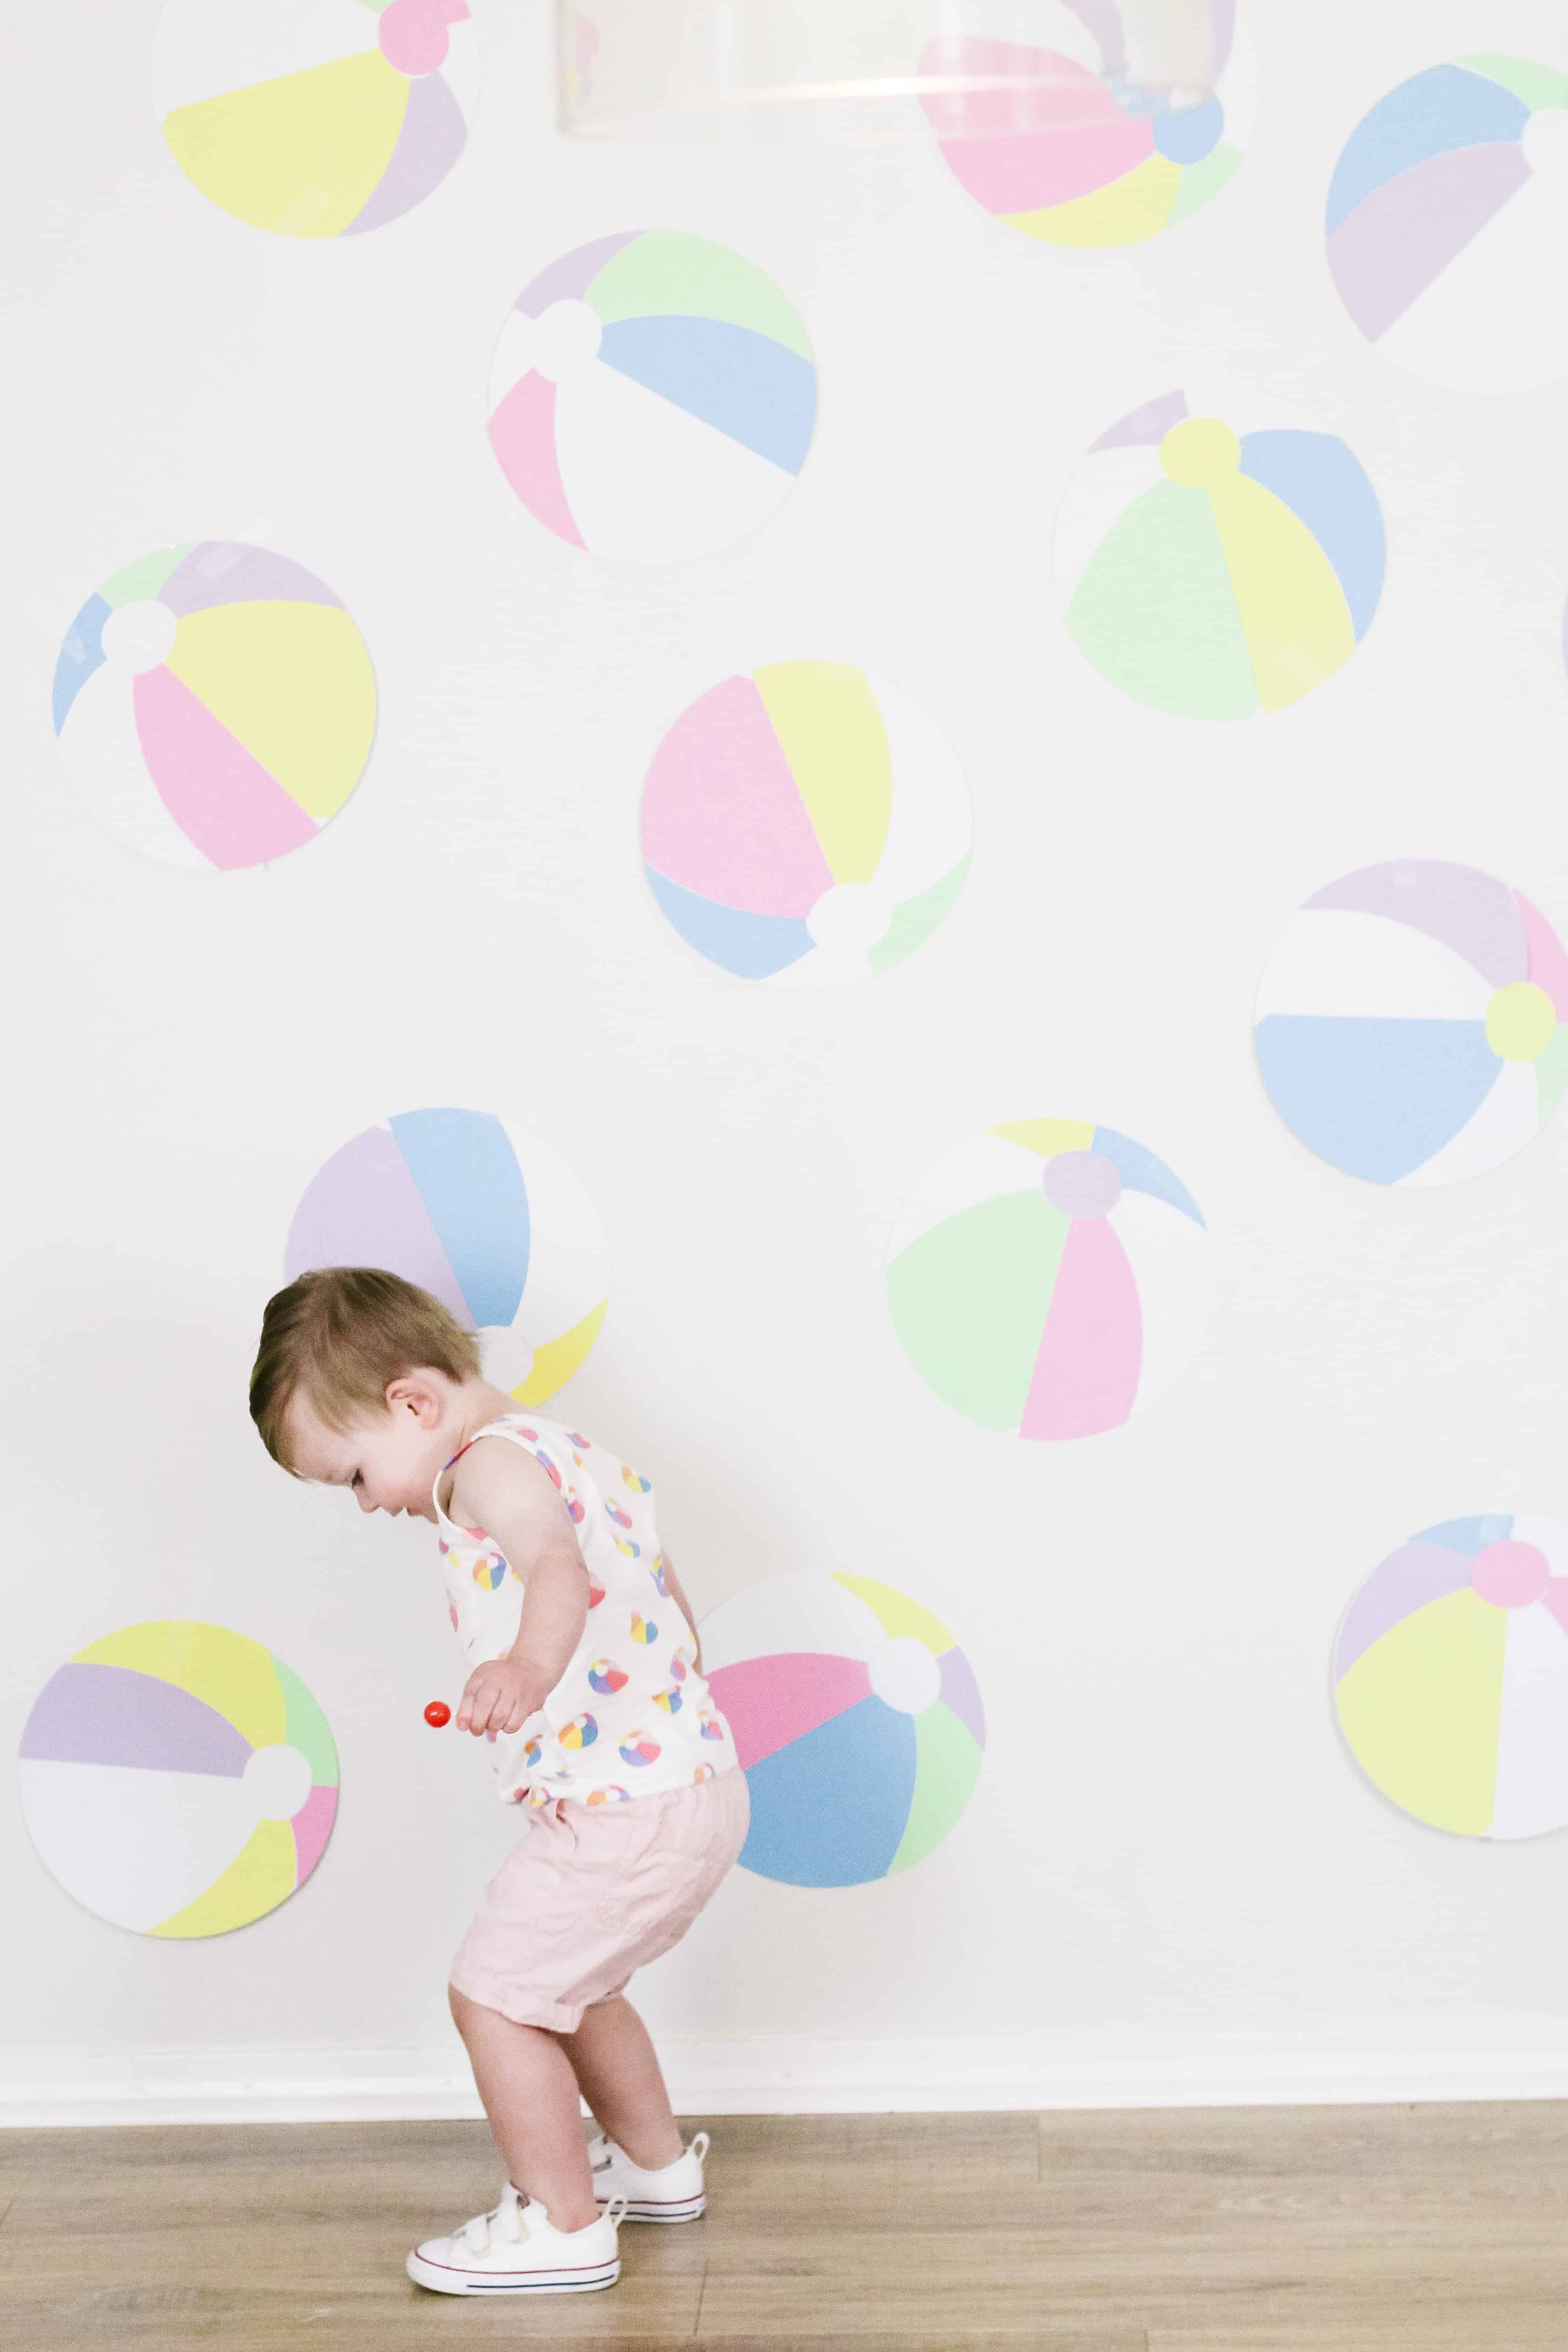
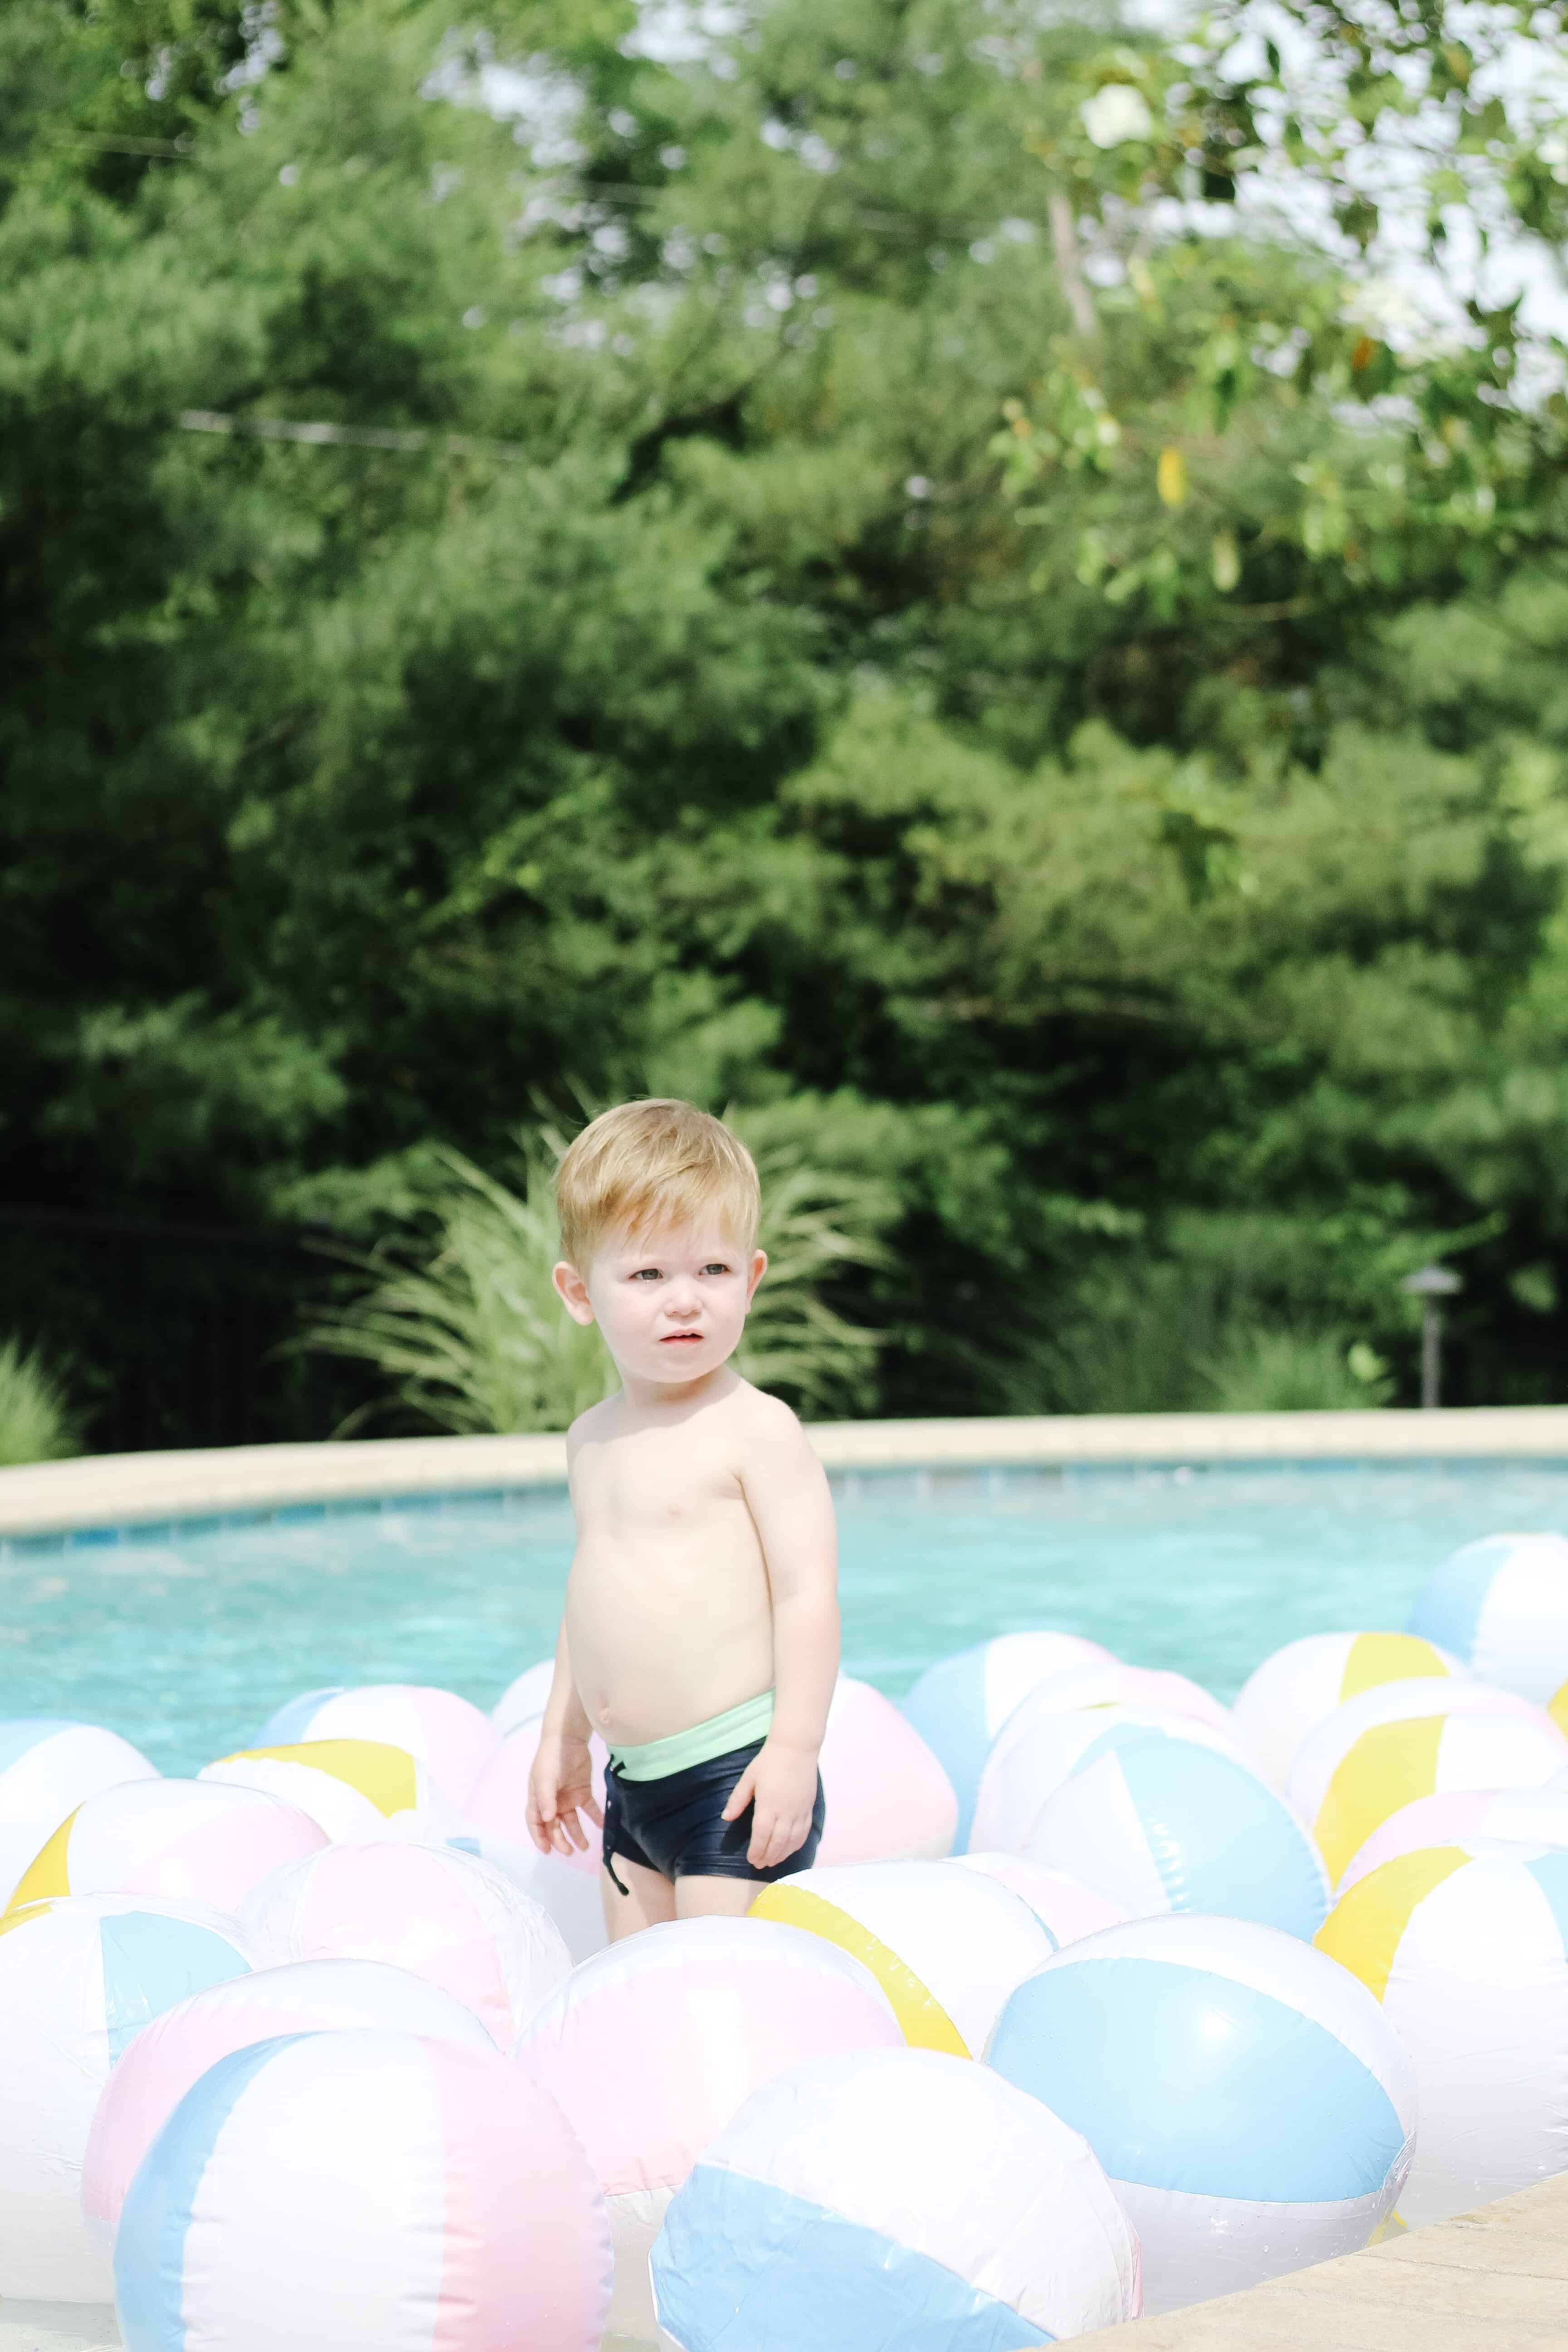
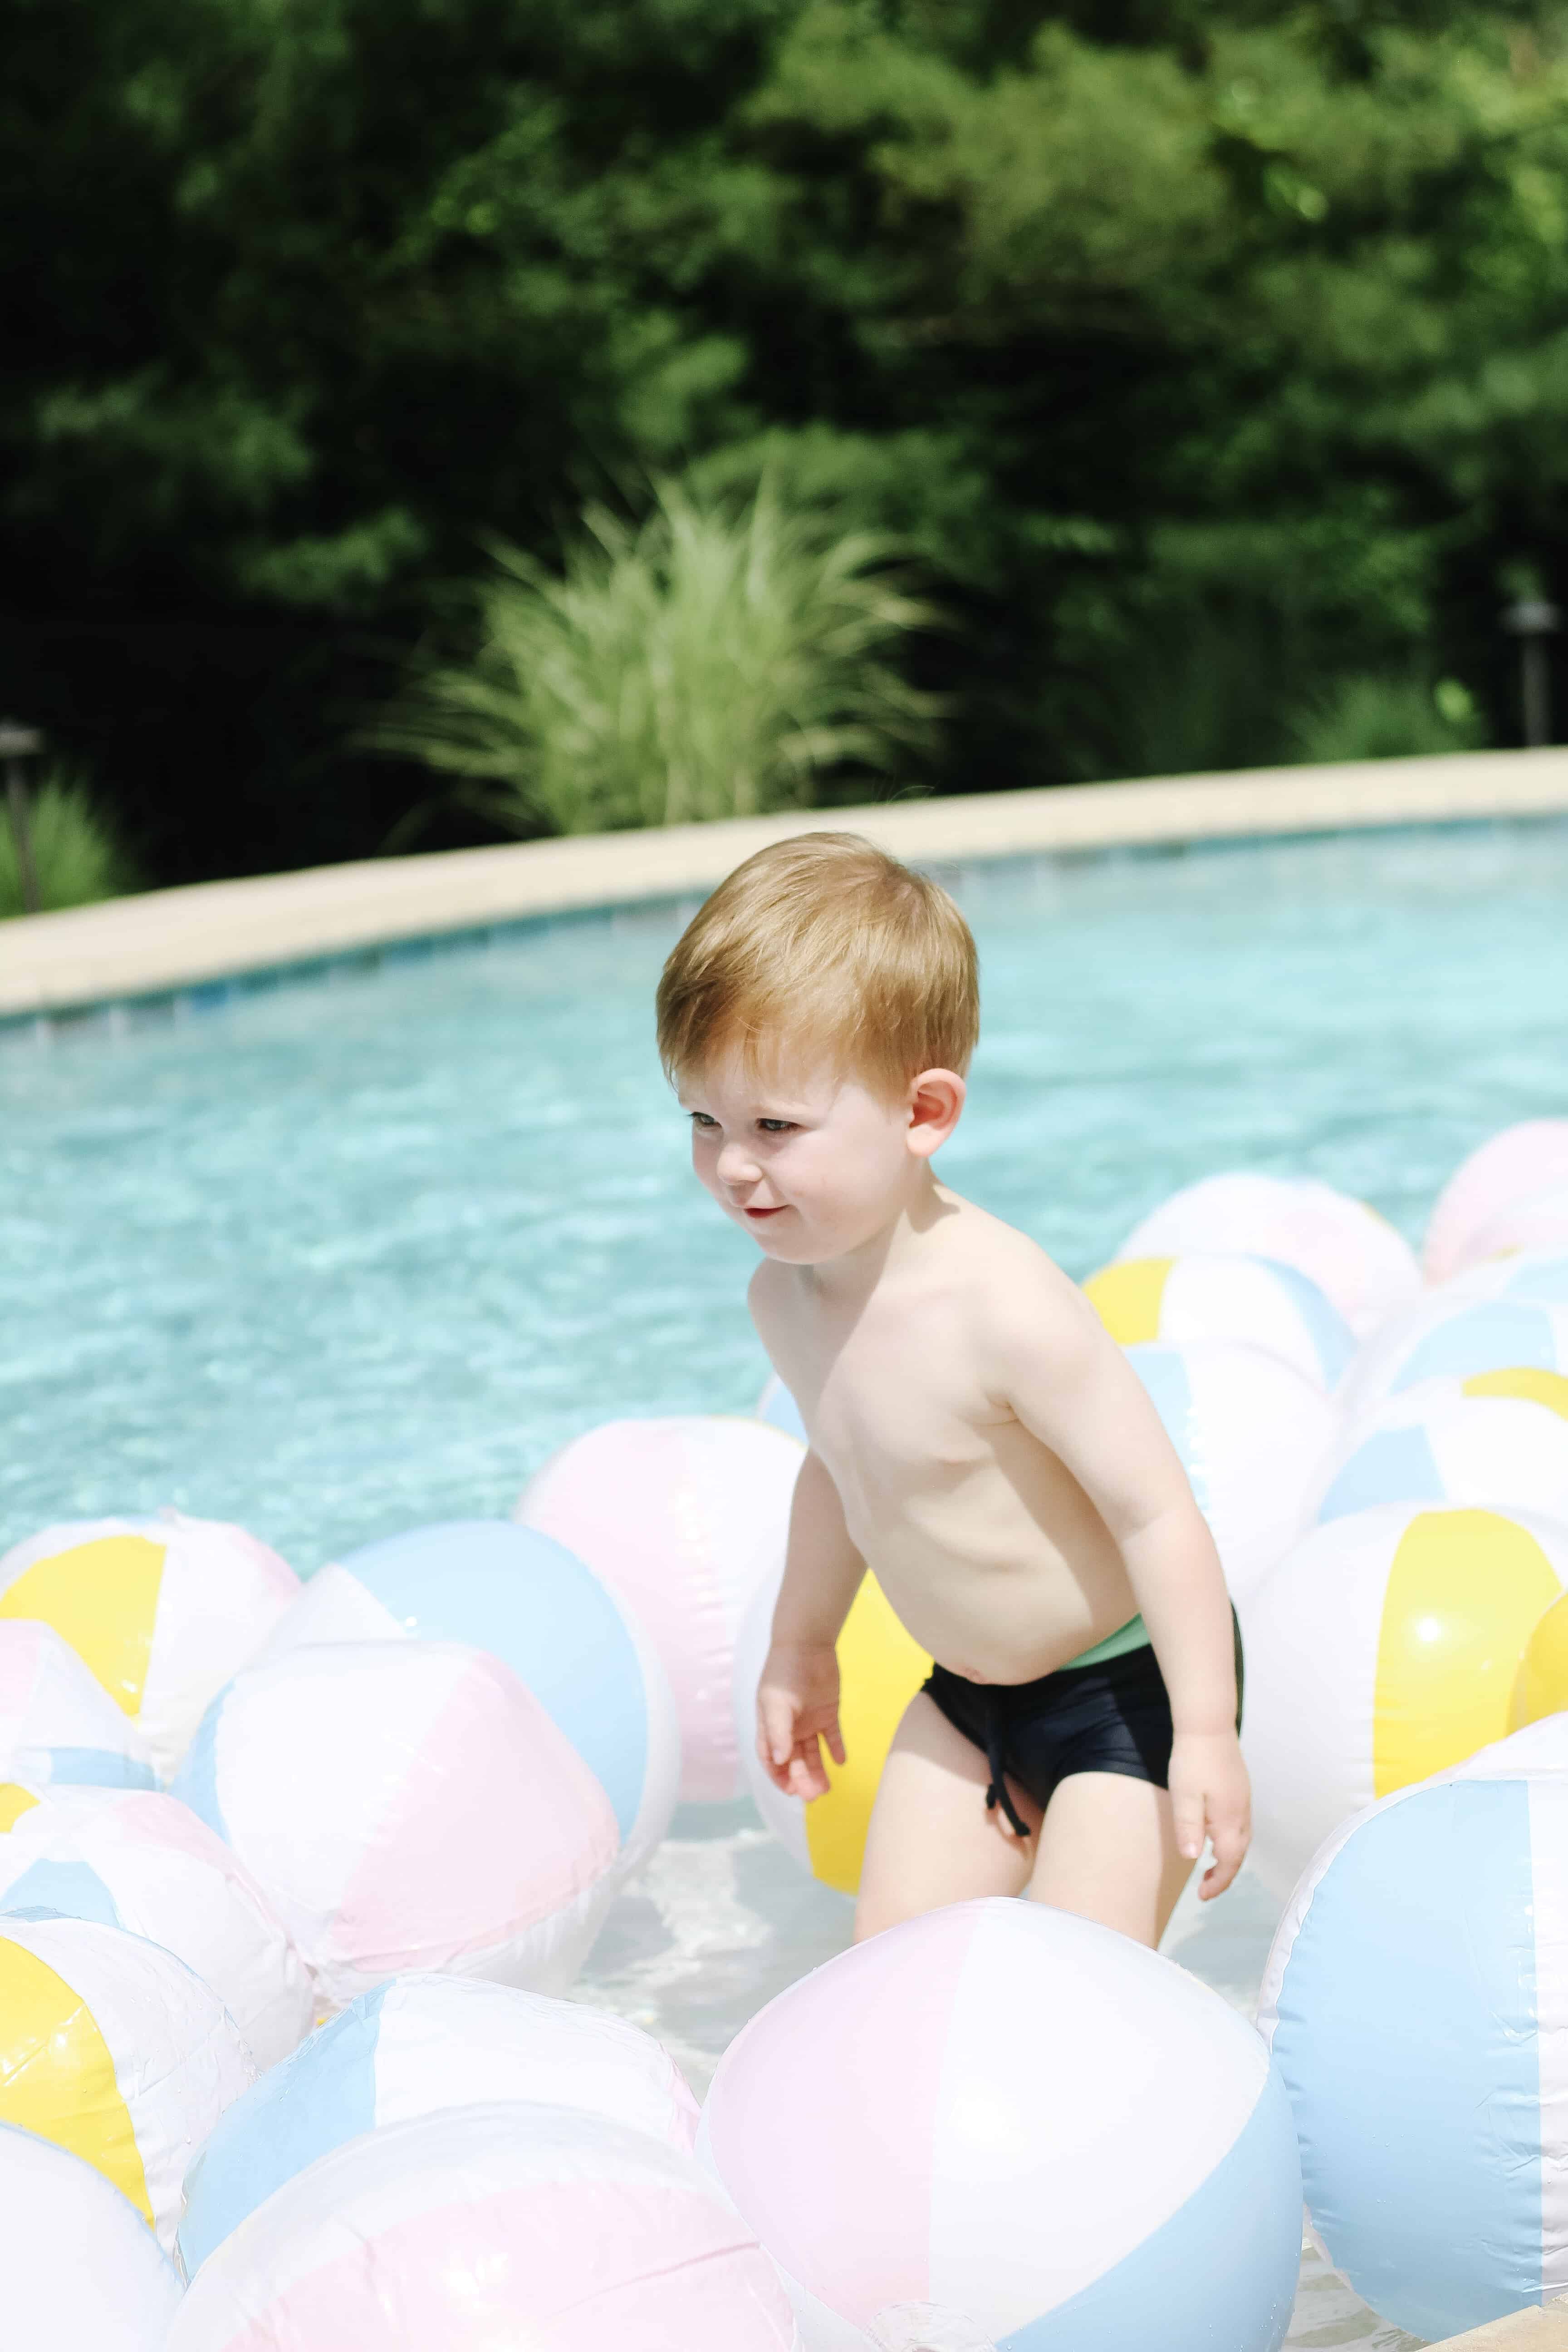
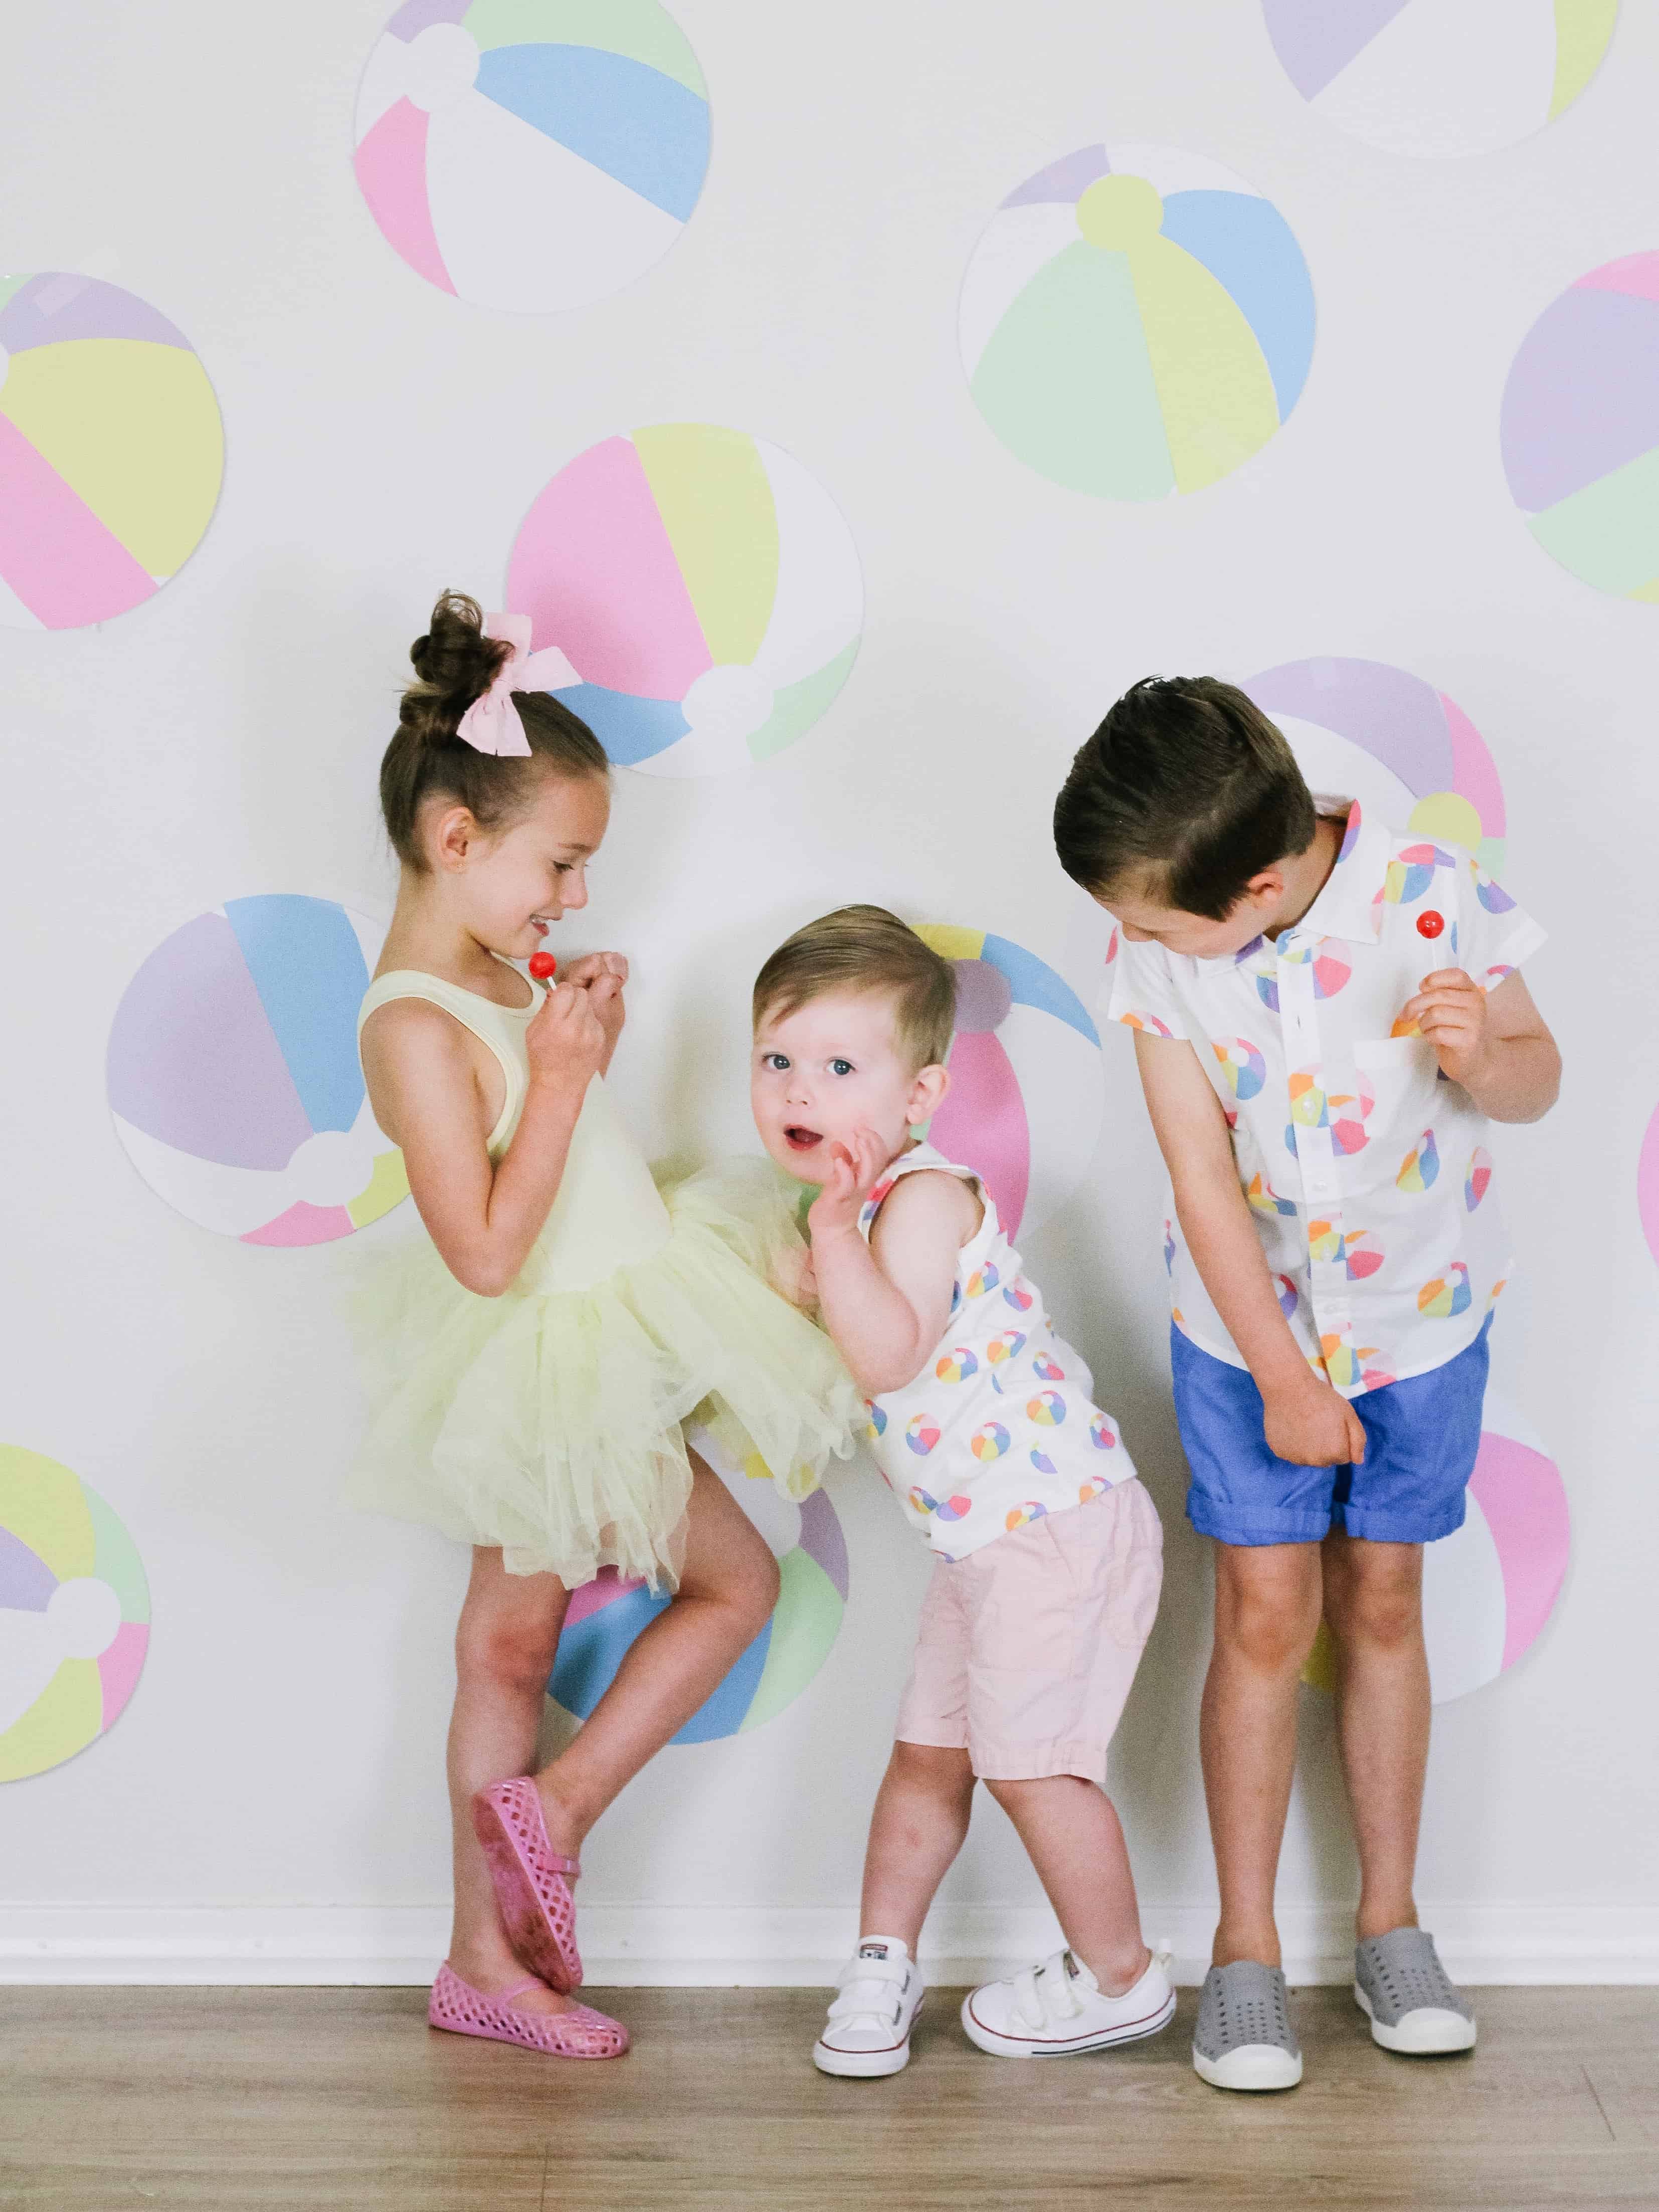
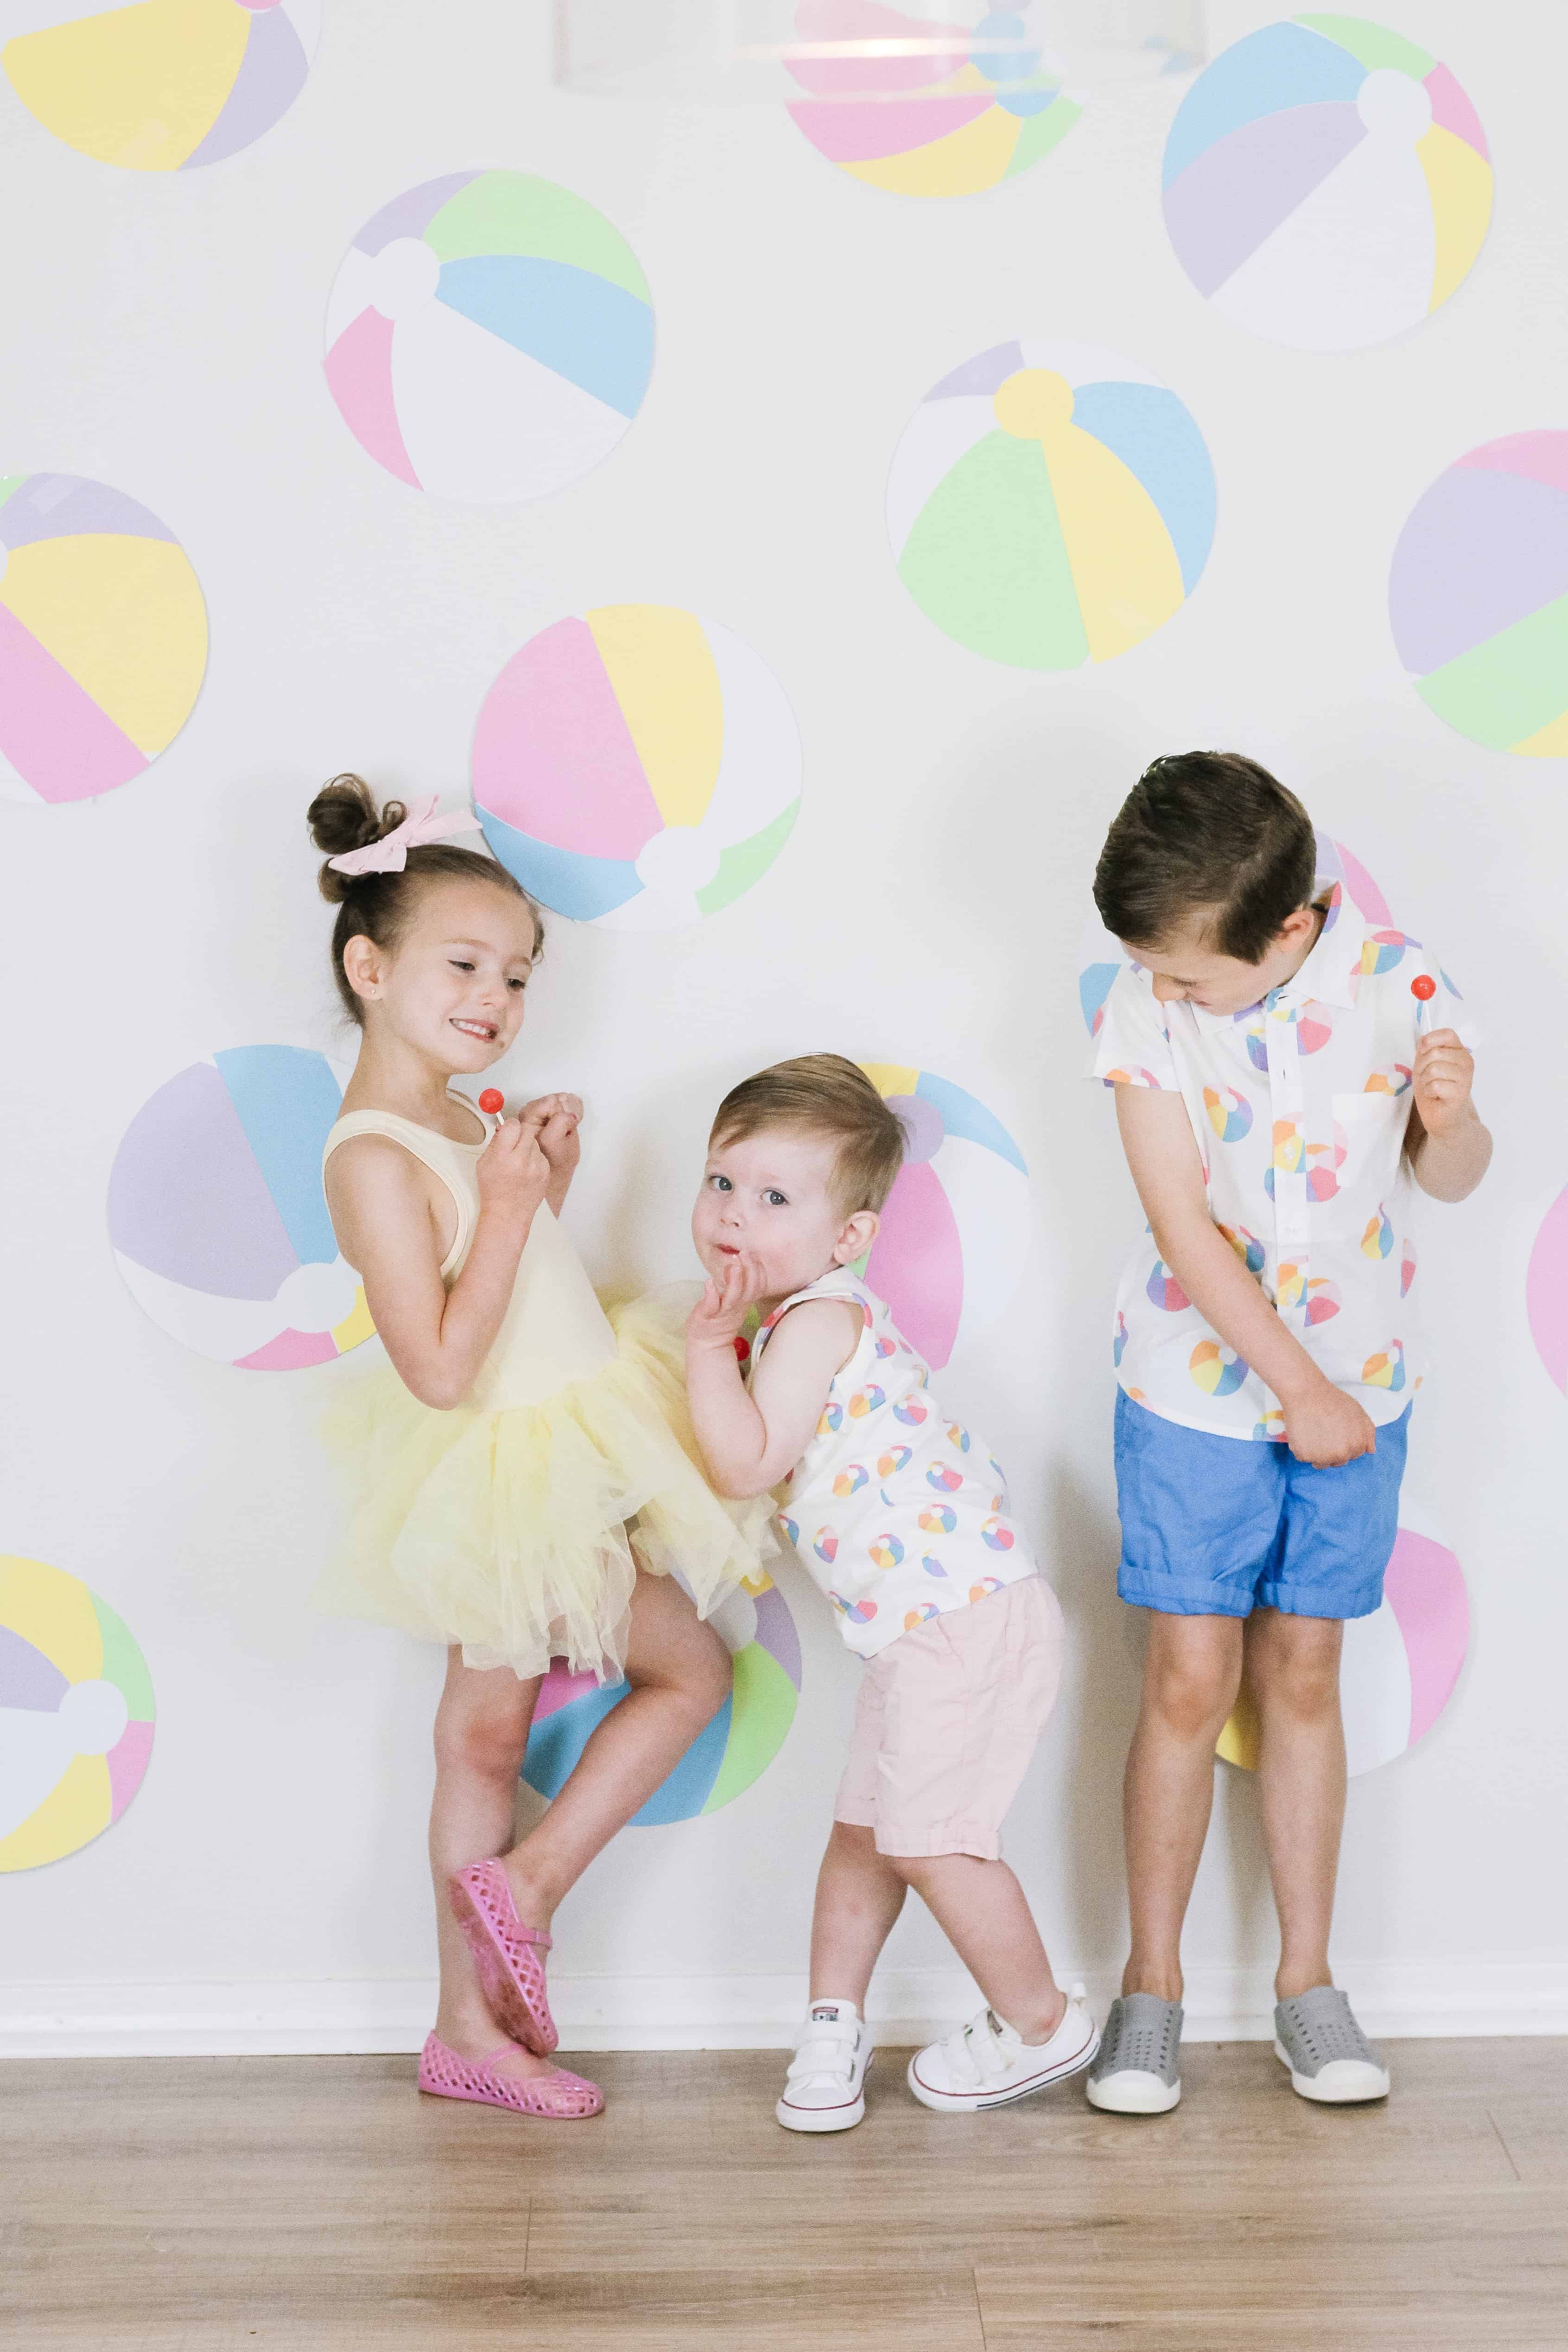
I can not even believe my sweet baby boy is TWO!!! We celebrated him big this weekend with family by throwing him a ‘TWO BALLER’ themed Beach Ball Birthday Party. Walker LOVES all sports balls, and has since he could move, so when we were coming up with a party theme for him it seemed only logical to tie that in. I also really wanted to do a pool party at Sam’s parents house so we could get the full June birthday experience. Things were a bit touch and go with weather in the morning, but it ended up going amazingly, and we had the best little party for our sweet boy.
Overall this party was under $100 for everything – we don’t do a “big party” every year for our kids, but thanks to my blog, and my love for being over the top, I still make sure to give them a theme and do something really fun. For food we just ordered pizza, so that was super inexpensive and helped keep costs down. I will break down the cost below on all the details, and feel free to ask any questions.
This post contains affiliate links
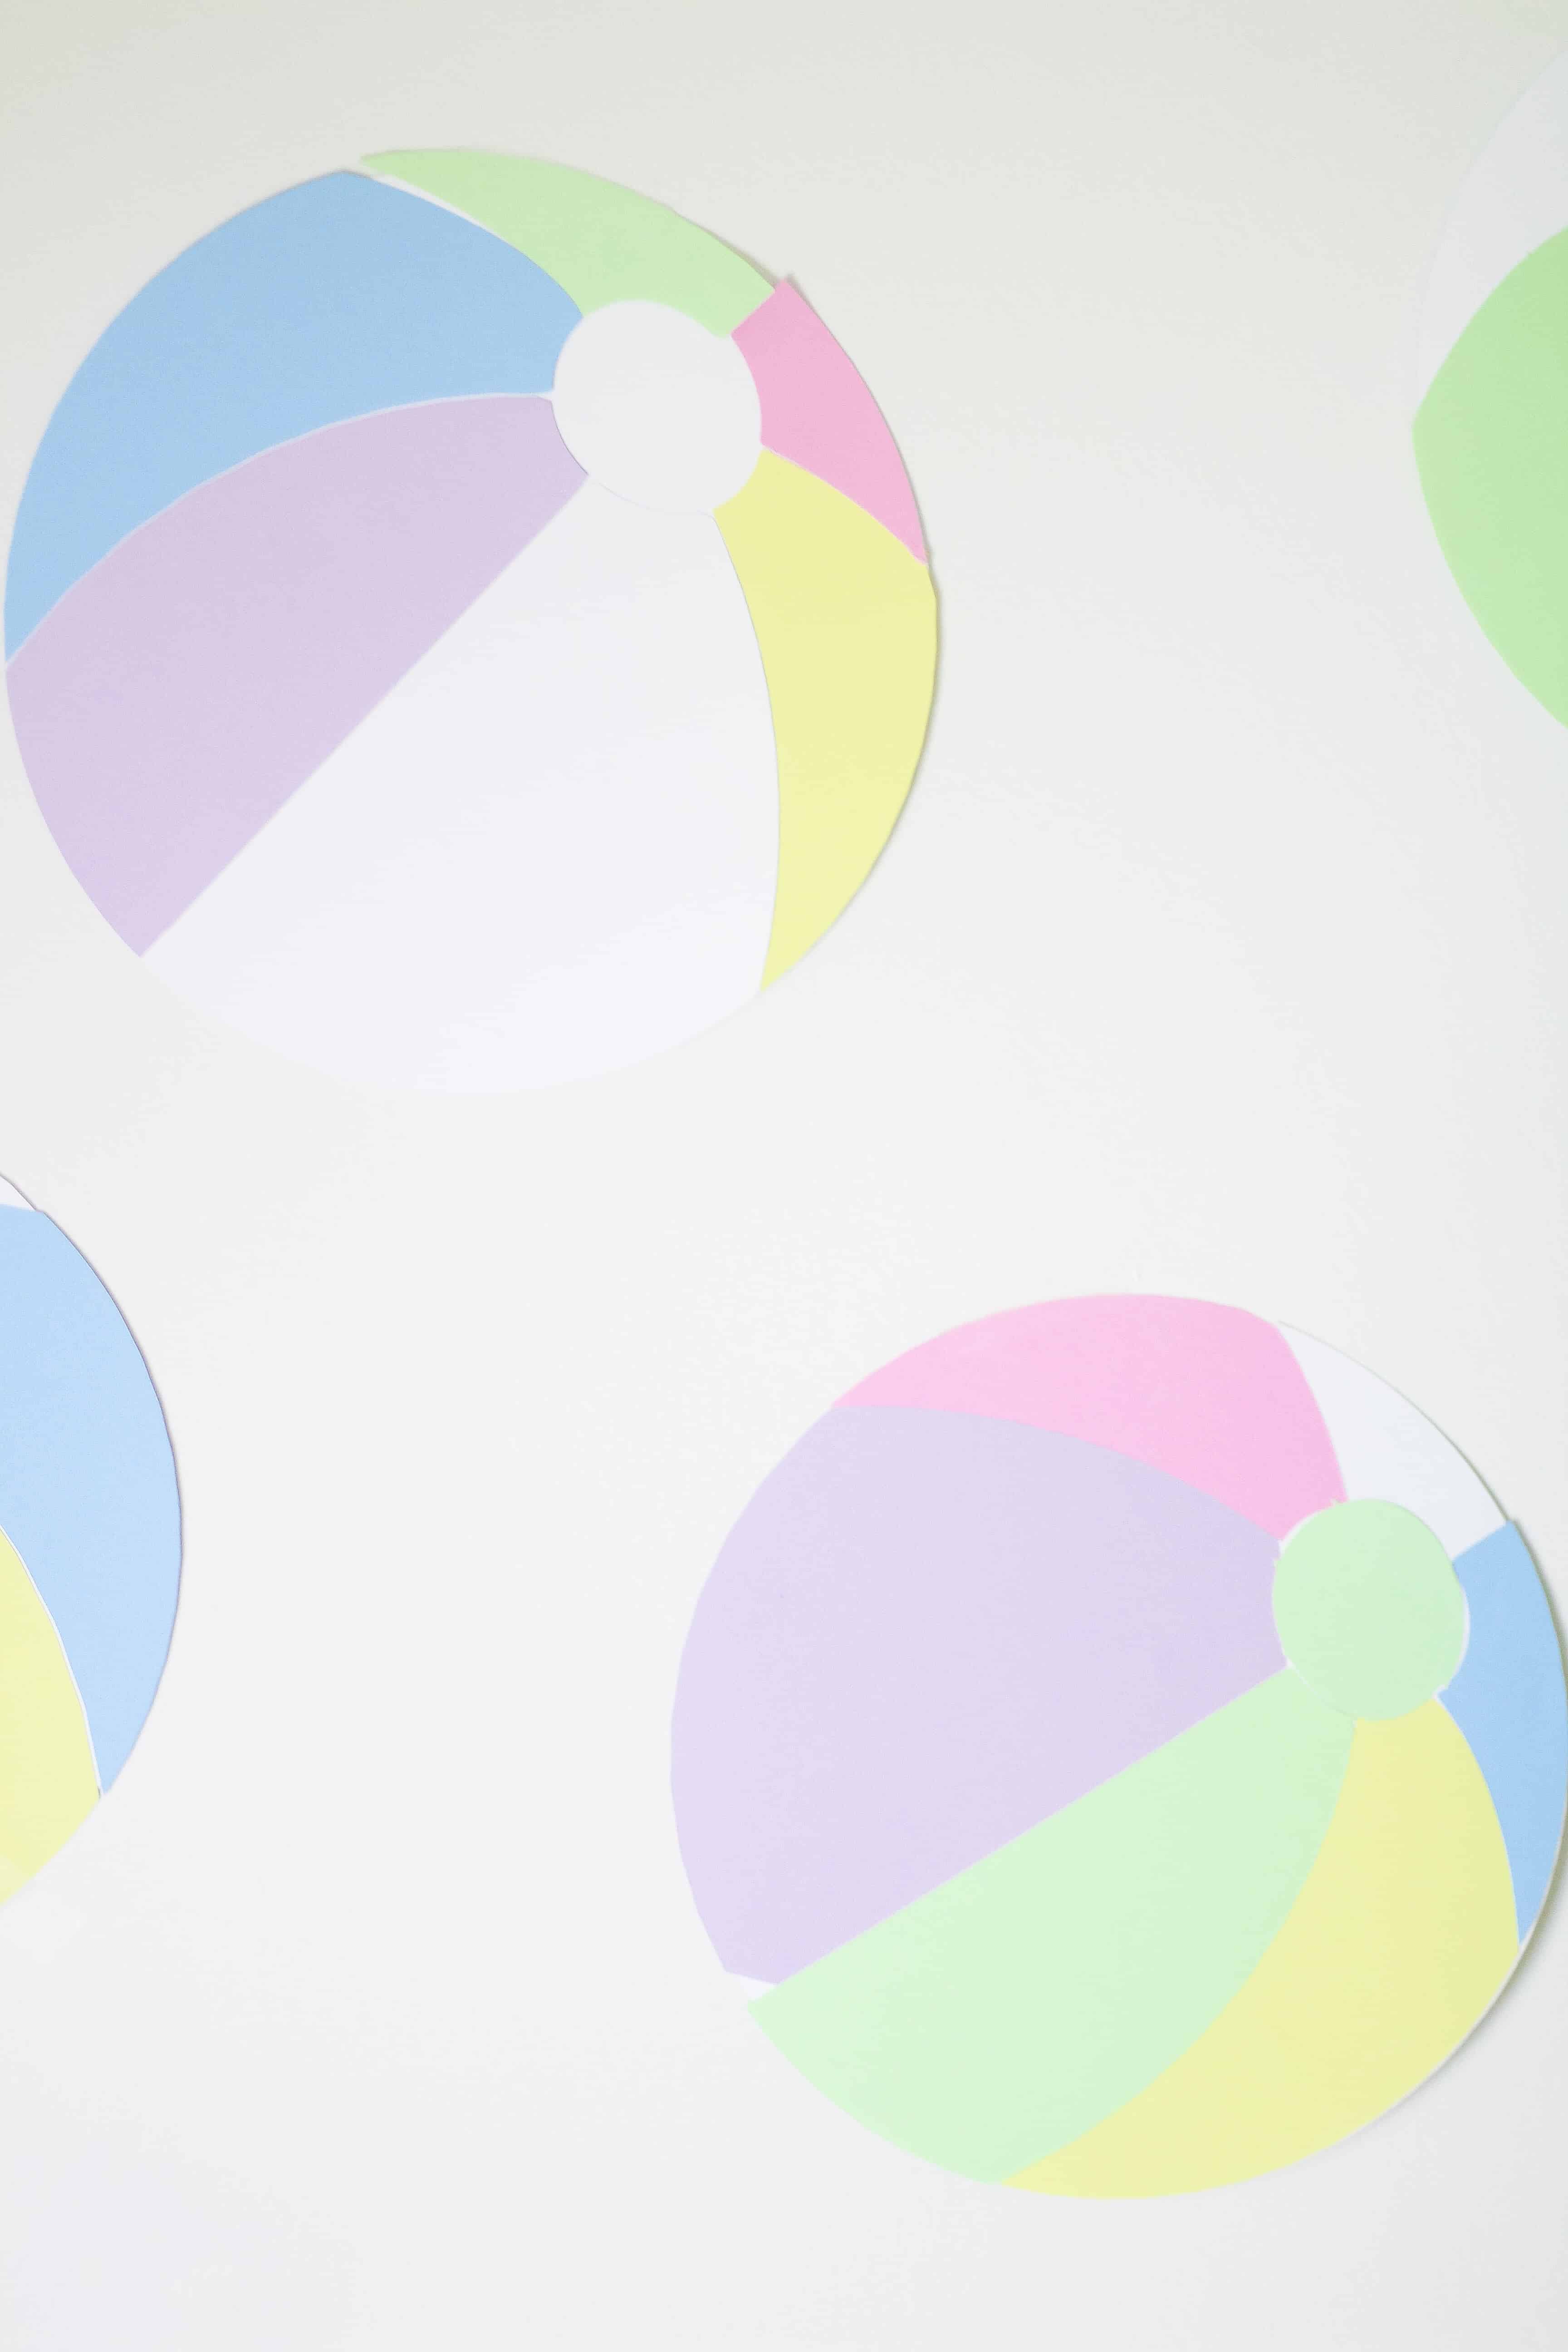
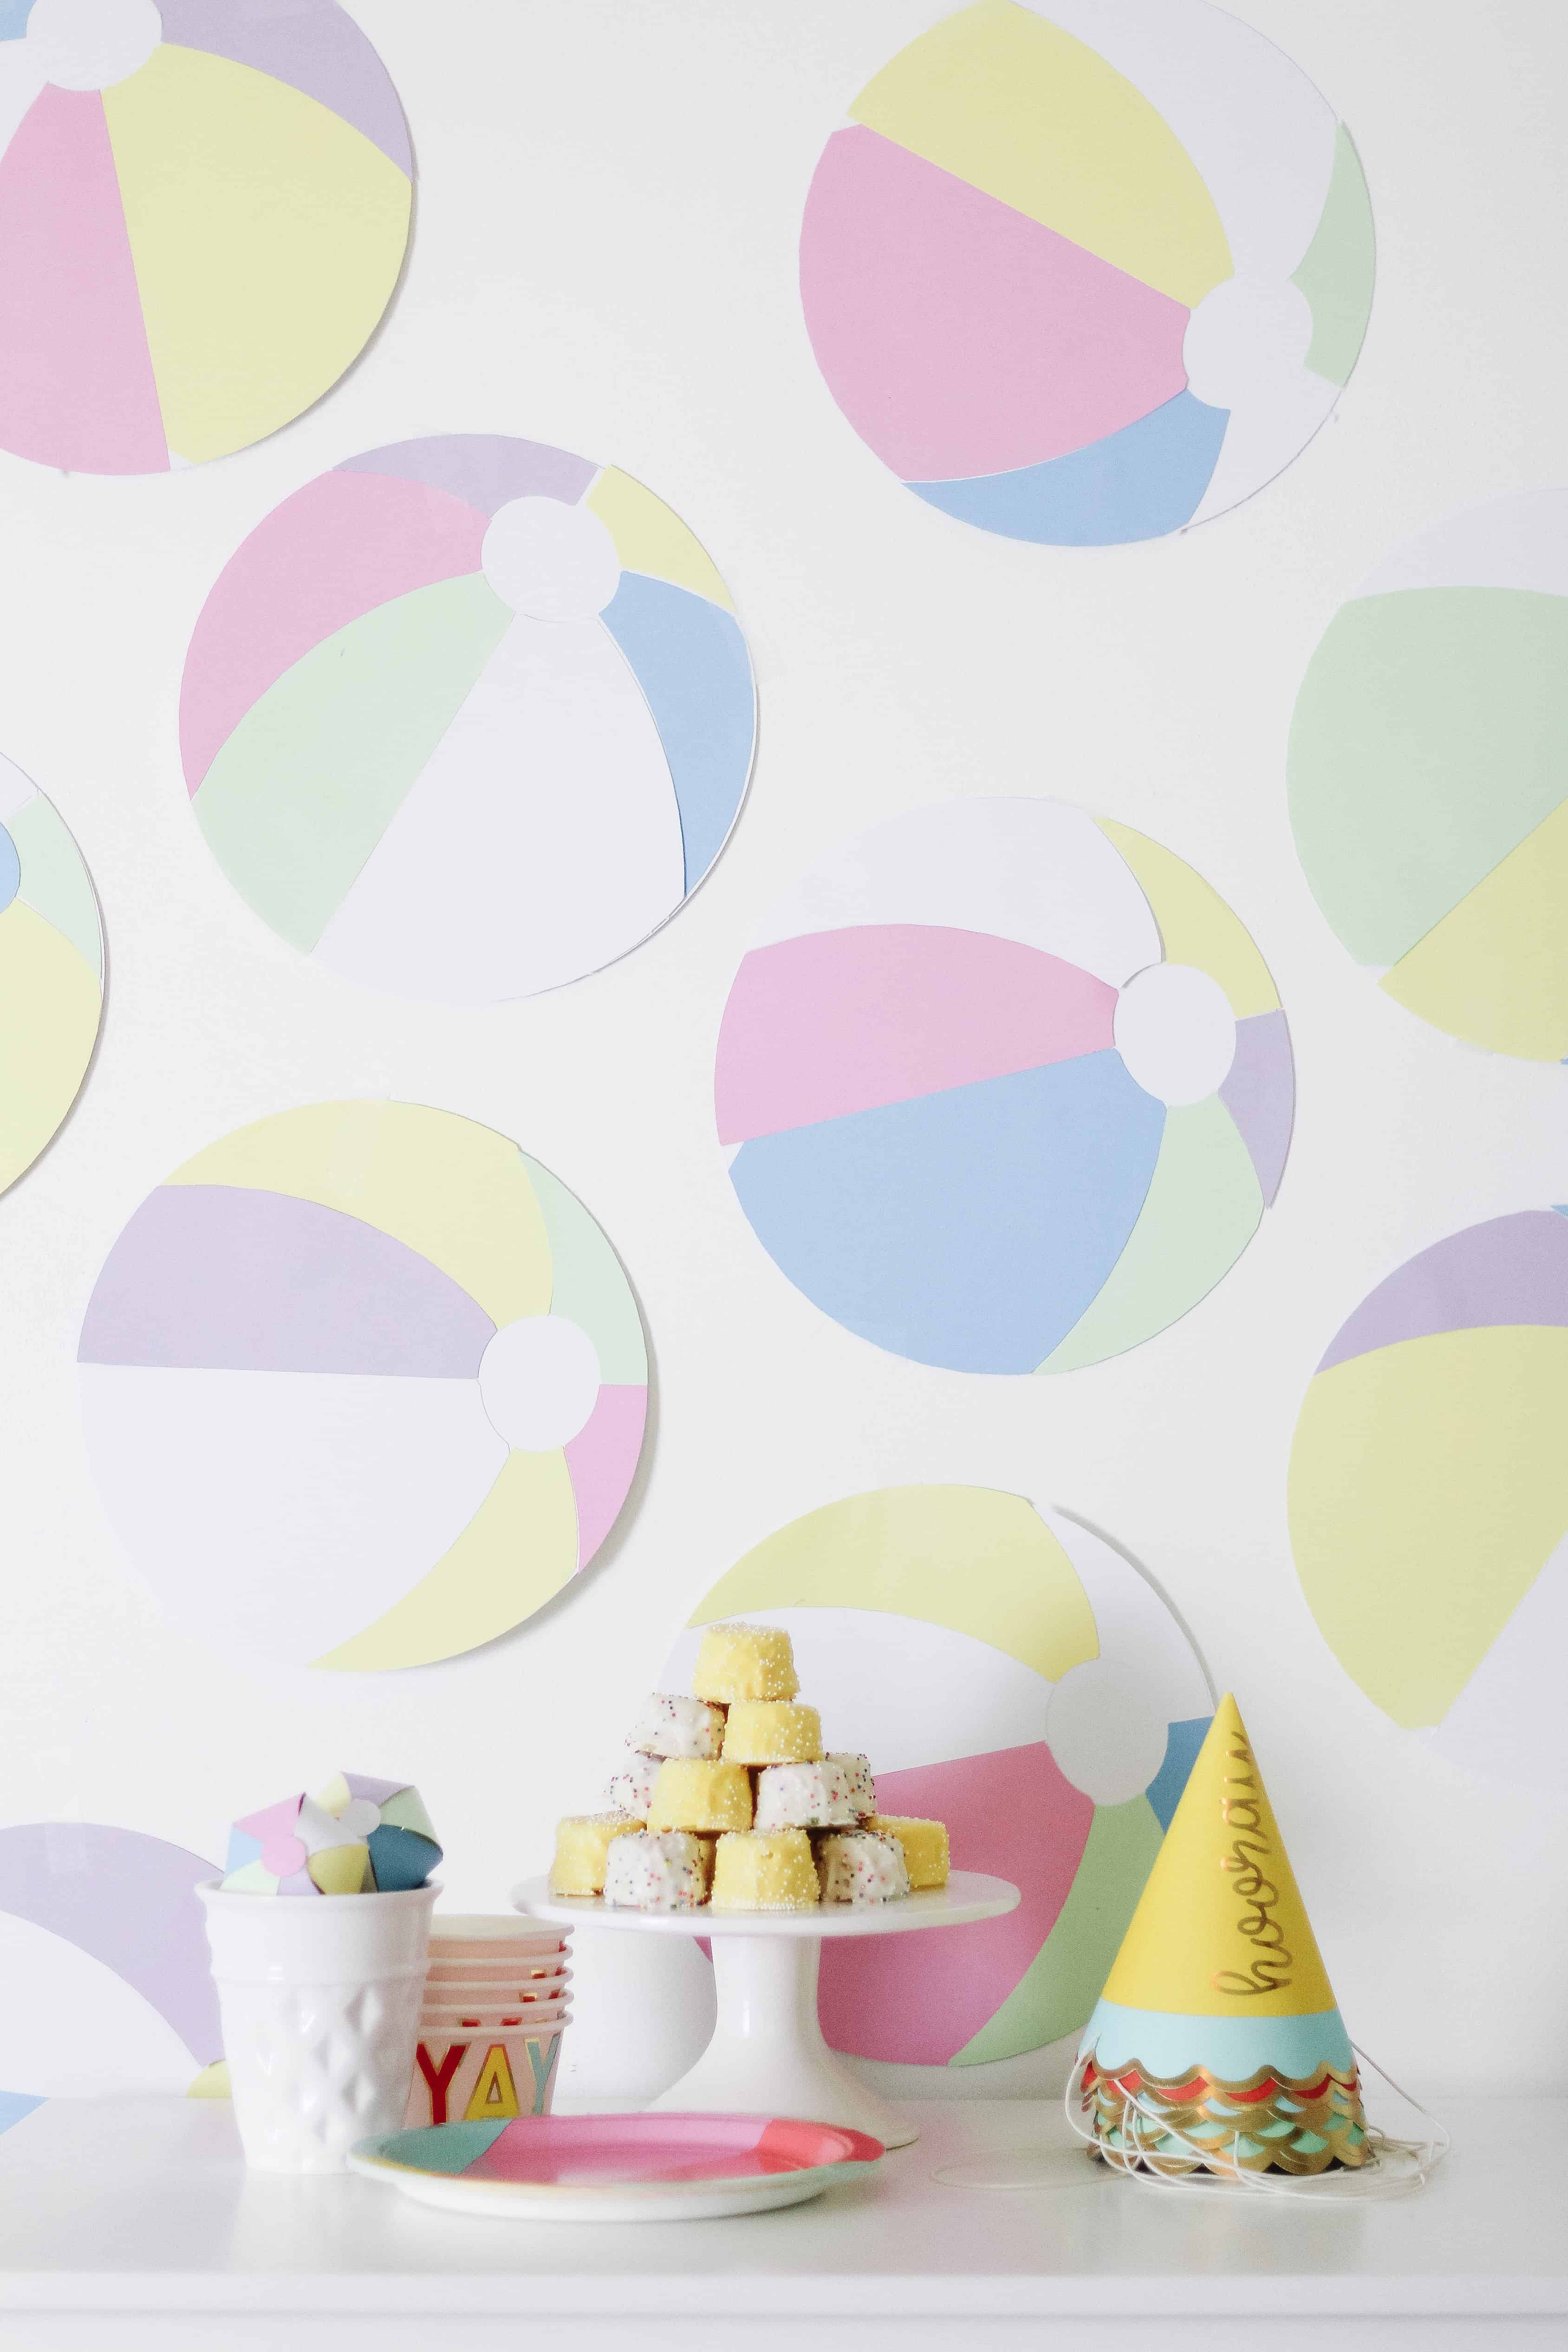
Beach Ball Birthday Party Backdrop
Last year for Avé’s birthday party we did a puppy party that couldn’t have been loved more if I tried (check it out here). All it took to make that party picture perfect was a whole lot of effort and some scrapbook paper, so I decided to do that again for Walker’s beach ball birthday party.
I made these beach ball cut outs using my silhouette cameo this time (as opposed to the puppy’s that were hand cut). You could also make them somewhat easily without a silhouette. What you would do is cut a FULL BEACH BALL in each color, then a plain circle. Then take pieces from each one you cut to mix and match and make it look like a multi colored beach ball. I used double stick tape for them, and attached them to the wall with scotch wall safe tape!
Overall the cost of this was roughly $10 on one pack of white paper and one pack of colored paper.
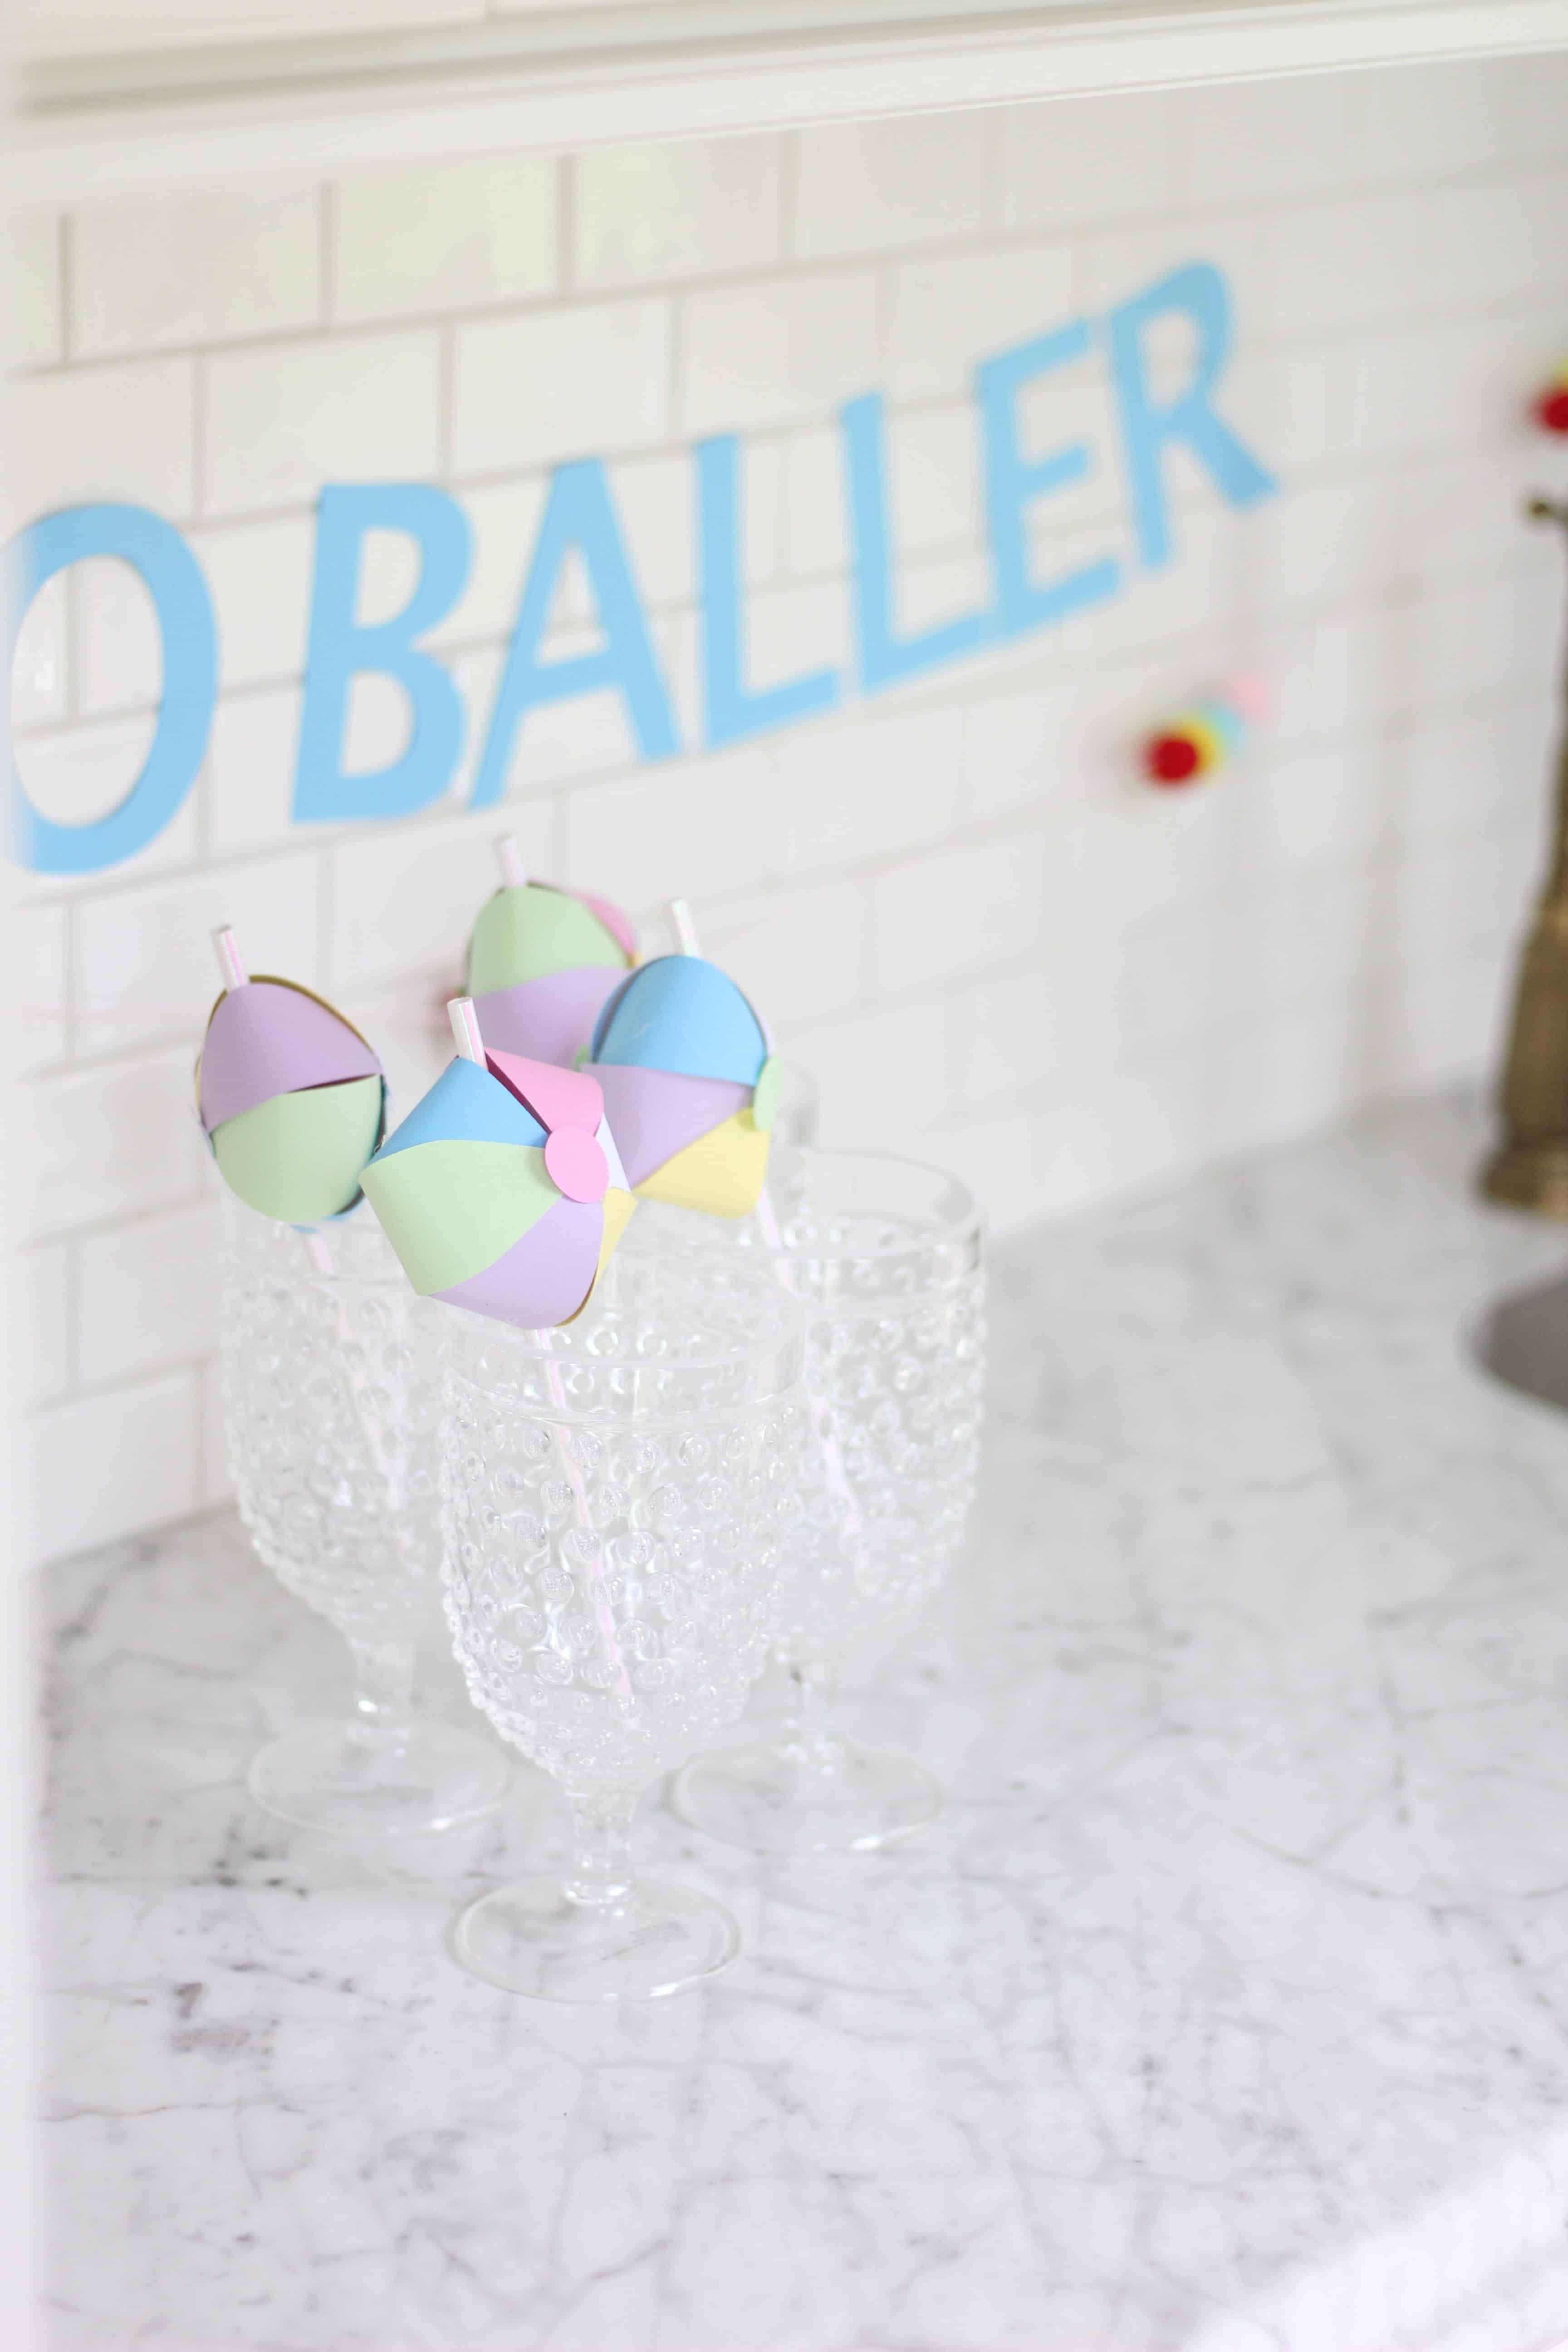
Two Baller Drink Station
I always like to do fun drinks for the adults…I mean especially with this being a second birthday party. (Who doesn’t need liquid courage to head into the terrible 2’s?). Check out the drink recipe HERE for this particular drink.
I bought some fun paper straws, and made some simple beachballs to go on the straws to keep things festive but inexpensive. Those balls were made with the same paper as the beach ball backdrop to keep costs down.
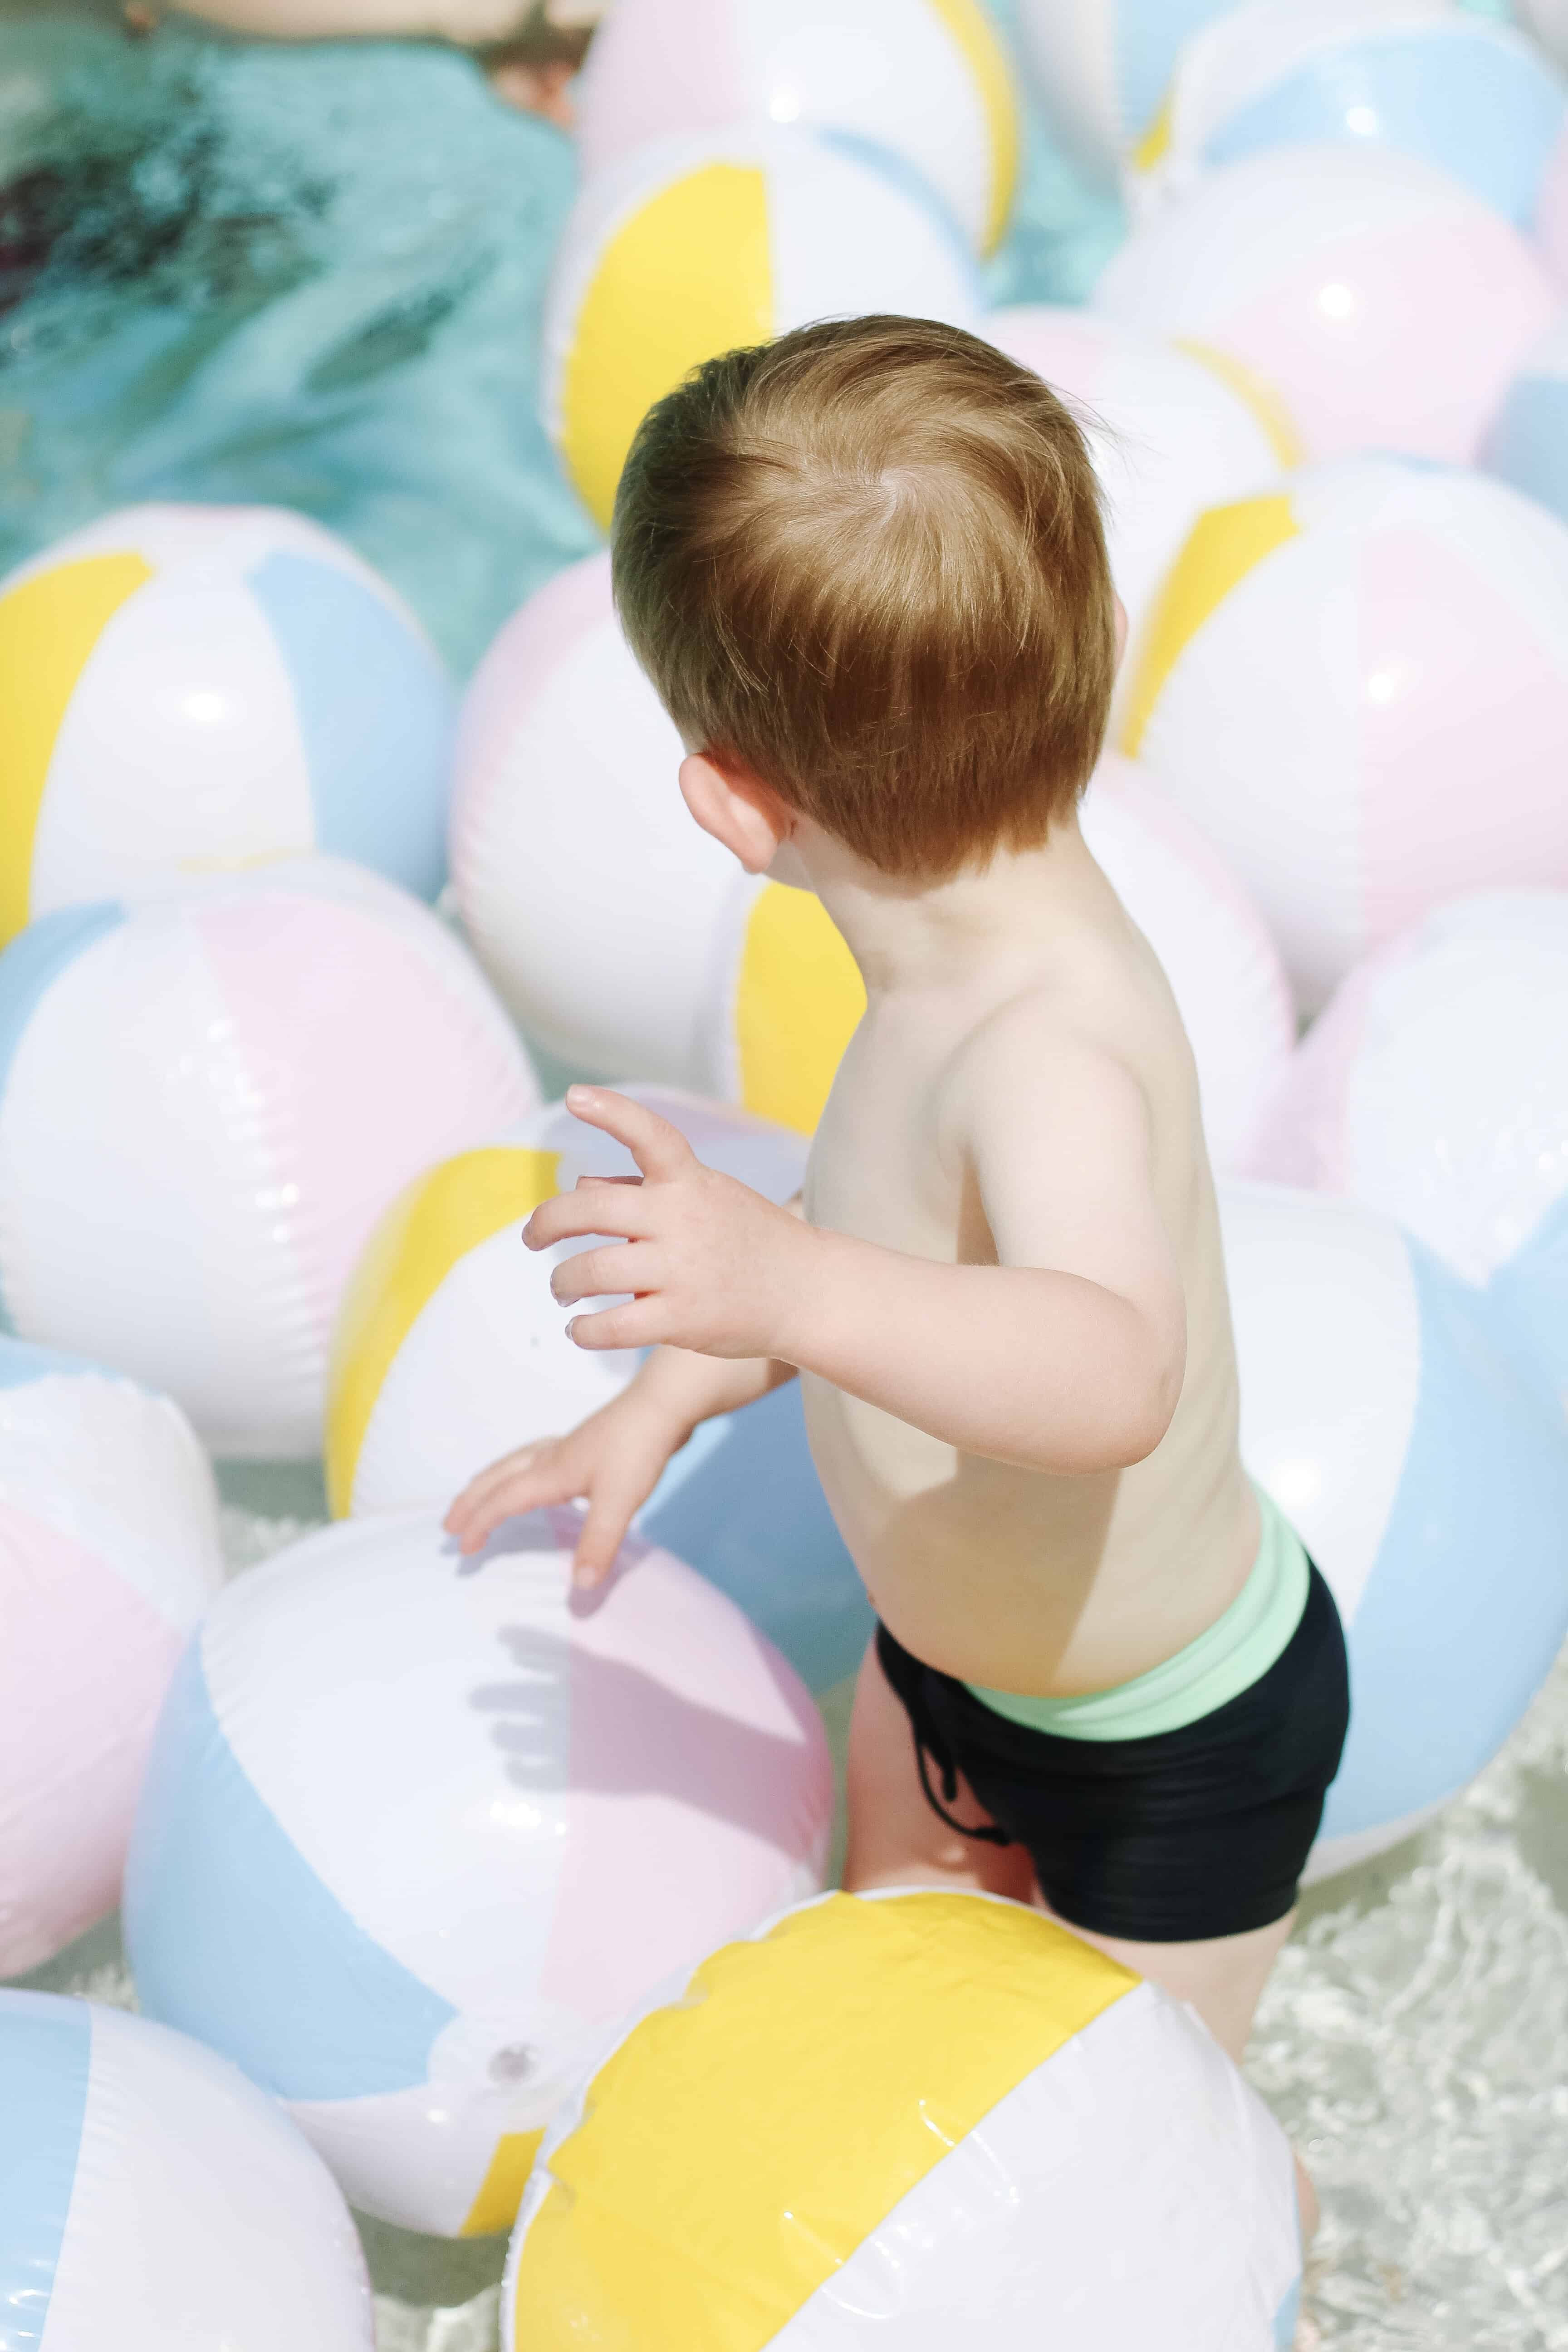
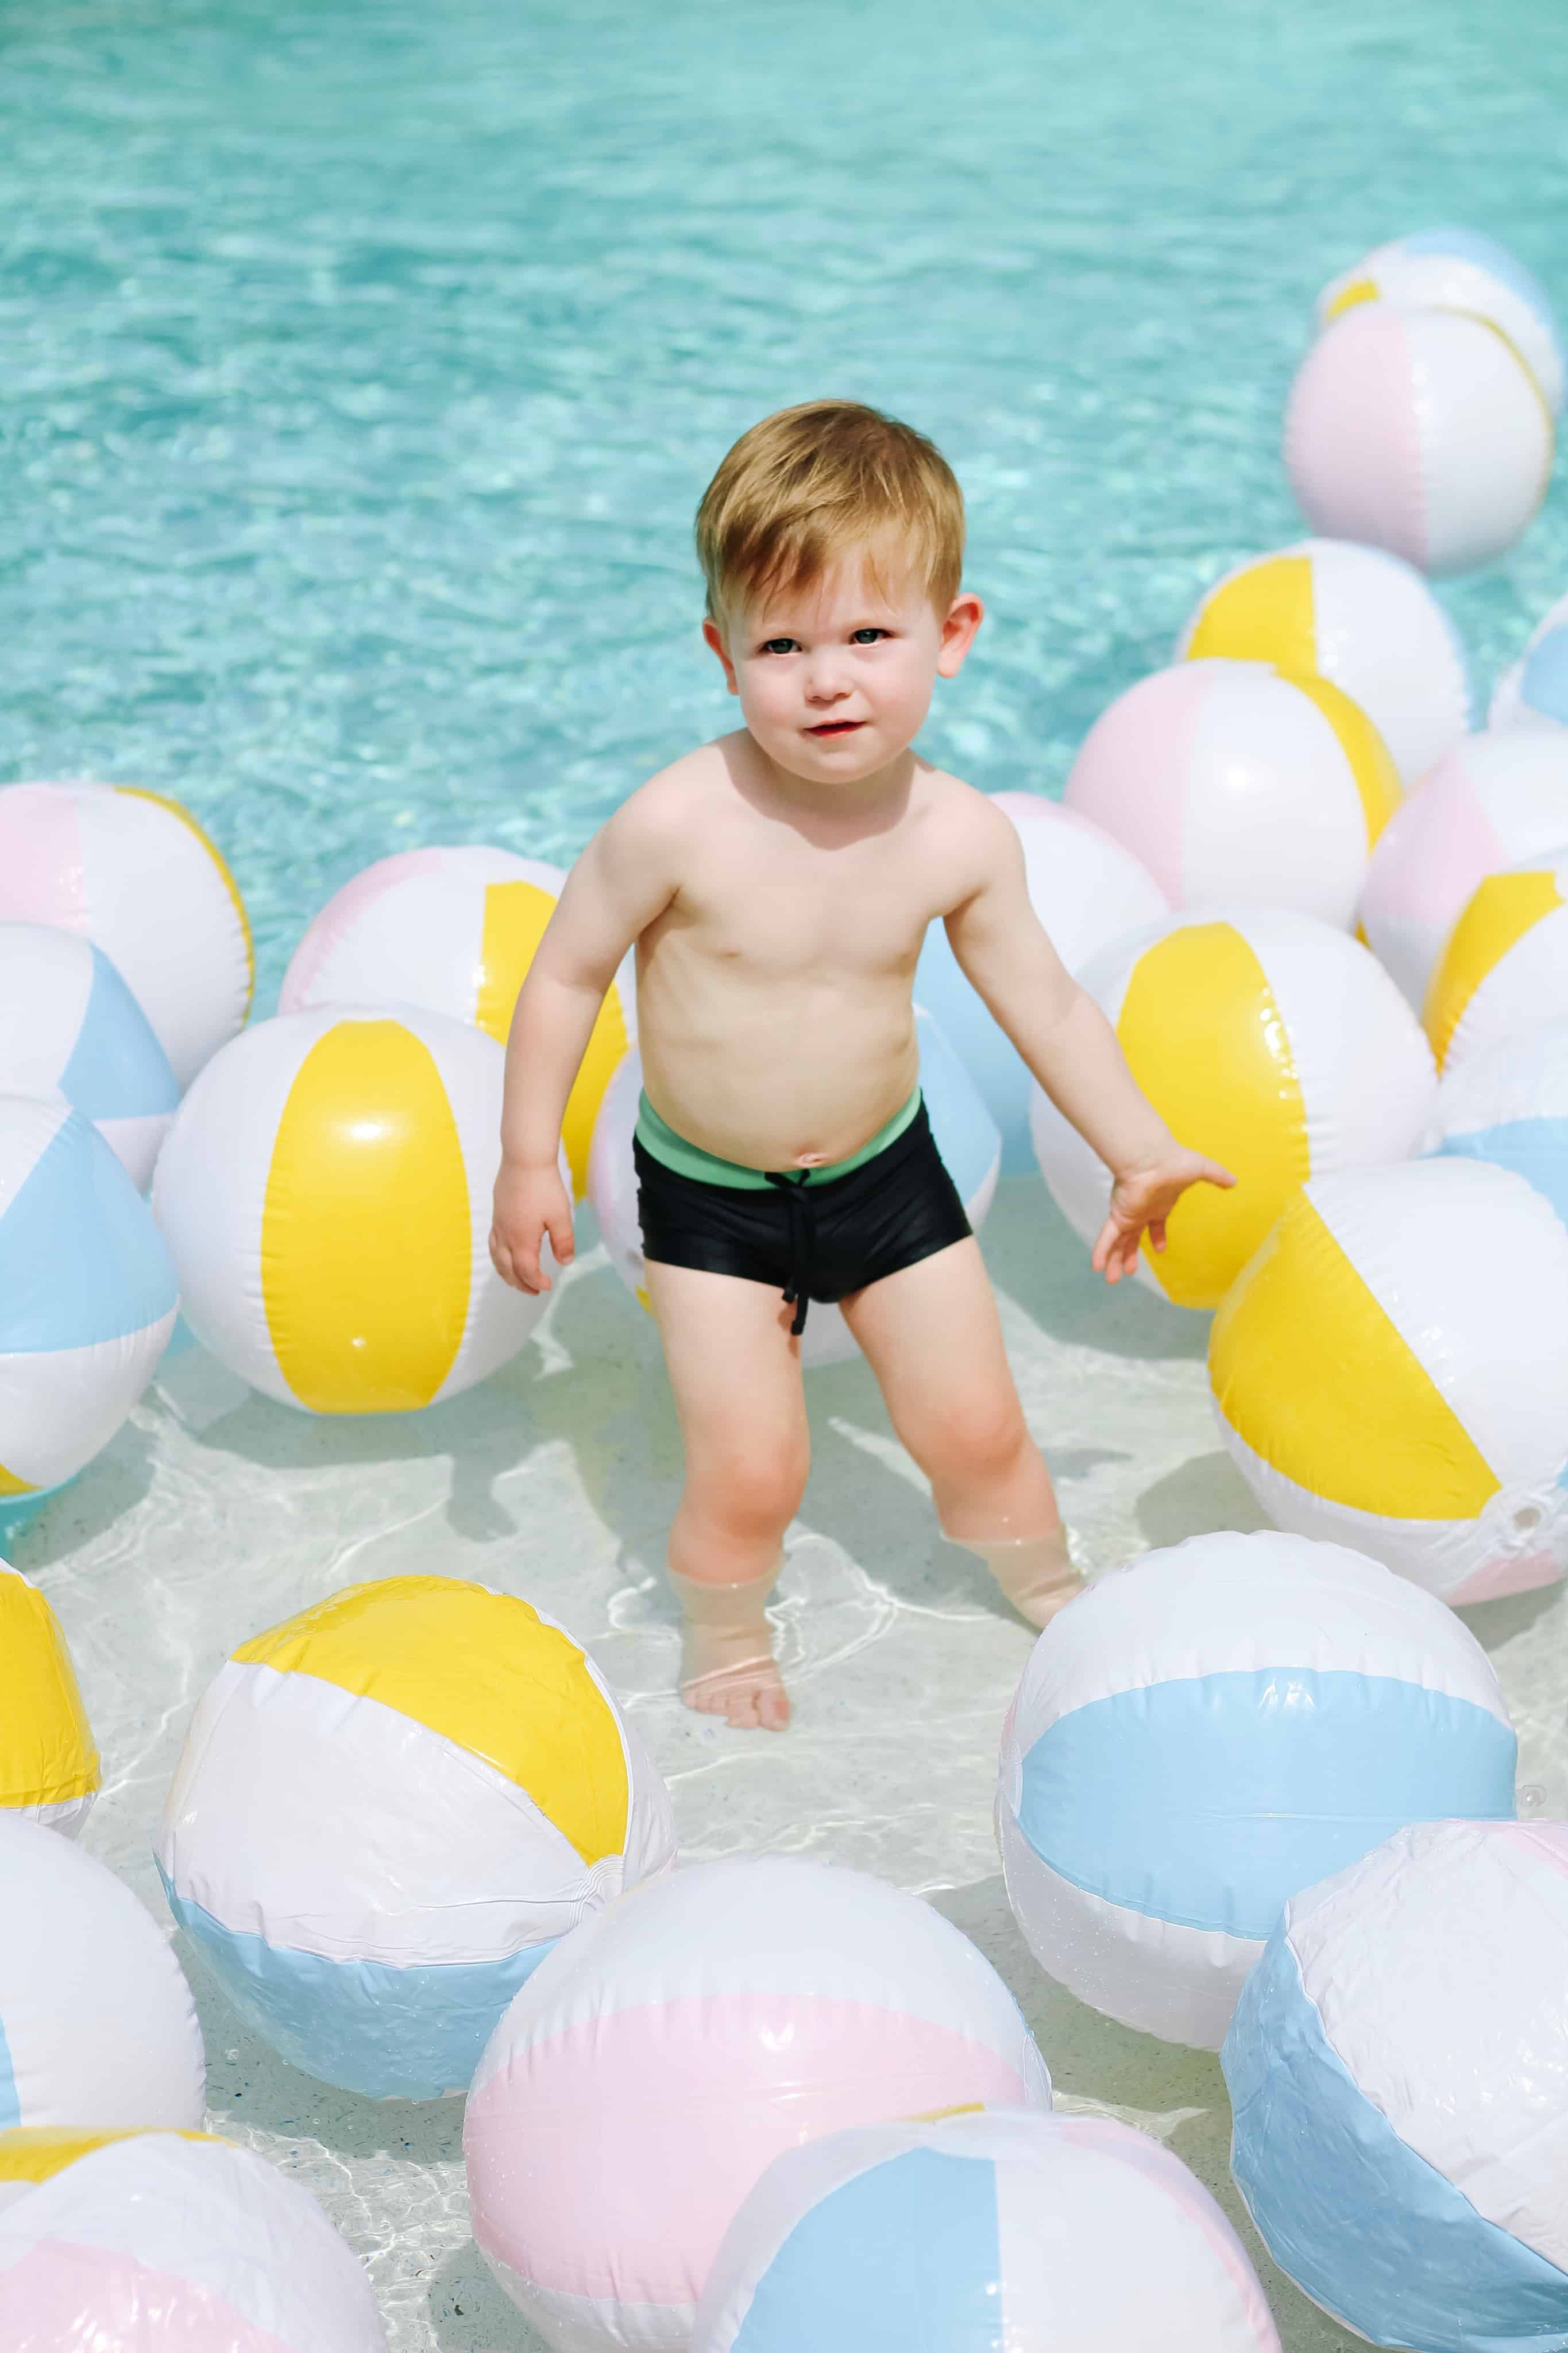
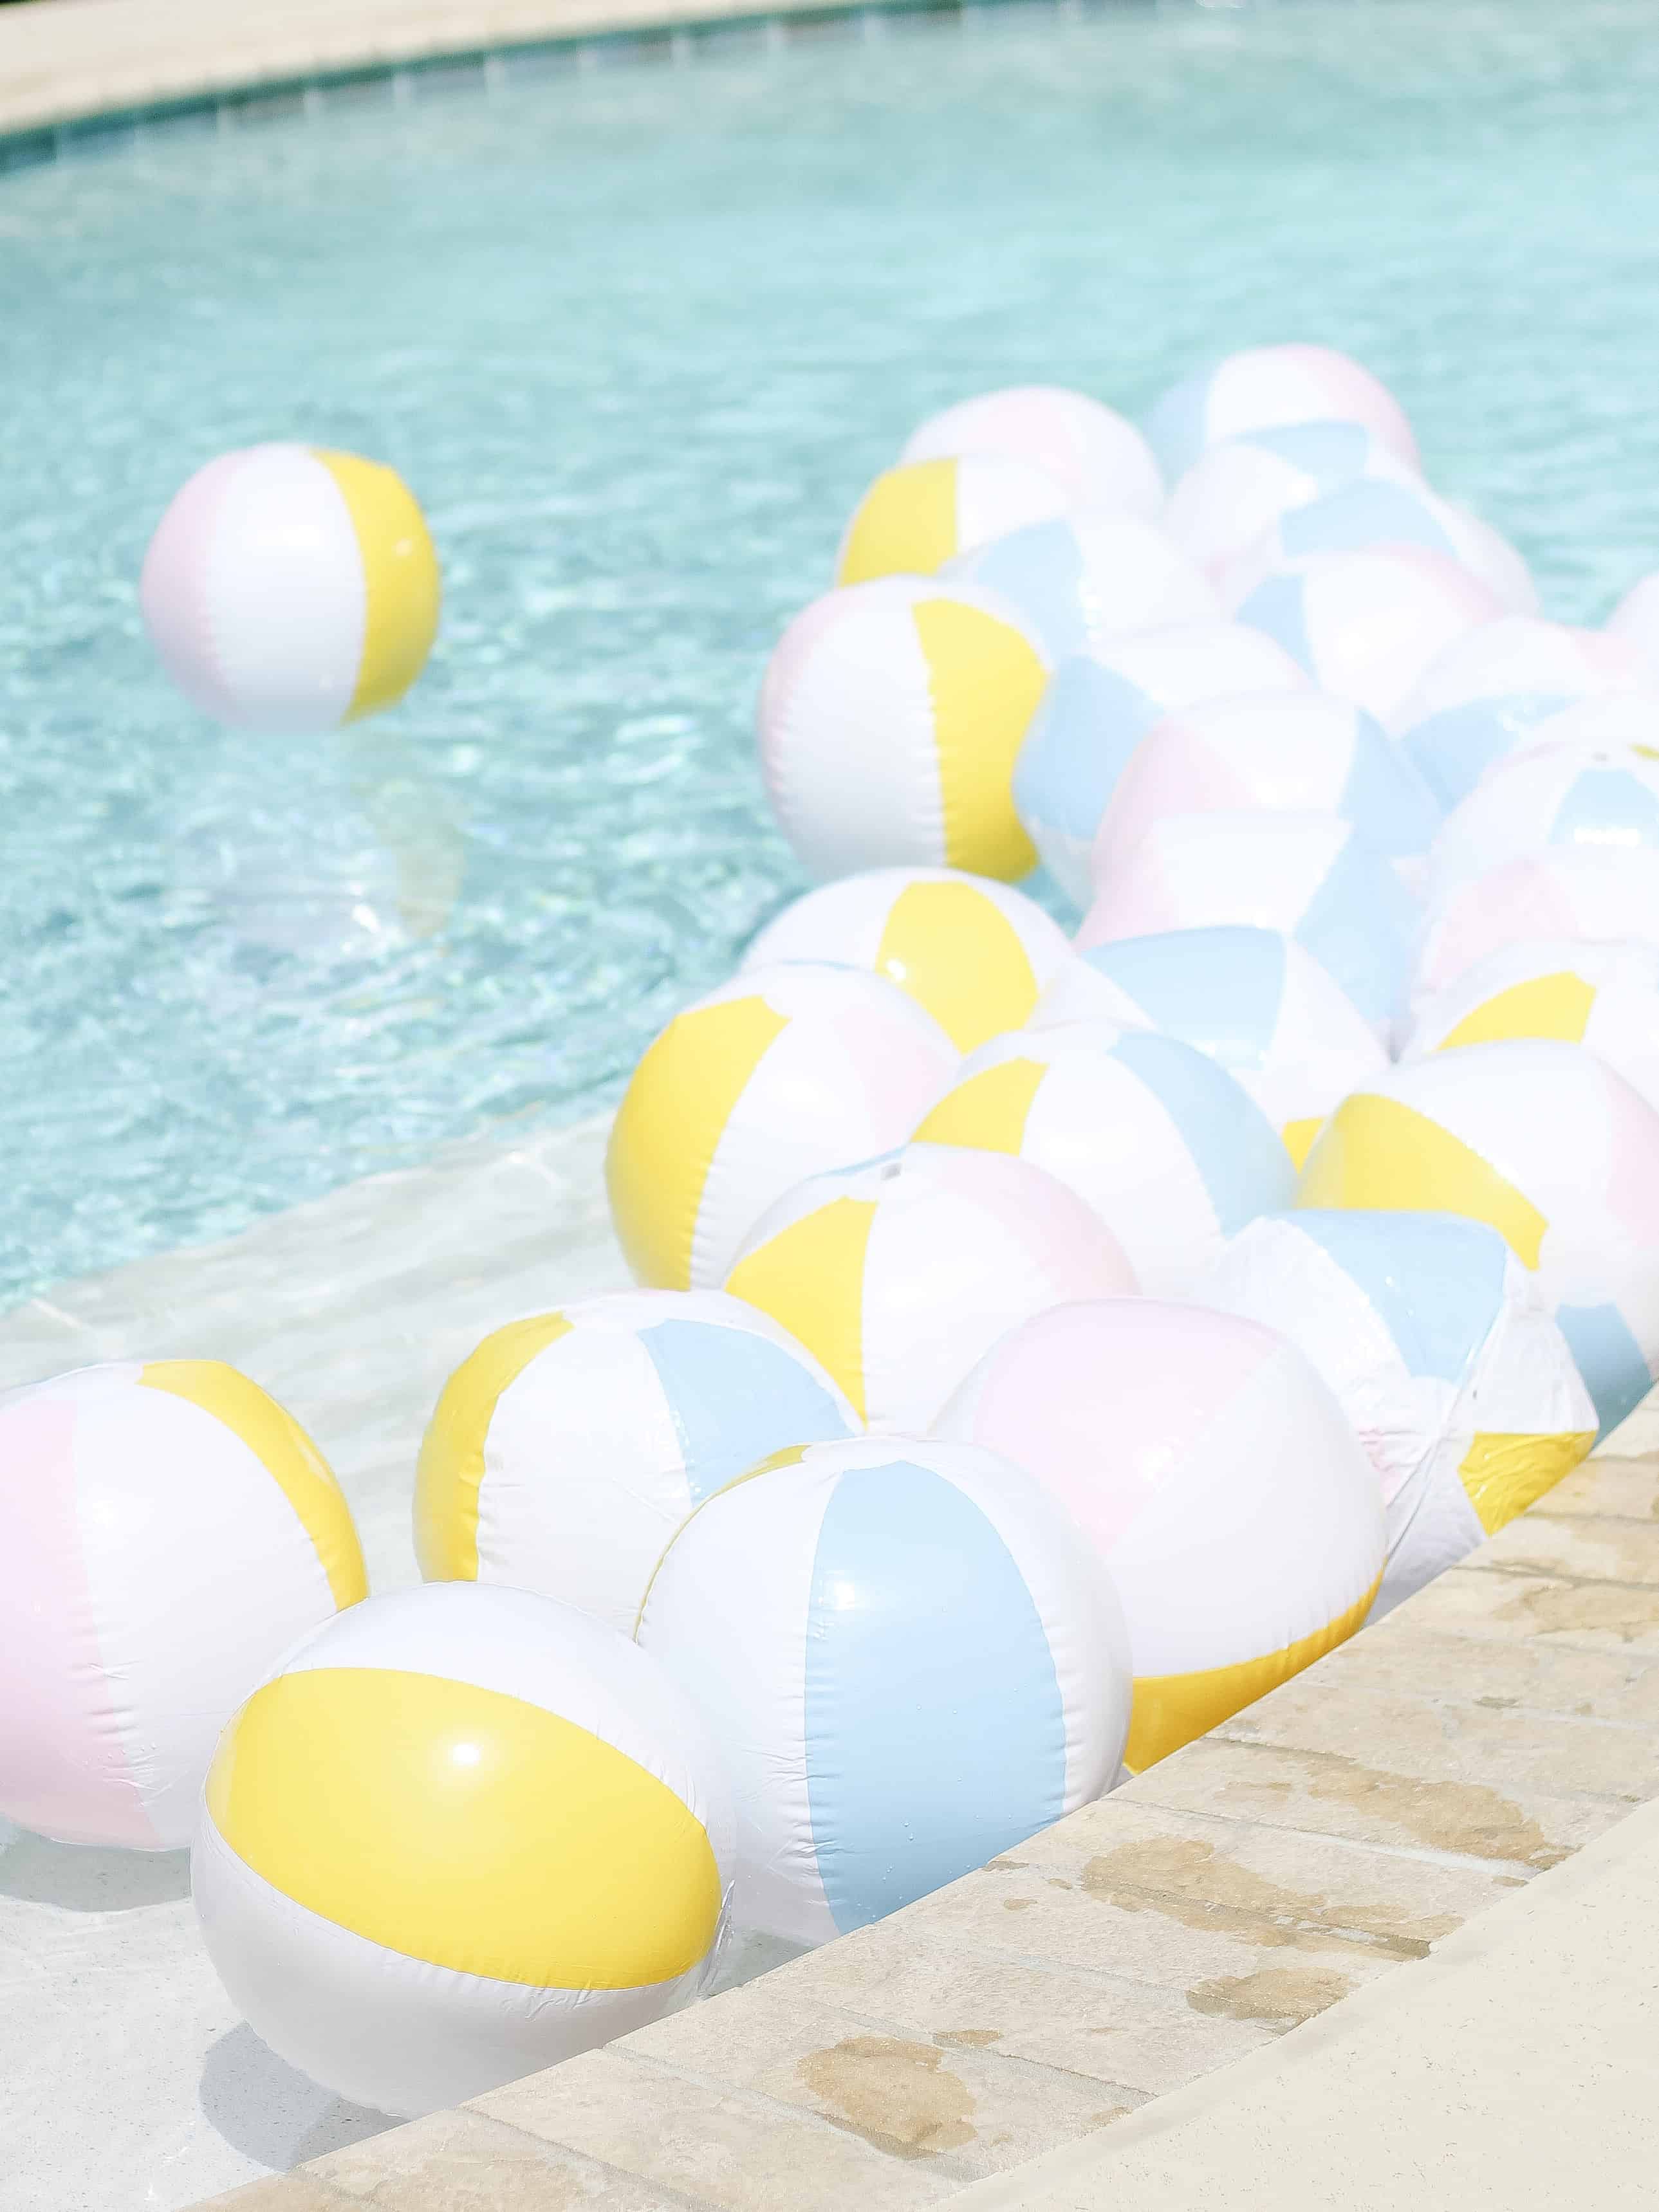
One thing I knew I wanted to do for Walker’s birthday was some kind of ball pit. He LOVES playing with all kinds of sports balls, so the initial thing that sparked the theme of the party was filling the pool with beach balls. We obviously didn’t FILL it, but we did get quite a few and they were a huge hit! I am linking the exact beach balls we used, because they were super cost effective, but I will say the pack we got didn’t stay closed super easily unless we pinched the valve with a pair of needle nose pliers.
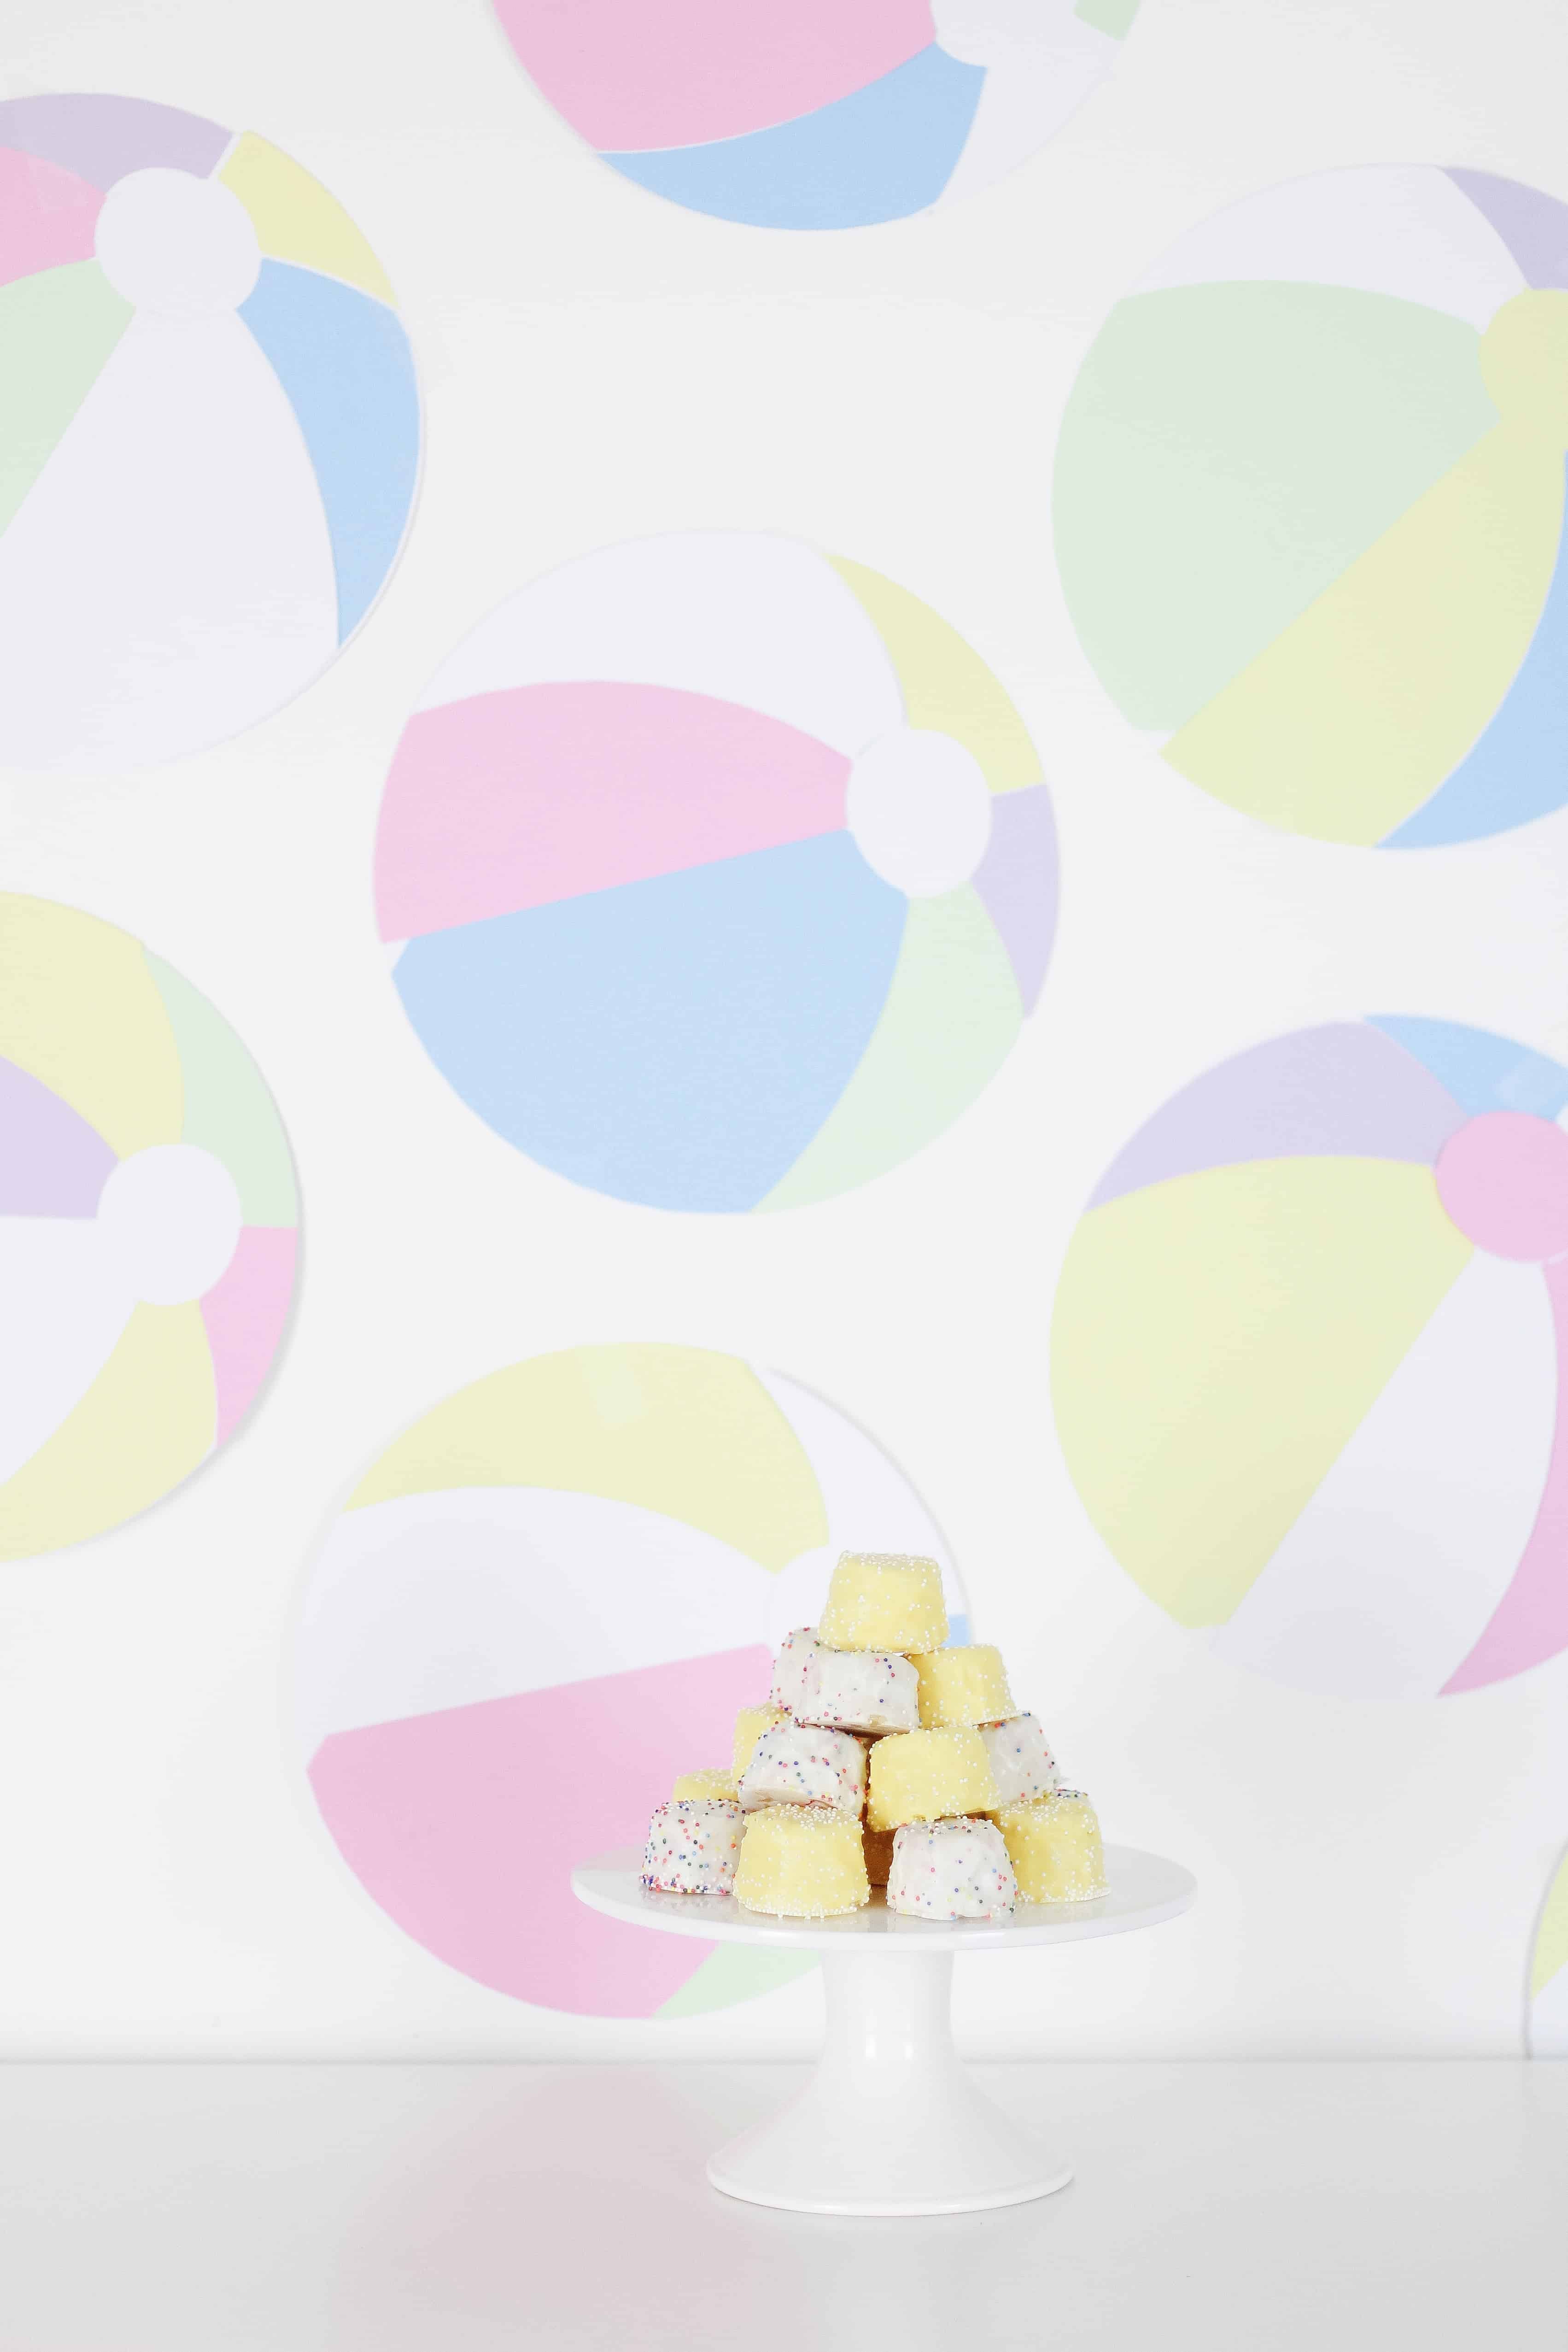
Cake
I almost never do an actual cake for my kids birthdays, for a few reasons. One, Jack is allergic to egg so has never loved cake even after being able to start eating some. I also find that most of the time they would prefer other treats throughout the day instead and a small amount of cake, or an ice-cream cone. THAT SAID, I need to put candles in something and sing, so this time around we did some simple bite size cake bites and they were a huge hit. We served the cake on these plates!
If you have any questions on our beach ball ball birthday party, leave me a comment, or DM me via Instagram.
For a couple of great 2 year old gift guides check out these two posts, and if you need more ideas for kids gifts check out the ‘gift guide‘ section of my blog!
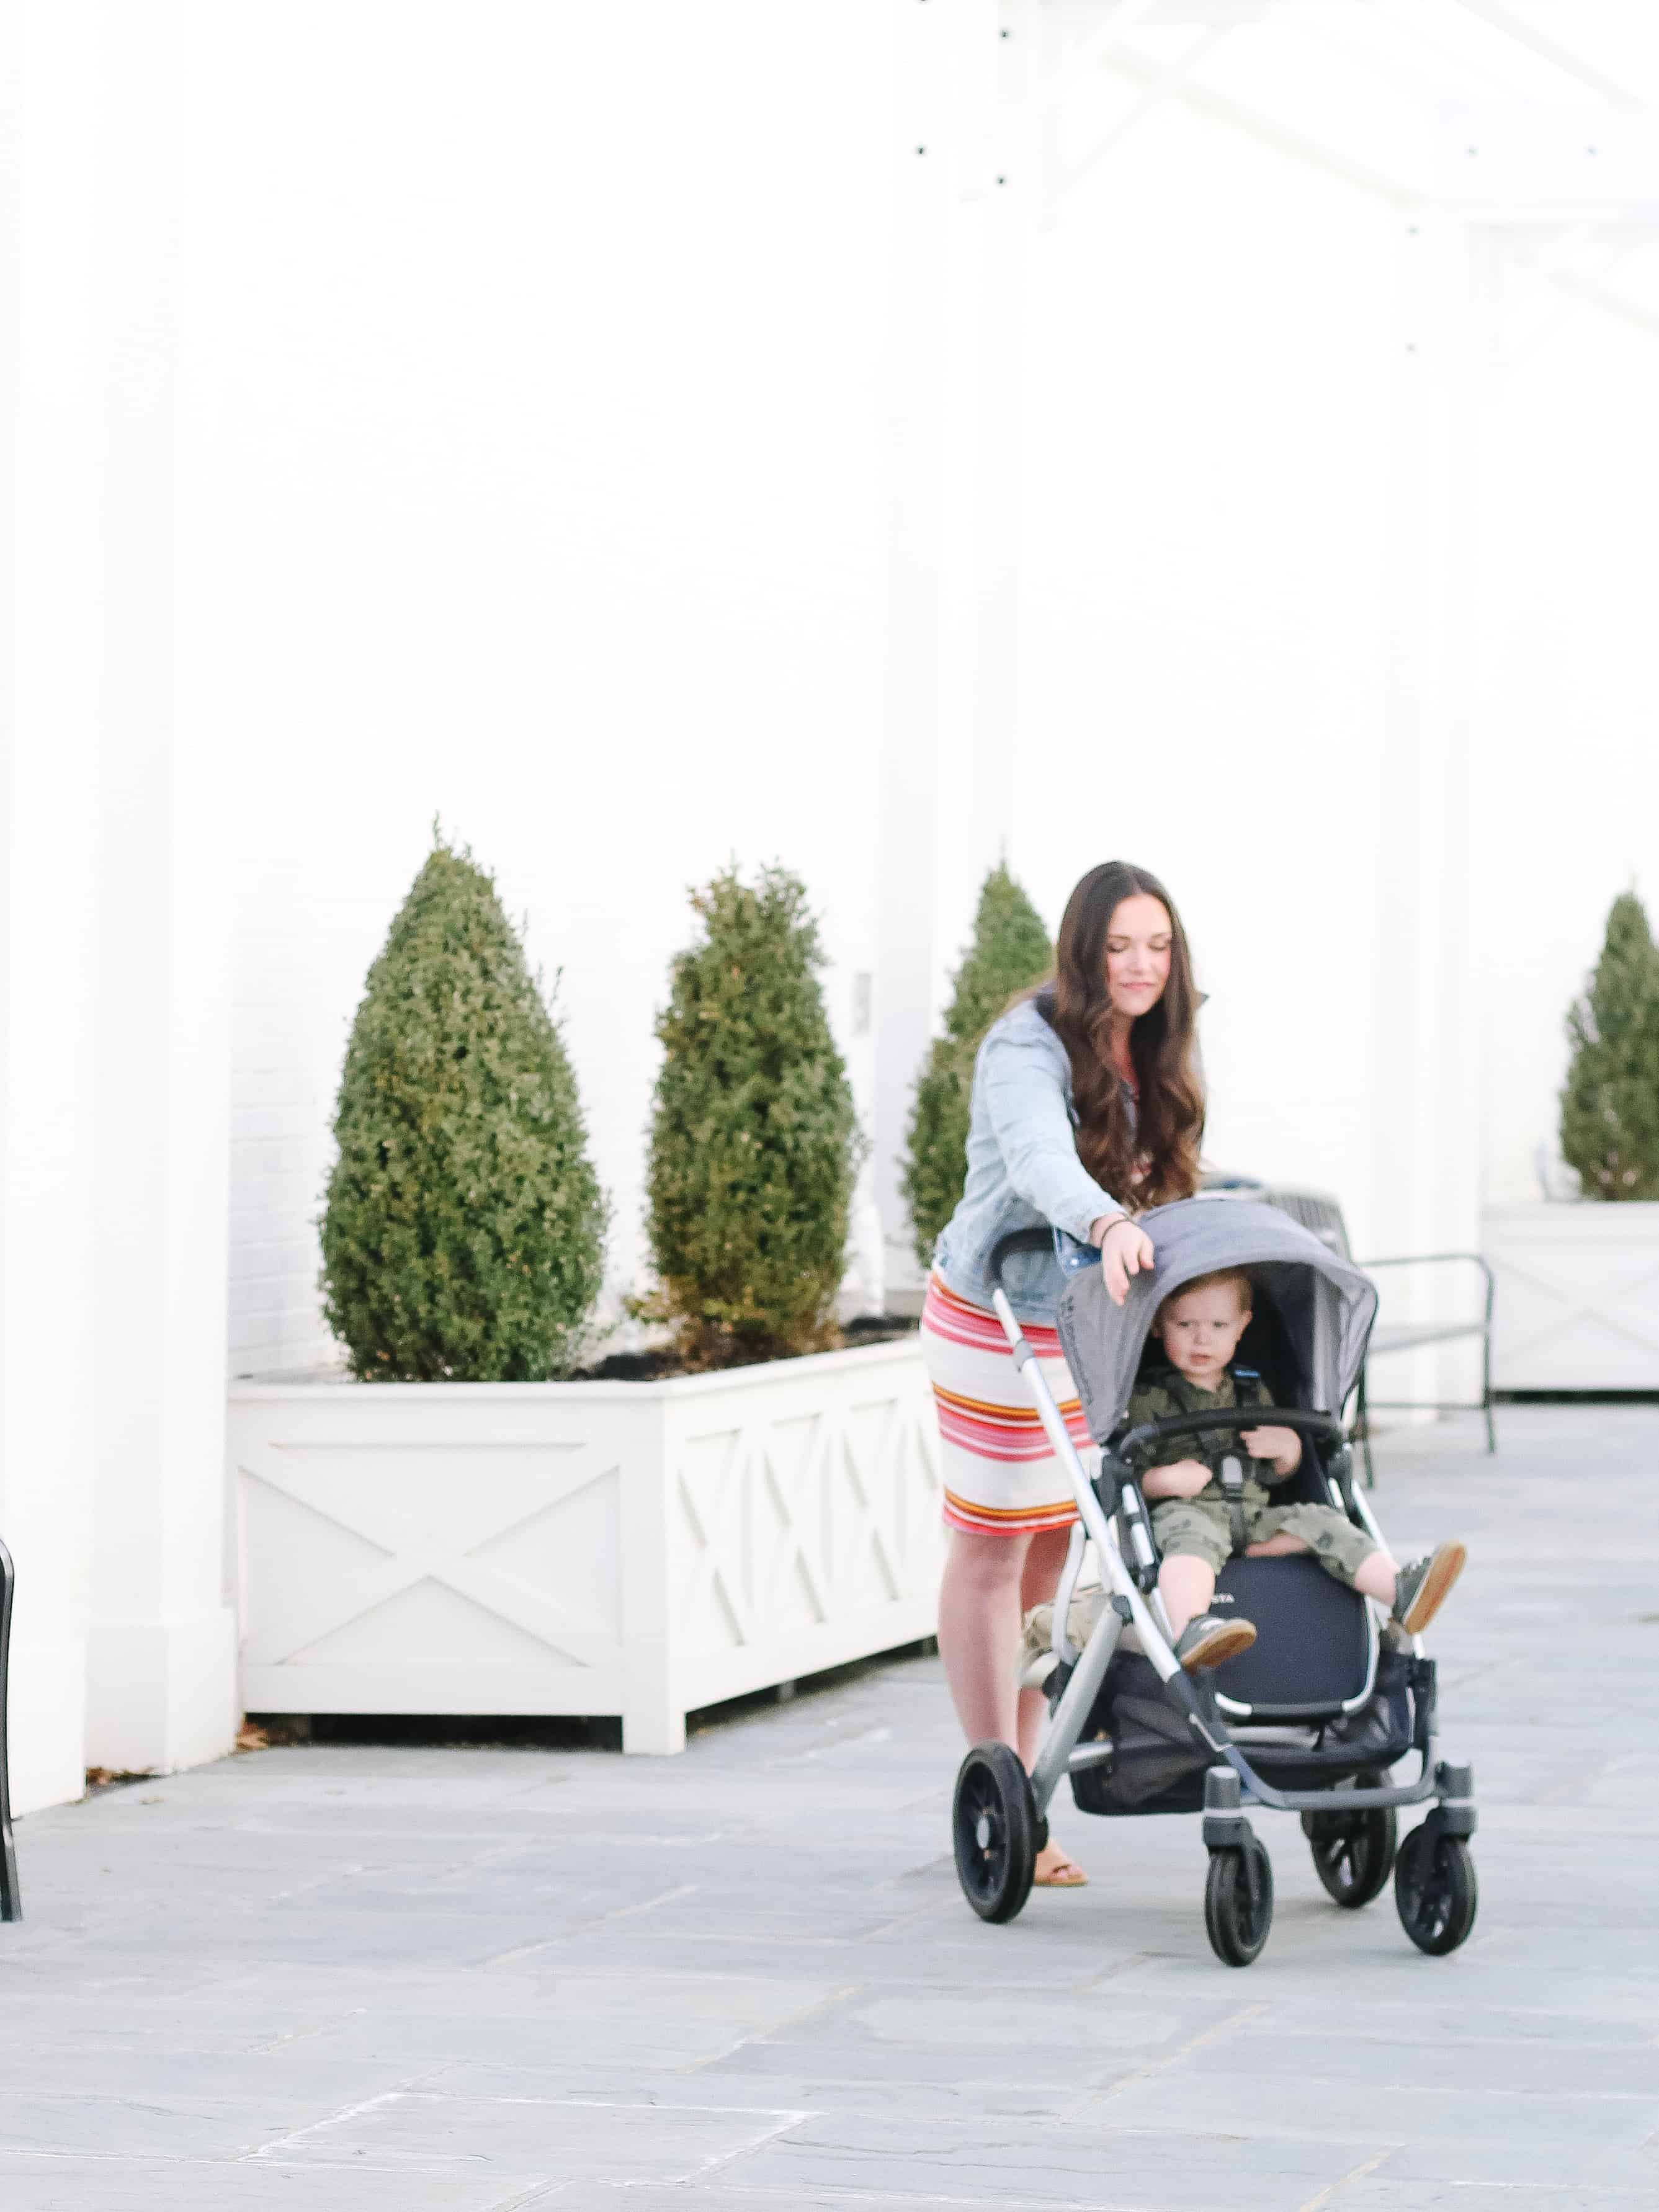
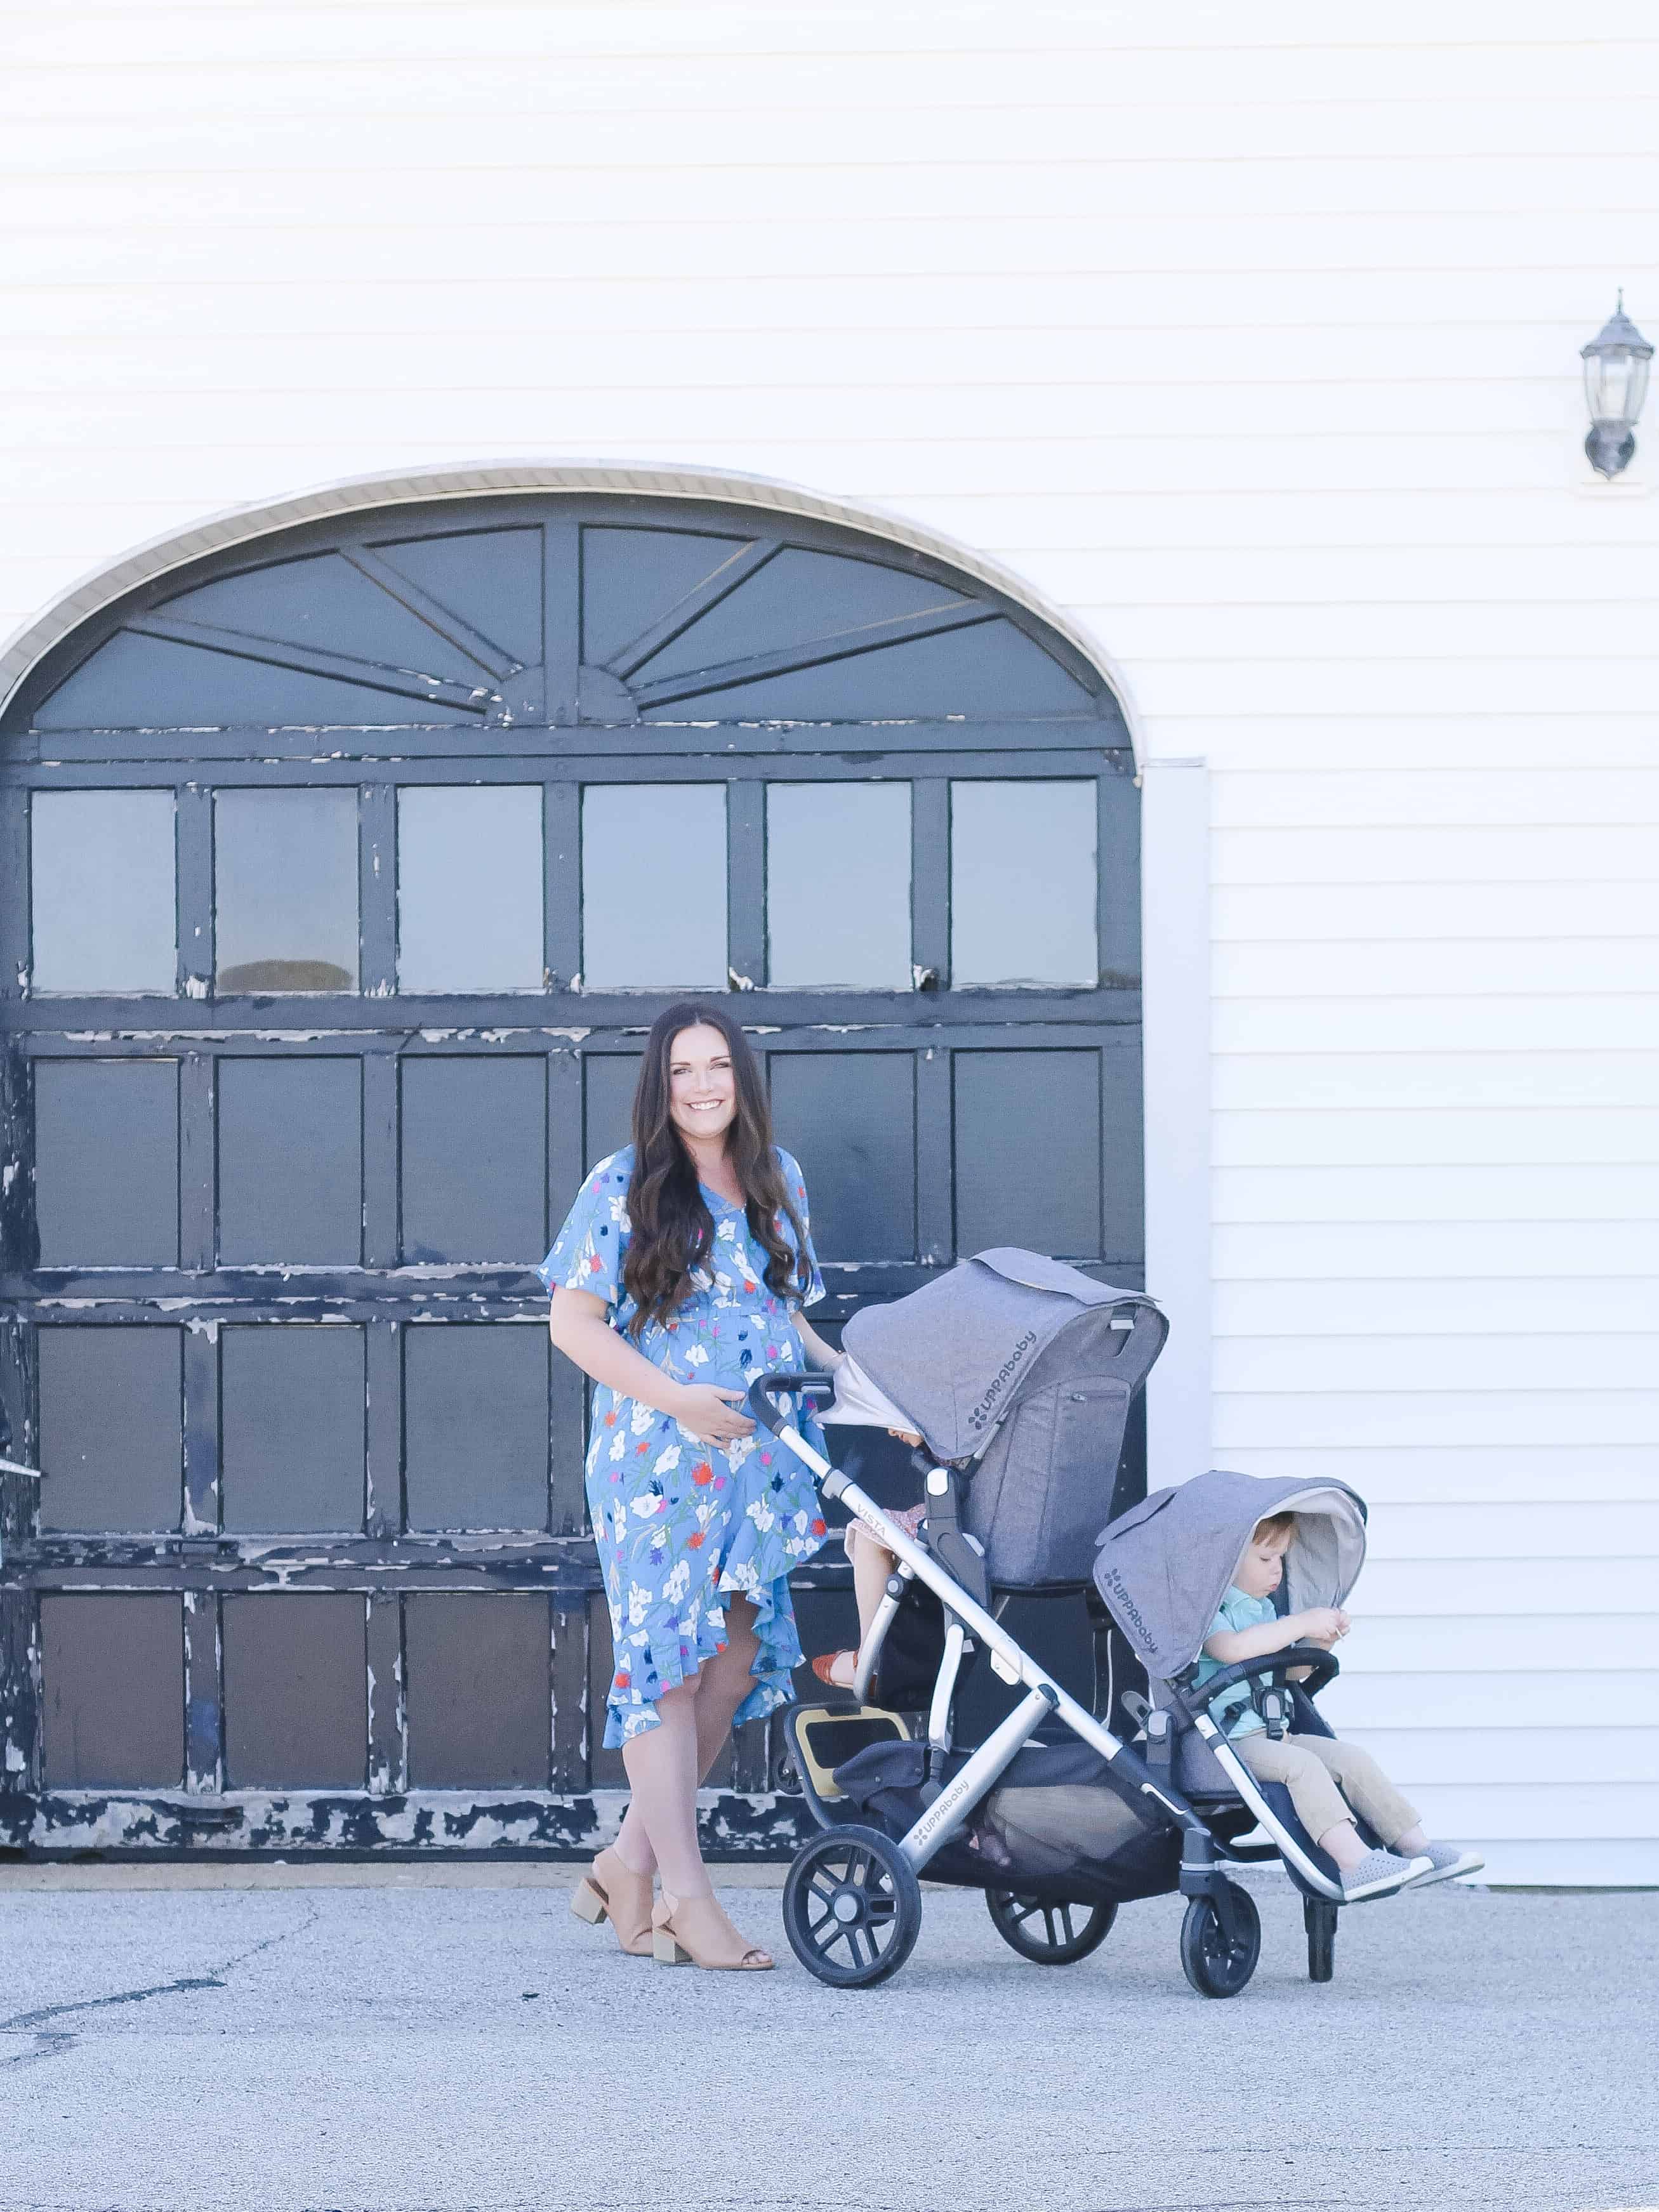
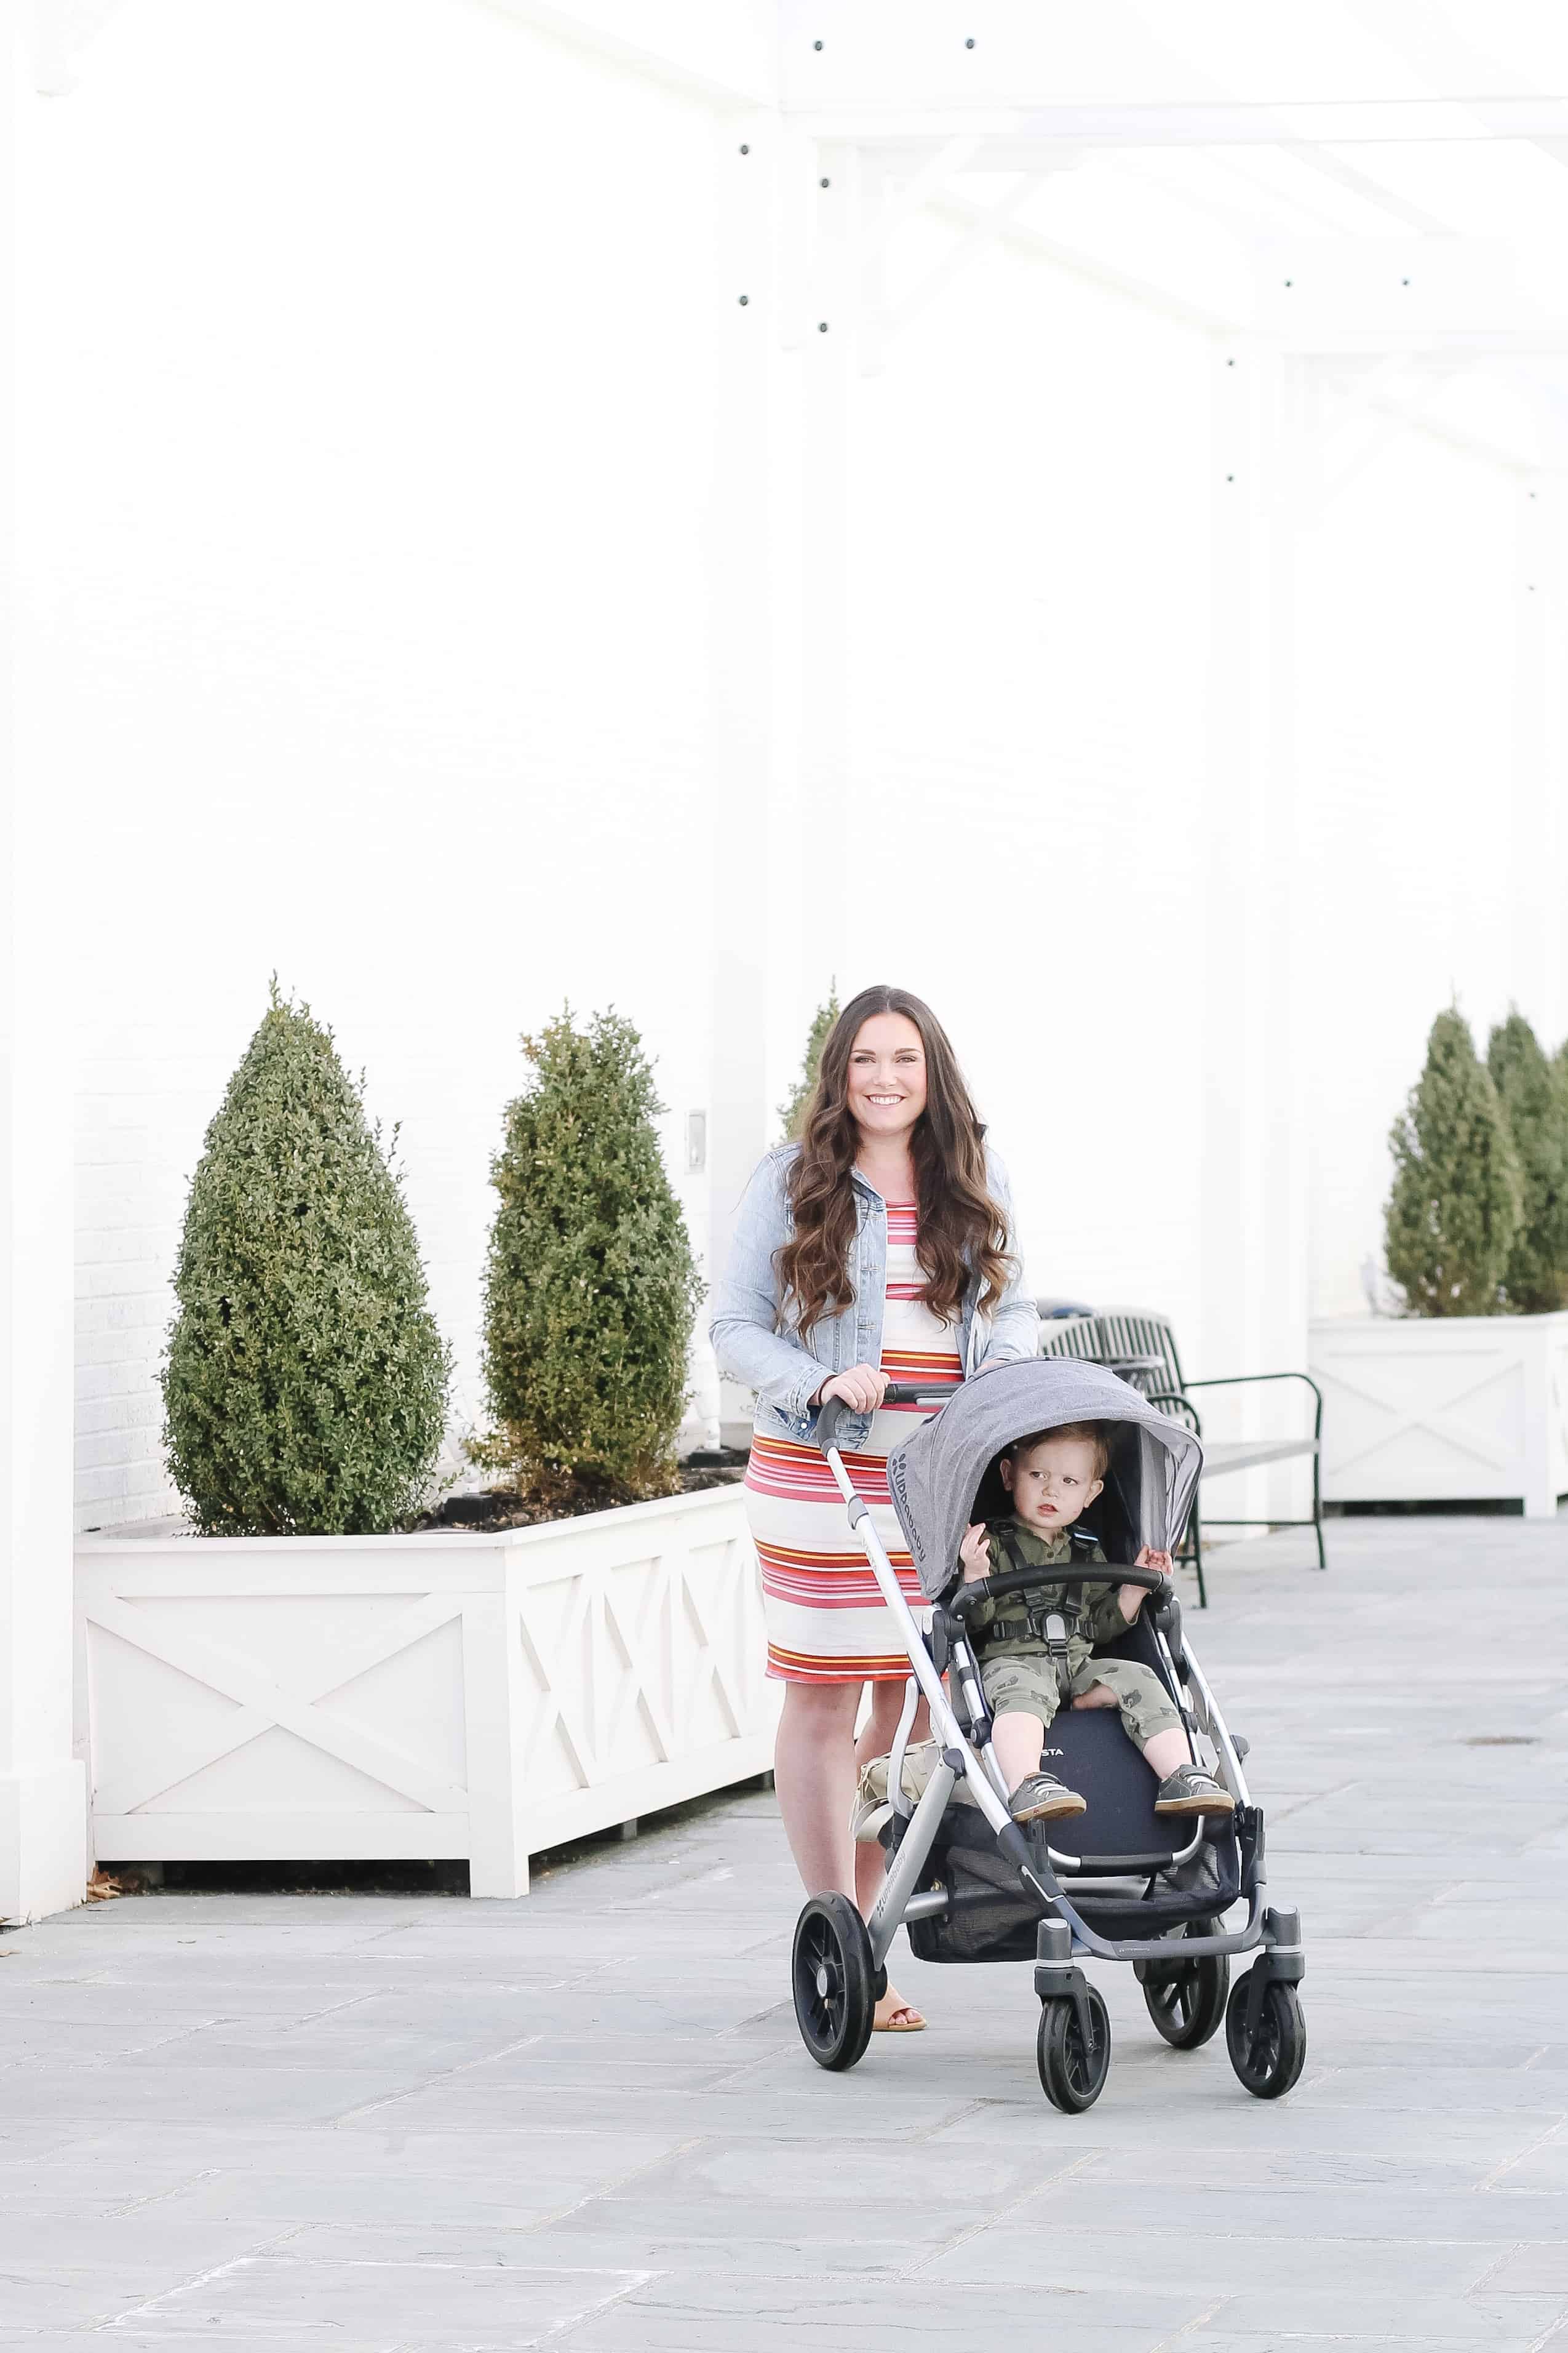
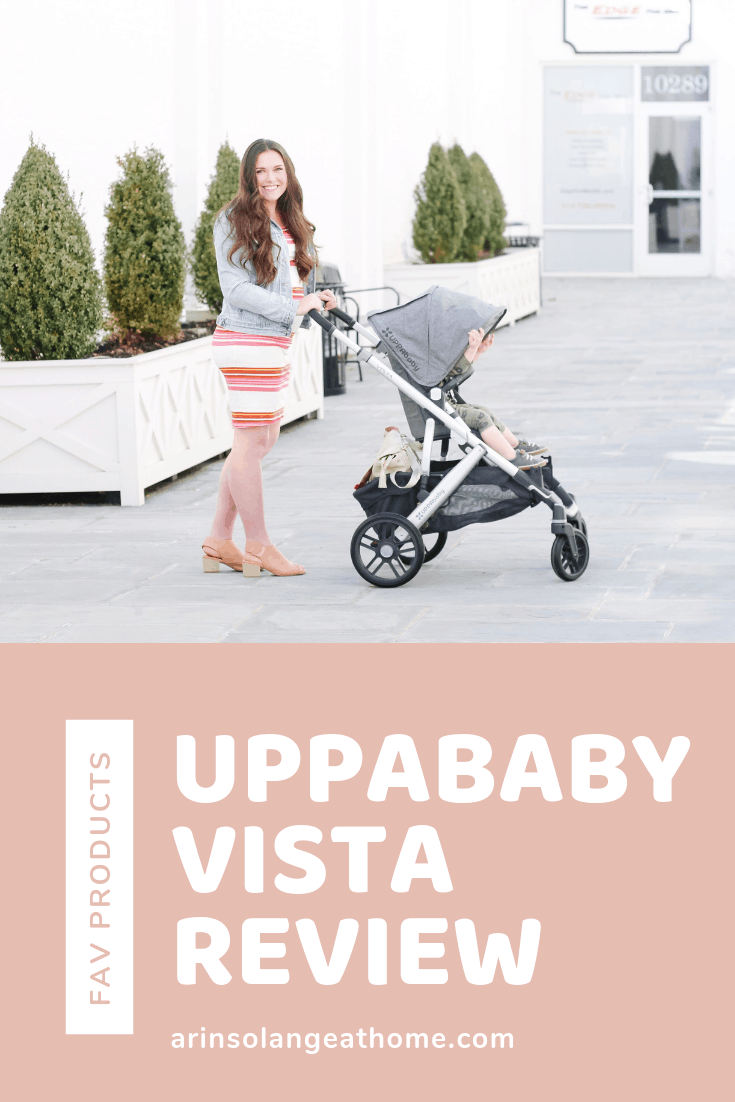
The Uppababy Vista stroller is by far one of the most popular strollers on the market right now, so I wanted to give my full review as a mom of 4 – who has tried them all!
UPPAbaby VISTA
I originally wrote this post when pregnant with my 4th baby and have since updated it after using it with her too!
I knew when I was expecting my 4th baby that I would need a double stroller. My third – Walker – would only be 2 and he is a WILD ONE, so I needed a way to get out with the both of them.
We have owned every stroller under the sun (probably slight exaggeration) in the past 7 years, but haven’t had a need for a double stroller for years, so had gotten rid of ours. When it came time to pick, the Uppababy Vista seemed like the logical choice since it was the hot stroller on the market.
In this post I will walk you through what we loved, what we didn’t love, and my overall feelings on this gorgeous stroller!
I am sure you gathered by the opening paragraph that my overall review, is that this stroller is TOP KNOTCH. But I also totally understand when you’re stroller shopping you are weighing so many things, so I want to walk you through some of the requirements we have when stroller shopping and WHY this stroller won us over as our favorite.
What made us Try it:
I won’t lie – I am a baby gear snob. I like high end, and I like pretty. I tend to think that typically baby gear is well thought out so the higher end items are worth the money. I also loved some of the accessories and features that this stroller were able to do.
I knew I wanted an option to use it as a stroller base with carseat only – thats how I use strollers the most when I have a new baby.
I knew I wanted a rider board option, and the UPPAbaby VISTA has a great one.
I wanted the seats to both be able to go either way!
Because of that it checked all the boxes and I was set on trying it!
What We Love:
When you’re stroller shopping I have a few thoughts on things that should be somewhat non negotiable, and I will talk to you about those things, but also want to share that I have this blog post talking about the UPPAbaby CRUZ that we also loved.
I personally think if you are expecting your first baby and think there is any chance you will add another baby in the next 2/3 years you would be best to get a stroller that easily converts to a double stroller, but functions normally as a single stroller first. That was our big thing when it came to the UPPAbaby VISTA.
Seat Locations:
Something super important that the UPPAbaby VISTA does that many strollers don’t, is that when you add a second seat (or if) the lower seat is in the front. Many strollers that convert to a double stroller add the second seat lower in the back, and it’s just not as functional.
Most children don’t want to stare at their siblings back, and will get fussy in that lower seat. So the position of the 2 seats is the number one thing we love about the UPPAbaby VISTA.
Seat Positions:
Something else that I think is super important is finding a stroller that allows at least your one child to face you. The seats on the UPPAbaby VISTA are easily turned inwards towards the parent or forward, which allows for them to work well in so many situations. – like I said, this was huge for us, and something we LOVE about this stroller.
Basket Size:
Incase you haven’t had your first yet – I am going to let you on to a secret. You will now never leave the house without everything under the sun. Basket size makes or breaks a stroller. I don’t like to have to wear my diaper bag all the time, and the UPPAbaby VISTA basket is not only HUGE, but it has cup holders and slots in it to make it functional in so many ways. This is hands down one of the biggest WINS of this stroller.
Accessories:
The last BIG drawing card for me with the UPPAbaby VISTA (and the CRUZ – we had it on that one too and fell in love!) is the PiggyBack Ride – along board. If you have more than one child this board is A GAME CHANGER. I share about it all the time, and I think I have converted more people to this feature on the stroller than anything else on my blog.
The rider board is not necessarily only found on UPPAbaby strollers, but UPPAbaby has perfected it. The ease of folding it and the size/where the child stands allows you to still push the stroller easily, and when its not in use its not in the way, but also doesn’t ruin access to the basket.
There are several other amazing accessories you can check out on their page here too.
Some Things to Consider as ‘Negatives’
Overall this stroller is still a win for me – however I will say we are currently using something different – I will talk about that at the end and link to a review incase you’re interested.
My middle two kids are REALLY TALL. Like I am talking off the charts tall. The lower seat wasn’t great for either of them, and at 4 my daughter was too tall for both (her head didn’t fit under the canopy). That for me found it to be a bit of a negative.
Folding it down as a double is VERY bulky – honestly this is pretty much always the case, but it is still something to remember.
Overall those were my only negatives!
Major Considerations in Any Stroller
Overall when you are buying a stroller, remember that there are few things that you will use most days of your Childs life. A stroller is one of them, and will either make outings easier, or a hassle. UPPAbaby has worked all the kinks out and made a flawless design that is both user friendly for your kids and for you as a parent. I always say if nothing else, go push it around at a store and you will be sold.
It is so easy to push and maneuver, and even with the weight of all three of mine on board at times it still remains an easy push! If you have more questions on the UPPAbaby VISTA stroller be sure to leave me a comment and I will do my best to answer, or direct you to someone who is more equip, or as always, DM me via Instagram!
Other Posts You’ll Love
Like I said above – we have actually switched strollers now, and one post you may love is this review of the VEER Wagon – We switched for a couple of reasons including the ease of fold and the fact that Walker didn’t want to sit in a traditional stroller anymore. That said – it is worth considering as your double stroller.
Hopefully this helped you decide if the UPPAbaby VISTA is the right choice for you. If you have any questions or comments leave them below, or DM me on Instagram (@arinsolange). Best of luck in your stroller shopping.
I have been trying to round up this blog post for you all for so long, and keep forgetting. I have our whole house painted in neutral colors, and get asked a lot what the best modern neutral paint colors are. So in an effort to show you a good side by side of the colors I have chosen to use, as well as where they are in the house, check out this blog post on the paint colors in our house!
This Post Contains affiliate links
Best Modern Neutral Paint Colors
Okay, when I say best – these are the best of the ones I have used. I try to make paint decisions somewhat quickly and most of the time they pay off. I will also talk a bit about painting rooms in this post too to give you my favorite tricks ( hint – buying a paint sprayer will be the best choice you’ve ever made).
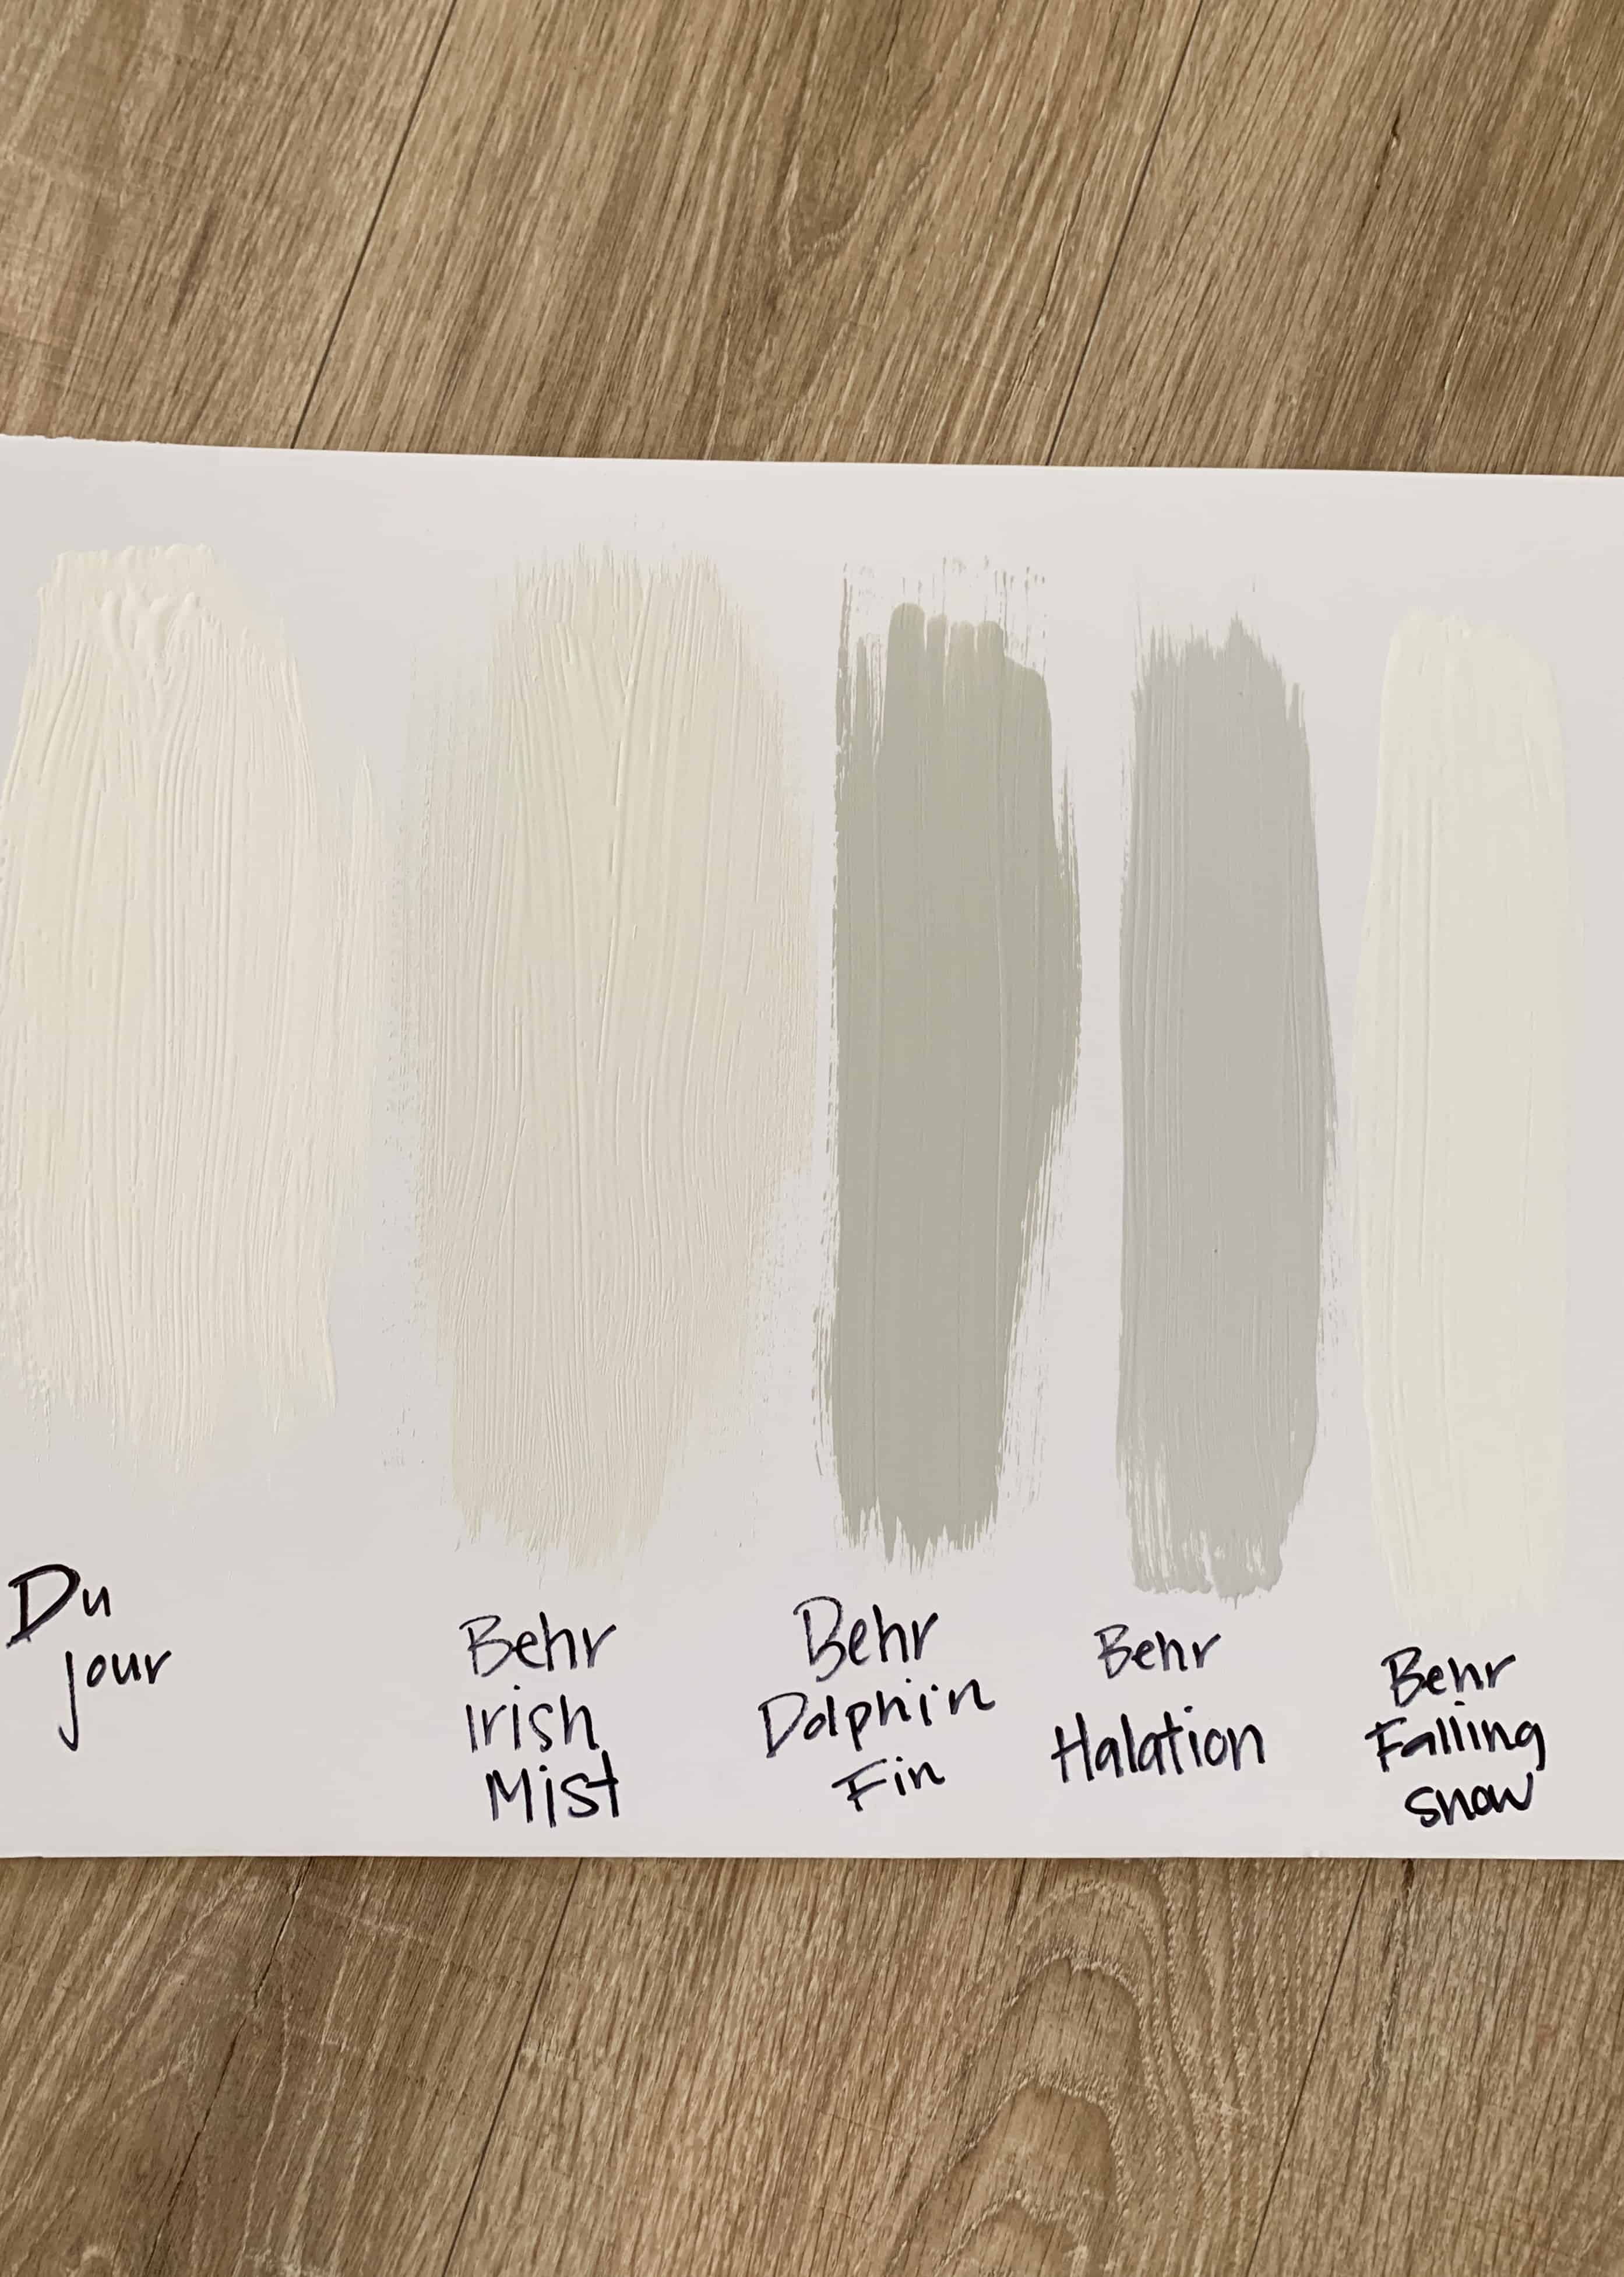
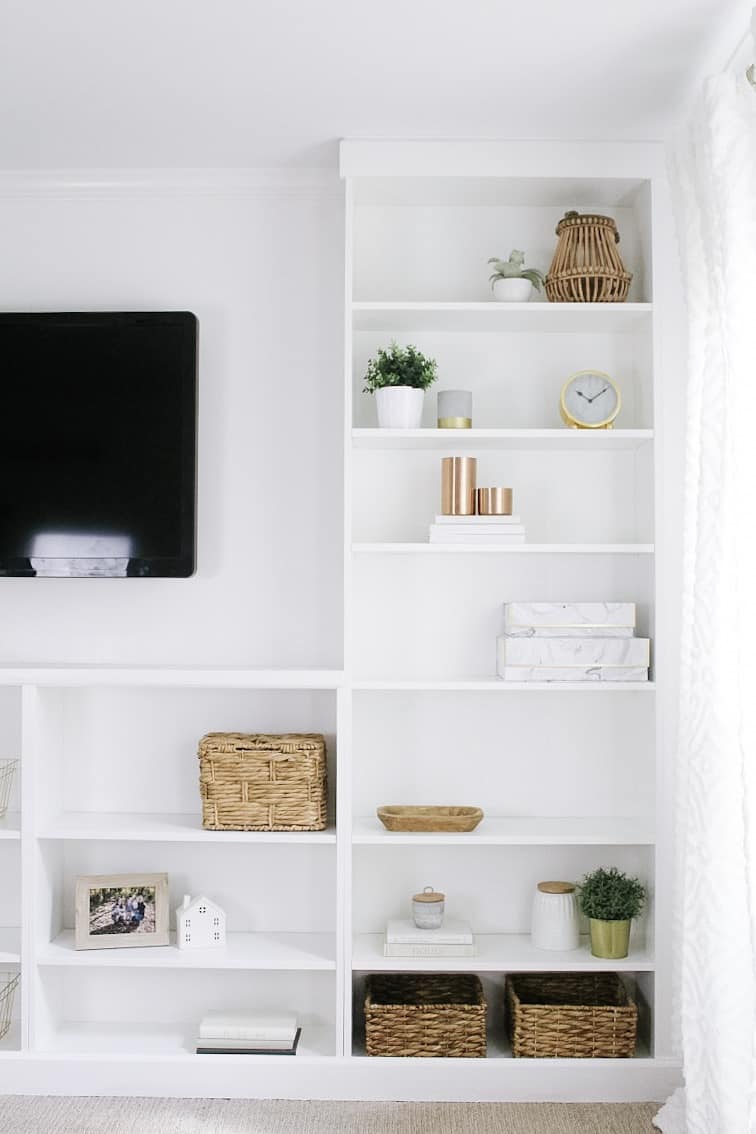
When we moved into our house I decided to paint basically the whole thing Behr – Irish Mist because I had painted our last house the same color and loved it. It is technically a grey, but as you can see from the swatch it is barely grey. In our home the Main floor other than the dining room and office, upstairs hallways, master bedroom, and kids bathroom are all painted in this color. Check out the photos below to see how it looks in different spaces.
Okay so this is I believe a Valspar paint color, but I get it filled with Behr paint at Home Depot out of convenience. When we moved in the previous owners had painted a couple of things with this color, so I went with it and love it. Du Jour has been used in the house in several ways – one is the trim. Most all our trim has now been switched to Du Jour (as well as doors and such). I painted the fire place in Du Jour as well as the built ins. The Dining room, office (and office built ins) are all also in Du Jour. Its a great white that isn’t too stark!
The built in’s and fireplace are painted in the Du Jour
So I don’t have any examples of Dolphin Fin at this house, but I used it a lot at our last house, and clearly just had pregnancy brain when I painted the boys room a couple of years ago. In fact – when I couldn’t find the color of their room I assumed this was the color. Its on the same color card as Irish mist, so compliments well.
Behr Halation
This was actually the color I ended up going with in the boys shared room. It is by no means a dark grey, and I love it for a bedroom color.
Last is Falling snow – I picked this before I had painted the dining room or office, and before I thought to use the Du Jour color that I had previously only used on other surfaces than walls. I really like it and it also is a great white that isn’t stark. This is the color we painted our Master bathroom
Okay and now for a few tips on painting before you head to the store to get your neutral paint! My number one tip is – buy a paint sprayer. If you will be painting very many rooms over time it will save you so much money on supplies. We painted this outside swing set in one weekend with our paint sprayer. We personally use this one, and it is amazing. It saves on paint and time both. We typically cut the walls in with a brush then spray the rest of the room!
I also always get asked on sheen for our walls. I probably have an unpopular opinion, but I use flat. I like the look of flat paint and it’s the easiest to touch up, plus I feel like you can clean it with a magic eraser super easily!!
Let me know if you have any other questions or need other suggestions. I didn’t include Avé’s bedroom color because it is a super light pink – however is amazing, so let me know if you need a suggestion in that arena! I also didn’t include our basement color because it isn’t my favorite (too beige for my normal) but I can still get you that!
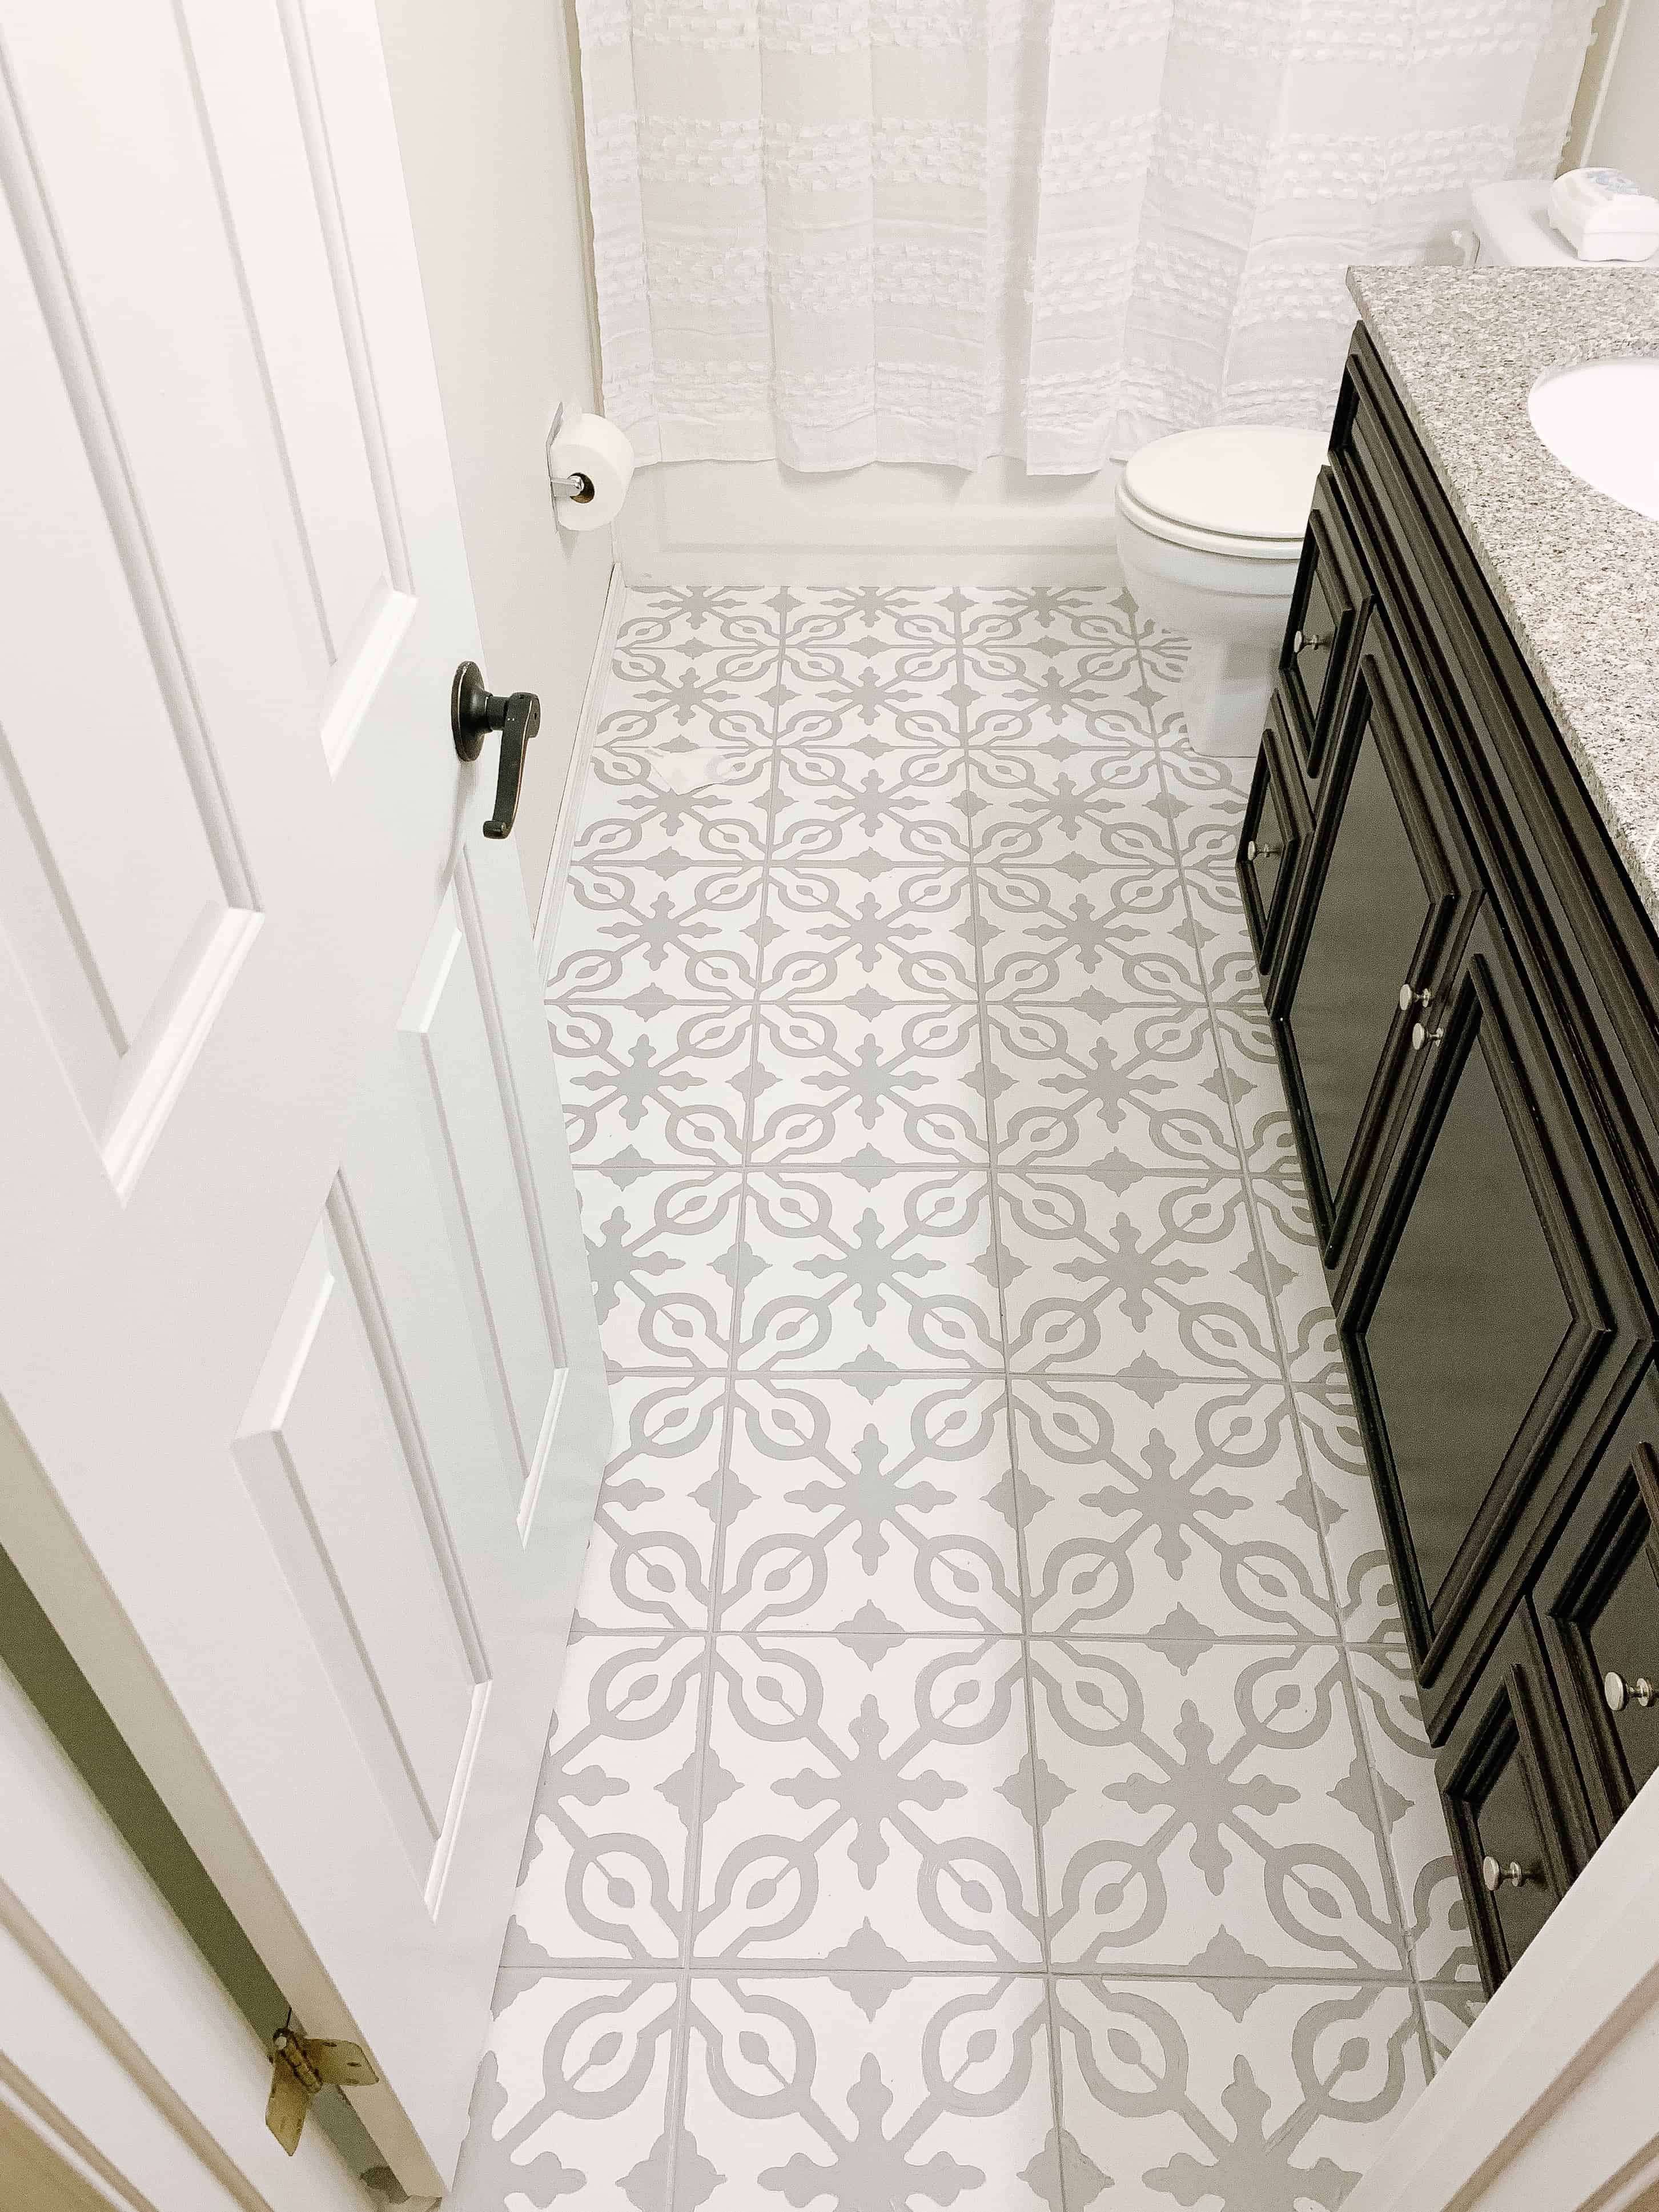
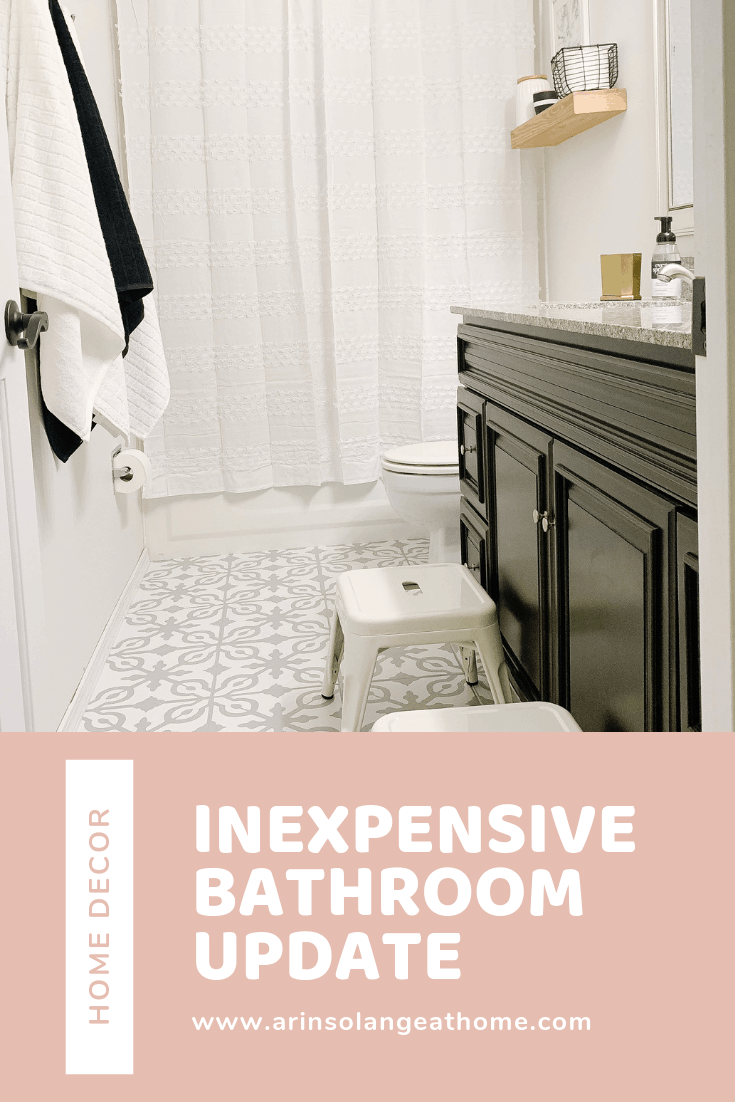
My inexpensive ways to update your bathroom post is finally ready for you all! Incase you missed it, the biggest, and best part of this bathroom update was the painted tile floors that I posted about HERE. Aside from that I did mostly small simple changes that still added up to make a huge difference. I also really wanted to focus on ways to make it kid friendly and functional, so I will talk about some of those choices too.
This post contains affiliate links
Inexpensive Ways to Update your Bathroom
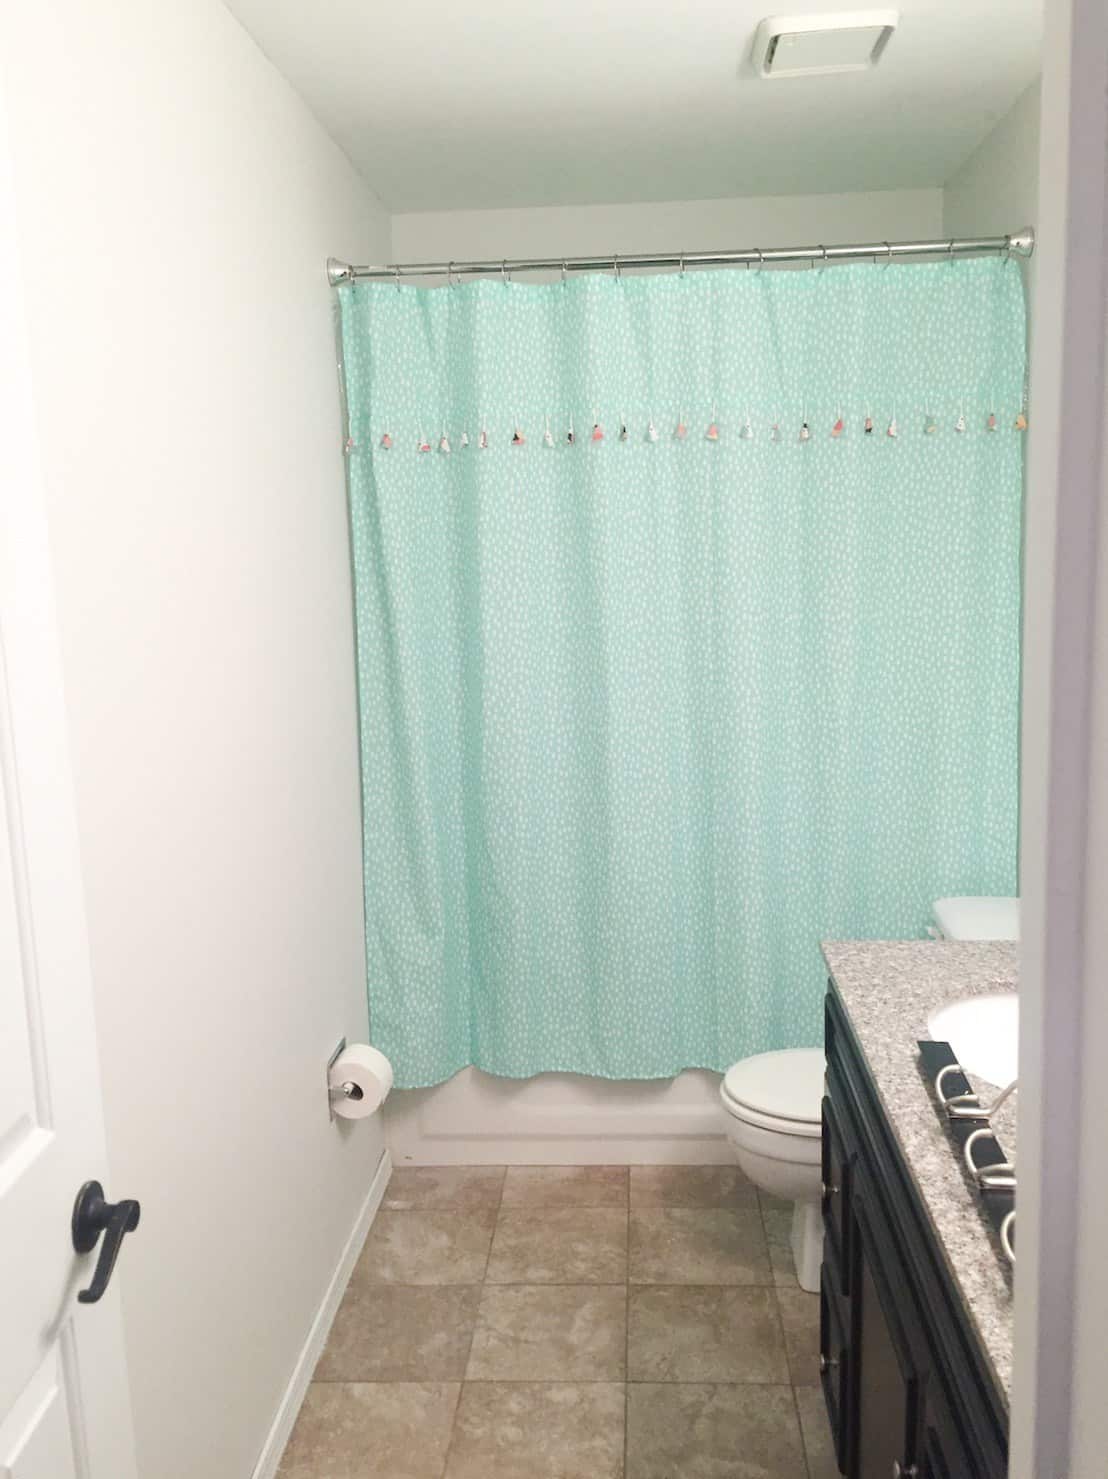
BEFORE
When it comes to updating a bathroom there are some easy things that automatically will make huge changes. Paint is the number one. If you ever need to update a room paint will be your biggest bang for buck. I actually painted this bathroom this very light grey when we first moved in (it was previously a purplish beige). At that time we also took down the large builders grade mirror and hung 2 matching mirrors I already owned. I don’t know that they are the mirrors I would pick if I were doing this bathroom for a longer term room, but for the time being I left them alone.
Paint was also used like I stated above to change the floors which made a WORLD OF DIFFERENCE in this room. It was a $75 project that took this room to a whole new level. The last thing I painted in this bathroom was the shower curtain rod. I love the look of black hardware, so painted the previous rod black during this transformation, and love the pop it gave to that space!
To see how Paint also transformed our master bathroom when we painted the cabinets check that post out here!
Purposeful Accessories
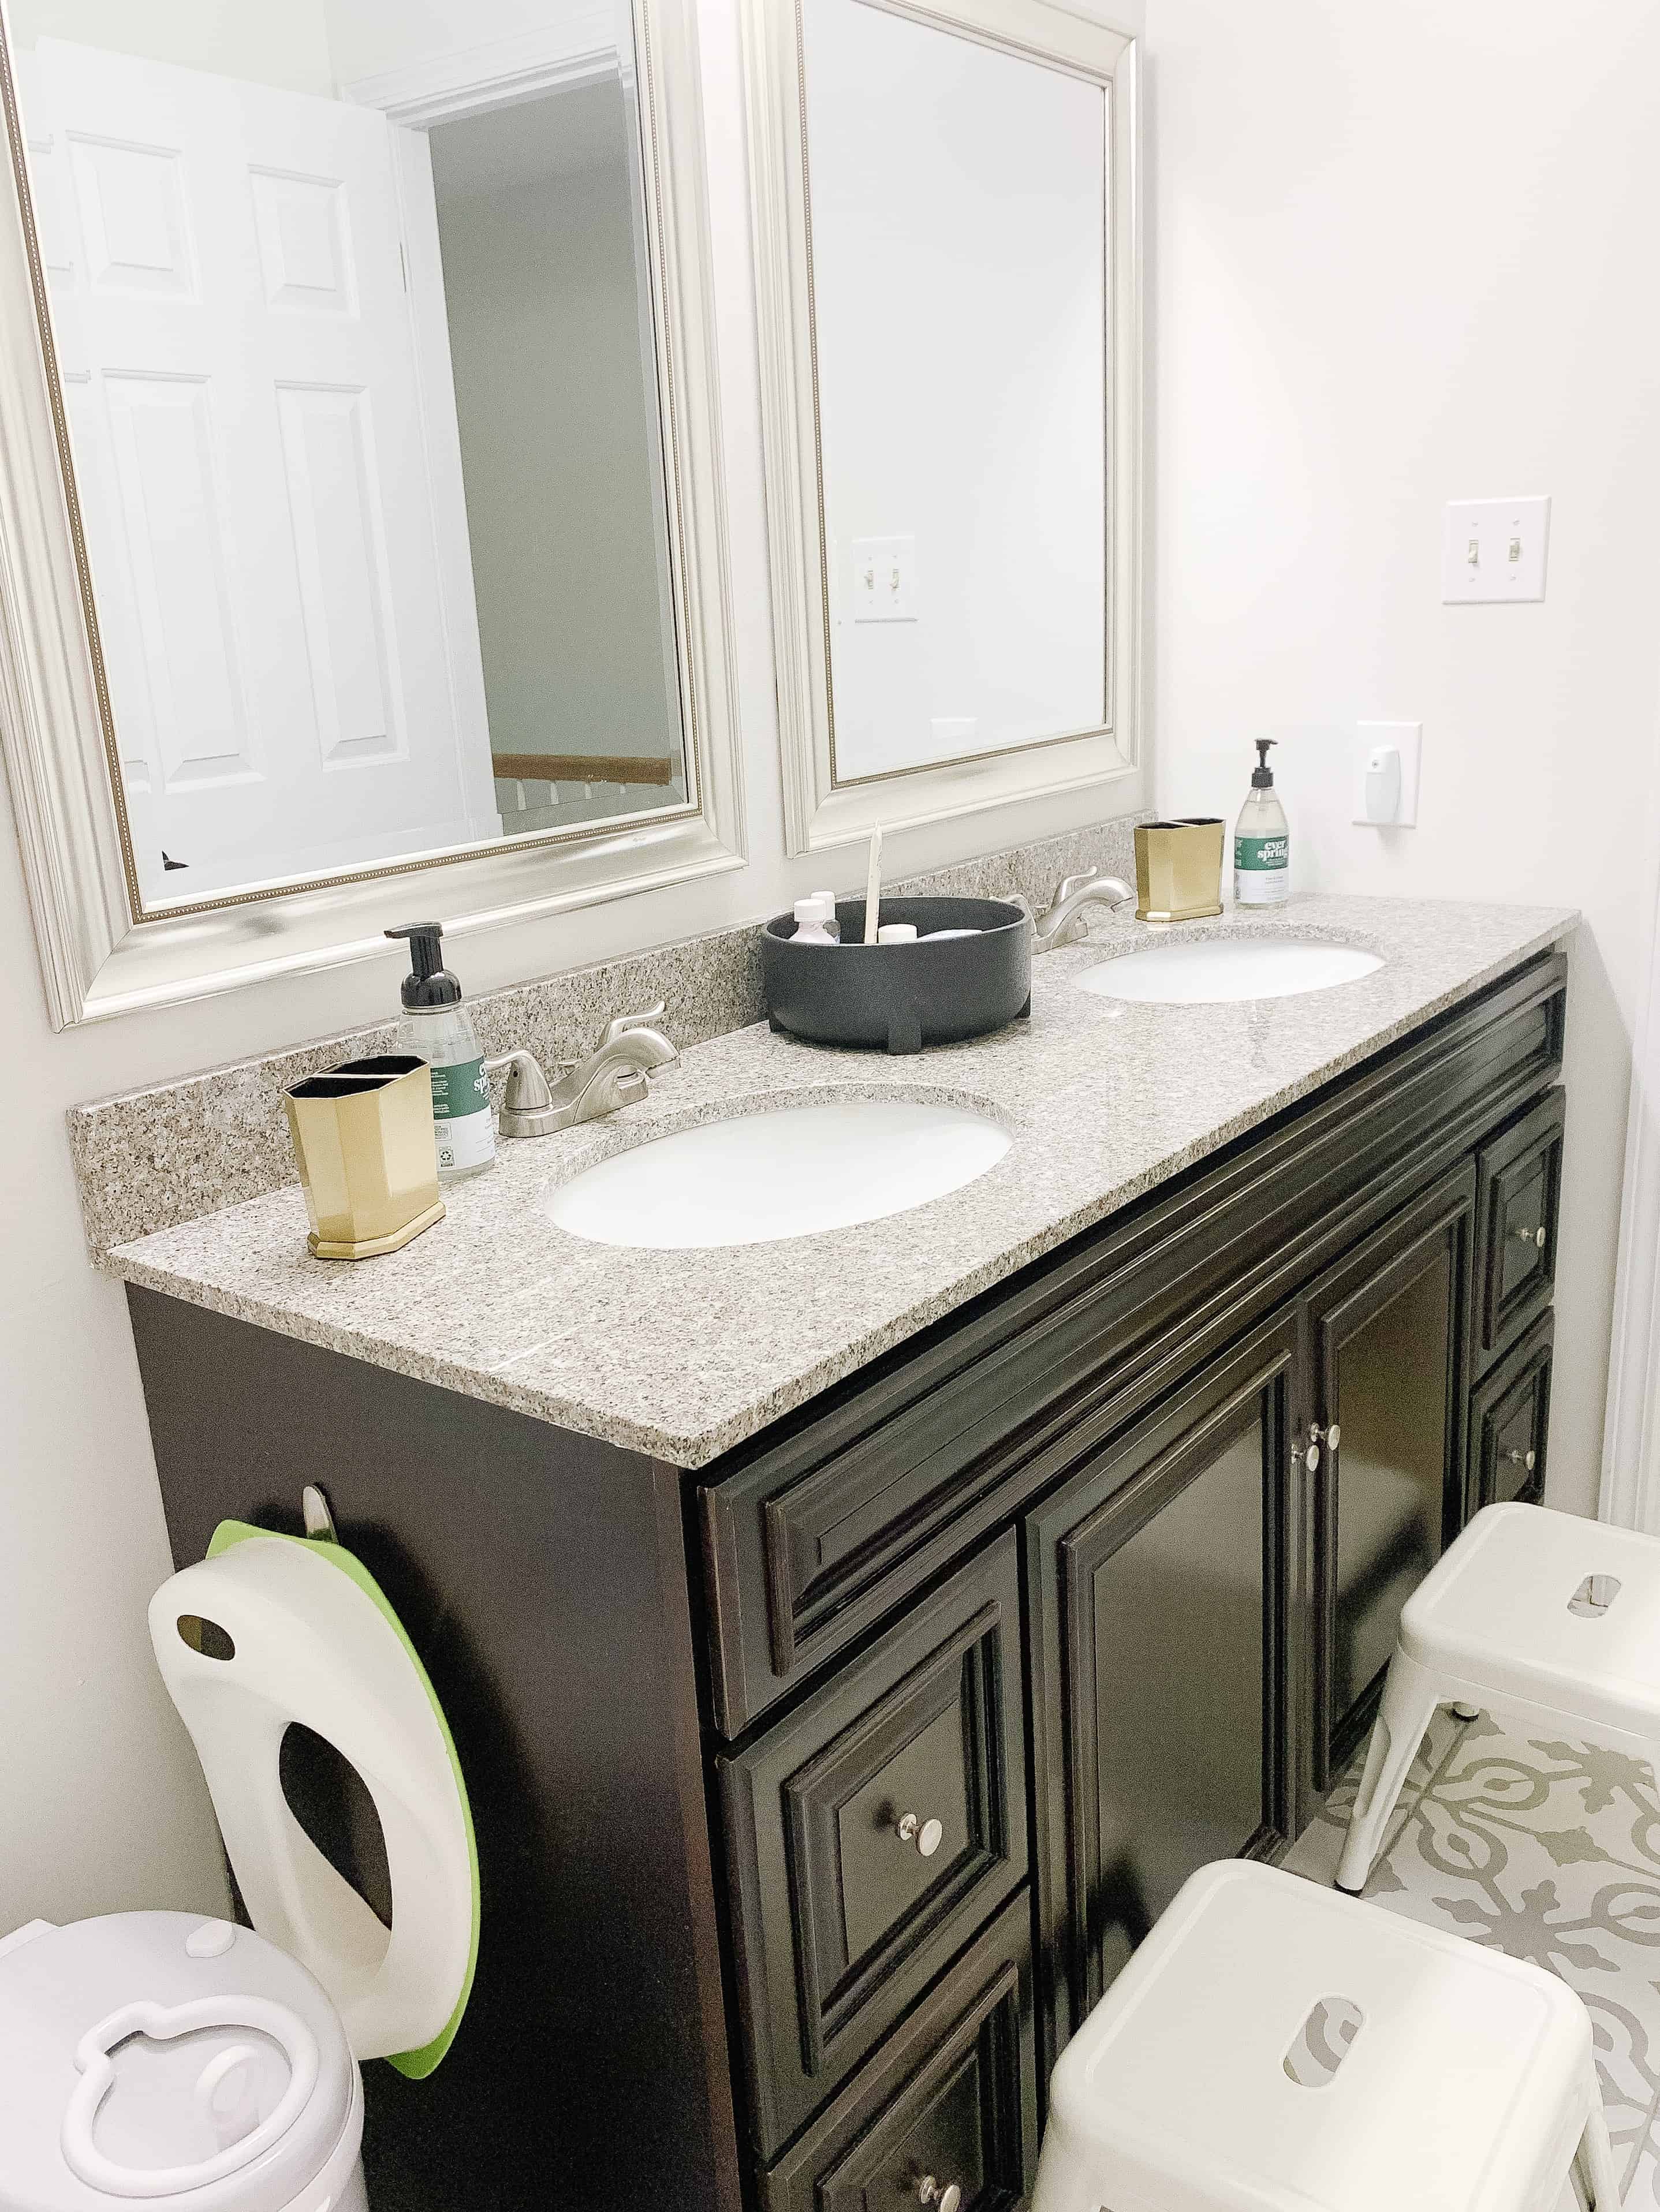
This bathroom is for my 3 (almost 4) kids ages 2 – 6. So when it came to accessories I was VERY conscious of how things would function. Before I talk about each item I purchased and why, one thing to keep in mind is that I went super neutral. I have leaned in the past few years that kids leave so much junk around and decorate with so much blue toothpaste, that a simple neutral bathroom is the best way to keep things from looking cluttered!
Accessories I purchased:
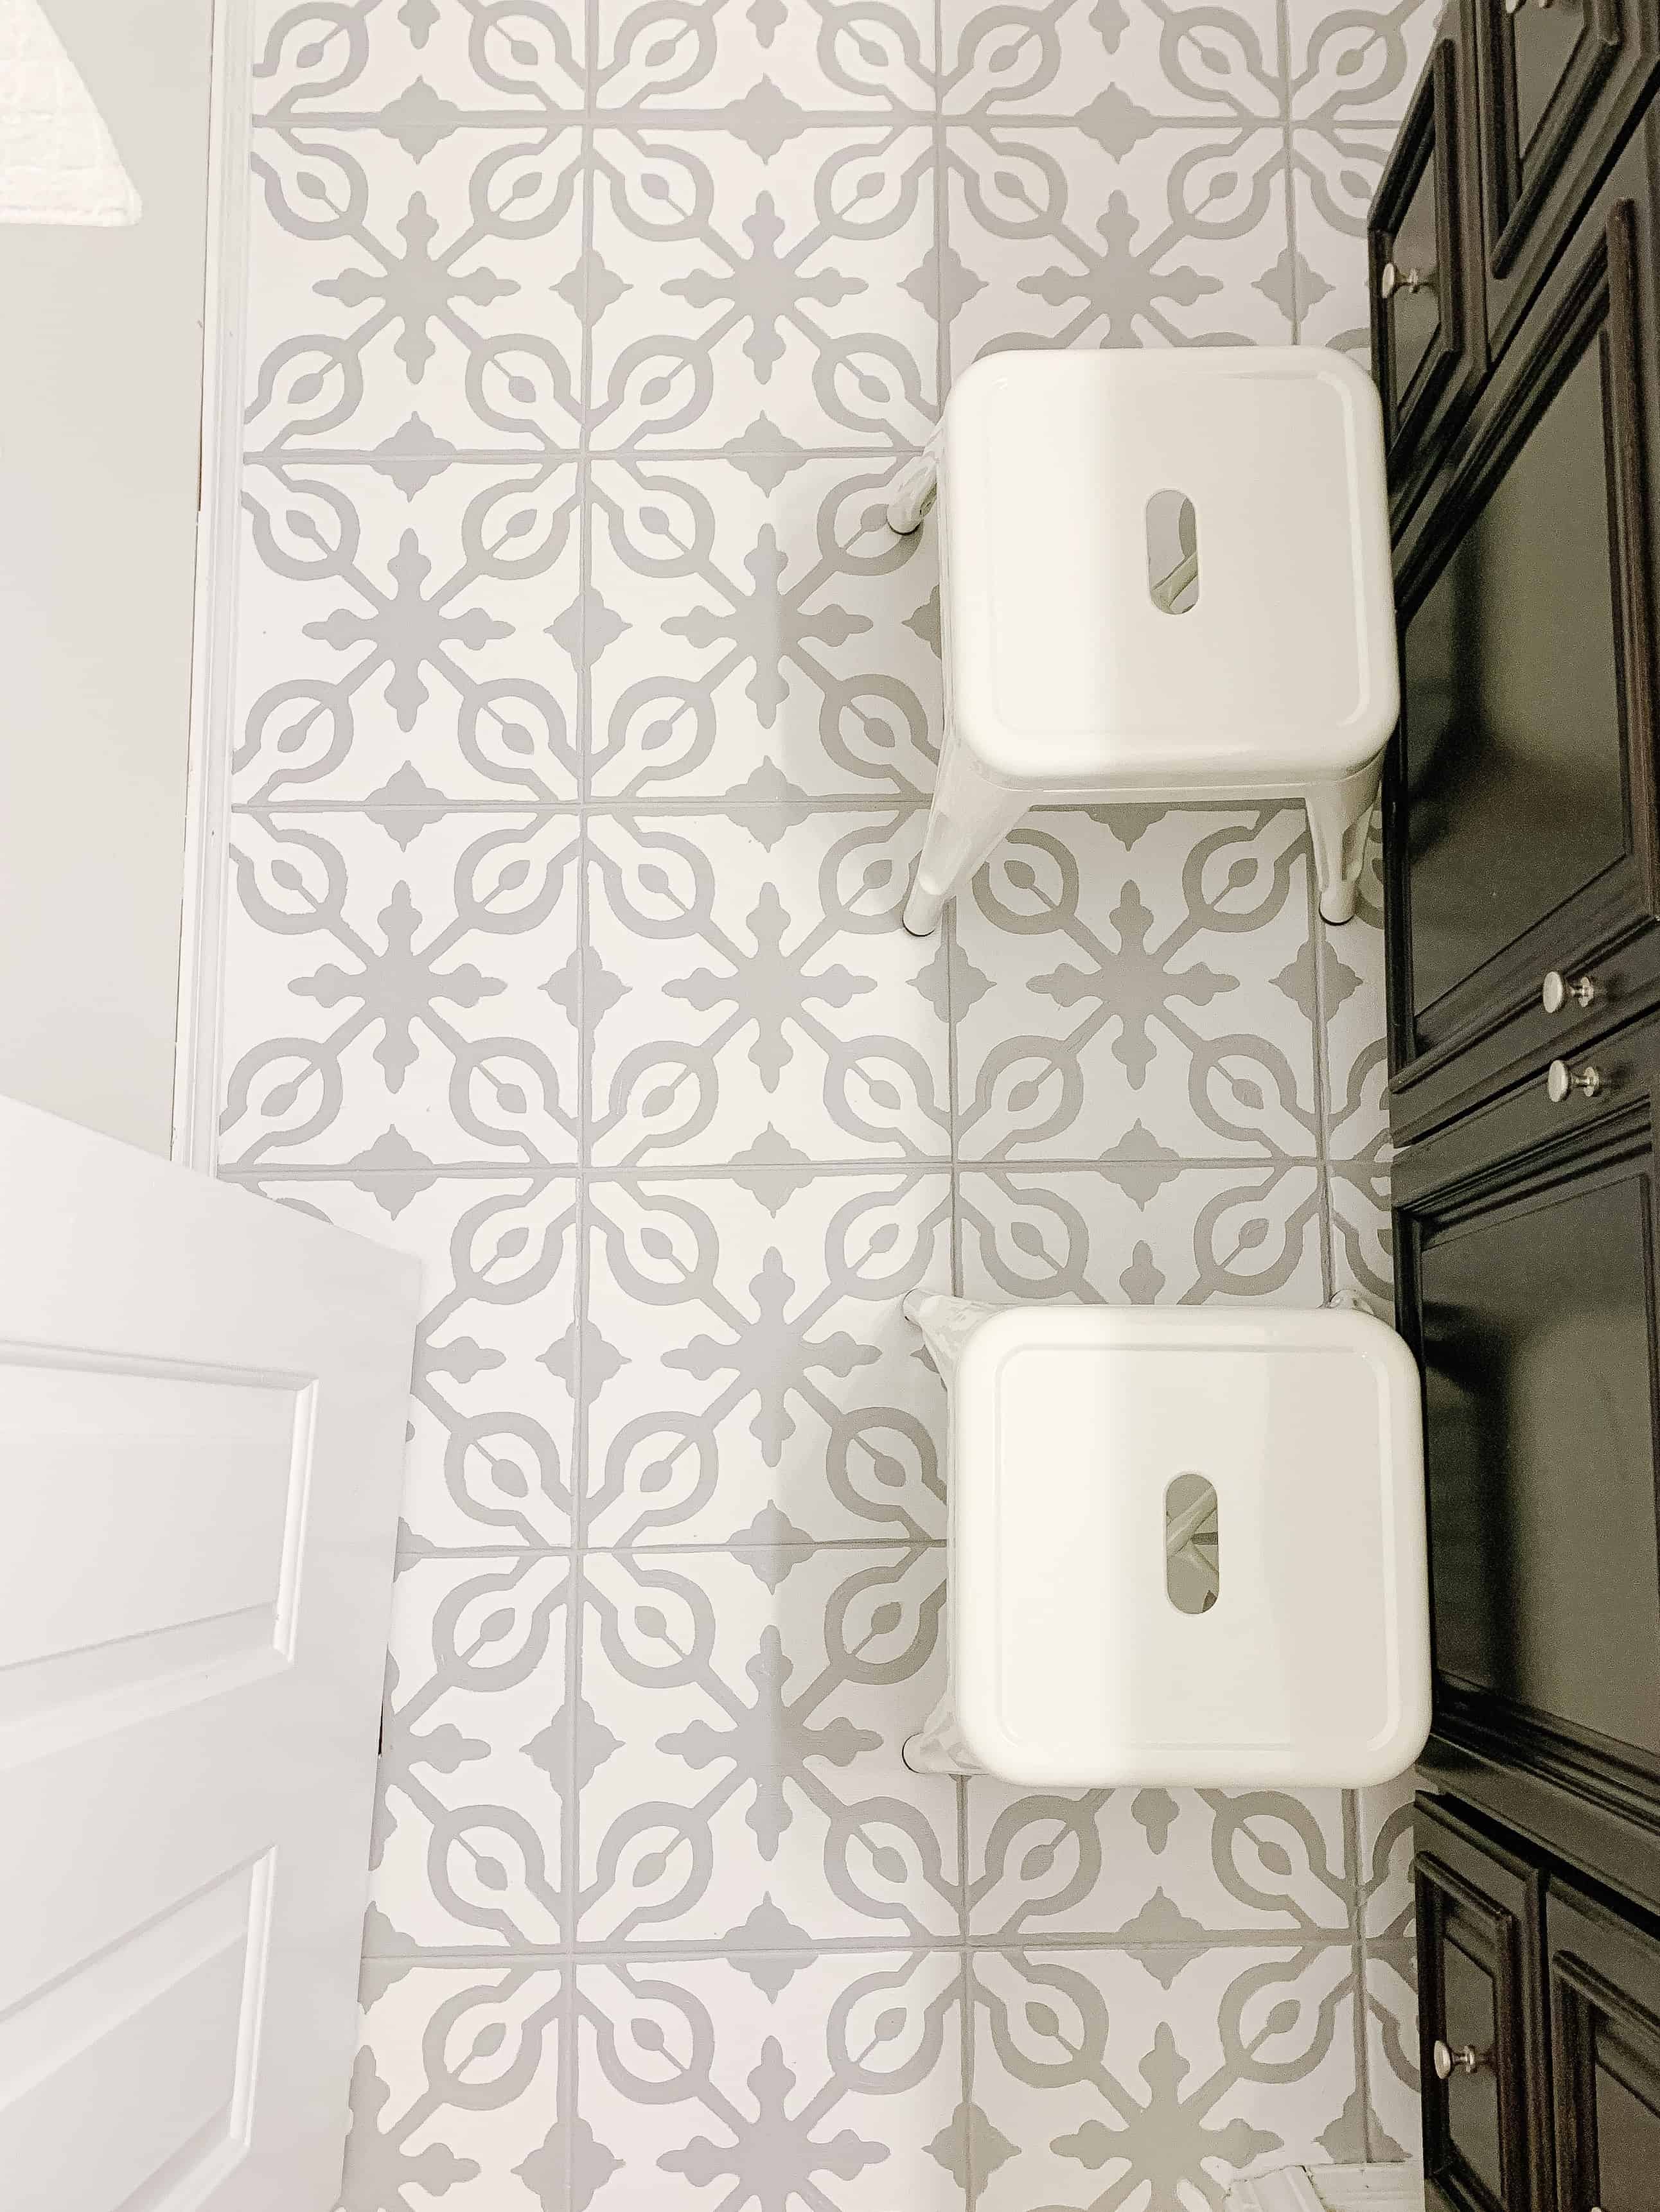
First up was new step stools! I went with this two pack because they don’t slide around a lot so aren’t noisy, which was HUGE for me. Our last stools were really noisy. I also went with 2 of the same because I don’t want the kids arguing over stools or needing more than 2. These do stack so eventually if I did get more than 2 I could stack them for storage which I love.
Next is the black low profile planter. – my husband so kindly called this a cauldron haha. I previously had a cake stand in the middle of the countertop, but decided to do something that kept things a bit more concealed. When it comes to a kids bathroom it makes sense to leave certain things out. Maybe its vitamins, or a current medicine for allergy season, but regardless, my suggestion is to make a designated space so that when ‘stuff’ is left sitting out it has a place and seems more purposeful. A tray would also work well for this.
Toothbrush Holders – Okay this seems like a no brainer BUT it wasn’t. It was actually hard for me to find some that fit a few things. One was I waned them to be able to hold electric toothbrushes. Two was they couldn’t be glass or breakable at all. I knew the kids would knock them down frequently so wanted something that wasn’t breakable at all!
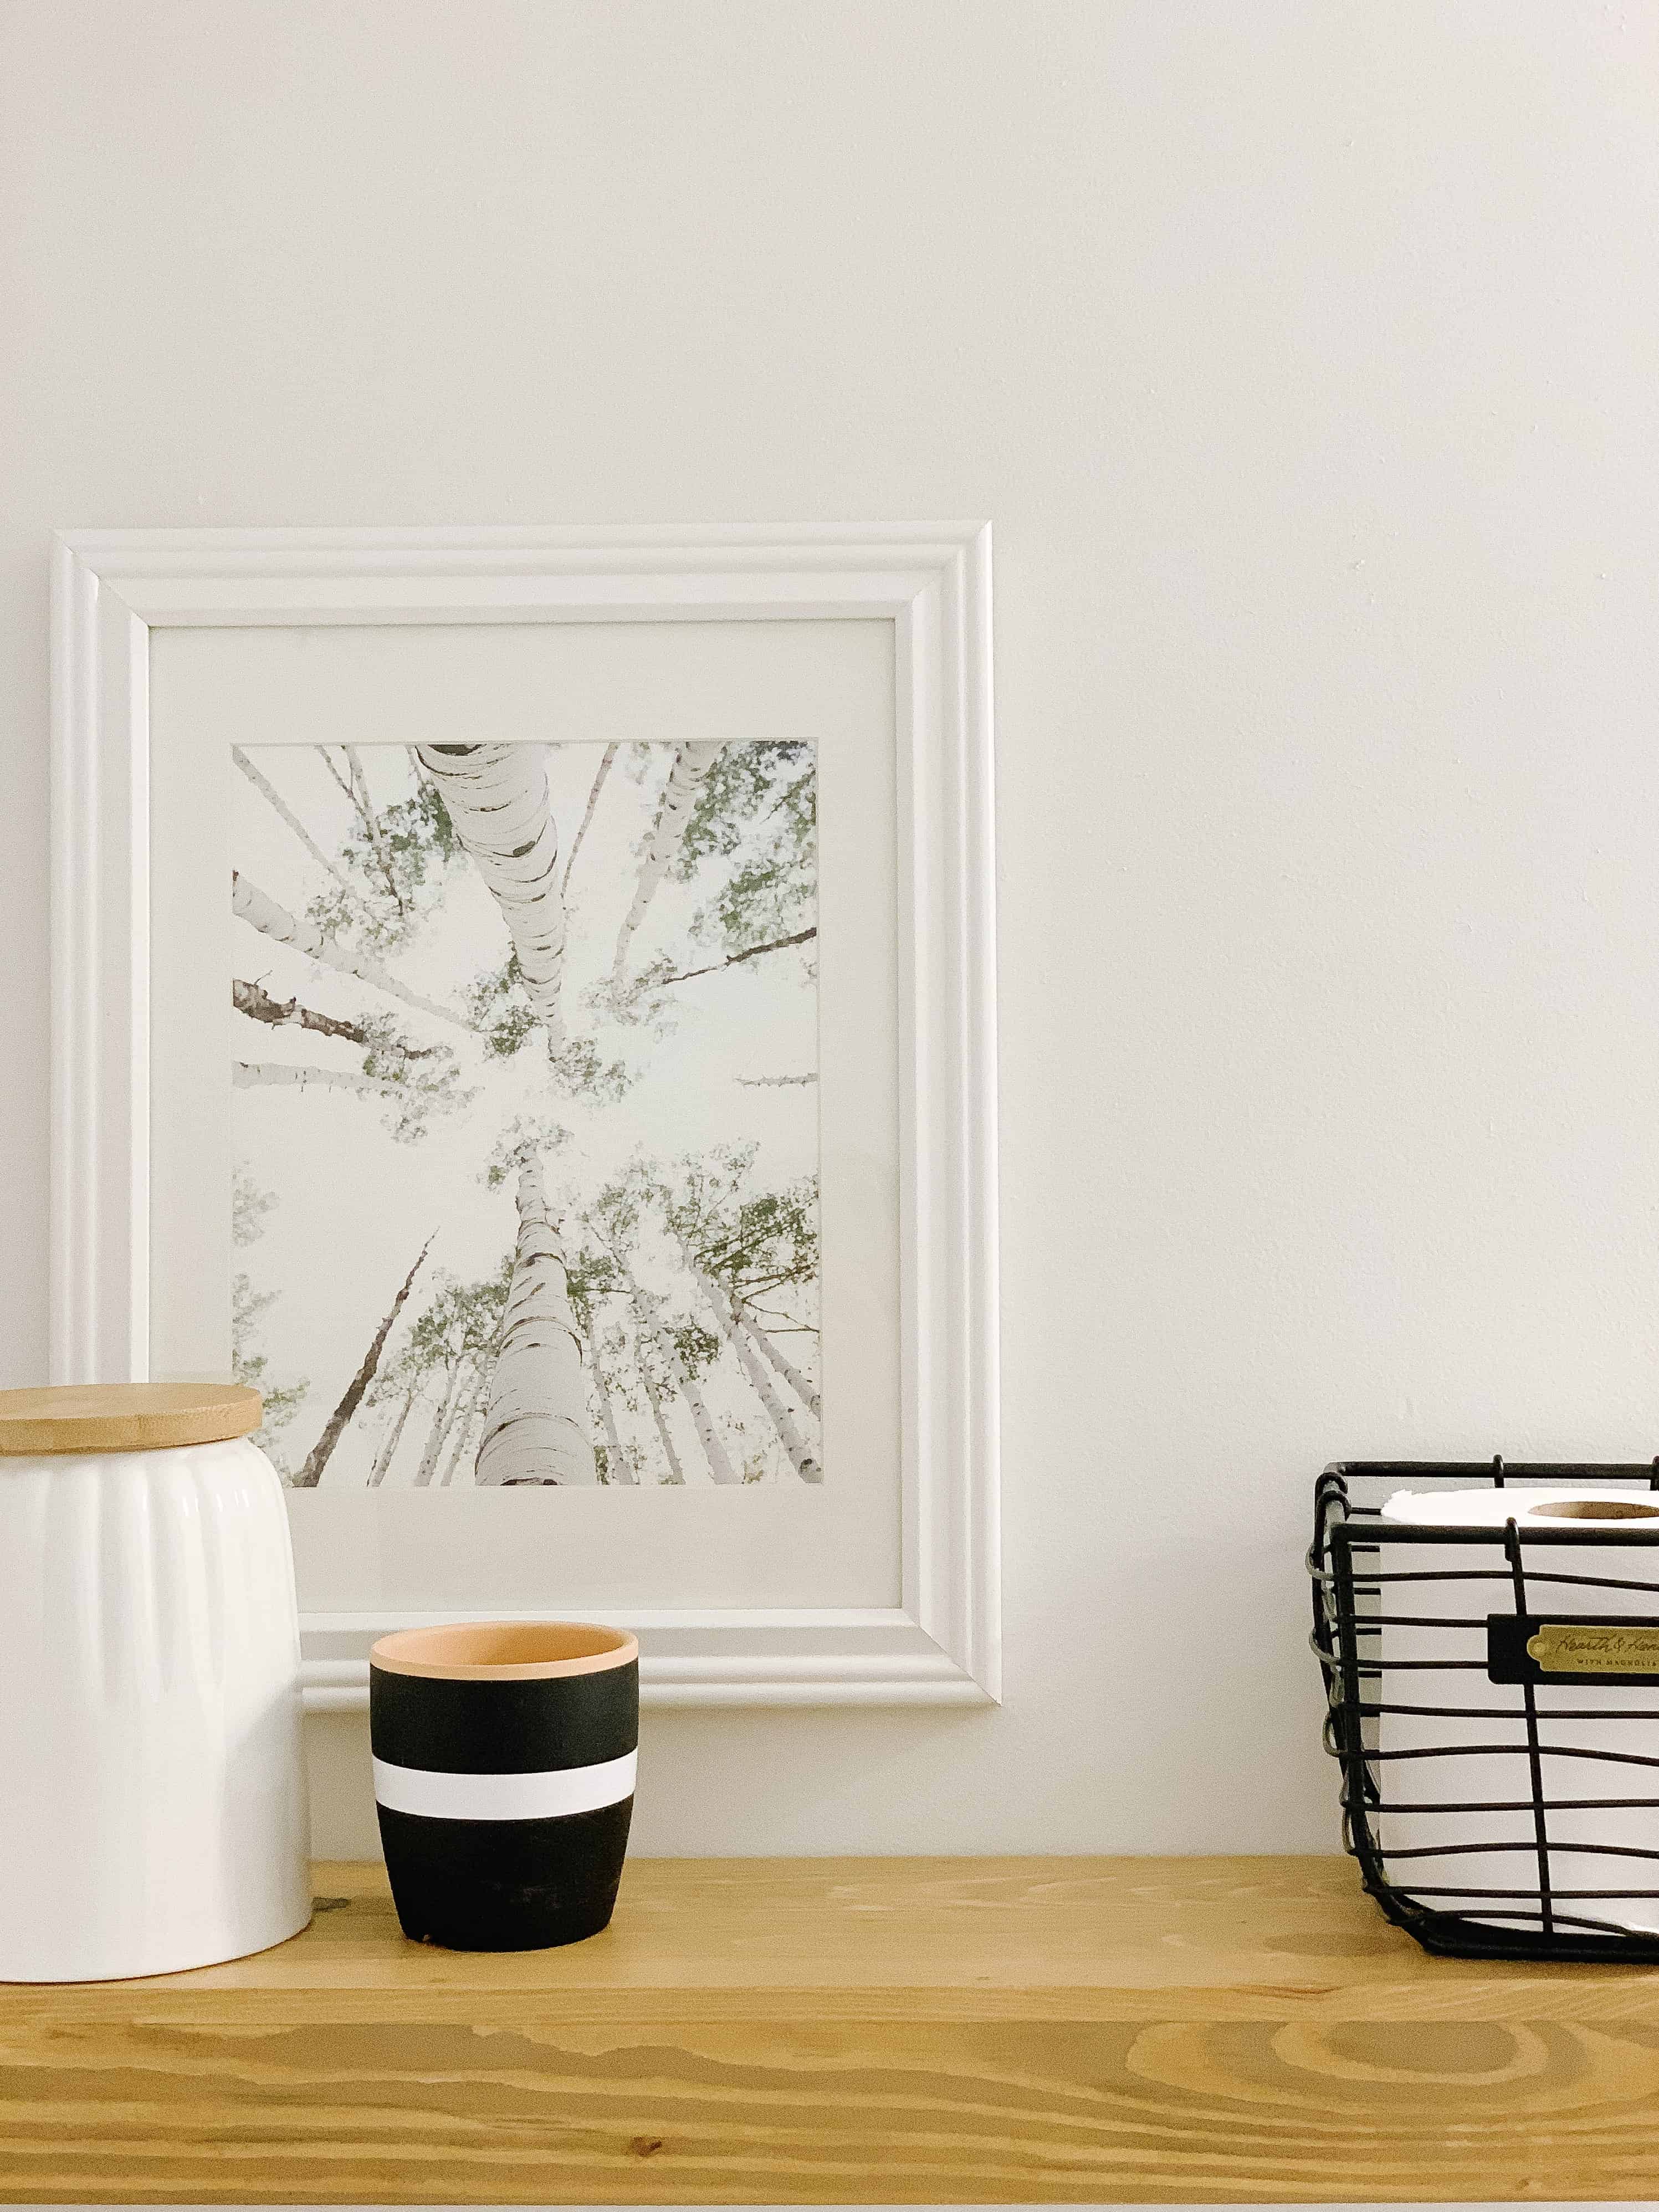
Over Toilet Shelf – this added a tiny bit of extra storage, and I love the added bit of natural wood to the room.
Small basket – I actually initially purchased this to hold extra containers of flushable wipes, but realized it can hold an extra roll of TP too. Either way works great.
Small Jar – I filled this with bandaids.
Small planter – This could hold cotton balls or q tips , or just remain as decoration.
Towel hooks – I actually put these up when we first moved in, but for a kids bathroom I always suggest hooks instead of bars – kids will not leave towels hanging nicely on bars.
Mostly Unseen Organization
As a few added things that I did that are less for beauty and more for function. We keep our small diaper pail in the bathroom which works great as a trash can. I also have a command hook on the side of the cabinets where its not seen to hang the kids potty seat.
Inside the tub I use a command hook to hang the baby tub seat (this one) so that its stored out of the way and drys also. Command hooks are the best way to add some easy storage to a bathroom!
So Total this room was about a $250 investment and to me looks like we spent much more from the before and afters.
If you have any questions leave me comment below and I will get back to you. Finding inexpensive ways to update your bathroom can be done easily if you look for the right items.