This DIY Magnetic boards post may contain affiliate links
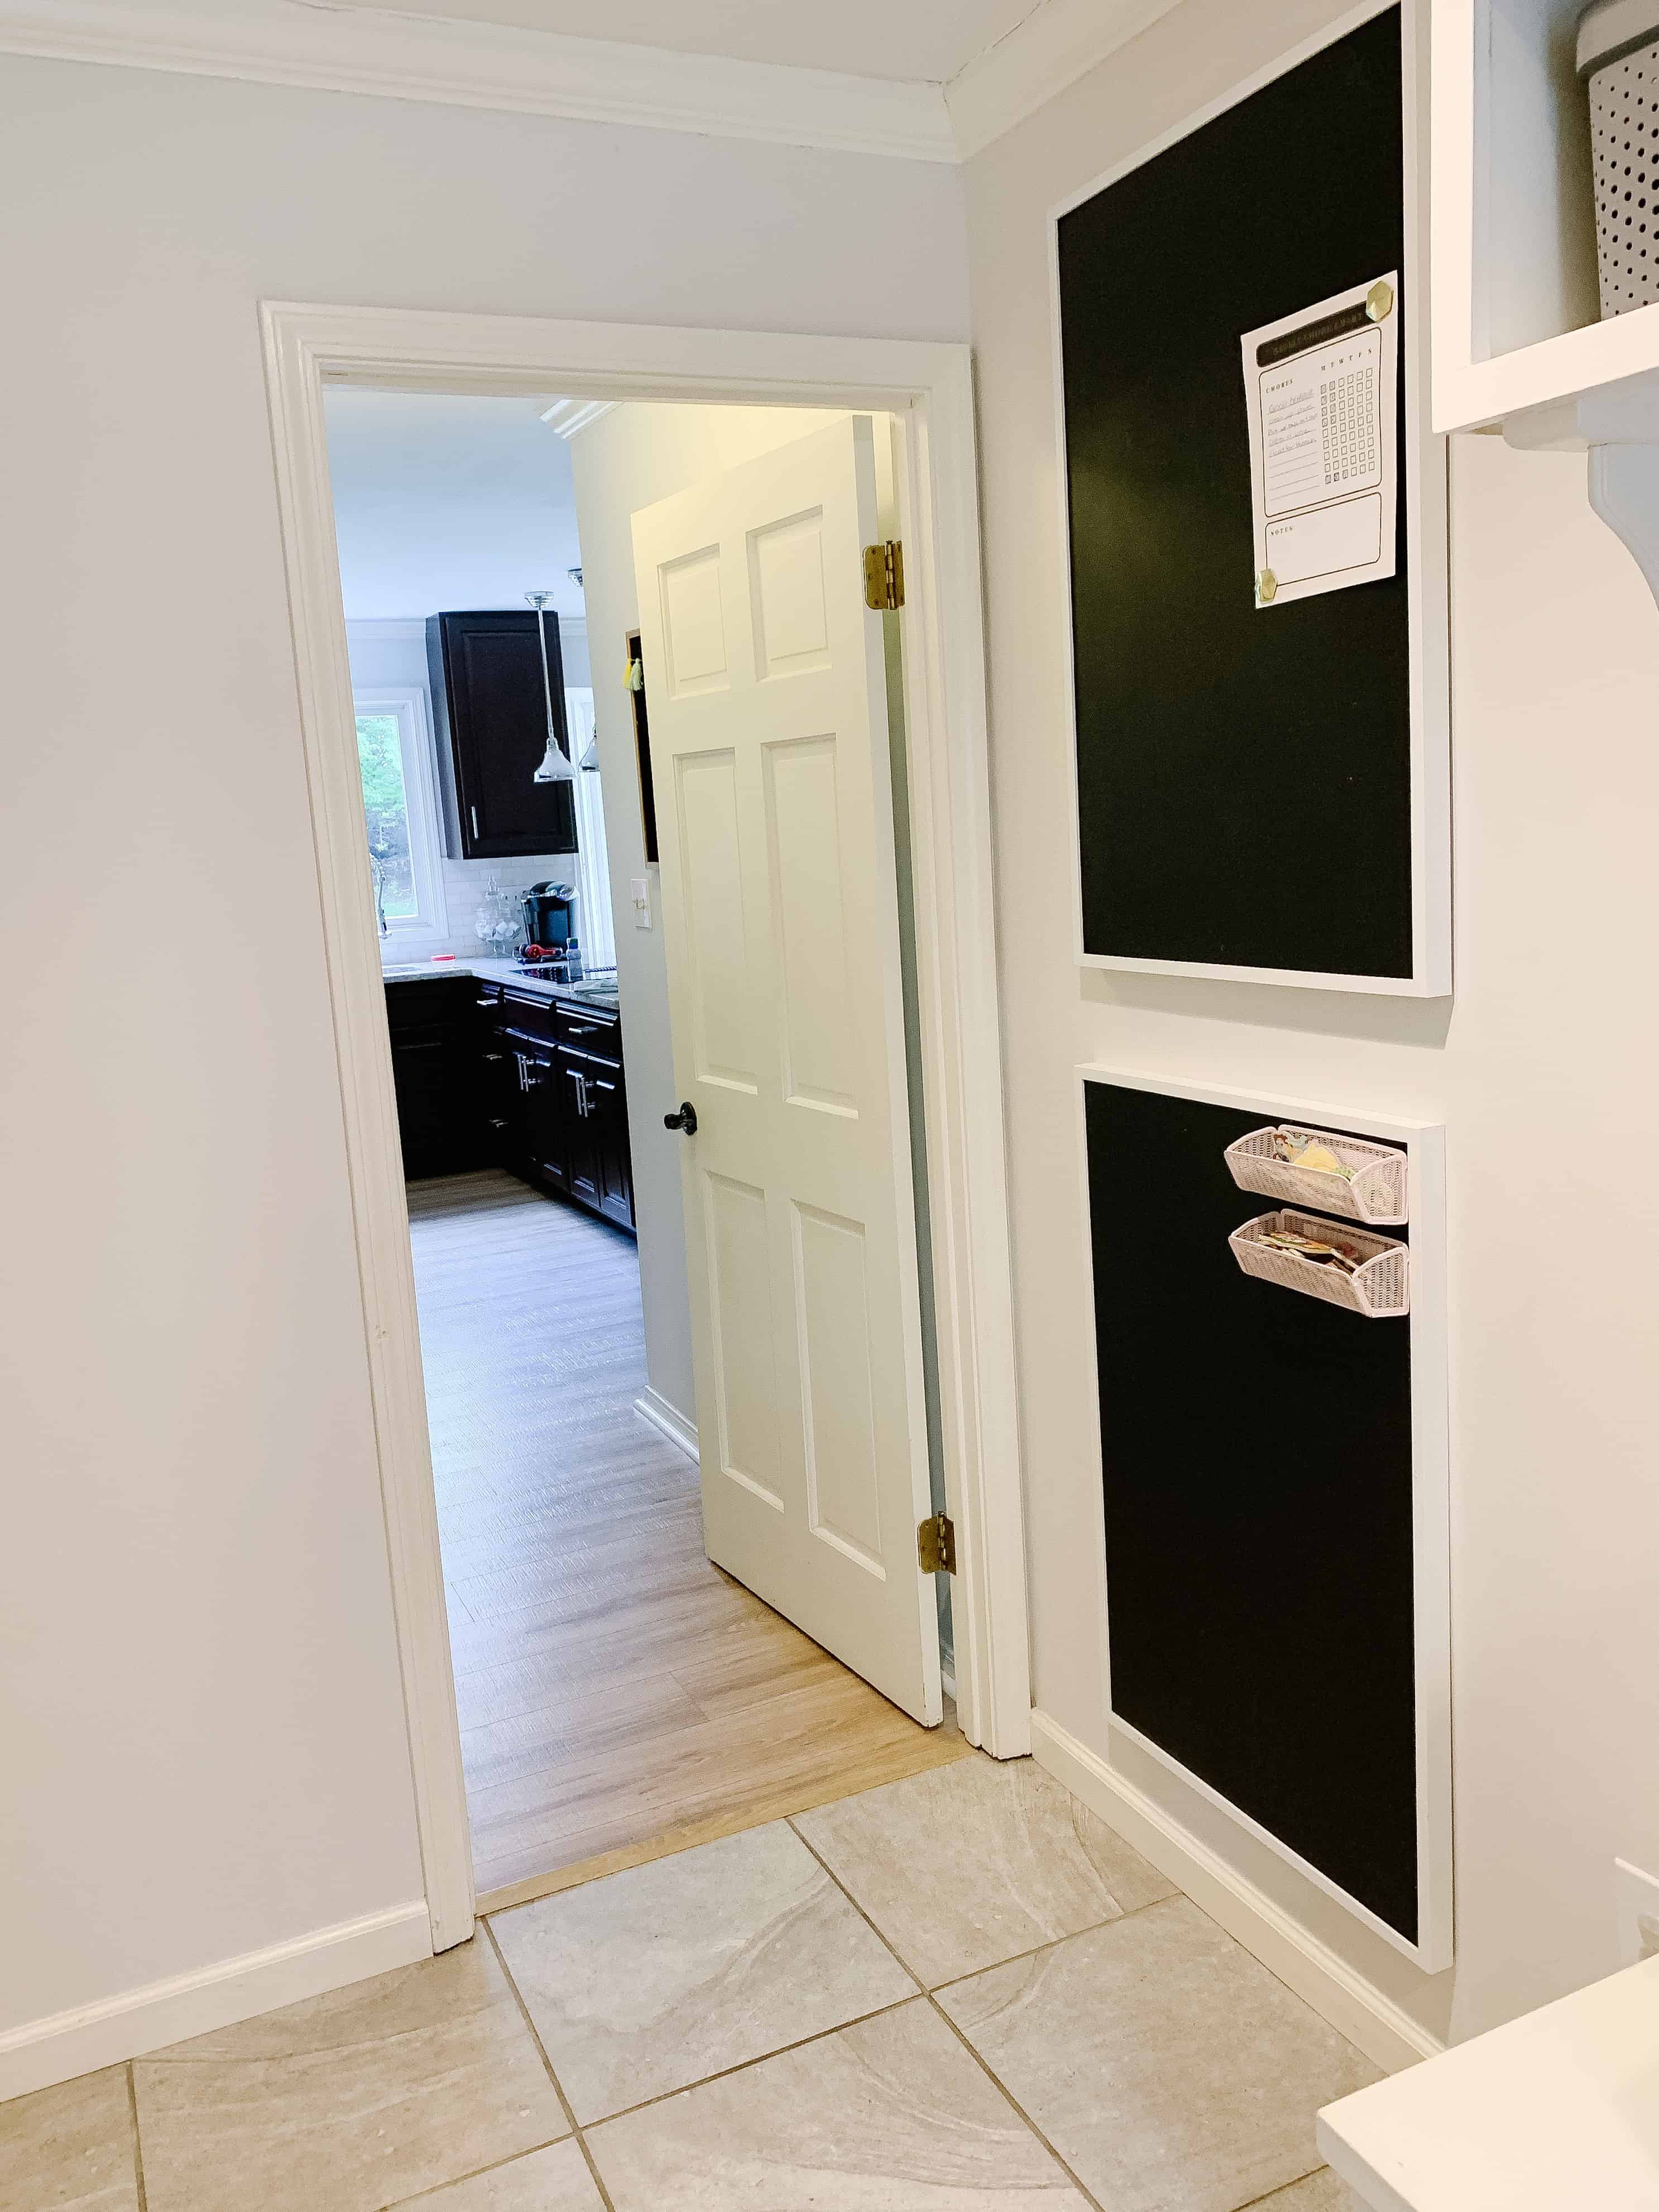
Yesterday I shared our laundry room reveal, and explained I really wanted our laundry room to serve as a mud room/hub for our family when we are coming and going. Our laundry room is directly off our door from the garage, and by the kitchen, so it is perfectly located for this!
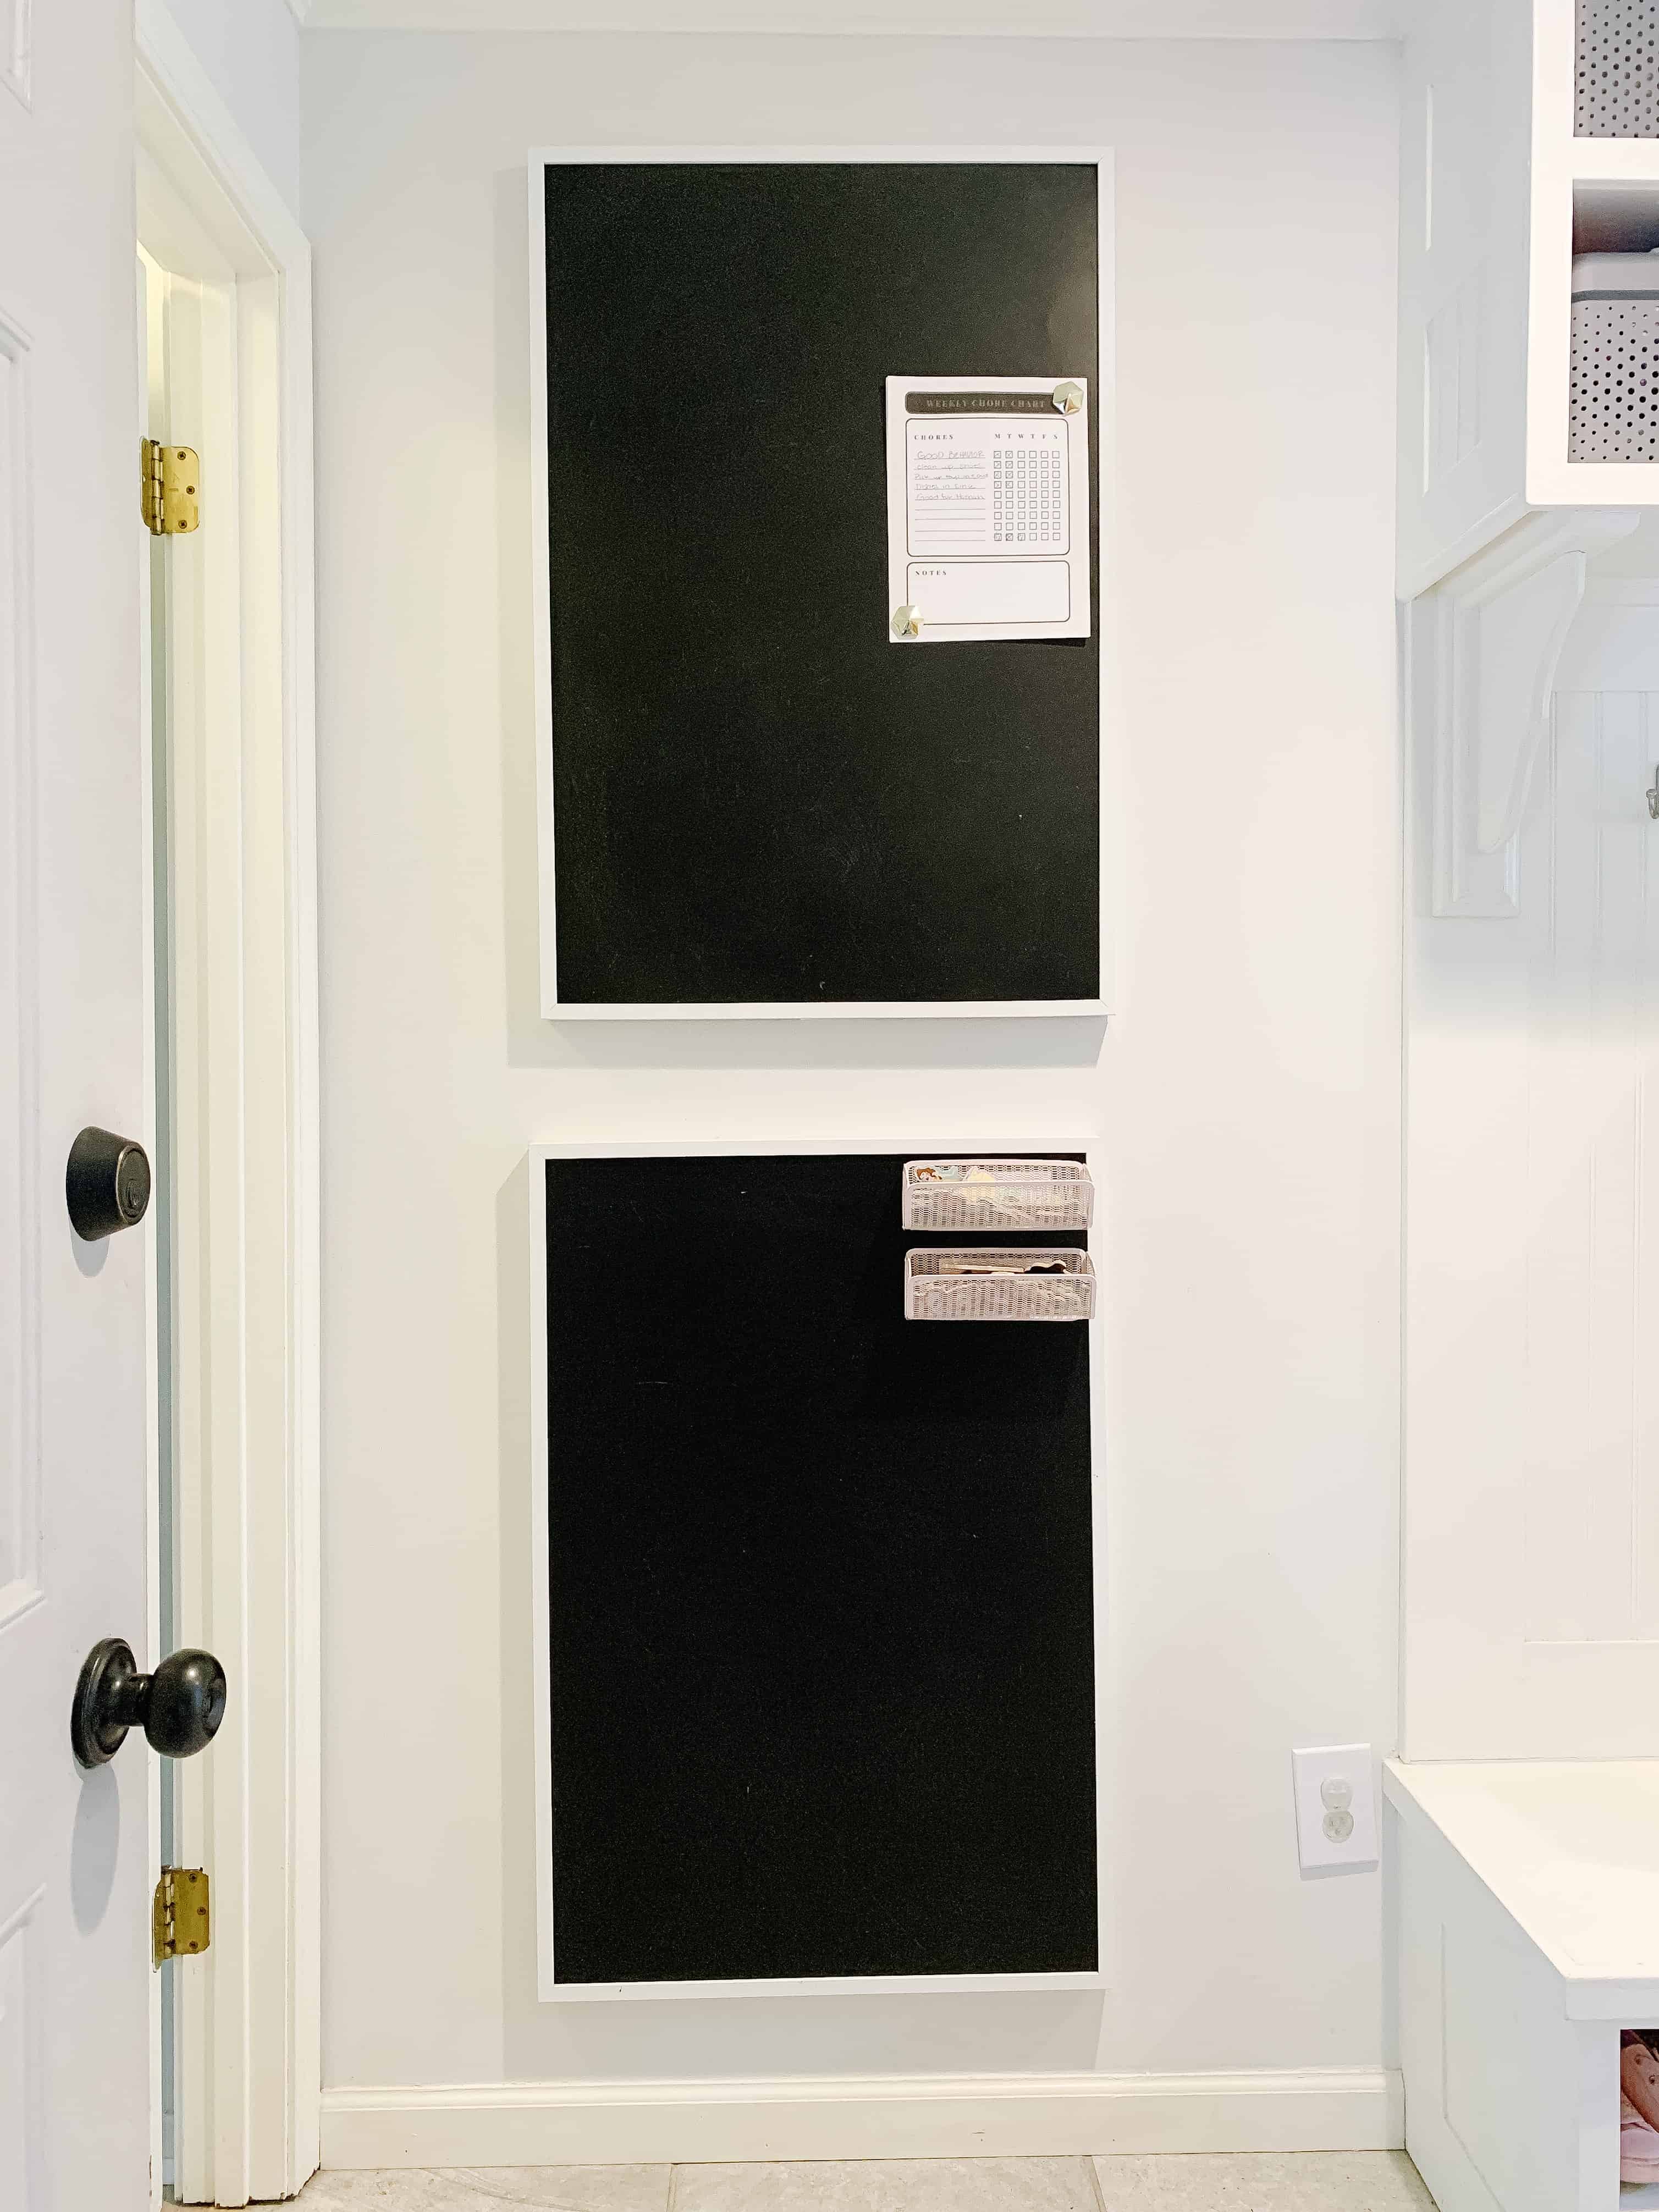
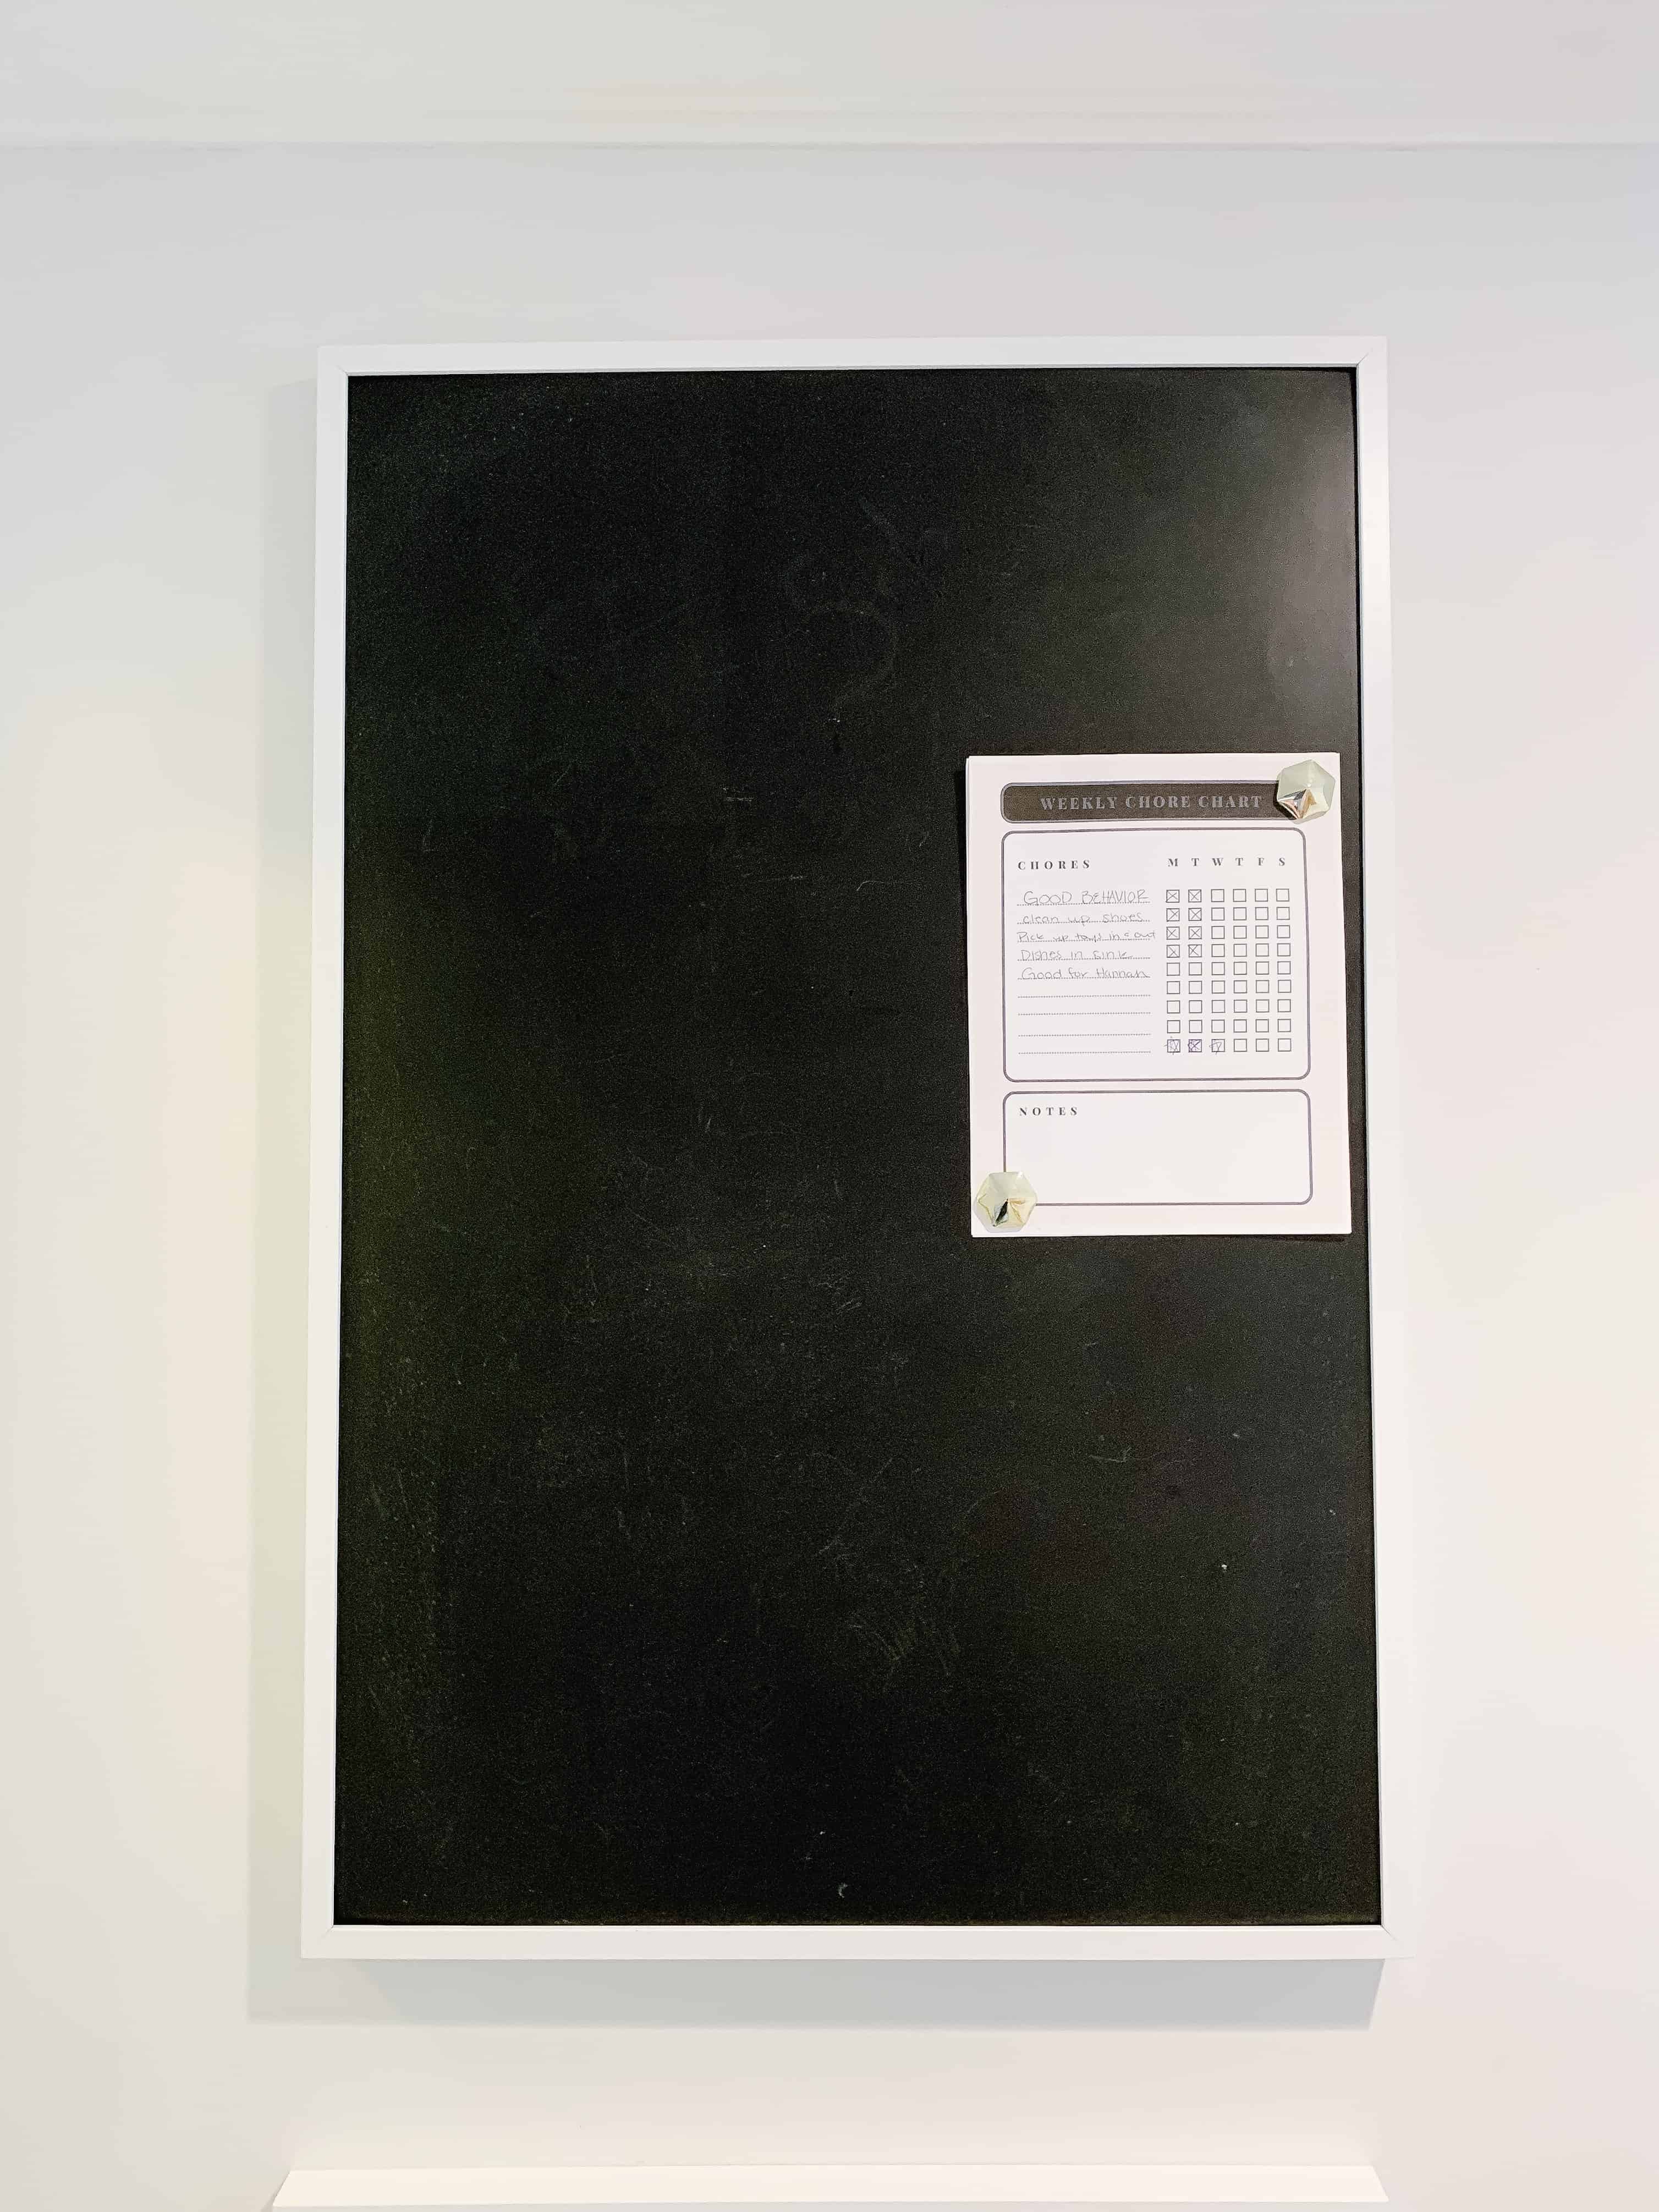
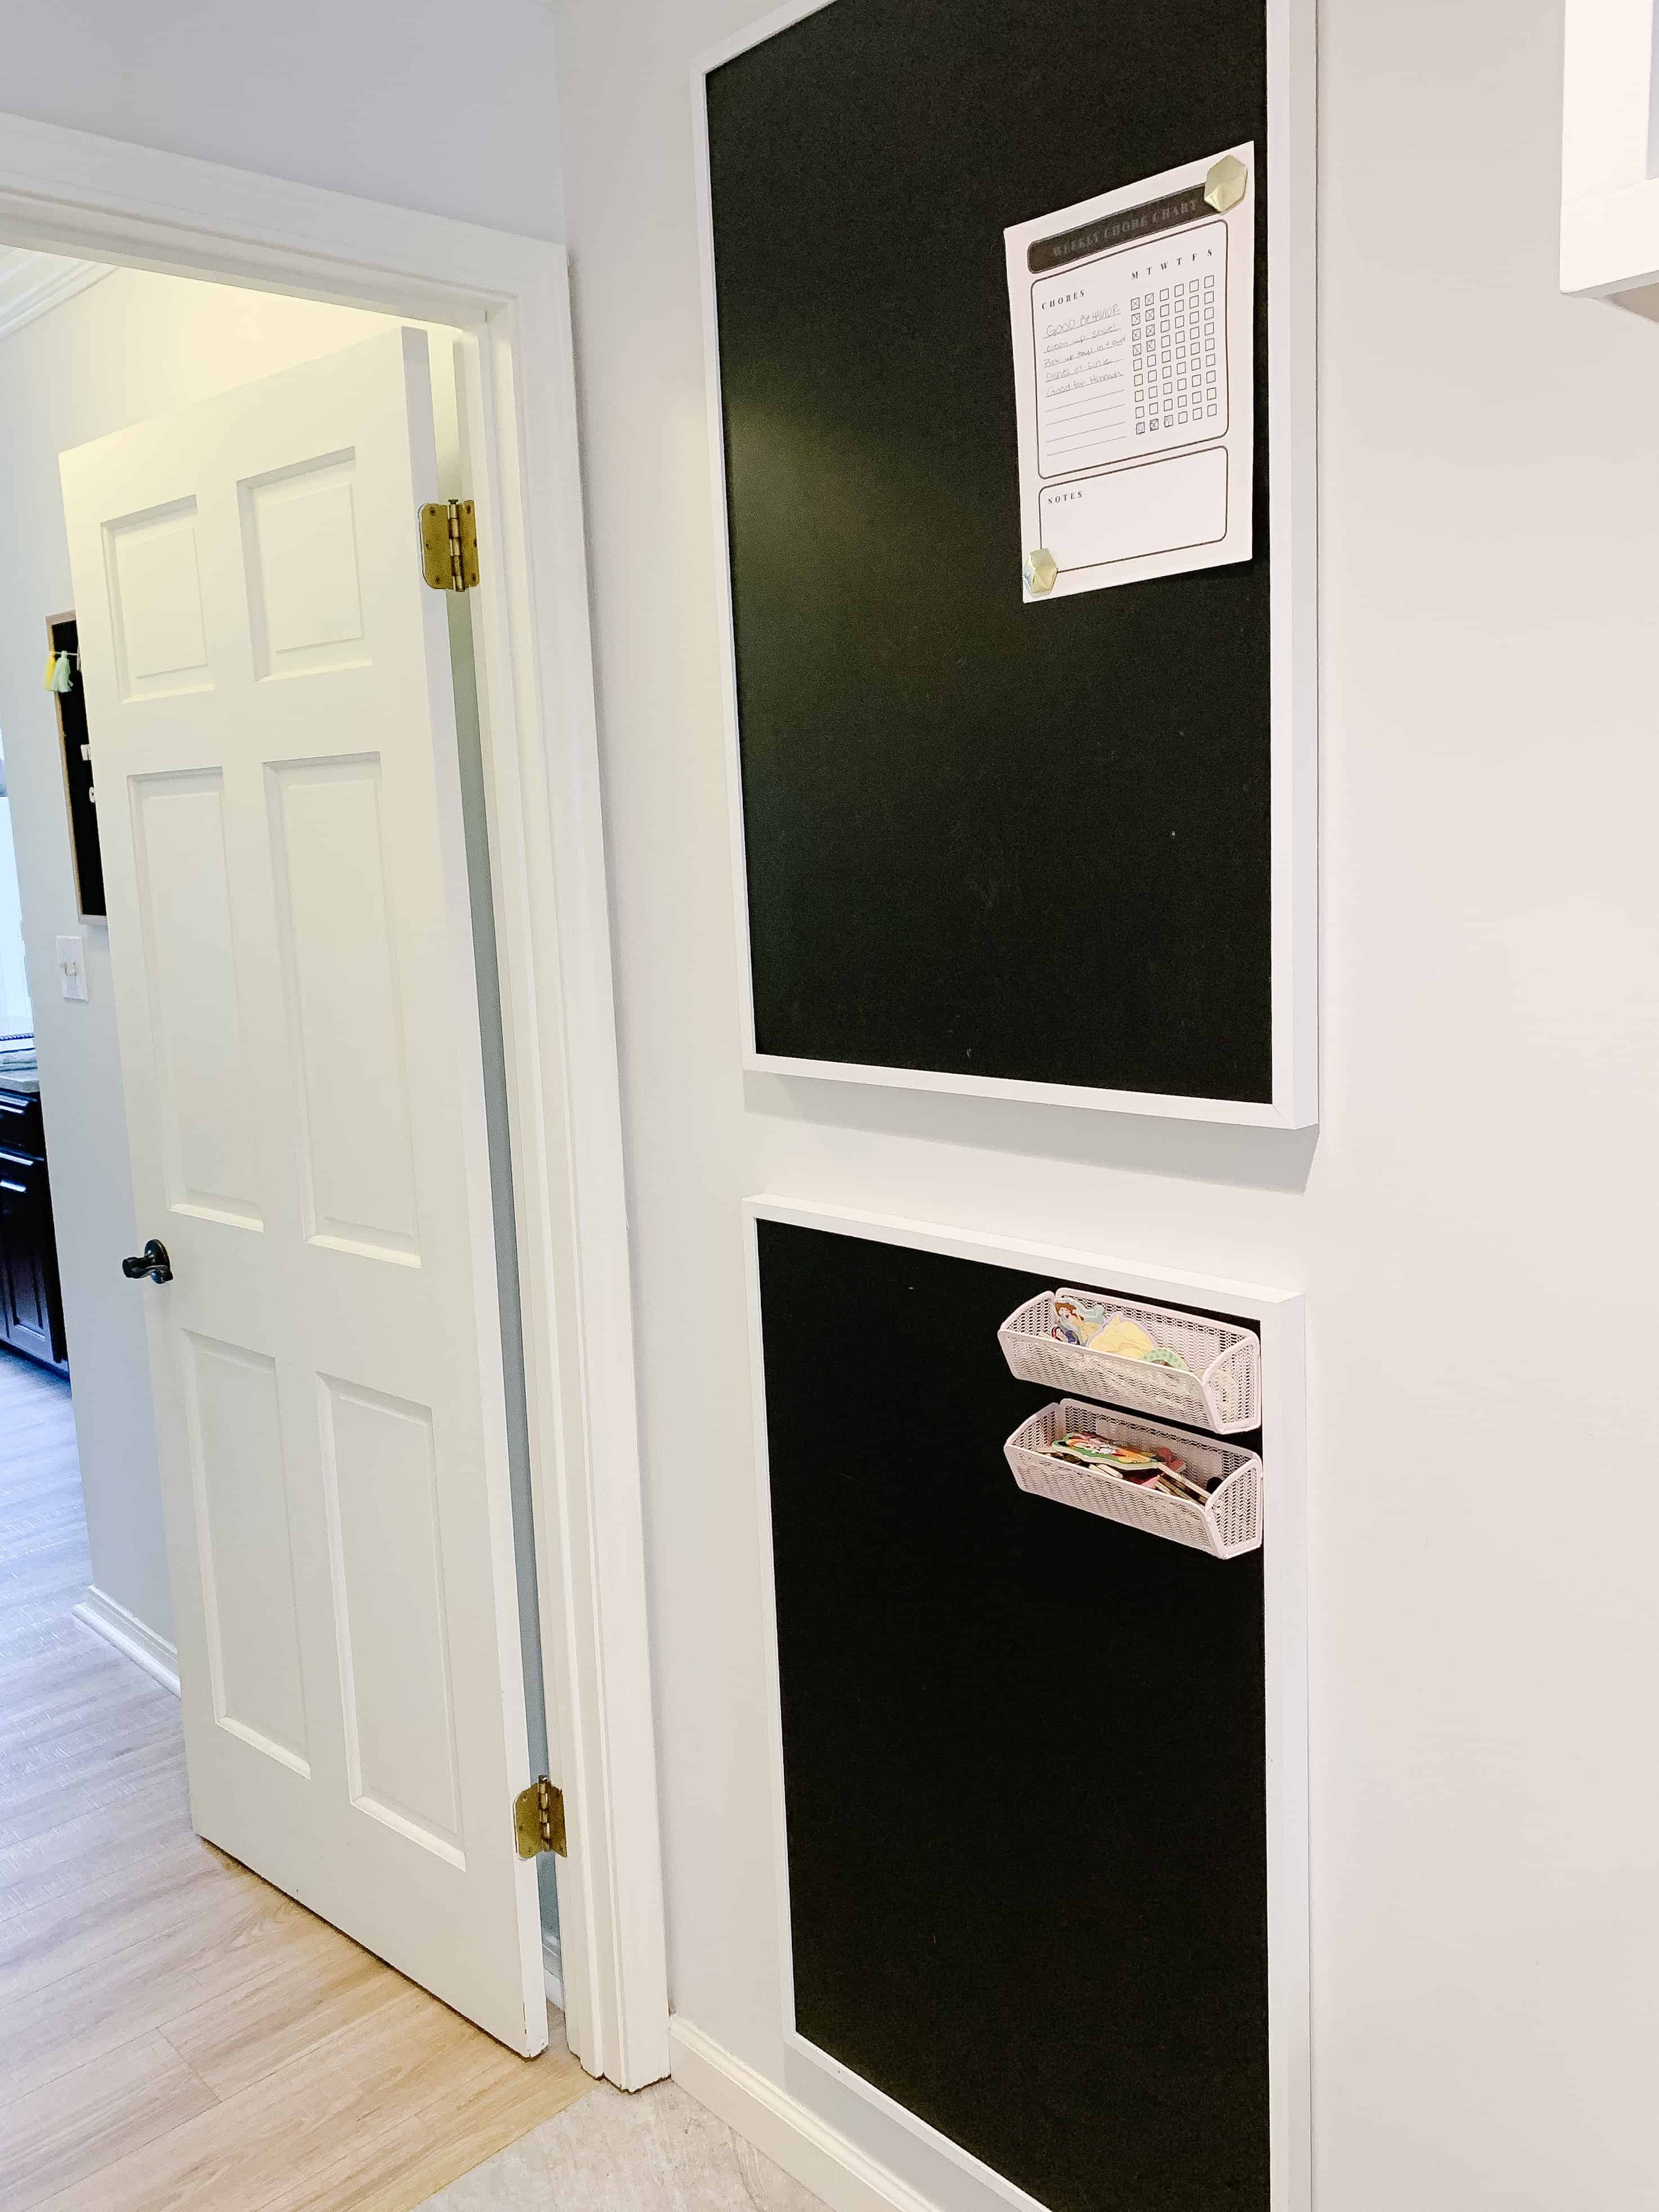
In our last home I had come up with the idea of a DIY magnetic boards to fill the need for both a place for my kids to play with magnets, as well as a spot for a “command center” of sorts. It was such a loved spot in the house that I knew I wanted to recreate it in our current home.
The best part of this project is that I got to learn from my mistakes making it last time!
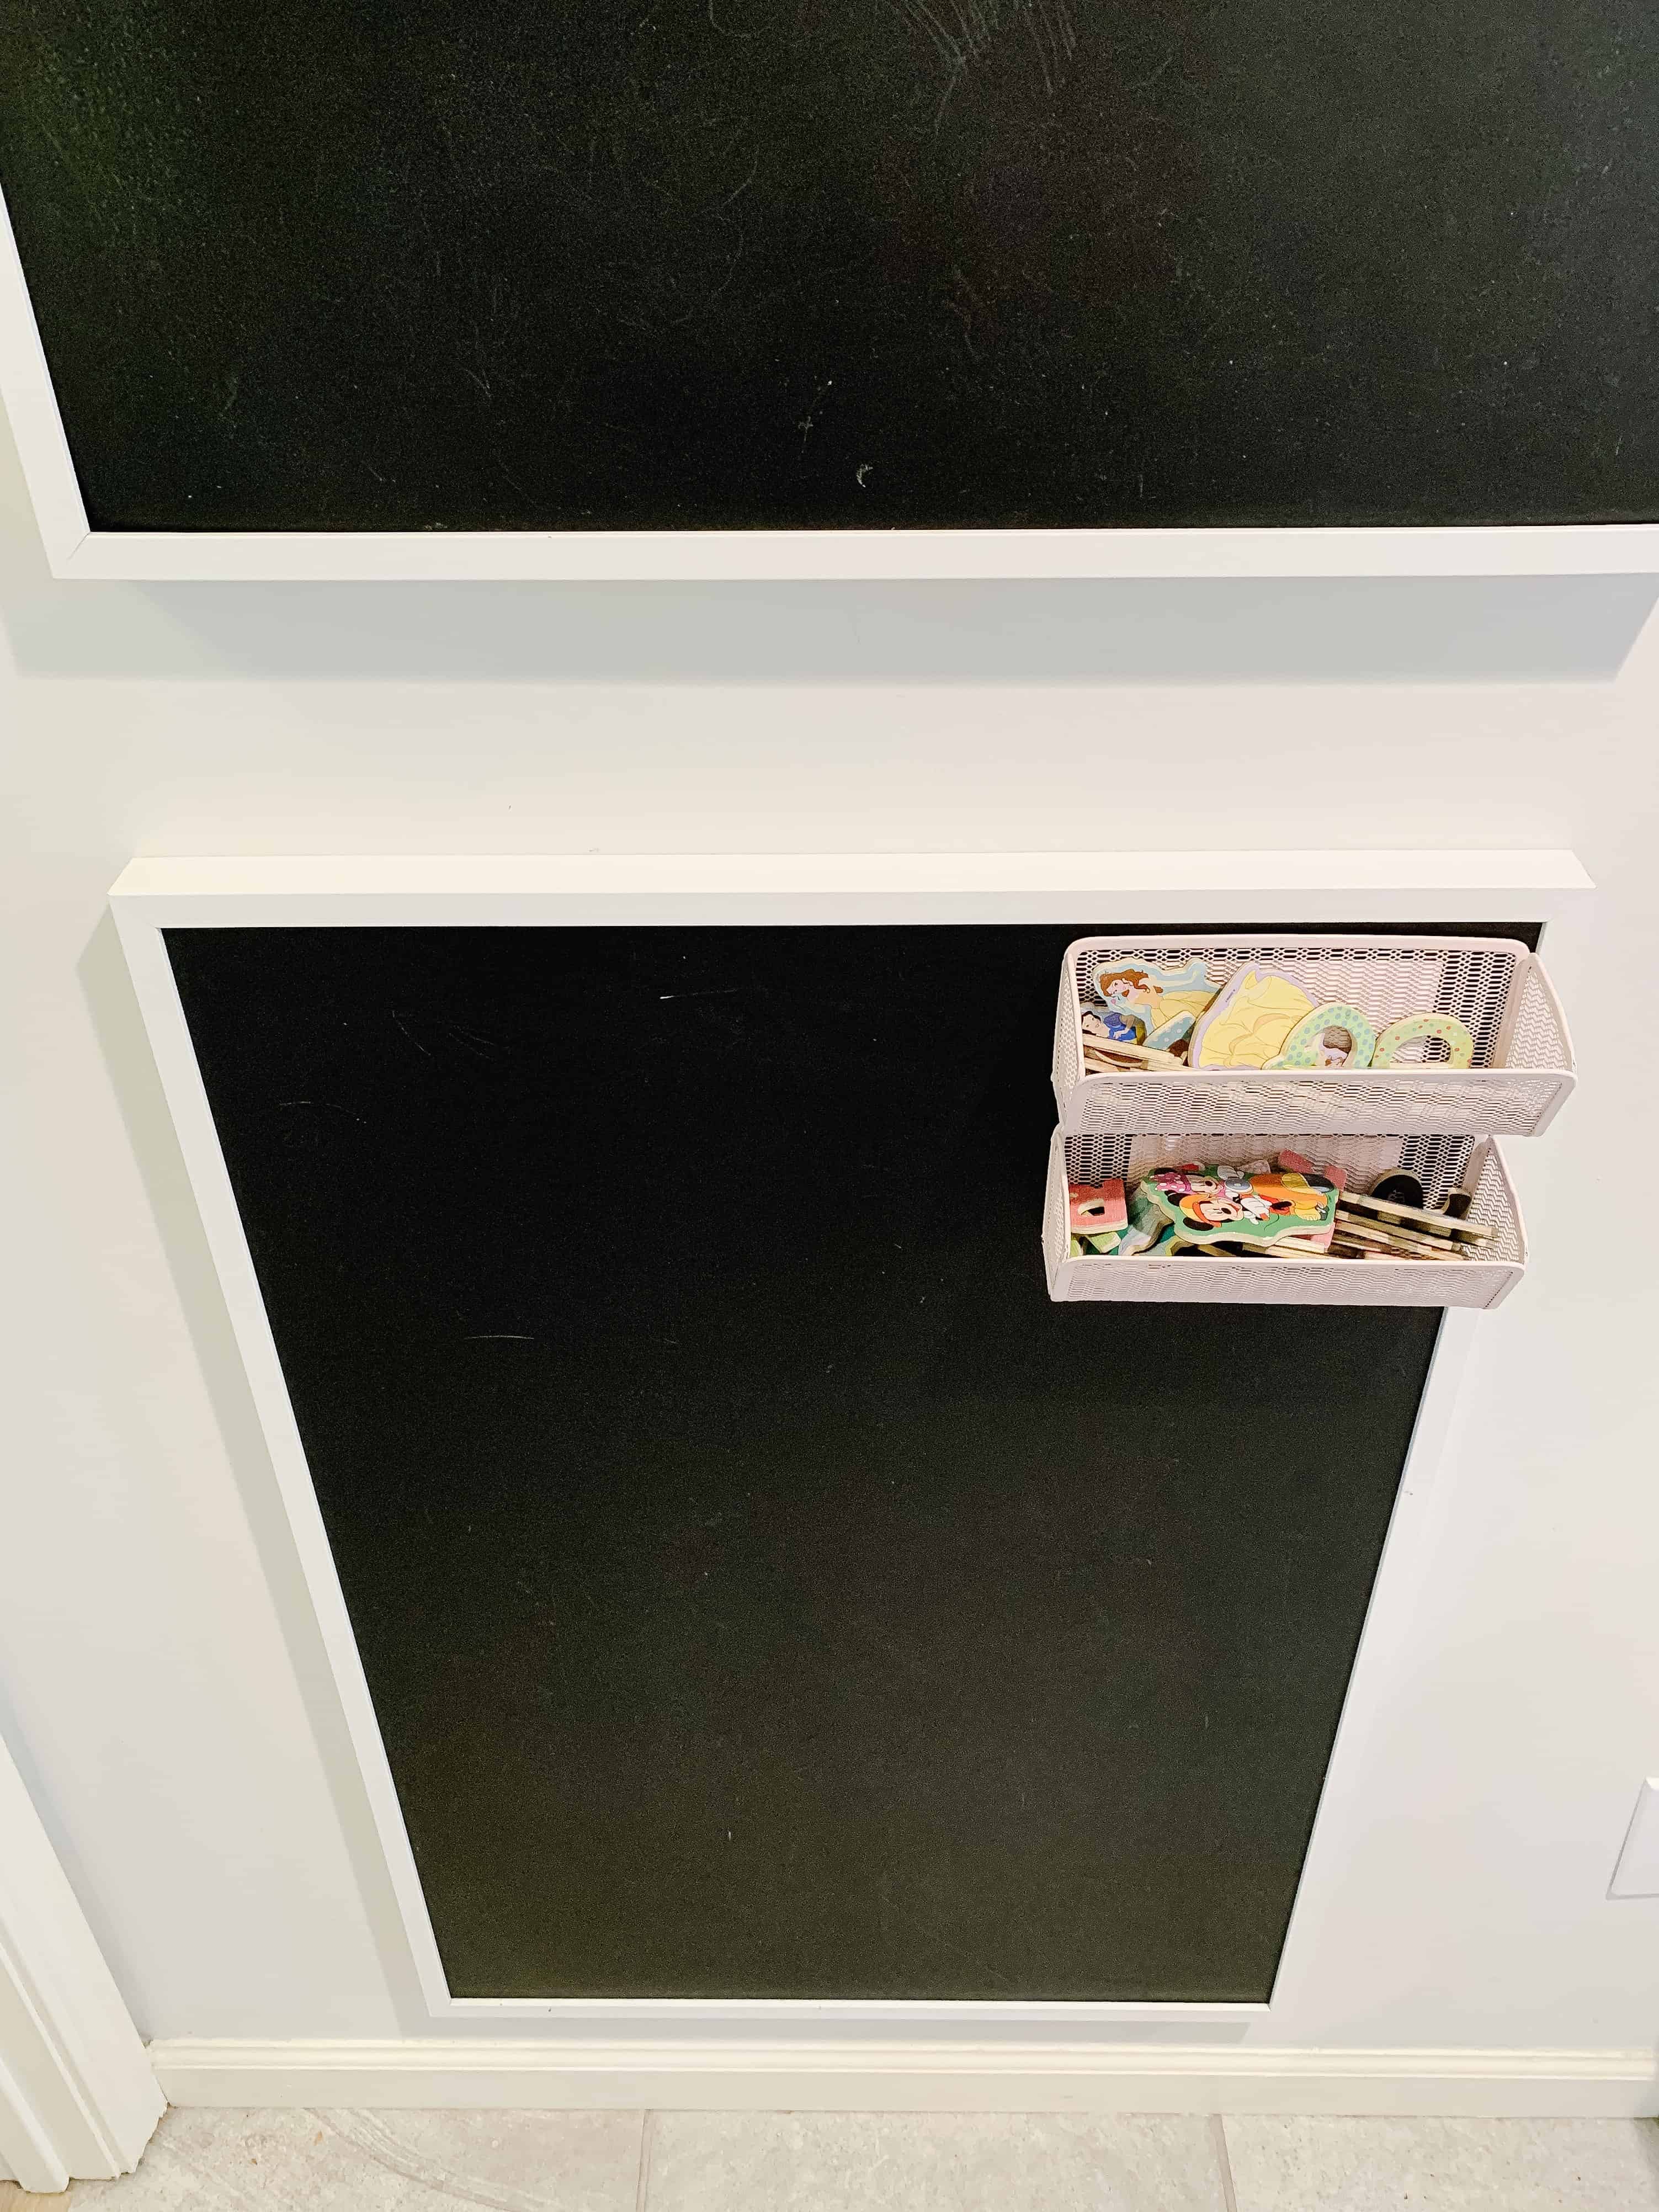
Both of my toddlers LOVE to play with magnets and due to our fridge being stainless steel they cant play there. (and I honestly love the chaos of it being out of the way!) Most large framed chalkboards you find in stores are not magnetic, so a DIY became some what necessary.
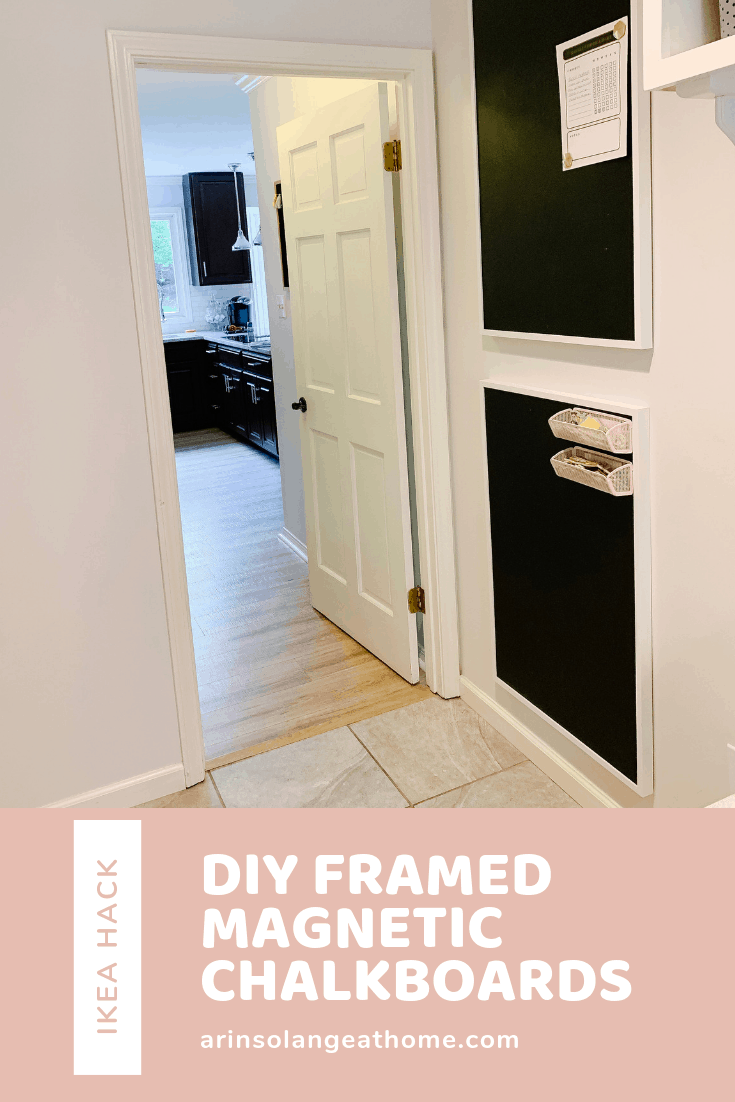
DIY Magnetic Chalkboards
This project can be completed in 30 min or less (if you don’t count drying time)
Total cost for me per chalkboard was about 30 dollars
Supplies needed:
24×36 inch frame //mine is from IKEA
24×36 sheet galvanized steel//Home Depot
Steps
1 – Paint your sheet(s) of galvanized steel. I found that spray worked better. I love the spray paint I linked above, and one can will be more than enough for a few sheets.
( in our last house I painted them with roll on chalkboard paint but they eventually started peeling. These have now been up for almost 3 years and have no peeling, so I definitely stand behind spray!)
2 – Remove glass from frame and any matting if your frame has it so that you have just an empty frame.
3 – Place painted steel sheet in frame and close it up. (TIP: I placed the matting and glass from my frame behind the steel incase I ever wanted to use it as a frame down the road).
4 – Hang your Chalkboard. Once it is up place a couple of command strips on the sides and bottom of the frame to keep it in place.
Because when you hang things and write you will bump the frame a lot or add unbalanced weight, this will save you a lot of headache!
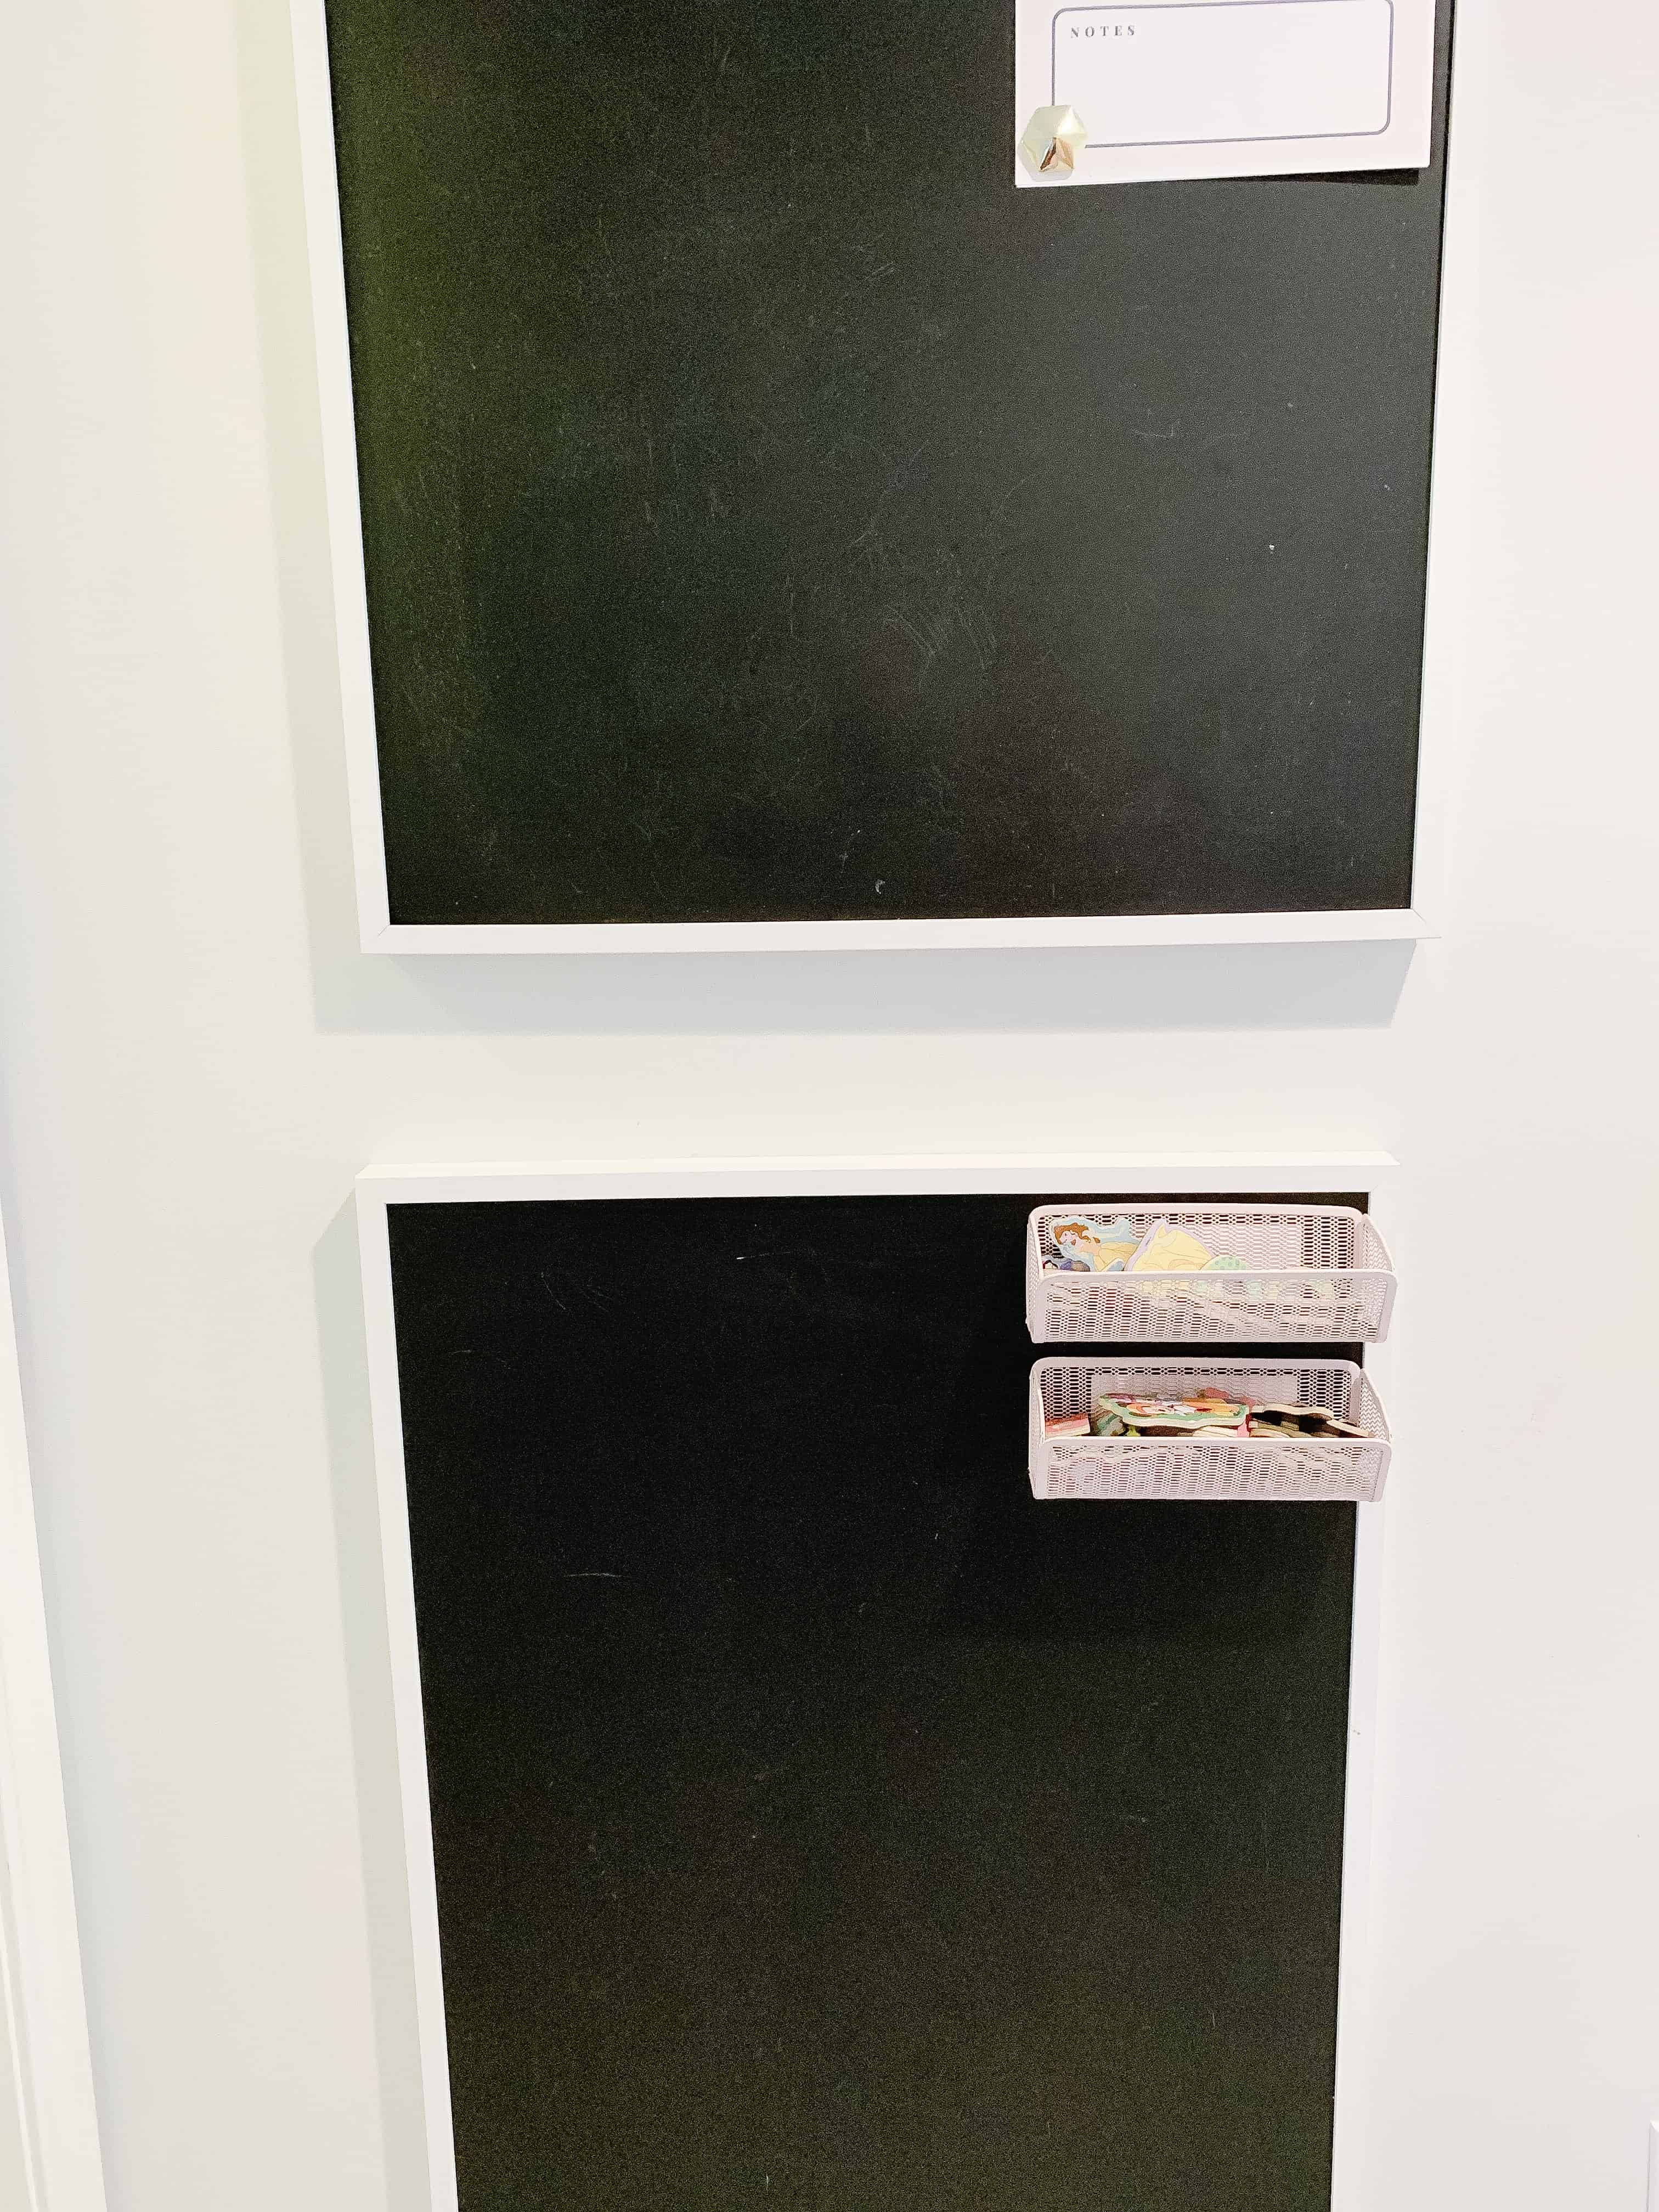
5 – Decorate and ENJOY! I found some great locker organizer bins at Target that worked awesome for holding magnets for my kids so they could have several sets out at once.
I would love to see your finished product or answer any questions you have about this fun, these DIY magnetic chalkboards, and stay tuned for more fun, easy DIYs!
Check out this post for all my most popular IKEA Hacks and DIY’s
Pin the Image for DIY Magnetic Boards Below for Later



Arin, thanks for these tips! Would you please email me the name of the spray paint that you used, as the link above no longer displays it. Thank you!!
Thank you so much for letting me know! I am editing the link but here is a link for you!
https://rstyle.me/+w5Ir-2ZqT7lhWRPKFtB8lg
I love the idea with the frames:-)
We used chalkboard paint (https://www.magnet-shop.com/office-education/chalkboard-paint/2138/color-for-school-blackboard-dupli-color-for-3-m2-375-ml-can?number=STF-375.00001) in our kitchen directly on the wood of the cupboard doors:-)
So handy and pretty:-)