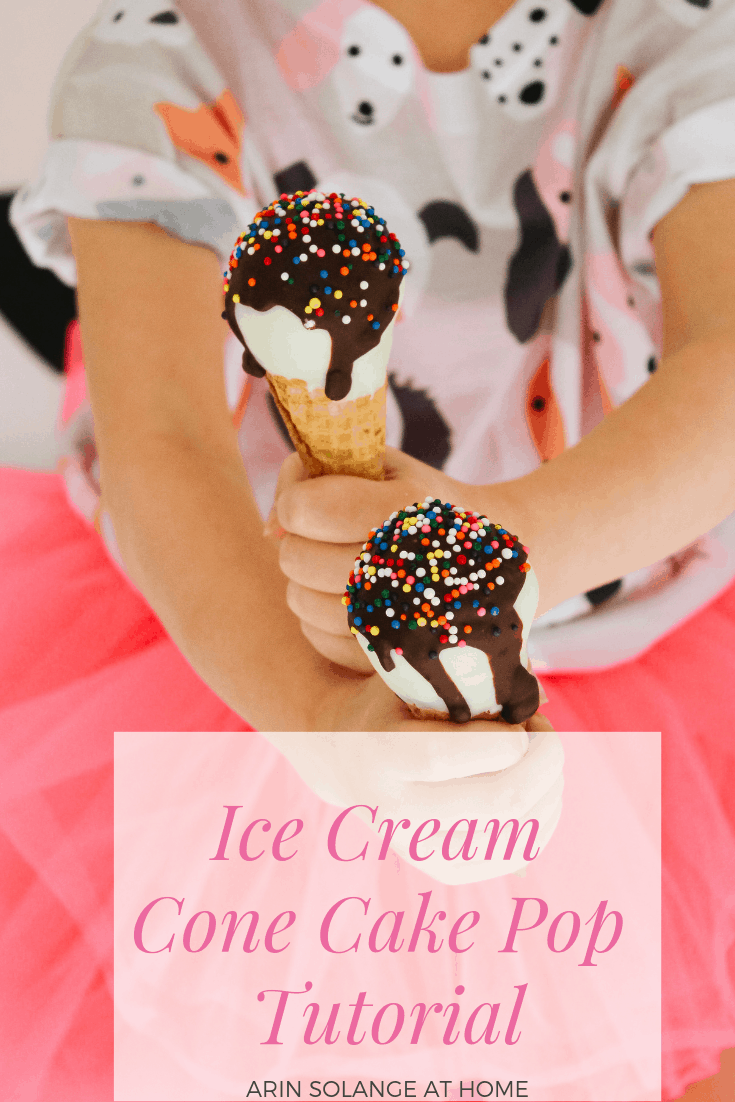
This year when it came to treats for school for my kids, Avé got her heart set on some cake pops she saw at a little bakery here in town. I wasn’t thrilled about the idea of spending a million dollars on them for both kids classes (knowing that with 3-6 year olds half of them would be thrown out!). I decided to give them a try, and had lots of people on Instagram ask for the how to, so here is the Ice cream cone cake pop how to.
And don’t forget to grab these free printable tags for them for when you take them to class!

Ice Cream Cone Cake Pop How To
Ingredients
Sugar Cones – you will need a few extra because I found that some in my box were broken and some broke in the process.
Box cake mix
Icing
Melting Chocolates in Chocolate and White
Sprinkles
Directions
First up make your cake pops – I searched around for some tips, but basically you will bake your cake, let it cool and then crumble it REALLY WELL. and then mix it with about 1/3 a cup of icing until its sort of a paste. Roll into balls, and place in the freezer. (freezing is IMPERATIVE) – for a more detailed step by step of this part check out this blog post.
Once your cake pops are made and frozen you want to get your ice-cream cones and middle them down. For me I used a steak knife and kind of carefully cut them down to the size I wanted. I would say you really don’t want them much more than half the starting size!
Next take all of those little cones and you fill them with the melting chocolate. (I used dark chocolate because the recipe is so sweet and it was amazing!) I personally found cups and containers to set them up and did them in batches, but if you’re way more ahead of the game Than me you could probably use a foam block haha!
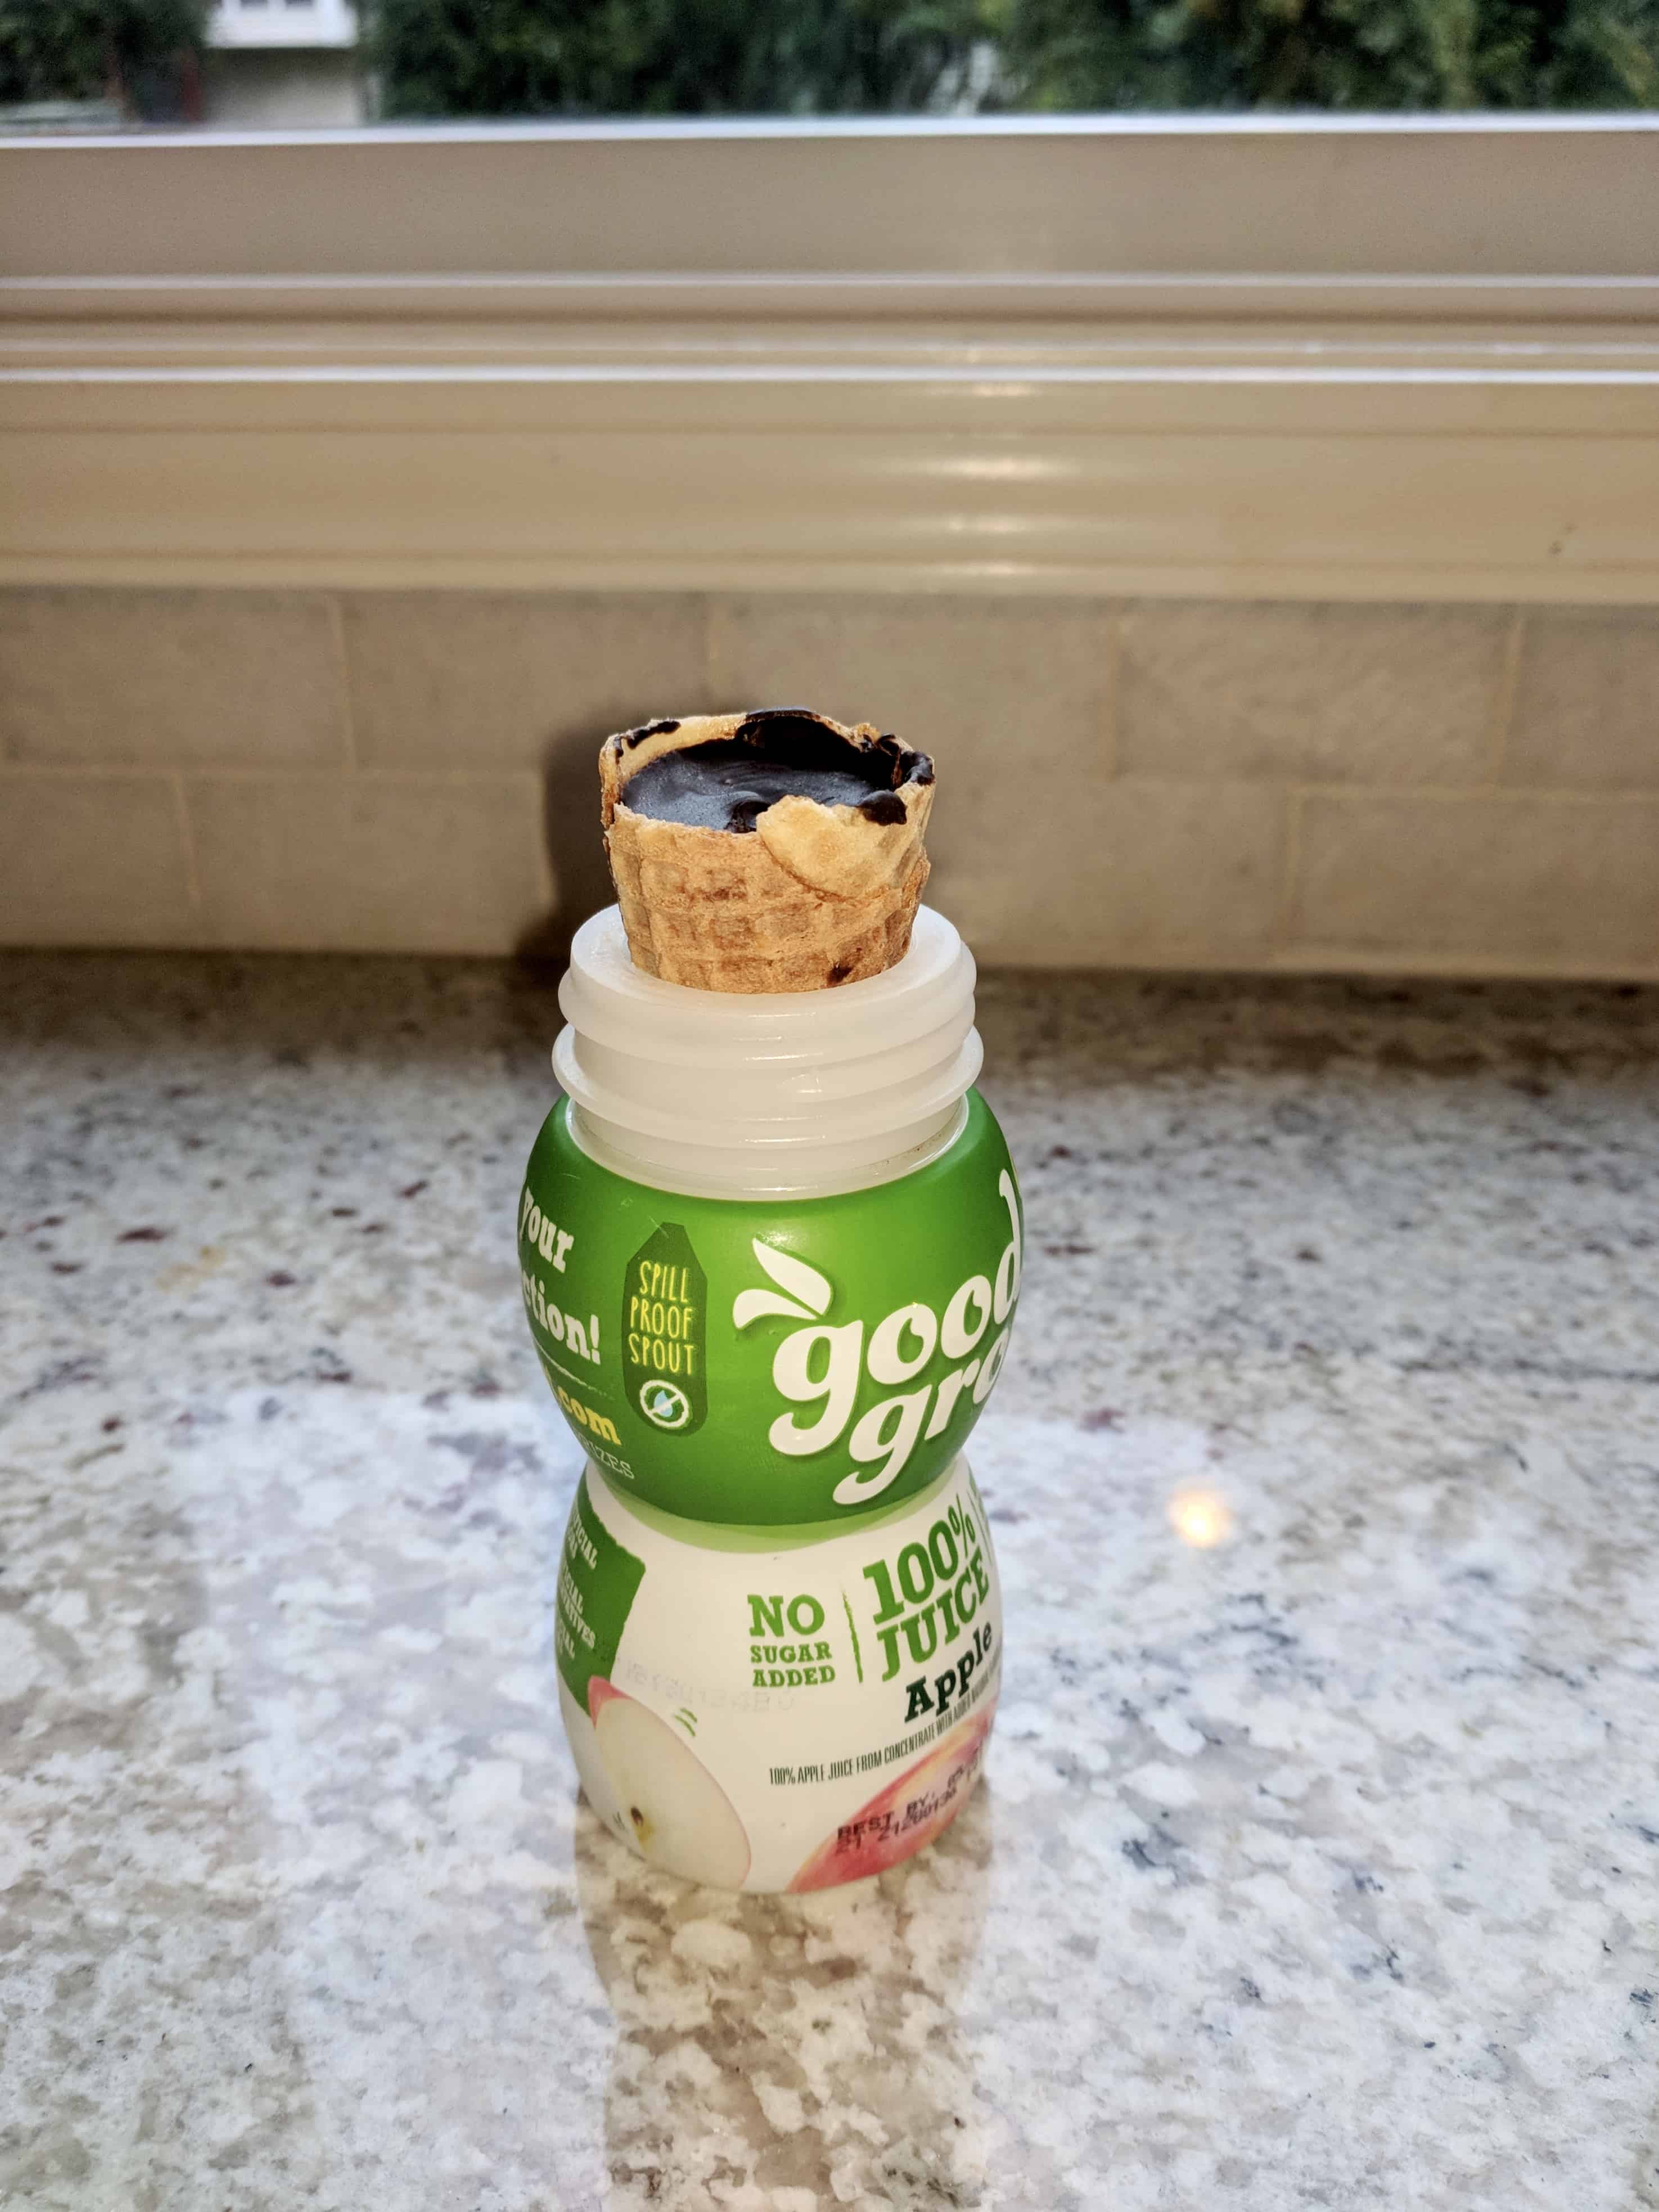
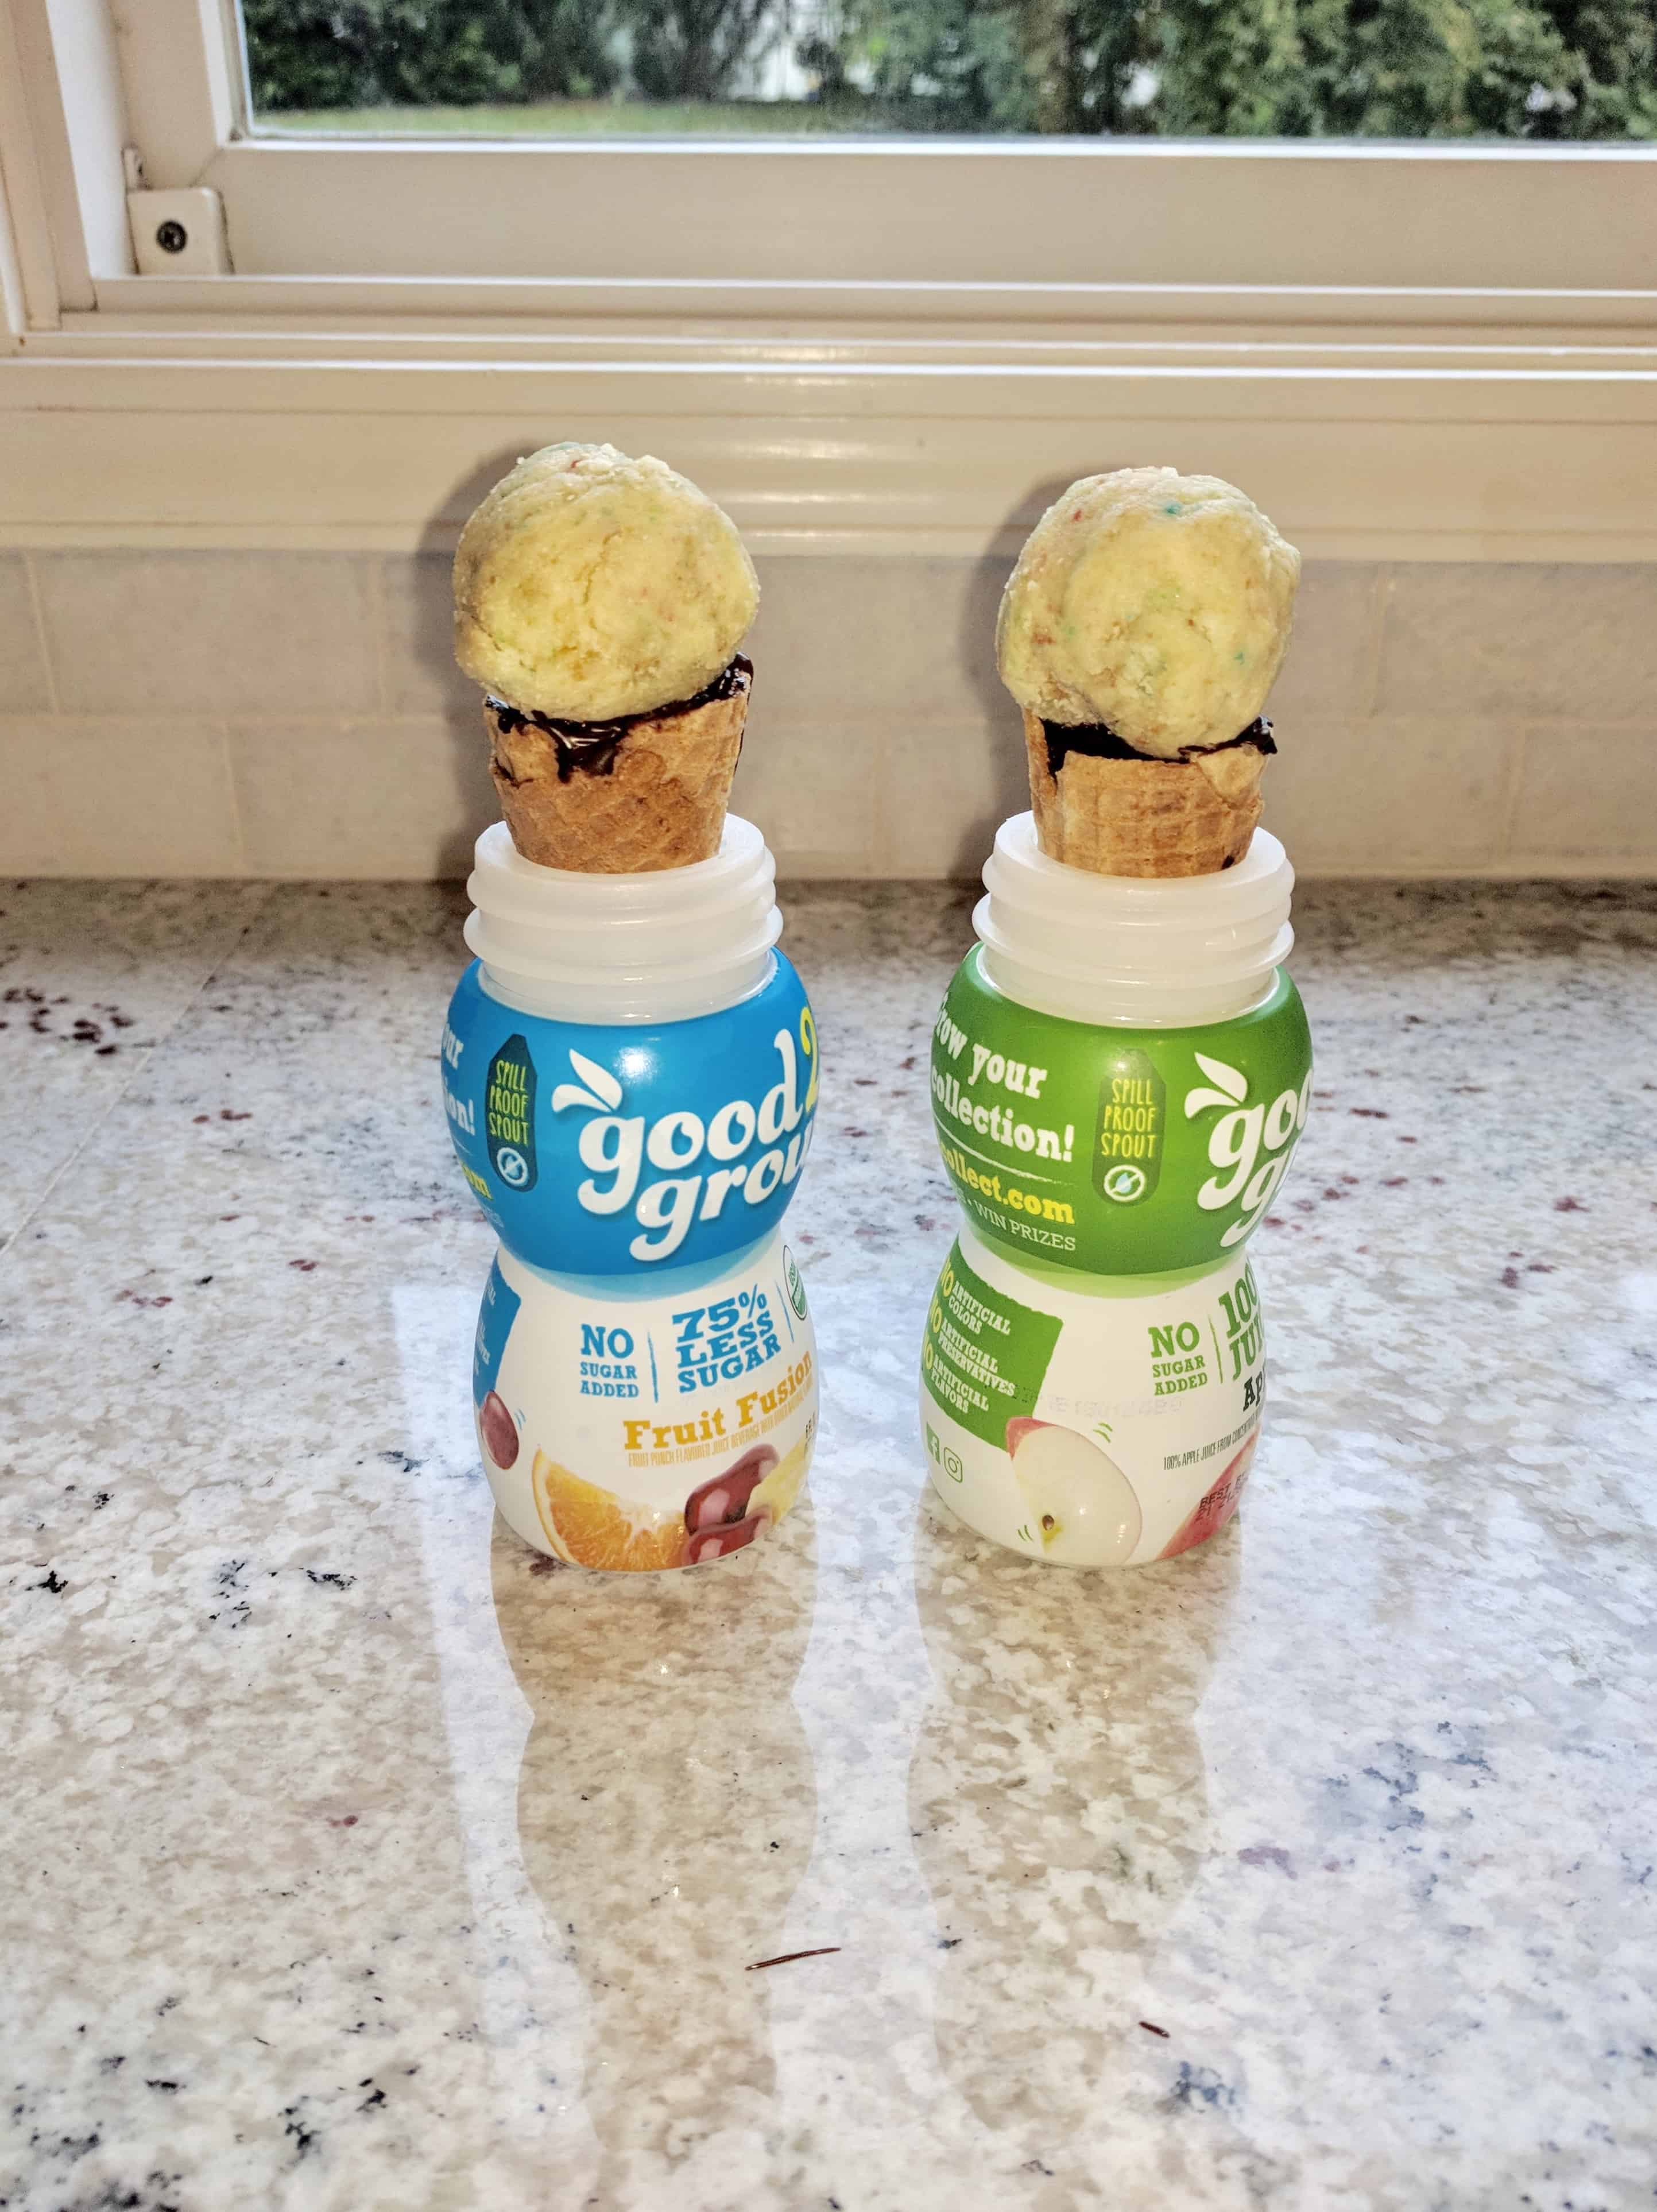
Once the chocolate is set inside the cones you are ready to assemble. You will take more melted chocolate and put a small amount on top of the chocolate you filled the cone with. then set the cake ball on that to act as glue. Set them assembled pop in the fridge for that layer of chocolate to fully harden – you can’t skip that step, trust me!
While the assembled pops are hardening, melt your white chocolate.
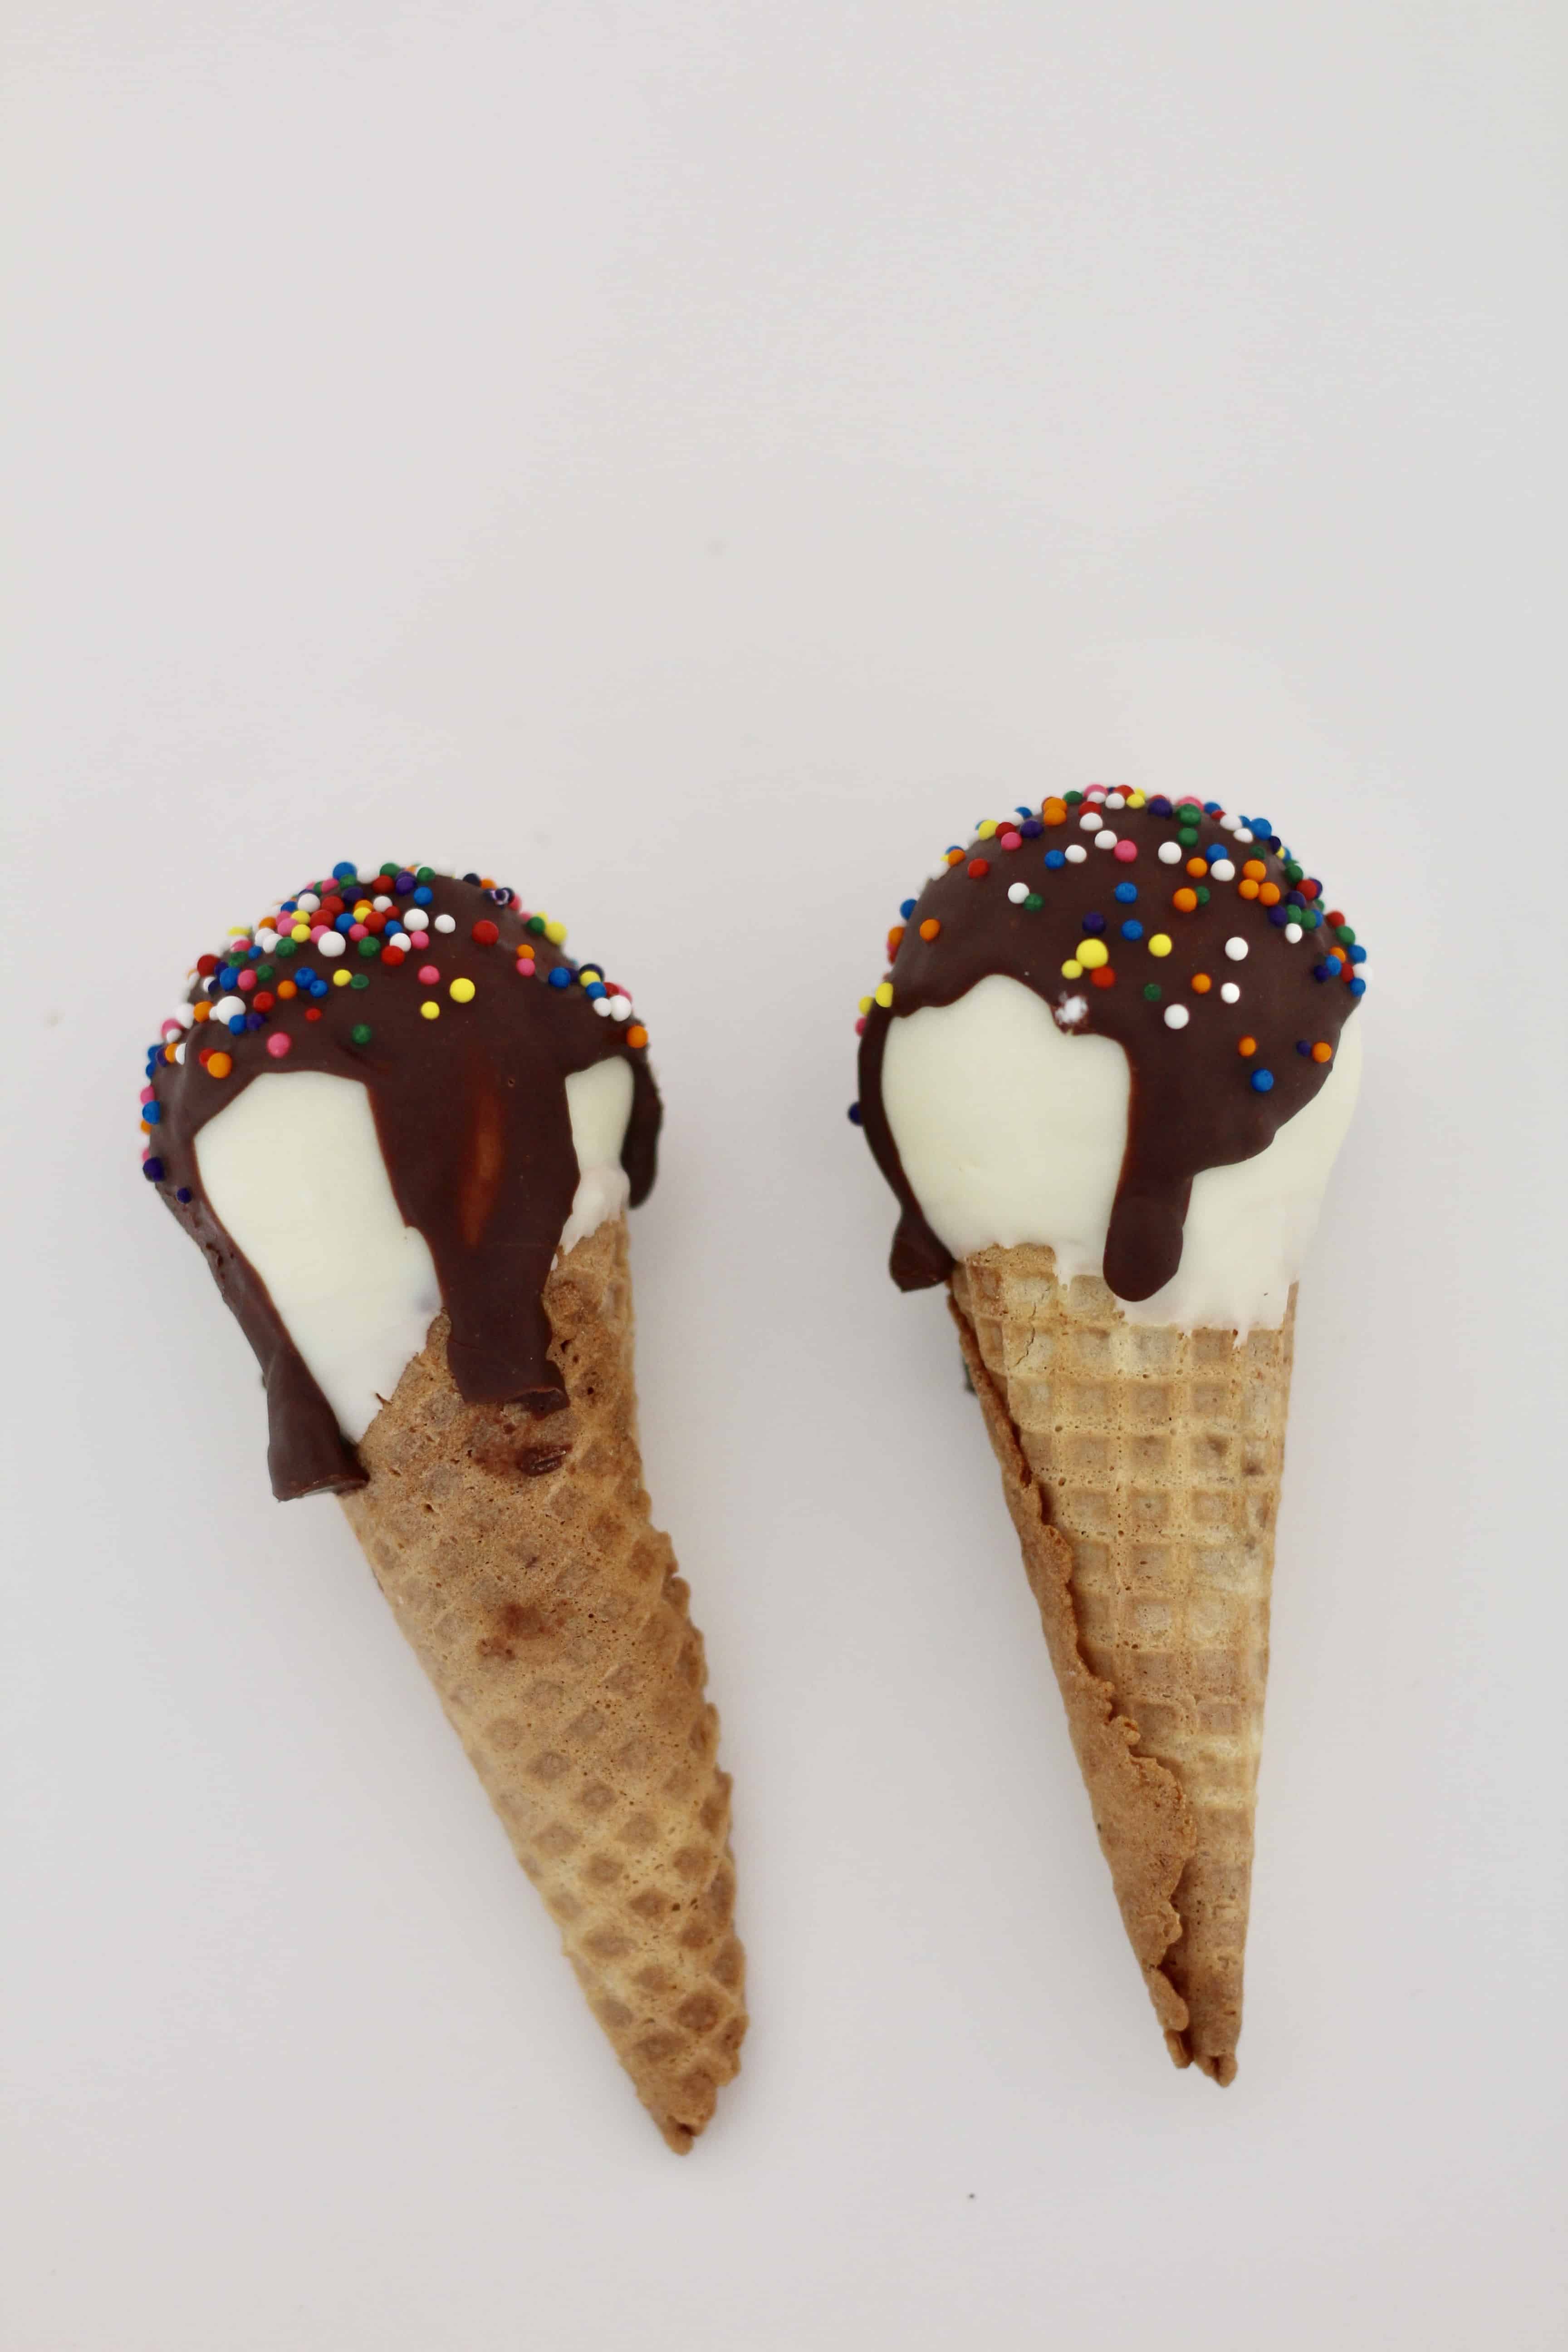
Next take your cake pops out and dip them in the white chocolate. Carefully let some of the extra drip off and then set them back in whatever container you were using. For some of mine I did a double layer of the white, however that made them a little to hard for the little ones to bite into. You then want to put those back in the fridge to harden again.
Your last step is to pour a small amount of the melted dark chocolate over the top and add sprinkles. Then one final drying step!

I know that those are wordy directions. This is NOT a hard thing to make, but it is time consuming. Finding the right containers for the cones and having enough for all of them will make it faster. Also know that you can make the cake pops a couple of days ahead so I would recommend the baking and rolling as one day then come back to the assembly so that you’re not so over them! I would love to see your finished product when you make them. To see more of what they were used for check out Avé’s cute puppy party where they made a fun appearance!
Pin Me For Later