Have you been following along with this DIY in stories? I set out to make Avé a DIY pink yarn Christmas tree last week, which ended up being quite the project!! I am sharing all the details on how to make your own in this post, so enjoy!
This post may contain affiliate links
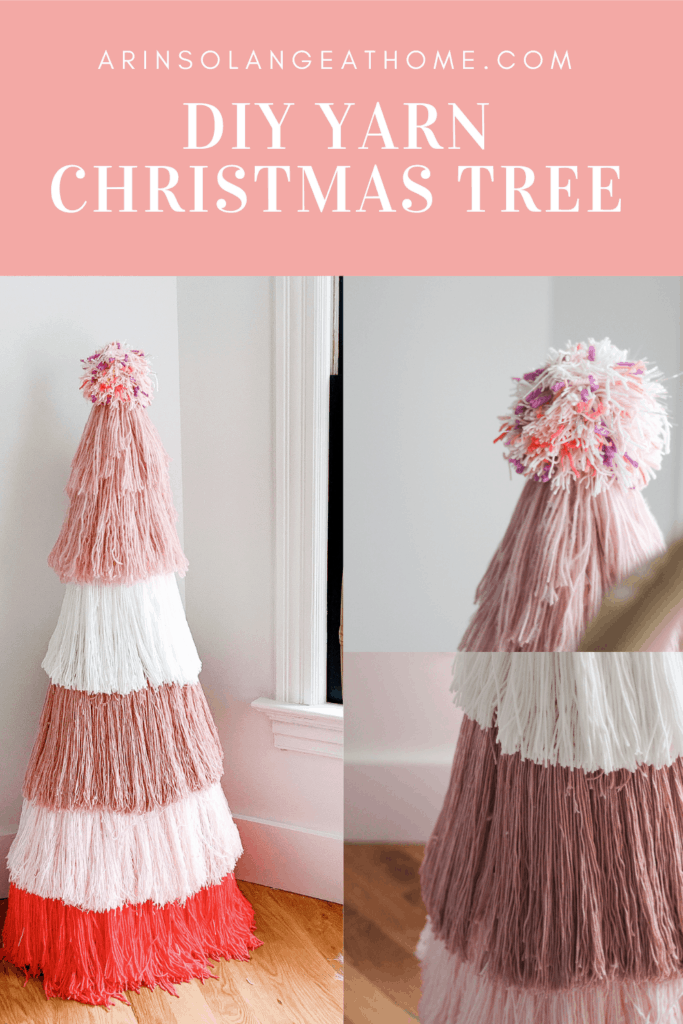
DIY Yarn Christmas Tree
Avé, my 6 year old daughter, was dead set on her own pink Christmas tree this year. Easier said than done tho – I really only liked a few options, and didn’t want to have to get a bunch more ornaments for our 400th tree.
As I was thinking about what to get, a friend sent me a post on Instagram of these little yarn trees that were SO FREAKING CUTE and I wanted to make them..however that spiraled.
As I was thinking about what to get, a friend sent me a post on Instagram of these little yarn trees that were SO FREAKING CUTE and I wanted to make them..however that spiraled.

I decided to try my hand at doing it life size. I thought it would be fun to do a large pink yarn Christmas tree that she could put up year after year…and thus the brainstorming began.
A Video to Help
Before you go too far – check out this video to help you get started. I shared as much of the process as I could in this video via some short clips to try to give you behind the scenes progress.
Supplies for a Yarn Christmas Tree
Below is a list of everything you need for the Christmas tree – for the yarn I will also tell you how many of each color I personally used, but that doesn’t mean you have to do the same.
Keep in mind if you alter the order of the colors it would also alter how many you would use of each color.
- YARN – 6 Spools of comfy classic yarn in coral (hobby lobby), 5 spools of sweet delight in pinkaboo (hobby lobby), 5 spools of sweet divinity in blush (hobby lobby), 1 Large roll of white yarn (any jumbo roll should work), 1 roll of this pink ( I didn’t need the entire thing but I already had it on hand). Scraps of other colors for the huge pom pom.
- WOOD DOWEL – We used scrap lumber but you need something that is sturdy enough to handle the weight. Height is up to you, but ours is 55 inches long.
- CHRISTMAS TREE BASE
- SCREW AND DRILL FOR ATTACHING THE DOWEL TO THE BASE
- HOT GLUE AND GLUE GUN
- FLORAL WIRE OR TWINE
- POULTREY NETTING
- STAPLE GUN
- OPTIONAL – ZIP TIES
- OPTIONAL – POM POM MAKER
Creating the Frame
Before we can make things pretty – we have to create the structure. The hilarious part of this part is that you are essentially creating a massive plunger lol.
I shared this process on Instagram as I was doing the DIY and the number of messages that I got saying they thought it was a plunger had me coining this the ‘plunger tree’ lol.
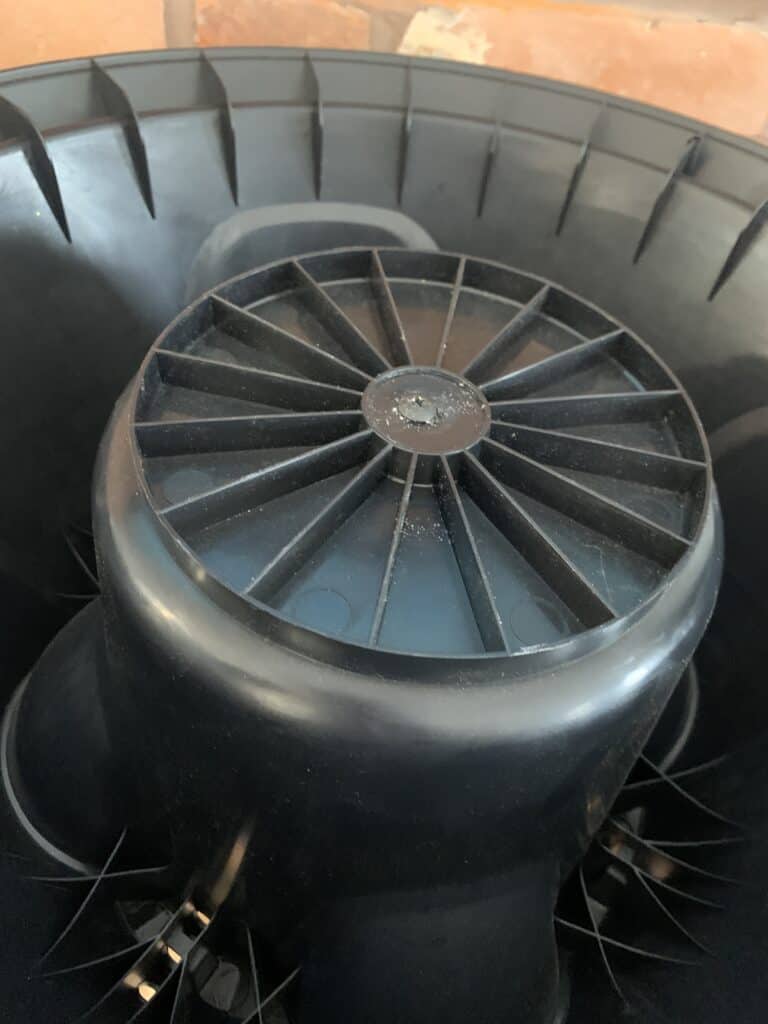
All you need for this process is your dowel or piece of wood, Christmas Tree base, and your screw, and your drill. First you want to drill a pilot hole through the bottom of the middle of the Christmas tree base.
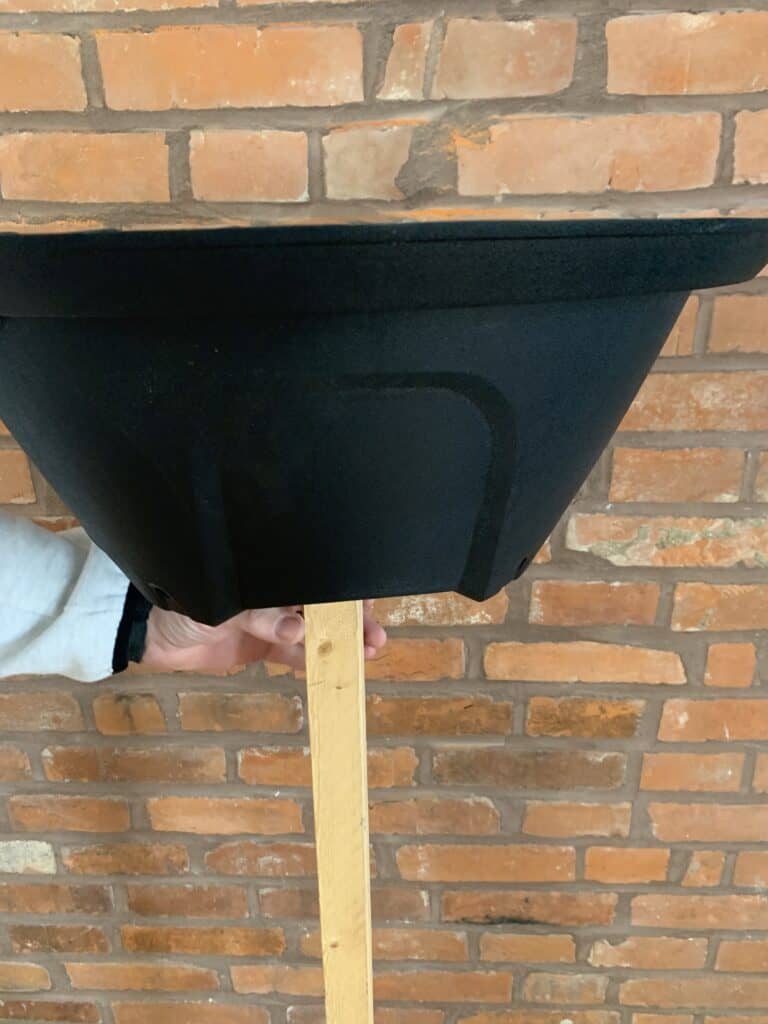
Then take your dowel and hold the Christmas Tree base on the top and carefully screw into the dowel. Flip it on its base and you have your frame.
Adding the Netting
Now that your frame is done – you need to add your netting. This is when things will start to look less like a plunger and more like a horribly ugly tree. Keep with me.
Cut a long portion of your poultry netting off and starting with a corner get ready to make a huge cone or party hat shape. I got things in position and while I held it my husband used several staples to hold it in place. Start wrapping to make a tree shape.
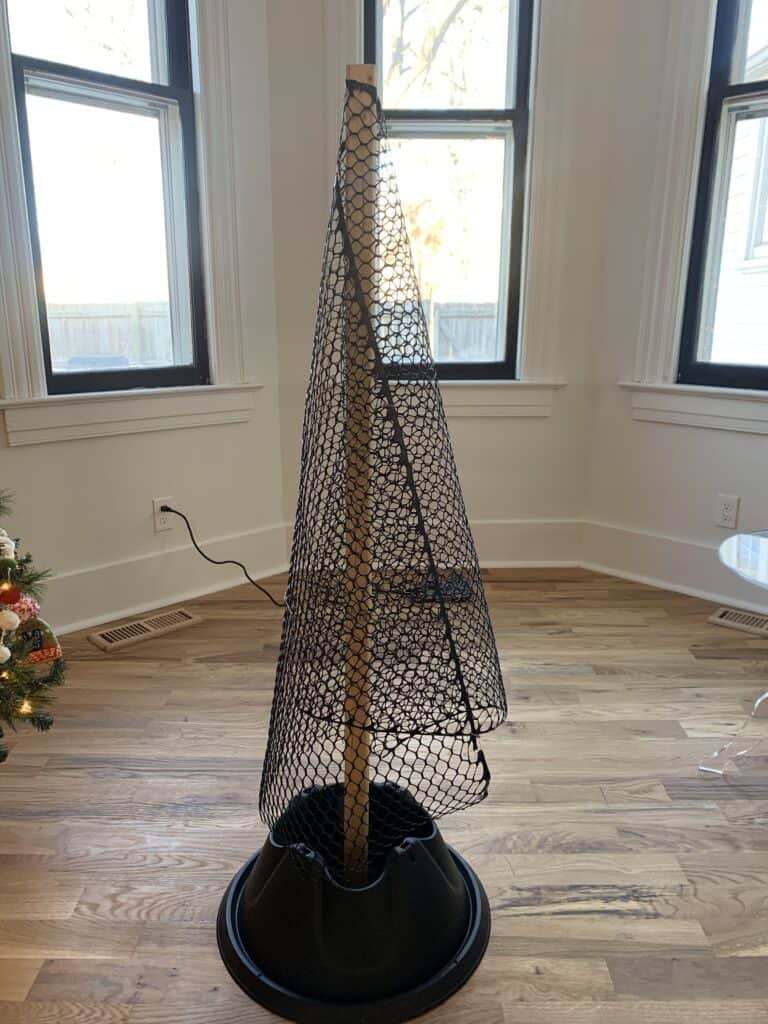
You will have to trim in places, and then start adding in others to create your full tree. Also keep in mind – it doesn’t have to be perfectly even on the bottom. The 400 lbs of yarn you’re about to add is very forgiving.
When I added pieces of netting in I personally used zip ties that we had on hand. If you don’t have them – don’t buy anything extra. Just use floral wire or twine – something stronger than yarn.
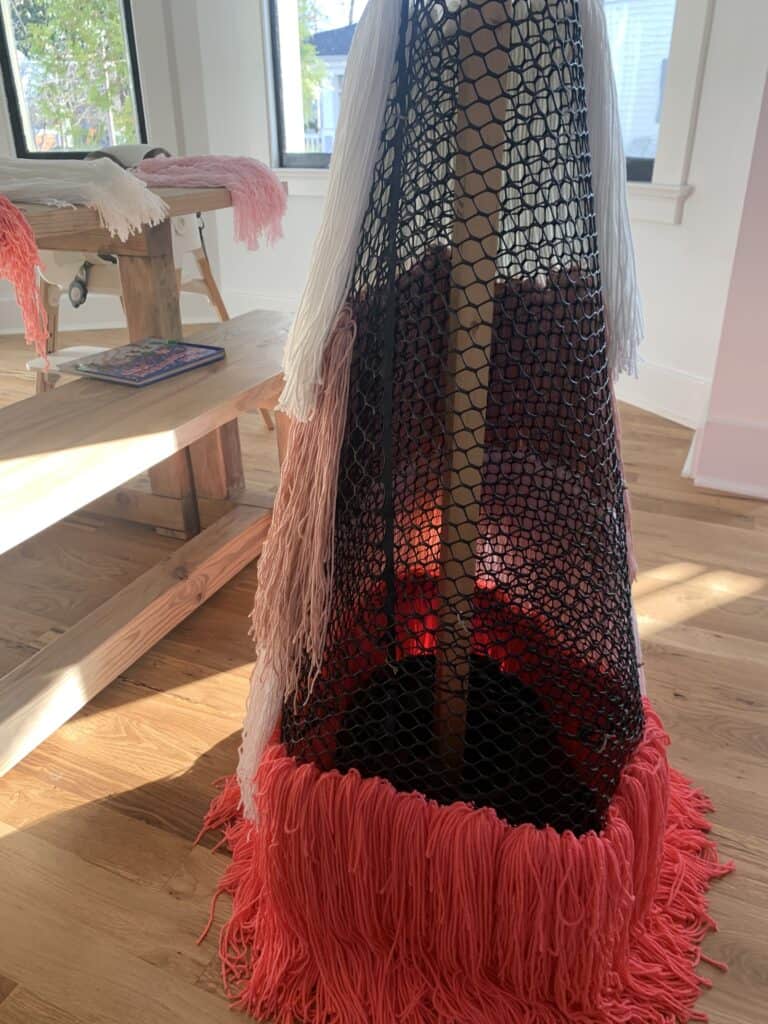
Your end form should resemble something like this.
Adding Yarn to the Christmas Tree
I won’t lie you guys – every time I do a yarn project I tell you guys – IT IS A PAIN. They are always very daunting projects, but they always end up being so freaking fun when they are done!
For this project You need to create 20 inch (ish) long strands of yarn. How we did this was by finding something to wrap the yarn around. We did it in groups of 15 – 20 depending how thick the yarn is.
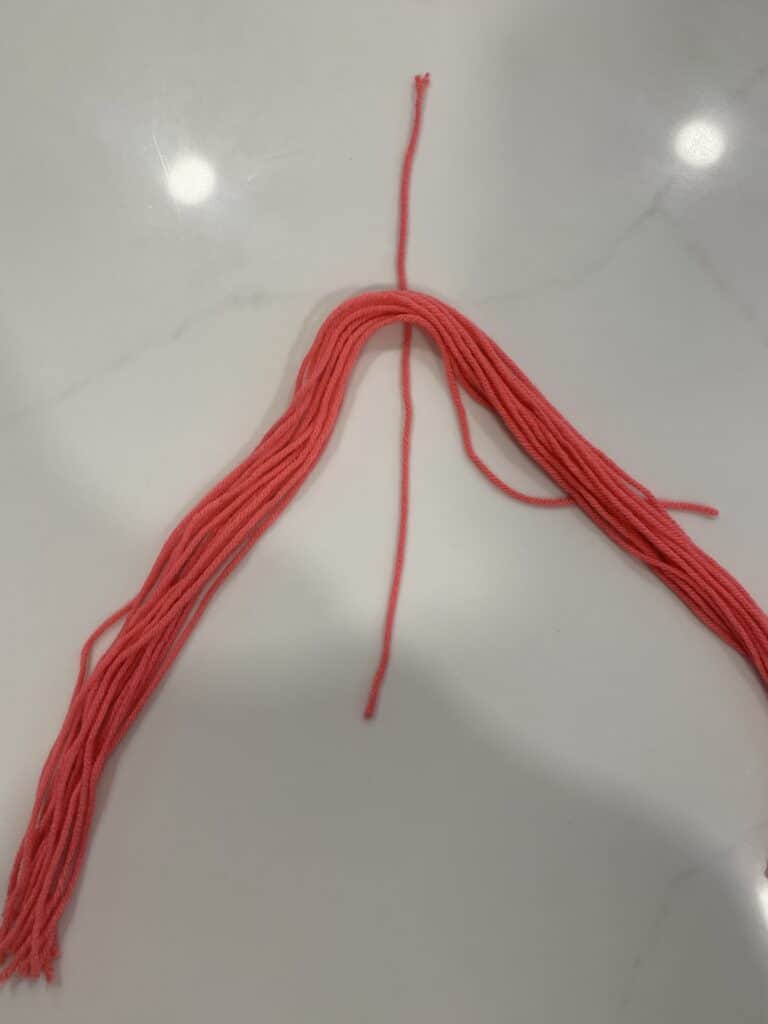
Once you have wrapped the yarn around your object (Think a large empty picture frame or something) cut it in half. This will give you a handful of 20 inch strands.
Take 1 piece of the yarn and tie that group off in the middle (essentially giving you 30-40 10 inch long segments that are grouped). Lay that aside and repeat 4 million times.
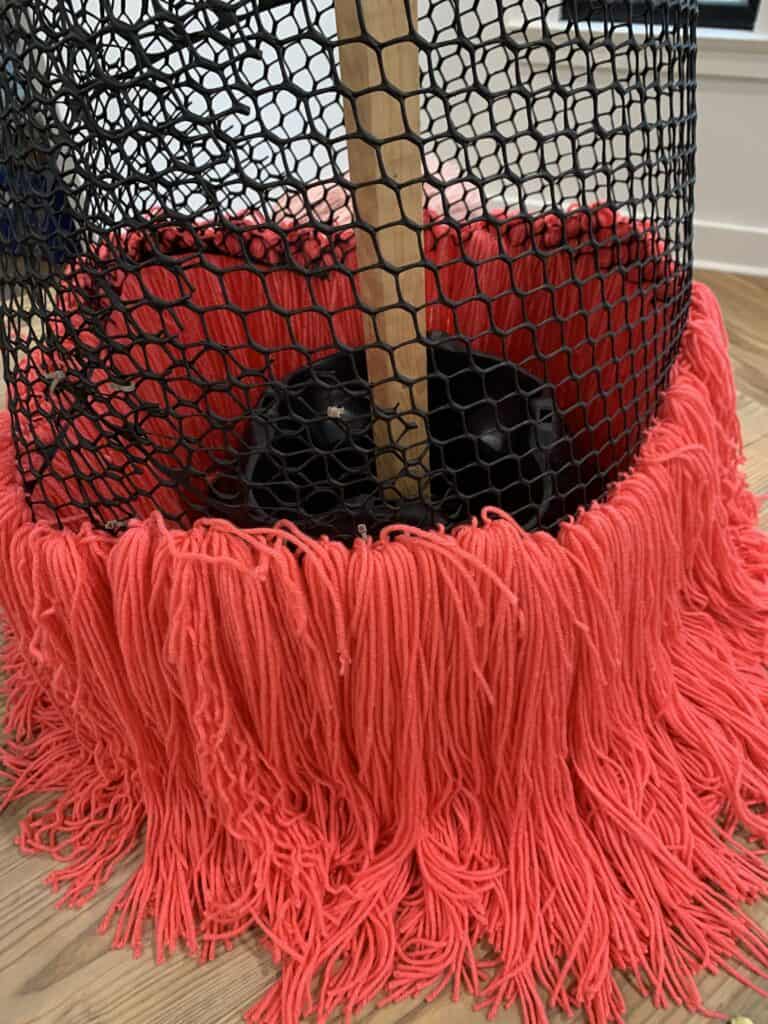
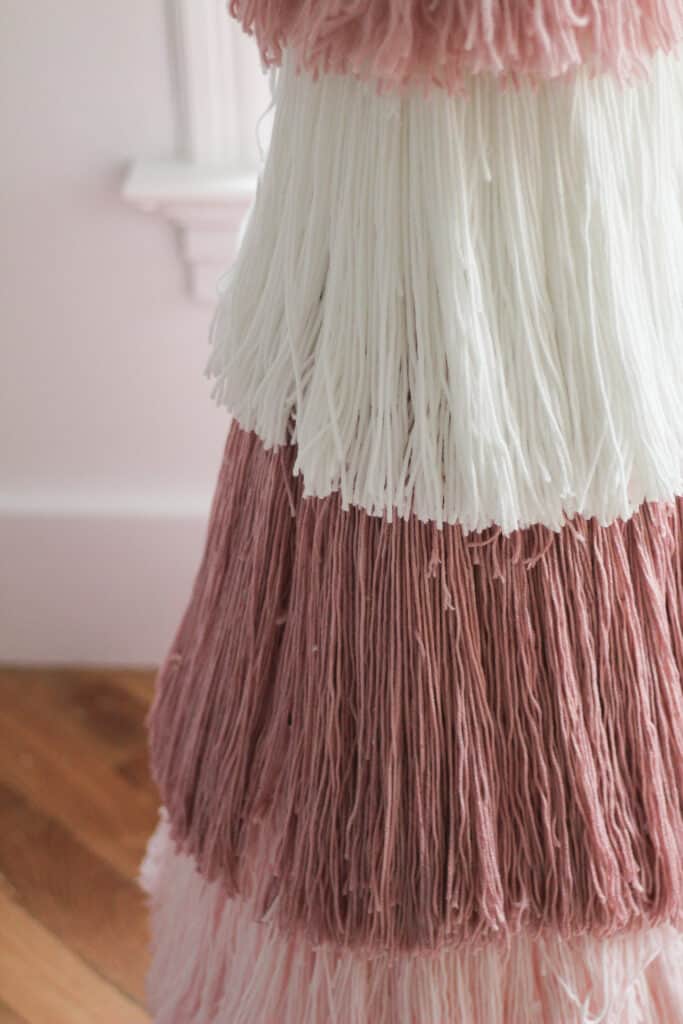
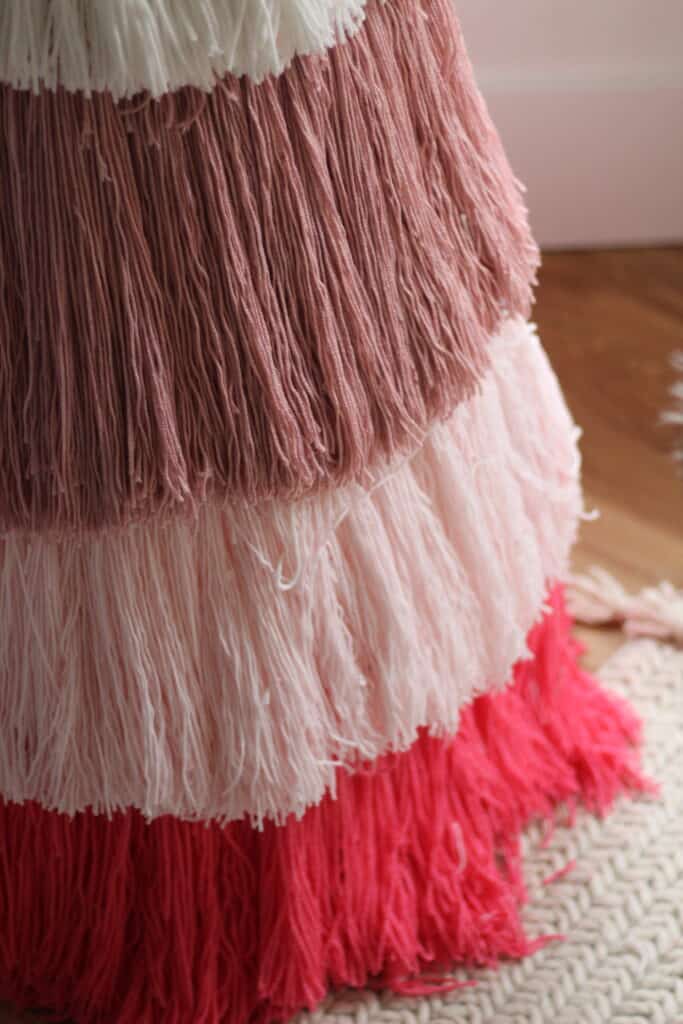
Once you have a good number of ‘tassels’ it is time to start adding them to your tree. For your bottom color start tying on your tassels. Start low enough that they all hang on the floor just a little bit. You don’t need to worry about them being in a perfect line at the top – that will all be covered.
I tied roughly 2 tassels per little opening. You want it to look really full. Once you have gone the whole way around it is time to start on color number two!
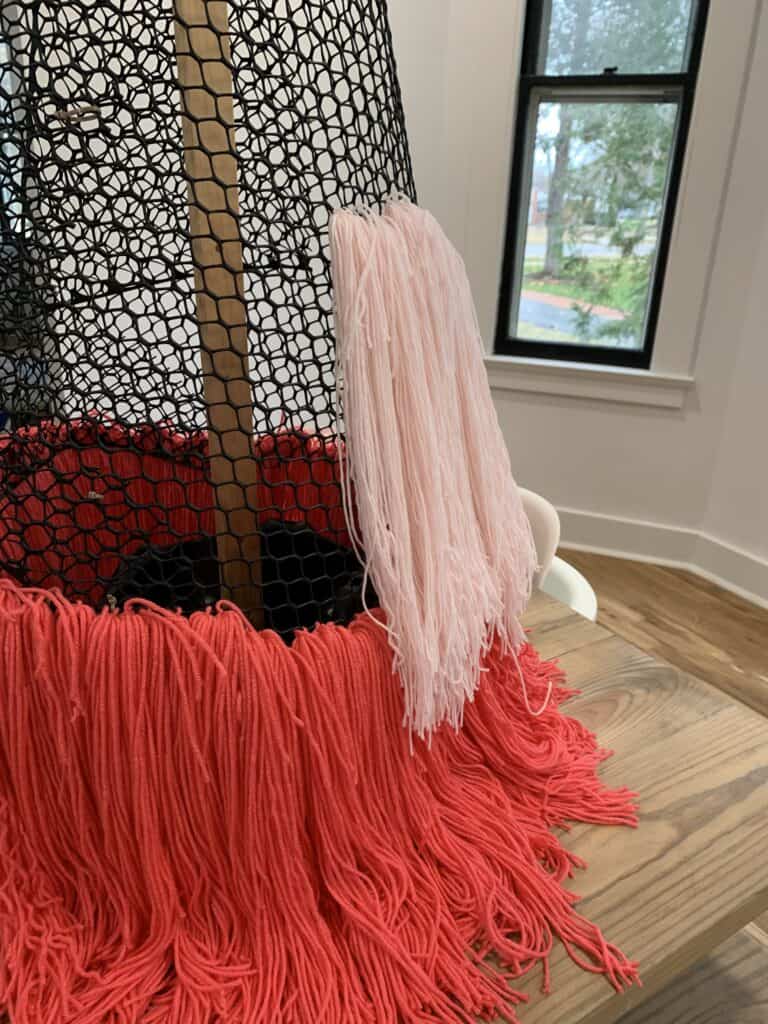
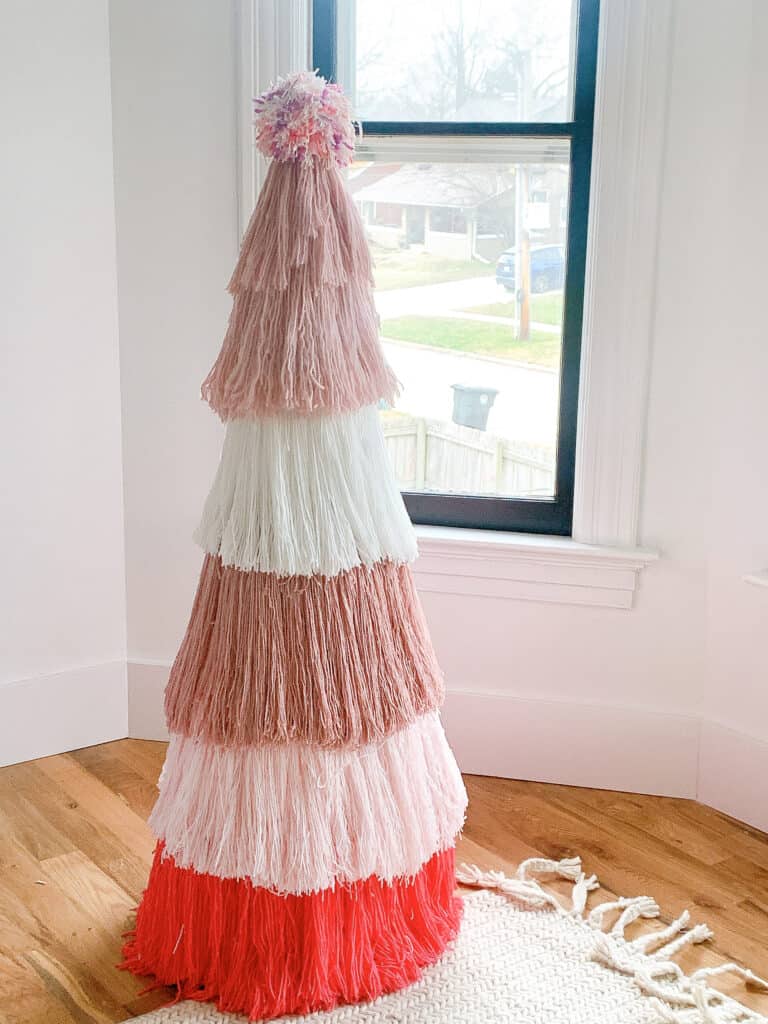
Make a bunch of your tassels again in your next color. Once you have a good amount you want to start tying them on. Make sure you give a good 2- 3 inch overhang on the bottom color. Eventually you will have to trim them to look more even so you need room to trim!
You will repeat this until you are done – the good news is that each level gets easier. When you get to the top, you can make a judgement call – for me I had just a few inches left so I decided to take the same color I had below and hot glue them around the top of the stand instead of starting a full new color that would have been really short.
What’s a Tree Without a Topper?
Now it is time for the tree topper…because what is a tree without a topper?
For me personally I chose to go with a huge pom pom. I will walk you through how I made mine, but if I were to do it again I would have gotten a larger version of my normal pom pom makers for the topper.
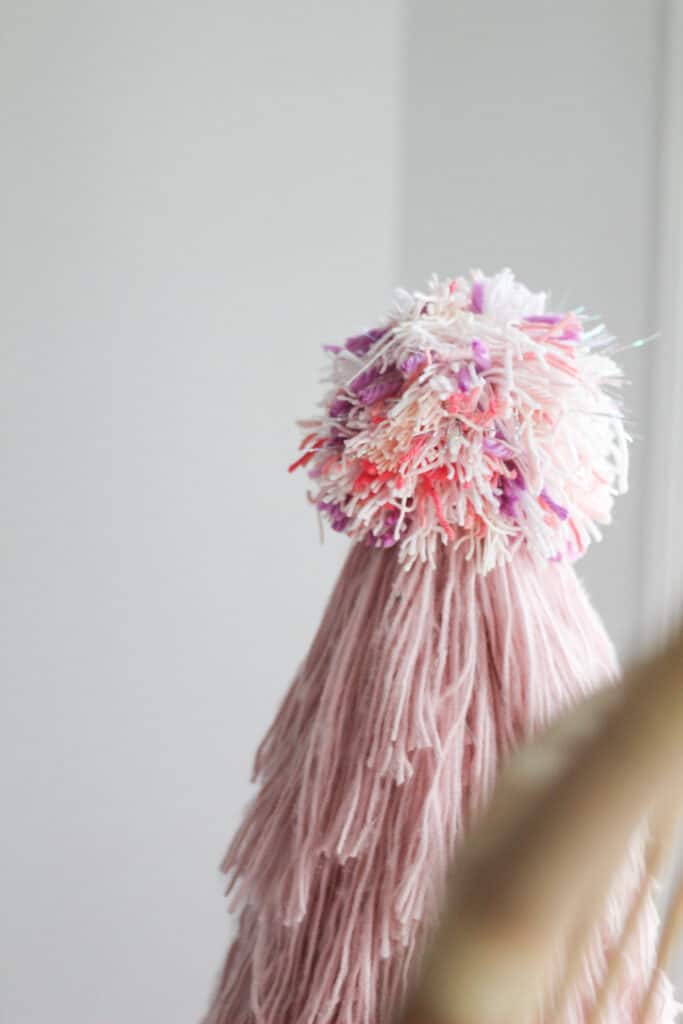
I personally ended up using a metal hoop to make my large pom pom. how I did this was starting with one color of yarn Start wrapping in one direction around the hoop. I used SEVERAL colors and even added in layers of tinsel.
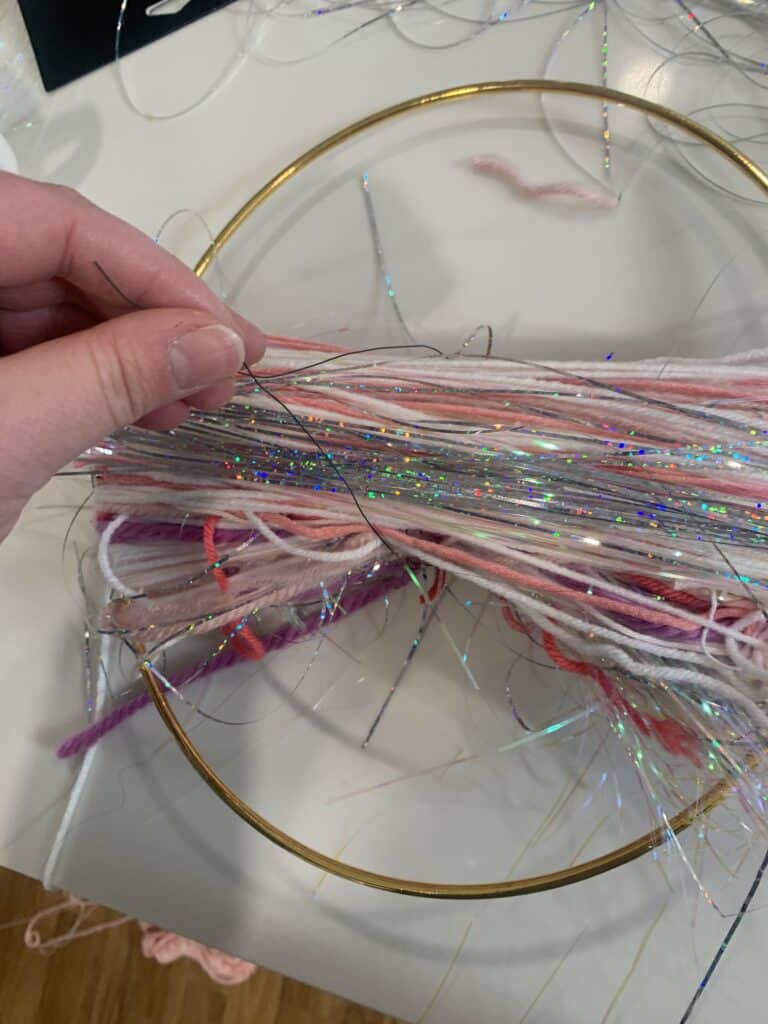
This will get really thick, so after several layers I used my floral wire (twine would likely work even better here) and tied it off in the center. Then I kept going. You want to make this SO MUCH THICKER THAN YOU THINK.
I went into this really thinking It was going to be thick enough but I should have gone further. Once you are done, tie it tightly in the middle one last time and cut along the ends (basically cut right where it touches the hoop).
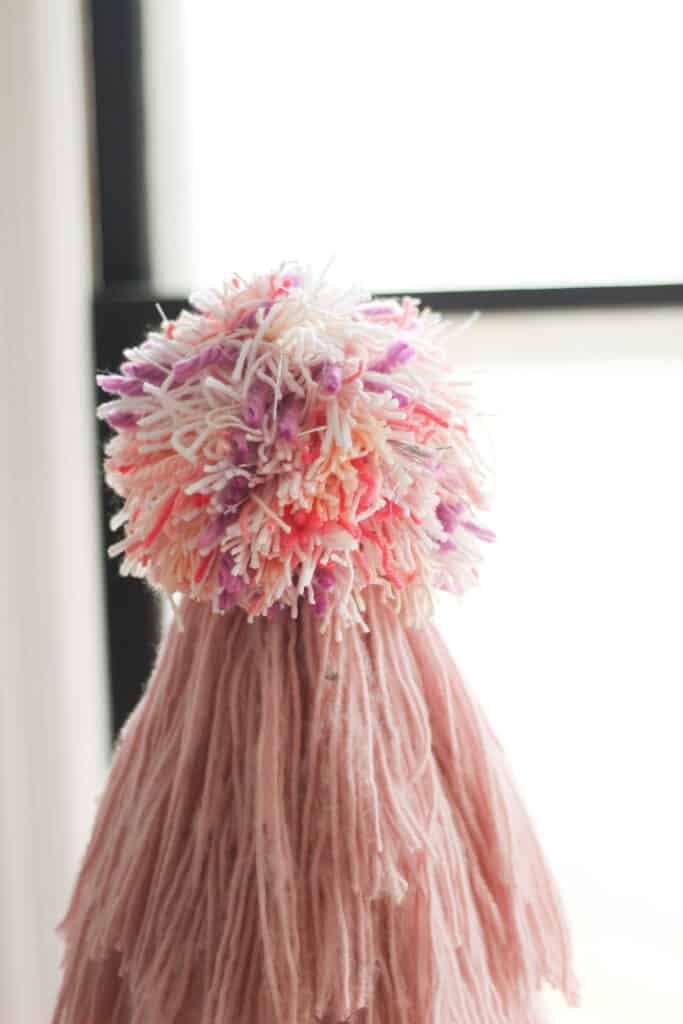
Trim the pom pom to make it more full (this is where mine wasn’t a total hit), and use hot glue to add it to the top of the tree.
Other Posts You’ll Love
If you loved this post I have a few others that will be right up your alley! Check out these posts and let me know what you think.
2 Other Yarn projects: A large Wall Rainbow and DIY Flower Wall
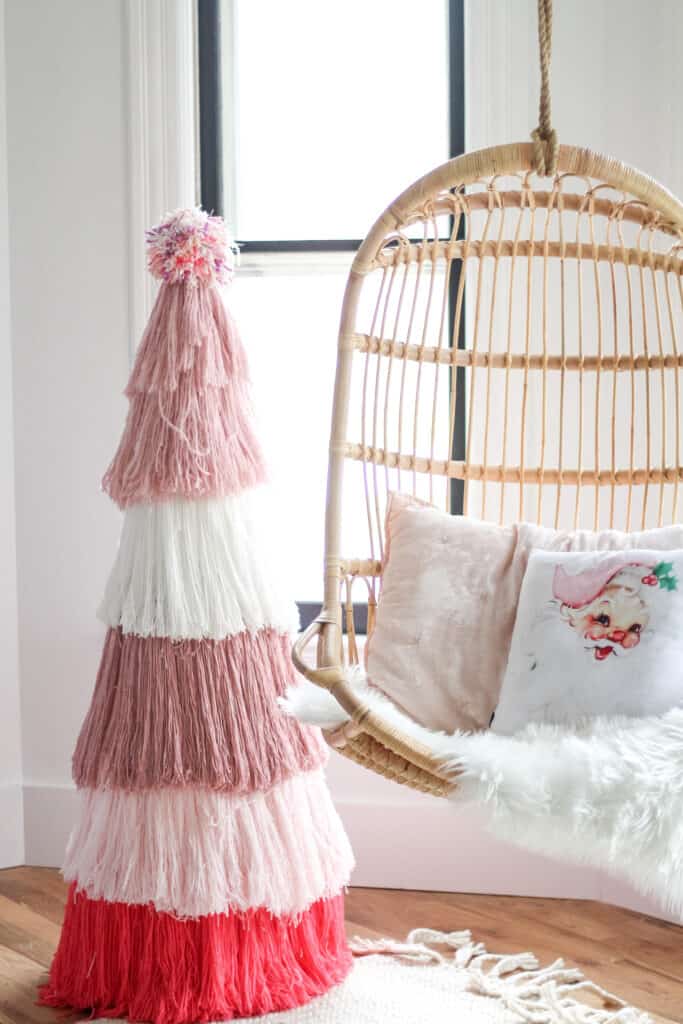
A review of the hanging chair seen next to the tree
Pin the Photo Below for Later
Hopefully you feel ready to tackle a DIY Yarn Christmas tree to make a pink Christmas tree of your own now. If you liked this post be sure to follow me on Instagram (@arinsolange) for more creative inspiration, and comment below with any questions you have.