I know, I know – you have probably seen 400 IKEA play kitchen hacks, but I promise you this one is worth the read! I was looking for a fun way to make this play kitchen for my kids for Christmas, and boy do I love it. I set out to make it functional on both sides, and include extra storage, and if I had to say so myself – I think it was a huge success!
This post was graciously sponsored by Cricut – all opinions are my own, and I am so thankful for you supporting the brands that support this blog. Post may contain affiliate links.
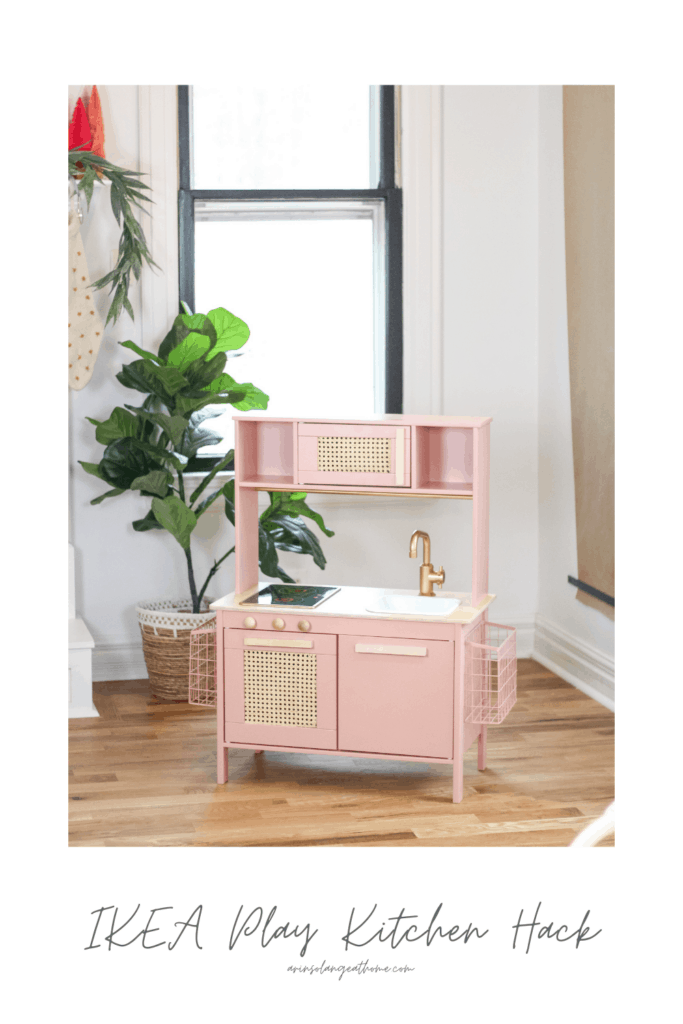
Play Kitchen Hack
When I set out to do this kitchen hack I actually went back and forth on if I wanted to use the IKEA play kitchen, or go with a used kids kitchen off Facebook marketplace.
I felt like both options had there perks. On one hand – the IKEA kitchen is super affordable, already taken apart and is budget friendly for anyone who can get it.
On the other hand – I remember very well not living near an IKEA, so I know sometimes seeing all of these IKEA hacks can be really frustrating.
I decided to go with the IKEA play kitchen (obviously) but as with my other IKEA hacks I will give pointers on ways you can sort of implement this on other play kitchens, or things to look for in other kitchens if you want a similar look.
Getting Creative for Christmas
I LOVE getting crafty for Christmas gifts. I don’t think there is a year that goes by that I don’t DIY a gift or 10. Typically that includes using my Cricut – sometimes just to make custom tea towels or platters for teachers, but in this case to go big!
Although the IKEA play kitchen is adorable as is – I am a huge fan of updating simple items to fit my decor and home – and in this case to make them more fun and functional!
There is nothing better than pouring your heart and soul into something and seeing the joy on someones face as they open the holiday gift and continue to use it year round.
Why the IKEA Play Kitchen?
So I talked about considering other play kitchens, but I didn’t really explain why I went with the one from IKEA. There were a few reasons, but I will list them below!
- Cost – The play kitchen is $89 brand new. Not bad in terms of cost.
- Size – for our house we don’t have room for something huge, so I liked the size, and the functions you get for that size.
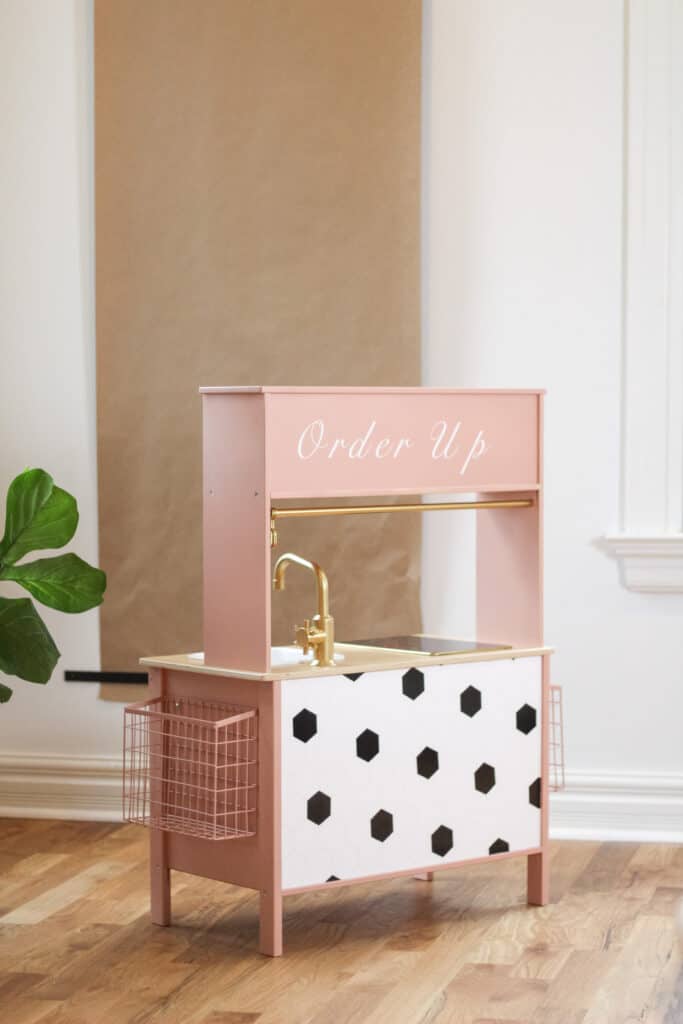
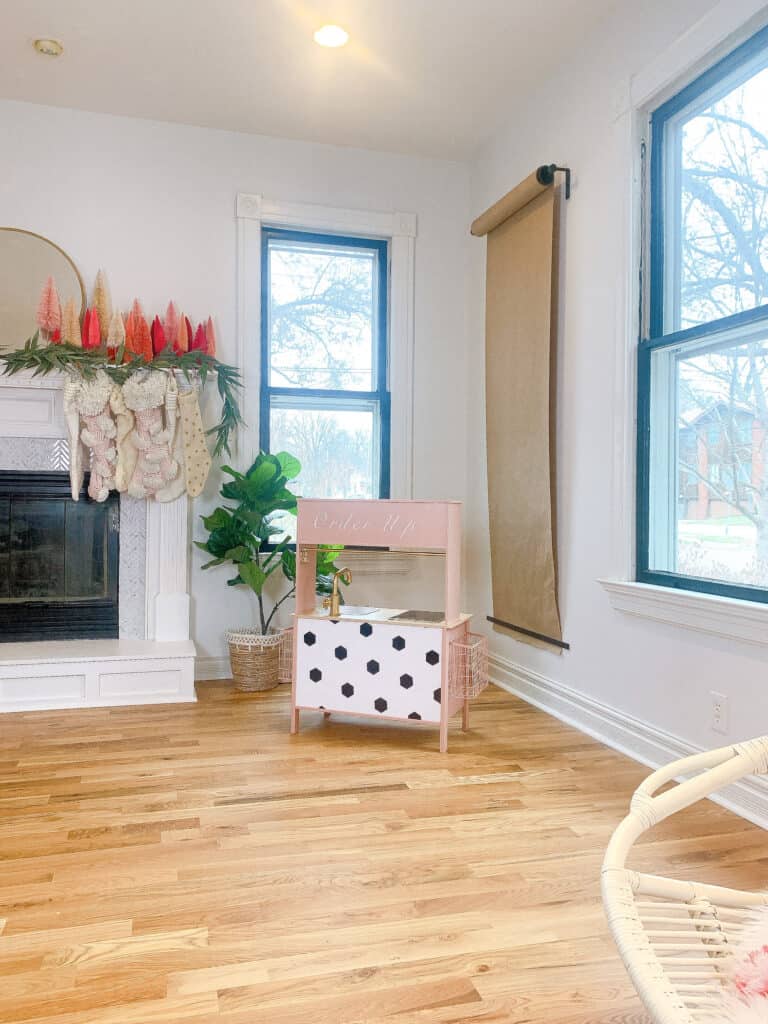
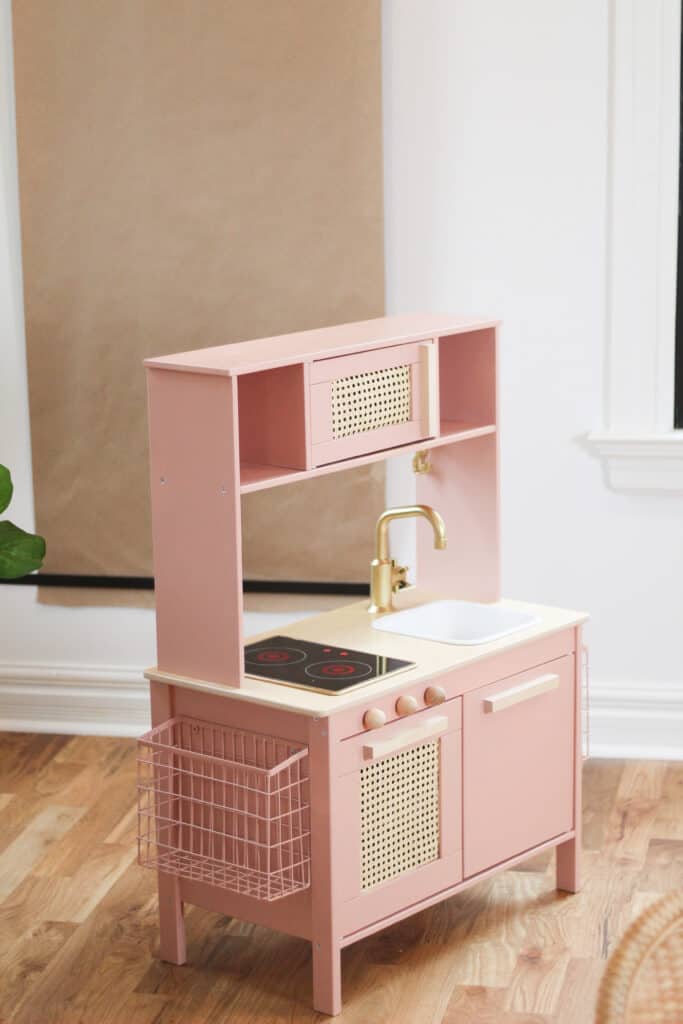
- Overall design – one thing I was looking for was something with a pass through. My kids love to play restaurant, so I had it in my head that this would be fun no matter what side you were standing on.
- Ease of assembly – say what you want about IKEA, but typically assembly isn’t horrible – and I have heard horror stories about other play kitchens haha!
What You Need for this Hack
- Play Kitchen – like I said I went with the IKEA one, and for exact results that is what you should get too, but there are plenty of ideas from this post you can use on your own play kitchen or a used one you find! (this one is really cute!)
- Cane Webbing – 1 foot is plenty. Mine was left over from this project.
- Spray Paint – This is a step you will need a few cans of. I would say 4 minimum. (more than one color might be needed pending what you want to do – I used pink, gold, and white).
- Sanding Block
- Cricut Joy
- White Permanent Smart Vinyl
- Cricut Joy Transfer Tape
- Black Permanent Smart Vinyl
- Super Glue
- 1 inch wood dowel from craft store
- Wood balls from the craft store
- Wire baskets – I went with 2 from hobby lobby, but these would work great too.
- optional but amazing – painters triangles
Getting Started
Before we get to the actual DIY – a few things you should think about. What color do you want your play kitchen to be? Do you want every part painted?
For me I knew I wanted everything to be painted other than the backing piece and the counter top. I set those aside before I got started so they didn’t accidentally get painted.
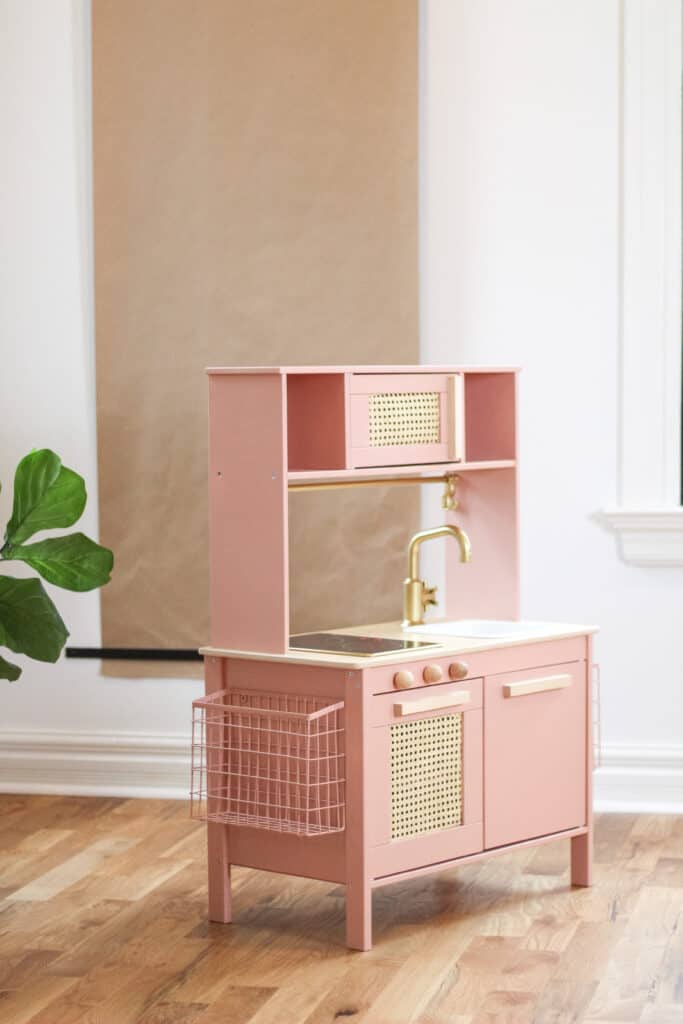
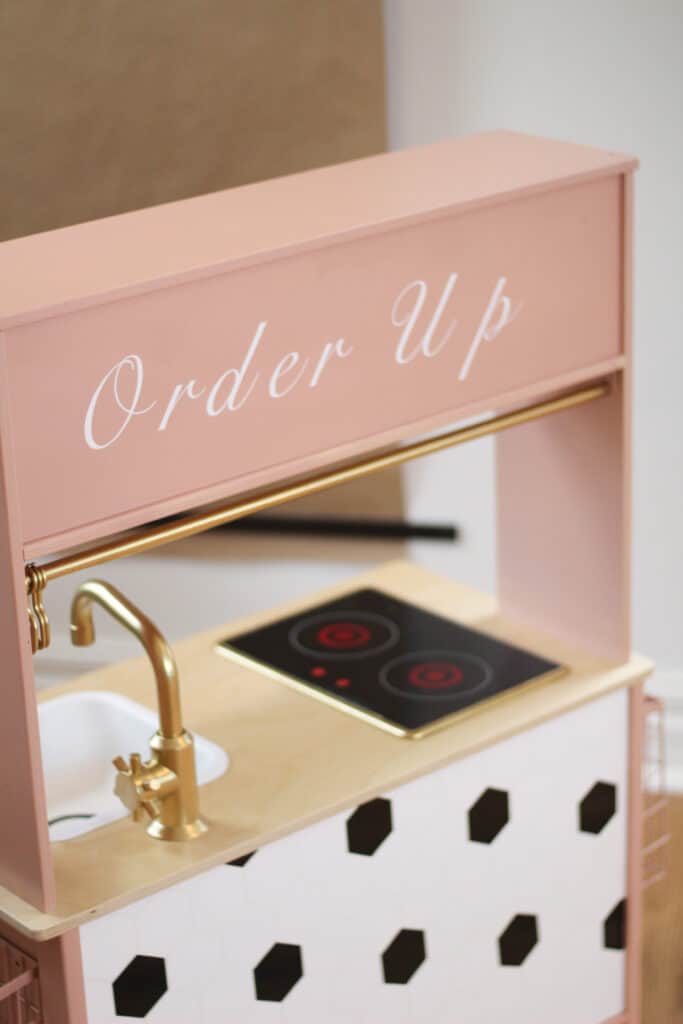
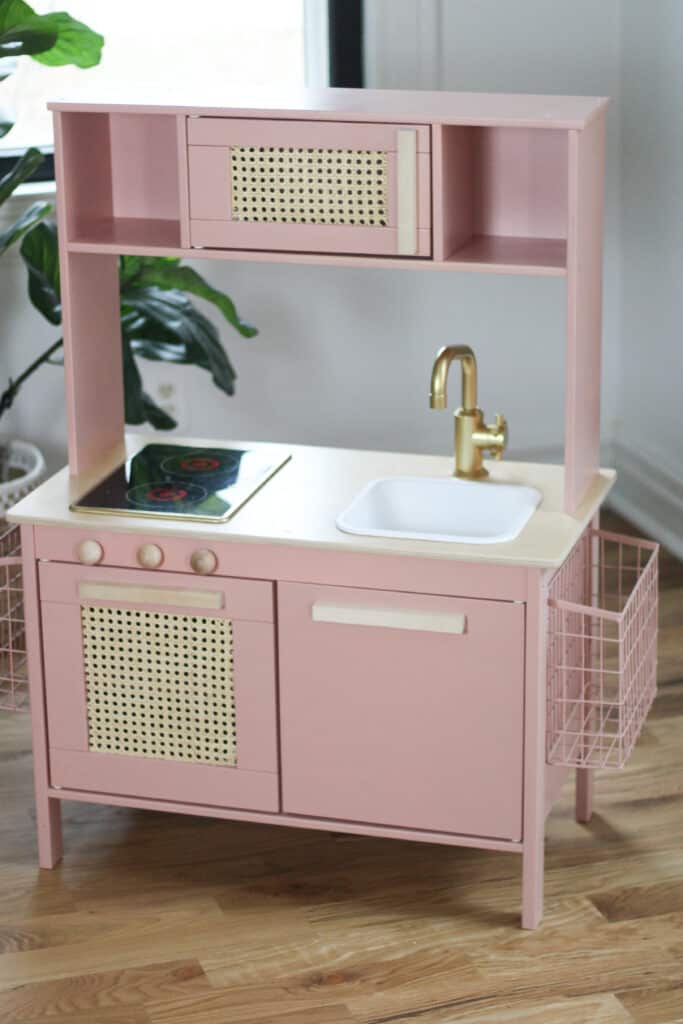
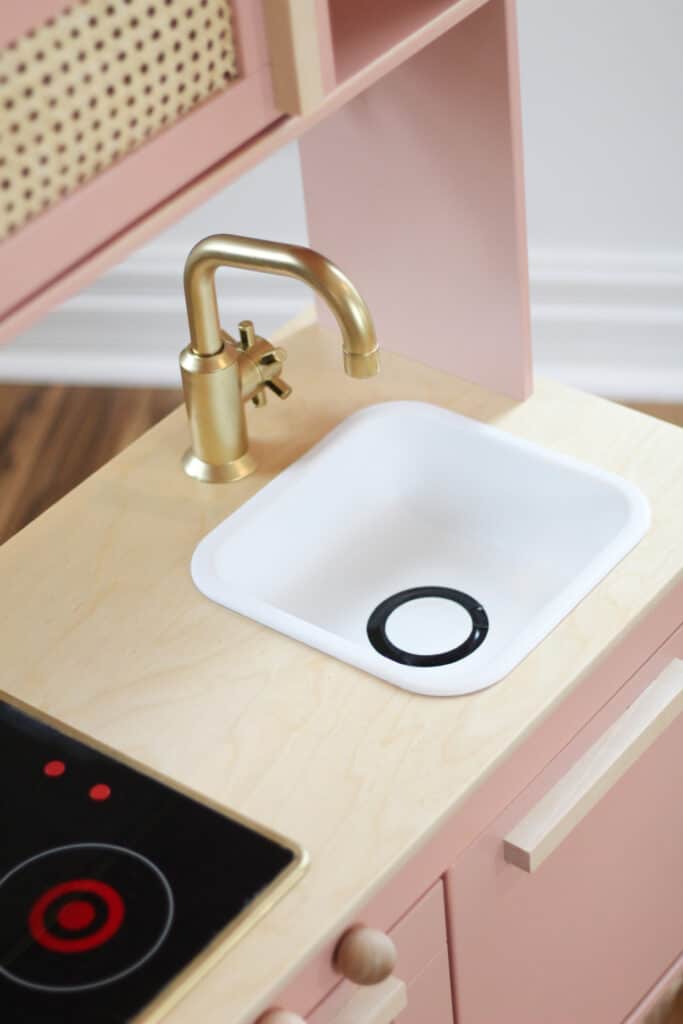
I then decided what colors I wanted to paint everything else. I went with Gold for the faucet, hanging bar and hooks, and stove. I painted the sink white, and the rest of the kitchen pink ( My exact pink was rustic pink).
There is a video below of this DIY talking a bit more about it and showing it up close, so be sure to watch that while you are here.
Creating your custom IKEA Play Kitchen
First things first – If you are doing the cane webbing you need to remove the plexiglass that is in the 2 doors. My method for that was to take a large drill bit and drill through the plexiglass. Once there was a hole I used a pair of needle nose pliers to break chunks off until it was all removed.
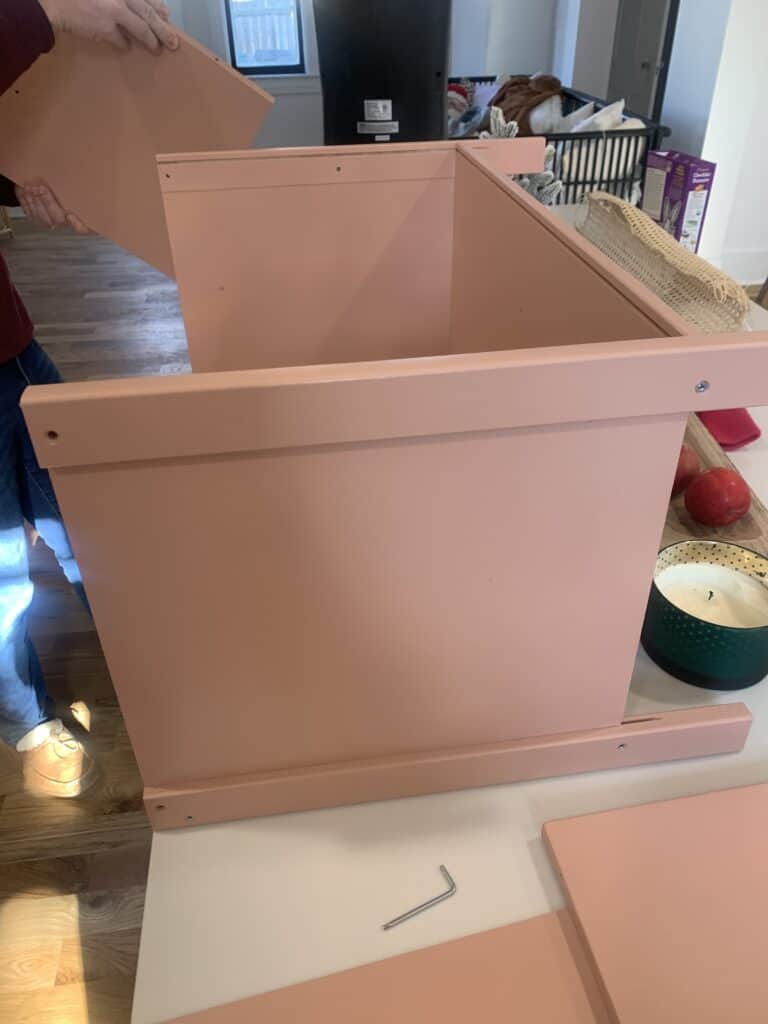
Now you have all your pieces, and it is time to paint. Lightly sand any surface your going to paint, then start spray painting.
I would lay everything out and give it a good few coats (following cans recommendations for time between). When it is time to flip use those painters triangles to avoid any issues. Fully paint all sides.
Once your paint is FULLY dry it is time to add the cane webbing to your two doors. I will give short explanations for that here – but for a better video of it, head to this post where I made a large Cane cabinet
Because the crevices weren’t as deep in the play kitchen it was a bit trickier, so what I did was cut the cane BARELY larger than the opening. Once it is cut, soak your pieces of cane in water for 5 minutes. Do this one at a time – soak right before you work on each door.
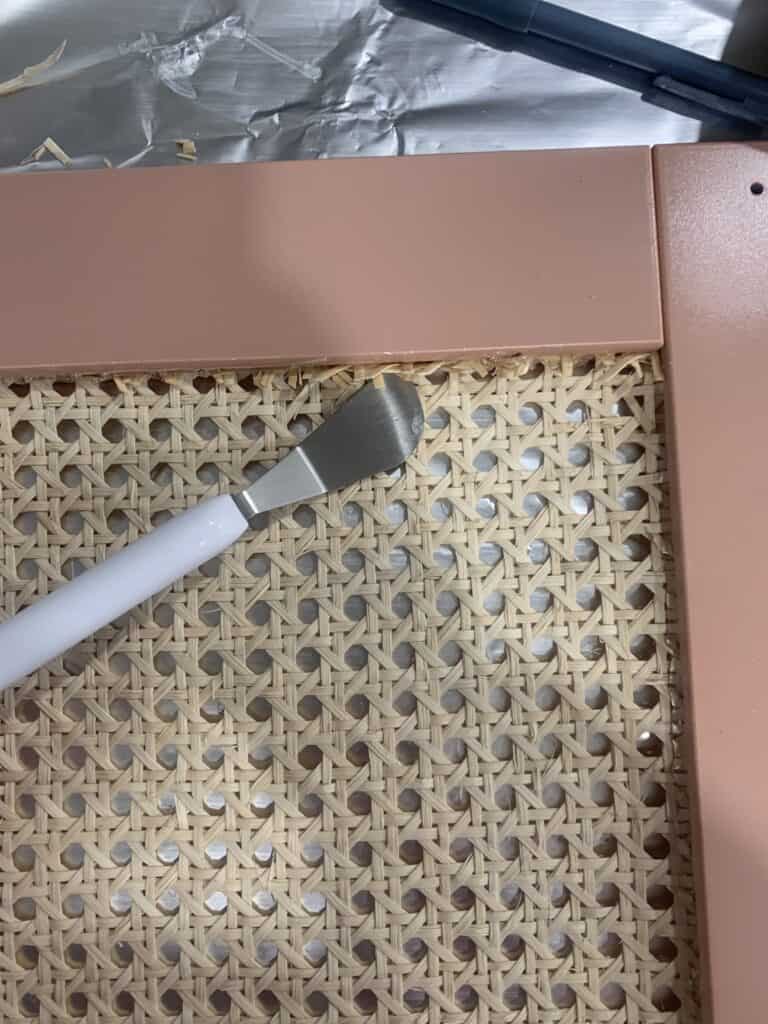
Dry the cane off, then carefully start to slide the edges into the crevice that used to have the plexiglass. Once you have one corner in place as far as it will go – try your bet to get one side well aligned and in. Then CAREFULLY add super glue and let that dry.
Once that side has dried a bit, then start sliding the other sides in. My guess is that the last 2 sides will have ‘extra’. I used my Cricut knife to wedge the extras in. This will make it hold even better.
Once it is all in, carefully add super glue to all 4 sides inside that crevice and let it dry.
Now you should have all your pieces and be ready to assemble your IKEA play kitchen per the instructions. (Add everything but the handles!) Once it is assembled it is time for the fun parts.
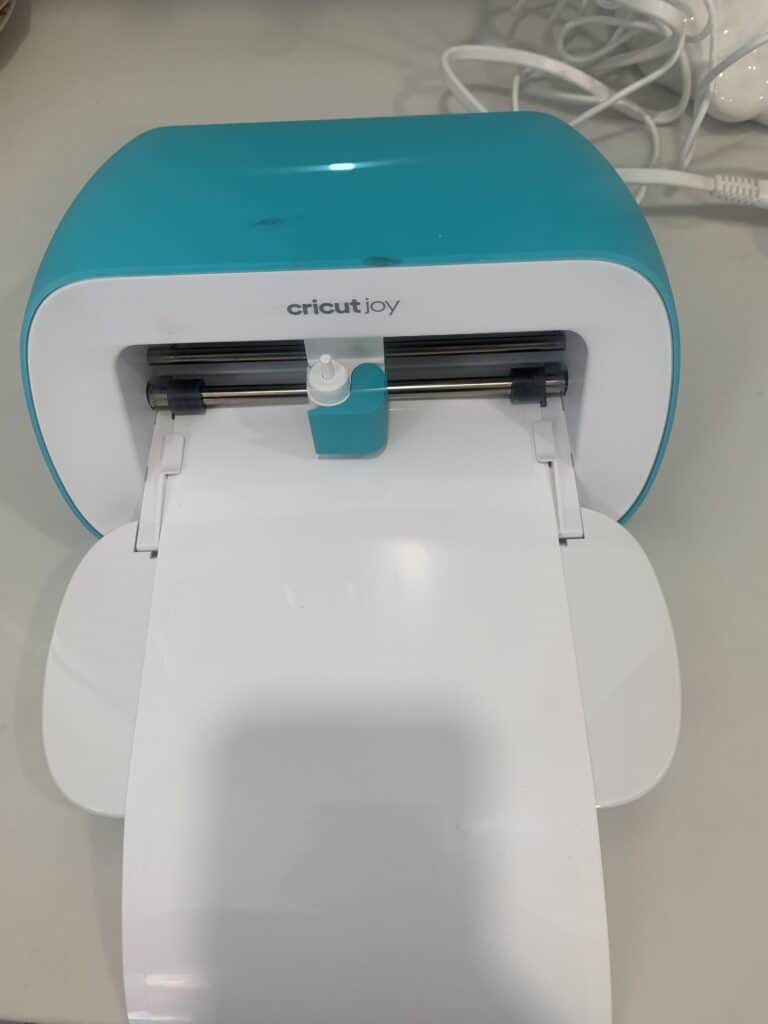
Adding Details with Cricut Joy
Now that you have a fairly functional play kitchen – it is time to get creative and add what makes it special.
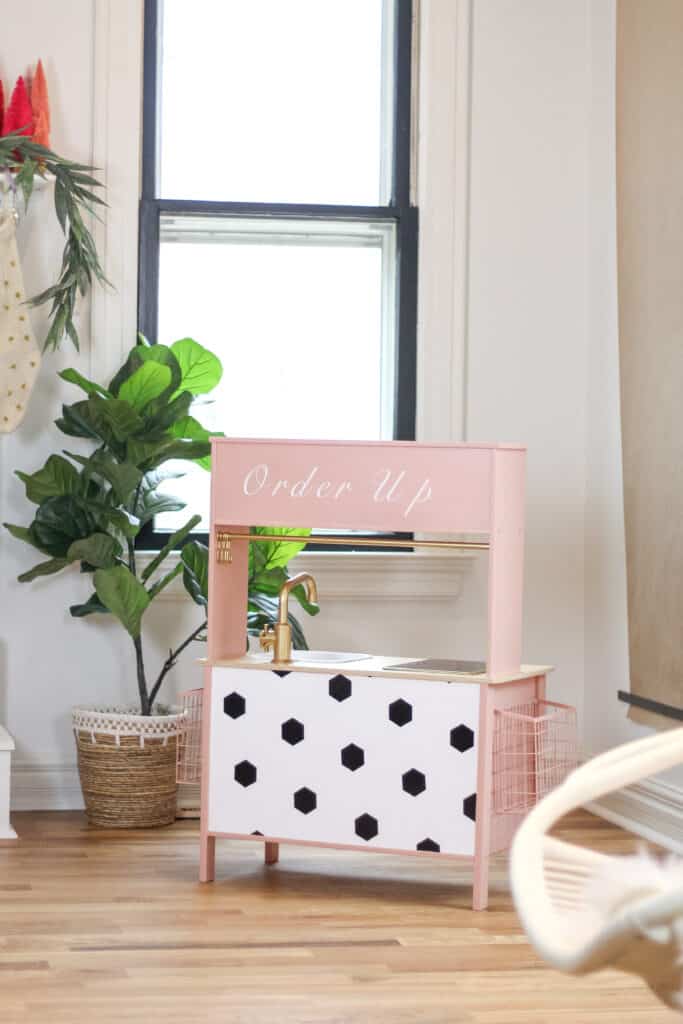
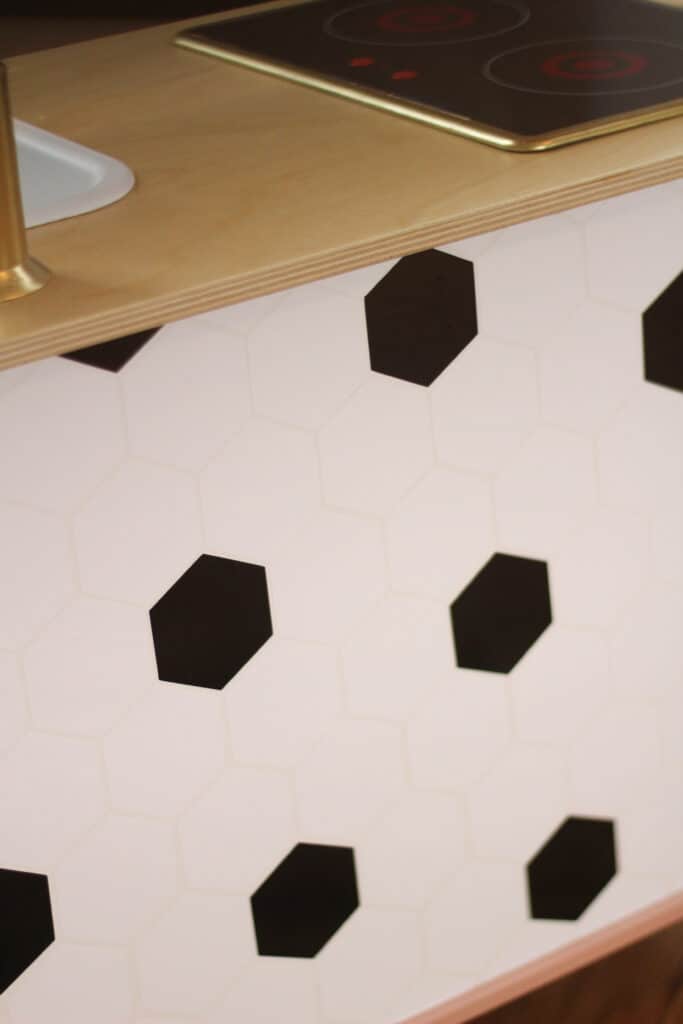
I used my Cricut Joy to cut hexagons in both black and white. I did mine on Permanent Smart Vinyl. Start by placing a white hexagon, then place them with a small gap (to imitate grout). You want to make a ‘flower’ with black in the center and white around.
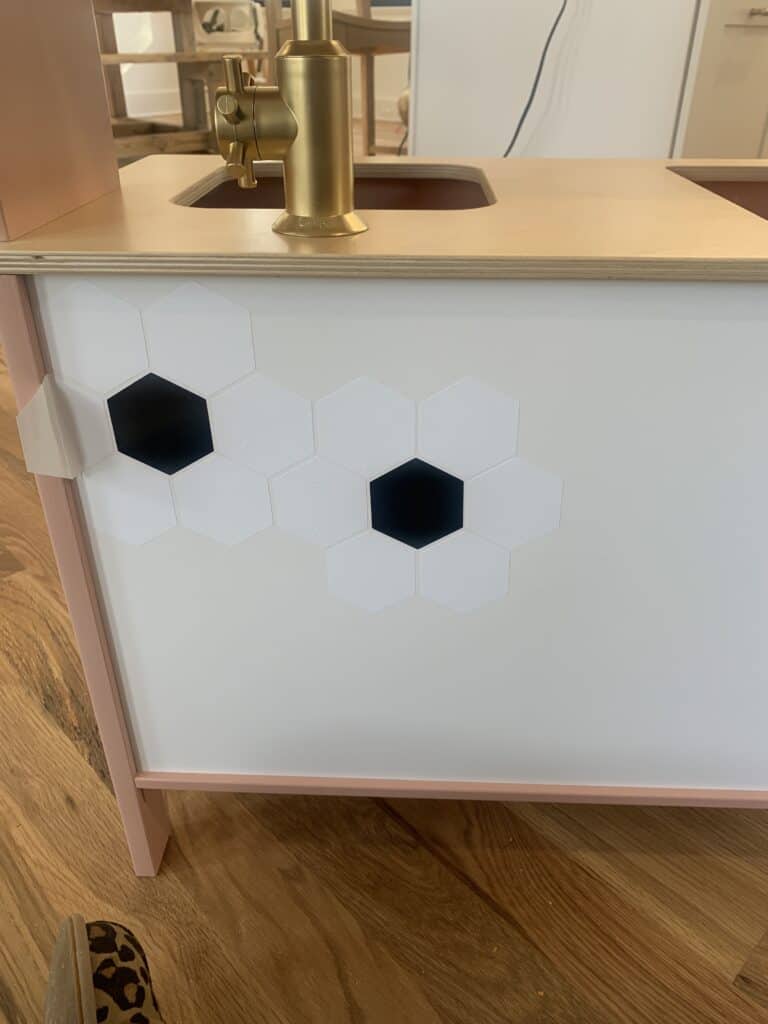
The big thing to remember is to make sure you FULLY create a new flower when adding a new black one. So that will mean way more white than black. On the edges use a craft knife to cut the vinyl.
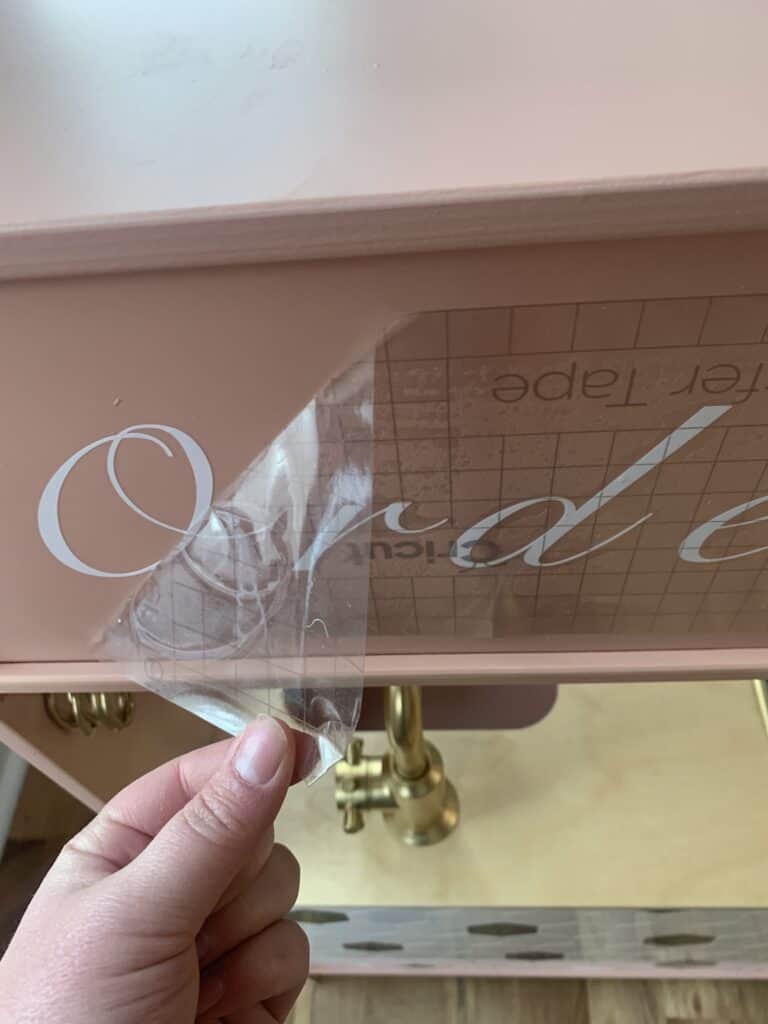
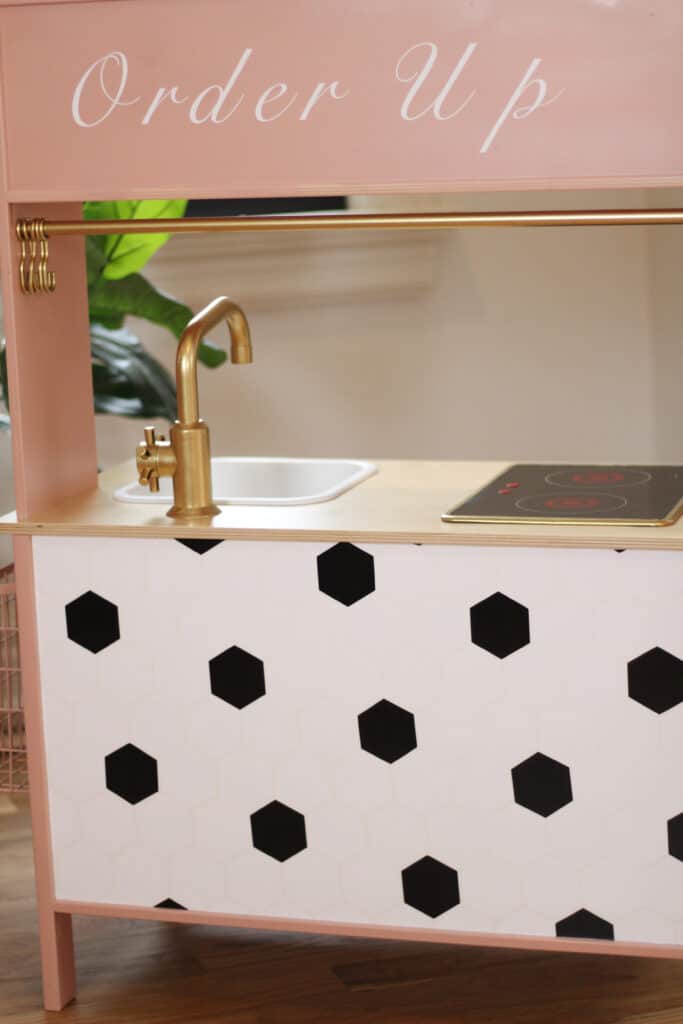
Next I added ‘Order Up’ in the font Snell Roundhand. Cut it on Smart Vinyl and use transfer tape to place it.
I also added a hollow circle to the drain in the sink. Honestly there are so many fun things you could add with the Smart Vinyl and the Cricut Joy makes it so easy to get out and cut it with ease.
The Final Details
Now you have a NEARLY finished play kitchen – but I figured there were a few other things you could do to make the kitchen a bit more unique and fun.
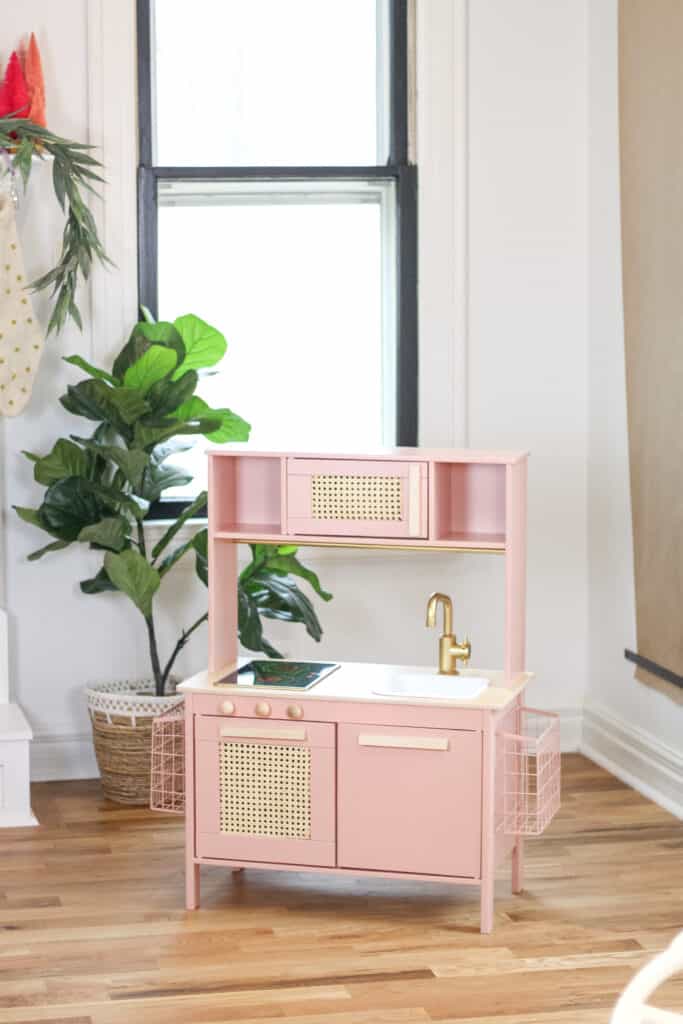
Instead of adding the stock drawer pulls I used a 1 inch wooden dowel and cut it for the drawer pulls (go slightly longer than the holes on the doors). I personally used our miter saw but you could easily use a hand saw.
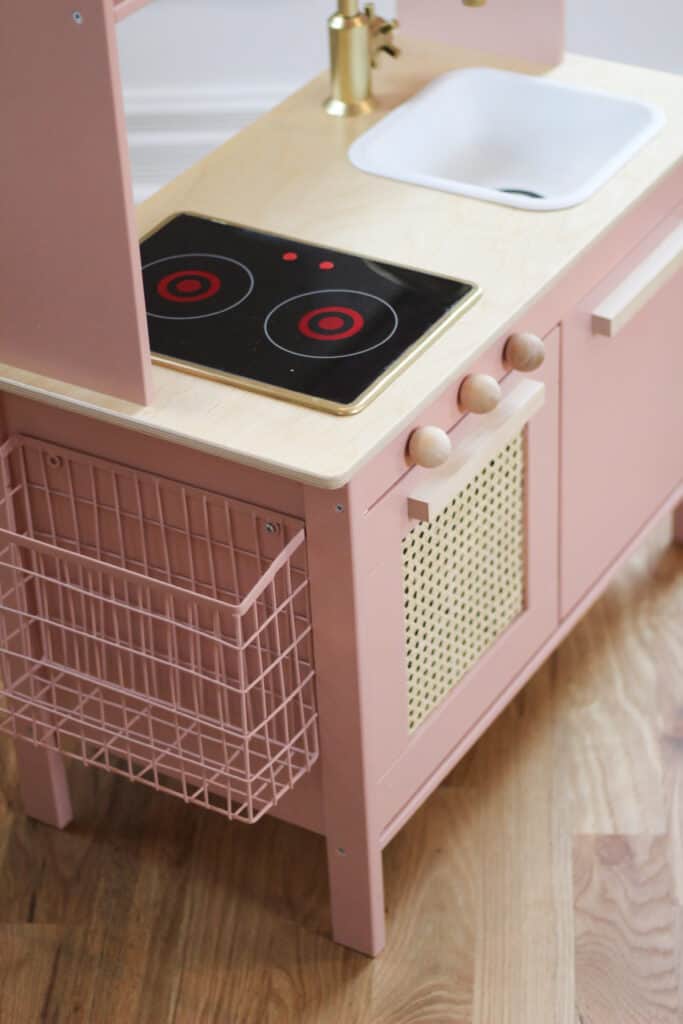
I also added 3 wooden knobs to the front with these craft balls.
Last – I wanted to add storage. I added 2 baskets to the sides of mine that were also painted the color of the play kitchen. In order to screw them in you will have to add a piece of scrap wood to the insides so that the screw doesn’t just stick out inside.

I used scraps from the 1×1 piece of wood we used for the handles. Simply hold it inside and screw into those pieces instead of just into the play kitchen itself.
And that is it! Seriously such a fun toy that I know my kids will enjoy for years and years to come!
Other Posts You Will Love
I have done so many other IKEA Hacks – here is a link to all of them in one post.
And if you liked this, although it is in the IKEA hack post you will likely love the cane cabinet hack!
And if you are looking for more gifts that are less DIY be sure to check out all my gift guides linked here!
Pin the Photo Below for Later
Hopefully you are inspired to do your own IKEA play kitchen hack and feel ready to tackle an amazing holiday gift for your kids. Be sure to leave a comment below if you try this and love it, or if you have any questions, and follow me on Instagram (@arinsolange) for more fun DIYS!