The only thing better than an advent calendar is an easy DIY Advent calendar. I teamed up on Instagram with a few of my favorite ladies to share some fun Advent calendar DIYs this week – and wanted to share how to do it here!
This post contains affiliate links
What is an Advent Calendar?
Alright before we get to the DIY in this post – lets talk advent calendars in general. What is an Advent Calendar?
An advent is a simple calendar with daily gifts or activities leading up until Christmas. Most of the time these calendars start on 12/1 and the last gift or activity is on Christmas Eve.
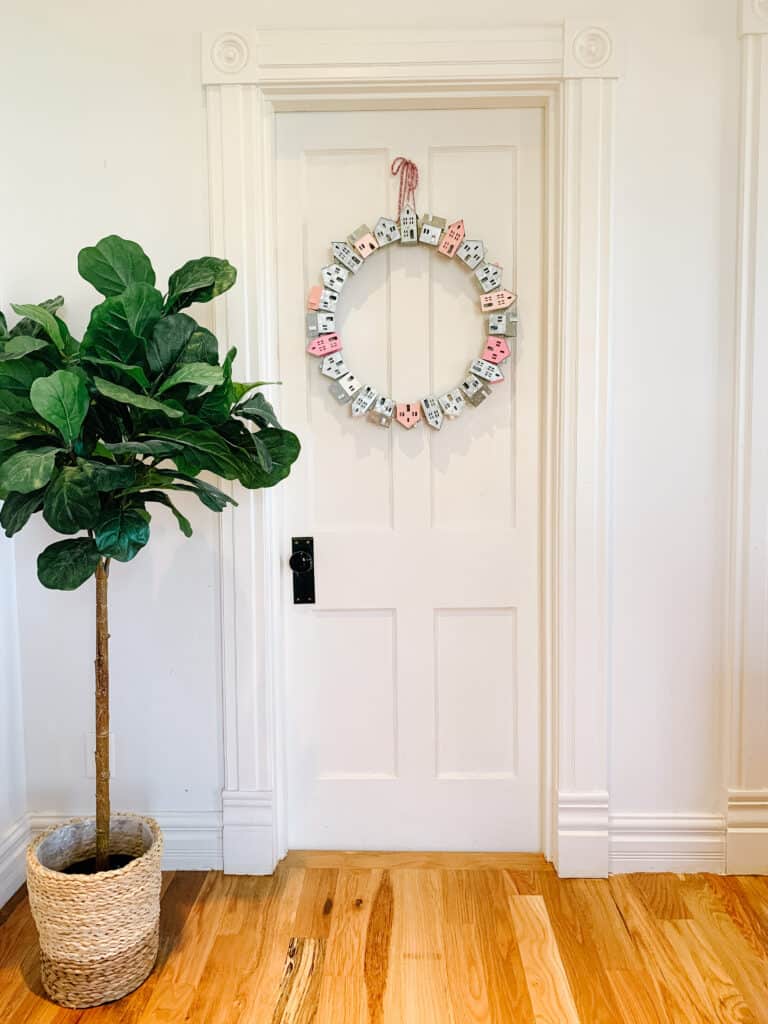
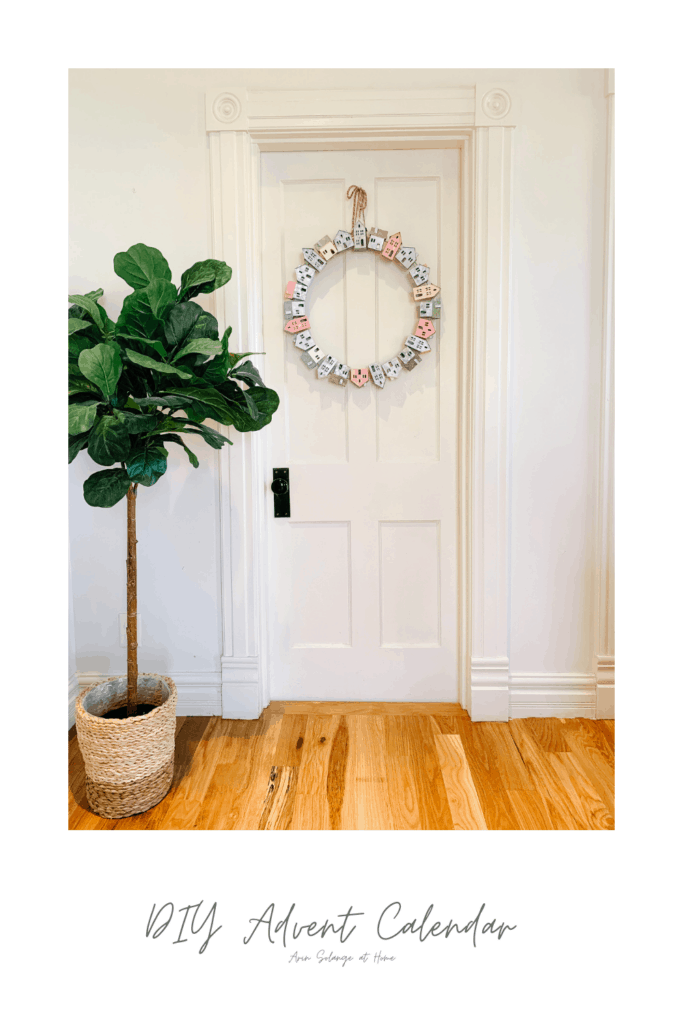
Easy DIY House Advent Calendar
For my little DIY I knew I wanted to do activities not gifts as far as the daily item, but I wasn’t sure how I wanted to display it. We just moved so I knew it needed to be simple and and easy to both display and make.
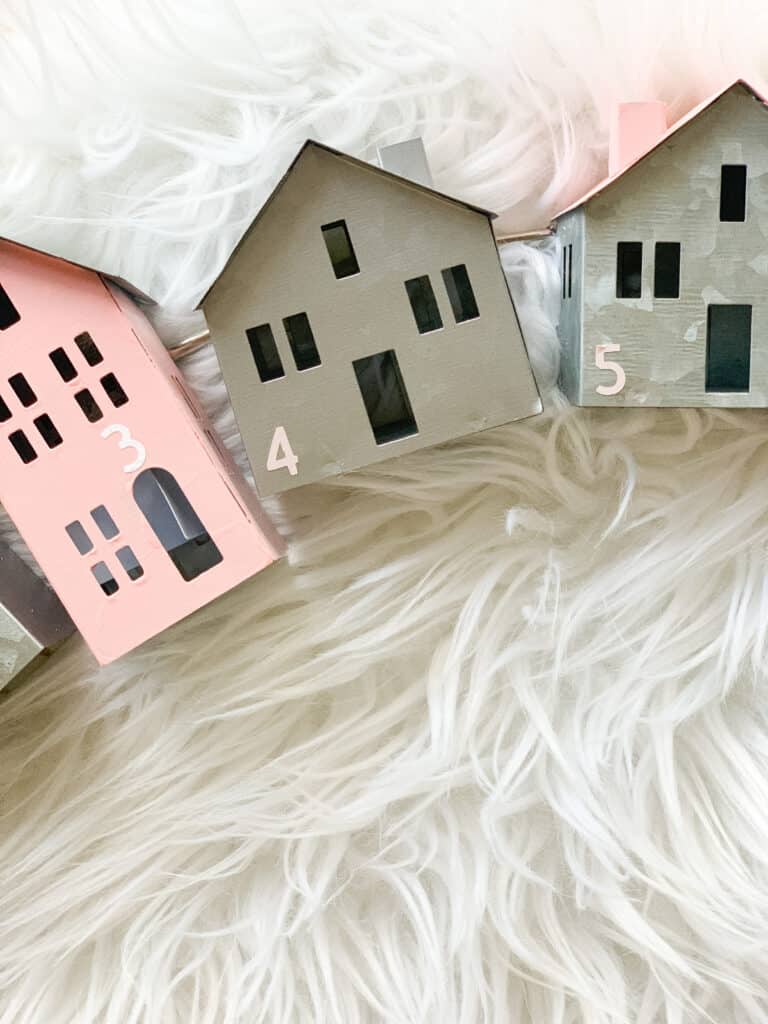
While I was browsing Target – as one does – I found the cutest little galvanized houses in the Dollar section and I was set!
Below I will share how to make this DIY advent calendar, and everything you need, but as always – feel free to make it your own.
Supplies:
- 24 small houses – I went with the galvanized metal ones from the Target dollar spot
- E600 glue
- Large Metal ring – you need to go large – for the exact houses I used I needed 18 inches
- String to hang
- Paint
- vinyl numbers or sticker numbers – I used my Cricut and it works great.
How To:
This is truly SO EASY – but I will give you the step by step none the less.
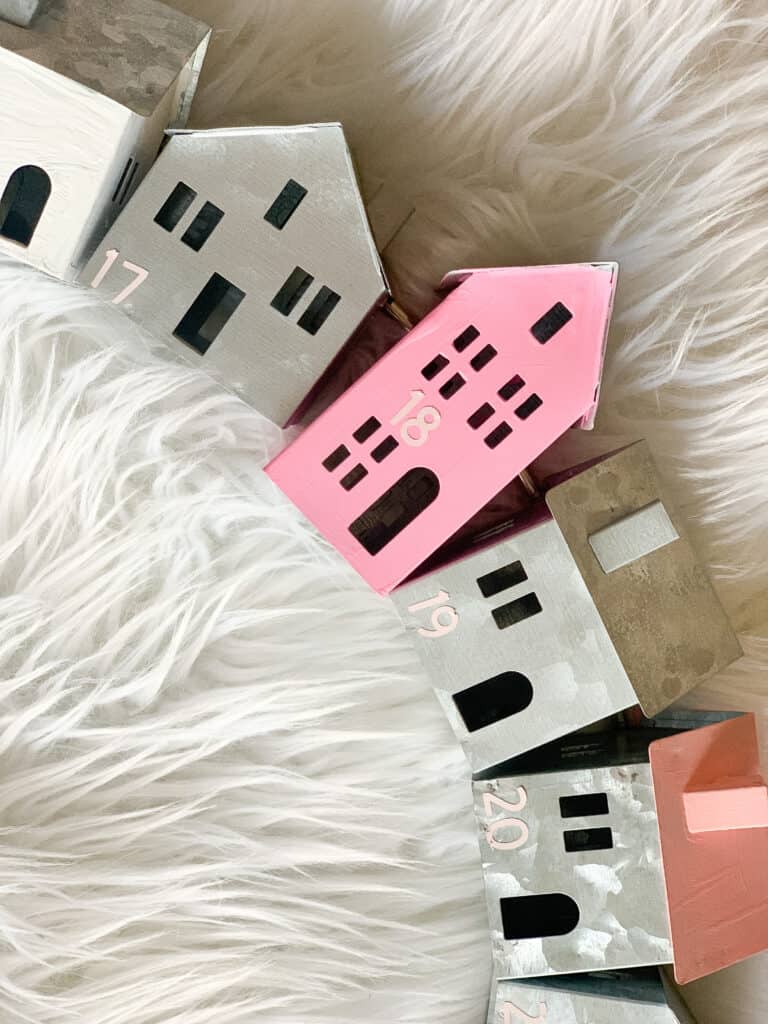
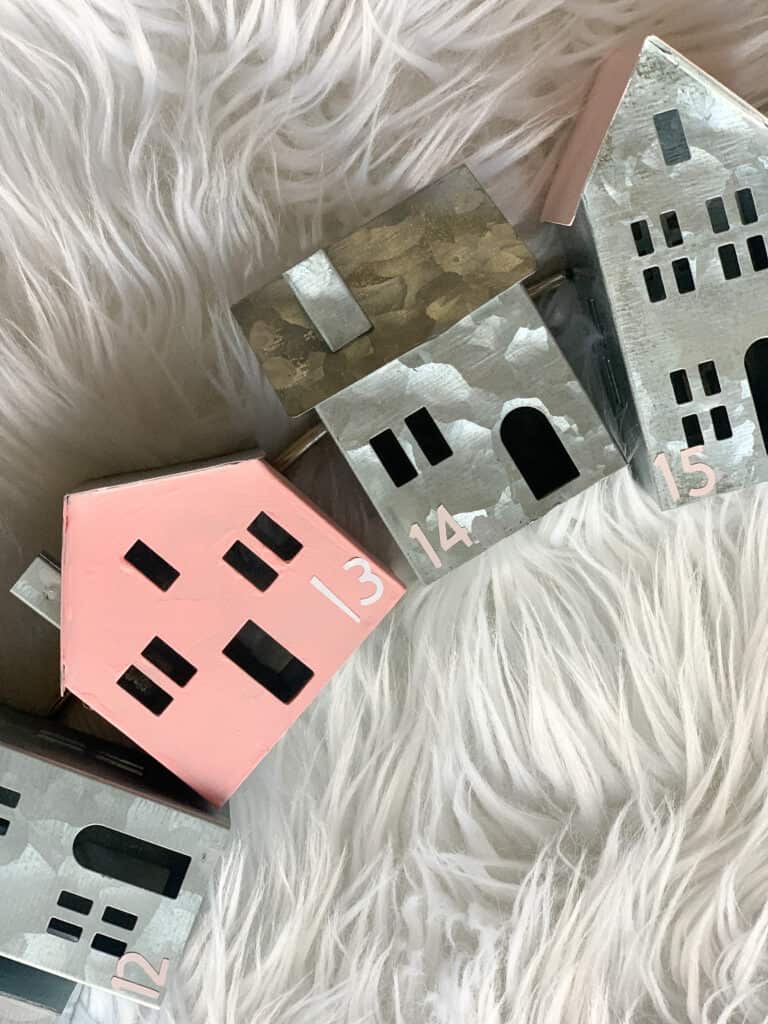
- First pick a few paint colors – paint the body to some of the houses and the roof to others. I did 3 or 4 of each color and did 4 total colors.
- Once they are dry (they will need two coats – it’s time to attach them)
- Take your E6000 glue and make a line in line with the roofline on your houses going straight across.
- Glue them onto the ring – you will want to do this on something paper or cardboard because the glue will go through and you will have to kind of pry it off.
- Once they are all glued let the glue dry fully over night.
- Now add your numbers – you can use scrapbook stickers or vinyl numbers cut from a Cricut either one.
Now for the actual activities – this can be done in a couple of ways. You can either write activities on paper and roll them up and put them in the houses or you can write them on popsicle sticks and have them go grab the stick.
When you are thinking of your activities be sure to look at the calendar and pick the right ones to go with the right days. IE – movie night might be better for the weekend. Or if you have tickets to something you can keep it a surprise and add it to that days activity.
Overall this was the EASIEST DIY project that honestly was kind of fool proof which isn’t always the case.
Other Posts You’ll Love
Some other posts you will love if you loved the DIY Advent calendar are linked below!
DIY Bottle Brush Trees | Pink Santa Mugs | Elf Breakfast
Pin The Photo Below for Later
Hopefully you found this easy DIY Advent calendar inspiring and you are ready do tackle your own Advent Calendar this year! I would love to see what you create, so be sure to tag me on Instagram (@arinsolange). Pin the photo below for later!

So fun and super creative! What kinds of activities do you have planned to put on the calendar?!
Hi Maghan – I am doing a few of the following:
– Open Christmas Books
– Get Christmas Pajamas
– Go look at Christmas lights
– make Christmas cookies
– donate food to food pantry
– donate toys
– drink hot cocoa
– watch a Christmas movie
– mail Christmas cards to family
– make gingerbread houses
I will get creative on some of the other ones. I tend to try to base them on activities in our lives at the time. This year might be trickier than normal because there aren’t as many activities, but I think it will still be fun!