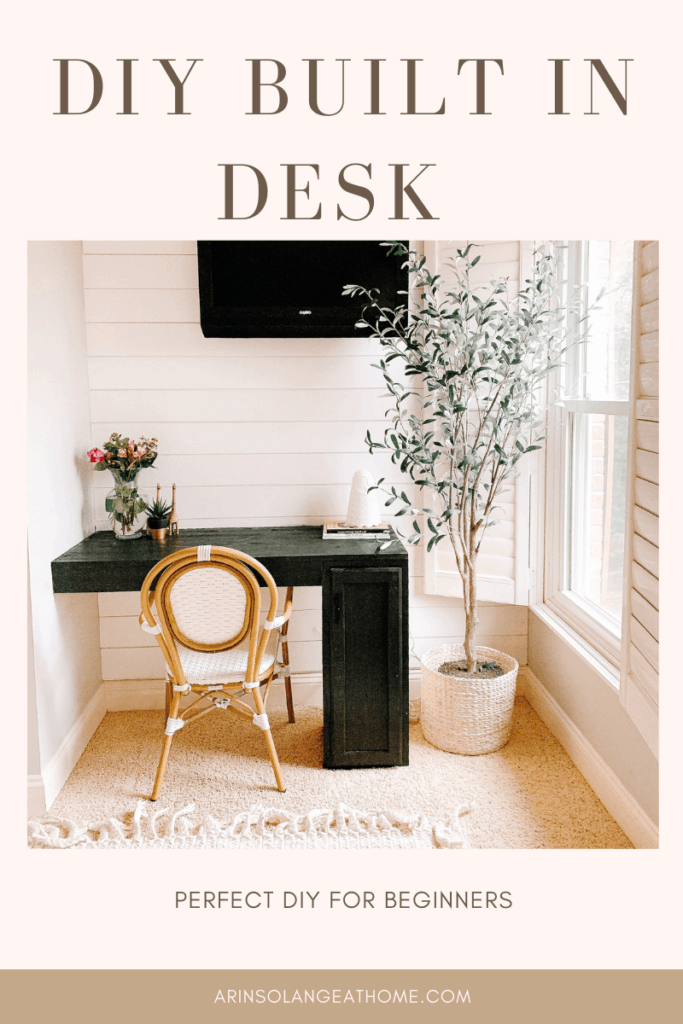
Who has been wanting to build a built in desk for their home? I feel like there has never been a time with a bigger need for desks at home, and because of that I was on a mission to do an EASY tutorial for you guys to fill that need at your house.
this post may contain affiliate links
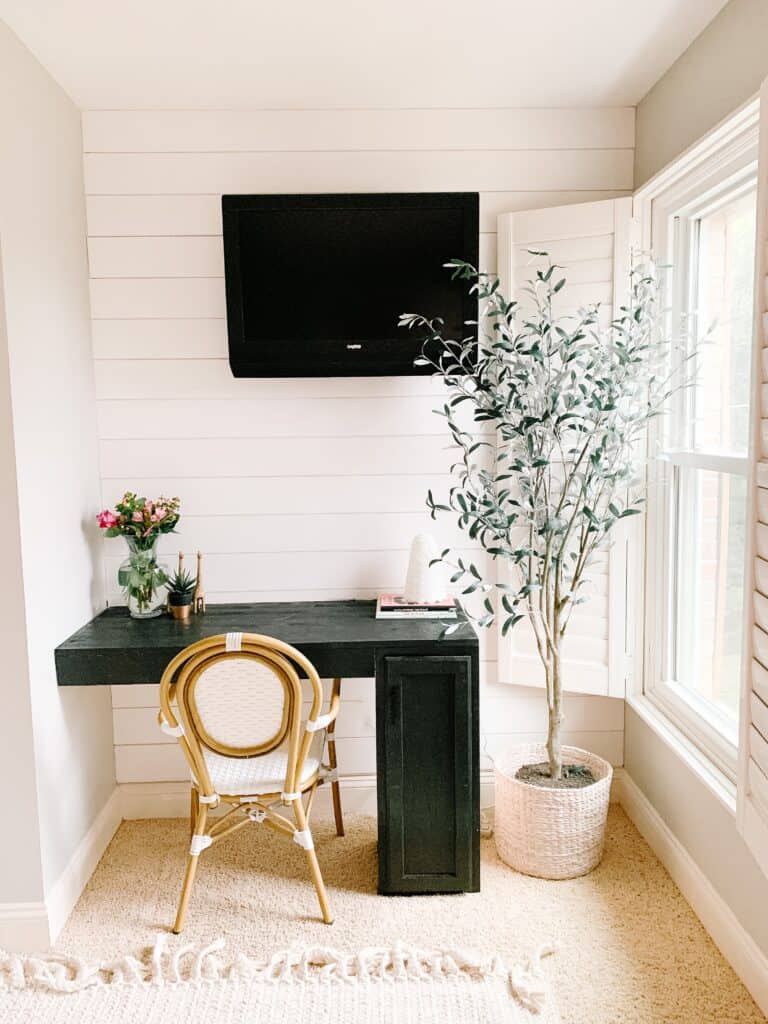
Built In Desk
For us we were creating this built in desk at my mother-in-laws house, giving her an inexpensive and streamlined space in a room she has devoted to my kids. (It is the least we can do right?).
Sam and I are probably a solid 7 on the ‘handy’ scale but I wanted this to be a really easy DIY so not too many tools would be needed. I set out to find the products that would end up in the least amount of cuts, and fuss.
Sam and I are probably a solid 7 on the ‘handy’ scale but I wanted this to be a really easy DIY so not too many tools would be needed. I set out to find the products that would end up in the least amount of cuts, and fuss.
How Much Does a Built in Desk Cost?
As with normal desks that will very a lot based on size and how many bells and whistles you choose. Because it is a desk, the depth does need to be a proper desk depth, so you should aim for between 20-30 inches deep.
For us, we spent right at $120 for the desk portion of this project.
The Shiplap Wall
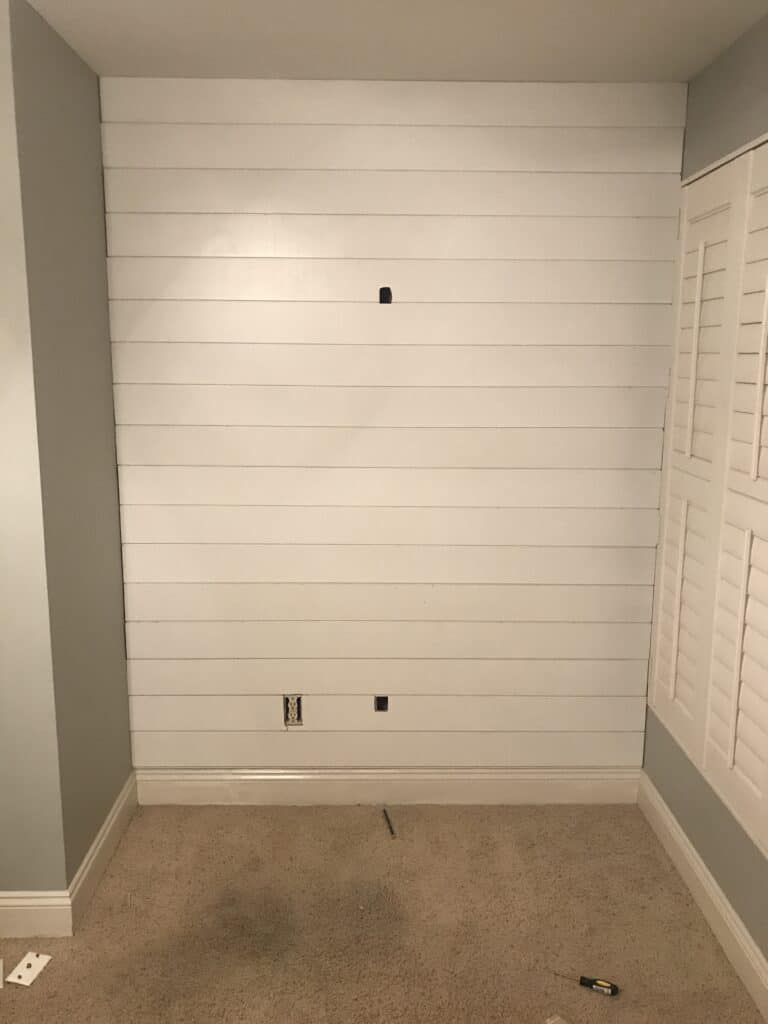
For the shiplap wall we followed the same tutorial that we did here – however I will tell you that if you are a long time reader you should take a look because we edited the tools for one that made life so much easier.
We also followed the same method we used here for hiding the cords in the wall – so if that is foreign to you and you want to hang a tv check that out.
DIY Built In Desk Shopping List
Below I am listing all the tools and supplies you need for this project.
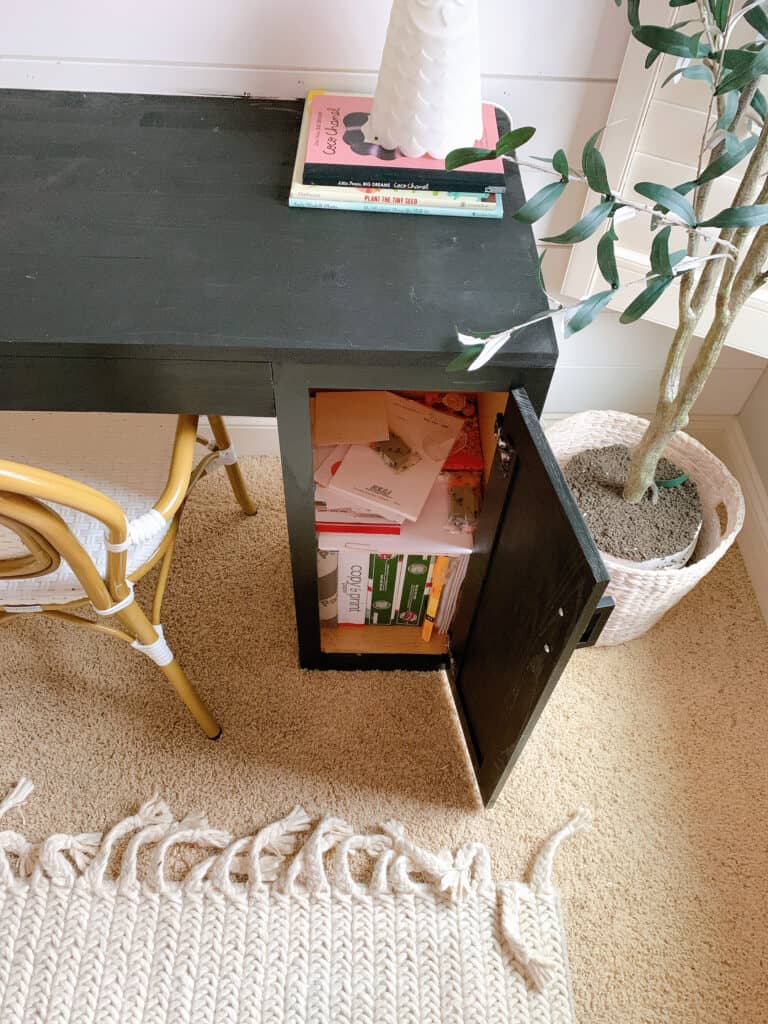
- 1 Cabinet
- 2 Cabinet Side Plates
- 1 Tabletop panel – we did this one that is 1x24x4ft which was the end size of our desk
- 1 of these boards to build your support frame
- 1 of these boards for your front piece on the desk top
- Stain – we went with this stain and it was awesome. Easier than painting but a true painted black look
- Nail gun and nails
- Miter Saw
- Drill and Screws
- Wood Filler
- Sanding Block
How to Build your desk
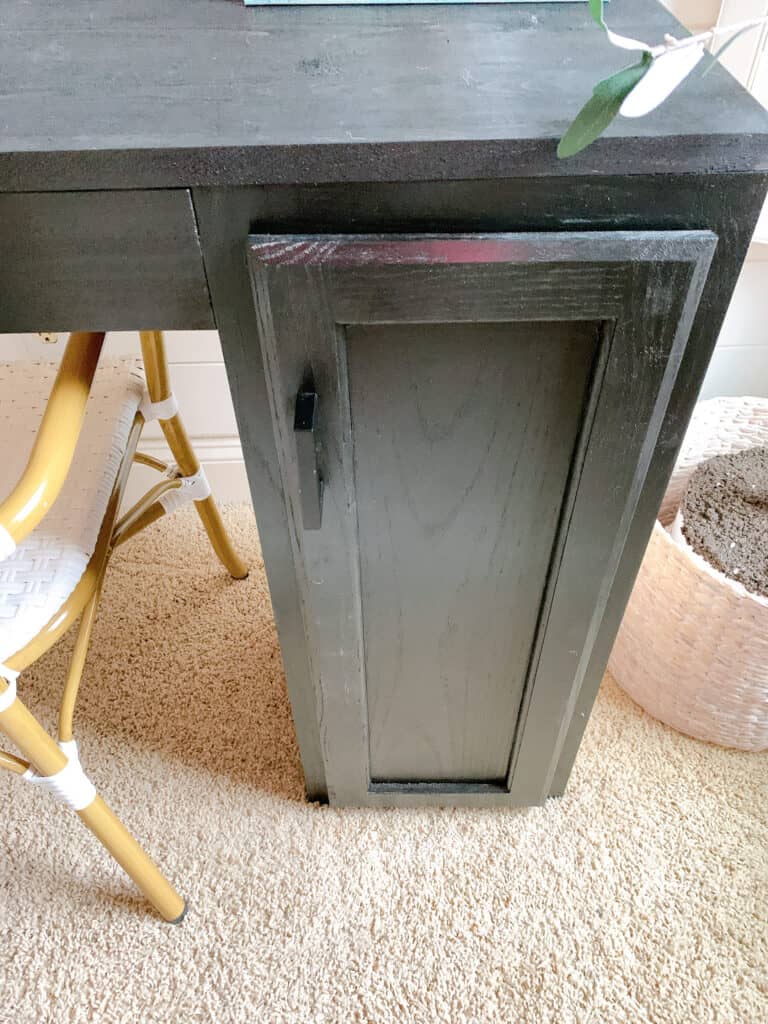
The first thing to do is stain your cabinet and the side pieces. I did 2 coats on everything and let it sit outside for a good 12 hours to dry fully.
While those are drying you are going to build out your frame – I did a similar project here where we created a floating bench using this technique.
One thing to note – this will not show, so it is all about support. That said – the corner doesn’t have to be pretty and there can be a little gap. The big thing is that it can’t come out further than the table top.
Cut your frame pieces to 22 inches and 45 inches using your miter saw
The top edge to your frame needs to sit at exactly 30 inches because that is how high your cabinet is and that is serving as one leg.
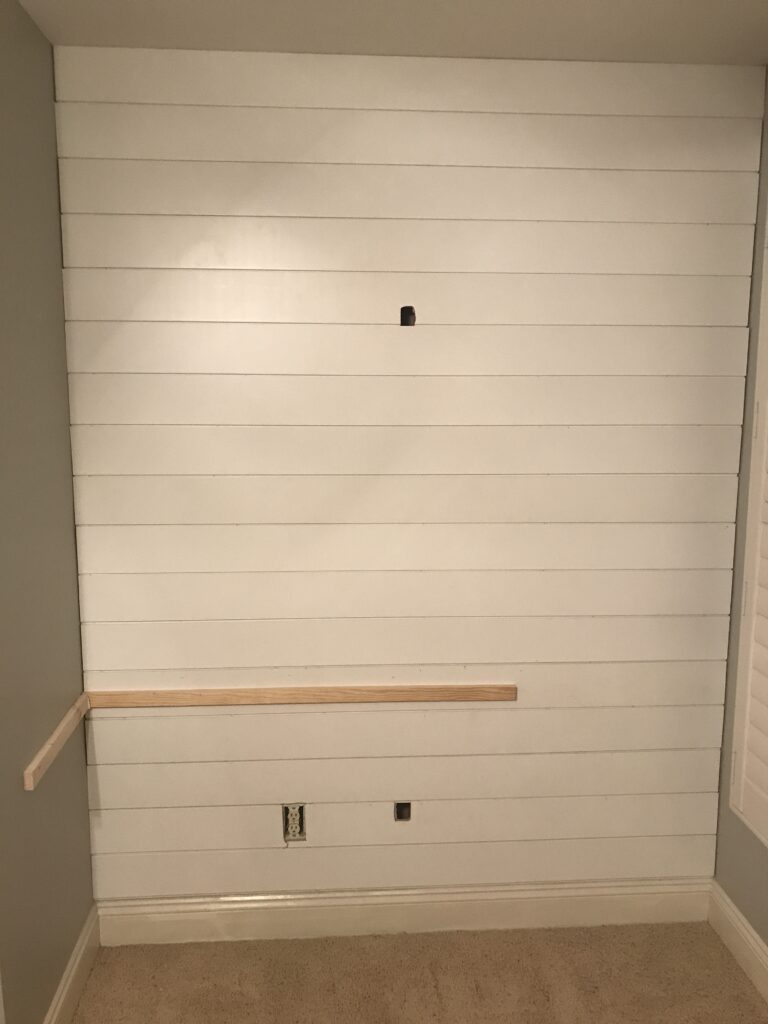
(It is worth noting that you can definitely do this with the supports on 3 walls and no cabinet to save money. We personally did the cabinet for storage and because there is a window in the nook we were working with.)
Now bring your cabinet in, and grab your tabletop. Like I said above – we went easy so the piece we bought was already the exact size we needed. we set our cabinet down and rested the tabletop on top of the supports and cabinet.
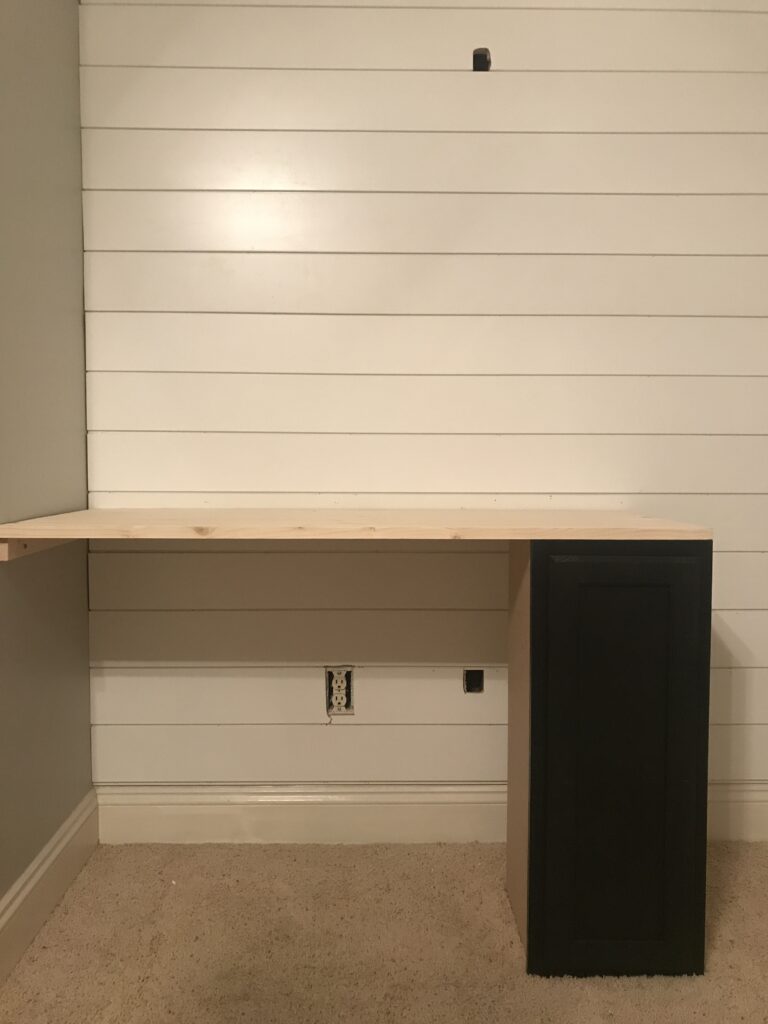
Move your cabinet to the front corner and once everything is fully lined up you can use your nail gun to nail the tabletop down into the supports and the cabinet. Be sure to nail into the edges of the cabinet – not the middle!
Once your table top is on and secure, grab your front trim piece of wood, and figure out exactly how long you need to cut it to.
Make your marks and cut that piece, then nail that into the front of the tabletop. Be sure to give it plenty of nails.
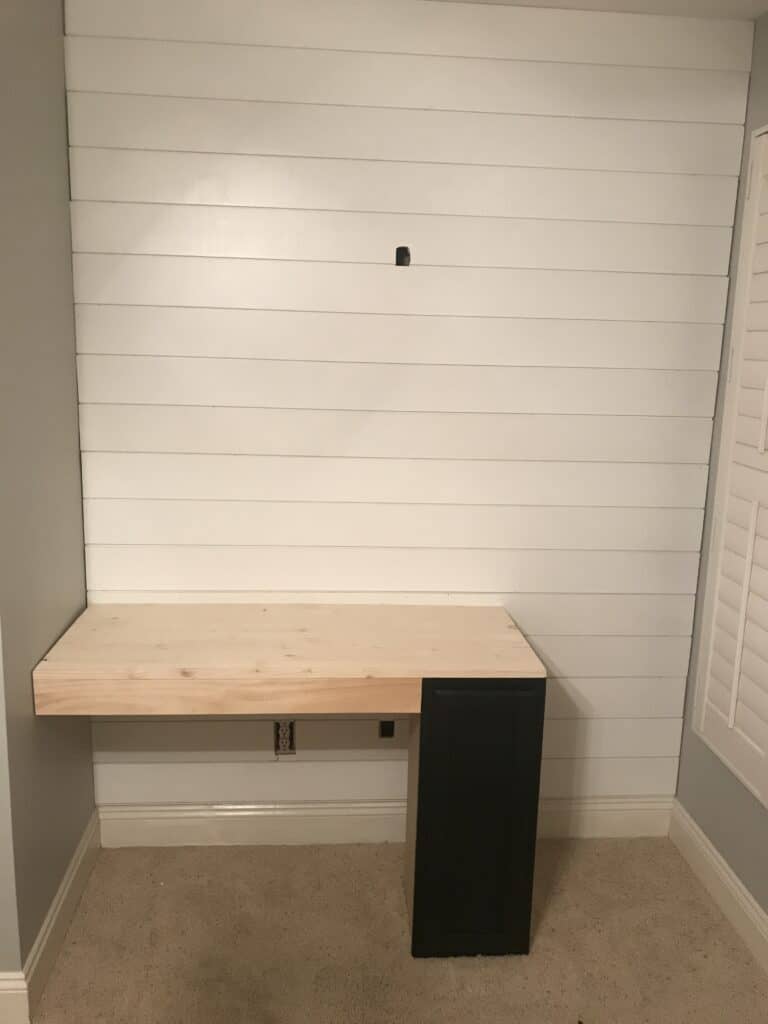
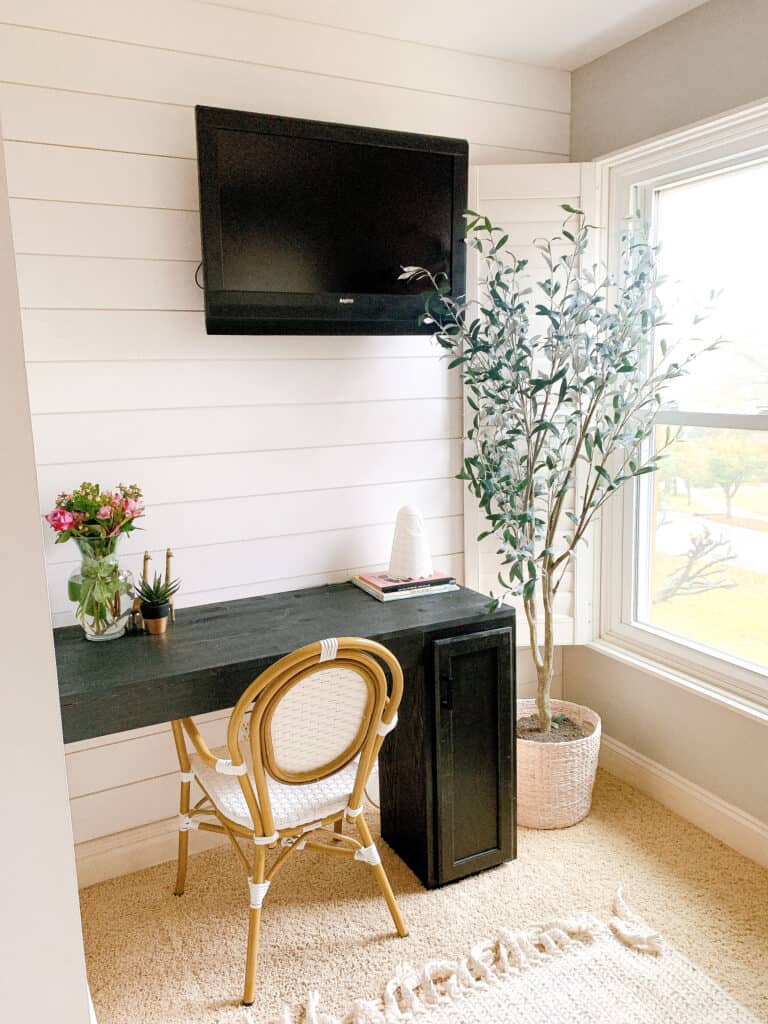
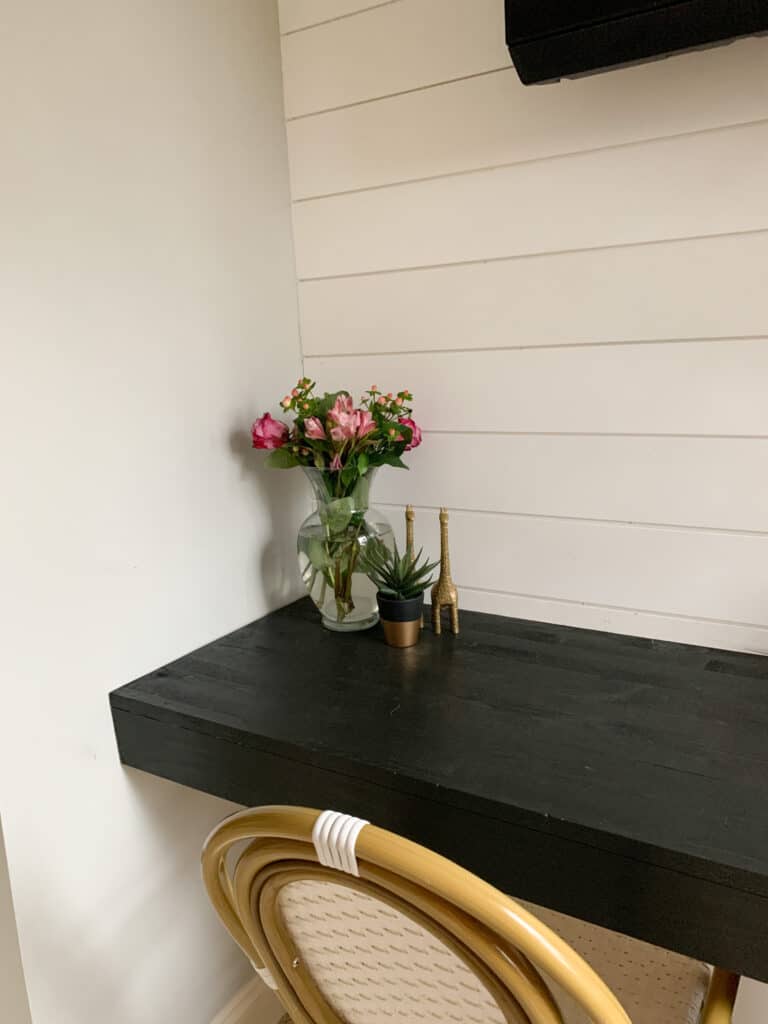
Now you need to use wood filler to fill all the holes from the nail gun. When that is dry sand and paint the table top and front. You will again need 2 coats – and TADA you have a super easy built in desk!
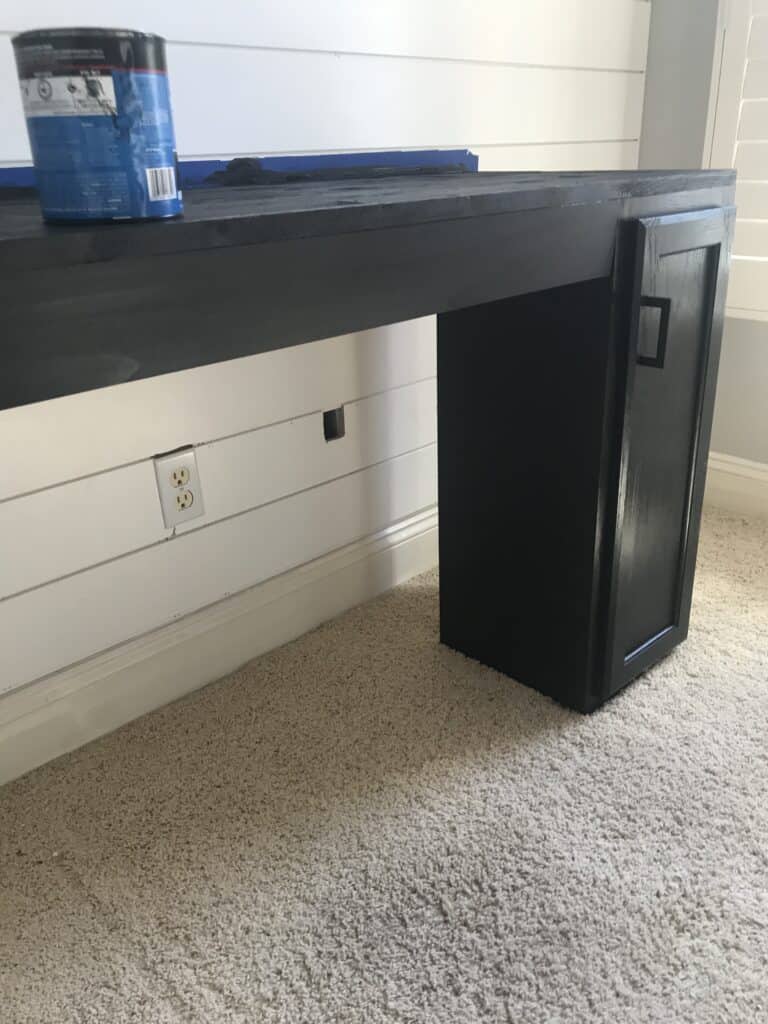
Styling the Space
We personally hung a tv on the shiplap prior to doing this desk portion of this project, so the wall decor was handled.
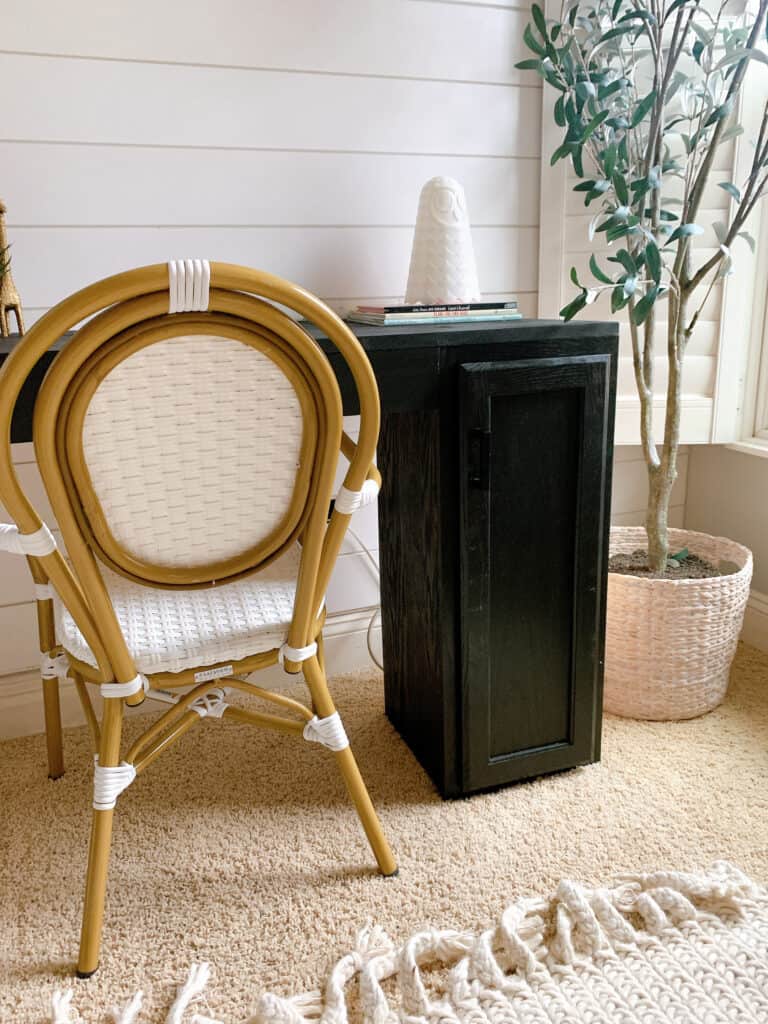
I added this gorgeous faux olive leaf tree to the corner because I wanted to balance out the awkward space at the end of the nook that needed to exist so the shutters could open.

for the tabletop it will mostly adorn a printer and lots of bills and other fun things, so I didn’t go to crazy.
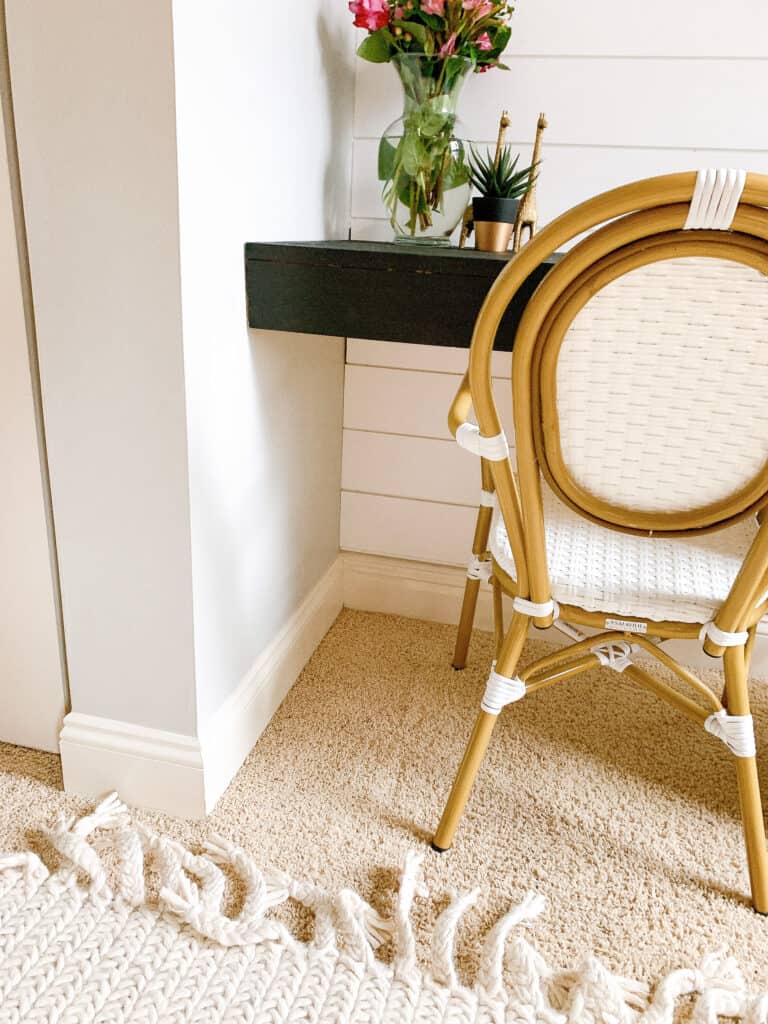
The chair in this image is one of my favorites – we have several of them and I love that they stack for storage so I have been able to grab extras for spaces like this when they come up.
Other Posts You’ll Love
If you loved this post I am linking to several other great DIY’s below that you will hopefully find helpful!
All DIY’s | DIY book nook and bench | DIY Cane Cabinet | How to Shiplap
Pin the Photo Below for Later
Hopefully this blog post made it super simple for you to create your own built in desk for your home, and you feel confident in updating your space. If you have any questions always feel free to leave a comment below or reach out to me via Instagram (@arinsolange).
