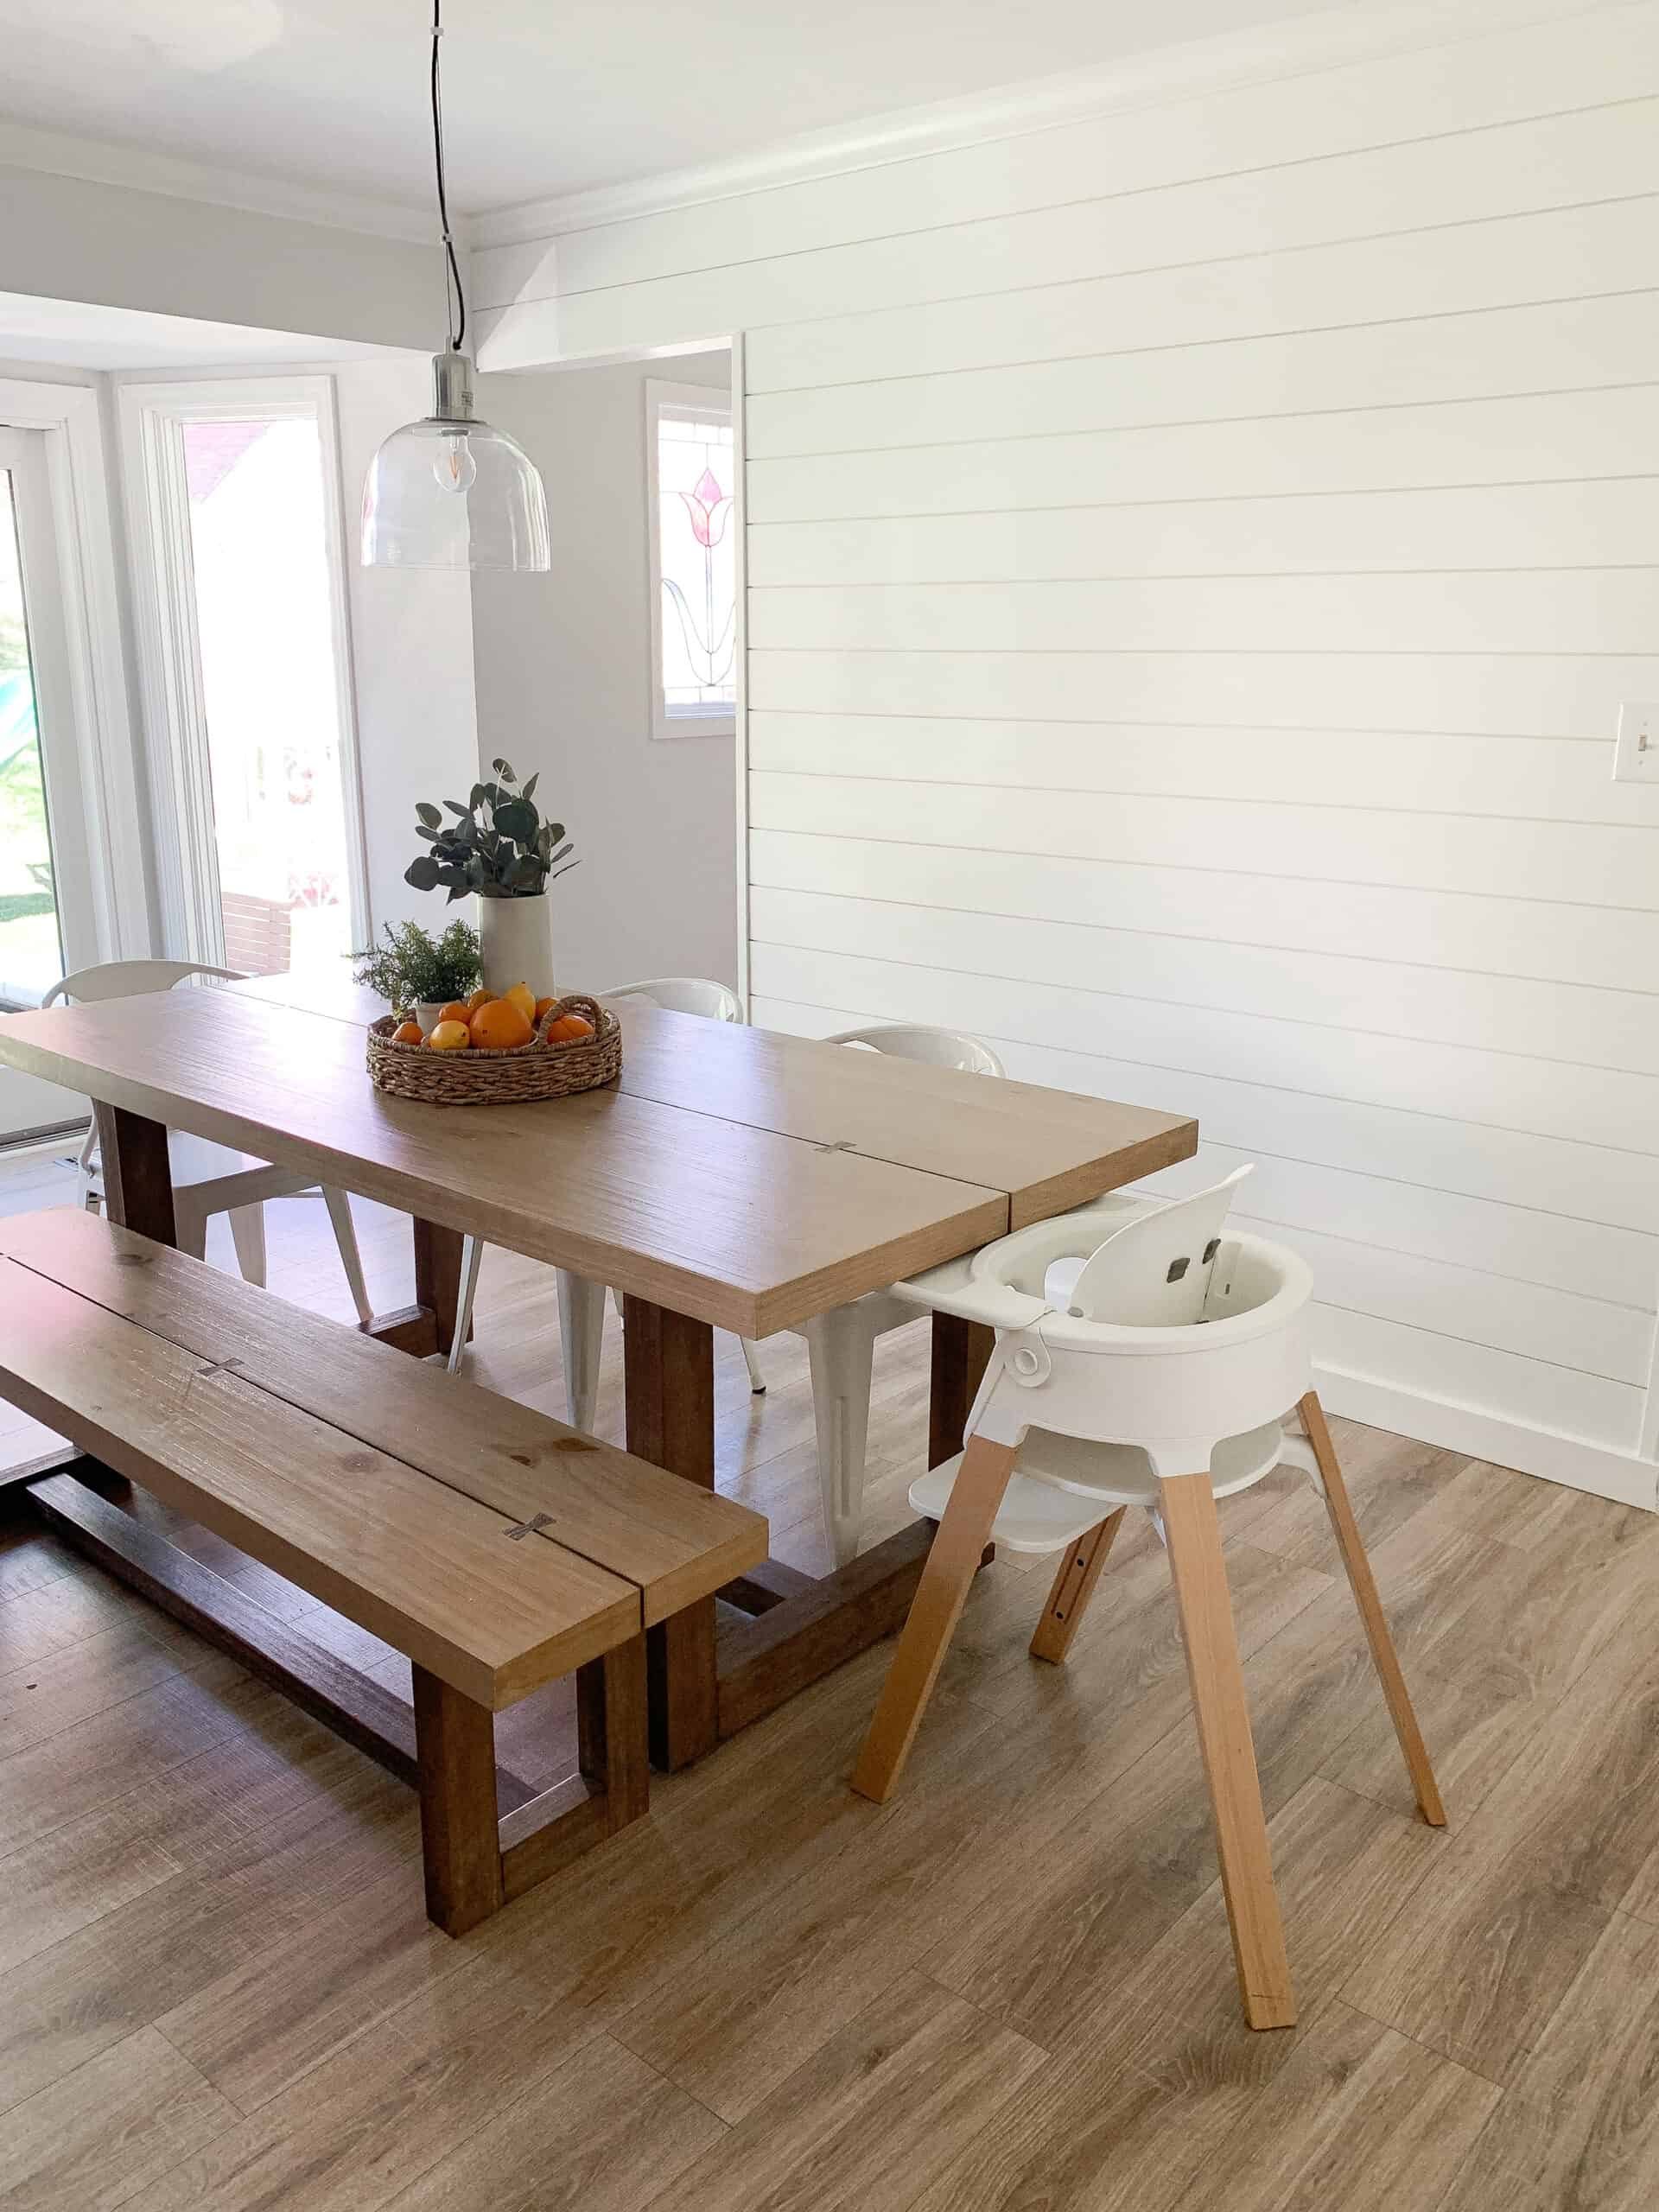
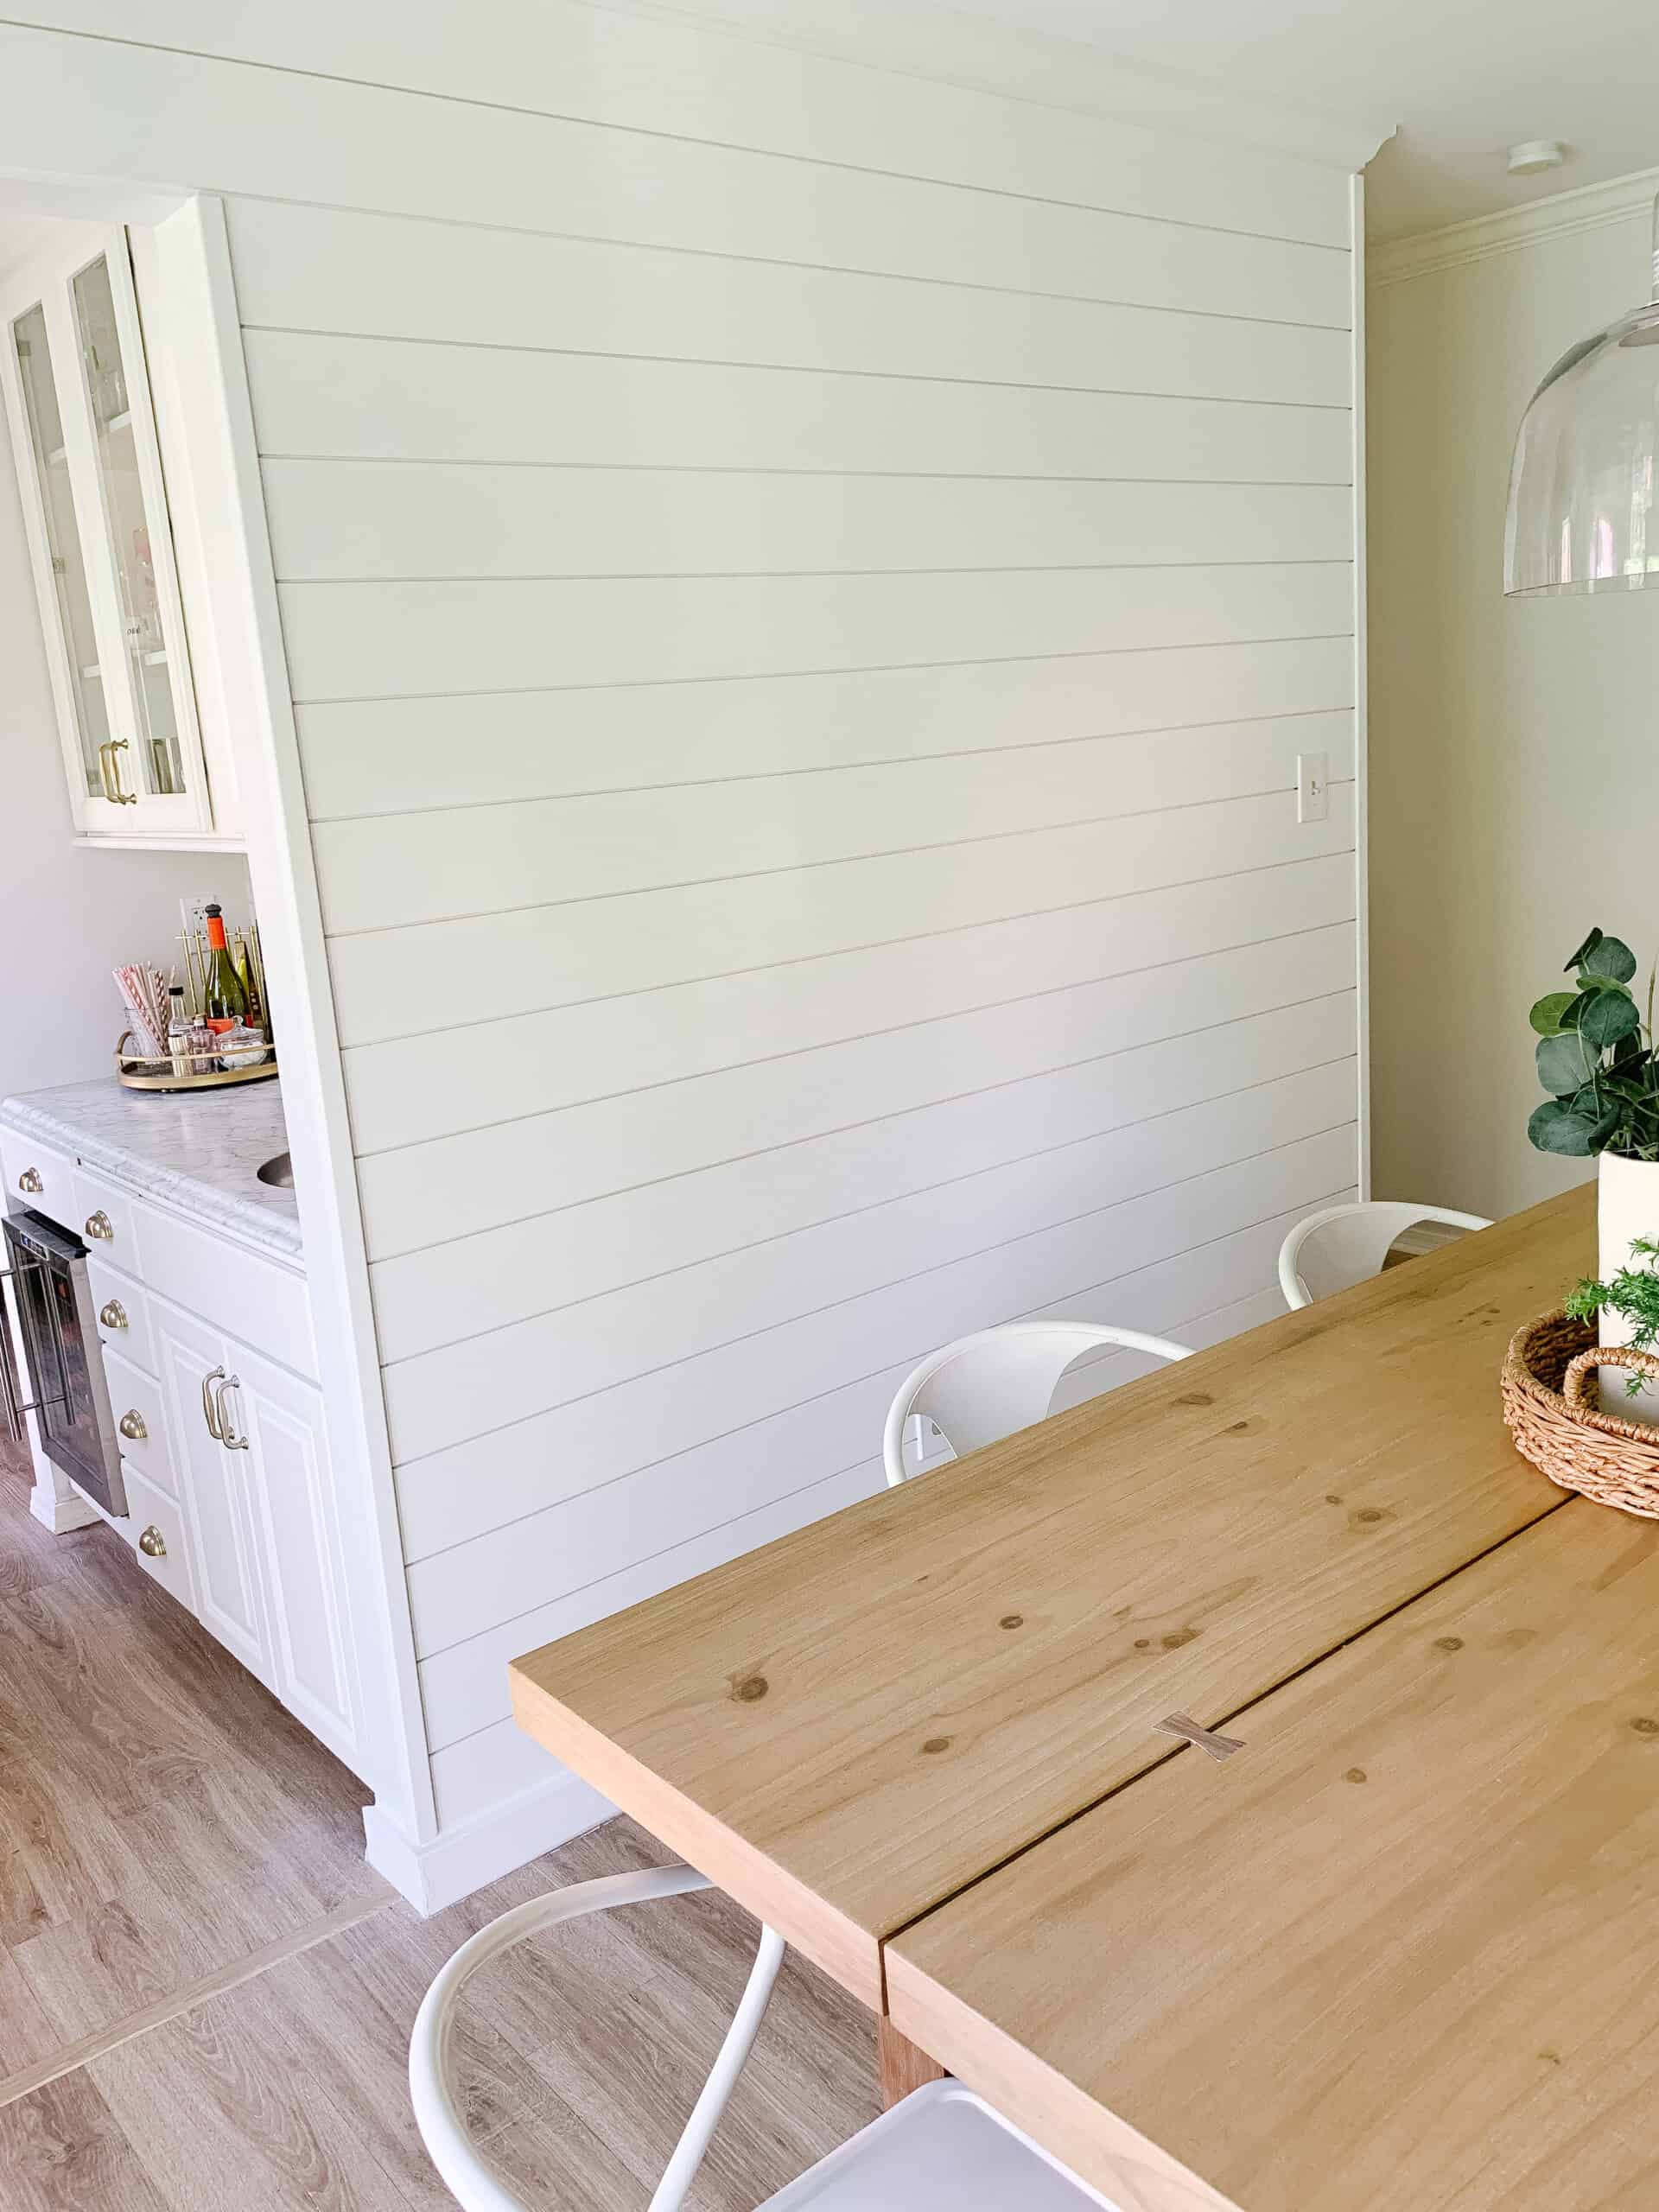
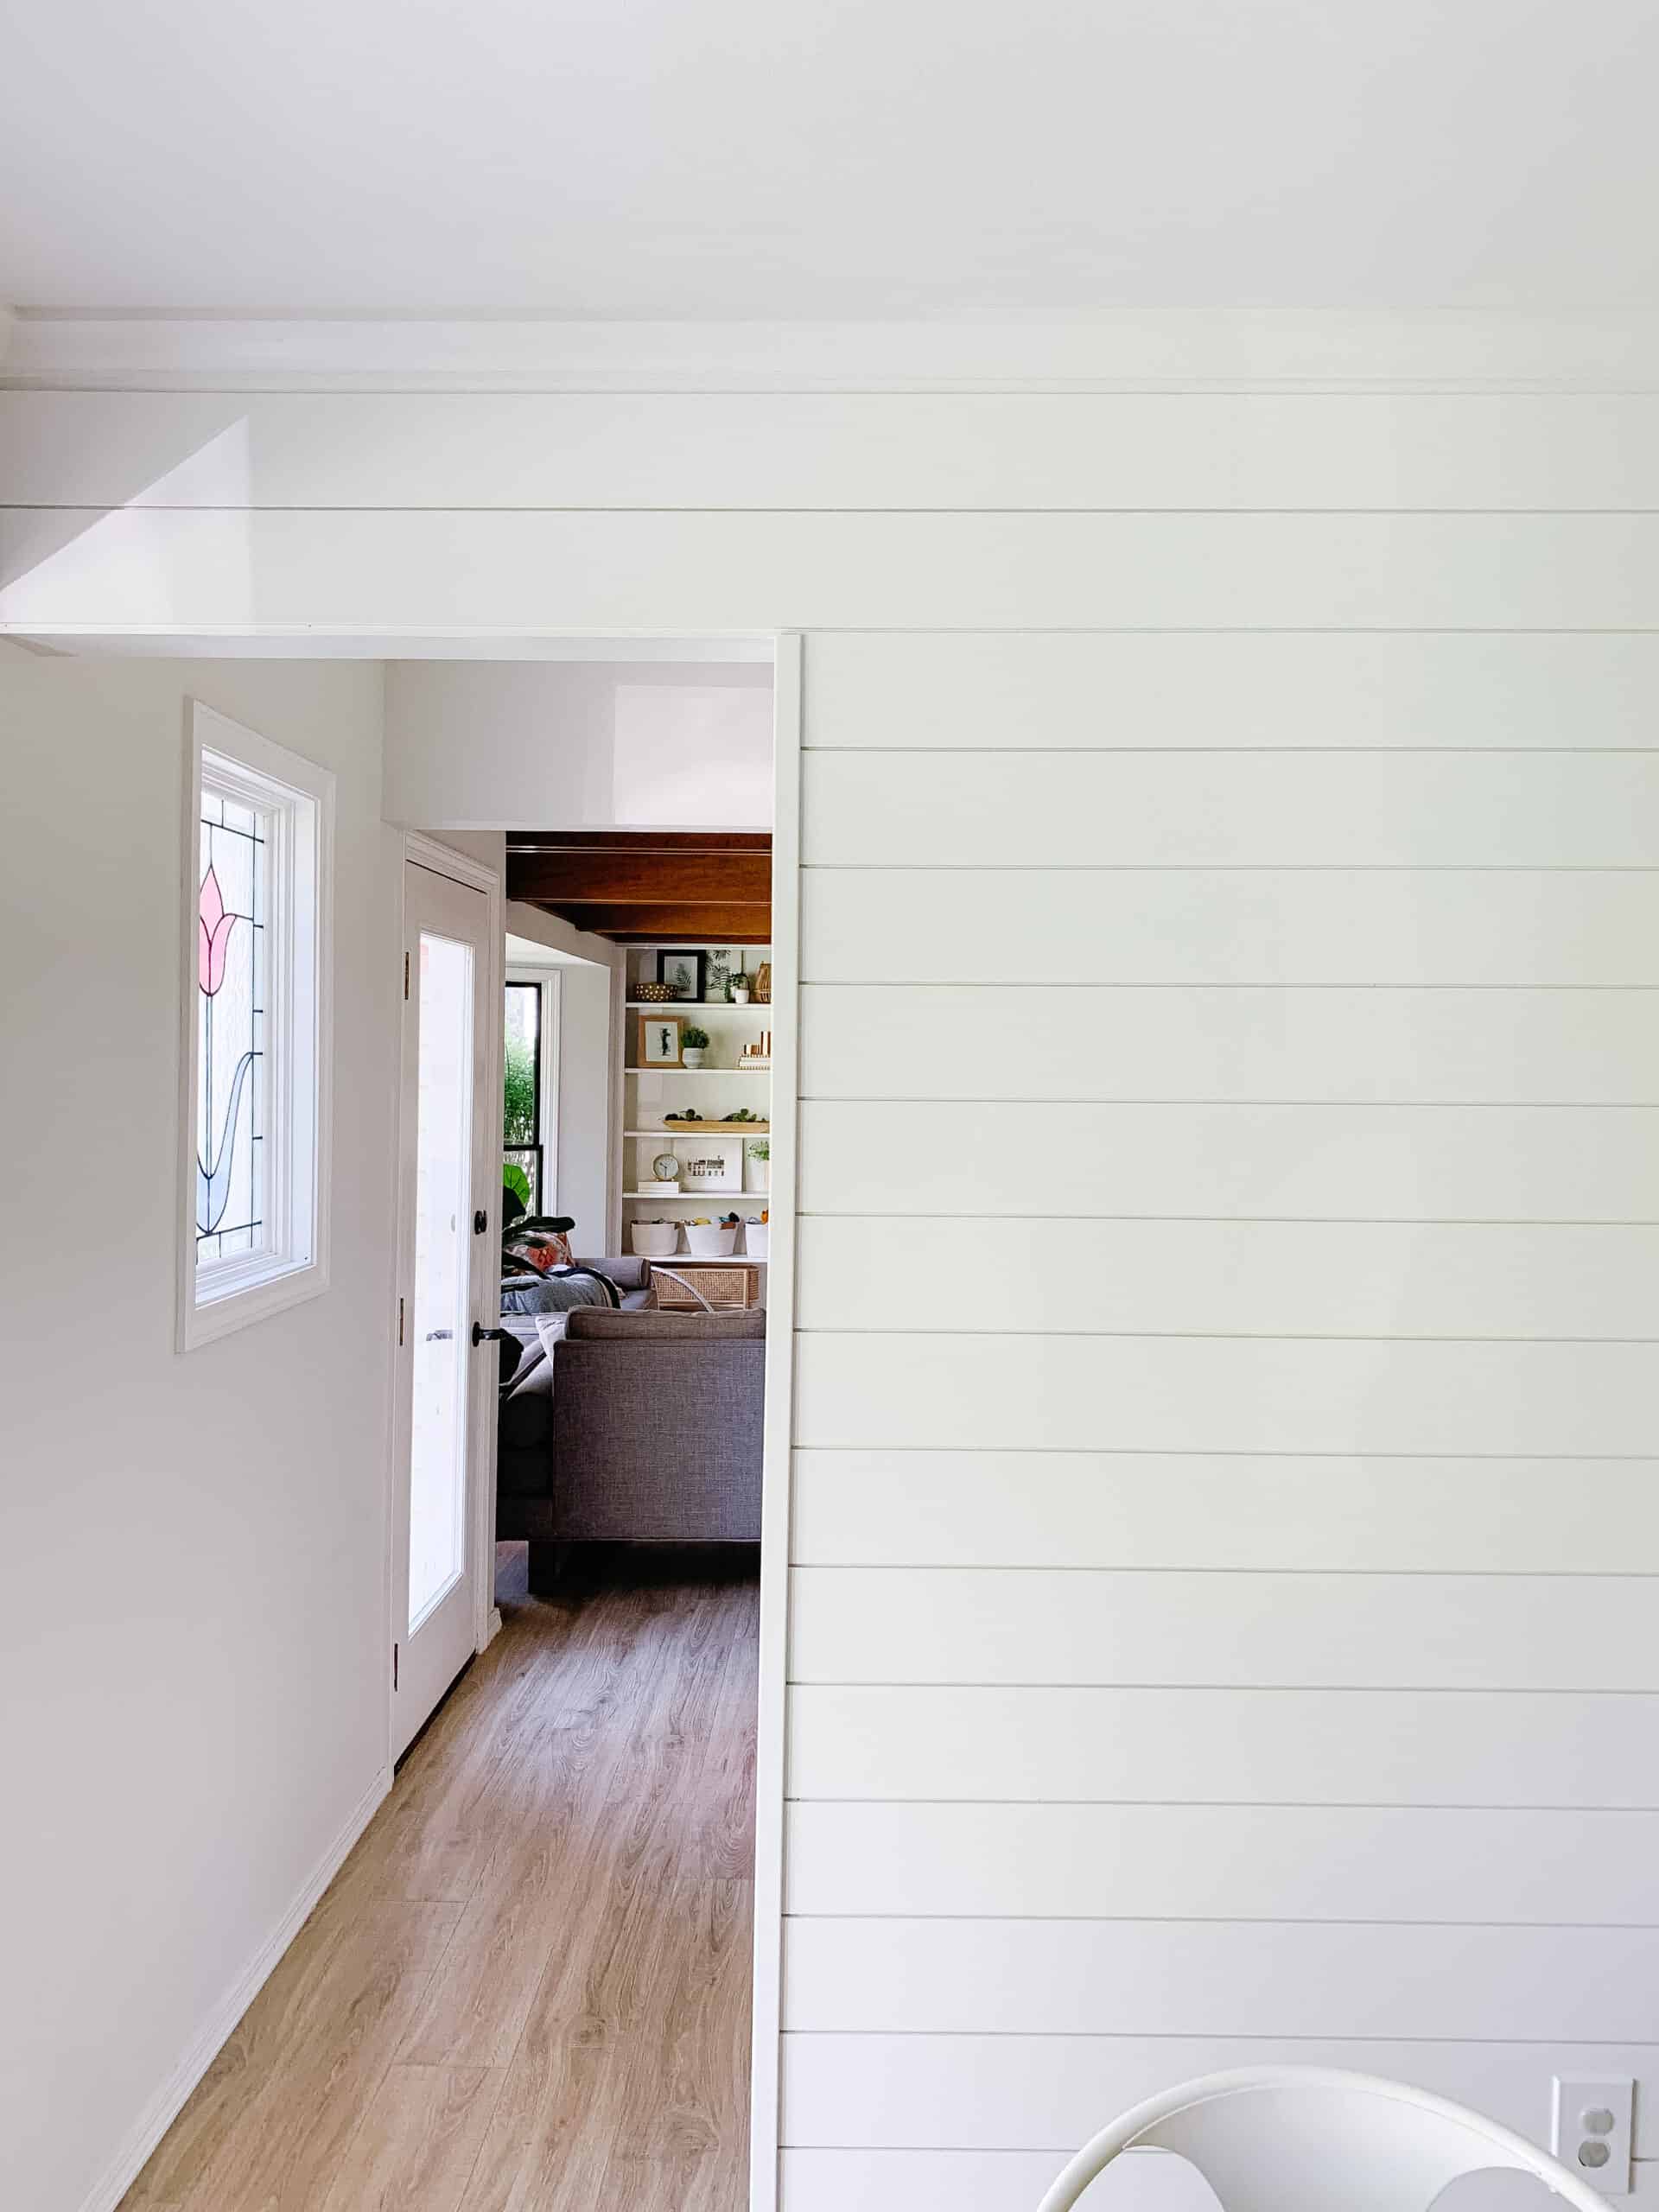
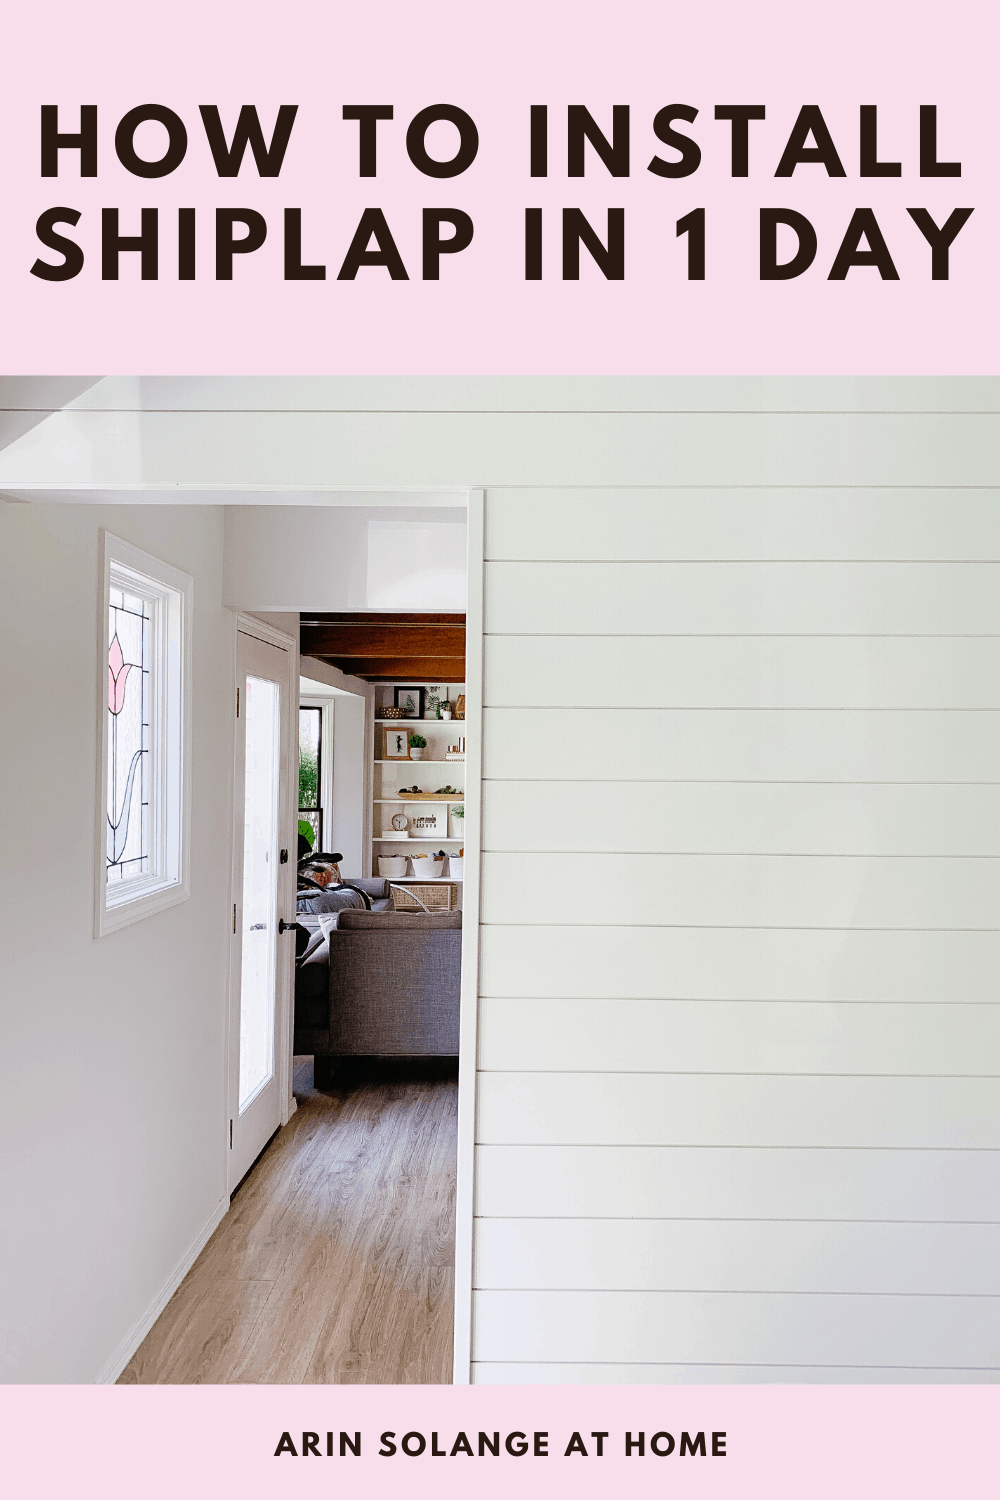
This past week my husband and I set out to turn a sort of awkward wall in our kitchen into something less boring by adding shiplap. In this post I am going to walk you through how to install shiplap, and what to do about things like corners. I will discuss what considerations I made when it came to selecting materials and more. It was a TRUE one day project, so if you are looking to transform a room this is a great choice!
This post may contain affiliate links – for more info read here
How to Install Shiplap – What you Need
Alright – I am not going to jump right into the installation process, because first and foremost you need to buy all of your materials. I am going to link to a few different options, as well as share what we personally used.
For us, the overall cost of the wall was roughly $100. The shiplap was on a small sale, and we already had all tools, and paint, so aside from the actual lumber we didn’t have to make any purchases for this wall! Some of the larger tools I will talk about can really add to the price of a project, but if you are thinking you will do more DIY’s in the future they can really become worth the cost.
Personally we many times will add one bigger tool to the cost of a project. We have found that the end outcome of DIY projects is typically MUCH better with better tools, so I would definitely consider doing that if it is in your budget. The nail gun is the real game changer on this particular DIY.
Materials
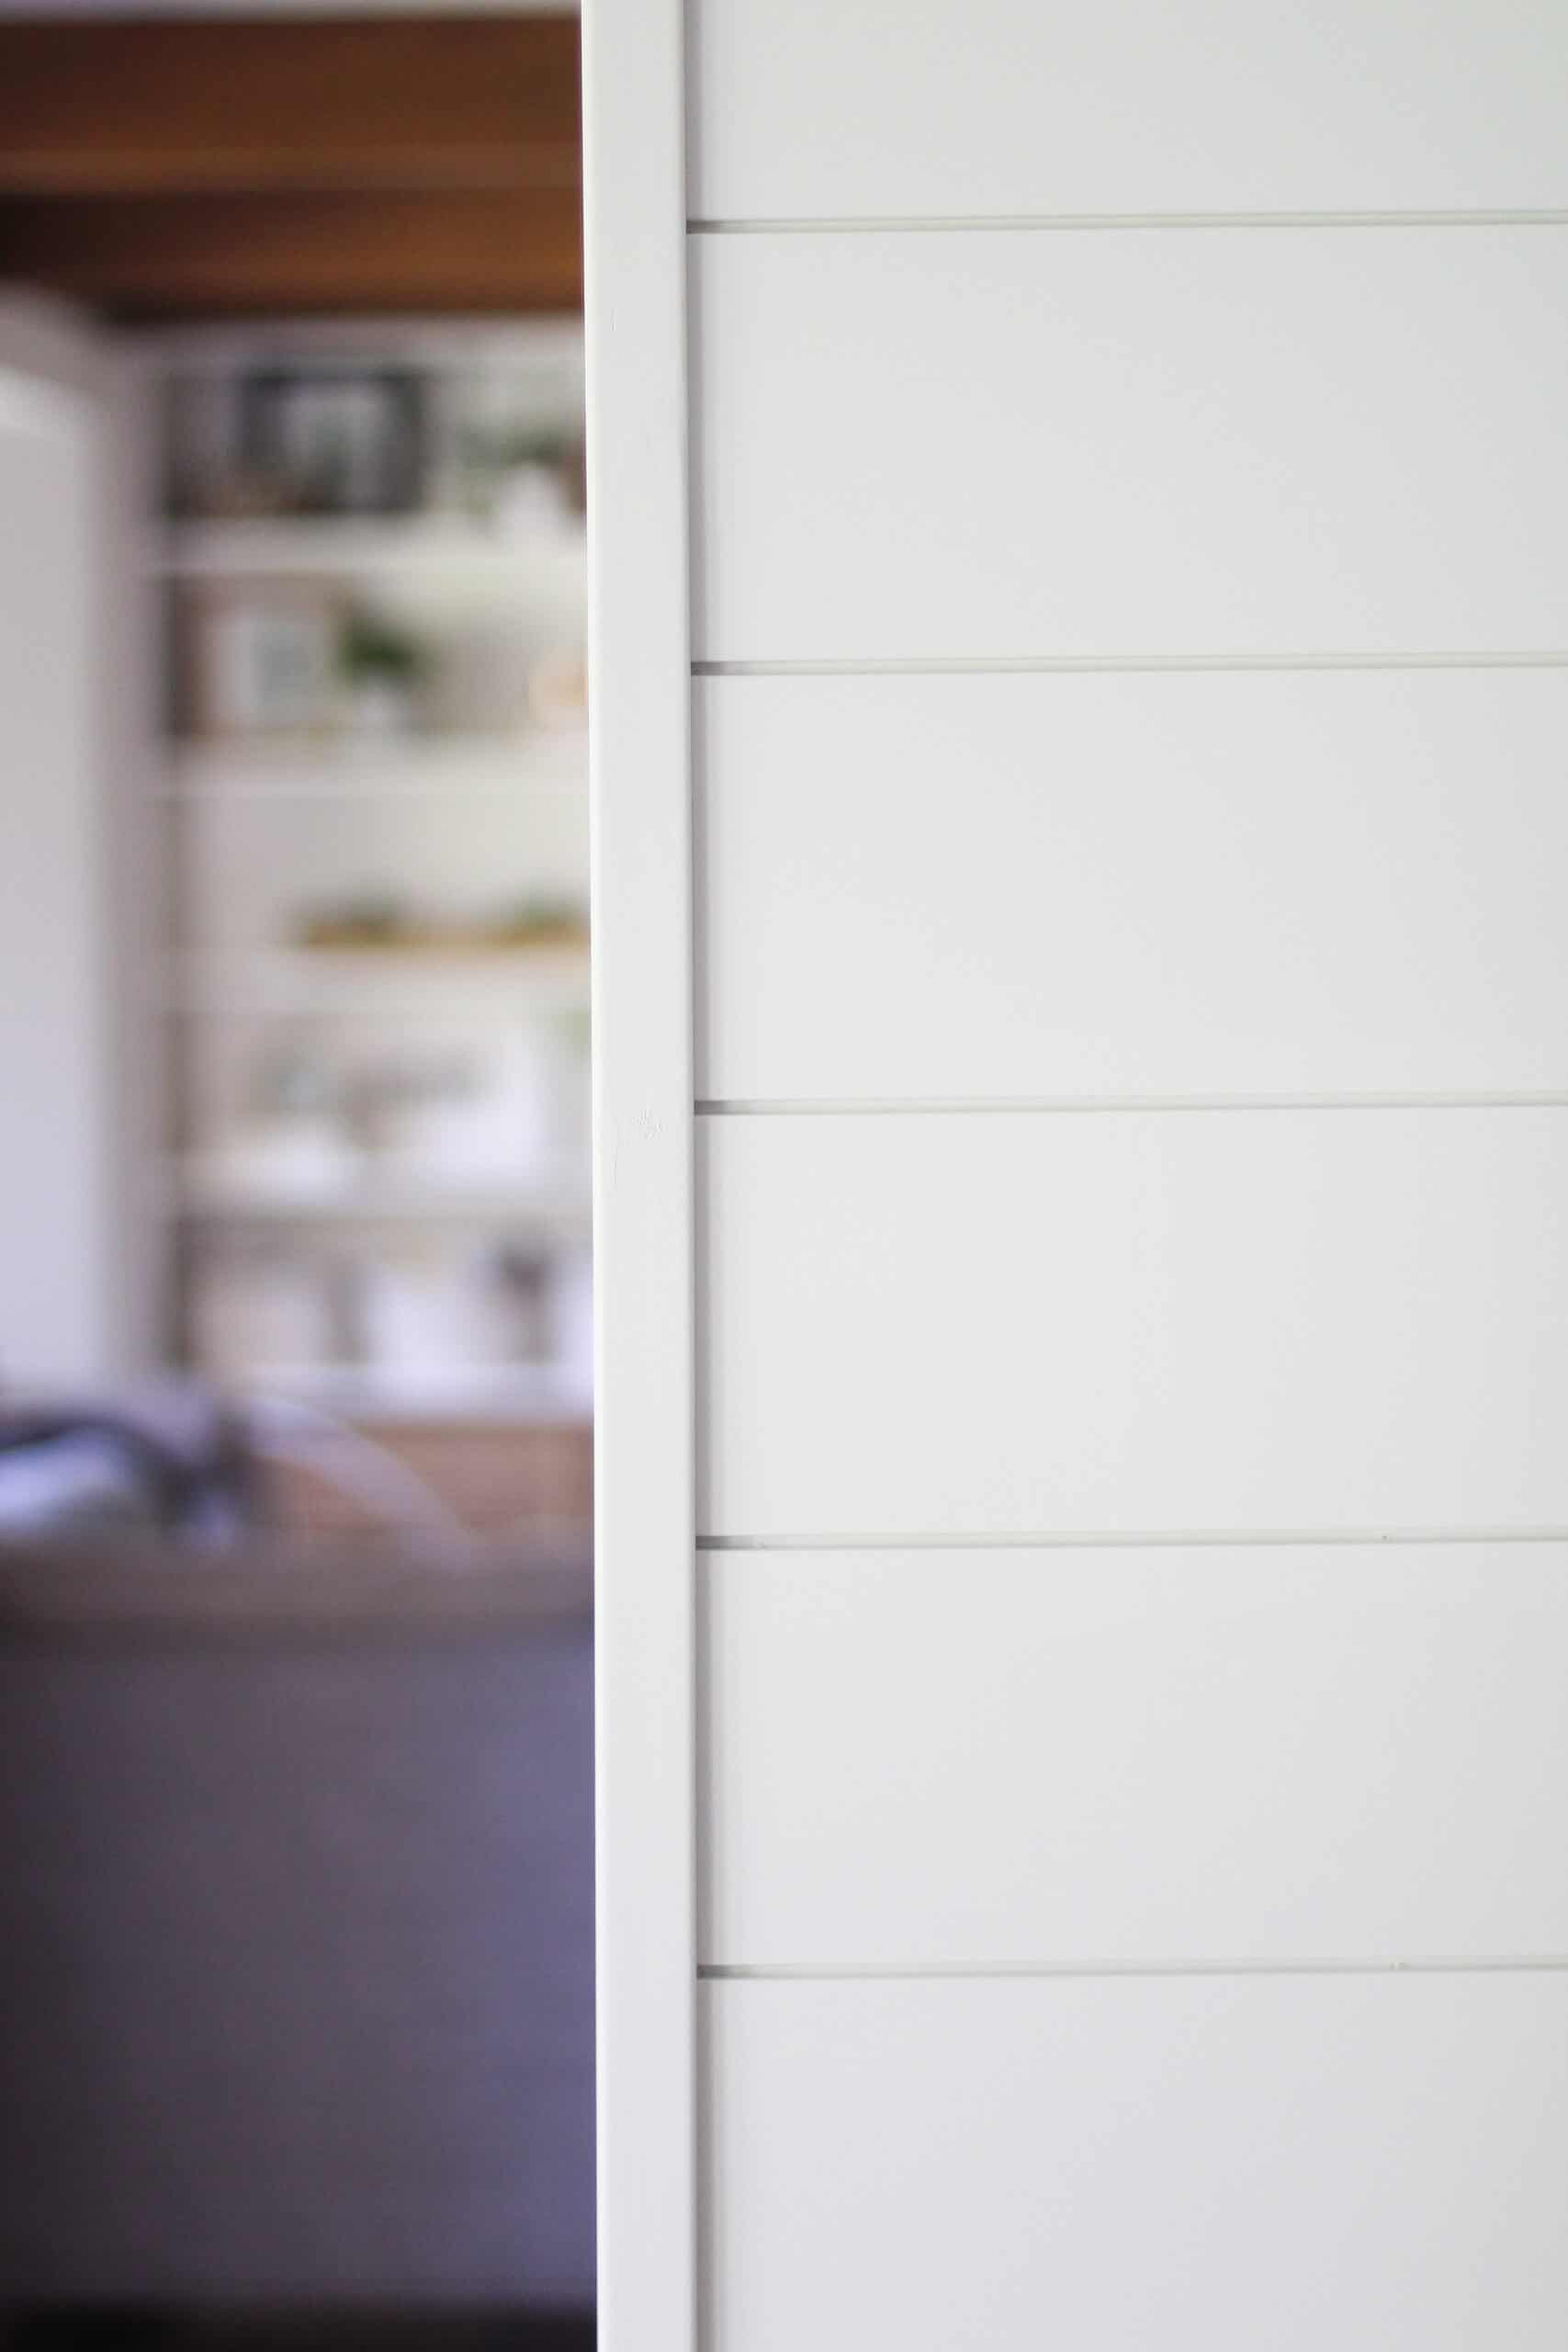
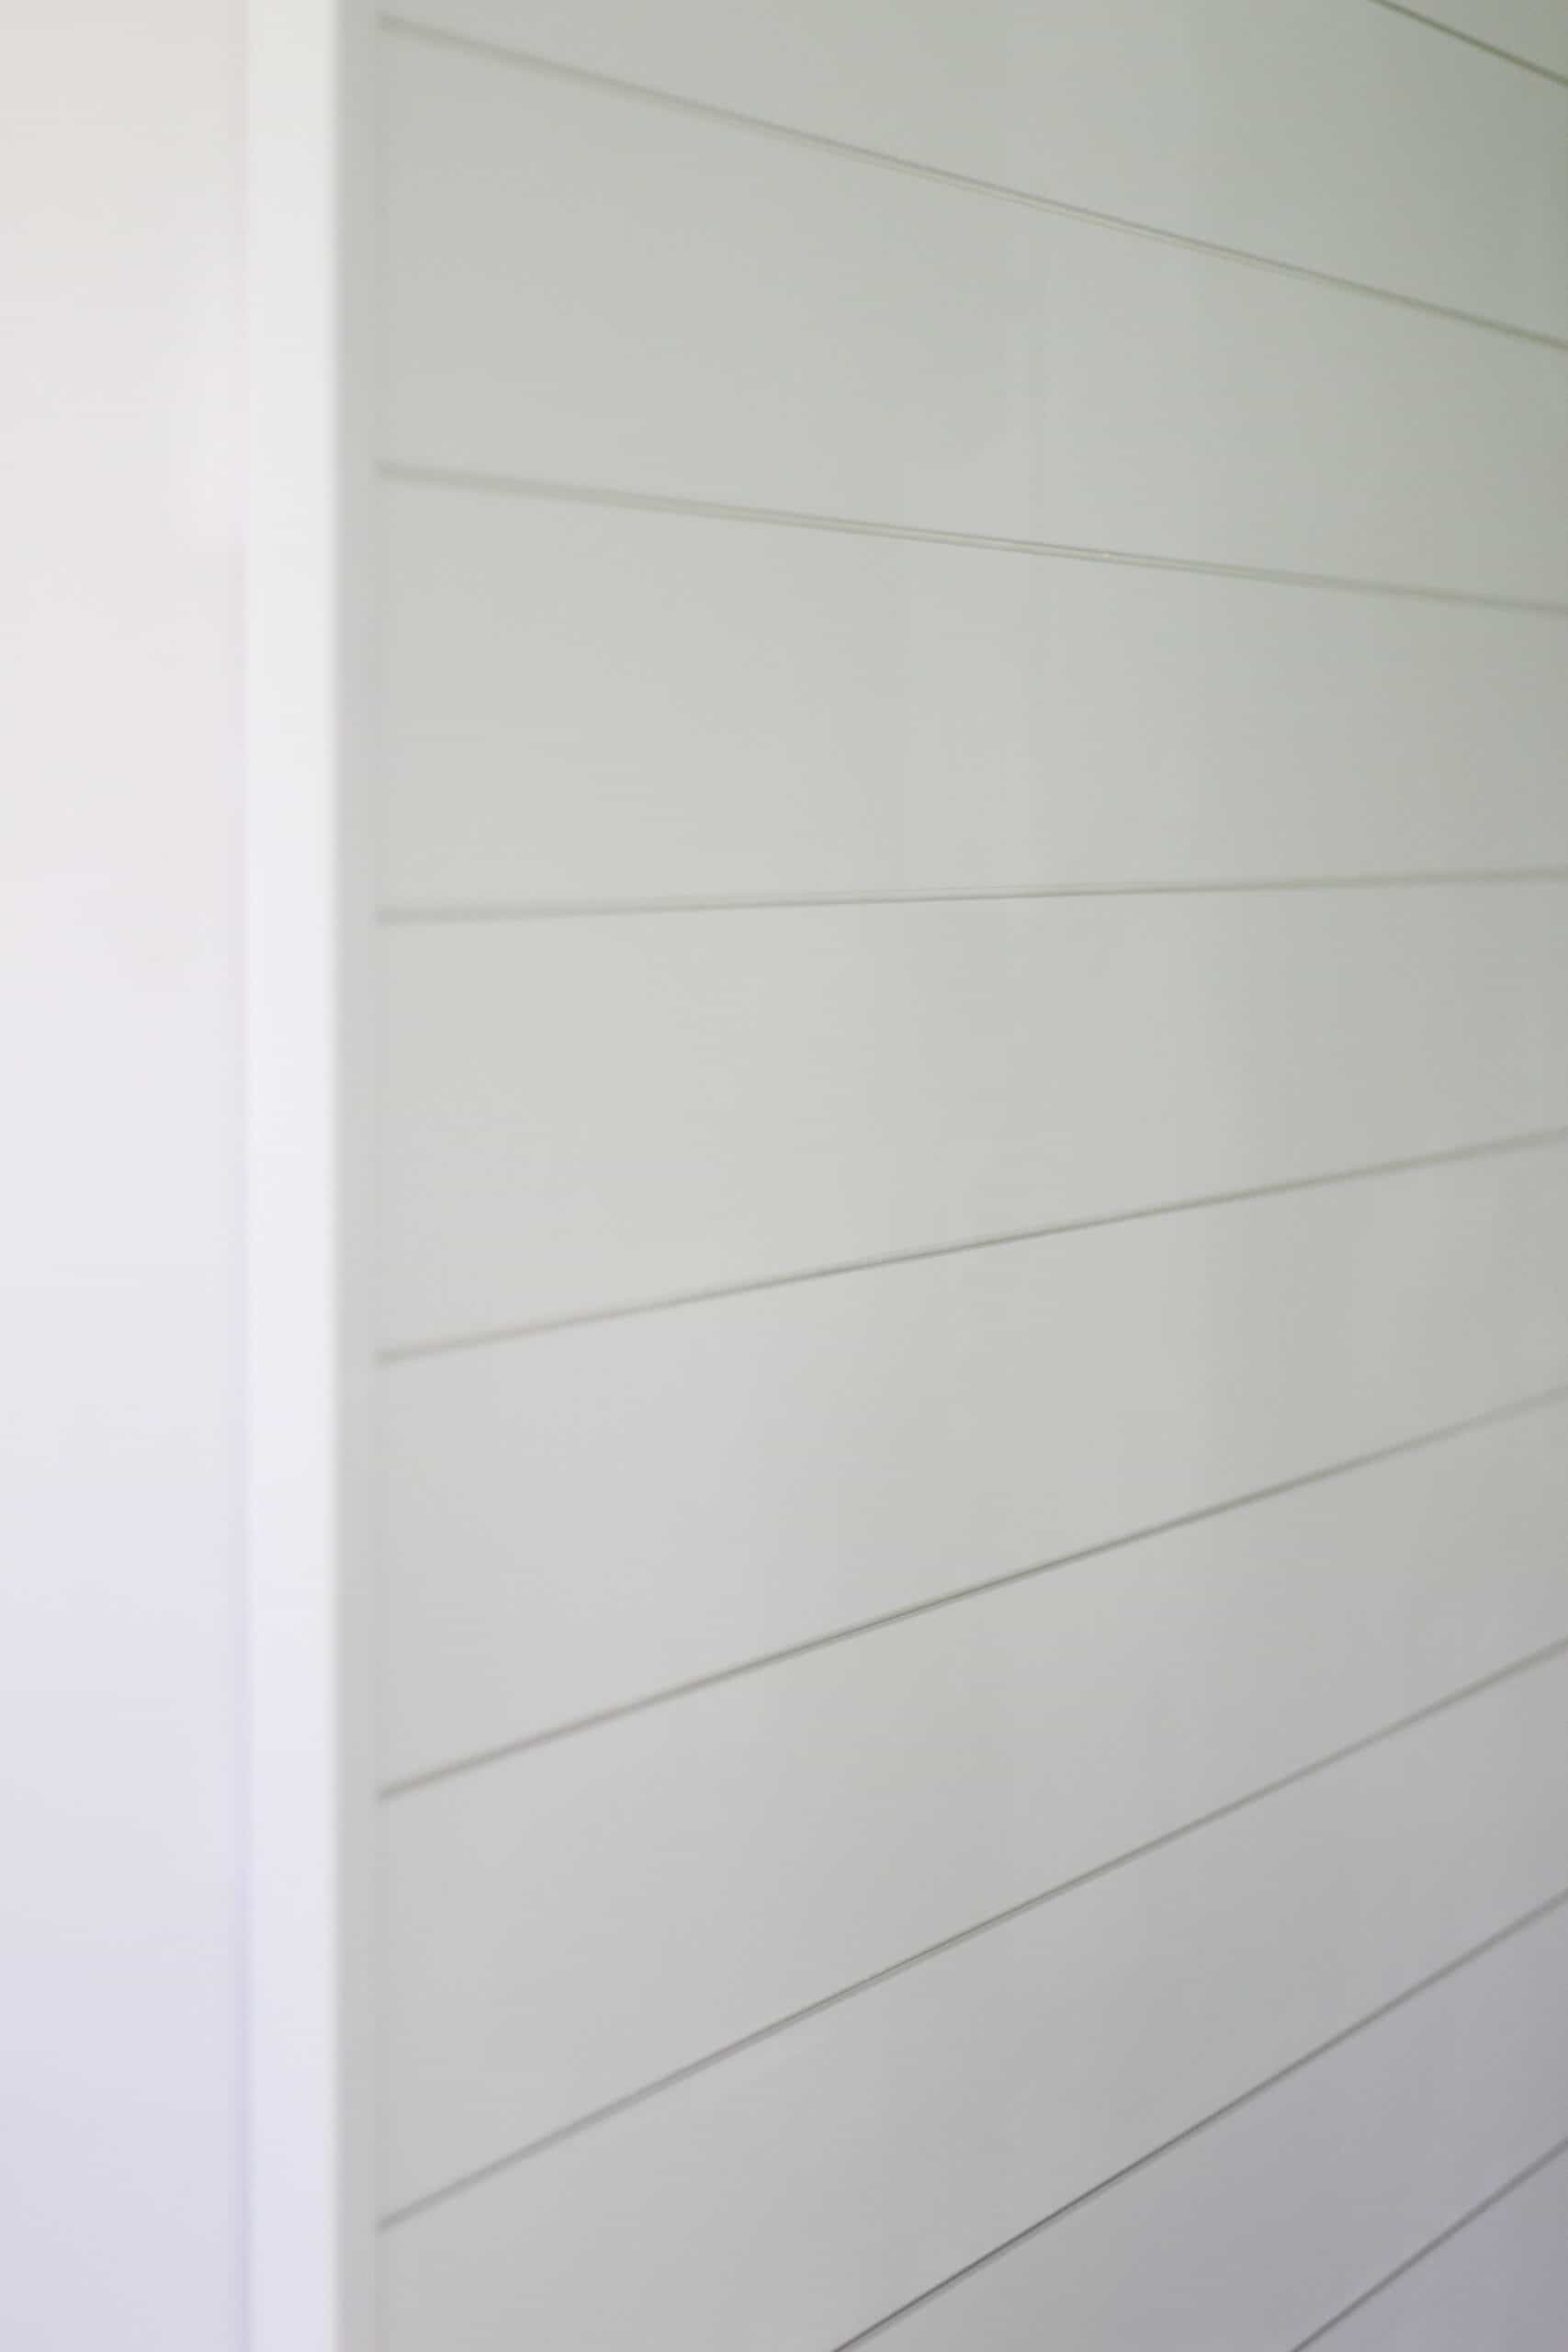
We personally went with an actual shiplap material for this wall. That means that the boards have lips that fit right into each other for perfect spacing. Because the wall isn’t huge, it was still affordable to go this route, and I am a fairly modern decorator, so I didn’t want to add any additional rustic charm.
There are less expensive methods using other materials. You can use plywood and cut it into strips and attach it with spacers, you can use trim, or other lumber, and a multitude of other options, but for the sake of this blog post I will only be sharing HOW TO INSTALL SHIPLAP. The other options in some cases are much more affordable, but also a lot more work. With 4 little ones at home easy was our friend.
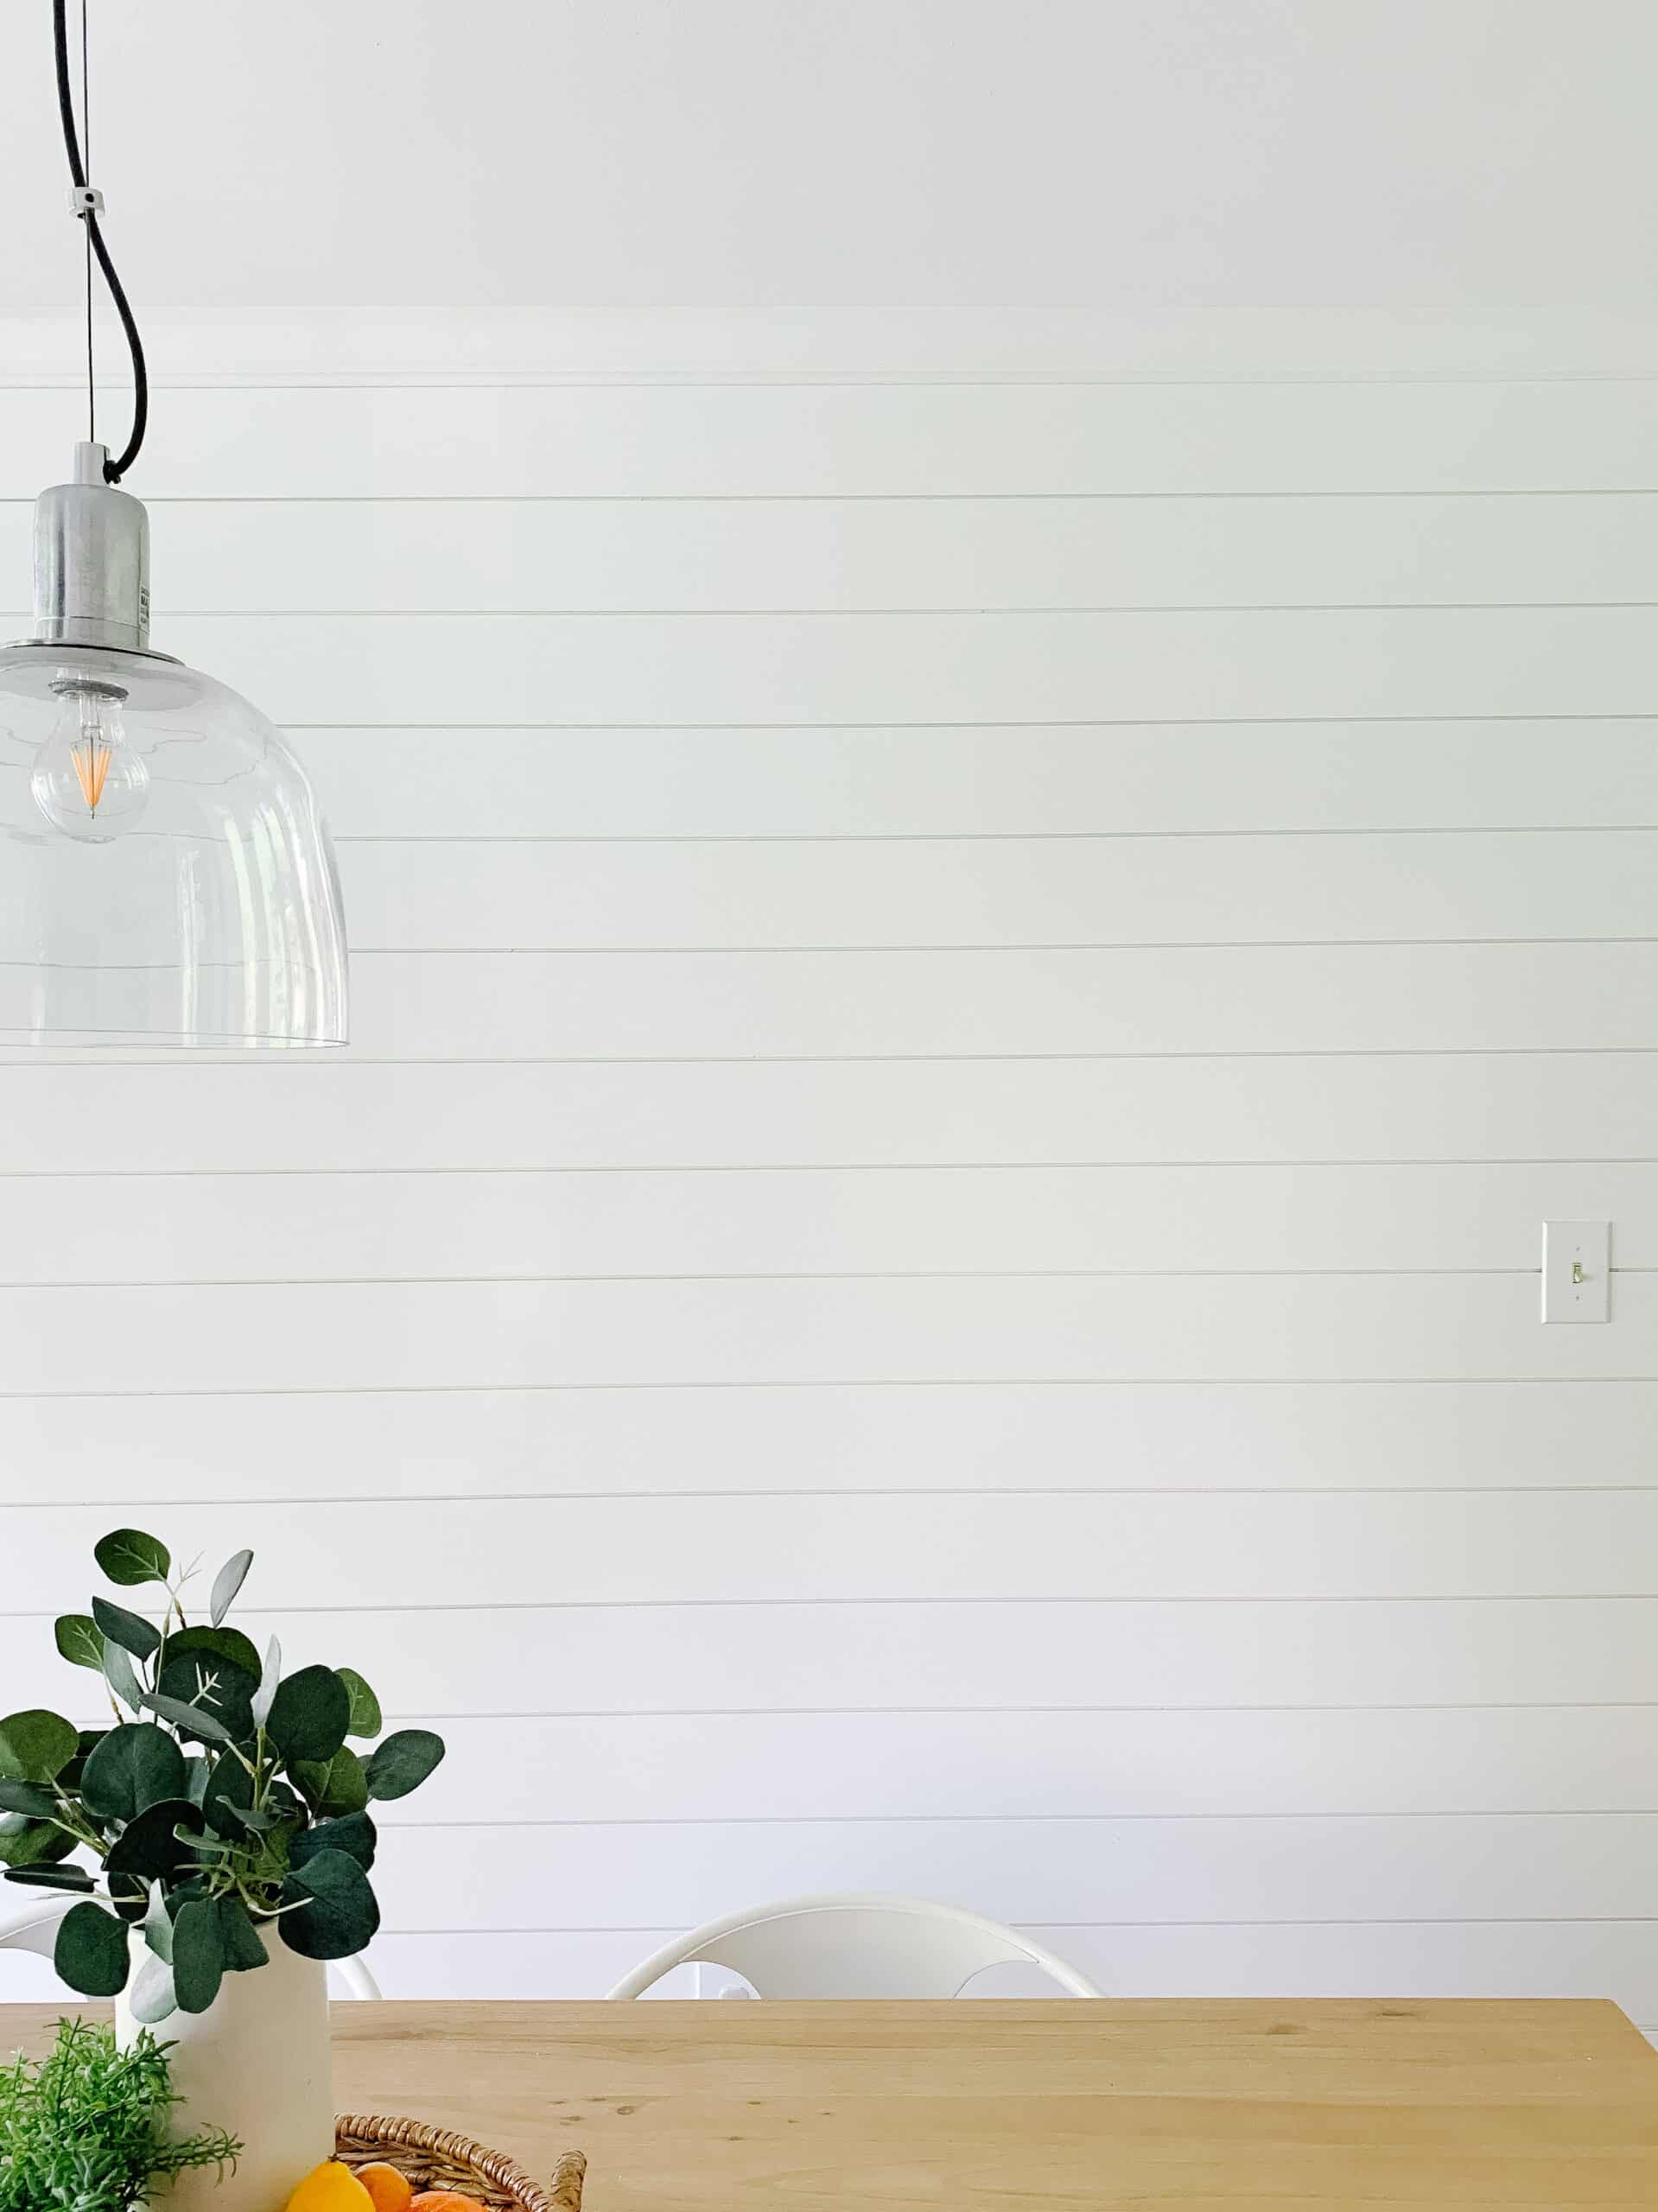
We personally went horizontal with ours, but you can go vertical. Adding vertical can be a great way to give the illusion of higher ceilings if you decide to go that route!
First you need to measure your wall so you know how much material you will need. Our wall was 7 feet long for the majority, with a small area at the top that was 10 feet long. We went with a brand of shiplap that comes in both 8 foot boards and 12 foot boards. We were able to order only 2 – 12 foot boards, and the rest 8 foot.
We personally ordered ours from Lowes, but Home Depot has an almost identical product for a similar price available as well, so I will link to both pending what store is more convenient for you.
Shiplap from Home Depot – 8 foot boards | 12 foot boards
Shiplap from Lowes – 8 foot boards | 12 foot boards
The only other lumber material you need is if you have exposed corners like we do. The way shiplap looks on the end is not a finished look, so we added these corner pieces to make things look clean and finished. You need enough of this to cover the height of any exposed corners.
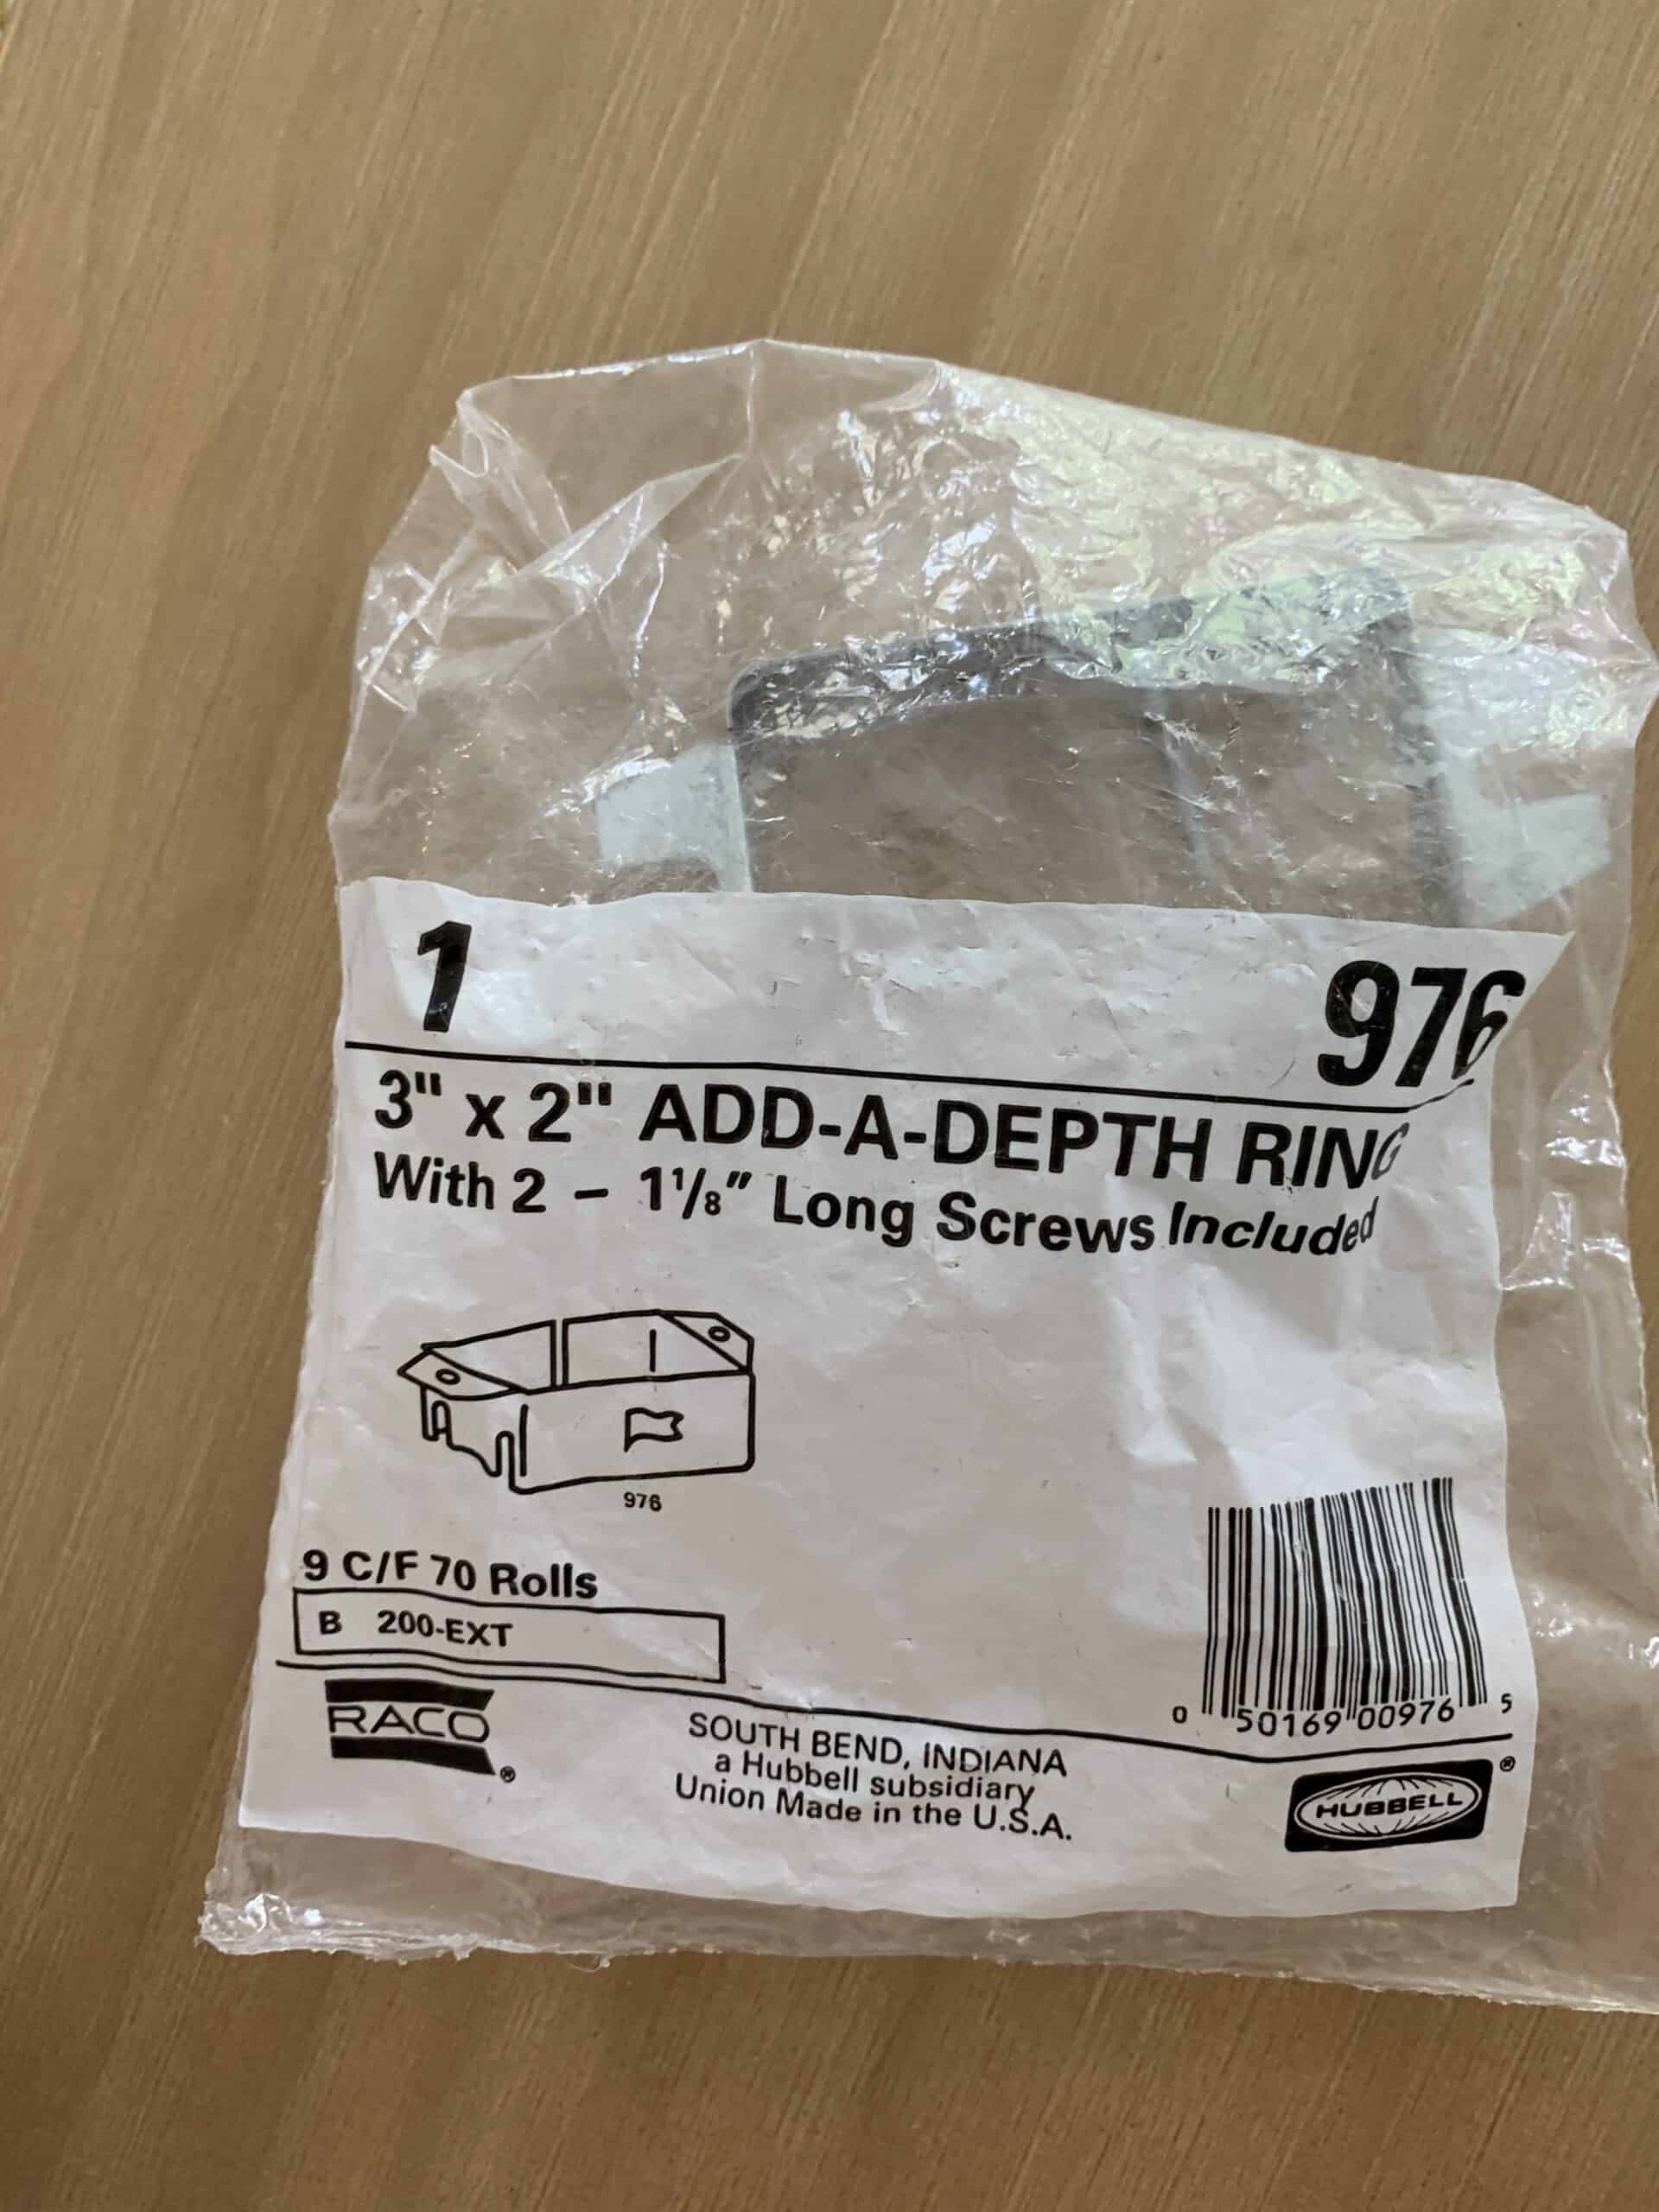
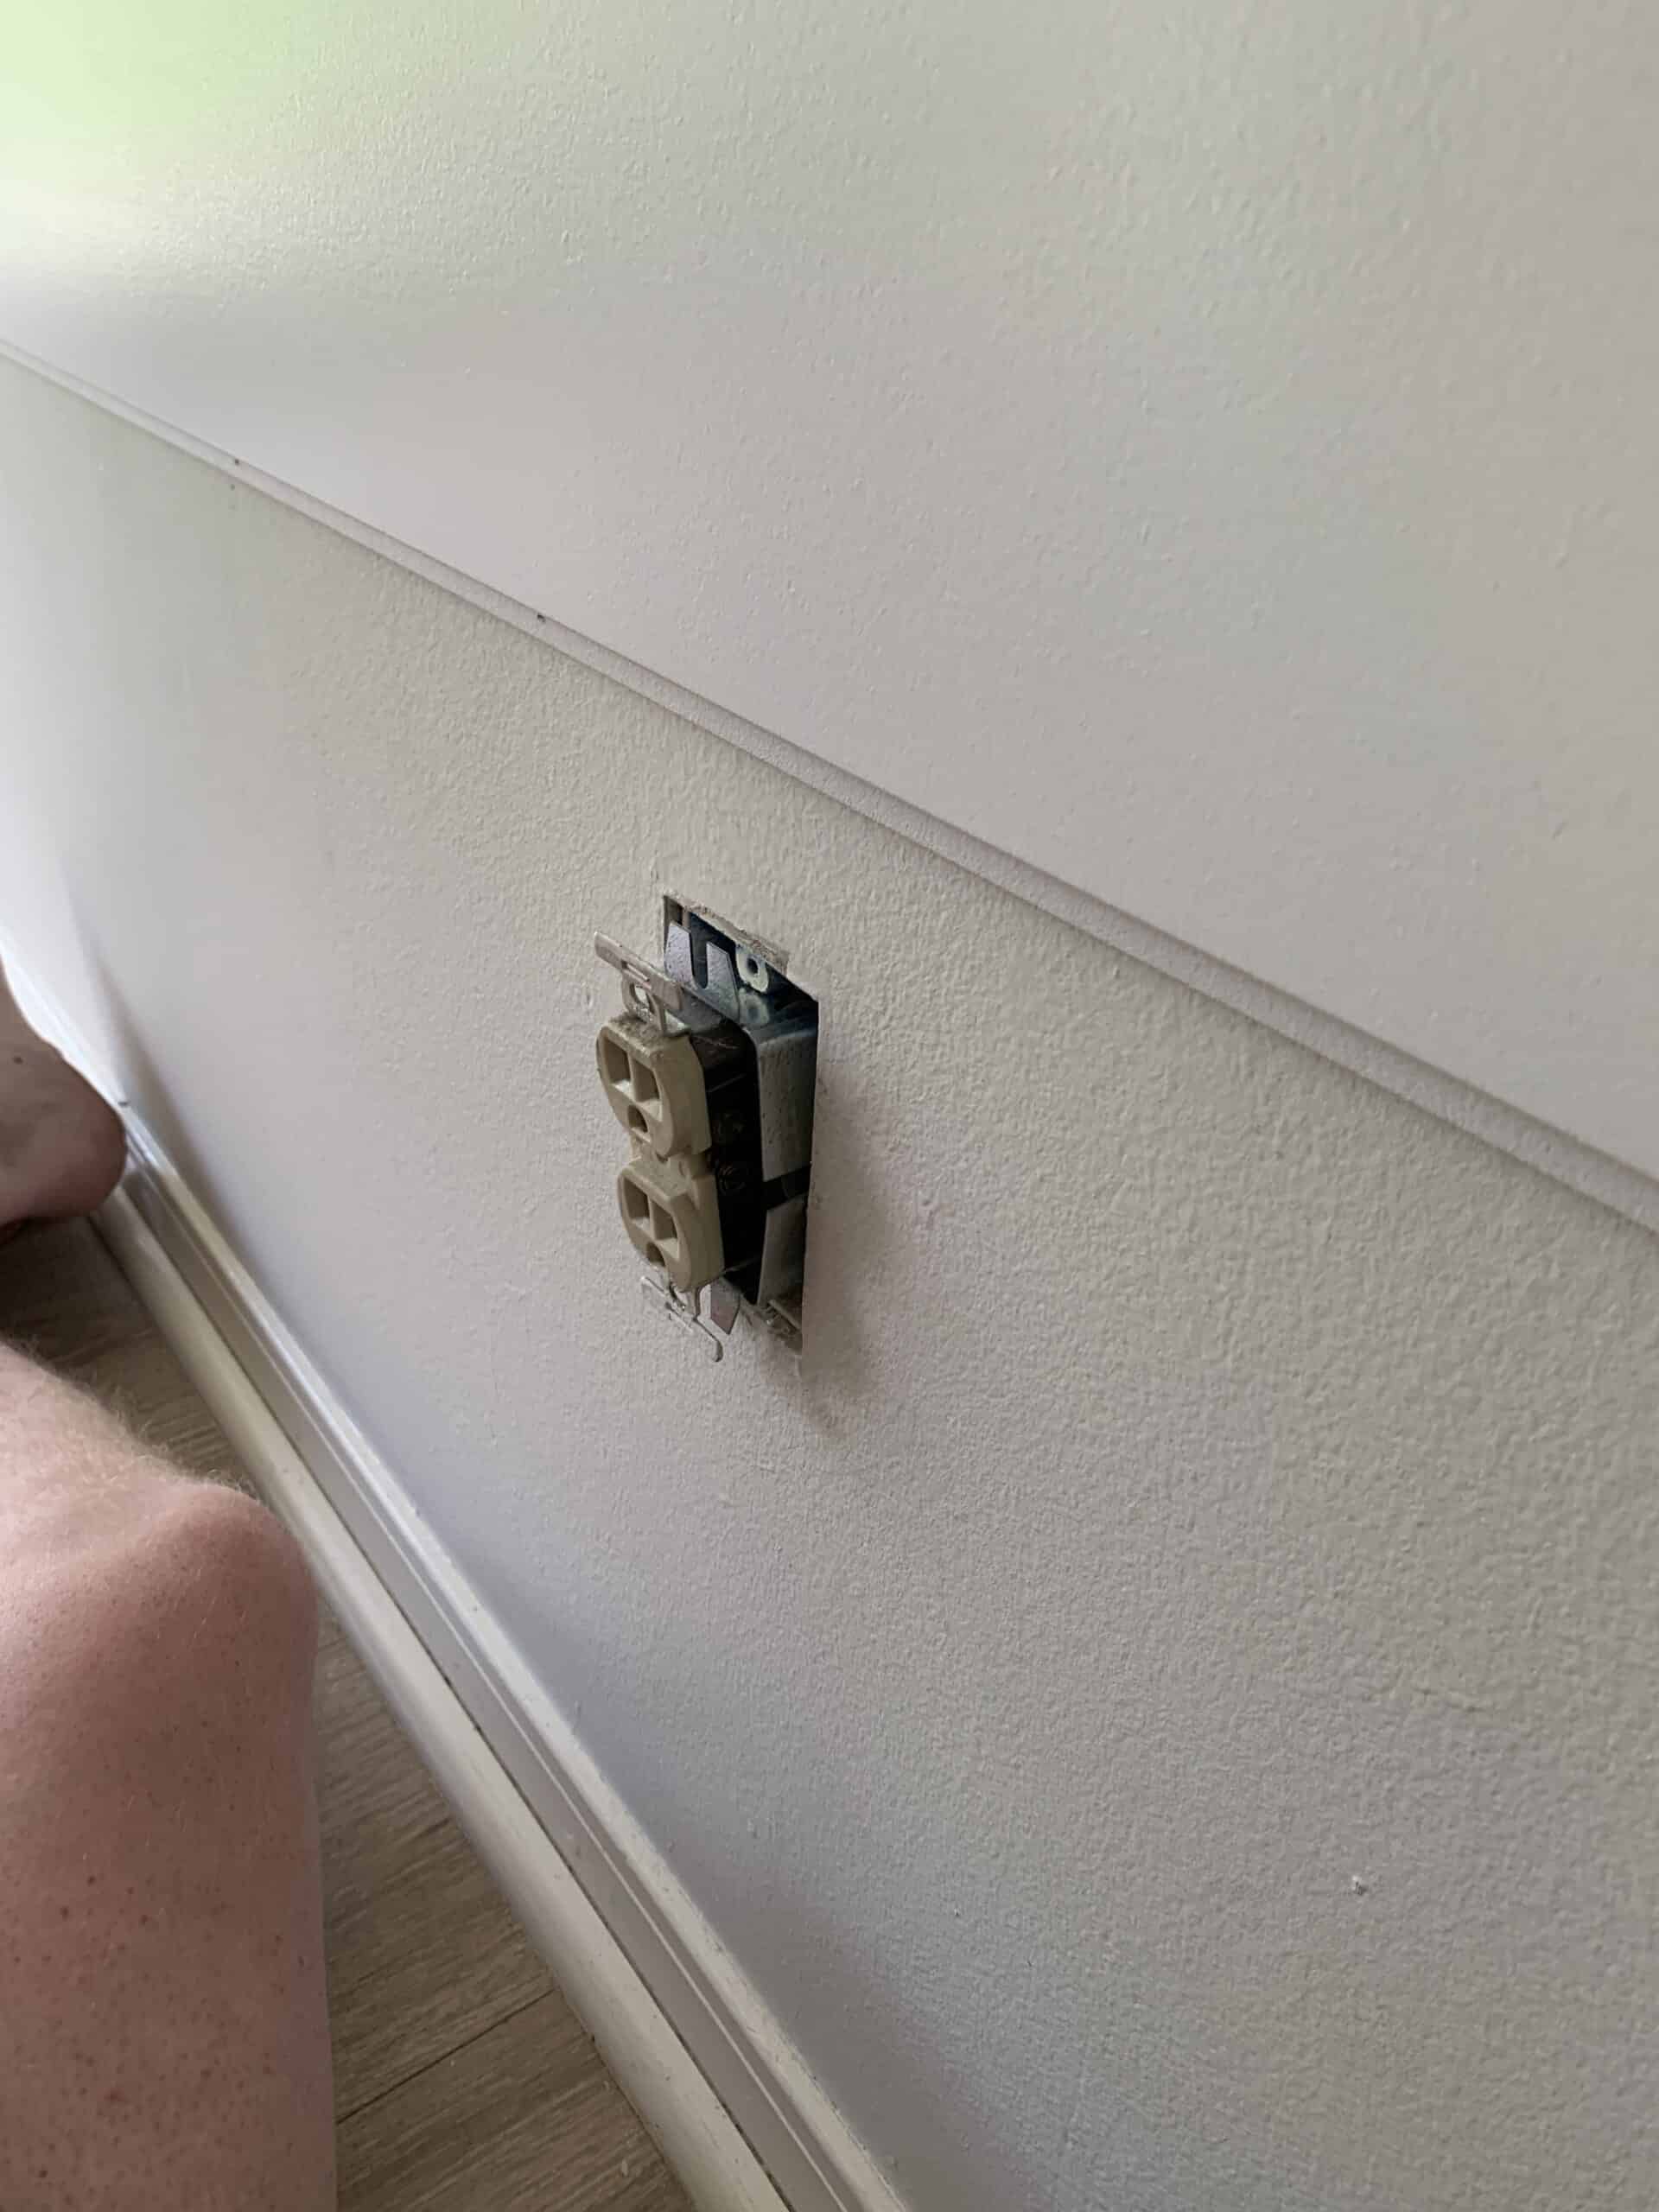
Outlet Extender – If you have outlets or light switches in the wall you will need outlet extenders to bring them forward. We will walk you though this in my Instagram stories, but it was a pretty simple process.
Paintable Caulk – Home Depot
Spackle – Home Depot
Sandpaper – Home Depot
Tools
As always – there are easier ways to do projects with nicer tools that tend to leave a better end result, and there are ways to do it without. I will walk you through the options when it comes time for install, but for the time being I will let you know if it is a total necessity or not.
Nail Gun – This is not a NEED, but without it the project will take a lot longer, and will not be quite as seamless. It is possible to do this with a hammer and nails tho.
Nail gun from Amazon – we have this one and love it
Nail gun from Home Depot – Friends have this one and love it
Table Saw – We personally used a table saw to cut our ship lap. I think this is a project that could be done with a circular saw if you have one, but the table saw is just much easier. I will link to the table saw and circular saw we have.
Table saw (preferred) – Home Depot
or Circular Saw – Home Depot
Jigsaw – If you followed along in my stories you know that our jigsaw we ordered didn’t come with a battery, SO we were able to do our wall without it. BUT only because neither outlet/lightswitch was fully in one board. had it been in one board we would have needed the jigsaw. We also would love loved to have had one to do ours, but due to the stay at home order made due with what we had. I would say it is HIGHLY recommended, but I will talk to you about how my husband did it without in the how to portion. BUY AT Home Depot
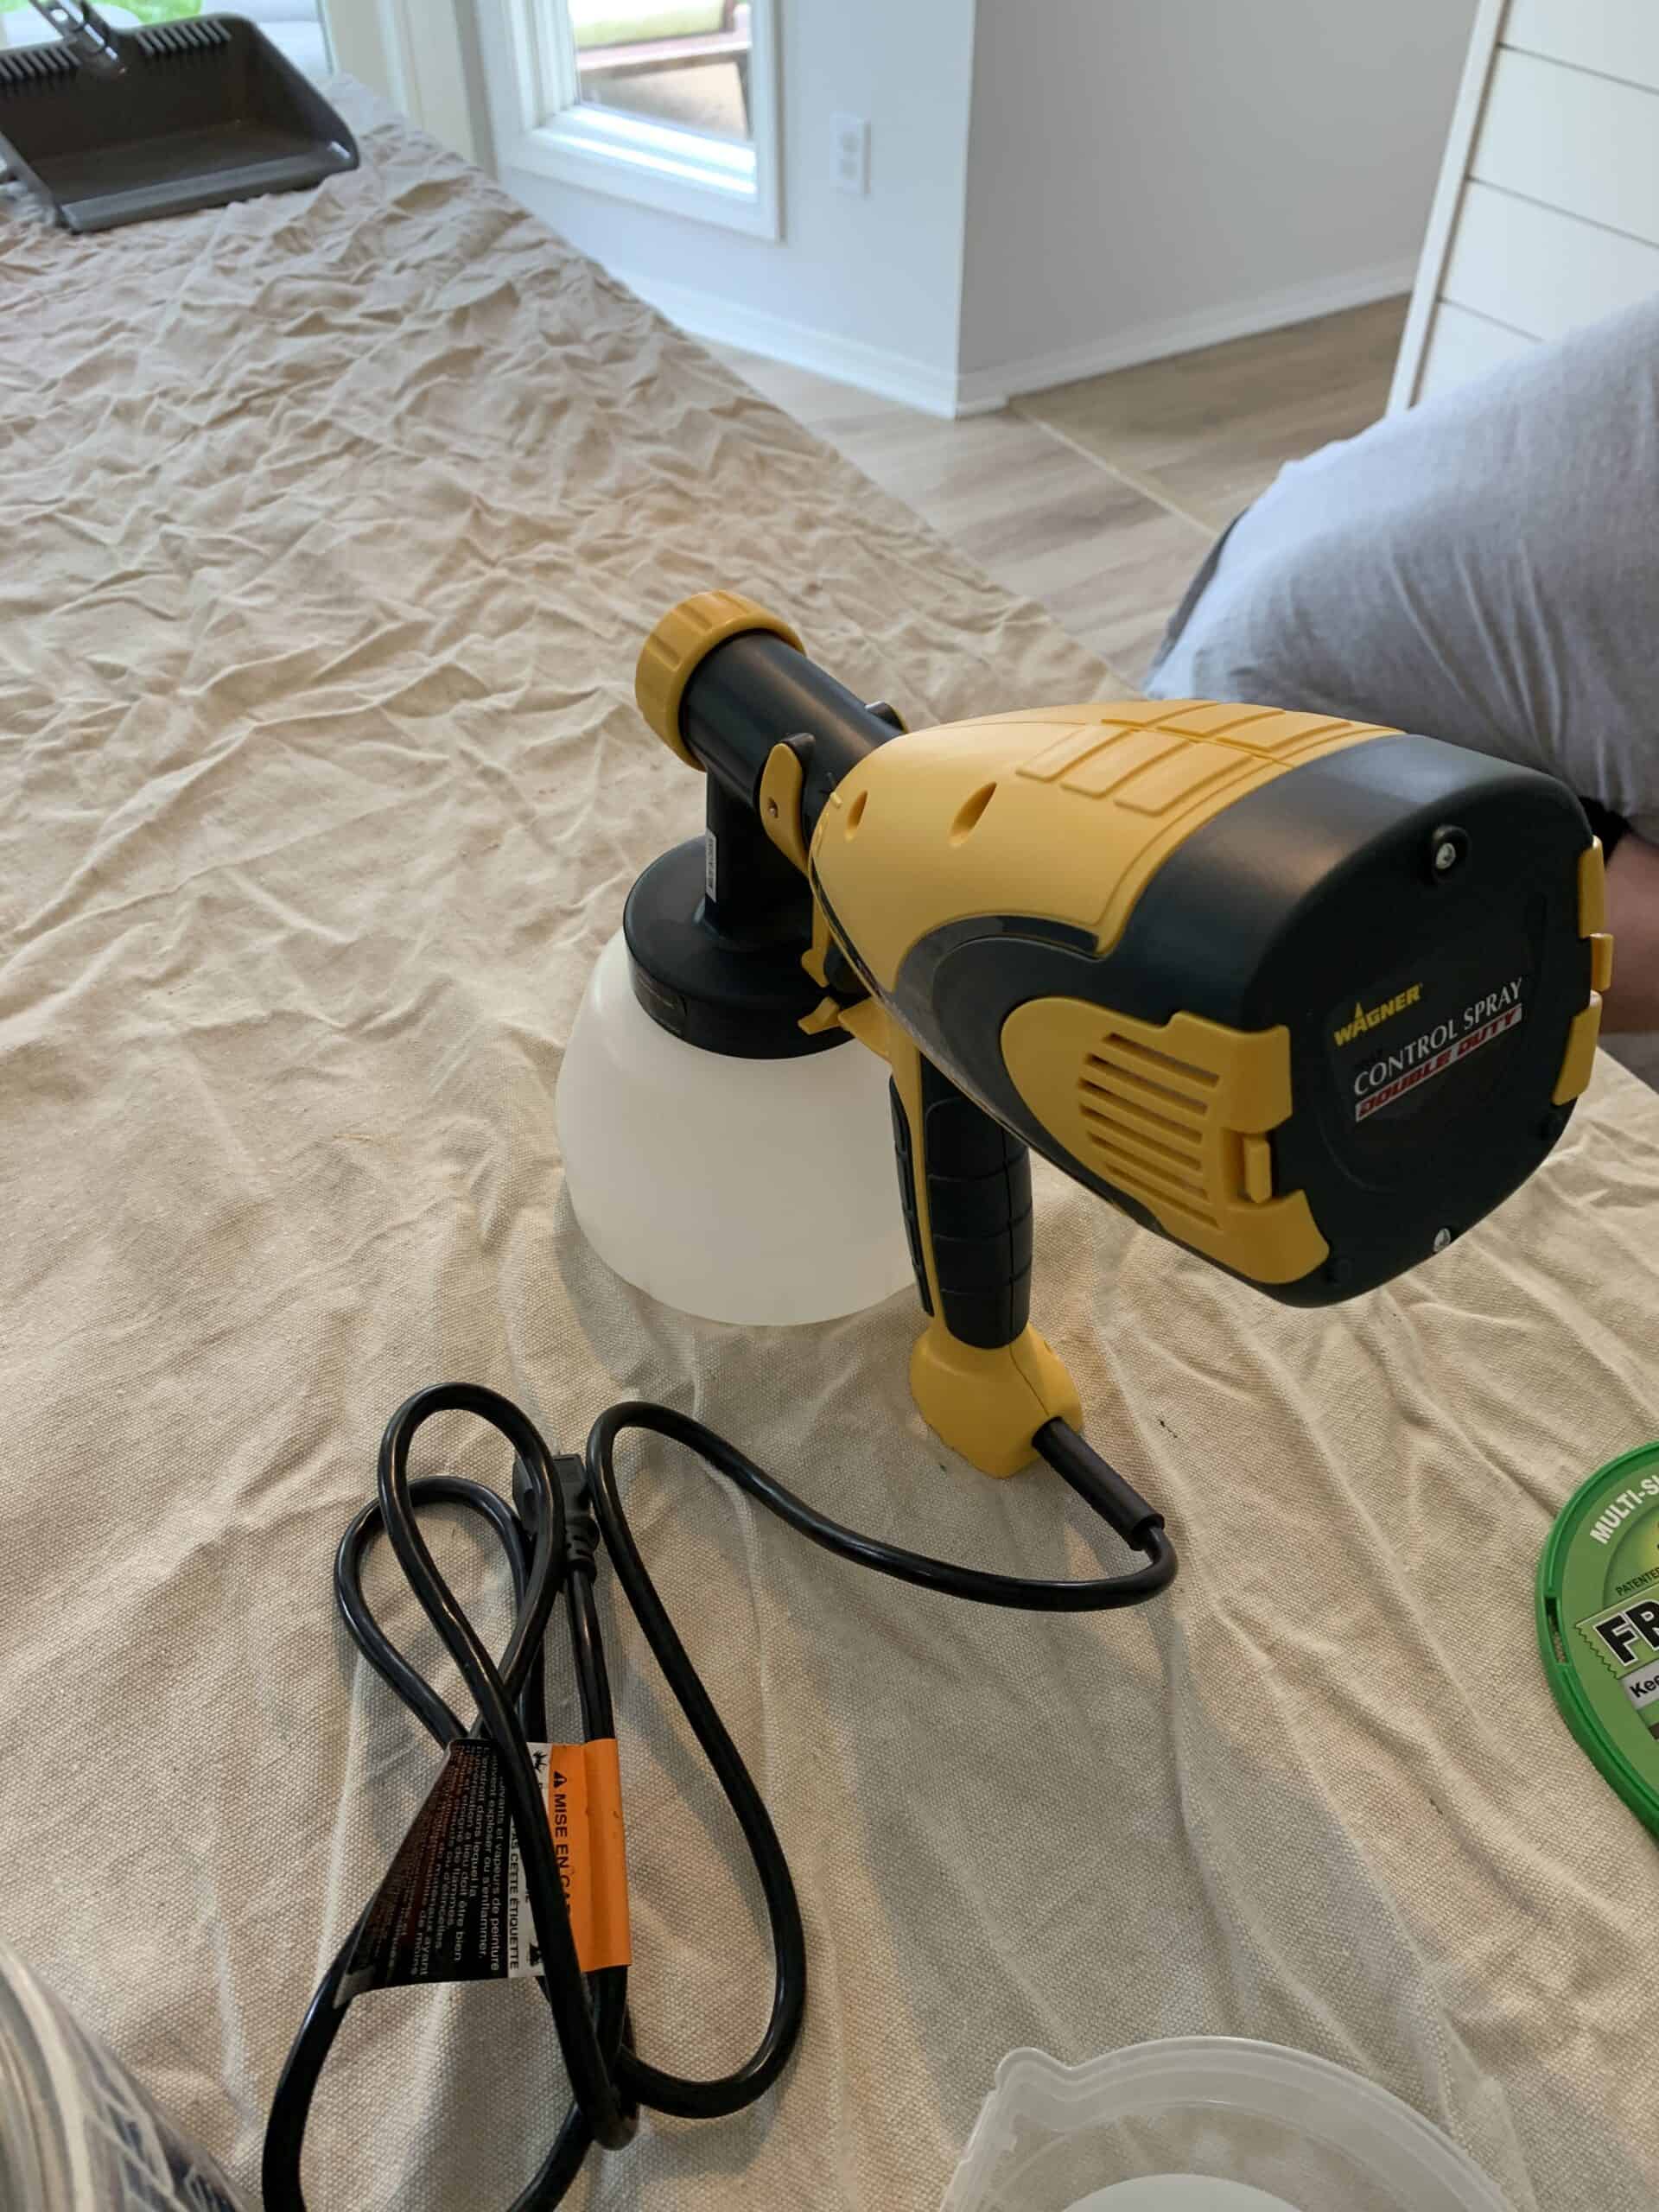
Paint Sprayer – We also used a paint sprayer to paint our wall when it was done. You can hand paint it, but the sprayer made it much faster with a better finish. Disclaimer – we tried a new paint sprayer after our old one broke, and I personally preferred the old one, but will link to both with perks to each per my husband who uses it.
Previous Paint Sprayer (Preferred by me) – This one has a harder clean up of the nozzle and such, and is harder to fill, but I do think the overall coverage is better with this paint sprayer, and you don’t have to thin the paint! – SOLD ON AMAZON HERE, OR Home Depot HERE
Current Paint sprayer – This one was easier clean up in my husbands opinion. You do have to thin the paint tho, and I didn’t think the coverage was as great with one coat. – HOME DEPOT
Small Tools
You will also need – Some tools you likely have on hand
Screw Driver for Outlets | Measuring Tape | Level (possibly)

Shop all Items Below

How to Install
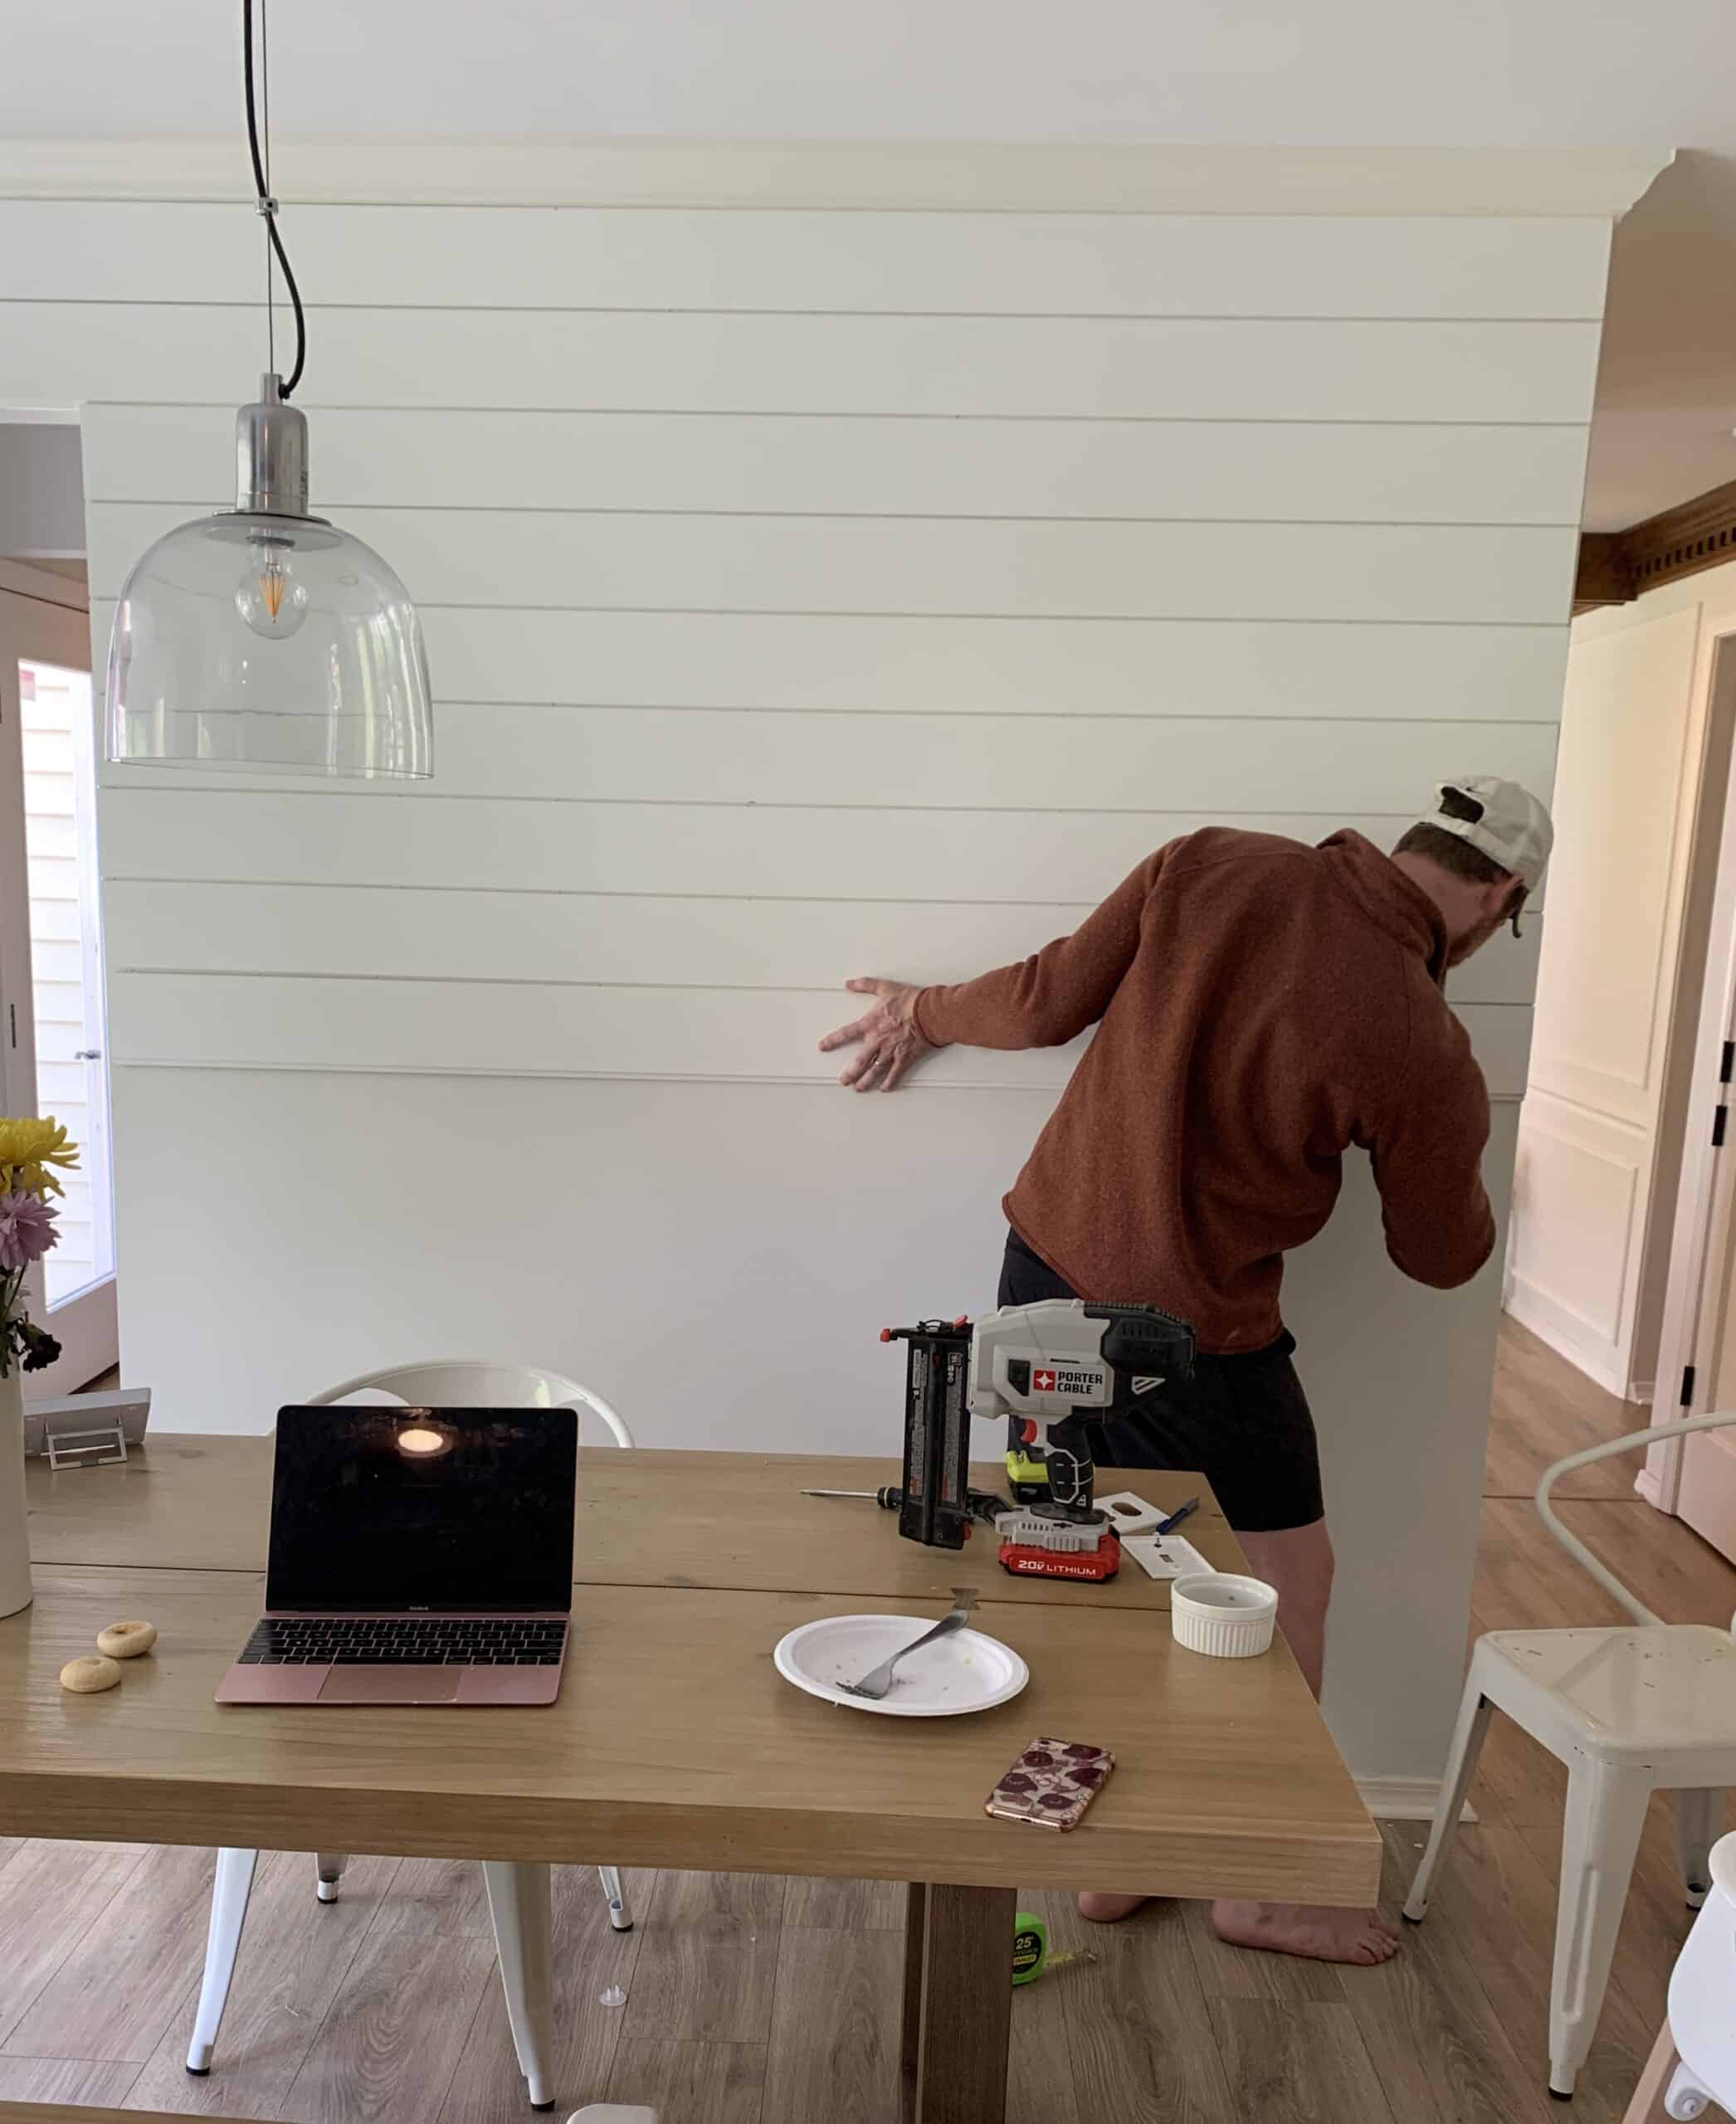
Now that you have everything you need it is time to actually hang your ship lap. This is honestly easier than you think. I will say that although it could be done alone this is a project more much suited to two people.
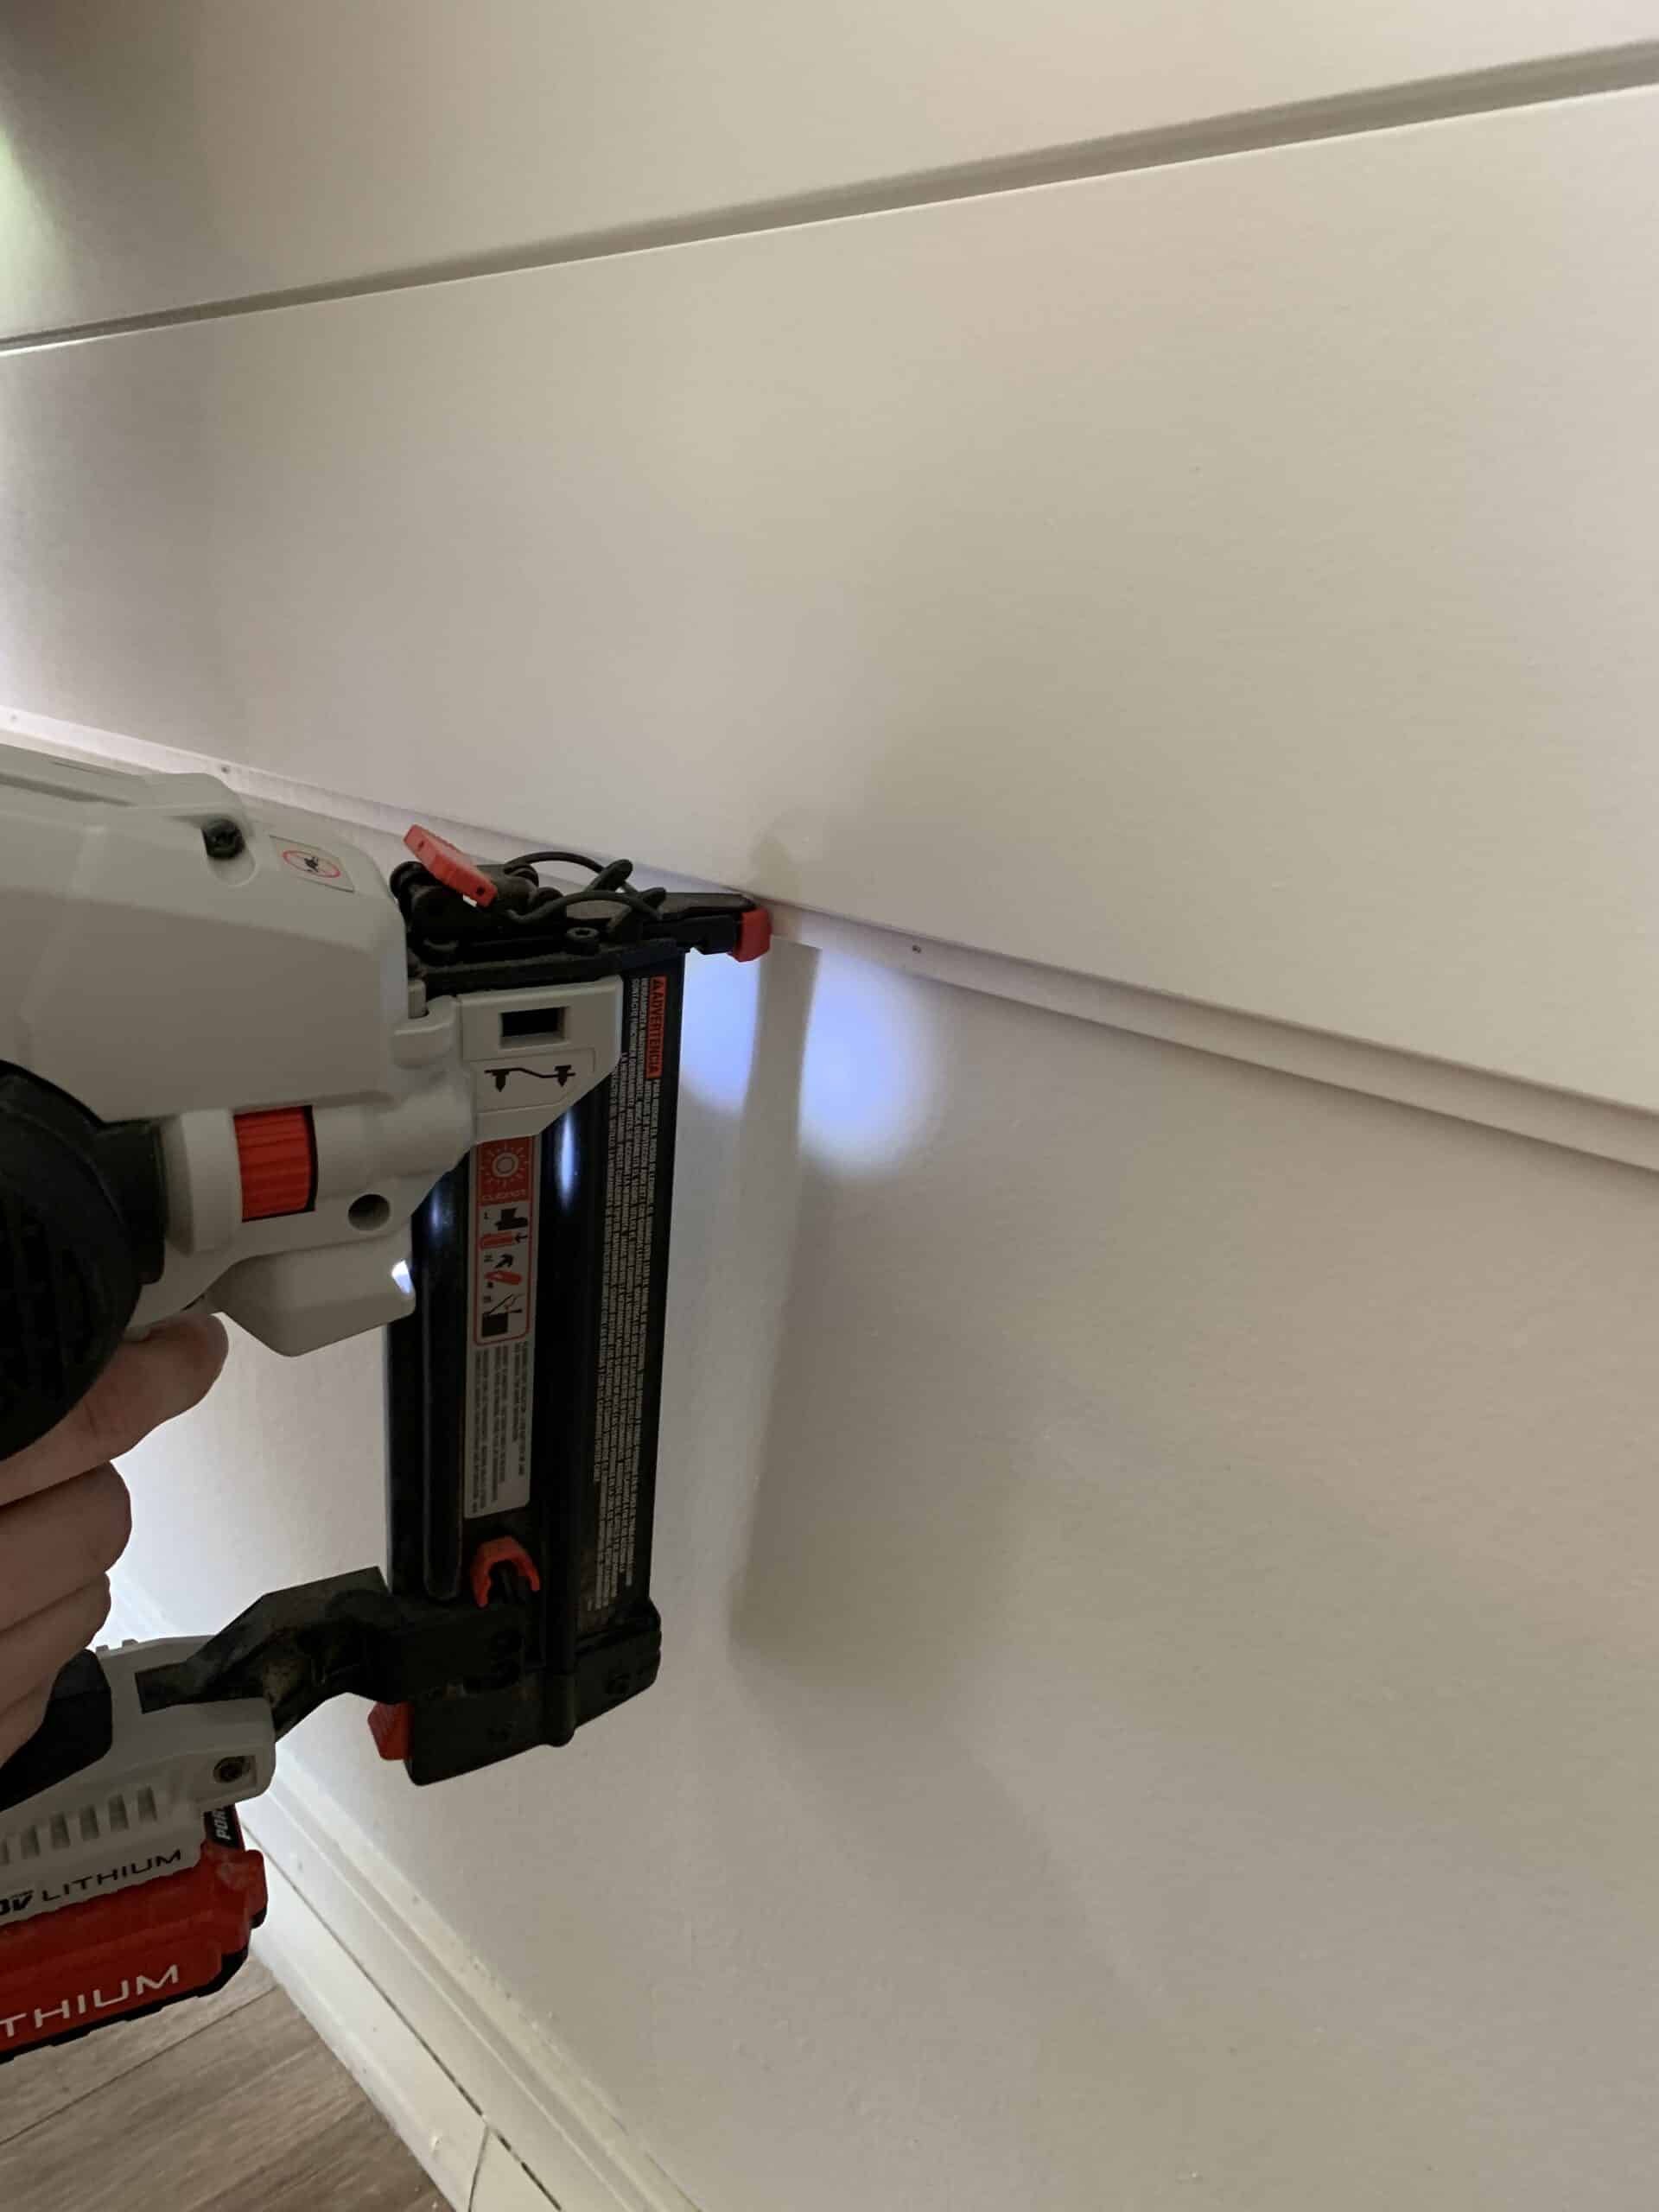
HANGING BOARDS – Measure your length for your board or boards. We did them a few at a time as to not accidentally be off with a measurement and waste all the ship lap. You will start with your TOP piece. So for us, we started with our 2 12-foot long boards. They needed to be cut to 10 feet long. standing on stools we started in one corner holding the shiplap tight against the ceiling or moulding use your nail gun and nail into the small lip on the bottom side of the shiplap board. Move along the board and nail into the small lip from one end other. The only thing to remember is to make sure you’re keeping it tight against the ceiling.
If you have an exposed corner like we did make sure that your boards don’t overhang the corner at all. If they are slightly short the corner piece will actually hide that, but they can’t hang over.
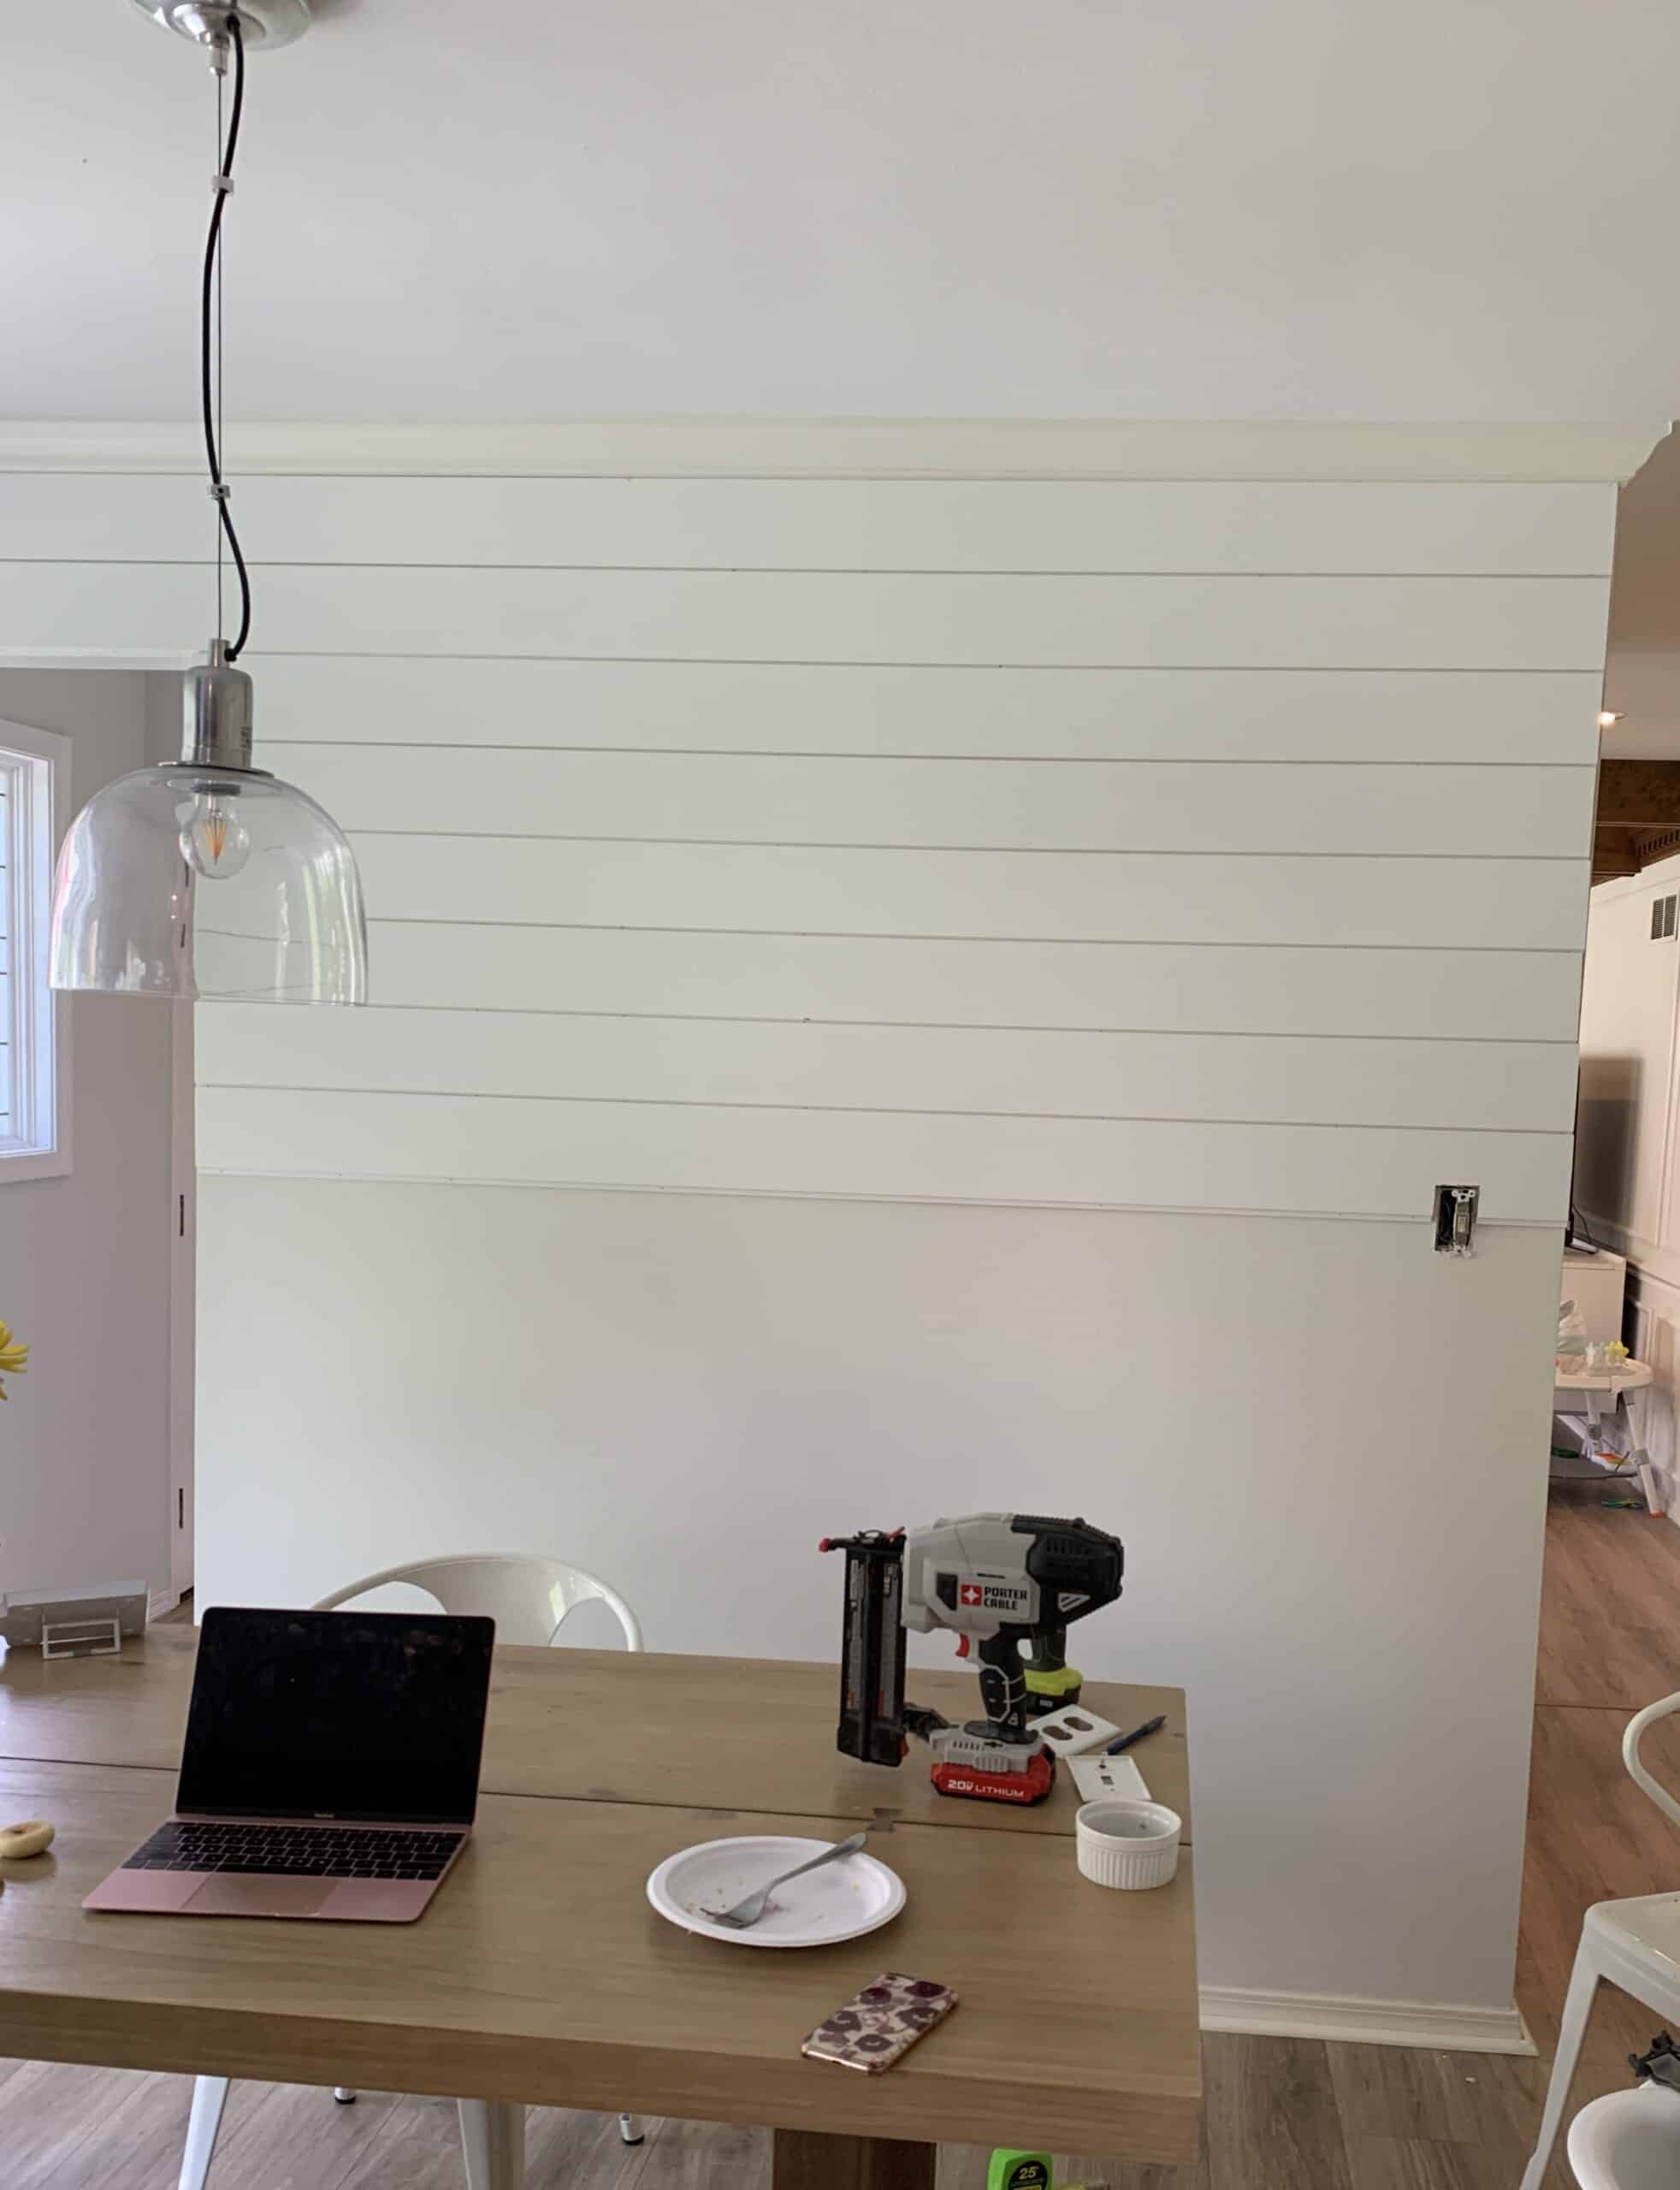
You will continue to do this for all boards, with no change until you get to a light switch or outlet.
This literally continues on all the way to the floor. We switched out our trim (because that is on the list of things to do down the road) and it fit perfectly, but you may have to cut your bottom board.
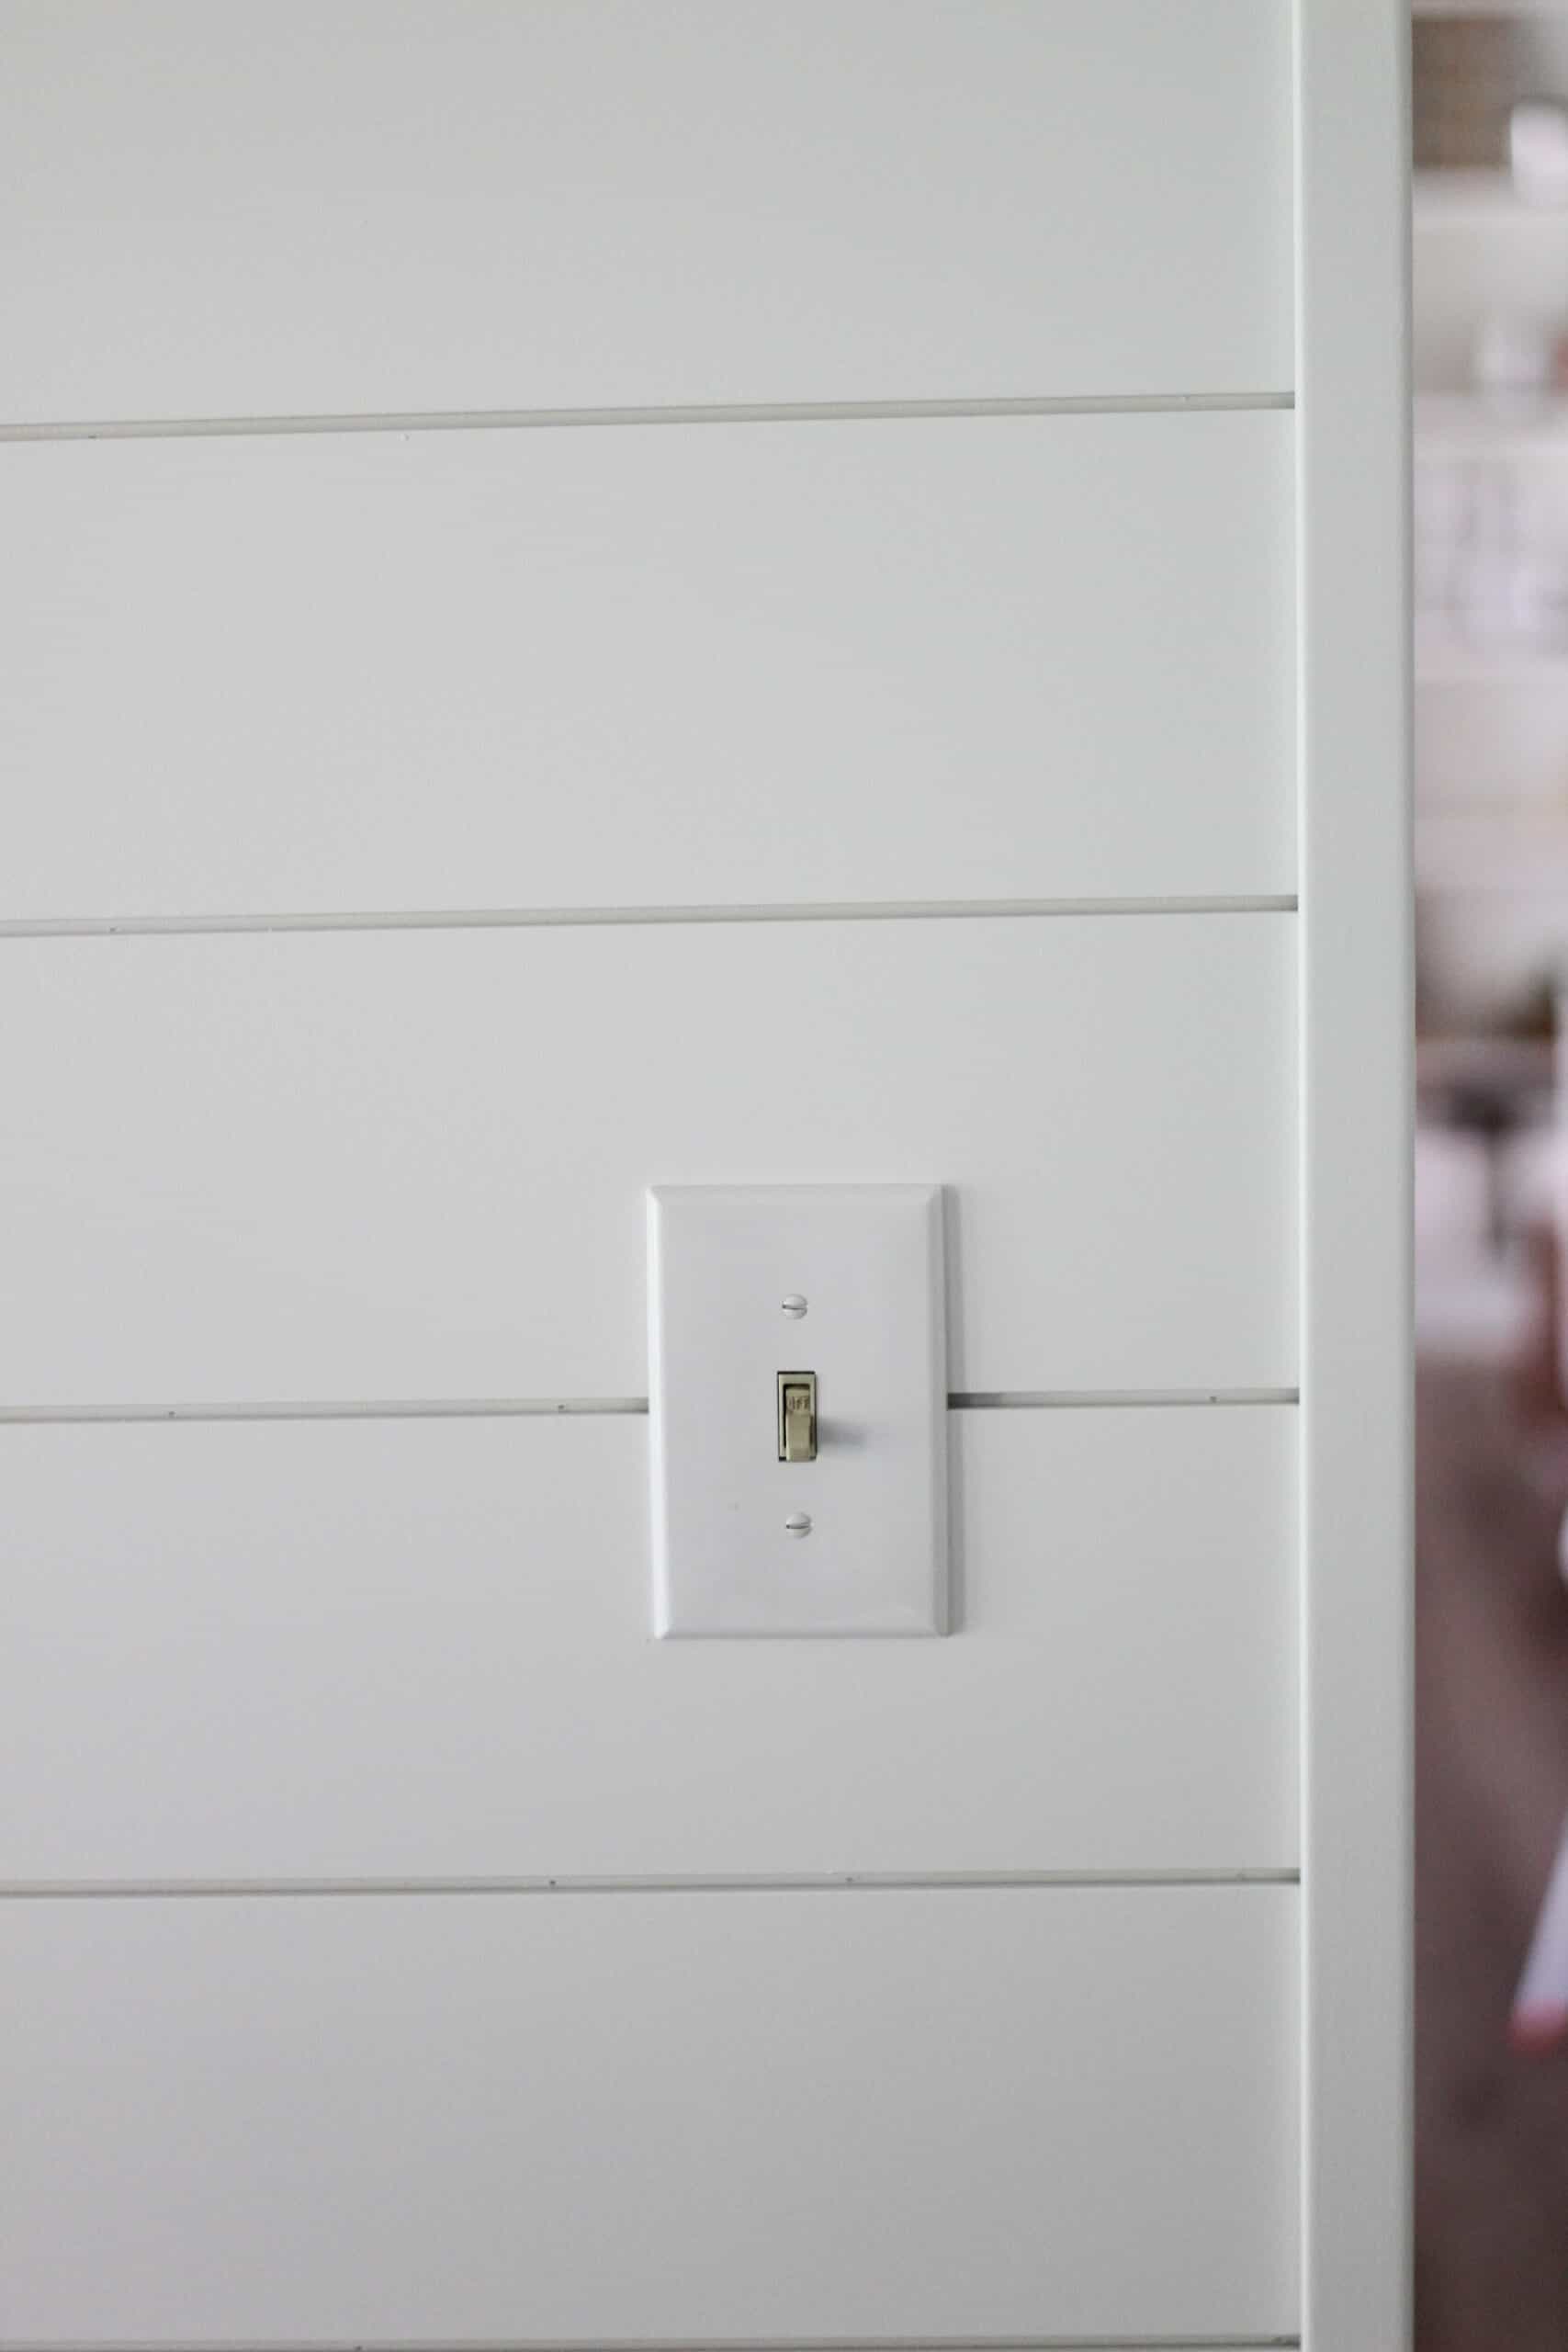
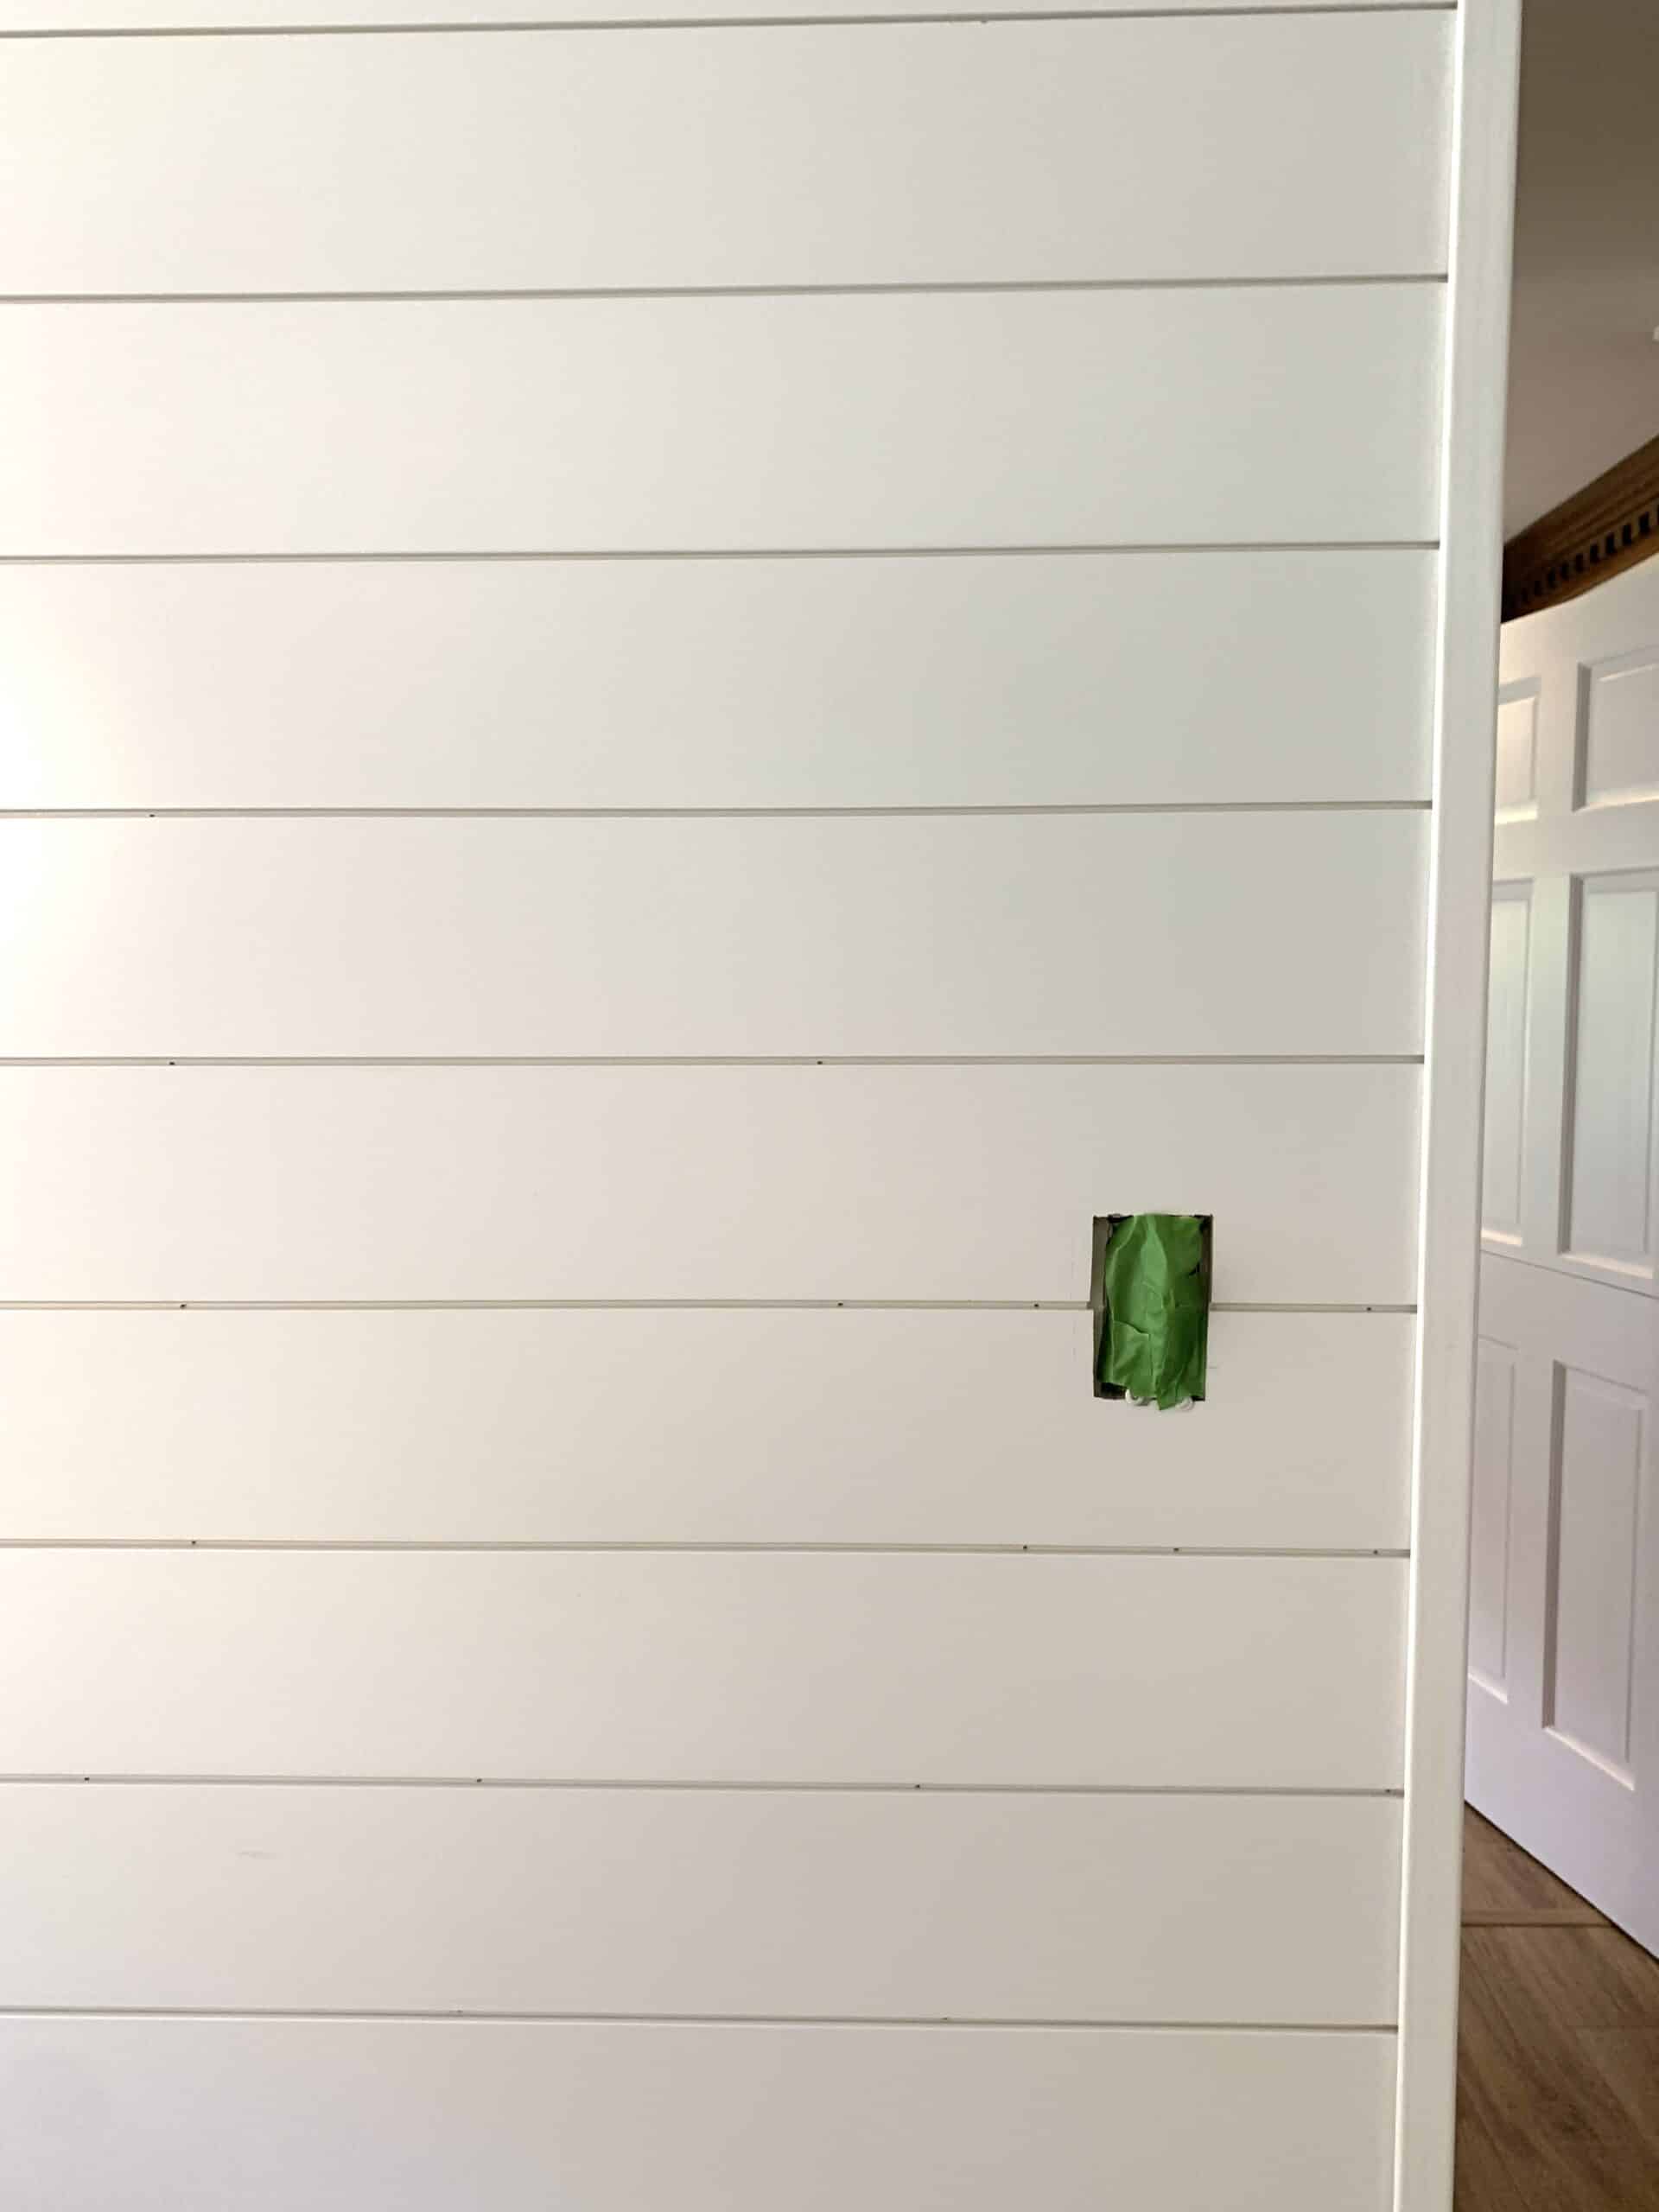
CUTTING FOR OUTLETS AND LIGHT SWITCHES – This part takes time and patience. Personally this is how we did it. For our light switch as an example the first board that was going to be cut would cover the top half of the light switch – this means we needed to cut a space out of the BOTTOM side of the board we were working with.
We measured on the wall to see how far in from the end of the board the top two corners would be on the board. We then marked those two measurements and drilled a hole into each measurement.
Sam then took the boards to the table saw and CAREFULLY and slowly cut to each of those holes, then cut up to that same top line over and over again until the small rectangle was cut out. This would have been much easier with a jigsaw, but the measurement process is the same.
One thing to note – if your outlet hole is just slightly too big there are oversized outlet and light switch covers. So don’t panic if your hole is SLIGHTLY off – there is a 1 dollar fix that looks exactly the same.
CORNER COVER – If you have an exposed corner and are using the corner cover you will simple measure the length from your baseboard to your ceiling or moulding and cap your corner and use your nail gun to put that on.
CAULK AND SPACKLE – Once you wall is done you need to do some clean up work to get ready for paint. Any seams along corners need paintable caulk. We also did the seam to our baseboards, and the seam on the NON SHIPLAPPED wall where the corner extender was. We Spackled the few nail holes on the corner pieces as well.
If you only nailed into the inner lips of the shiplap the step of caulking and spackling is really simple. Once the sparkle is dry sand that off and you’re ready to paint.
ADDING OUTLET EXTENDERS – You will need to add outlet extenders to the outlets and light switches on the wall. I am not going to tell you how to do that here, but will show how in my Instagram highlight ‘shiplap’ incase you want to see it done. (Otherwise I will leave it to you to google to find a more professional source on how to).
Painting the Shiplap Wall
As I stated in the tools section – we personally used a paint sprayer for this project. We purchased a paint sprayer for this room when we did the IKEA built in hack, and have never looked back. Seriously paint sprayers are the best thing ever.
We used this sprayer this time, and it was honestly not bad, but I personally liked the coverage from this sprayer a bit better – I think because it doesn’t have to be thinned it covered better. Either sprayer tho I think does a good job and will give you a great smooth finish.
If you’re going to use a roller you will want to use a foam roller. Use a brush first to get in the seams then a foam roller over the boards.
Overall this was honestly a 1 day project. We have 4 little ones at home so we took 2 days – one for install then painted the second, but it could 100% be done in one day. Hopefully this is helpful on how to install Shiplap. I have a full highlight showing us installing it on my Instagram stories, and am always happy to answer any questions via an Instagram DM or in the comments below. Good luck!
Check out the rest of my DIY’s HERE
Pin the Photo Below for Later
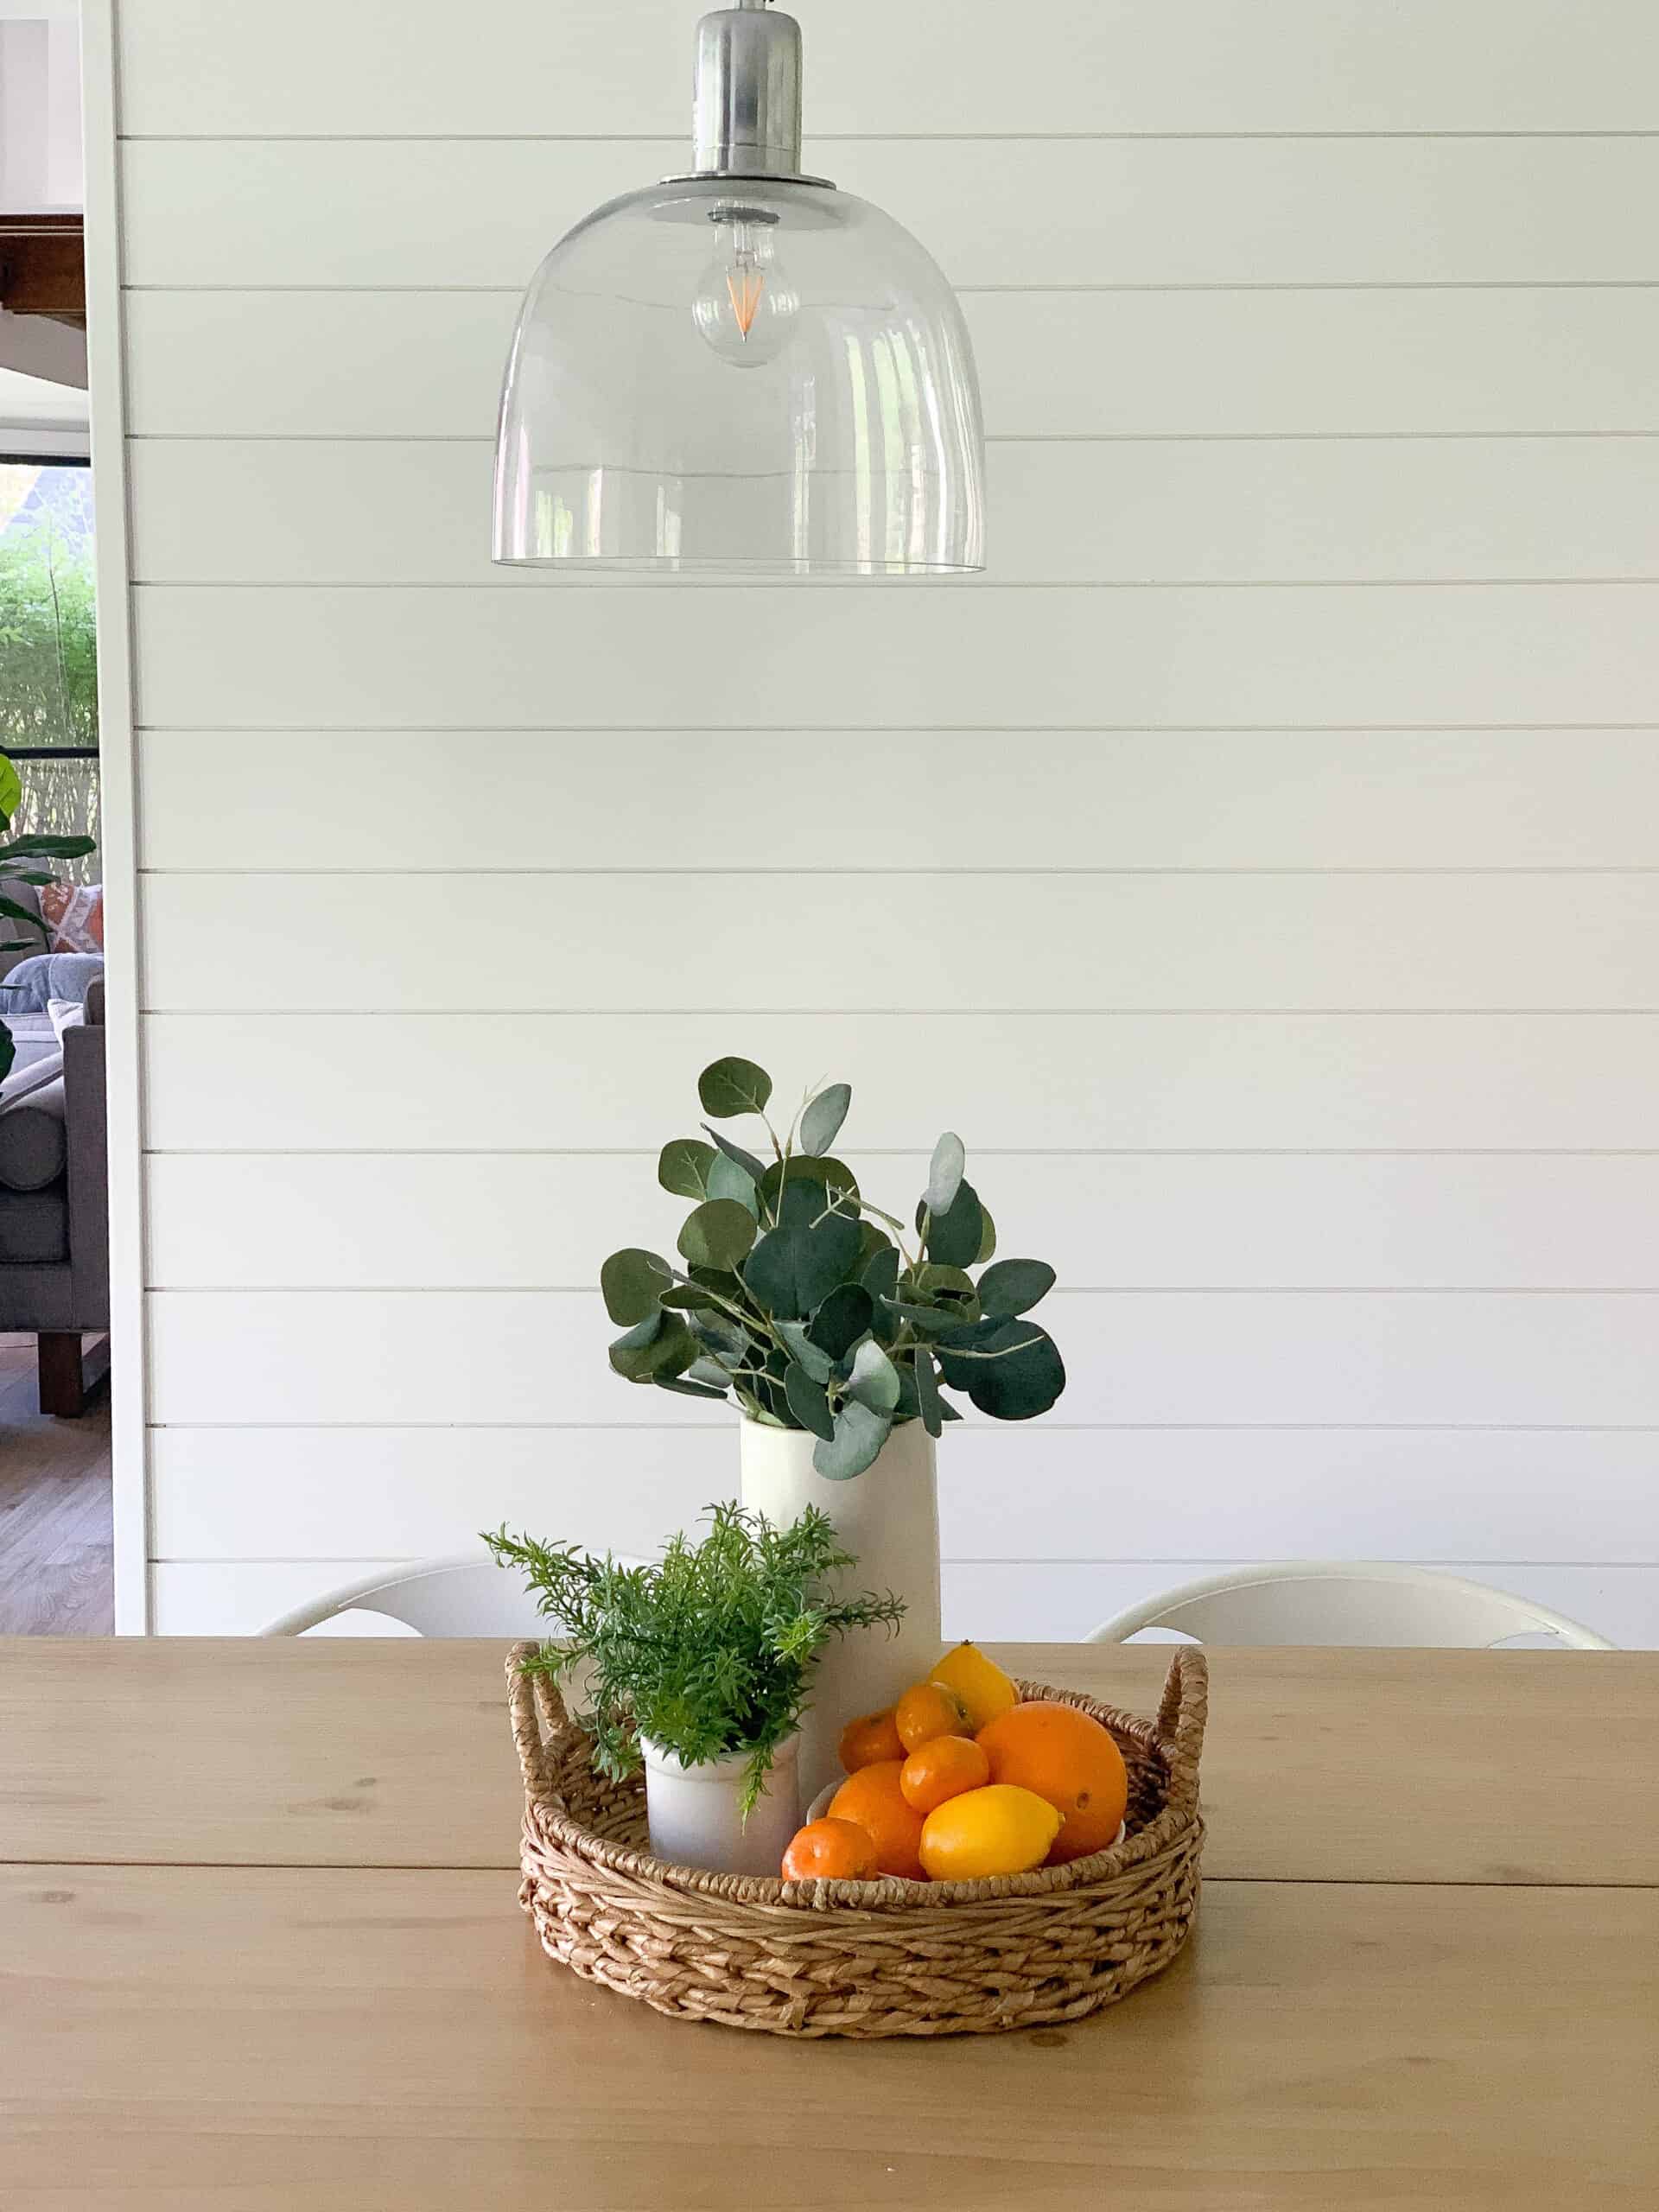
Thank you for this! I have this saved for a shiplap DIY fireplace project my husband and I will be starting next week! I also would love to know, where is your kitchen table from? It’s gorgeous.
Thank you so much!! Be sure to message me on Instagram if you run into any questions ( I can normally answer faster there!). It is from World market but of course they stopped carrying it right after I bought it ha.
Hi! Looks great! So I have a room with crown molding as well in my living room. I’m only doing 1 wall but the guy doing it, said maybe remove crown on just that wall.that we’re shiplapping. Yours looks fine with your crown molding. Did you paint the crown the same color as the shiplap? Just not sure how he would but the shiplap to other crown molding if removed on that wall.
Hi – we painted the moulding to match but did leave it as you saw – I considered removing moulding but ultimately I am happy we left it!
We are doing an entire dining room and I have seen different approaches for the nailing. Did you just go through the lip or did you face nail/use glue? Are the boards loose when you just nail the lip since they aren’t interlocking like a v-grove?
Hi Geoff, We go through the lip in as many places we can, and definitely hit the studs, but if you feel like they are loose you can always throw a couple in the face into the studs. On the wall in our kitchen in this post we didn’t have to go through the face.