I have been working on a DIY flower wall white updating Avé’s room – which has been taking way too much time thanks to being unable to run any errands, SO instead of revealing her room first I am going to share this really fun DIY yarn wall art piece I did of daisies.
This post may contain affiliate links – read more about that here
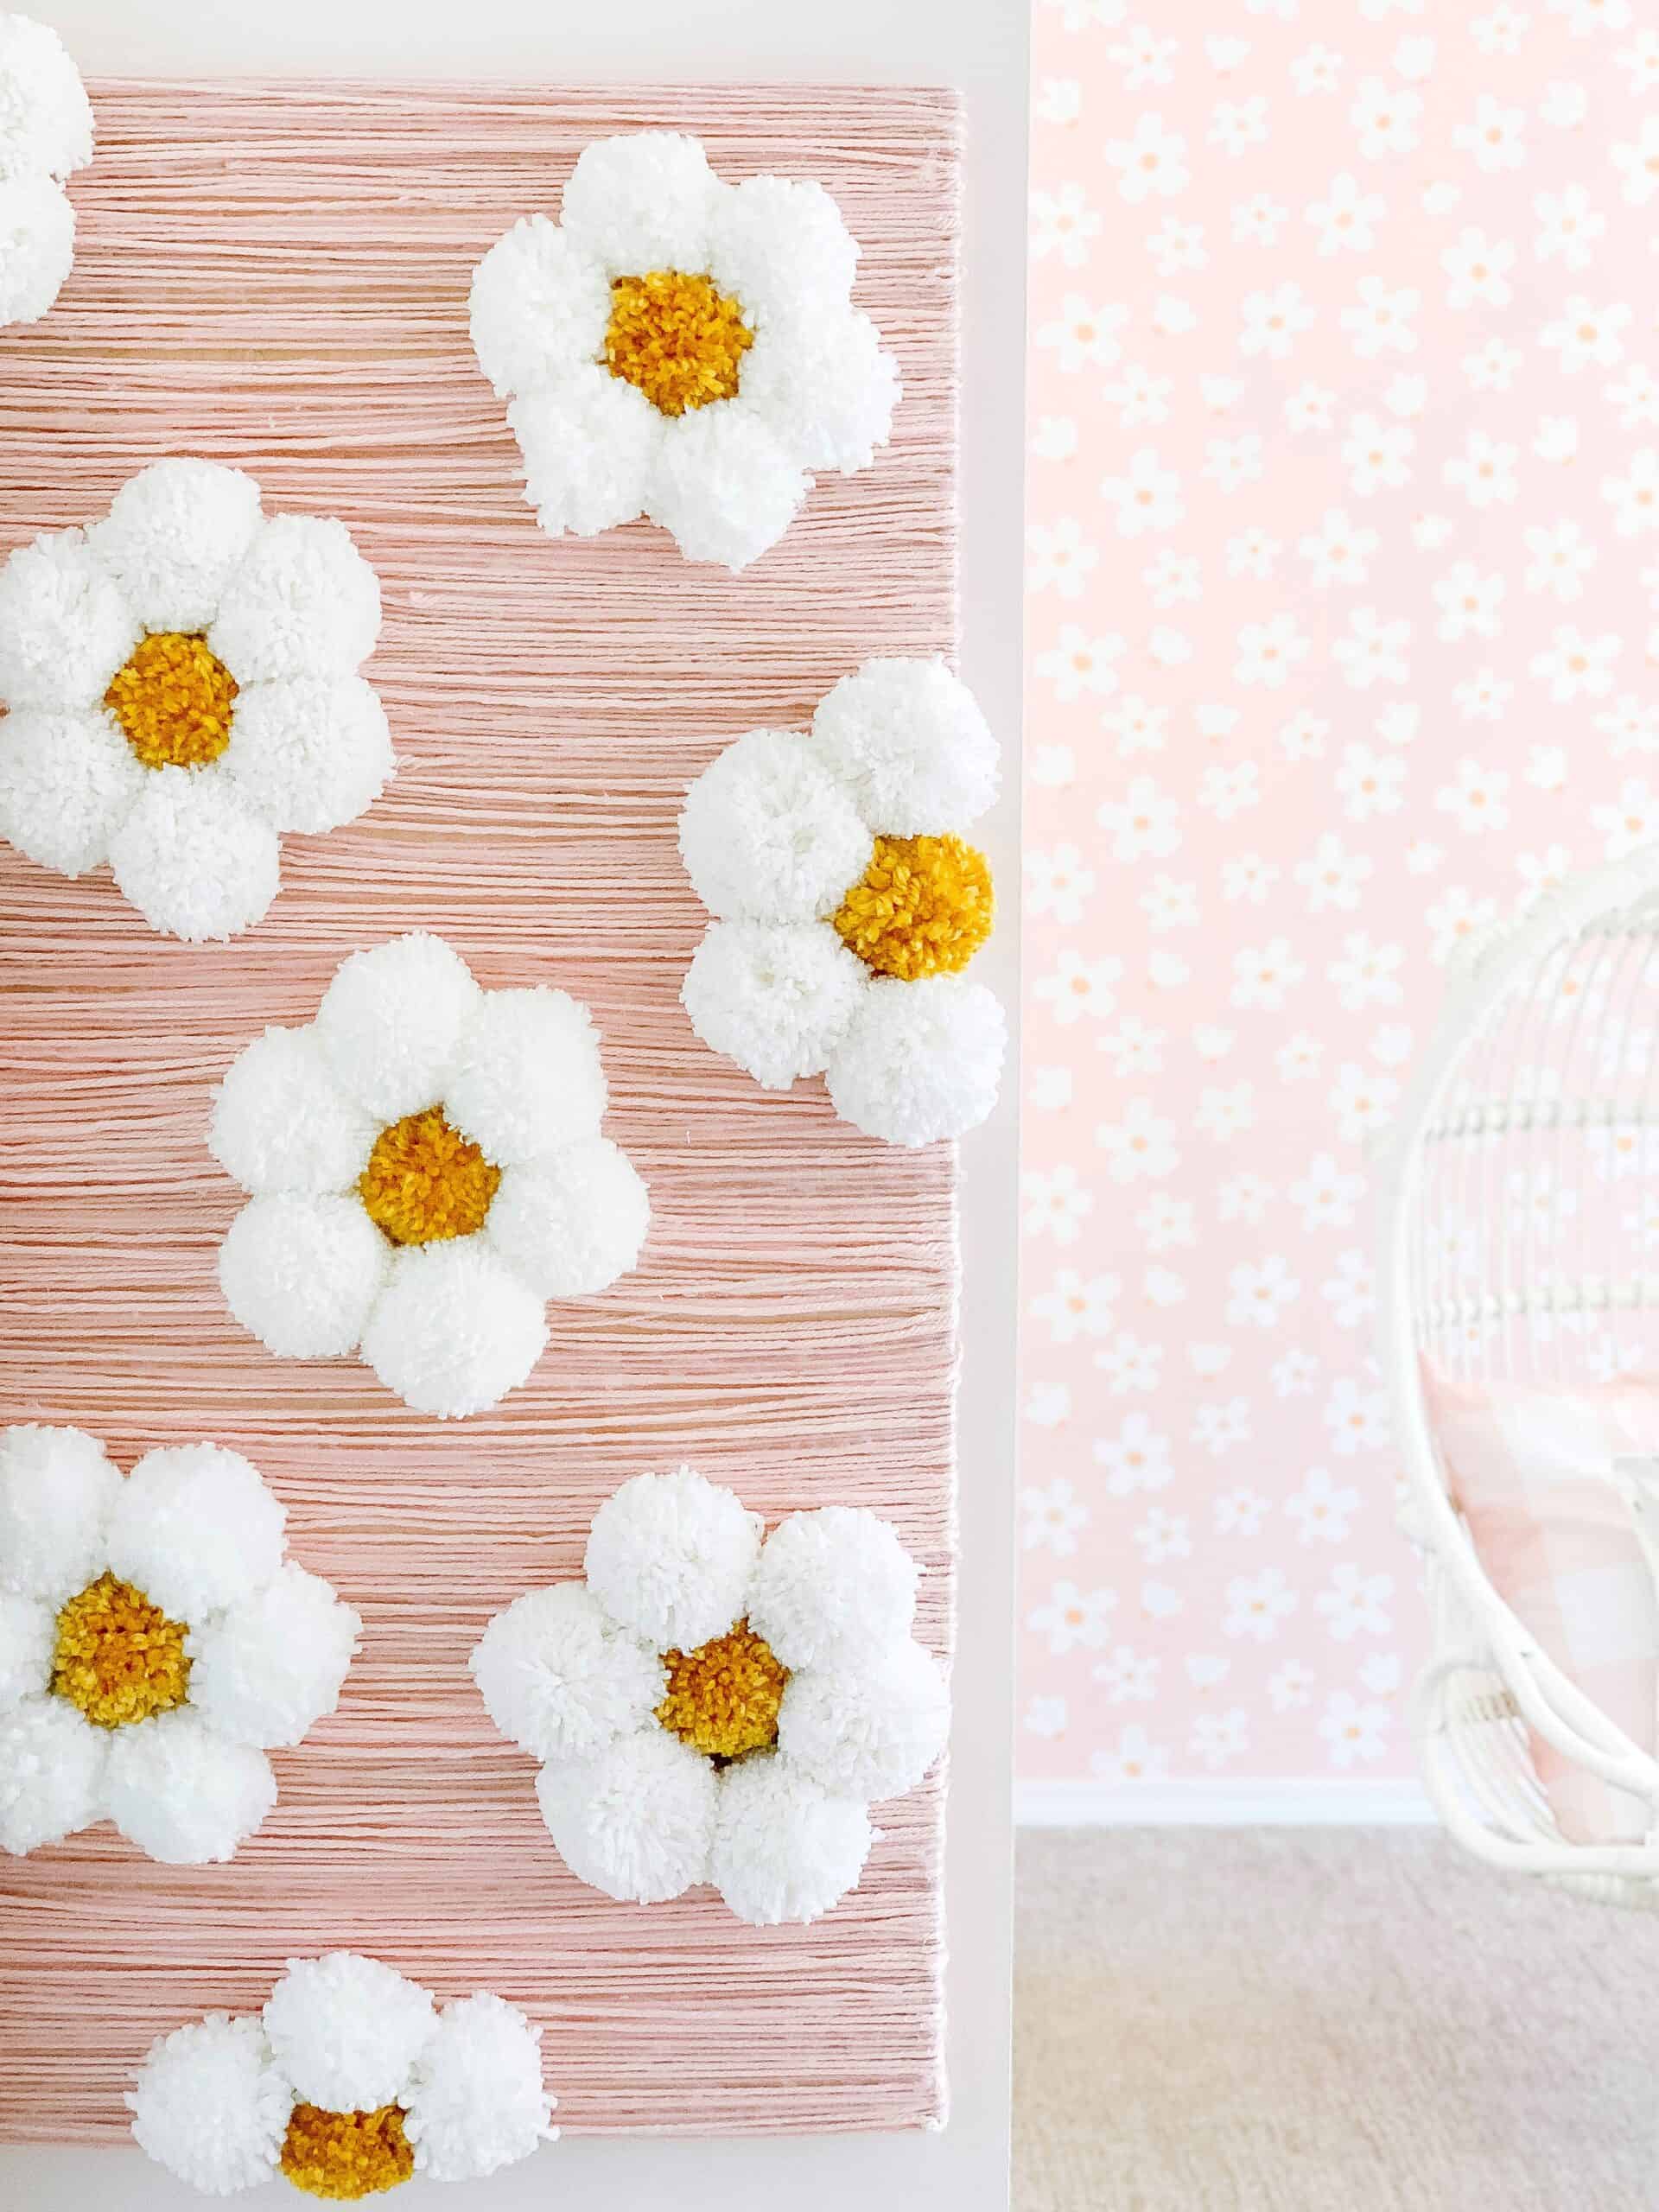
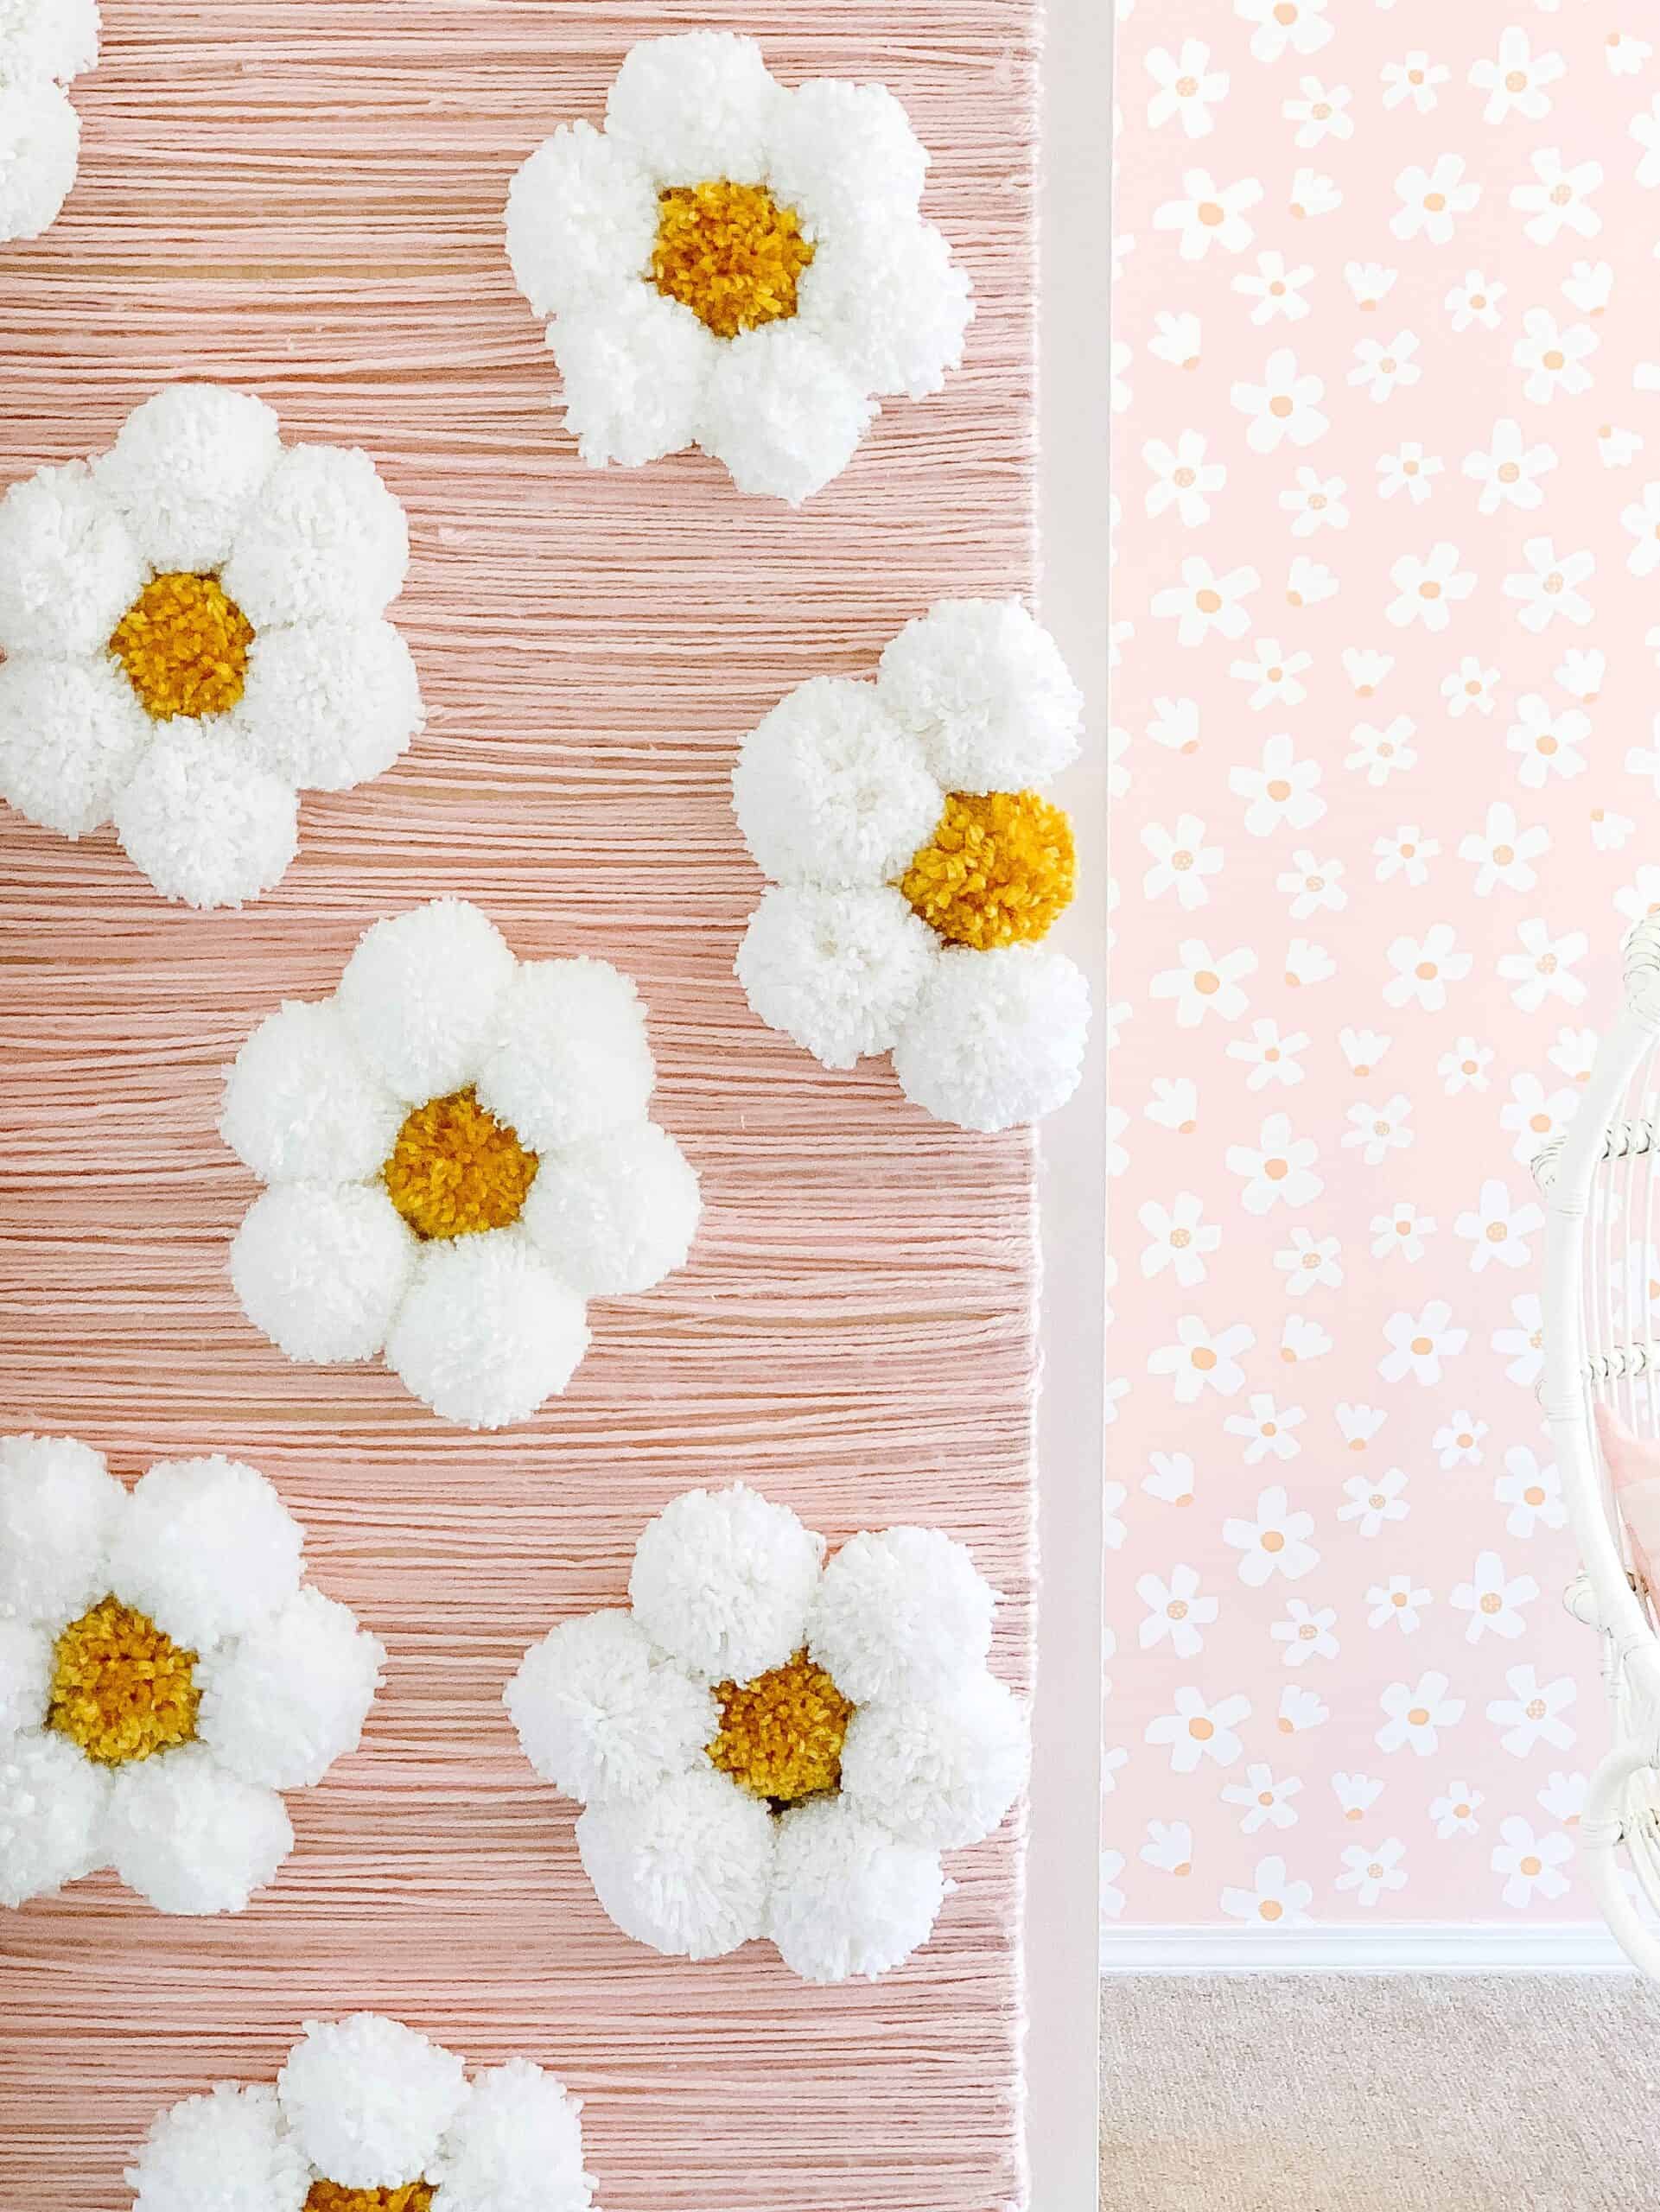
DIY Flower Wall
When I did Goldie’s Nursery this past summer by far my favorite aspect was the large DIY rainbow – and you all seemed to love that too, so I knew I wanted to do another inexpensive DIY for Avé’s room too.
Check out the DIY Rainbow if you are looking for more DIY room inspo
This piece sort of took place as I was going. I usually go into a DIY with a plan and change it as it goes to make sure it is turning into what it needs to. This was no exception. I both had to change some plans due to being unable to get certain supplies, as well as changed my plan due to how it was coming together and wanting a bit more dimension.
I went into this DIY knowing I had a small little wall inside her room and I wanted to create a DIY flower wall. I thought about doing the full wall – and Honestly I still think that would have been amazing but I felt as tho the large piece worked as well, and allowed me to not completely lose my mind haha.
Once I decided on doing a board only – I originally thought I was going to cover the full board with pom-poms.
I thought if I put them close together both the daisies and pink poms filling in the areas surrounding it, but as I started to do that it felt like there was wasn’t enough dimension with it all being poms so I moved to the strips of yarn and was really happy with it.
Let it be known – this also saved me a lot of time to do the strips over the poms – however I won’t lie this was a beast of a DIY haha.
What Do you Need?
Total cost for me was roughly $30 because I already had most of the supplies
For this DIY I personally used white yarn, a yellow yarn, and several different light pink yarns.
I mix and matched the white – mostly on accident because I was unable to go to stores to get exactly the same ones, but I ended up loving that look. But I would say the majority of them are this white yarn and I love it!
I also used these pom pom makers that I talk about all the time
Hot glue and Hot glue gun – you will use more than you think
and a large board of some sort. I used a pretty thick one, but that wouldn’t be needed. I just had a scrap piece of wood and thats what I went with. – you will notice mine is not perfect, which didn’t matter because it was all getting covered!
I have been asked so many times how much yarn you will need – for a DIY flower wall of this size you need roughly 1 thing of white yarn per daisy, 2 yellows, and 6 pink if you are talking about average sized yarn balls. But keep in mind all yarn varies, and you can make pom poms tighter and less tight – so it will vary.
How to Make it
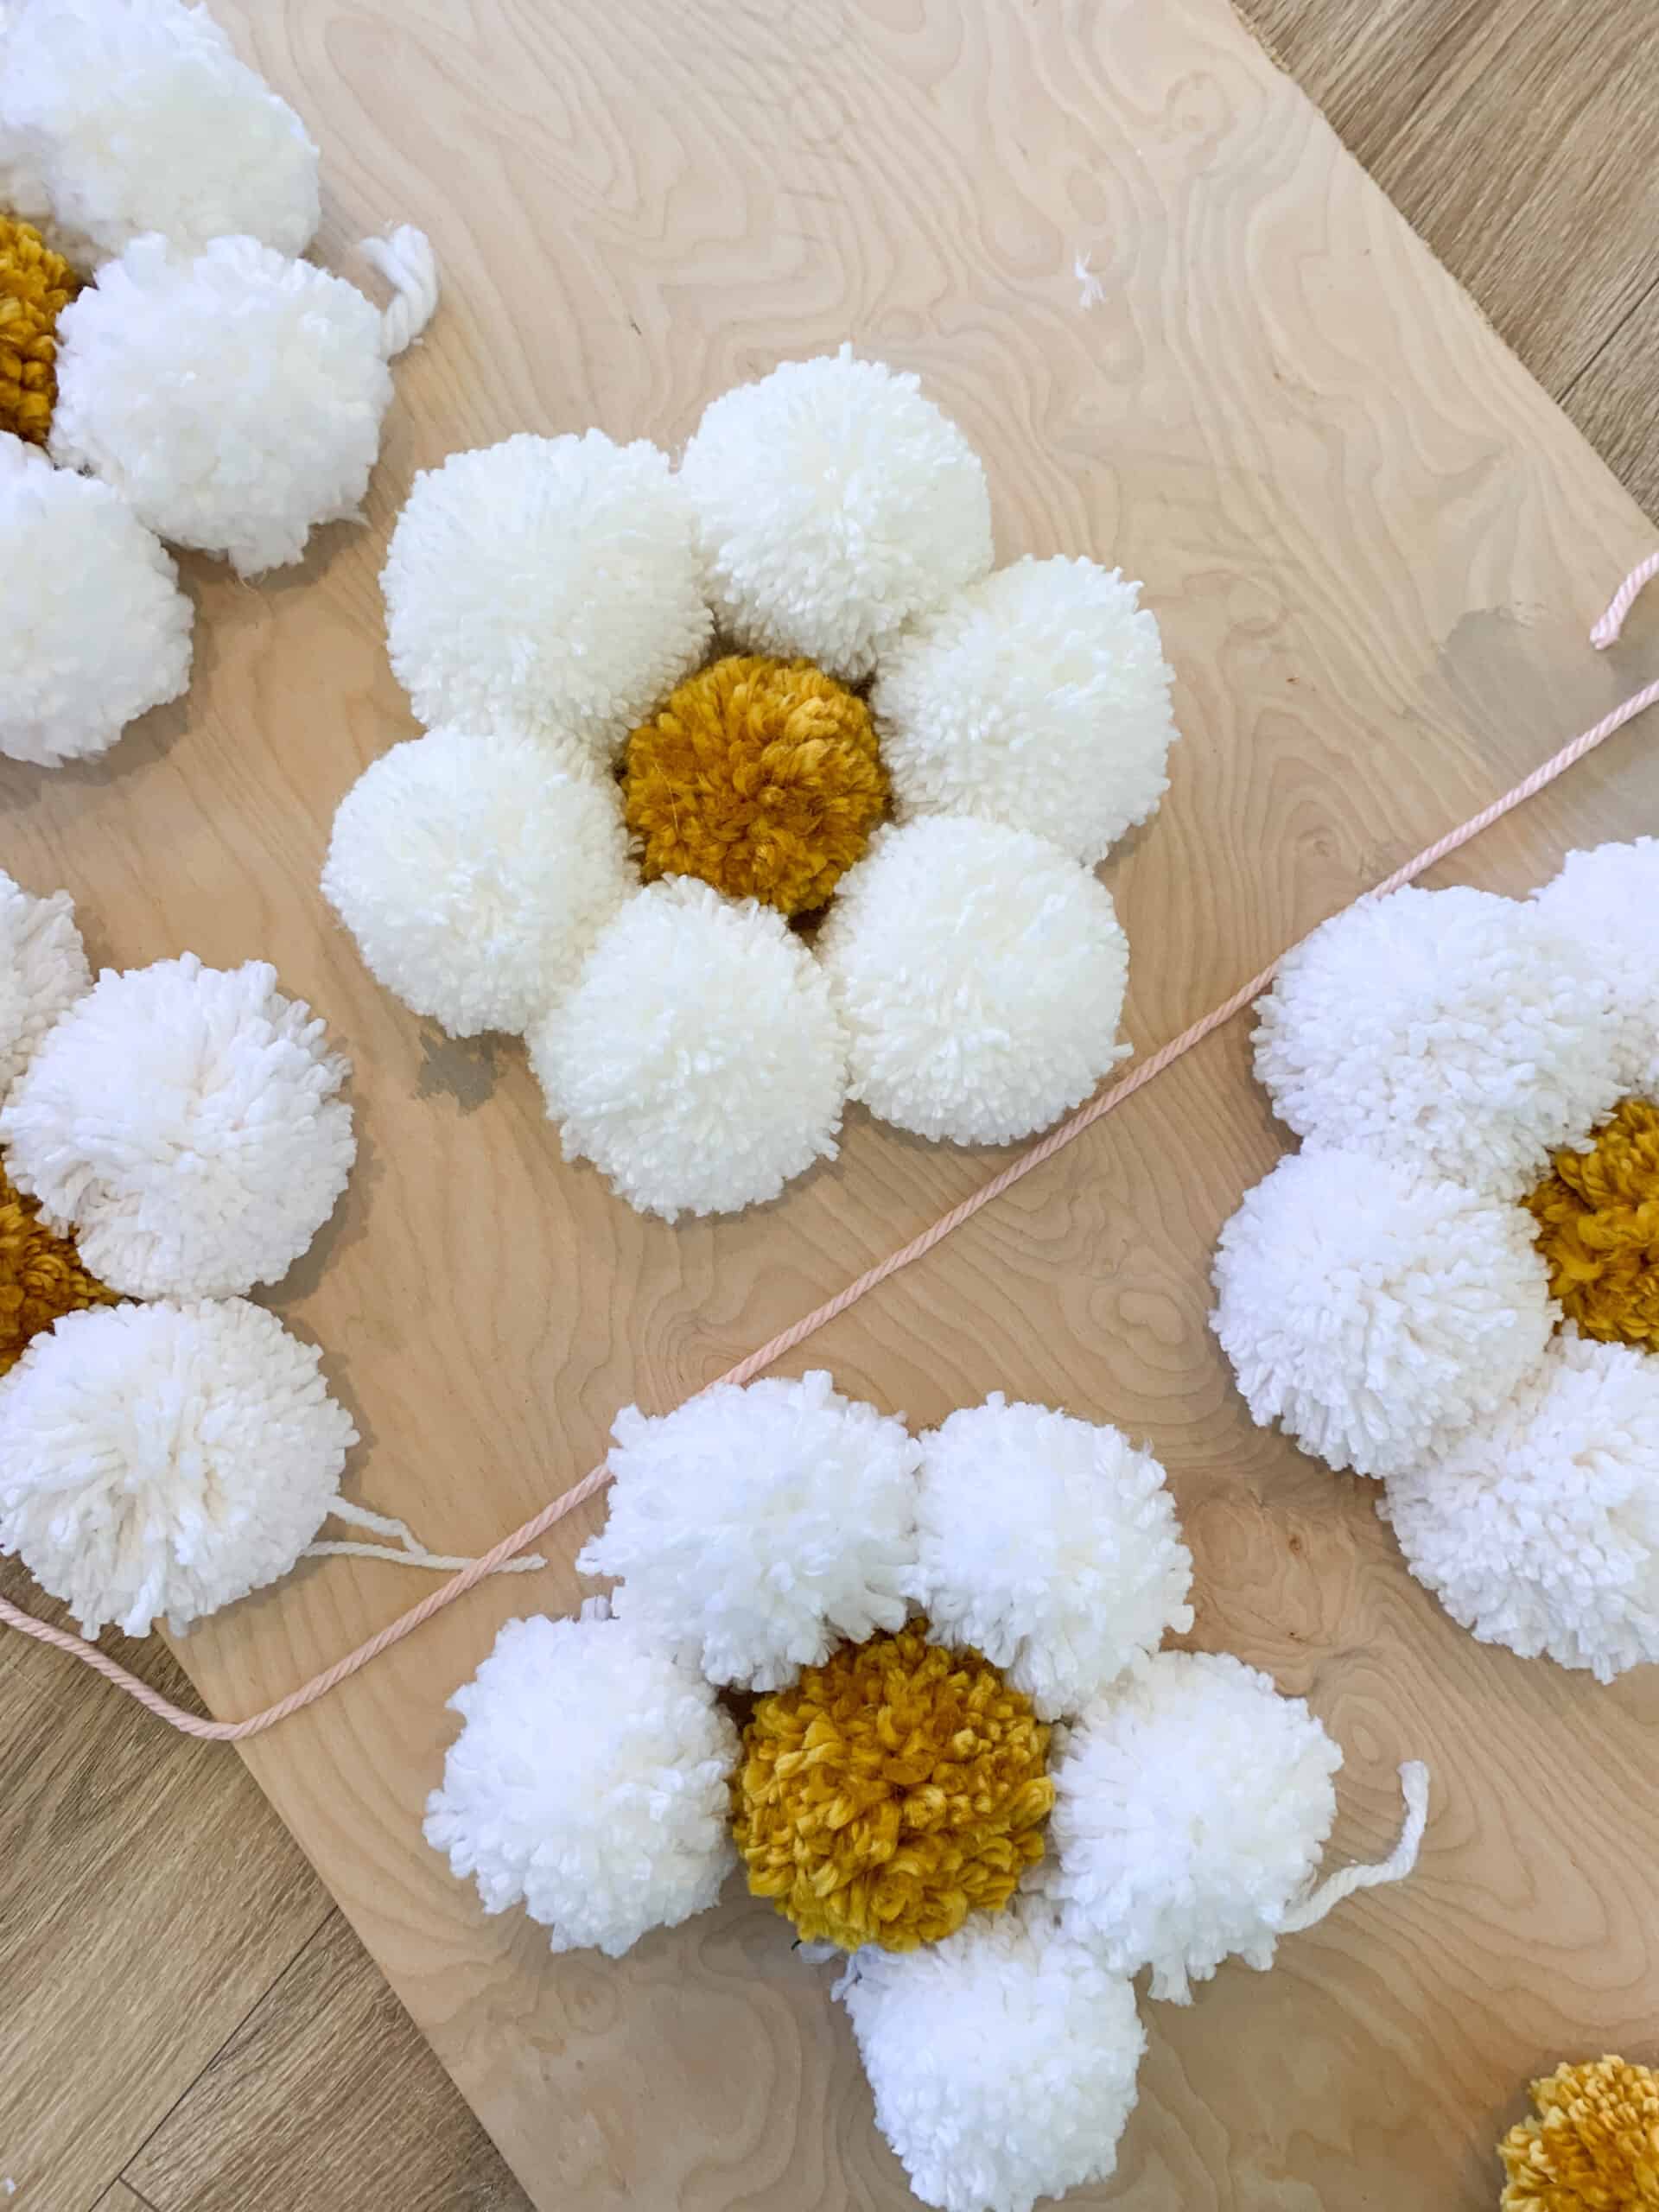
First of all you will first need to make several white pom poms, and some yellow.
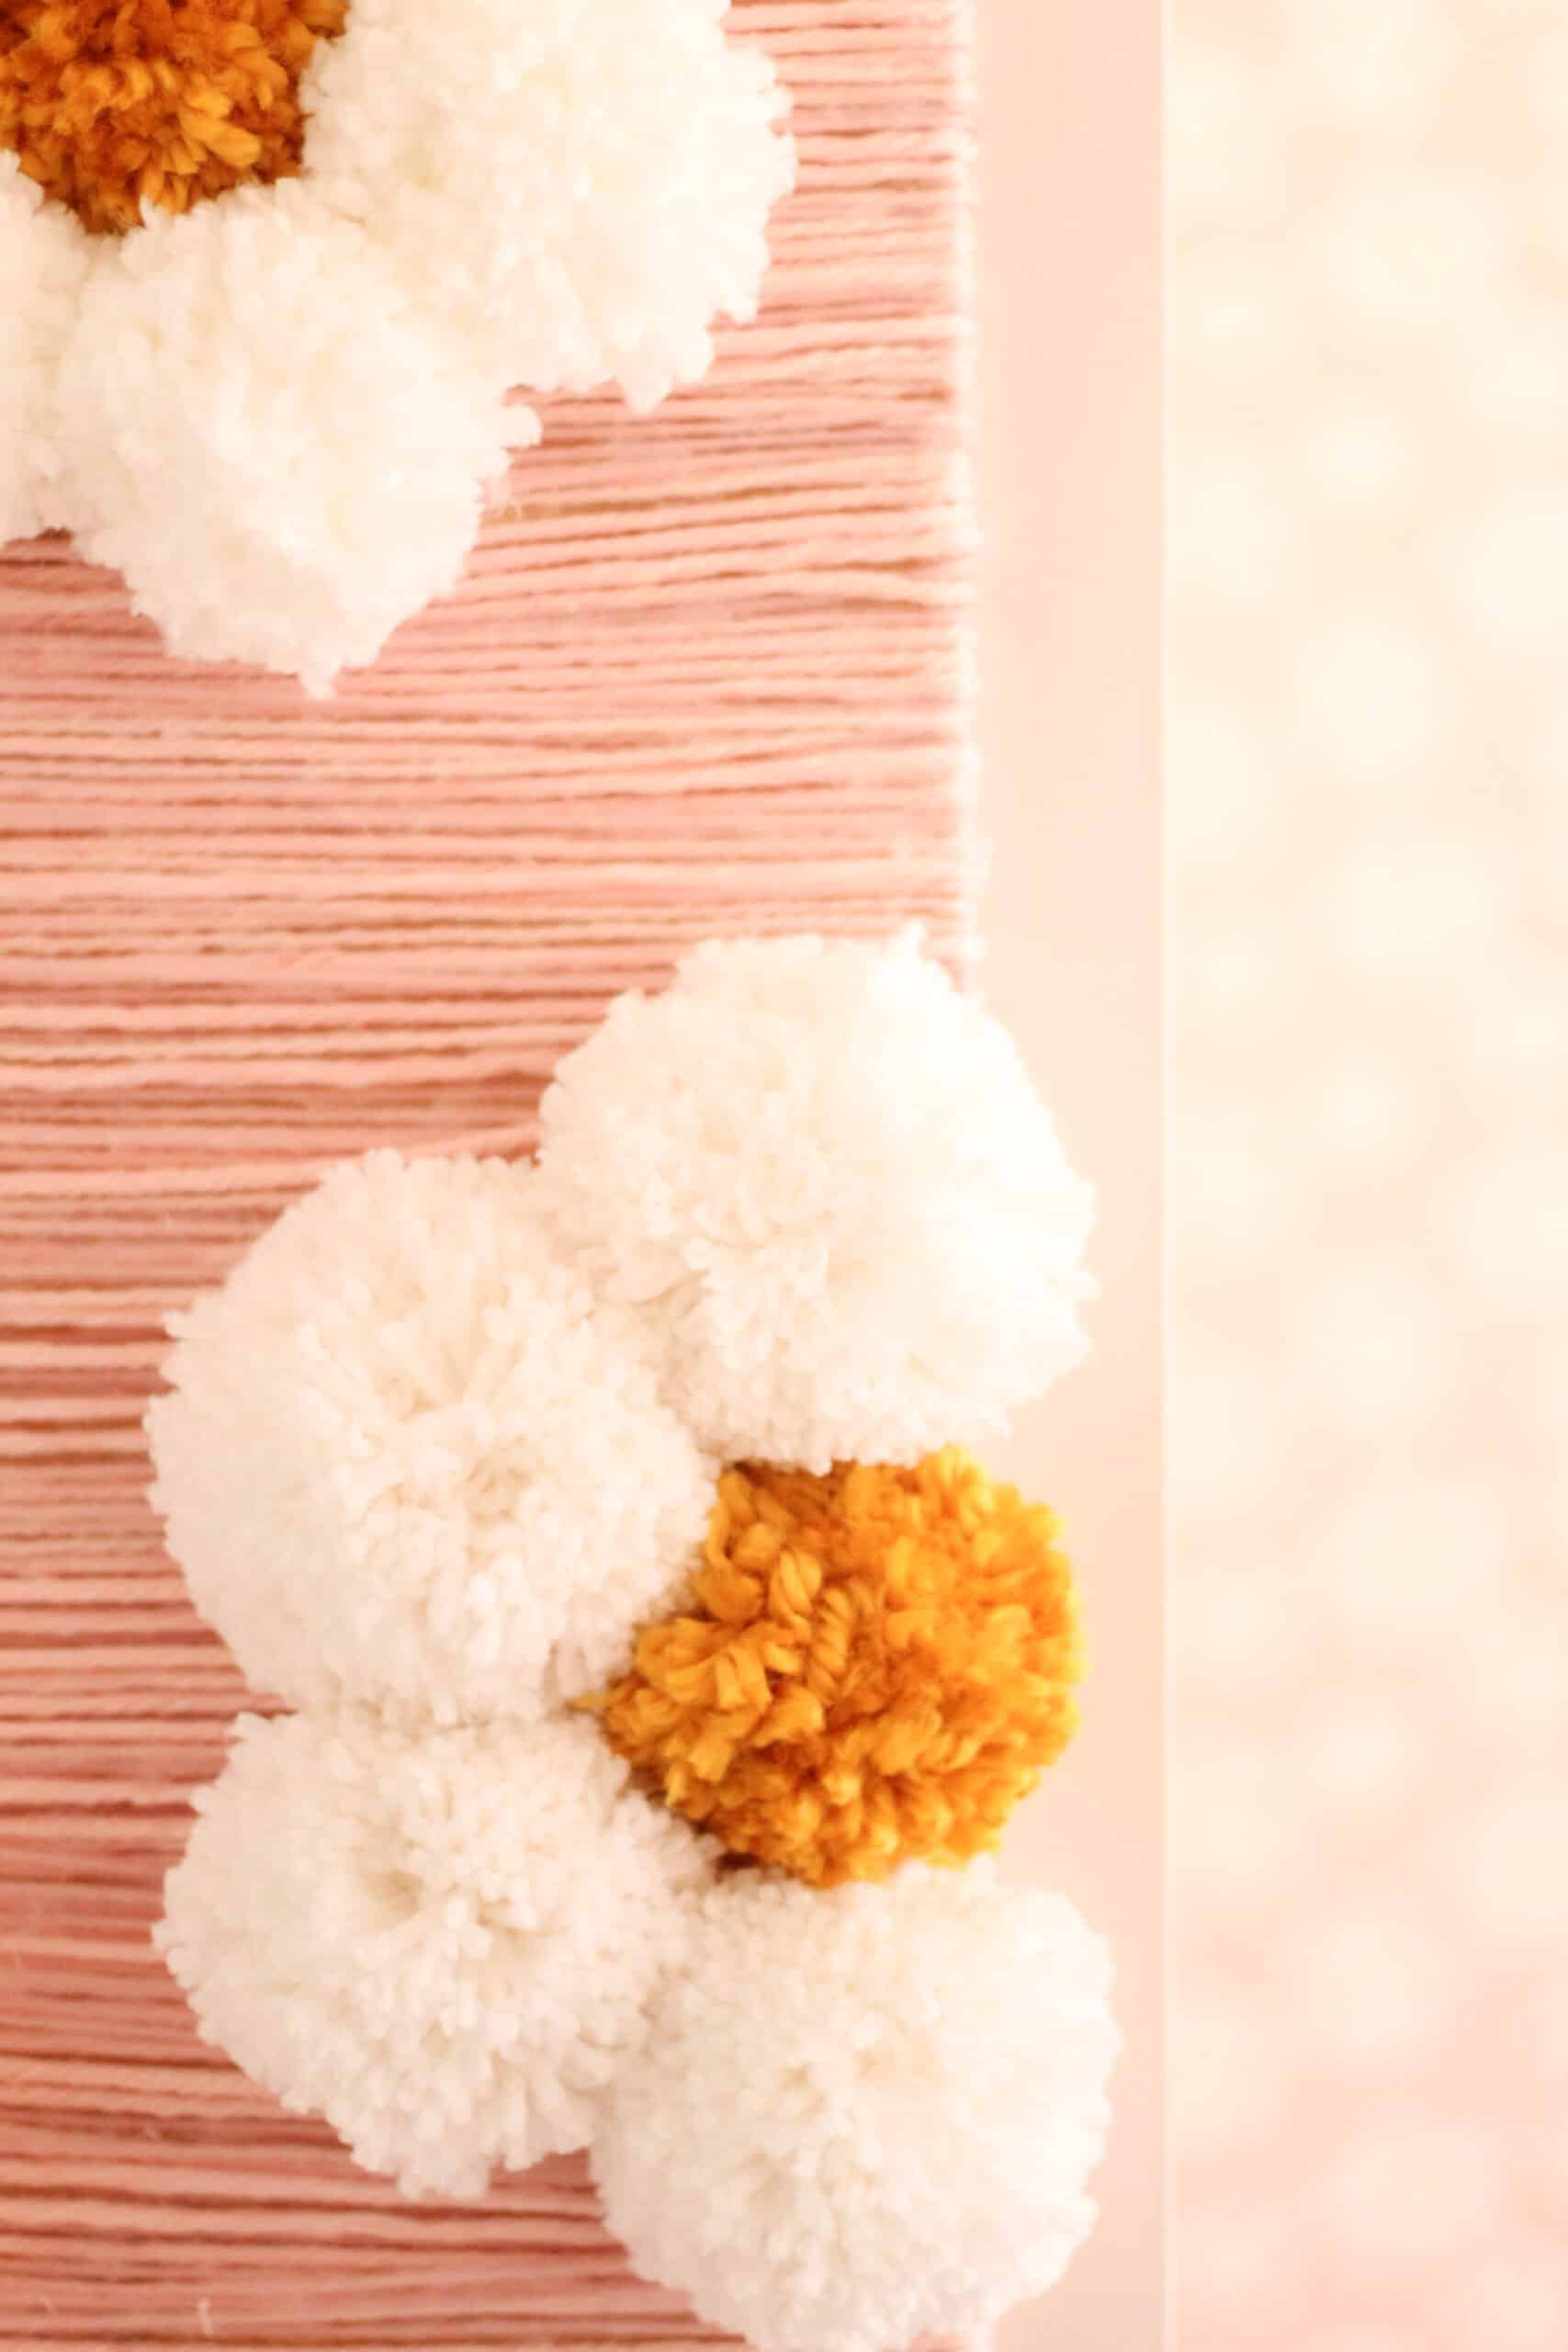
For my flowers I did 6 white pots, and 1 yellow for each full flower. Now keep in mind some of them went off the edge so I needed less white. I highly recommend this to save yourself some sanity on the poms.
I did my white poms a size bigger than the yellow poms.
The yellow poms I used a medium 0r small (whatever you choose is fine, I just liked the yellow pom being smaller than the white)
NOW it’s time to cover the board.
NOTE – follow what the text says not just the photos. One of the perks of using a blog post for a DIY verses coming up with one is you get to learn from my mistakes. Had I decided on the strips of yarn from the start I would have done all of those first.
I did this sort of backwards – when I started covering the board I already had glued down 2 flowers, and it made it so much harder. So make sure you cover your board first for easiest results. I personally used 4 different light pink yarns (all in similar shades, but in different textures and sizes).
remember my picture shows a couple of pre glued flowers – follow the words, not the photos. Sometimes I work the kins out myself, thus making it easier for you guys.
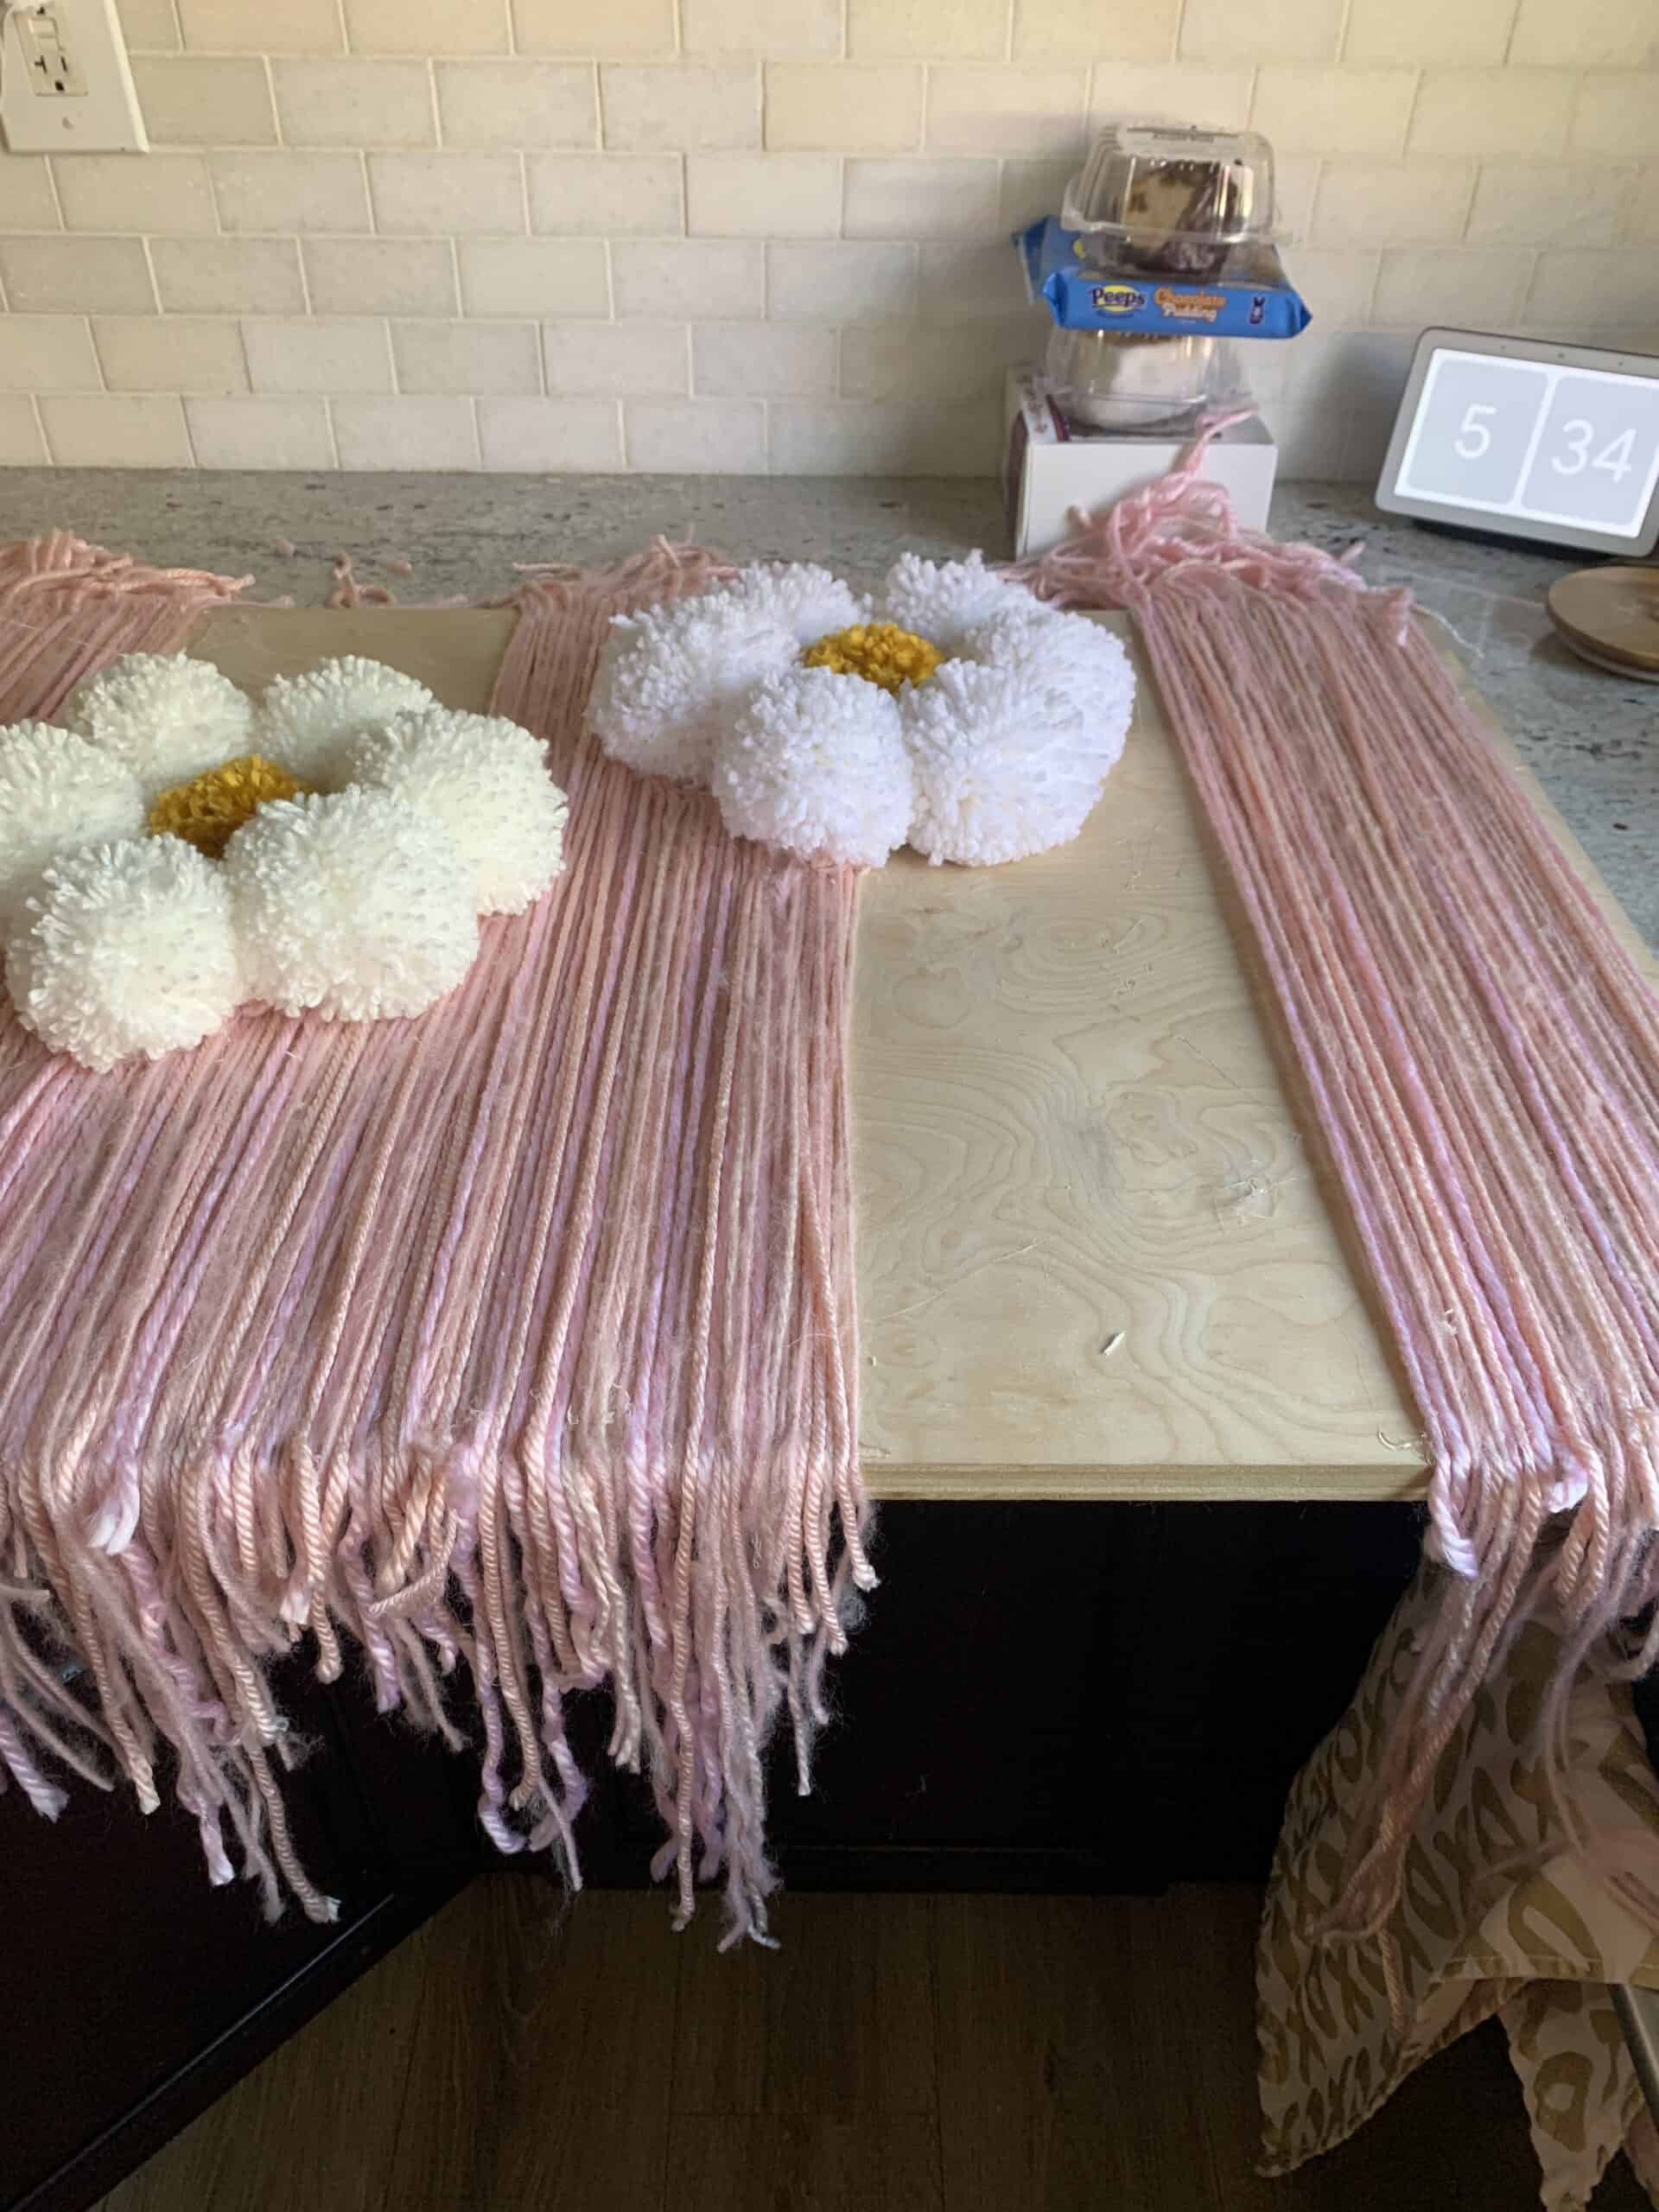
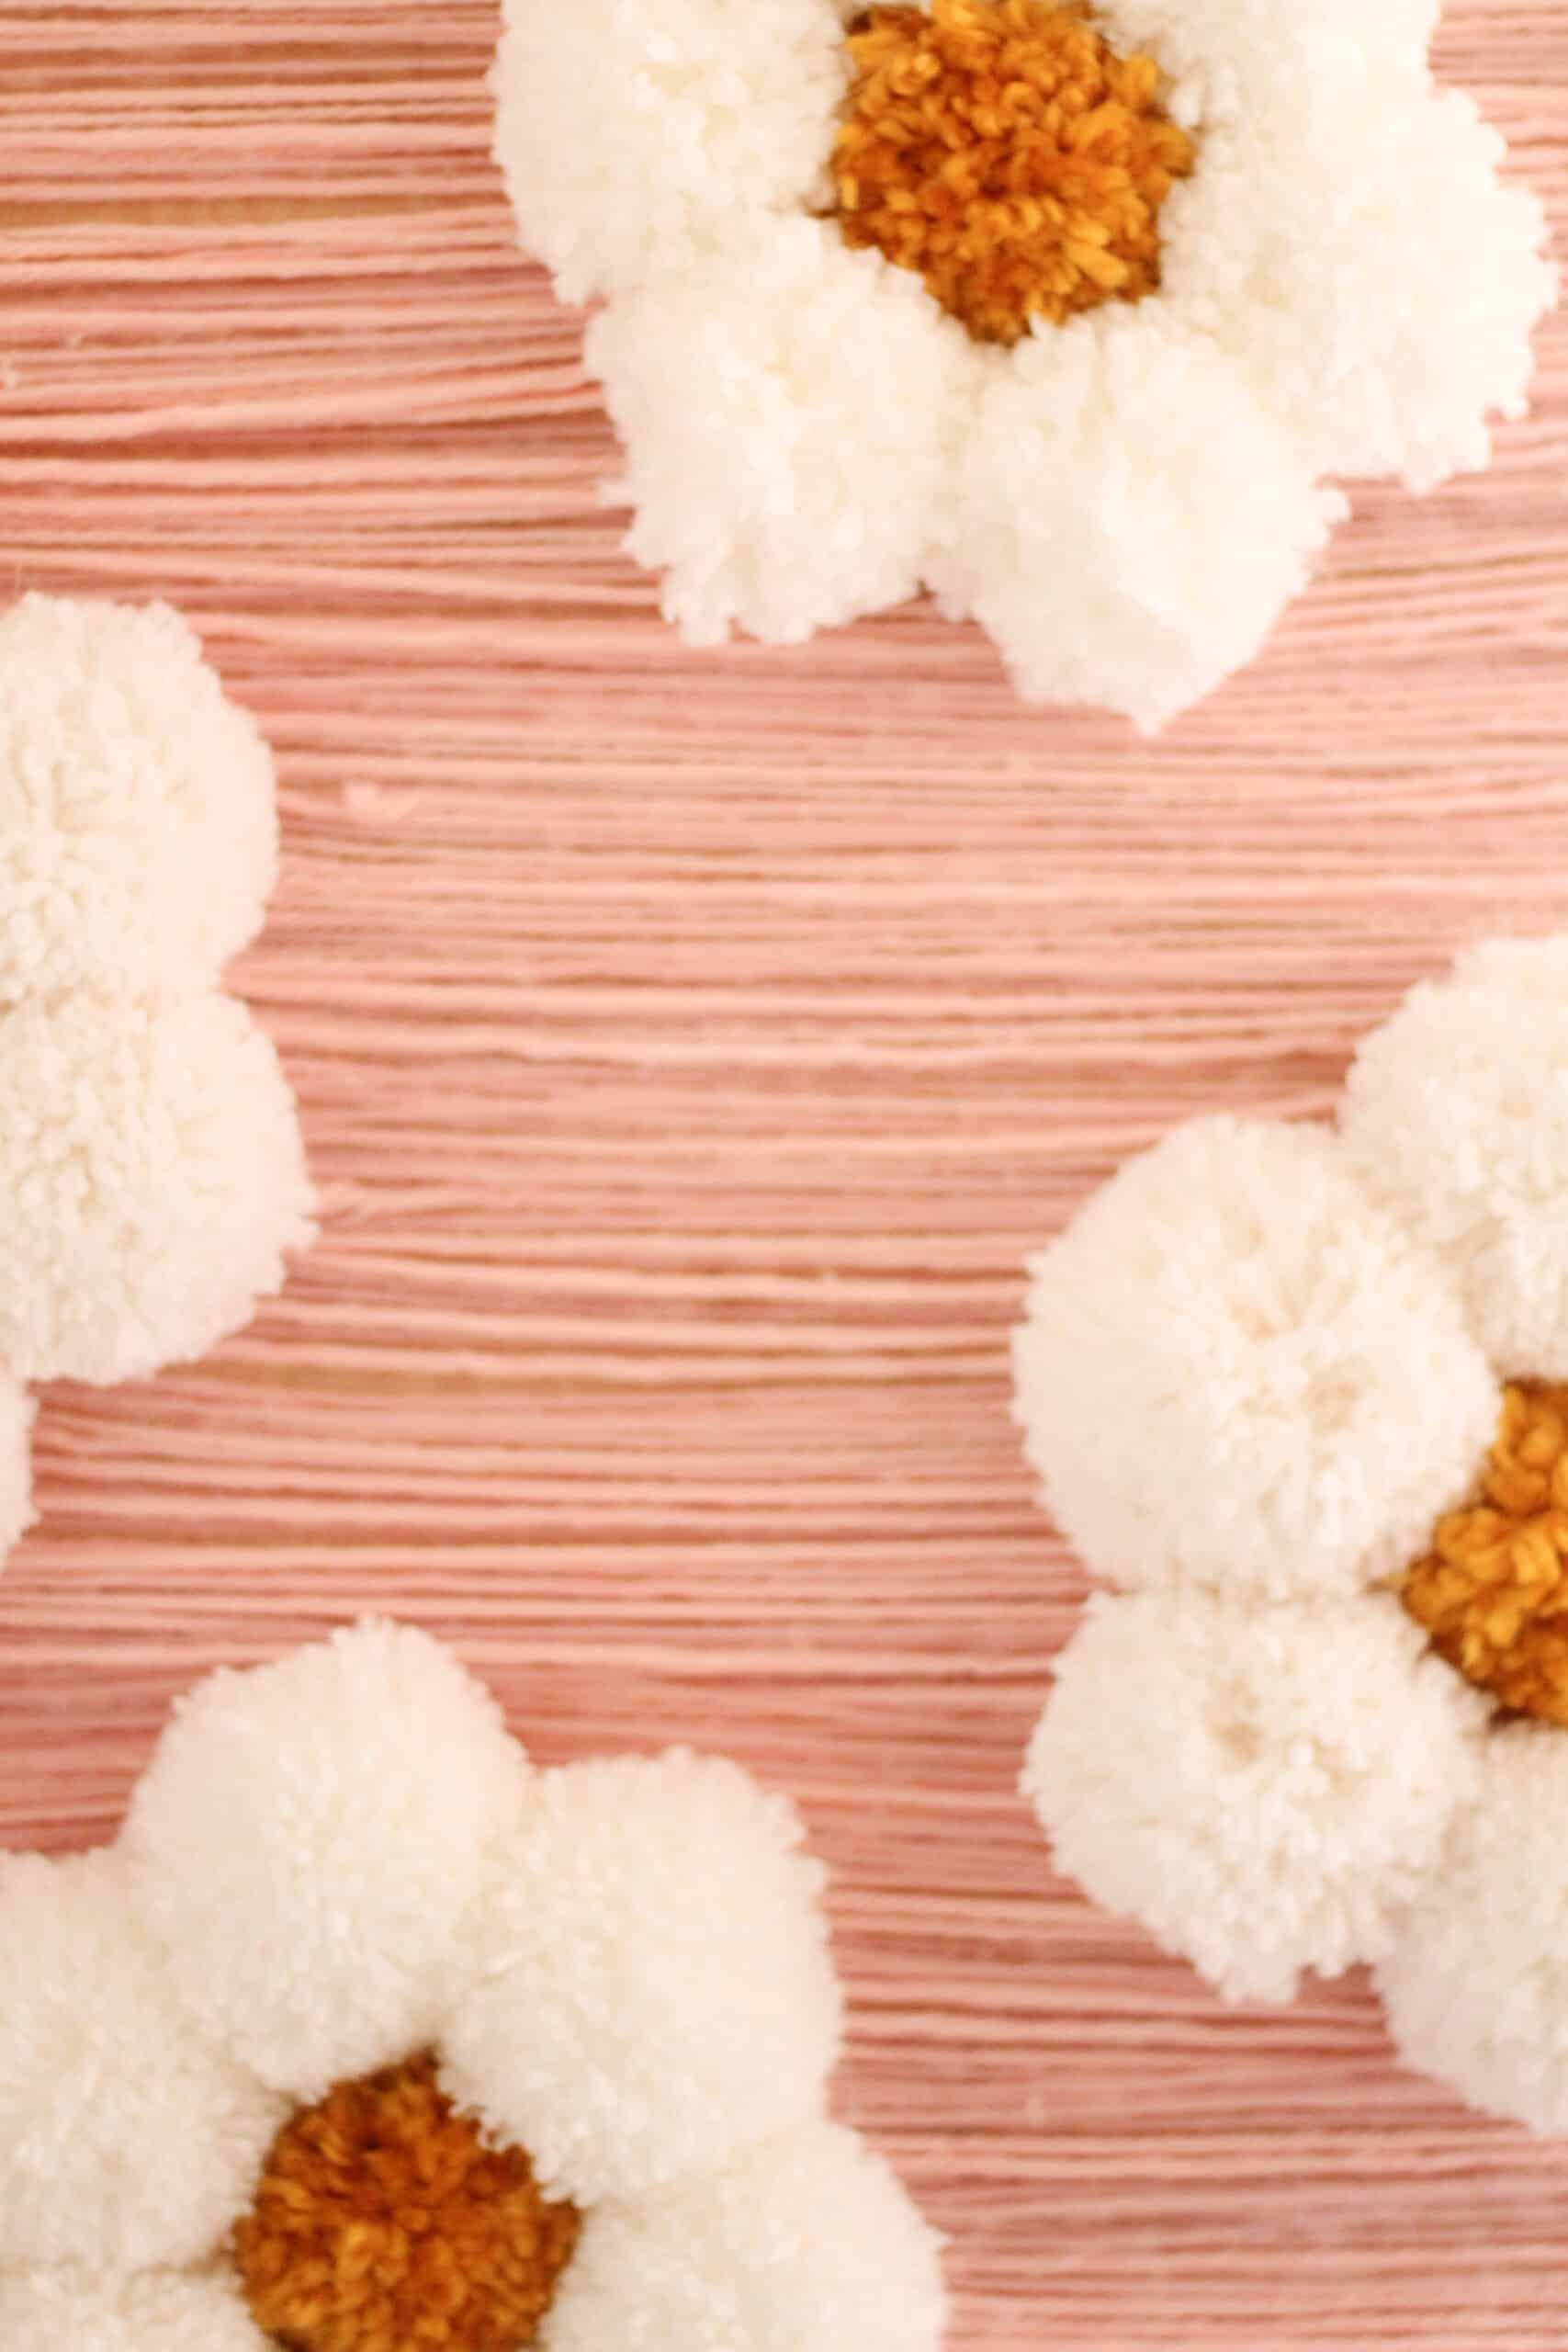
I cut the yarn so there was hang off on both sides of the board and glued the yarn strips along the edges all the way down. There will be over hang, which is needed. This step is a beast, but just cover your whole board with strips of your background color going horizontally.
Once the full front of your board is done you need to cover the top and bottom. My board was nearly 1/2 inch thick so I took several strands of yarn and did the same process as I did on the front to the top and bottom. I left overhang on those spots too.
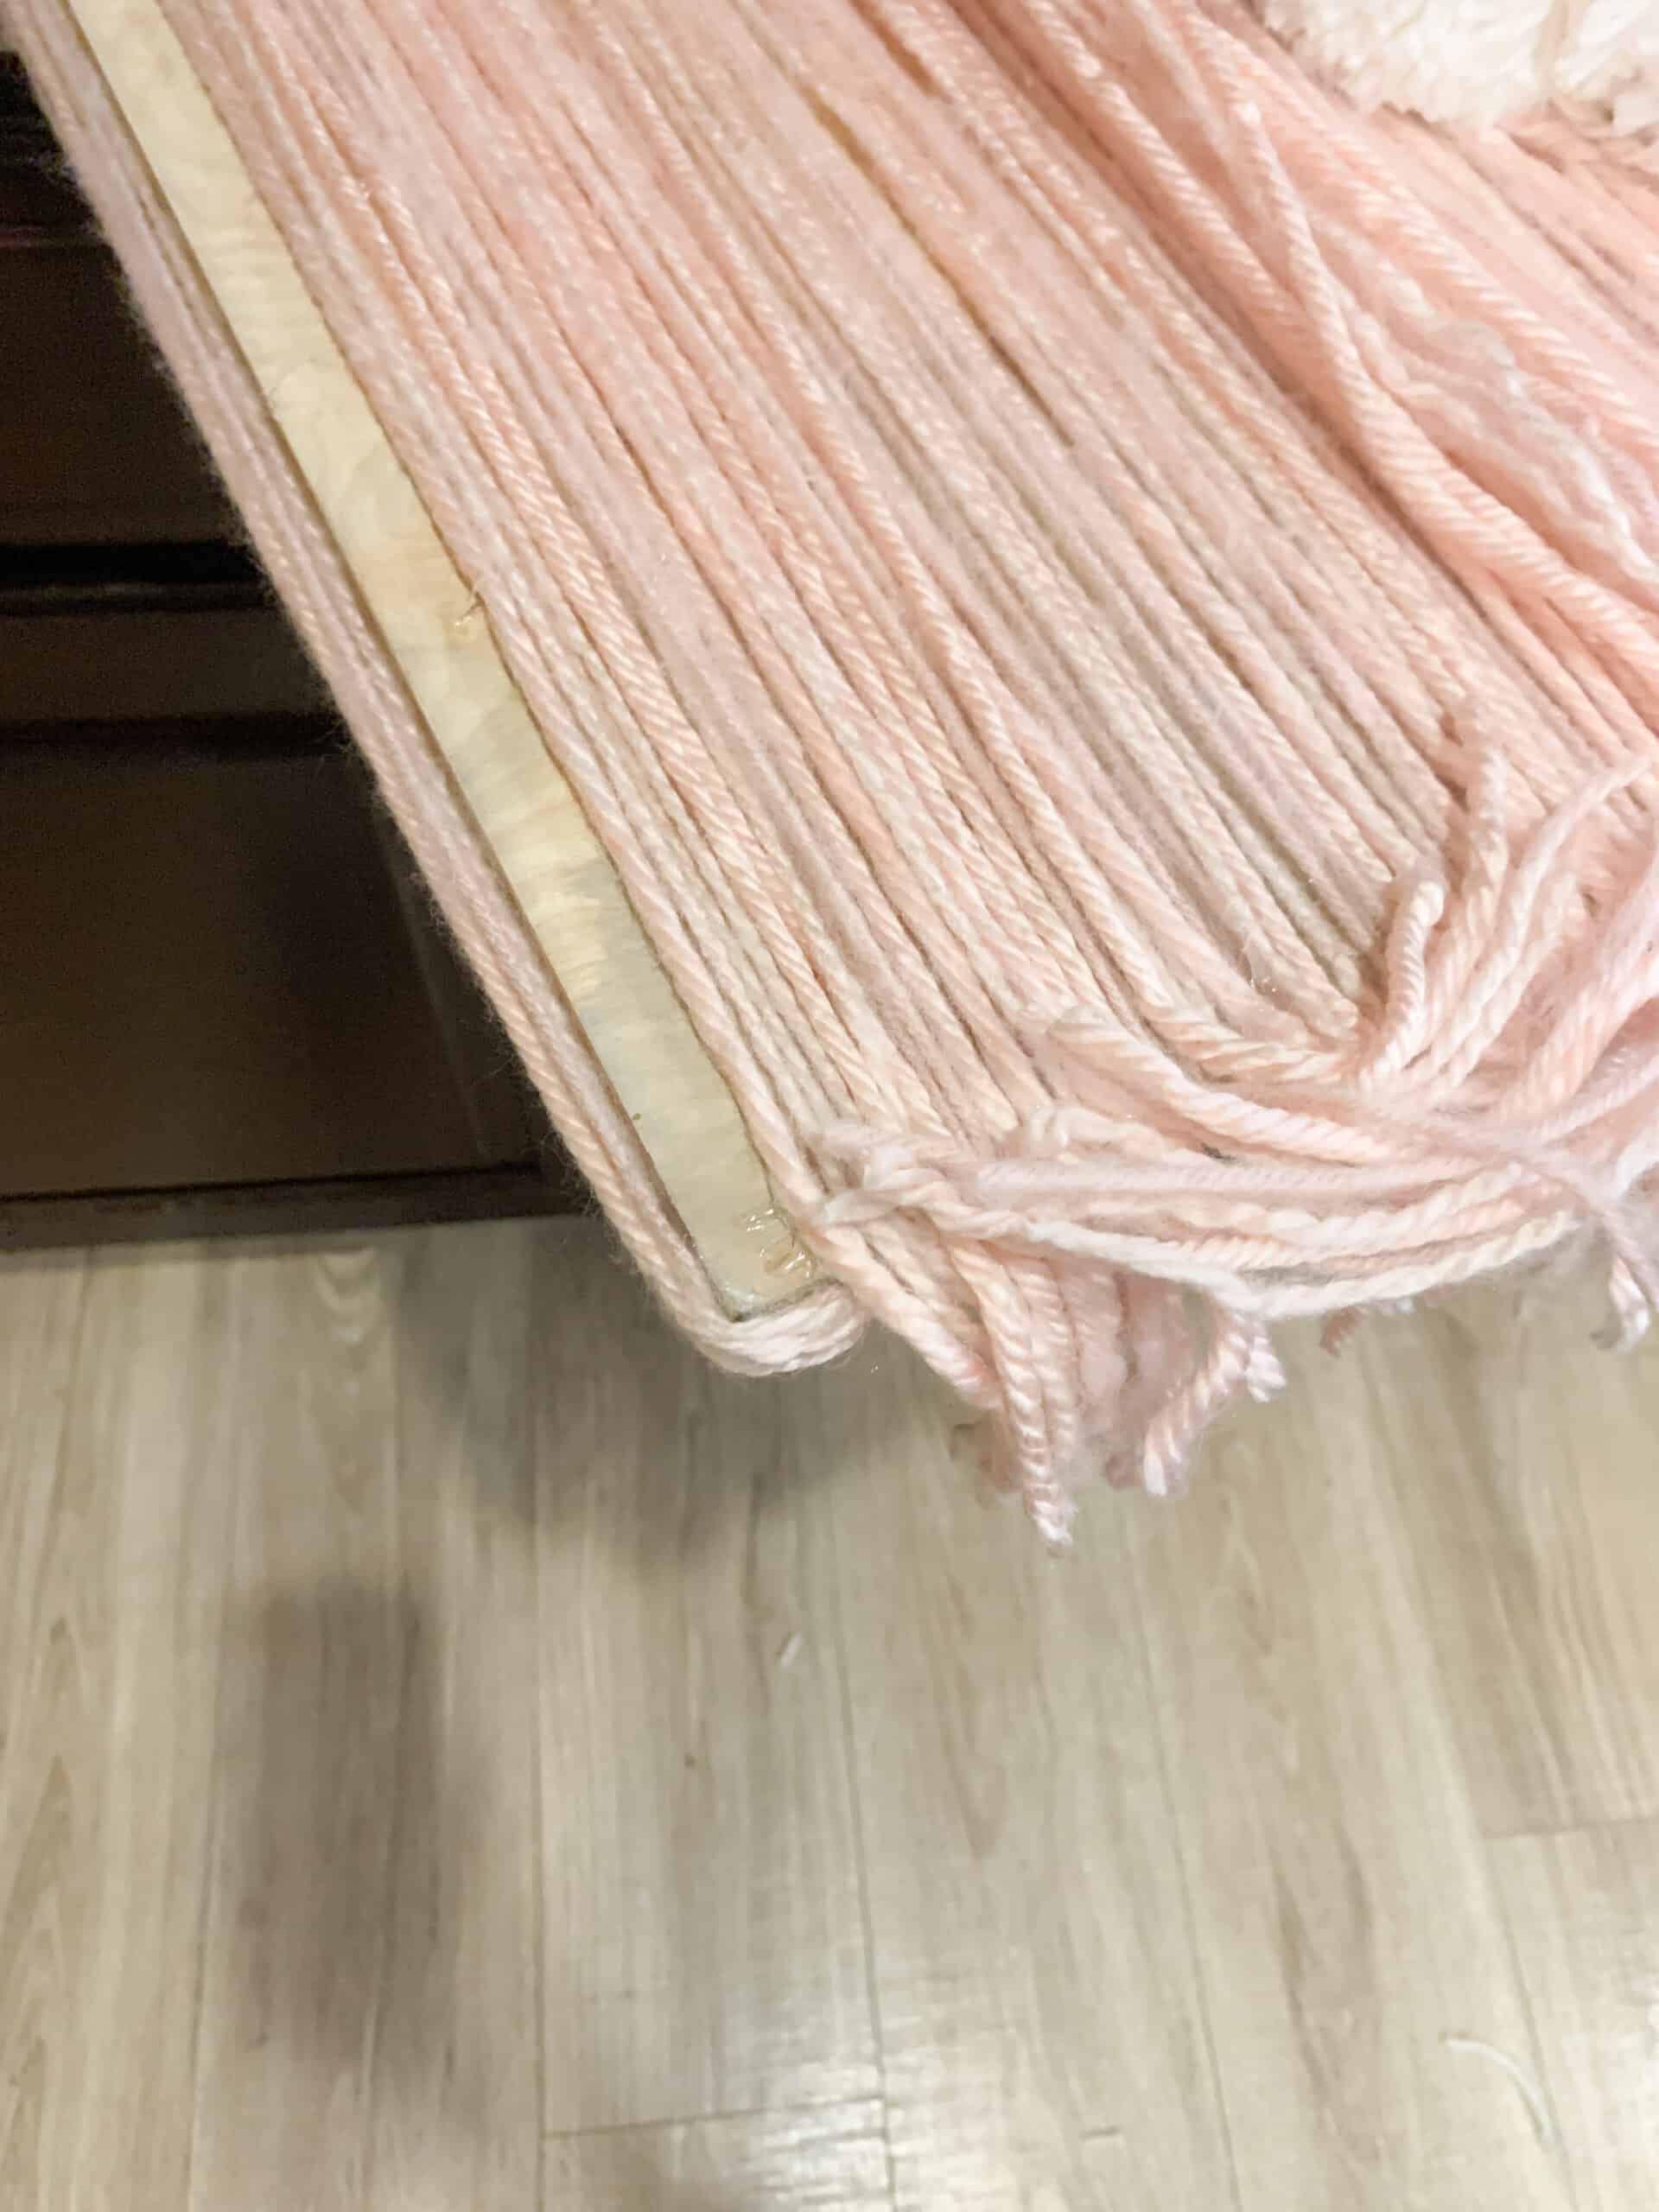
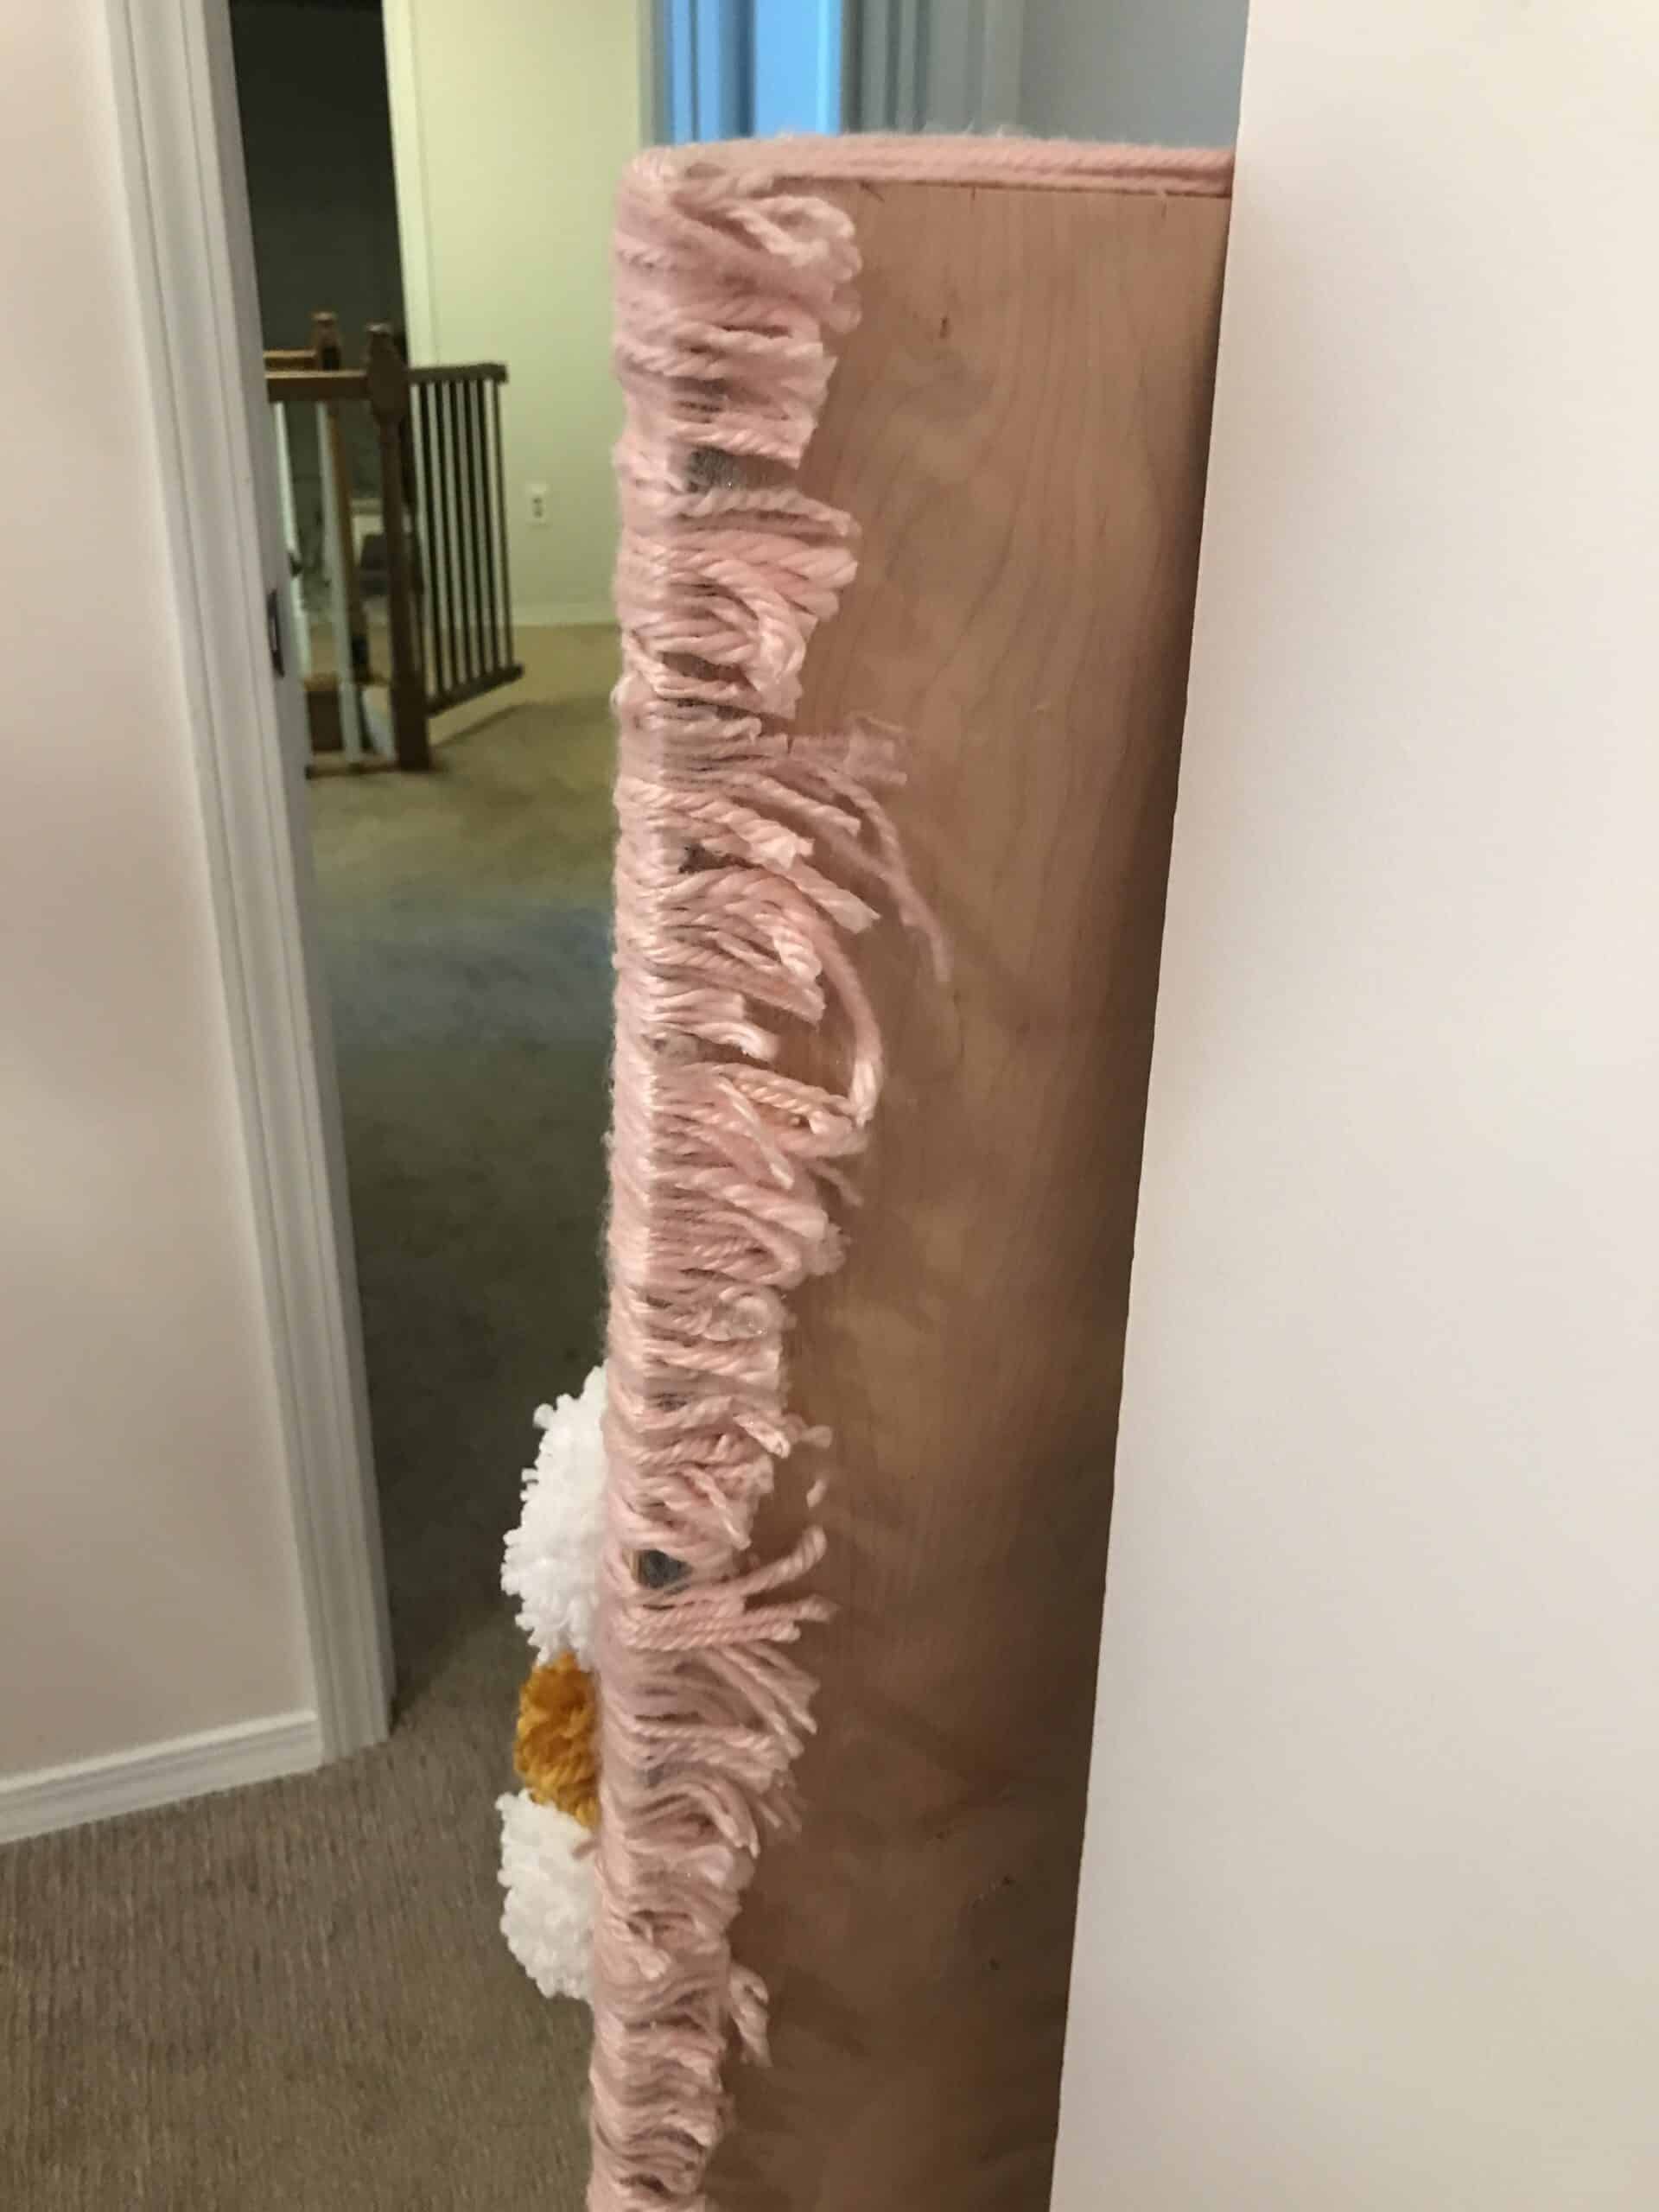
Now that your full board is covered with overhang on the front and top and bottom its time to cover the sides and make things look finished. Carefully flip your board and lay it on its front side. The first place to tackle is the top and bottom for the corners. glue down an inch or so if your overhang onto the sides FROM THE TOP AND BOTTOM on all 4 corners. Then trim any extra.
Now you will pull the overhang on both sides and do the same thing all the way down each side. The corners you will go over what you glued down in a vertical direction with the yarn going horizontal to give it a finished corner. Once it is all glued, trim off excess and you are ready for the finishing touch.
Attaching the flowers –
Now you are going to place your poms where you want them, and in the shape of the flowers. Once they are lined up where you want them you can hot glue down your pom poms – pretty simple and goes really fast. (but at this point you’re probably cursing me for your number of burns and the amount of hot glue you have gone though).

Hanging the yarn wall art
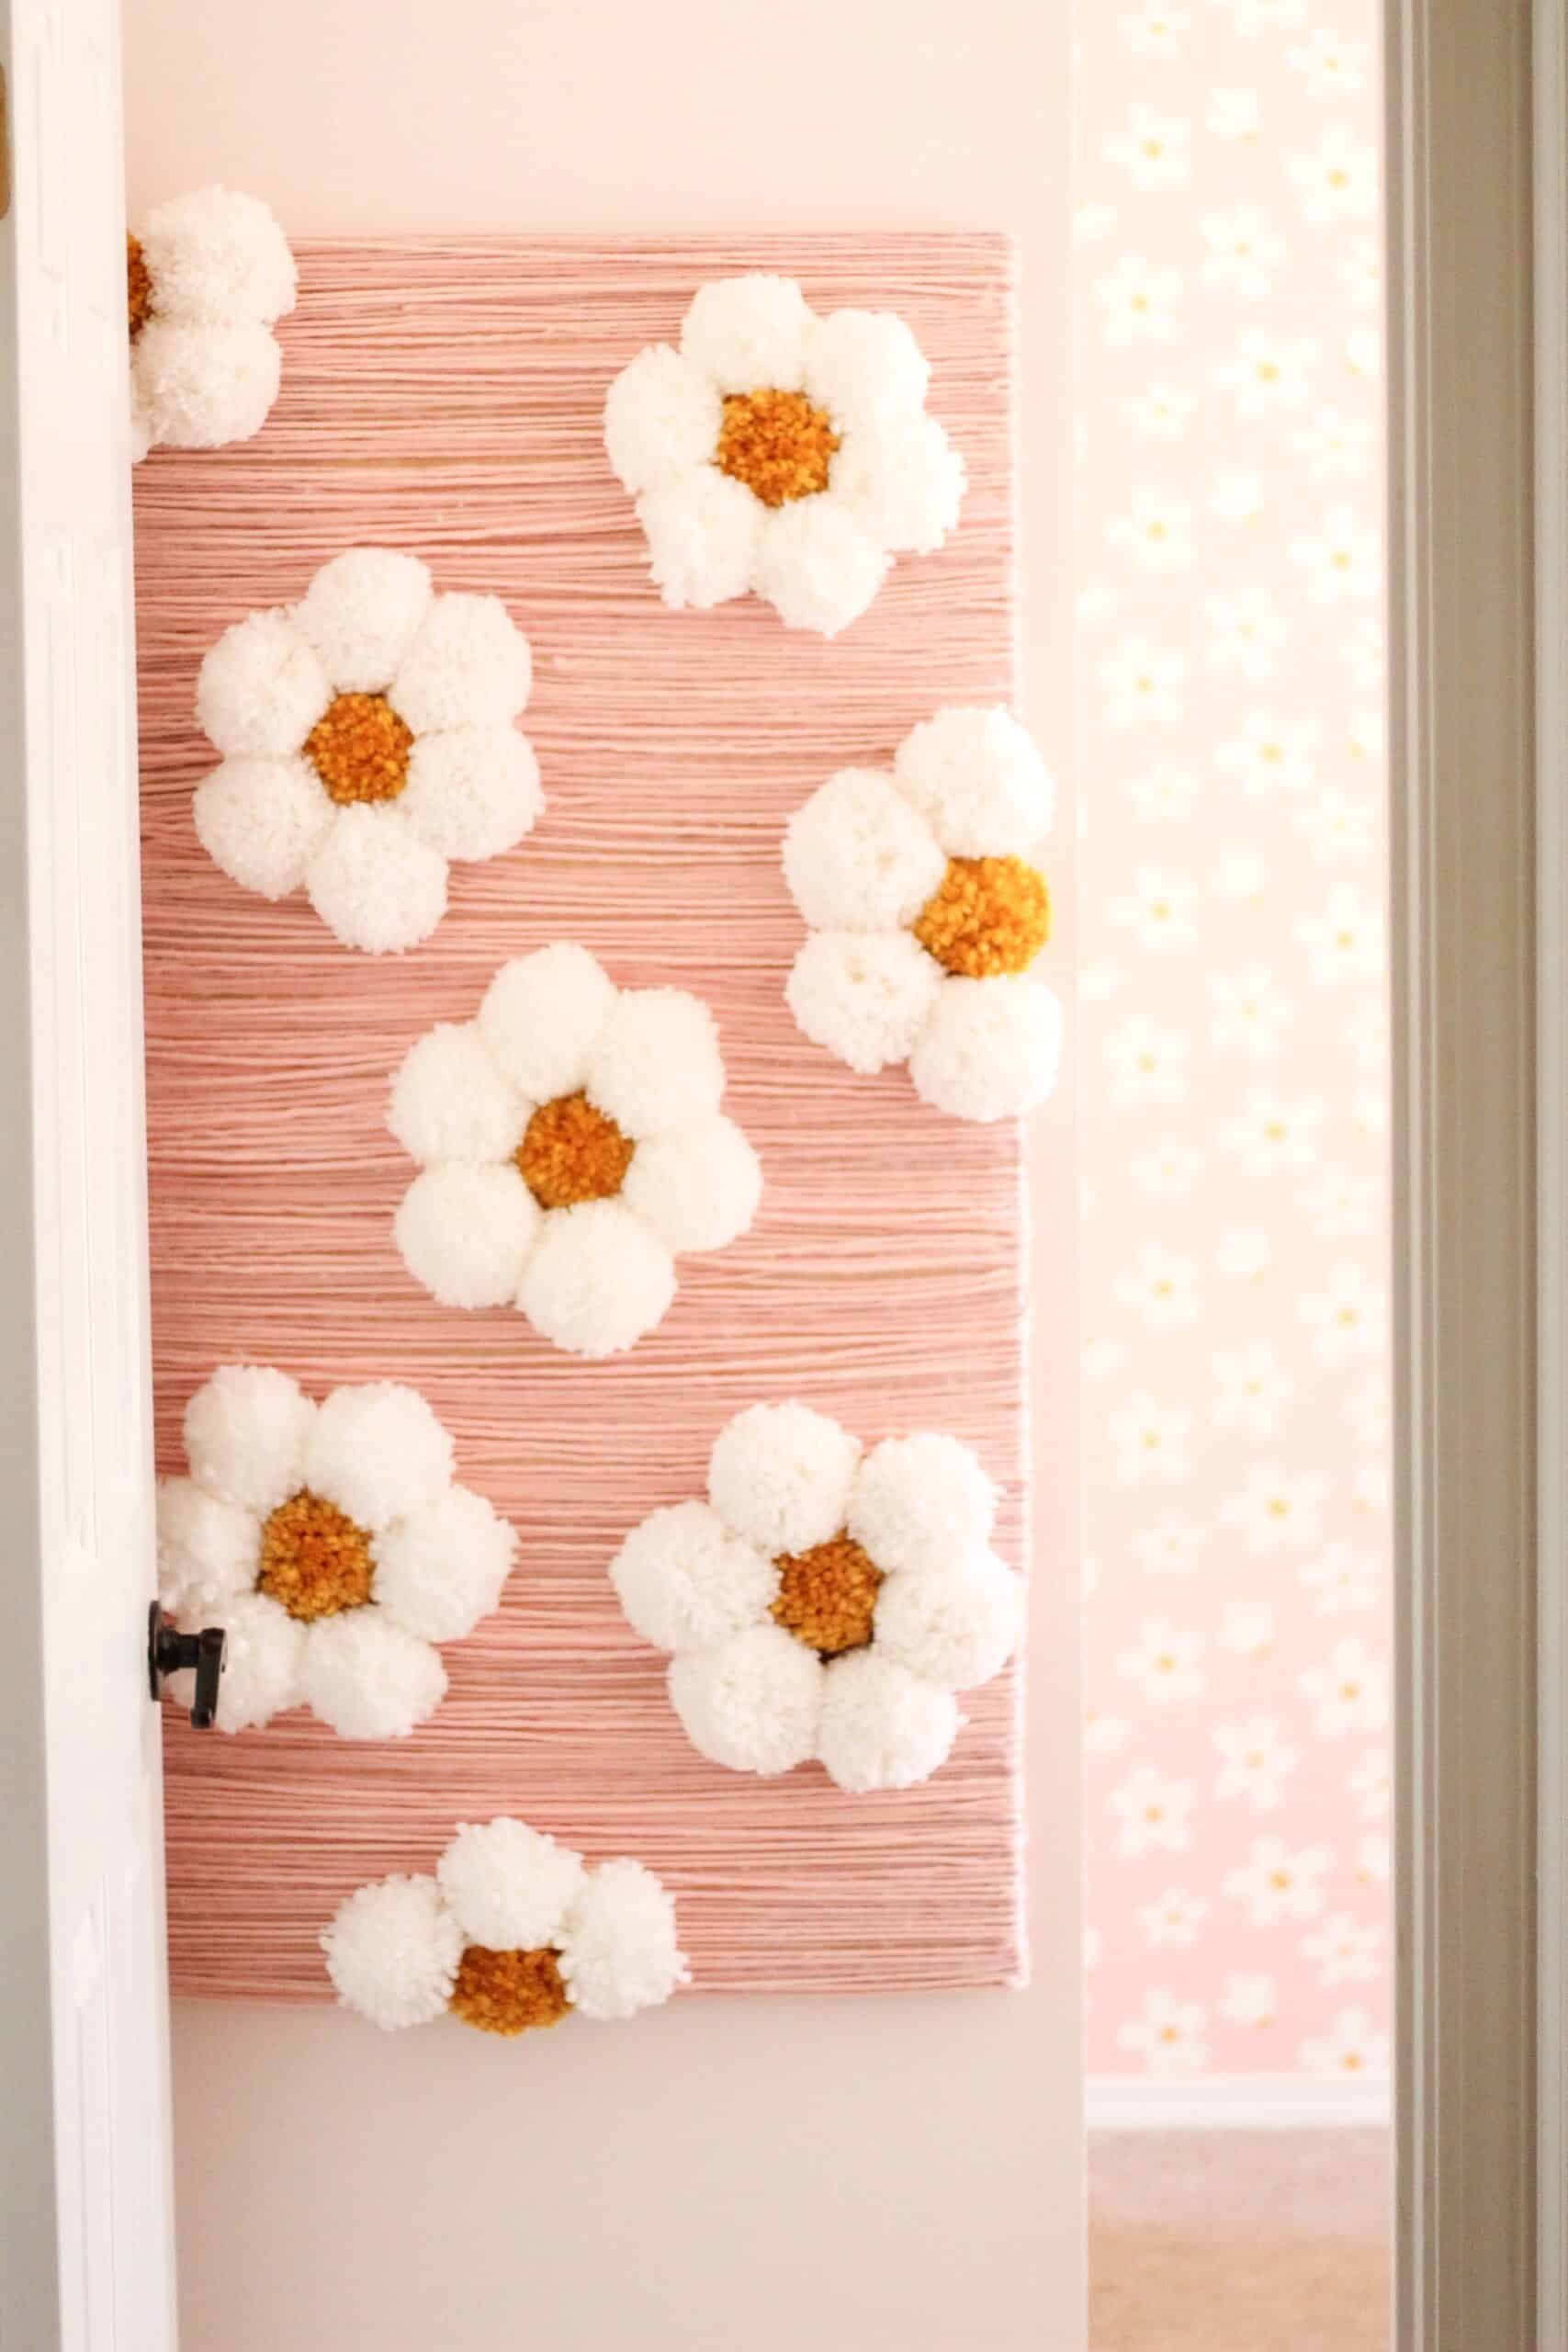
Our piece was personally pretty heavy, so we had to make sure we hung it in the studs, but that will differ based on the board you use. We personally hung it with 4 screws. I just carefully separated the yarn where we were screwing it in, then repositioned it over when the screws were in. It is purposefully not a “perfect” look with the different textures and such, so moving the yarn is fine.
Overall – this diy yarn wall art was an inexpensive project and made a huge impact in Avé’s new room and is such a fun piece.
A DIY flower wall is easily customizable and something you could do in a million different ways. If you have any questions I am happy to help, and make sure you are following along in my emails and on Instagram to see her finished room in the next week or so!
Follow Me on Social for the Latest and Greatest!


Other Posts You’ll Love
Daisy Wallpaper | DIY Rainbow | Rainbow Nursery | Kids Room Organization
Pin the Post Below for Later

I love this but not sure I could make it as nice 😅 – any chance I could buy one off you?
You can do it!! I ended up selling mine already – sorry!
Hello
I loved your project and I am working on mine for my daughters room. I have a single question; What size did you make the Pom poms?I am not great at making them yet
Hi – Oh gosh good question. I think this was the largest of the pompom maker I linked
Hi! So beautiful and I look forward to making for my daughter’s room. I’m wondering about the sturdiness of gluing the daisies onto the yarn that’s just attached at the ends of the board. Were there any that sagged from the weight? Any tips for the gluing of the daisies onto the yarn?
Honestly it worked PERFECT and there was no snagging. it even survived a move