I did these DIY painted mason jars after going to Anthropologie and completely falling in love. Every time I go in to Anthropologie I am so inspired by decor they have for their floor set, and this time was no exception, and led me to come up with an easy DIY.
this post may contain affiliate links
DIY Painted Mason Jars
This is a super easy DIY tutorial with limitless options of how the end result will look. The other reason I love it is it something you can do with things you are going to throw away.
If you are gearing up for the DIY you can save up pasta jars, jelly jars, and so on and use them for some of the jars you are going to paint.
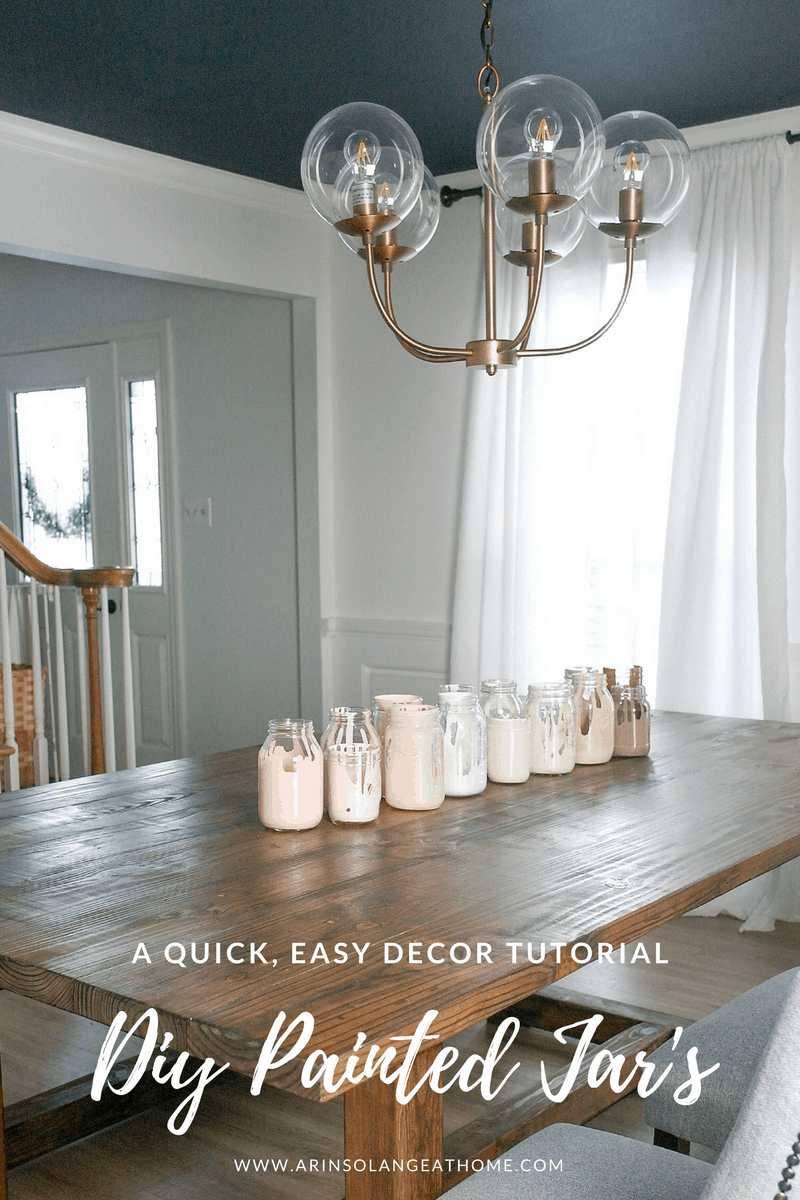
I personally used a good mix of actual mason jars and other jars I had on hand and was setting out to make a really affordable and simple centerpiece for spring on my dinging room table.
Since that time I have used these jars for so many different things including baby shower decor, wedding shower decor and more. I have used them as a group and individually.
I didn’t want to go quite as bright as Anthropologie so went with a bit of an ombré look in tan-ish brown, white and pink.
They have been a fun, unique way to add color in a subtle way to tables and decor.

How to Create These Painted Mason Jars
I’ll give you a brief tutorial on how to do these, but this might honestly be the easiest DIY project I have yet to complete.
Supplies:
– Old Jars of different shapes and sizes (so start saving those pickle jars….or is it just pregnant me going through those weekly??) you may have to buy some, so here is a great set from Amazon
– disposable cups for paint mixing
– disposable spoon or skewer
– craft paint
– water
– something to set them on to get messy (I used disposable tin baking dishes I had on hand, and appreciated the lip, but it wouldn’t be necessary)
How to create the jars:
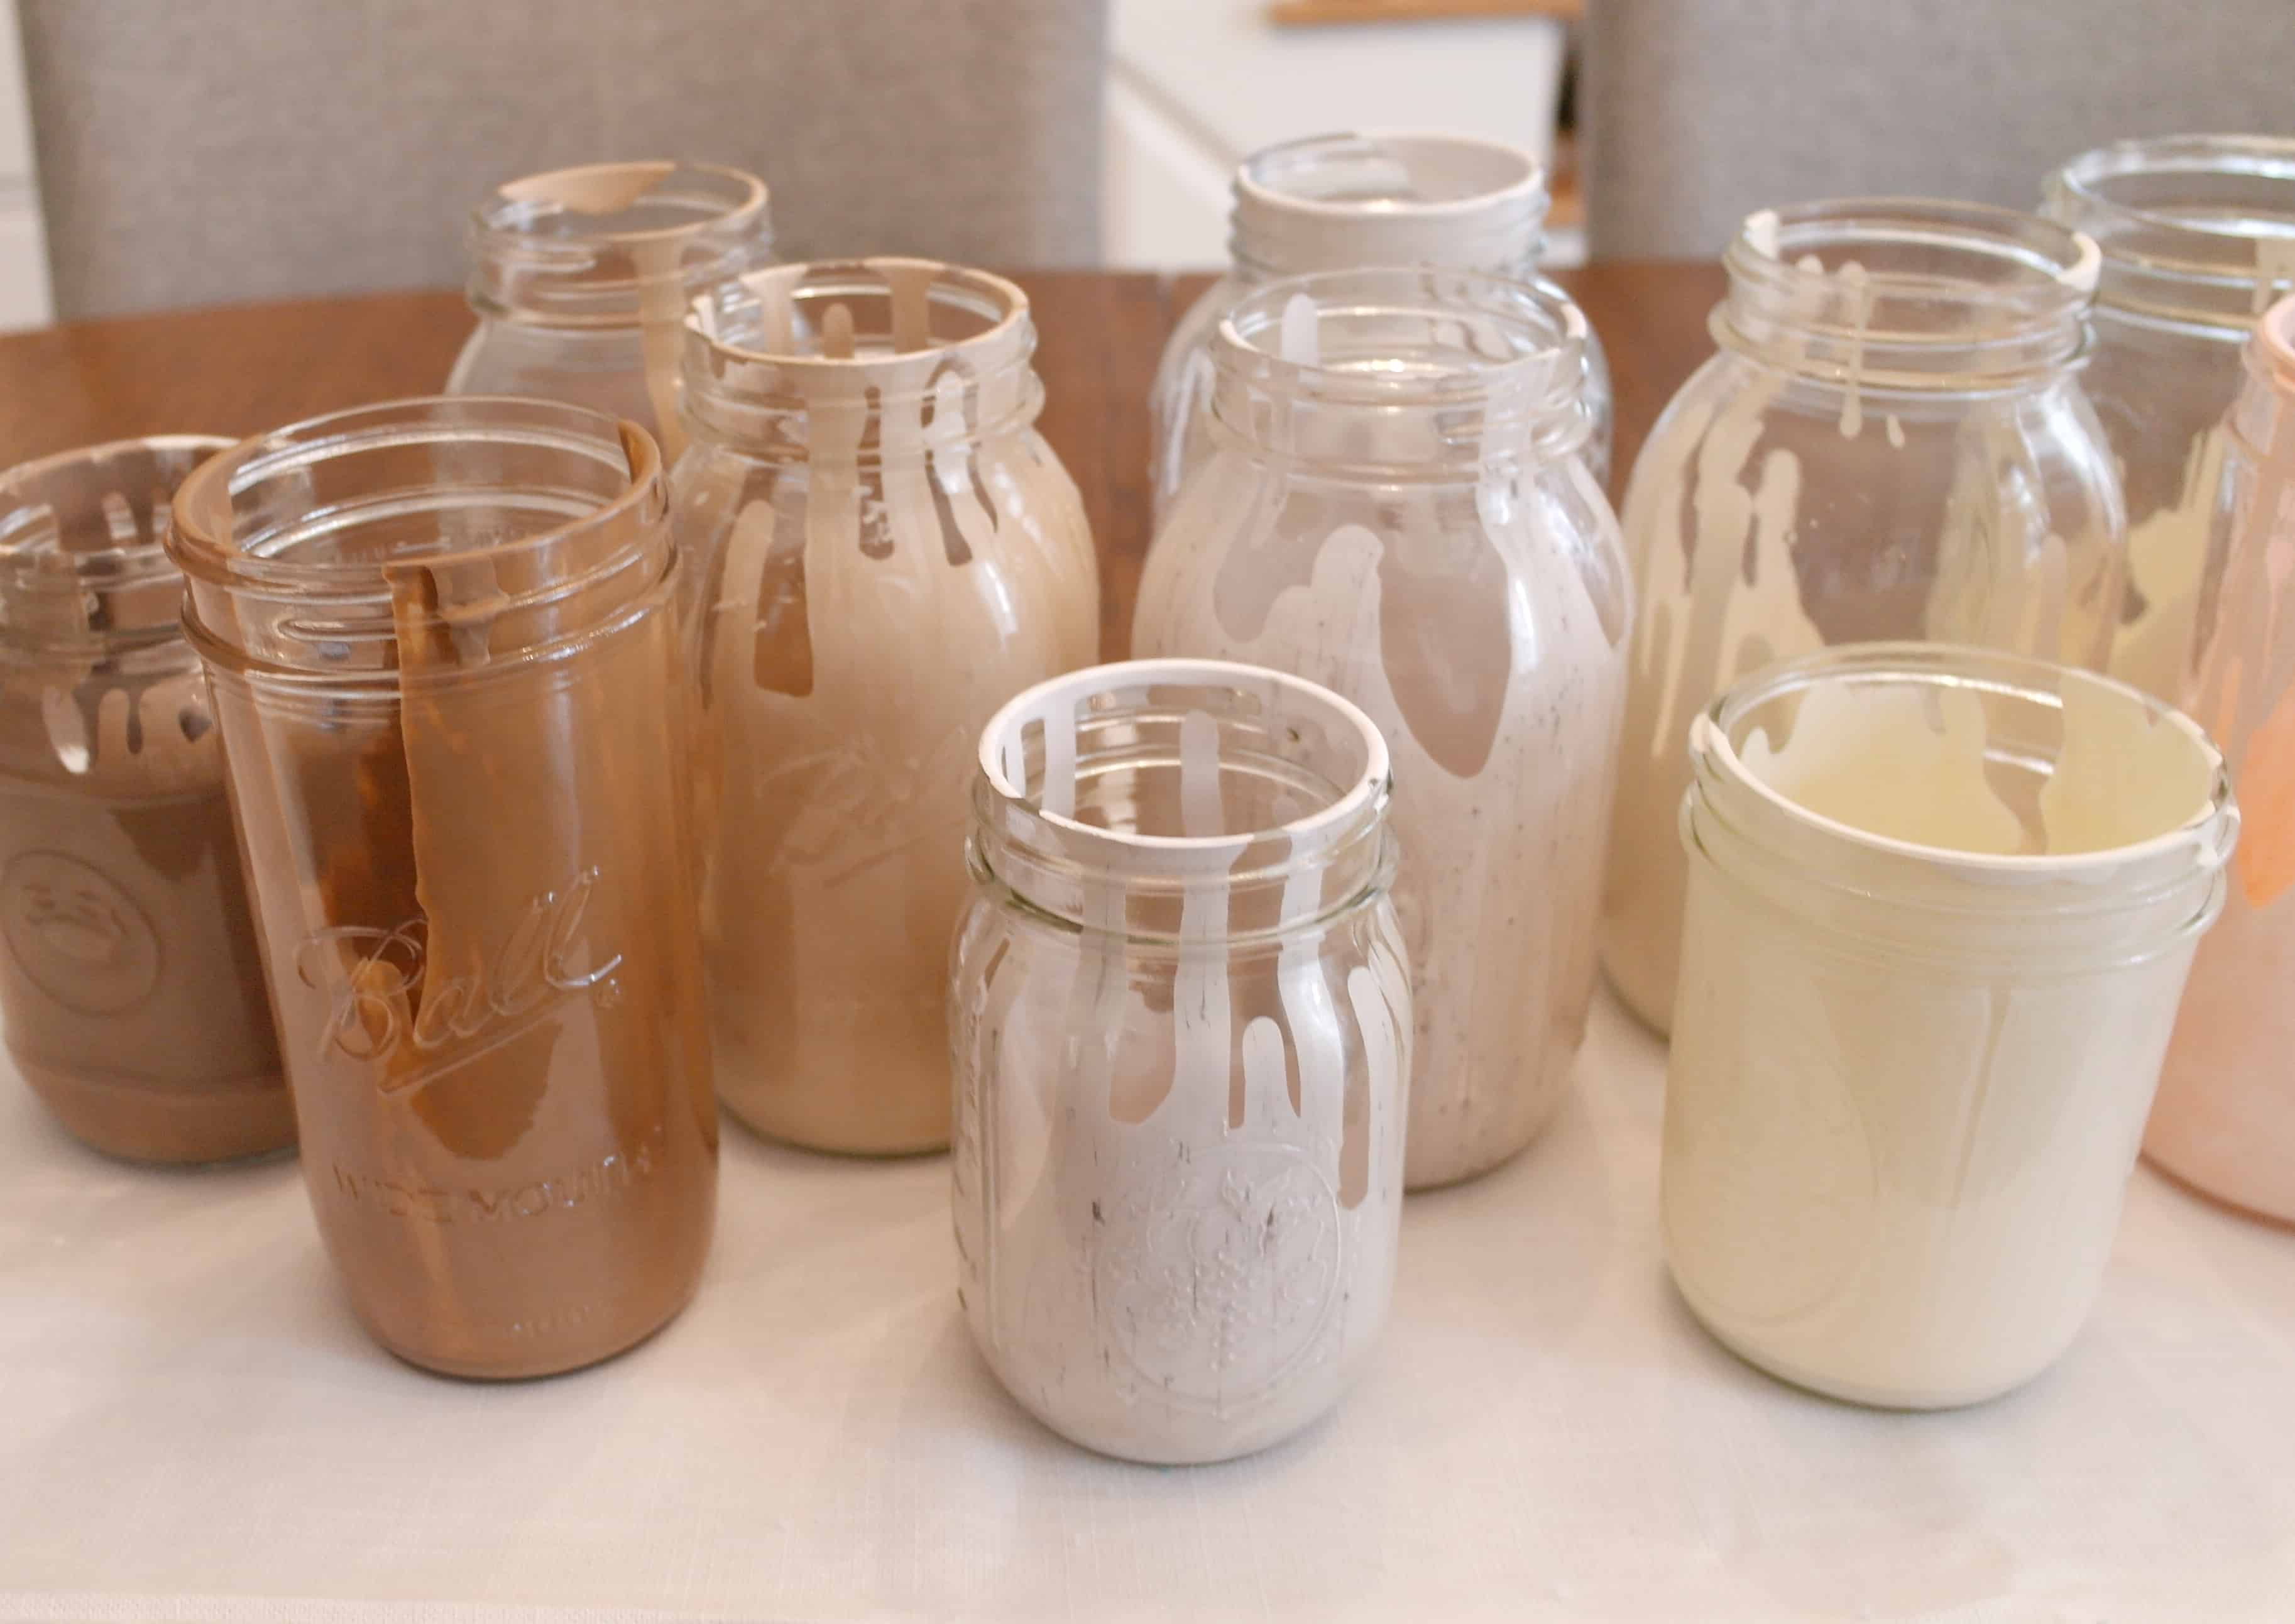
These are really easy to create – but there is a bit of an art to getting them different one by one.
I started with JUST paint and poured paint into a jar. Swirl it and tip it upside down. For some of them you want to leave them upside down for longer so it goes all the way to the top, but for some you want to tip them back right side after not too long.

There are some tips for making it a much smoother project
– water the paint down just a little. You don’t want the paint to watery, but if it’s really thick you will use so much more paint than necessary to complete only one jar.
-Add paint to the jars then turn it upside down. Let it run all the way to the top on some, and on others tip it right side up before its gone as far up. You want a good mix.

It is worth noting – this is one of the oldest blog posts I have done. I did my best to update it without cringing too much, but overall it is still a fun, easy going craft project that is great for beginners.
Pin the Photo Below for Later
If you are looking to save this idea on diy painted mason jars for later pin the photo below, and if you have questions be sure to leave a comment below, or DM me on Instagram (@arinsolange).