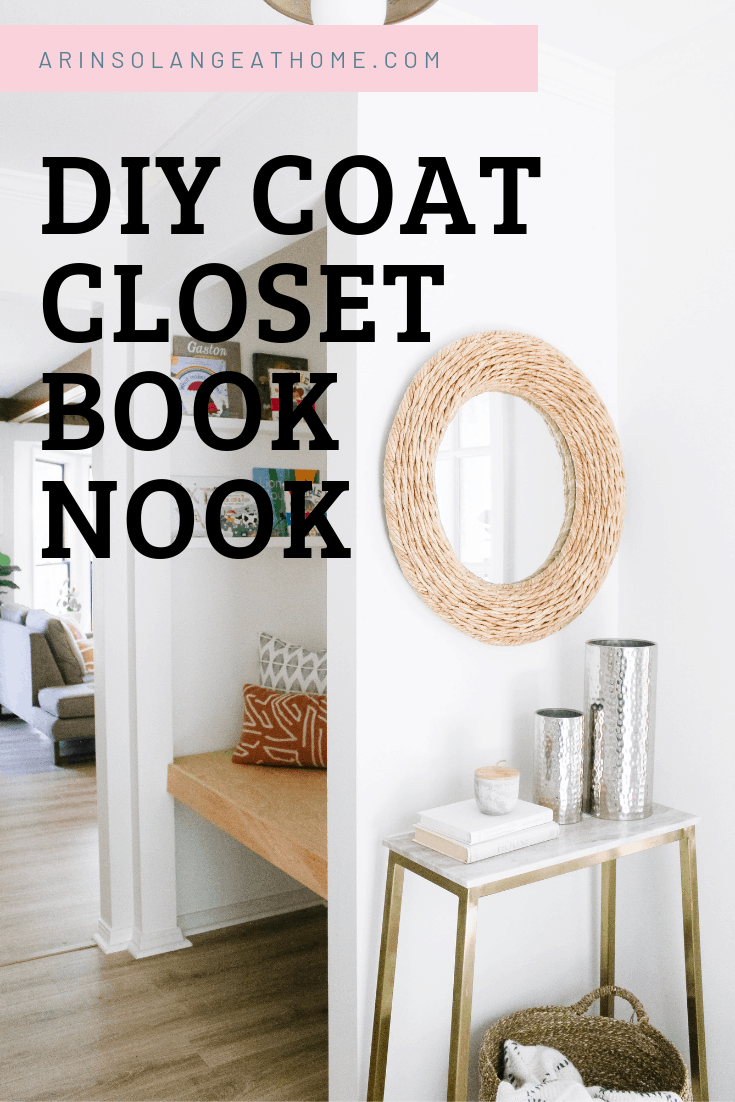
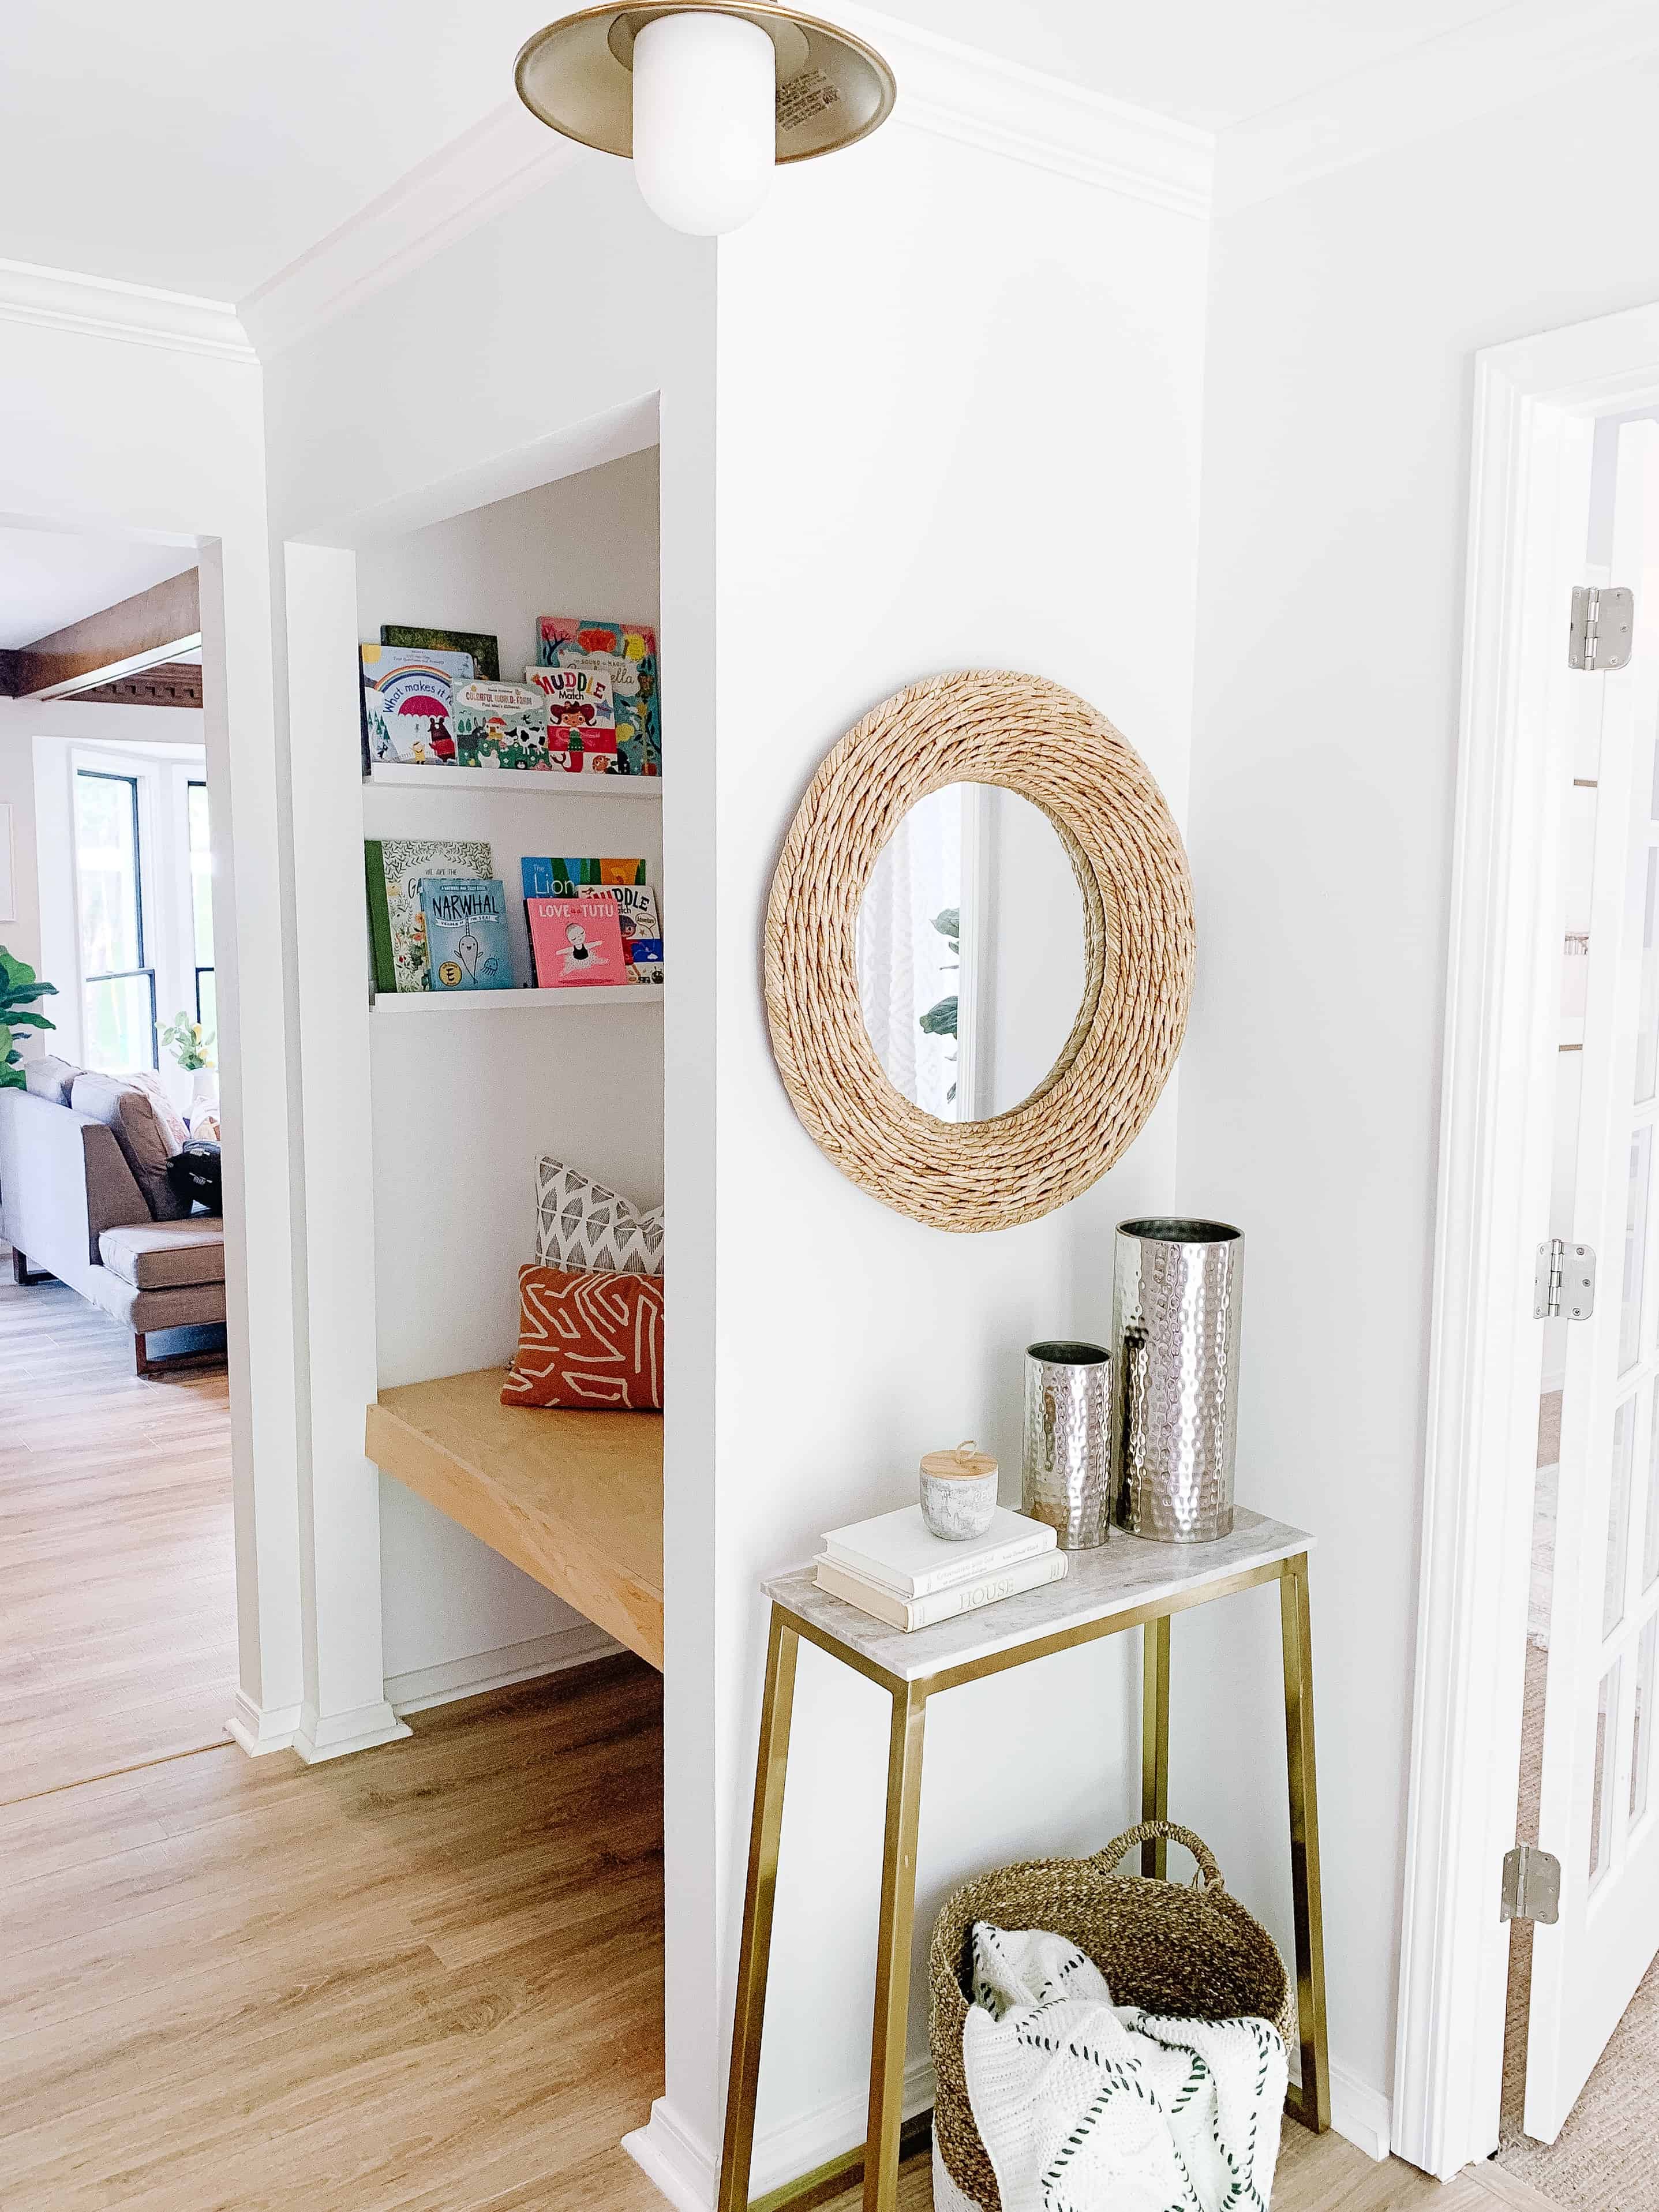
Talk about a DIY that was a LONG TIME in the making. You know – as in we started this 6 months ago, and then just never found the time to execute. I have been dying to do a DIY coat closet book nook across from our wall mounted easel on our main floor. I love creating functional spaces for the kids to play and enjoy, and our coat closet wasn’t a super needed space, so it just made sense.
We have been in our house a little over 3 years, and our coat closet was always just a catch all space. I am all about organization, and things being where they belong, so this year we had the idea of changing that space. Giving the kids a small space where they could sit and read was the end goal. This was actually not a super difficult DIY, but definitely took some serious planning, so make sure you read through the whole project before you start your DIY.
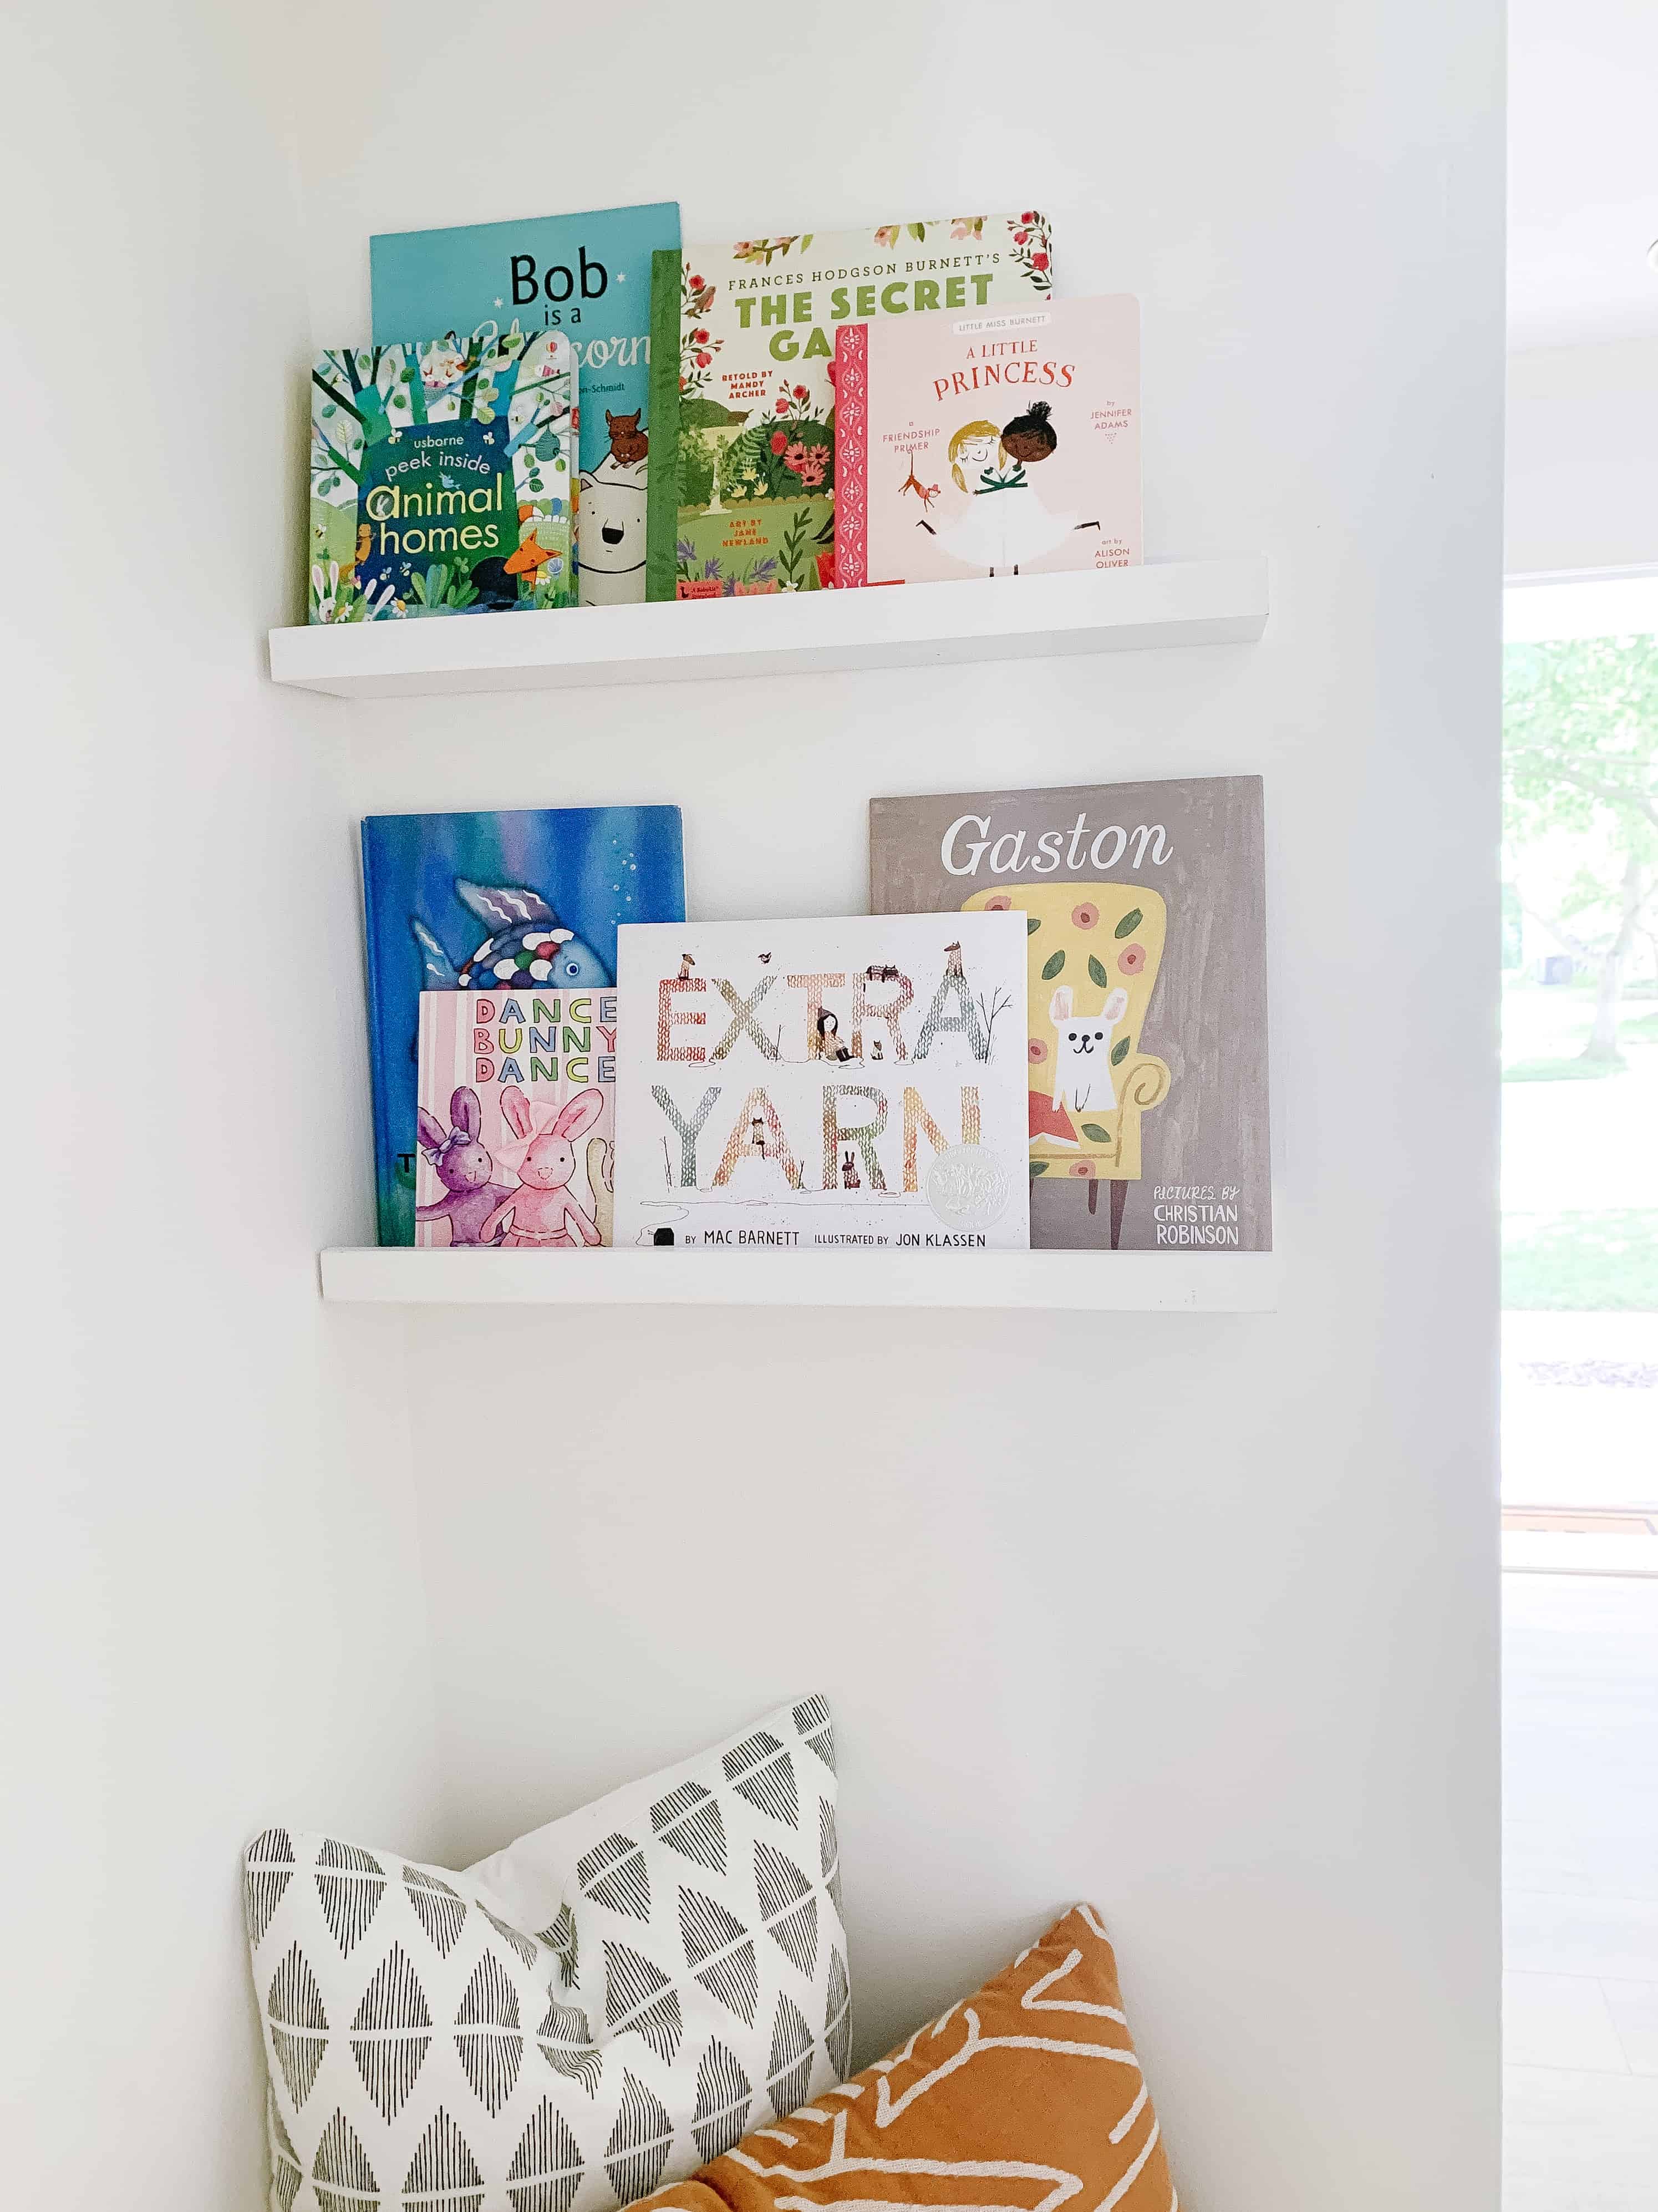
Make sure you check out my round up of books that you will love having on display!
This post contains affiliate links
DIY Coat Closet Book Nook
I am going to go over the steps for this project, what you need, and some time saver options that MAY work for you. We went SUPER simple for our book nook, because we know we will only be in this house another year or two. It was actually super affordable, and could be made even more affordable with some tweaks as well!
SUPPLY LIST:
- Birch board for top of bench
- Birch 1×4 in length of bench
- 2×3’s (measurement explained before)
- Large Screws
- Stud Finder – we recently got this stud finder and its a game changer!
- Drill
- Hammer
- Nails
- Level
- Small L brackets
- Poly Sealer and stain if you want your bench stained ( I used what was left from our painted flooring project)
- circular saw
- Sander or Sand Paper
- Book shelves – We got these
Steps:
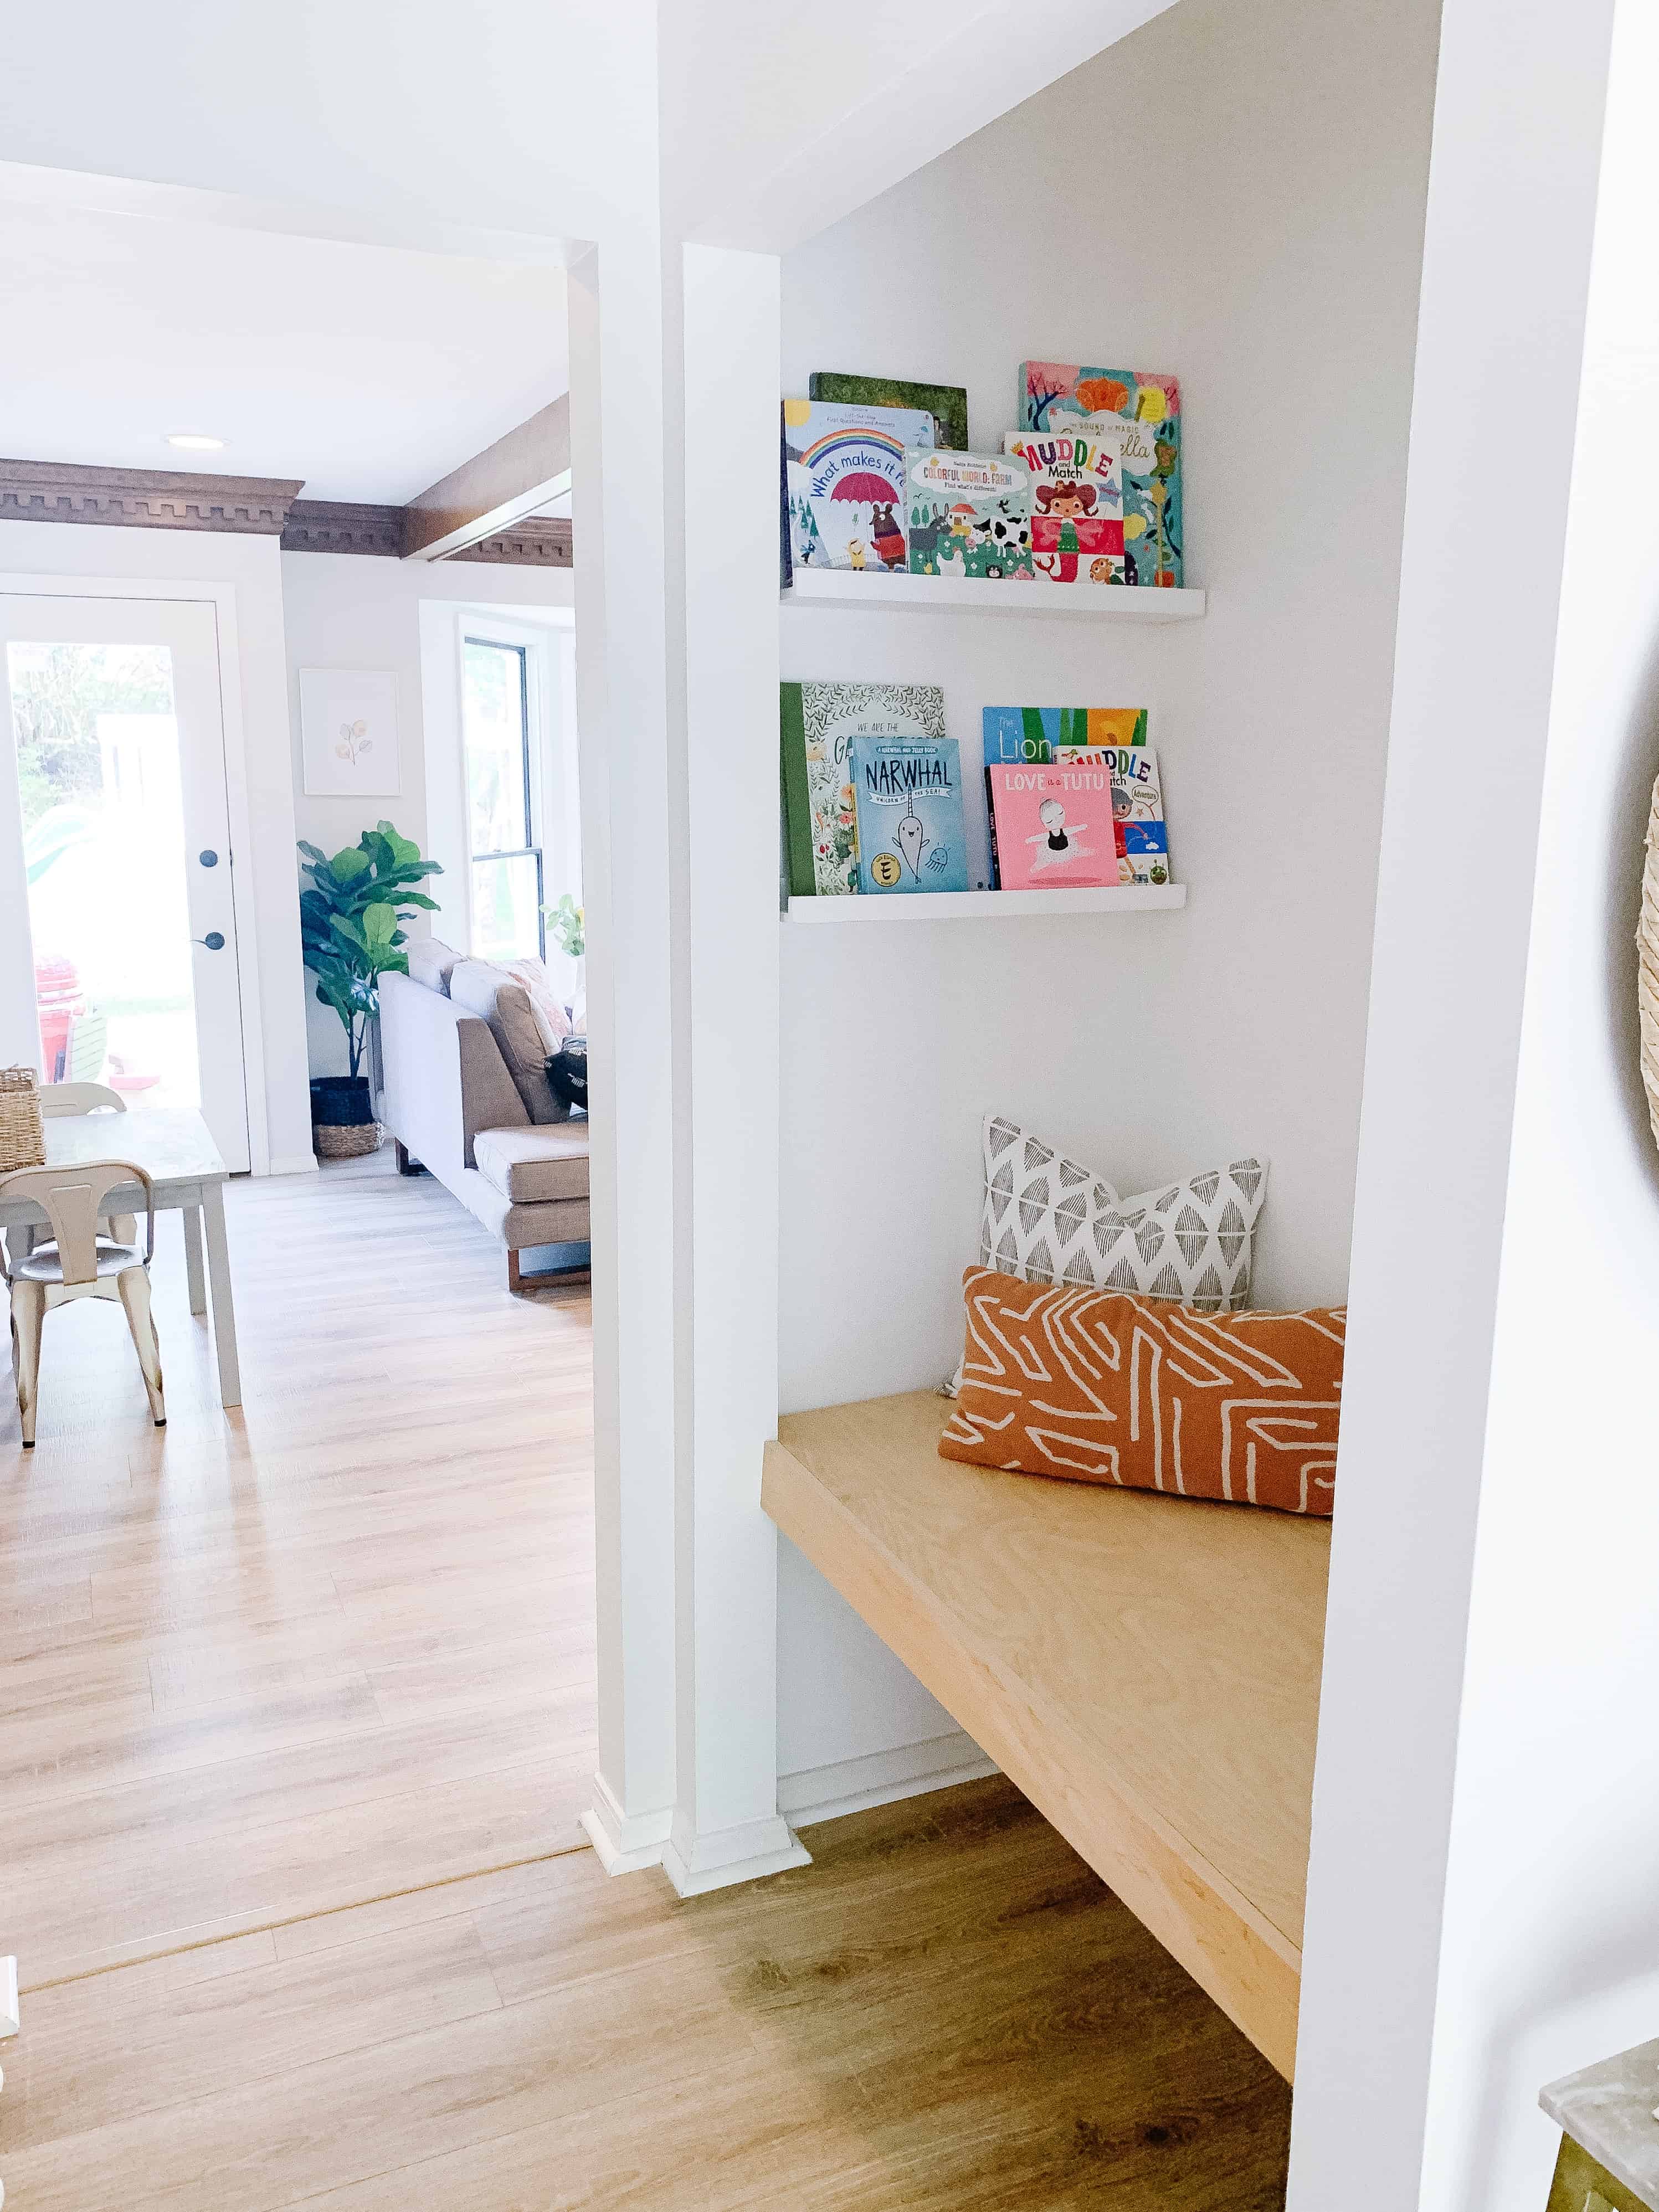
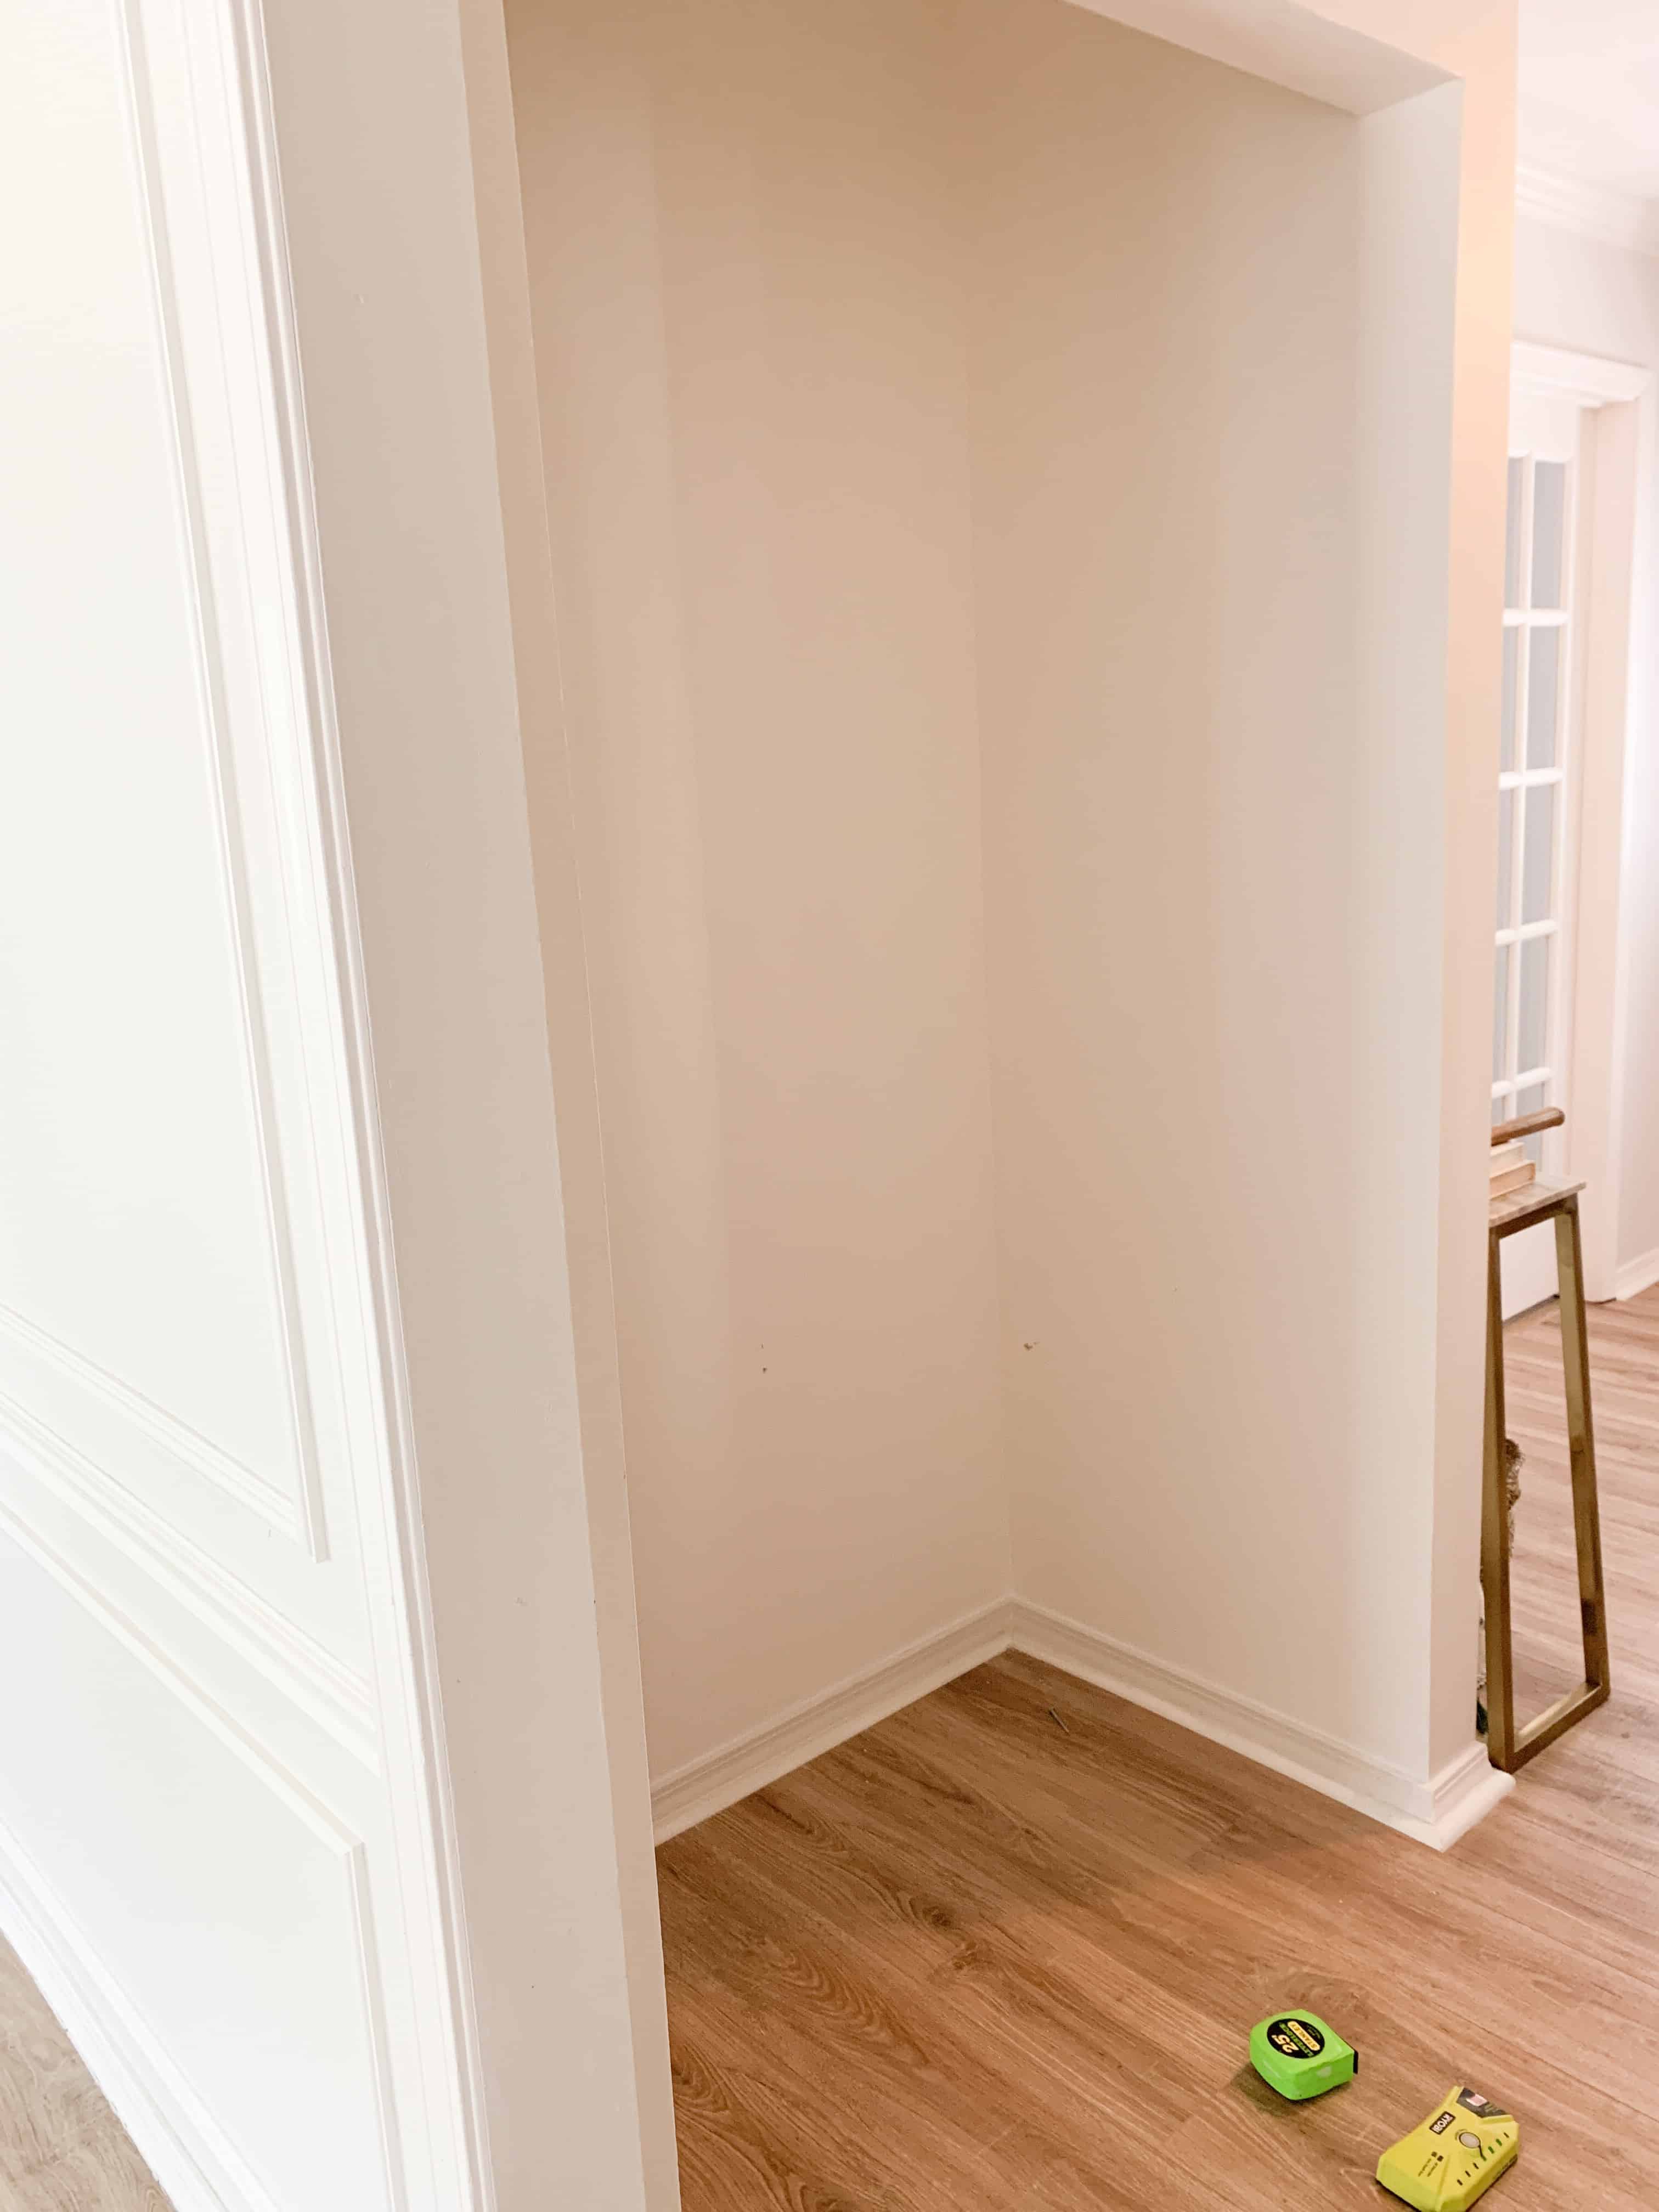
- Remove your closet doors and repair walls. We had sliding doors, so that meant taking down the doors and track along the top. We kept everything incase a future owner would want to turn the space back into a closet.
- Paint the space. We opted to paint our whole area white. I would say that should we have known we would stay in this home super long term, (and if I weren’t super pregnant and indecisive), we would have wallpapered.
- Next you need to find your game plan. Figure out what you plan to do from top to bottom. For us that meant:
- Deciding what our bench would look like.
- Deciding what the book shelves would look like and if they were DIY or store bought.
- Decide if lighting was going to be involved.
- Once we had a game plan we decided to order our book shelves, and how we were going to build our bench – so we started measuring.
- The bench for us was the only hard part, and I am going to break that down into steps, as well as direct you to an Instagram page that has video in her highlights that we learned A LOT FROM.
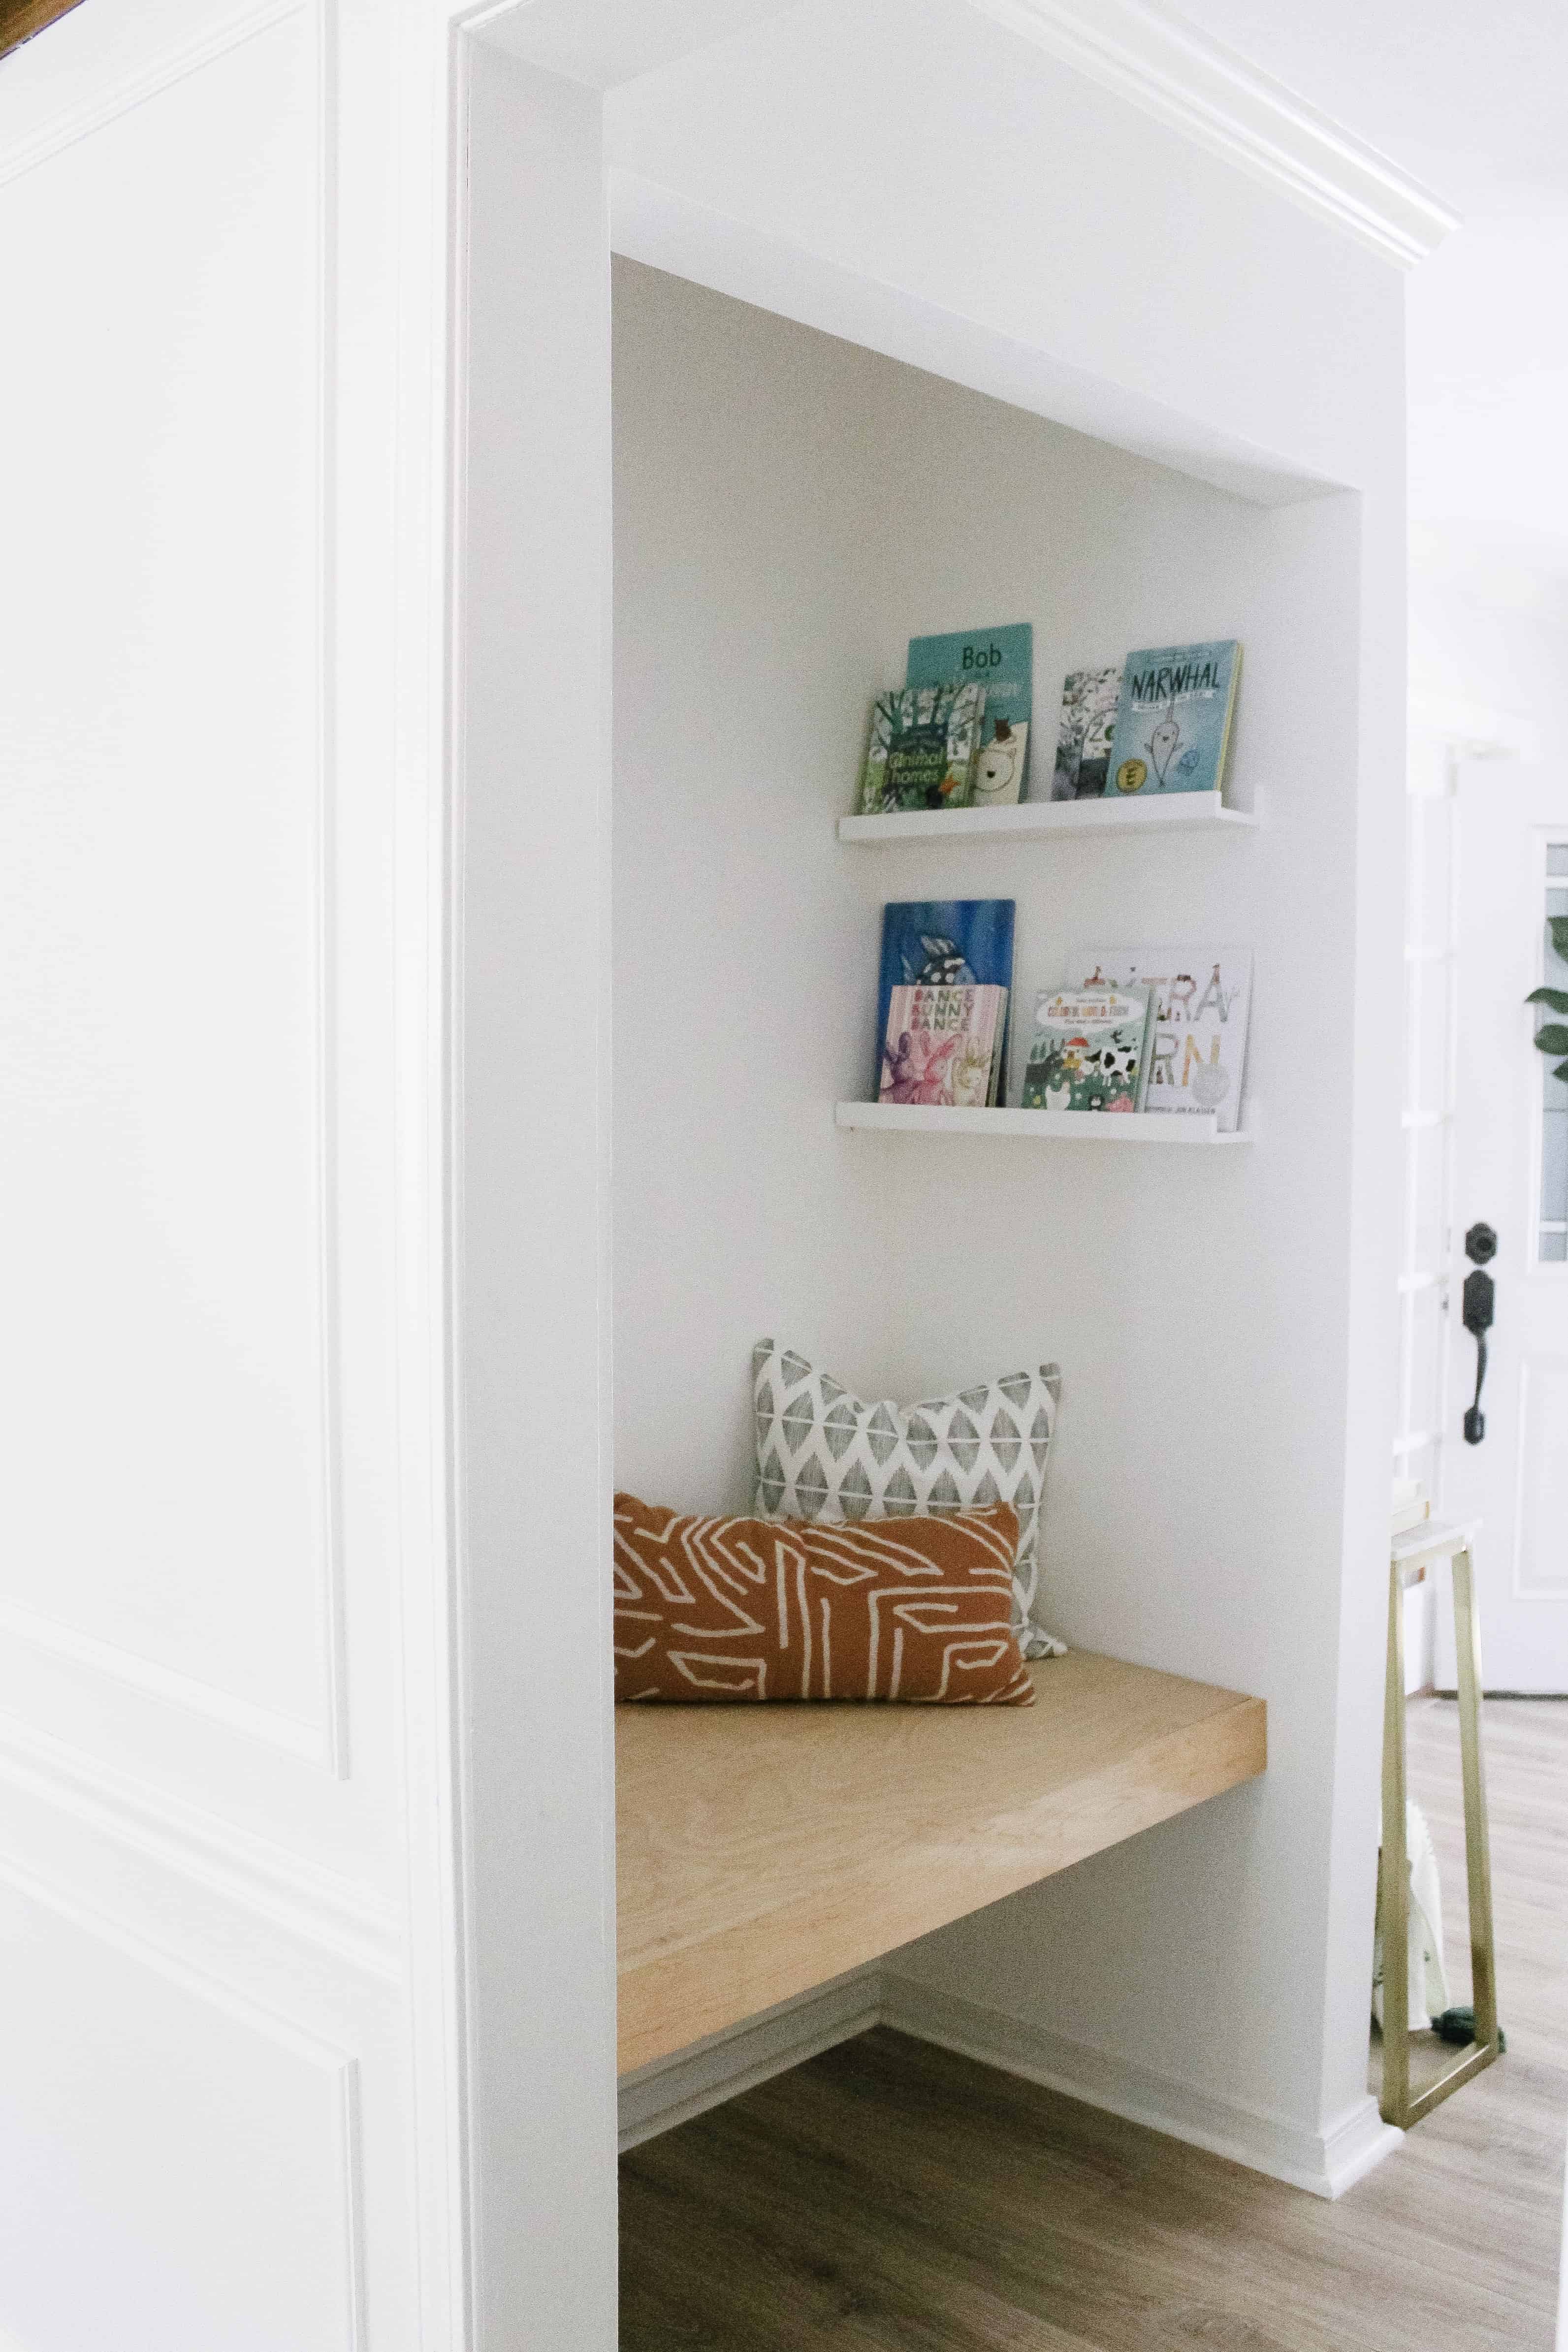
Building the Bench
Building the bench means some super particular measurements, so when you measure BE VERY SPECIFIC. Below are the steps we took, but for a great resource go to This Instagram page and watch her ‘highlight’ for her DIY Float Bench.
- Measure the space for the bench. You need to have 1 piece of lumber for the top that is EXACTLY the size of the bench, a front runner piece, and the supporting lumbar.
- When you head to the hardware store (we went to Home Depot) we got a piece of Birch plywood for the top board (aka the large piece of wood you will sit on). We also got a 1×4 in Birch for the piece of wood along the front. You don’t HAVE to get the same kind of wood for these two steps, but know if you are going to stain, different kinds of wood take to stain differently, so you will have to play around with the mixture. Due to that we felt it was best to get the same kind of wood and spend the few dollars extra.
- You also need 2×3’s to build the supporting structure. You need enough wood in 2×3’s to go the length of the bench 2 times, and the width 3 times. ( IE – if your bench top will measure 60×20 you need enough for 180 inches)
- Cutting the wood is the hardest part of the next step. You have some options, but I am going to tell you how we did it. Our Home Depot was kind enough to do 2 extra cuts for us. So we had our top piece of birch cut 2 TIMES one piece a 1/4 inch smaller in both diretions than the other. We figured then we had a backup and it gave us some room for error. I am really glad we did this because we ended up needing the smaller board. We cut the rest of the boards at home with our circular saw.
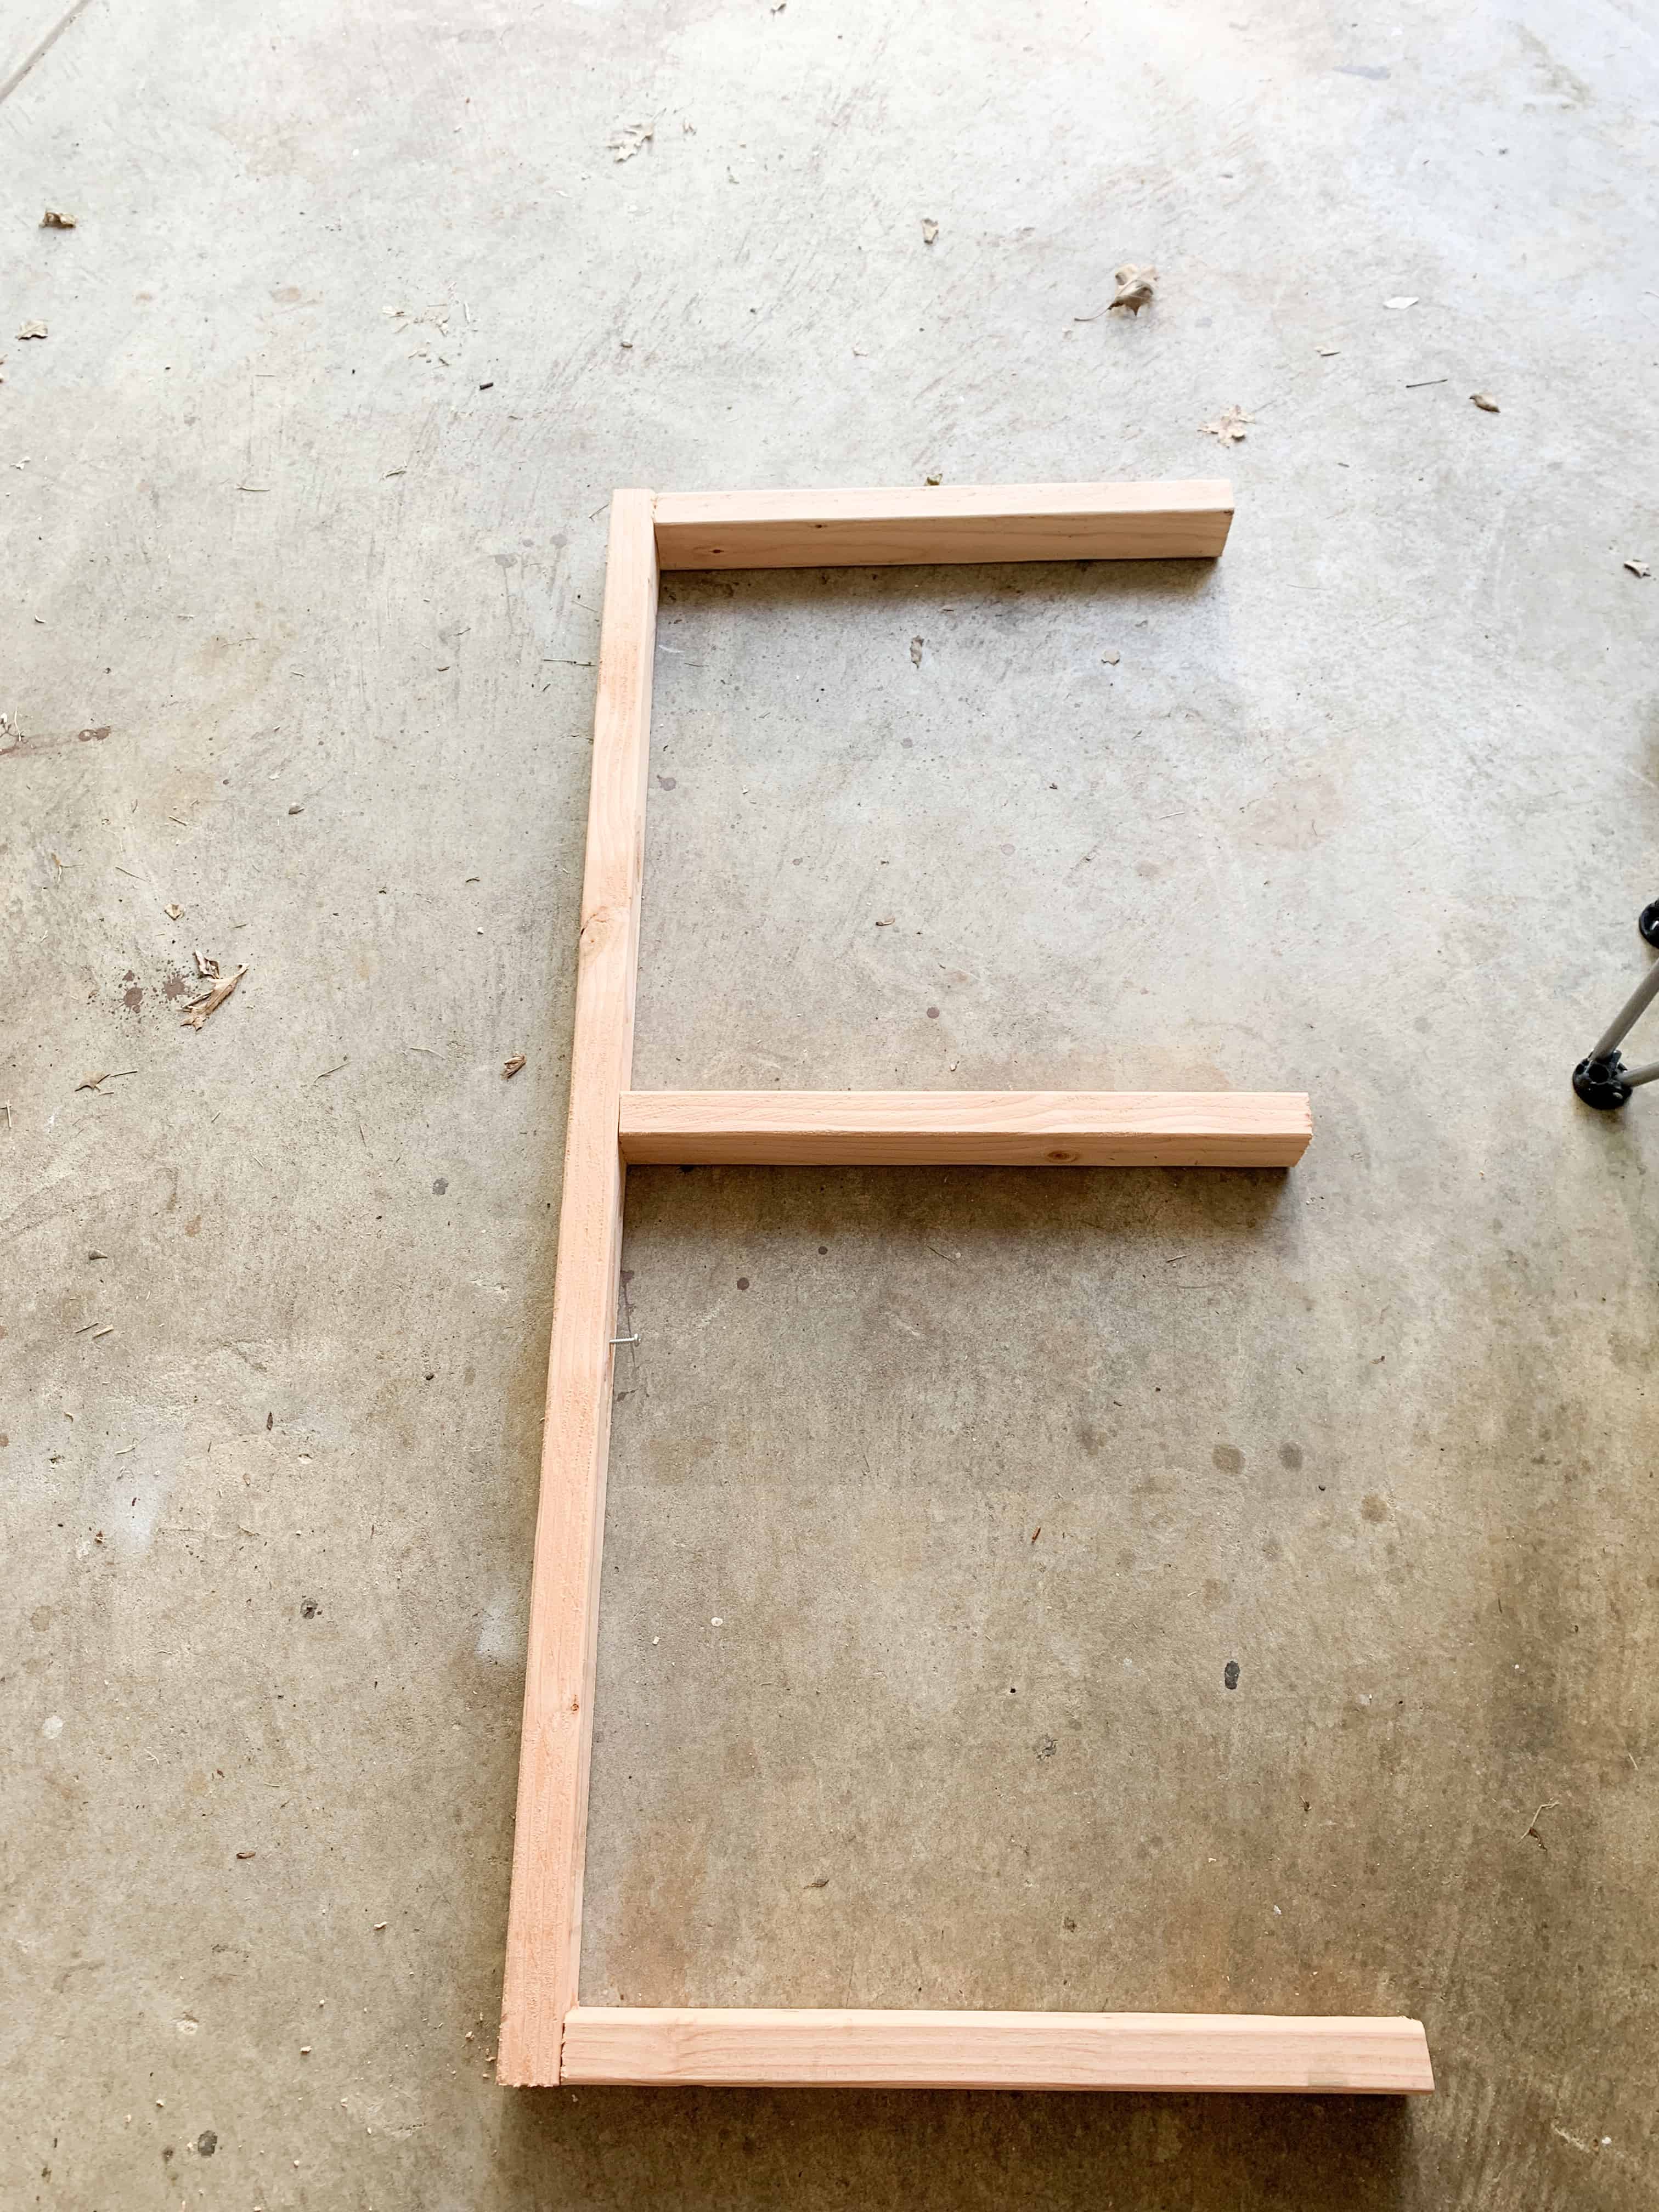
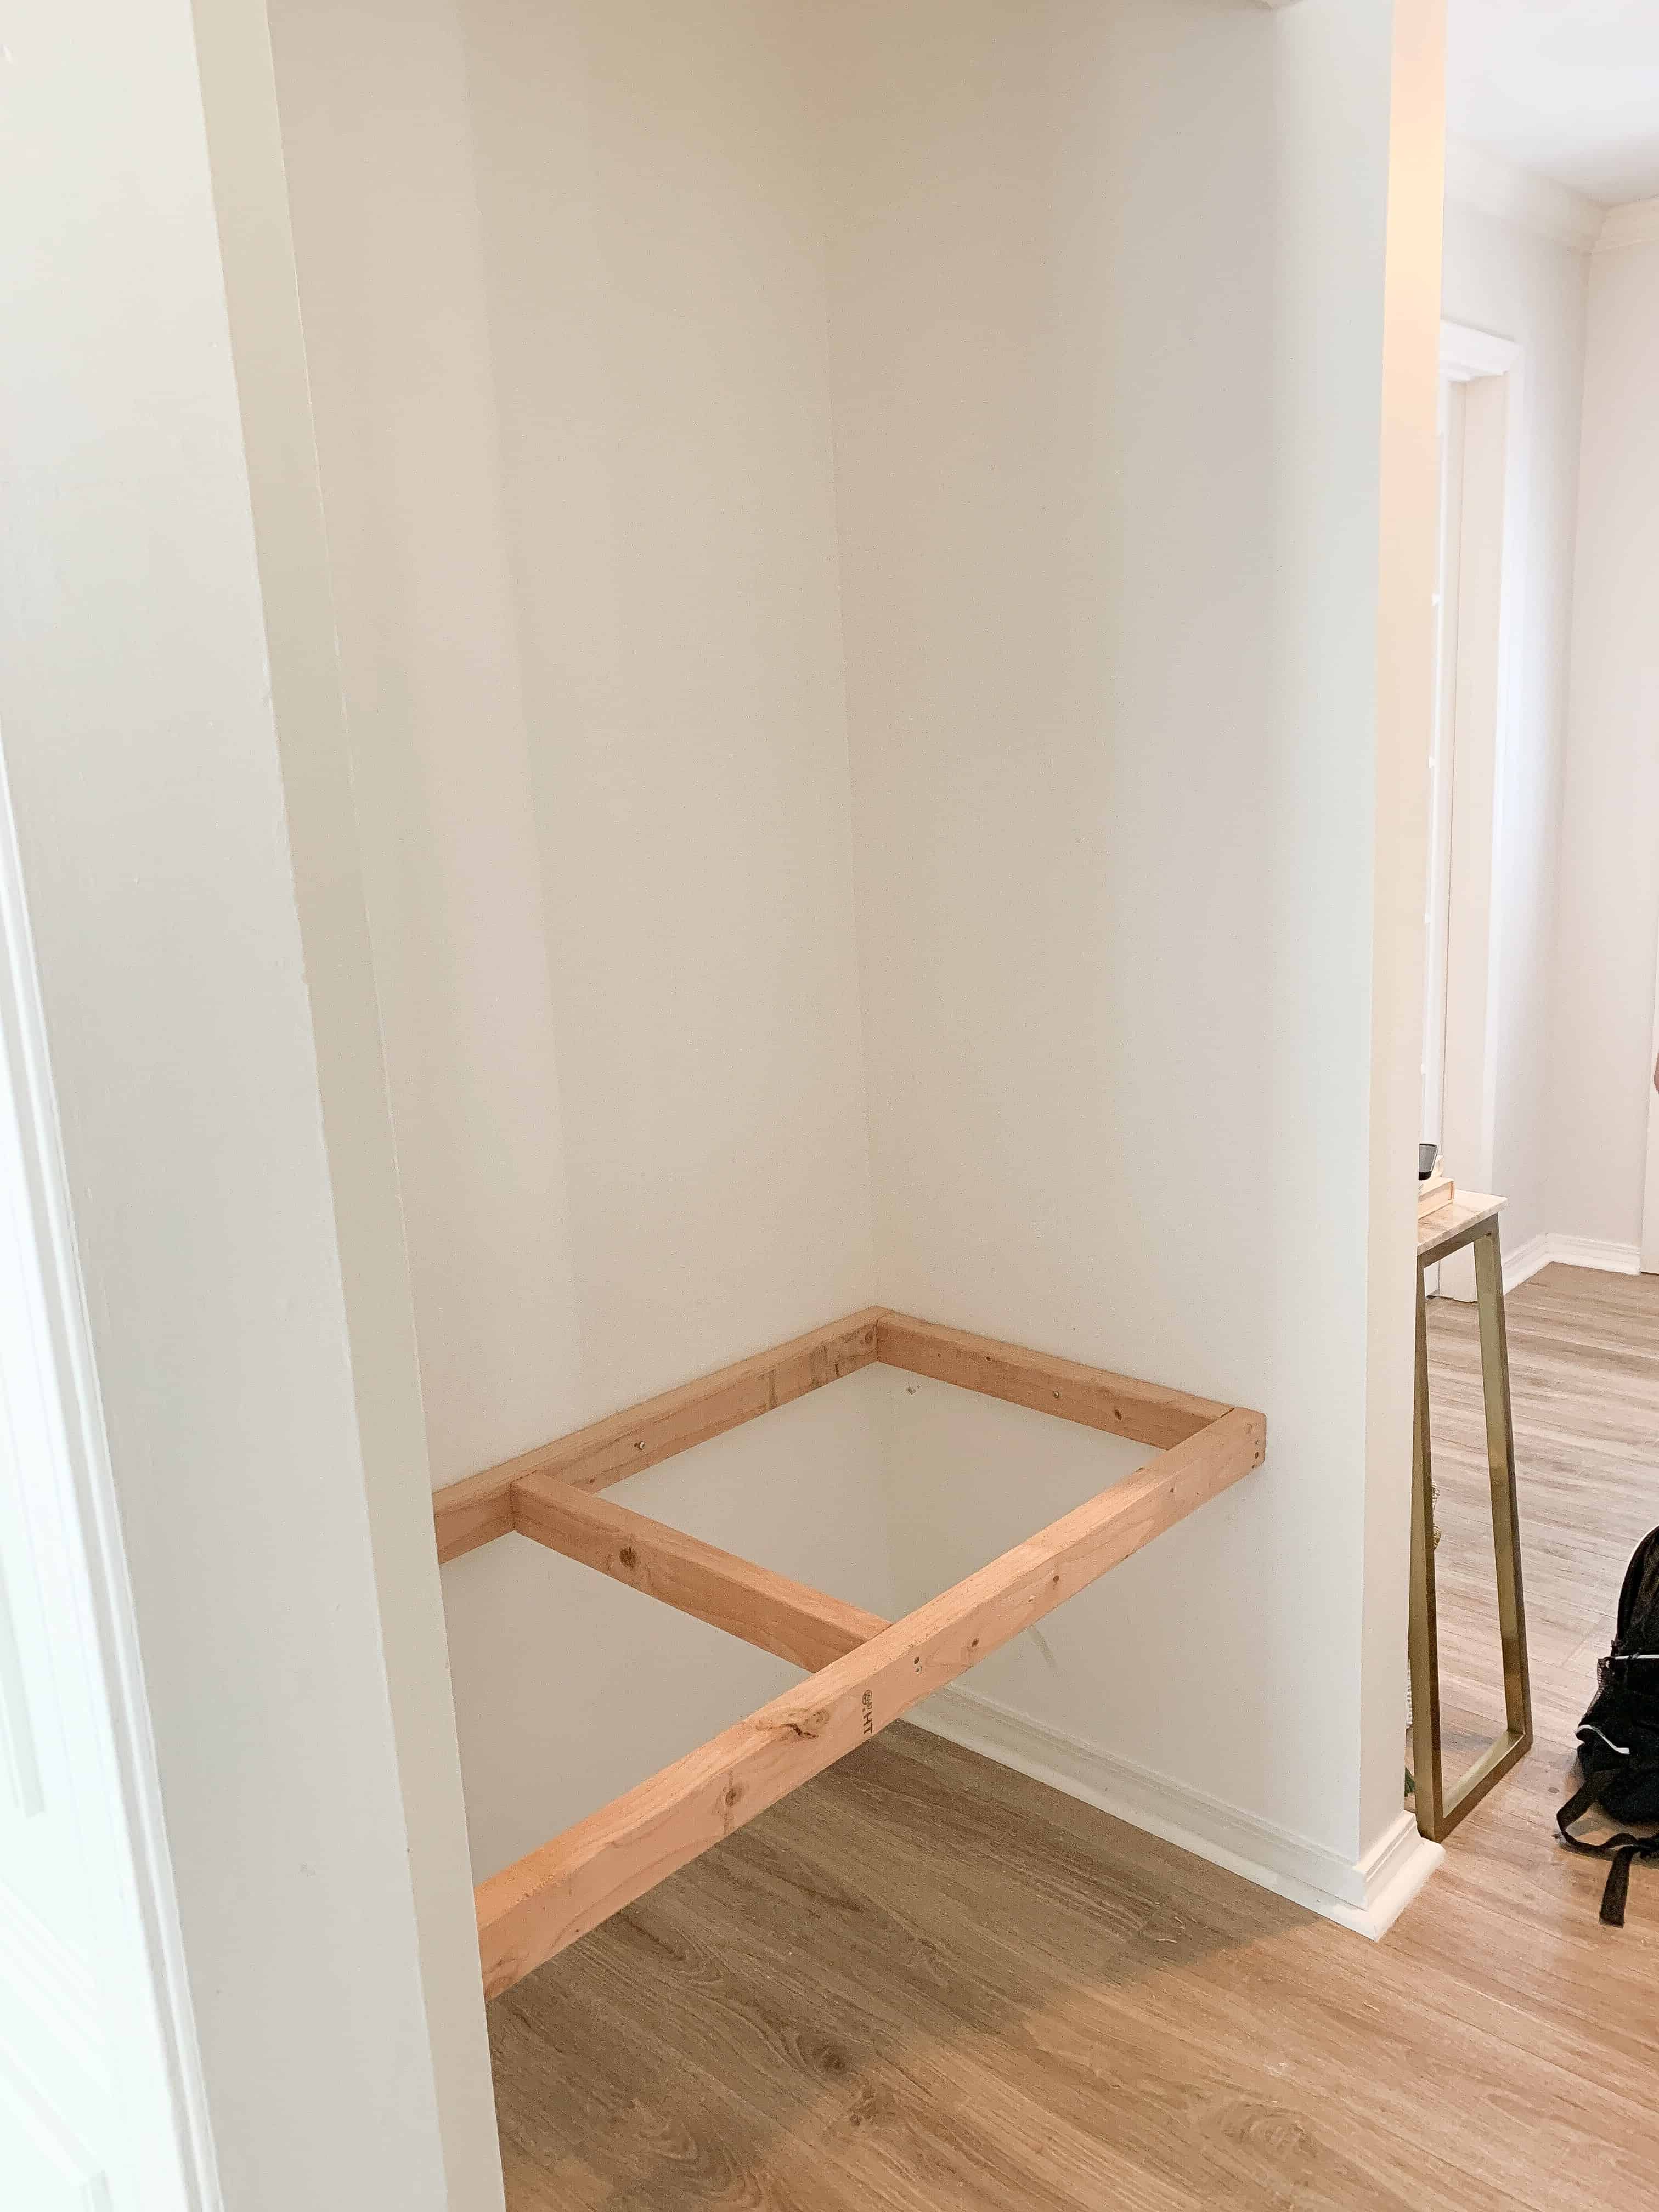
- First you will build your support structure for your bench. You need to cut the 2×3’s and first attach essentially an “E” of wood into the studs of your walls. We went around the wall and marked our studs with THIS stud finder, and attached the back board that already had the 3 perpendicular boards attached (see below).
- We then attached our front 2×3 to the ‘E’ structure that was already on the wall. At this point the structural portion of your bench is DONE!
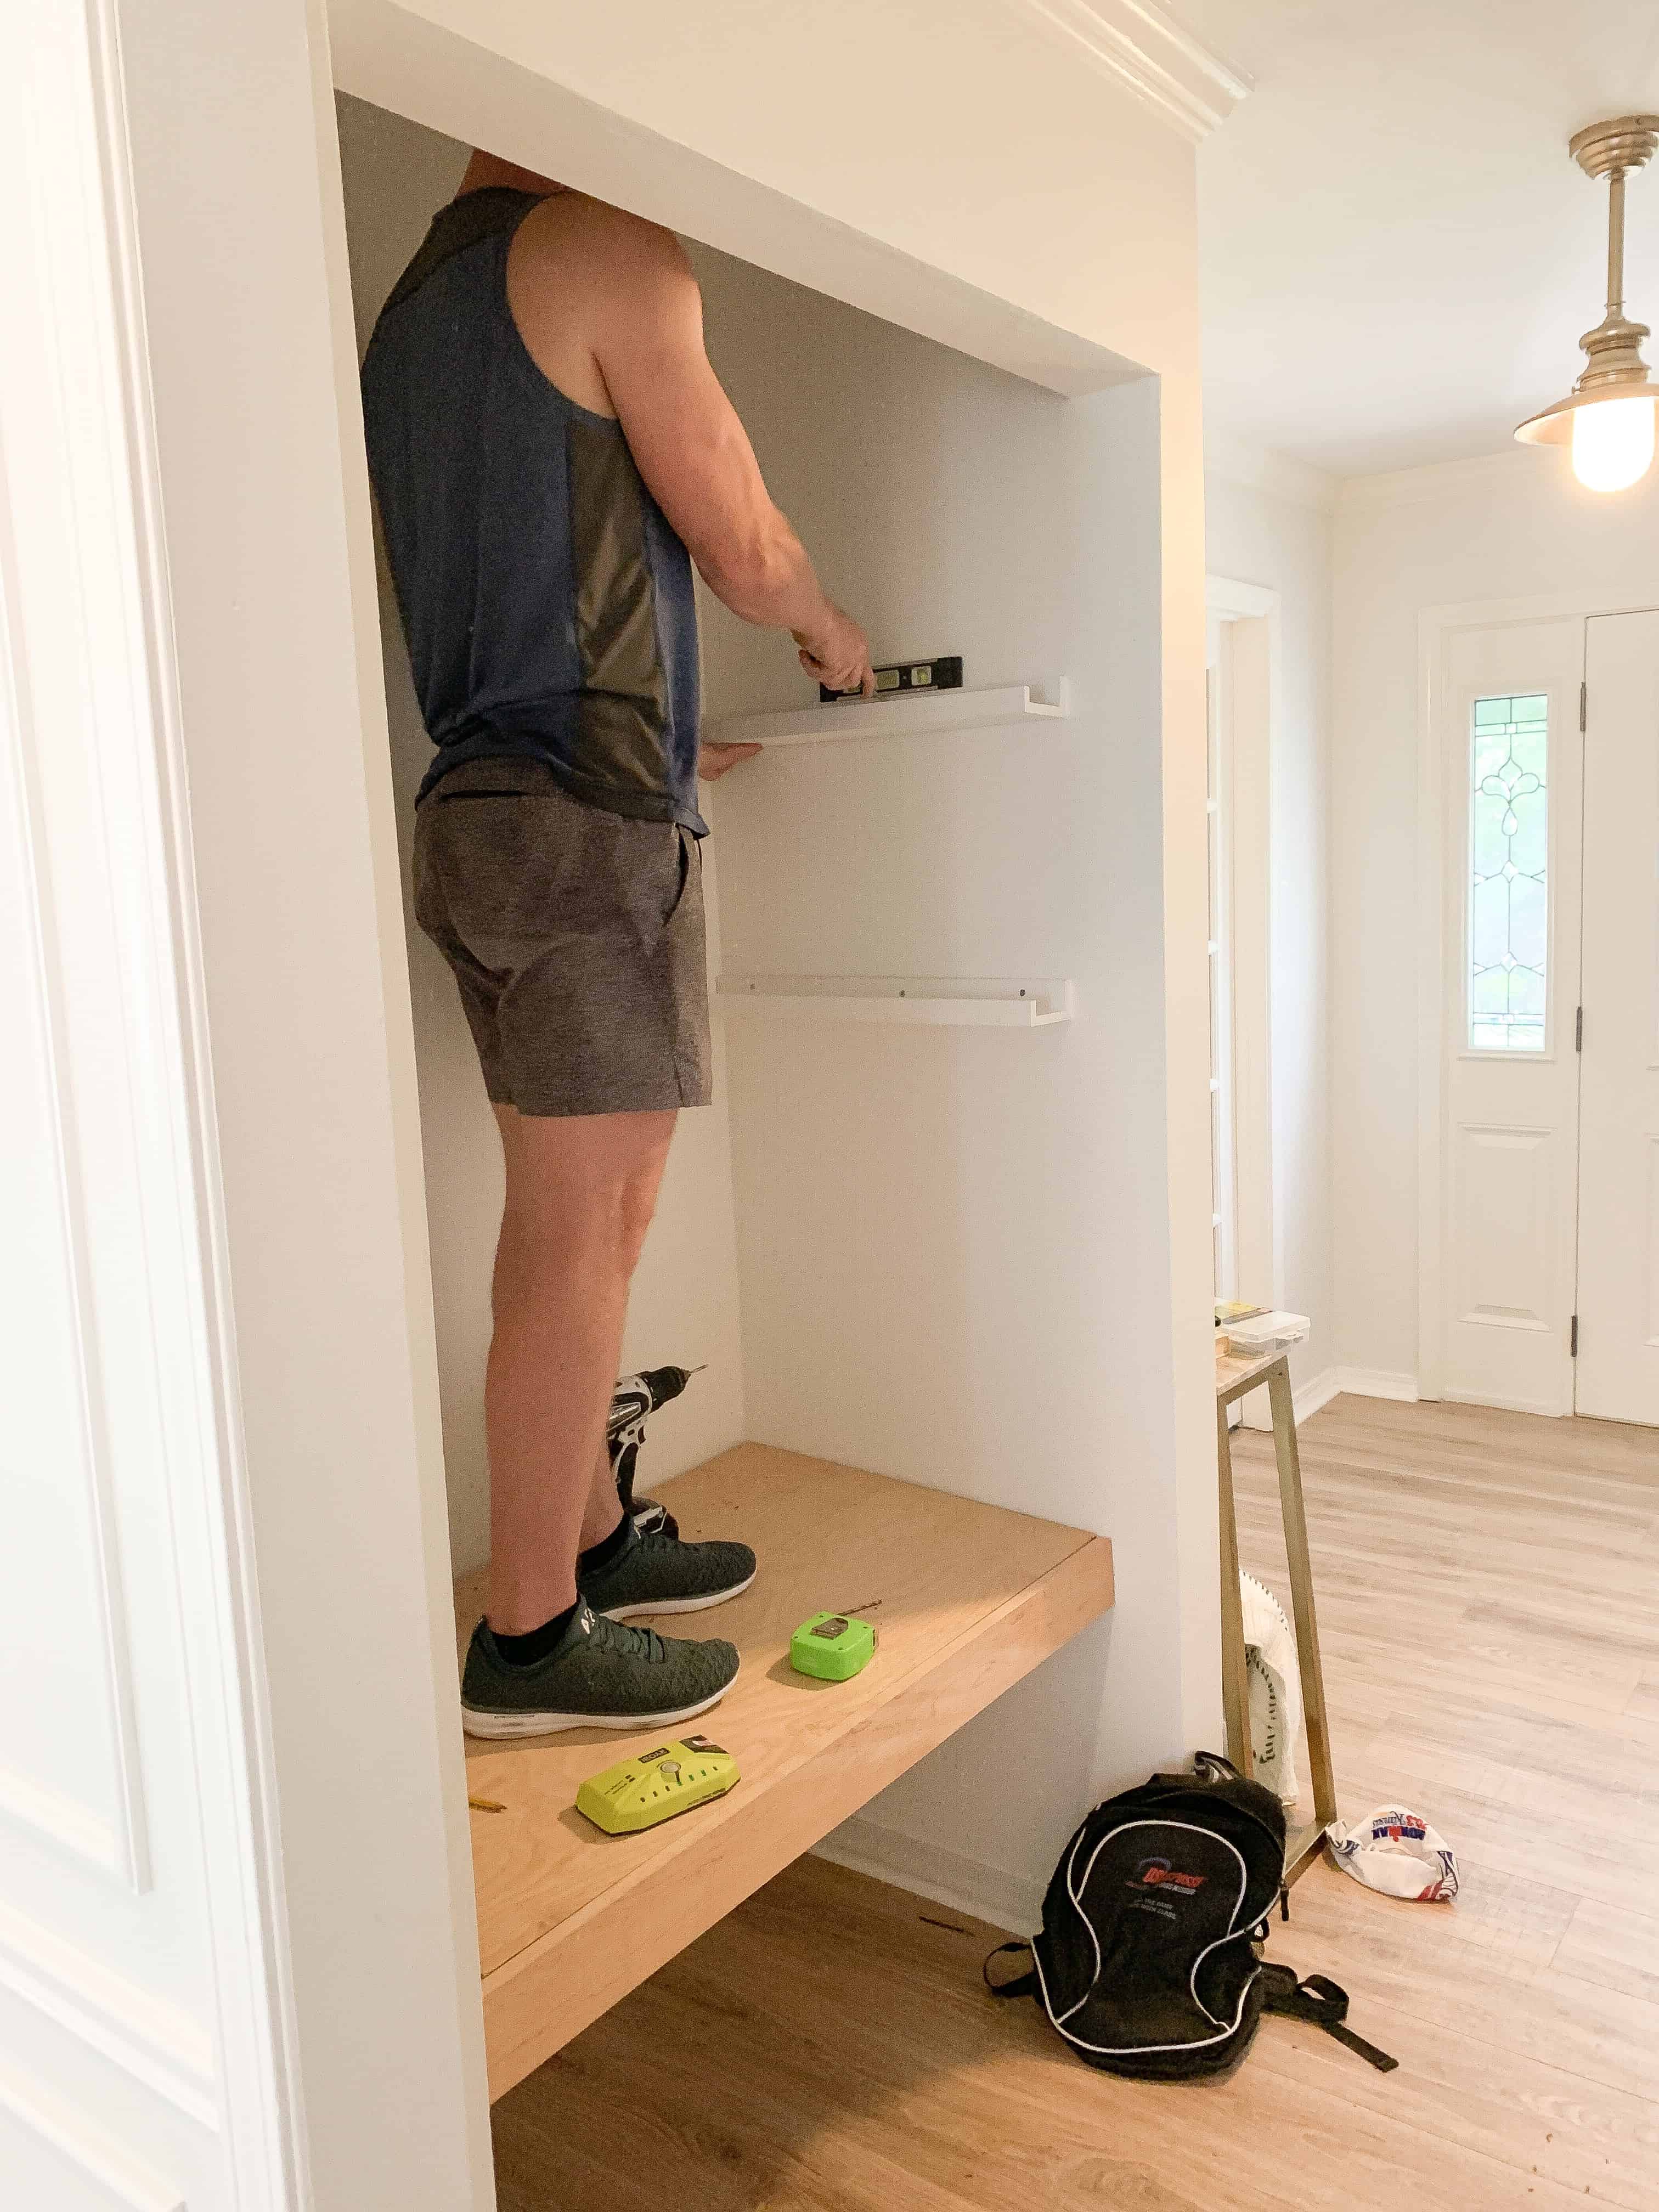
- NEXT – take a deep breath and get your top board (remember for us this was birch plywood) and lay it on top. Ideally its snug, but fits flat. If you plan to stain your bench, once you know it fits you need to stop and do that step.
- Once we had fit our top board we measured our 1×4 piece of birch, and got that cut. We made sure both boards were at the right length and took them outside to seal. I opted not to stain them, but did do 3 coats of a poly sealer. Between each coat I gave it a light sanding.
- Now its time to attach your last boards. We purchased small L brackets for this. The top board was laid on top of the frame and from the bottom we attached the L bracket to both the top board and the frame.
- Last was attaching the 1×4 board. We got under the bench and nailed through the 2×3 frame into the front 1×4 birch trim board. Make sure your nail will not come thought the front, because the point of this is for it to look seamless!
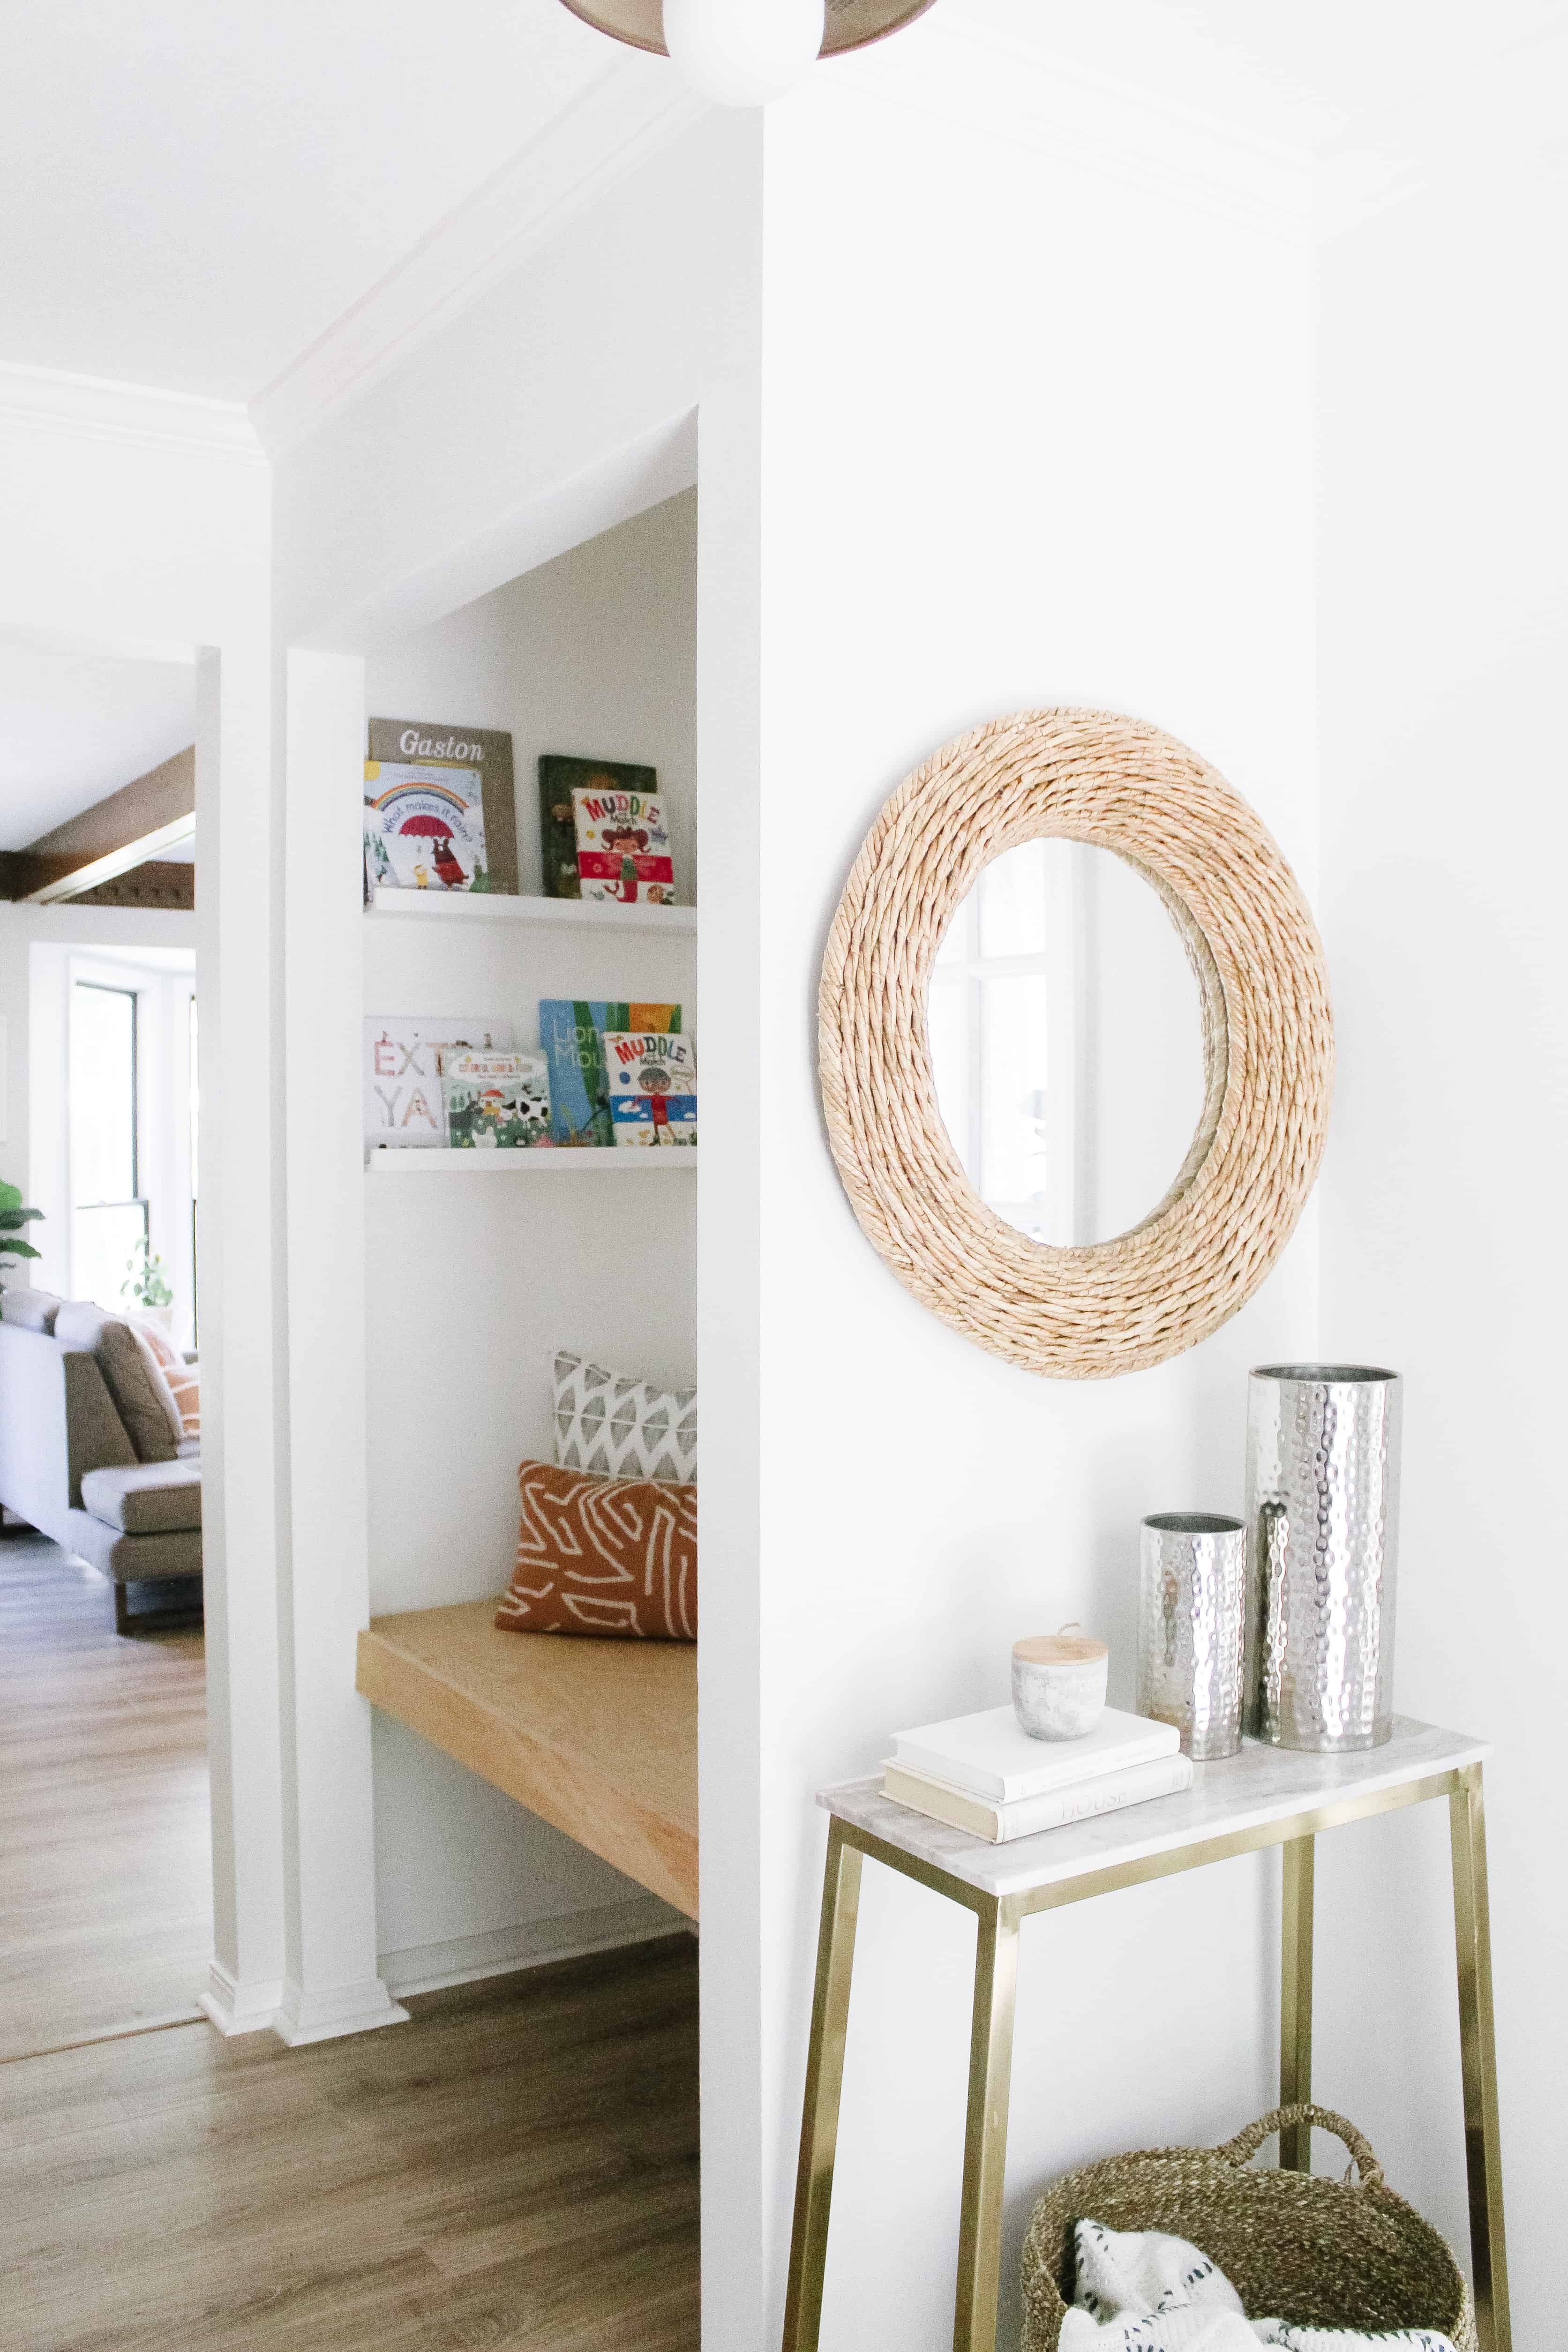
Book Shelves
Now the hard part is done! Next we had to do the book shelves, and after changing my mind SO MANY times we decided to just go with some store bought photo ledges for the sake of ease. I found that there were a few options that worked well for us, but the best fit was these from Target so that is what we ordered. I went with 4 shelves total to keep things simple and love how they look.
In order to make them more structurally sound, because I don’t love the way those shelves hang, we drilled straight through them into studs. I knew there was a good chance kids would hang on them grabbing books and wanted them STURDY.

Over all this was not a super difficult project, but the attention to detail has to be there during the measuring process, and bench building process. Take your time, and in my opinion – use Home Depot for the large cuts because there is no room for error. If you have any questions let me know in the comments below, and if you are interested in other DIY Projects be sure to check out some of my others that will make your kids love your house even more!
DIY Wall Mounted Easel | DIY Under Stairs Playhouse | My Top Ikea Hacks
Pin The Image below to make a DIY Coat Closet Book Nook of your own