I am SO excited for this DIY tutorial you guys!! I honestly don’t remember the last time I loved a DIY So much. If you are looking for a DIY Light Fixture tutorial this blog post is perfect for you! Hopefully you create your own version for a whole new look to a space in your home.
This post may contain affiliate links
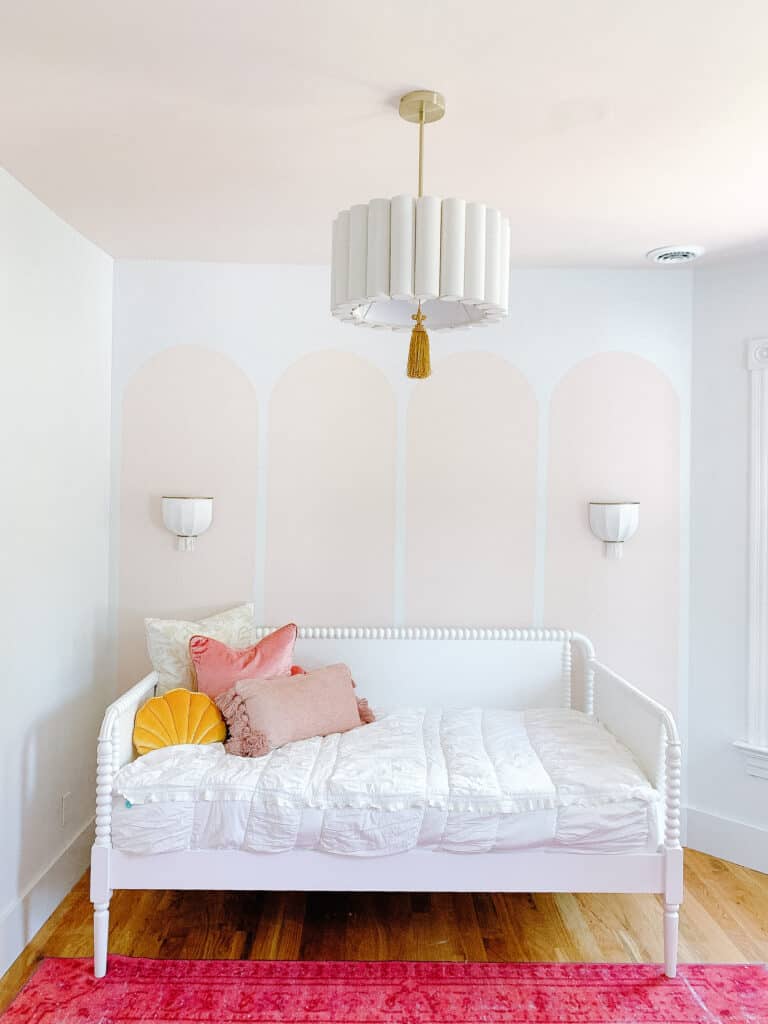
Creating Ave’s Room
We have been working on updating my oldest daughters room in our 1860s home. If you are new to my blog – we have been renovating an 1860s home in St. Louis, MO, and taking you all along for the ride.
I have 4 kids, and right now my big focus is on my 6 year old daughters room. I am working on creating a grown up, yet little girl room for her one diy project at a time.
That always means DIY’s along the way. I am going for a sort of boho, fun, whimsical design that incorporates some Art Deco aspects. I have been searching every thrift store I can find for inspiration and fun things to add to the space (and honestly thats a great place to find fun light fixtures for DIY’s as well).
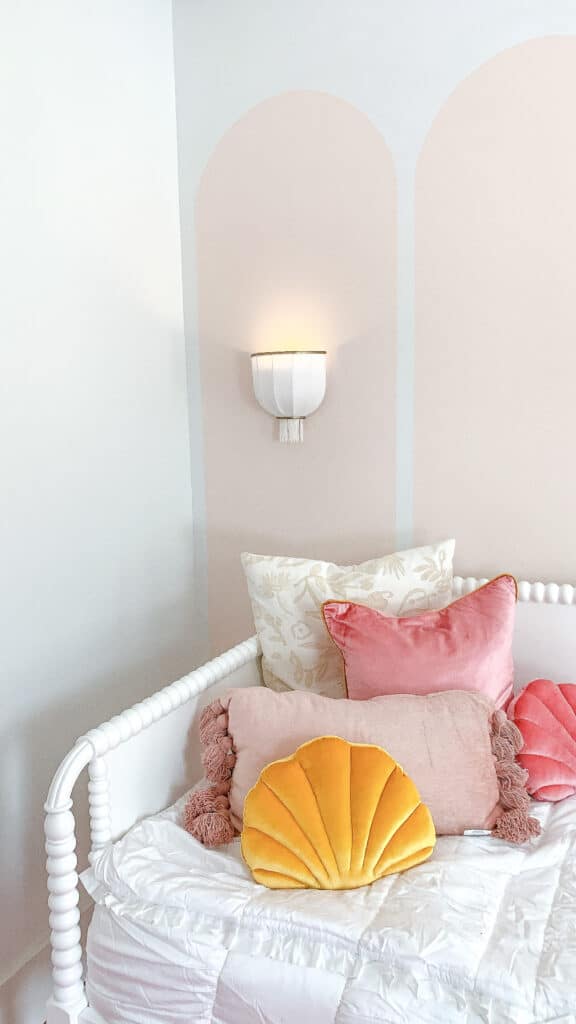
I don’t have the room fully done for a reveal, but while I finish it up, one thing I thought I would talk about is the fun in adding sconces as well. I bought Avé these fun little sconces that were the perfect light fixture for her walls.
In order to cut out an extra electrical cost in the room we opted to mount them and add puck lights that are battery operated to the lights. (The puck lights also can turn different colors which was an added bonus for the 6 year old!)
So if you are looking for a fun project that is super quick and simple that might be something worth considering.
PVC DIYs
Once you get down to the supplies on this DIY you are going to notice that this DIY light fixture is made from PVC pipe… which just seems weird, but it isn’t my first rodeo doing a PVC pipe DIY, and the last one is one of my favorites to date, so I knew it was worth a shot.
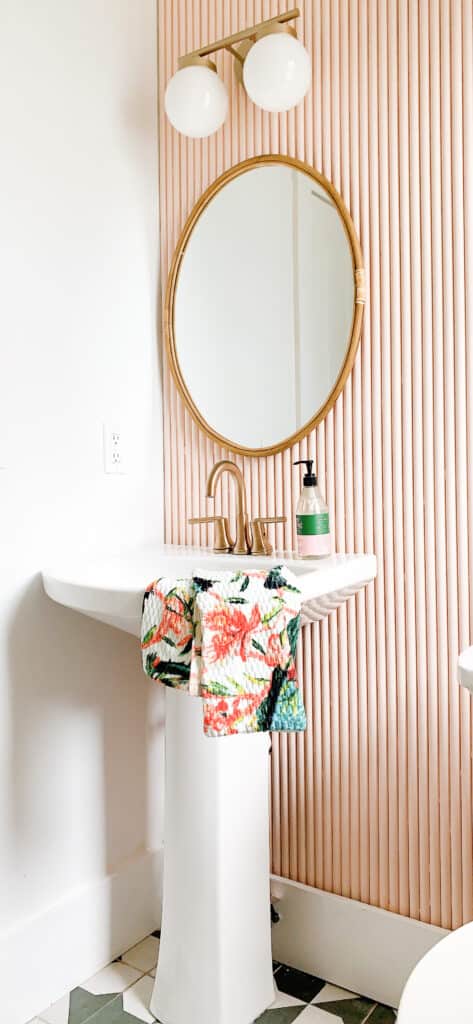
We did a full fluted PVC pipe wall in our bathroom a few months ago and it is GORGEOUS, so I knew that PVC could be transformed if given the right chance. Well and if I could convince my husband that it would yet again work.
If you finish this DIY tutorial and decide you’re ready for another, be sure to check that post out because it is honestly such a cool outcome to a bathroom.
DIY Light Fixture
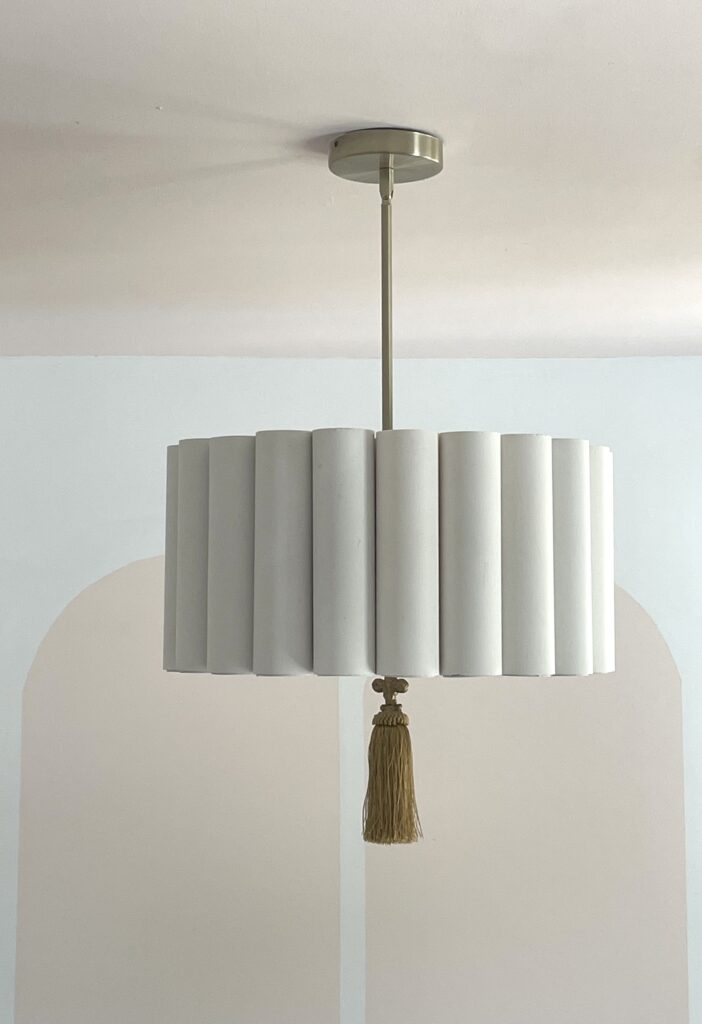
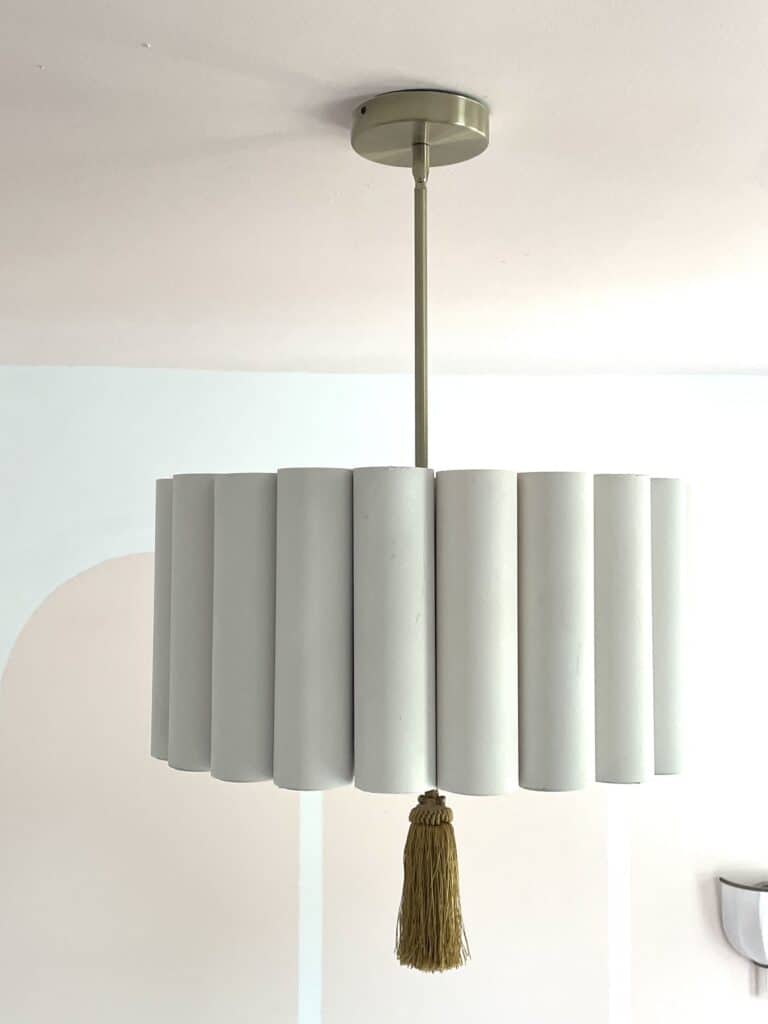
One thing that I knew Ave’s room needed was a new light fixture. I have a HUGE passion for making a more affordable version of very high end items that I can’t justify in our house full of a million kids, and this DIY was exactly that. I combined a lamp shade, spray paint, and some PVC pipe to create something that I LOVE.
I love modern – sort of granny modern actually, so when I was looking at modern light fixtures I kept falling in love with the very fluted and funky look that I landed on, and it ended up being pretty darn easy to create.
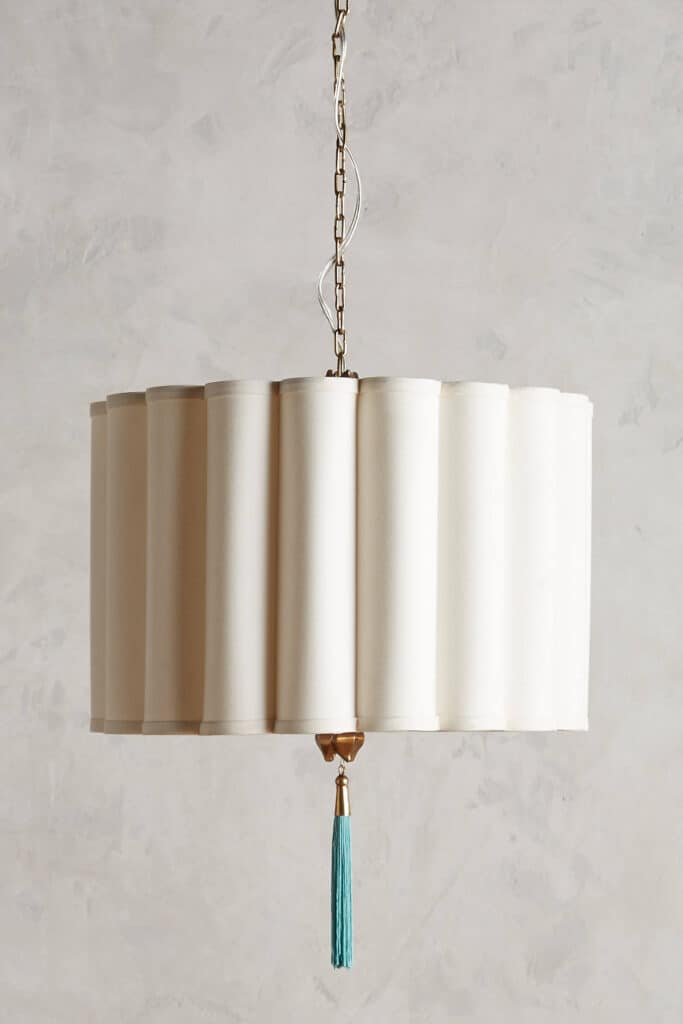
This isn’t my first time doing a DIY light fixture to some extent. Last month when we finished our powder room I had an existing light fixture that I loved that I gave a coat of spray paint to be the right shade of gold. I have also painted an old chandelier ivory in our last house. It gave an old brass fixture a farmhouse feel for basically nothing.
Just remember that light fixtures can be updated with a little bit of paint or new shades just like you would update old furniture with new hardware or paint.
Things to Note on This DIY:
It will be HEAVY to hang – I recommend a professional, however if you feel comfortable tackling it on your own, know that going into things.
This is a single pendant lamp light fixture and thus will not put out tons of light, however we have been very happy with the light output for a bedroom.
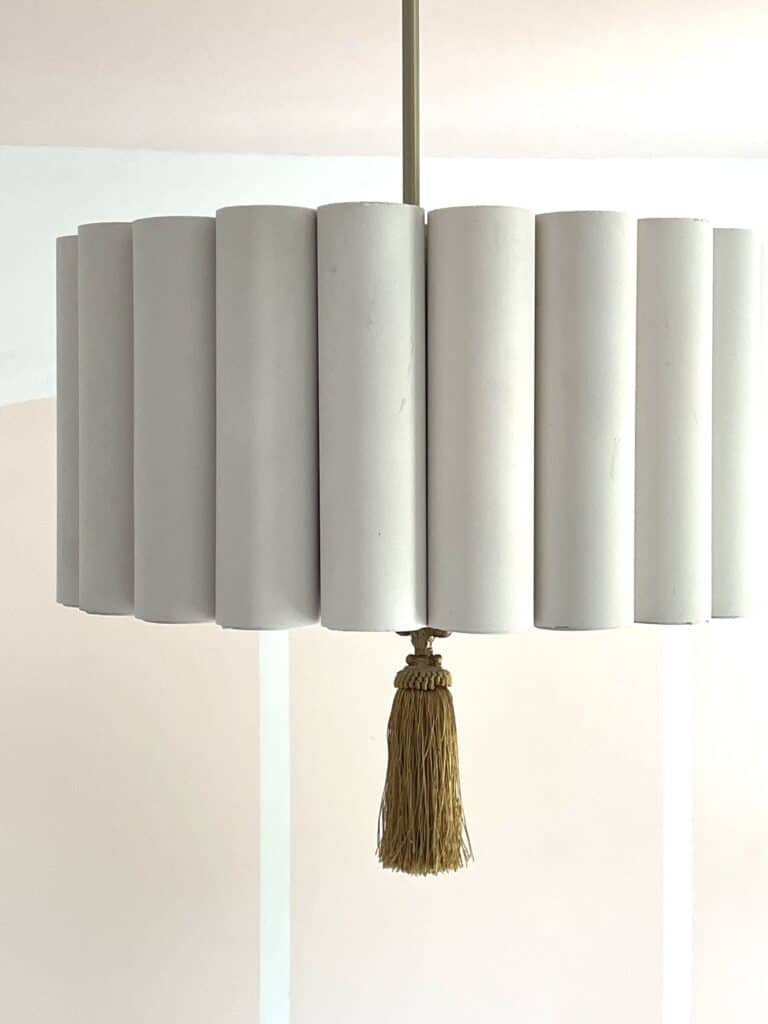
Supplies for your DIY Light Fixture
Okay so enough on doing DIY’s and more on doing this DIY pendant light. Gather all of your supplies listed below to get started.
- Pendant Light Kit – Pick whichever you want. I opted for gold for the look I wanted but honestly just find something affordable that you like the look of.
- Lamp Shade – you can pick about any lamp shade but it needs to be perfectly vertical on the sides. I went on the larger size, but you could also look at thrift stores for that.
- PVC Pipe – We used 2 inch and needed 3 of them
- Hot Glue and Hot Glue gun
- E6000
- Wood Craft circles
- Spray Paint – I personally love this spray paint and felt that it did a great job giving it the look I was going for. This wold be a light fixture that would be GORGEOUS in a bight color as well, so play with color if you are looking for fun!
- Optional – Tassel (the inspiration light I loved had a blue tassel hanging from it)
- Miter Saw – We have owned both of these and love them. Pending your needs depends on which I would recommend price wise. We upgraded as we started doing more and more DIYs. (less expensive / More expensive)
Step by Step Instructions on Making your New Fixture
These 4 simple steps will help you make a DIY light fixture in one afternoon. This is a super easy diy, but you will need to use a Miter Saw or have someone else cut the PVC.
One thing to take into account before you start is which way you want the lamp shade to go. You don’t want the light bulb to hang out the bottom, so pay attention to that before starting.
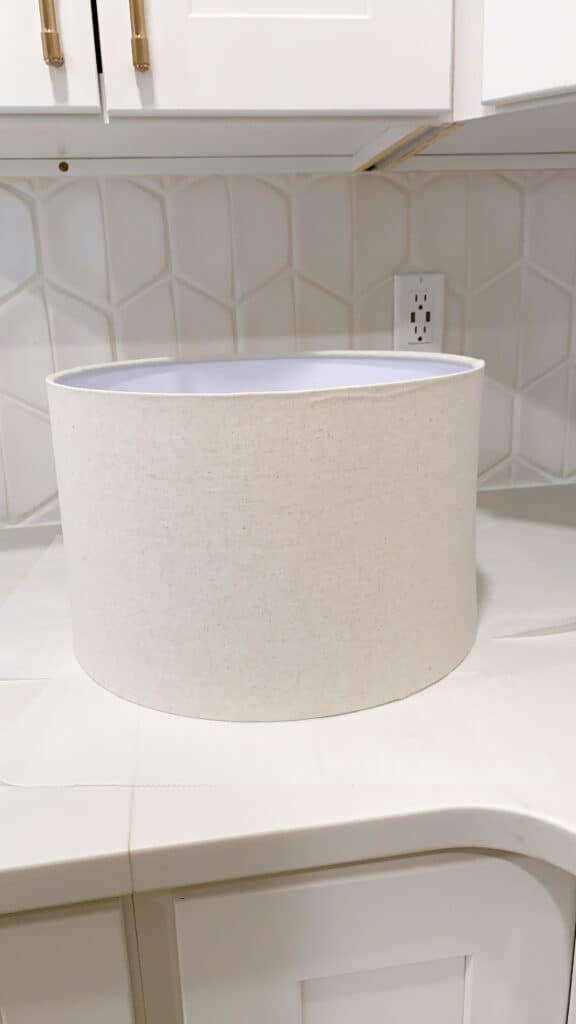
- First things first you are going to cut your PVC – Make them just a little longer than the height of your lamp shade. If you haven’t cut PVC before know that it does make a pretty good mess. We got our PVC pipe at Home Depot.
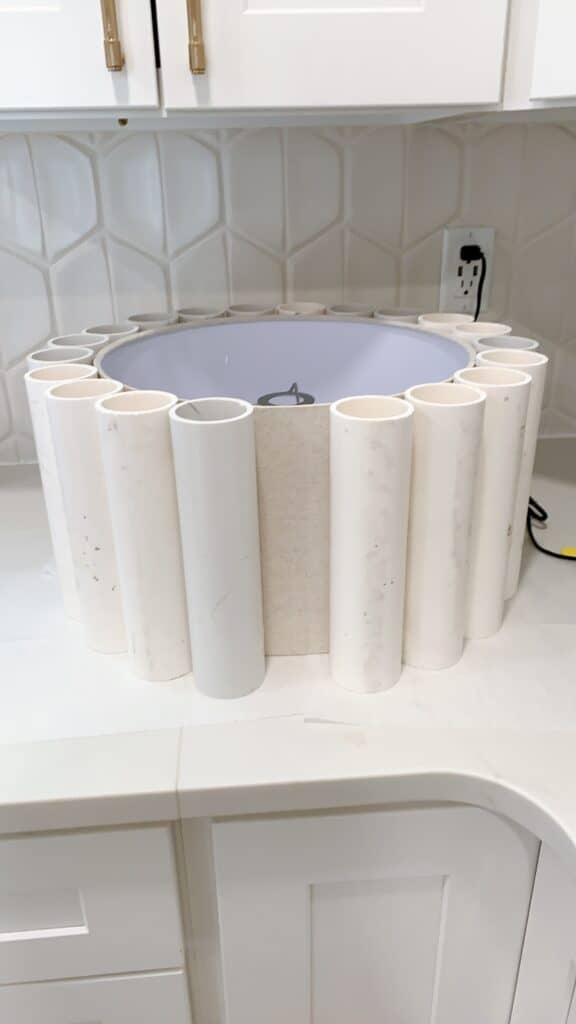
2. Using hot Glue you will start to glue your PVC pipe on the outside of your lamp shade. Space them accordingly because you may need to leave a tiny gap between each pending how the spacing turns out.
We opted to glue them on with the bottom on the counter just like it will hang so that the side you will see stayed perfectly level.
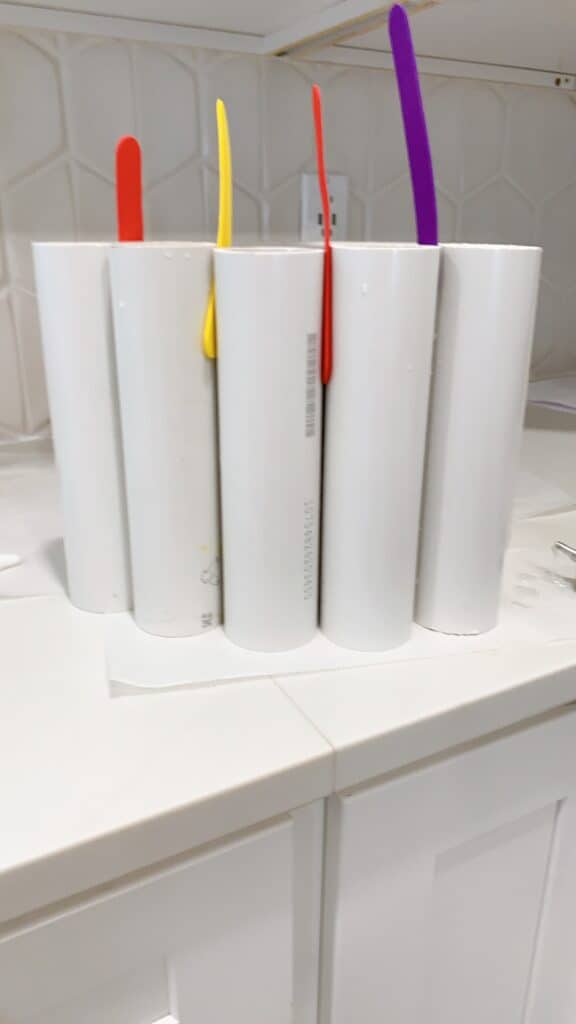
3. Once it is done and dry, flip your lamp shade over so the bottom side is up and using hot glue CAREFULLY glue your small wood circles onto the bottoms of the openings. They barely hang over so this was a bit tricky, but was the most affordable option I found.
4. Spray paint – I used a matte spray paint to make it look more like fabric and loved the end outcome.
Hanging Light Fixture
Once the light fixture is done, it is time to hang the DIY light fixture, but you are going to notice – IT IS HEAVY. In my opinion I would only hang it with the existing electrical box if you have a ceiling fan box in place to handle the weight. We chose to have an electrician come in and professionally hang the light fixture and move the existing location of our last fixture.
Because the light ended up being such a focal point to the room I needed it centered so that took the leg work out.
Overall – this was a DIY that was simple, and inexpensive, but it totally changed the feel of the room. Sometimes I think people overlook what a big impact light fixtures have in a space, and forget what a great thing it is having something that suits your style that takes little to no upkeep.
Other Posts You’ll Love
If you loved this tutorial check out the posts below for more blog posts from me that you will love.
Beddys Bedding Review and Discount code – Bedding seen in this post
Jenny Lind Bed Review | Hanging Chair Review | Pink Tarva Dresser DIY
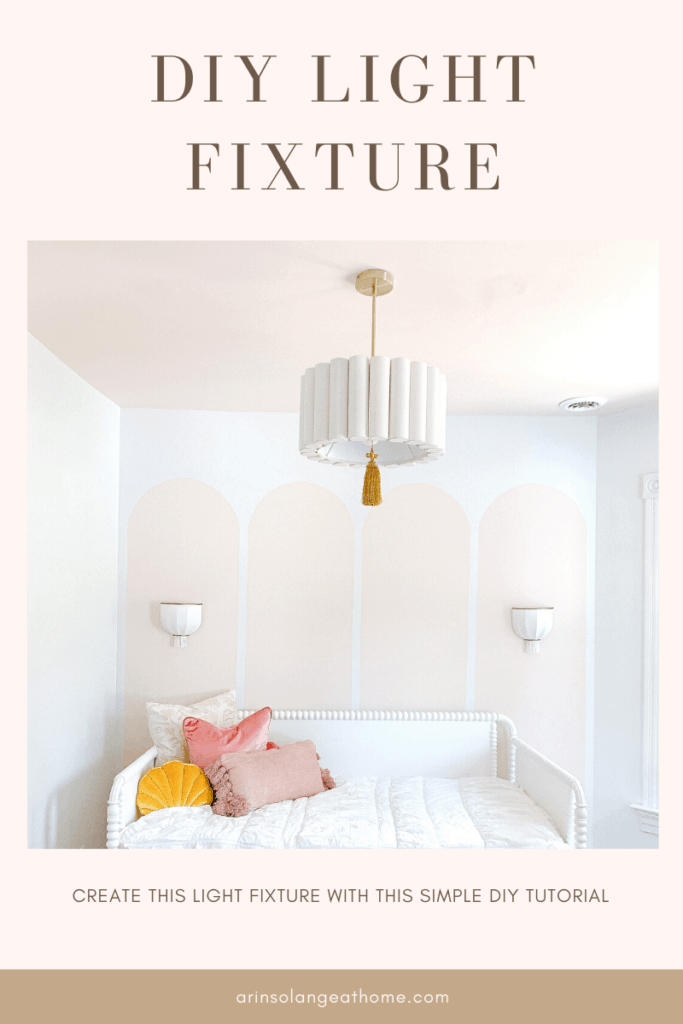
Pin the Photo Below for Later
Hopefully you found this tutorial for my DIY Light fixture was easy and fun, and you were able to create something custom for your child’s room. Be sure to follow me on Instagram (@arinsolange) for more DIY’s and home decor, and be sure to leave any questions you have in the comments below.

Will you please add the ceiling and wall paint colors?
Hi Penny – the walls are Valspar Du Jour and the Ceiling and arches are Benjamin Moore Desert Rose.
How did you attach the Shade to the light fixture?
Hi! It just slid over the top 🙂
I think you could do this with cardboard paper rolls so it’s not so heavy, another trick is to cover the paper rolls with material of choice.