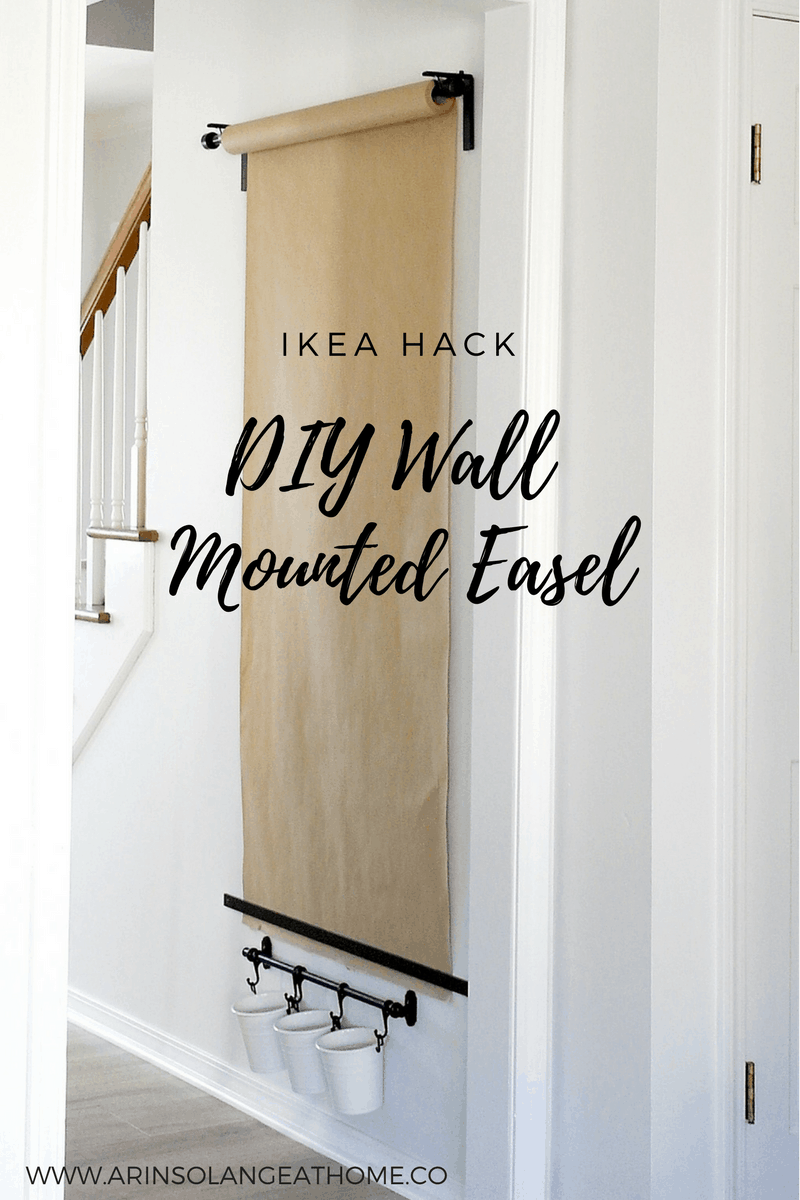
Sharing Our DIY Wall Mounted Art Easel that was the best DIY fix to a need we needed filled yet to date. I did this a few years ago, and it remains a favorite here on my blog as well as in my home, so I can’t wait to help you all create one for your families as well!
This post may contain affiliate links.
This post was updated April 2024.
DIY Wall Mounted Easel
I am going to go ahead and update this a bit – I created this DIY wall mounted easel over 3 years ago. ‘Santa’ set it up on Christmas Eve and it has been love ever since. Sometime the kids go weeks without touching it, and sometimes they go weeks fighting over who gets to draw on it.
This easel was created for my oldest who is now 7.5 but he has 3 younger siblings, so it has been so fun to watch each of them use it! If you’re on the fence about this DIY I say go for it and do it.
Our oldest son, Jack is crazy about the art easel at school, so much so that he hated to share it during free time because it was one of the few things he couldn’t also do at home.
I knew we wanted to get him an easel for Christmas, but I also knew that having one sitting out all the time would make me absolutely crazy.
I am super passionate about finding ways to make your house and your kids work together where you are both happy and in love with the design, and they are happy and able to grow and learn in the space. Both can happen cohesively if you work at it.
I wanted to come up with a DIY wall mounted Easel for him, but had to do some thinking on how to make that happen. There are some similar brands that sell Wall mounted paper scrolls, but they are crazy expensive, and I knew there had to be a way to make it happen on a tight budget.
For Jack art seems super therapeutic, and a way for him to really express himself, and we LOVE to support that.
An IKEA Hack Art Easel
I think if you find ways to embrace your kids needs in your home you will find everyone will be so much happier! And when it comes to doing a DIY hack make your way to IKEA and you will also be so much happier…you know, after the trip is over haha!
This DIY IS an IKEA hack, however I have had so many friends and followers use similar items from other stores since that time, so I am editing the post to allow you to find the items at a non IKEA store incase you are not close to one.
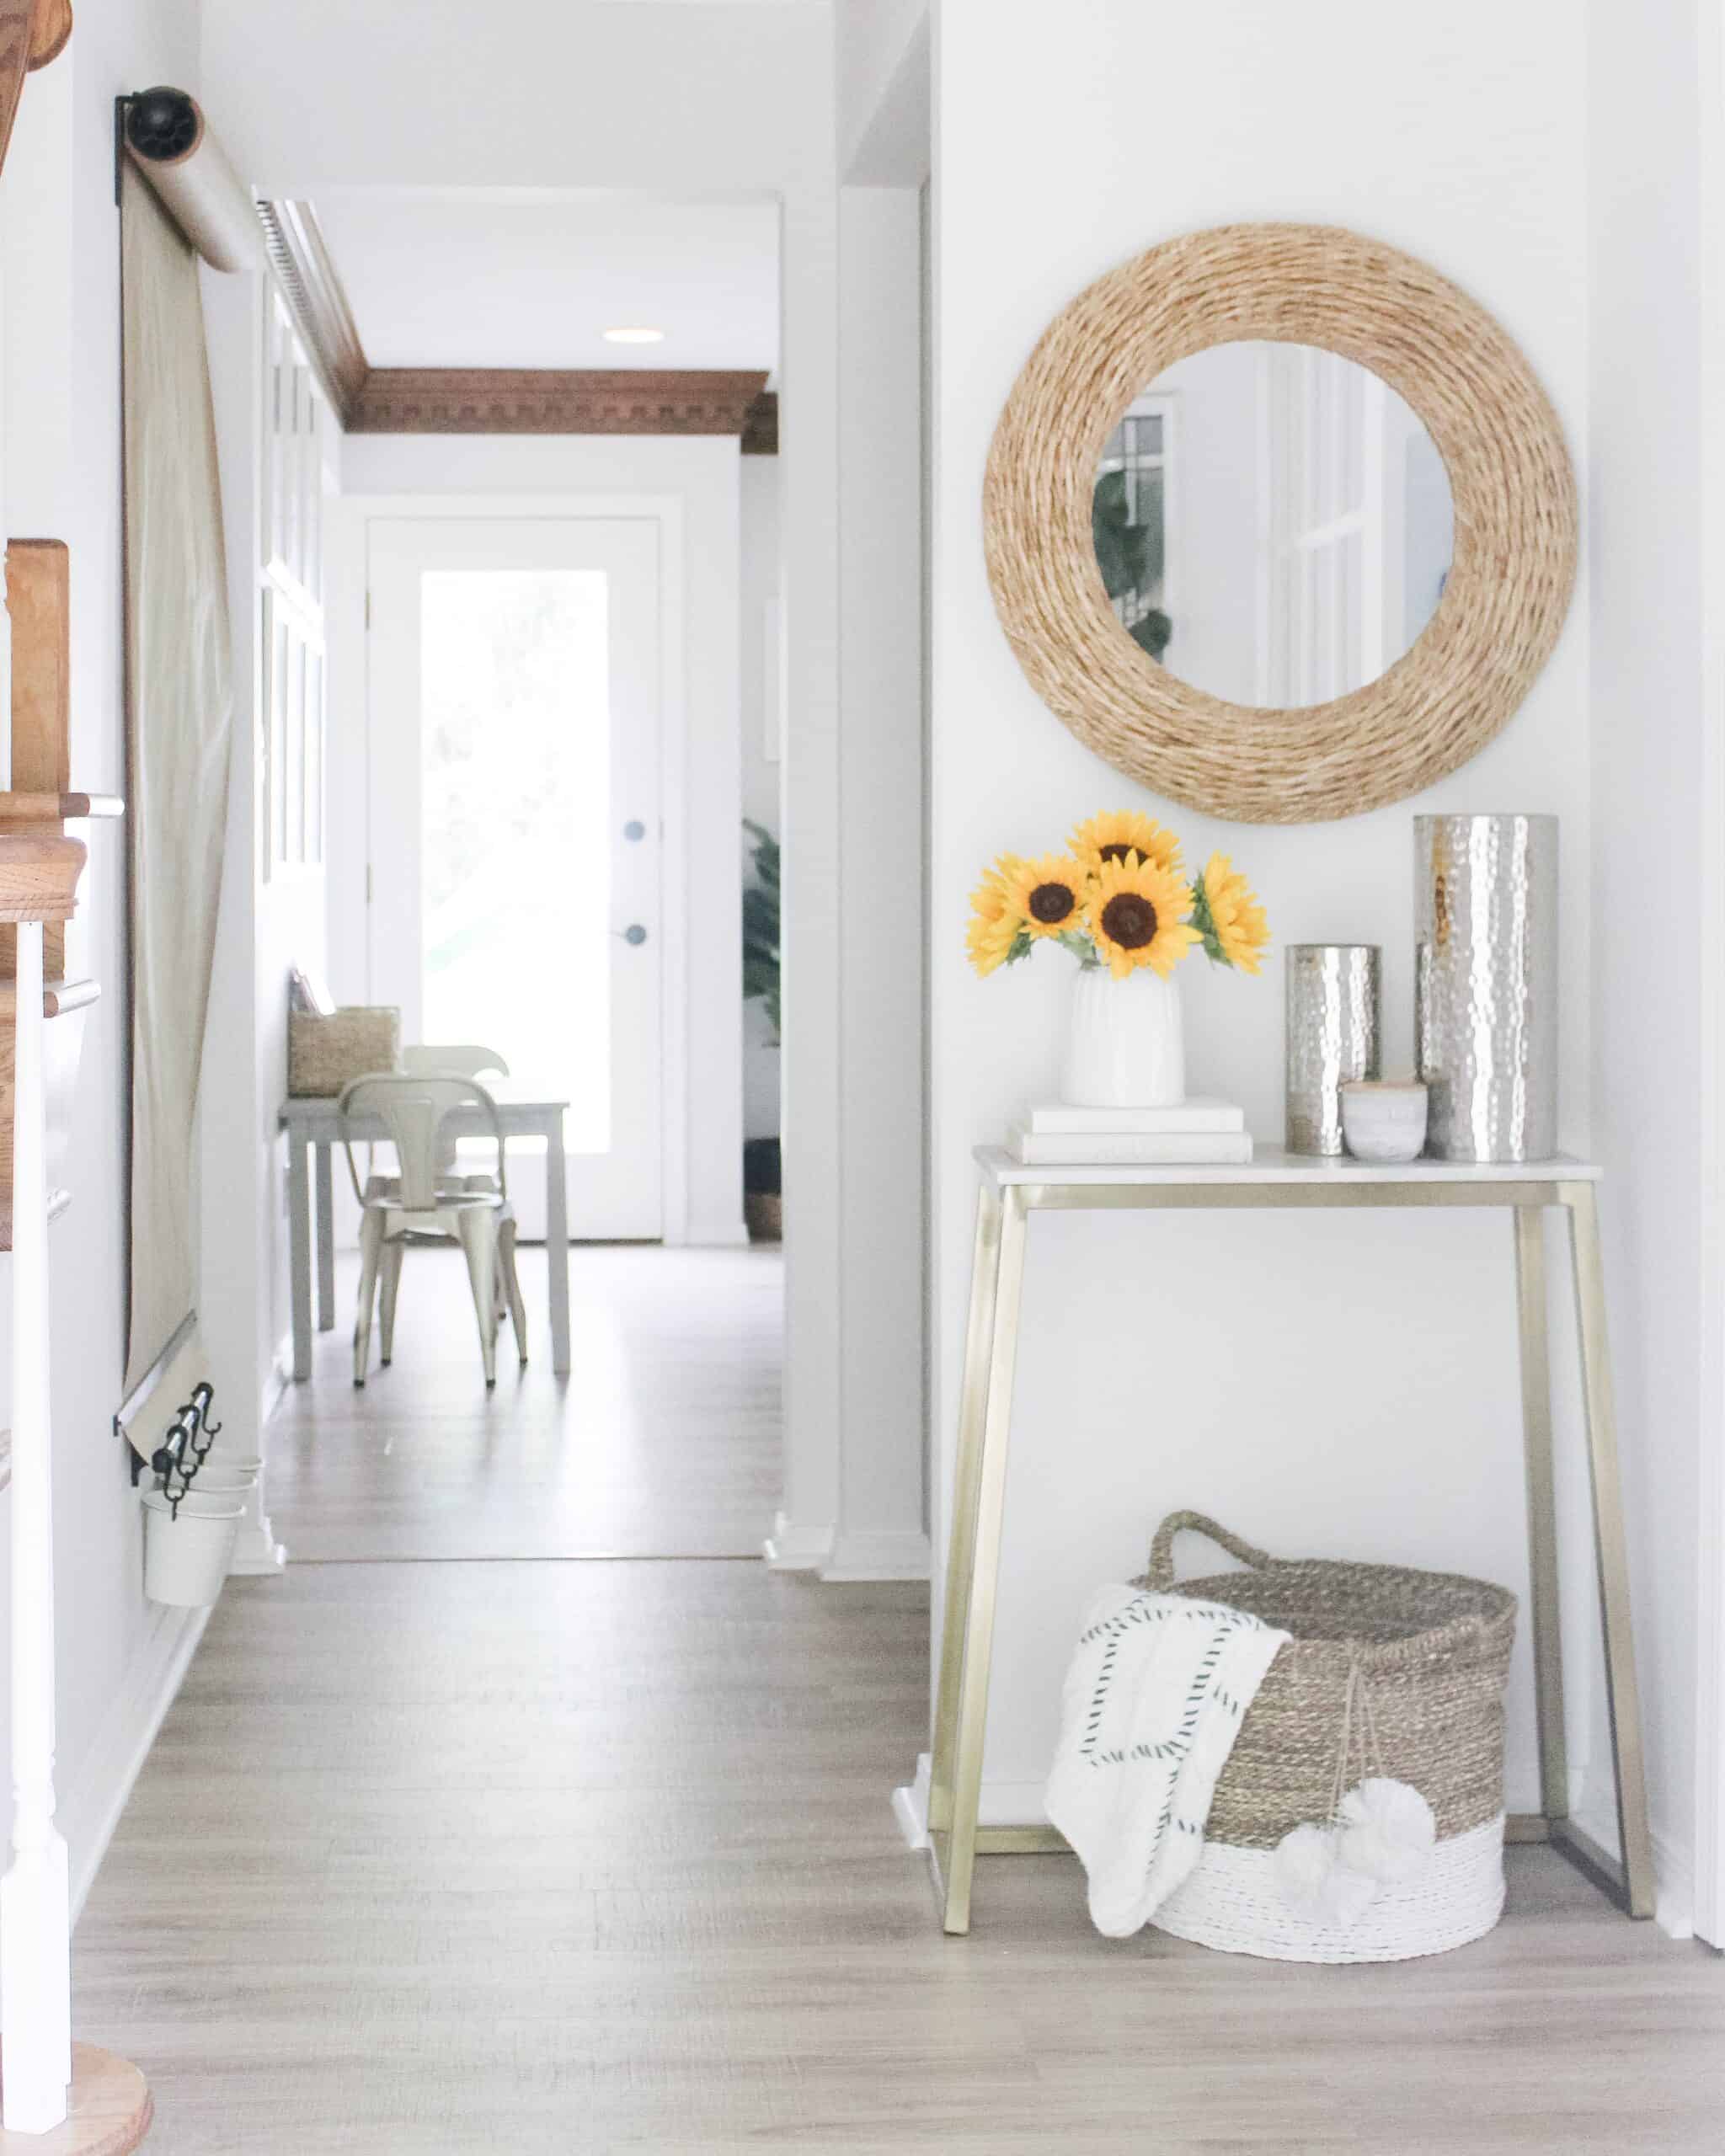
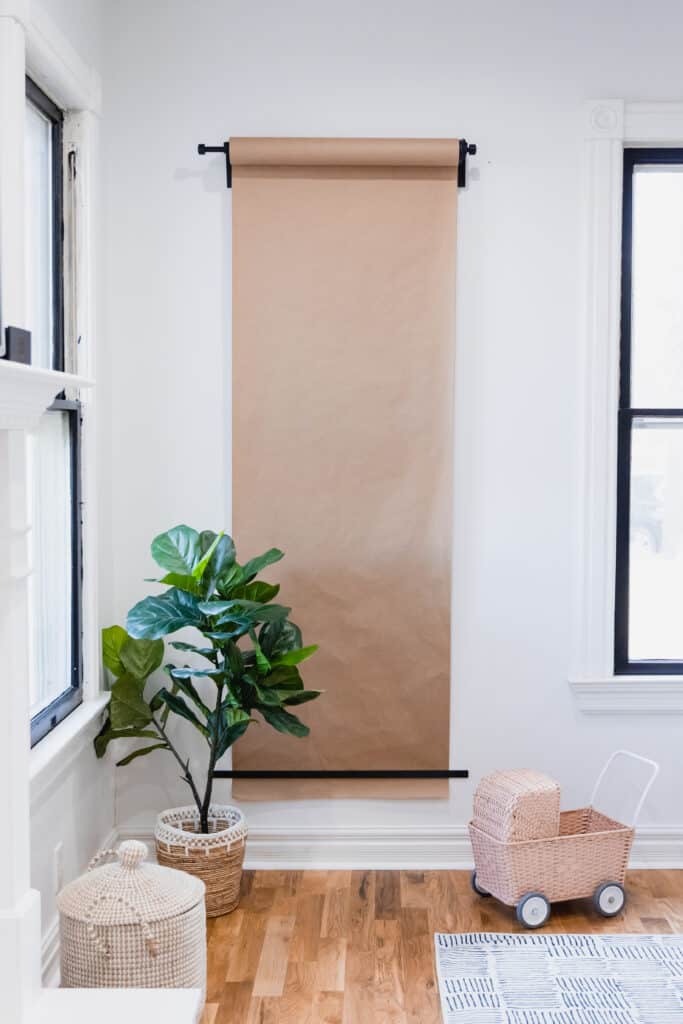
When I was researching DIY Wall Mounted Easel project I found a few inspiration posts and kind of just mashed them all together. My whole finished wall aside from the thin strip of black wood and the paper from IKEA
Before you head to IKEA for this project, because if you are like me, you like to knock it all out in one day, check out this post with all of my other IKEA hacks in one place, incase you want to tackle one of those too!
A VIDEO OF MY IKEA HACKS
What you need from IKEA:
1 RACKA Curtain rod in 28-47 inches – $1.99
1 Set Raffig Finials – $2
2 BETYDLIG brackets – $1.50 each
Optional for the marker baskets:
1 Black FINTORP Rail –$9.99
3 FINTORP Utensil Holders – $6.99 Each
1 Pack FINTORP hooks – $2.99
Other Supplies
Roll of Kraft paper – I chose to use the brown Kraft paper, but you could use white!
1 piece of wood 36 inches long (from craft store) -$2.99
Black Spray paint for wood if you would like
Non-IKEA Alternative for the Easel
This curtain rod bracket – important because of the adjustable nature allowing it to sit further from the wall!

Instructions
Now that you have your supplies, the actual assembly of this bad boy is so stinking easy. We actually like I said, did this for our oldest son for Christmas, and it was so easy that ‘Santa’ was able to install it all after the kids went to bed, and then sit down and have a glass of wine to enjoy Christmas Eve!
- FIRST – if you are painting the wood piece black, paint that and allow it to dry. You will see that in the supplies, I simply used black spray paint.
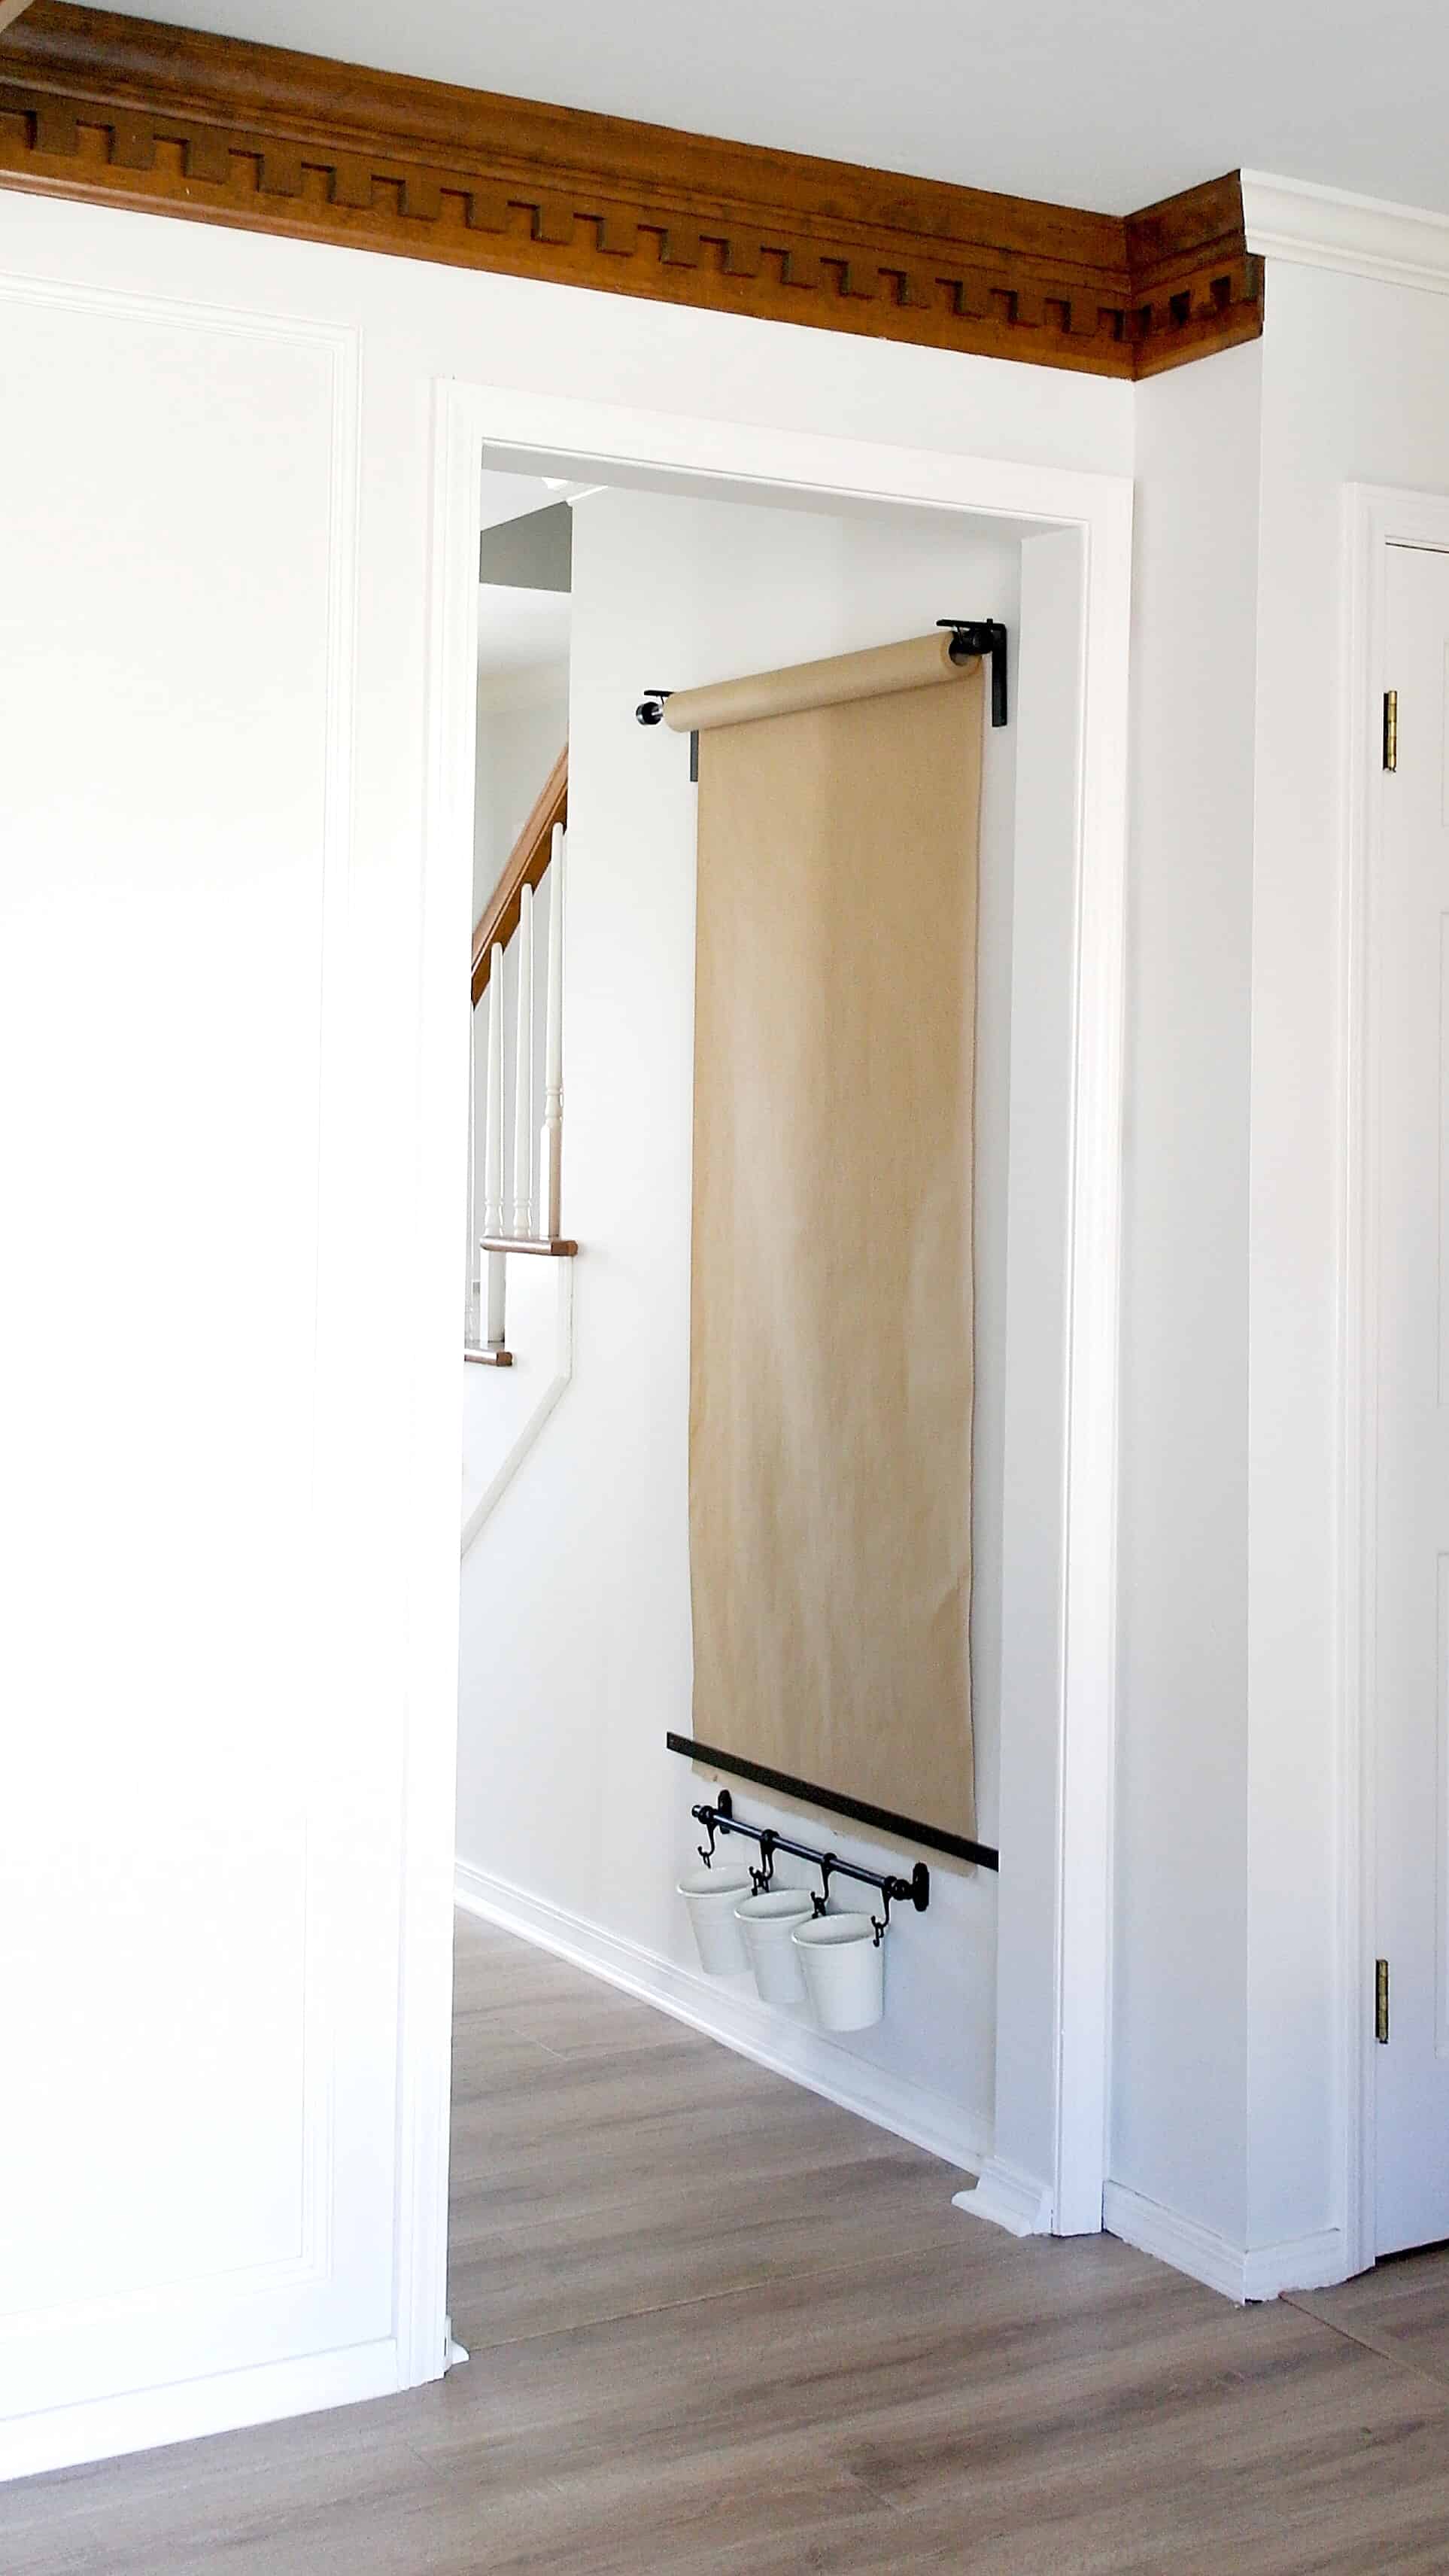
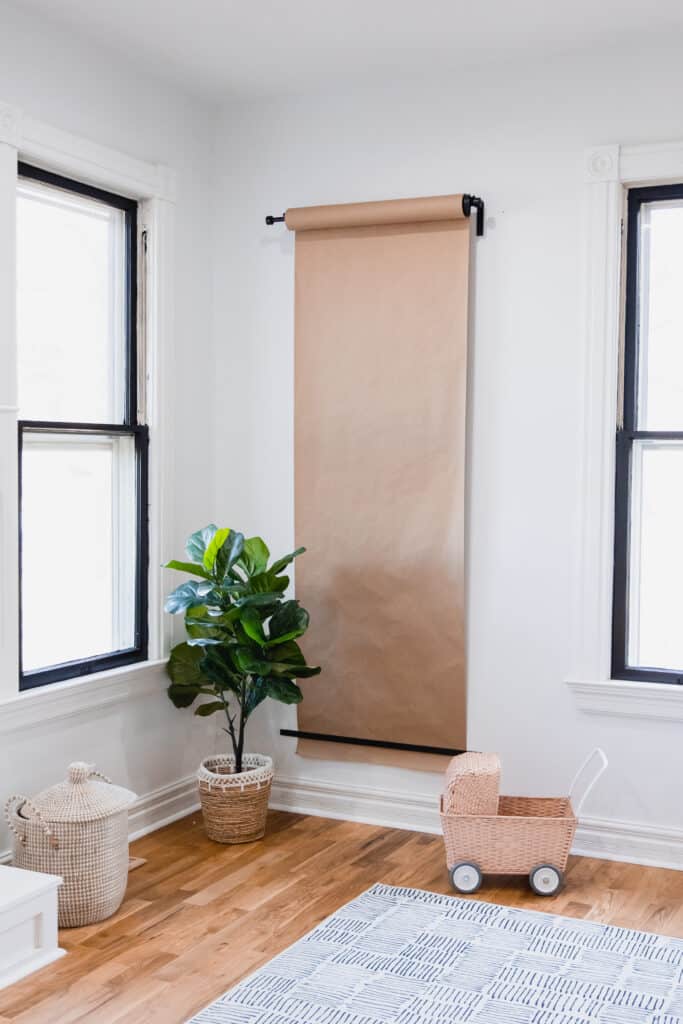
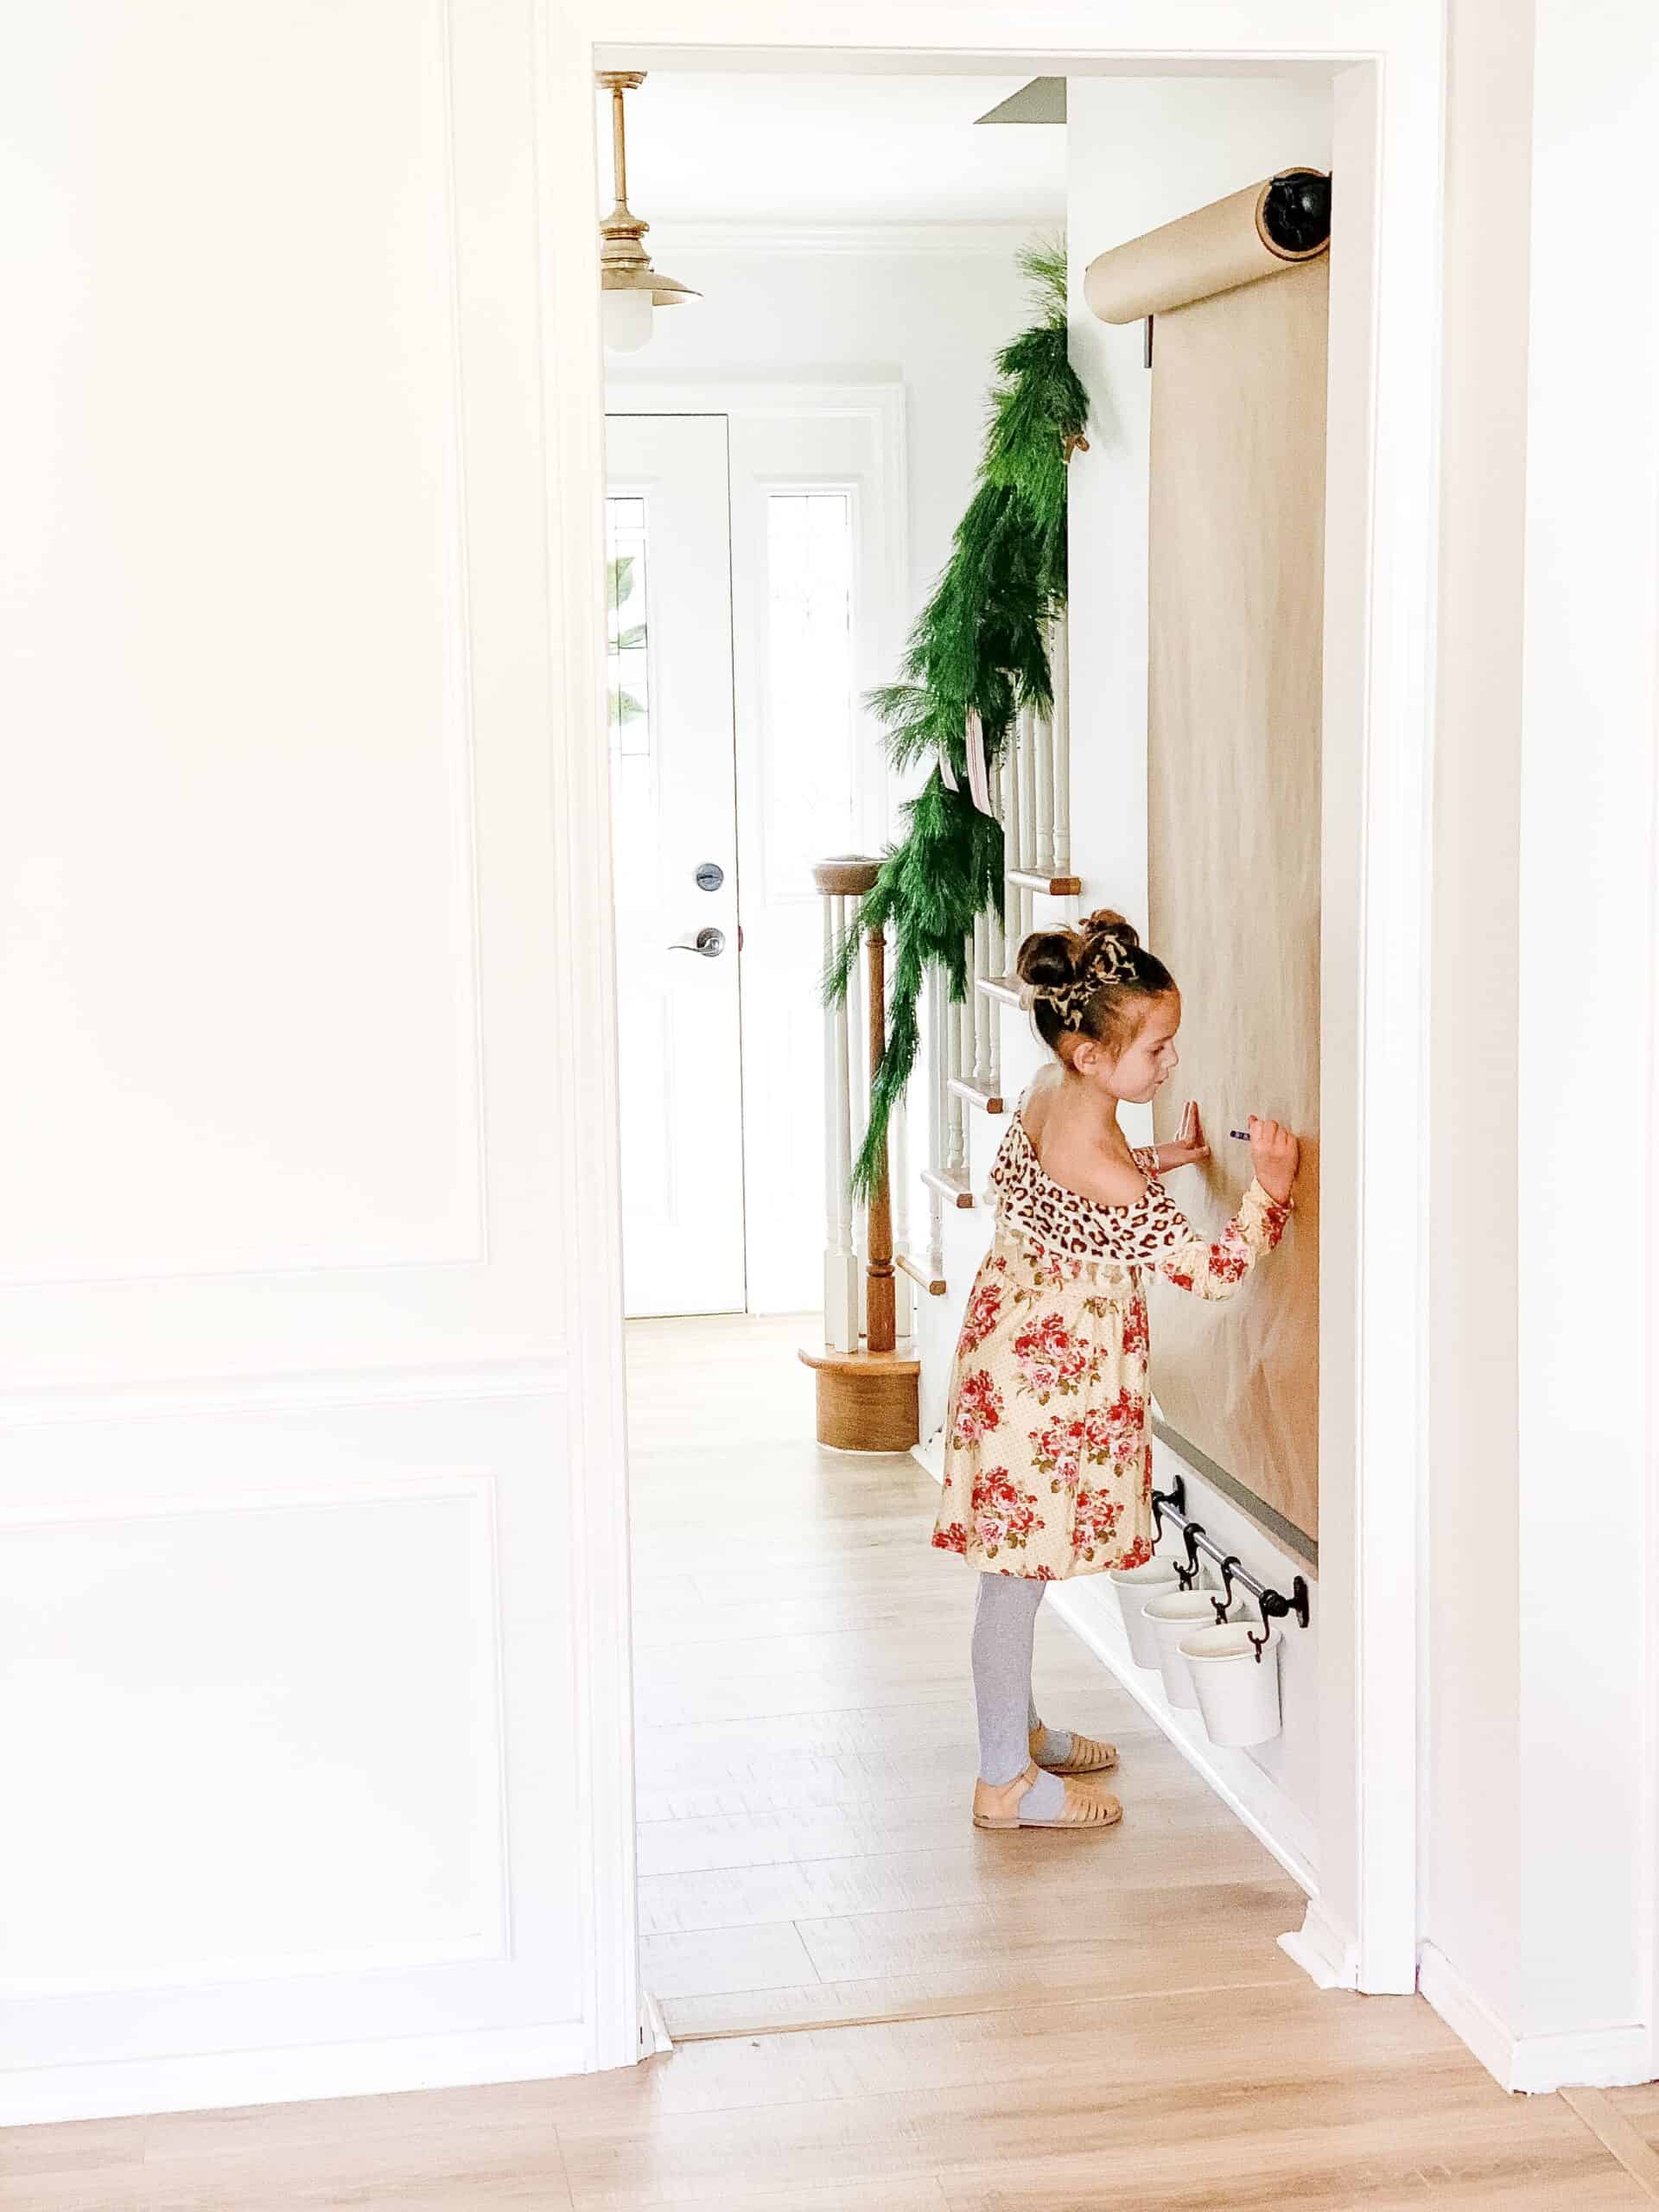
- Hang your curtain rod – hang at whatever height you would like and I hung mine roughly 32 inches across. The paper roll that I ordered (linked above) is 30 inches wide, which is where I came up with that width. One thing to note on the height is that it will stick out from the wall a decent amount, so I would recommend going high enough not to be hitting it with your head.
- Put your paper roll on your curtain rod.
- Now you just have to hang the wood piece. What I did was unroll the paper then laid the wood piece over it and we screwed into it on both ends NOT ON THE PAPER. So make sure your screws don’t go into where the paper will feed through. You also need to leave some slack in their so that you can kind of pull it out to refeed paper through from time to time.
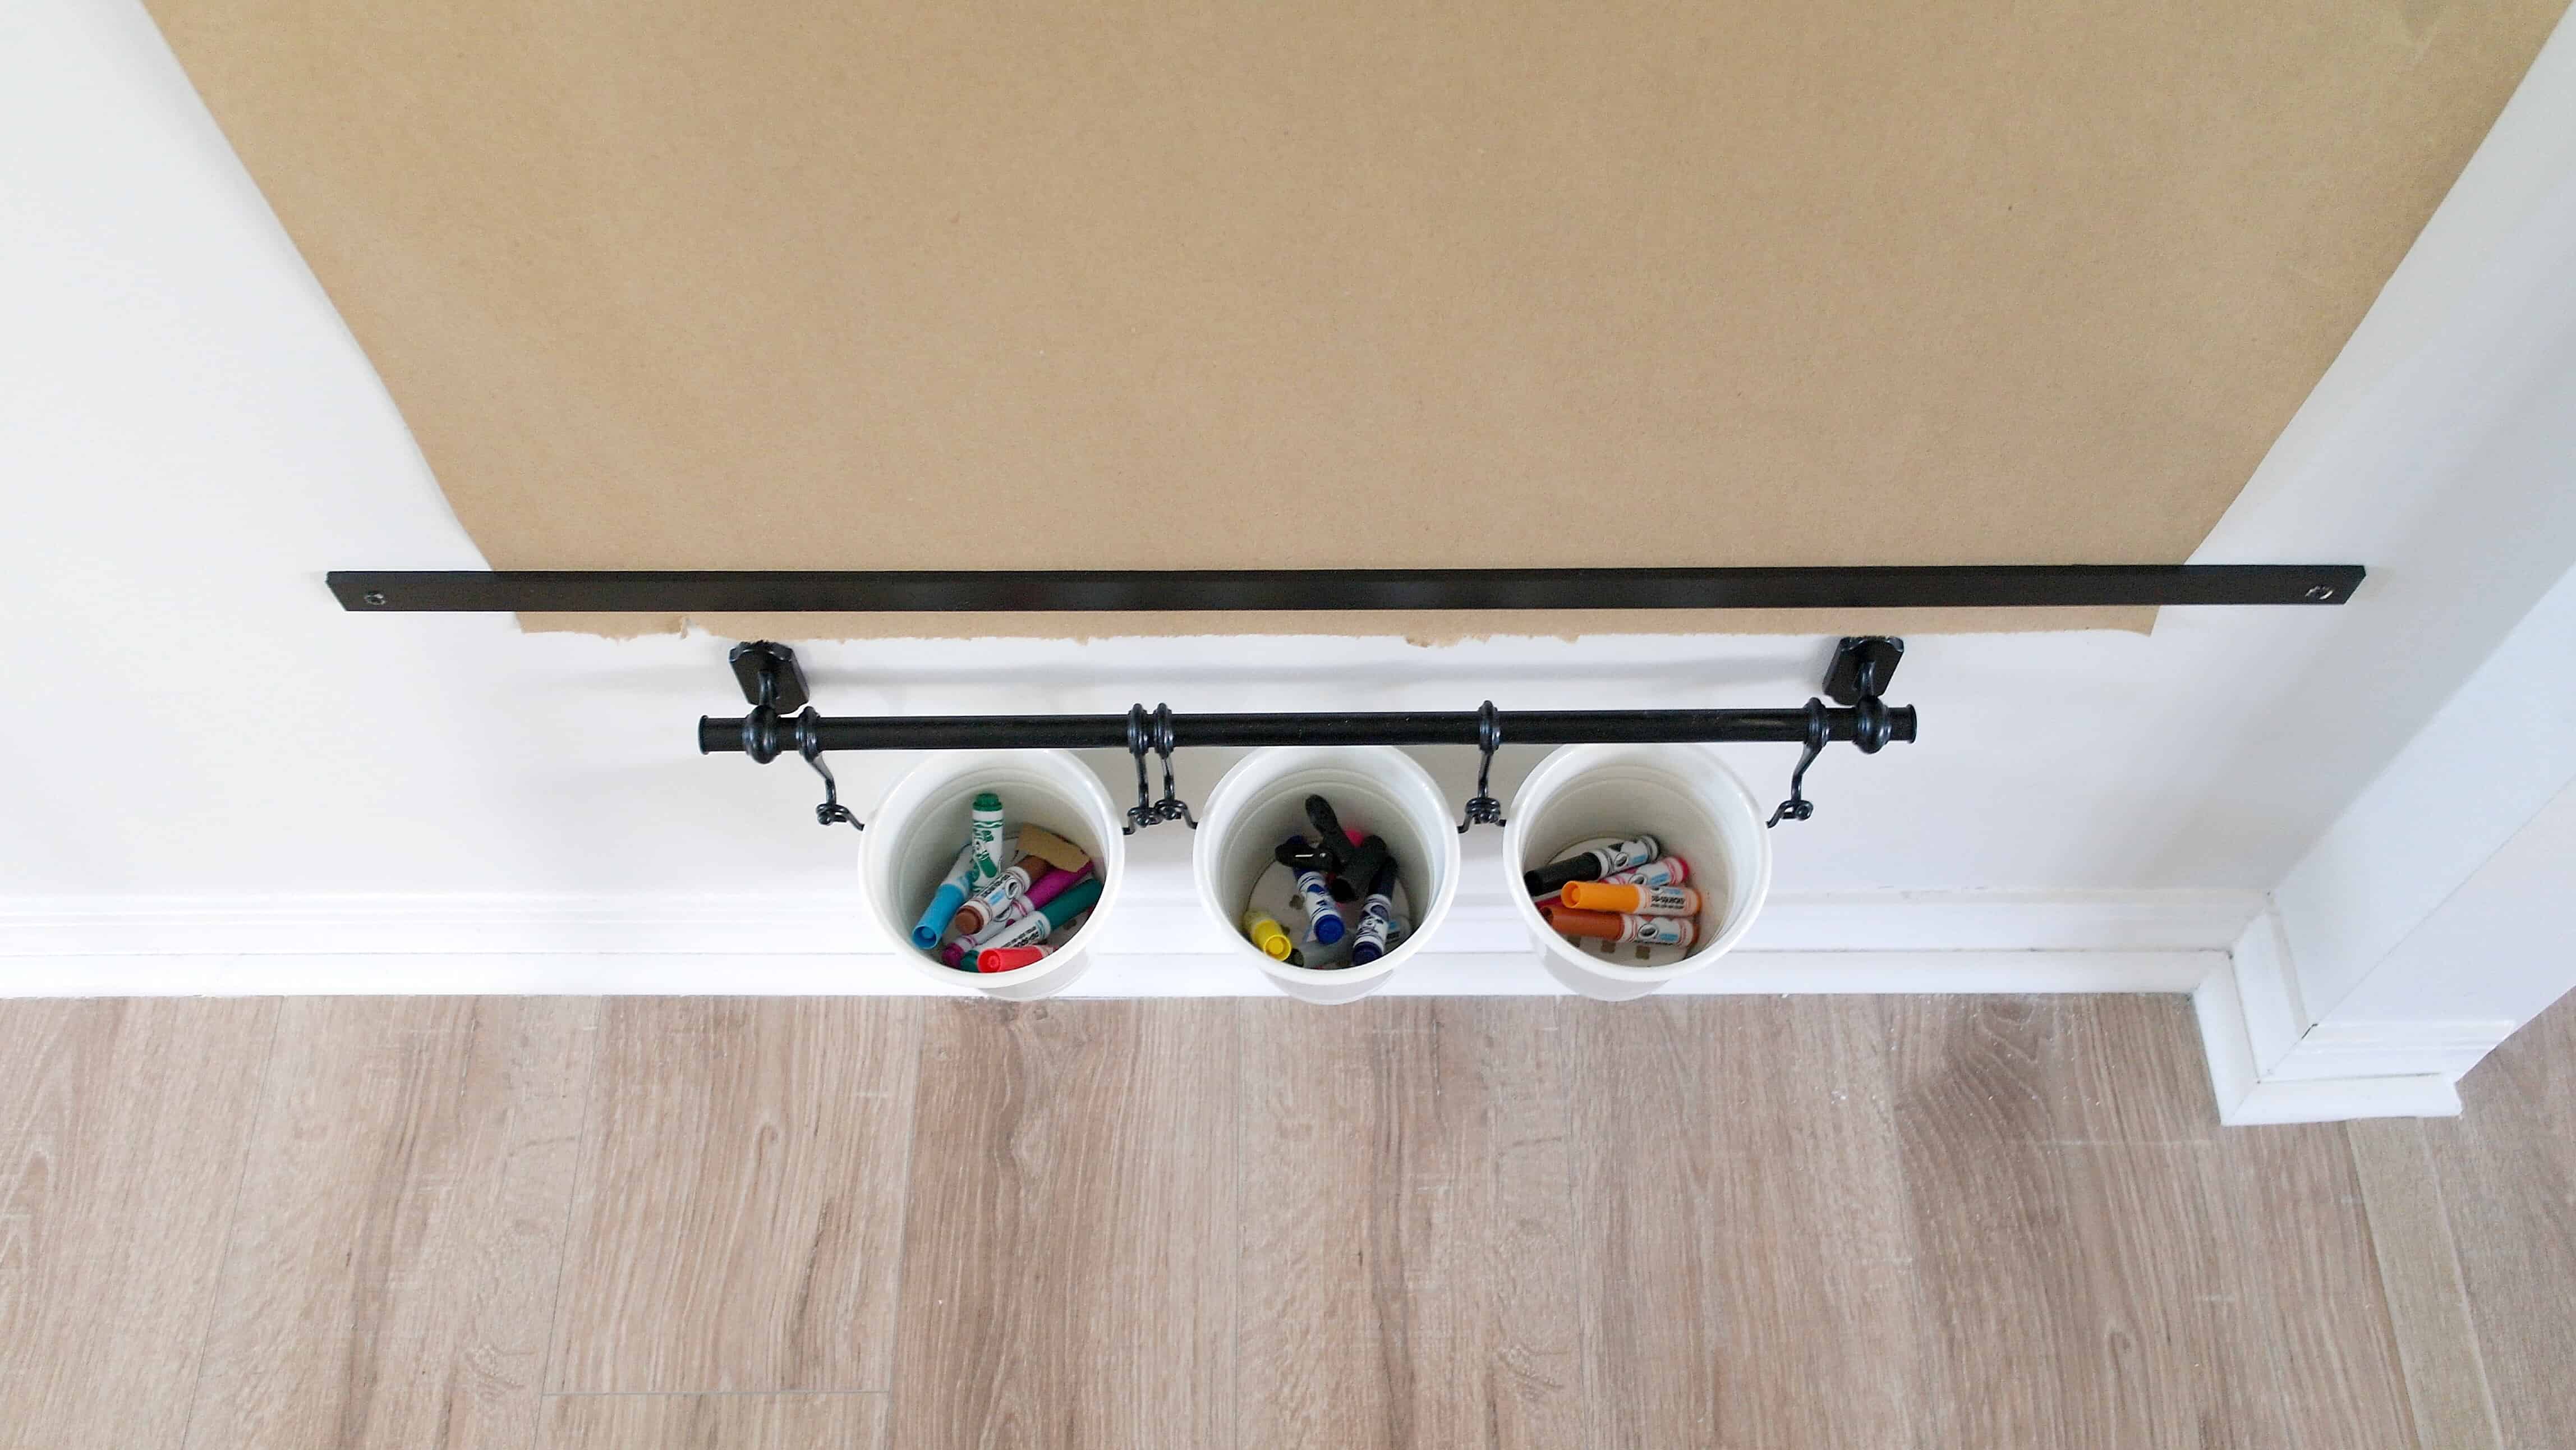
- Hang the bar with buckets if you so choose.
Those instructions are really simple for this project, because it just truly is that simple. I am a sucker for finding super easy, simple ways to solve a decor problem, and for us this hit that right on the money!
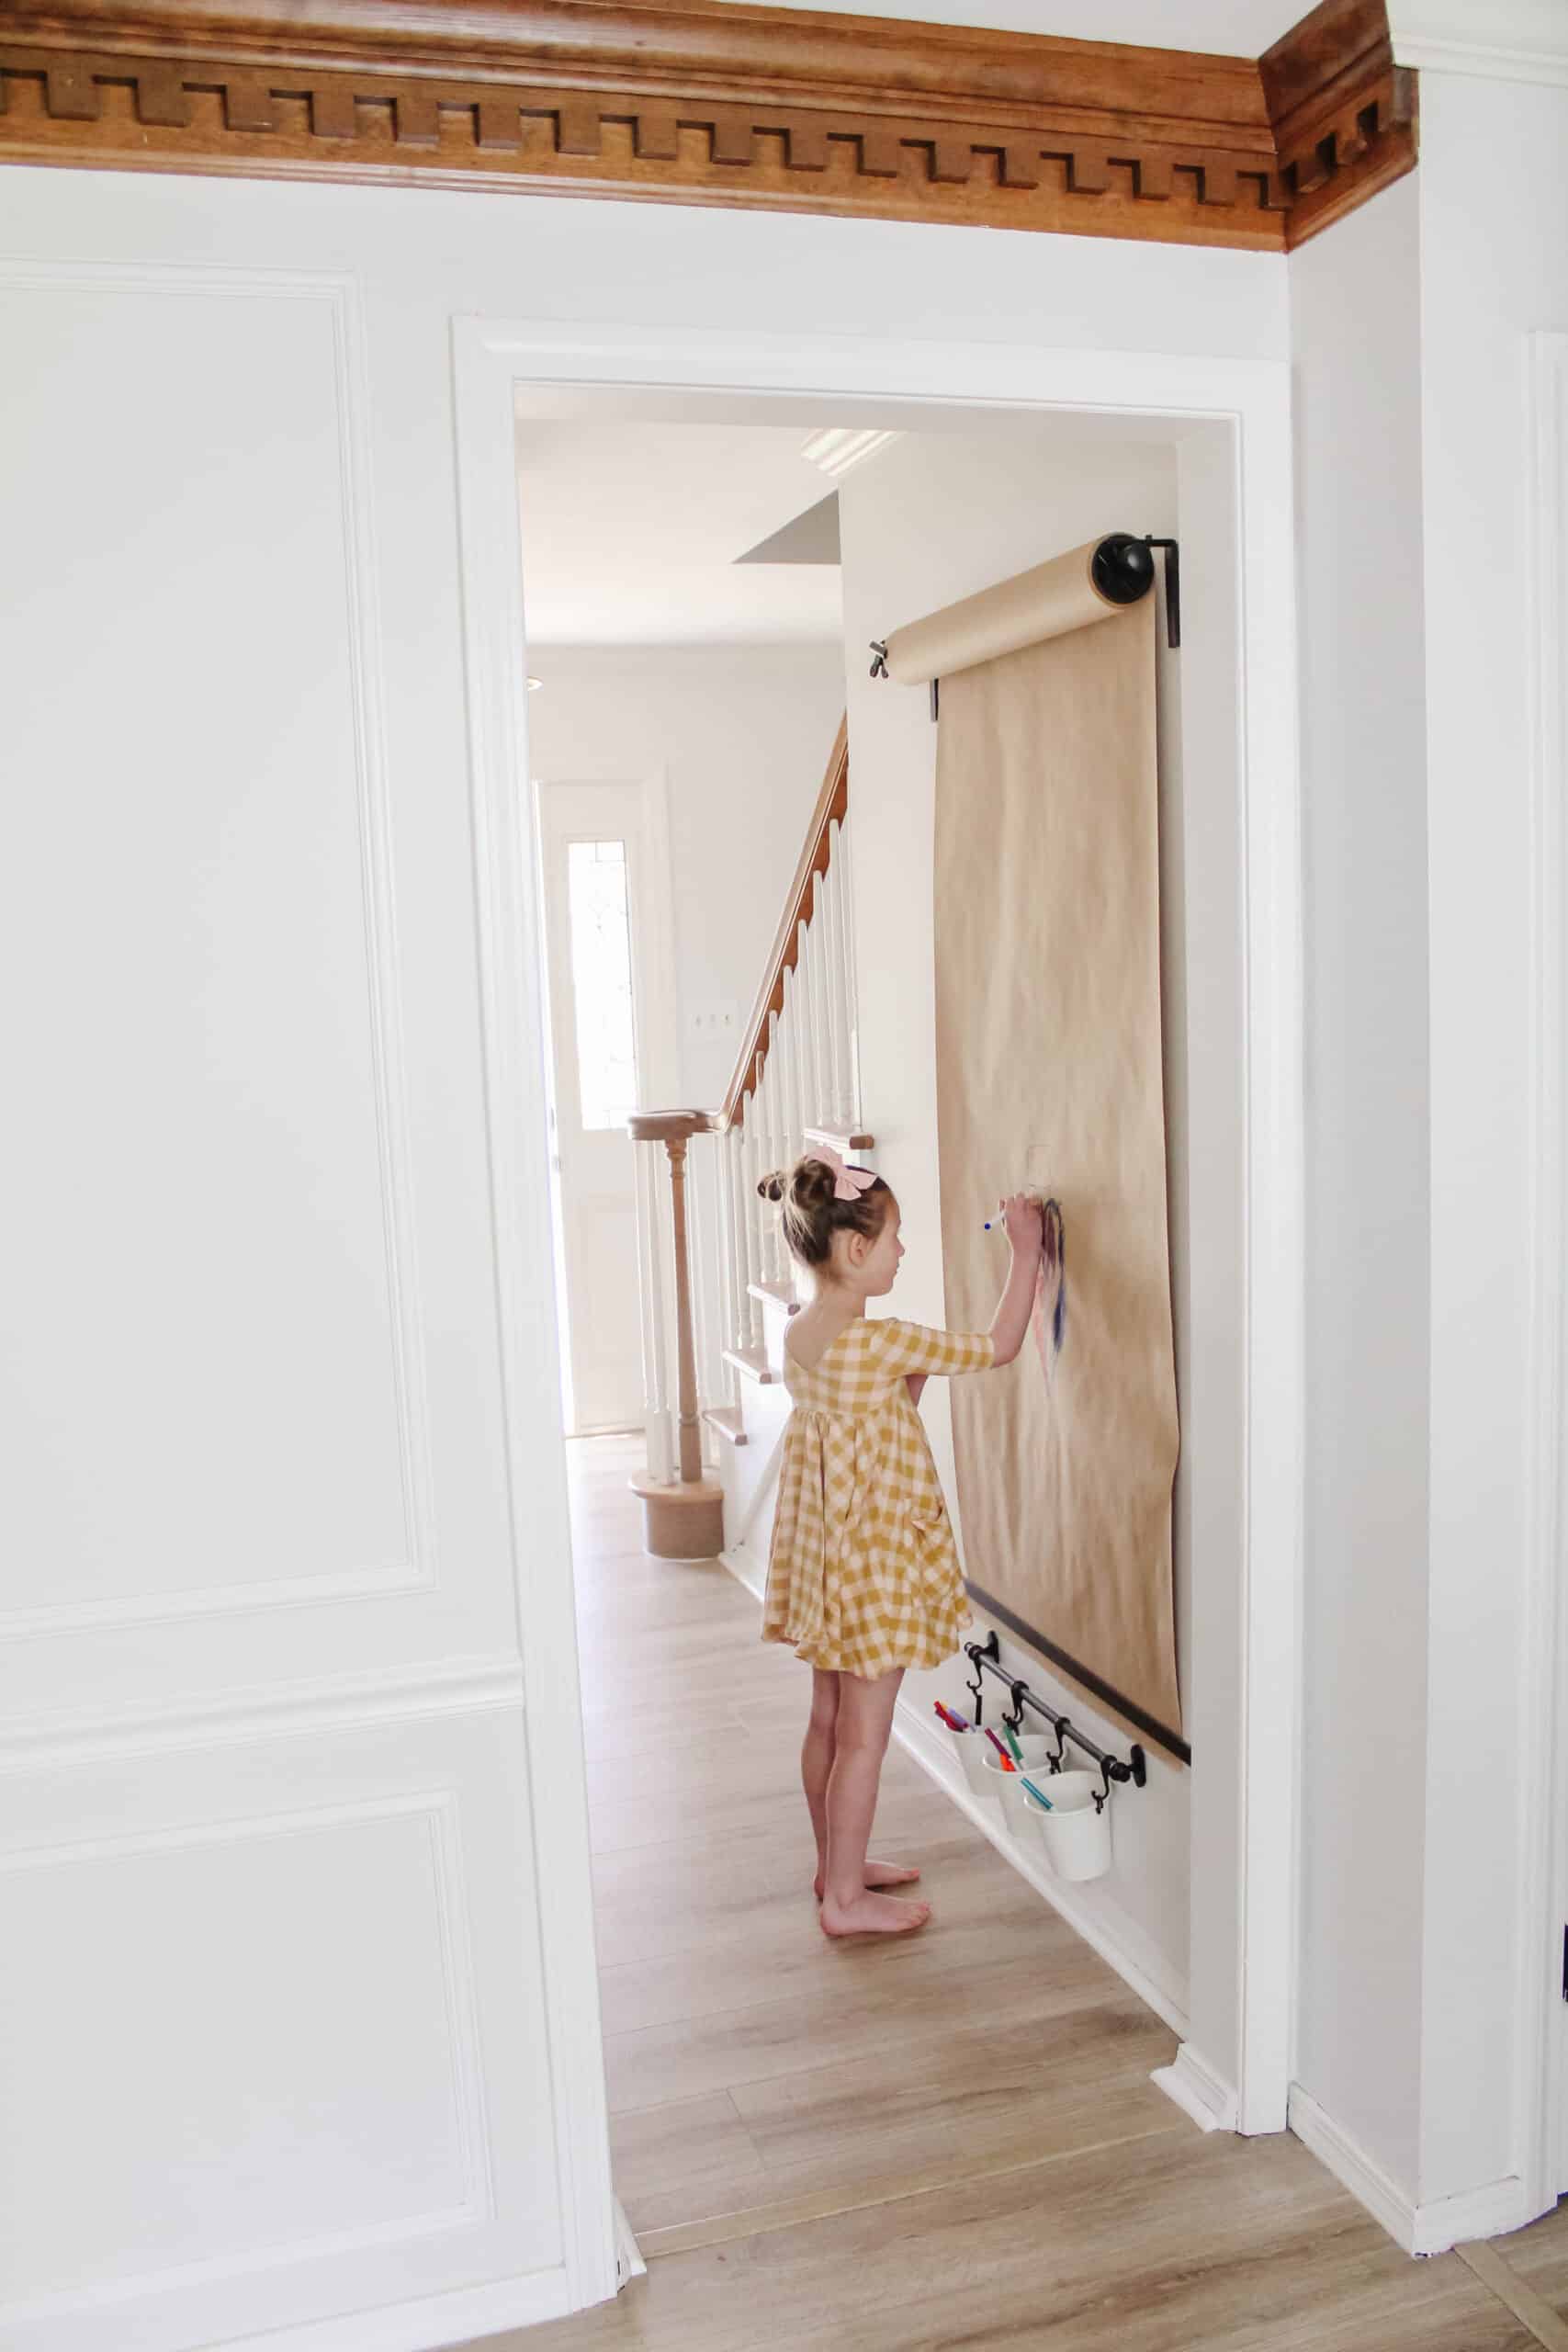
I love that this DIY wall mounted easel is such a simple yet good looking aspect to our home, that allows the kids to have fun and not disrupt the flow of the house.
One thing I am asked frequently on social media is ‘how do I keep my kids from coloring on the walls?’ which the short answer is that they just don’t.
My 2 year old who didn’t even exist at the time this was created is a bit more of a wild child than my others, so I don’t currently store markers in the baskets. The kids have to ask for them – so if you are worried about that, don’t store them there.
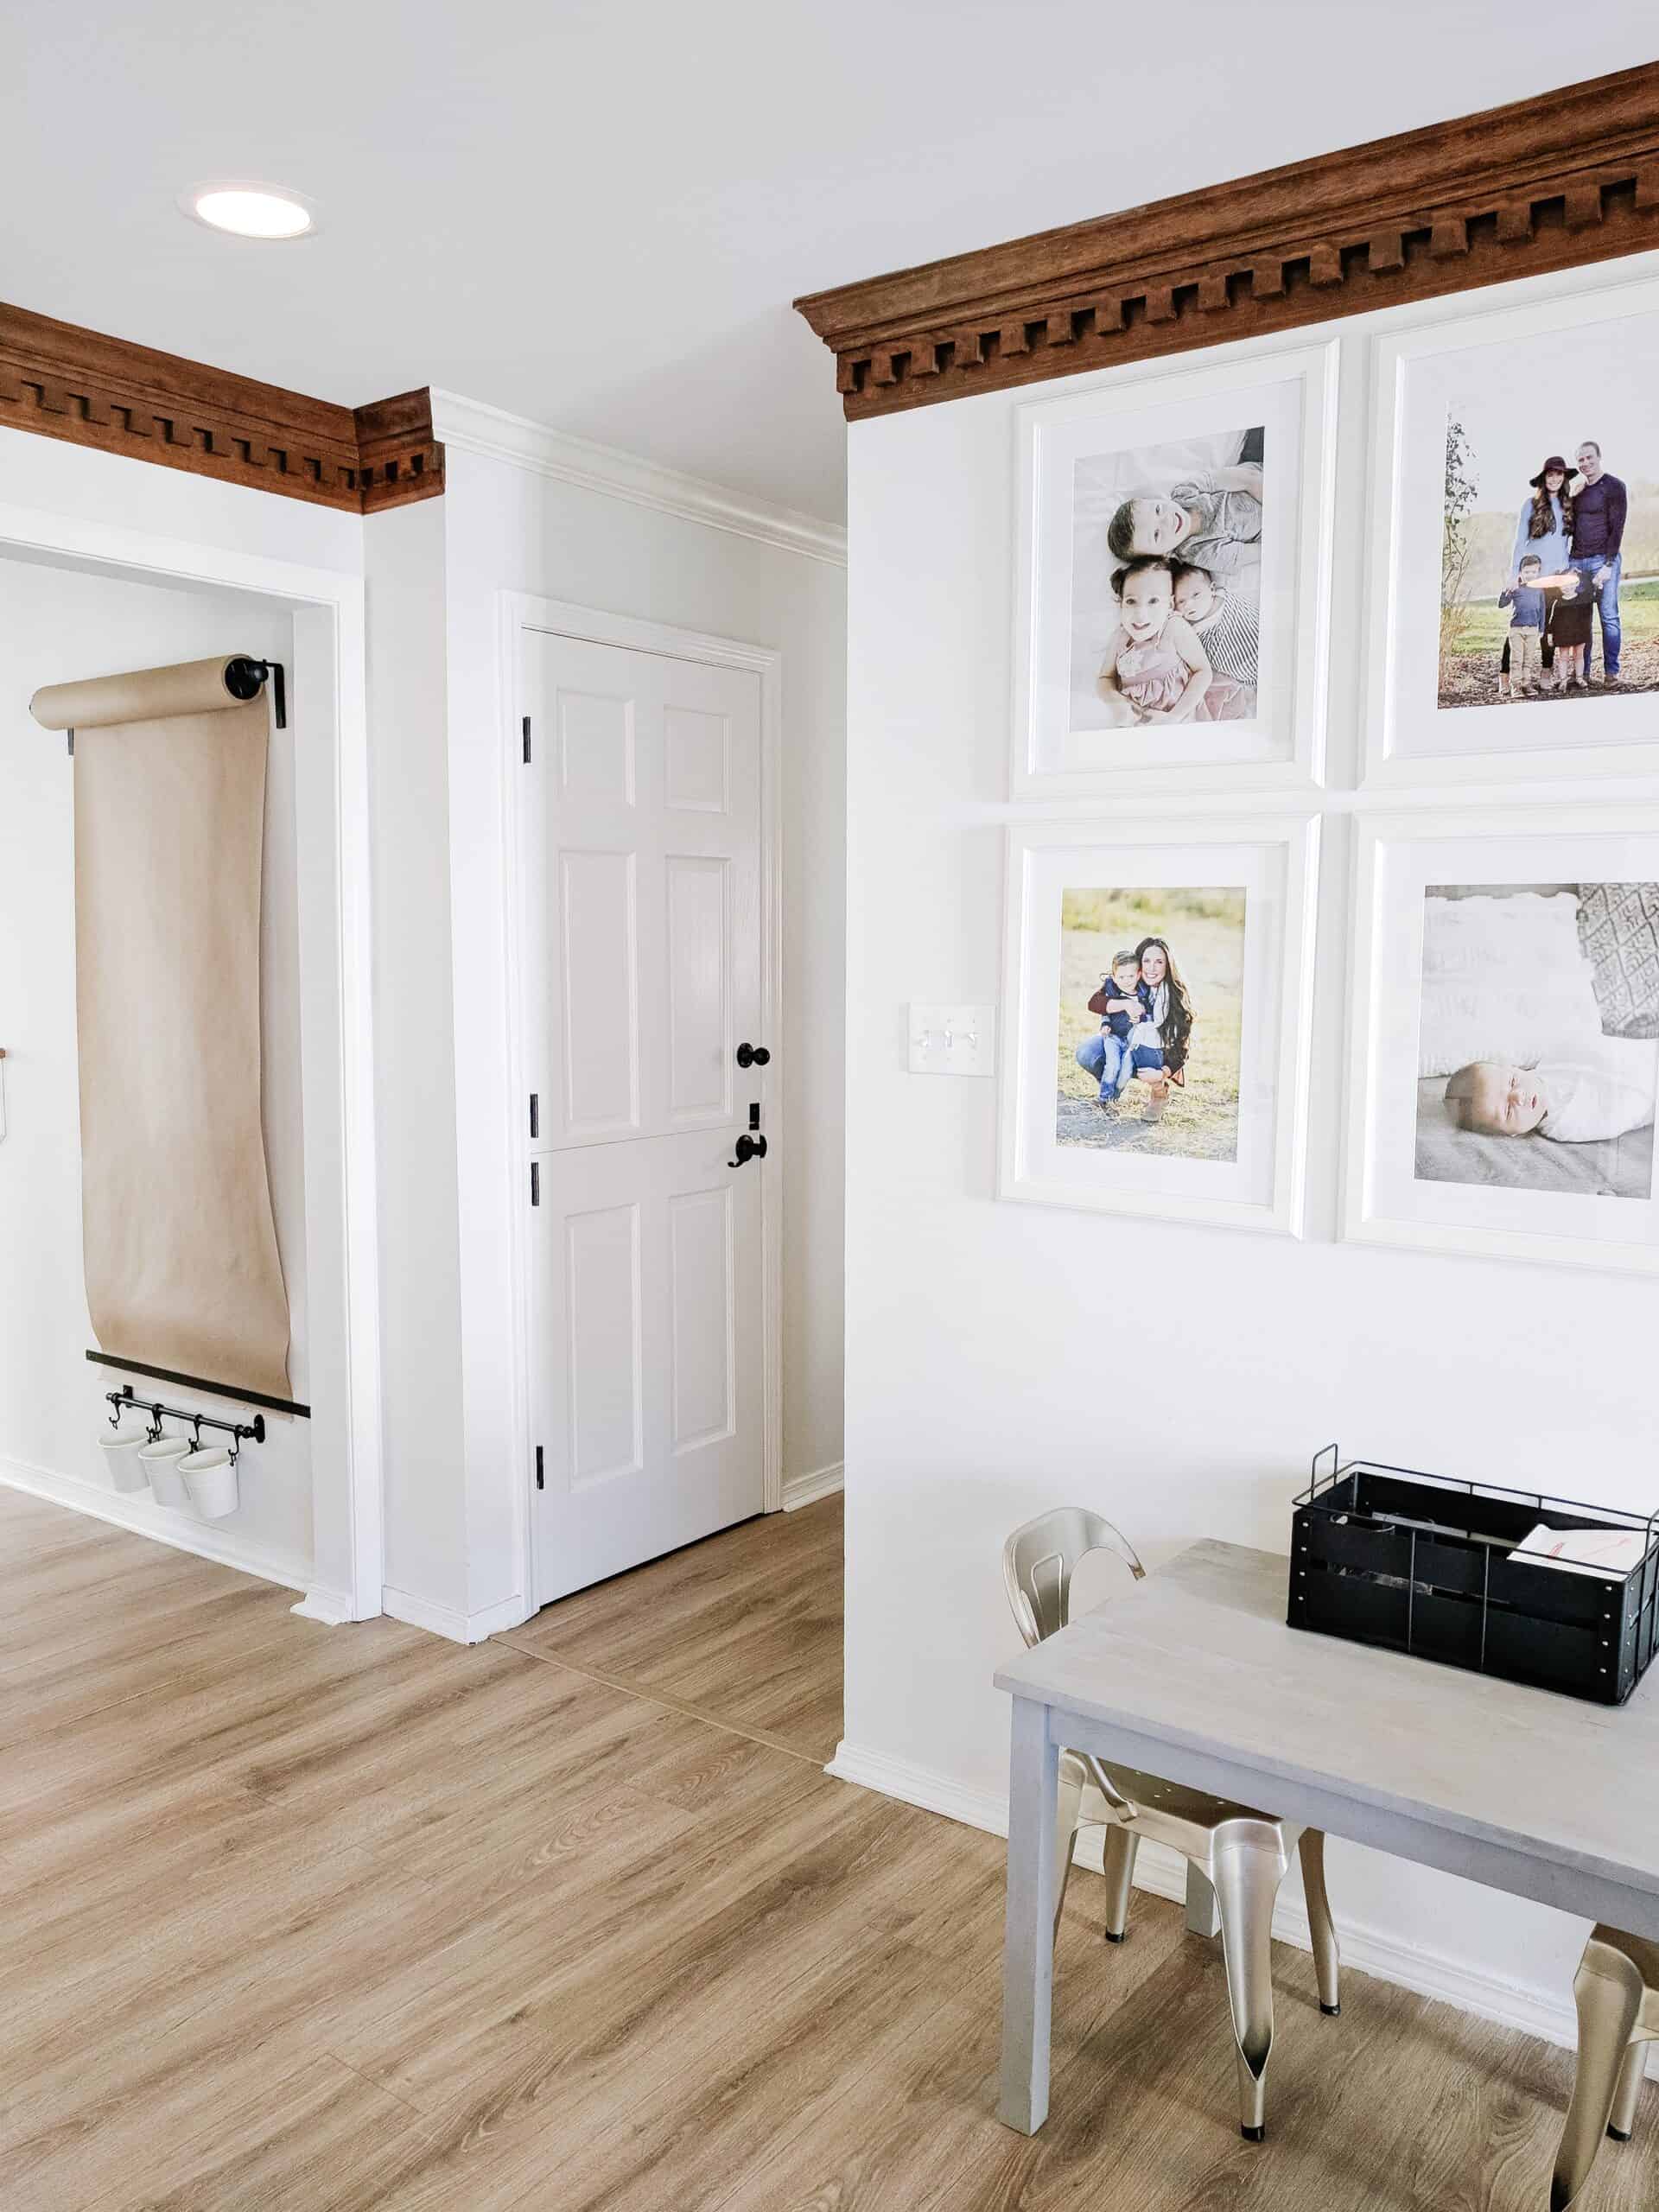
I have another great post on kids craft bins, and this is where we currently store all the kids crafts and supplies, and they simply grab their bin and if they want to use it at the easel they do!
If Marker or Crayon does get on the wall on accident, One wipe of a magic eraser, or honestly even a baby wipe for marker takes it right off, so I am not overly concerned about it. Make sure they are washable markers and crayons and you will be fine!
Again, make sure you check out the rest of my IKEA hacks here!!
Amazon DIY Wall Mounted Easel
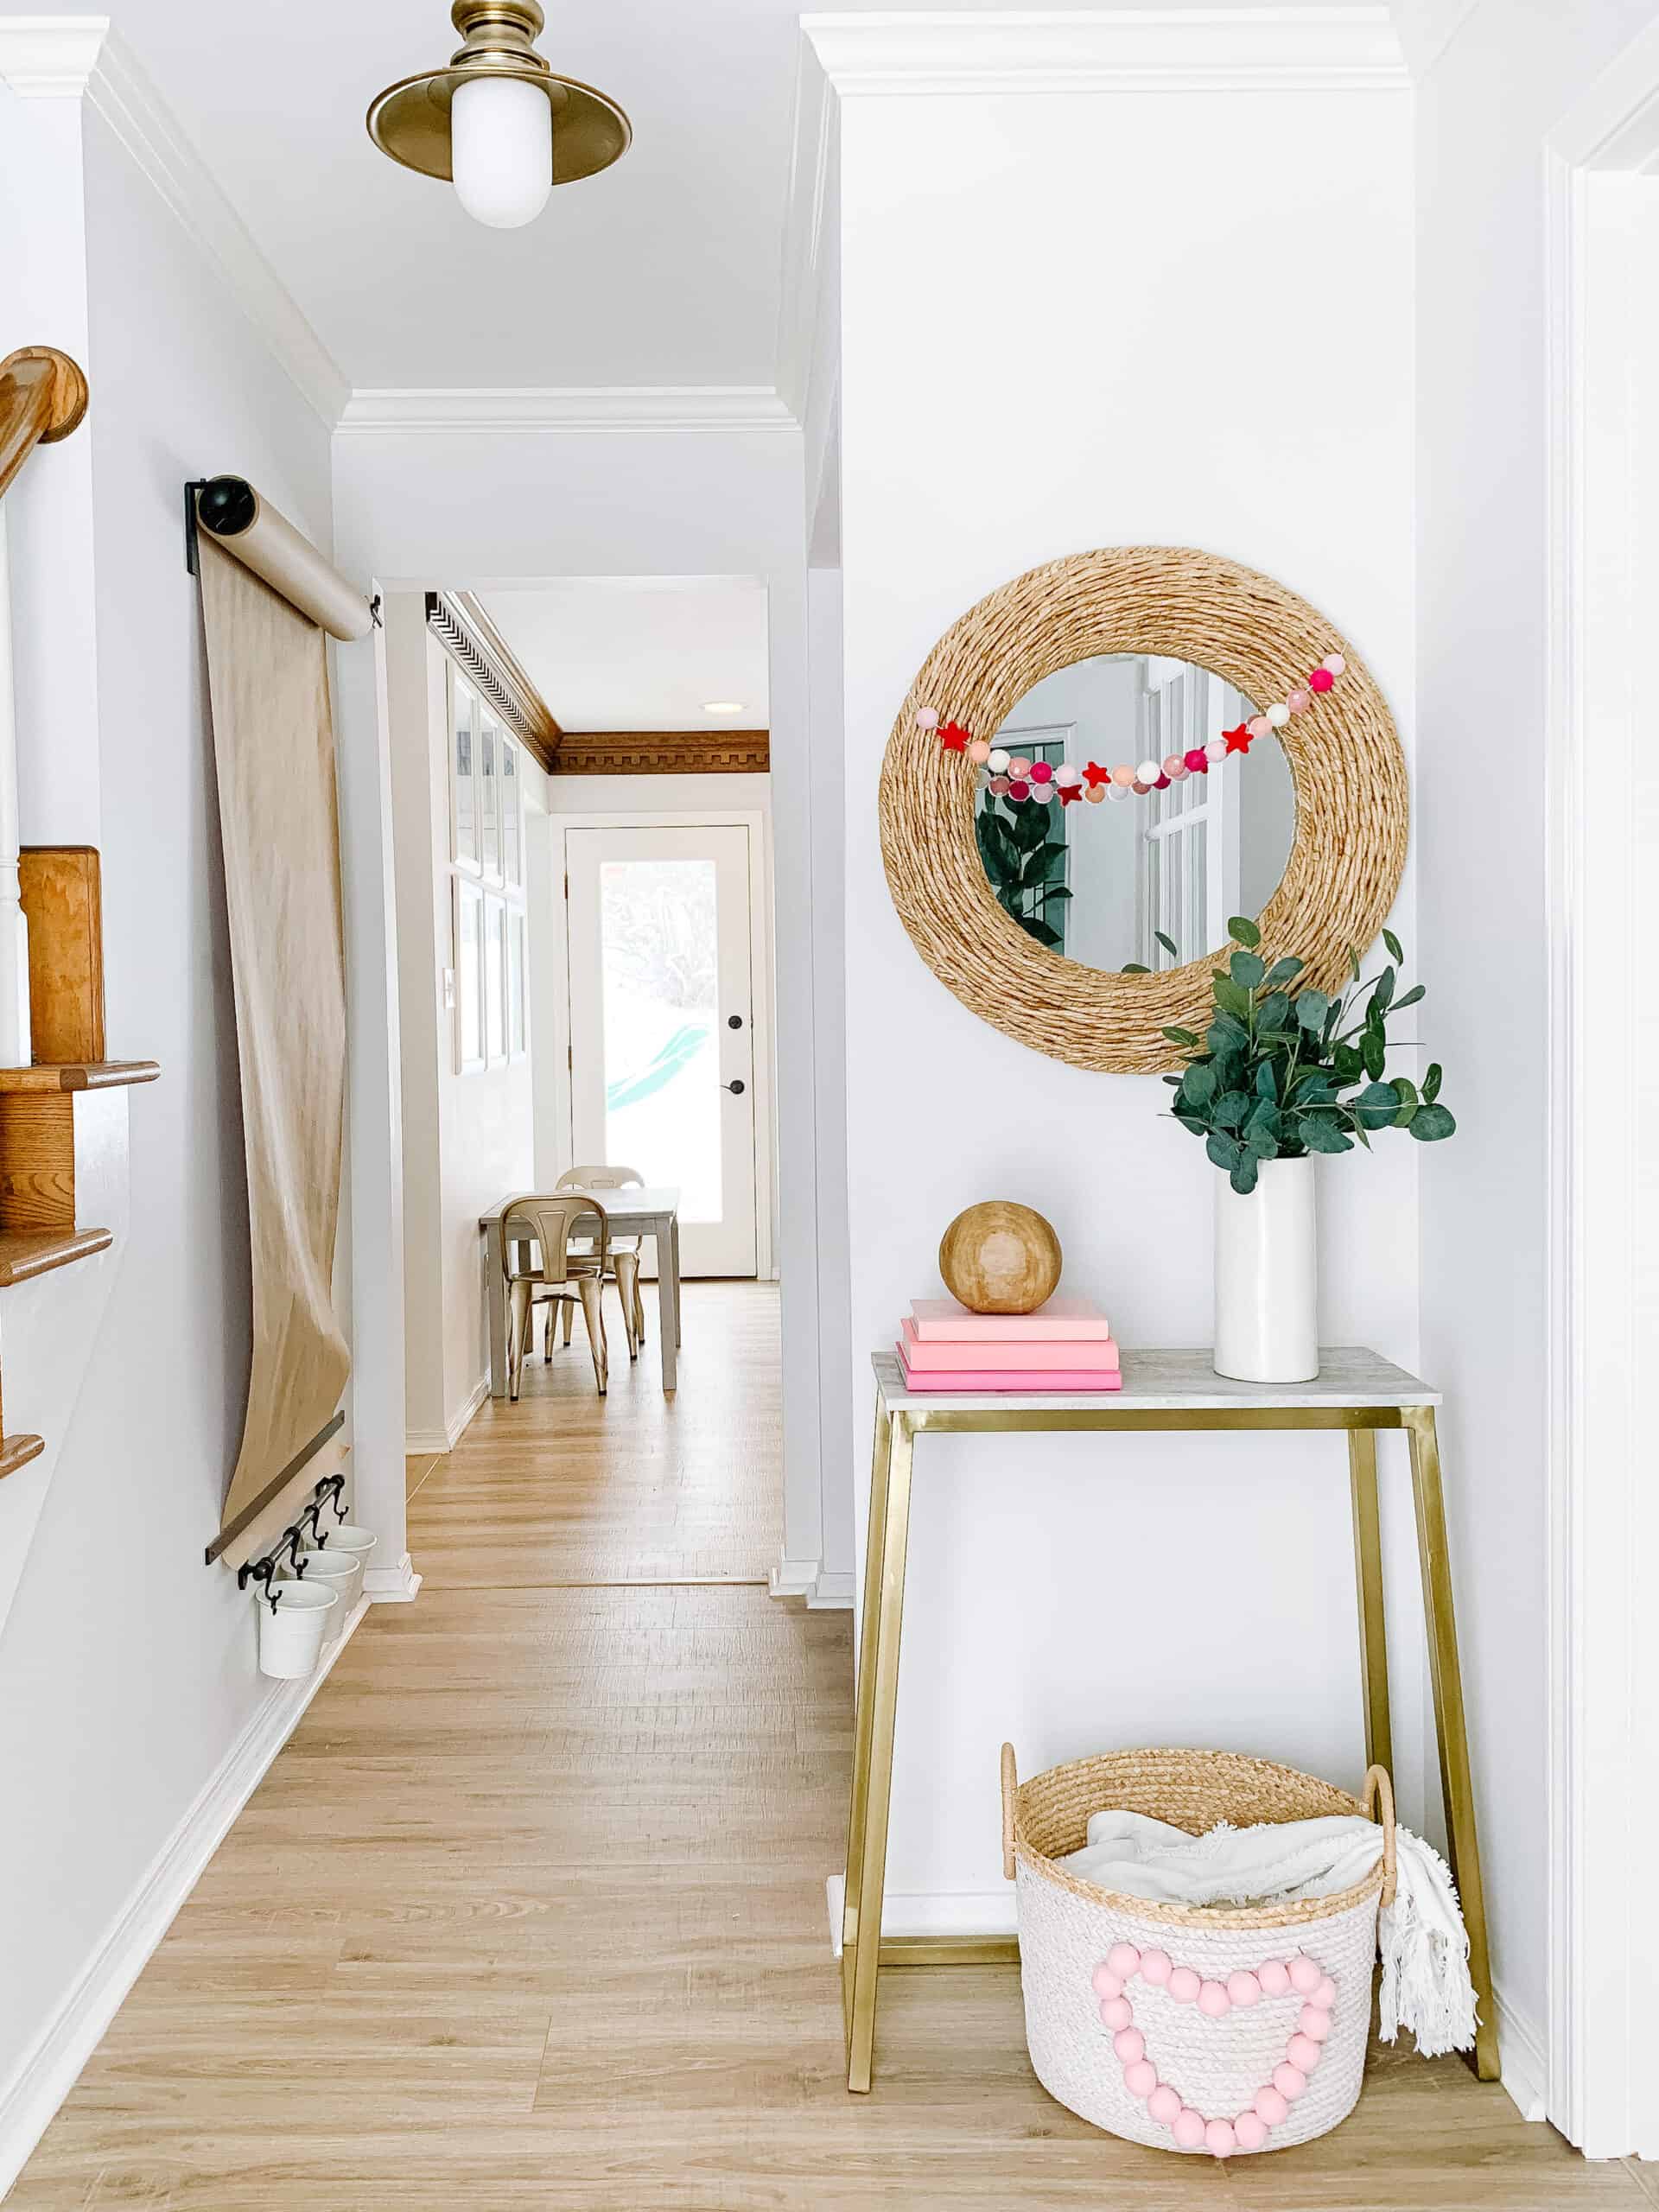
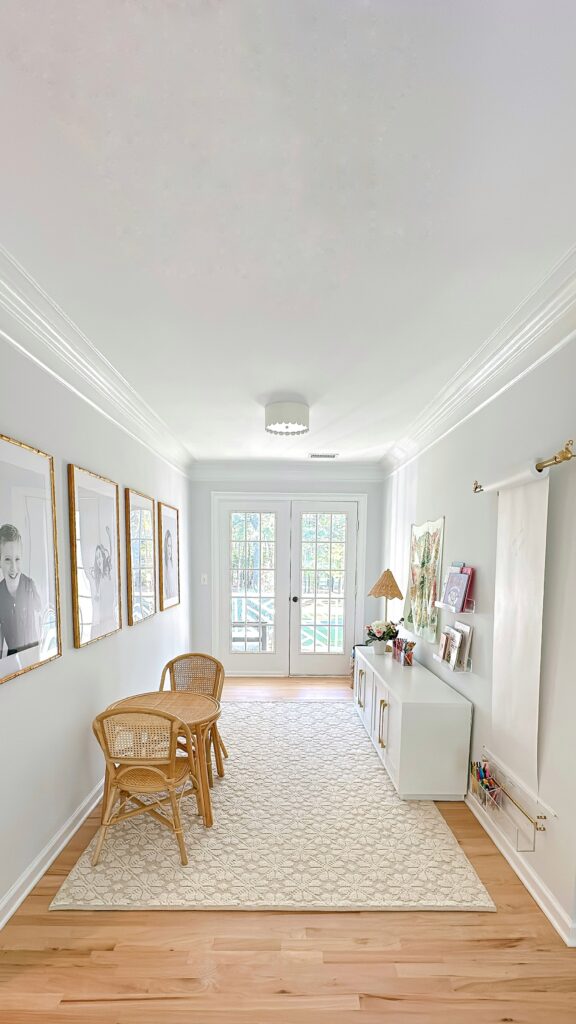
Great news! Our DIY wall mounted easel got a facelift!
We recently moved into our new home in South Carolina. While my kids are getting older, their love for art is still unmatched. Of course, we had to recreate our most-loved wall mounted easel in our third home!
That’s right, this DIY has come along our journeys in each house we have shared with our kids. It is the perfect DIY for beginners and will keep your kids entertained.
Over the years, my style has changed. Our original DIY wall easel used IKEA products to create the look. However, not everyone has an IKEA store available. Additionally, IKEA items can sell out quickly.
I knew I needed to recreate our easel using items that are easy to find via Amazon! As a bonus, you can get them with Prime shipping!
So, without further ado, make sure you check out our new and improved DIY wall mounted easel! It is so simple and can be put up in less than 30 minutes. Check out my Instagram for the full instructions.
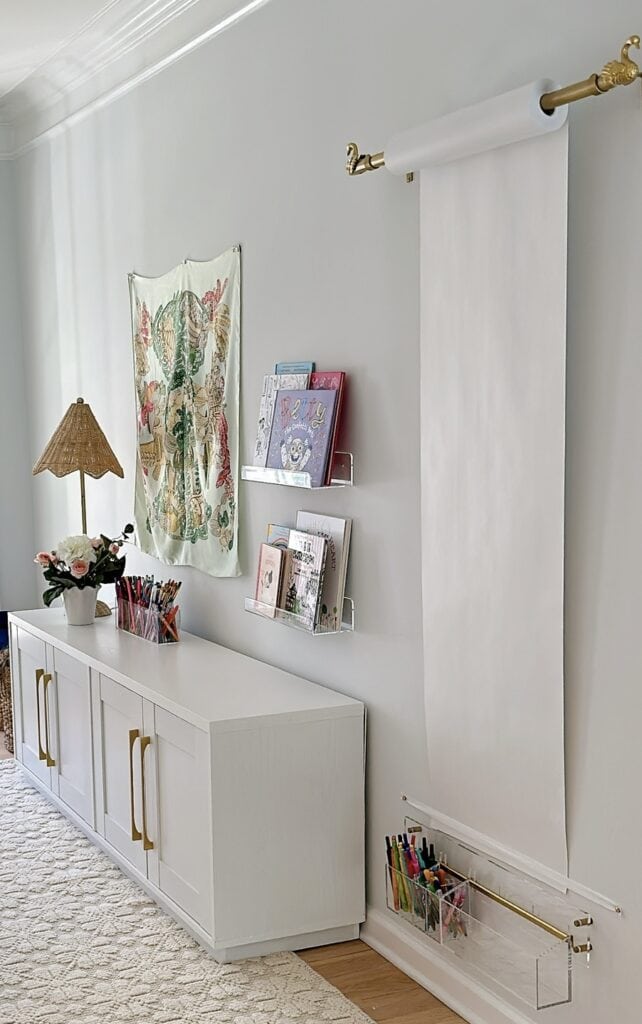
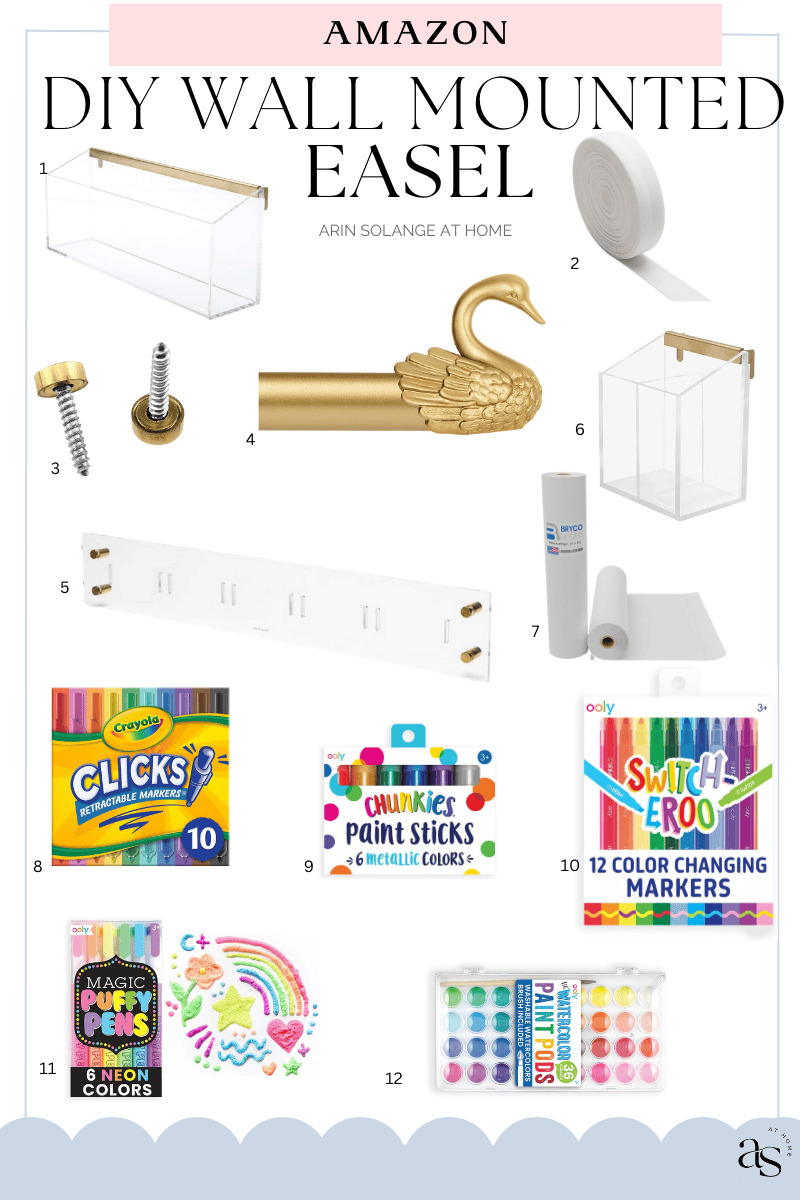
Shop Materials For Your Own DIY Wall Mounted Easel
Here are all of the supplies I used in our newest easel update. I included a few of our favorite art supplies too to get your budding artist started!

1 | 2 | 3 | 4 | 5 | 6 | 7 | 8 | 9 | 10 | 11 | 12
Russell+Hazel Acrylic Wall Valet
Fold Over Elastic
Mirror Screws
Gold Curtain Rods
Russell+Hazel Acrylic Rail
Russell+Hazel Acrylic Wall Pencil Bloc
White Kraft Arts and Crafts Paper Roll
Crayola Clicks Retractable Tip Markers
Ooly Chunkies
Ooly 12 Pack Switch-eroo Double Sided Color Changing Markers
Ooly Magic Puffy Pens
OOLY, Lil' Watercolor with Brush
Pin this Post for DIY Wall Mounted Easel for Later
This is brilliant! And I feel like once the kids outgrow it you can use it for a shopping list or to doodle while on the phone. So smart!
exactly what I was thinking!! How cute would it be for that by the kitchen??
What size of curtain rod did you buy??
mine is a telescope rod with a min length of 36 inches which is where I have it hung. — not sure why online its not showing that option, but it is from IKEA
This is seriously so cool! I was just telling my husband that I wanted to replace our chalkboard! This would be perfect!
Ok you are outdoing yourself! This looks amazing and sounds so easy. I’m actually thinking about where I can recreate this. I’m in lovvvvve!
YESSSS!! do it do it do it. hahaha
Wow – I absolutely love this! It would be perfect in our playroom and save a space! The kraft paper is the perfect touch!
Isn’t it such a fun idea? I love art easels but they are so bulky!!
This is so cool! You’re amazing! I can’t wait to try and do this in my home.
This looks so amazing!!
I’ve seen this idea before, yours looks great!
I so want to do something like this! I just need to figure out a place
what a great idea! this is brilliant. And I love how you are doing everything you can to encourage your son’s passion for art.
Wow cool, absolutely love it, I’ve got an idea. Thanks!
This is so cool! I’m surprised by how easy and cheap it is to make. I will definitely keep this idea in mind for when my daughter gets a little older! & I love that you are encouraging your son’s creativity – that’s awesome!
I want something like this in my house so bad! Now I’m wondering where I could put it, our walls aren’t flat they’re textured so I’m wondering if it would still work or make everything all bumpy.
oh thats a good question….if your kids color like mine you might not notice lol!!
Sand the area where you will be placing the easel.
So smart!! Thank you Paul.
That’s such a cute idea!
This is great!! Thanks for sharing the tutorial! My one question is – is the wood strip along the bottom strong enough to withstand ripping the paper on it as a metal one would be? The metal rip strips are pricier though ????
So we have had no issues the only thing is that the metal one I feel like gives it a clean rip. This makes it jagged or you can cut and use it to keep it against the wall. I went with wood for price and ease of install haha!
If you got a metal meter stick (approx 39 inches), you could anchor with a single hole in either end.
Thats a great idea!!!
Im seriously obsessed with this! I now need to find a place to put one! Haha
Omg thank you so much for posting this I was just going nuts trying to find a simple tutorial for this and I KNEW IKEA would be the place but this post was so clear as to what exactly to get from there. Looks like we off to ikea Today. Thank you again I will be back to this blog VERY soon.
I am so glad you found it! It is seriously one of favorite spots in our house! Let me know if you have any questions!
Can I ask what length paper roll you used? I bought one that is 200ft long and am hoping it won’t be too thick to fit.
I have purchased both 100 and 150 and so far those both fit. the 200 had a big center thing too and still worked!
I loved this so much I made it too! How do you prevent the whole roll from unrolling? I feel like the kids would have the whole thing unrolled lol
So with the little bar at the bottom I have had super great luck because I leave JUST enough for me to pull down myself. Now I will say when the roll got to the very very end I had to put a tiny clip on the roll because it would just unroll on its own for the last week or so.
What about the wall around the paper? Do your kids know how to color so neatly and not color on the walls?
We haven’t had any issues with them coloring on the walls. there have been a couple of times where my kids have barely gone off the paper on accident and washable markers come right off.
Nice concept but… I feel like the only thing that the kids would be allowed to draw in this home would be arrows and chevron patterns in neutral shades (only if those are still in style) haha!! 😉
I assume by your comment you are a mom who belittles other parents who they don’t even know.
How high did you put the curtain rods? Got everything for this project!! In love with this! Did you hang it high because you have different aged/height children? My 2 year-old is obsessed with coloring.
Thank you for the inspiration!
oh my gosh you will love this! I hung the curtain rod almost to the ceiling but a friend of mine did it a bit Lower. I would definitely say hanging the rod high enough where they can’t reach the roll.
Great idea! Have your kids use their designed paper as gift wrap for friends!
no but that is an amazing idea!!!
Wonderful idea! Where can I get the piece of wood in that size? Where did you get it?
I just got it at hobby lobby and cut it to the correct length!
So cute! Just wondering before I do this myself: Do the markers go through the paper and onto the wall?
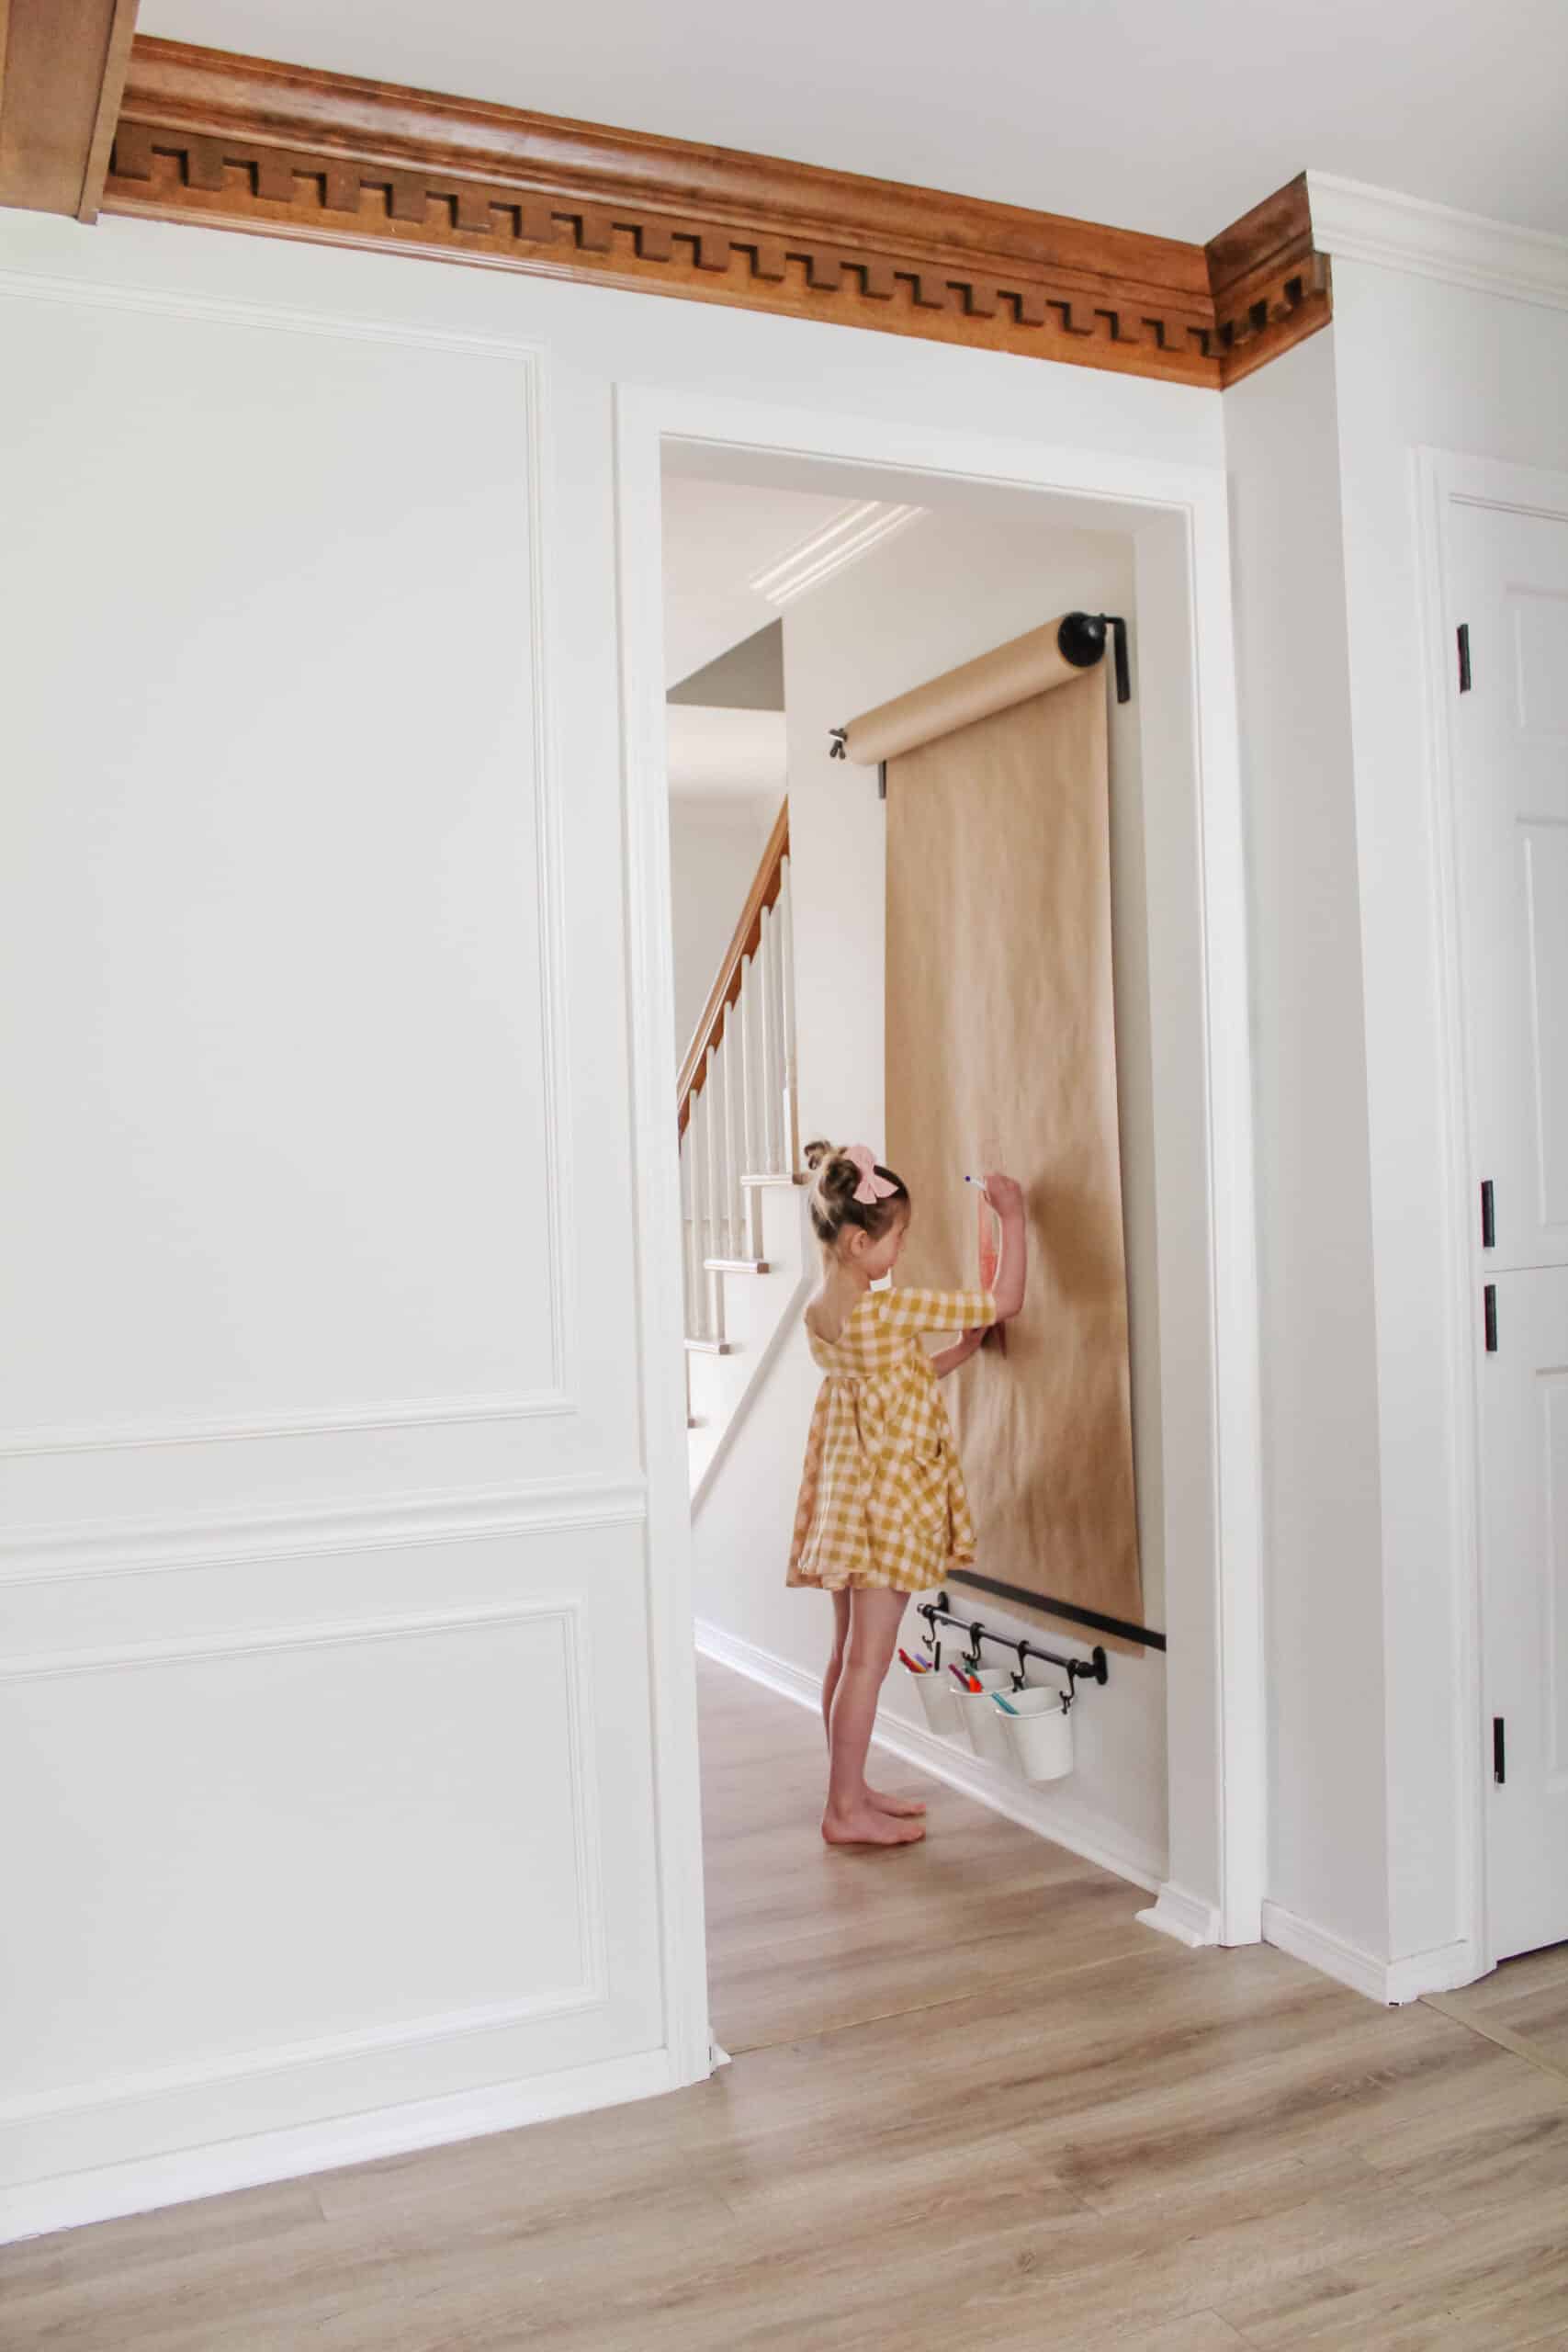
We have never had markers go through the paper. I feel like because of the angle the kids are drawing they also don’t push as hard as maybe when they draw on a table and can kind of put their weight into the action – as kids do ha.
Once in a while they go off the paper on the side but a baby wipe or a quick swipe of a magic eraser instantly takes it off as long as you’re using washable markers.
LOVE THE IDEA
Love this and will order some of the pieces I need from Ikea. What piece did you use for the bottom which hold the paper in place?
That is just a simple thin wooden piece from the craft store (basically like a longer ruler). We cut it to length and painted it black then nailed it in place on the outer ends.
Hi! How far out from the wall does it stick out? Want to put this in our nursery to do monthly photos but want to put it behind the door! Thanks in advance!
Do you have a link to the strip on the bottom? I can’t find it!
Hi it is just a simple piece of wood similar to yard stick
Omg! I love this idea it will give me so much space I don’t currently have because I have the Melissa and Doug stand up one. I am looking at all your materials but I don’t seem to find the marker holder set I see on the picture. Can you share the link the one you have it doesn’t work. Thank you. I am definitely doing this for my 5 year old.
Can you try to update the links in the post?? I’m only looking for those marker bins but can’t find them. Any help would be great!
Hi! I will work on that this week