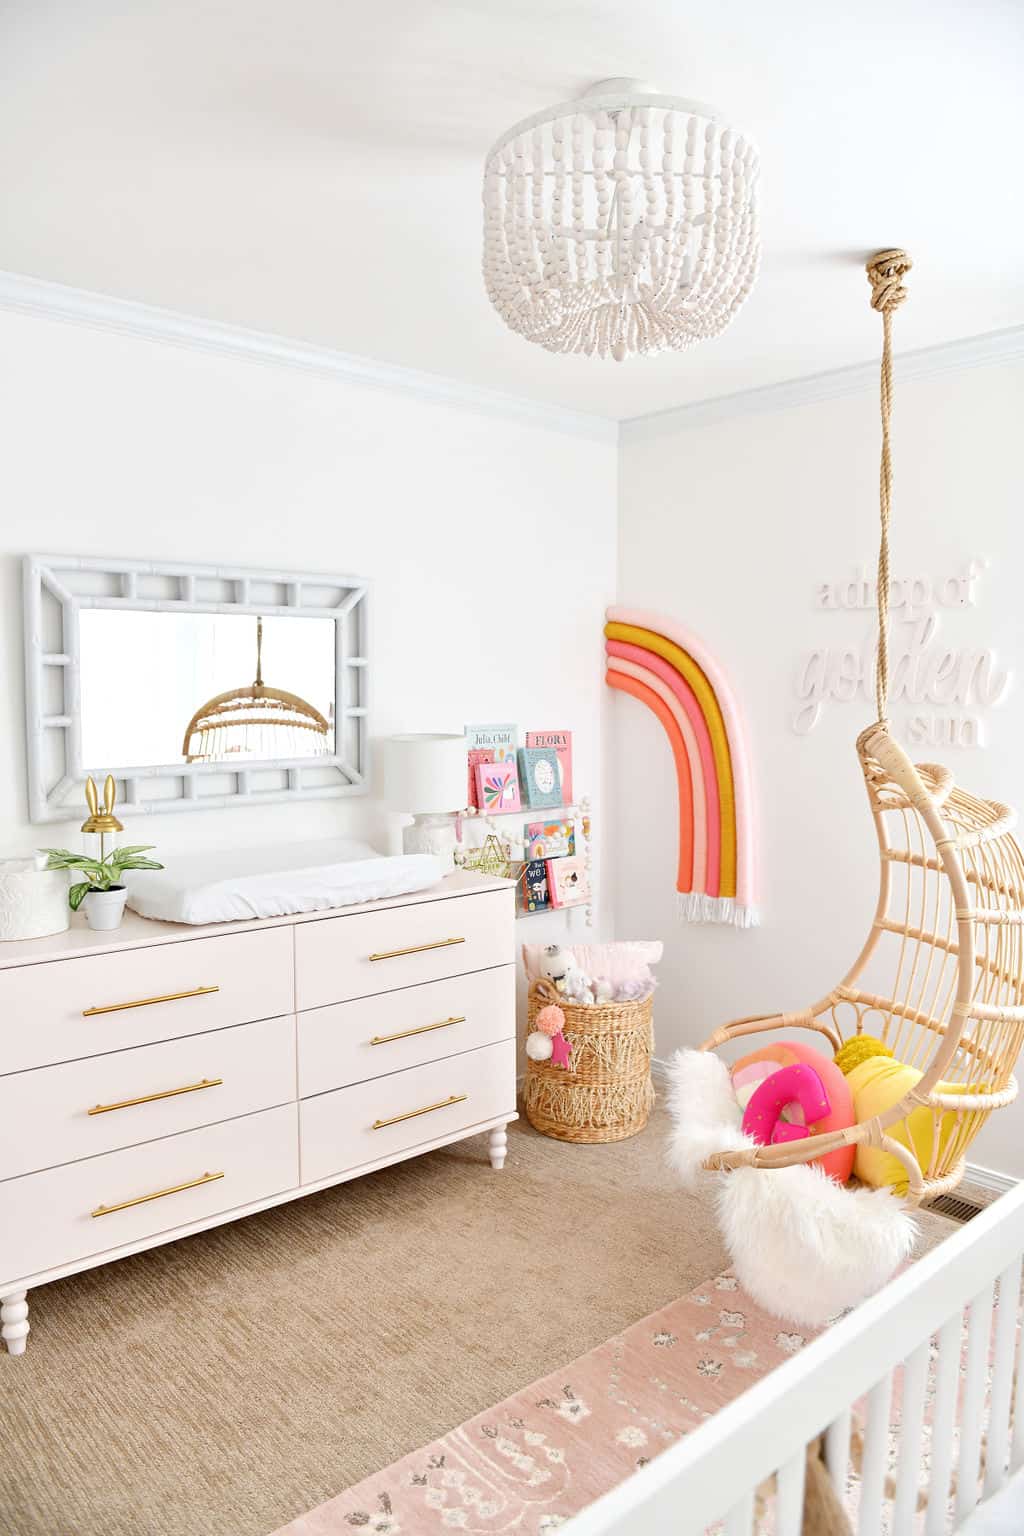
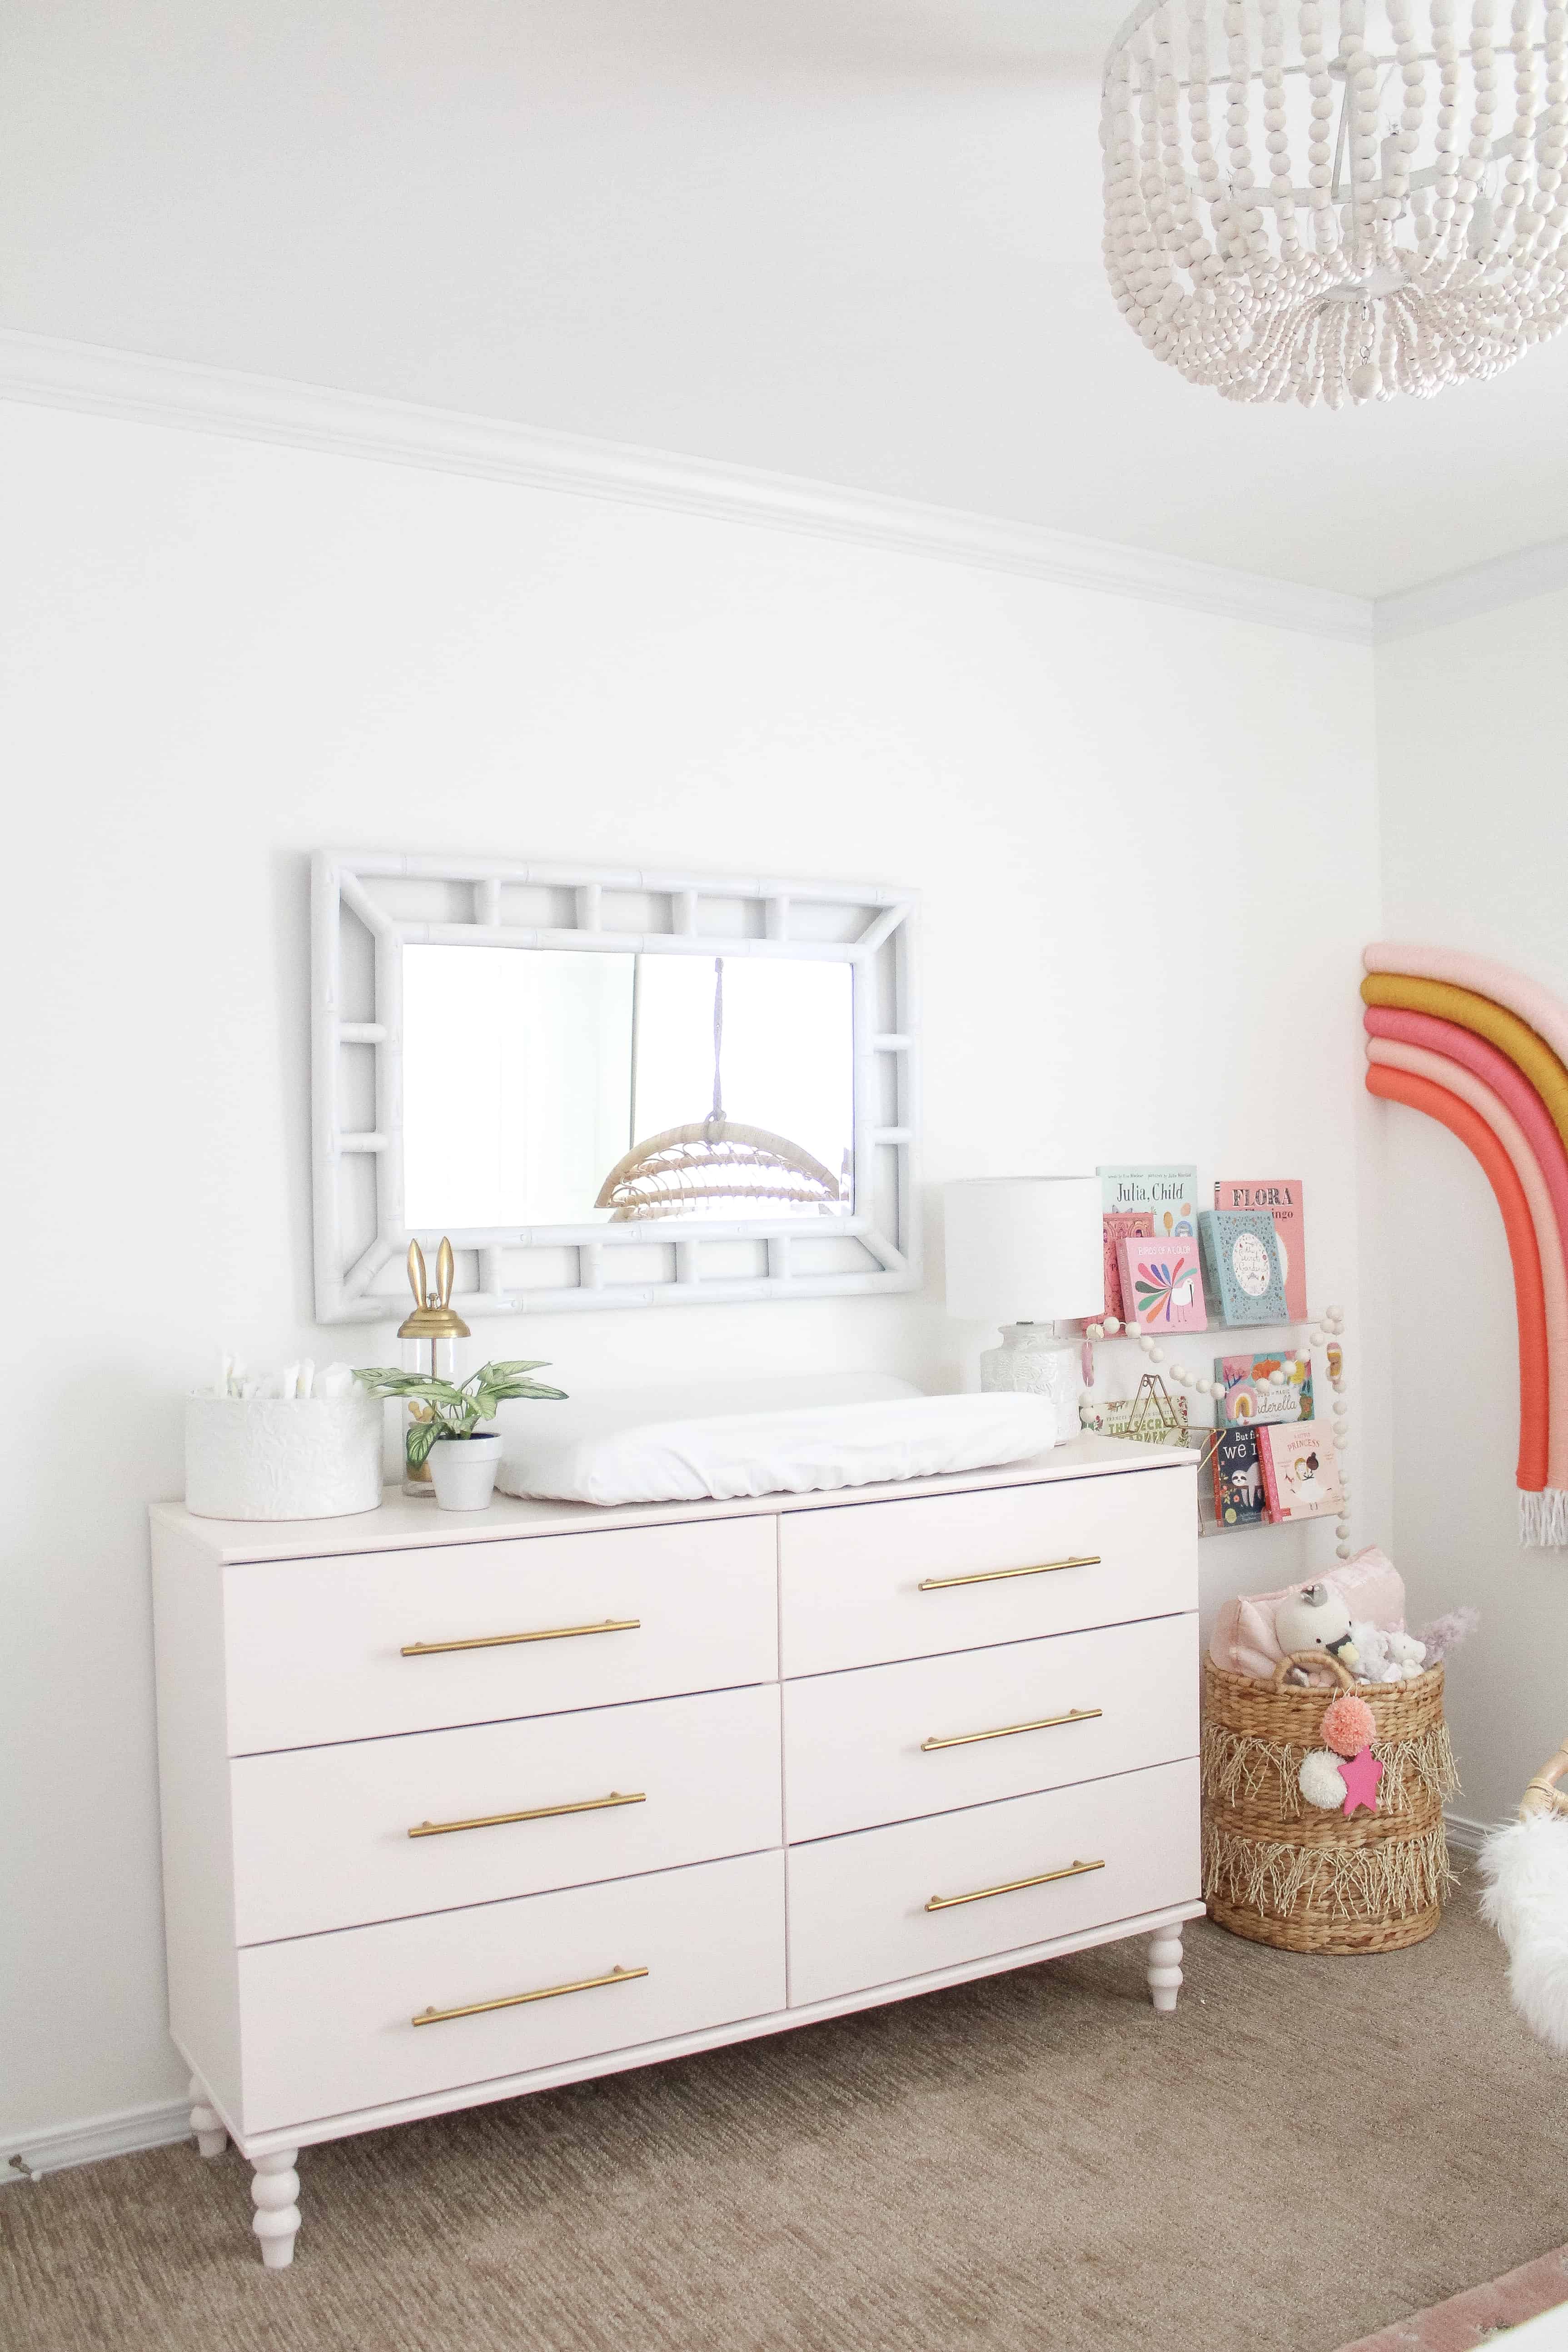
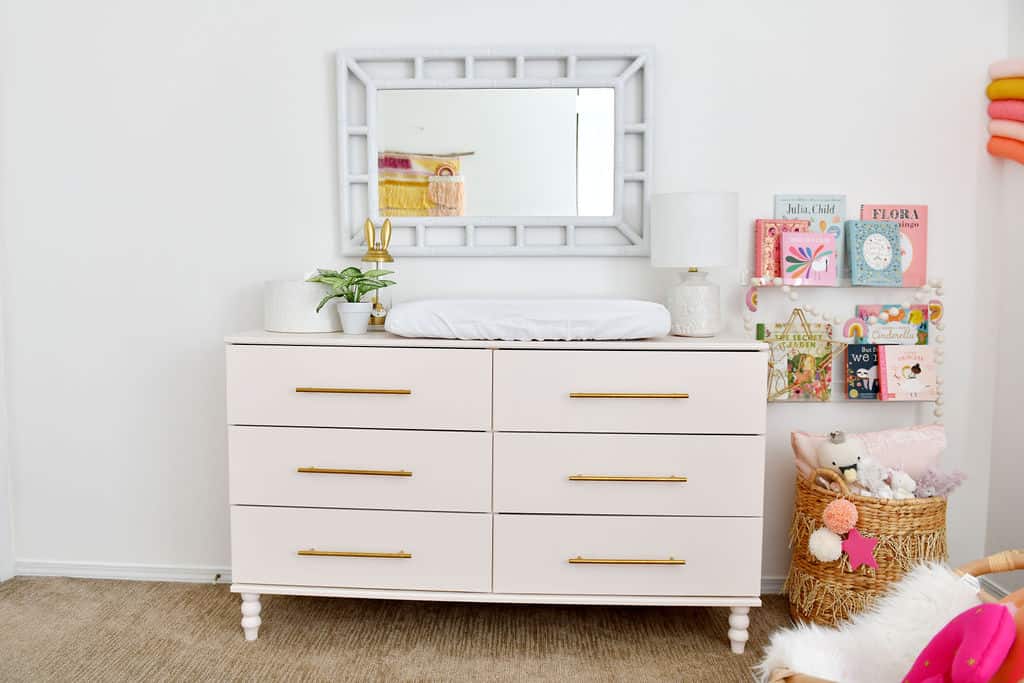
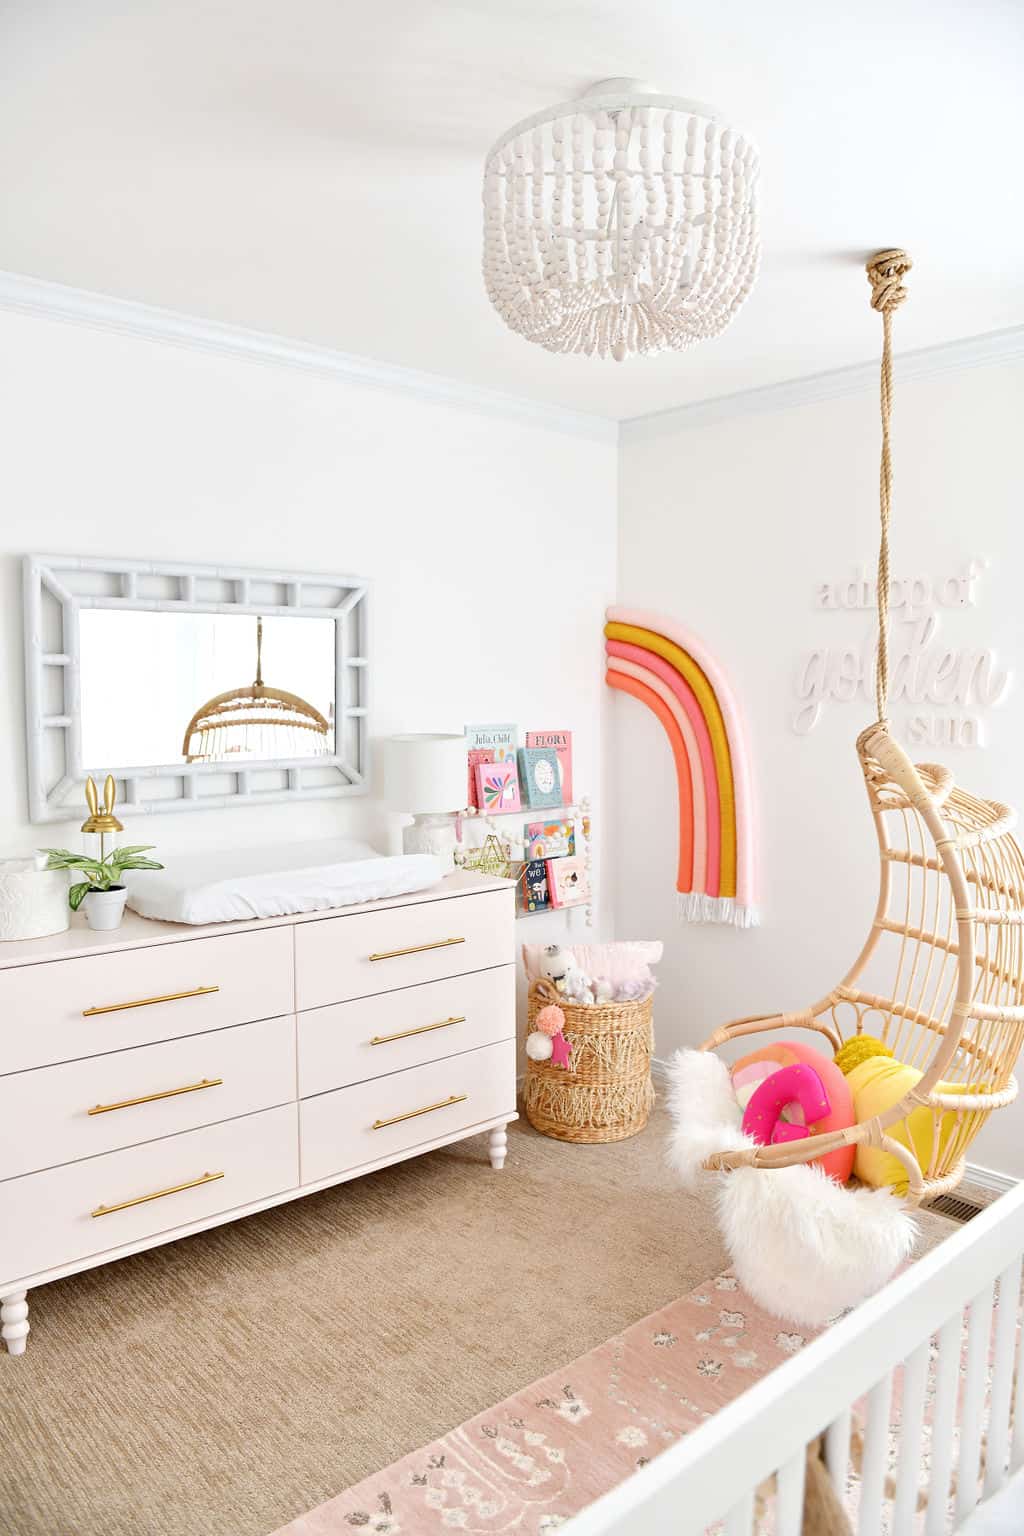
I should start this out by making sure you saw THE pink dresser in sweet Goldie girls rainbow nursery. It just wouldn’t be a nursery in my house without a few good DIY’s…now I know everyone is looking for the DIY rainbow, but todays post is all about the pink IKEA dresser hack.
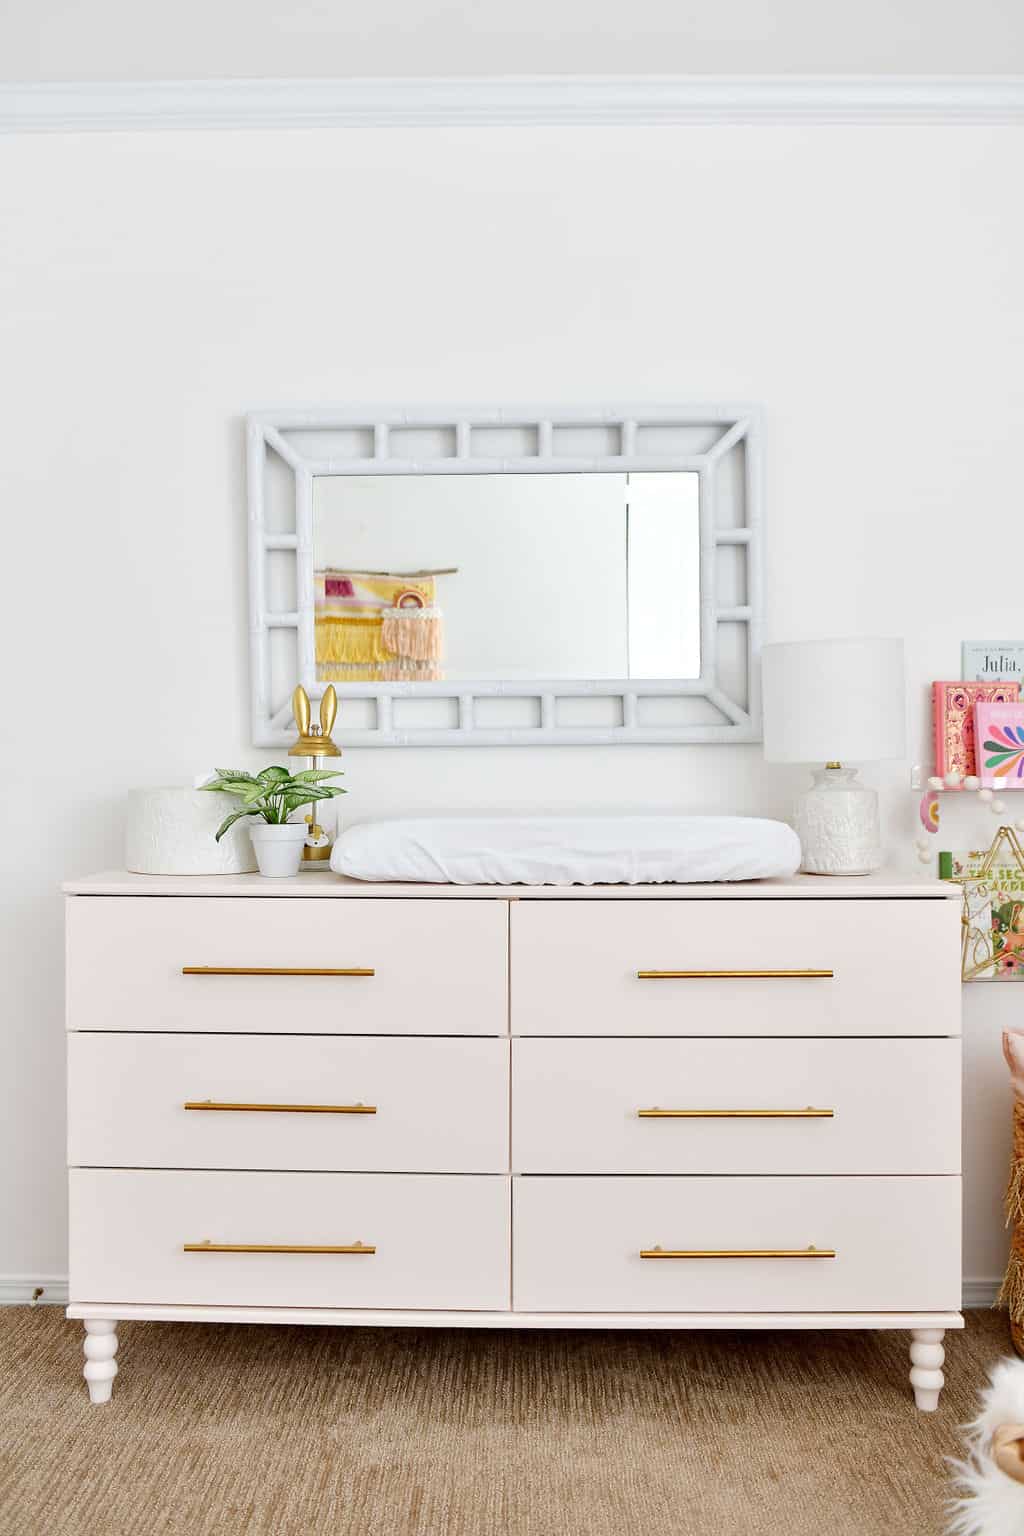
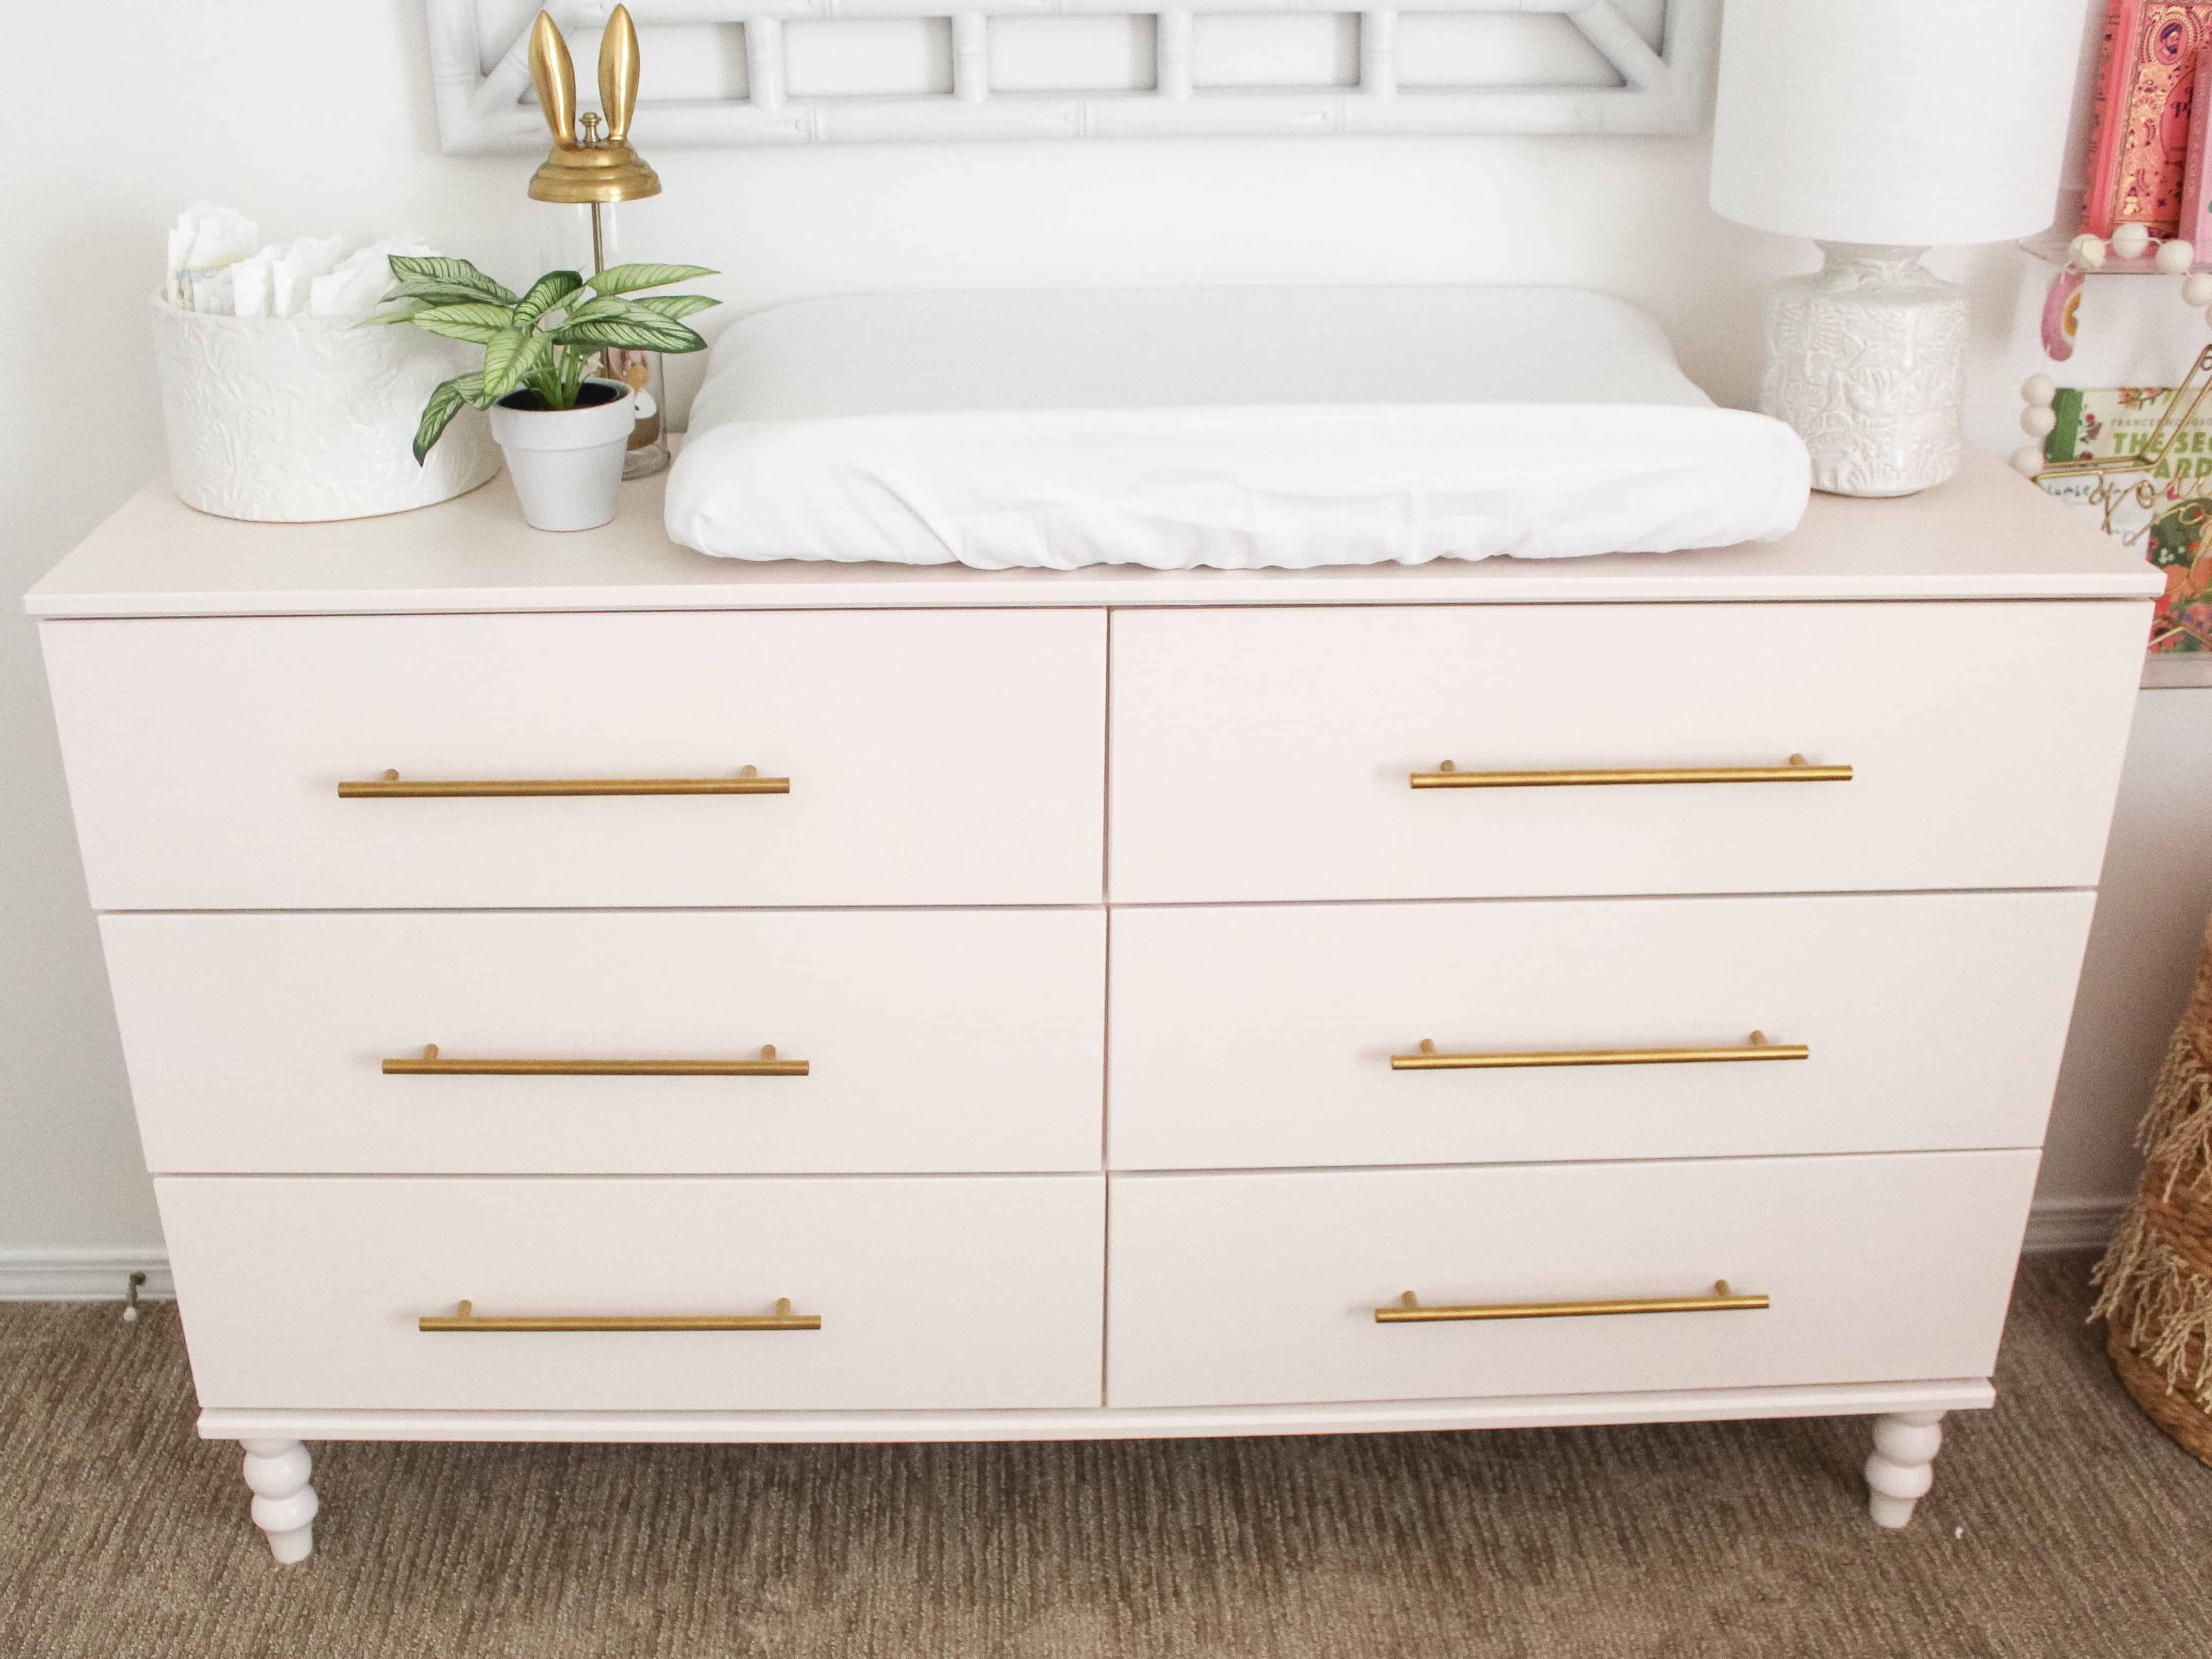
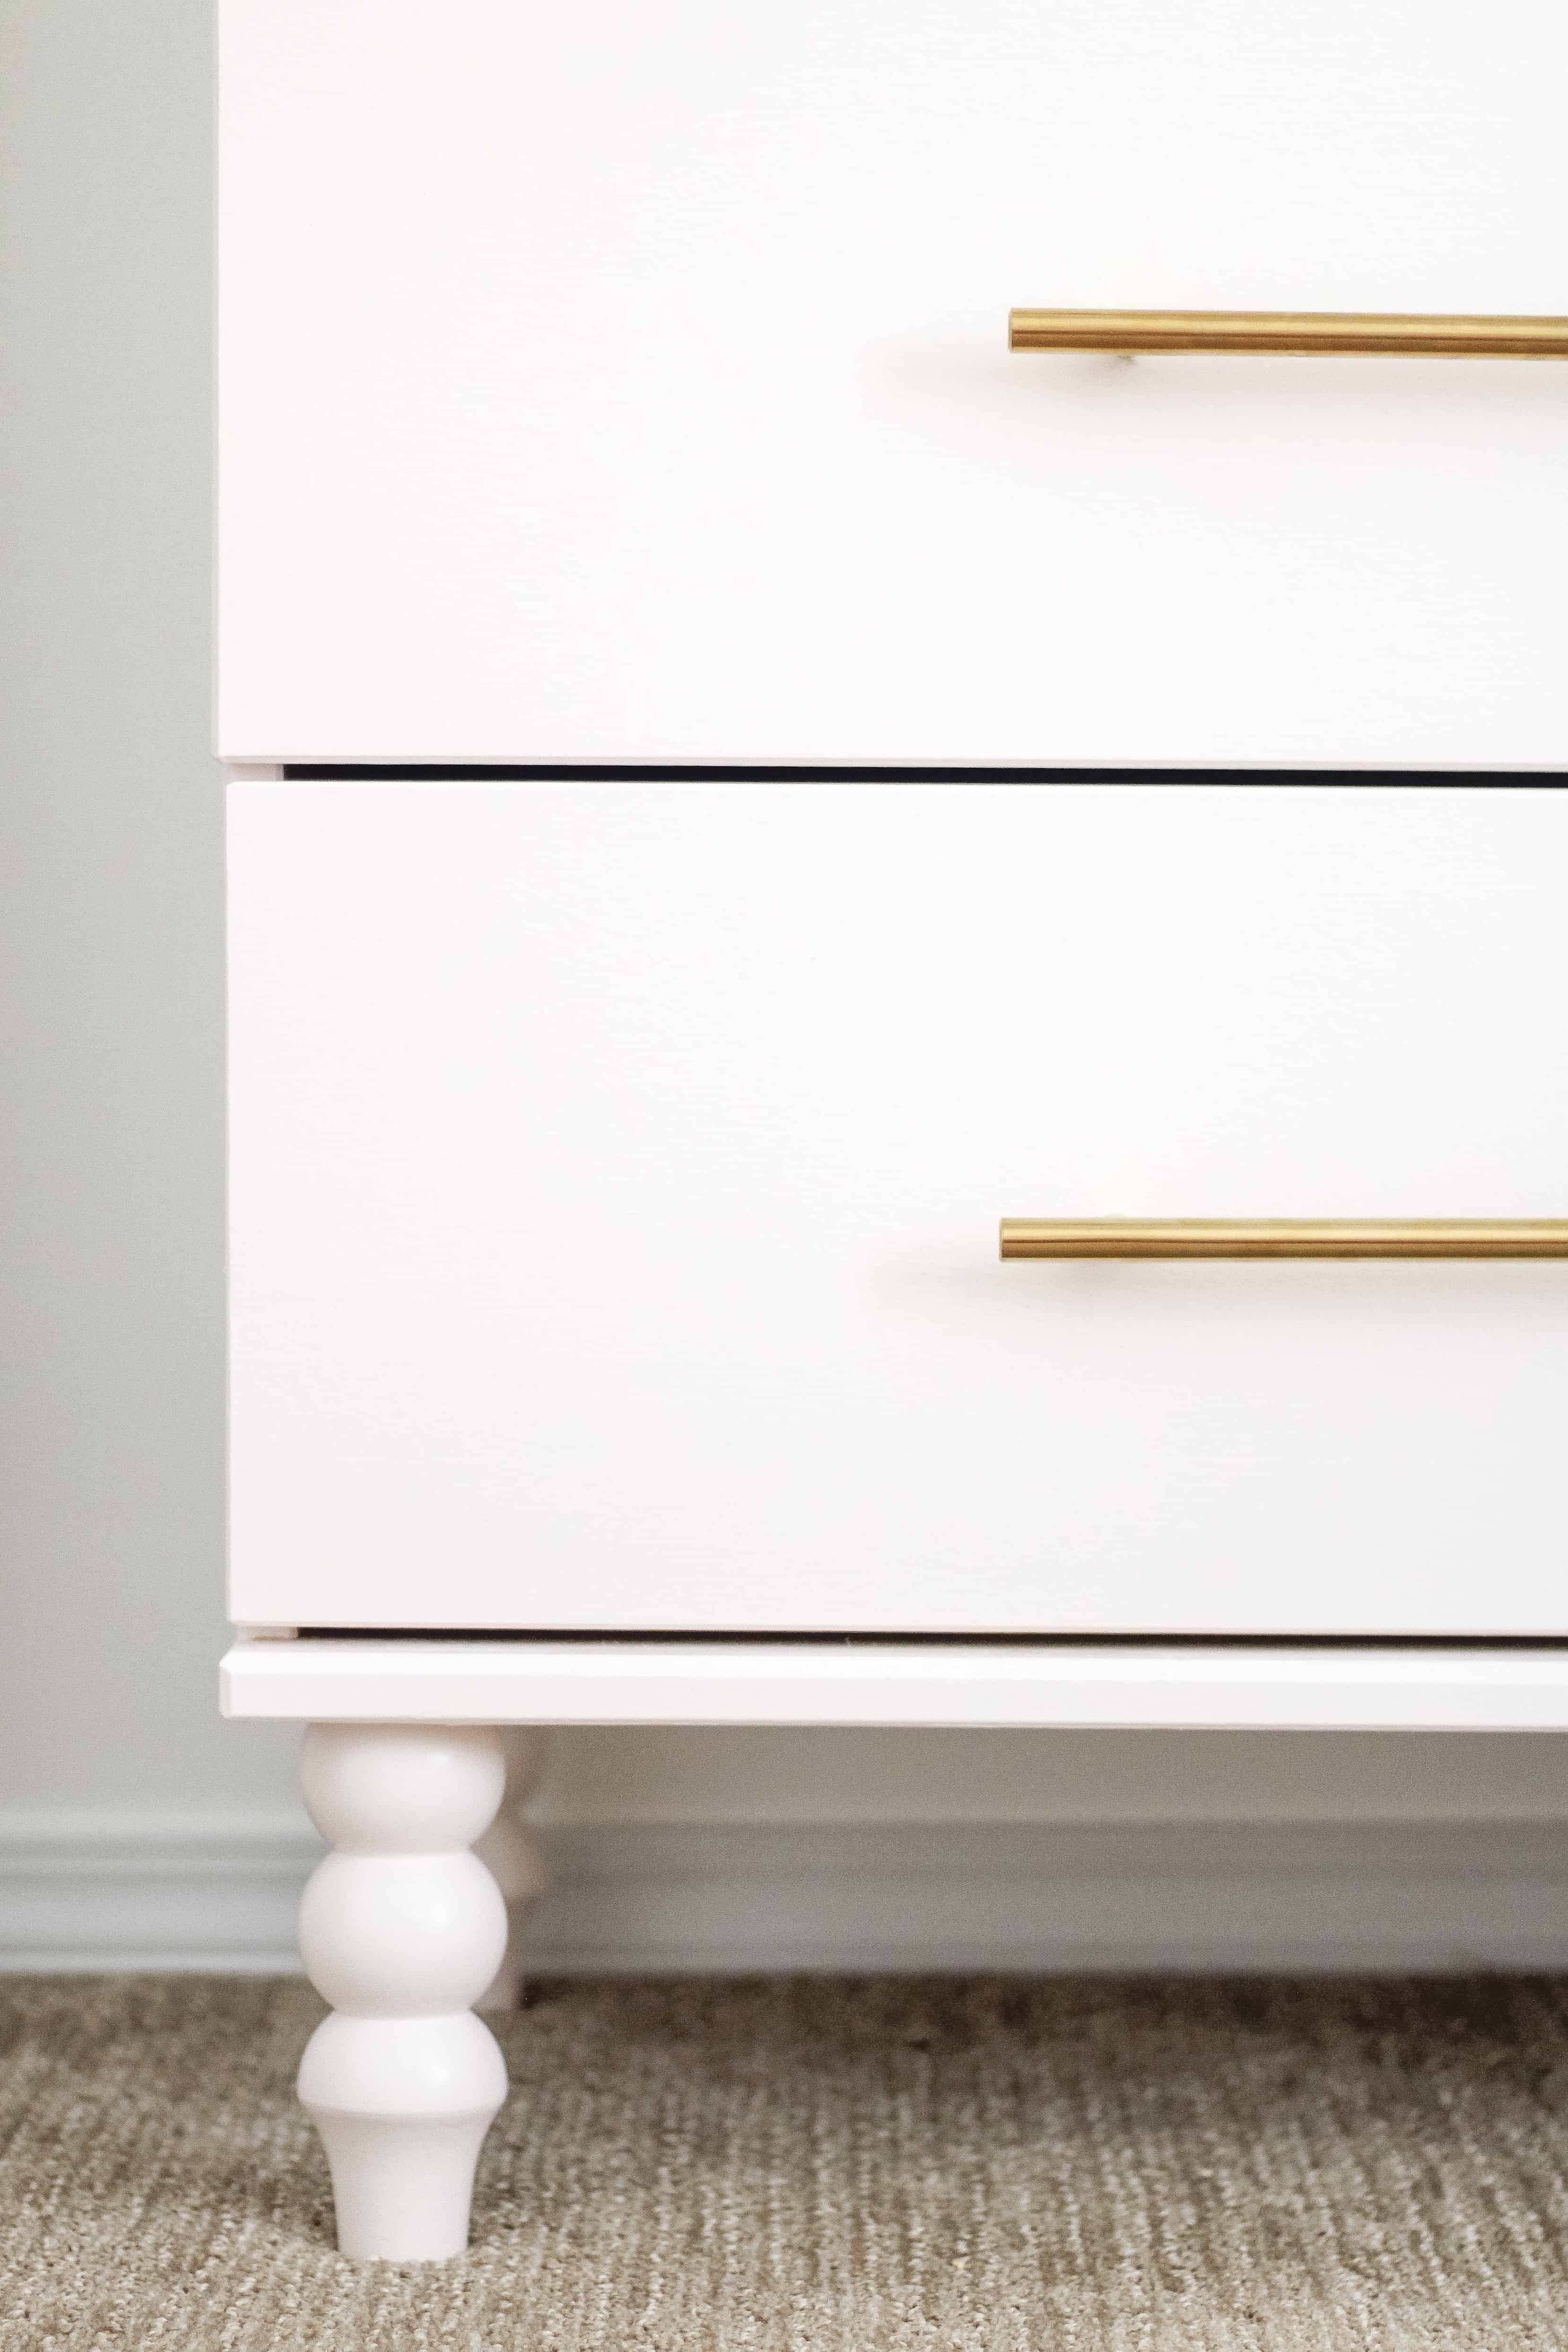
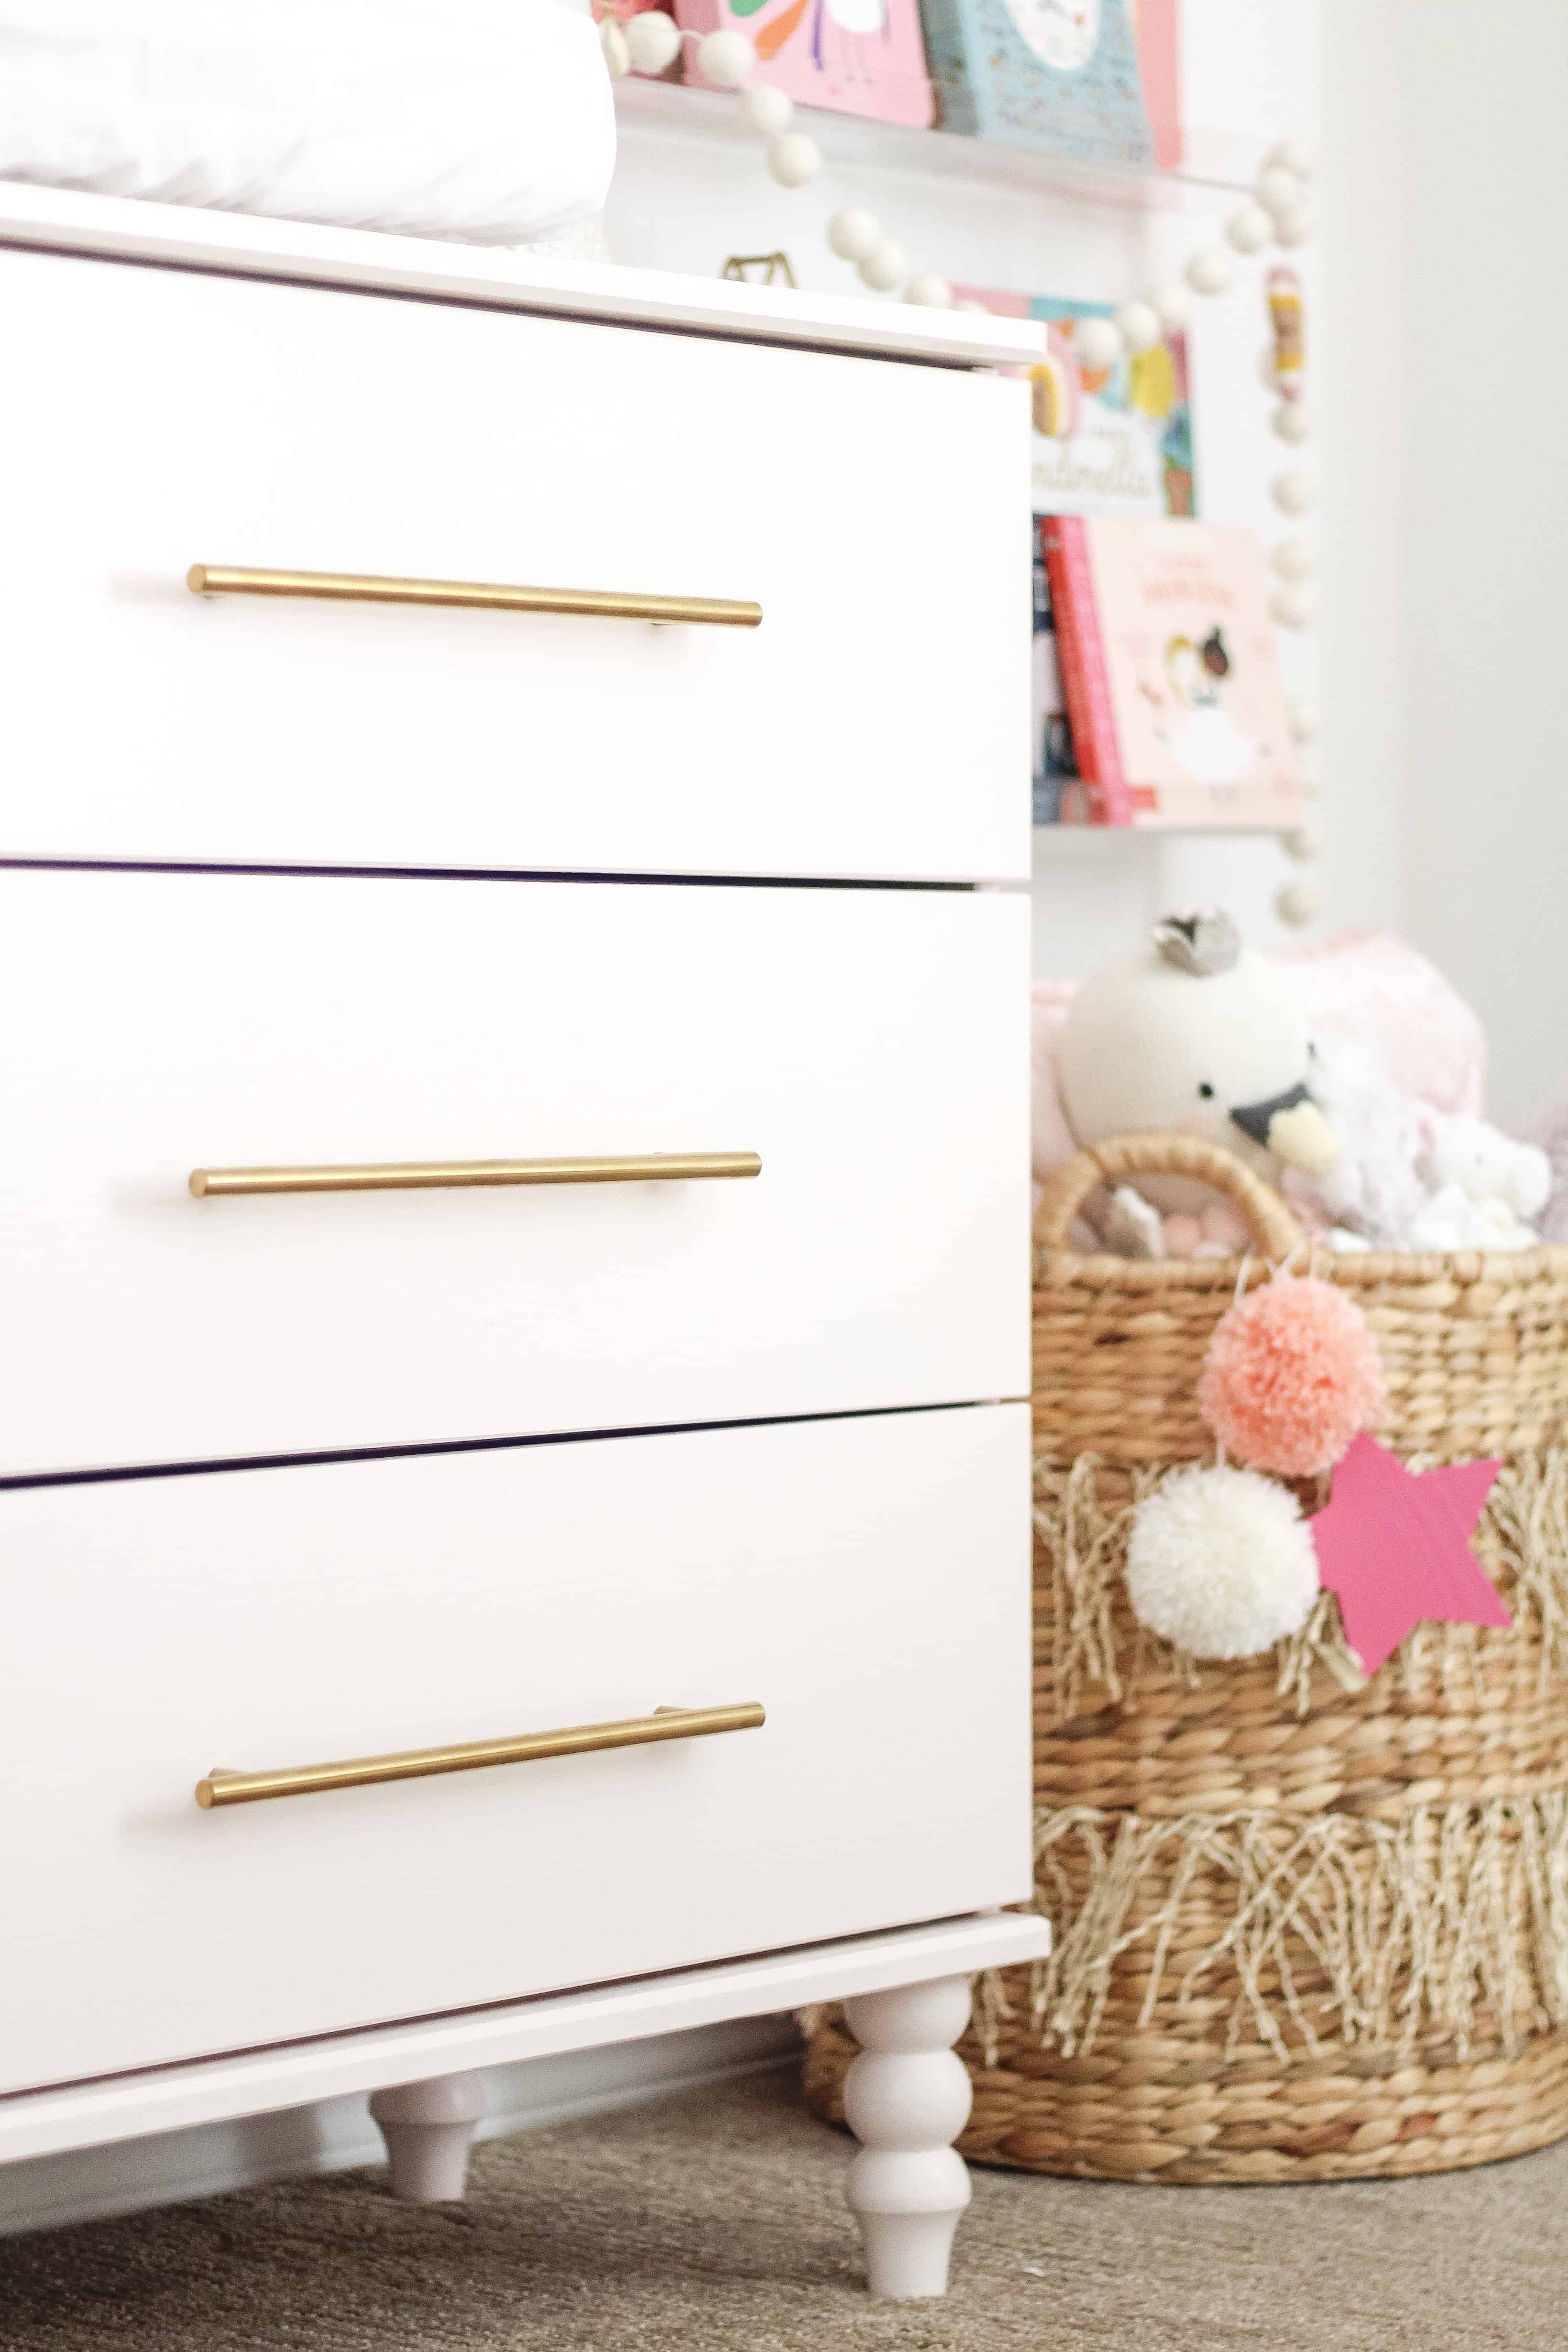
This is a TARVA dresser, and the end outcome with a little trial and error was in my own opinion – gorgeous.
This post contains affiliate links
Pink IKEA Dresser Hack
So when we found out we were having a girl I didn’t have many ideas on her room, BUT I did know that I wanted white walls and a pink dresser. I wanted it super light pink similar to Avé’s wall color, and had the idea to do it DIY.
My ideas were a bit more easily done in my head than in completion, but the end result was perfect.
What you need
Feet from Pretty Pegs – I went with this set, but there are several options
Hardware – I went this route (10 inch hole)
Paint – I painted hers Glidden Subtle Peach
How To
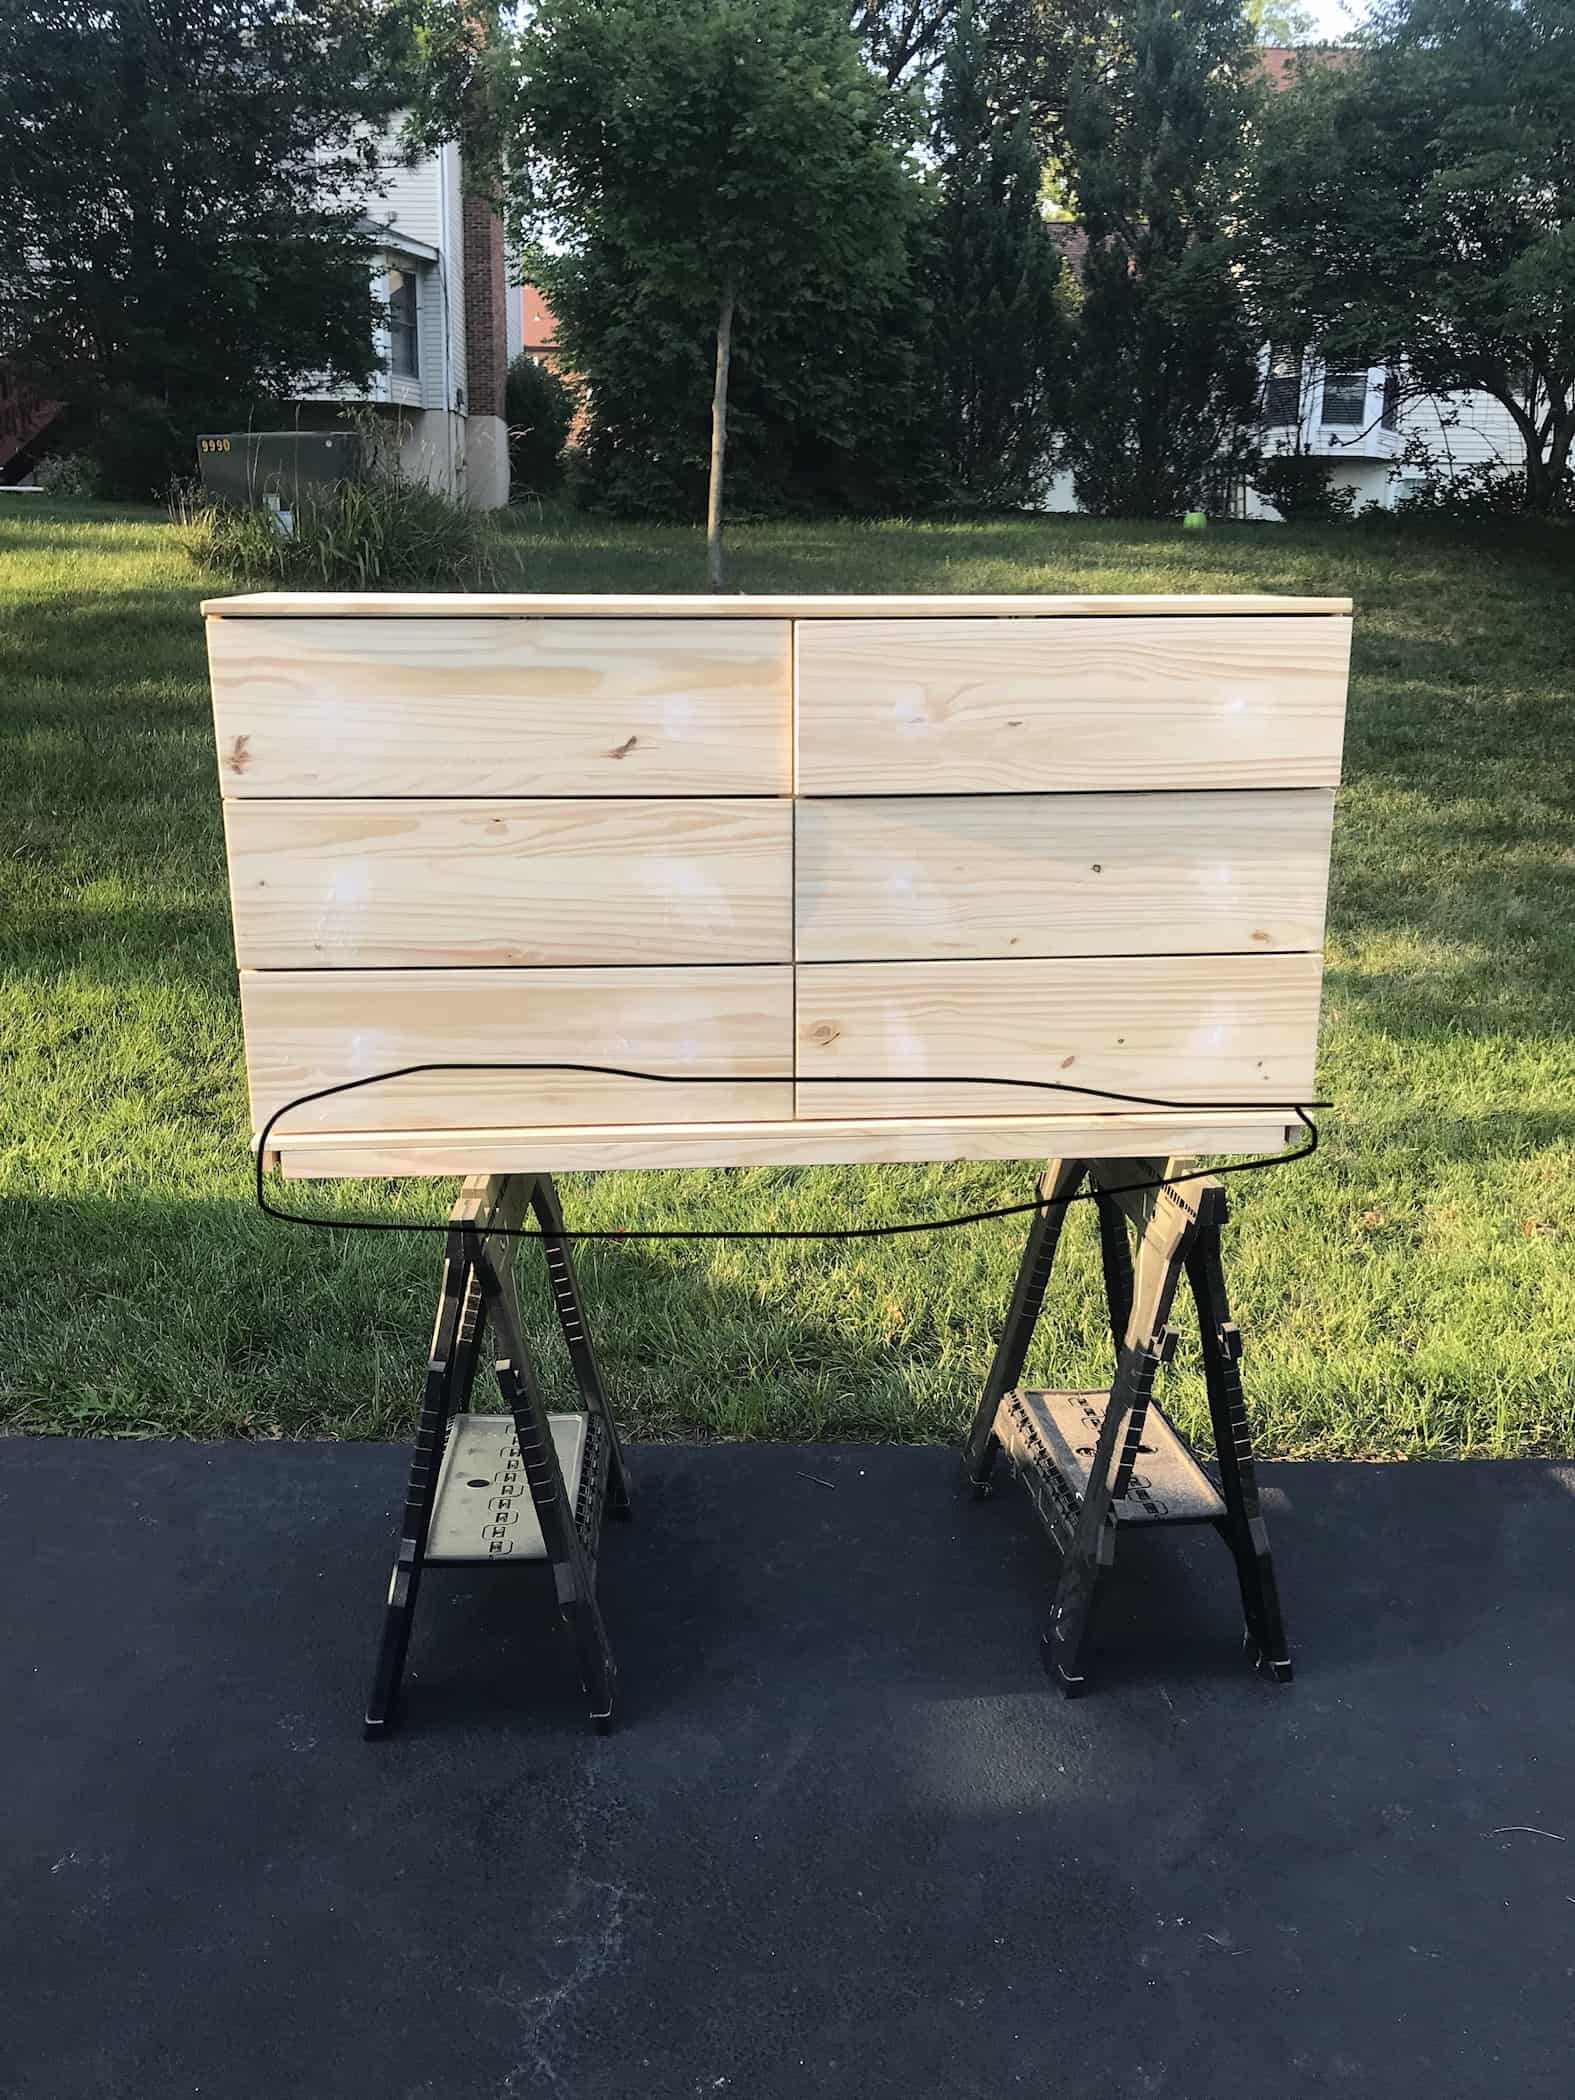
First off you are going to Assemble the dresser. BUT one thing to do is leave off the small flange piece on the bottom. If you don’t know what I mean, if you put it all together there is a small piece that goes under the drawers. Don’t use that!
Once it is put together depending on your drawer pull choice you may need to fill those holes and sand that down.
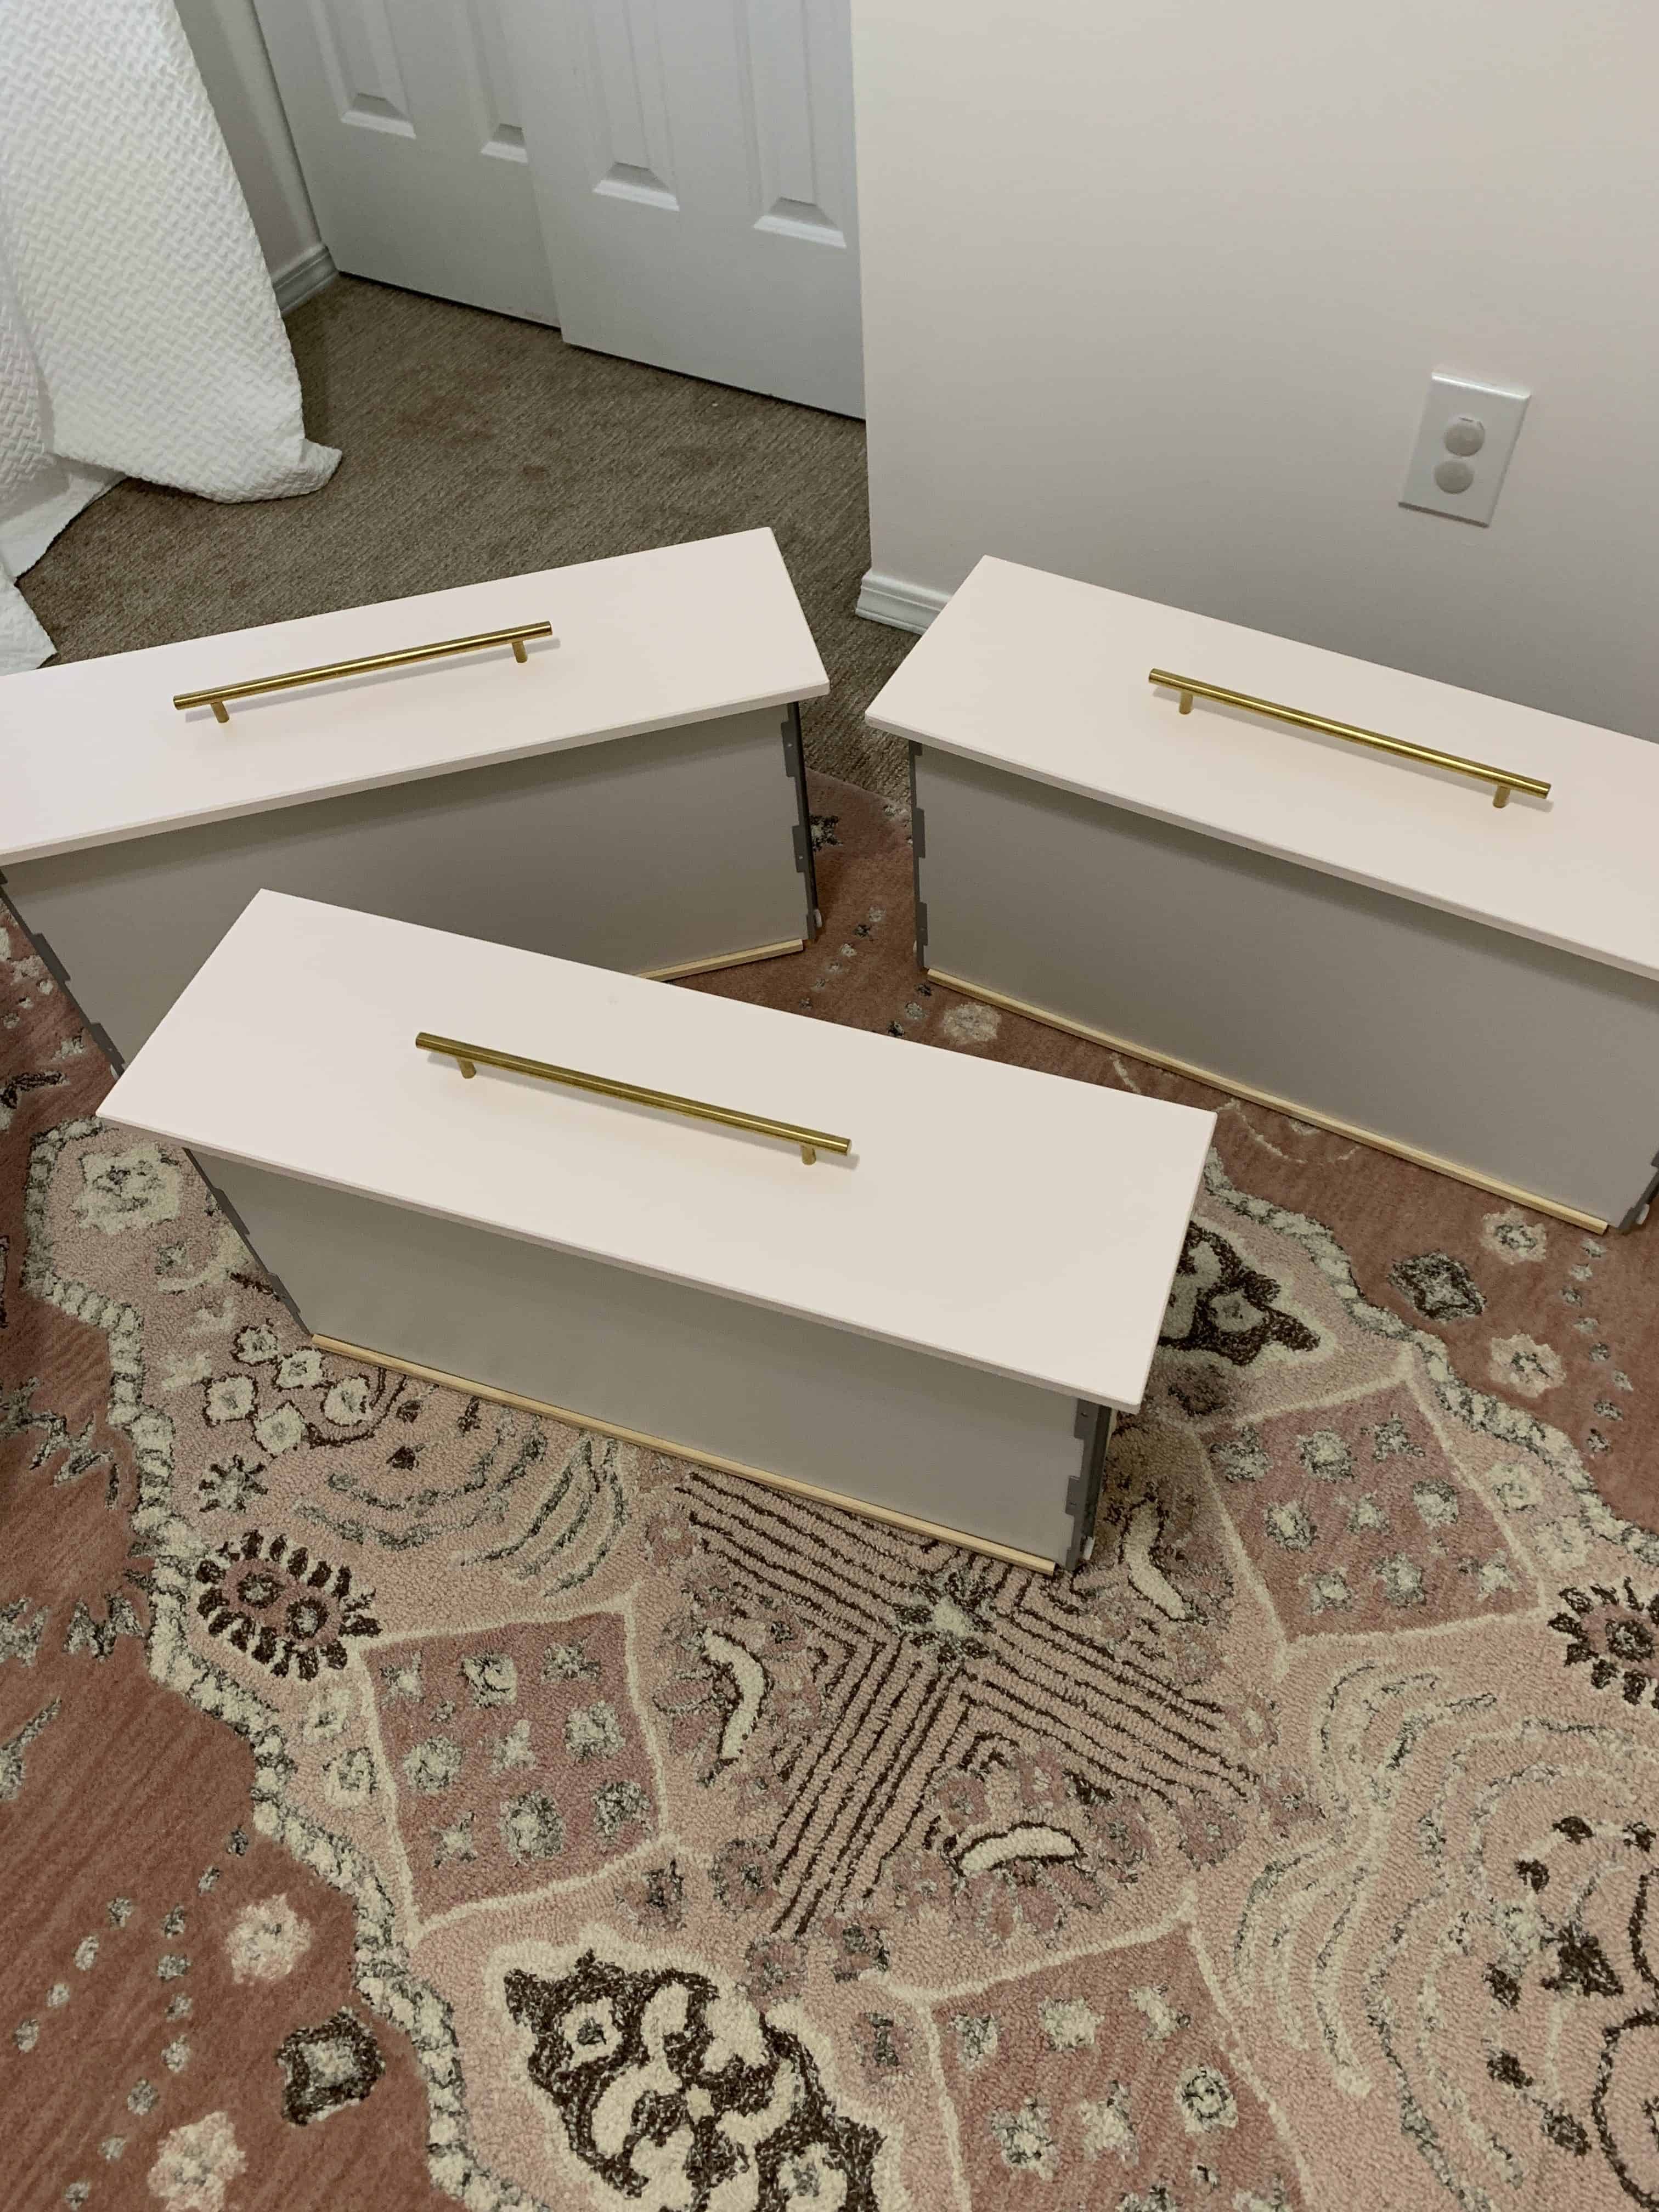
Next is paint – I personally used our paint sprayer but small foam rollers would also be a great choice! You will want to do a couple of thin layers.
After those two layers add a layer of poly ( I used this left over from our painted bathroom floors!) I actually think I did 2 thin layers of the poly – and then let that dry fully for a full day!
While the polly is drying you need to paint the legs…this is where things got a bit tricky. I ordered my legs white, and because of the shape, painting them was not going well.
I first gave them a rough sanding and painting with a brush was going awful, so I ended up putting the screw in the top and dipping them in the paint. I submerged each leg in the gallon of paint and let them fully drip off (which wasn’t super quick), then I set them down on a piece of tin foil with a light spray of pam ( I know that sounds so odd…but it worked..they didn’t stick).
Lots of paint continued to pool off of the legs, so I ended up moving them after an hour or so to a new piece just to keep things less messy. It gave the legs a great coat of the pink paint and ended up working SO WELL!
Next is putting on your drawer pulls. If you buy the same pulls we did you will want to make a template to mark your drawers and have all the pulls lined up.
We took a piece of leftover stencil material for this, but simple paper cut to the drawer size then marked with your holes will work too. That will help that step of this go SO MUCH easier.
The last step of this project is attaching your legs. This was for us the hardest step because we didn’t realize we should leave that bottom lip off her dresser. (you get the benefit of us realizing that and telling you first!)
We took the lip off after so many tries on making the feet work, and were able to drill a small pilot hole into the corners of the dresser then screw the leg into the dresser and add the bolt. The drawer has enough clearance doing it this way, and it looks seamless.
Again, I suggest using a small square template to mark each corner so you are putting the legs the same spot on each corner!
Hopefully those directions are helpful. We LOVE this dresser. The drawers are huge and it is super well made, and after the DIY its gorgeous on a tight budget.
Incase you missed it her room also had THIS DIY Rainbow if you are looking for more DIY projects for a little girls room or nursery. If you have any questions please feel free to DM me on Instagram or leave me a question in the comments!
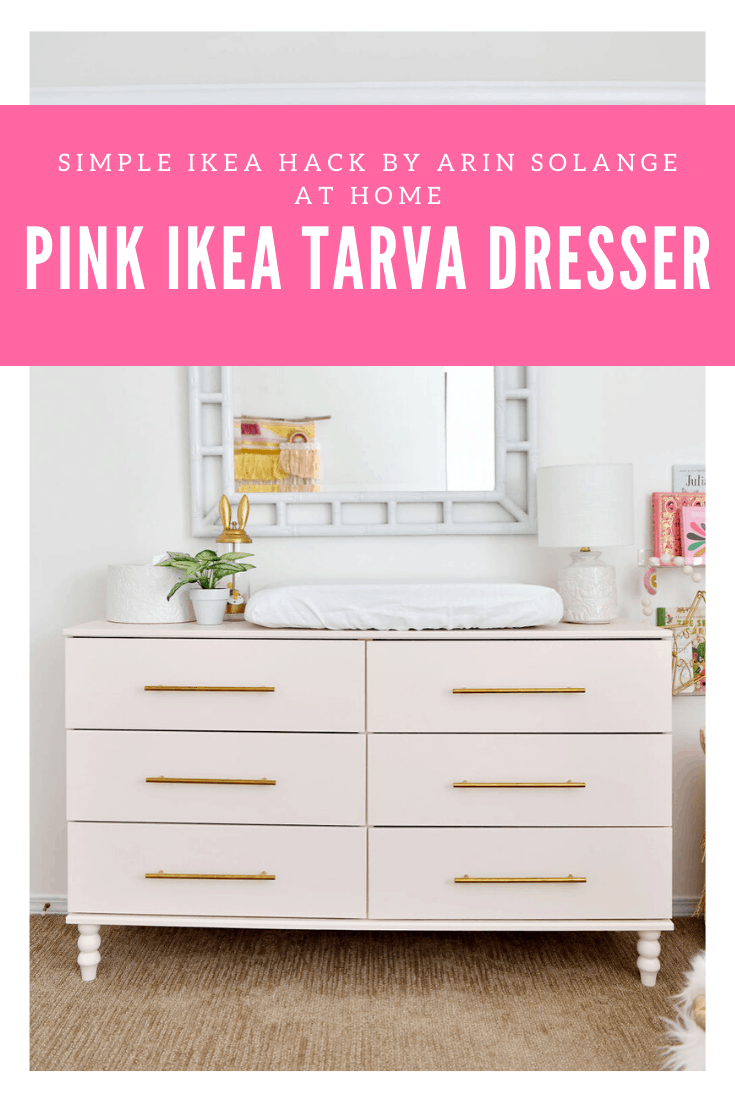
Pin the photo below to find this Pink IKEA Dresser Hack later

Hi! I was just wondering how this is holding up? I want to do something similar but my husband thinks the leg part is supporting the frame and that it will make the dresser less stable. Also, did you replace the center support leg?
Thank you! This is beautiful and can’t wait to try it!
Hi!
It has been roughly a year since we did this and it is holding up really well. It is very stable. We didn’t change out the support leg since that one can’t really be seen.
I am almost done with this. Just need to put the legs on. I am confused on how to do the legs. Where do you drill the hole into?
Did you take that bottom piece off? If you happen to do Instagram and want to DM me I can send you a video.