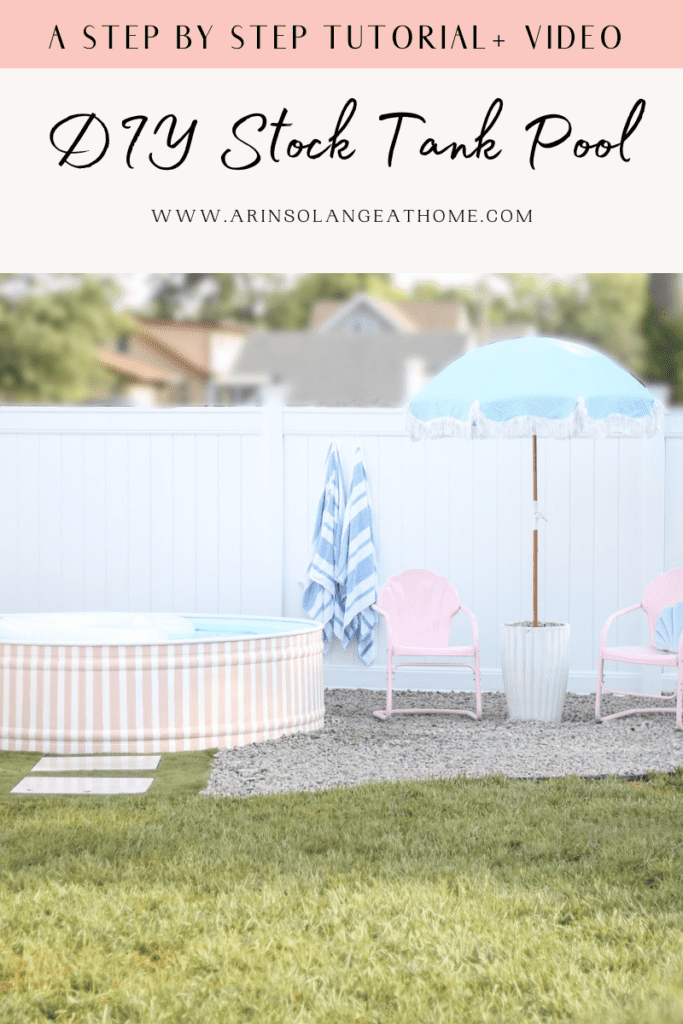
After roughly 5 years of constantly talking about a stock tank pool, Sam gave in, and we have a fully working pool! This post is going to talk about how we did our pink stock tank pool DIY. I will share the ins and outs of getting the pool, adding the filter, and everything you need to know, incase it is intimidating for you like it was for me.
If you are more of a visual learner – there is also a video that will pop up on this post you can watch to see more of what you will need to do!
This post may contain affiliate links \\ I also want to note – this is a small pool, but pool safety and water safety should still be taken extremely seriously. I am an avid DIYer, but nothing comes above safety for me. If you have children or your neighbors have children please remember that drowning can still happen in this small amount of water, so cover the pool when not in use, and treat your backyard in the same manner you would with a larger pool.
Pink Stock Tank Pool DIY
We LOVE the idea of getting a pool in our backyard in the next year or two, but with hot midwest summers wanted something a bit faster. We have 4 wild kids and a big dog, so blow up pools are not our best option. We ultimately decided on a stock tank pool diy after so much research.
We have personally been LOVING the pool, but this post will talk you through all the considerations to make in getting one, as well as every single step of setting it up.
We found that a lot of people had roughly talked about the process, but it was hard to find a great tutorial that was truly step by step – so if you are looking for that step by step tutorial you are in a good place.
What is a Stock Tank Pool?
First – before we get to the details, I had some questions on social media about what a stock tank pool is, and why we chose it. A stock tank pool is essentially a galvanized metal steel tub that is for livestock to drink from. The DIY aspect comes in with adding a filter and chemicals to make it a small, working swimming pool.
This is a swimming pool that can be done 100% DIY, and the only tool you actually need is a drill – so it is truly not super difficult!
Getting your Stock Tank
The first thing you need is a stock tank. Your best place to look is at a tractor supply company, or any farming supply store. Your local store will likely carry them in several sizes and both a round and oval shape.
They are large and heavy, so you will need a truck and straps to transport it from the store home, and in most cases likely 2 people. It was large for the truck bed of our rental, but Sam drove with his flashers on and it was fine. Sam was able to handle the pool on his own, but I was ZERO help in lifting it once it was here – It was too heavy for me to even take on half the load.
For that reason – I would plan on getting it close to or in the exact spot it will remain as soon as you bring it home! It needs to sit on level ground, so be sure you have that prepped or thought out before hand.
Gathering your Supplies!
Below is a FULL supply list of everything you need from start to finish for a stock tank pool DIY. Keep in mind that this is only for the pool – I will cover our landscaping at the end when I link all of our accessories – but for the sake of the supply list it won’t cover any of that as it is not needed.
- Metal Stock Tank – our pool is the 8 foot stock tank pool in a round shape
- Flex Seal – This comes in a spray or Gallon version. You can use clear or white. (if you get spray you need SEVERAL cans – the gallon is likely more cost effective)
- Above ground pool Pump – this is the exact pump
- 2 Pack of Above ground Plunger Valves
- Threaded Inlet Strainer
- Silicone Caulk
- This exact hole saw drill bit
- Chlorine dispenser
- Chlorine Tablets
- Liquid Chlorine – not a need, but helpful for getting the levels correct right away
- Pool water test strips
- Optional (but highly recommend) – pool cover
Step by Step Instructions for Creating our Pink Stock Tank Pool DIY
Step 1: Get your stock tank pool and put it directly on flat ground, or on scrap wood risers to paint
Step 2 – Flex Seal: We personally used spray, but it would likely be more cost effective to buy one gallon. Cover the entire inside and outside of your pool with flex seal – ESPECIALLY if you plan to paint the pool. The flex seal will prevent rust, makes it slightly rough, so much less slippery (or at least the spray version did) and allows for paint to adhere if you want to paint it a color.

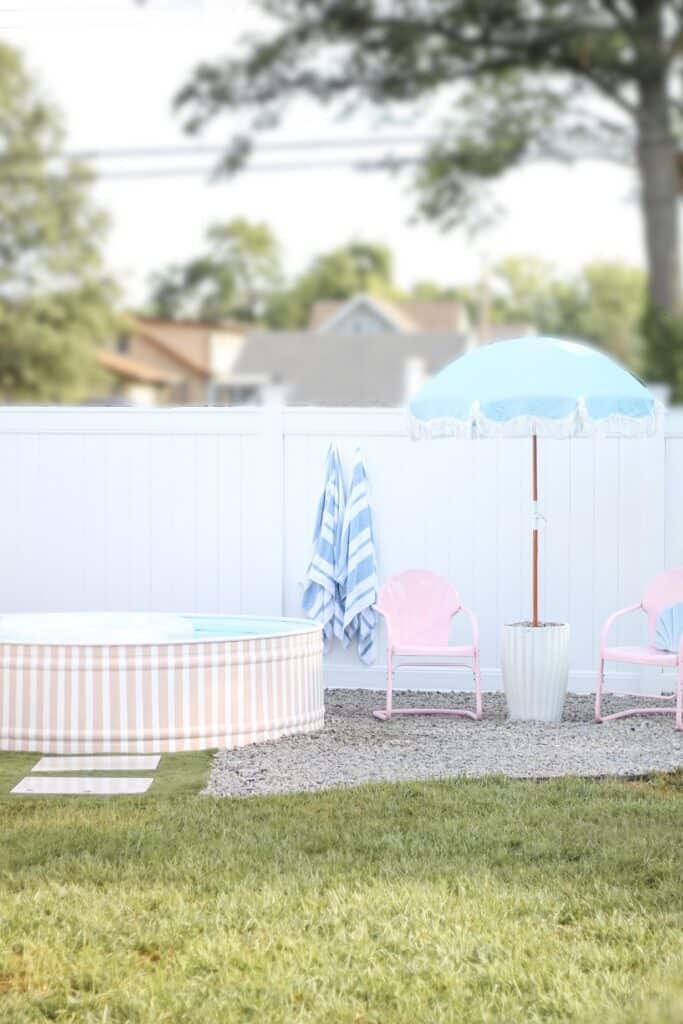
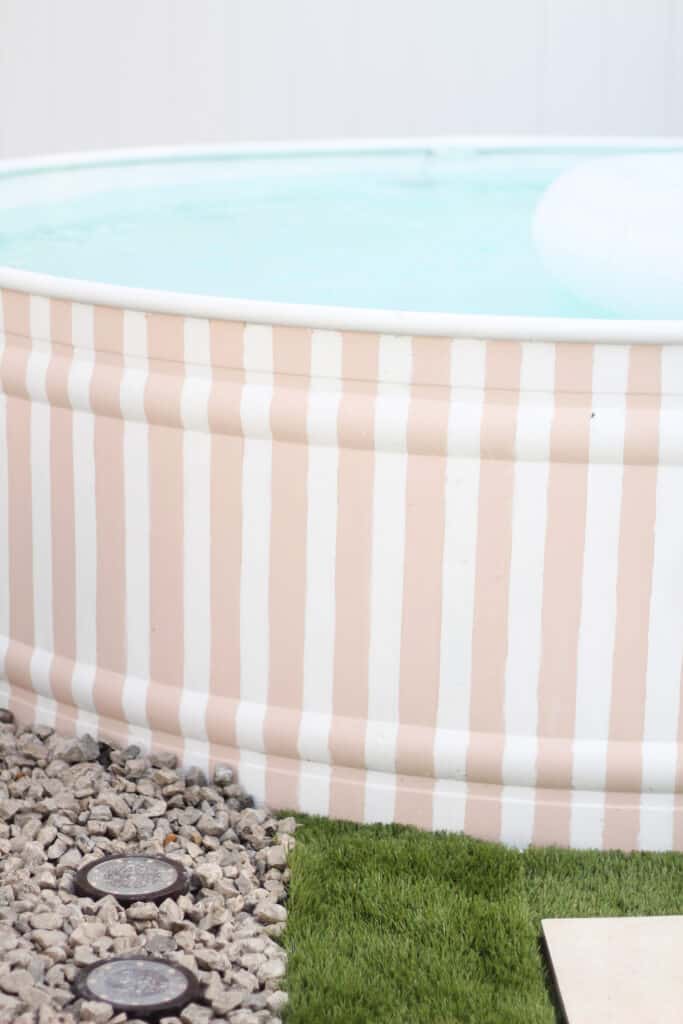
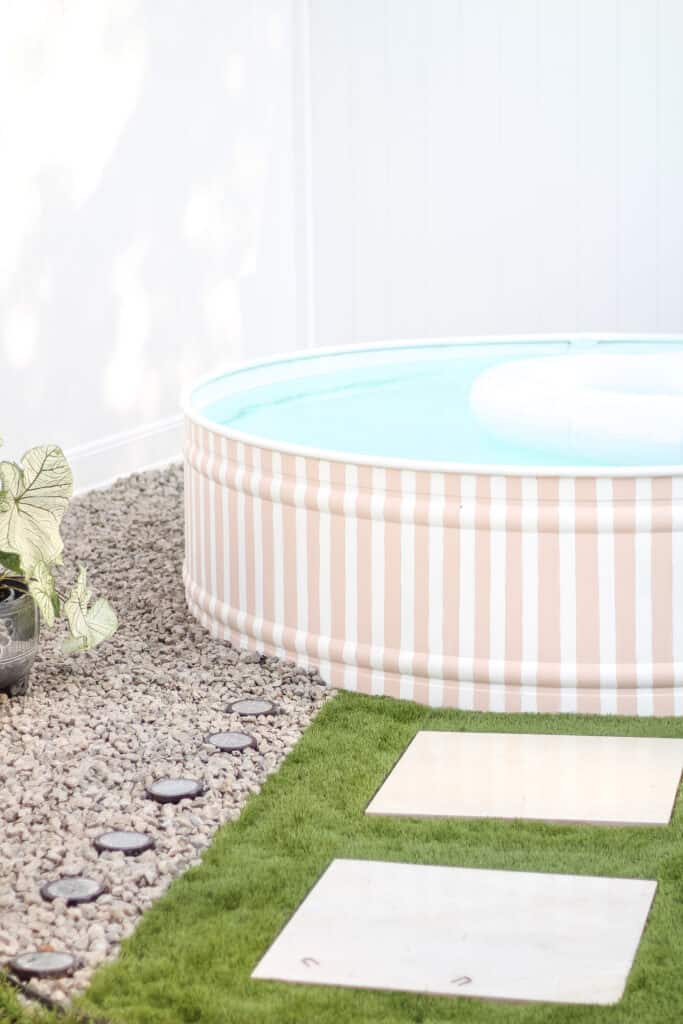
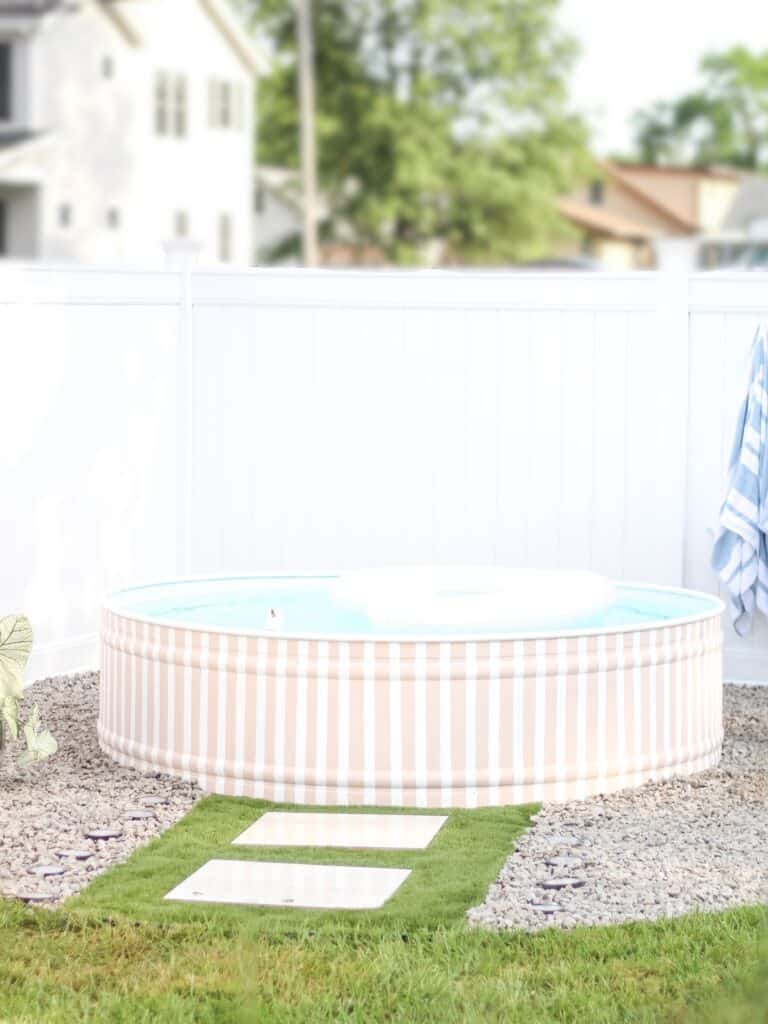
[optional] Step 3 – Paint: For us we wanted a fun design and went with pink and white stripes, so we painstakingly taped stripes with frog tape on our pool, then painted the stripes in Behr Sand Dance – outdoor paint. I will say that flex seal and the heat made this VERY hard to be precise, but it was still worth it, even if not perfect.
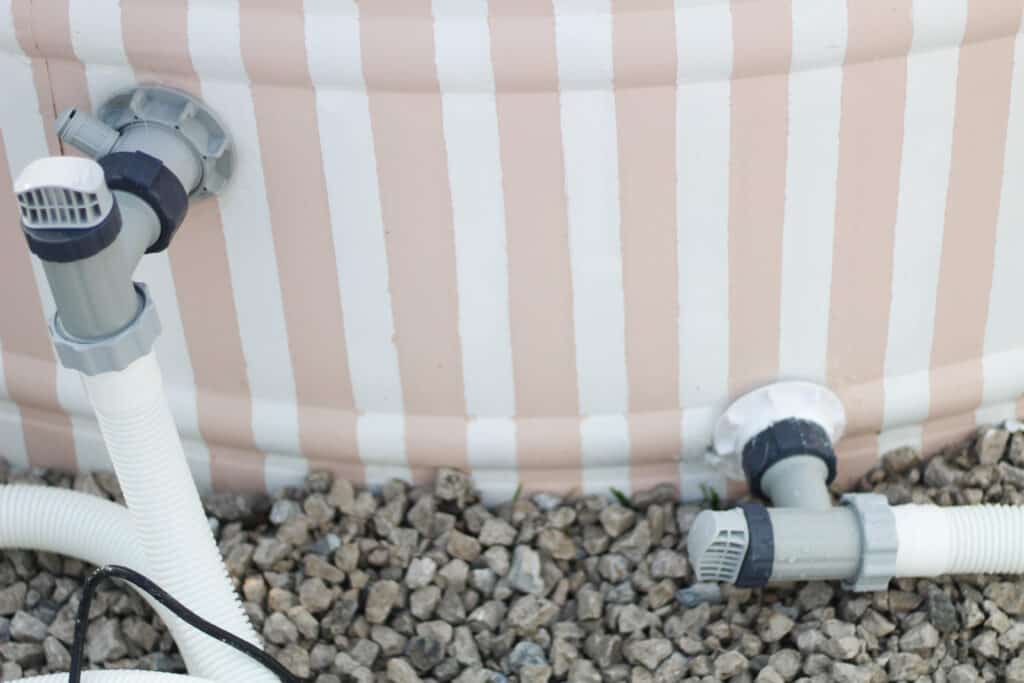
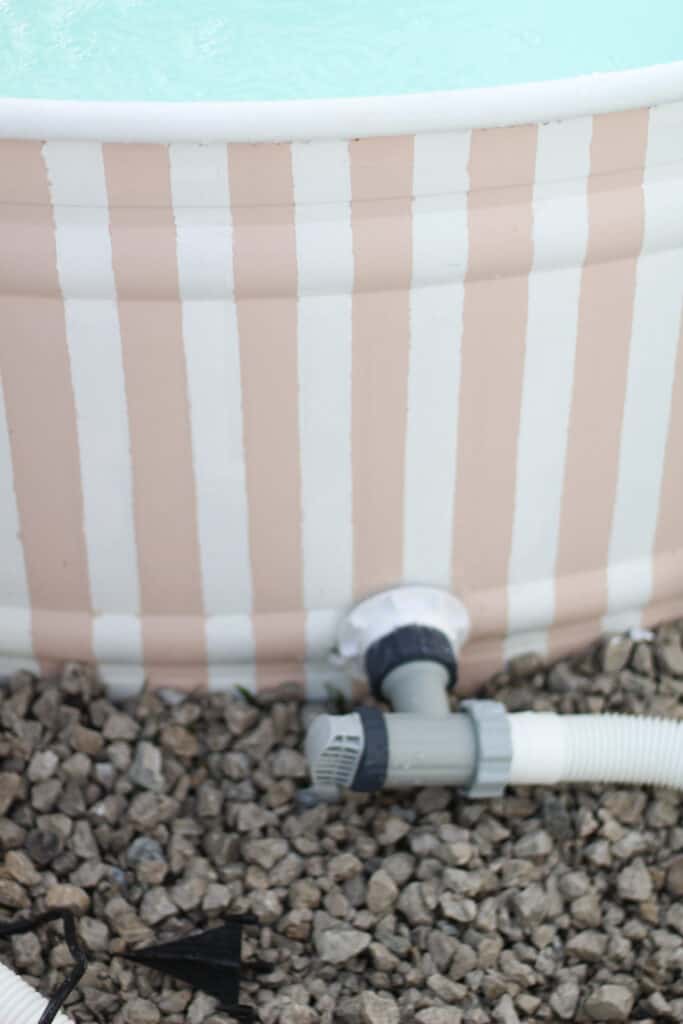
Step 4 – It is time to cut holes: You are going to need to use a drill and the hole saw bit that I linked above to cut TWO holes. One hole will go high on the pool, and the second hole needs to be towards the bottom. For us if you are looking at the pool we drilled a higher hole on the left, then probably 1.5 feet to the right did the lower hole towards the bottom. (see photo to reference).
Once that step is done, take a big sigh of relief, because the hardest step to this process is over!!
Step 5 – Pump Installation: Now it is time to install your pump. In your pump box you will have some fairly decent instructions – but essentially the round fish eye looking piece is going to go INSIDE the upper hole. You will then screw one of your plunger valves into that piece from the outside of the pool (per the photo below).
Into that plunger valve you will attach one end of one of the hoses that came in your pump kit. The other end of that hose will go into the taller portion of the pool pump.
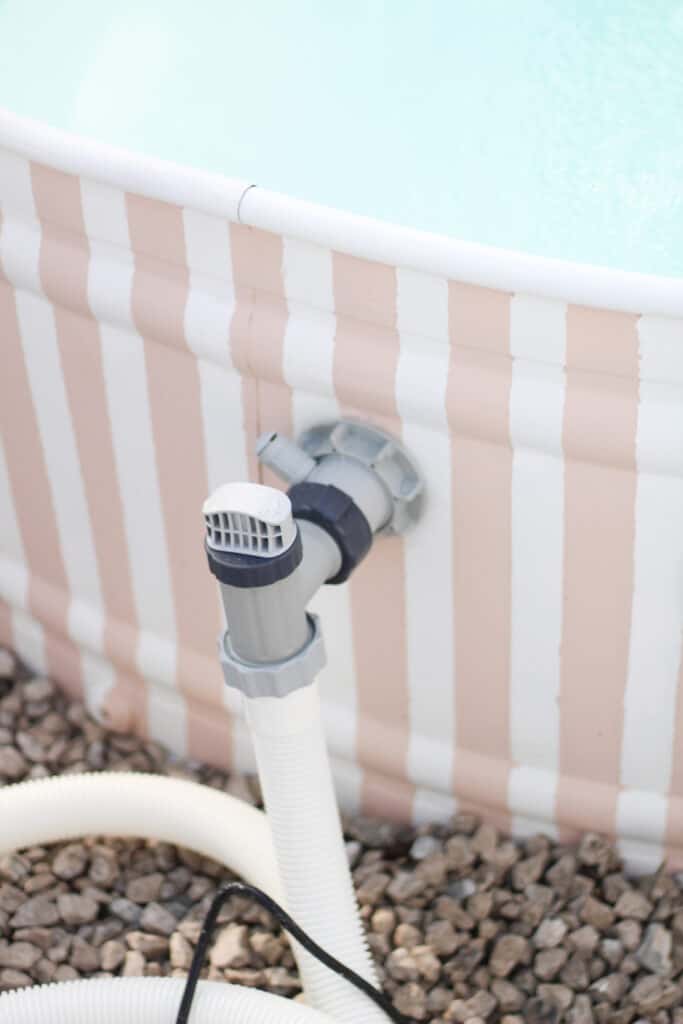
Next – take the threaded inlet strainer and put that inside the pool on the lower hole. Using your second plunger valve on the outside of the pool, screw that into the inlet strainer, then again attach one end of the remaining hose to the plunger valve, and the other to the pump in the remaining opening.
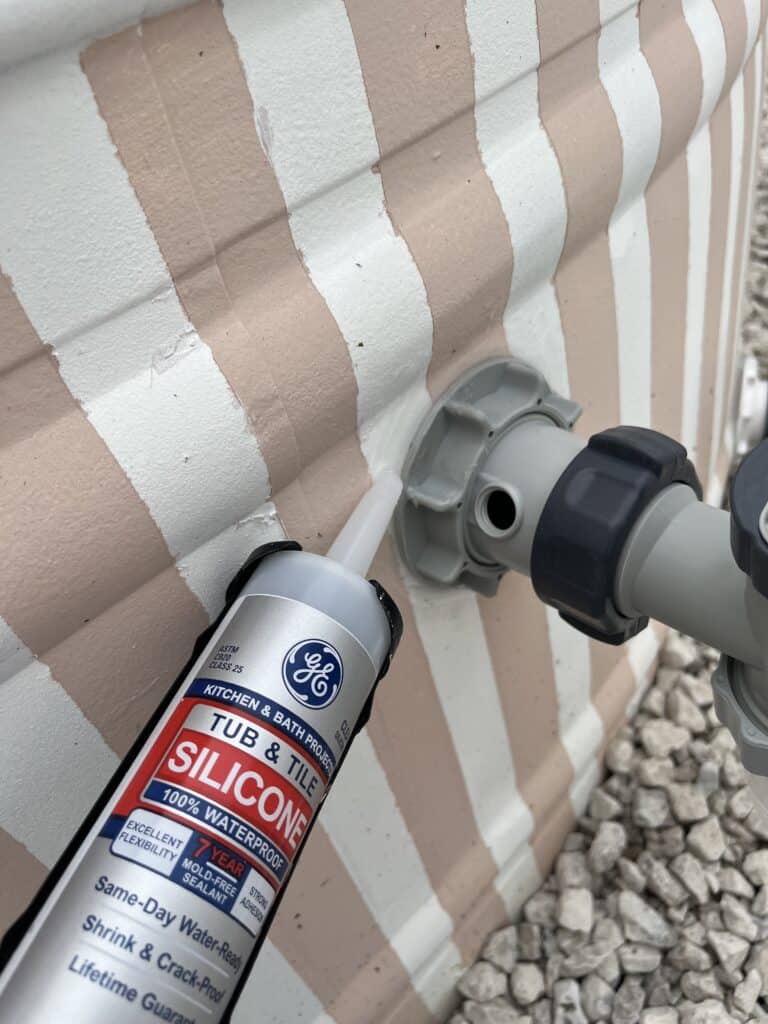
Step 6 – Silicone Caulk: Now you need to caulk the inside and outside both on both holes you just added. This is to give it a really strong seal. Make sure you have the pieces very tight to one another, then add silicone caulk on both sides and allow it to dry.
Step 7 – Testing all seals: Some posts recommended testing to see if silicone caulk was needed around other areas before this, but we found that testing all seems of the pool at the same time as the pump was helpful. Fill your pool to above the first filter piece first. Watch for any drips – if there are any you need to drain the pool, let it dry and add more caulk. This is also a good time to watch the seam of the pool to see if there are any leaks there – if so, again add caulk.
Continue this process until there are no leaks! Once there are none – go ahead and fill your pool with water from your hose.
Step 8 – Chemicals: Now is when you need to add your chlorine. There are a couple of options with this – but we found the best way to handle it was to add liquid chlorine first, then use the chlorine dispenser to maintain the levels. After you add your chlorine use your test strips to test the water quality before you allow your kids or yourself to swim.
Step 9: ENJOY!!!
Cost Break Down
Because this was asked a lot, and I think it is important to go into a project like this knowing your cost – here is a breakdown of the total cost of this pool. I am not going to add the cost of the pink paint because we already owned that and it is fully optional. The whole project for us cost a bit more because we added landscaping and such, but for general information purposes here is a breakdown:
- Galvanized Stock TankPool: $600
- Filter Pump: $95
- Hole Saw bit: $21
- Cover: $32
- Chlorine Dispenser: $19
- 2 Pack Plunger Valves: $28
- Inlet strainer: $38
- Silicone Caulk (2 tubes): $10
- Flex Seal: $110
Total Initial Investment: $953
Frequently Asked Questions:
I posted the reveal of this entire project on social media before the blog post – which is normally not how I do things, but in this case it was for good reason. I wanted to make sure I could cover the questions you all had when it came to owning a stock tank pool, so below I am answering most of those questions if they weren’t already handled above.
If you have further questions on what is like owning our pool just message me on Instagram or leave them in the comments of this blog post!
Q: Is Painting the pool a good idea? We did a lot of research on this leading up the project. Painting directly on galvanized metal is not a good idea, however – the flex seal on the metal is a liquid rubber coating that then allows the paint to adhere. That said – I will be transparent if it doesn’t hold up.
Q: Can it be heated/ used as a hot tub? Yes – we have not gotten that far, but plan to likely do that this winter, so stay tuned for that update in a post and social post.
Q: Is it comfortable/ hot? It has been 100 degrees here since installing and so far it has not been an issue where the pool itself is too hot where the kids are getting burnt. My husband LOVES to sit in it and finds it comfortable and the kids are loving it. There haven’t been comfort complaints.
Q: Can this go on a deck? It is not advised – the filled version of this pool weighs as much as a large SUV, so if you wouldn’t drive a car on it, you shouldn’t put the pool on it.
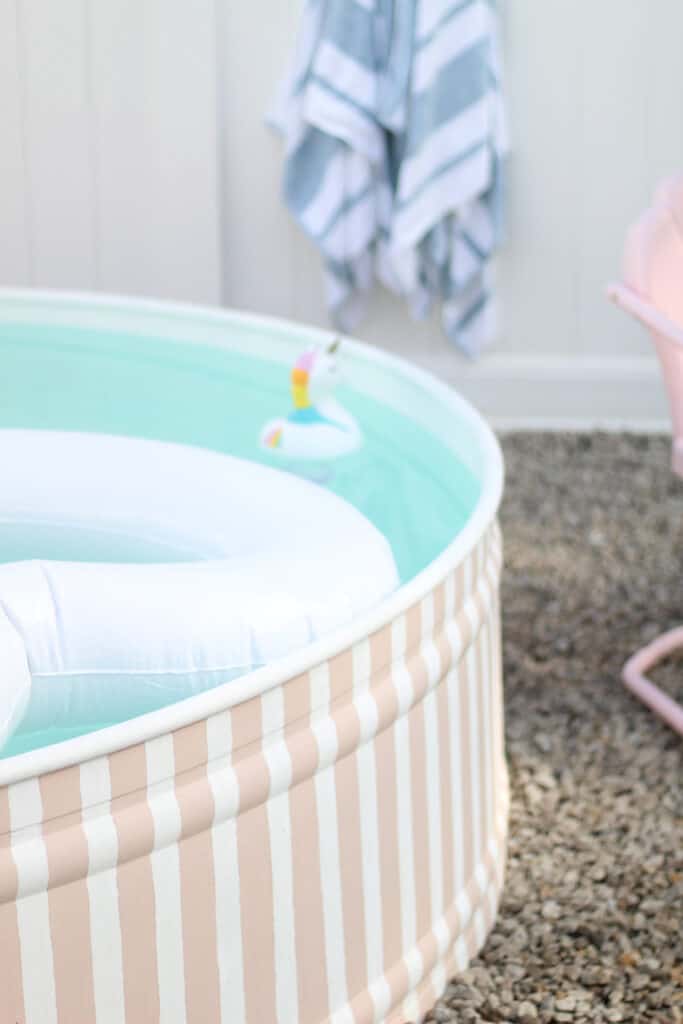
Q: Did we paint the inside blue/ how is the water so blue? Due to the chemicals keeping the water so clean and clear it appears blue – which means the chlorine is doing its job. We painted the inside white.
Q: Can it be done as a salt water pool? It is my understanding that a salt water stock tank pool can be done.
Q: How do you drain it? For our particular Stock tank – it came with a drain hole.
Overall – I think that will be such a fun way for my kids to beat the summer heat and we will have fun in this for a long time to come. As with any pool proper maintenance will be needed, and I will keep you updated on social media with what that looks like. It is a fun, affordable alternative to a traditional pool, but with a longer life than kiddie pools.
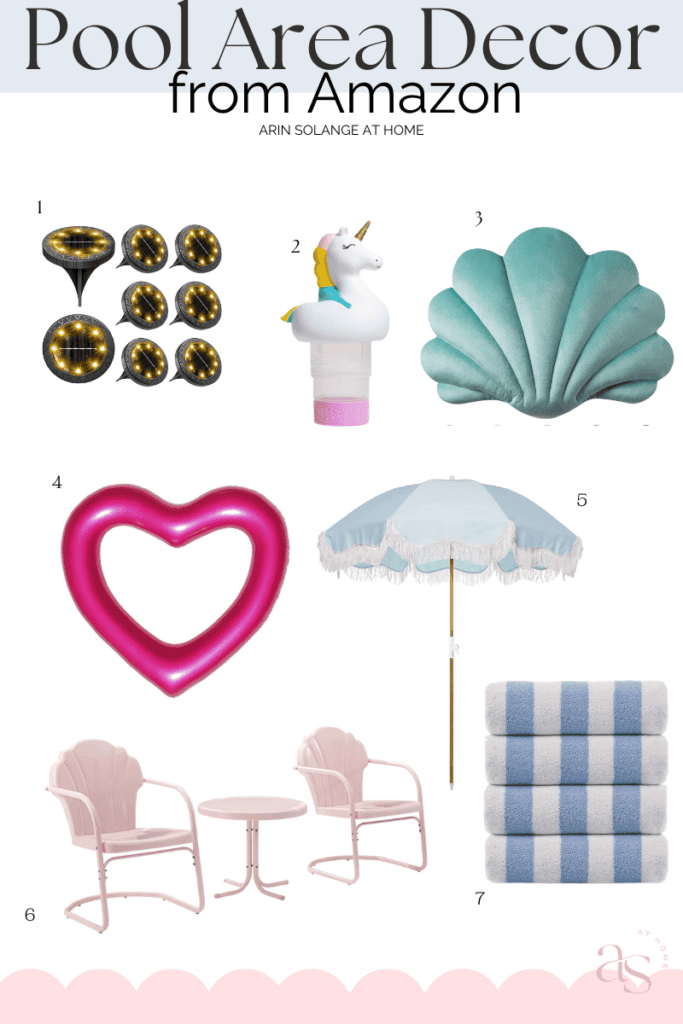
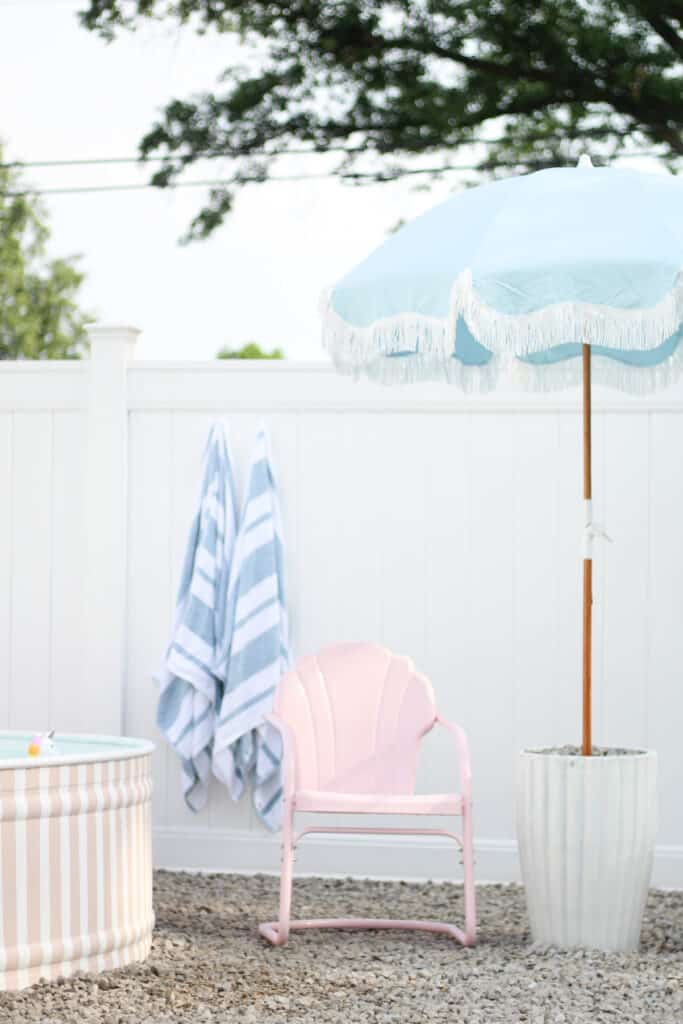
Shop Pool Area Decor/ Accessories
Flex Seal
Above Ground Pool Pump
Above Ground Pool Plunger Valves
Threaded Intel Strainer
Silicone Caulk
Hole Saw Drill Bit
Flamingo Chlorine Dispenser
Chlorine Tablets
Liquid Chlorine
Pool Water Test Strips
Pool Cover
Solar Ground Lights
Shell Throw Pillow
Heart Shaped Pool Float
White Fringe Pool Umbrella
Chair Seating Set
Turkish Towels
Other Posts You May Like
DIY Pink Fluted Bathroom | Valspar Desert Bone Bedroom | Front Porch Railing Ideas | DIY Outdoor Table
Pink the Photo Below for Later
Hopefully you feel confident in creating your stock tank pool DIY – and I wouldn’t be one bit mad if I saw the world with a few more pink stock tank pools thanks to this inspiration. Again if you have further questions just ask them in the comments section below, or DM me on Instagram. I share many more projects and products on both Instagram and TikTok so be sure to follow me in both places!
How did the pool hold up? Are you still using it? Would you still recommend this project
Hi! It held up super well – the inside needed some small touching up thing spring but that was partially because we didn’t keep the cover on all winter out of laziness ha. The outside still looked perfect and the functionality held up great. We actually just helped set it up at a neighbors house for her grand kids because we are putting an in ground pool in this summer, so it is still in use and getting love but not in our yard.
What color pink are the stripes? Please provide paint brand and name. Thanks.
This Behr Sand Dance
This is awesome! We are loving from a neighborhood w a pool to a couple acres of land without a pool! This will help us beat the heat for sure!!
You stated you painted the inside white, what kind of paint did you use for the inside that has lasted underwater for so long?? Did you reseal with the rubber spray after painting white?
What kind of liquid chlorine did you use can you tell me the brand etc and also the type of white paint you used for the inside? Thanks
The inside white paint was just flex seal – and I will have to check on the chlorine but it was just from Walmart
Did you end up switching this to a hot tub during the winter? How did it go?
we didn’t only because we are putting in a full size pool so gave this to our neighbor