We did an easy DIY Dutch door at our last house as a creative way to baby proof our house, and it was honestly one of my favorite little updates to our house. This blog post will walk you through how to update your current door to turn it into a dutch door at your home!
this post may contain affiliate links
Dutch Door
When babies get mobile we get creative – for us it meant this DIY dutch door. This past winter our third born, Walker became mobile, and with the cold winter air we were all cooped up in the house.
The older kids are hitting an age where they are more capable of playing in the basement on their own, but still at an age where I prefer to hear what they are up to. Leaving the basement door open wouldn’t be an option, so we decided that our best option was a DIY dutch door.
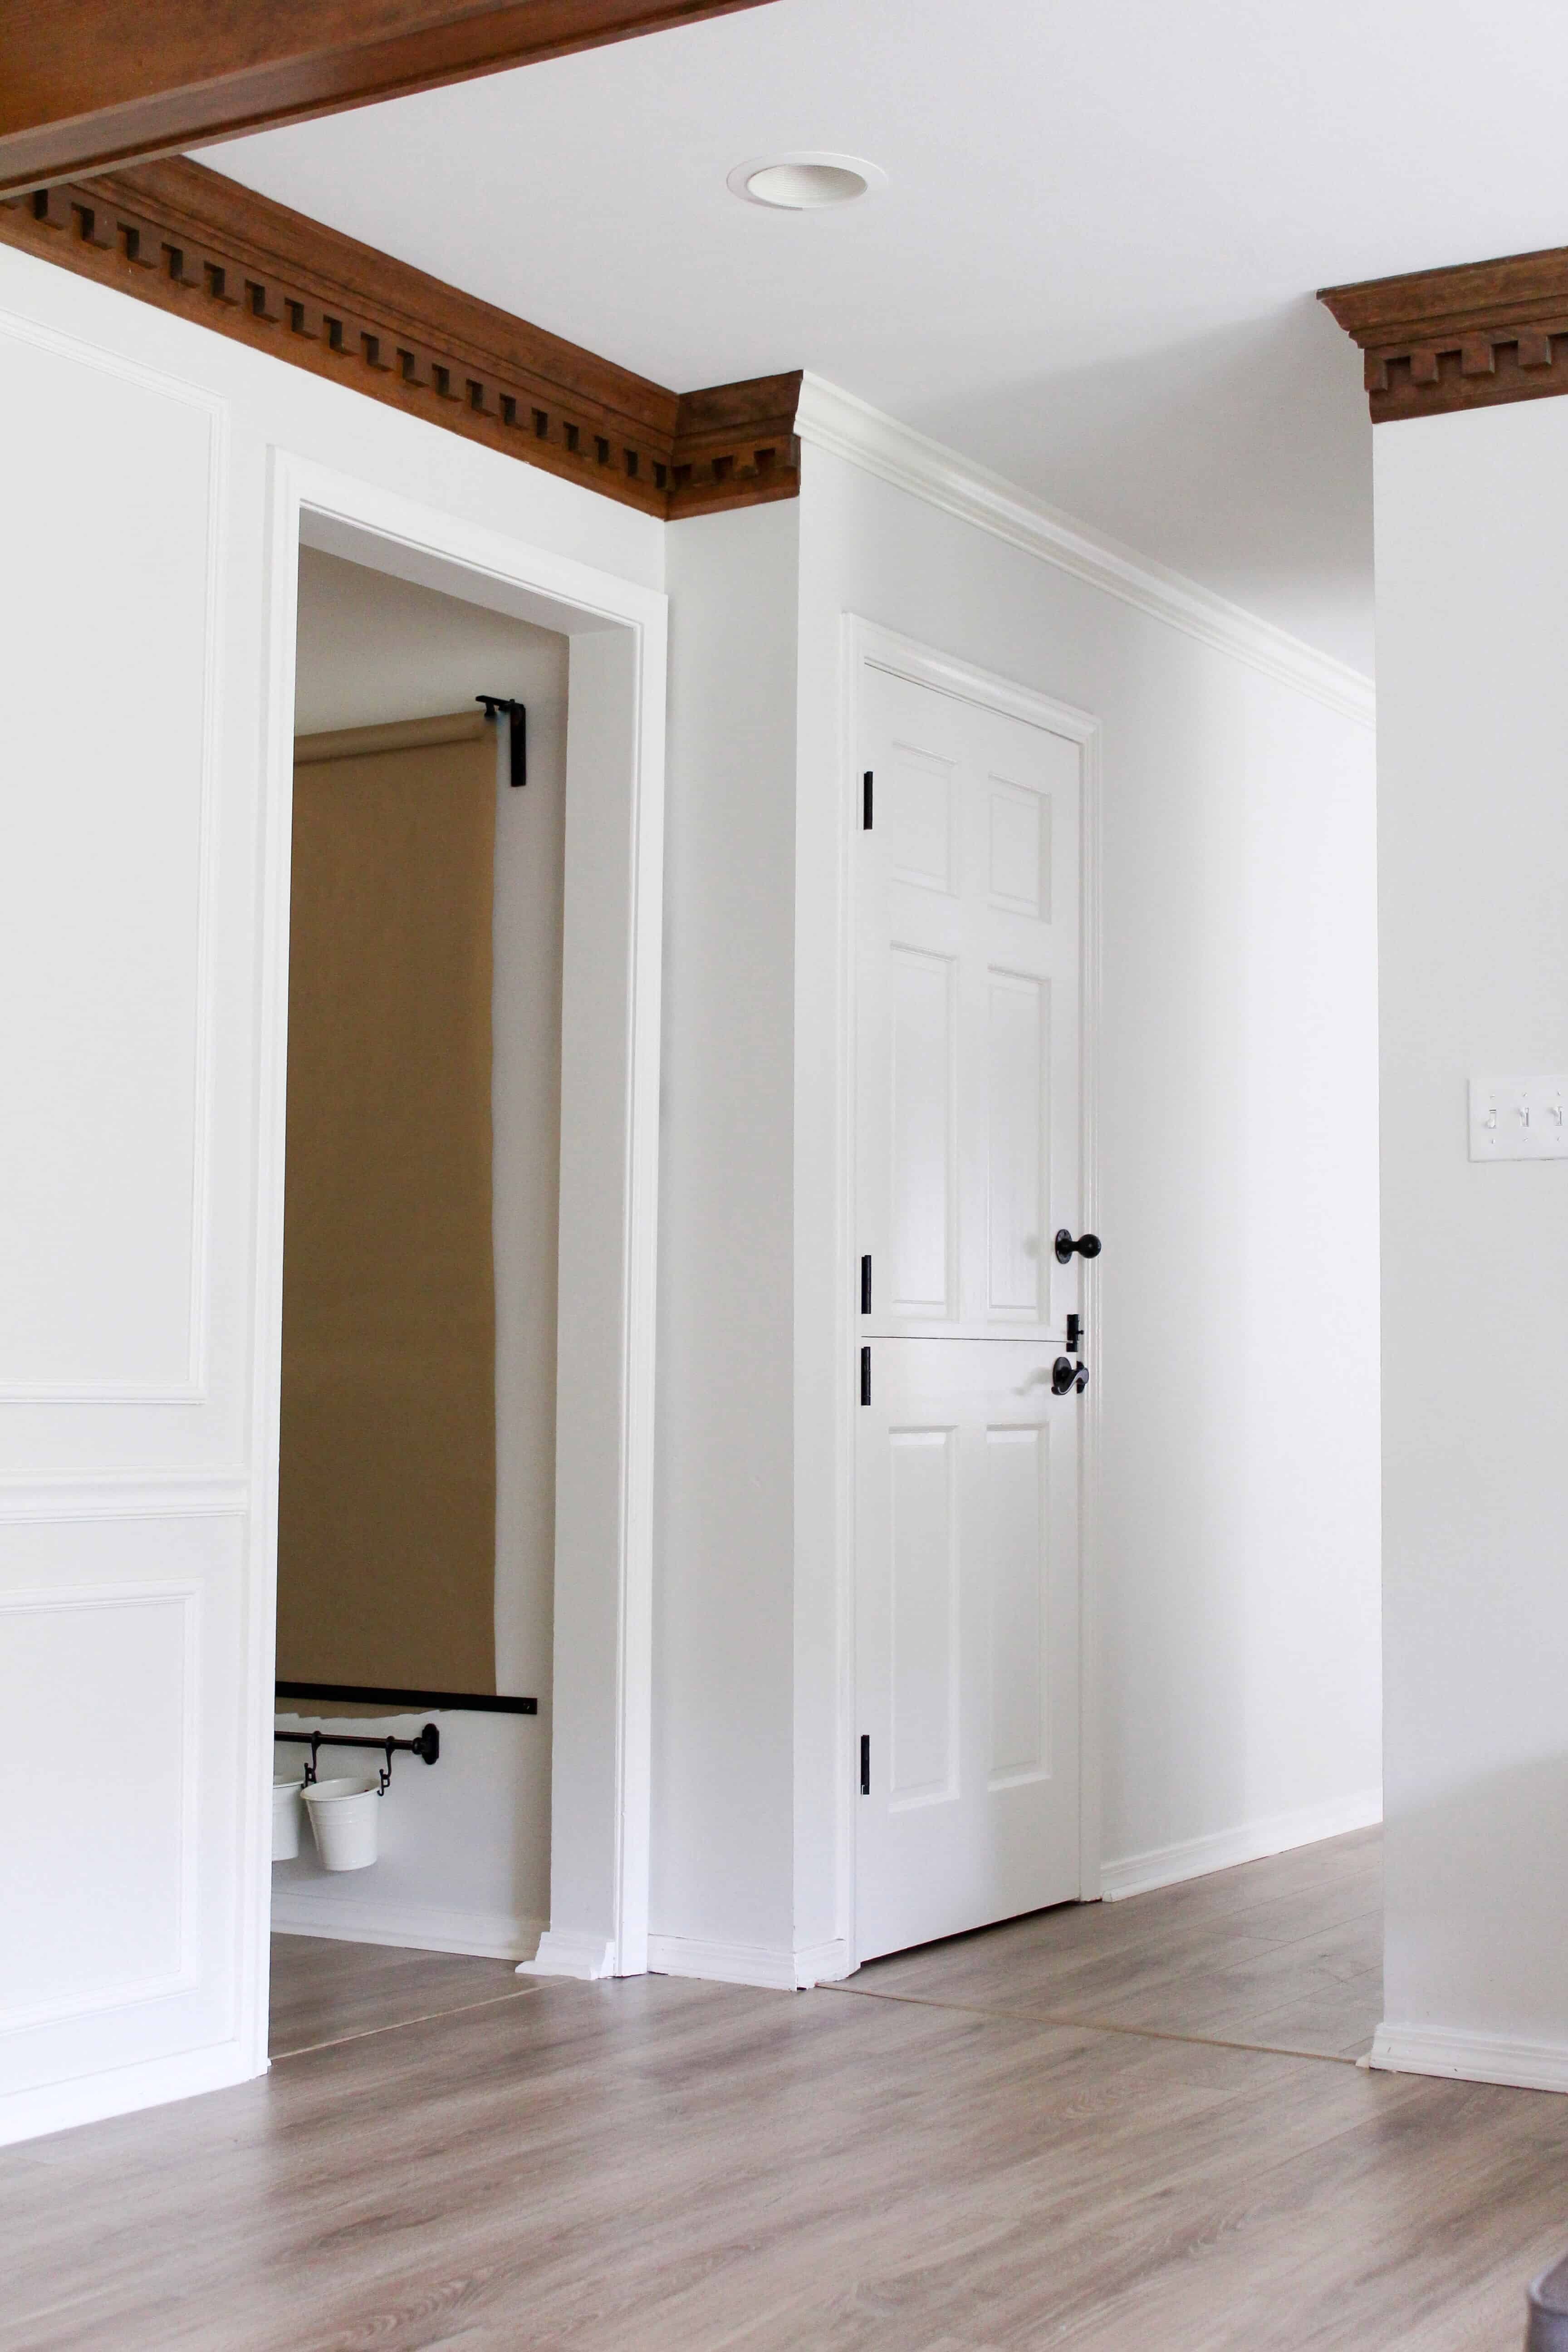
What is a dutch door?
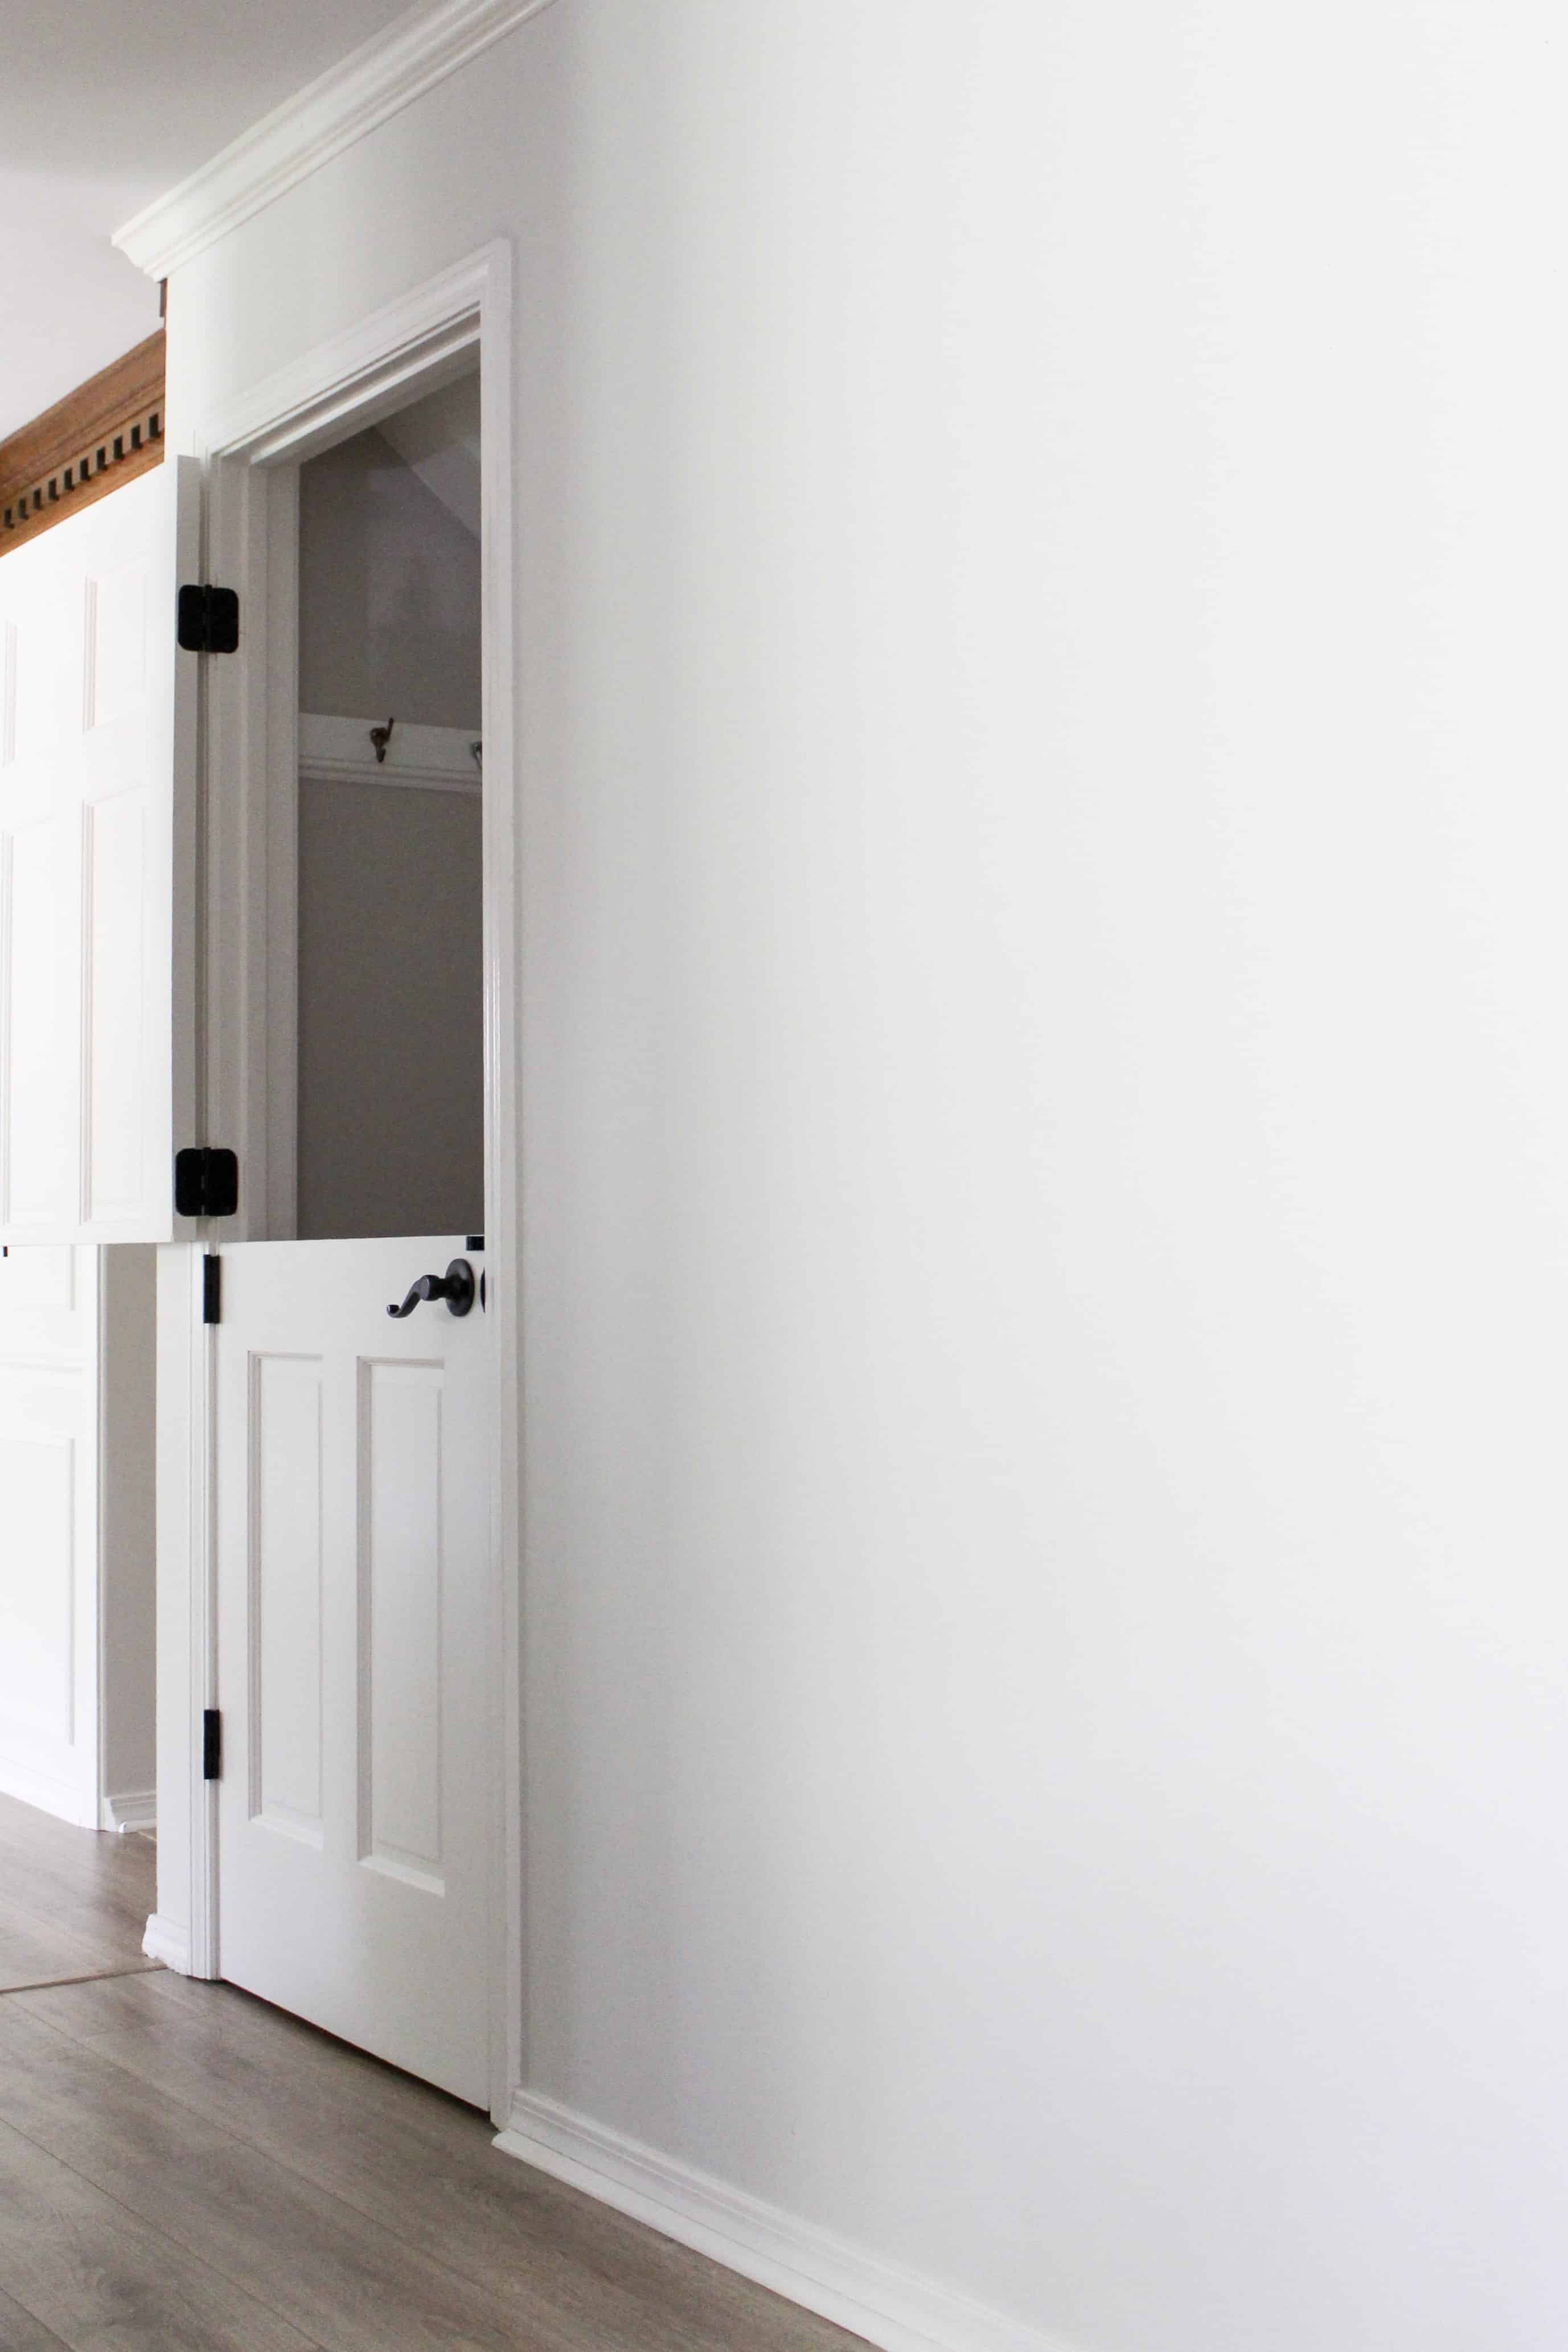
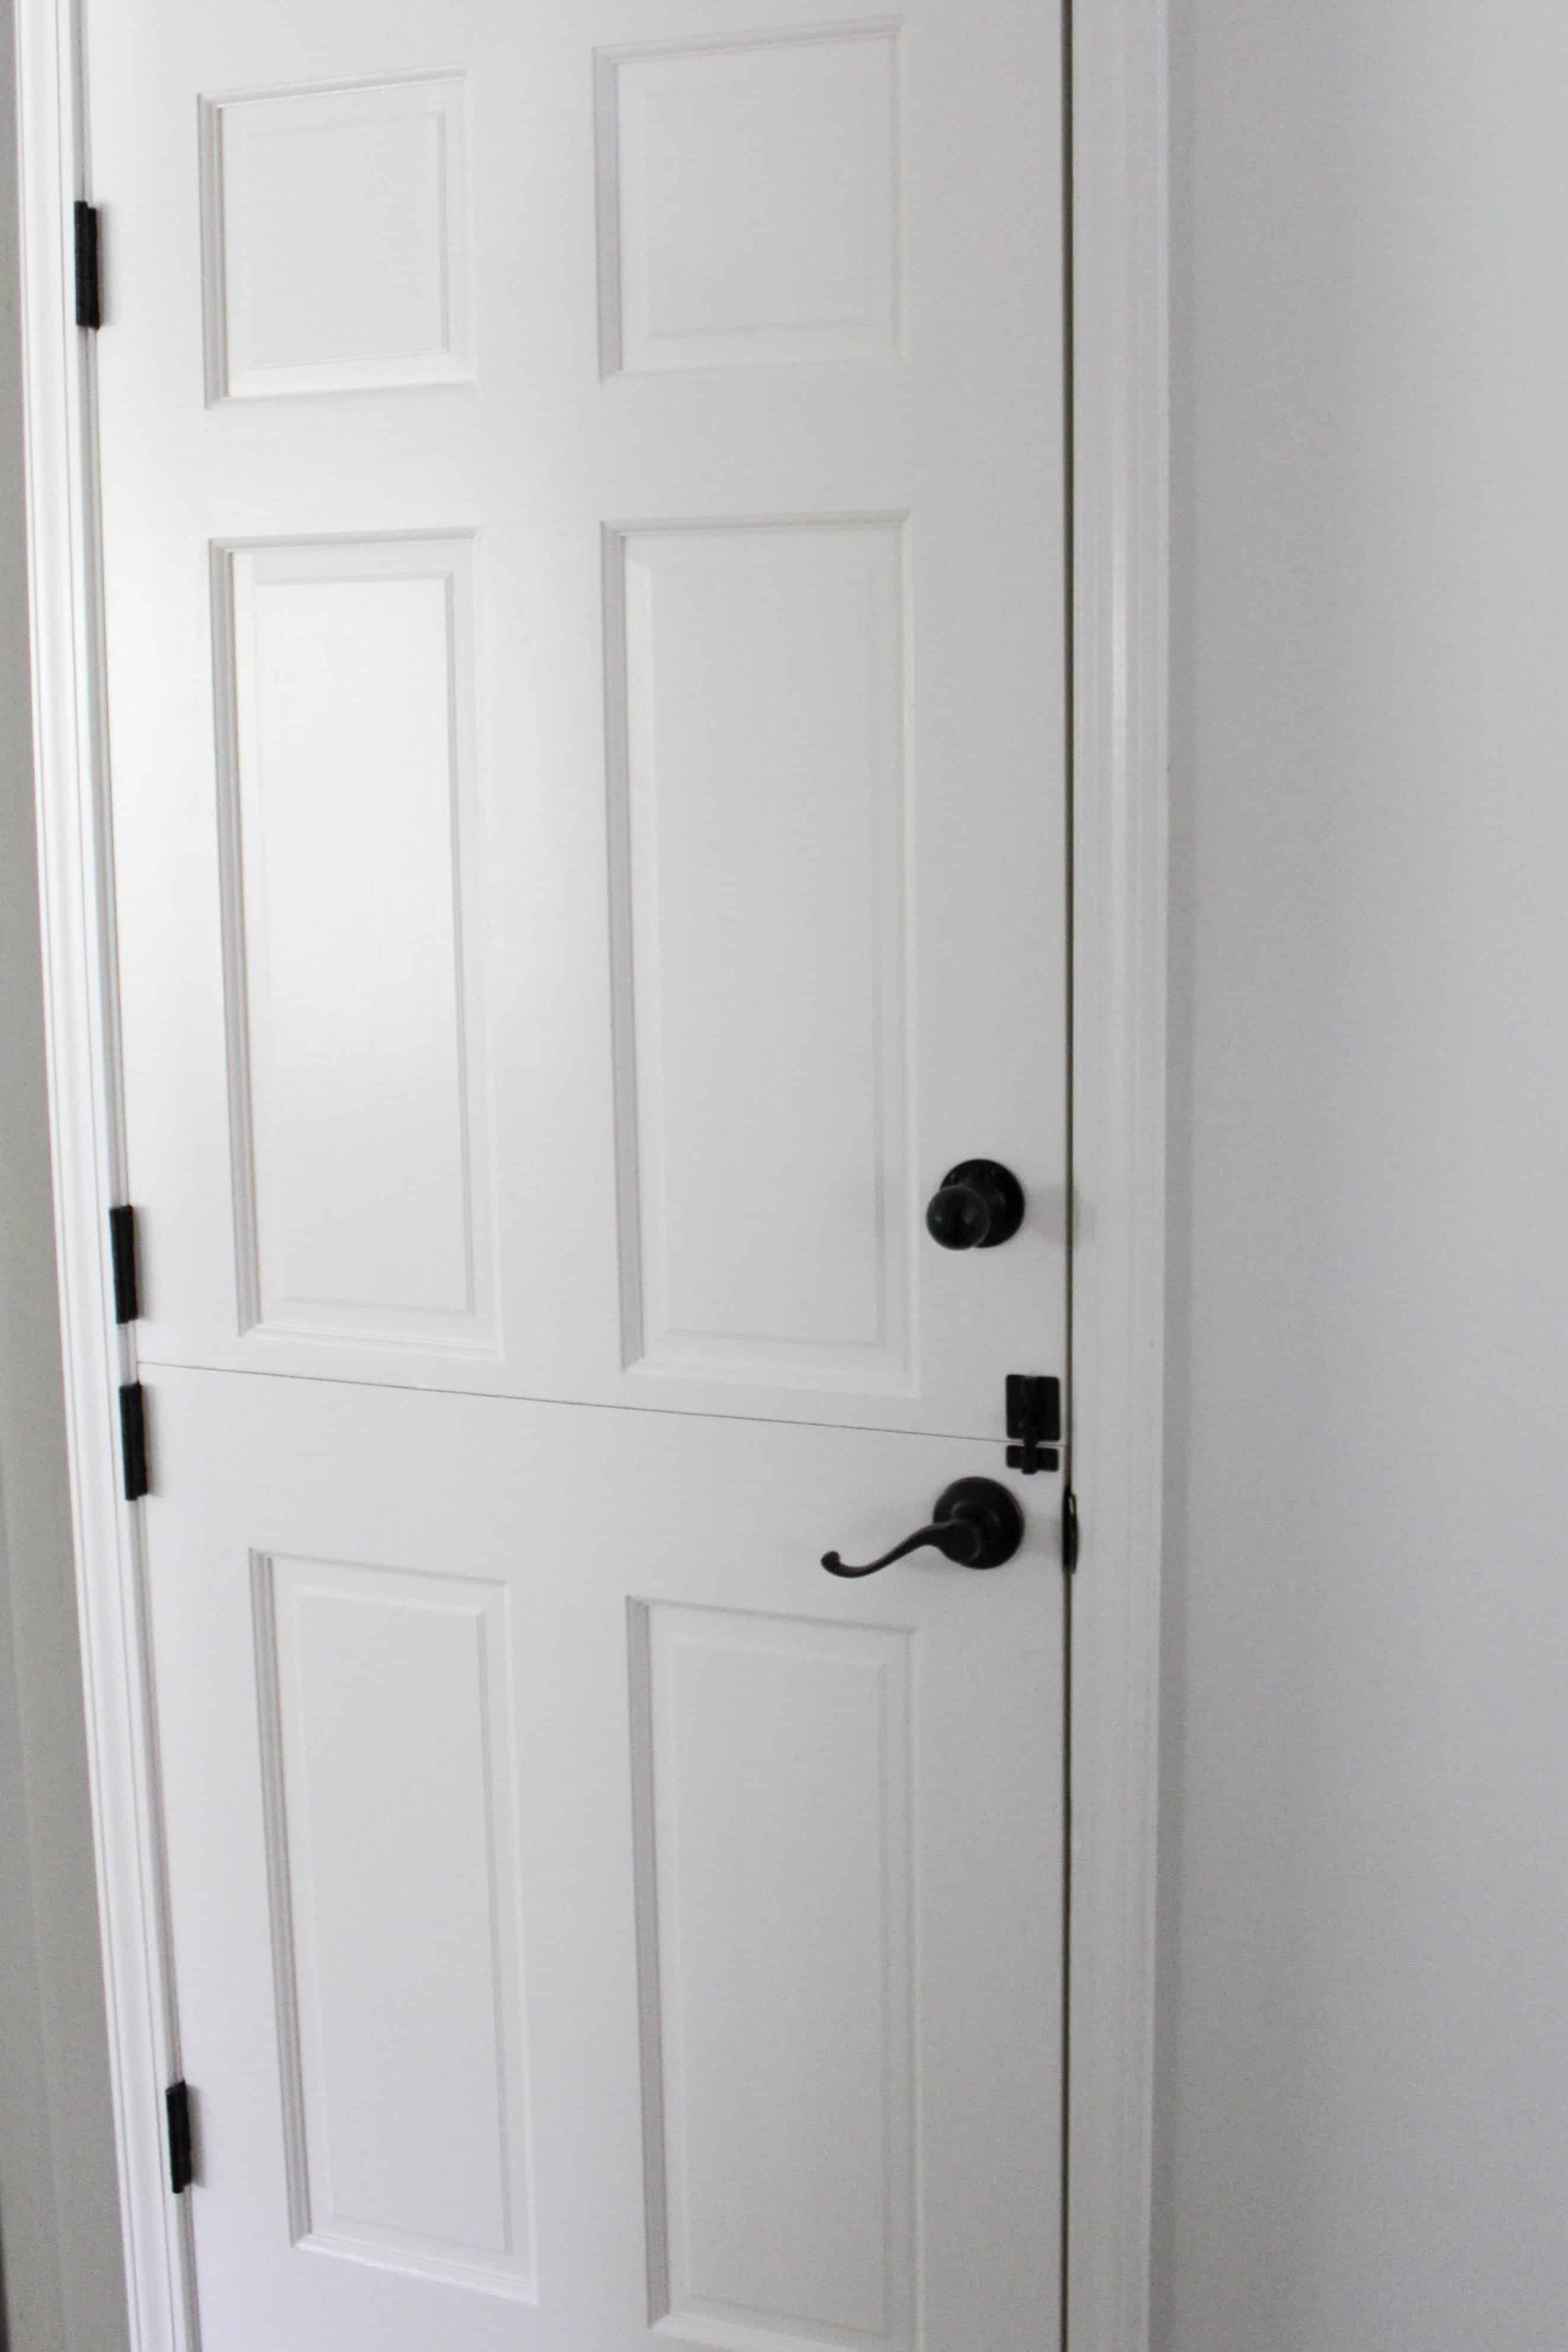
A dutch door is a door that is separated horizontally and can function as a normal door, but can also be opened only on the top half only for an open air function with separation still there.
Why are Dutch Doors So Expensive?
Initially when we thought about doing a dutch door in our home we looked at purchasing – but it was so much more expensive than a typical door. When you are purchasing a dutch door it’s more expensive because:
A: They are typically solid core doors – that is much more expensive than your typical hollow core interior doors on current homes.
B: They require more hardware – between the latches and the hinges and such there is just more to the door!
Transforming your current door into a Dutch Door
Because of the expense of buying a dutch door we decided to go transform our Current door into a dutch door.
When it comes to home decor and home choices one thing I am VERY passionate about is making our home both functional for our kids and us as adults, but also beautiful all at once. I want the kids to learn, grow and play in our home, but also don’t want to battle clutter.
I have made very purposeful choices in both decor and baby proofing that has allowed us to all exist in our home happily and this dutch door choice was just the latest in those choices.
What You Need
When it comes to turning your current door into a dutch door you don’t need much – but the project will look different if you have a hollow door vs a solid one.
I am going to walk you through how we did this with our solid door – we were doing a basement door so in most homes that will be solid, but if you are looking to do a hollow door I will give you a solution! (or you can always buy a solid door to start from)
Supplies:
4 Total hinges – you likely have 2 or 3 on your door now. You need 4 total when this is done!
Shims
Wood Filler
Paint
Latch
Table Saw or circular saw – I linked to ours and we love both!
Electric Sander
How to Create your Easy DIY Dutch Door
First things first you want to mark while your door is still hung where your hinges will be added to the door jam and on the door. It is also helpful to mark where you want it to be cut before removing the door.
We personally cut it a few inches above the existing door handle so I could add the latch, but wouldn’t have to worry about the door handle.
Now remove your door and take it to be cut. draw your line and use your table saw to cut the door in half.
Sand it down lightly, and paint the inside the color your door is painted. For us we had to fully painted the door because it needed it.
An option if you Have a Hollow Door
If your current door is a hollow door you could cut off just over a half inch, and add a .5 inch piece of wood to the top of the bottom piece. Give it a small over hang for style, and use wood filer in the top piece of wood to give the appearance that it is solid!
Hanging and Finishing
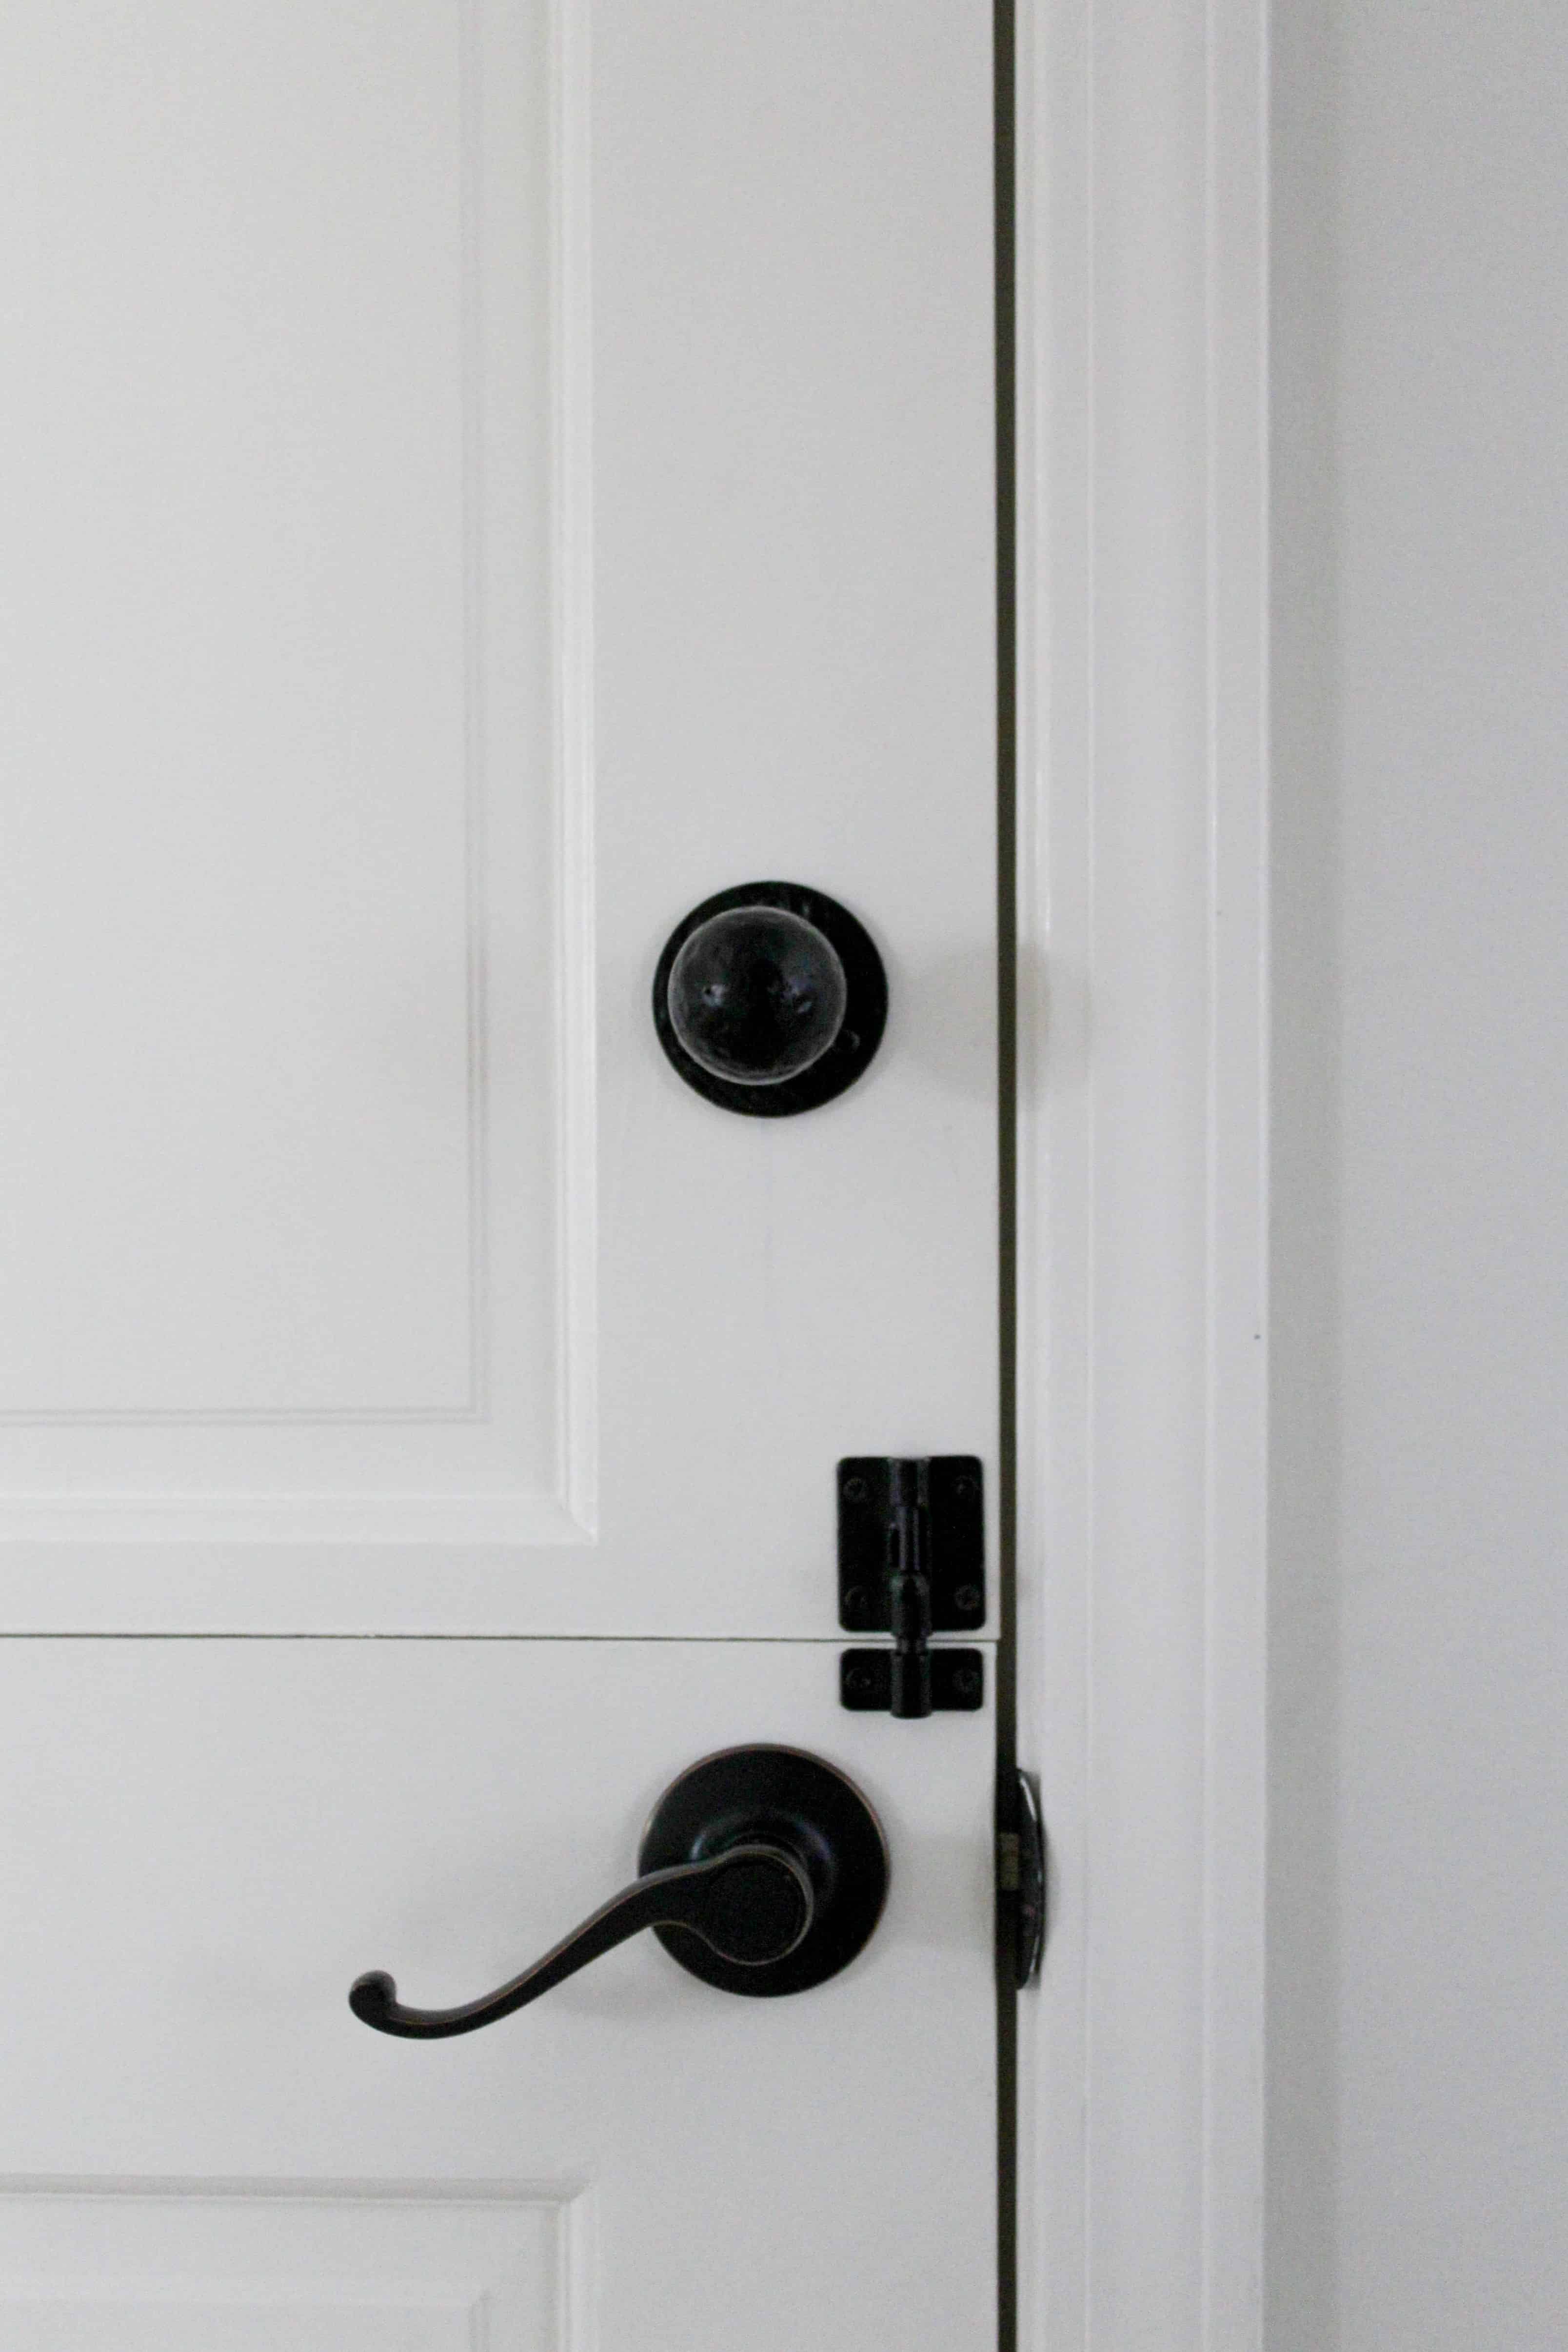
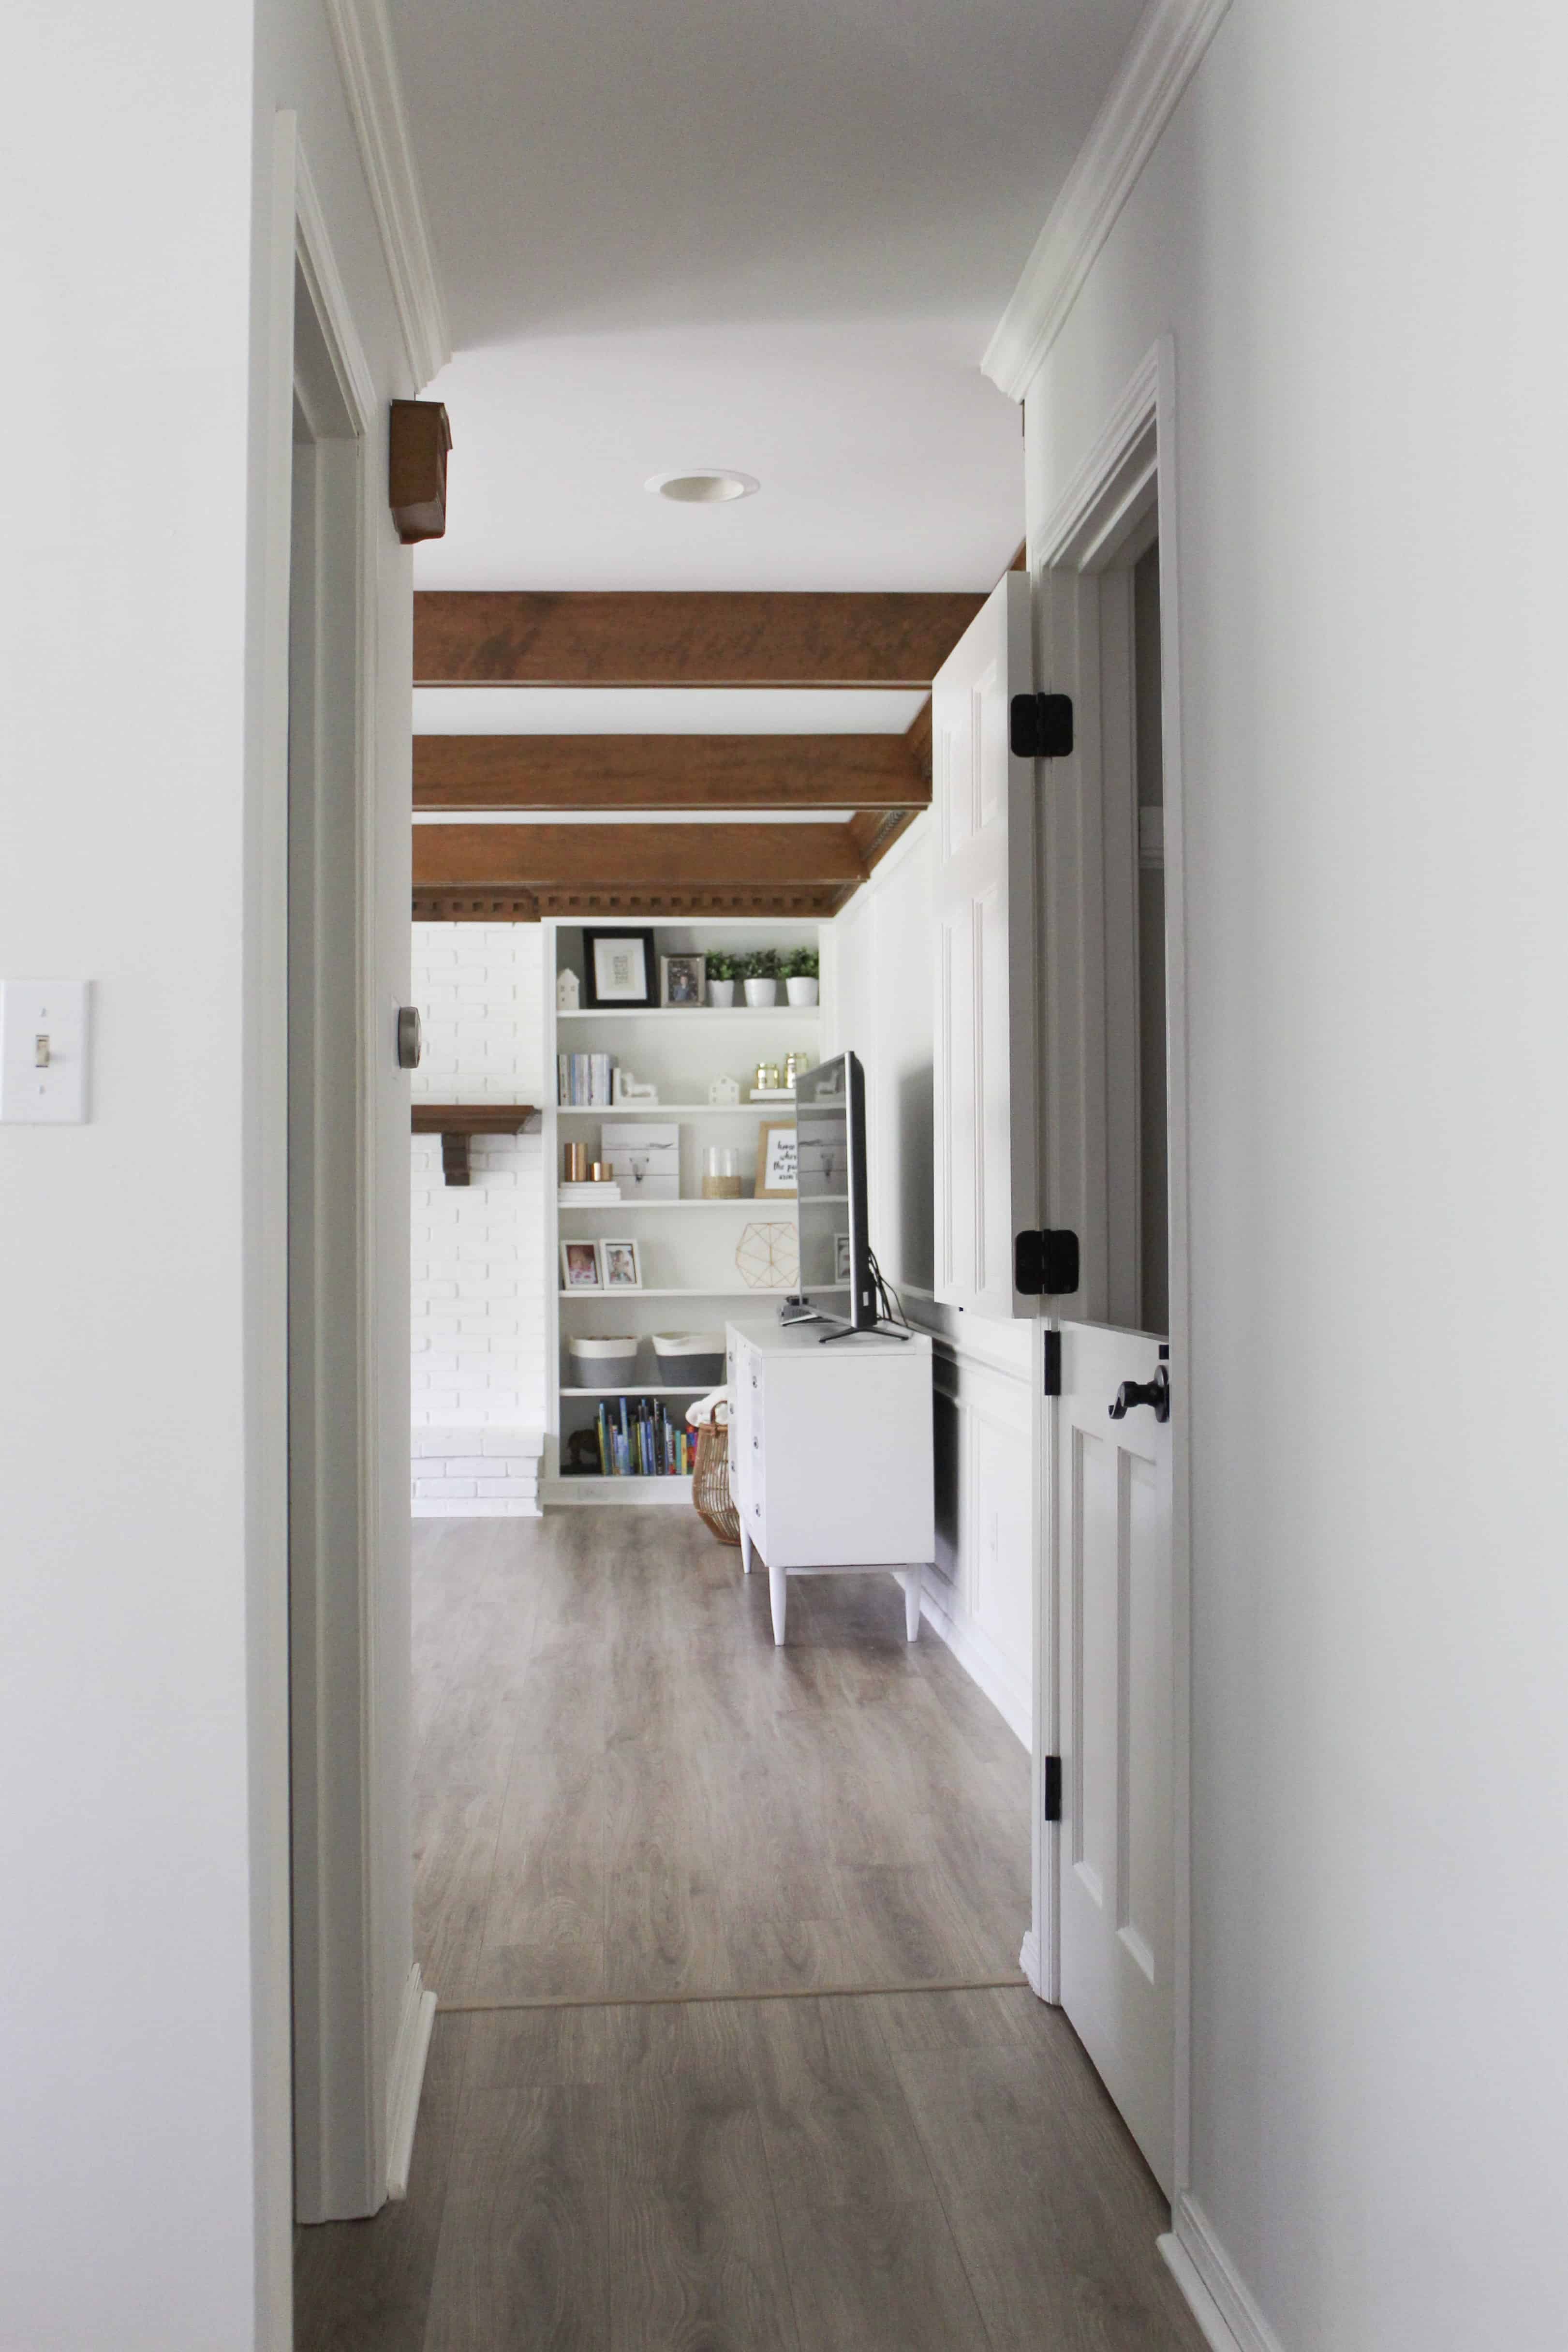
When you hang the door, expect to need to do some hinge adjustments to get the door to swing freely well. That was a bit time-consuming for us on tightening and loosening screws to get it working smooth. Once you have things where you want, give the doors and the opening a coat of paint.
We then added our hardware after it was dry. We did a simple latch on only the outside (upstairs) and added a knob style handle to the top door as to not have too many handles going on!
Other Posts You’ll Love
If this simple DIY was something you liked – check out these posts for some other posts that I think you will love!
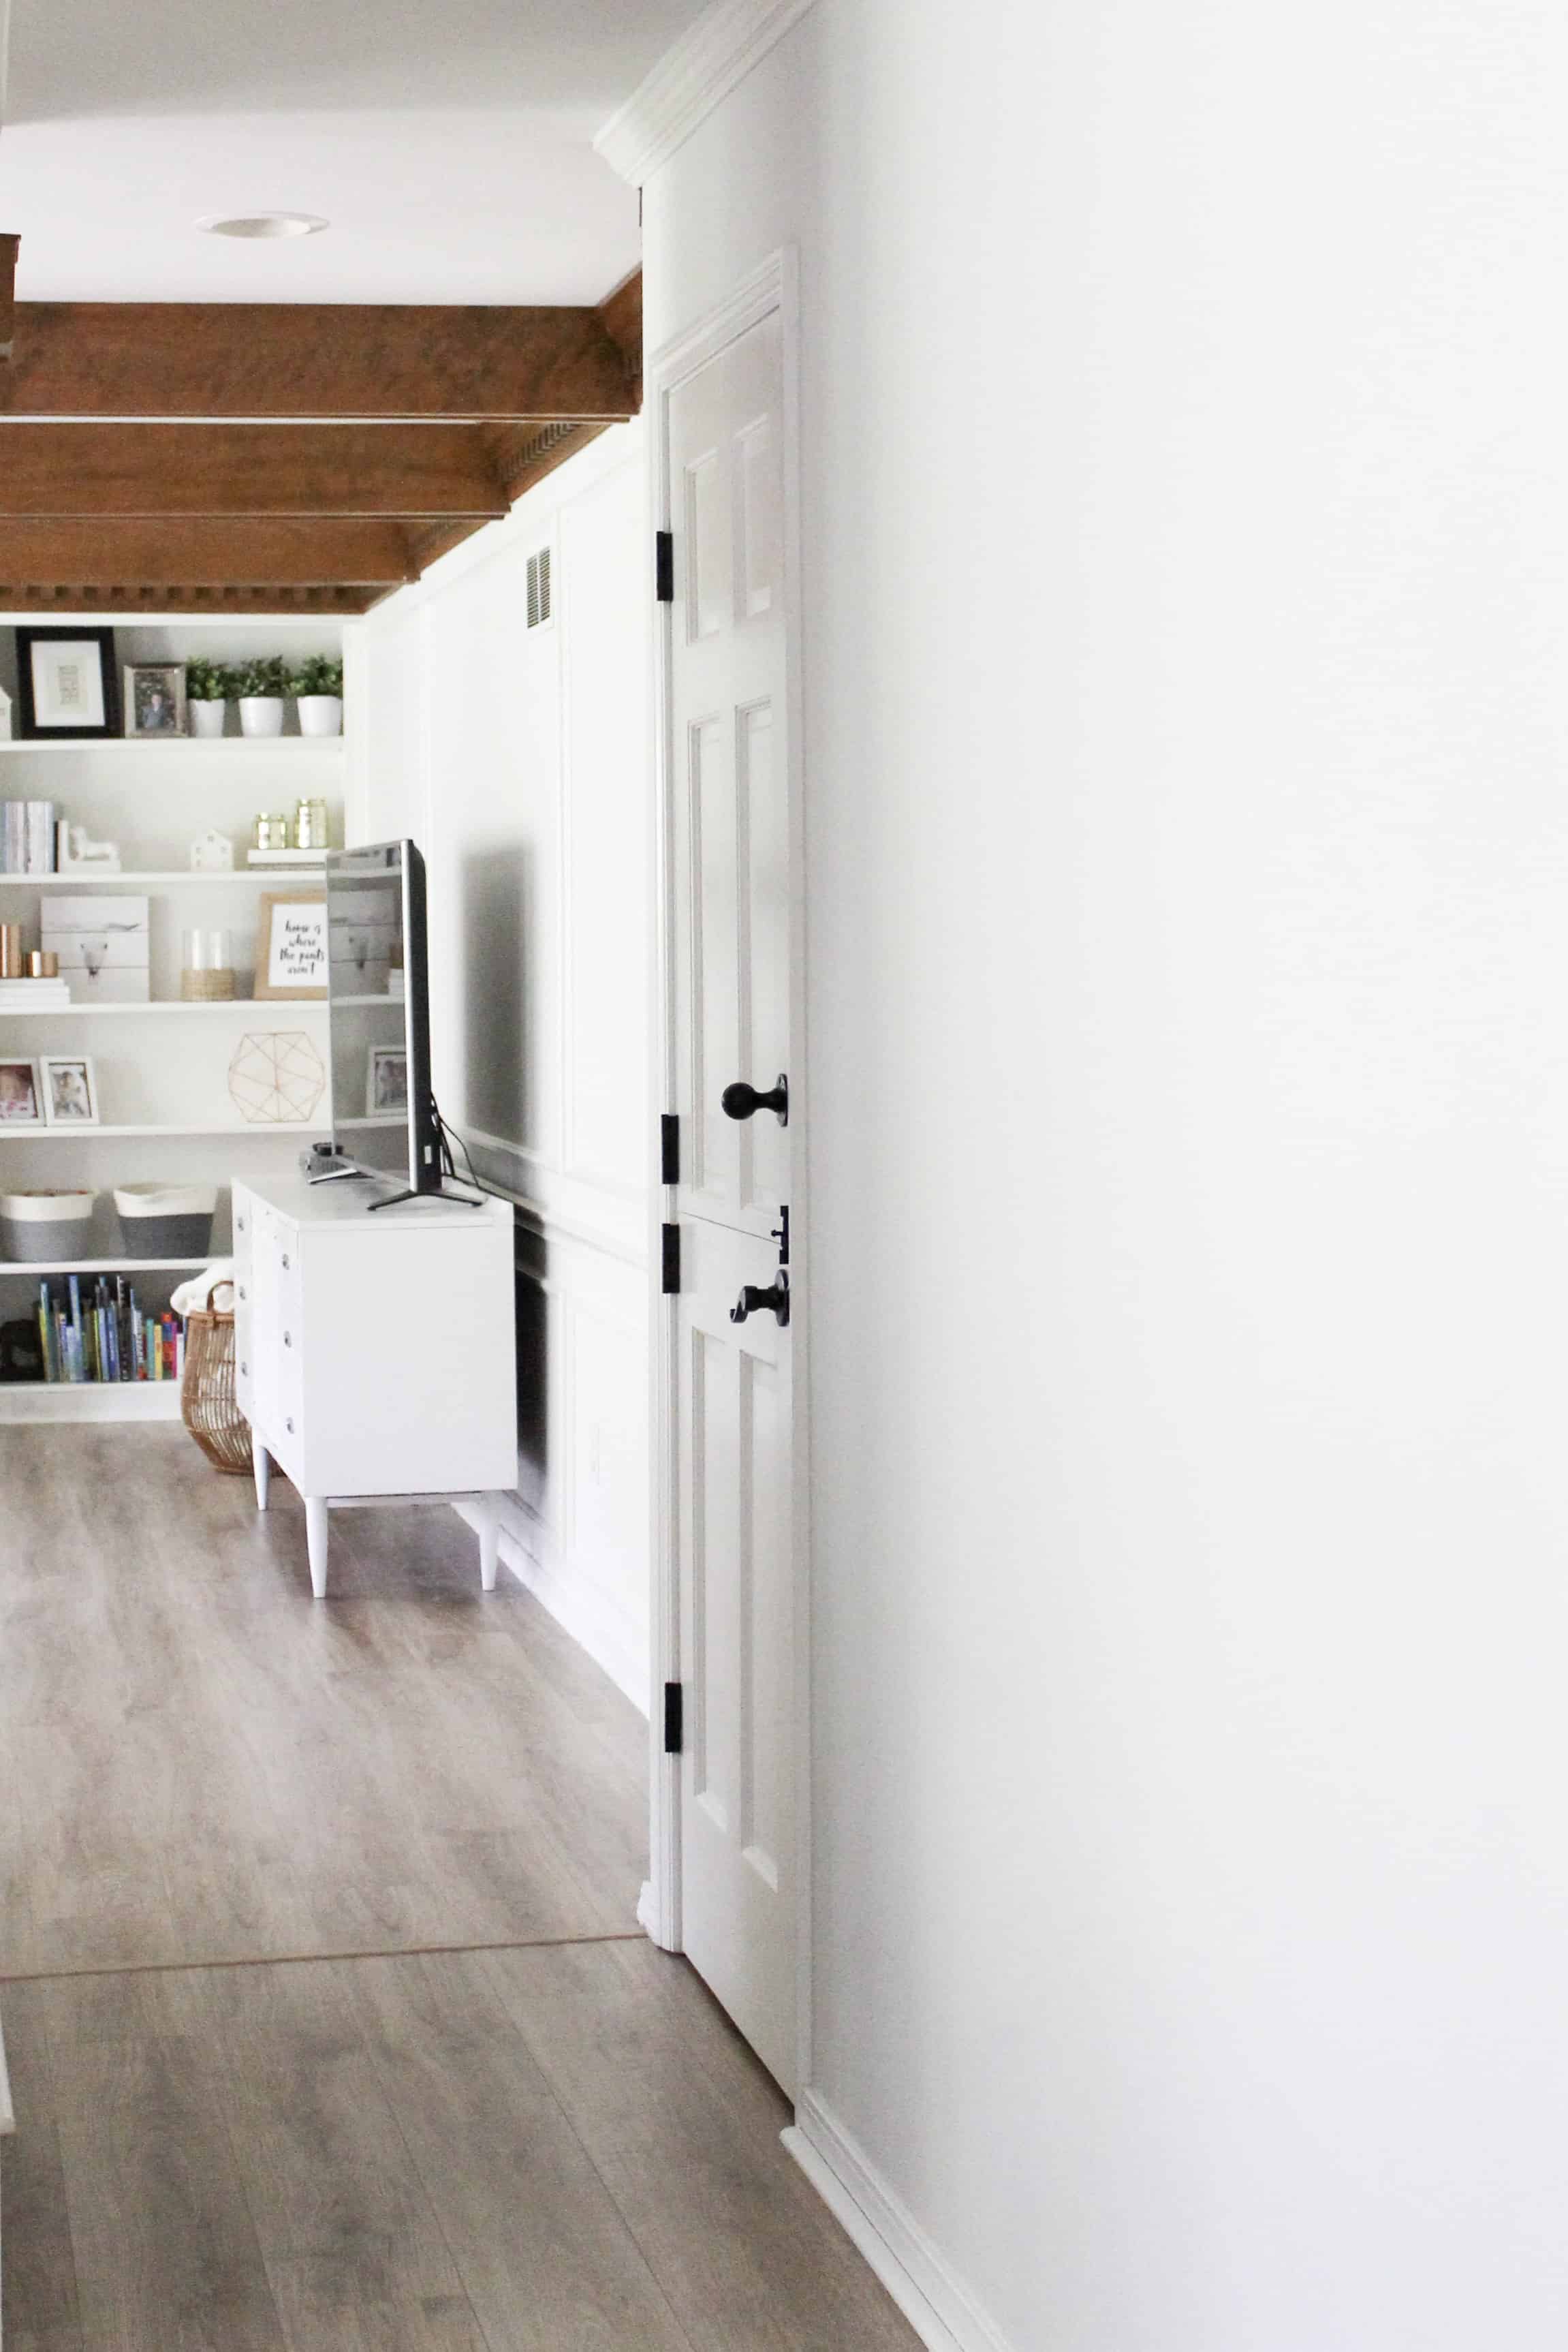
Painted Tile Floor | DIY Built-ins | Wall mounted Easel (seen in the images in this post) |
To see another dutch door – my friend Val did one in her kitchen remodel and it is gorgeous!
Pin the Image Below for Later
If you enjoyed this tutorial for an easy DIY dutch door, or want to find it for later be sure to pin the image below.

I’m so impressed by this DIY! I would be terrified to cut a door but this is such a good idea. Looks great Mama!