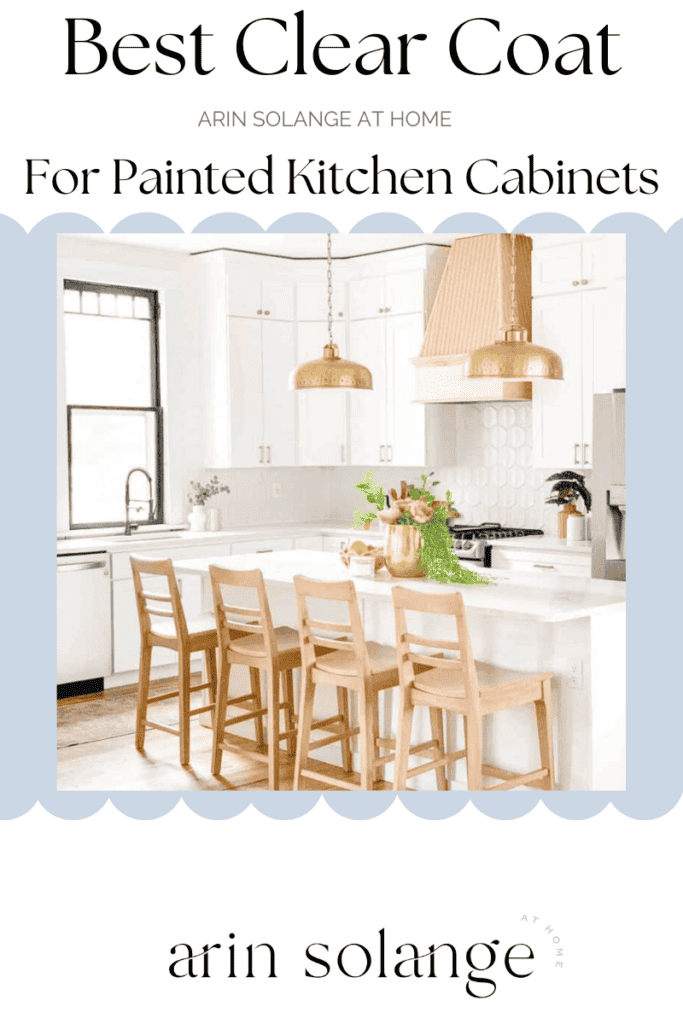
Your kitchen cabinets are one of the most important elements of your home. To keep your painted cabinets protected from damage and to extend their lifespan, a clear coat of paint can enhance their appearance.
We’ll go over the best clear coat for painted kitchen cabinets to help keep your cabinets in their best shape.
This post may contain affiliate links.
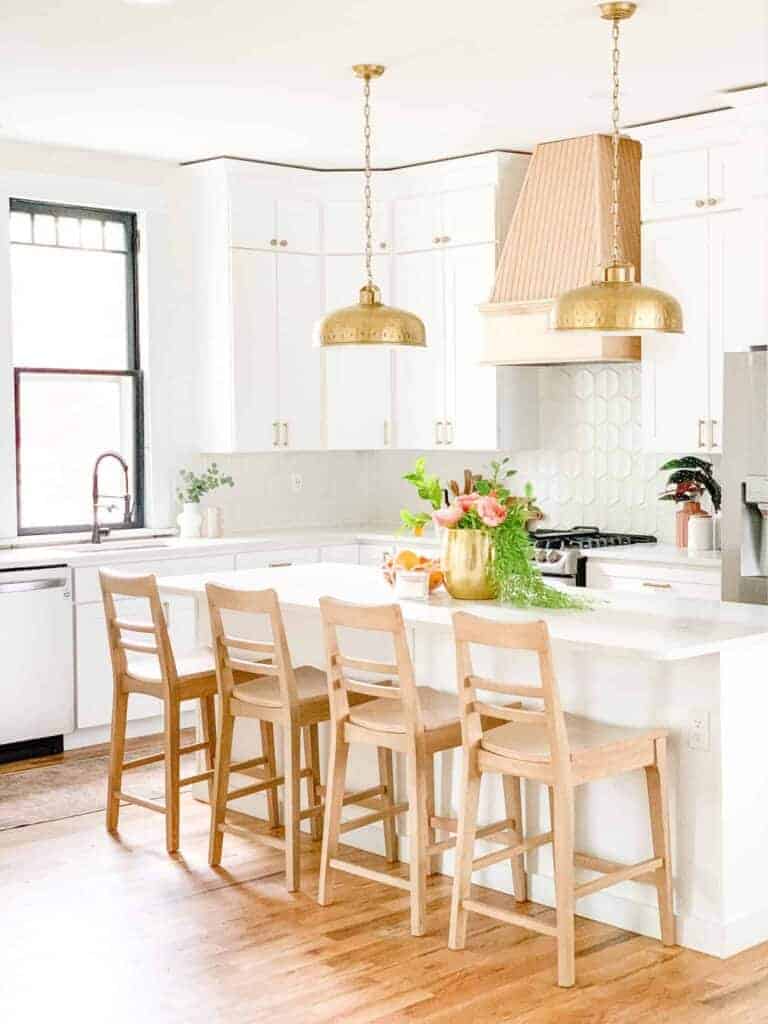
Best Clear Coat For Painted Kitchen Cabinets
Are you a passionate DIY enthusiast who loves to give your home a personal touch?
If you’ve already tackled the task of painting kitchen cabinets, you know firsthand the transformative power of a fresh coat of paint.
Whether you’ve revamped your kitchen cabinets in a crisp white shade, or breathed new life into a bathroom vanity, you’re no stranger to the magic of paint. However, to ensure the longevity and durability of your hard work, choosing the best clear coat for your painted cabinets is crucial.
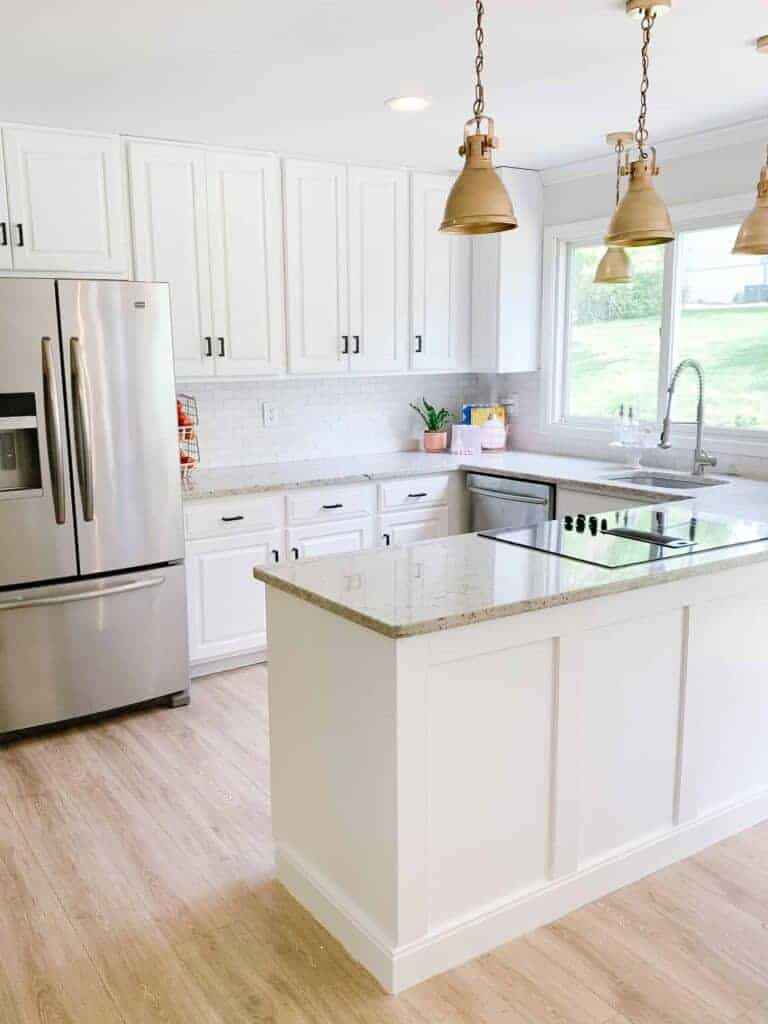
I’ve painted my fair share of cabinets in my DIY days. If you’ve been around my blog, you’ll remember in our last house, we painted our kitchen cabinets white.
Sam and I have also done many bathroom remodels over the years. One of the best ways to make a tired bathroom look new is by painting the vanity. Our bold pink powder room in our last house is still a favorite.
In this blog post, we’ll explore the world of clear coats for painted kitchen cabinets. We’ll discuss the importance of using a clear coat, its benefits, and factors to consider when selecting the ideal product. So, if you’re ready to take your cabinet painting skills to the next level, let’s dive in!
Types Of Cabinet Paint
When it comes to painting kitchen cabinets, you have several options. The best paint for your cabinets will largely depend on your specific needs and preferences.
When choosing the type of cabinet paint, consider factors such as your desired finish, durability requirements, application method, and personal preferences regarding odor, drying time, and cleanup.
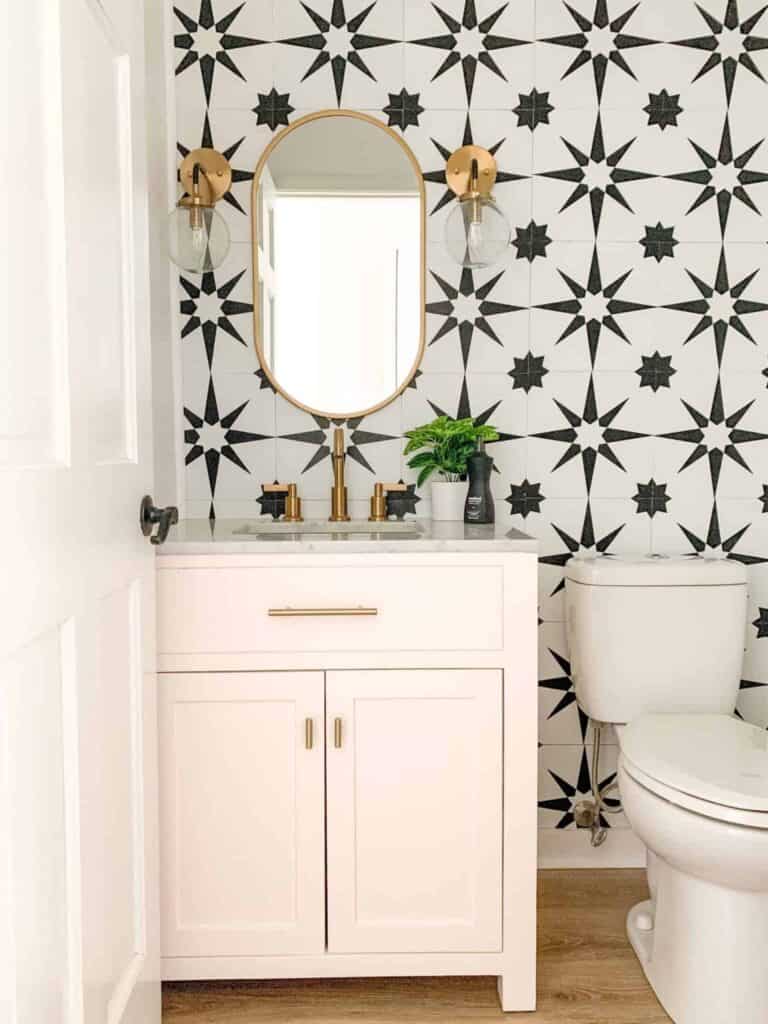
It’s essential to follow the manufacturer’s instructions for proper surface preparation, application techniques, and any recommended topcoats or sealers to achieve the best results.
Remember, regardless of the type of paint you choose, proper surface preparation, including cleaning, sanding, and priming, is crucial for ensuring optimal adhesion and longevity of the painted cabinets.
I have a full review of cabinet paint explained, but in the meantime, here’s a quick recap:
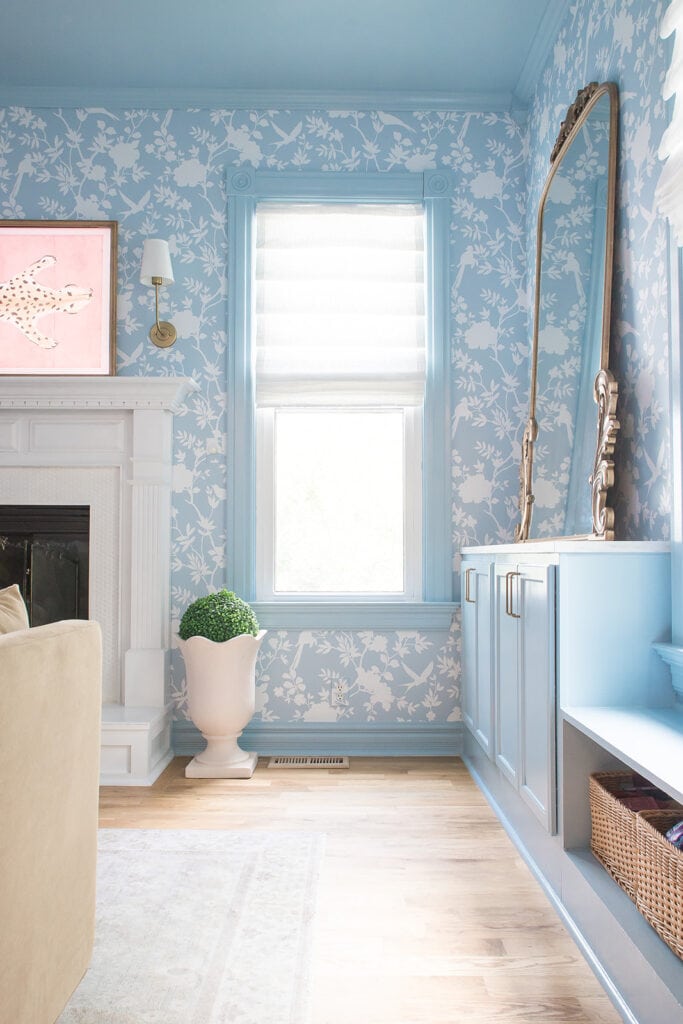
Oil-Based Paints
Oil-based paints have been a traditional choice for cabinet painting due to their durability and smooth finish. However, they have become less popular due to their strong odor, longer drying time, and cleanup challenges.
Oil-based paints offer excellent durability, hardness, and adhesion, making them highly resistant to scratches and wear. They provide a smooth and lustrous finish. However, they require solvents for cleanup, which can be messy and time-consuming. They have a longer drying time, often taking several hours between coats. Additionally, these paints tend to yellow over time, especially in areas with low natural light.
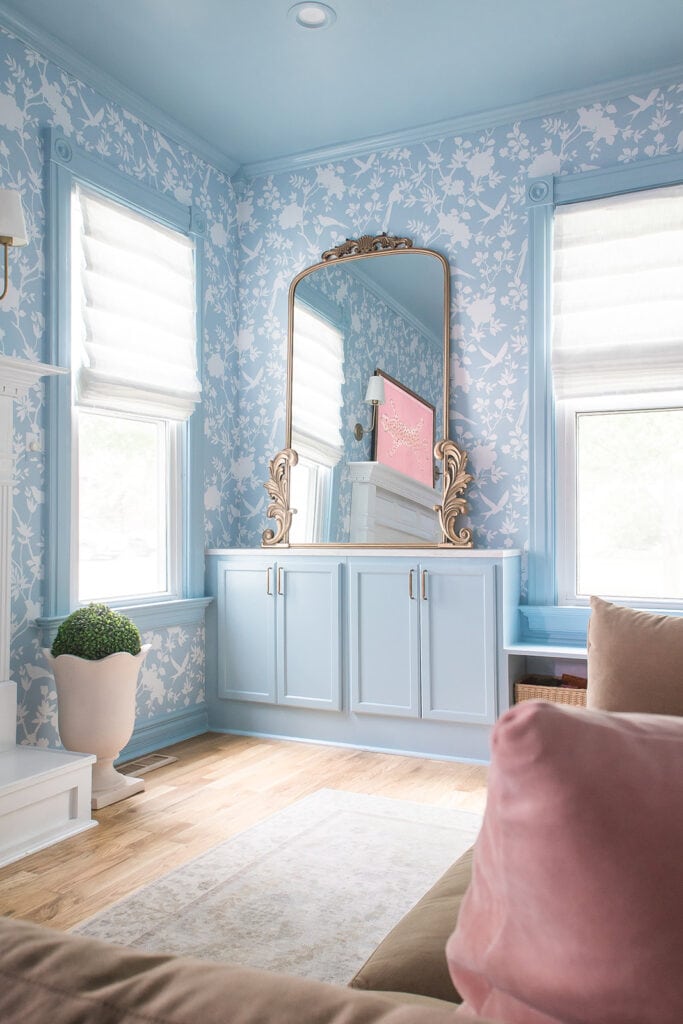
Latex or Acrylic Paint
Latex or acrylic paints are popular choices for cabinet painting due to their ease of use, quick drying time, and low odor. They are available in a wide range of colors and finishes.
Latex or acrylic paints are water-based, making them easy to clean up with soap and water. They provide good adhesion and durability, resisting chipping and peeling. They also tend to have minimal yellowing over time.
While latex or acrylic paints are generally durable, they may not be as resistant to heavy wear and tear as some other types of paint. They may require multiple coats for optimal coverage and may not provide the same level of hardness as oil-based paints.
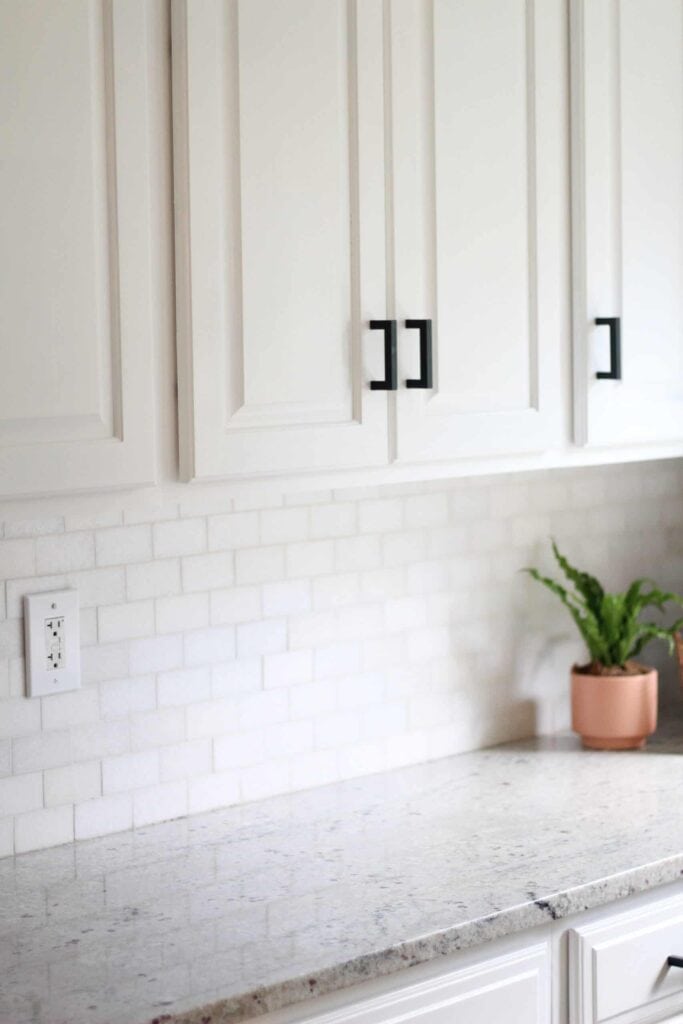
Chalk Paint
Chalk paint is a popular choice for achieving a vintage or shabby-chic look. It has a unique matte finish and requires minimal surface preparation.
Chalk paint is known for its excellent coverage and ability to adhere to various surfaces, including wood, without extensive priming or sanding. It dries quickly and can be distressed easily for a weathered appearance.
Chalk paint is not as durable as some other types of paint, and it may require a protective topcoat, such as wax or polyurethane, to enhance its durability. It also has limited color options compared to latex or oil-based paints.
Cabinet Paint
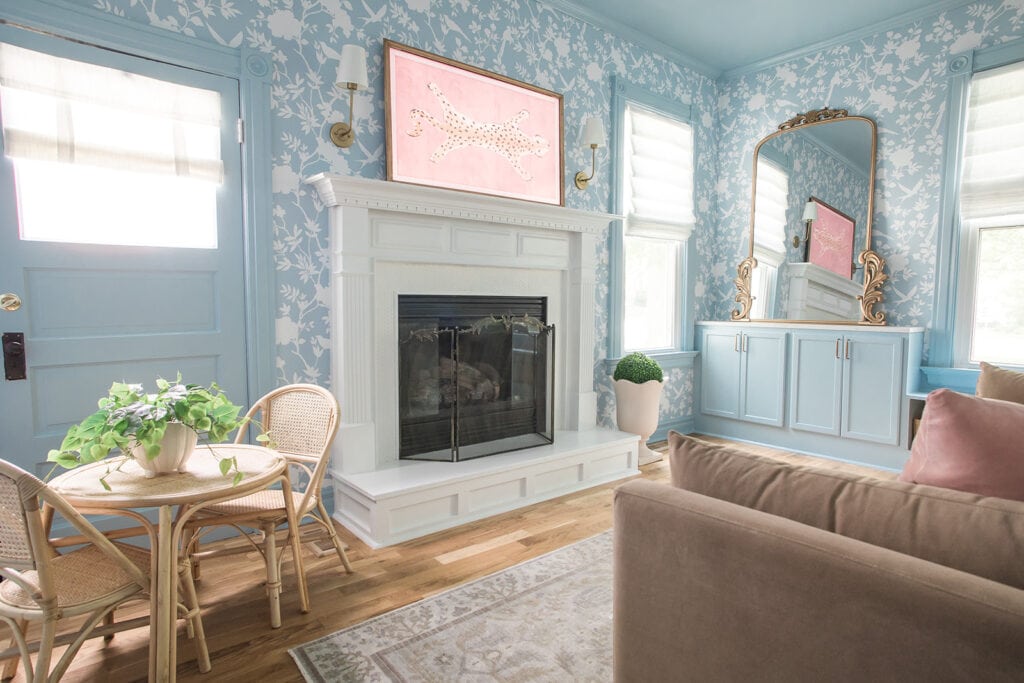
Some paint brands offer cabinet-specific paints formulated with enhanced durability and resistance to moisture and stains. These paints are designed to withstand the demands of kitchen environments.
Cabinet-specific paints, like Benjamin Moore Advance, often provide excellent adhesion, durability, and a smooth finish.
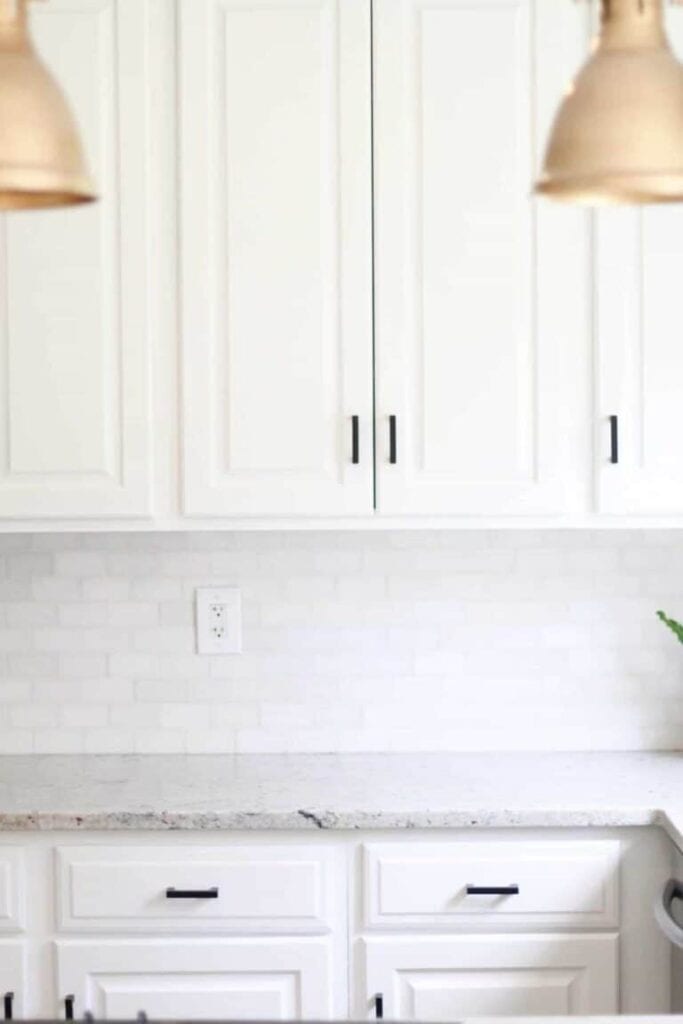
They may also have built-in features like stain-blocking, anti-microbial properties, or specialized self-leveling properties, reducing visible brush strokes, for a professional look. They are also available in a variety of finishes.
Cabinet-specific paints can be more expensive than standard paints. They may also have a limited color selection compared to other types of paint.
How To Paint Kitchen Cabinets
Painting kitchen cabinets can be a time-consuming process, but the results can be incredibly rewarding.
Here’s a quick rundown on how to achieve the best results:
Preparation
Preparing kitchen cabinets for paint is an essential step to ensure a successful and long-lasting paint job.
Proper preparation helps to create a smooth and durable surface, allowing the paint to adhere properly and provide a professional finish.
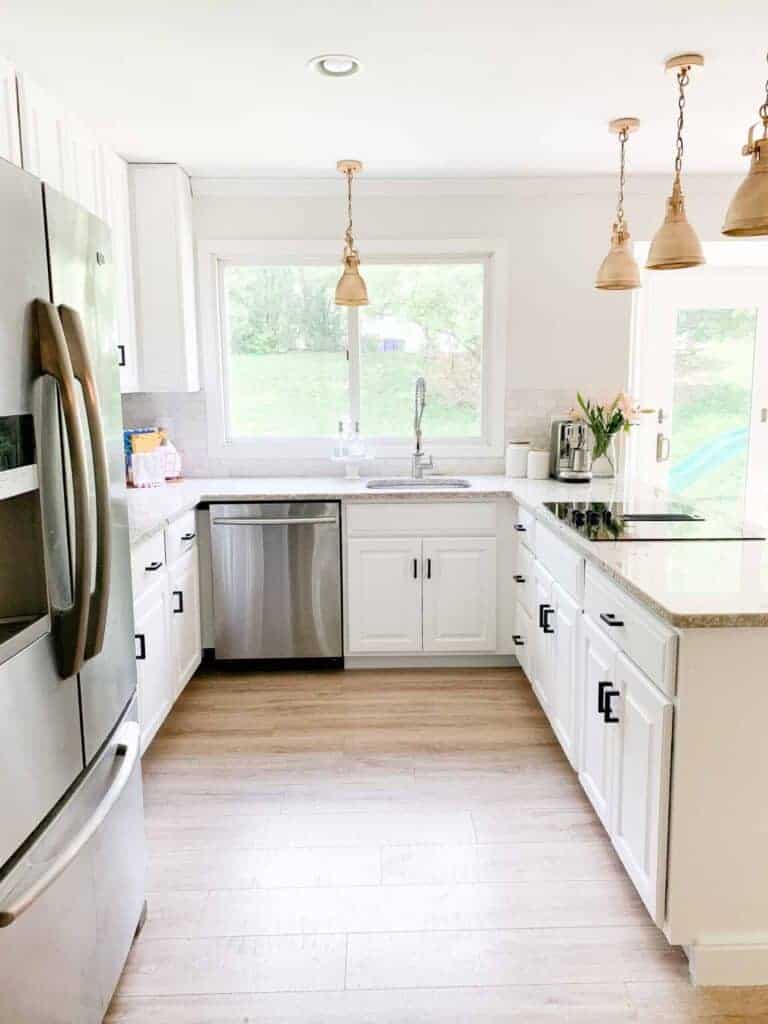
- Remove all items from the cabinets to make it easier to access all areas and protect your belongings from paint splatters or damage.
- Thoroughly clean the cabinets to remove any grease, grime, or residues that may have built up over time by using a mild detergent or a mixture of warm water and vinegar to clean the surfaces. Scrub the cabinets gently with a soft sponge or cloth, paying attention to areas around handles and knobs.
- Next, take off all hardware such as handles, knobs, hinges, and drawer pulls. This will make the painting process easier and allow you to achieve a more professional finish. Place the hardware in a labeled bag or container so that you can easily reinstall them later.
- Sanding is an important next step to create a smooth and even surface for the paint to adhere to. Use medium-grit sandpaper or a sanding block to lightly sand the cabinet surfaces. This step helps to remove any existing finish, roughen the surface, and promote better paint adhesion. Be sure to sand in the direction of the wood grain and remove any dust or debris afterward.
- Then, inspect the cabinets for any holes, dents, or imperfections. Fill these areas with wood filler or putty, using a putty knife or a similar tool. Allow the filler to dry completely, and then sand it smooth to achieve a seamless finish.
- After sanding and filling, it’s important to clean the cabinets once more to remove any dust or debris that may have accumulated. Use a tack cloth or a slightly damp cloth to wipe down the surfaces thoroughly.
Priming
- To begin, stir the primer well before use, following the manufacturer’s instructions.
- Using a brush or a foam roller, apply an even coat of primer to all surfaces of the cabinets, including the fronts, backs, and edges.
- Ensure complete coverage, but avoid applying the primer too thickly, as it may lead to drips or uneven drying. For detailed or hard-to-reach areas, use a small brush or foam brush.
- Allow the primer to dry according to the manufacturer’s instructions. This can typically take several hours or overnight.
- Once the primer is dry, lightly sand the primed surfaces with a fine-grit sandpaper or sanding block.. Wipe away the sanding dust with a clean, lint-free cloth.
- Now your kitchen cabinets are properly primed and ready for painting.
Painting
- Start by stirring the paint thoroughly. Begin with the cabinet frames, using a brush, foam roller, or paint sprayer to apply the paint in thin, even coats.
- Work in the direction of the wood grain for a smoother finish.
- Pay attention to any drops or excess paint, smoothing them out as you go.
- Allow the first coat to dry completely before applying additional coats as needed.
- Repeat the process for the cabinet doors and drawer fronts, painting one side at a time and allowing each side to dry before flipping them over.
Clear Coating
Once your final coat of paint has dried, it’s time to apply the clear coat finish. This protective layer will ensure your cabinets stand up to daily use and maintain their beautiful finish over time.
Types Of Clear Coating
There are different types of clear coats available, including polyurethane, lacquer, varnish, and acrylic sealers.
Each type has its own characteristics and application methods. It’s essential to choose a clear coat that is compatible with the type of paint you used on your cabinets.
For that reason, it is recommended to test the product on a small, inconspicuous area or a sample board before applying it to your entire cabinet surface.
This will help you assess the finish, compatibility, and overall satisfaction with the chosen clear coat.
Here’s an overview of different types of clear coats commonly used for finishing kitchen cabinets:
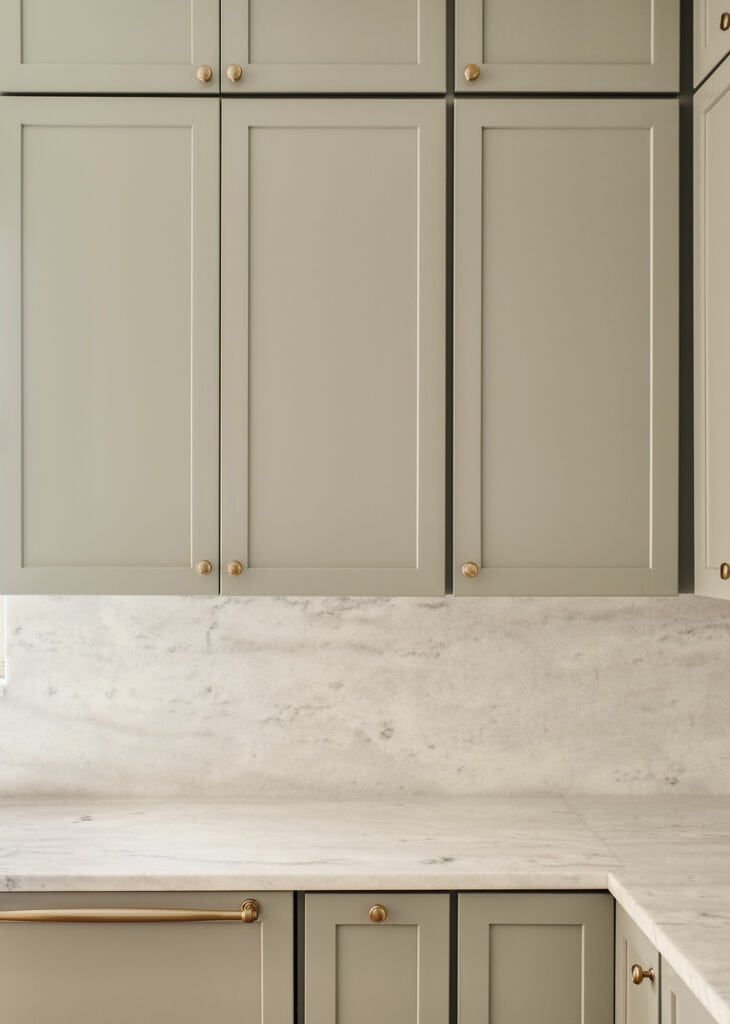
Polyurethane
Polyurethane is a popular clear coat known for its durability, water resistance, and protective properties.
It is available in both oil-based and water-based formulas.
Oil-based polyurethane tends to have a slight amber tone, while water-based options remain clear.
Polyurethane can be applied with a brush, roller, or sprayer. It is typically applied in multiple thin coats, allowing sufficient drying time between each coat. Sanding between coats helps achieve a smooth and even finish.
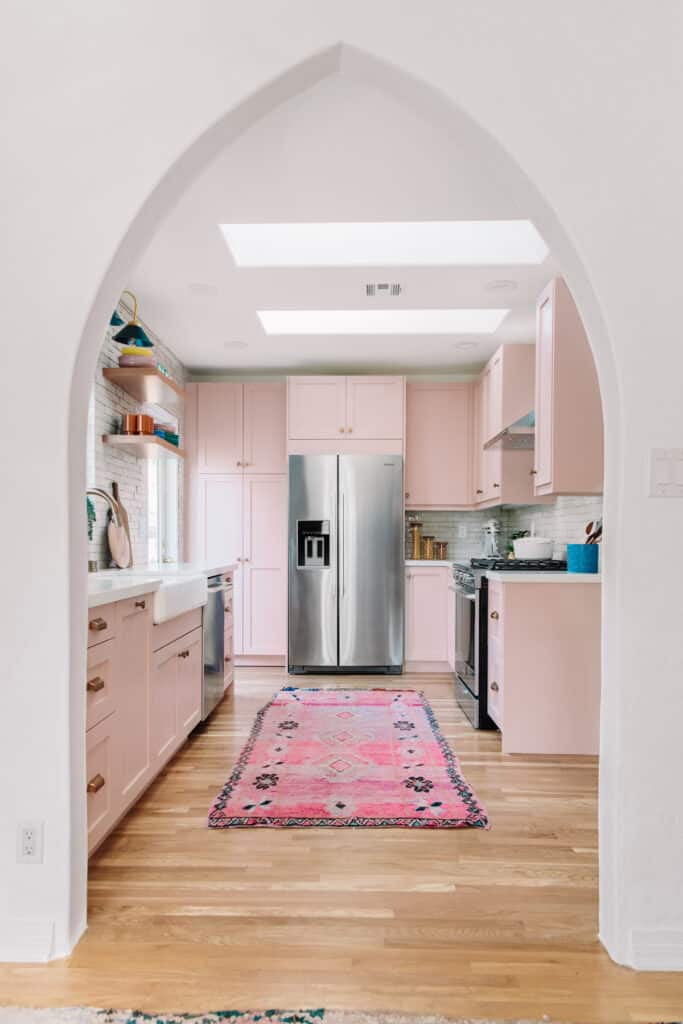
Lacquer
Lacquer is a fast-drying and durable clear coat that provides a high-gloss finish.
It is commonly available in nitrocellulose or acrylic formulations.
Nitrocellulose lacquer offers a traditional finish, while acrylic lacquer is more environmentally friendly and less prone to yellowing.
Lacquer is typically applied with a sprayer for an even and smooth finish. It requires multiple thin coats, with sanding between each coat to achieve a glossy result.
Proper ventilation and safety precautions are necessary due to the fumes and flammability of lacquer.
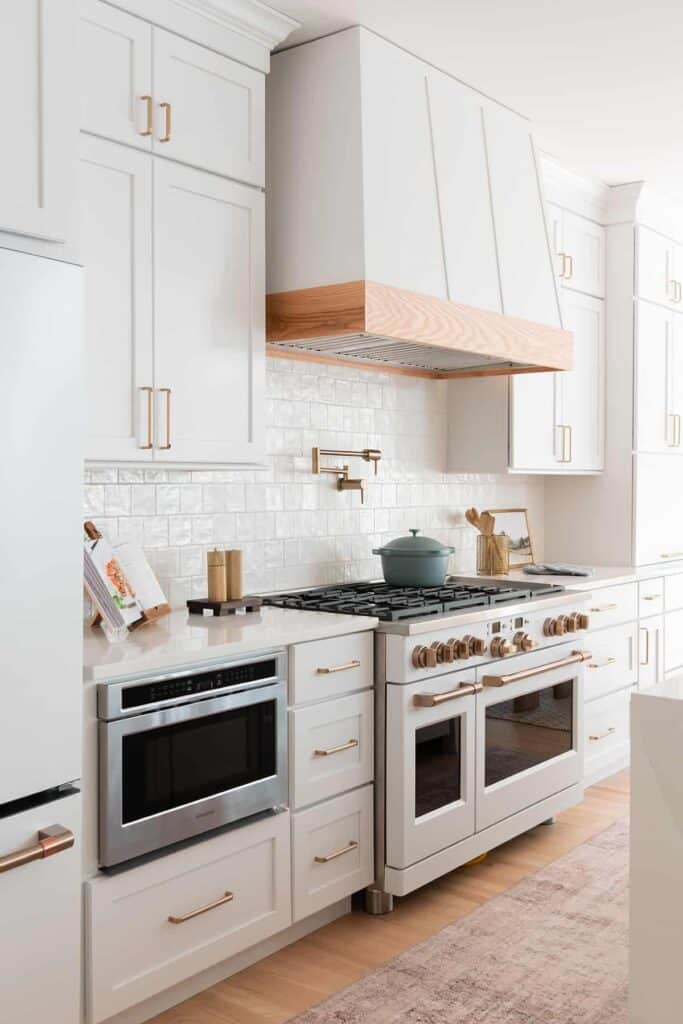
Varnish
Varnish is a clear coat that provides a protective and durable finish.
It is available in various formulations, including oil-based, water-based, and polyurethane-based varnishes.
Oil-based varnishes tend to have an amber tone, while water-based options remain clear.
Varnish can be applied with a brush, roller, or sprayer. It is typically applied in thin coats, allowing drying time and light sanding between each coat.
Varnish provides a protective layer that enhances the natural beauty of the wood.
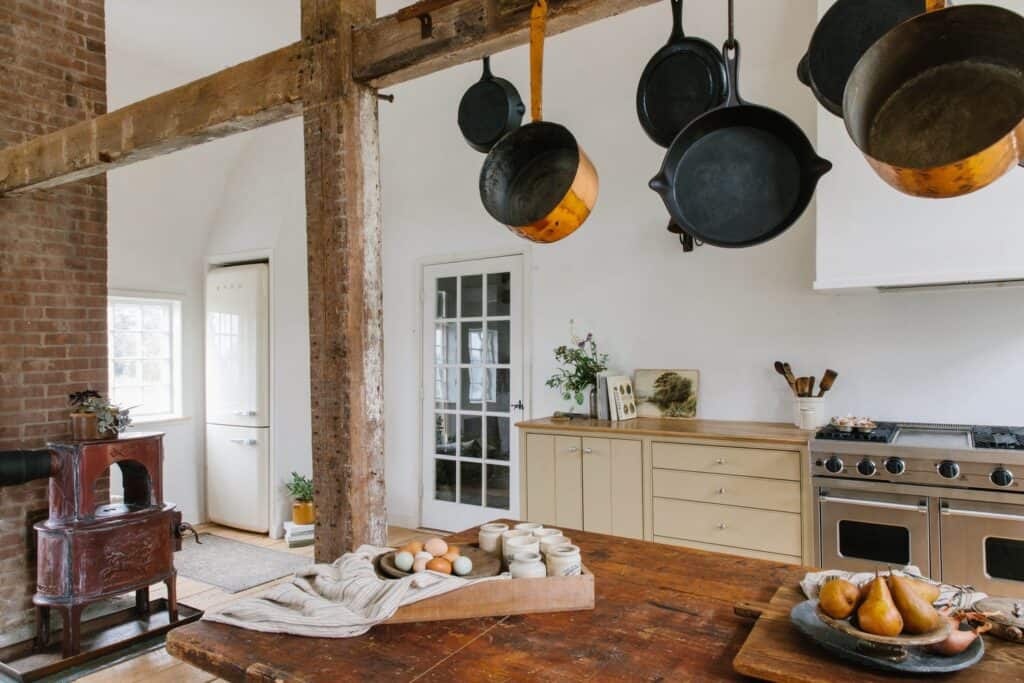
Acrylic Sealers
Acrylic sealers are water-based clear coats that provide a clear and non-yellowing finish. They are often used for sealing and protecting painted surfaces, including cabinets.
Acrylic sealers come in various sheens, including matte, satin, and glossy.
Acrylic sealers are usually applied with a brush or roller. They require multiple thin coats, with drying time between each coat.
Some acrylic sealers may require sanding between coats for better adhesion. They are a popular choice for protecting painted cabinets.
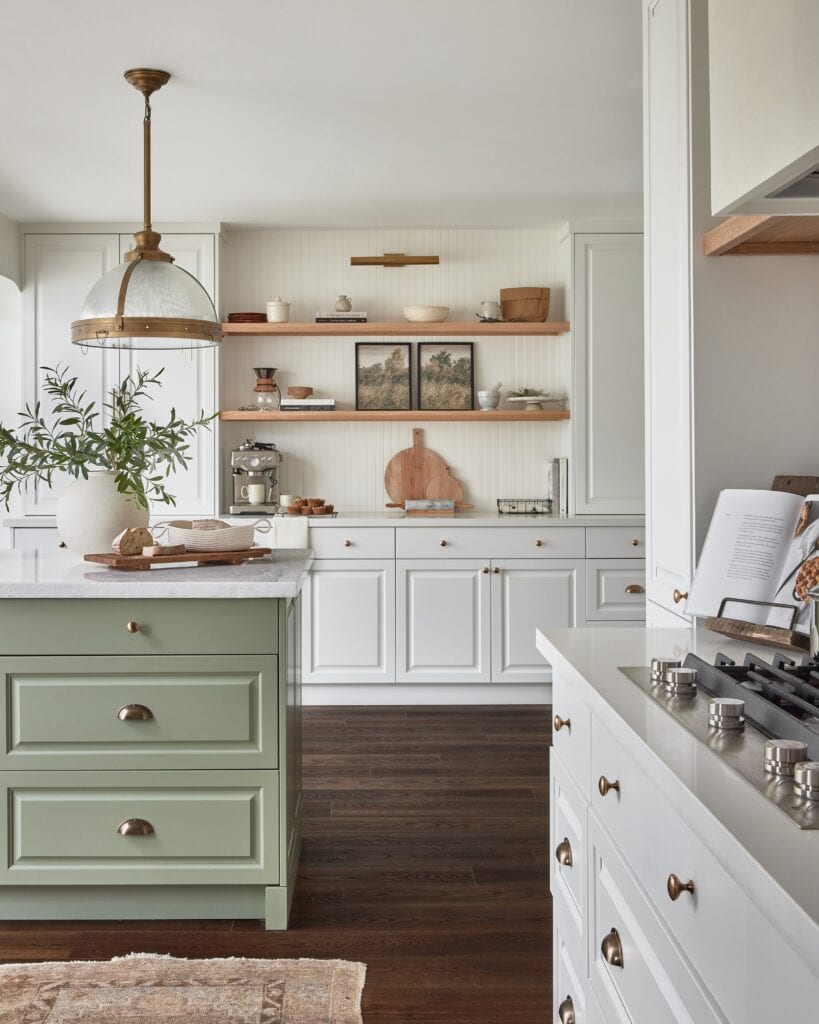
Steps To Apply Clear Coat To Cabinets
Before applying a clear coat, ensure that the painted cabinets are fully dry.
Follow these general steps for clear coating. Clear coating requires a clean and dust-free surface.
Before you begin, wipe down the cabinets with a tack cloth or slightly damp cloth to remove any dust or debris.
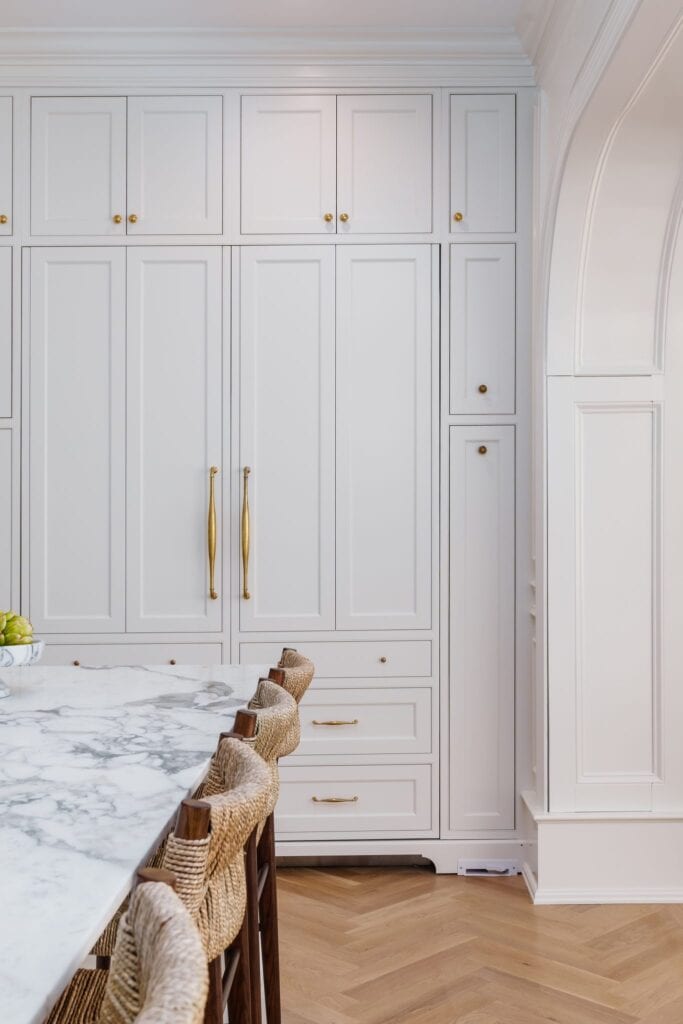
- Use a brush, foam brush, or a sprayer, depending on the type of clear coat chosen. Apply thin, even coats, working in the direction of the wood grain or in smooth, overlapping strokes.
- Avoid applying the clear coat too thickly, as it can lead to drips or an uneven finish.
- Allow each coat to dry completely before applying subsequent coats. The number of coats required may vary, so refer to the manufacturer’s recommendations.
- Between coats, you may choose to lightly sand the surface with fine-grit sandpaper to achieve a smoother finish. Be sure to remove any sanding dust before applying the next coat.
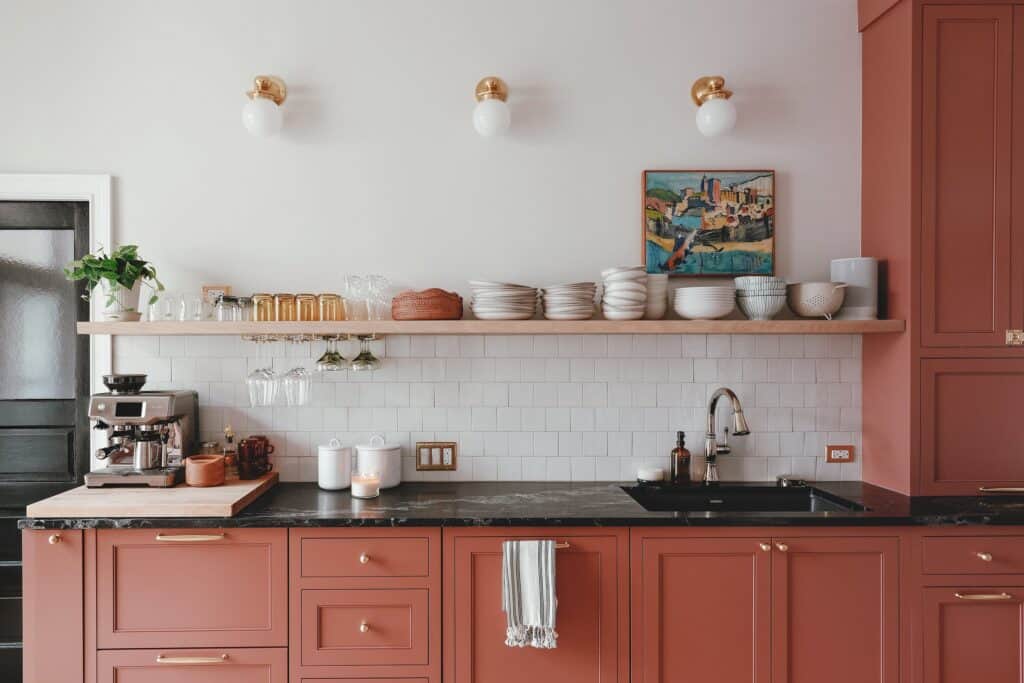
Allow Clear Coat To Cure
Clear coats typically require a curing period to fully harden and provide maximum protection. Follow the manufacturer’s instructions regarding the drying and curing time.
It’s important to allow the cabinets to cure fully before subjecting them to regular use or cleaning.
Once the clear coat has cured, maintain the cabinets by cleaning them with a mild, non-abrasive cleaner and a soft cloth. Avoid using harsh cleaners or abrasive materials that can scratch the clear coat.
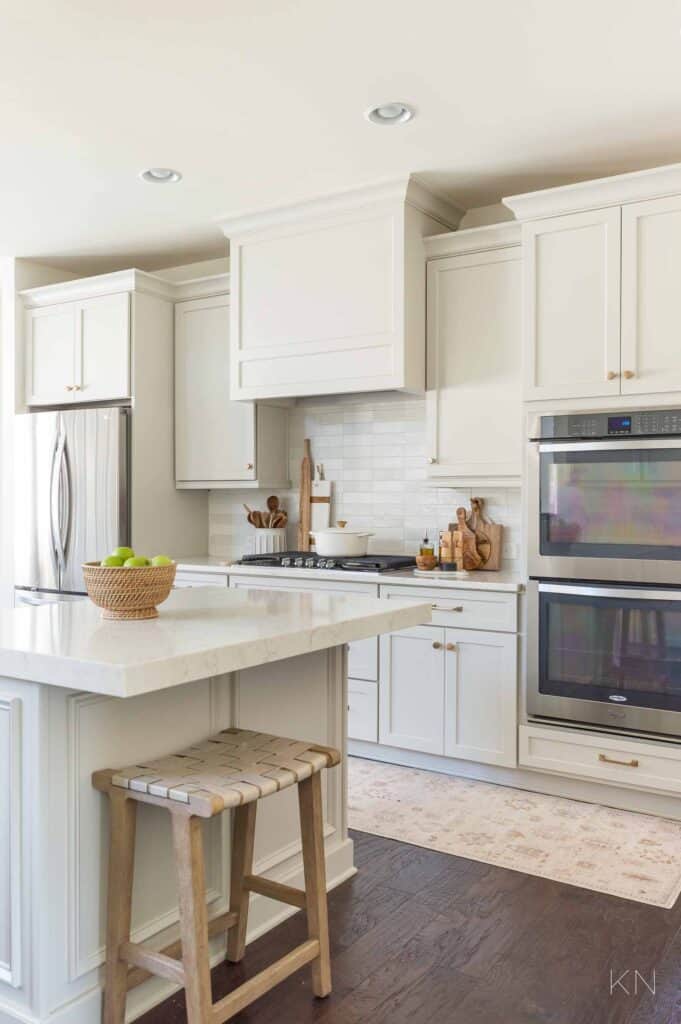
Best Clear Coat For Kitchen Cabinets
Applying a clear coat to painted cabinets is a highly recommended step in the finishing process, as it offers several benefits, especially in terms of protection, durability, and aesthetics.
What Are The Advantages Of Using A Clear Coat For Painted Kitchen Cabinets?
Here are some of the many benefits of using a clear coat for painted kitchen cabinets:
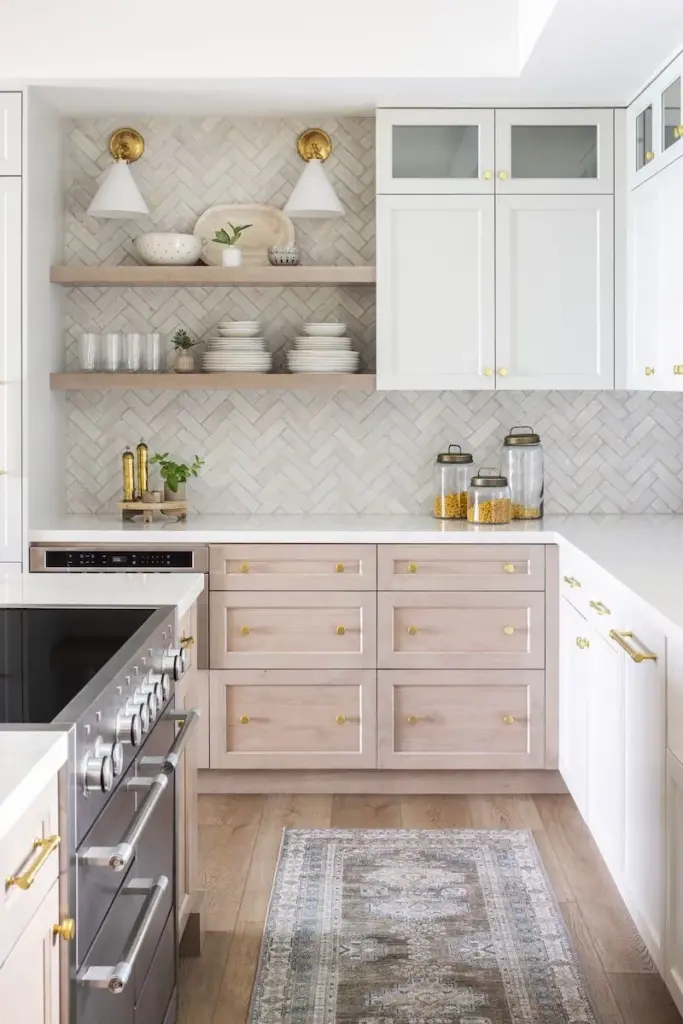
Improved Resistance to Moisture
Kitchens and bathrooms are exposed to moisture and humidity. Without proper protection, the paint on cabinets can bubble, crack, or peel over time.
A clear coat creates a water-resistant barrier, preventing moisture from seeping into the wood or damaging the paint.
This is particularly important in high-moisture areas, as it helps to maintain the cabinet’s structural integrity.
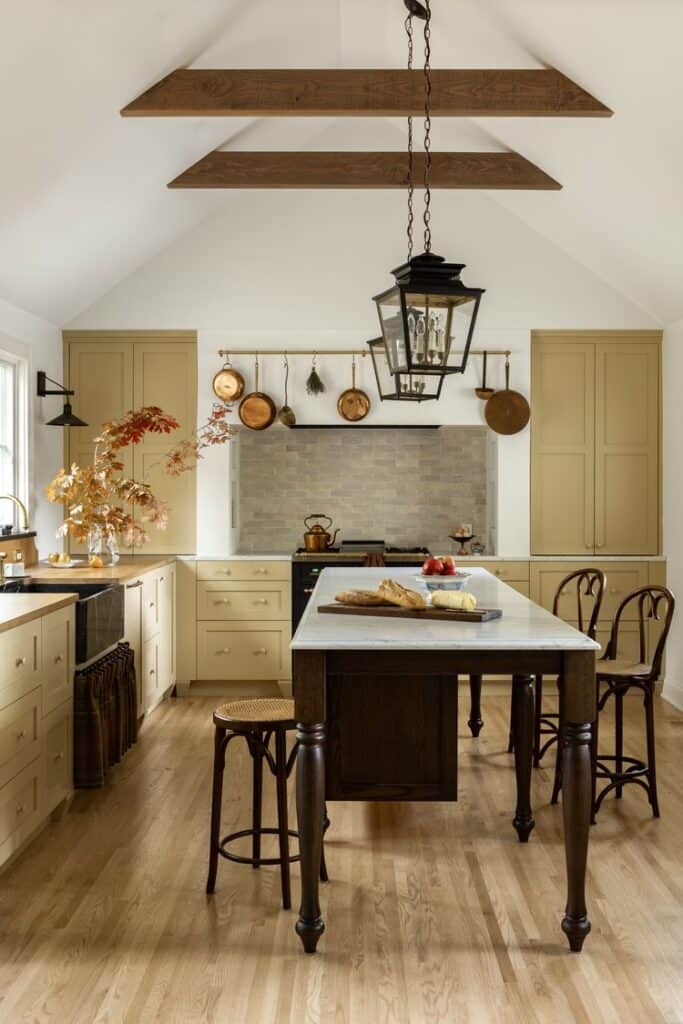
Easy Maintenance
Clear-coated cabinets are generally easier to clean and maintain compared to cabinets without a protective layer.
The smooth surface of the clear coat makes it more resistant to dirt, grease, and stains, allowing for easier cleaning with mild soap and water.
Additionally, the clear coat helps reduce the absorption of spills and stains into the wood, making it easier to wipe them away before they cause permanent damage.
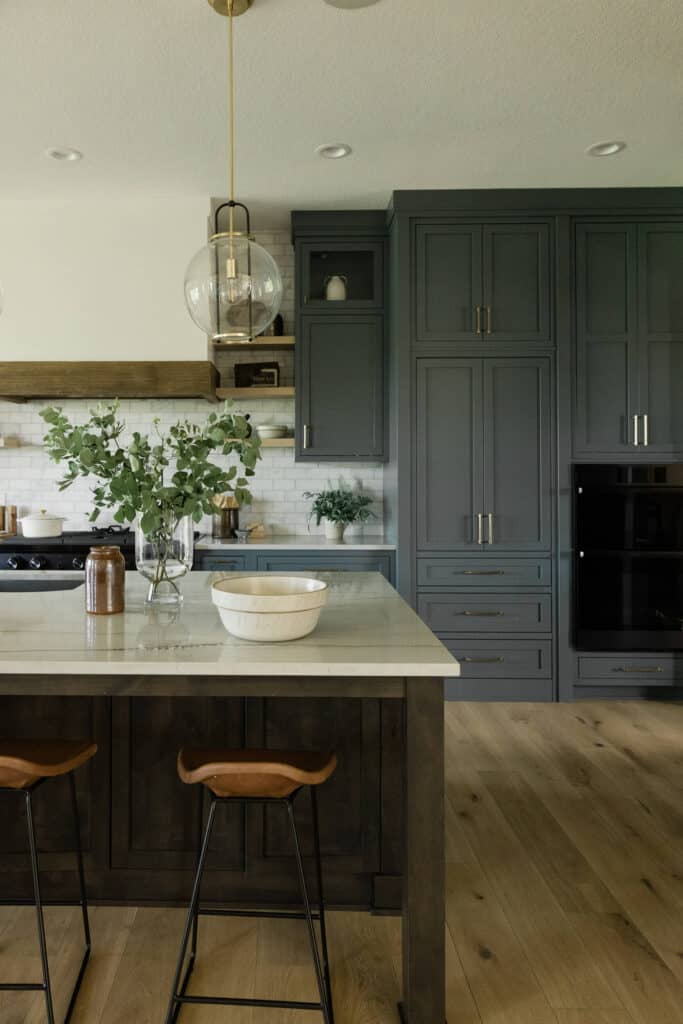
UV Protection
Over time, exposure to sunlight can cause painted surfaces to fade or discolor.
A clear coat with UV inhibitors helps to block harmful ultraviolet (UV) rays, preventing the paint on your cabinets from fading or yellowing prematurely.
This is essential if your cabinets are located near windows or receive direct sunlight.
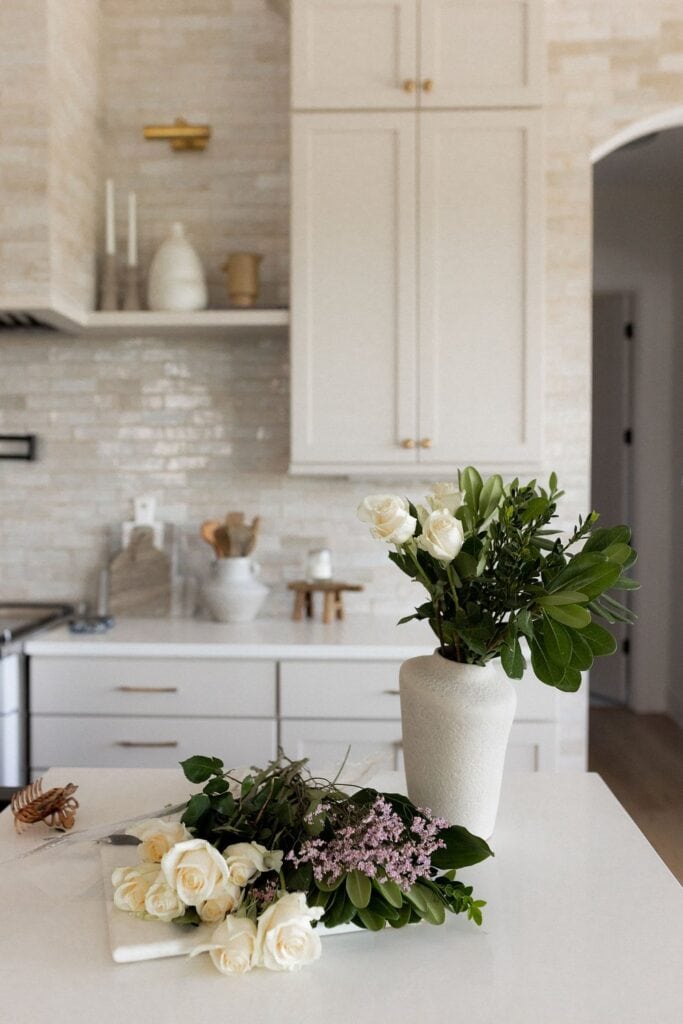
Protection Against Wear and Tear
Cabinets in kitchens and other high-traffic areas are subjected to constant use, which can lead to scratches, scuffs, and general wear over time.
A clear coat acts as a protective layer, forming a barrier between the painted surface and potential damage.
It helps shield the underlying paint from daily wear and tear, ensuring that the cabinet finish remains intact for a longer period.
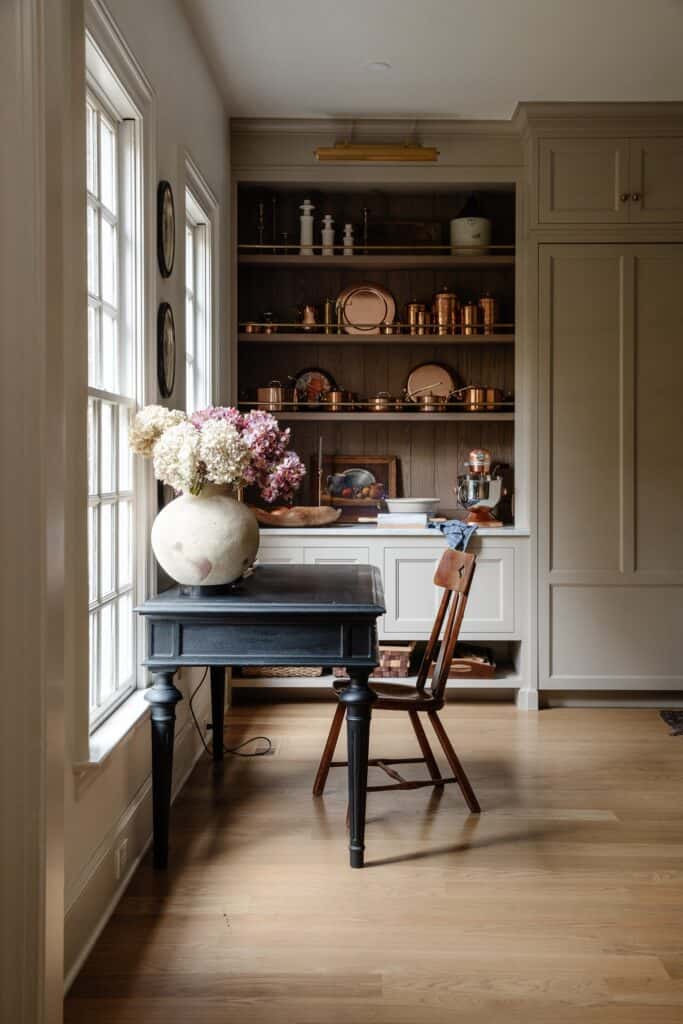
Resistance To Stains & Spills
Clear coats provide an additional level of protection against stains and spills.
Kitchen cabinets, in particular, are exposed to various substances like food, grease, oils, and liquids that can potentially stain or damage the paint.
The clear coat creates a barrier that makes it easier to clean up spills, preventing them from seeping into the paint and causing permanent stains.
This feature is beneficial in areas prone to moisture, such as near sinks or dishwashers.
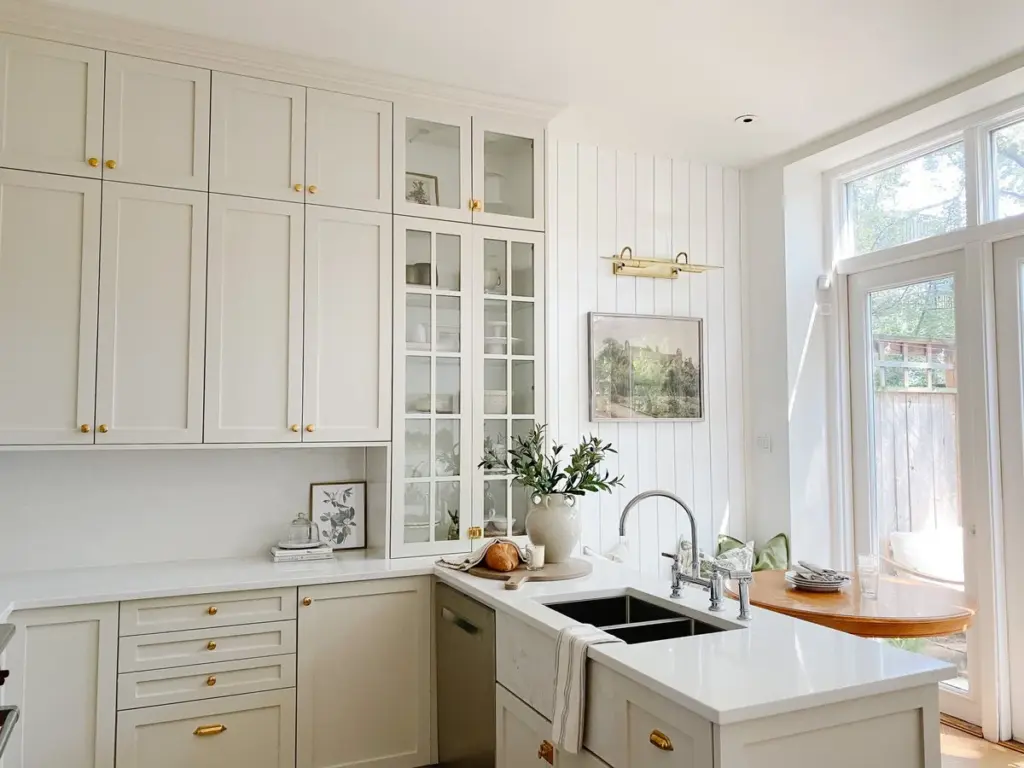
Enhanced Scratch Resistance
Clear coats are often formulated with additives that improve scratch resistance.
By applying a clear coat to painted cabinets, you create a harder and more resilient surface that is less prone to scratches and scuffs caused by everyday use.
This is especially beneficial in households with children, pets, or a high level of activity.
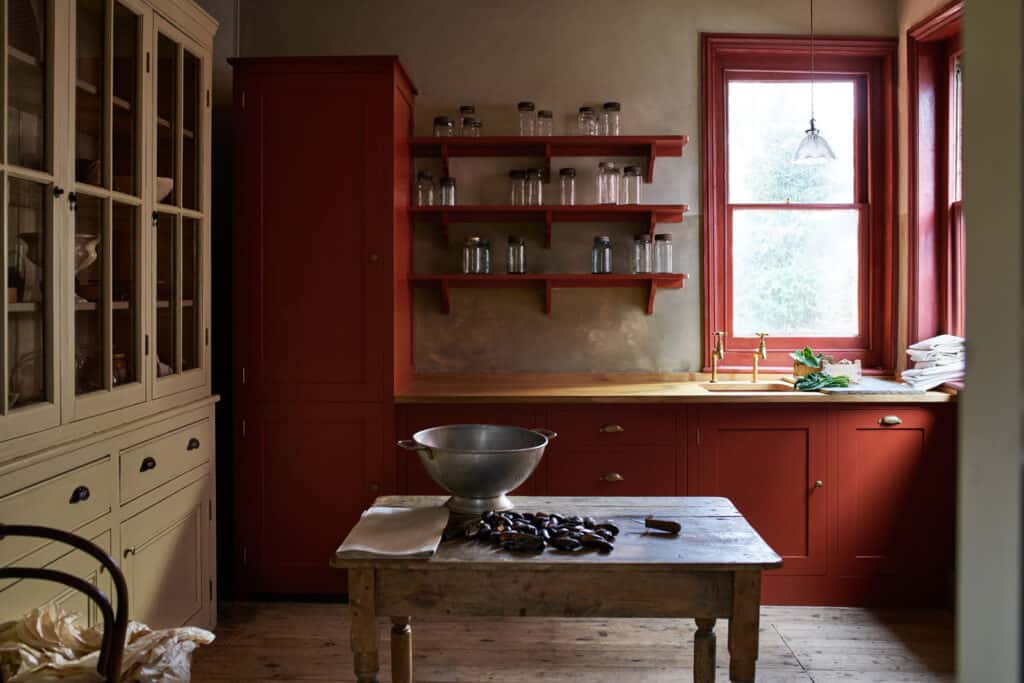
Add Dimension Via Finishes
Clear coats are available in various finishes, such as glossy or satin. These finishes can add depth and dimension to the painted surface, giving your cabinets a polished and professional appearance.
A glossy finish can create a sleek and modern look, while a satin finish offers a more subtle and refined appeal. The choice of finish depends on your personal preference and the style you want to achieve in your space.
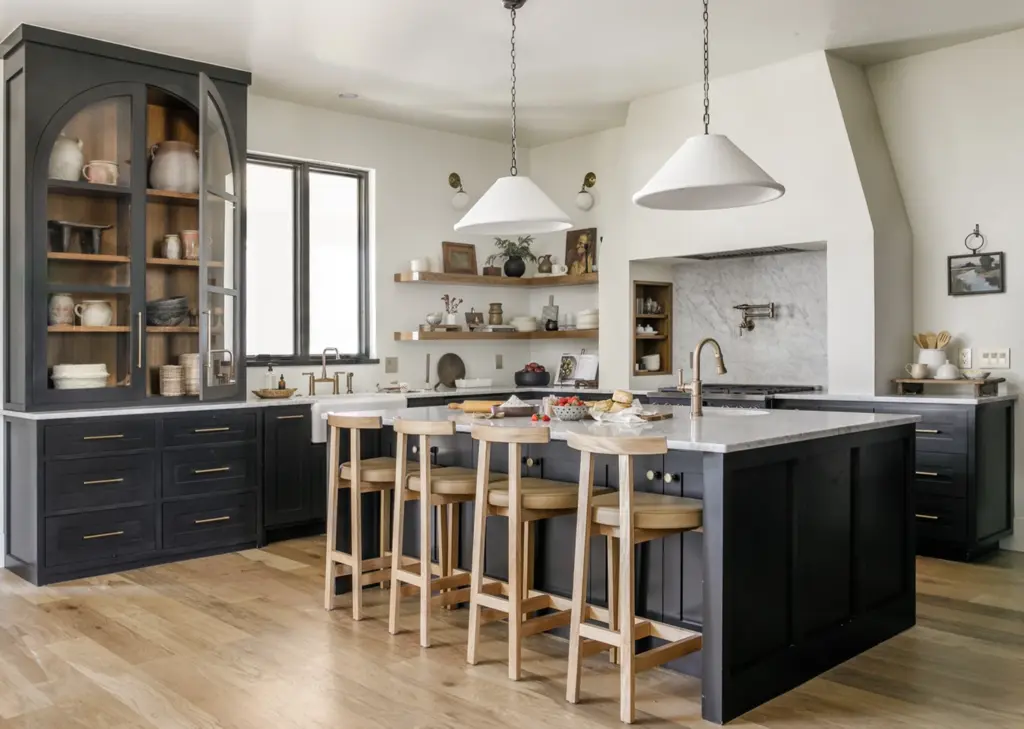
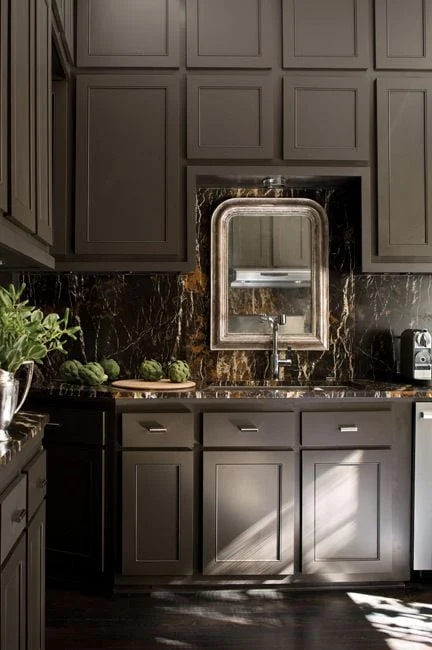
Enriched Color And Depth
Clear coats can intensify the color and richness of the underlying paint on your cabinets.
By applying a clear coat, the paint’s pigments are brought to the forefront, resulting in a more vibrant and visually appealing finish.
This can enhance the beauty of bold or darker colors, making them appear more striking and luxurious.
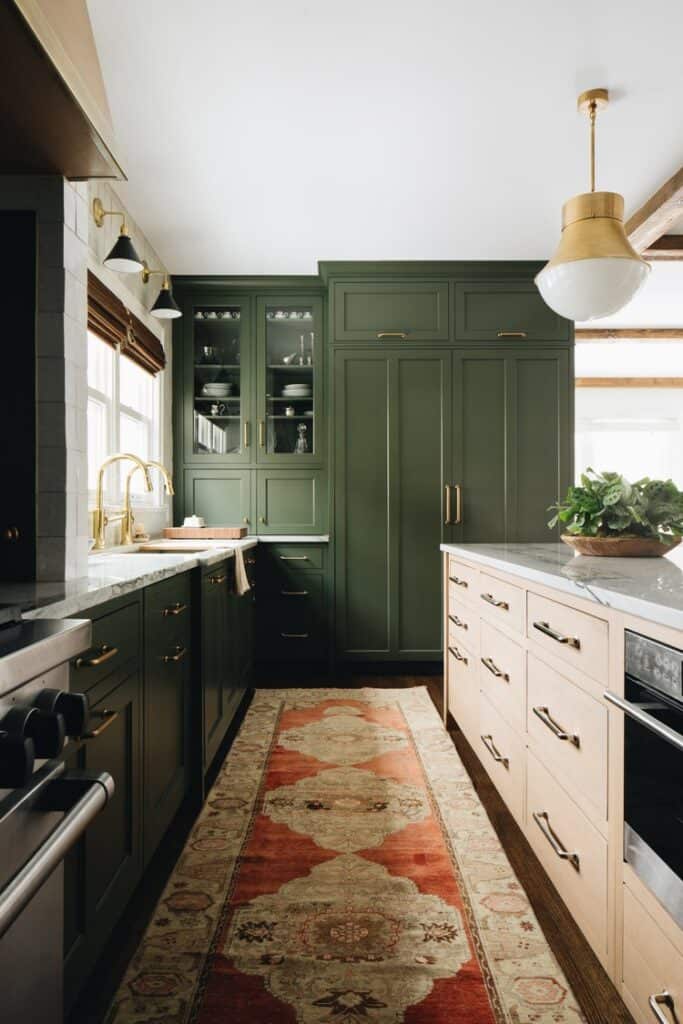
Highlighting Wood Grain
If your cabinets are made of wood and you want to showcase the natural grain patterns and textures, a clear coat can be an excellent choice.
The transparent nature of the clear coat allows the wood grain to shine through, providing a warm and organic aesthetic.
It brings out the unique characteristics of the wood, adding visual interest and enhancing the overall beauty of the cabinets.
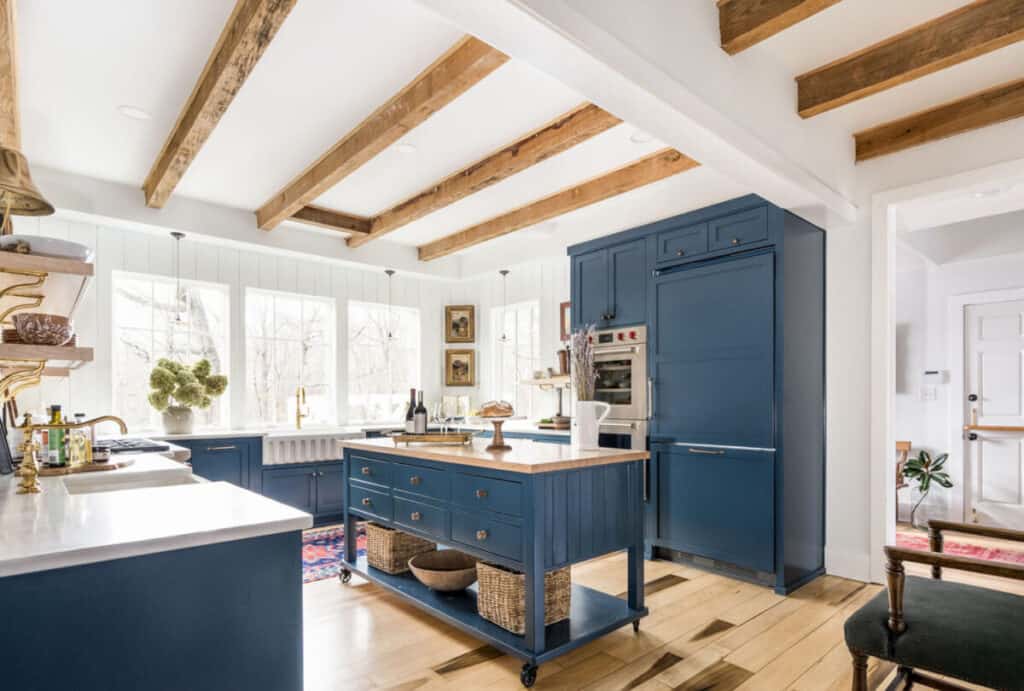
Smooth And Uniform Appearance
Applying a clear coat can help achieve a smooth and uniform finish on your cabinets.
It helps to minimize brush strokes, roller marks, or any imperfections that may be present in the painted surface.
The clear coat acts as a leveling agent, creating a seamless and professional look. This is particularly beneficial if you want your cabinets to have a flawless and high-end appearance.
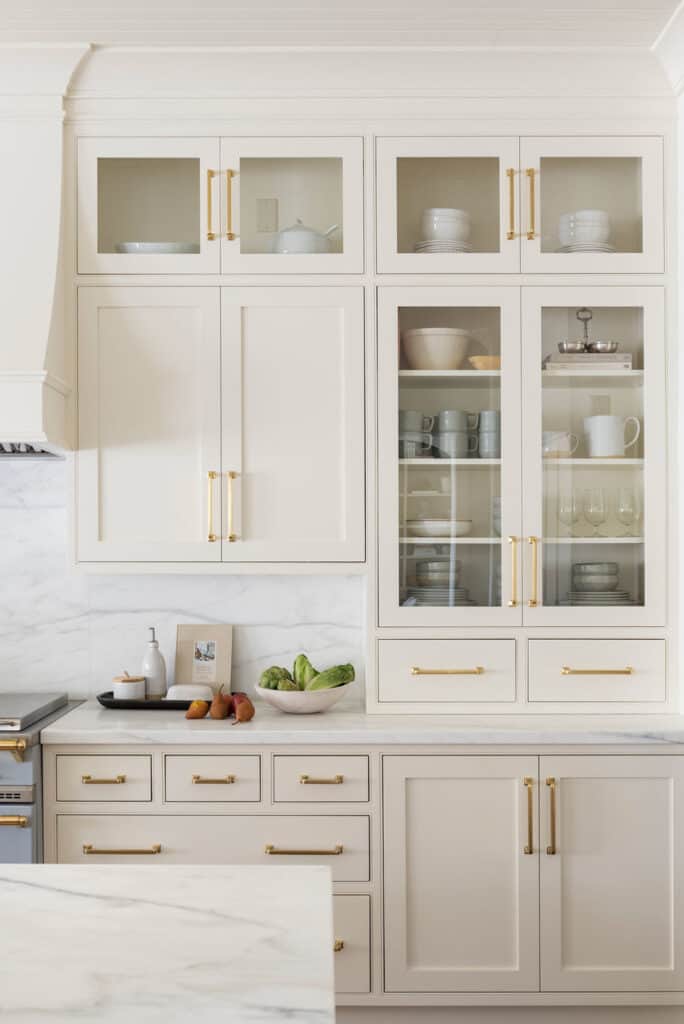
Factors to Consider When Selecting the Best Clear Coat
Before you pick out the best clear coat for painted kitchen cabinets, you’ll want to consider the following factors:
Compatibility
Ensure that the clear coat you choose is compatible with the type of paint you used for your cabinets.
Different clear coats work best with specific paint formulations, so read the product labels carefully or consult with a professional if needed.
Finish
Clear coats are available in various finishes, including matte, satin, semi-gloss, and high-gloss.
Consider the overall aesthetic you want to achieve in your kitchen and select a clear coat finish that complements your style.
Application Method
Clear coats can be applied with a brush, roller, or spray gun.
Consider the size and intricacy of your cabinets, personal preference, and the equipment you have available before deciding on the application method.
Drying Time and Curing
Be mindful of the drying time and curing process required for the clear coat you choose. Some products may require multiple coats or longer curing times, which can impact your project timeline.
The 4 Best Clear Coat For Painted Kitchen Cabinets
Here are some of the best clear coats you can use for your painted kitchen cabinets, along with their pros, cons, and prices:
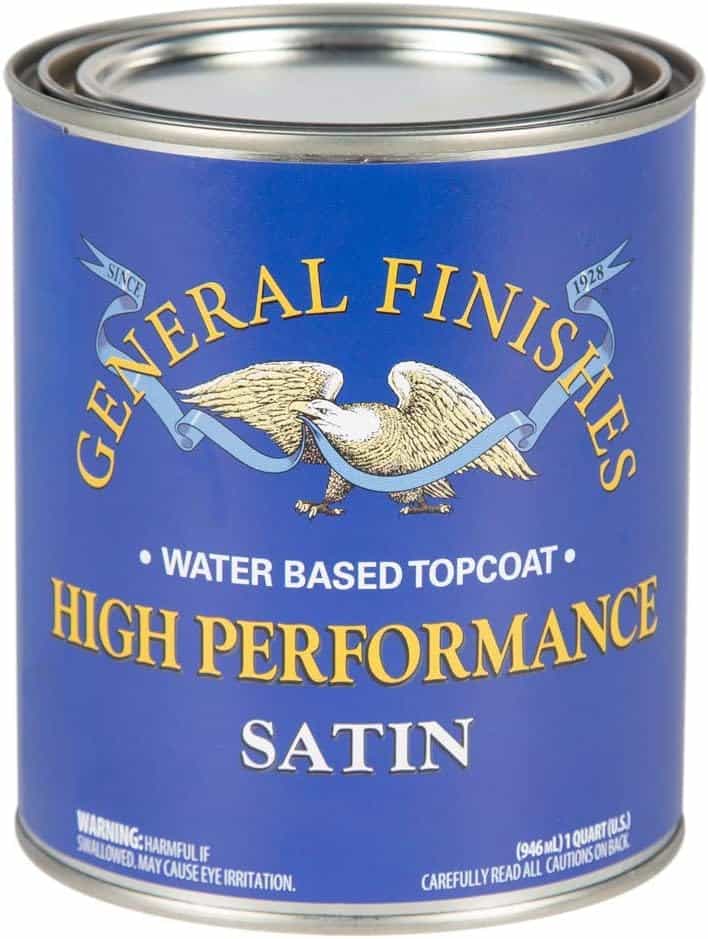
General Finishes High Performance Water-Based Topcoat
Price: $33.95 per pint
Pros: This topcoat is a great choice for kitchen cabinets. It’s durable, easy to apply, and dries to a beautiful satin finish.
It also has built-in UV stabilizers, which protect the paint from fading in natural light.
Cons: It’s designed for interior use only. Some users reported yellowing with bright white latex paint.
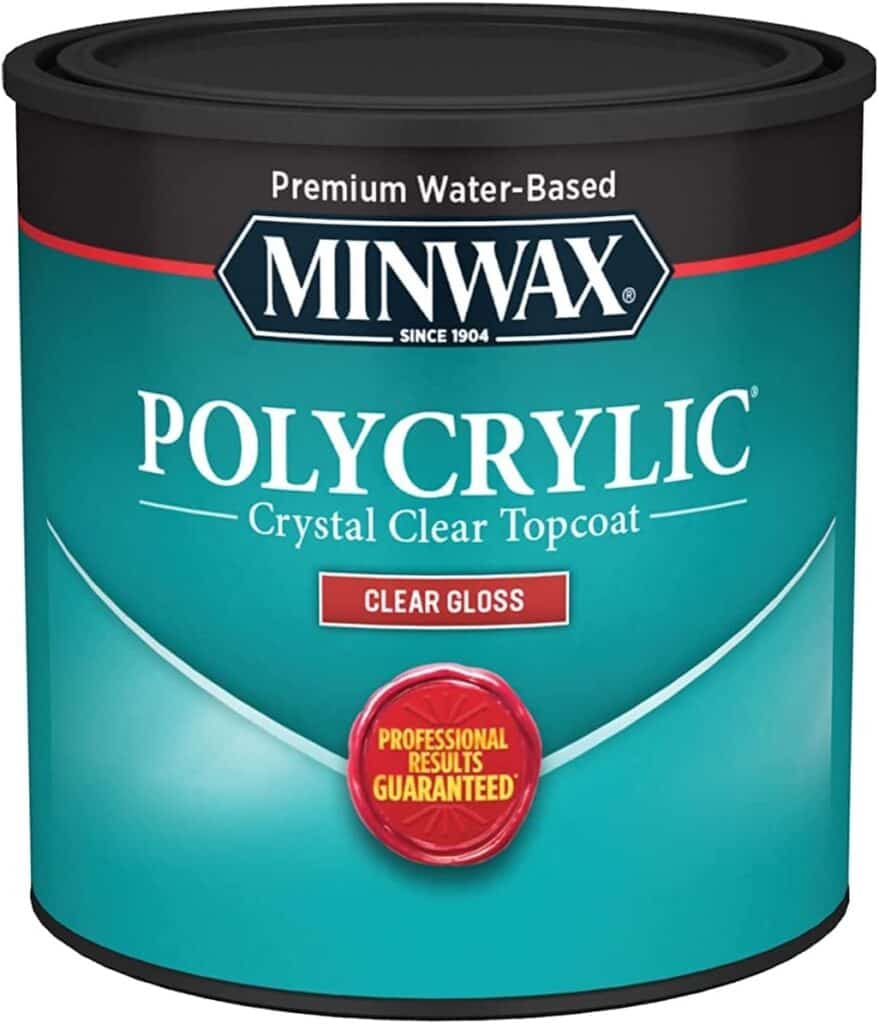
Minwax Polycrylic Clear Matte Water-Based Polyurethane
Price: $22.97 per quart.
Pros: This water-based polyurethane from Minwax is another good choice.
It’s available in a matte finish for a subtle, low-sheen look. It’s also resistant to changes in temperature and humidity. It comes in both a paint for a brush on application and a spray paint.
Cons: It may not be as durable as some other options, particularly for heavy use areas. Some users have stated it can yellow with cheap white paint.
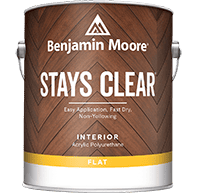
Benjamin Moore Stays Clear
Price: $79.99 per gallon
Pros: This clear coat is a high-quality option that offers a beautiful, long-lasting finish. It does not yellow, is tint-able, quick-drying, and provides easy clean up with just soap and water.
Originally, this product was created for hardwood floors, so you know this is a great and durable option.
Despite the high price tag, this is still our number one pick.
Cons: It is on the pricier side. You’ll have better results thinning this and using it in a paint sprayer versus using a paint brush.
Only available at Benjamin Moore.
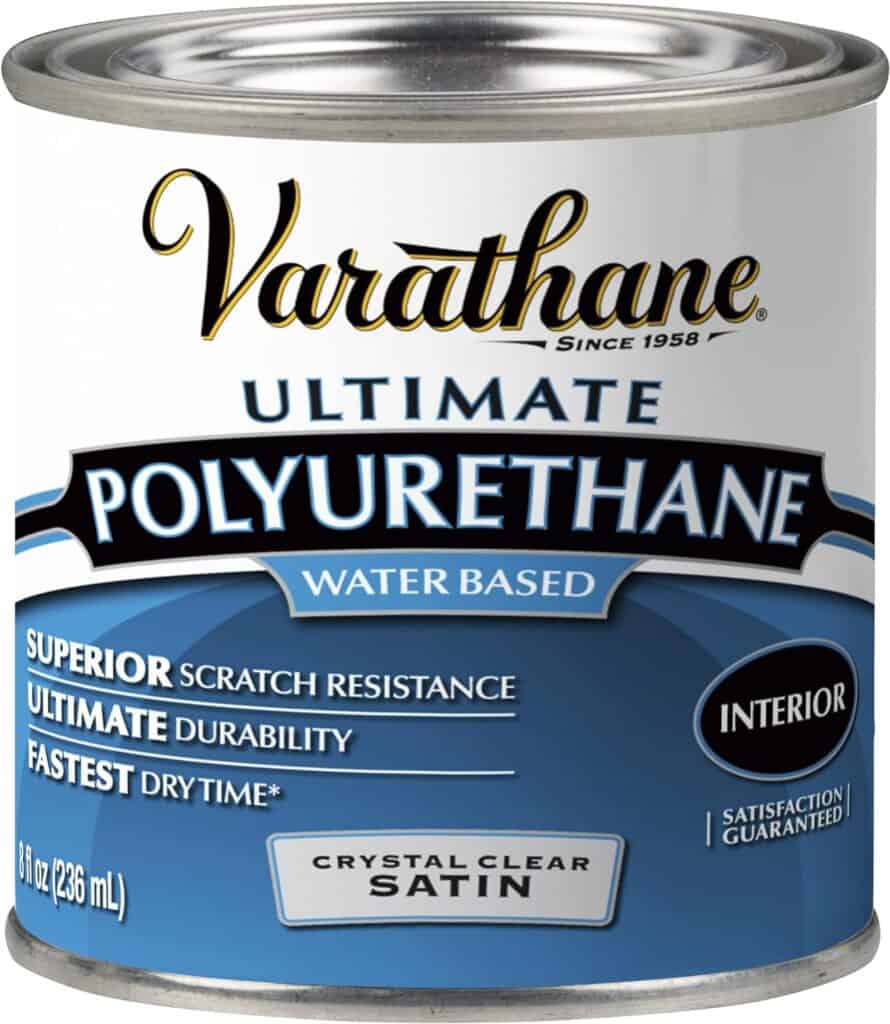
Varathane Water-Based Ultimate Polyurethane Satin Finish
Price: $16.21 per half pint
Pros: This is a great clear top coat to use if you plan to use a brush to apply it. It does come in several sheens: gloss, matte, satin, and semi-gloss. It has a low VOC for indoor use so strong odors aren’t a worry.
Cons: It can dry fast, so you’ll need to be quick and to not make mistakes. This is not recommended for use with a spray painter, so you may need to have a more experienced hand.
Other Posts You’ll Love
Best Paint Sprayer For Walls | Painting Stone Fireplaces | Cabinet Paint Explained
Pin The Photo Below For Later
Adding a clear coat to your painted kitchen cabinets is a great way to protect them and keep them looking beautiful for a long time. It requires a bit of extra work and a learning curve if you’re new to DIY projects, but the results are well worth it. If you try this in your own DIY, let me know how it goes in the comments!
Happy painting and good luck!
