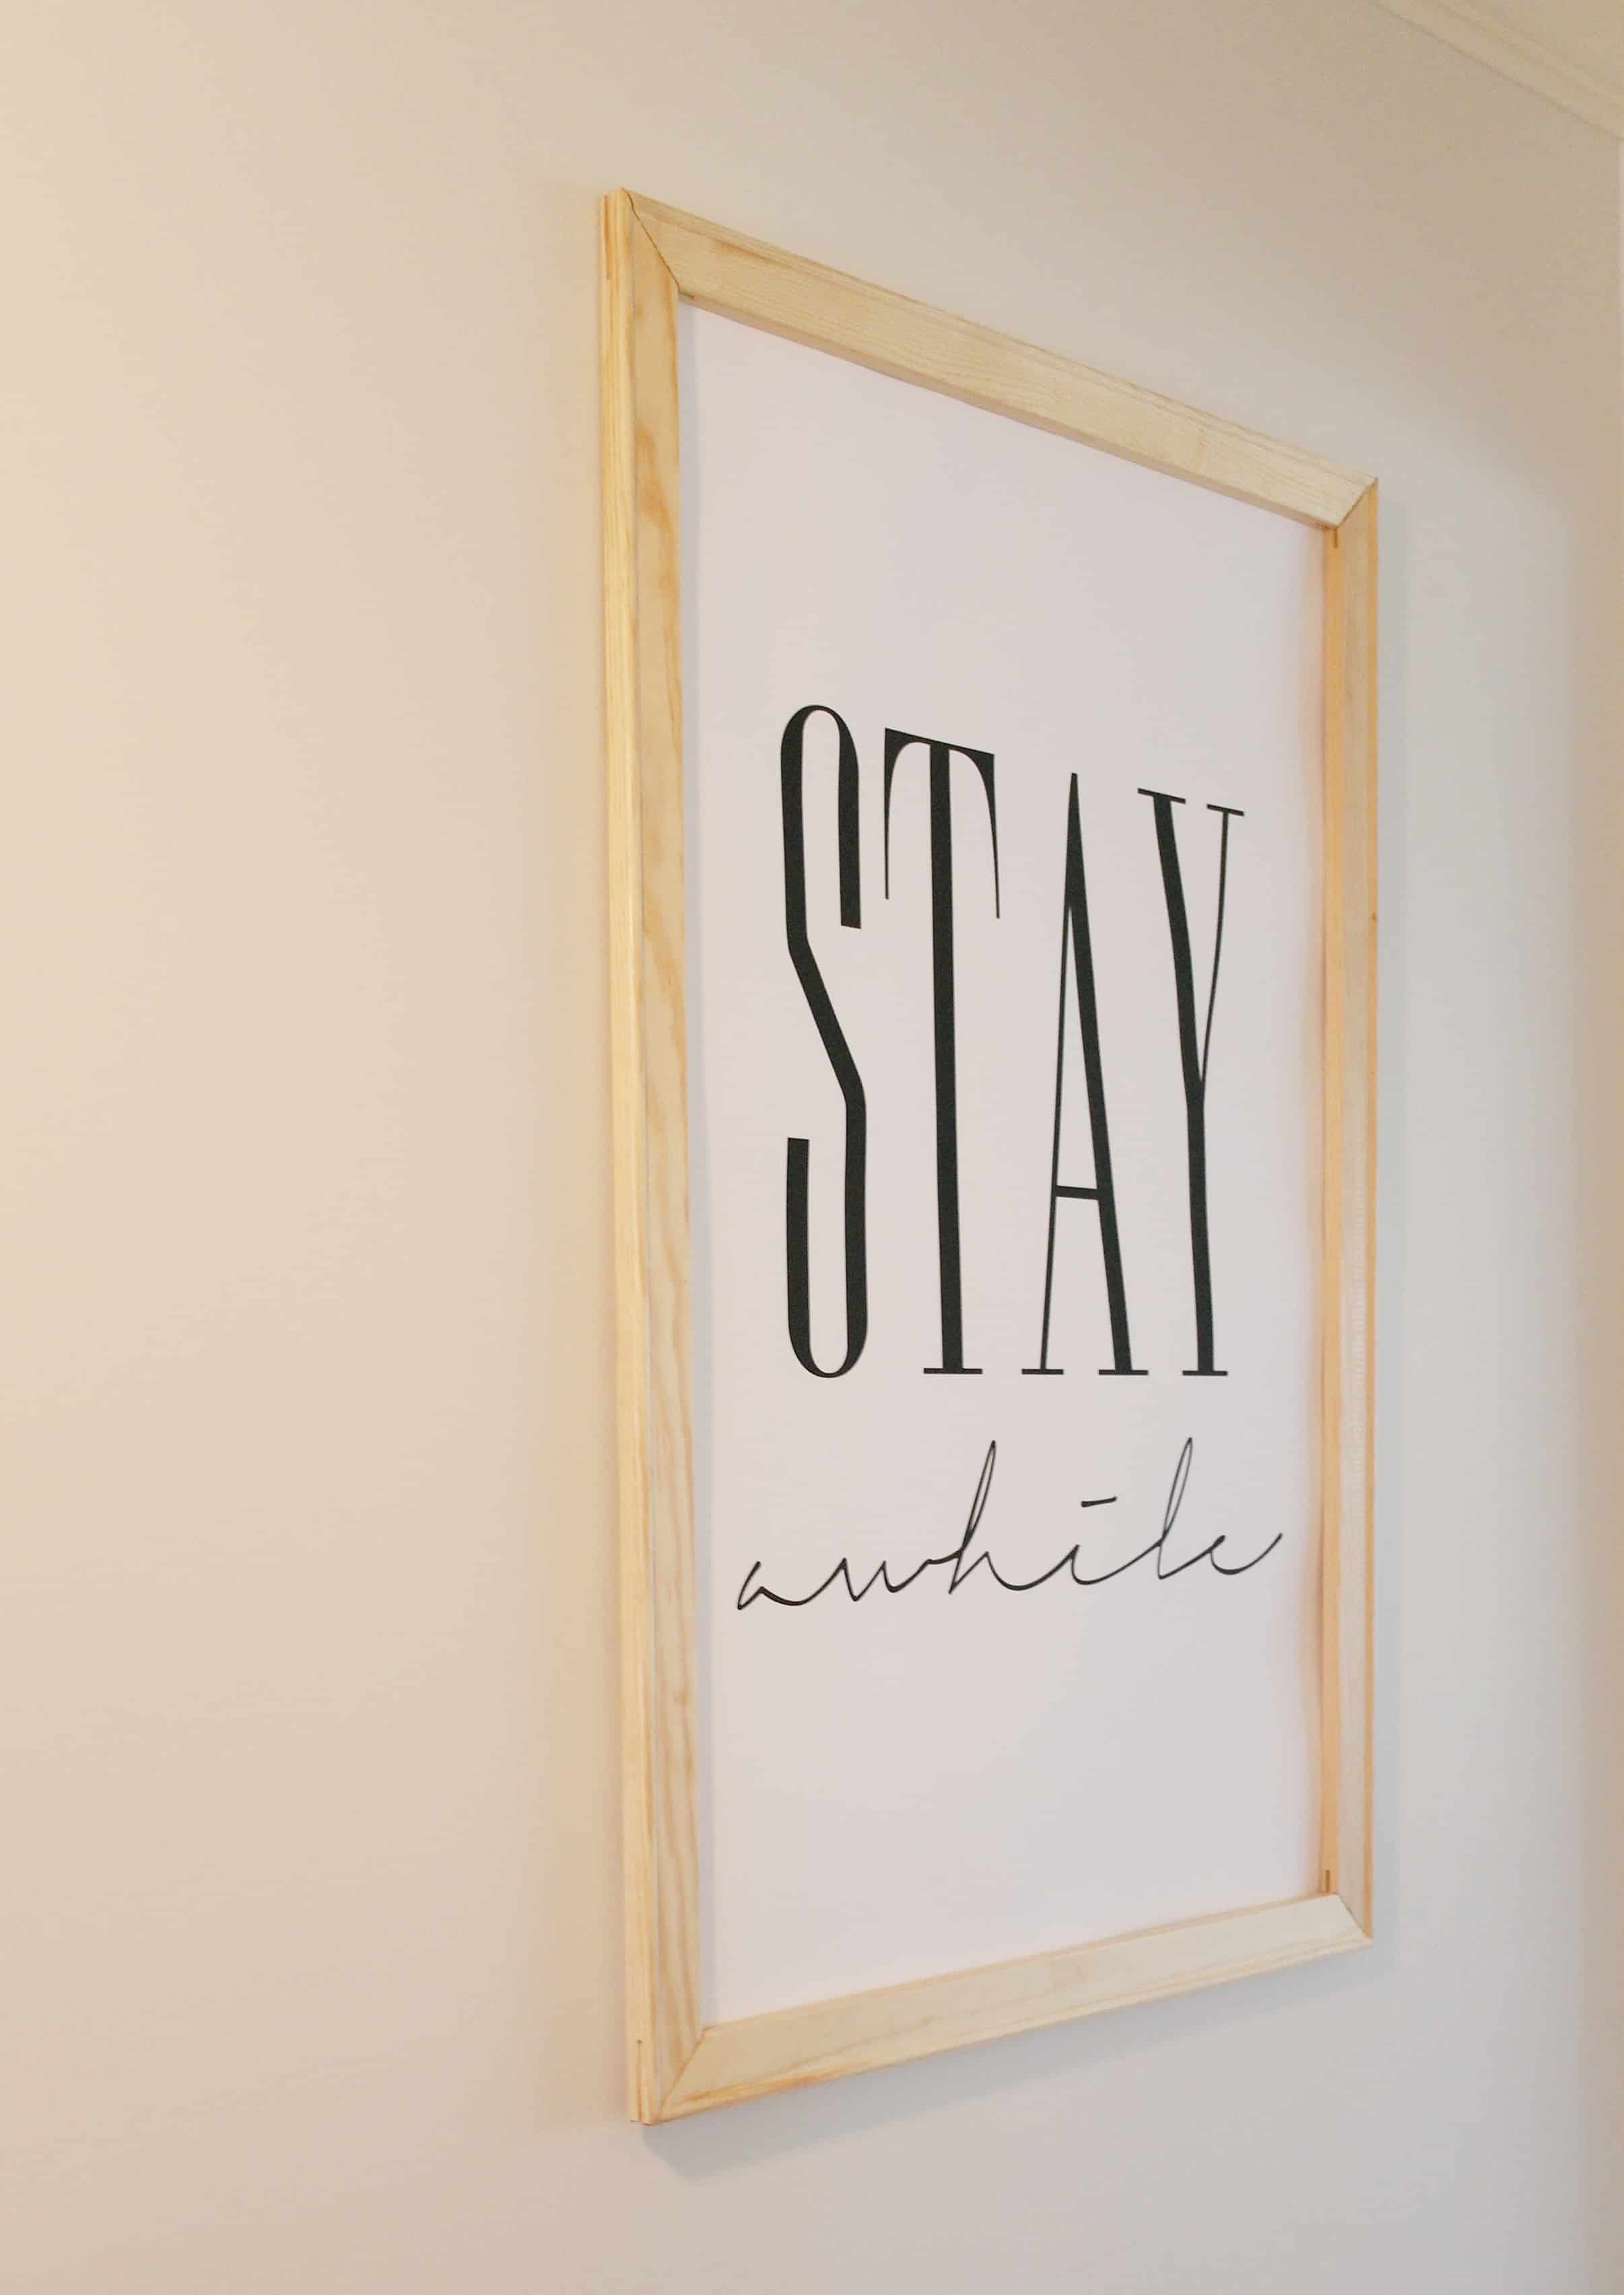
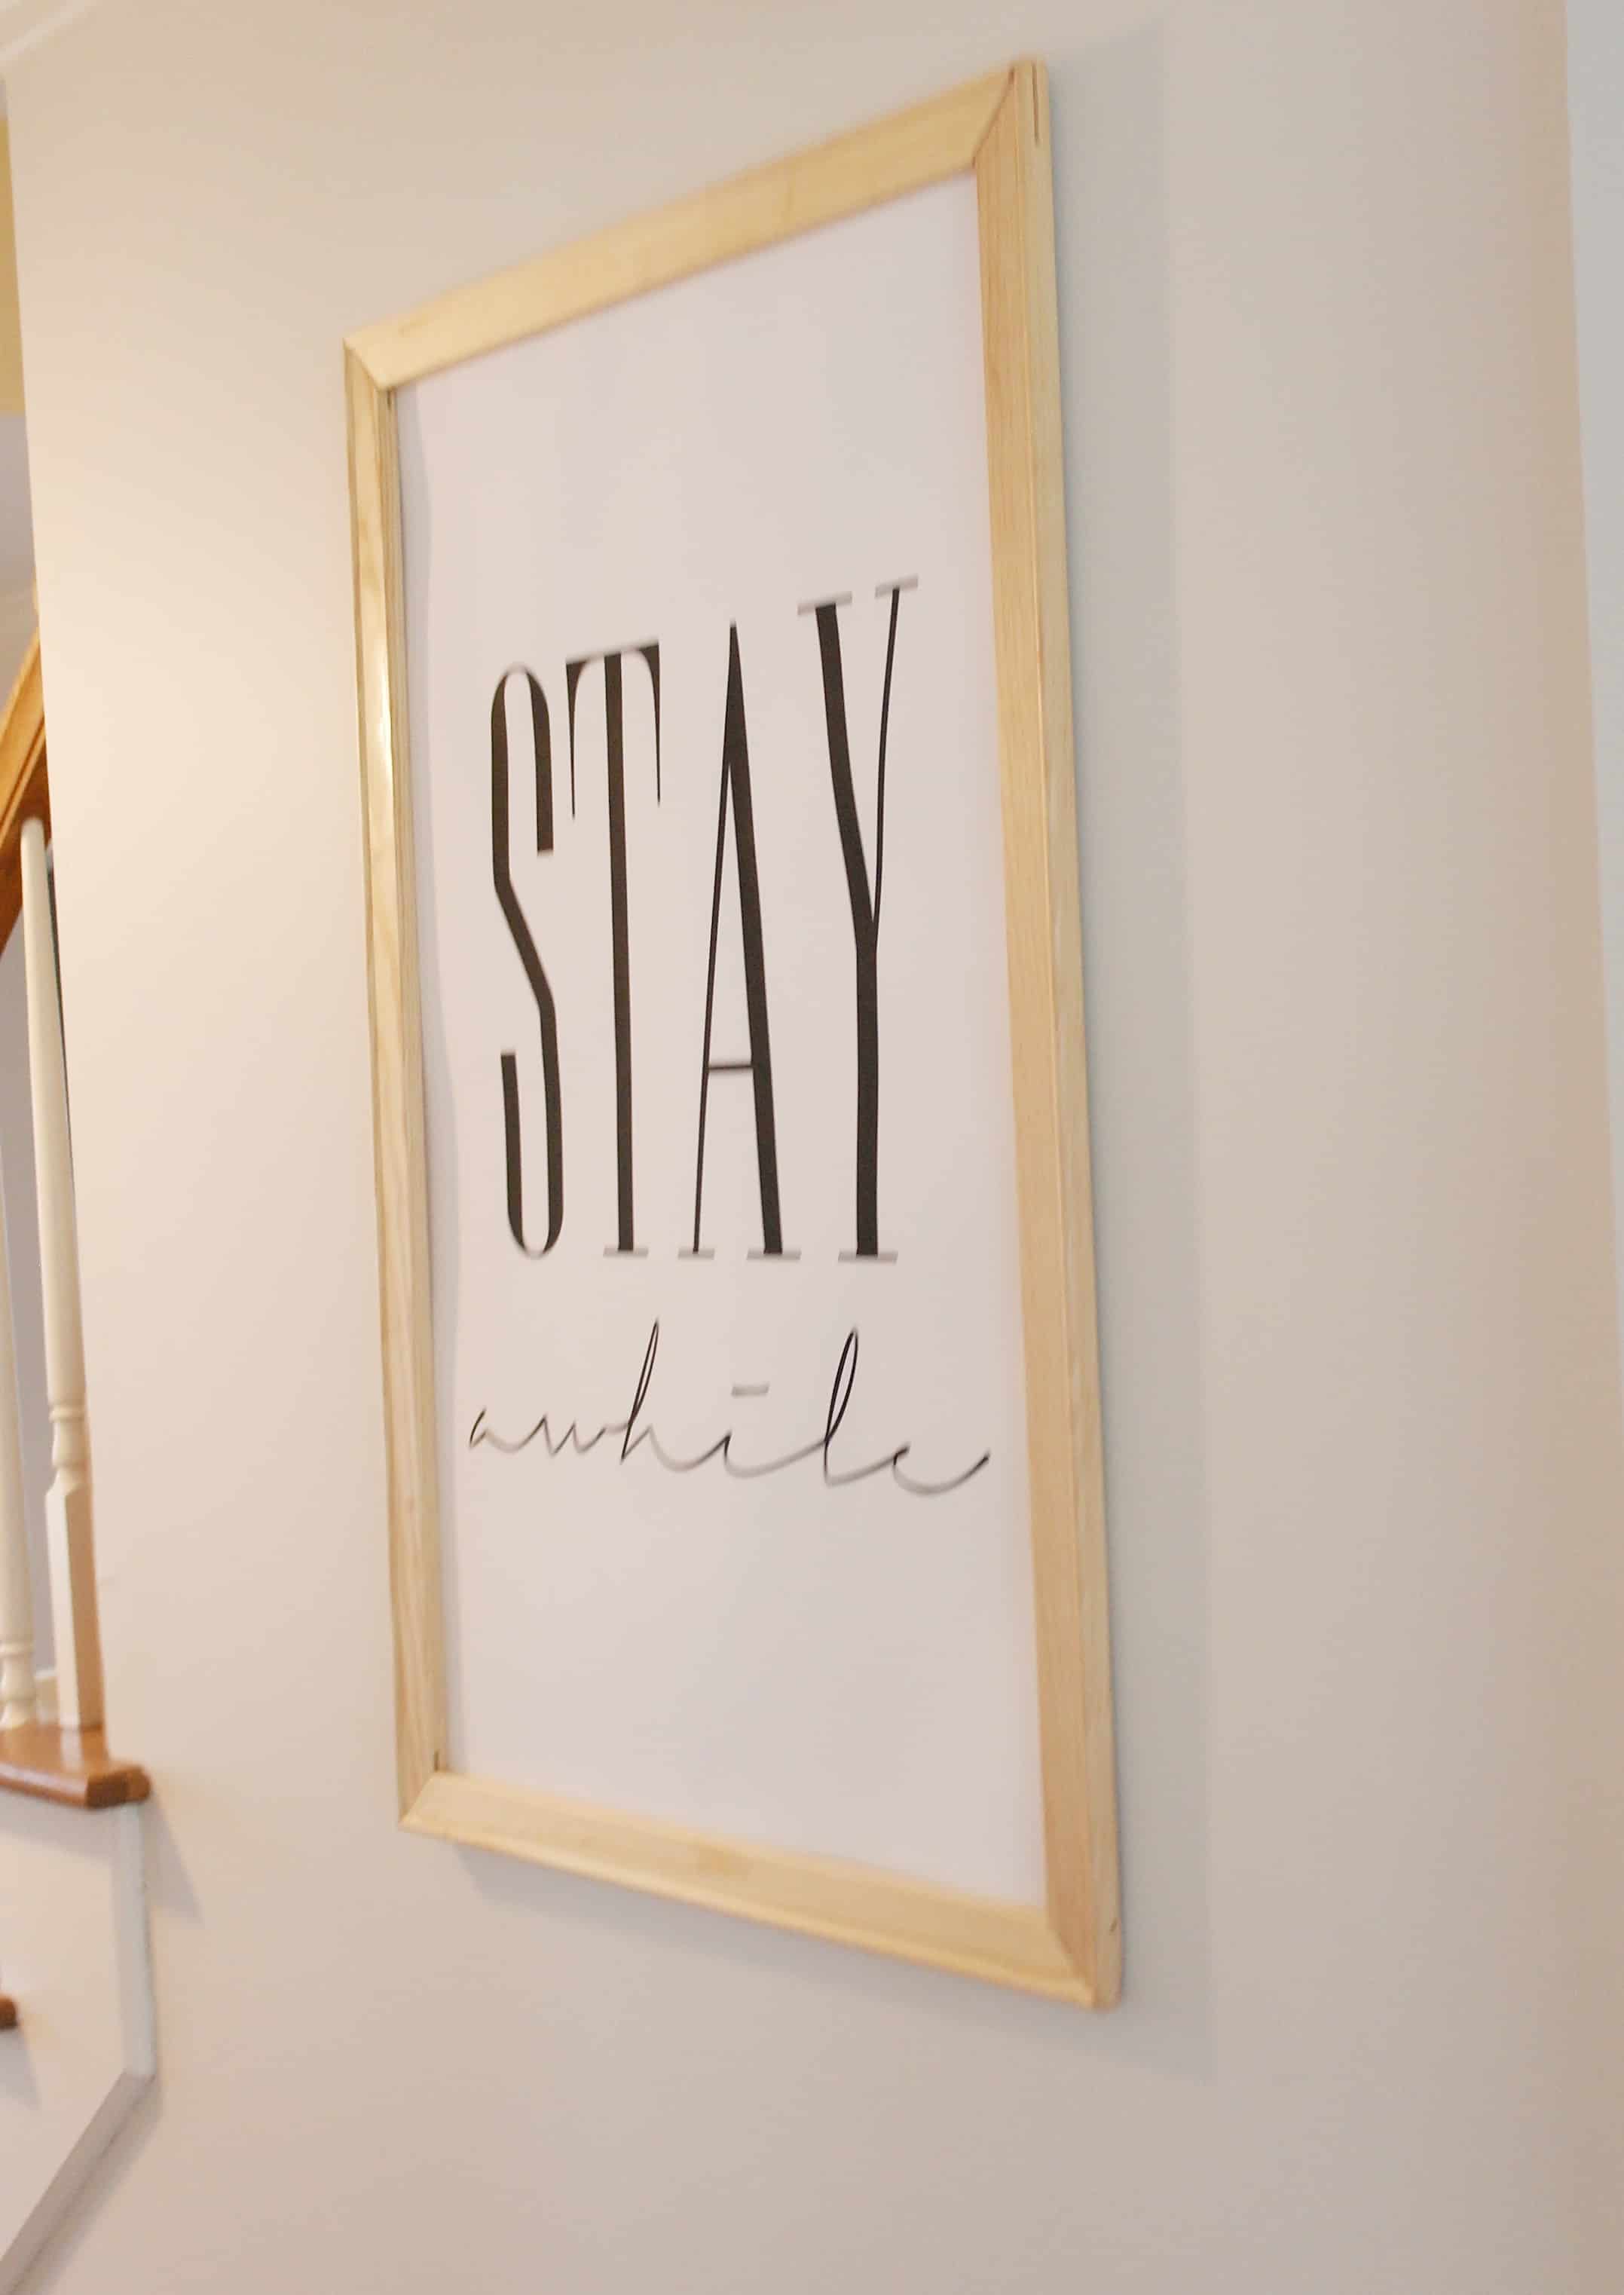
Okay, as promised in my updated foyer post, I had THE EASIEST DIY project for you all. I wanted a large framed print hanging in our hallway but was set on it being more of a framed poster than art – so no glass. I wanted something on a budget, so this DIY Framed Poster was born.
Cost for mine will be for a 24×36 framed print – and it was less expensive because its black and white.
What you need:
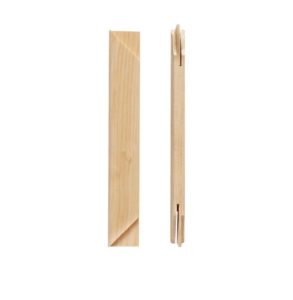
Canvas stretchers from your craft store. (2 in the length, 2 in width). They sell them at Hobby Lobby and Michaels for sure, and are around $2 each full price.
A downloadable print. You can try a free print, but if you want a larger print I would recommend buying one off Etsy. Mine was only $5.
Staple gun (preferred but you could use adhesive)
Super glue
Stain if you would like
Picture hanger from hardware store ($1)
Steps:
Download your print of choice
Print from preferred printer. I used Fedex for this print to have it the next day, but MPIX is another of my favorites. If printing at MPIX choose e-surface paper
Attach your canvas stretchers into a frame shape. (trust me a monkey could do this)
Add some super glue into the corners to help it stay
Stain if desired
Staple print to back
Attach picture hanger to the back
Hang on the wall and enjoy!
This truly is so easy, and I had never thought of using the canvas stretchers for such a project. All in all this project cost me $47 ($35 for print, $1 for picture hanger, $10 for canvas stretchers. I owned everything else)
If you decide to give this a try leave me a picture of your finished product! I would love to see it!
(UPDATE: this has since moved to our guest room – to see what hangs there now, check out my most popular post for an amazing IKEA hack)


