If you are a long time reader or follower, then you may know I have done a DIY Ice Cream Cones before. Sweet Avé’s mobile over her crib was ice-cream cones and SO SO CUTE. So I must have a thing for those sweet treat DIYs.
This year when I was trying to think of Valentine’s for the kids to take their classes, I knew I wanted to go a non candy route. I decided to try to come up with Key Chains for the girls in Jack’s class (because first graders love key chains!).
This post on DIY Ice Cream Cones contains affiliate links
This years other Valentines:
Pokeball Keychains | Superhero Peg Dolls | Heart Wands
Ice Cream Cone Valentine’s
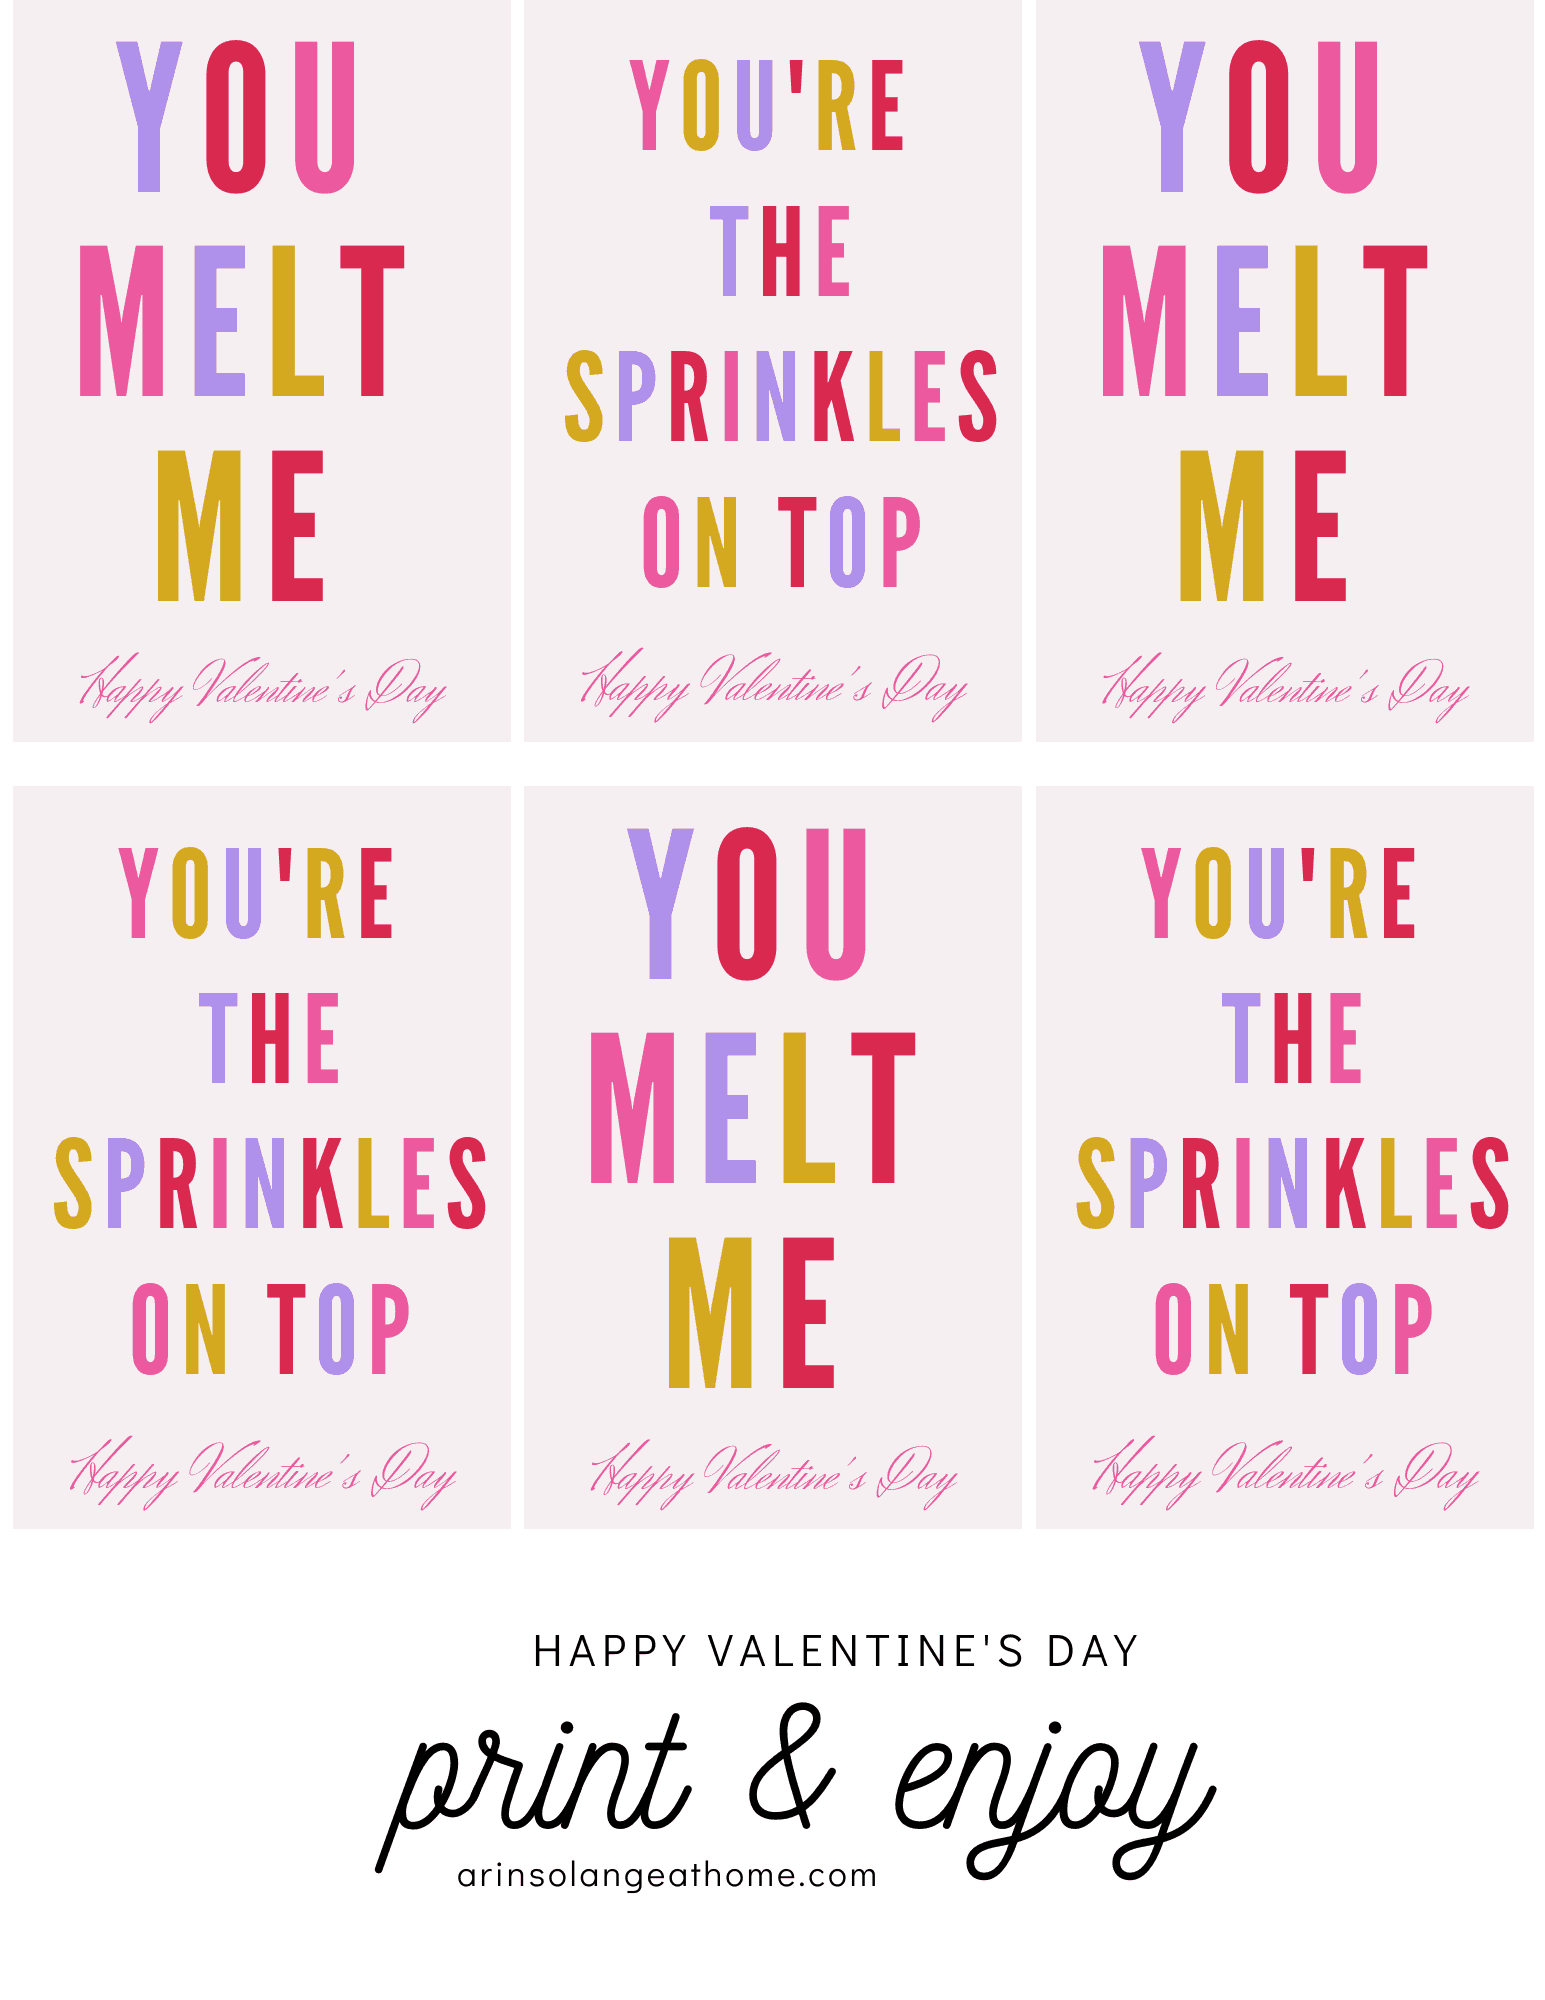
Before I dive in on the actual DIY, I thought I would put together some free printable Valentine’s incase you were planning to hand these out as well. I love to do printable inexpensive Valentine’s for the paper portion for my kids since I know it ends up right in the trash.
The free download is below, and just print as many sheets as you need!
Click here to print Valentines
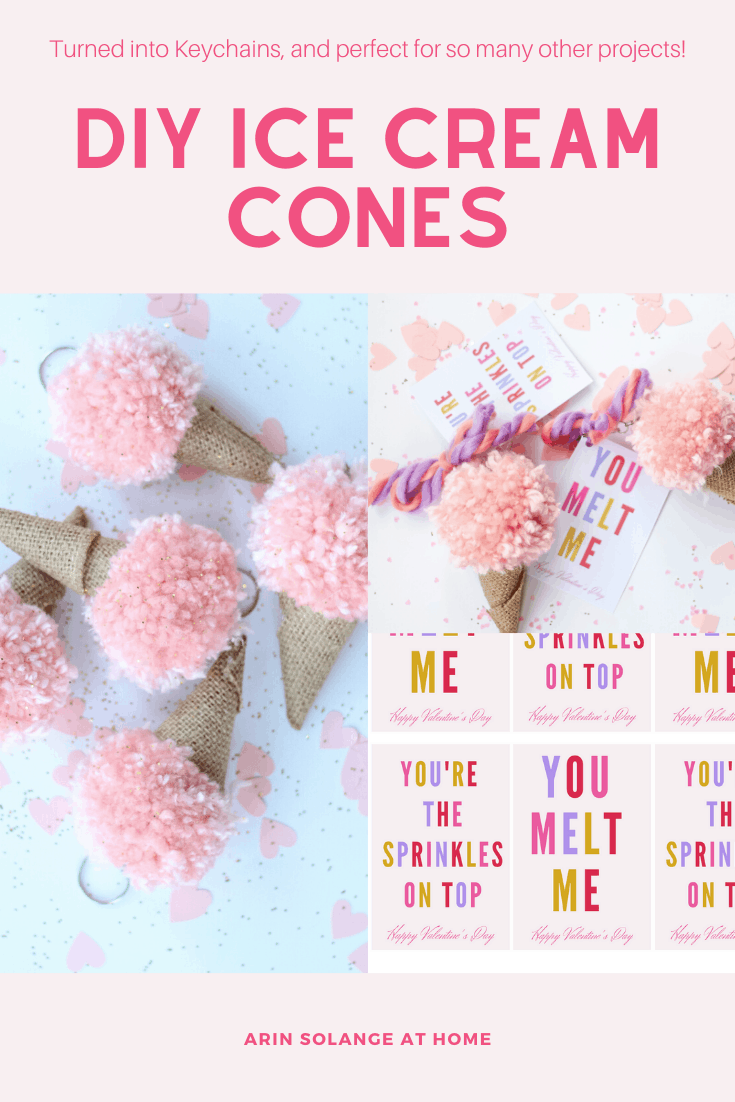
DIY Ice Cream Cones
These are pretty simple, but you definitely want to have all your items on hand before you start. I turned mine into key chains so I will list that as a step, but you could make them into a garland, just play food, or about anything!
Supplies
Yarn
Pom – Pom Maker (this set comes with yarn and is an insane deal!)
Hot Glue and Glue gun
Scissors
Paint Brush
Steps
Step 1: Cut roughly 4 inch pieces of the burlap ribbon and lay them on a piece of foil or similar and paint them with the mod podge. Make sure to fully cover each piece.
Step 2: Next you will roll them into an ice-cream cone shape. I personally used a clip to hold the bottoms of some at the start while they dried, but I ran out so ended up just laying them seam side down to dry.
Step 3: While those are drying you’ll want to make your pom-poms. You will need one per Ice cream cone. I am not going to walk you through the process here, but I have a highlight on Instagram named “pom poms” where I make them on video!
Step 4: Once all your pom-poms are made you want to trim them down really short and nubby. I am not sure if there is a better way to describe that or not ha! Then set them to the side
Step 5: Once the cones are FULLY dry, you will hot glue the seam to give it a higher wrap.
Step 6: Trim the tops of the cone to be more flat across like a traditional ice-cream cone.
Step 7: Cover the top rim of the cone with hot glue HEAVILY especially inside then quickly top with the pom pom. Once you place the pom on, tip the cone upside down so the glue really runs into the yarn for the most contact!
** Important note – if you are making these into keychains or stringing them to make a garland make sure when you glue the cone on you glue it with the string that goes around the pom pom fairly centered at the top, as that is what you will string anything on!

If you are only making the cones – you are now done!
Step 8: Now comes the keychain step. You are going to have a small round open piece in the keychain bags above, as well as the chain and round keychain part. Take the small little piece and put it on your chain. then while its still open put the center piece of yarn through that loop.
Step 9: Once it is all together take a pair of pliers and close the little piece. You want to really squeeze so they don’t fall apart!
Overall these are pretty easy, however making pom pom’s can be time consuming, and the trimming portion was MESSY. Allow time to make a few at a time and give yourself a break.
You also want to give the mod podge step plenty of time. I actually did mine at night and just let it dry while I slept!
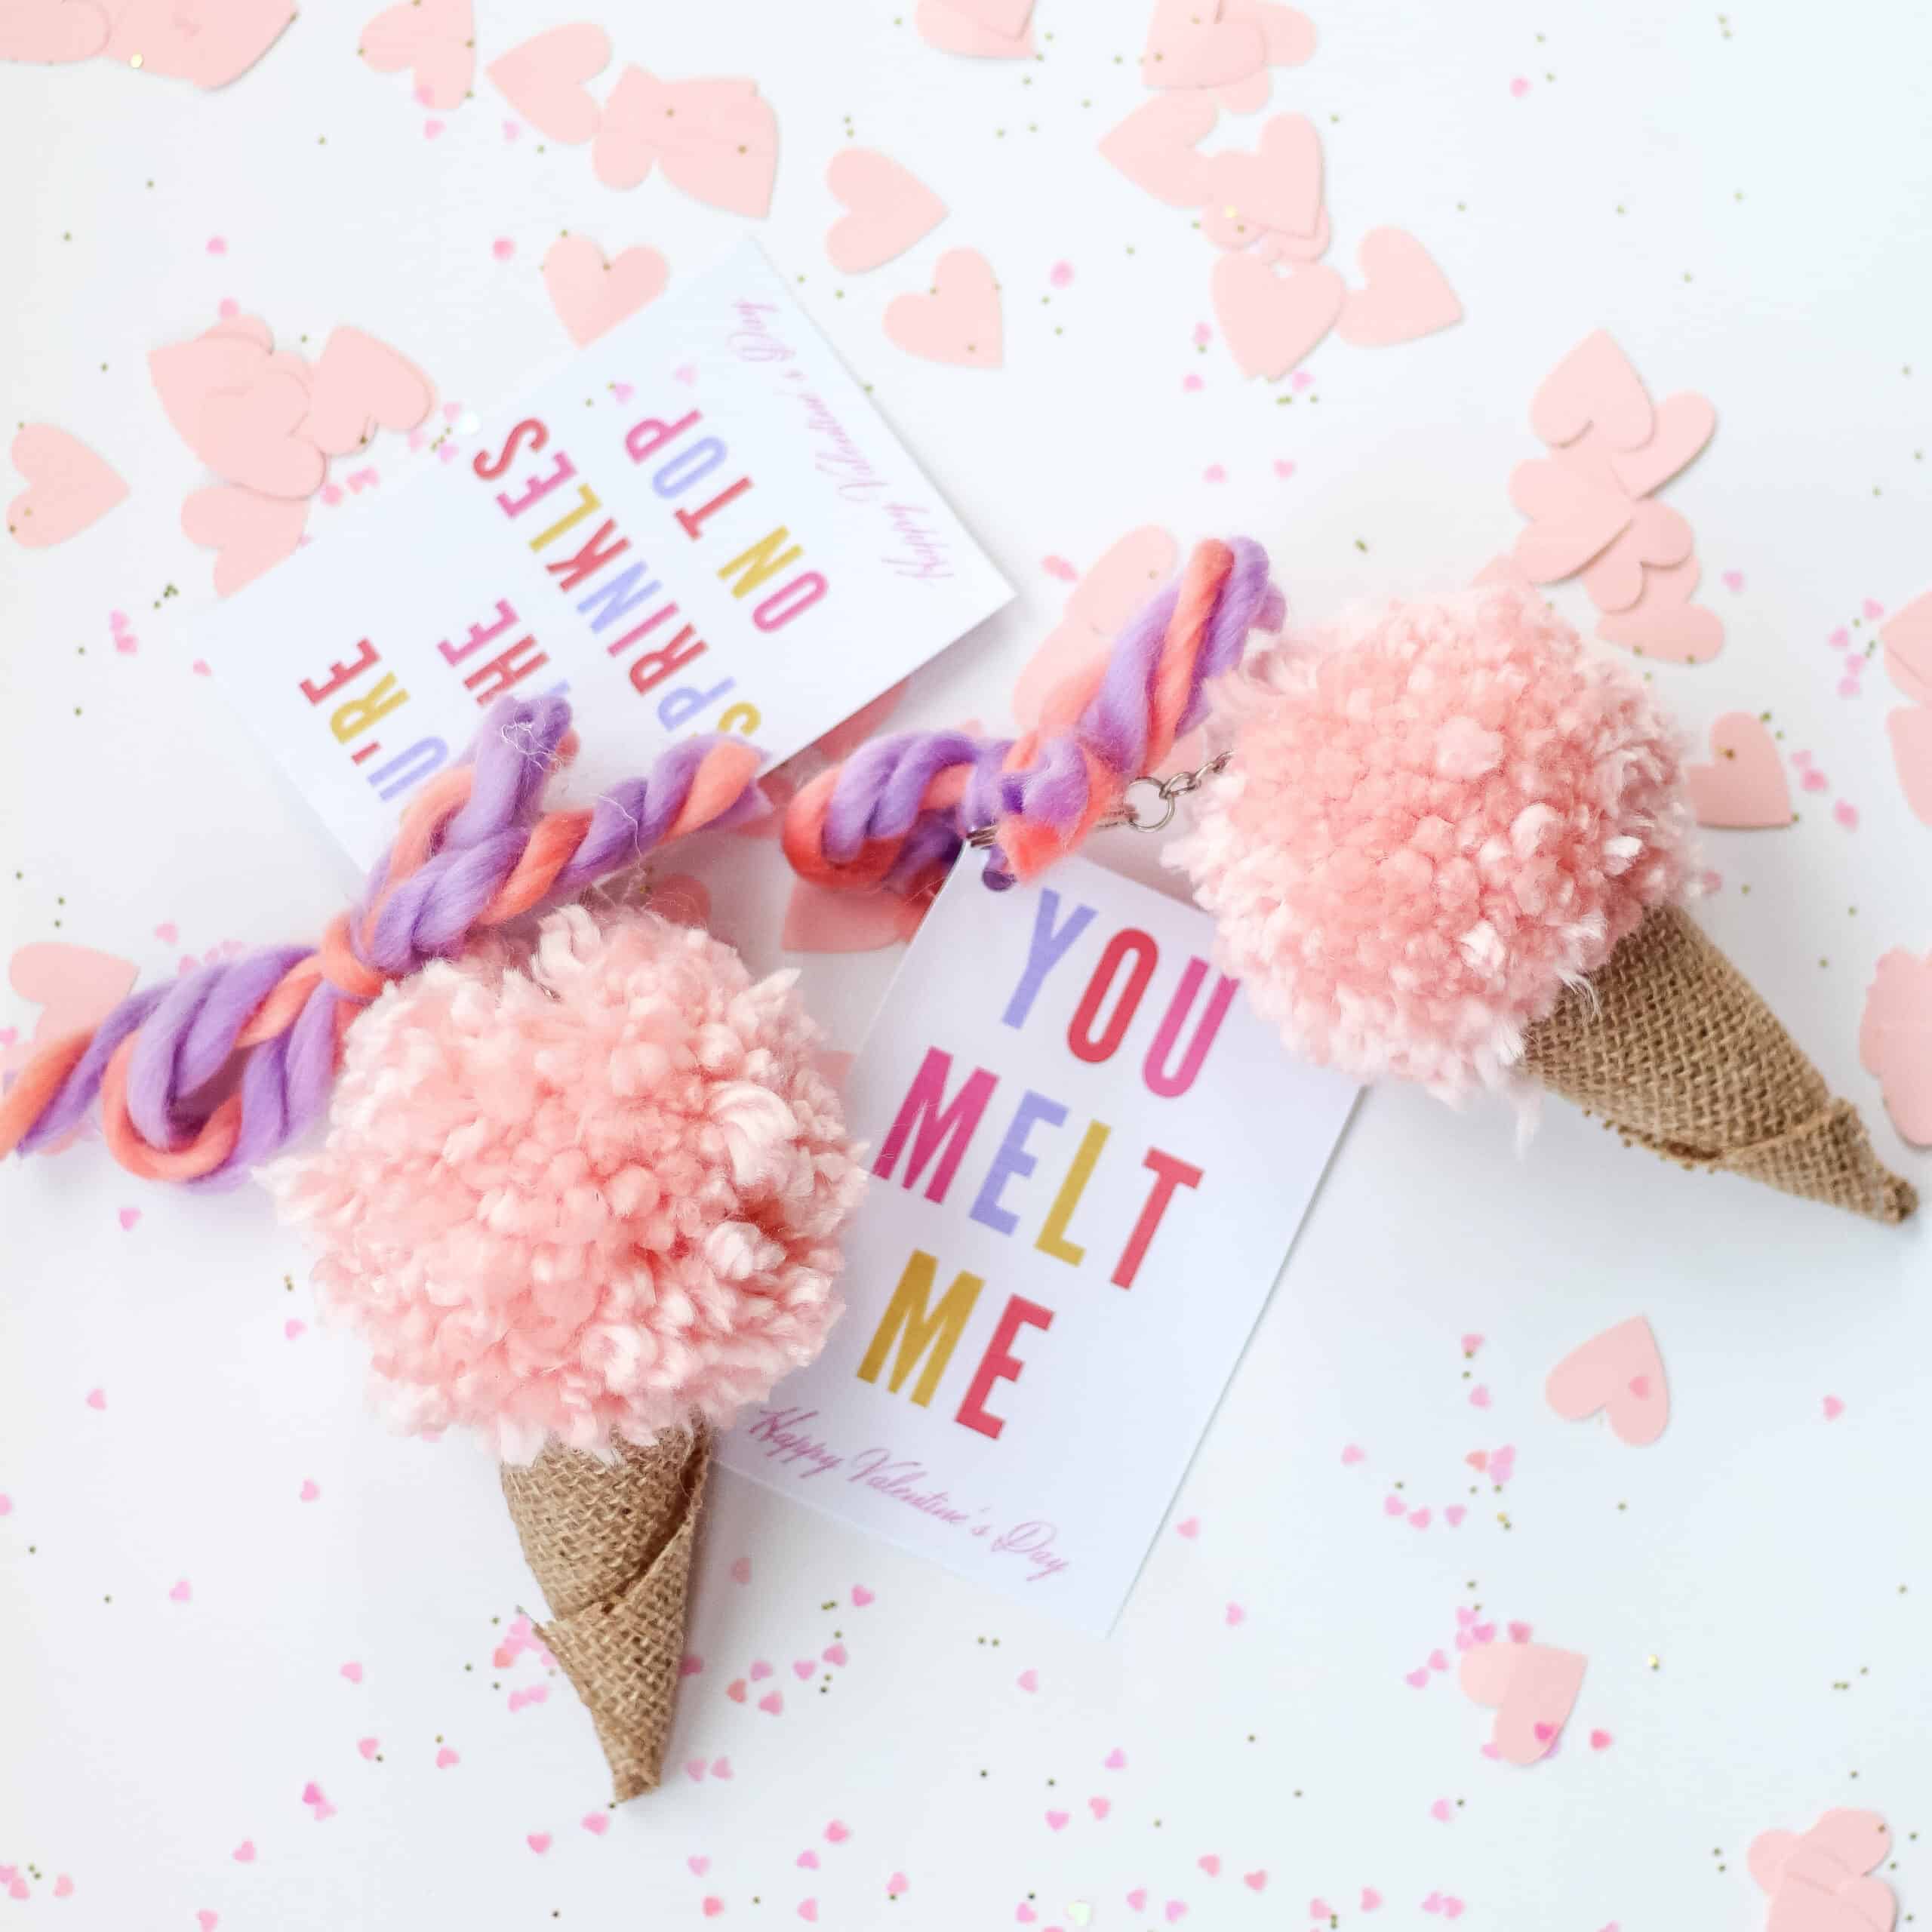
Don’t forget to print your free Valentine’s and tie them on with some fun yarn or ribbon for the perfect end result!
If you have any questions on the DIY Ice cream cones please feel free to leave me a comment or DM on Instagram (@arinsolange) me so I can get them answered!
Pin the Picture Below for Later
Arin!! I am obsessed. These are so ridiculously cute! 🍦👏🏼
Gah!! You are the best!!
Im doing this for my daughters class. love love love