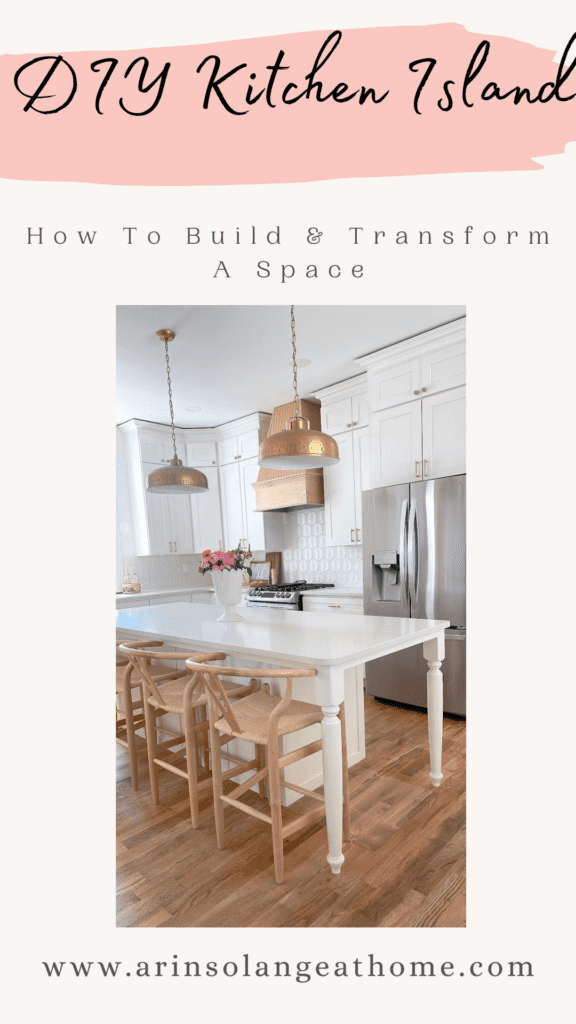
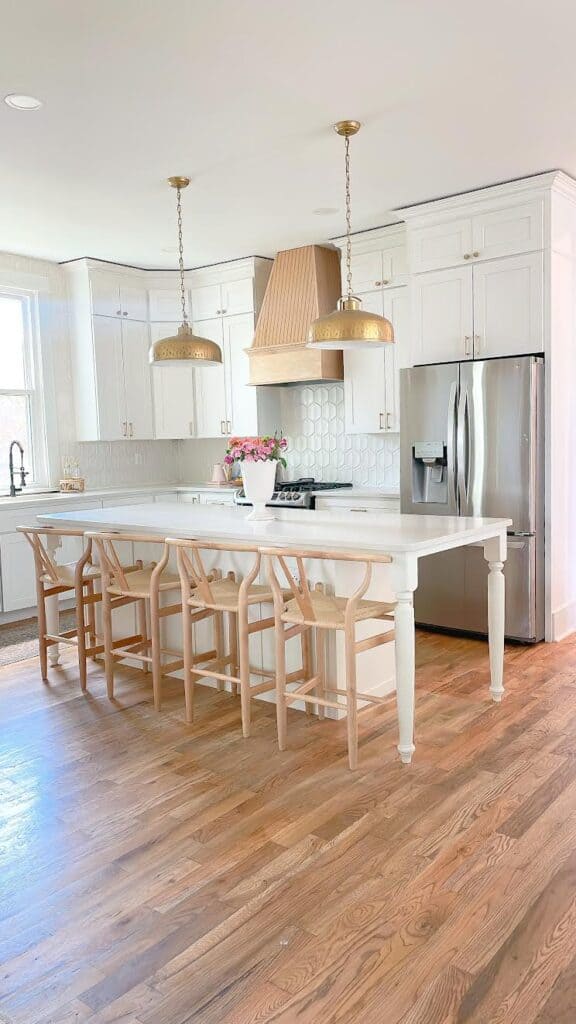
After 2.5 years in our historic home, I can finally say that our kitchen space is complete. If you are scratching your head and thinking, “Didn’t you already have a kitchen remodel?” you wouldn’t be wrong. There is a whole saga as to why it took this long. In full transparency, it has to do with being on a TV show. So if you like a good tutorial served with a side of tea this post is for you. I will share how we took our current kitchen island and transformed it using stock cabinets to create an entirely new island. The good news is that the whole thing is a beginner level project that can be customized to your own kitchen. I’ll share with you my easy DIY kitchen island tutorial to create your own perfect kitchen island.
This post may contain affiliate links
DIY Kitchen Island: How To Build & Transform A Space
Before we get to the actual tutorial you know I have to give you the background on why we didn’t have a fully finished island for 2.5 years, and why we needed to finish the kitchen when it was “done”.
In late 2020 while we were all locked in our houses Sam and I bought this old house and decided we should renovate this bad boy with four little ones at home and no experience…It’s possible we had lost our minds in quarantine.
I think back to that time frequently wondering how we thought that was in our abilities, but we did and I am grateful we took the leap. Only a short time after starting the contract for this house we applied to be on the pilot of a TV show for a popular home network. To keep a long story short, we got the show and moved forward with a massive renovation.
Time To Spill That Tea
One of the major areas needing renovated was our small kitchen. Okay, who am I kidding, the whole entire house needed major renovating. There was not a DIY project that would make the space work, so an entirely new kitchen and new kitchen island was desperately needed.
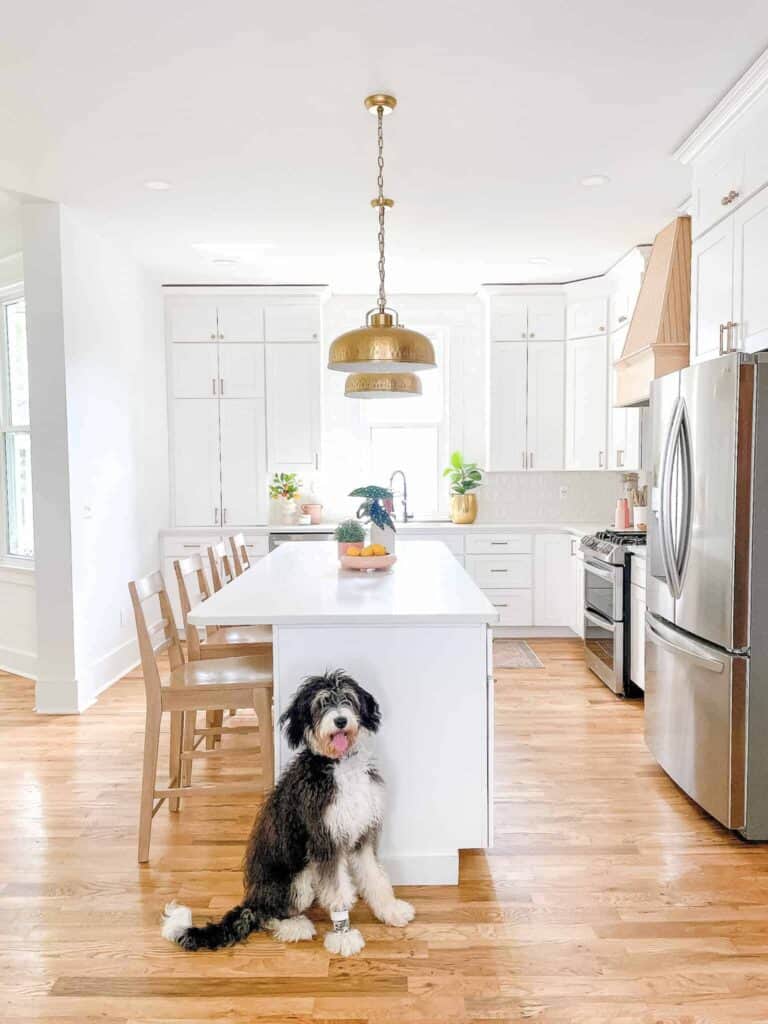
If you look back at before and after pictures of our home, you won’t even recognize the space. Not only did we completely move the kitchen, but we also added storage space, a custom kitchen island, and beautiful cabinetry. While I got to make design choices such as the color of cabinets, a large island, and quartz countertop, I still had to trust that the actual choices being put in would be of good quality. I assumed it would work well and I would love our custom island and entire kitchen space.
One of the strategic design choices I made was to put our microwave in the island. Here’s the problem, it looked horrid and it quickly began to show signs of wear and tear. With four kids that microwave got a lot of use, which means I had to constantly stare at this eyesore as it brought down the rest of the kitchen.
A Giant Black Hole
We ended up removing the microwave from our island and placed it in our newly finished butler’s pantry. The good news is that moving the microwave into our pantry works great. It doesn’t take up valuable counter top space, and isn’t too far out of the way so we still get good use out of it. The bad news? Well, when we moved the microwave from the island, it left a giant hole. Yes, that’s right a black hole of doom. There wasn’t an easy way to cover it up and no amount of wood filler could fix it. I really didn’t love the idea of buying an entirely new built-in kitchen island, but I also couldn’t stare at this giant hole much longer.
So after living with this black hole for months, I finally got the idea to have Sam build something new using what we have and adding a few extra materials and supplies. We love the result and I hope that this easy tutorial shows you that you can think outside the box to create your own kitchen island.
Using Stock Cabinets
There are a few options and ways to create this same DIY kitchen island project. Although in this post I am working with cabinets that were already in my kitchen, you can also start over from scratch. A cost-effective solution would be to buy all new stock cabinets to start. We did in fact have to add one new cabinet to make the island the size we wanted. So, we used both our current kitchen base cabinets and a stock cabinet.
Stock cabinets are a great way to create a space with a lot less work because building actual cabinet boxes and doors takes a much higher skill-set. Plus, it allows you to have the look of custom cabinetry without the price tag. Big box store cabinets are much more affordable than custom kitchen cabinetry.
Other Options For Base Cabinets
If you don’t feel comfortable working with standard base kitchen cabinets from your local hardware store, you can get creative. When it comes to creating a kitchen island there are so many options for the structural base.
One of the reasons I love IKEA so much is that you can use their products in unconventional ways. I’ve done several IKEA hacks over the years and I think using IKEA Billy bookcases as a structural base would be a great way to achieve a modern kitchen island within an affordable price range. Check out my previous post on how you can transform your IKEA Billy Bookcase here.
If you want to use something you already have on hand, you can also use old desks, an old bookshelf, an old cabinet, or anything else that would have the storage you need!
Overall Island Plans
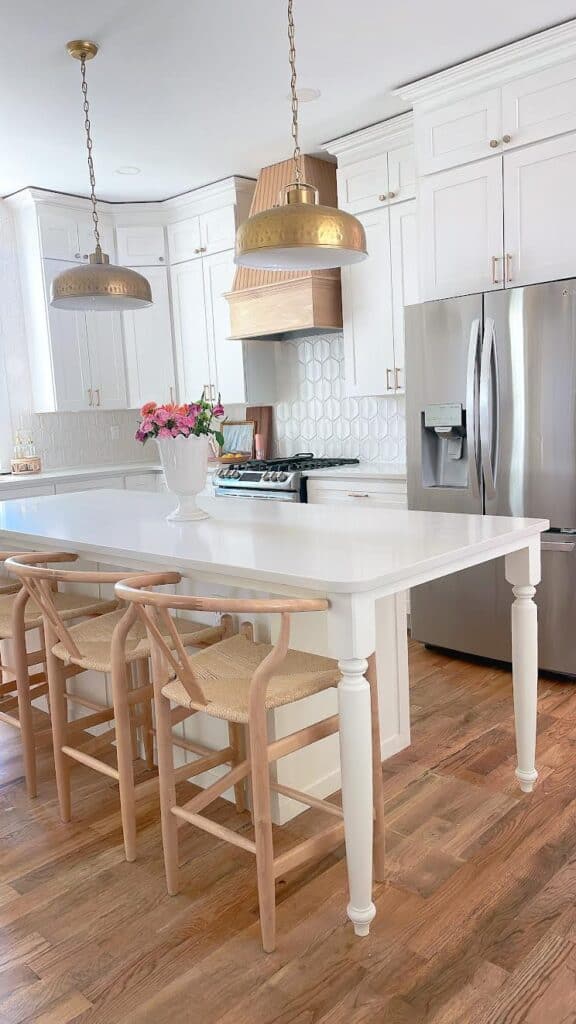
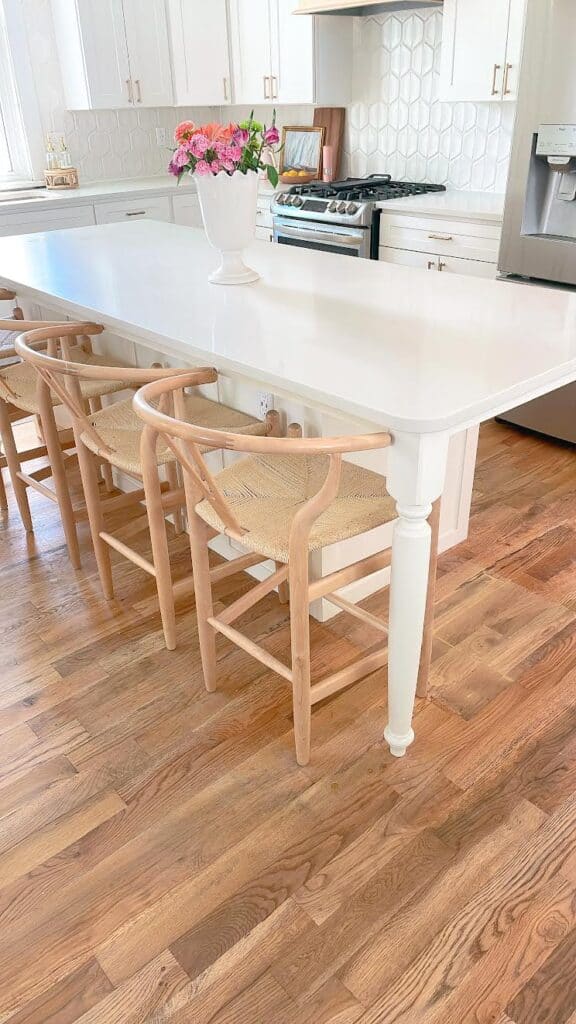
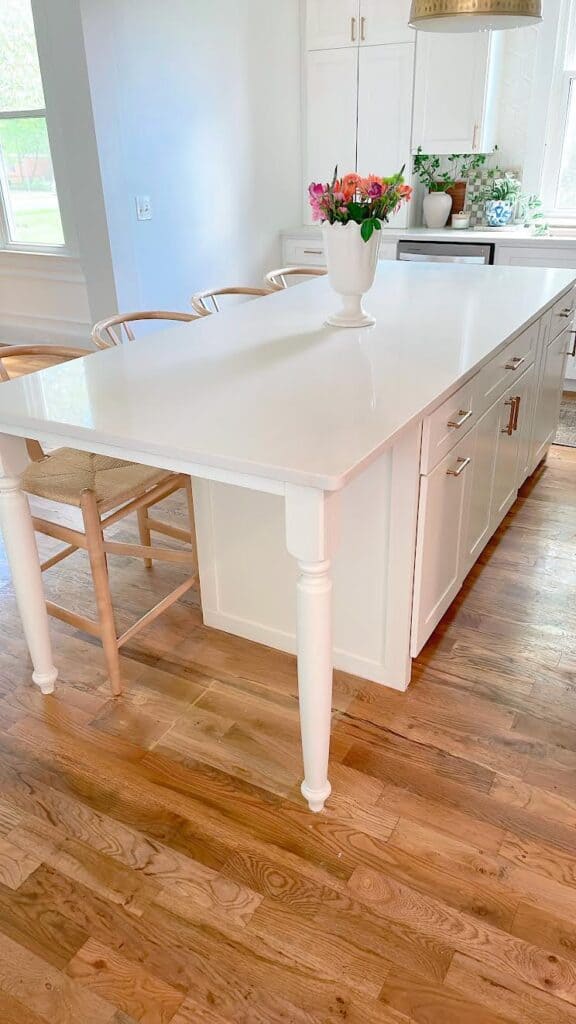
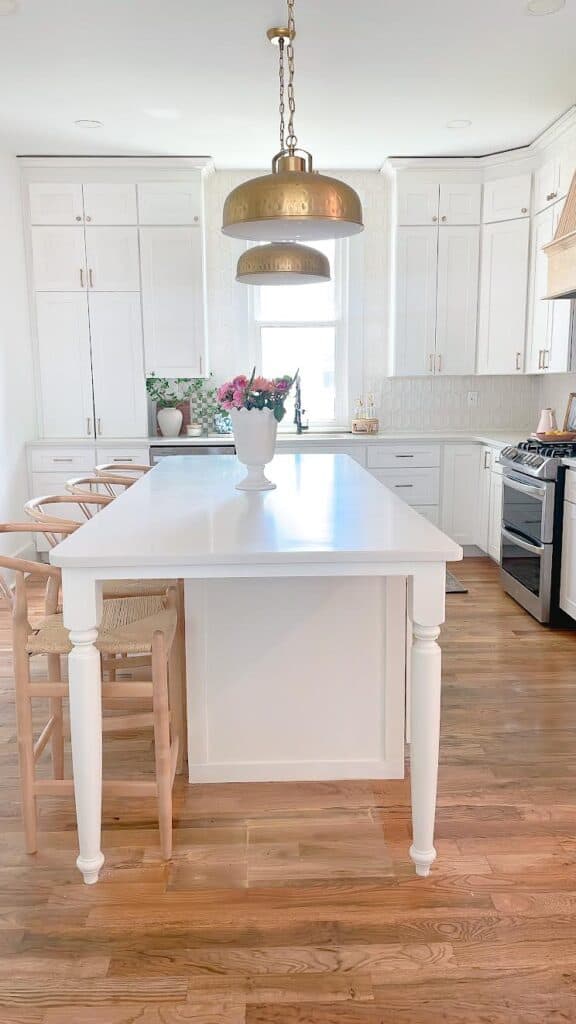
For us, our plan was to work with our existing island cabinets and add one additional base cabinet from the manufacturer in order to create the perfect size for extra seating. We planned to add decorative trim pieces on both sides of the island. We also added trim pieces along the back of the island to give it a more custom and finished look.
I wanted to create an L overhang for our island. This meant I needed to add island legs for support. To make the island feel complete, an apron on the front side was also added. Lastly, a fresh coat of paint finalized the look.
Supply List for DIY Kitchen Island
I will break up this supply list with the legs and apron separately because that part is very optional. I will not give you a cut list or measurements on wood for this tutorial because that will be based on your current island.
For The Island
- Stock lower kitchen cabinets – You only need to account for about 1/2 inch on each side with trim work as far as your space allows. If you want to learn more about what you need in terms of space around a kitchen island I have this post.
- Cabinet paint in the color of your choice. If you are using stock cabinets that are already painted take one door in to have it color matched for the rest of the project. Or, you can add an entirely new paint color.
- 2x4s for framing the back side of the island – This is not a MUST but does help add depth to make things look more high end, and also needs to be done if you have any electrical you want added. They will add the electoral boxes to the 2x4s.
- 1/4 inch MDF board – You will need enough to cover all 3 sides of the island.
- 1/4 inch thick trim work – We used 1/4 inch x 3 inch pieces from Menards for all of our trim. If you can not find that you could do 1/2 inch x 3 inch trim as well.
- Small piece of 1×2 (if adding legs and an apron you will have leftovers from that)
- Wood glue
- Caulk
- Wood filler
Power Tools Needed:
If you have your MDF cut at the store you won’t need as much in terms of power tools. For us we needed:
- Miter Saw or Circular Saw – If you aren’t sure what saw you need, check out my post here.
- Drill
- Jigsaw or Multitool – this was only needed for cutting our spots for our outlets
- Nail gun and nails
Additional Supplies If Adding Legs
- Stock legs – Make sure to ALWAYS measure your space!
- 1×2 boards – Enough to apron from the cabinets to the legs on all sides where it is needed.
- Kreg jig/ pocket hole jig – This is not a must but it is certainly very helpful.
DIY Kitchen Island Tutorial
Step 1 Position Your Cabinets
The first thing you need to do is place your cabinets where you want them. This step will take some time as you need make sure things are level and just where you want them. If you are using stock cabinets, your current cabinets, or a Billy bookcase, make sure you place the bases in the exact position of where you want your island.
If you are framing out the back with 2×4’s that is what you will use to adhere the cabinets in place. If you don’t plan on using 2x4s, you must attach the cabinet box itself to the floor so it will not move.
Step 2 Frame Your Cabinets Using 2x4s
Once your cabinets are in place, you’ll need to frame out the back of the island using 2×4’s. This is a fairly simple step and you can see how it was done in the photos below. Keep in mind that if you are adding outlets you will need to have vertical 2x4s in place where you would want to add the outlet, but also were you won’t want trim. So for us we had to make sure our vertical pieces were far enough in to place our 1×3 trim along the edges of the back side of the cabinets.
Screw the 2×4 framing into the floor, then attach your cabinets to the 2×4 frame using cabinet screws to make them secure. At this point you should have a structurally sound island.

Step 3 Cover Your Island Using MDF
Now is when you start to make it pretty. Cover all three sides of the island using the 1/4 inch MDF board. Be sure to do the 2 sides first. Then make the back side long enough to overlap the extra width of the MDF board. (Ie add the extra 1/2 inch)
We personally chose to have our MDF cut for us at Lowes. Most hardware stores (Home Depot/Lowes/Menards) will do simple cuts for you in house. We ended up needing two pieces for the back side of the island. This wasn’t a big deal because the line where the two pieces met are covered with trim work in the end.
Attach the pieces of MDF with nails and wood glue.
Step 4 Add Your Decorative Trim
Now, you can add your decorative trim. We chose to add 3 inch decorative trim. We went around the sides of the island in a simple box. Then on the back of the island created 4 sections with vertical boards. We attached each of these again with wood glue and our nail gun.
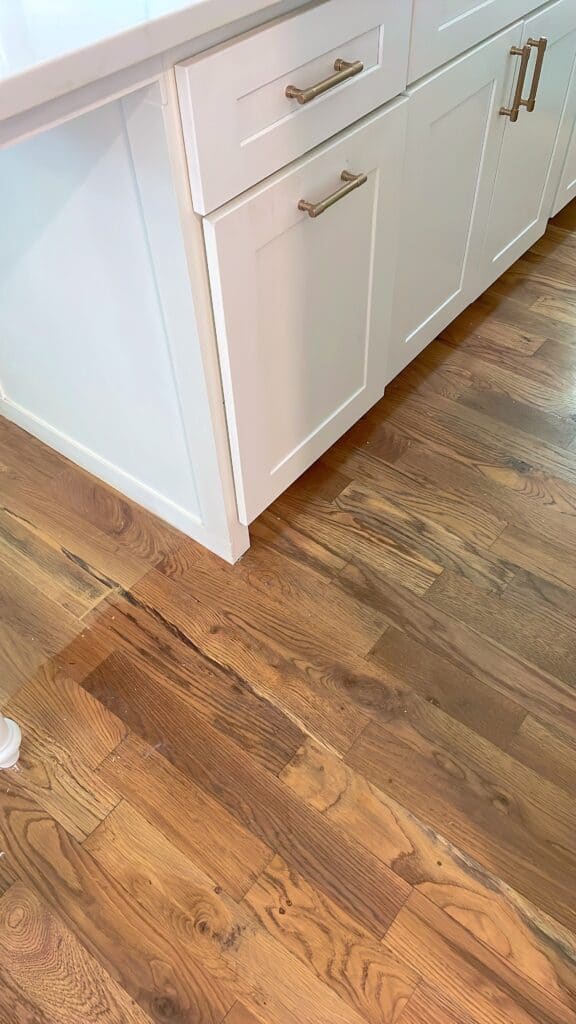
You also need to use that small amount of 1/2 to make your wrapped MDF look ‘thicker’ from the front. Cut a small piece and attach with nails and wood glue. This goes where the toe kick is seen in the lower image.
Optional Step 5 Add Apron & Table Legs
For our kitchen island, I really wanted to have an L overhang complete with table legs and a counter top apron. For those who don’t know, an apron refers to the piece of wood under and surrounding the countertop overhang of your island. It adds a decorative touch and creates that custom appearance.
This is purely optional and a personal design decisions. You are welcome to skip this step.
To begin, you’ll need to have your stock legs and 1x2s measured and cut to your own sizing. Next, position each stock leg in the corner of your countertop. You’ll be attaching your legs with construction adhesive (Liquid Nails) to your countertop.
On the end of your 1x2s, use your Kreg Jig to make pocket holes. You’ll be attaching your aprons to the legs via these pocket holes. Before you attach your 1x2s, add more construction adhesive to the ends for some extra hold. Now you can attach the 1x2s to your legs via your pocket holes.
Step 6 Wood Fill & Caulk
Next, we filled all the seams with wood filler. Once the wood filler is dry, do a light sanding. Now, you are ready to caulk!
Caulk all the seams once everything in place. This is very important to prevent your paint leaving behind a dark empty line. Allow your caulk to dry completely.
Step 7 Paint
Your final step is to paint your kitchen island. You can match your cabinet paint and paint your island all one color. Or, you can pick out an accent color and have your island stand out apart from your upper cabinets.
If you need help on how to paint cabinets, here is a tutorial to give you a general idea.
Dewalt Miter Saw
Ryobi Circular Saw
Ryobi Cordless Drill
Avid Jig Saw
Galaxy Pro Multitool
Ryobi Nail Gun
Stock Legs
1 x 2 Boards
Kreg Pocket Hole Jig
Other Posts You’ll Love
How Much Space Around Kitchen Island | A Guide On How Much Knee Space Around Island | DIY Built In Cabinets From Stock Cabinets | IKEA Billy Bookcase Built In Hack
Follow Social For The Latest & Greatest
Pin This Photo Below For Later
I hope this post gave you the courage to create your own DIY kitchen island. Whether you plan to use your existing cabinetry, stock base cabinets, or an IKEA bookshelf, you can create a new DIY kitchen island using just a few materials at a beginner level.
To some it may seem odd that I tore out a recently renovated kitchen island and I understand that it isn’t for everyone. However, I pride myself on having a home that functions well and looks good doing it. The microwave was falling out of the island and something needed to be done to prevent any further damage. Fortunately, we were able to find a great solution that didn’t cost an arm and a leg. Using the tools you have on hand and thinking outside the box can be so rewarding. I hope you’ll be inspired to try your own DIY kitchen island project.


