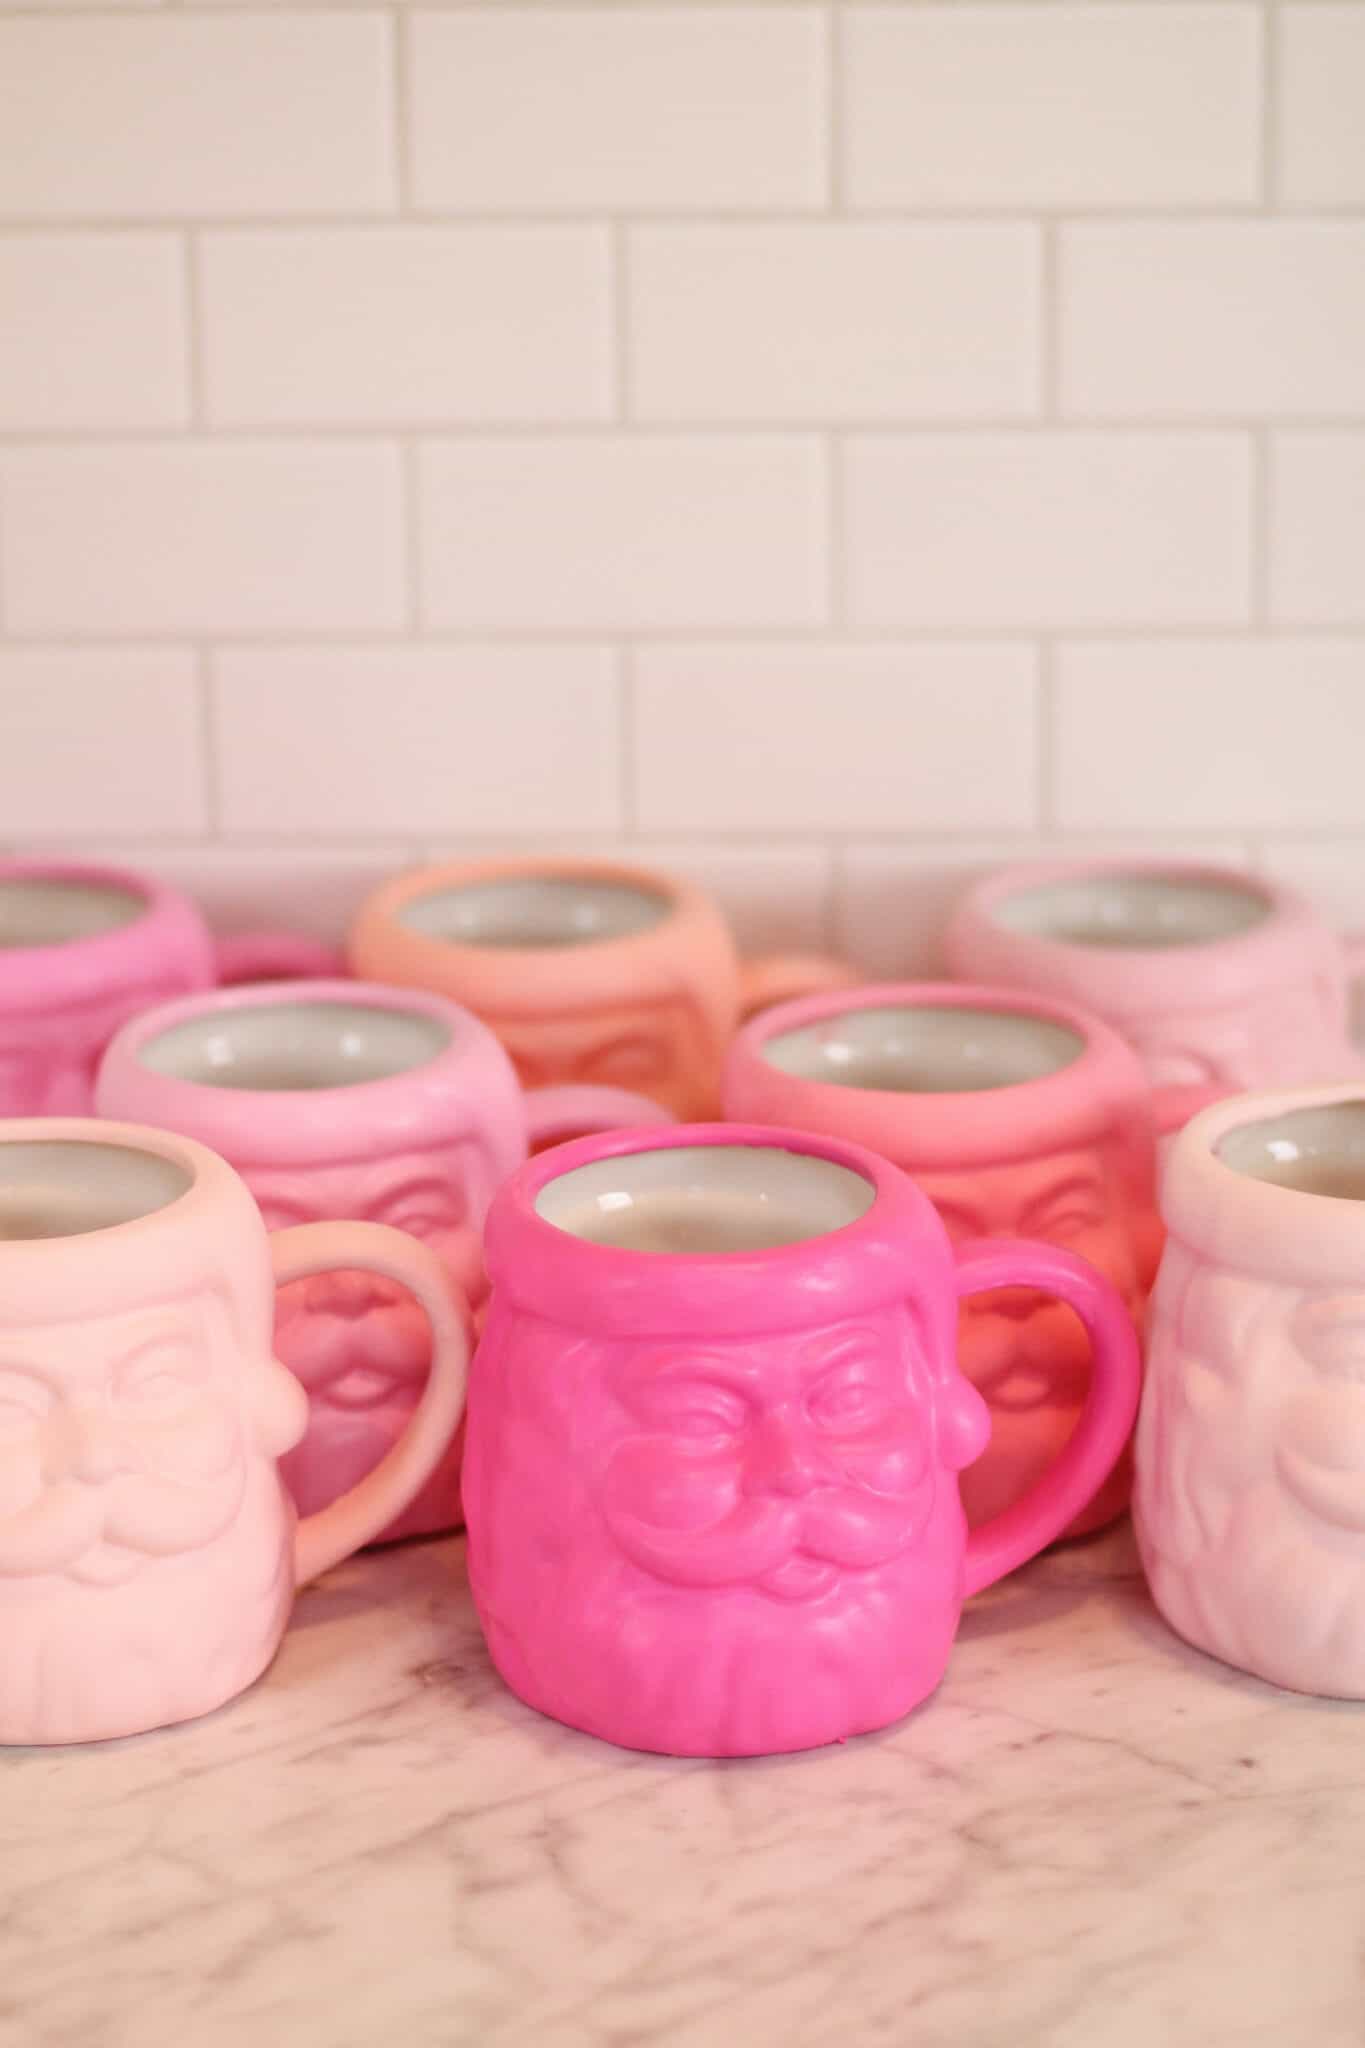
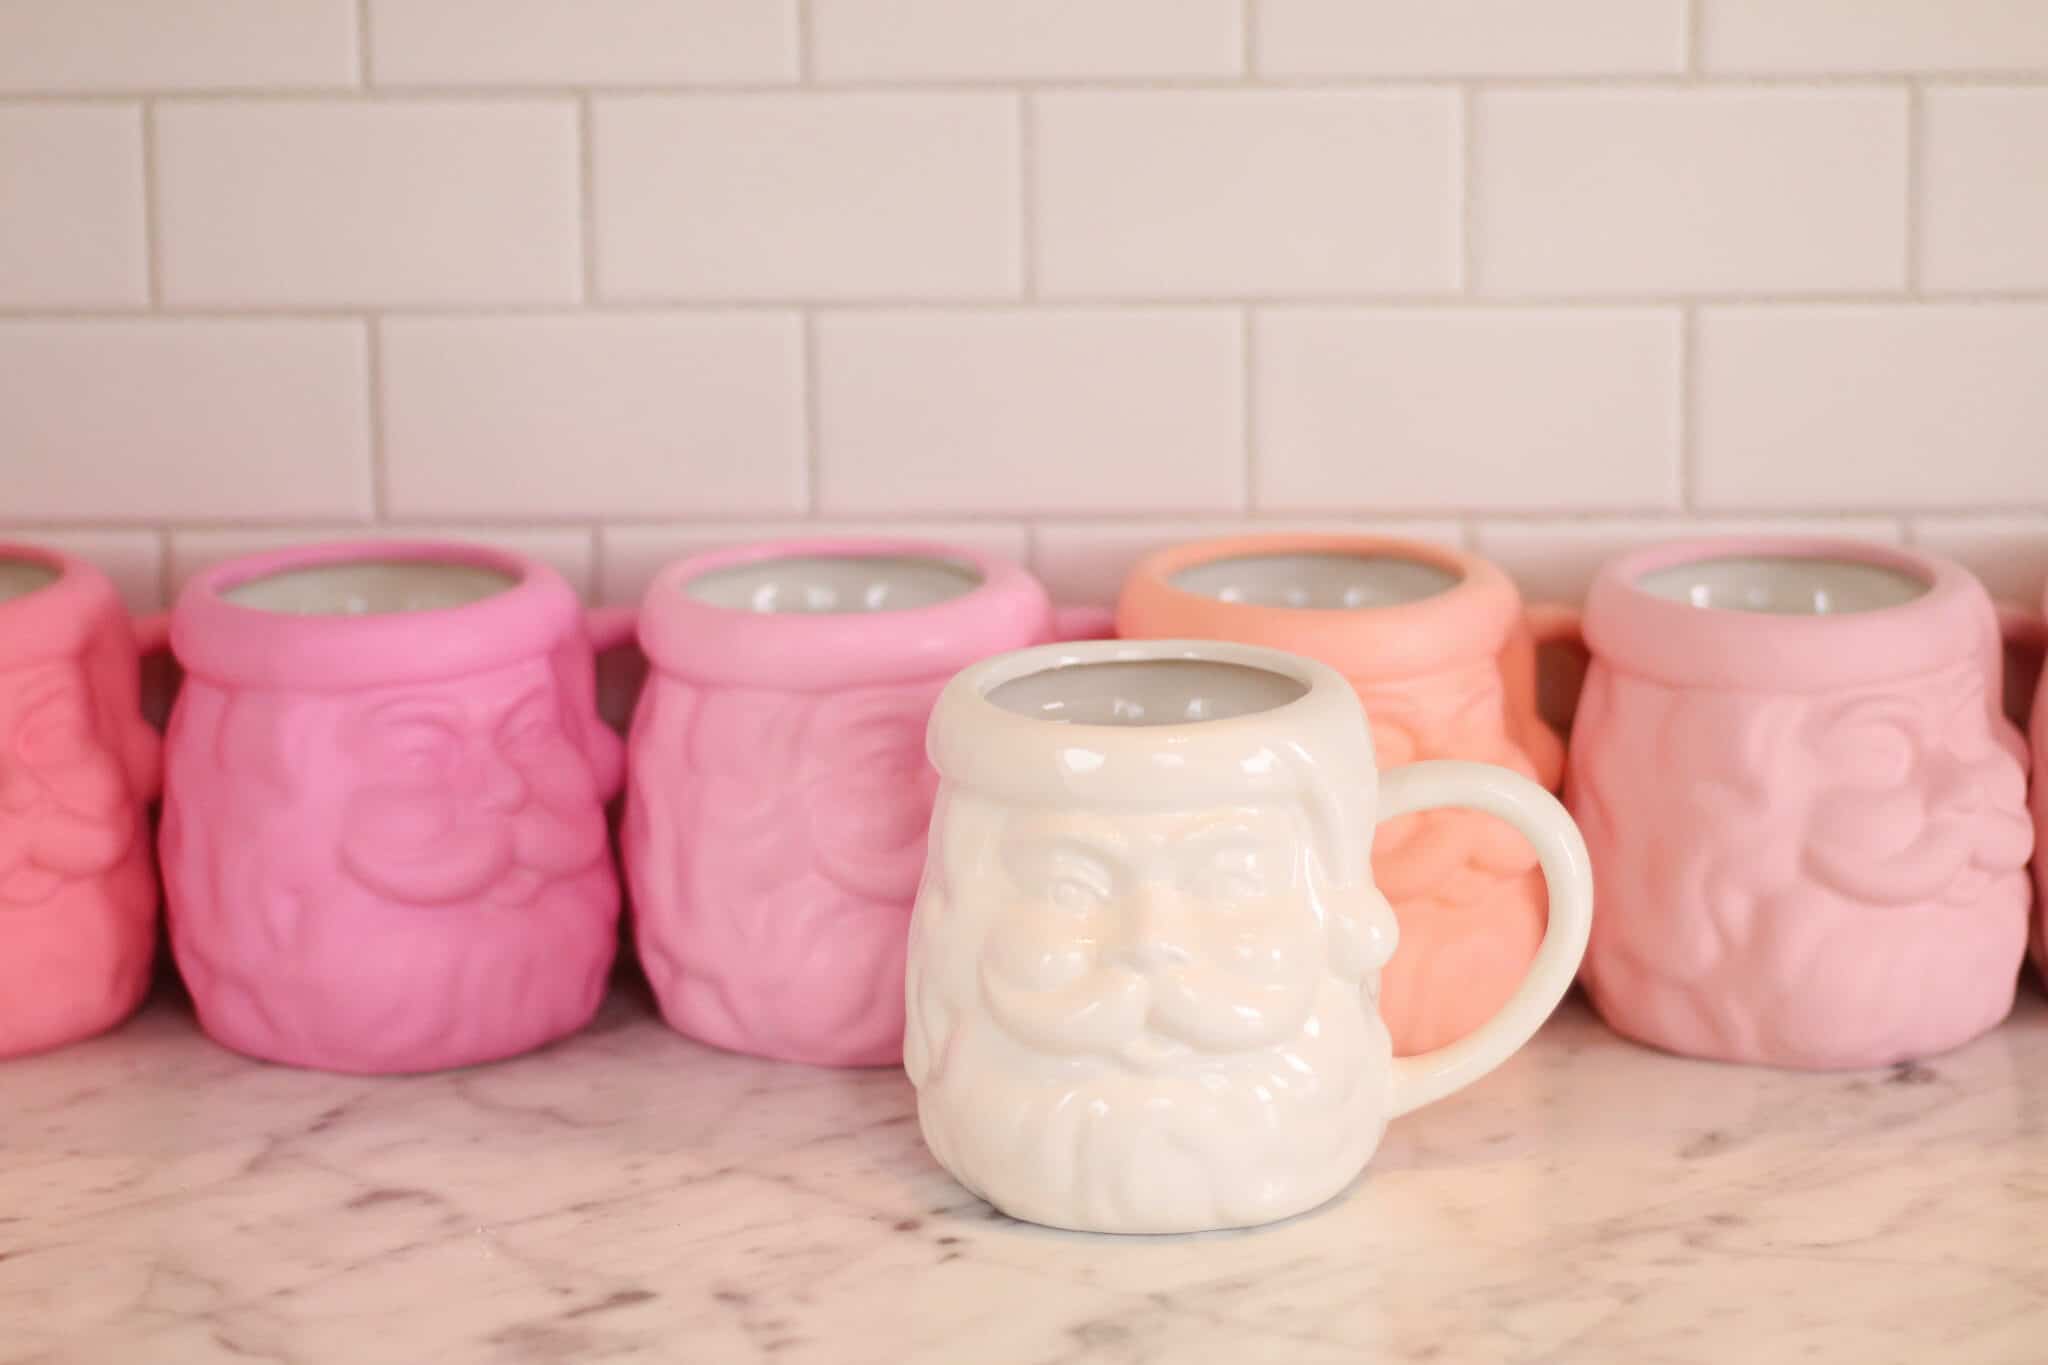
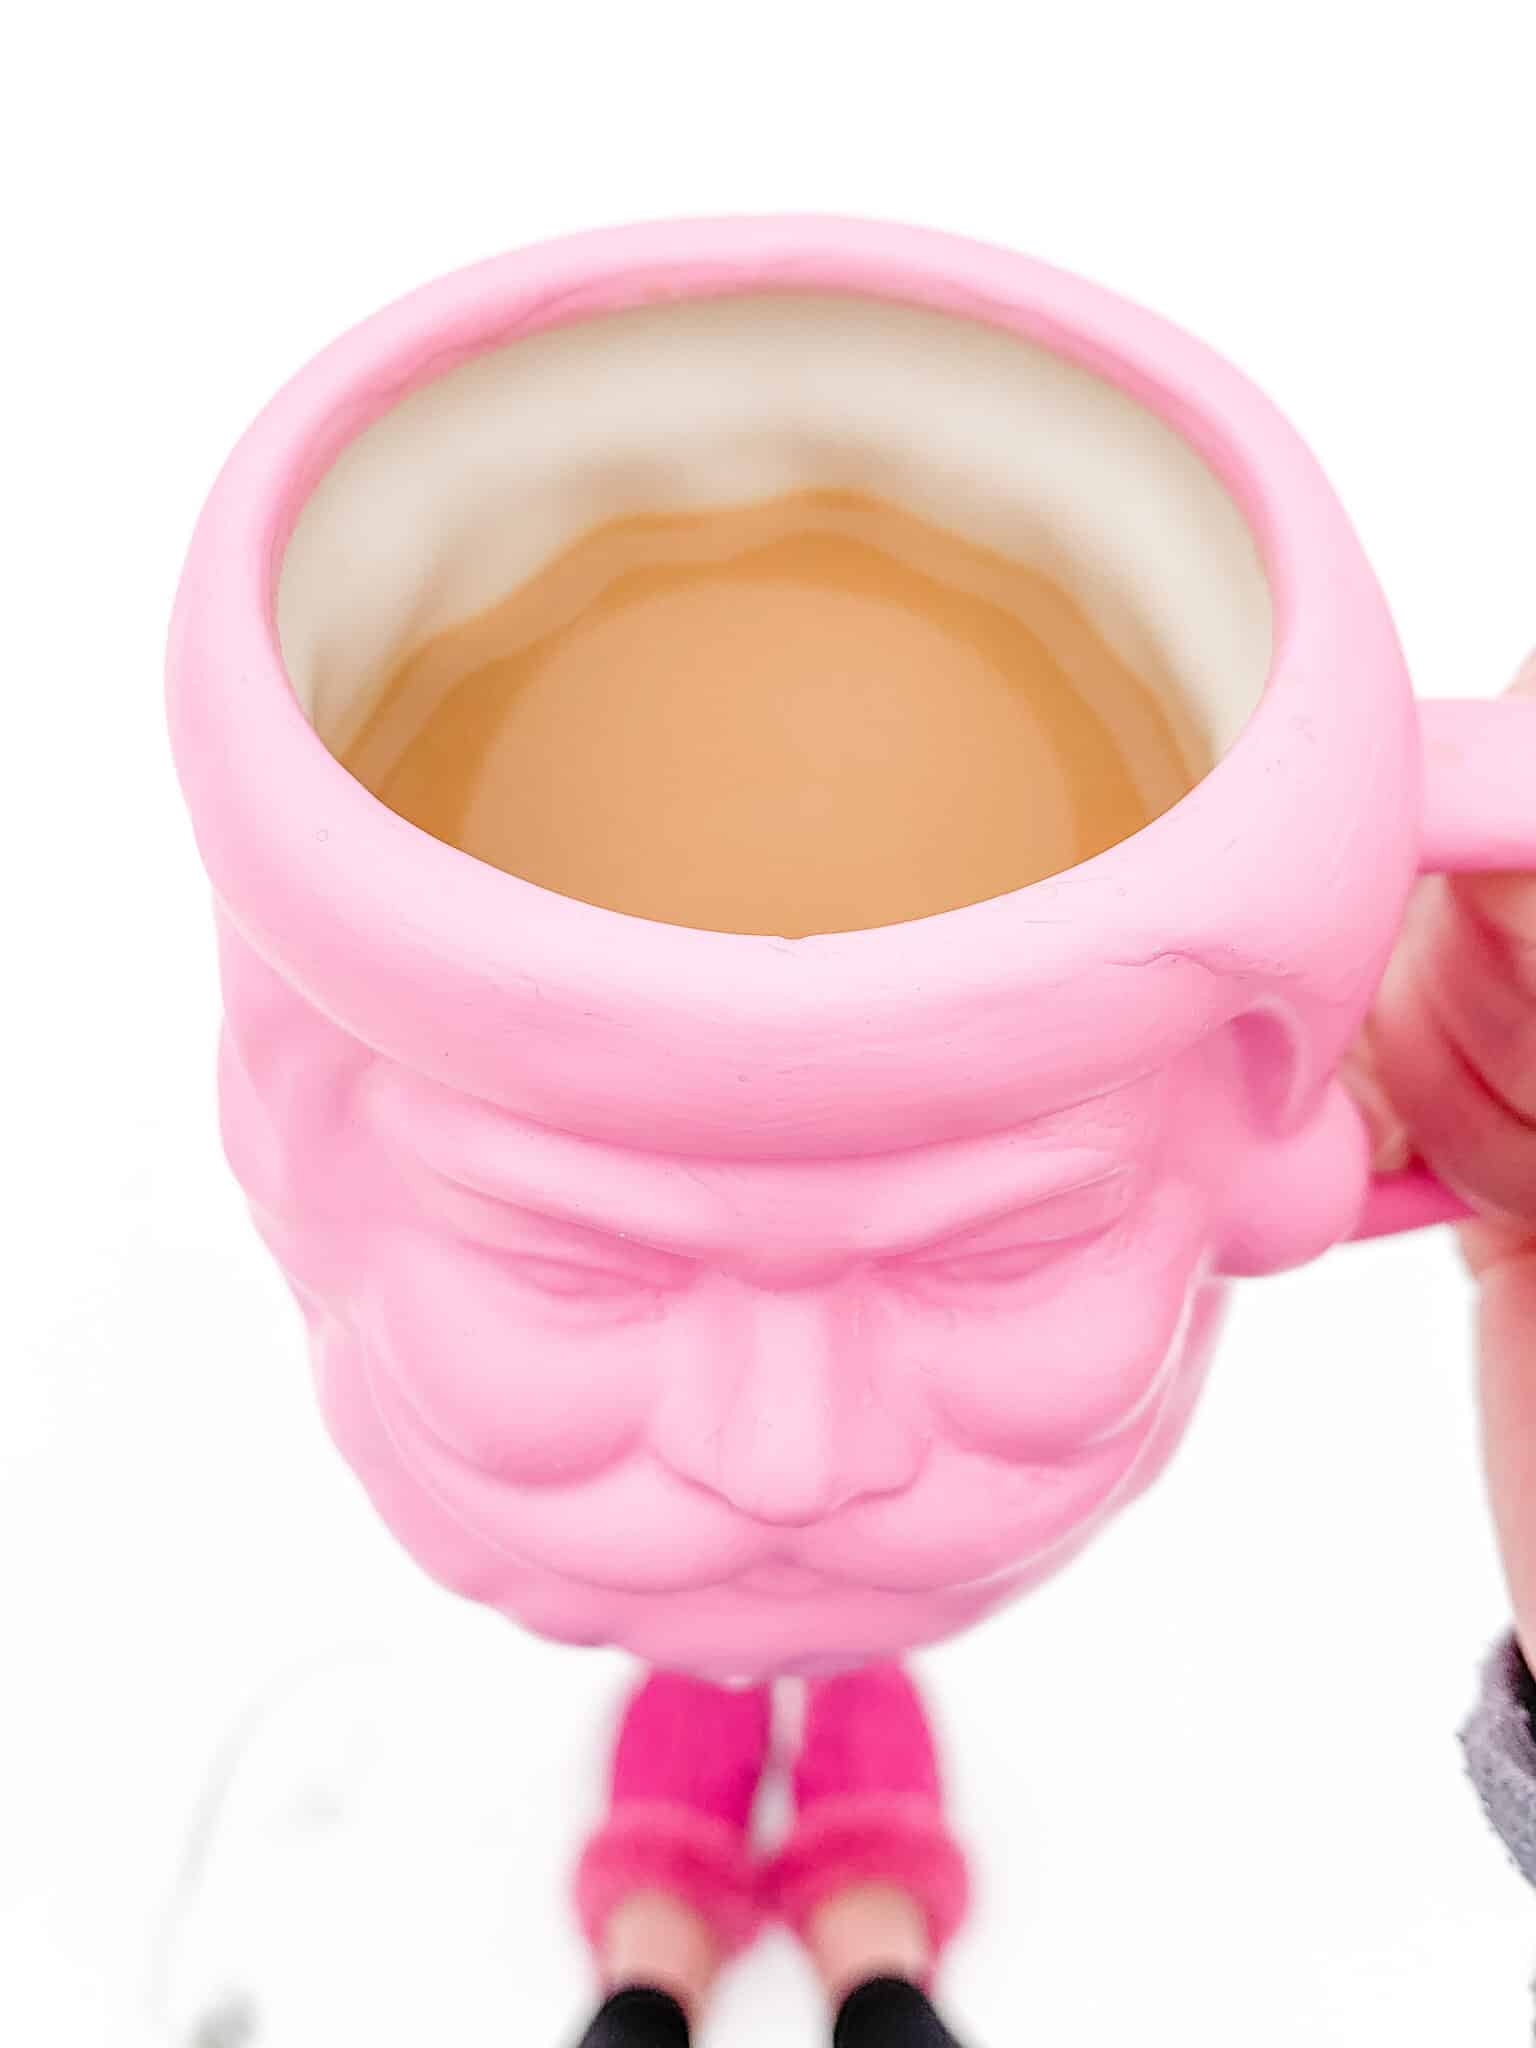
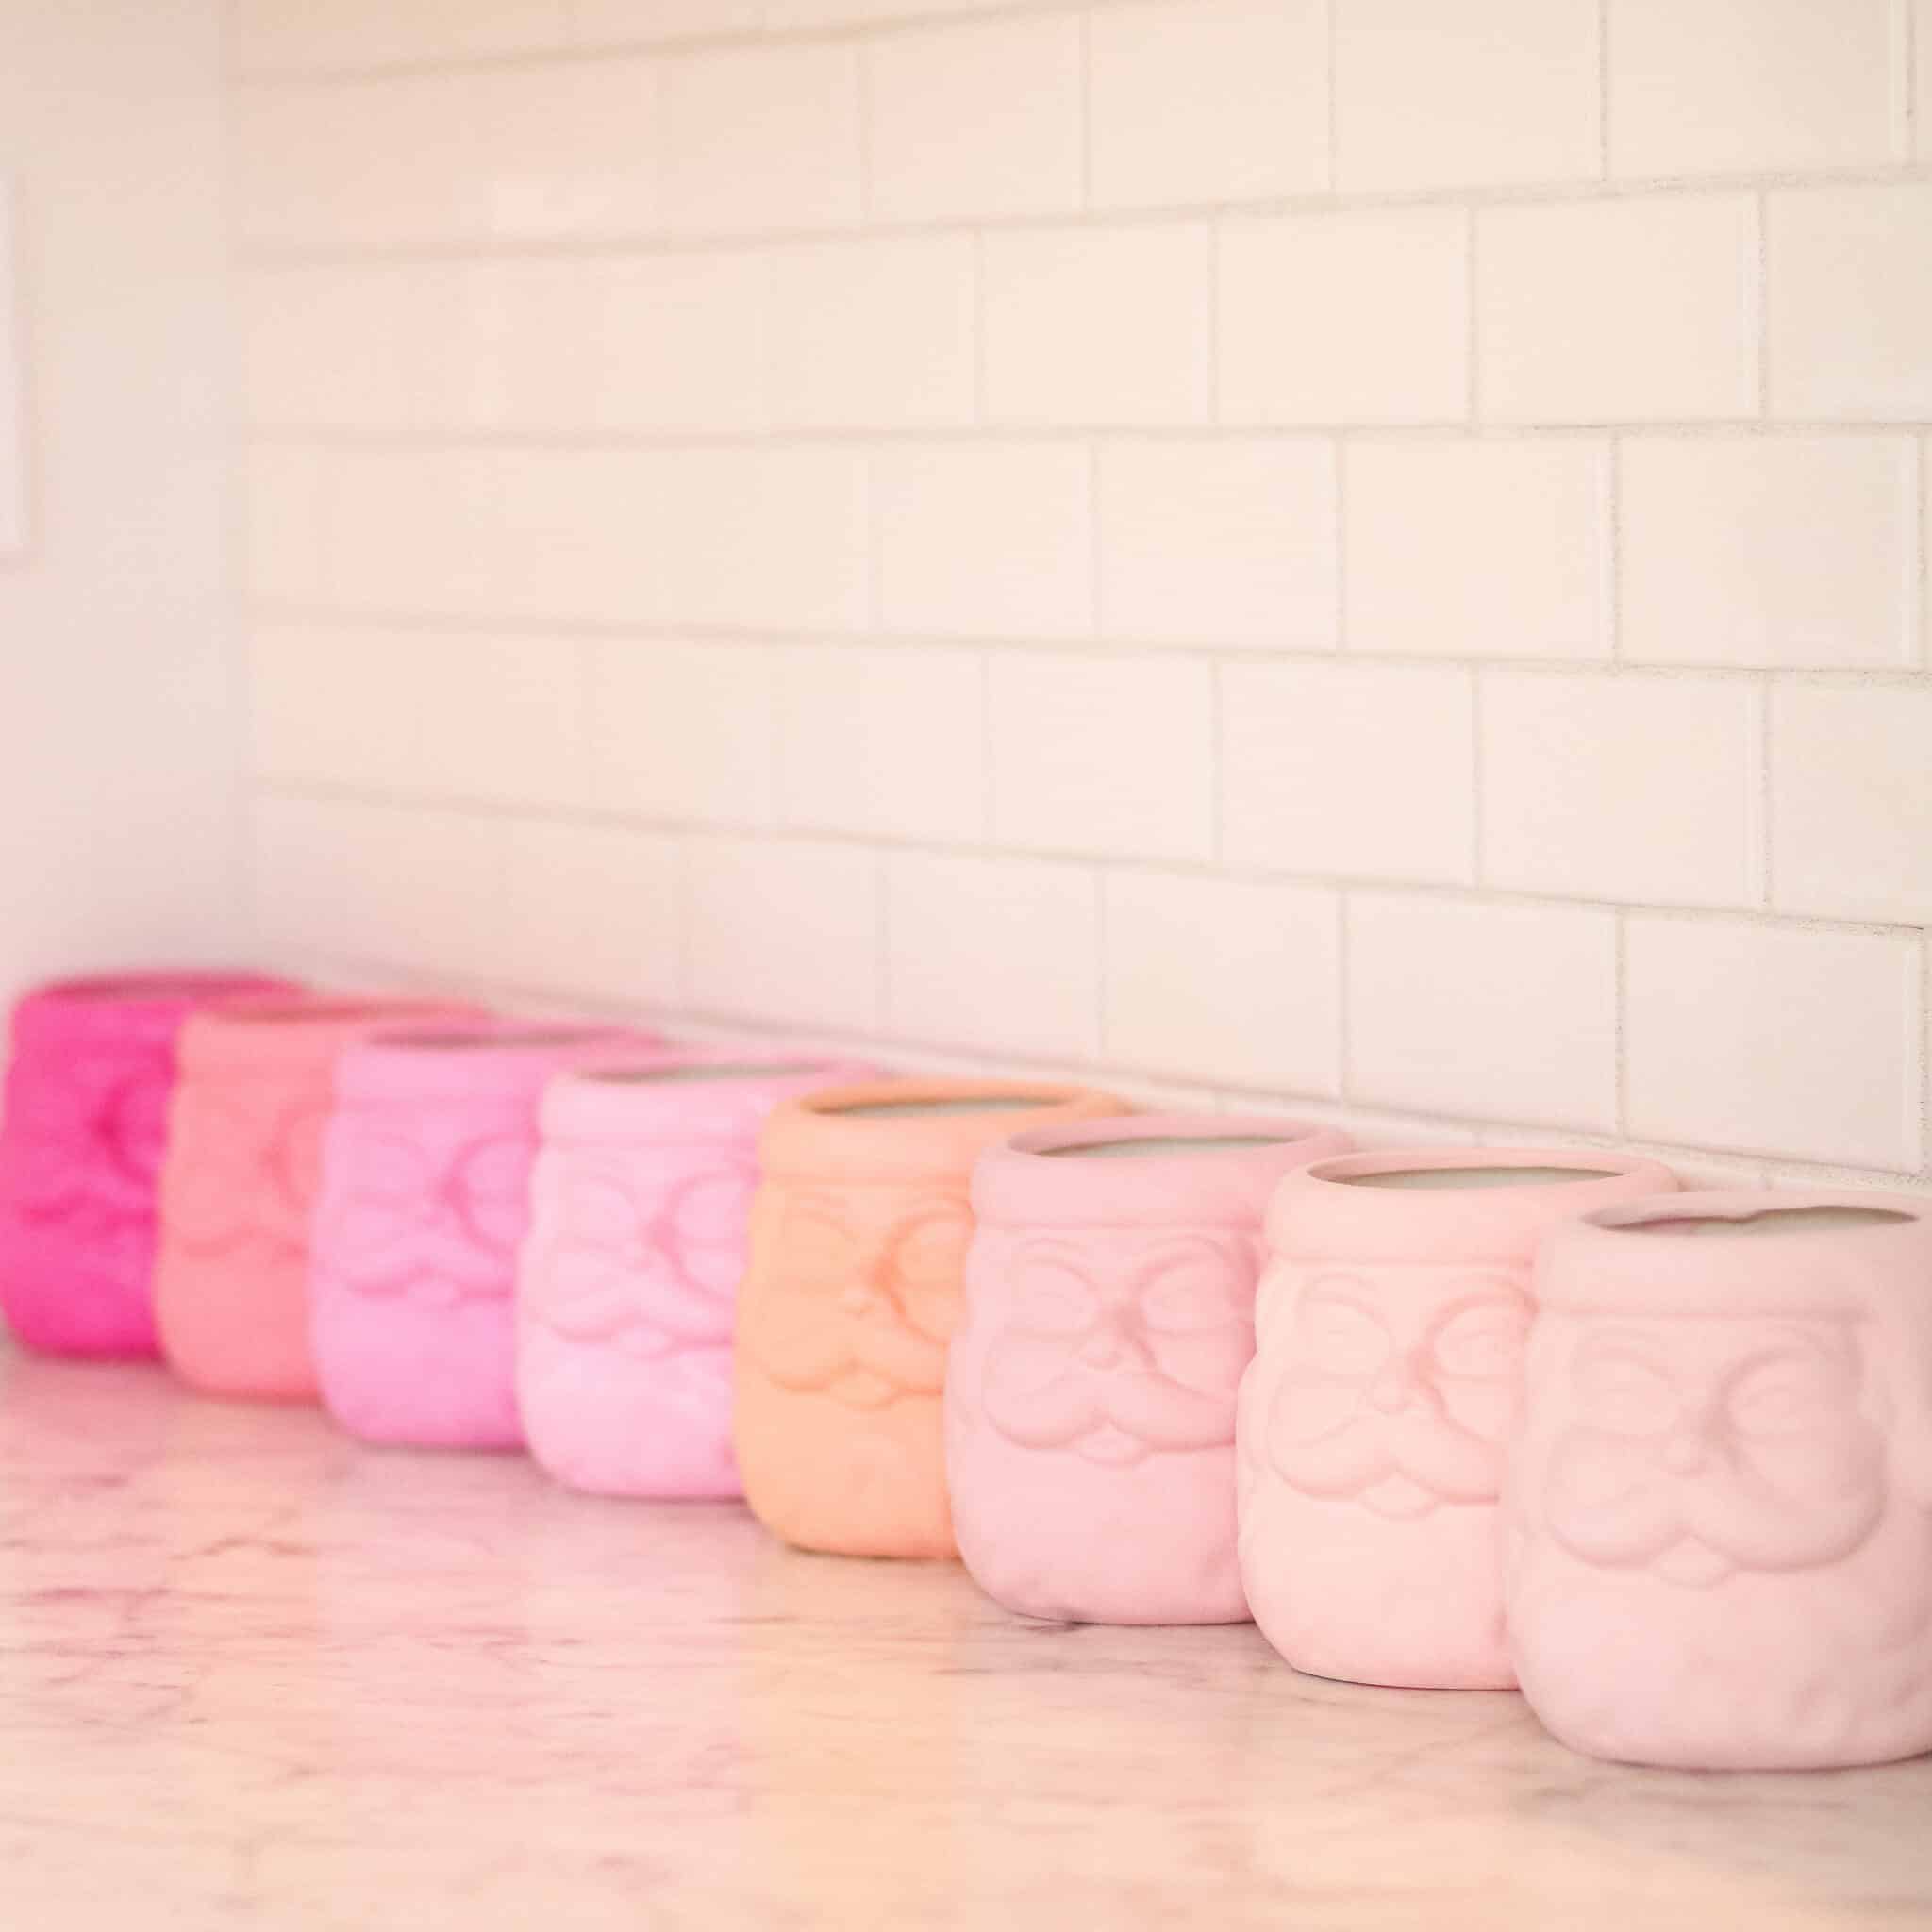
This year, some adorable Santa mugs were floating around Instagram, and I won’t lie – I loved them. But in true Arin fashion, I wanted some in white, but also instantly pictured them in pink. I decided to try my hand and do some DIY Pink Santa mugsto report back to all of you.
This post contains affiliate links
The best part about my little DIY I’m about to share – you could totally paint over non plain white Santa mugs, it just might take a bit longer. Also a little FYI – if you are anything like me, you will see this post, and think “I can do that” and not read it through. This DIY had lots of hiccups, so I totally recommend reading how I did it!
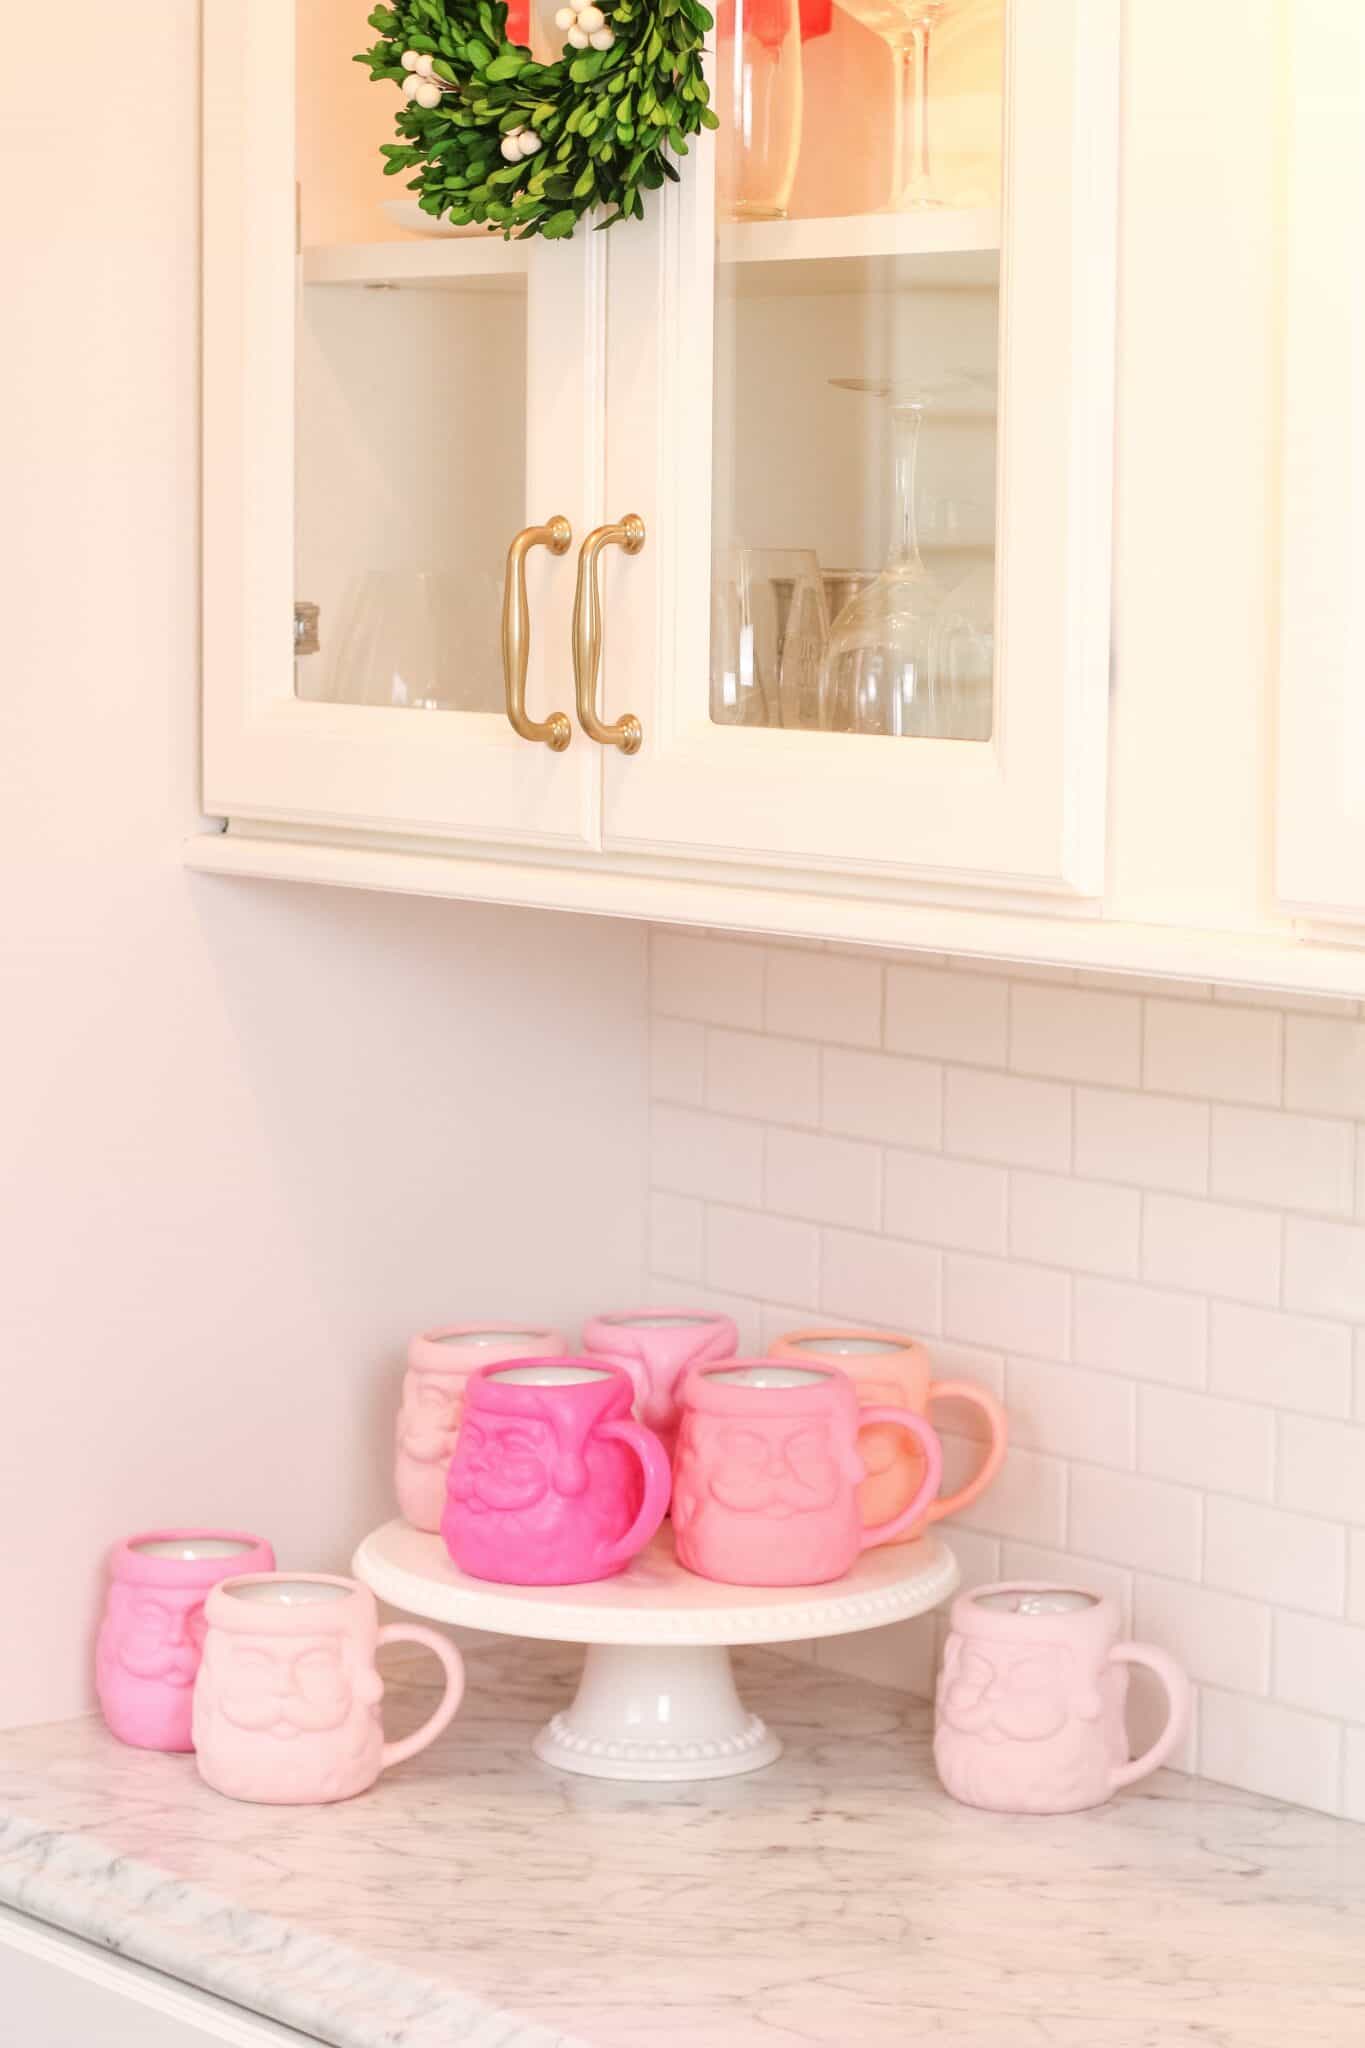
DIY Pink Santa Mugs
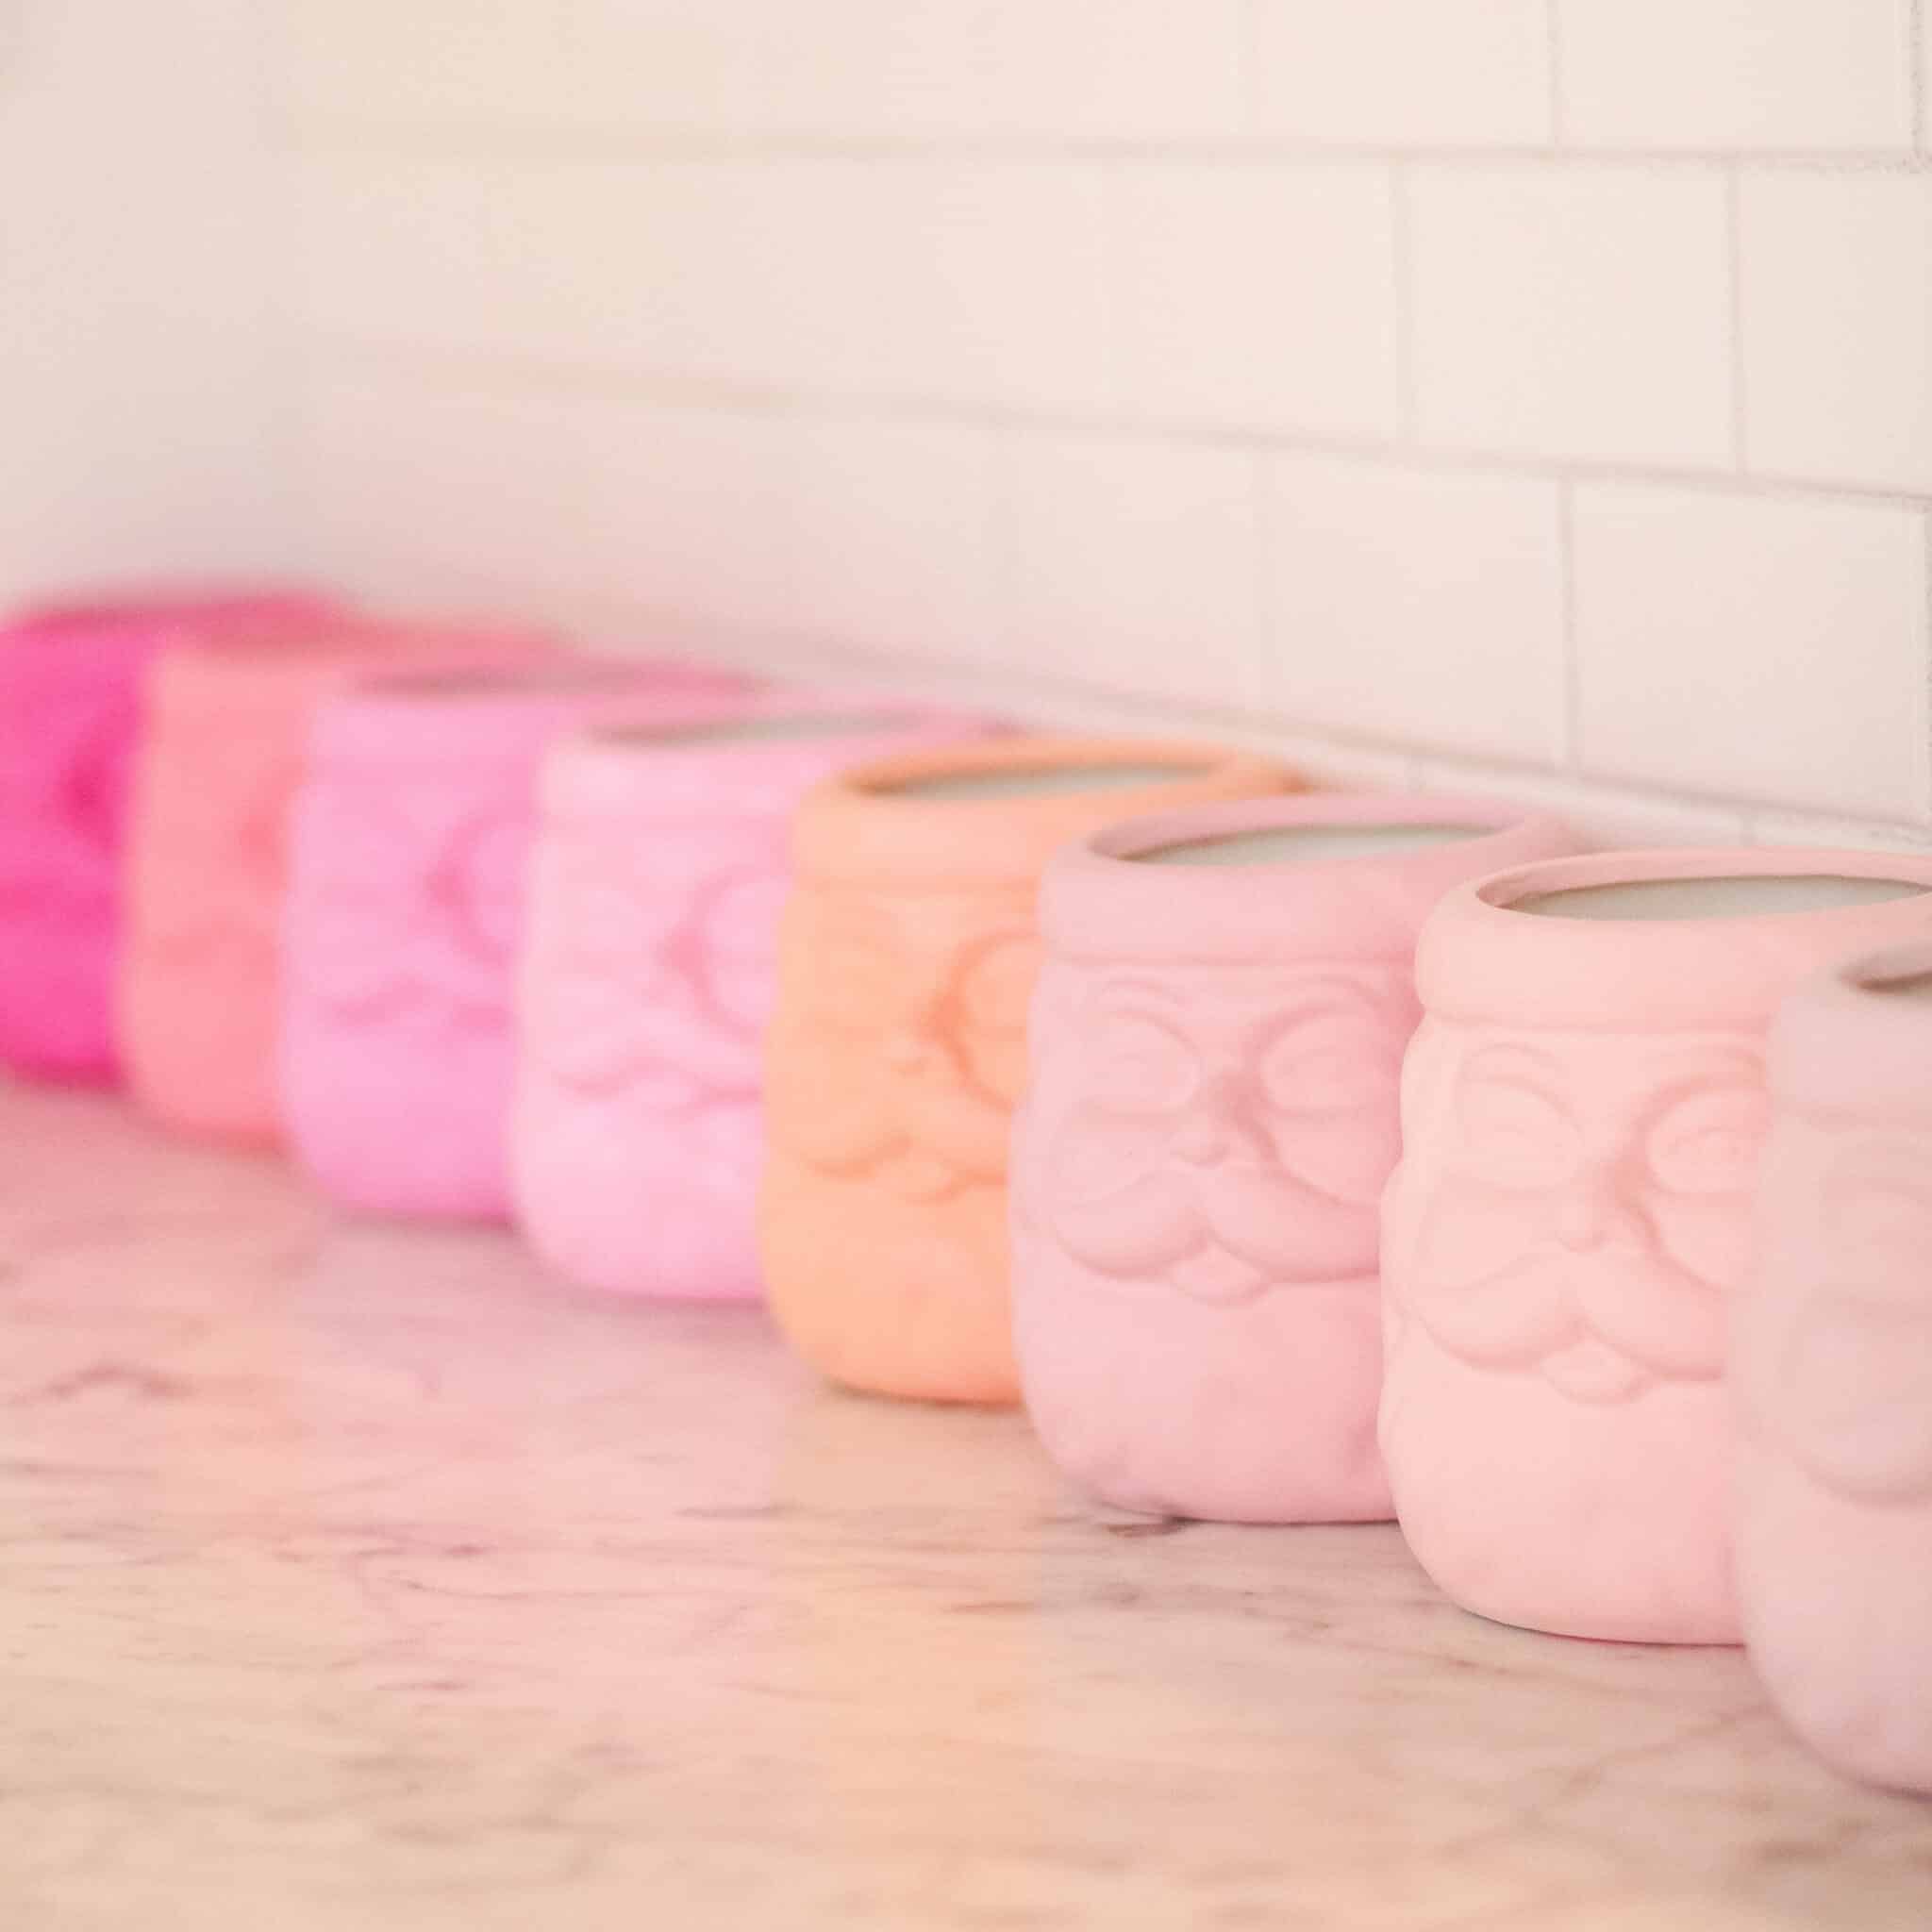
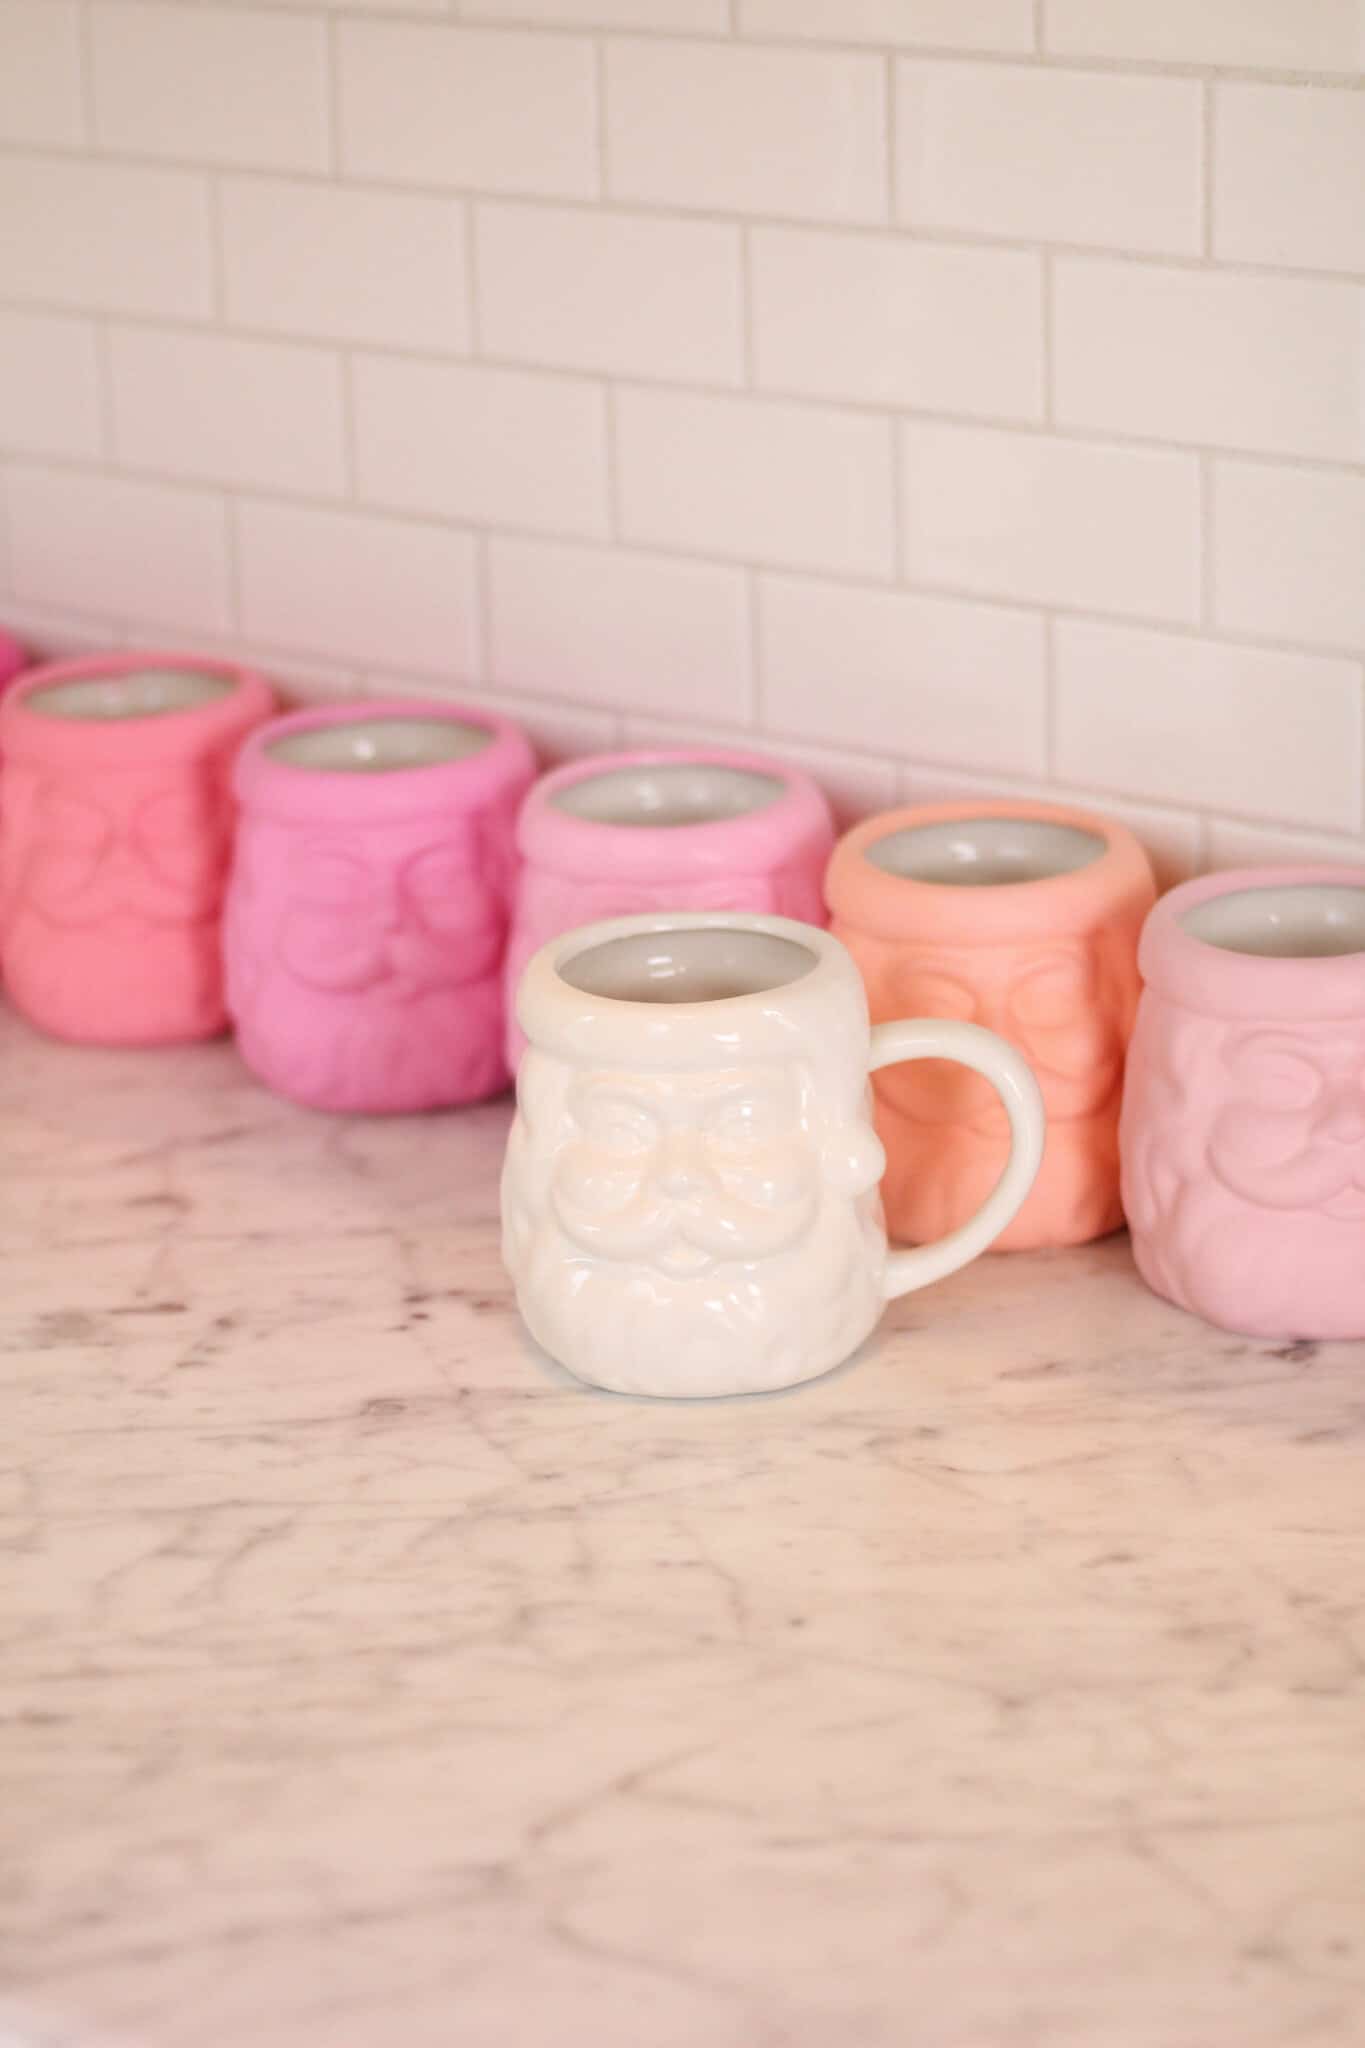
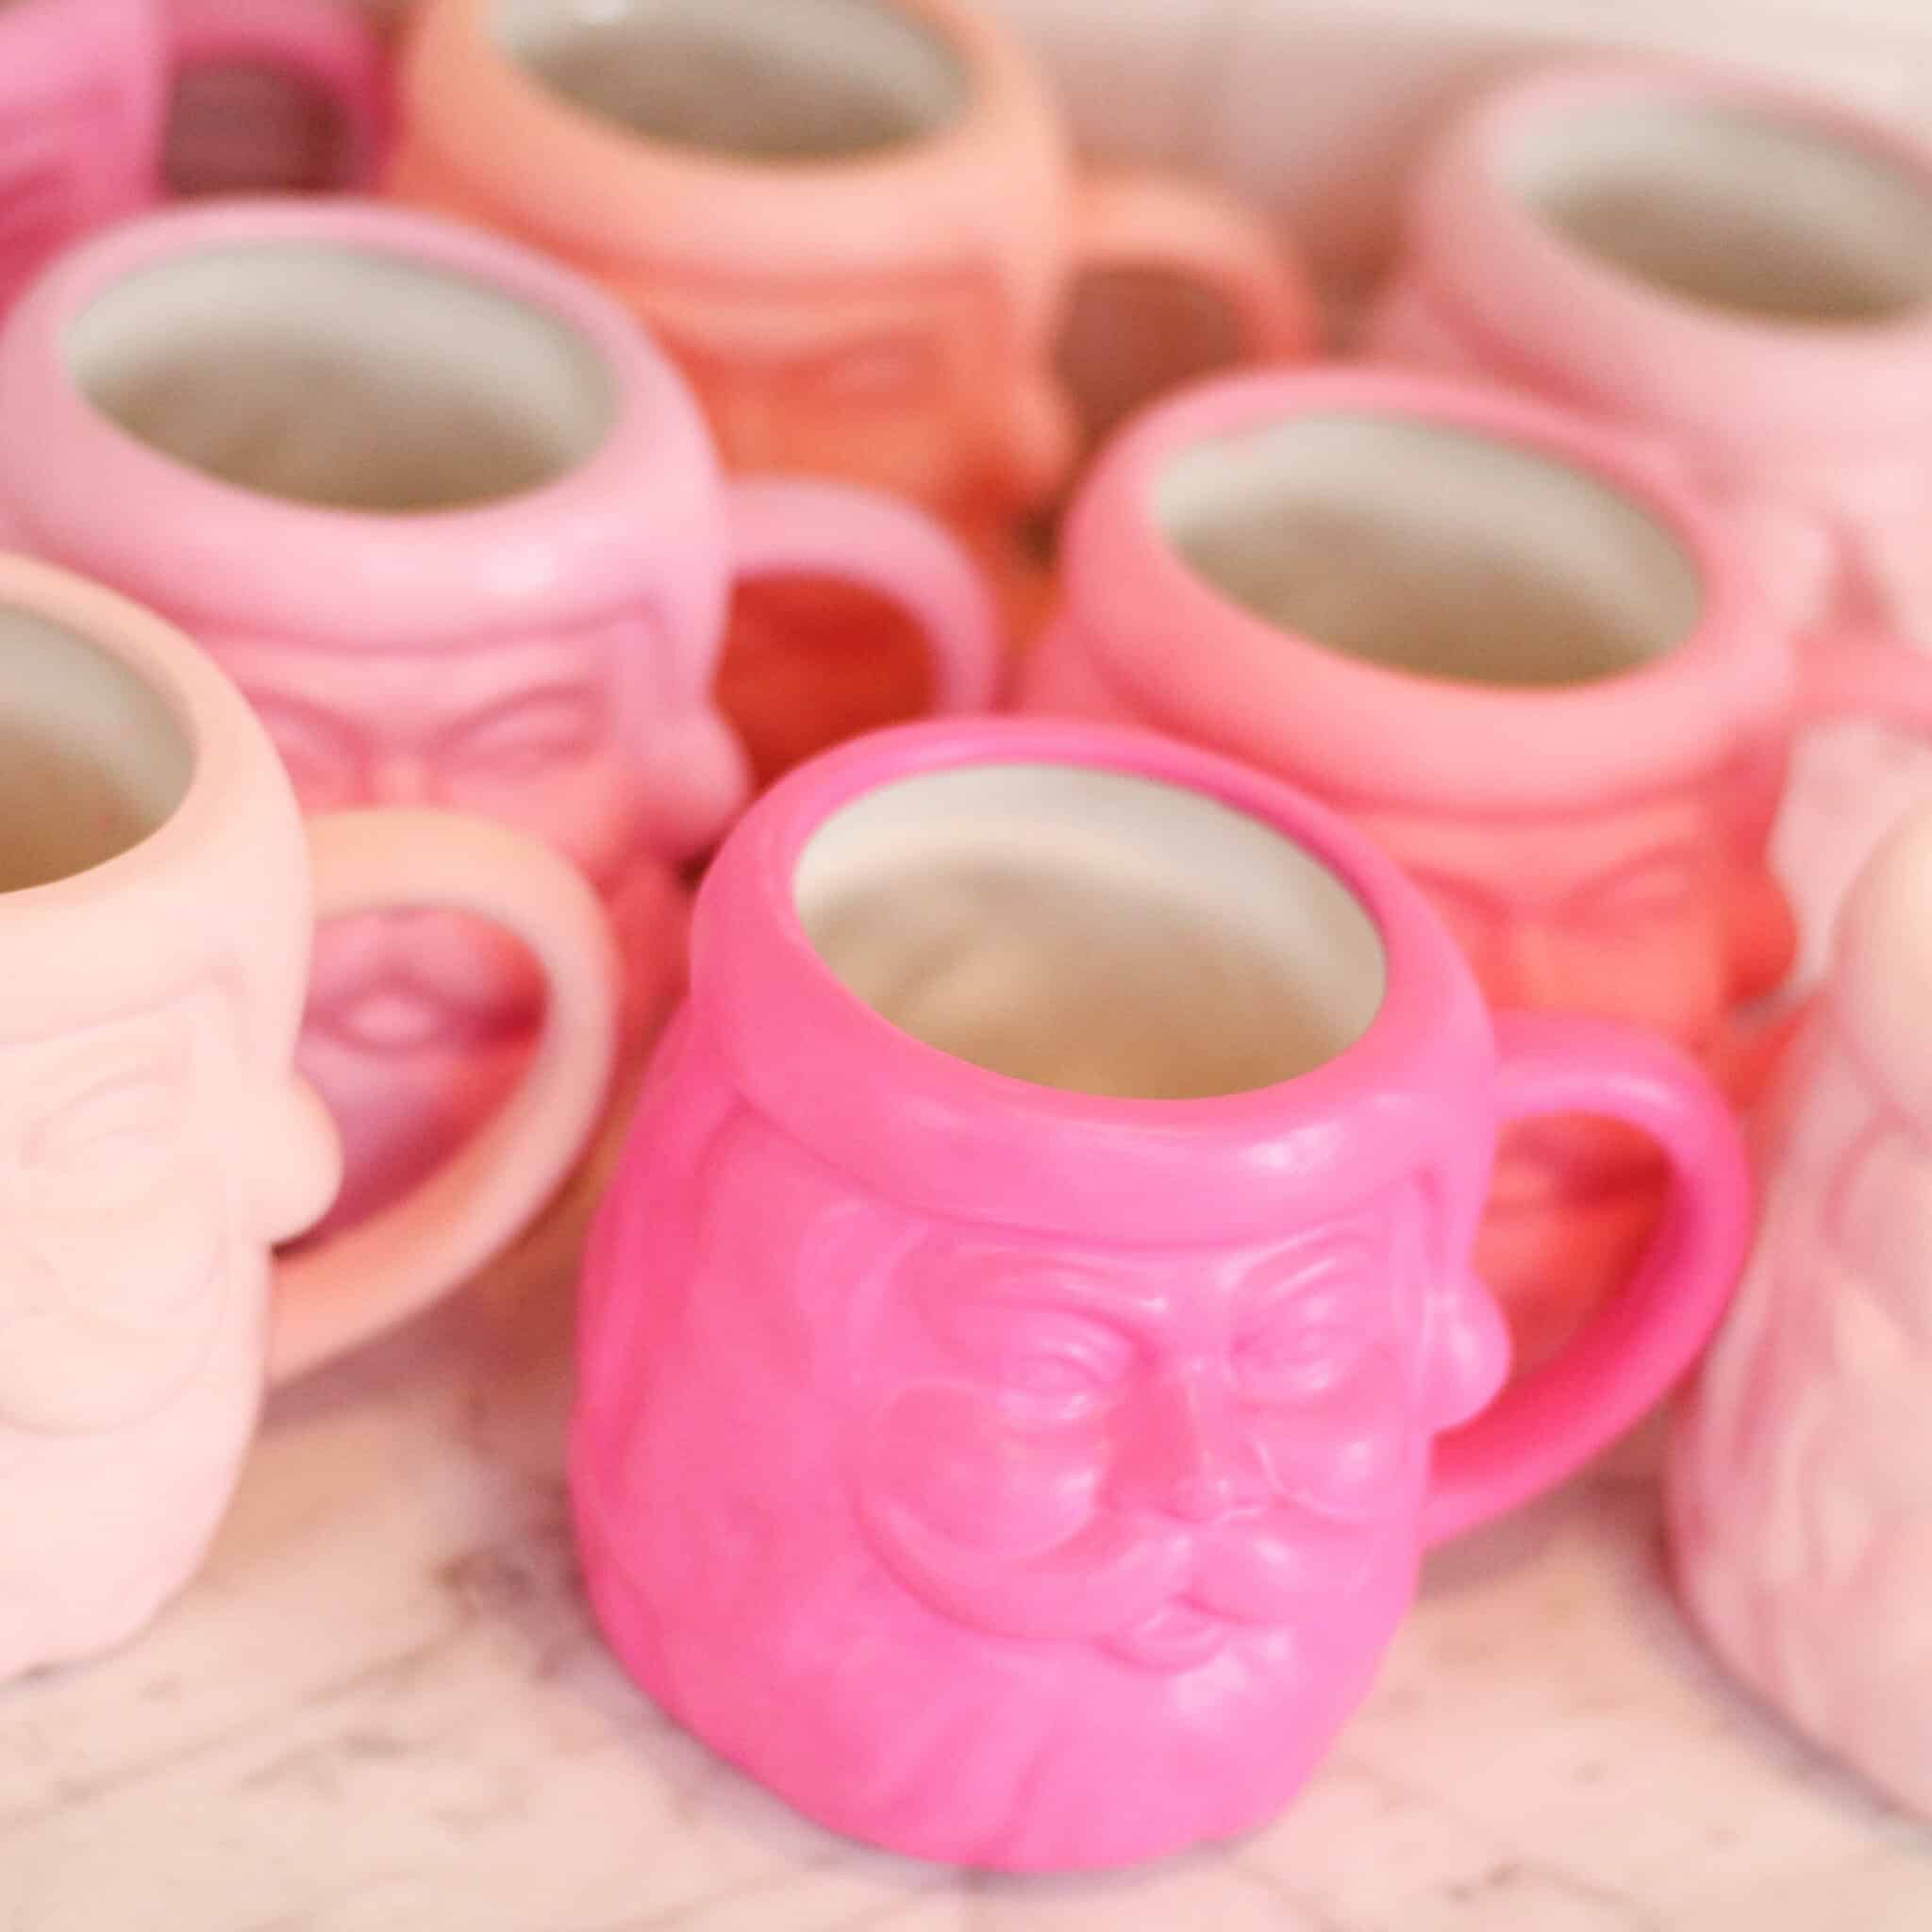
First of all – the mugs I started with were these cuties from Walmart, but they are currently sold out. I knew I wanted to do a somewhat ‘ombre’ pink color look, but wasn’t sure exactly what shades, so I got some pink craft paint and started the process.
Let me tell you – I can not speak for all paints NOT working, but I can tell you that several brands of matte craft paint DID NOT work. I would paint them, and the paint would just slide off.
The good news is – they were hard to not have drips on, so that made for easier starting over, but it was way too easy. You guys I’m talking even after baking the paint on if I laid them in a bowl of water the paint just slid right off – like all of it with no effort.
So what did I use?
I had on hand some of THIS PAINT from Target in Satin. and I happened to have used it on ONE mug. When I started my process of starting over and dropped this one in the bowl to soak it was not easy to come off. Which I knew must have meant it was the way to go.
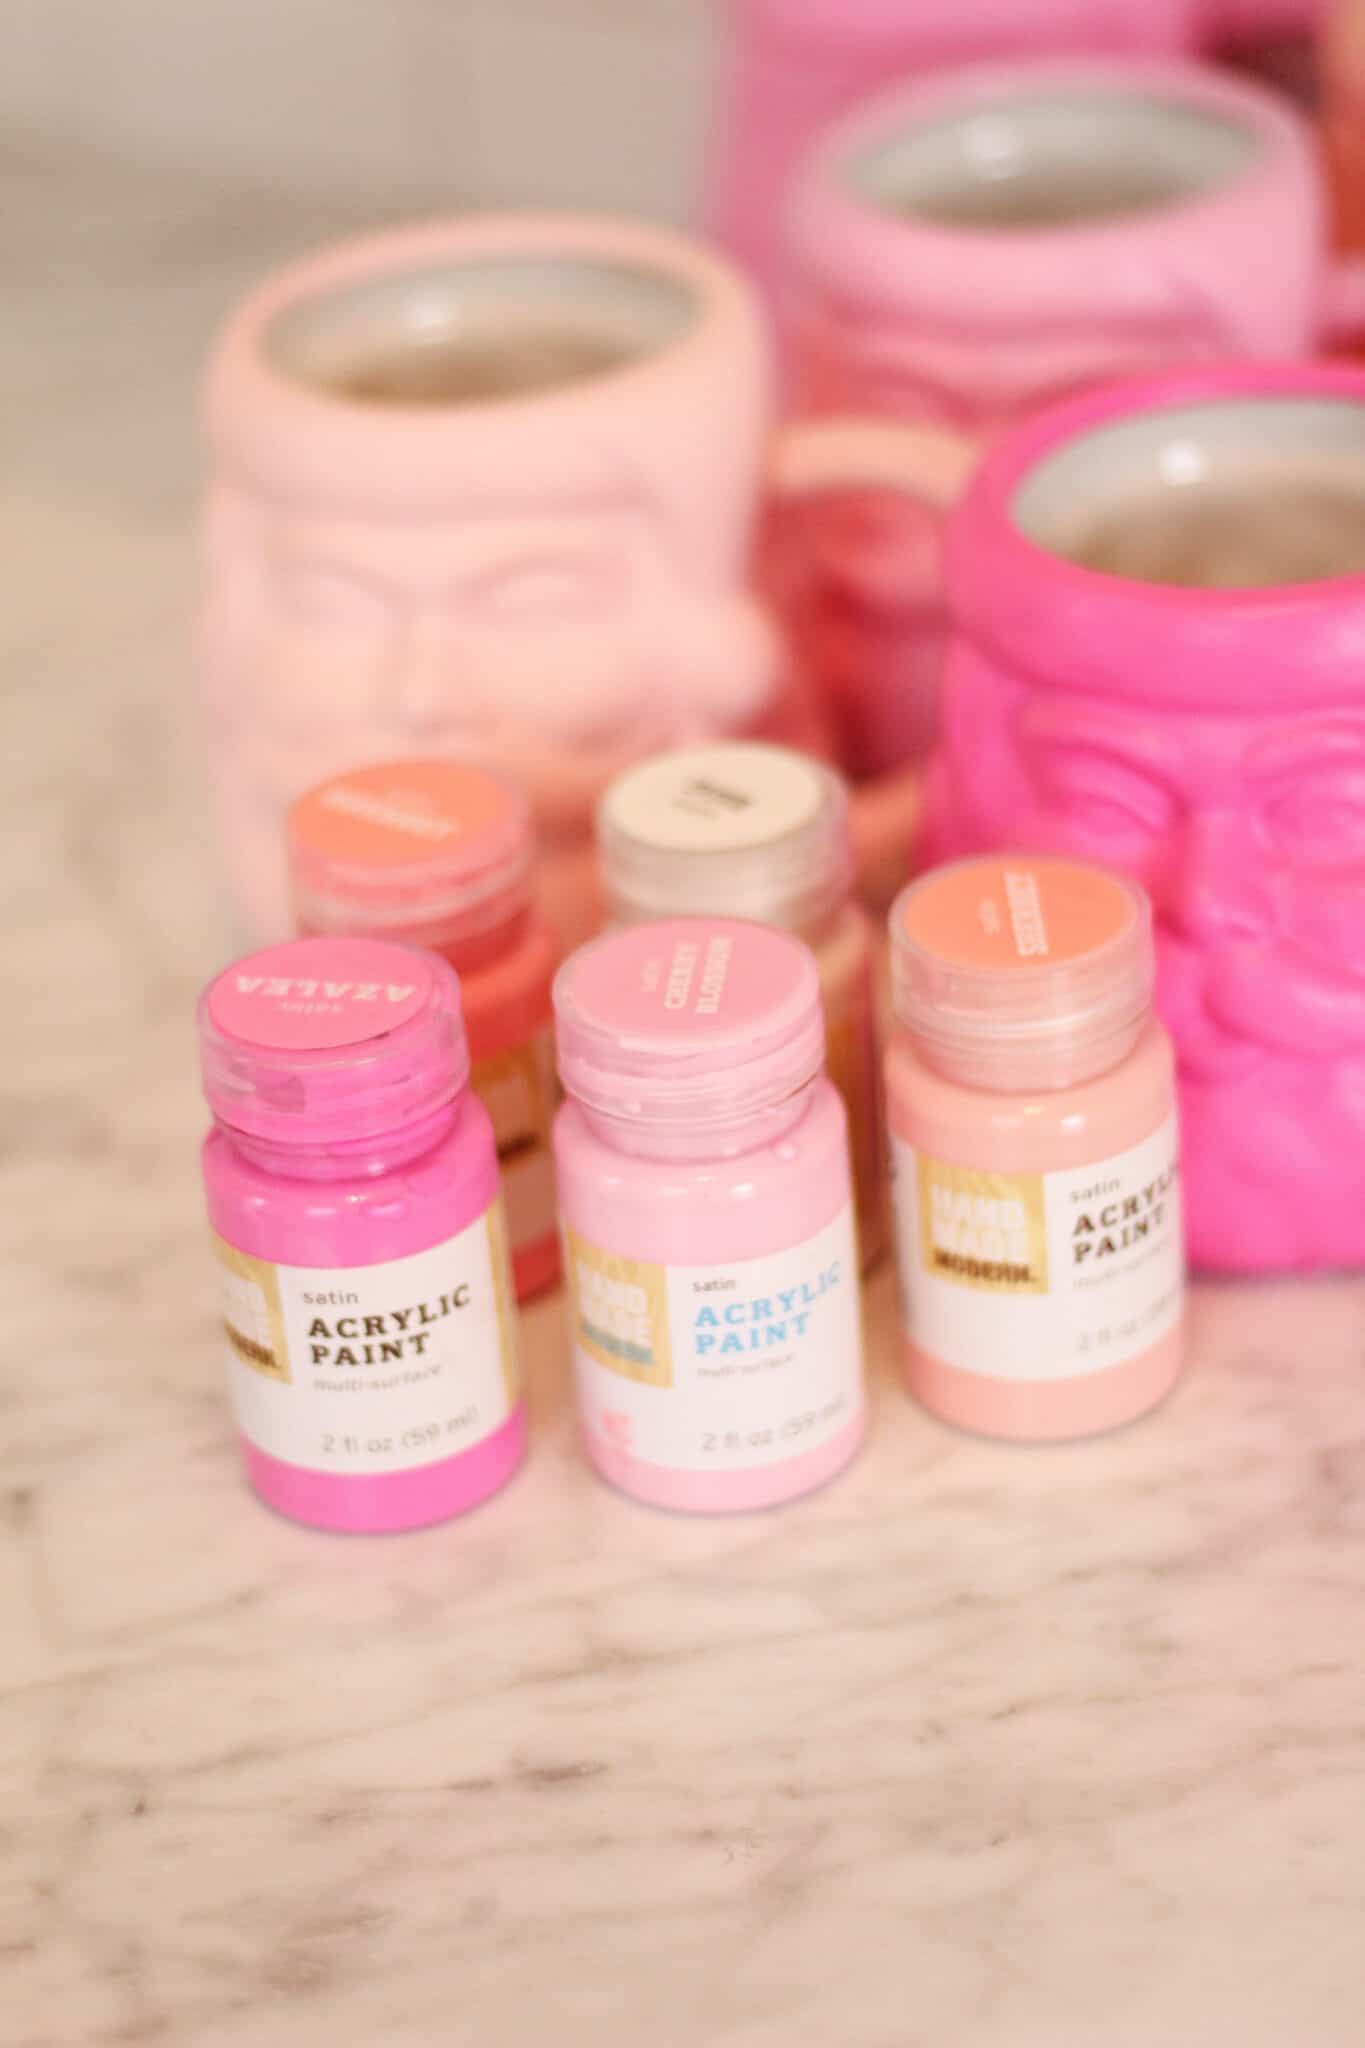
So grab your craft paint, some brushes (use normal brushes not foam!), and mugs and lets get to the tips.
Tips for success/ my process
Wipe down the mug with rubbing alcohol.
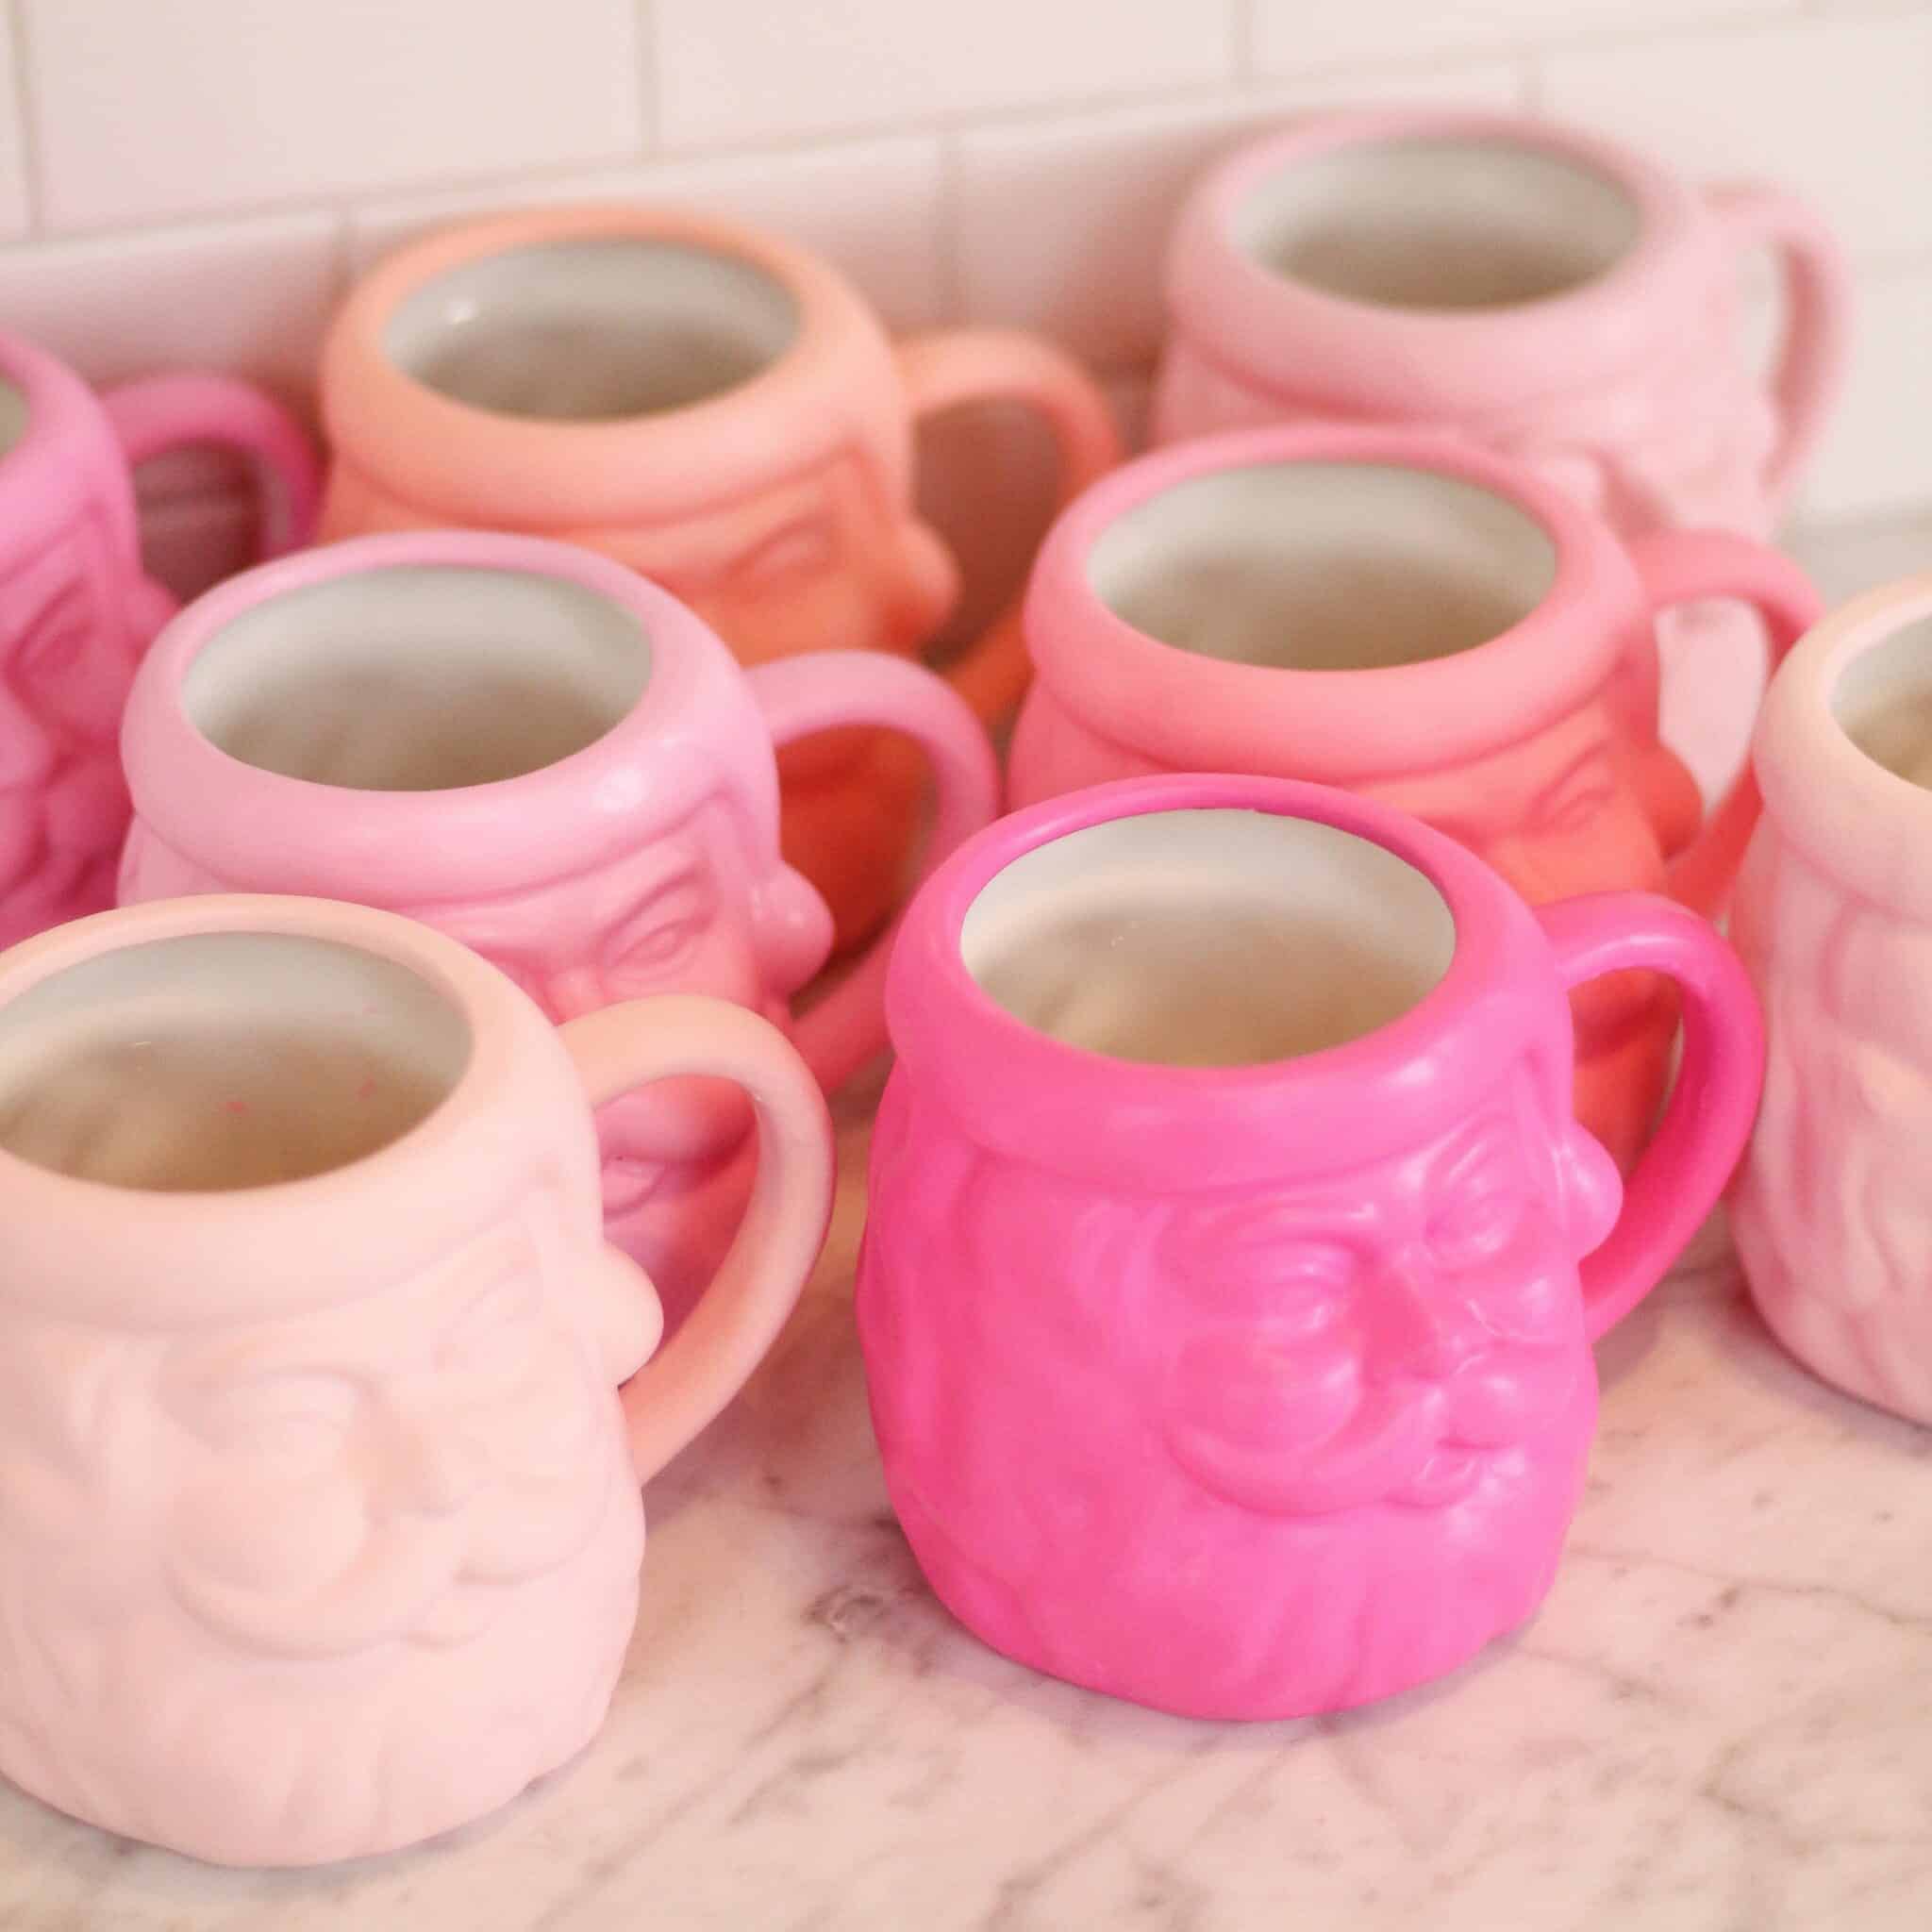
Okay first off – you want thick coats, which goes against everything most of us know on paint. DO NOT give a mug a second coat until its been baked with the first coat on. So give your mug a good thick -ish first coat then leave it to dry.
Once it has FULLY FULLY FULLY dried put the mug (or mugs) on a baking sheet then put that sheet in the cold oven. Once they are in there set the oven to 350 degrees. You will bake the mugs for 30 min ONCE THEY HIT 350. Then leave them be. Do not take them out of the oven until they cool.
Next – if your mug needs a second coat or touch ups this is your moment. I know this means a lot of time, because you have to fully start over on time, but its worth it.
If you messed up on any spots, or there are drips inside you can use rubbing alcohol to remove any of the paint at this point.
THAT IS IT. Your mug is ready. I will say I have gently hand washed the mugs, and do not think you should dishwasher these.
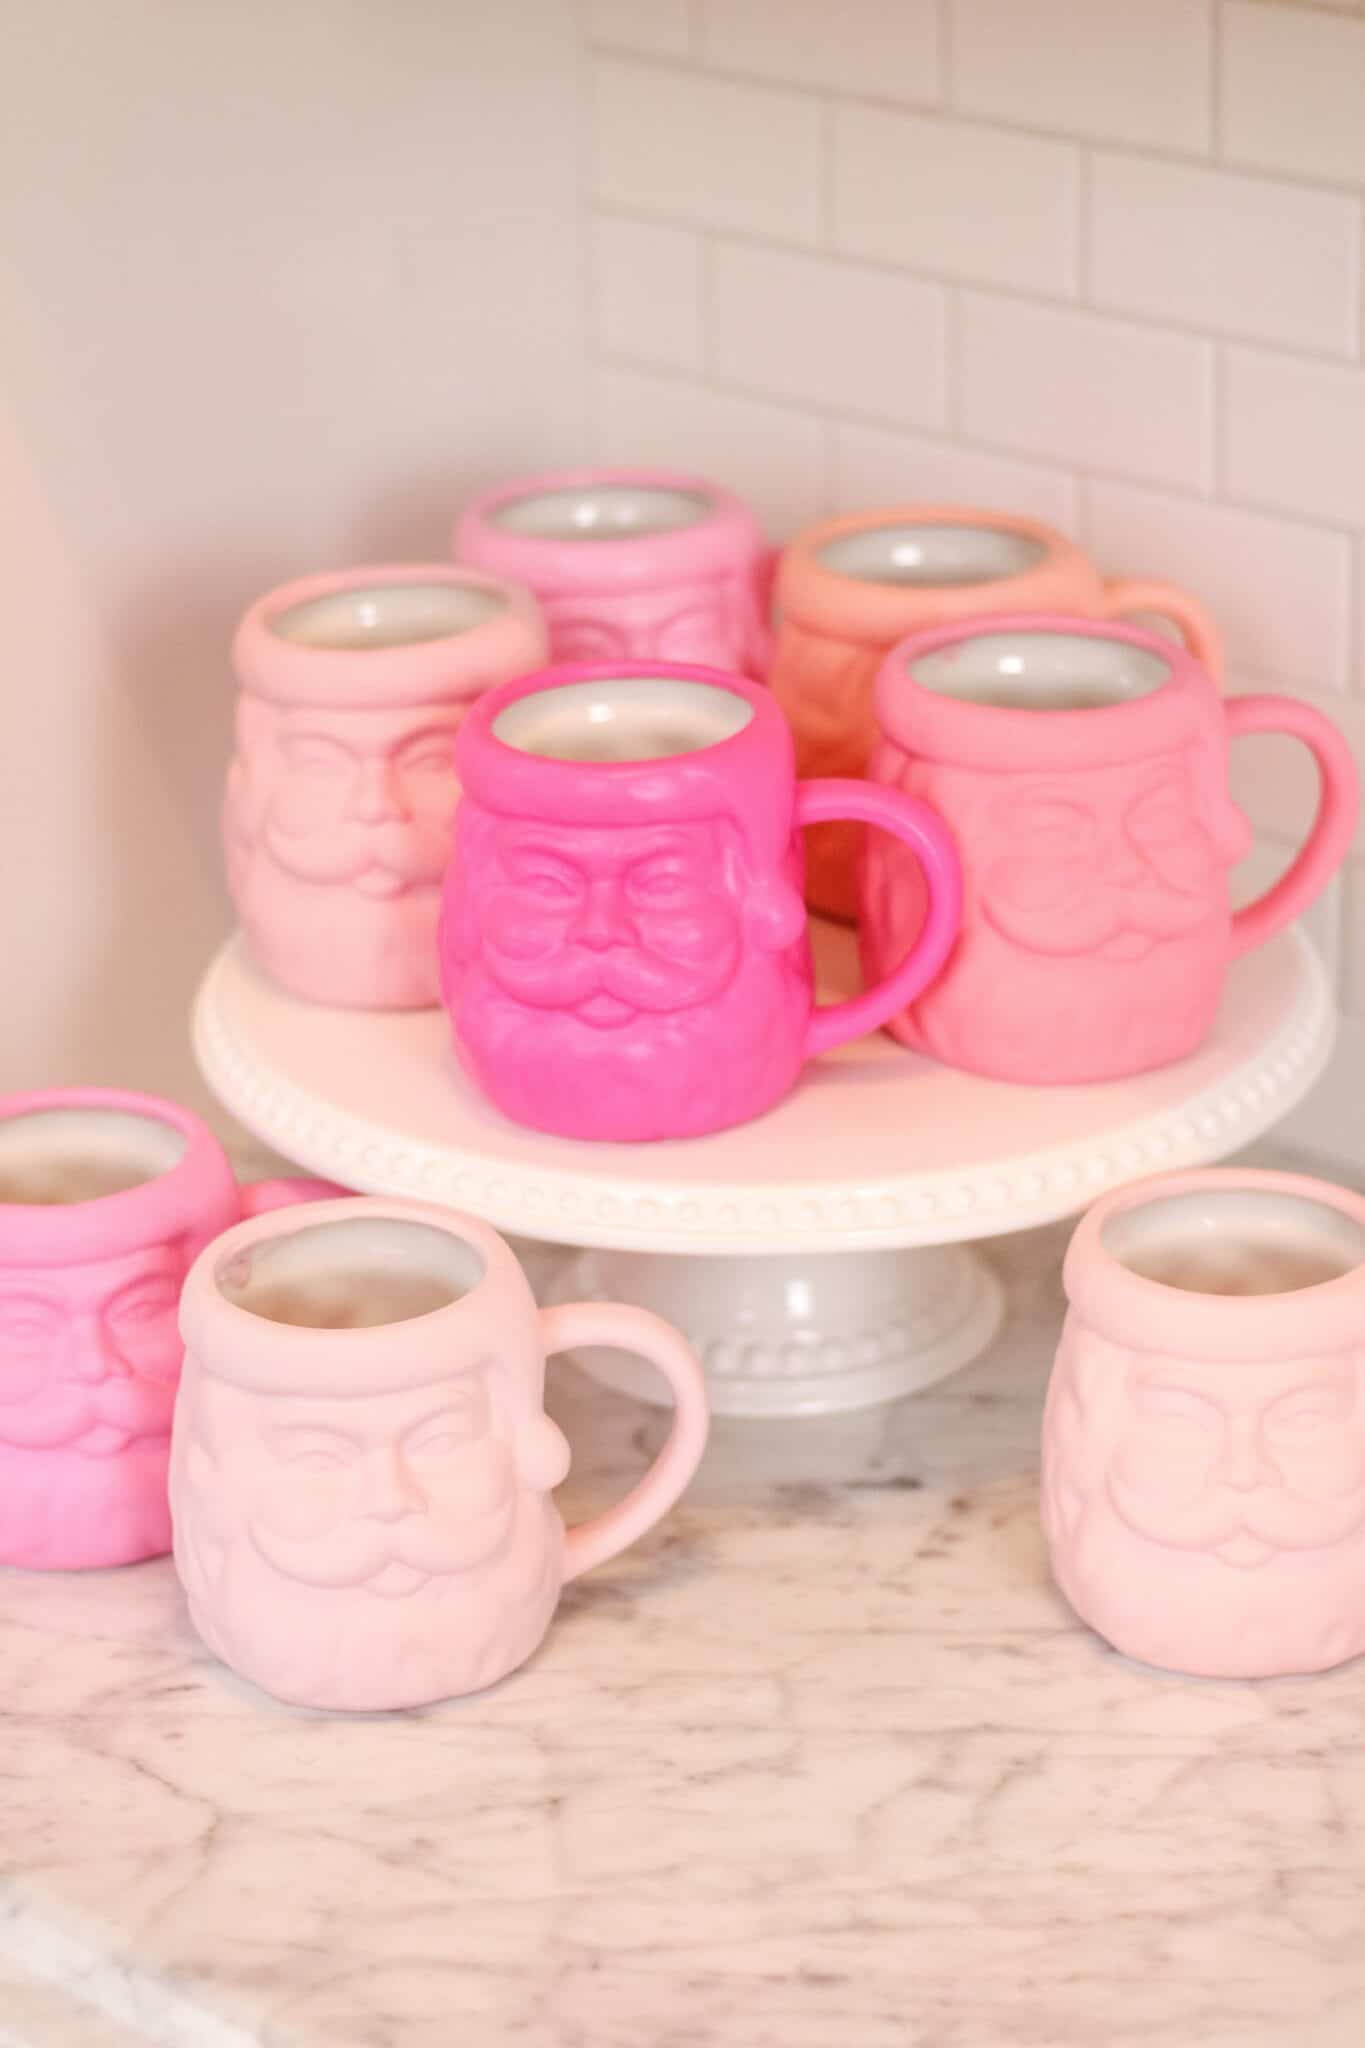
I have a game plan to do a few more this week (if time allows) in other colors, but if you do any mugs show me what you end up with!
If you love pink for Christmas check out these posts!
PINK MERRY AND BRIGHT DECOR | BEST MERRY AND BRIGHT DECOR | MERRY AND BRIGHT KITCHEN | MERRY AND BRIGHT DINING TABLE
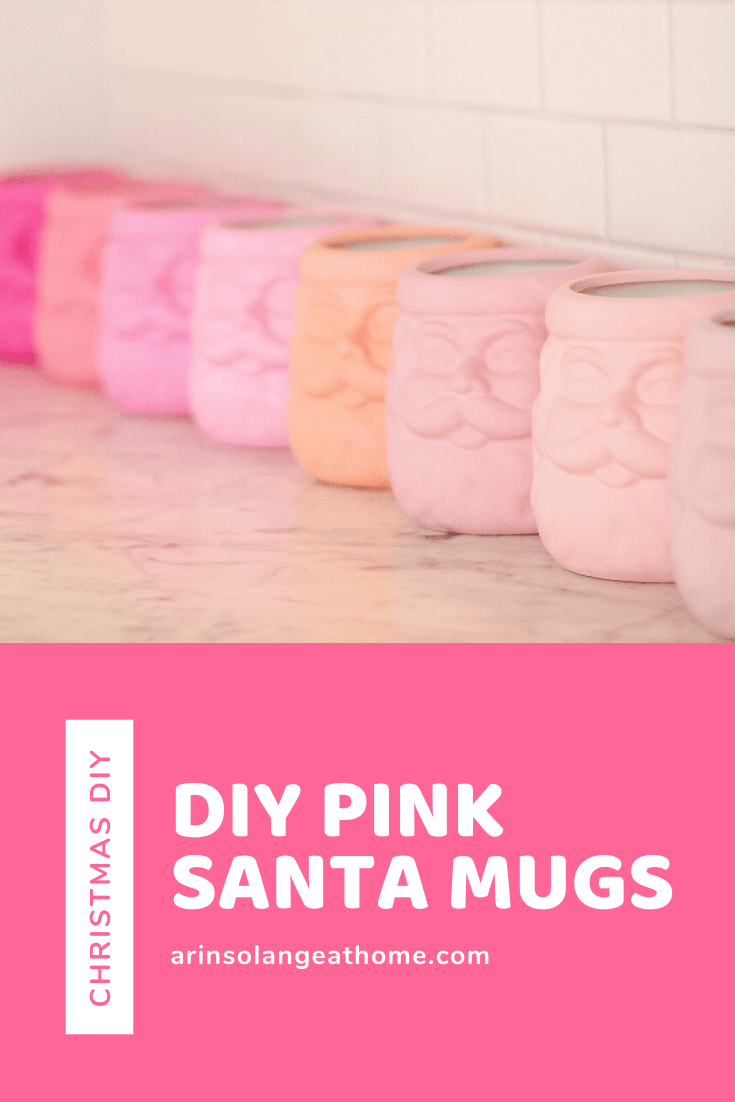
Pin the Photo below to Make DIY Pink Santa Mugs Later
Hopefully your family has fun with festive mugs and it helps make your holiday that much more fun. Be sure to follow me on Instagram (@arinsolange) and follow along on Tik Tok for more ideas!
I did this on regular looking mugs and it worked so well. Thanks for posting this!
Target seems to no longer have this brand of paint. Any ideas for the second best brand?! I’ve got the mugs and can’t wait to do this for my girls and I this year for our hot cocoa! So fun! Thanks for sharing!!
Hi Abby! They have the brand in store but I did it this year with some other colors from the craft store and it seems they all work.
Hello! I bought the bisque mugs, but it appears that the inside of the mugs need a finish of some kind. Do you have any suggestions to finish the interior of the mug? I’m super excited for these to turn out and to use, but it looks like the interior is still the unfinished bisque. Thank you in advance for your help!
Hi megan – mine are finished on the inside, So i am not much help!
Ah ha! Thank you for your response!
I looooove these! But I’m wondering if this is safe or not to drink from?! 😭
we only use ours as decor