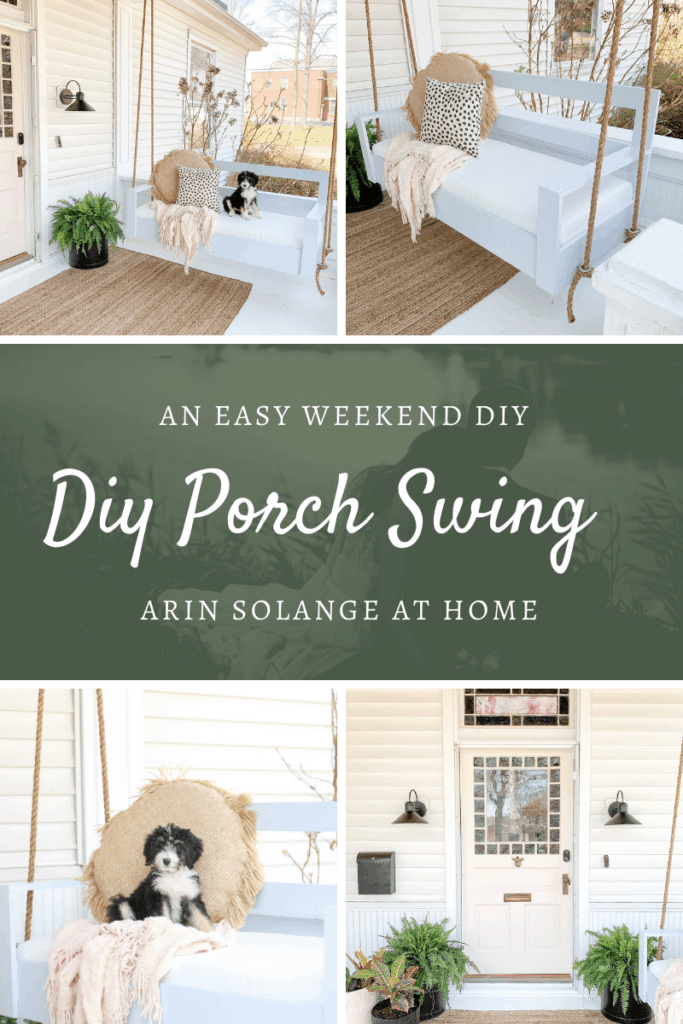
It is spring which means we are all working on getting the outsides of our homes in tip top shape so we can enjoy a pretty space outside while we enjoy the sunshine. Today I am going to share a super easy DIY porch swing tutorial that I hope you all will LOVE.
This post may contain affiliate links – as always with tutorials such as these, keep in mind that we are just DIYers – you are always using our tutorials at your own risk.
Getting our Porch Ready for the DIY Porch Swing
If you follow me on Instagram you know that getting my porch ready for this porch swing was a multi step process. Our home was built in the 1800’s and every aspect of it has needed serious love.
Before adding the porch swing we knew we wanted to really give the front of the house a good face lift as well as making it a more enjoyable place to spend time on the swing.
Painting the Door and Floor
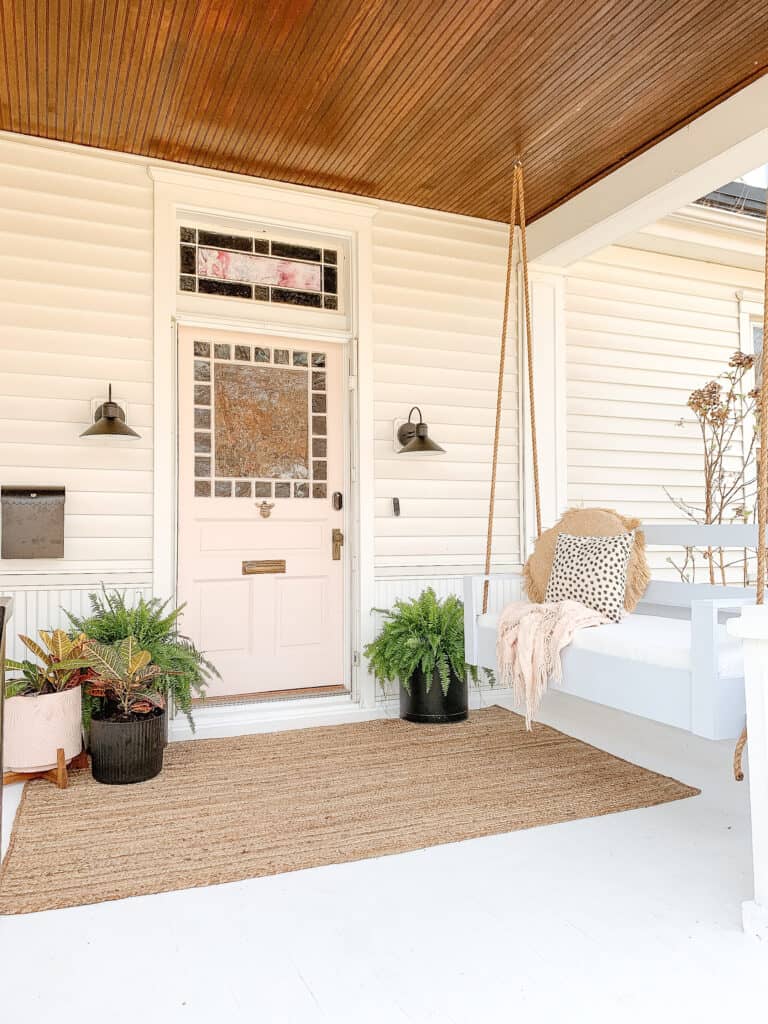
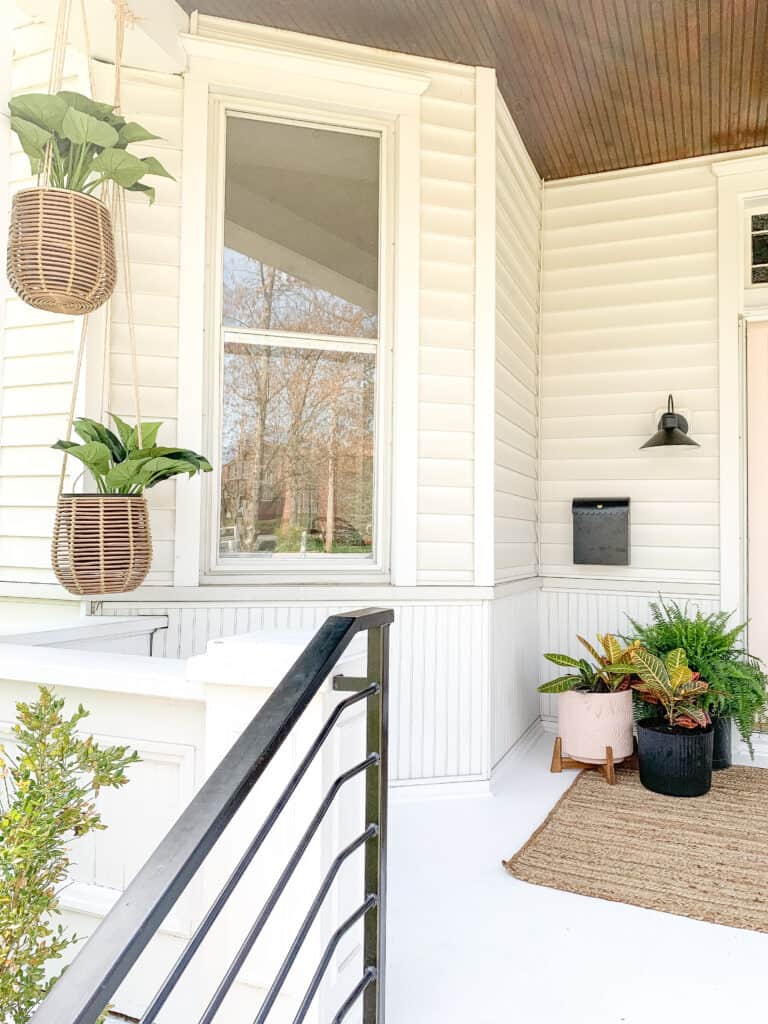
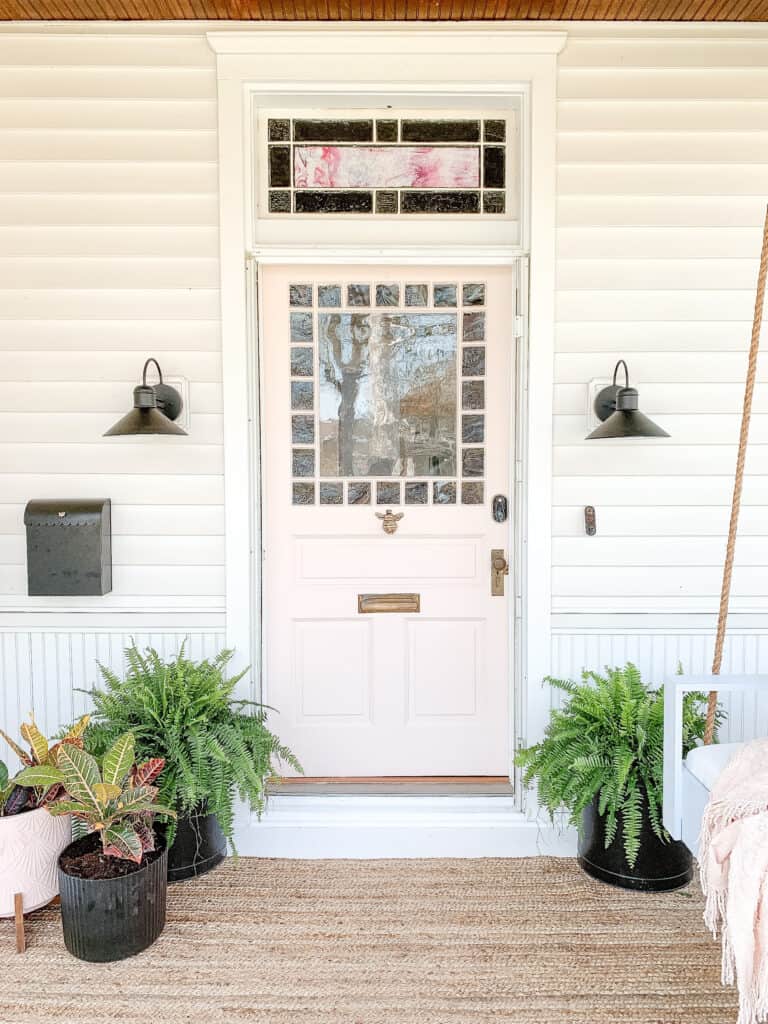
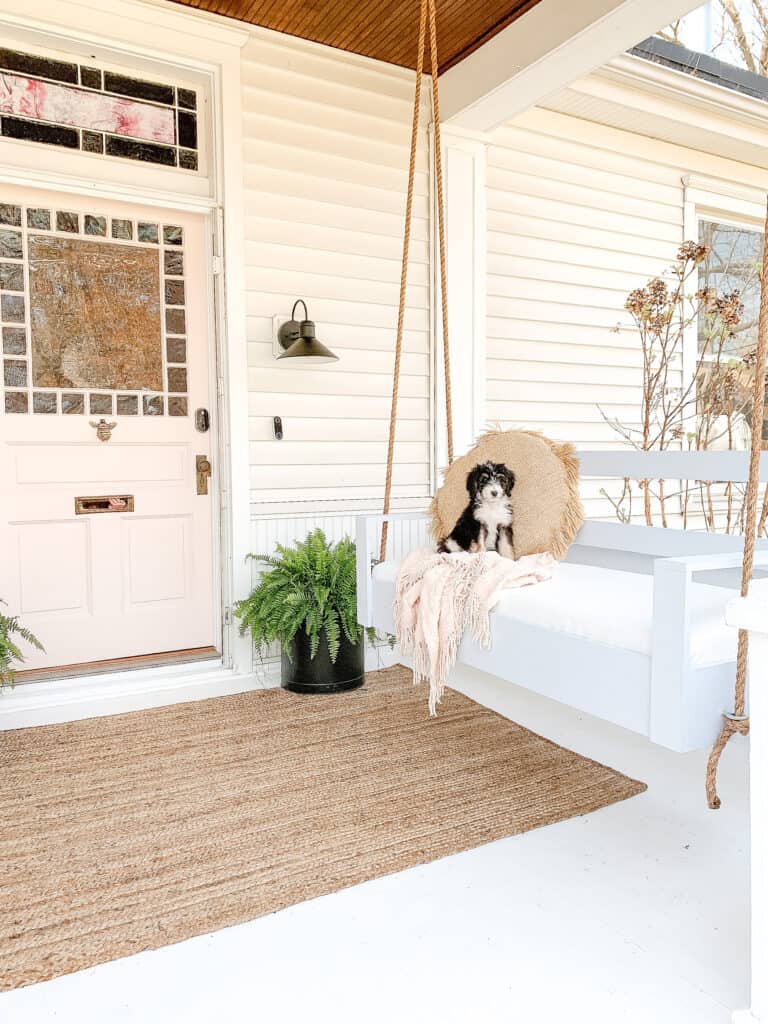
The first thing we did to the porch was paint both the floor and the front door. For the floor we went with white – which we knew was sort of bold, but I love a bright white place, and so far love how it turned out.
We also opted to paint the steps while we were at it. Most of our neighbors have wood steps to their porches, but ours are concrete. Painting them white was a great way to elevate the look of the porch for the time being.
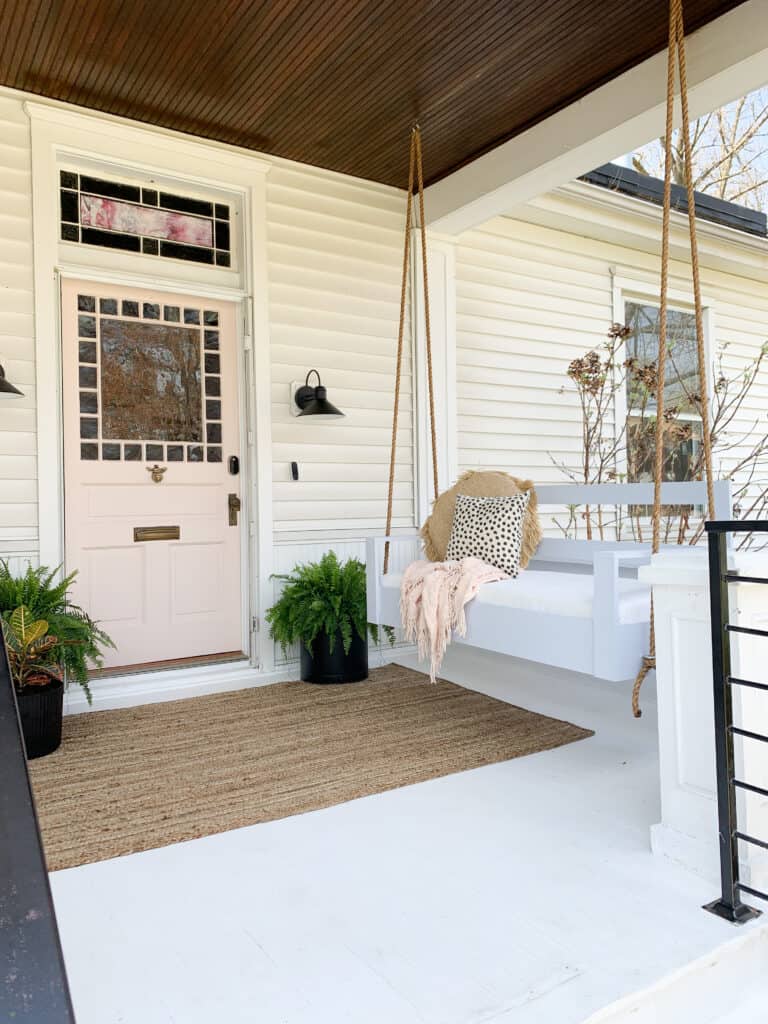
We also decided to paint the front door Behr Seaside Villa. I have used that same color in our house in a couple of spaces, so knew I wanted to tie it in out front. There is some original stained glass above the door in pink shades, so bringing it together with the door was perfect.
We used Behr Porch and Patio Floor Paint in Bit of Sugar
Accessorizing the Porch
Once the paint was done I wanted to get some accessorizing done. One thing we have been DYING TO CHANGE was our mailbox. I opted for a wall mount mailbox after finding the perfect open for our house.
The one we chose has scallops and a little bee, and our siding has scallops so that tied in perfectly to that. The bee was so cute and matches our bee door knocker perfectly. (The bee door knocker has been on my want list for so long, and I found this much less expensive version and instantly bought it. It is SO CUTE in person!)
I also hung some planters on the other side of our porch to balance the swing and add something to that side and love how that turned out. They are so simple and were really easy. To see how I did it check out my Instagram highlight called ‘porch’

Last but not least was a rug and planters. I loved tying in the black and pink with these items. I decided to round up all of the accessories we used below as well as some other great options, so feel free to shop those!
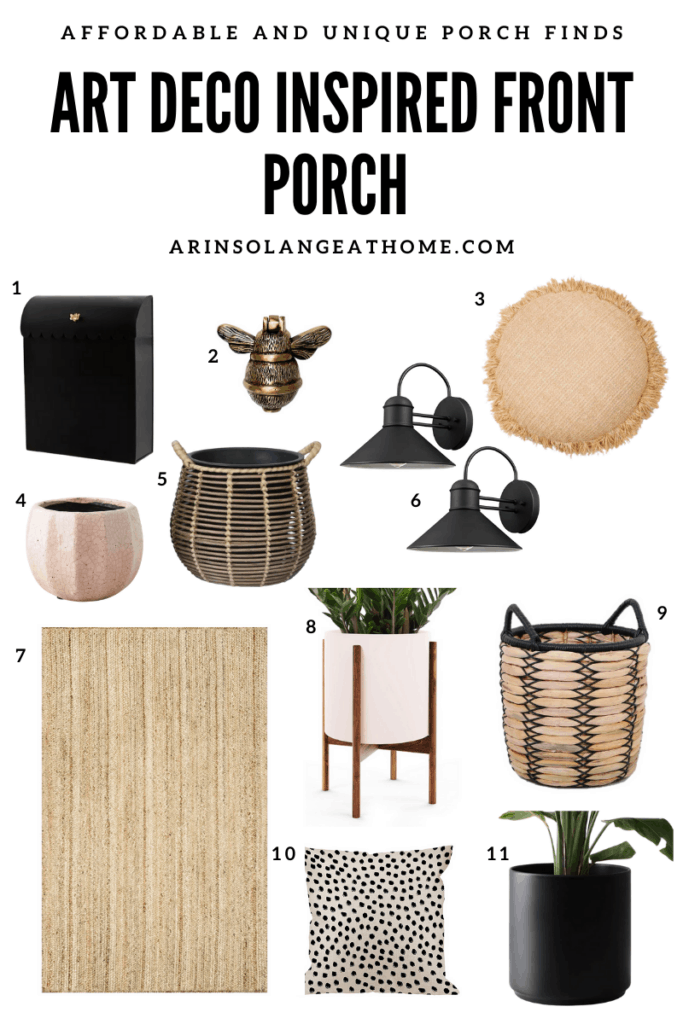
Shop Decor Below
1 | 2 | 3 | 4 | 5 | 6 | 7 | 8 | 9 | 10 | 11
- Mailbox – this is our mail box. It has adorable scalloping on it
- Bee Door Knocker
- Round indoor/outdoor pillow
- Pink pot
- Planters I have hanging
- Outdoor Lights
- My Large Jute rug
- Blush pink planters
- Another version of planters you could hang – these have handles you could cut off too ( I checked in store)
- Indoor outdoor pillows – these are only $10 for 2
- Larger outdoor planters
DIY Porch Swing
When we bought our home last summer I knew I wanted a porch swing. We are in the most quaint downtown area and I love the idea of pouring a glass of wine and enjoying the people watching this spring and summer.
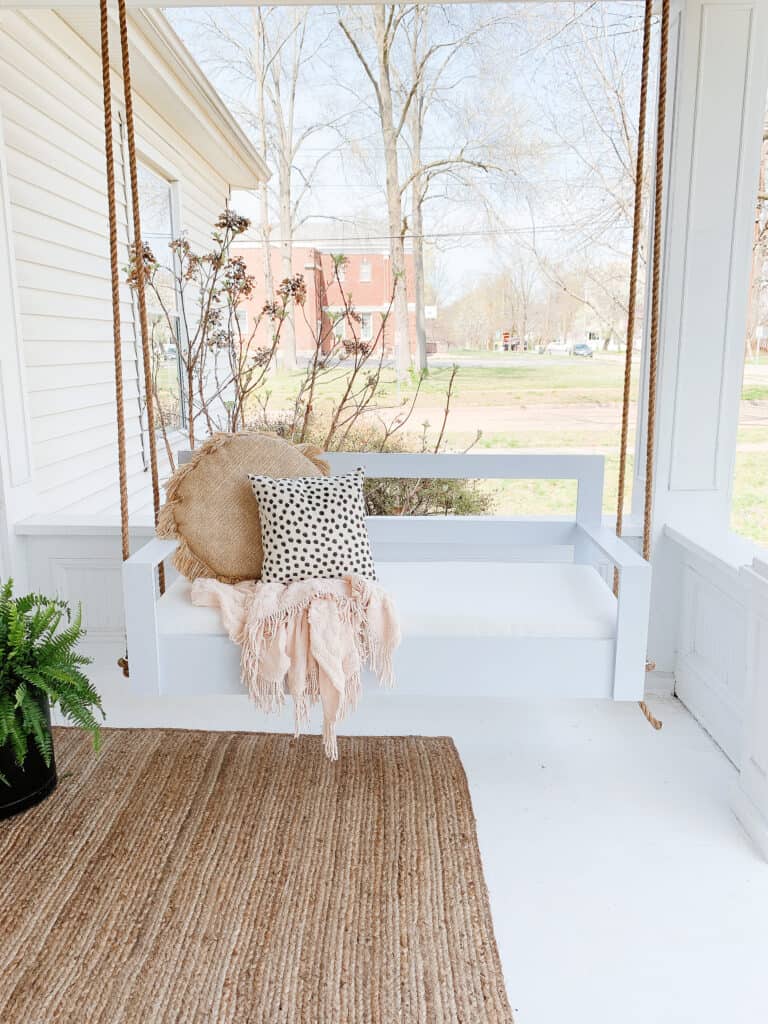
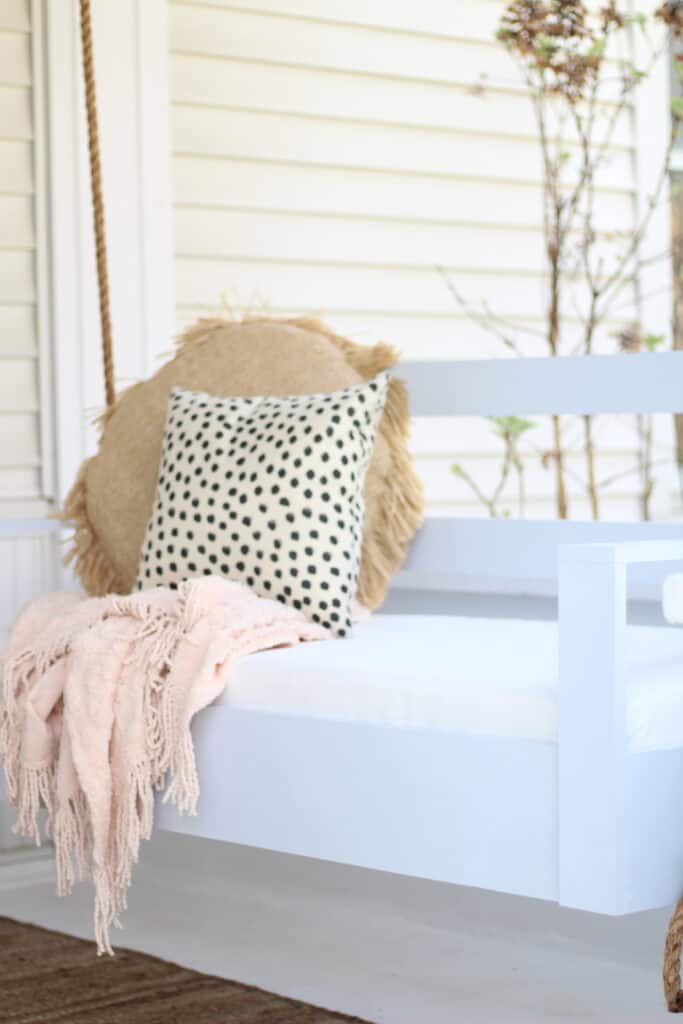
The porch swings that always catch my eye are the ‘bed porch swing’ styles – but that is a bit tricky with the space we have. I knew our swing needed to be smaller, but I still wanted to somehow accomplish the bed look.
What I came up with was a DIY Porch swing tutorial that is 2 feet by 5 feet, and was honestly REALLY easy to do. The tutorial I will share in this post will not only share exactly how I made our swing and the lengths we cut our lumber, but will also be easy enough to modify for your space.
My goal was to make our swing as large as possible while looking great on the porch which I highly recommend for all of you too.
Watch this Video before you get started
I am admittedly not a videographer, but to see some behind the scenes and get a better grasp of the project watch this short 5 min video to see how we made the swing. It is especially helpful with the cushion!
Supplies and Lumber
** As stated above – the supplies listed below are for a 2 foot by 5 foot swing. You can easily adjust your size to fit your space, but take that into account on lumber.
Tools and Supplies
- Wood Glue
- Outdoor Screws
- Wood Filler
- Drill
- Miter Saw
- Sanding Block
- Stain or Paint
- Kreg Jig
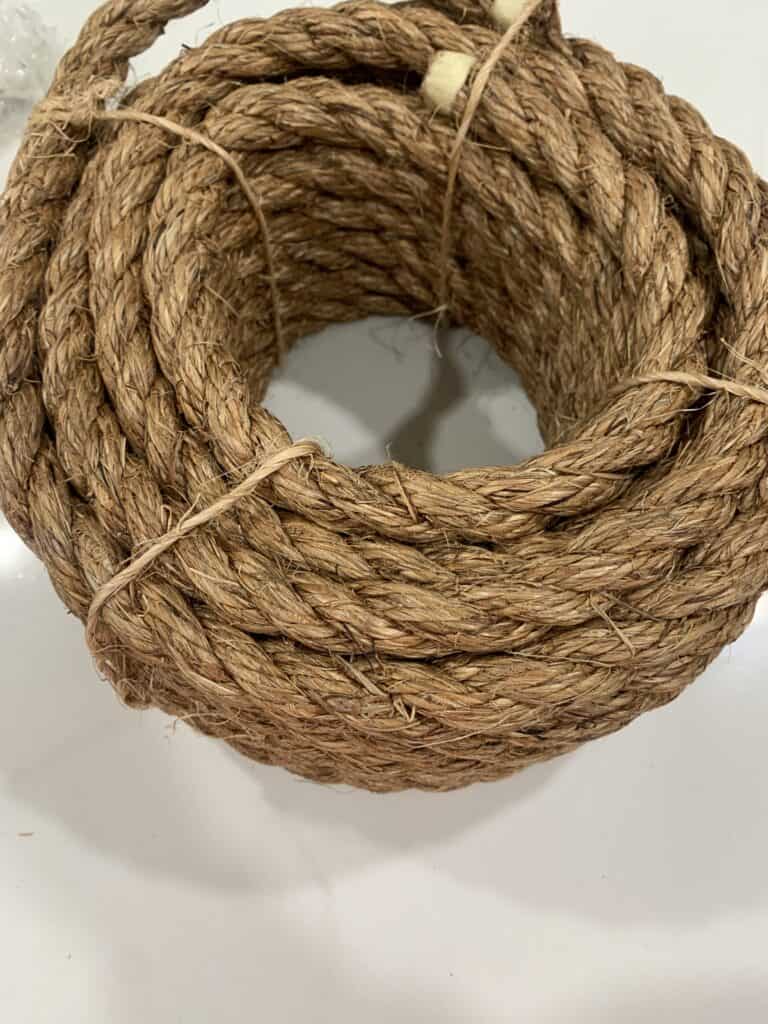
- Rope
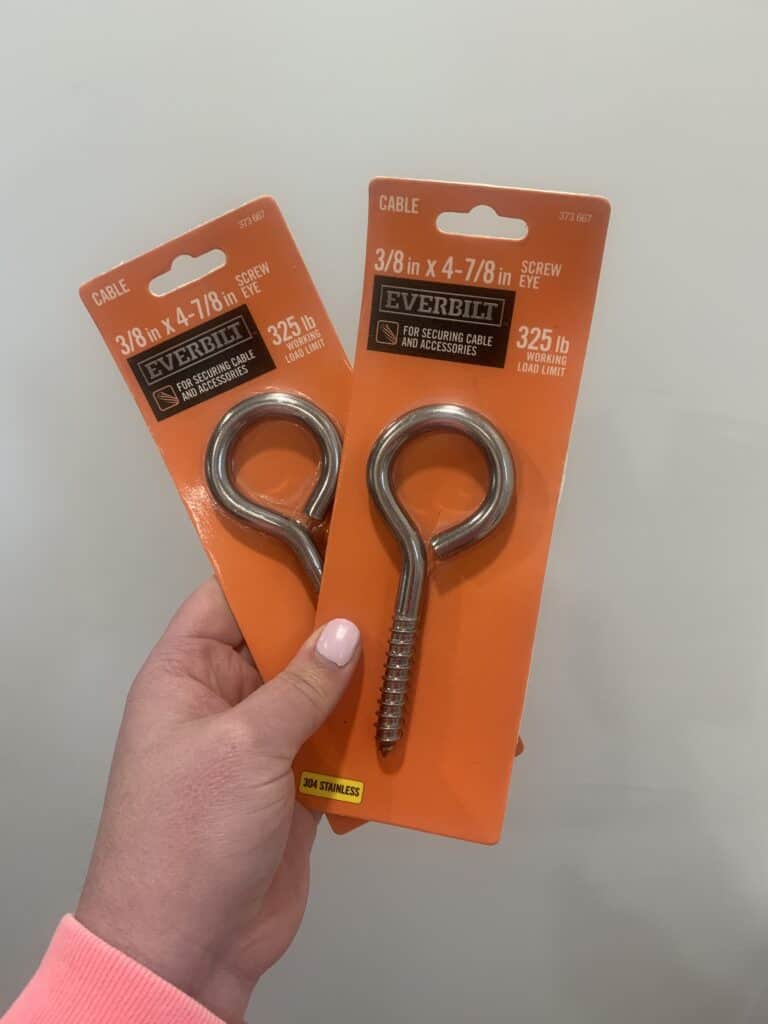
- 8 eye bolts (the ones I linked are what you need for the weight they can hold!)
- 1 – foam pad
- Your choice outdoor fabric
- Batting – optional (I used it because I had it)
Lumber
- 2 – 1x8x8 foot pine boards (this is the visible frame to the bed)
- 4 – 1x3x8 foot furring strips (these will be your slats and for the frame to your cushion)
- 3 – 1x4x8 foot pine boards (arms and back)
- 2 – 2x4x8 foot boards (support for slats inside)
Let’s Build It! – DIY Porch Swing Tutorial
Alright now it is time to build your porch swing. Below are the steps I took in making ours. Again like I stated earlier – I will share our measurements but also feel free to adjust them.
Another thing to note – I am sharing our measurements, but I HIGHLY recommend you checking each measurement for EACH board for exact lengths. Ours were slightly different in each place because boards can be warped and such. Measuring before each cut for your swing, even if making the same size will help you!
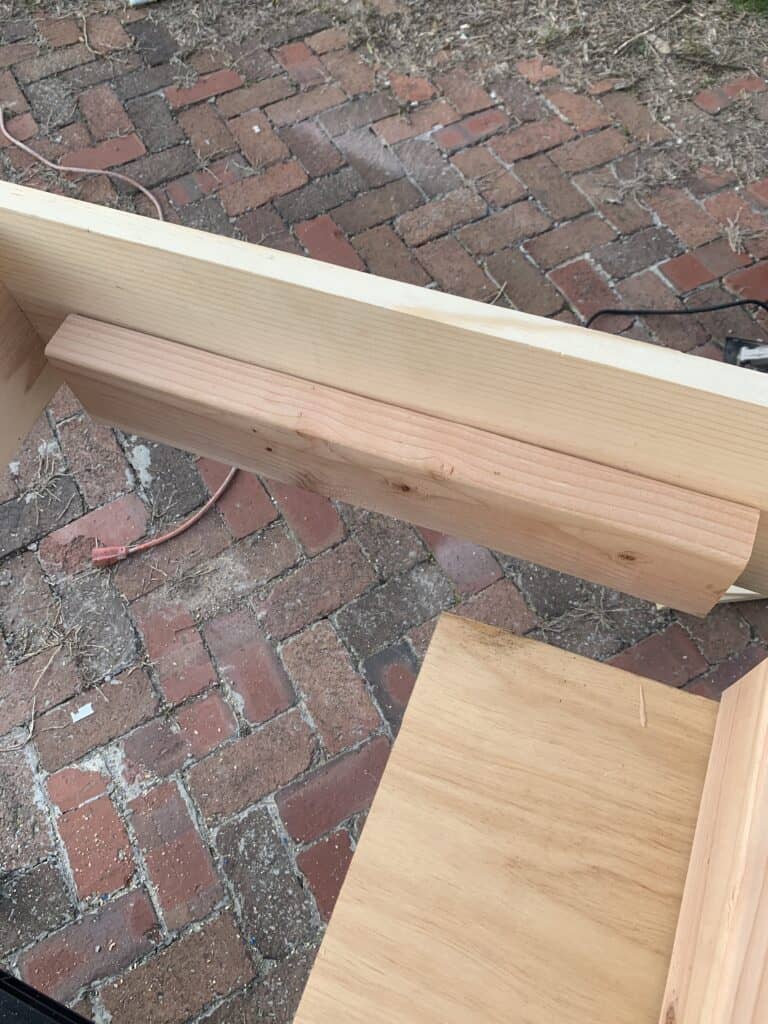
Step 1 – Build your Frame
Using your 1×8 boards you will build your base. Cut 2 pieces at 24 inches long, and 2 boards at 60 inches long.
Decide if you want to make your swing 2ish inches wider or longer. For us we went with 2 inches longer, so we took 1 of our long boards and using screws attached a short board to one side, then did that again to make a box.
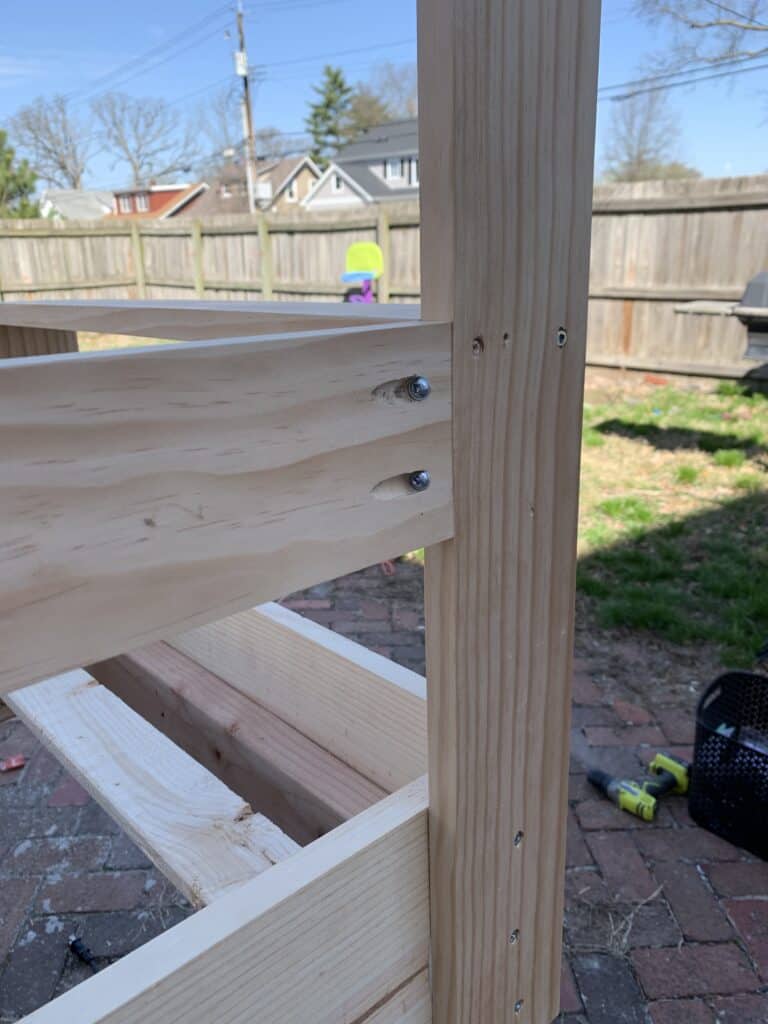
Essentially drill through your 24 inch long boards into the ends of the 60 inch long boards. Be sure to countersink your screws so you can hide them with wood filler!
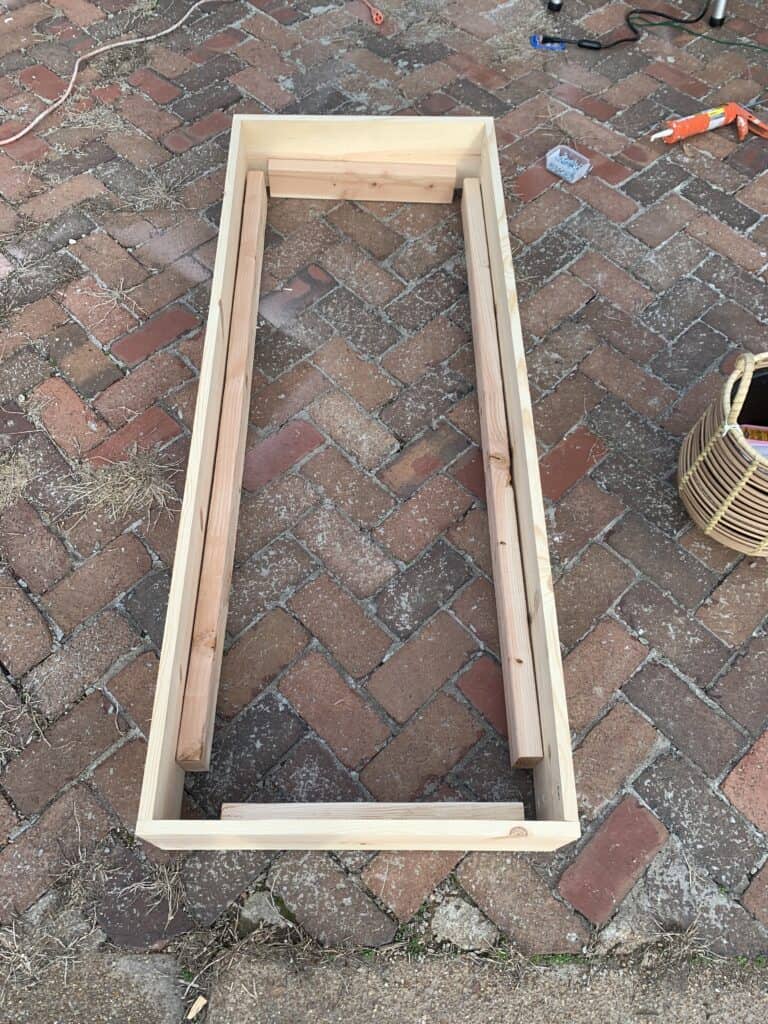
Adding Support and Slats
Now you should have an empty box. To add your supports you are going to cut your 2×4’s inside. We cut each 2×4 6 inches shorter than the outside frame. (this meant 2 pieces at 18 inches long, and 2 at 54 inches). When you go to attach these just center them inside the frame – it doesn’t have to be perfectly placed in terms of left to right.
Once those are cut apply wood glue to them and get ready to attach them. One thing that is really important in this step is that they are evenly attached inside without hanging out the bottom.
Our solution for this was to place a 1 inch board UNDER the 2×4 only. Screw the 2×4’s in coming from the outside of the swing in several places, then remove the 1 inch little spacer board and move it under your next piece.
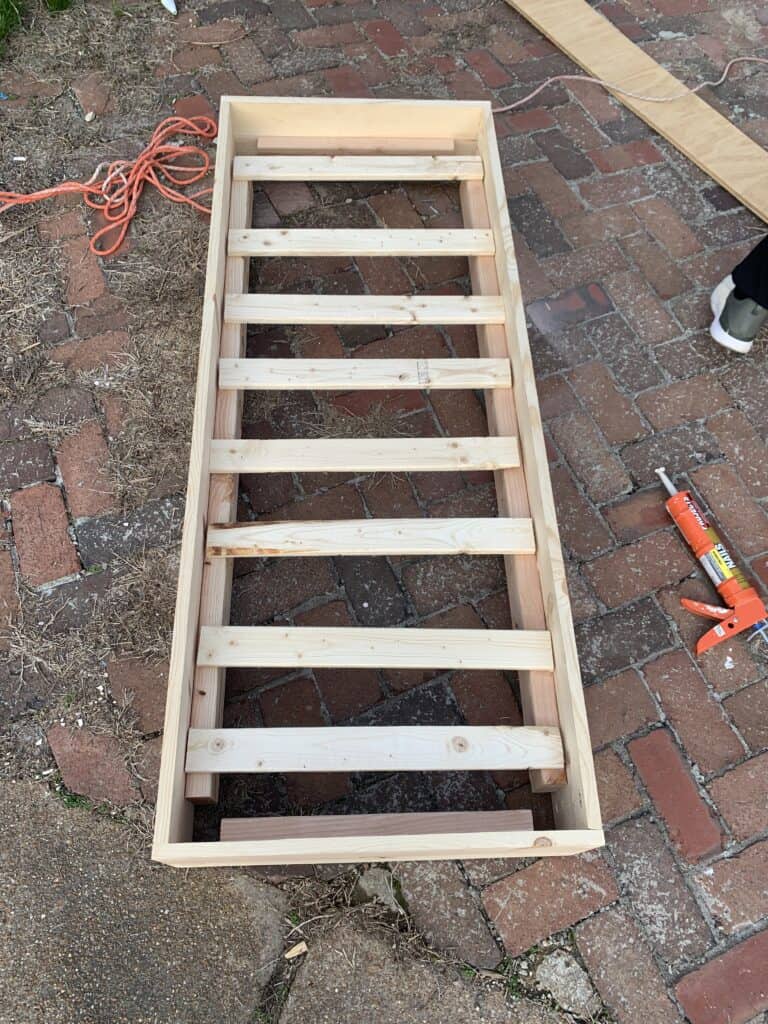
Once all 4 pieces of 2×4 are in place you will have a your frame fully assembled and ready for the slats.
Measure how long your slats need to lay on the 2x4s and cut 2 full 1×3 furring strips to make slats. Leave the others alone for later in the project.
line them up inside the swing and drill them in to keep them in place.
Arms and Back
Next you will assemble the arms and back. One thing I want to stress again here – do this IN THIS ORDER, and measure every cut to fit your swing perfectly.
All of this will be done with your 1×4 boards.
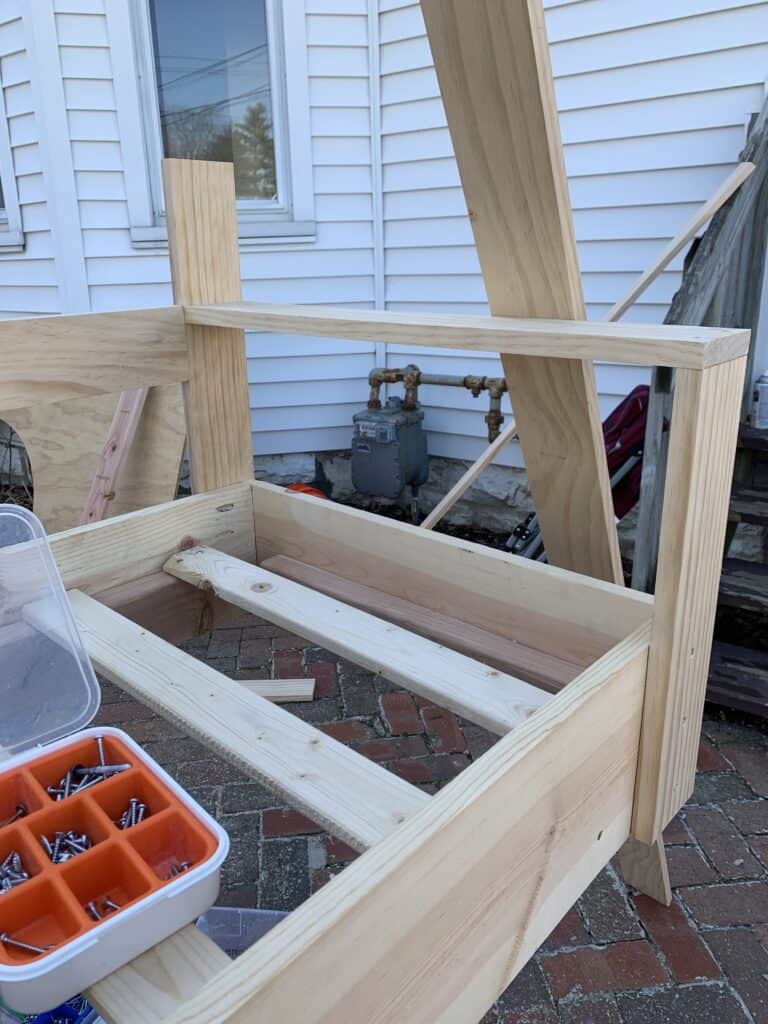
First cut – the front of the arms. We cut ours 16.5 inches. (this should be standard and you can go ahead and cut both). ** this length will be the same even if you adjust your swing to be larger or smaller.
Attach those two pieces by countersinking screws through the front of the boards. We lined the arms up with the bottom of the swing and the outside of the swing.
Second cut – The back of the arm/ Vertical back pieces. Again this should be standard and you can cut both. 2 pieces cut to 23 inches. Attach these in the same manner. ** This length will also stay standard
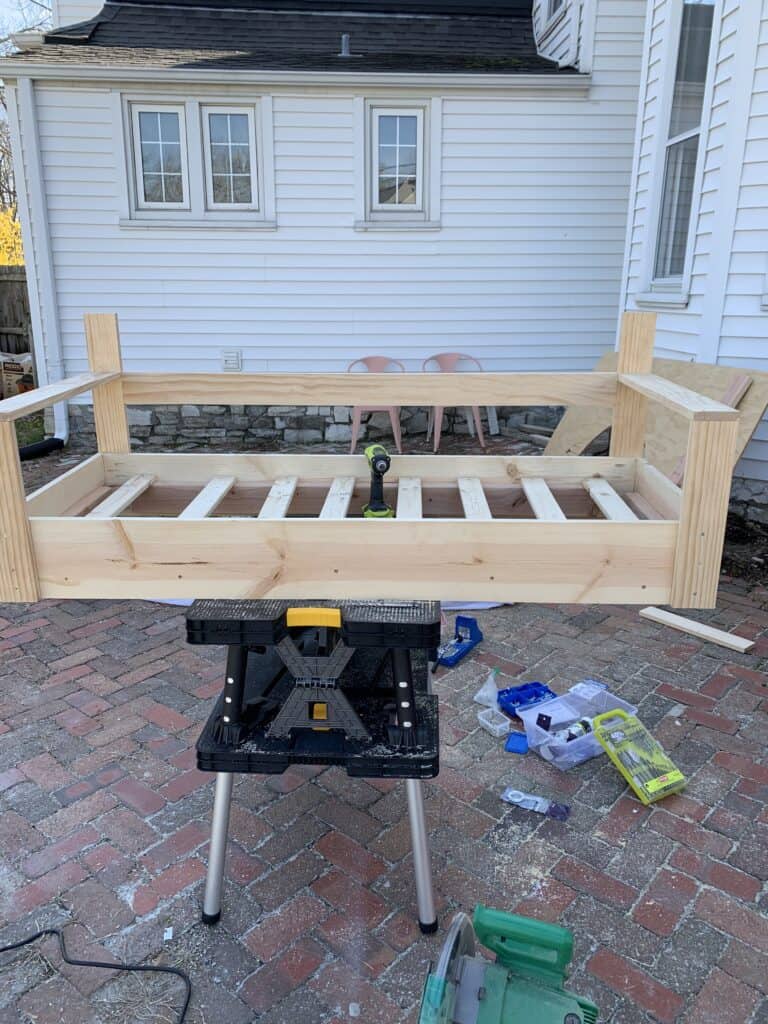
Third cut – Measure this one for each cut. You are going to add your top of your arm. Ours were 24.5 inches long, but I remember we had to just BARELY adjust the measurements on each. They need to perfectly fit in that gap.
Once cut, attach them by drilling down through the front and in through the back.
4th cut – Top of the back. Again measure this perfectly, but ours was 61.5 inches long. To attach this piece we added pocket holes to the bottom edge on both ends to pocket screw them into the back vertical pieces.
5th cut – Your last cut for the swing itself. Measure this guy perfectly as well but ours was 54.5 inches long. We added pocket holes on the ends of this board and used pocket screws to screw them horizontally into the side pieces.
Make sure you measure where you want it to go on both sides so this piece is straight.
That is it for the swing! Now while you work on the cushion wood fill ALL of the holes!
Making the Cushion
For the cushion since this was custom size – it needed to be custom as well. We measured the inside of the swing where the cushion would go and subtracted 1 inch from both the length and width and sam assembled an open rectangle. Use your extra furring strips for this, and pocket screws to attach.
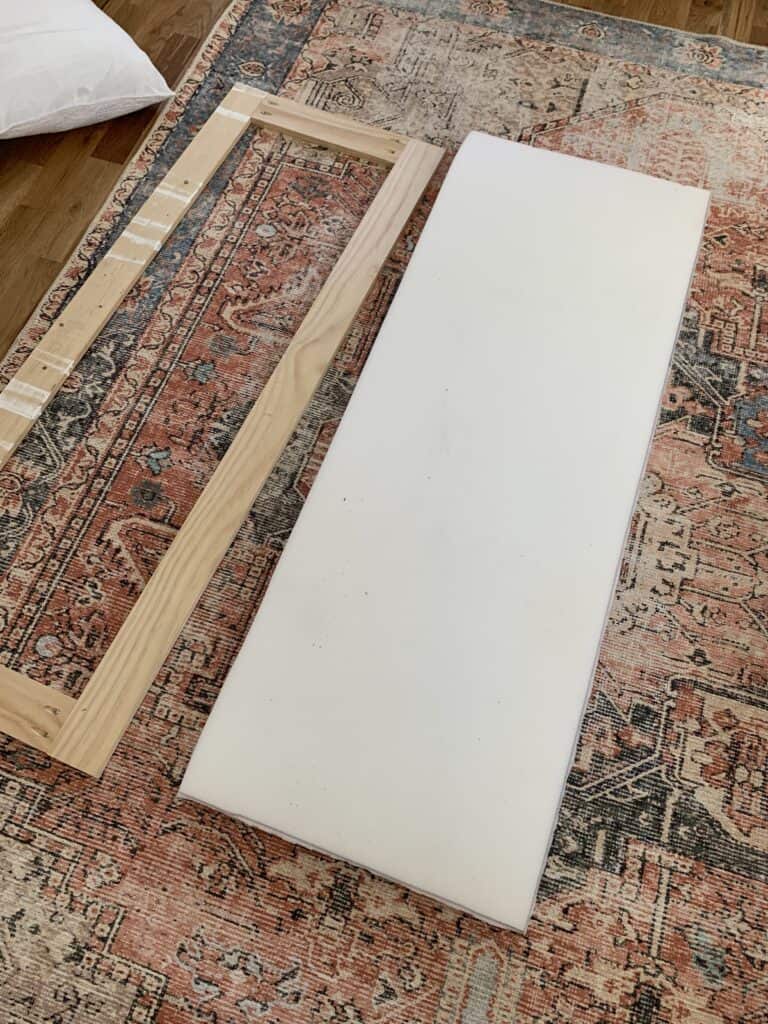
Once you have that open frame take it to your foam and trace it on your foam. I used 2 inch thick foam so used two layers.
I then laid down my waterproof outdoor fabric, then a layer of batting, then both layers of foam, then last the frame. I cut a square of fabric out of every corner to give me less fabric to work with, then you will carefully starting in the middle of the long side start pulling the fabric tight up over the wood frame and stapling.
For the for corners I had a method you can watch in my video in this post which will hopefully help! Make sure you are pulling tight the whole way around, and when done snip any extra fabric off.
Finishing and Hanging the Swing
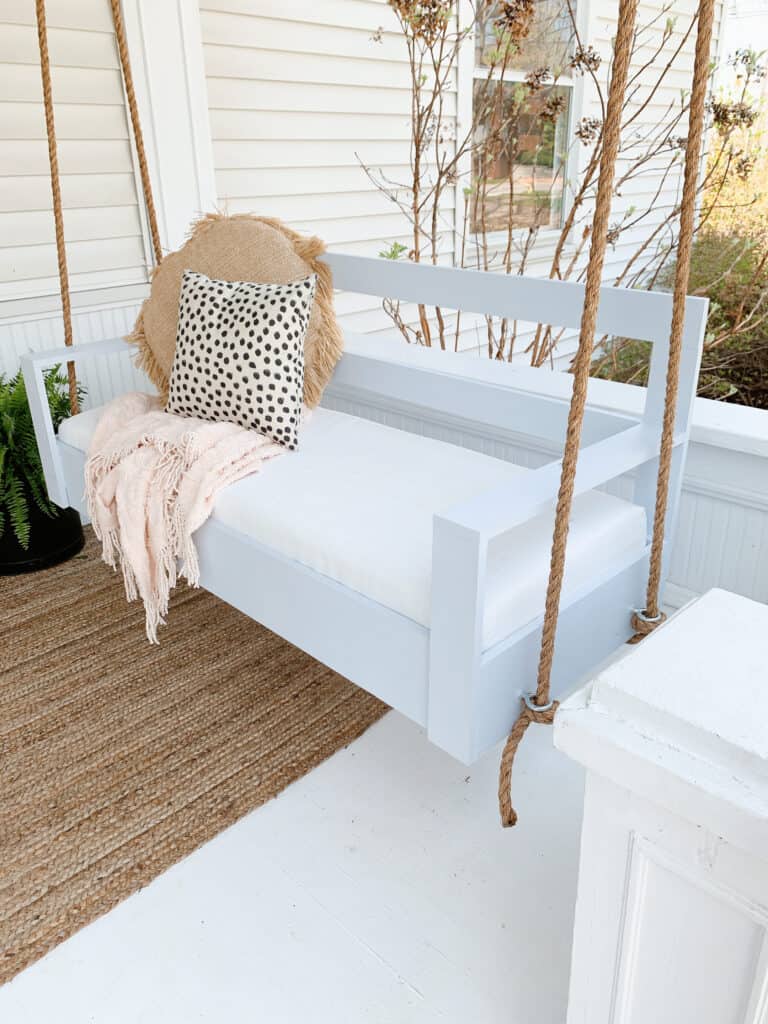
All that is left with the swing is to sand then paint or stain. We decided to paint ours and went with the color Valspar Tinsel Beam
Once it is fully dry and done you will add your eye bolts. As far as positioning this is sort of up to you, but decide on a distance from the corner and place all 4 in the same place. You do need to make sure you are far enough in on the corners that you are going into the 2×4 supports inside.
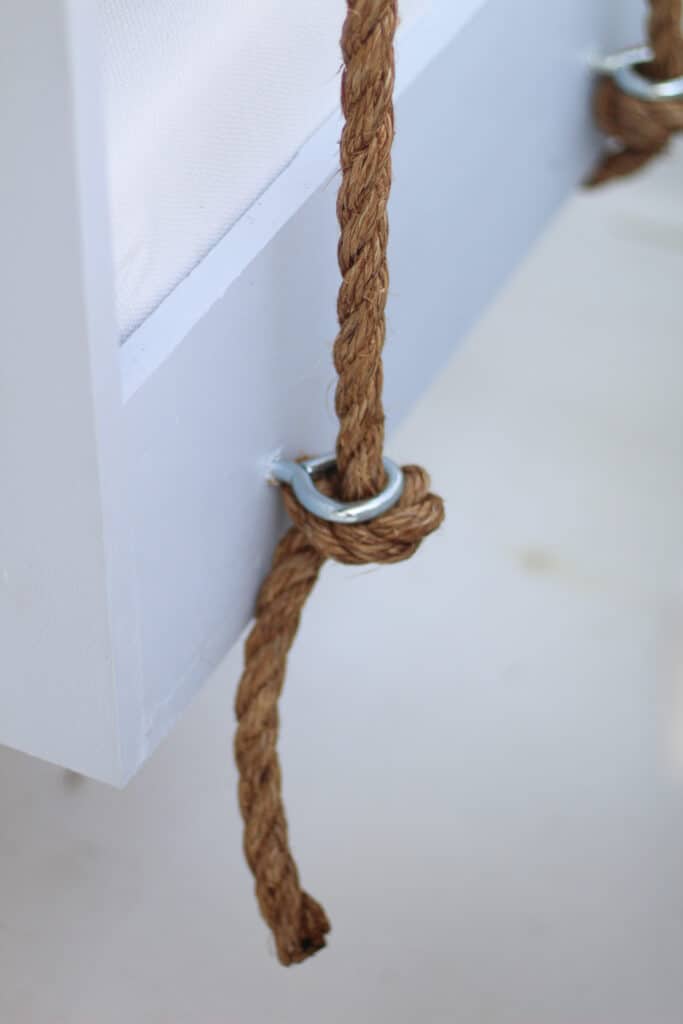
Now for hanging it – this is somewhat up to you. You can use 1 or 2 eye bolts on each side in your ceiling. 2 will make it swing less. we chose to do only 1 due to the positioning of our beams. You do need to use your stud finder and be in a beam!
We chose to use 1 long piece of rope per side, so cut our rope in half then added a large knot on one side. We then placed the swing on some planters to find our height, ran the rope up through the ceiling eye bolt and down to the other side where we tied another knot.
And that is IT! This is honestly a weekend project that can be done start to finish with about $200.
Other Posts You’ll Love
If you loved this post you will love these other blog posts below!
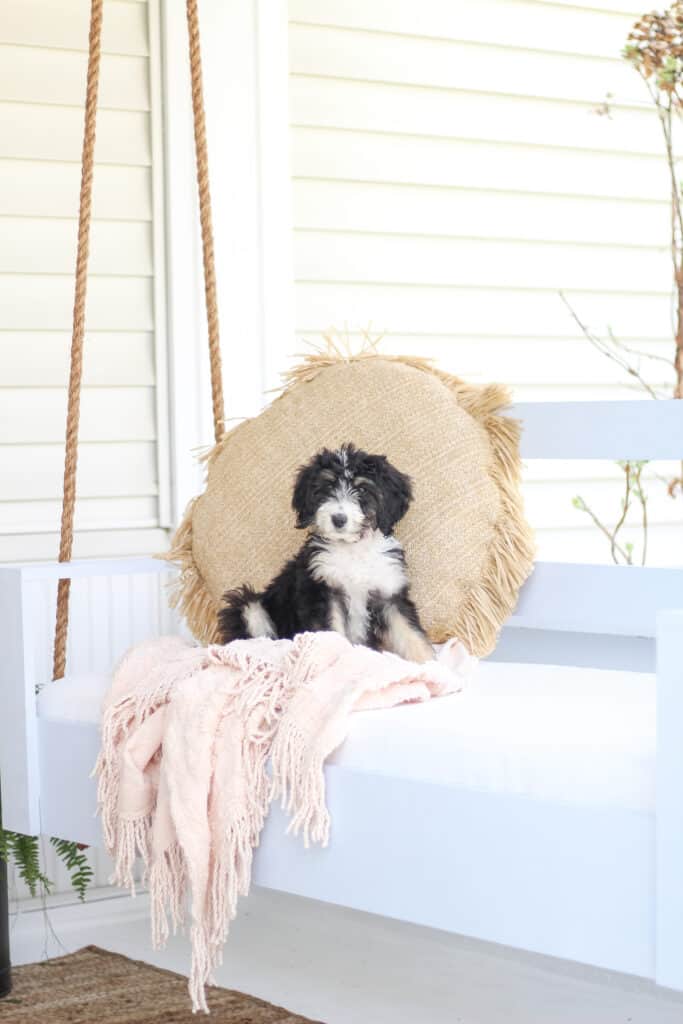
What it’s like to Own a Bernedoodle |DIY Outdoor Table | Trashcan Planter Hack | All about front porch railings | DIY King sized Canopy Bed
Pin the Photo Below for Later
I hope you found this tutorial for our DIY porch swing helpful, and feel ready to tackle your own. Tag me in your photos on Instagram (@arinsolange) when you finish your swing, and be sure to pin the photo below for later!