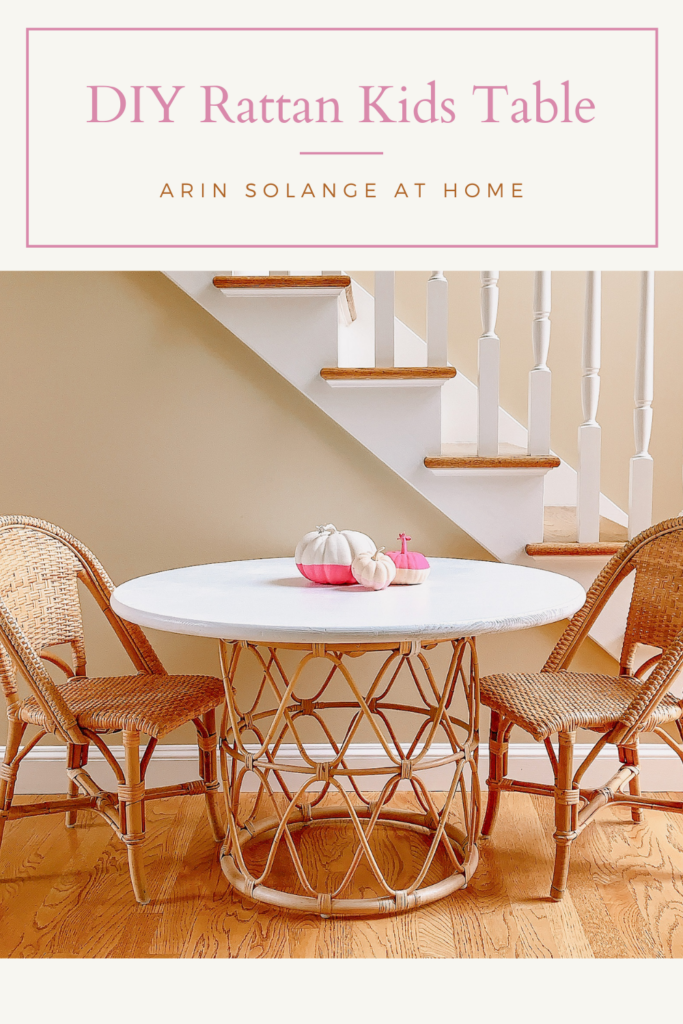
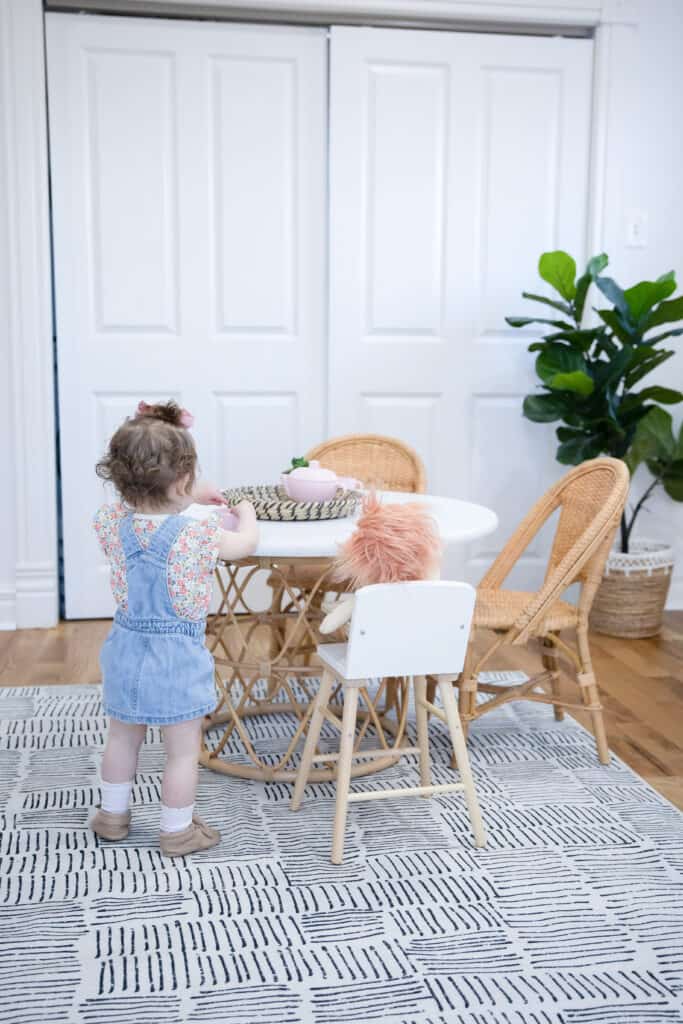
I am SO excited for this DIY rattan kids table. I have literally considered probably 10 different ideas for a kids table for our new house – because I was DETERMINED to find a unique round option. I am going to walk you though this DIY in this post to help you create your own kids table.
This post may contain affiliate links
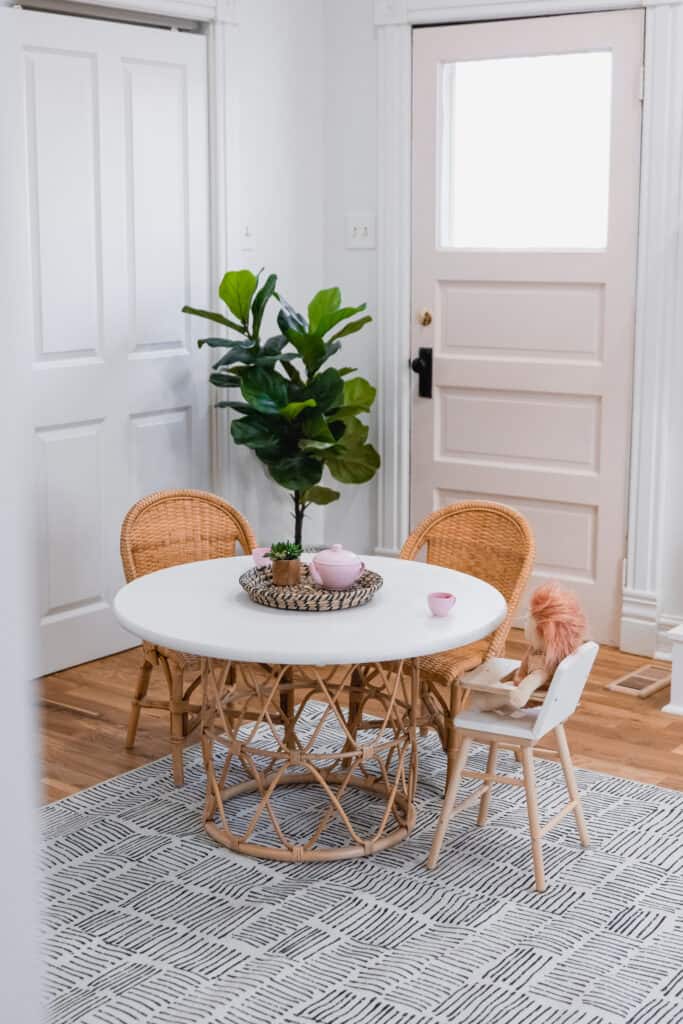
DIY Rattan Kids Table
Last year we got these gorgeous rattan kids chairs, knowing that I was going to change the kids table when we moved. I wanted something a bit bigger for the 4 kids, and was leaning towards a round table for the new playroom.
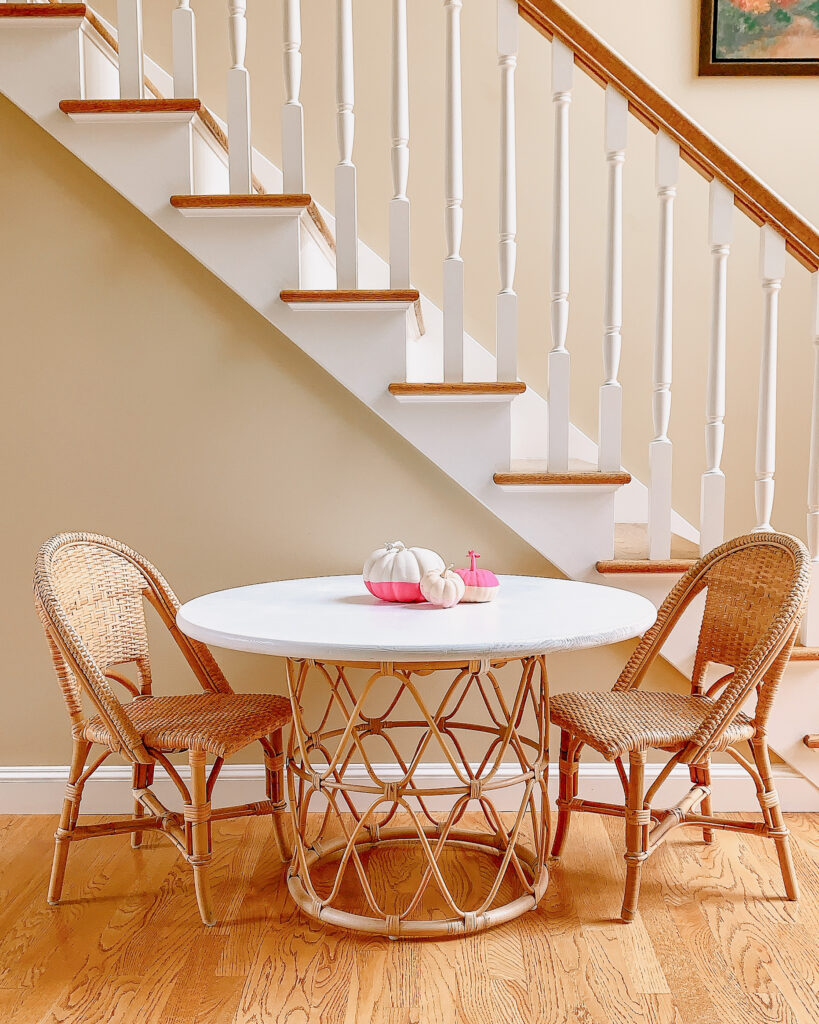
The table won’t sit against the wall in the new house so I felt like round would be a fun change from what we had previously had and would look great sort of ‘floating in the space’.
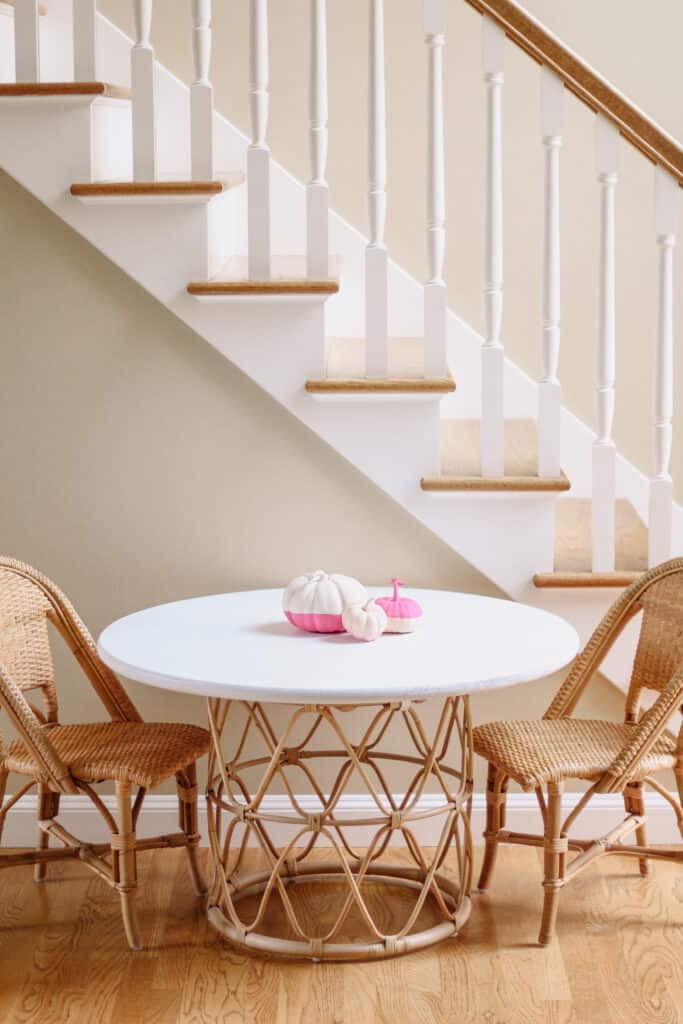
This DIY was REALLY easy – and honestly is one that any of you could do, so follow along with the post to create your own, but incase DIY isn’t your thing – I rounded up some of my favorite kids tables ready to buy at the end of the post.
Supplies
Below is the list of everything you need to create your rattan kids table.
- End Table or super study basket – I personally went with THIS end table based on the look. You really need the end table to be as close to 20 inches tall as possible. 20 – 22 inches high is ideal.
- 36 inch wood round
- 24 inch wood road (unless your base is 21/22 inches – then you can leave this off)
- wood filler
- brackets – 4
- Screws (1 inch and 1.5 inch) + drill
- Sanding Block
- Paint + foam roller
How To:
Alright this is truly SO easy, But I will give you the step by step on creating this.
- Paint 1 side of each of your wood rounds. Make sure you paint the sides of the smaller one during this step, but don’t worry about the large one.
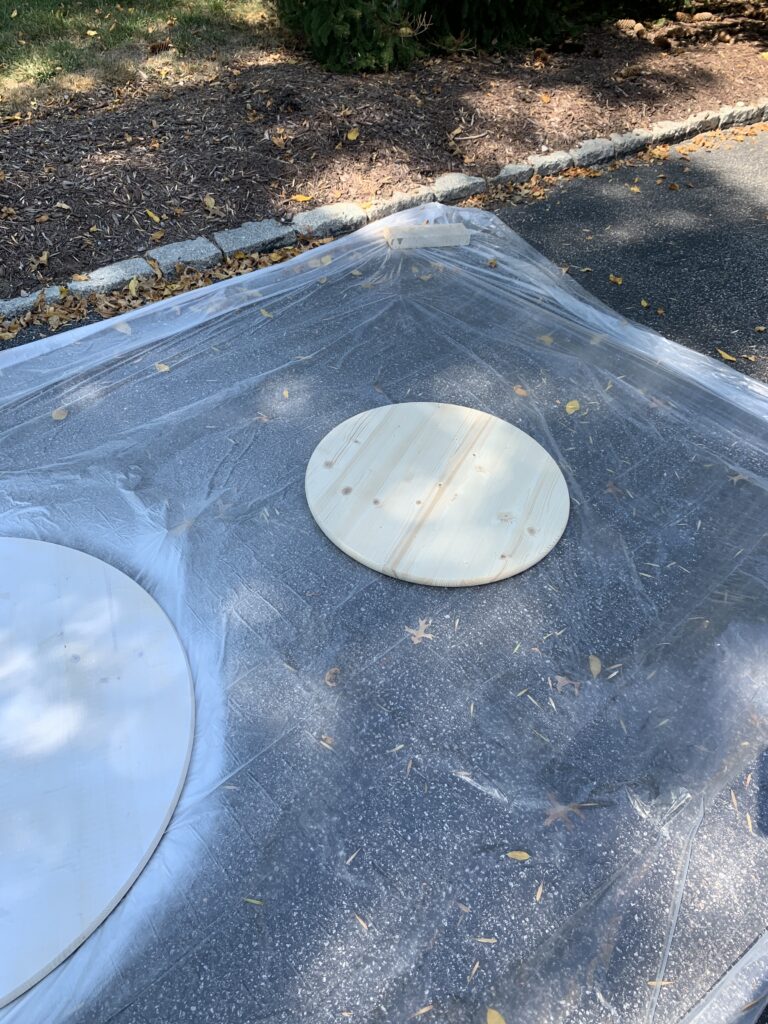
2. Paint your brackets – you can either dip them in your paint if you don’t have white spray paint on hand, so you don’t have to buy an extra supply, or you can spray them. I honestly found that dipping them gave them great coverage. If you do this just put on gloves, dip your brackets then set them out to dry fully.
3. Now you can assemble. You are going to lay your LARGE wood round down on the ground. Center the smaller one in the middle with the UNPAINTED side down (no need to paint it – it will never be seen) and use 1.5 inch screws to attach the two wood rounds. I would use 4 of these screws.
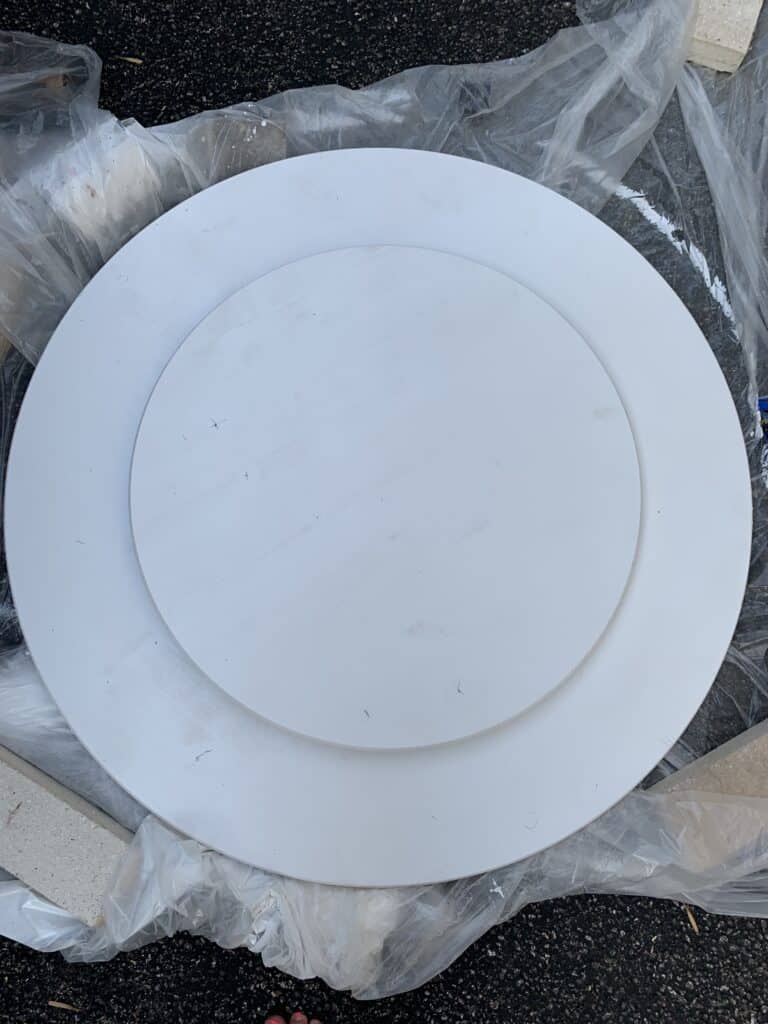
4. Next center your site table in the middle of the smaller wood round, and grab your 4 brackets and 1 inch screws. Use the brackets to attach the rattan table to the table top. Now you can flip your table and start finishing the table top.
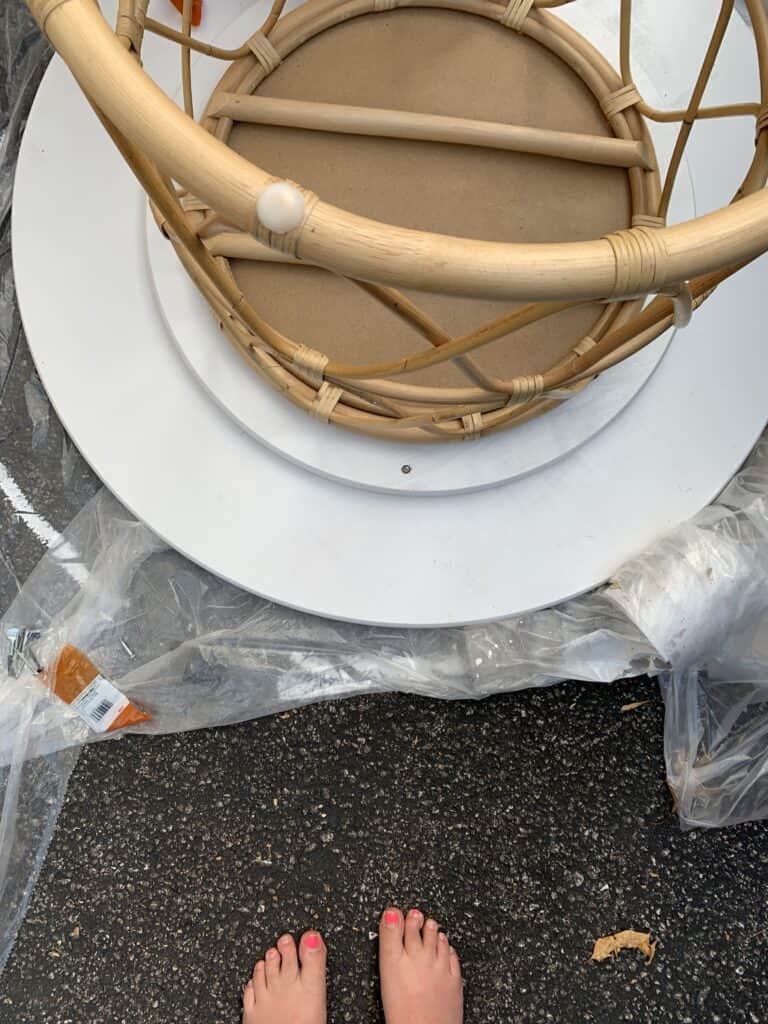
5. Once the Table is flipped and assembled use wood filler to fill ANY cracks and imperfections in your wood. Let that fully dry.
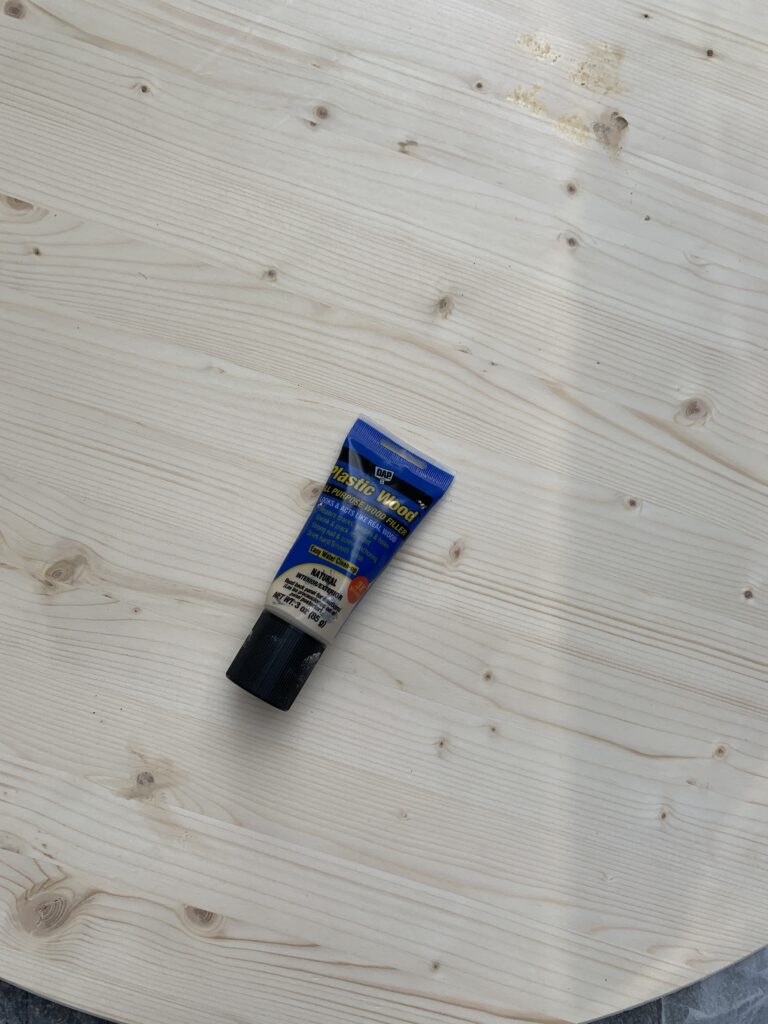
6. Sand the table top down, and wipe clean.
7. Now paint the top of the table and the side.
Once fully dry sand it lightly, wipe clean and repeat. I personally did 3 light coats of paint on the top.
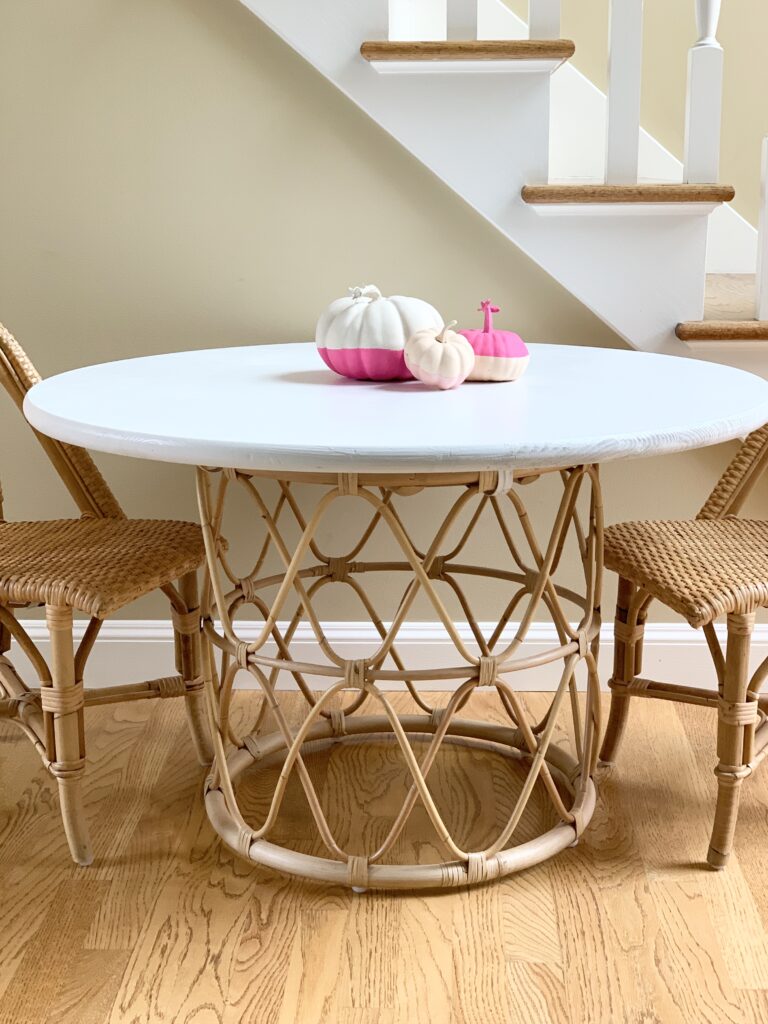
That is it – this was a really EASY DIY – I spent more time coming up with how to do the project than actually completing it.
I have personally LOVED having unfinished wood as the base to my kids tables. We have had a solid wood table since Jack was a baby and I have sanded and repainted and stained so many times. It allows for them to create and be messy!
Other Great Kids Tables and Chairs
DIY isn’t everyones thing – I mean this wasn’t necessarily a huge BUDGET SAVER DIY. It was more so a way for me to accomplish the exact look and function I was looking for.
I rounded up some other great gorgeous play tables and chairs below that you can use to elevate your play space or living space. Remember – sometimes being a mom means finding a great spot for something you will use daily, and investing in making it fit your home.
In our last two homes I have found spots in our main living areas for our kids table to stay, and I loved how much the kids used it. This time when we move into the new house our playroom is on the main floor so it is not as much of a necessity.
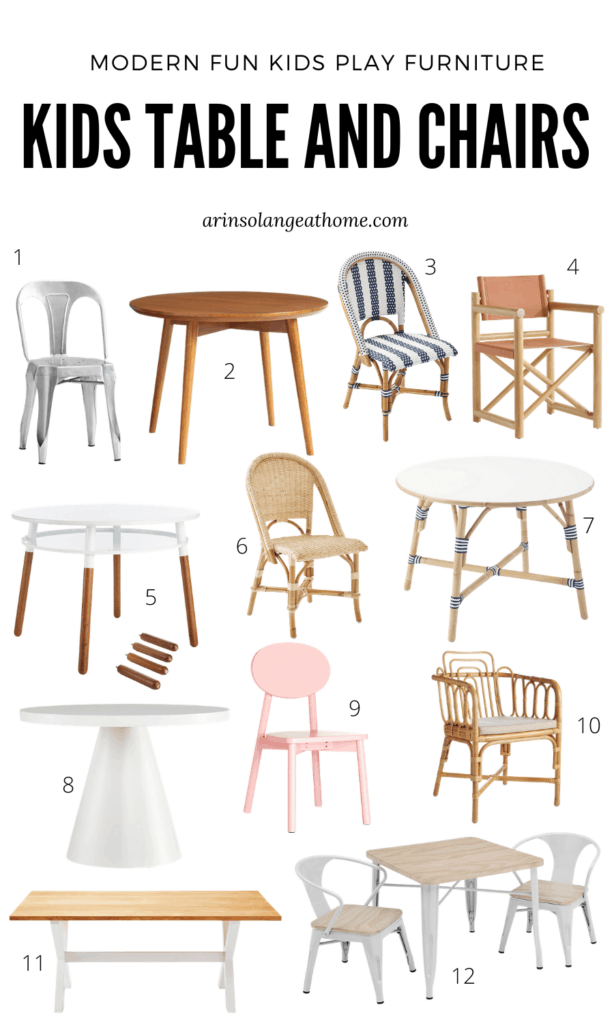
Shop These Items
1 | 2 | 3 | 4 | 5 | 6 | 7 | 8 | 9 | 10 | 11 | 12
All of the above items are wonderful options to mix and match. Our chairs from above at #6 and they are gorgeous and super high quality.
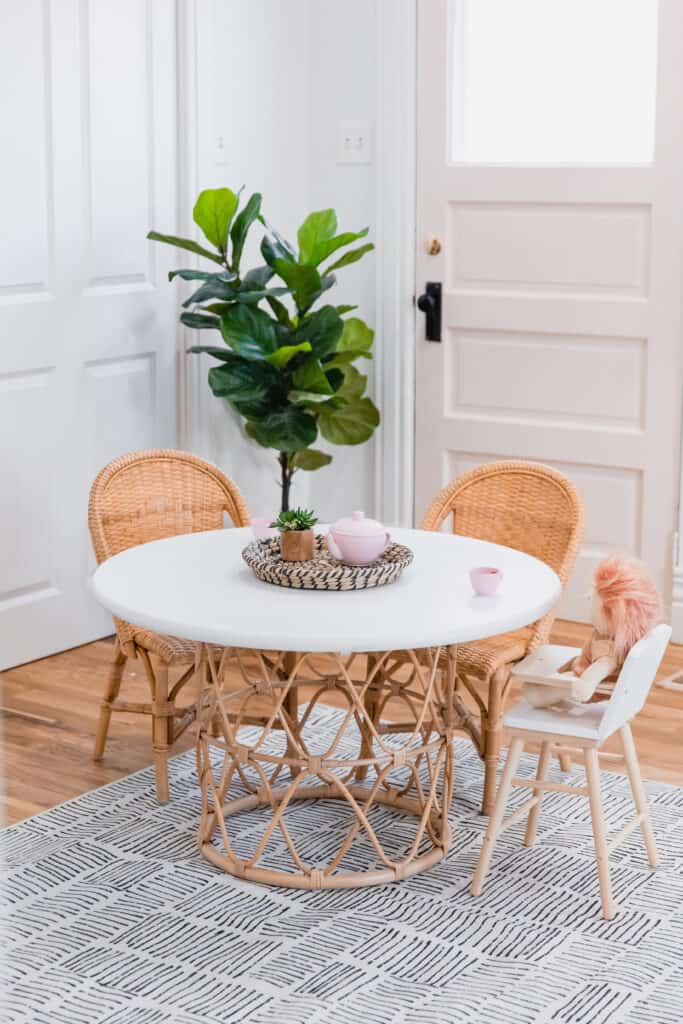
Other Posts You’ll Love
DIY Wall Mounted Art Easel | DIY Abacus baby Toy | DIY outdoor Table
Pin this Post for Later
Hopefully this helped you find a great kids play table, or you feel ready to tackle the DIY Rattan kids table. If you have any trouble always feel free to comment below or DM me on Instagram (@arinsolange). I would love to see your creations – so make sure to tag me on Instagram!
