Today I am going to share an EASY DIY fall wreath. DIY wreaths can be tricky – if you are looking for an exact look they are a great option, but they can also be so expensive and difficult, so I really wanted to share an option that was not.
This post may contain affiliate links
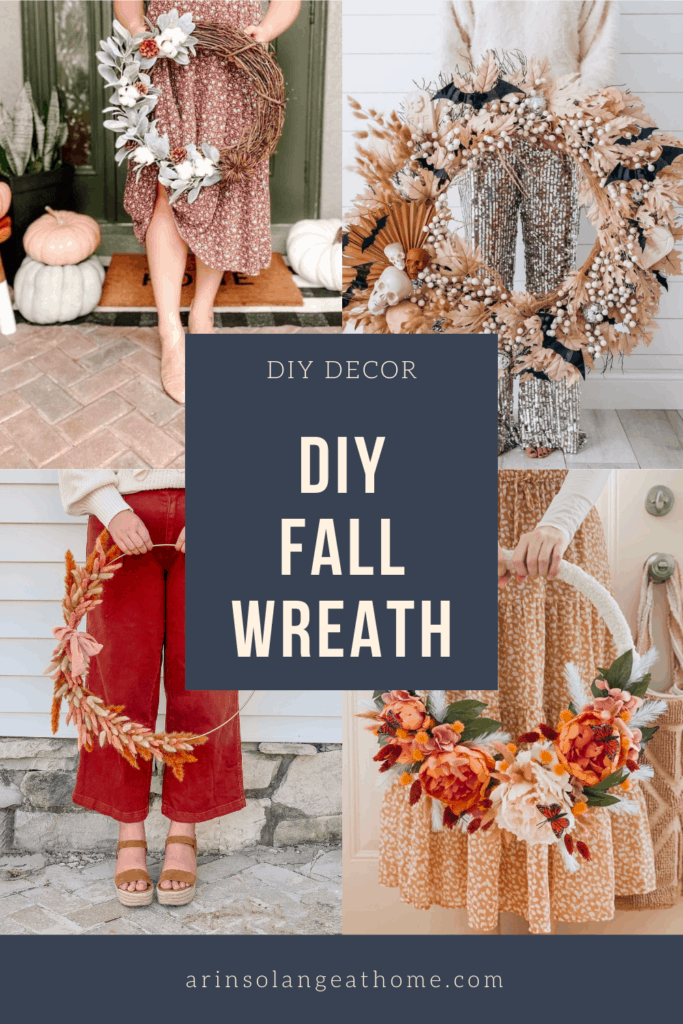
DIY Fall Wreath
like I said above – a DIY wreath isn’t always super affordable. Sometime you spend more on supplies than if you were to buy it. THAT SAID – I still love making my own. I just thin its worth noting.
Before you start any fall wreath you will want to plan what look you’re going to go with because that can make a difference on your base. If you are doing tons of foliage sometimes it’s best to use a simple pre-made wreath as your base.
There are also cases for metal frames, foam frames, or the simple metal loop. That’s for sure the biggest thing to question for things first!
Once you figure that out you can start planning your wreath and gathering supplies. Pending the style of wreath it is worth noting that you will probably need more supplies than you think!
Pink Bunny Tail Wreath
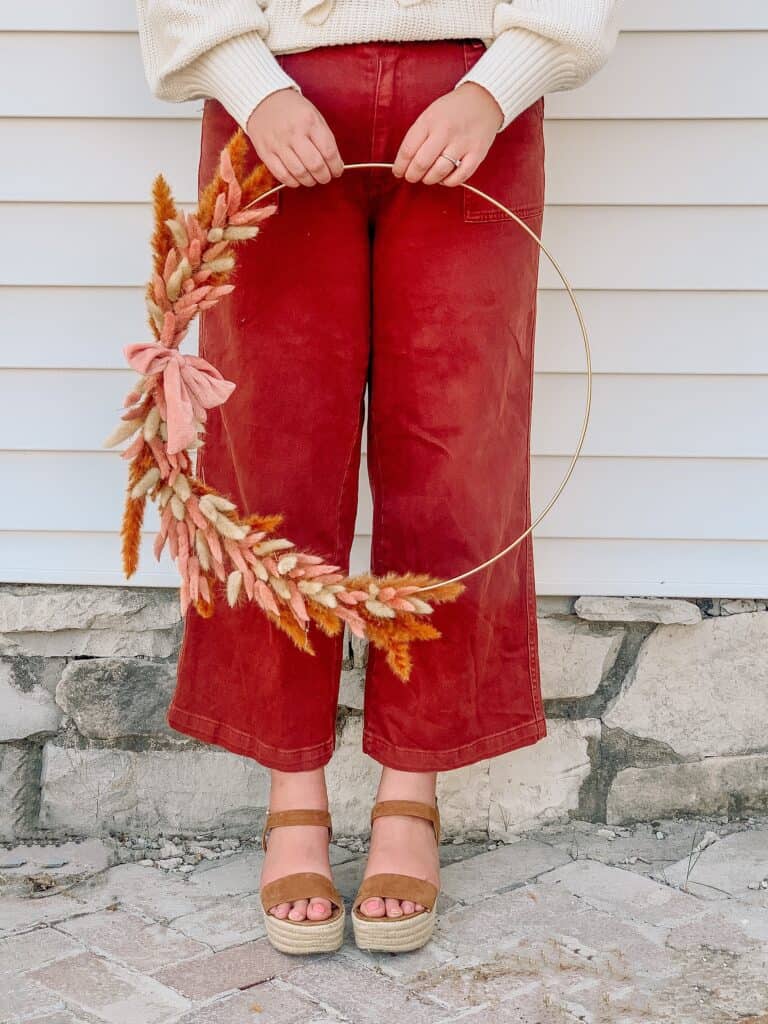
I knew I wanted something super simple for my wreath. I have been loving bunny tails, and actually originally wanted to do something really bright, but as always for me when I am making a wreath I changed my mind mid way.
I wanted my wreath to feel dainty, but still feel like fall, and the end result did that for me! I am so happy with how it turned out and can’t wait to hang it on the new house.
Supplies
What do you need to complete a wreath like this? I will share exactly what I used – but I will also say that with all wreaths there is a level of uniqueness and you can improvise on supplies.
Wreath form – I went with a silver hoop because it was less expensive and used gold spray paint that I had. – another option is to buy one in Gold.
Greenery – I went with pink bunny tails, burnt orange tails, and natural bunny tails.
Ribbon – I actually had a specific look I wanted and for me that was pink velvet and it was less expensive to use a scrunchie – I purchased this pack and used the pink scrunchie as the ribbon!
Hairspray
Directions for Making This DIY Fall Wreath
If you started with the silver hoop and you want it gold – be sure to spray paint it as your first step. If your hoop is gold to start with then you’re set.
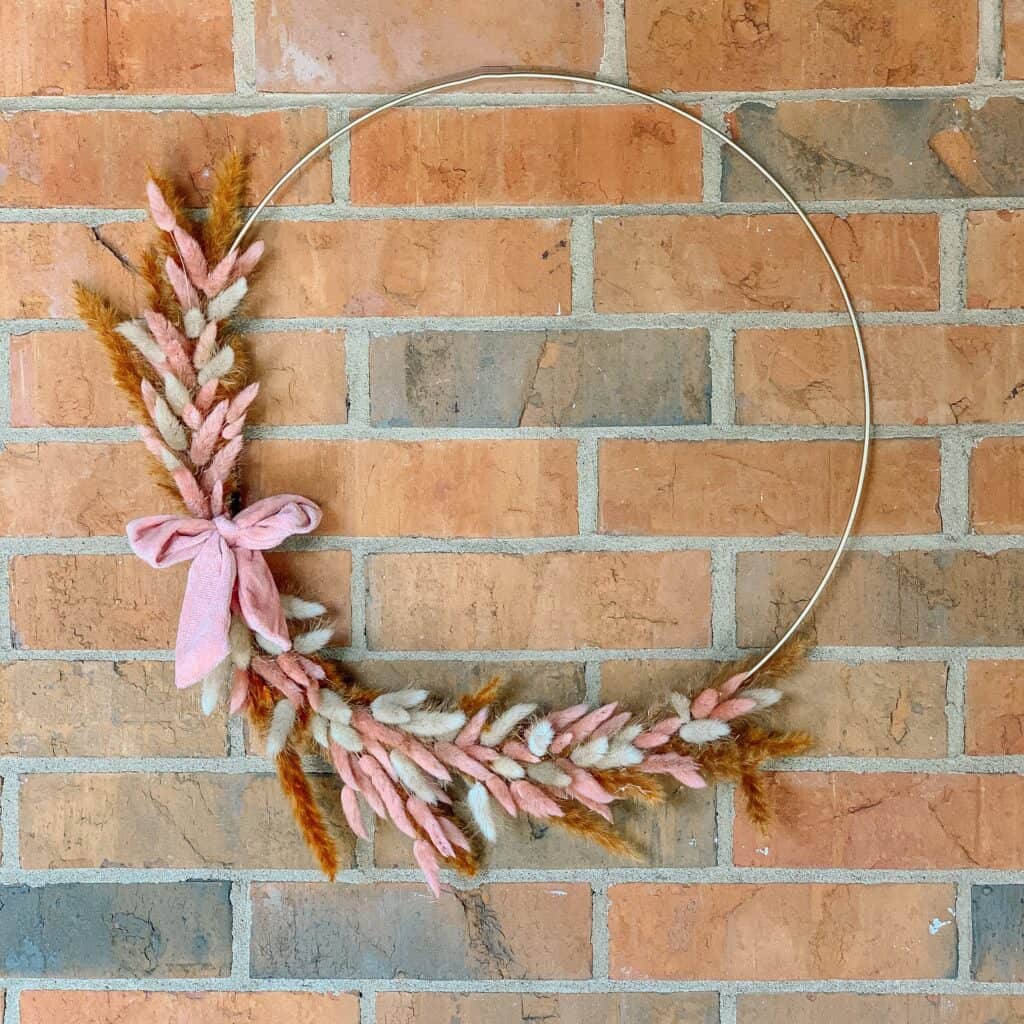
You are going to work from 1 ‘center point’ on your wreath going opposite directions with all of your greenery from that spot (this will be where your ribbon goes!)
First start with the orange grass or whatever you chose as a grass. Wheat would be beautiful here too. Use small pieces of floral wire to attach the pieces so they hug the wreath form but also stick freely towards the end. You will be able to hide the floral wire in the next step.
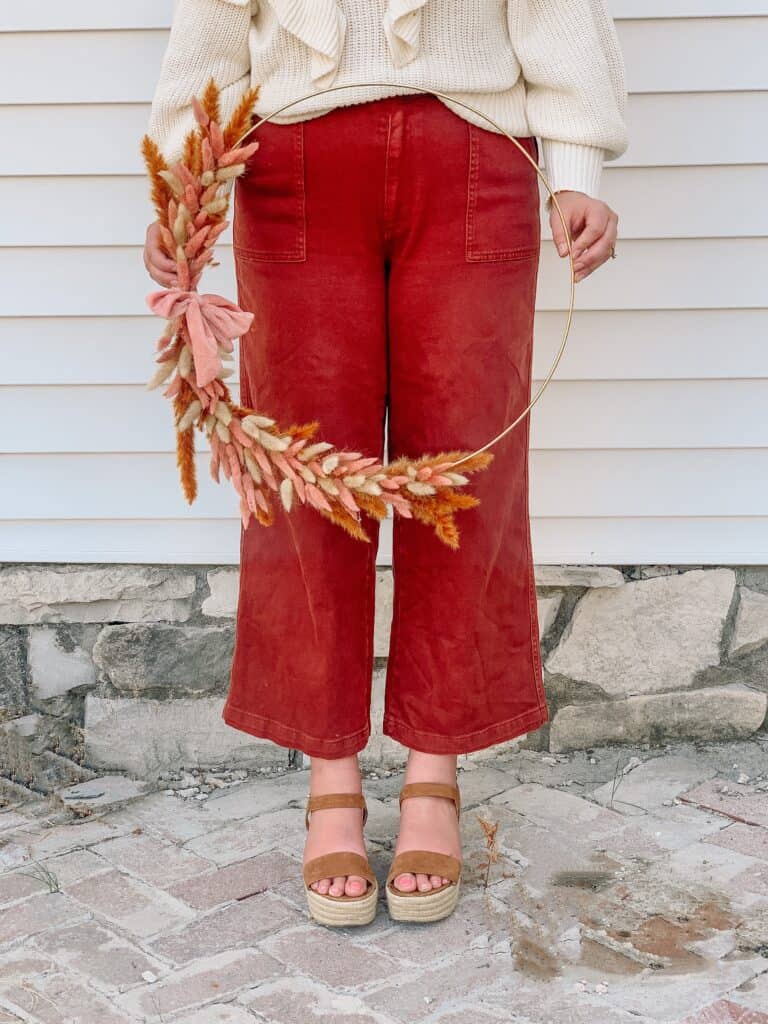
Be sure to add some to the inner part and some to the outer part of the hoop. I do think adding more to the outside is better – but do what you think looks best to you – after all that is why you’re making your own!
I went roughly 10 inches ‘up’ from my center point and 15 inches down. I didn’t want it to be even, but just use your best judgement. You could go slightly longer with each.
Once you have added the grass it is time to add your bunny tails. I cut the bunny tails so they only had about a 1 – 3 inch stem and attached 3 or 4 at a time with floral wire. I did that all over the areas I had already added the grass.
Once things look pretty full its time to start hot gluing more on to keep things looking full and hide the wires. Cut the stems FULLY off the bunny tails and slowly start gluing them on. A little hot glue goes a long way with these guys.
When you’re fully content with your wreath it is time to add your bow – as I said above I ended up going with a scrunchie because – A: I don’t tie bows that well, and B: it was less expensive than buying really nice ribbon.
I simply cut the scrunchie in half and left only enough of the band to wrap around the wreath at your center point.
The last step is hairspray. – I know this sounds so odd, but those fall grasses shed like crazy so if you take your finished wreath and give it a good spray of hairspray it will stop shedding and last much more!
And THATS IT! It really is that easy. Doing a DIY Fall wreath doesn’t have to be crazy expensive or hard. And if you’re like me and simple is your thing that can still happen.
Other Fun Fall Wreaths
As an added bonus I teamed up with several other ladies to give you even more fun DIY fall wreaths that you can try to recreate. Most of these ladies have highlights on their Instagram or a blog post where you can find the how to!

Stephanie created this gorgeous, over the top in the best way ever wreath for Halloween. Check out here blog post to learn more
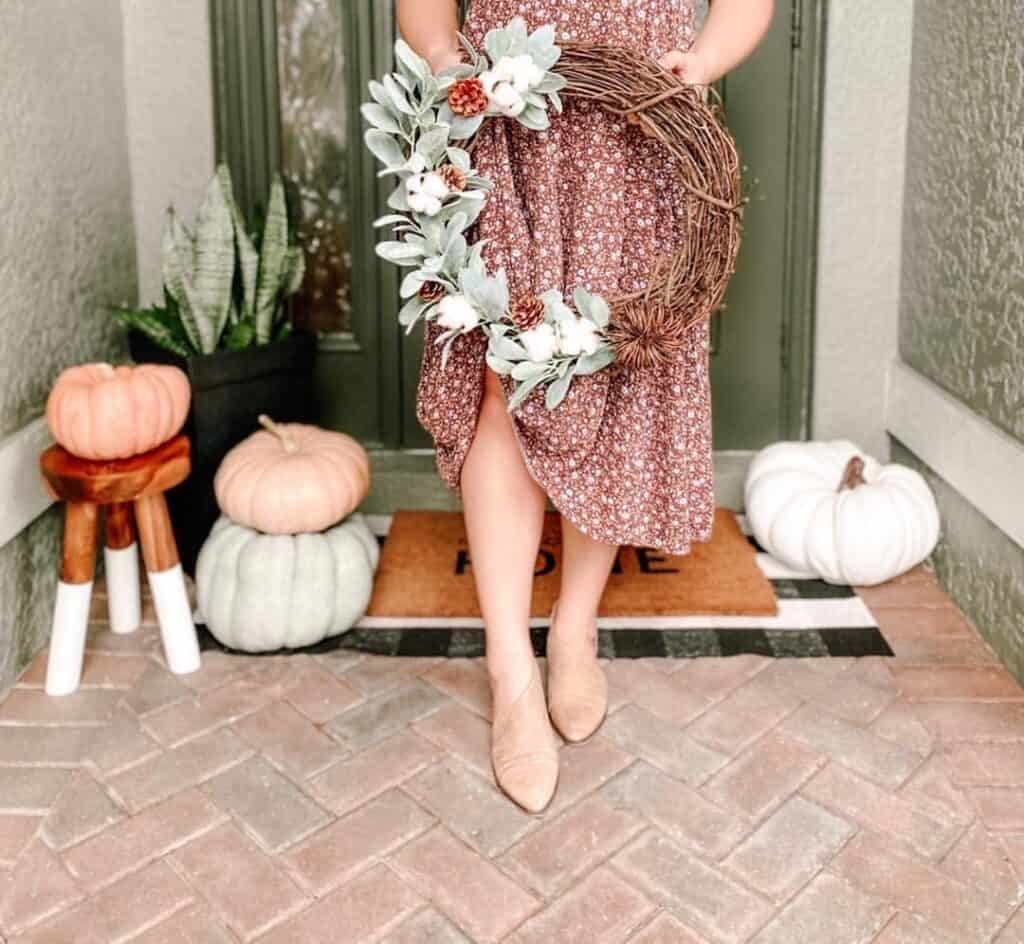
Kaili did this gorgeous wreath and showed exactly what I meant by sometimes starting with a wreath that has more substance!
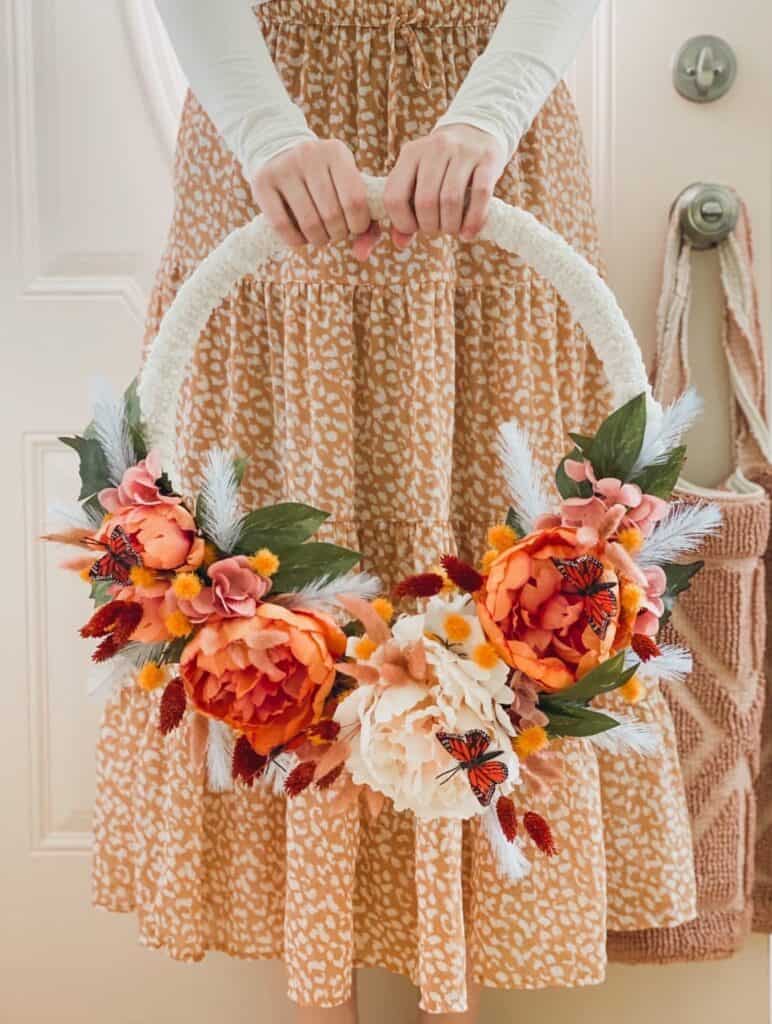
Erika did this GORGEOUS floral wreath including some bunny tails in a super feminine way! Check out her Instagram stories for more.
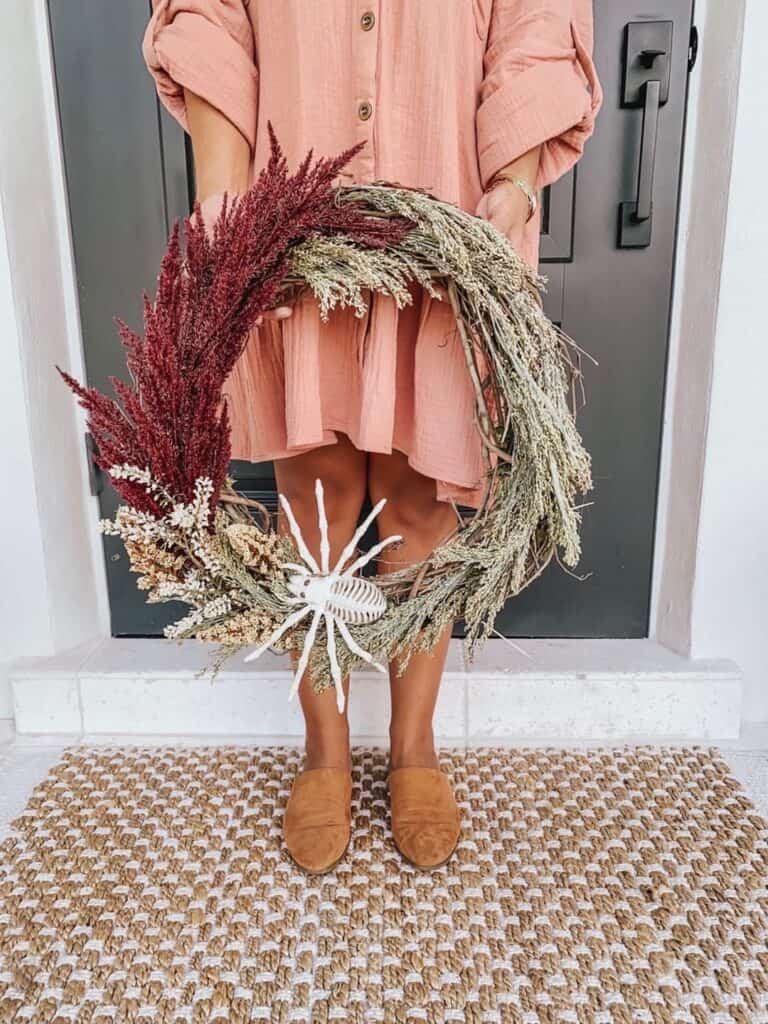
Jen created this gorgeous DIY wreath that is perfect for halloween but you could easily remove the spider for all of fall!
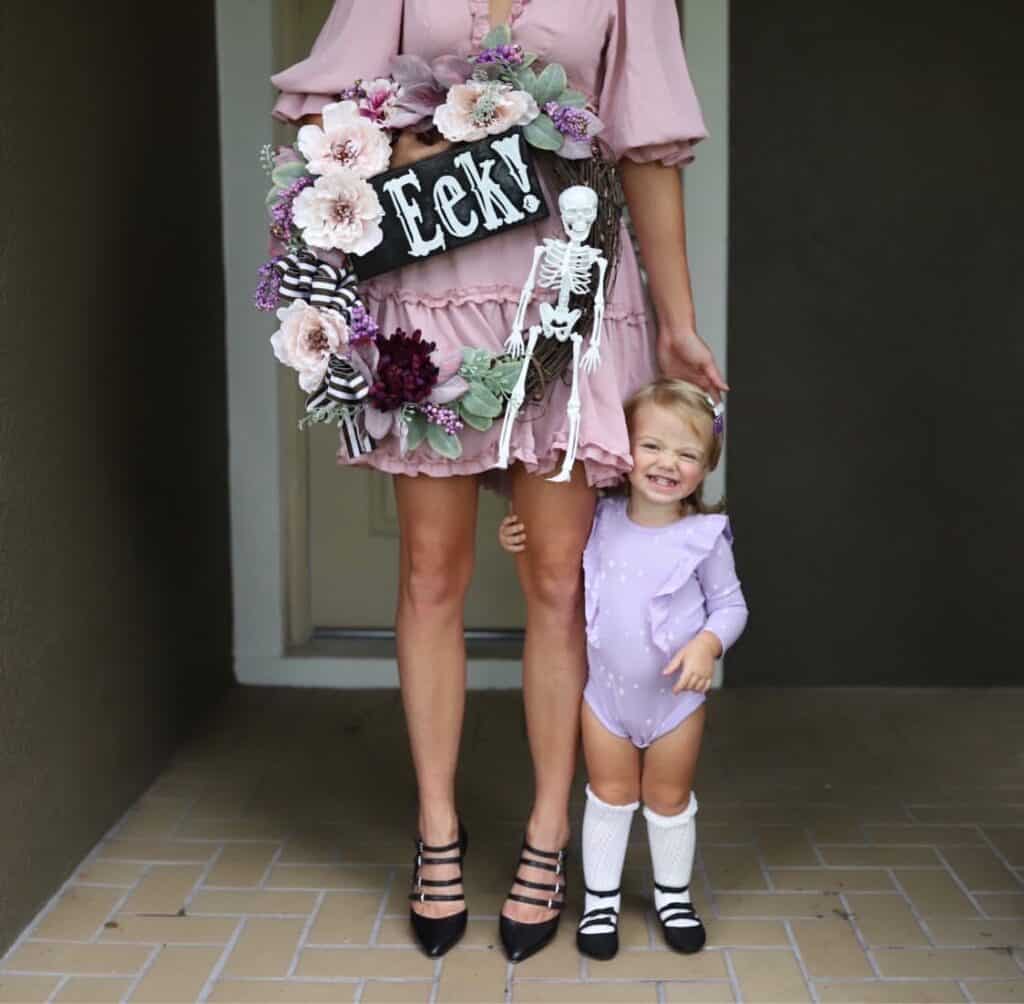
Arielle created this gorgeous floral Halloween wreath that is just stunning and the perfect level of whimsy and spooky!
Other Posts You’ll Love
DIY Halloween Wreath|$40 Easy DIY Outdoor Table |
Modern Fall Decor | Fall Decor Tips
Pin The Photo Below For Later
Hopefully this gave you some great inspiration on doing your own DIY Fall wreath and you are able to create one you love! I would love to see what you make so be sure to tag me on Instagram (@arinsolange) or comment below!