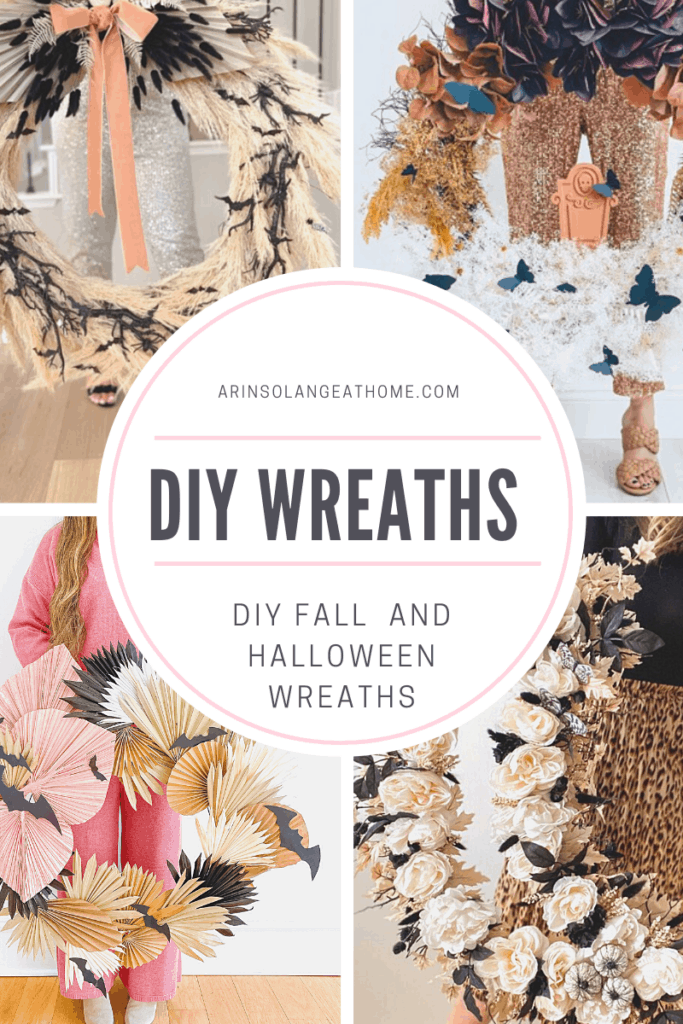
A good Halloween wreath is a must right? One of the few DIY’s I do every year is a good fall or Halloween Wreath and again another for Christmas. I was excited to link up with some good friends on Instagram this year for some fun wreaths, and wanted to share my tutorial as well as their gorgeous wreaths with you!
This post may contain affiliate links
Halloween Wreath Ideas
Last year I skipped the “Halloween” look and stuck with fall so this year knew I wanted to create an actual Halloween wreath. One thing that is so fun tho with Halloween and fall is that often times you can do a fall wreath then add the Halloween aspects closer to the holiday.
Halloween has gotten less all things Orange and black over the past few years with other fun color schemes that has made making Halloween wreaths so much more fun. Go with any color you like, and add inexpensive Halloween aspects.
Spiders, Skulls, Skeleton hands, Bats and so on are all easy Items to find and if you add a little spray paint you can make them exactly what you are looking for.
Pretty in Pink Halloween Wreath
My friend Rebecca put together this gorgeous pink and orange wreath that IS SPEAKING TO ME. If you have followed me for very long you know that pink is my thing…and Rebeccas recreation was picture perfect.
Check out Rebecca’s blog here for more fun and DIY and for her Instagram post on the wreath check it out here.
Monogram Simplicity
Simple is normally the name of the game for me and my wreaths so I am LOVING this wreath by Tina. Check out her Instagram for more!
Pampas Grass Perfection
My friend Aurelie did a simple Pampas grass wreath where she added in the perfect amount of Halloween goodness and holy moly is it gorgeous!! I think for Aurelie one thing that made it so gorgeous was the size!
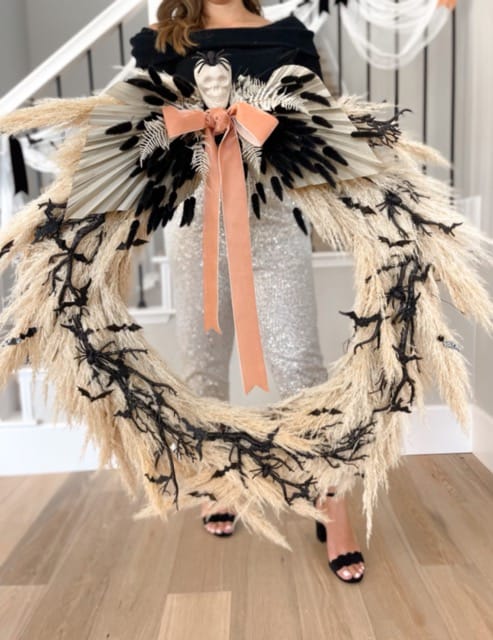
This was one of the wreaths that I think you could take a store bought version and add to it if you are a beginner DIYer. Check out Aurelie on Instagram for more!
The perfect Natural Ombre Halloween Wreath
My friend Stephanie knows how to do Halloween right, and her DIY Halloween wreath this year was SO GOOD. She took a very simple ombre look but added the right pops of Halloween goodness to elevate it to be perfect for Halloween.
Check out her tutorial here for how to make your own, and don’t forget to follow her on Instagram.
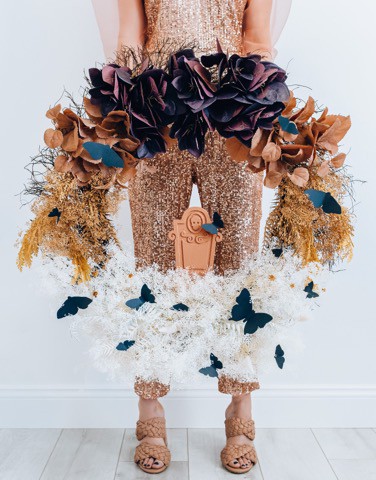
Traditional Halloween Fun
Are you more into the traditional Halloween look? Kristi created this adorable Halloween Wreath that is SO CUTE. She has a full tutorial on her blog for how to make it, so check that out, and be sure to check her out on Instagram.
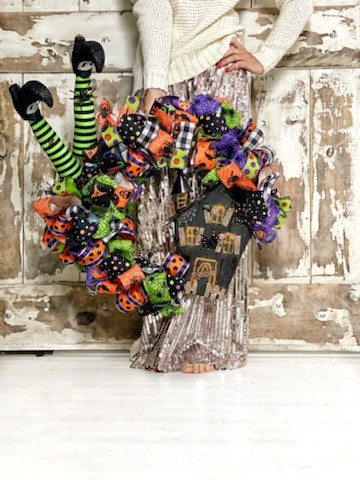
Layers of Cute and Spooky
My friend Deb created this gorgeous wreath with layers and layers of texture and color. She tied in lots of fun little Halloween aspects like I talked about at the start of this post, and really brought it all home with the most adorable ombre caskets! Check her out on Instagram to see more.
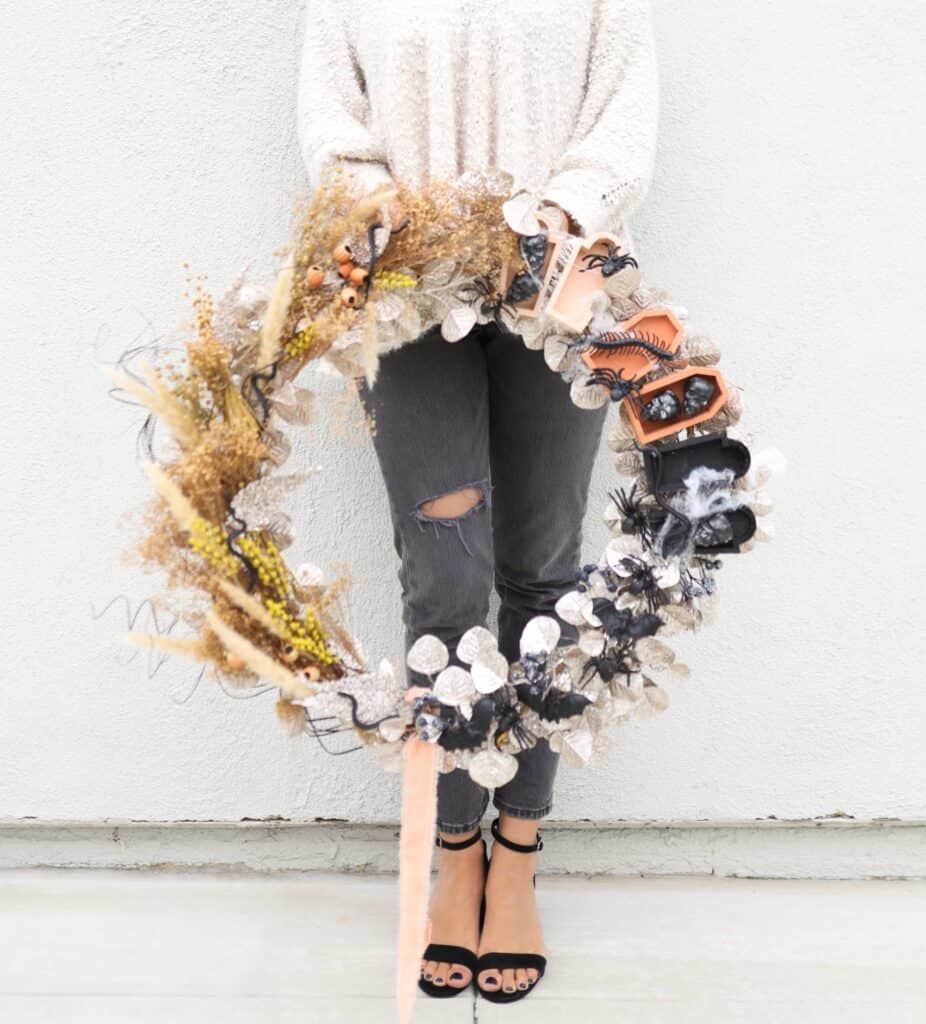
Floral Crescent Moon Delight
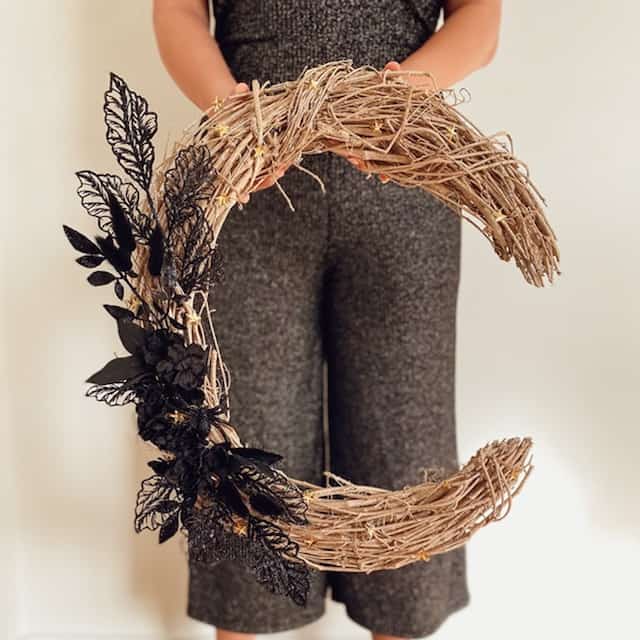
Erika from Peony and Honey did this gorgeous floral crescent moon shaped wreath that I LOVED! The combination of the darker colors with the moon shape made the floral wreath still read Halloween in big ways. Check out her Instagram for more.
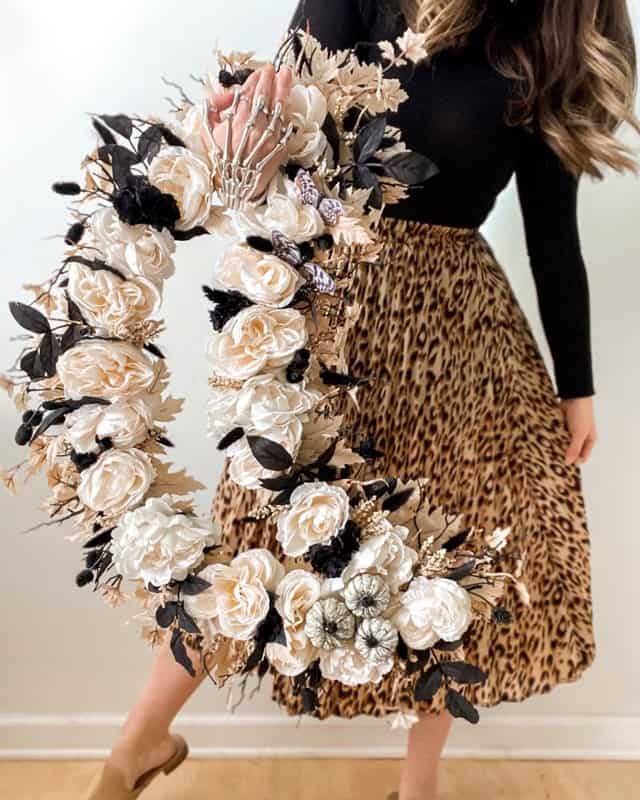
Palm Leaf Halloween Wreath DIY Tutorial
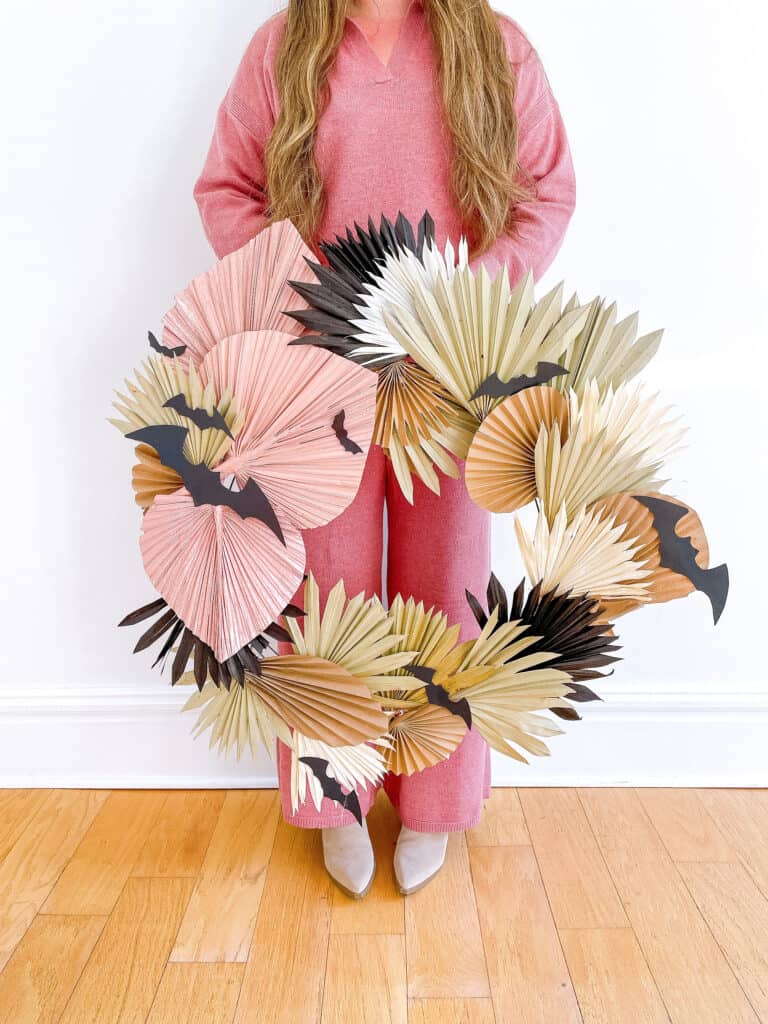
Now for my wreath this year. I LOVE how mine turned out, but will say you would want to put this somewhere covered or inside if you get a lot of rain due to some of it being paper.
This is a tutorial you can make your own in terms of color, and size – I went big, because who doesn’t want a huge example picture…but smaller will cost less and be a bit easier!
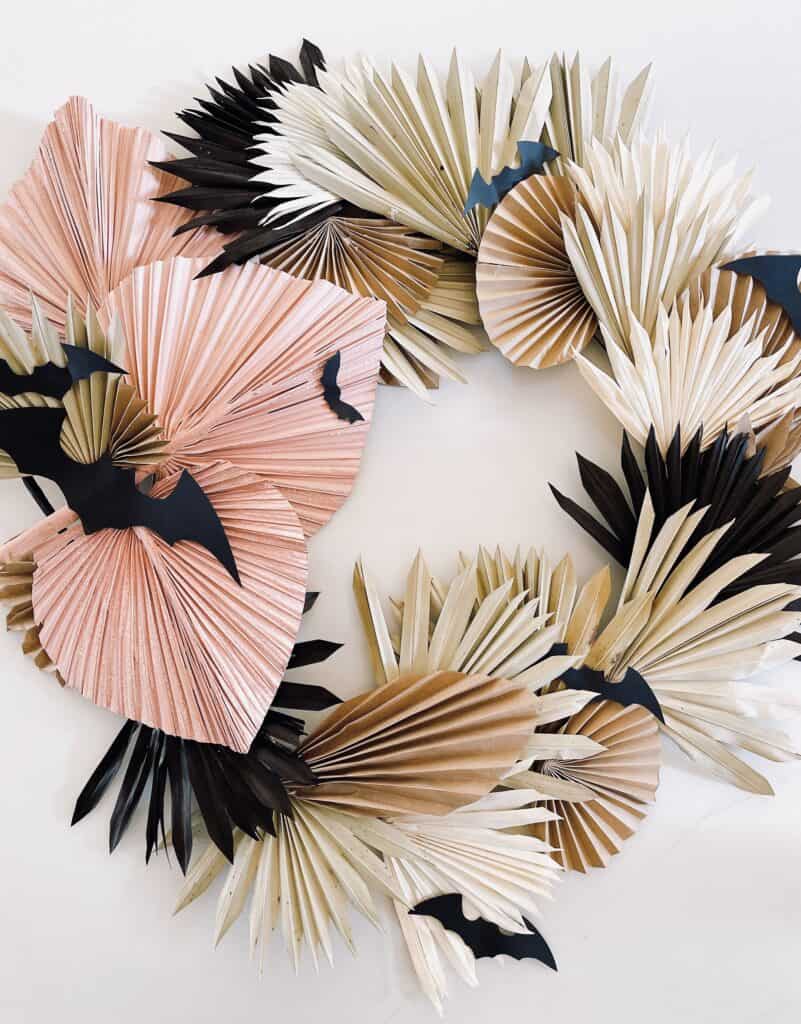
Halloween Wreath Supply List
- Wire Wreath form – I used a 24 inch wreath form but I would say the 18 inch would be great too. I wouldn’t go too small on this based on the size of the palm leaves
- Floral Wire
- Wire cutters or scissors you don’t mind ruining
- Hot glue and Hot glue Gun
- Palm leaves ( Here are some great options – This set is large like my pink , similar to the white ones in mine – you could also paint them black, and this shop has lots of options! )
- Construction paper for additional leaves and bats – I went with black for the bats and a sort of paper bag color for the rest but the sky is the limit on that!
Tutorial for The Palm Leaf Halloween Wreath
- The first thing is going to be making lots of different shapes and sizes (and possibly colors) of paper palm leaves. I personally googled that and found probably 5 or 6 tutorials that I mixed together to make my palm leaves. One thing to keep in mind is that you have the most control in size with these palm leaves so try to make them look different than the store bought palms.
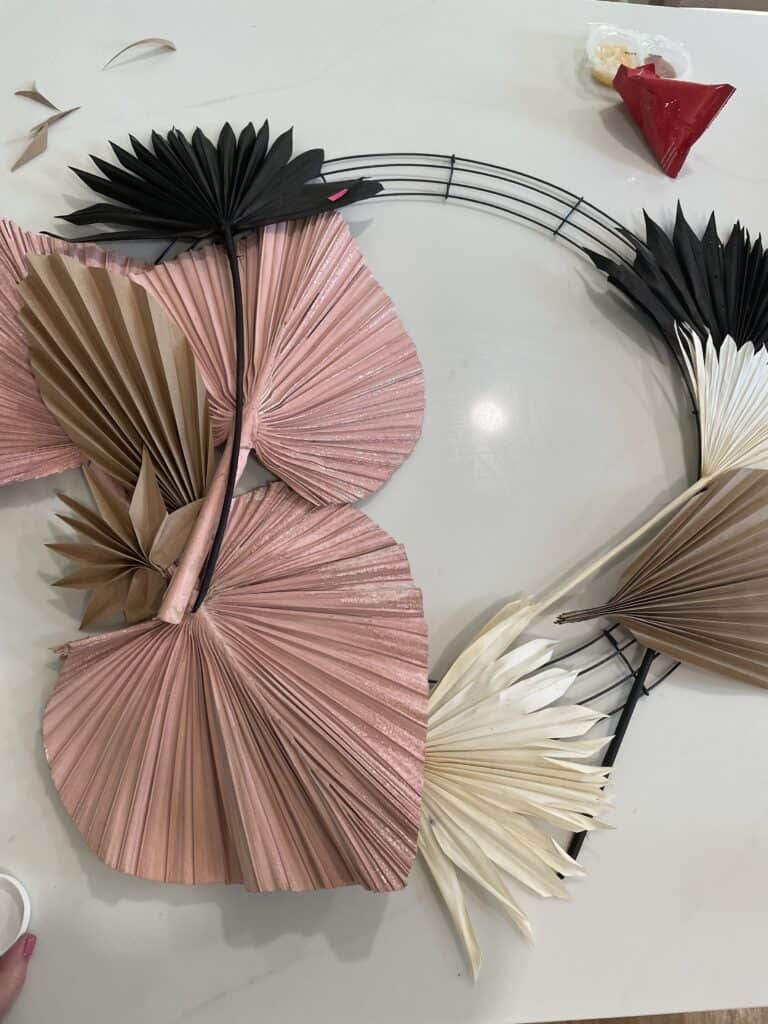
- Once you have a bunch of your palms made you an start assembling. I started in one spot and had 3 large pink palms going in different directions in that spot. I personally used floral wire to secure them well in several places.
- Once that first batch is on it is time to start working away from the starting spot. For some reference – I personally only had a few more sprigs going ‘Up’ from that first batch of pink, the rest went in a general counter clockwise motion around the wreath. Using floral wire add in some base pieces, then layer in pieces with hot glue.
- The hot glue is tricky – you might have to put heavy things on top of the pieces hot glued while it dries. And in this case…more is MORE! you need a good amount of hot glue the pieces you are adding to the wreath.
- Once you are done – cut some bats in various sizes from construction paper (you can easily print some things to copy!) and glue them at random.
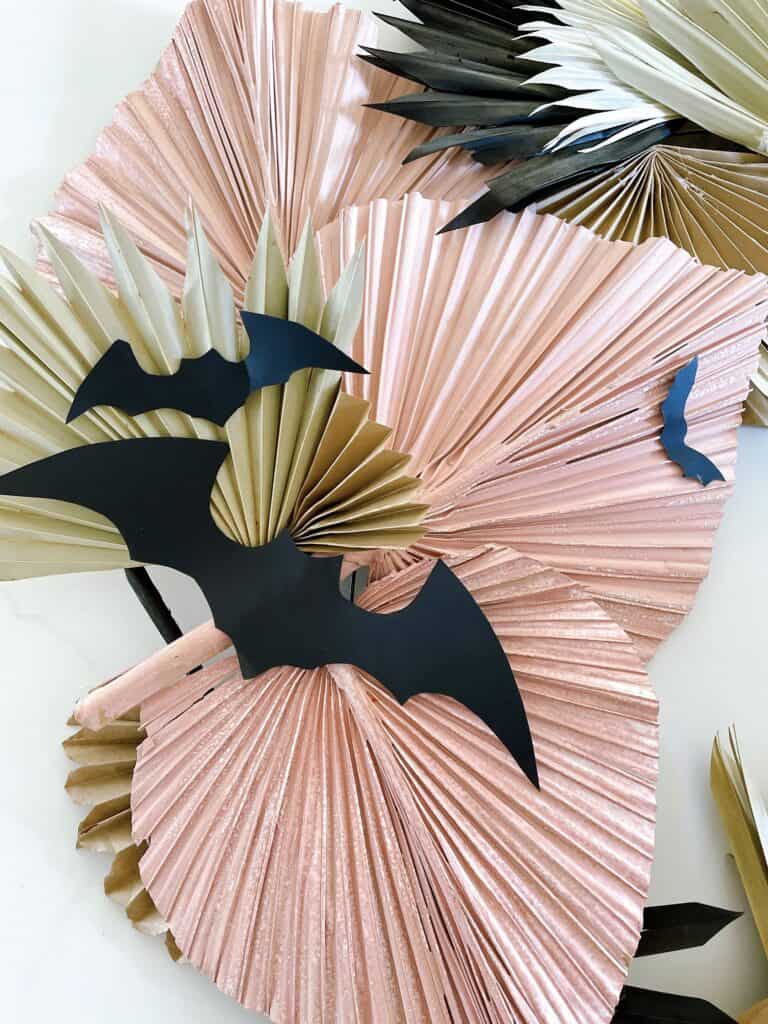
Okat that is the overall idea…but that mght be clear as mud to some of you. So if that is you. let me try to explain better. You will SLOWLY add in items – you may have to flip the wreath from time to time so you can use the floral wire on the back.
Work as you go and get each reaction sort of ‘pretty’. I personally focused on using the dried palms that I bought first because those were easier to floral wire in, then I added in the paper ones next because those needed hot glue.
I personally tried to do as little glueing as I could on my more expensive palm leaves because I knew I could use those in a vase next year (because…blogger world means new wreaths yearly ha!)
That is it! It honestly wasn’t a hard wreath to make, you just have to take your time and be patient getting everything stuck on well.
Other Posts You’ll Love
If you loved this post, I have some other posts below you will love as well!
Last Years Fall Wreath | DIY Pink Pumpkins | Halloween Pajamas | Spooky Basket fillers | Skull Vase | Ghost Planters
Follow Social For The Latest & Greatest
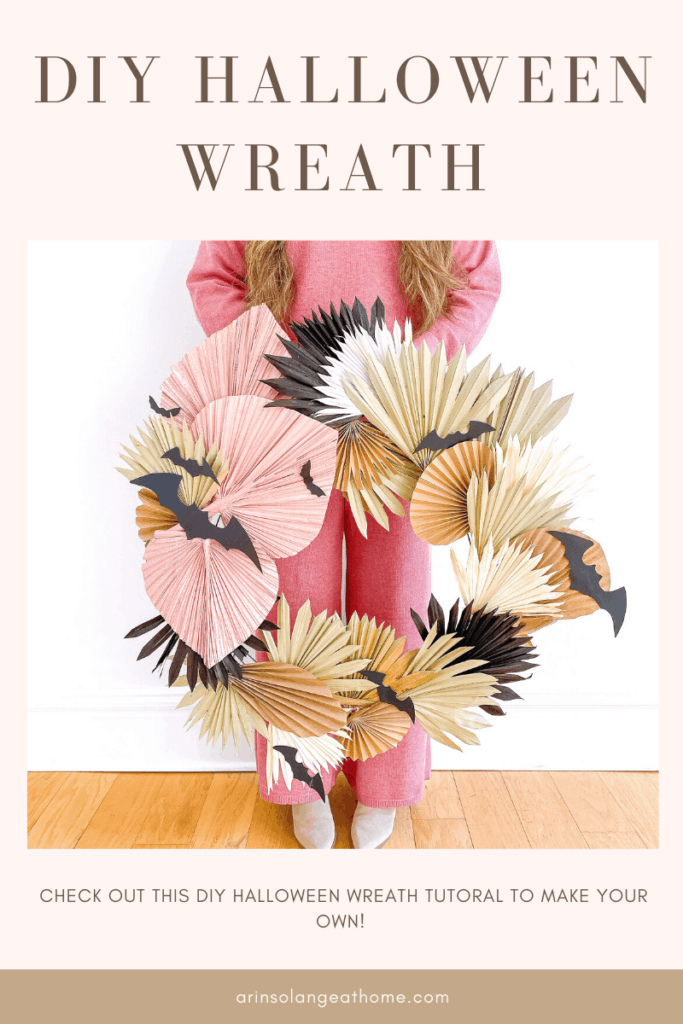
Pin the Photo Below for Later
If you have any questions on how to make this DIY Halloween wreath be sure to leave the questions in the comments below. I have lots more fun Halloween to come this season, so be sure you are following me on Instagram (@arinsolange) to stay up to date!
