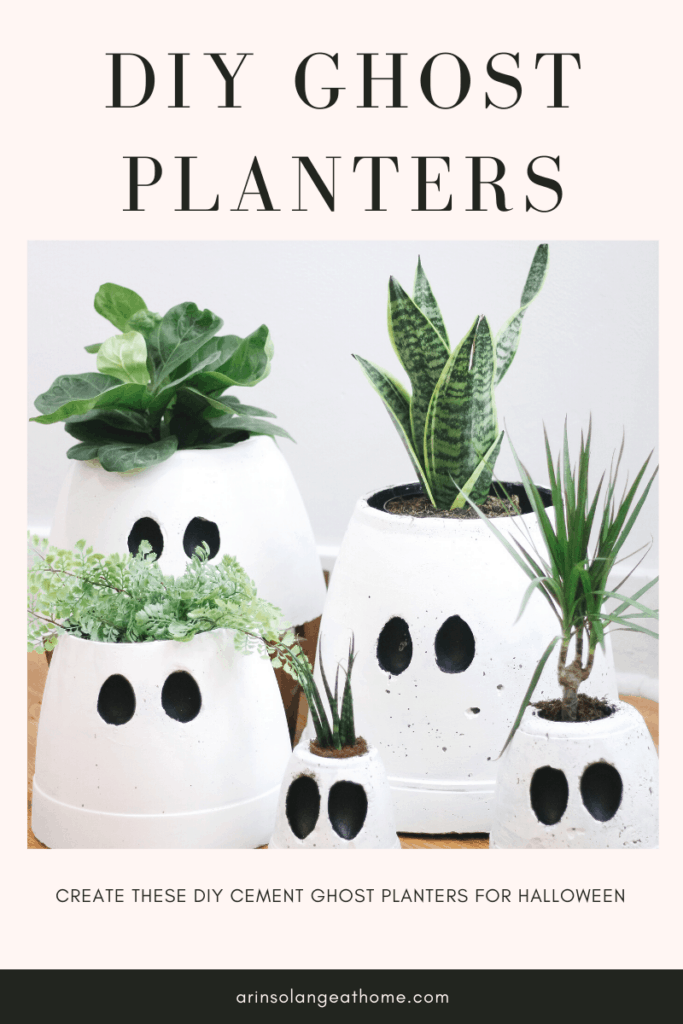
I was SO excited to try my hand at some DIY ghost planters this fall, and let me tell you – they did not disappoint. This fun, easy little project will help you create the perfect front porch this season.
This post may contain affiliate links

Ghost Planters
I have been loving all things ghosts this year for Halloween decor, and really wanted some ghost planters, but couldn’t find anything on the market…so as per usual for me I took to a simple diy.
Picking Cement
This is an aspect of cement planters you probably wouldn’t think of until it is time to make your first planter, so I want to share a few things to think about in terms of in terms of purchasing the cement before you go to the store.
- Ghosts are white – you can save yourself the painting process if you go with a white cement. I wish I had thought of this prior to making my ghosts.
- You want a smoother finish than some cement can give you. I went with Countertop concrete. If you don’t mind painting – that is easy to find at your local hardware store.

A great option for both white cement that is going to be a fine and smooth when dried is this Portland cement. Depending on the size of planters you are planning to do you will need several bags of that. I personally went through about 115 lbs of cement on the 5 planters I made – but have some ways to cut down on cement in the tips lower in this post.
Supplies Needed for DIY Ghost Planters
Before I get to your exact supply list there are a few things I want to break down. The biggest thing is the size of the planters as well as the size of the ‘inner pot.’
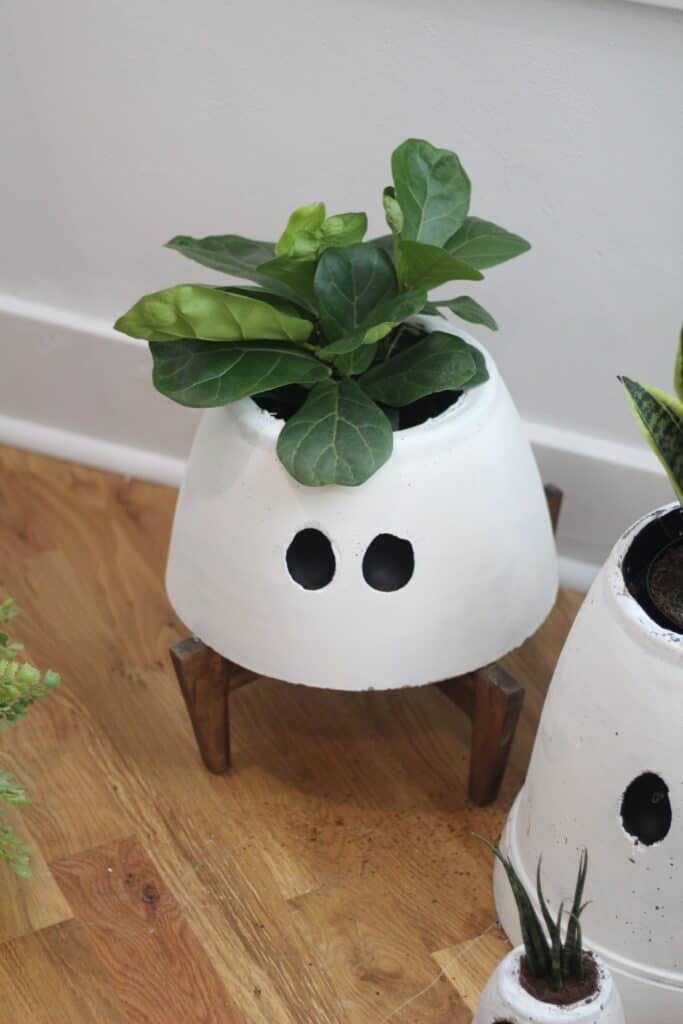
The bigger the planter the more cement you will use – so take that into account when it comes to cost. That said, the more space you can take up with your ‘inner pot’ (aka where the plant will go) will mean less cement. I went with the biggest inner pot I could while keeping the top shape in tact which saved us a lot of cement!
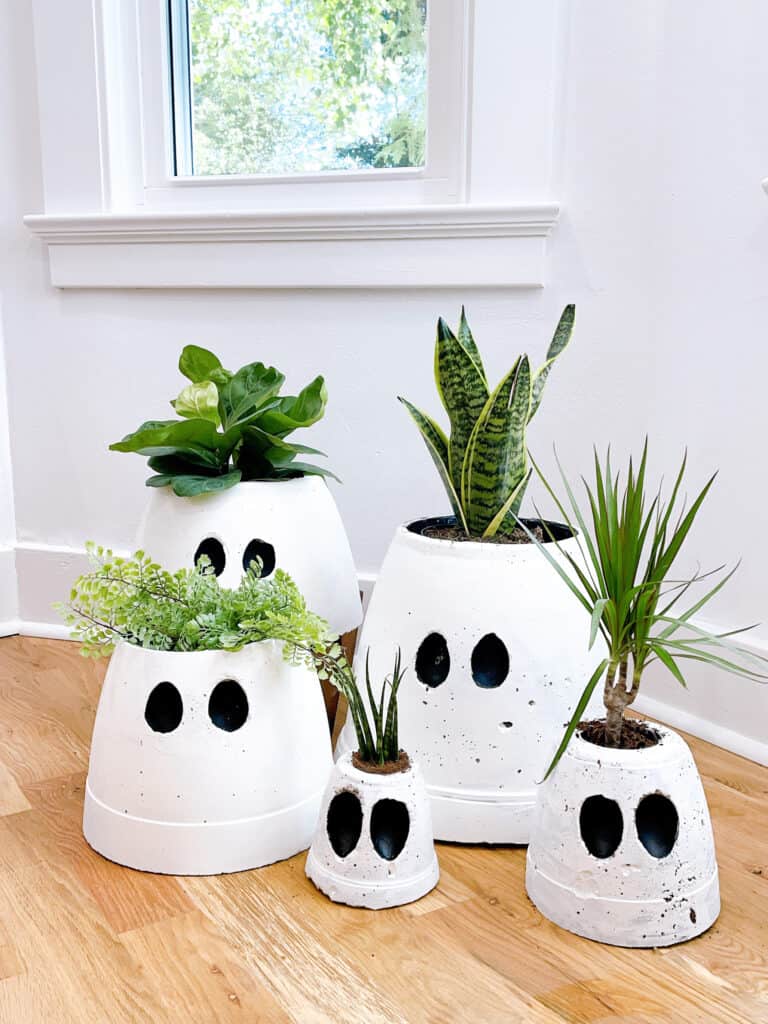
Next – get creative. The inner pot can be anything you have on hand that will fit a plant. For the smaller sizes I used an old plastic cup and a glass yogurt jar. This helped save money on pot portion of things.
Shopping List:
- Pots/ containers – I found that plastic was best – you just need something you can cut and remove for the outside material. Each plant needs 2 containers, and the smaller one needs to fit all the way down on the bottom of the outside pot when upside down.
- Cement – Like I said, I went with this cement but it did dry grey. If I were to do it again I would have used this one that dries white.
- White and black paint if you didn’t use white cement. If you did use white cement you just need a small amount of black paint.
- 5 Gallon bucket for mixing cement
- Plastic Easter eggs that open ‘hot dog’ not hamburger
- Hog glue gun
How to Make Ghost Planters
Alright now onto the DIY and how to make your DIY ghost planters.
- Take your 2 halves of your Easter egg and hot glue them inside your planter. You want to go about 2/3 of the way to the bottom because when you are done the bottom will become the top.
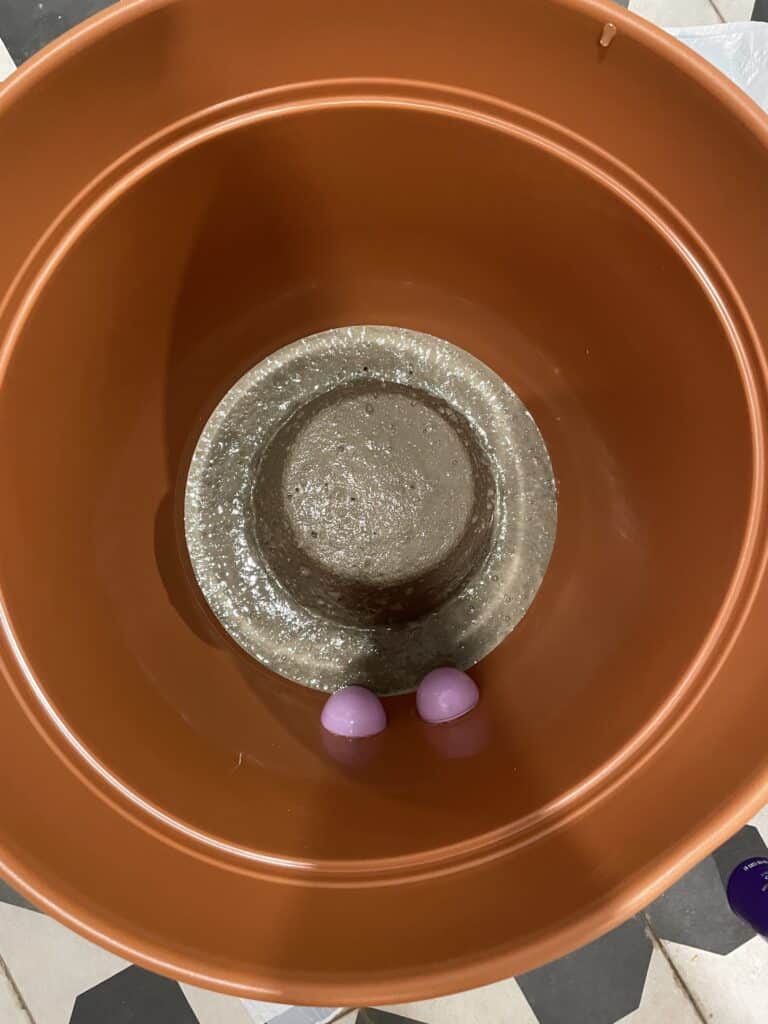
- Hot Glue your inner container to the bottom of the planter. It doesn’t have to be amazingly stuck, but you want it to not wiggle around when you pour the cement.
- Now your planters are ready, so it is time to make your cement. Mix your cement in a bucket…Honestly – we went a little more ‘loose’ than the bag said and it was fine.
- Pour it in your planter, then sort of shake the pot for the next 10 min off and on. This will help it settle well. and give you less divits.
- Let the planter sit for 24 full hours!
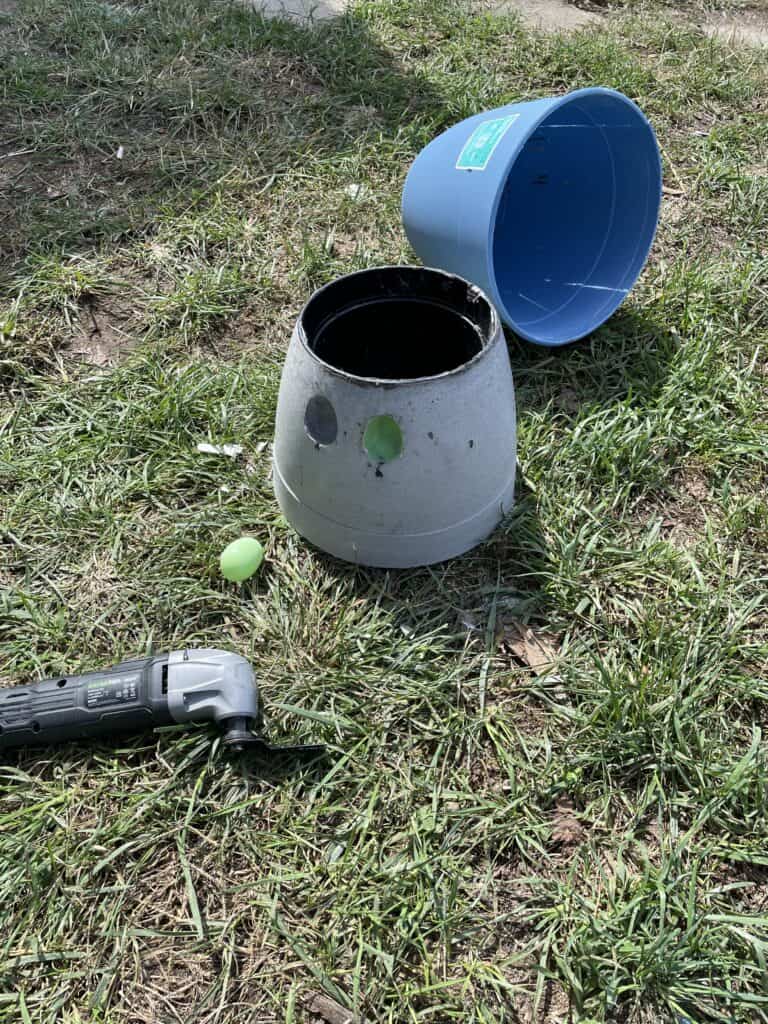
- Once it is dry – you can cut it open. We used our multi tool – but anything you have will work. You need to cut the plastic to peel it away and reveal the inner cement. We left the inside pot where it was because it was hard to remove and doesn’t matter.
- Now use some pliers to remove the Easter egg ‘eyes’.
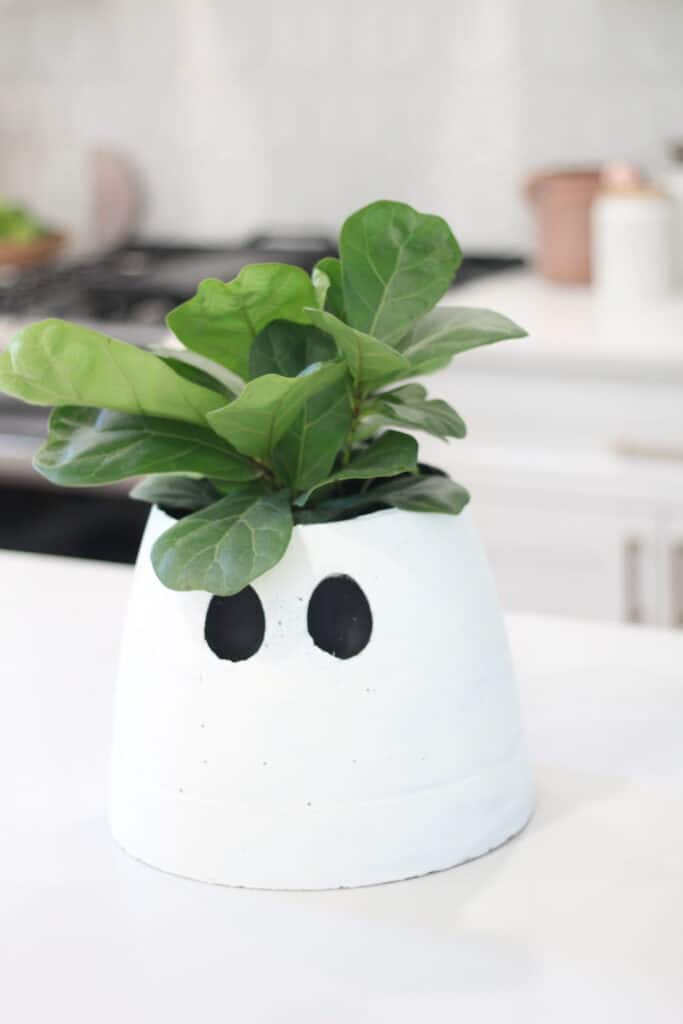
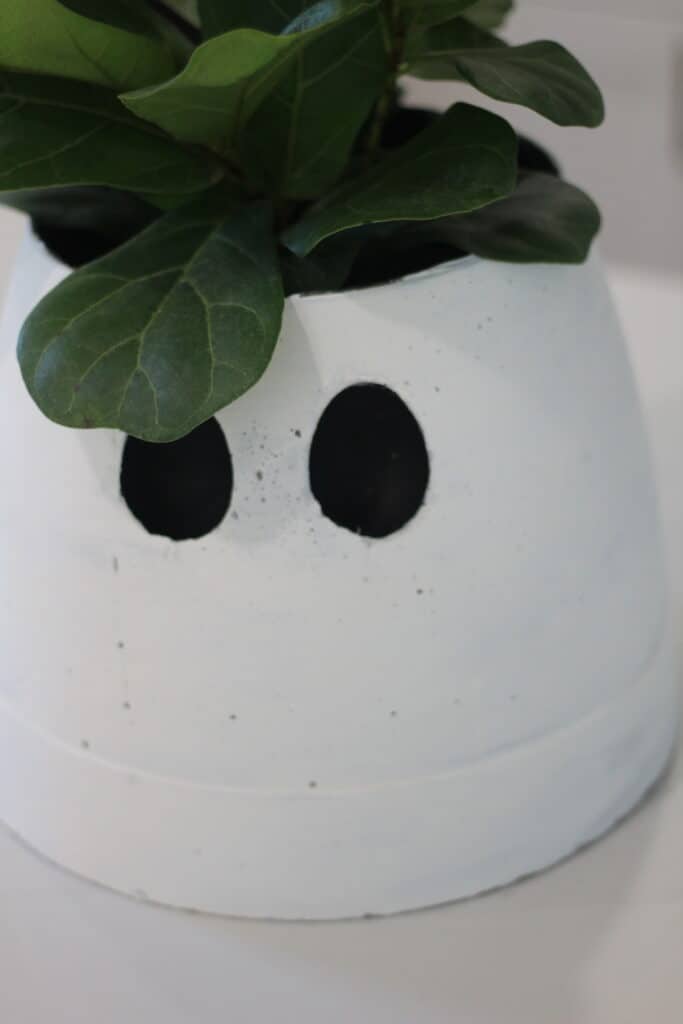
- How you have the optional paint step – you can skip this all together or do just some or all. I personally painted my planters white and the eyes black. Part of me wishes I had left them cement and only painted the eyes…either way do as you wish!
And that is it…I know it is seriously so simple. The eyes were the hardest part and once I thought of the eggs we were good to go!
Other Posts You’ll Love
DIY Skull Vase/Planter | Halloween Pjs for the Family | DIY Terracotta Pots | Boo Basket Fillers | Easy Halloween Costumes
Pin the Photo Below for Later
Hopefully you realized just how easy and great these DIY Ghost planters are to make and you feel ready to tackle them as a fall project this year. Be sure to follow me on Instagram (@arinsolange) for more DIY Inspo and leave me any questions in the comments below.