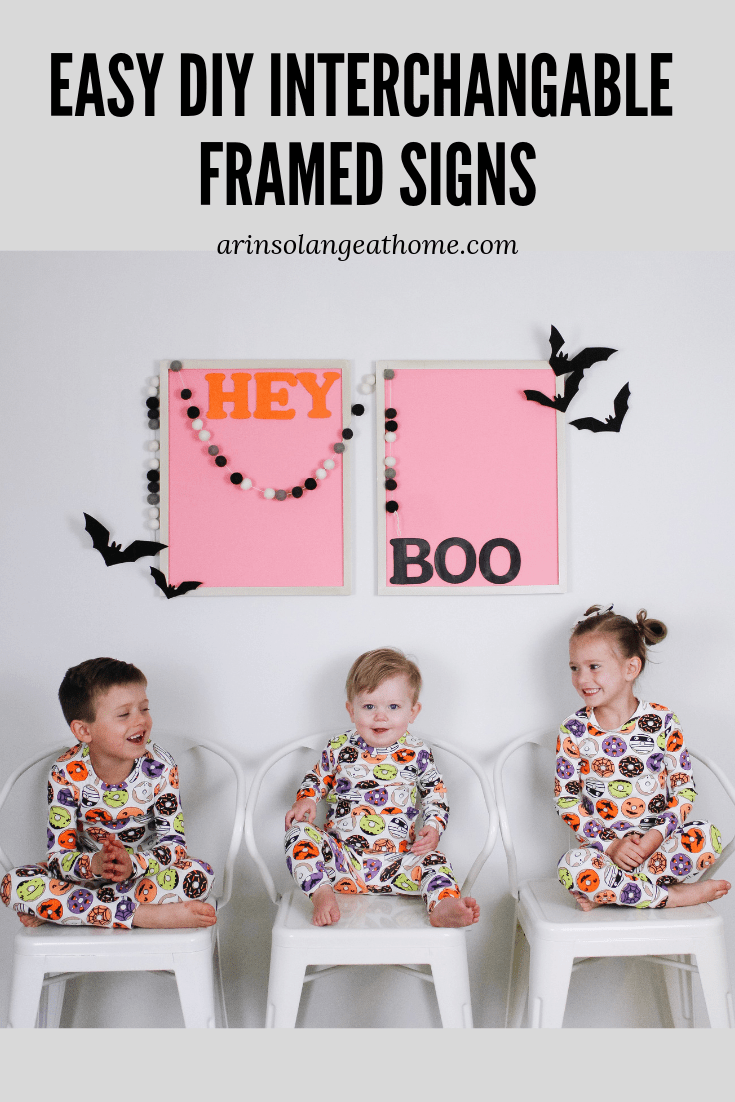
I have been eying some cute signs for Halloween that I saw floating around Instgram, but I knew I would likely want something different if I went this bold next year. So instead of spending a bunch of money I came up with a super easy tutorial for these EASY DIY interchangeable framed signs that you can literally make in just a few minutes and even better change out from season to season!
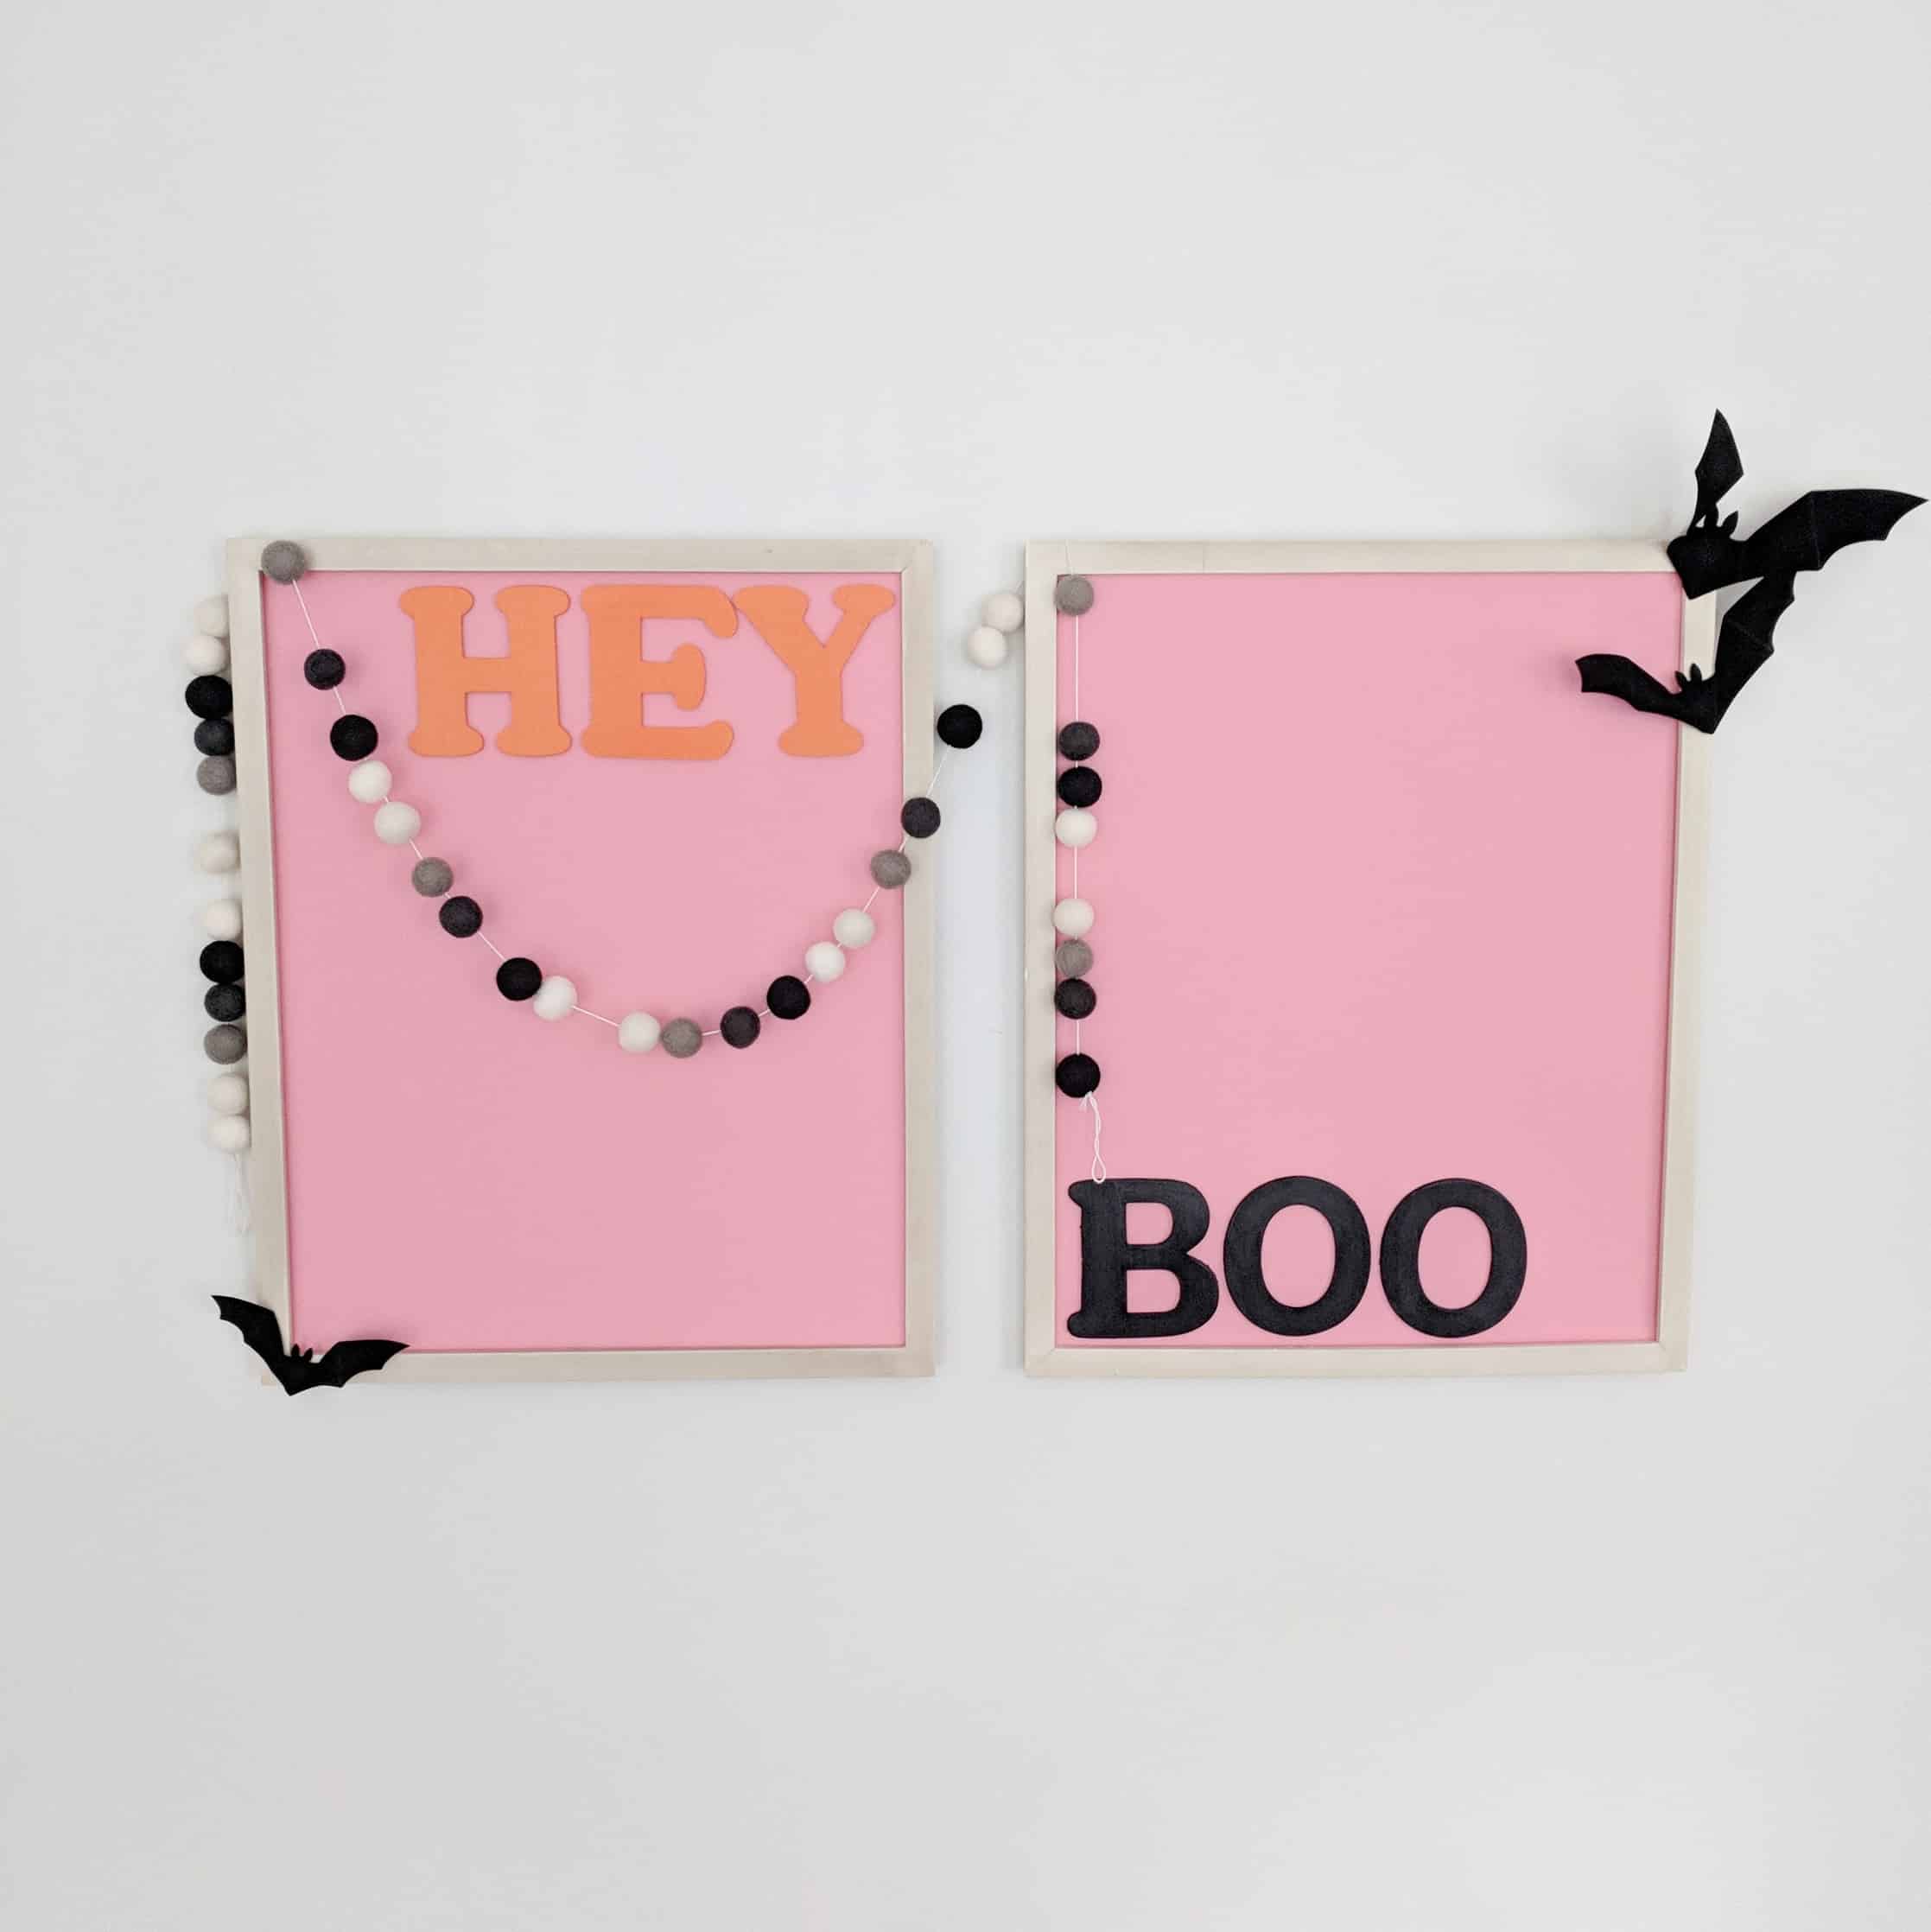
Easy DIY Interchangeable Framed Signs
Supplies:
Empty frames (I purchased these from Hobby Lobby on sale for $10 each)
Self Adhesive foam board – 1 or 2 pieces pending your frame size (craft store around $5)
Poster board in choice of color big enough for each frame
Wood letters
Paint
Directions:
Paint your wooden letters and let dry
Cut both the foam board and poster board to snuggly fit in your frame.
attach pasteboard to foam board and place in frame
if its not staying to the front of the frame add a bit off hot glue to the edge to help it stay snug in front
Hot glue the letters to the board
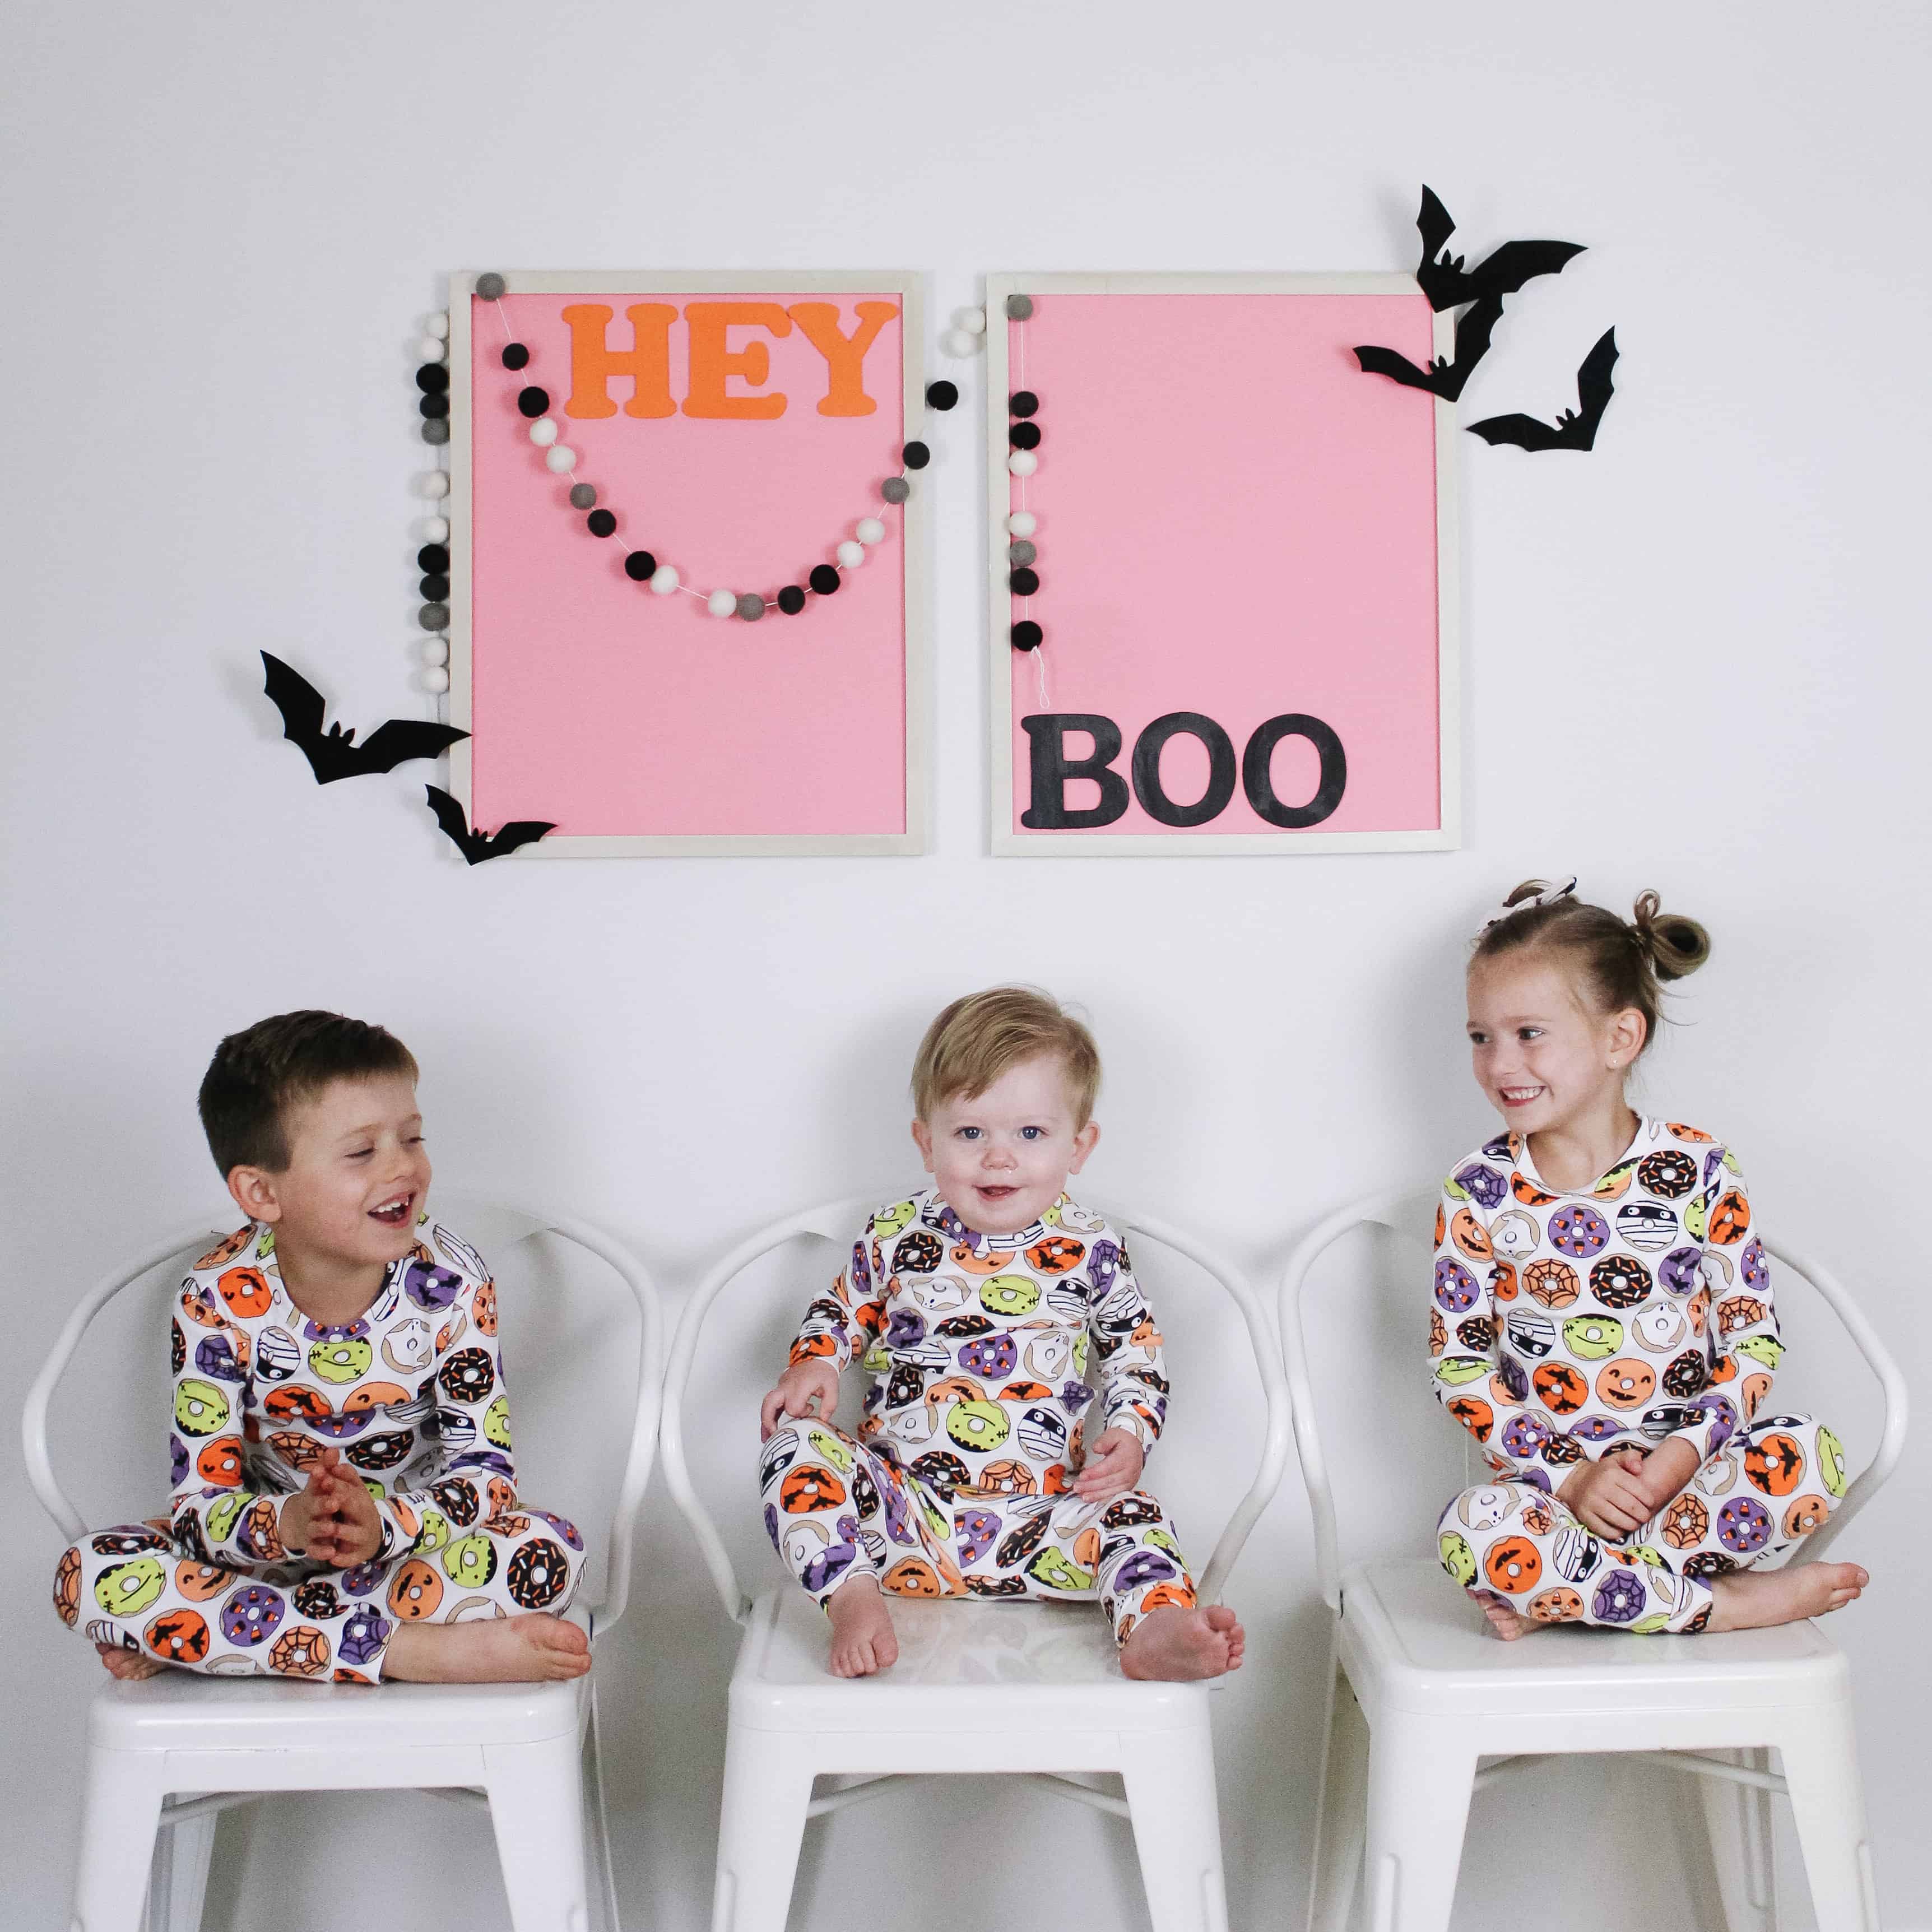
Okay to be fair I said this was EASY, but yo can then easily start from scratch each season or even reuse the foam board with a bit of new spray adhesive. I think these would be really cute hanging in a kids room too! I am sure they will migrate around my house. I would love to see your creations, so leave me a comment, and don’t forget to pin this to save it for later!
If you liked this post and love DIY be sure to check out these posts!
Oh Arin I love them! I’m gonna make this my project this week!
I can’t wait to see!! seriously so easy and fun!!