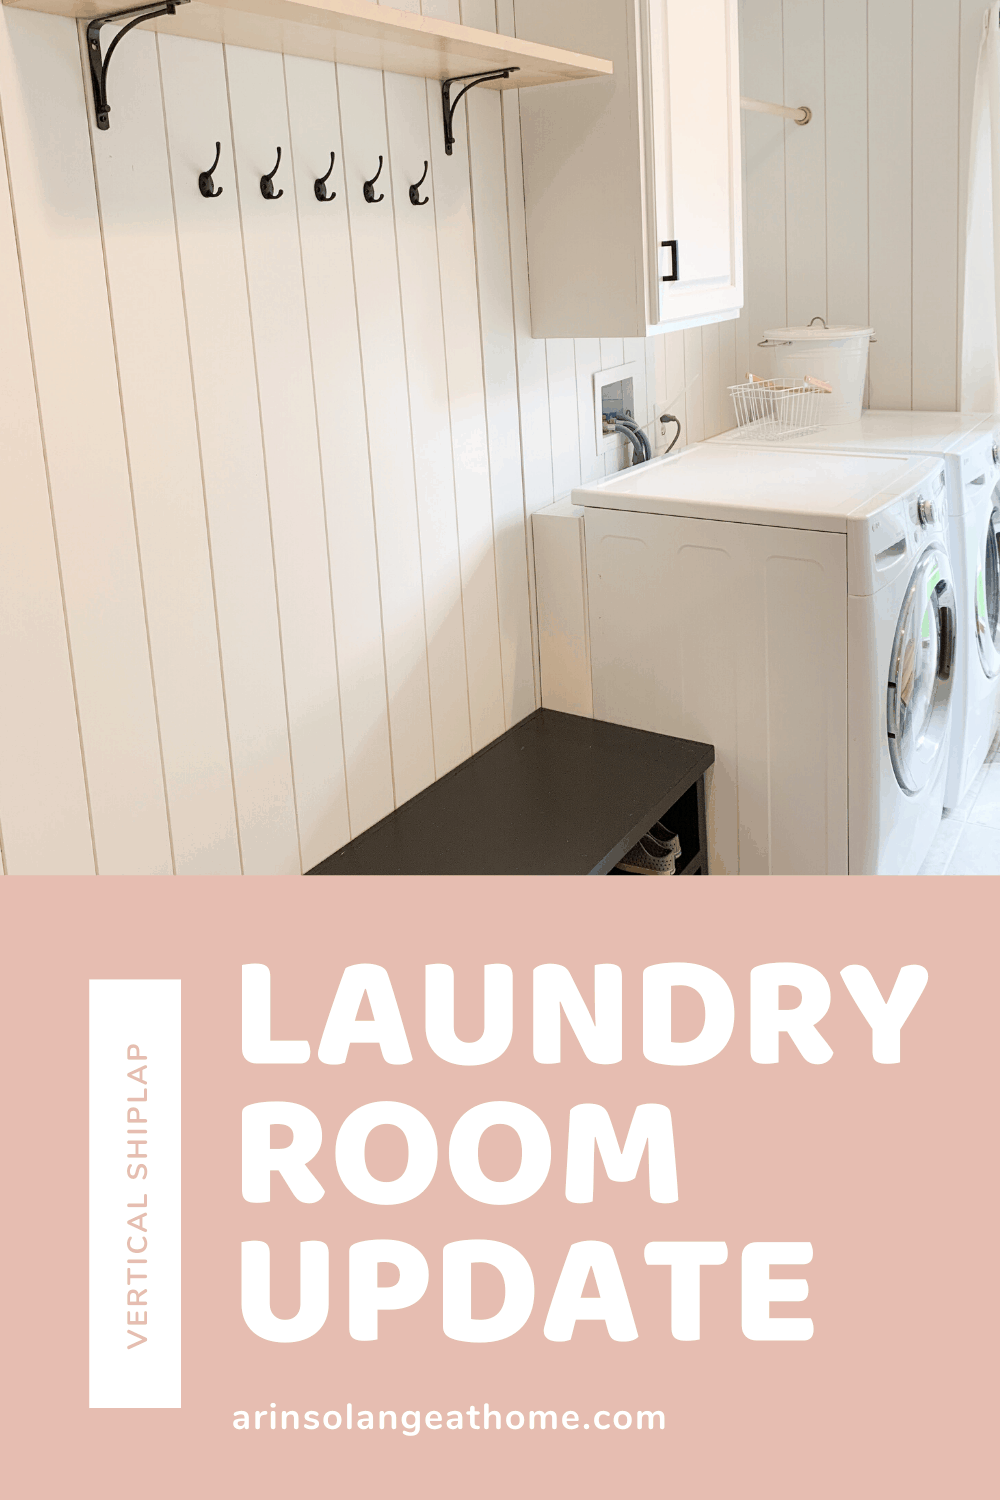
After doing shiplap in our kitchen last month we decided to go vertical and do vertical shiplap in our laundry room when we gave it a refresh. I am FINALLY getting around to sharing how we did the shiplap, and all the little organizational hacks we used to make the laundry room functional while looking great!
this post may contain affiliate links
Vertical Shiplap Laundry Room
Shiplap is a really practical wall covering option, which has made it really popular in the past few years. I think the ease of hanging, and the huge impact it can make to a space makes it incredibly popular.
Shiplap can be purchased from several places in several different styles, but I will share more about what we picked and some things to think about when going vertical with your shiplap verses horizontal.
We also did some other really functional changes to our laundry room during this process to make it clean, functional and pretty. I really wanted the room I walked into first when I got home to be a better representation of the rest of our home, so that is what we did!
Overall Goals for the Room
We had a few goals for this room when we set out on the project they were:
- Make a better storage solutions for hanging, cupboards, and mudroom area.
- Clean up poor craftsmanship done when the laundry room was last done.
- Make things less cluttered
- Make the room fit the aesthetic of our home better.
The goals weren’t huge – but overall we just needed the laundry room to function better and not only represent the look of our home better, but also the craftsmanship we have put into our projects. The cabinets and moulding that were in place had so much gunk on the ceilings and such it just didn’t look clean and professional in any capacity.
Our obvious first step in all of this was demo – we took EVERYTHING out of the room. The mudroom storage, the cupboards, the crown moulding – all of it. Once that was done it was time for shiplap.
Hanging Vertical Shiplap
I have a great tutorial HERE on hanging shiplap, but because hanging vertical shiplap is a bit different I want to give some tips for adjusting that tutorial for vertical.
I will not give every step because THIS POST has such a well worded tutorial that it will likely help to read that one too. We used the same 8 foot shiplap boards, and due to not wanting to remove the baseboards every board had to be cut.
If we were to do vertical shiplap again in our next home, I will remove our baseboards and put them back on in front of the shiplap – there were a few reasons we didn’t do that in this room, one of which being the fact that midway through demo we realized we were moving, and 2 – it went behind the washer and drier where we didn’t go all the way to the floor so it would have just been a pain!
The biggest thing to note when you are doing vertical shiplap verses horizontal is that your ceiling is likely not perfectly squared off, so you need to measure before each cut. This does take a bit longer, but it is worth it for a cleaner look.
You will also likely need to caulk along the ceiling when going vertical verses when you went horizontal for a more finished look. Aside from that the same ease of instal, and tips on cutting outlet holes and adding outlet extenders remains.
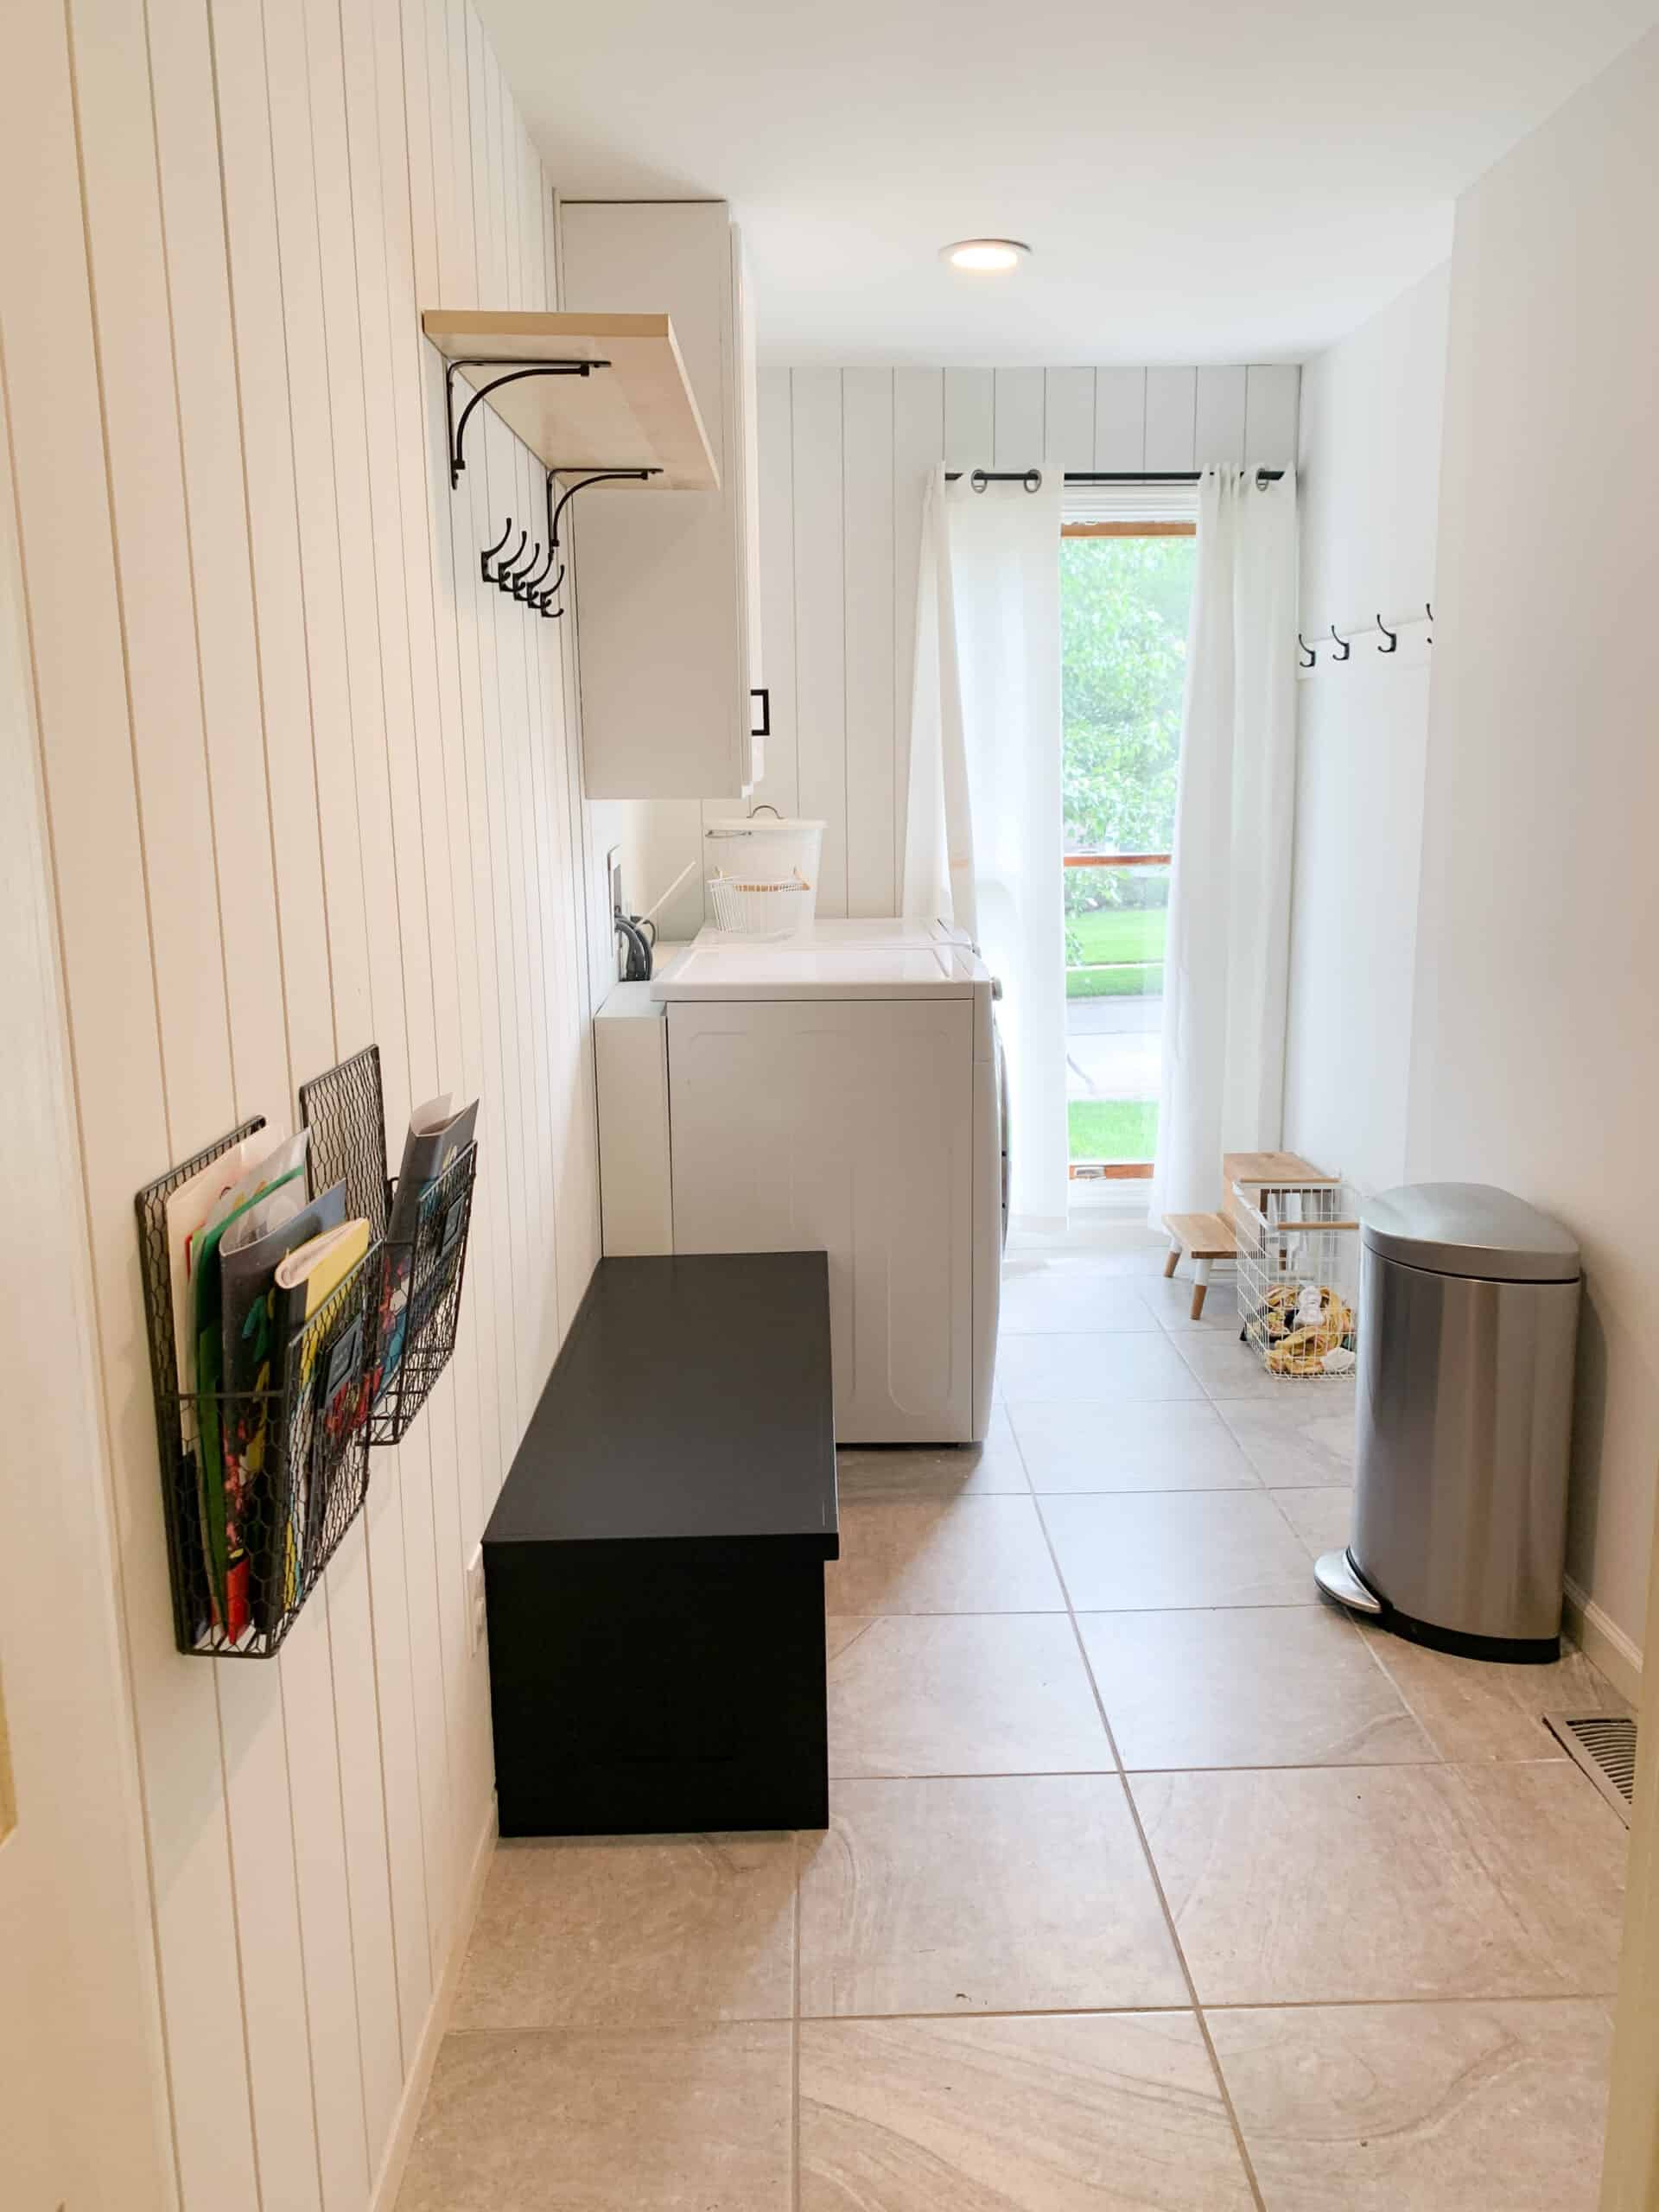
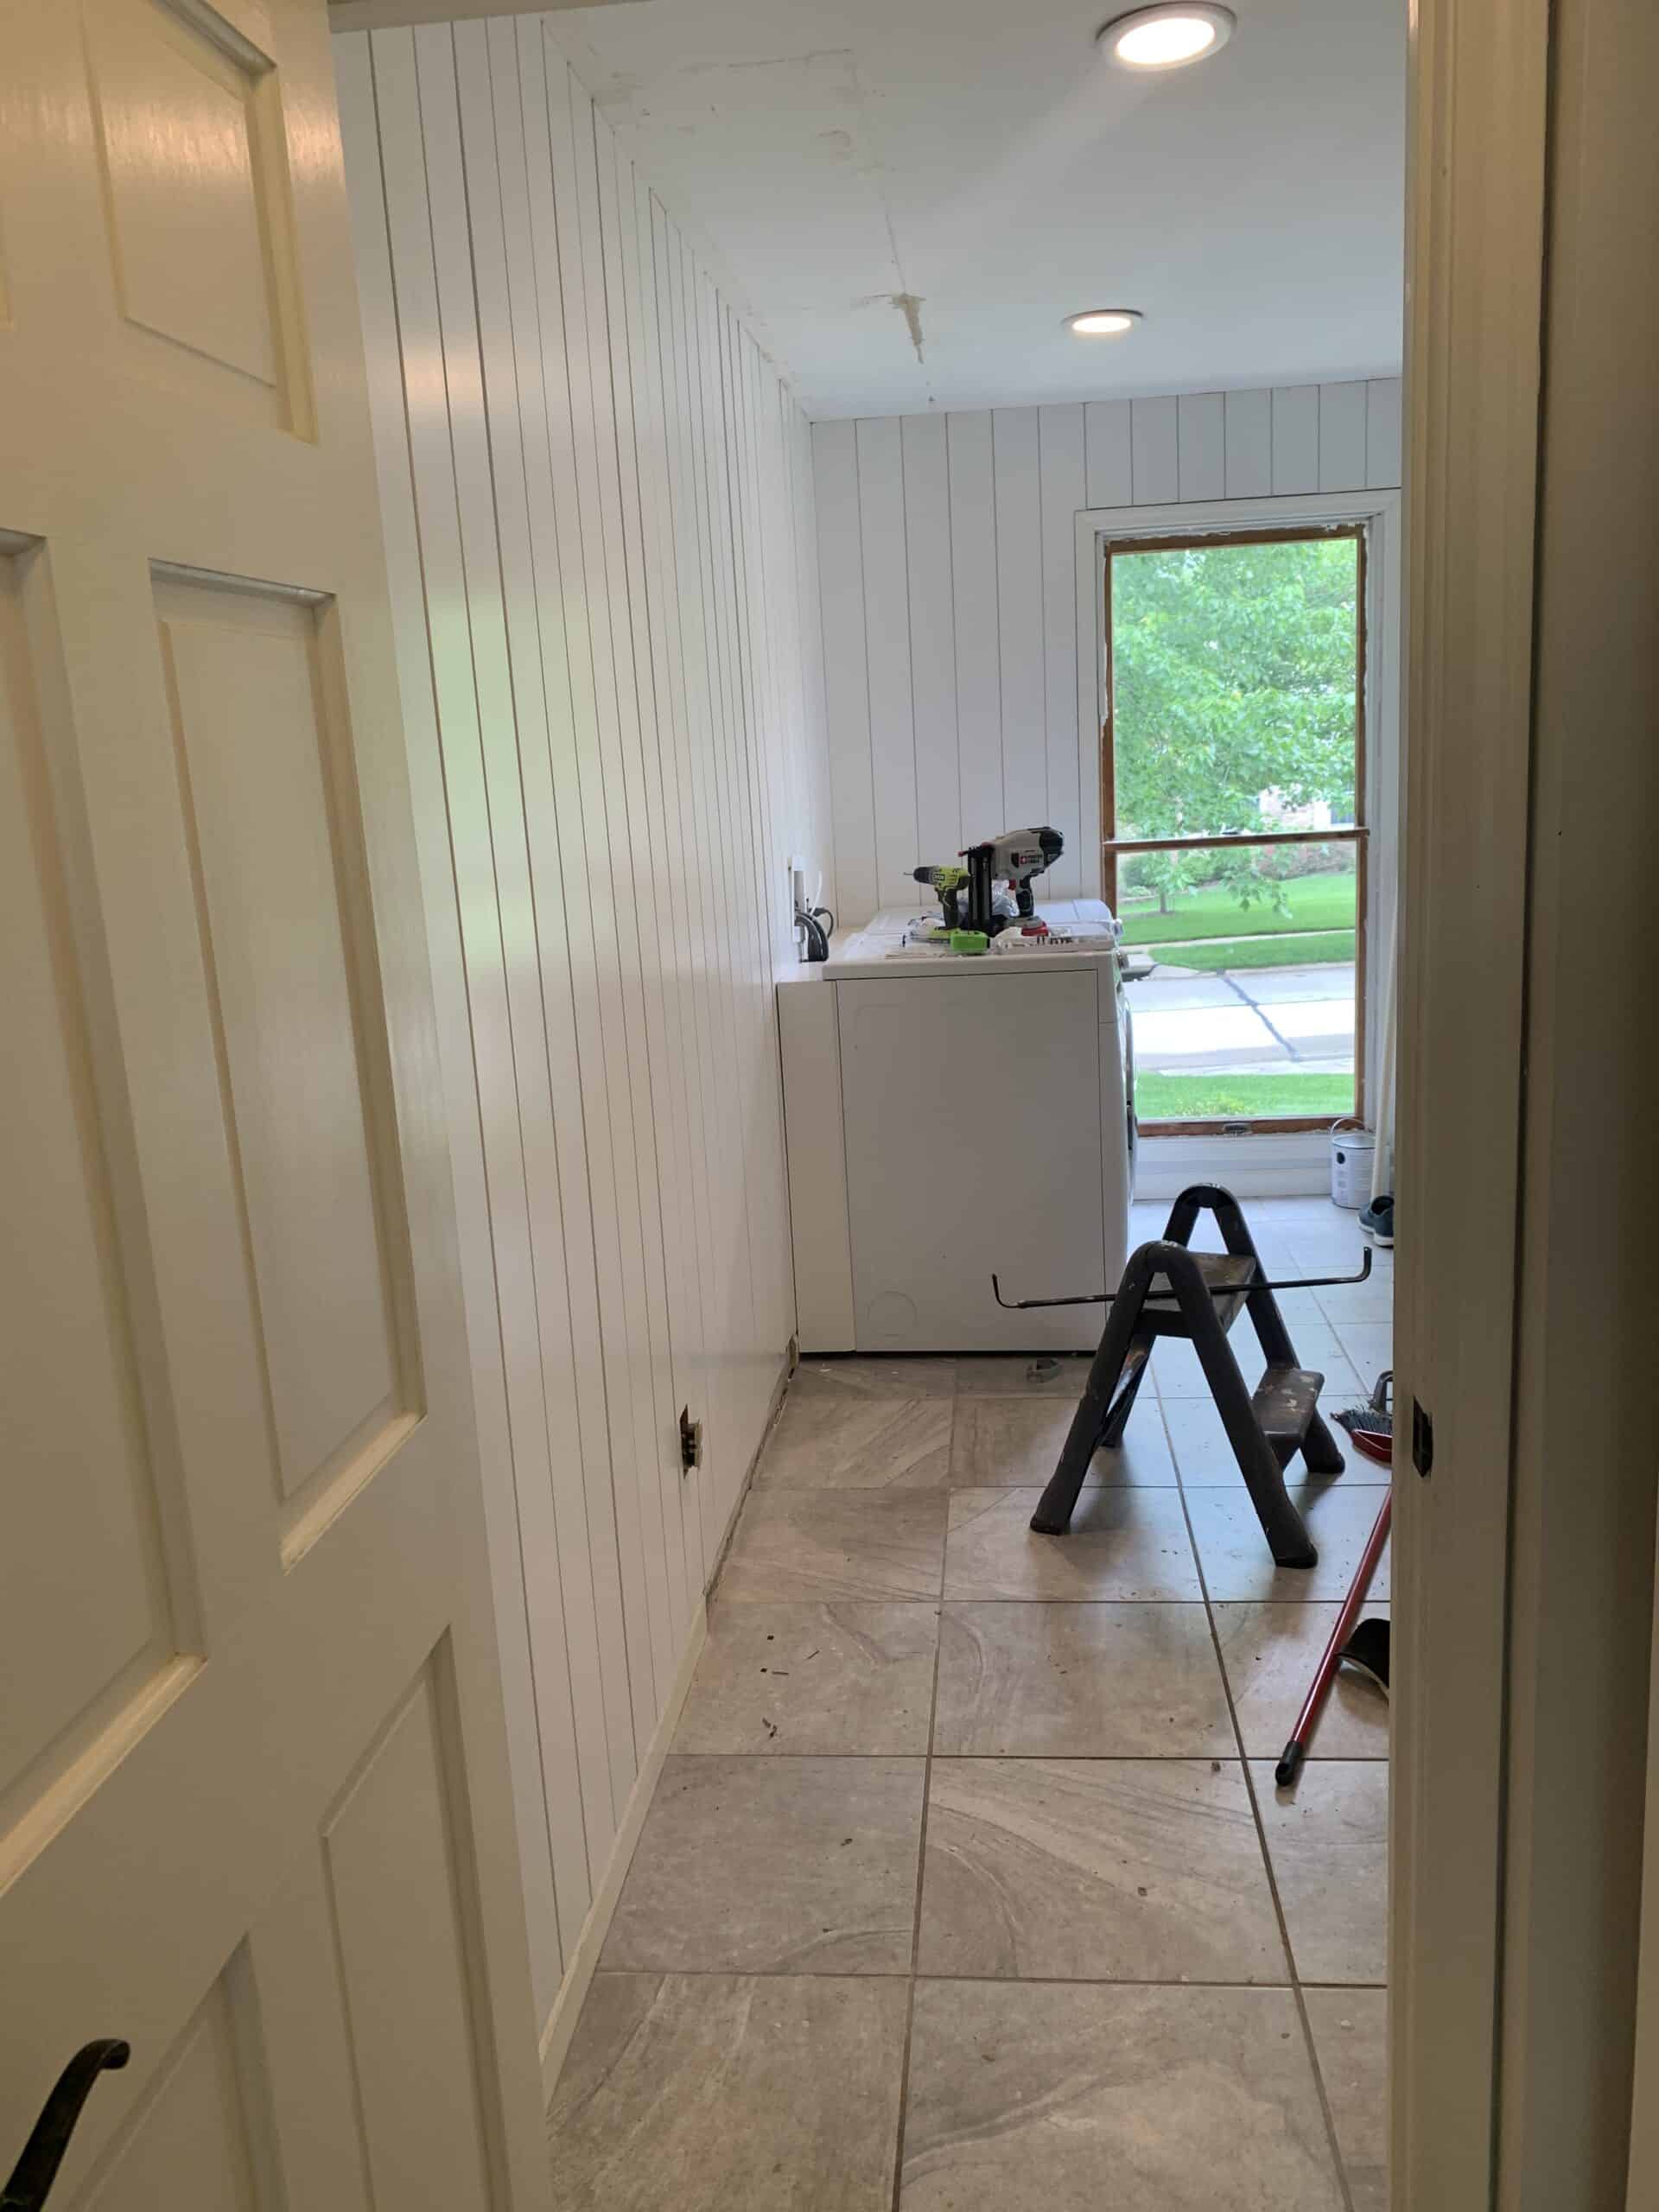
We did two walls shiplap instead of just one, so it was a better view from the kitchen and I was really happy with that decision. Once we got all of our vertical Shiplap installed we were ready to paint and do the rest of the room.
One thing to note on doing a laundry room is you will have more cutting than a normal room – behind the washer and drier meant lots of small cuts to make it work!
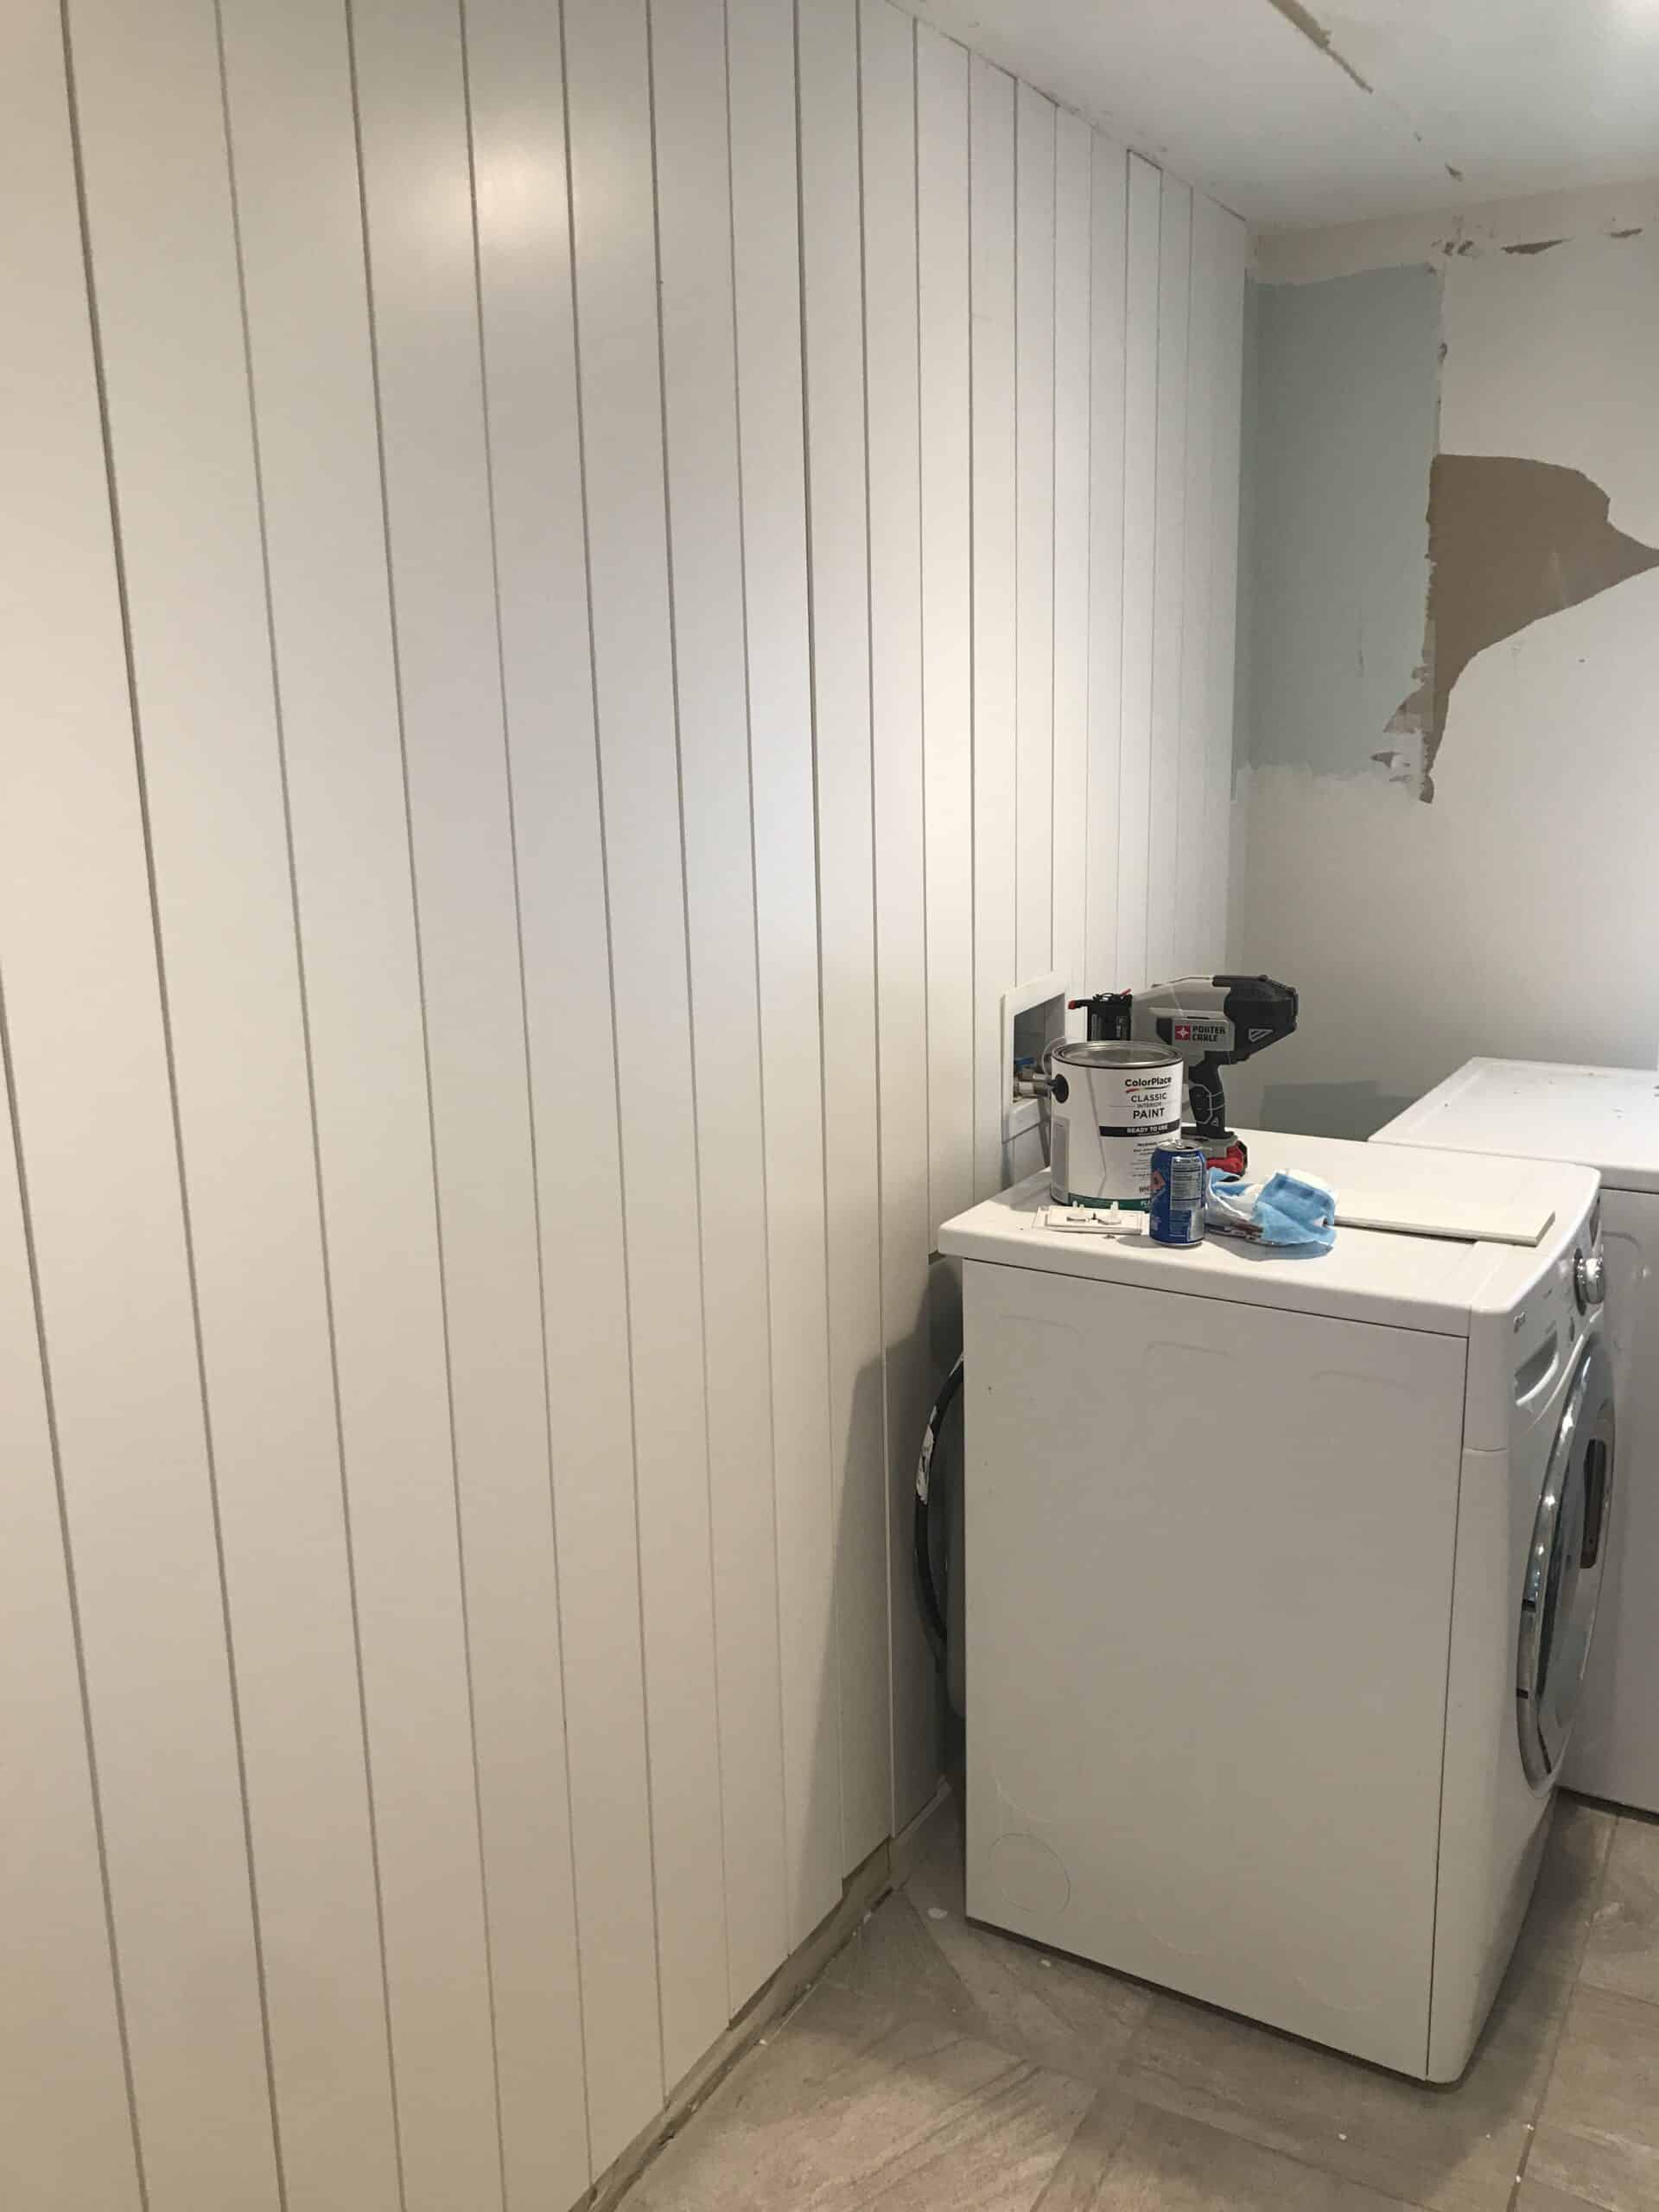
Also when you are going vertical with your shiplap you may have to rip an entire board so be prepared for that – we didn’t go all the way to the floor where the washer and drier are so we were able to not have to rip a full 8 foot board!
You can see in the image below where we stopped. This will always be where a washer and drier go, so it made sense!

Creating the Mudroom
When we moved in we already had a mudroom bench and storage, that was really nice, but like I said it was lacking some in craftsman ship and there were a few things I wanted to change (one of which I didn’t…which I will explain why!).
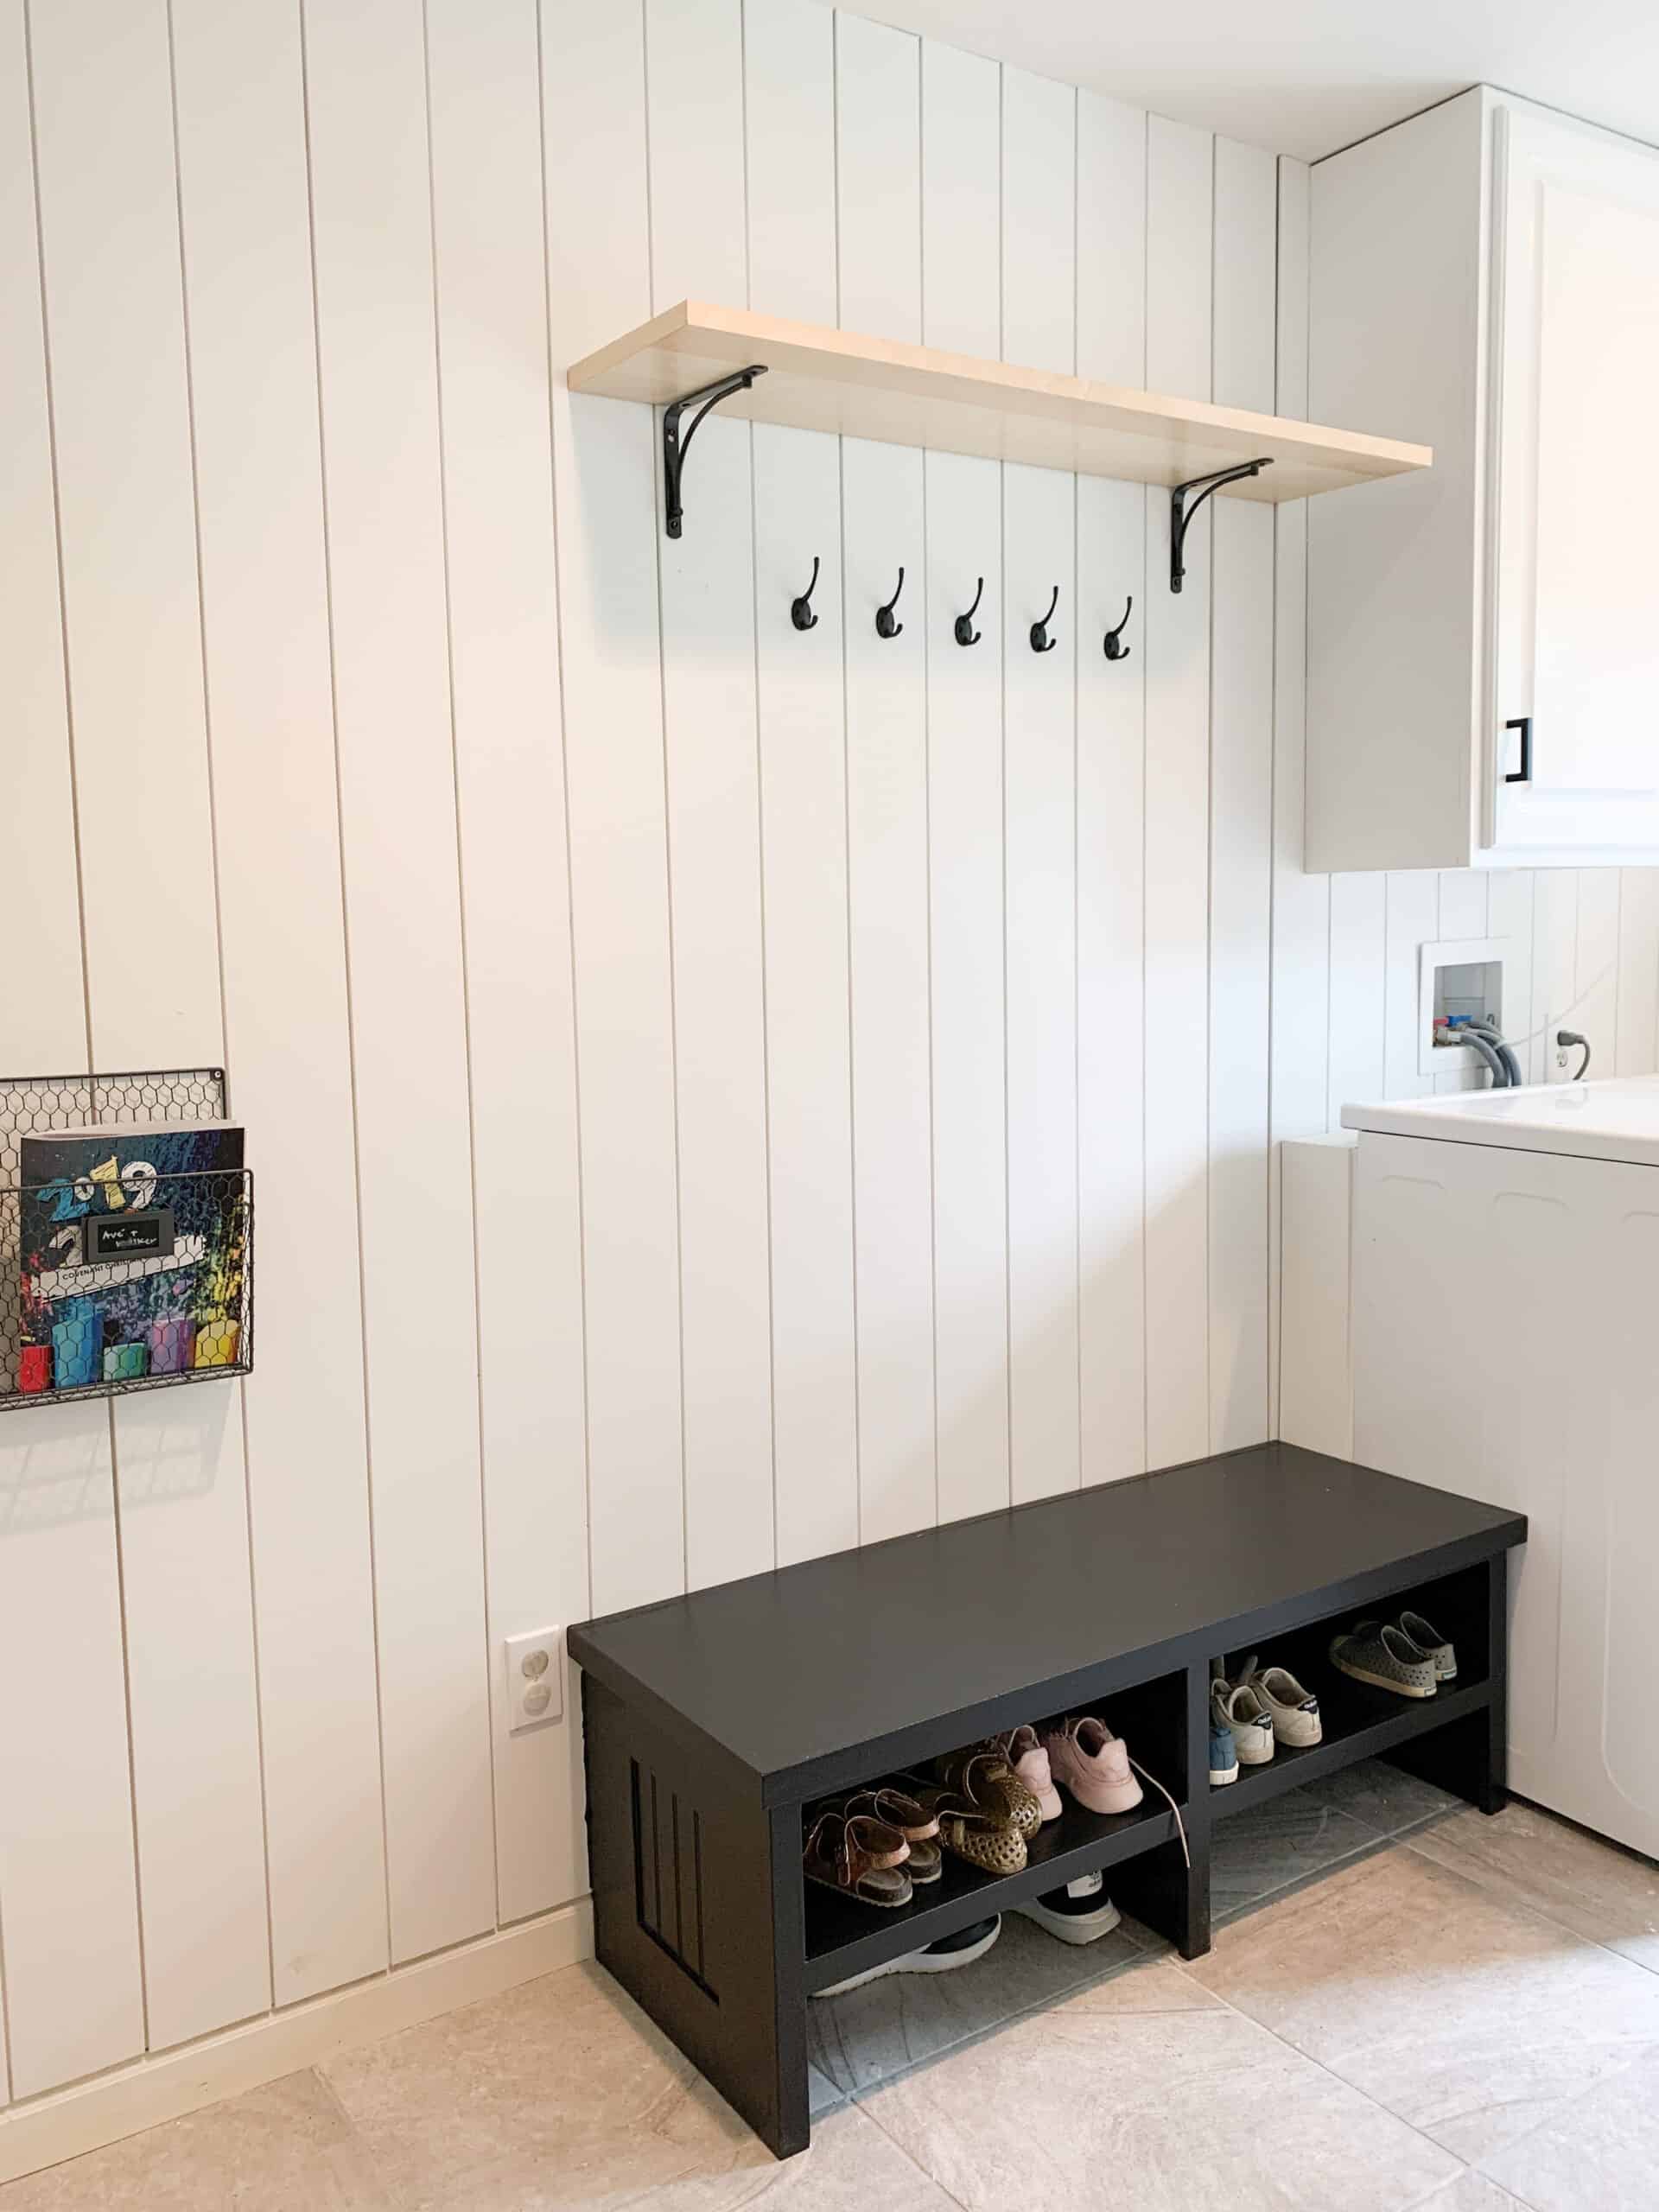
I wanted more hooks – we had 3 sets of hooks, but with 6 people in our family that just didn’t work. I wanted shelving instead of cubbies, because I felt as tho so much of the storage space was taken up by the dividers, and I wanted bins for shoes not shelves.
We took our entire mudroom area down and had every intention of starting fresh, BUT we ended up still using the same bench. This was because at this point in the process we had put an offer in on a new house, so we decided to paint the existing bench black – which was what we were going to build and call it a day.
Looks wise this works just as well, but if you are doing your own laundry room/mudroom I would suggest doing a bench that allows for baskets for shoes if you have several kids.
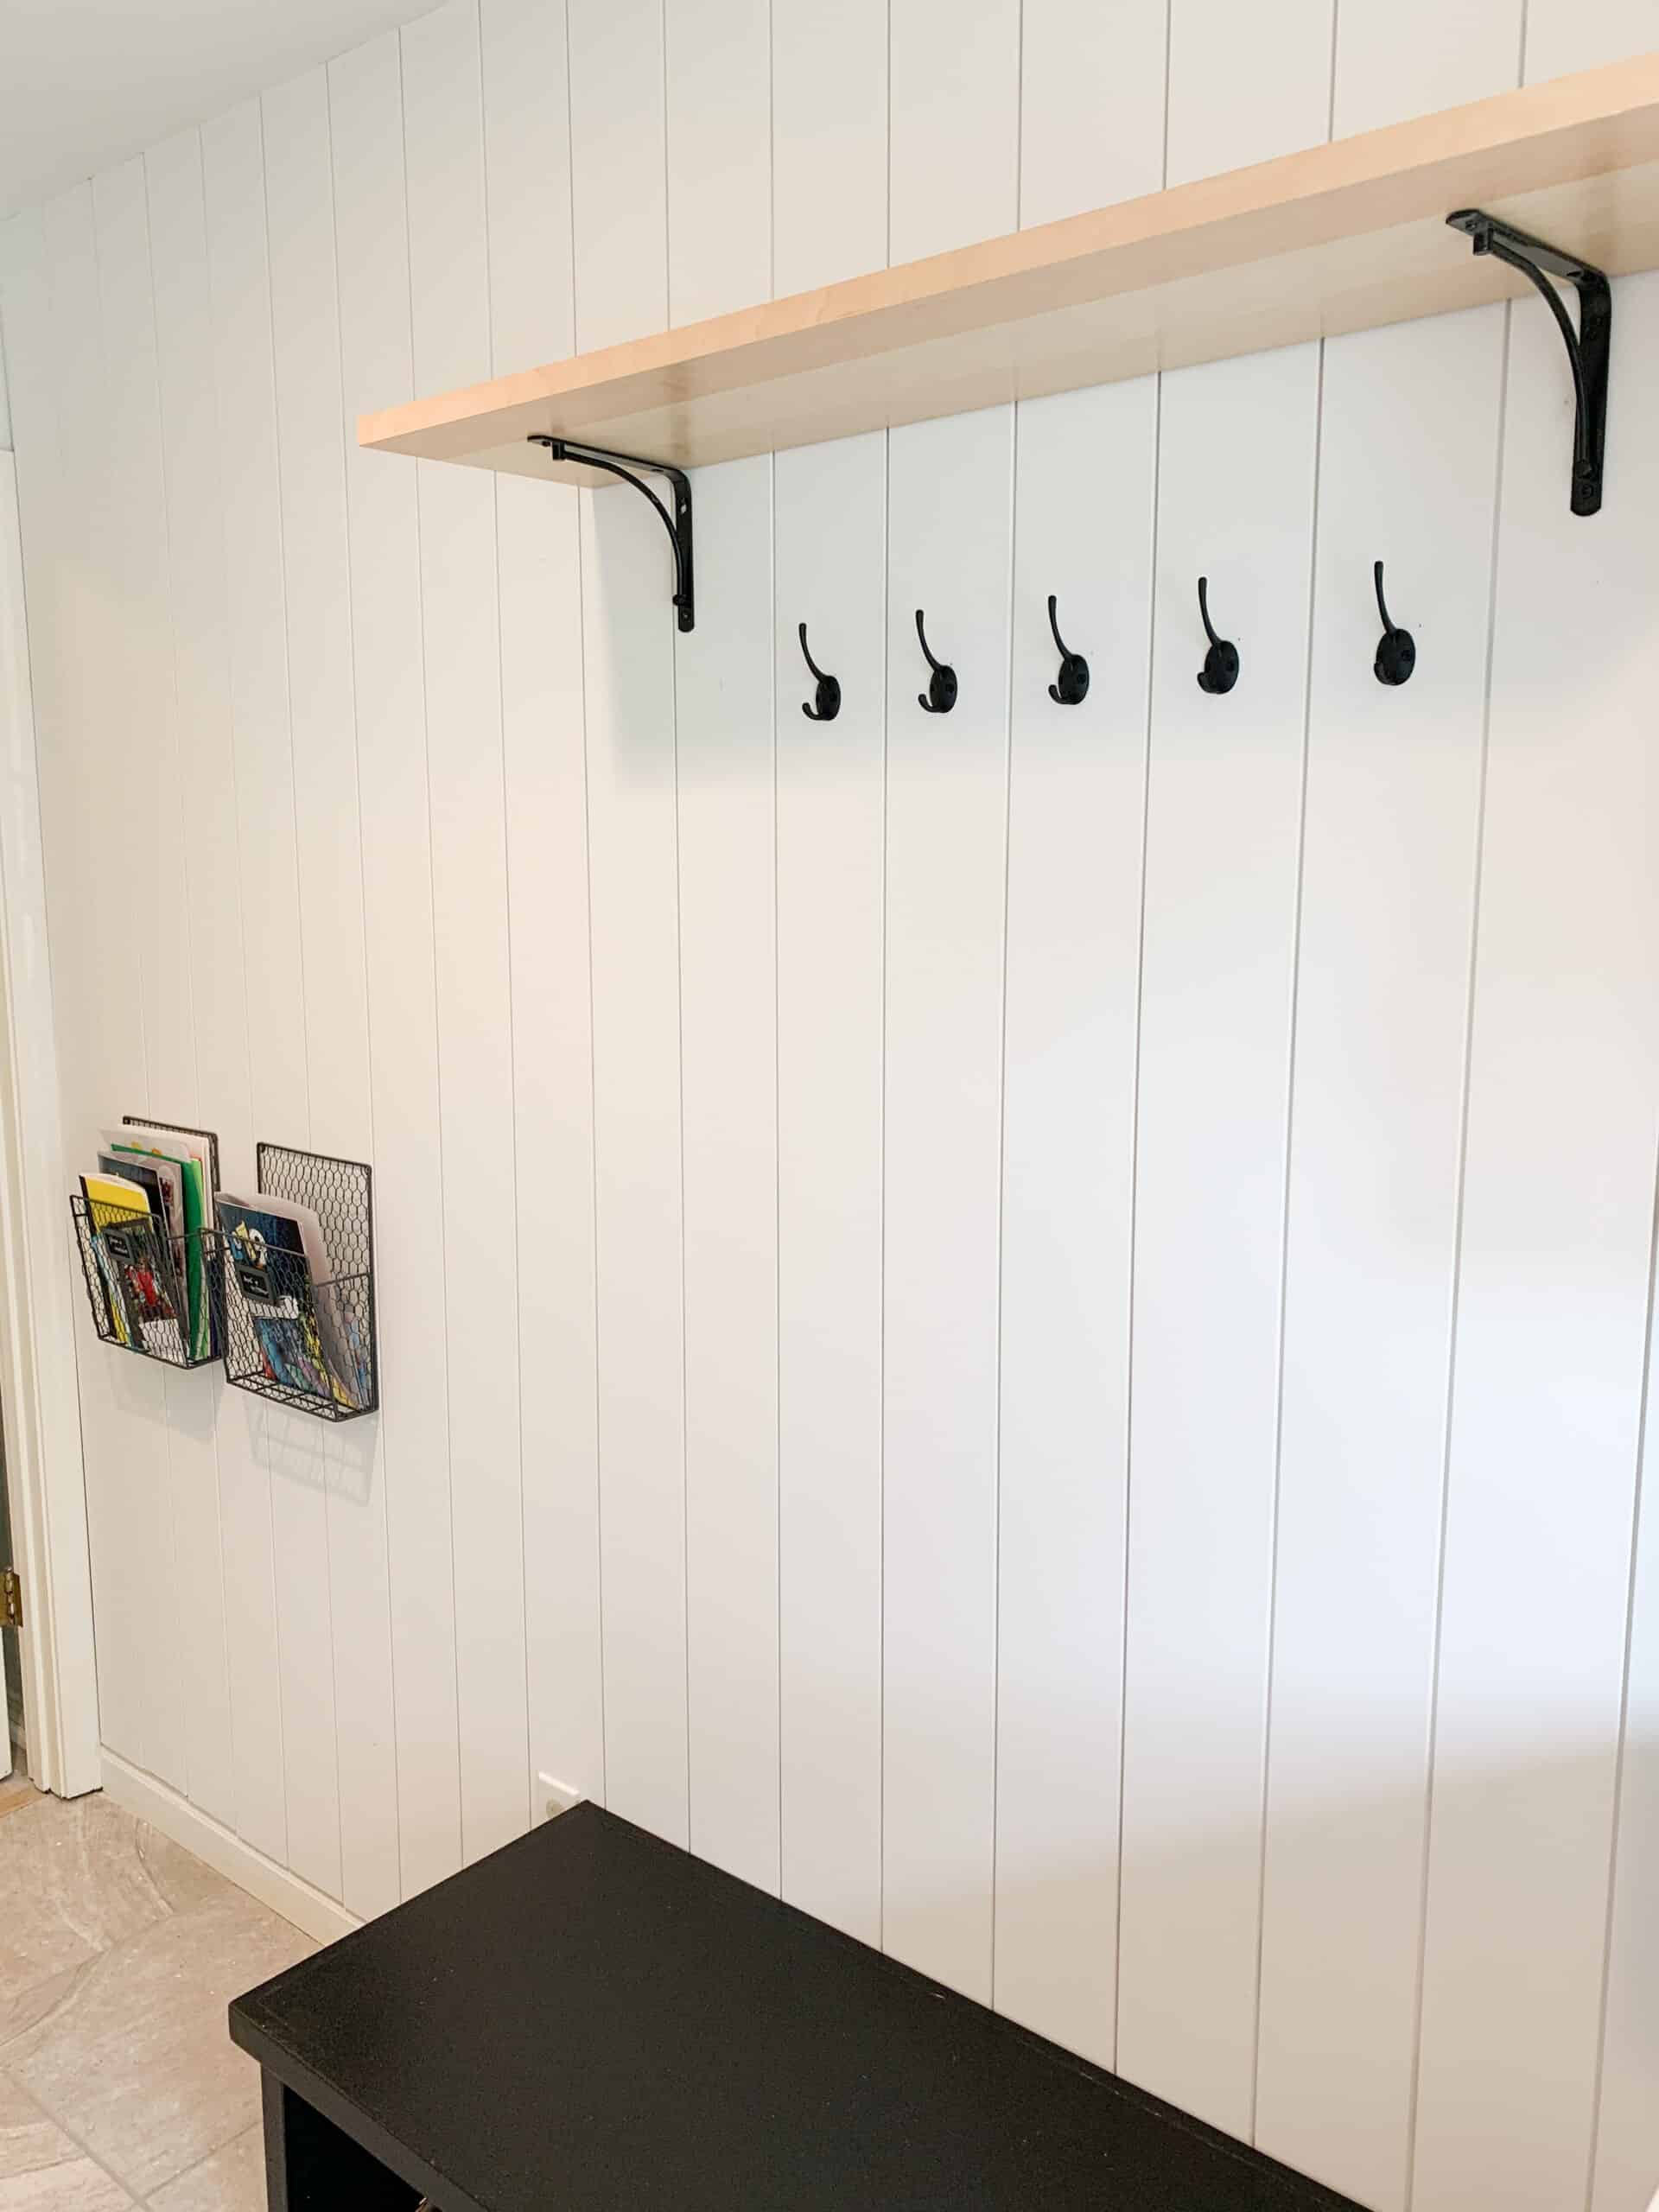
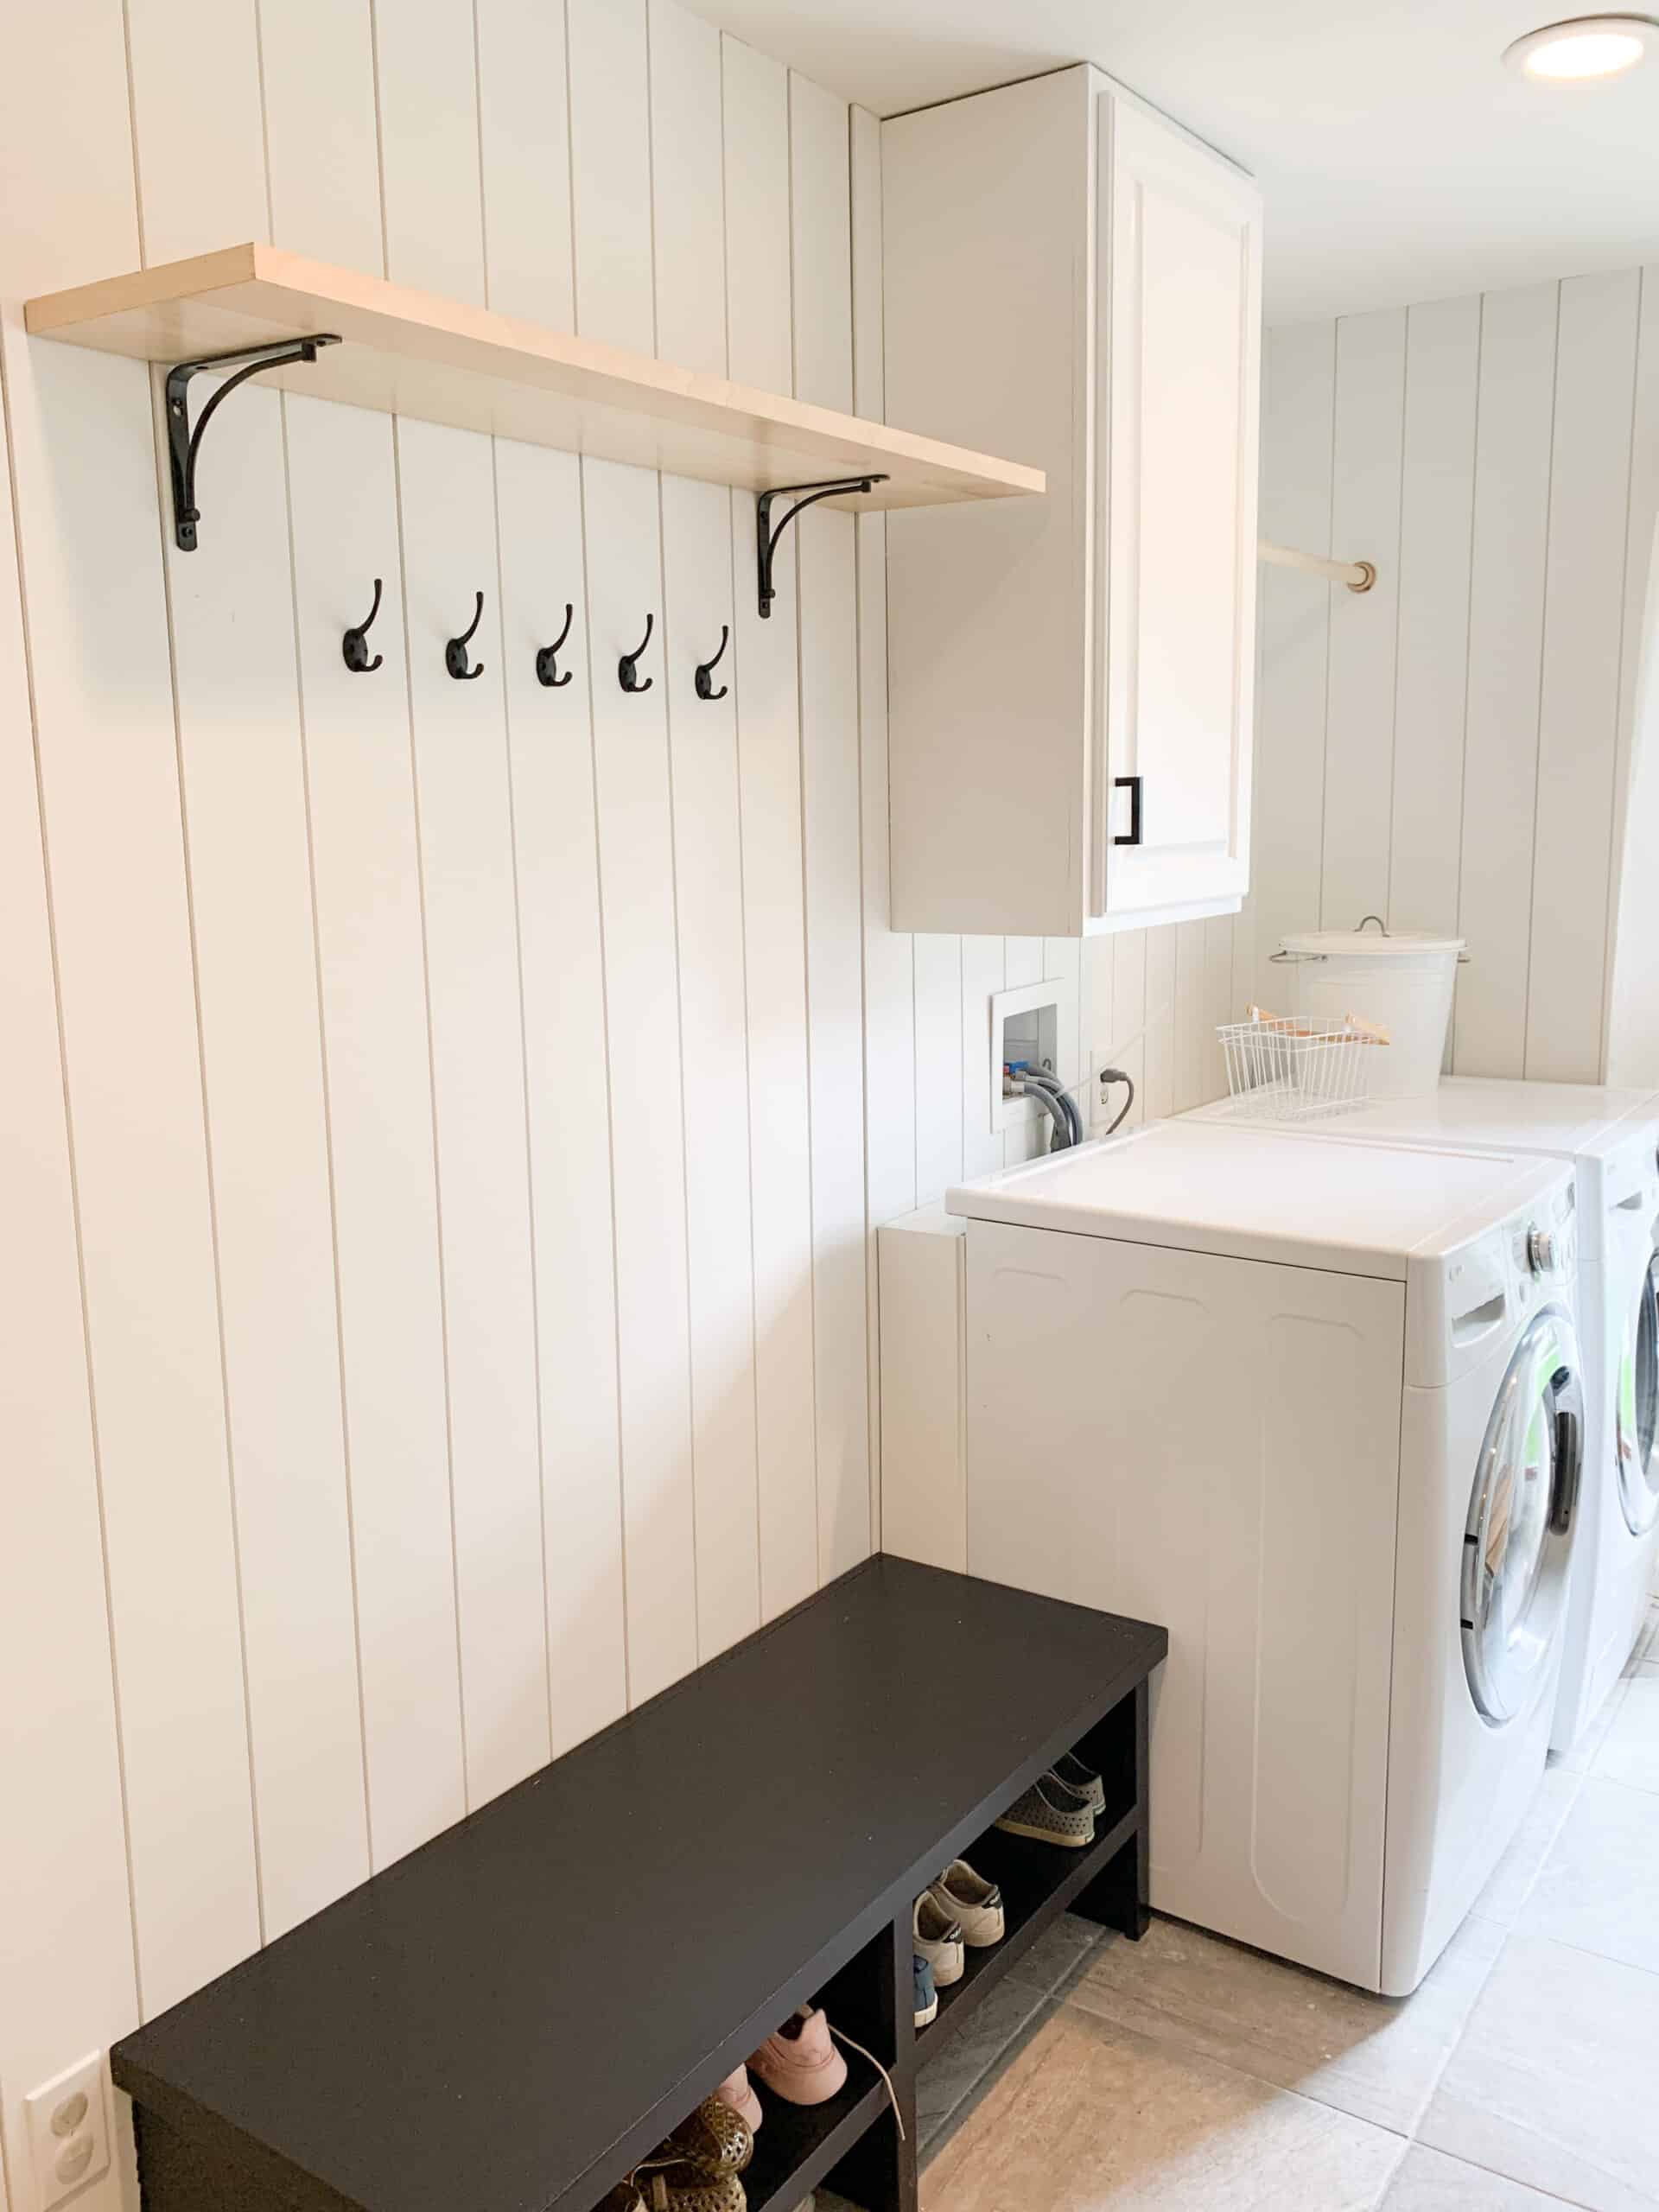
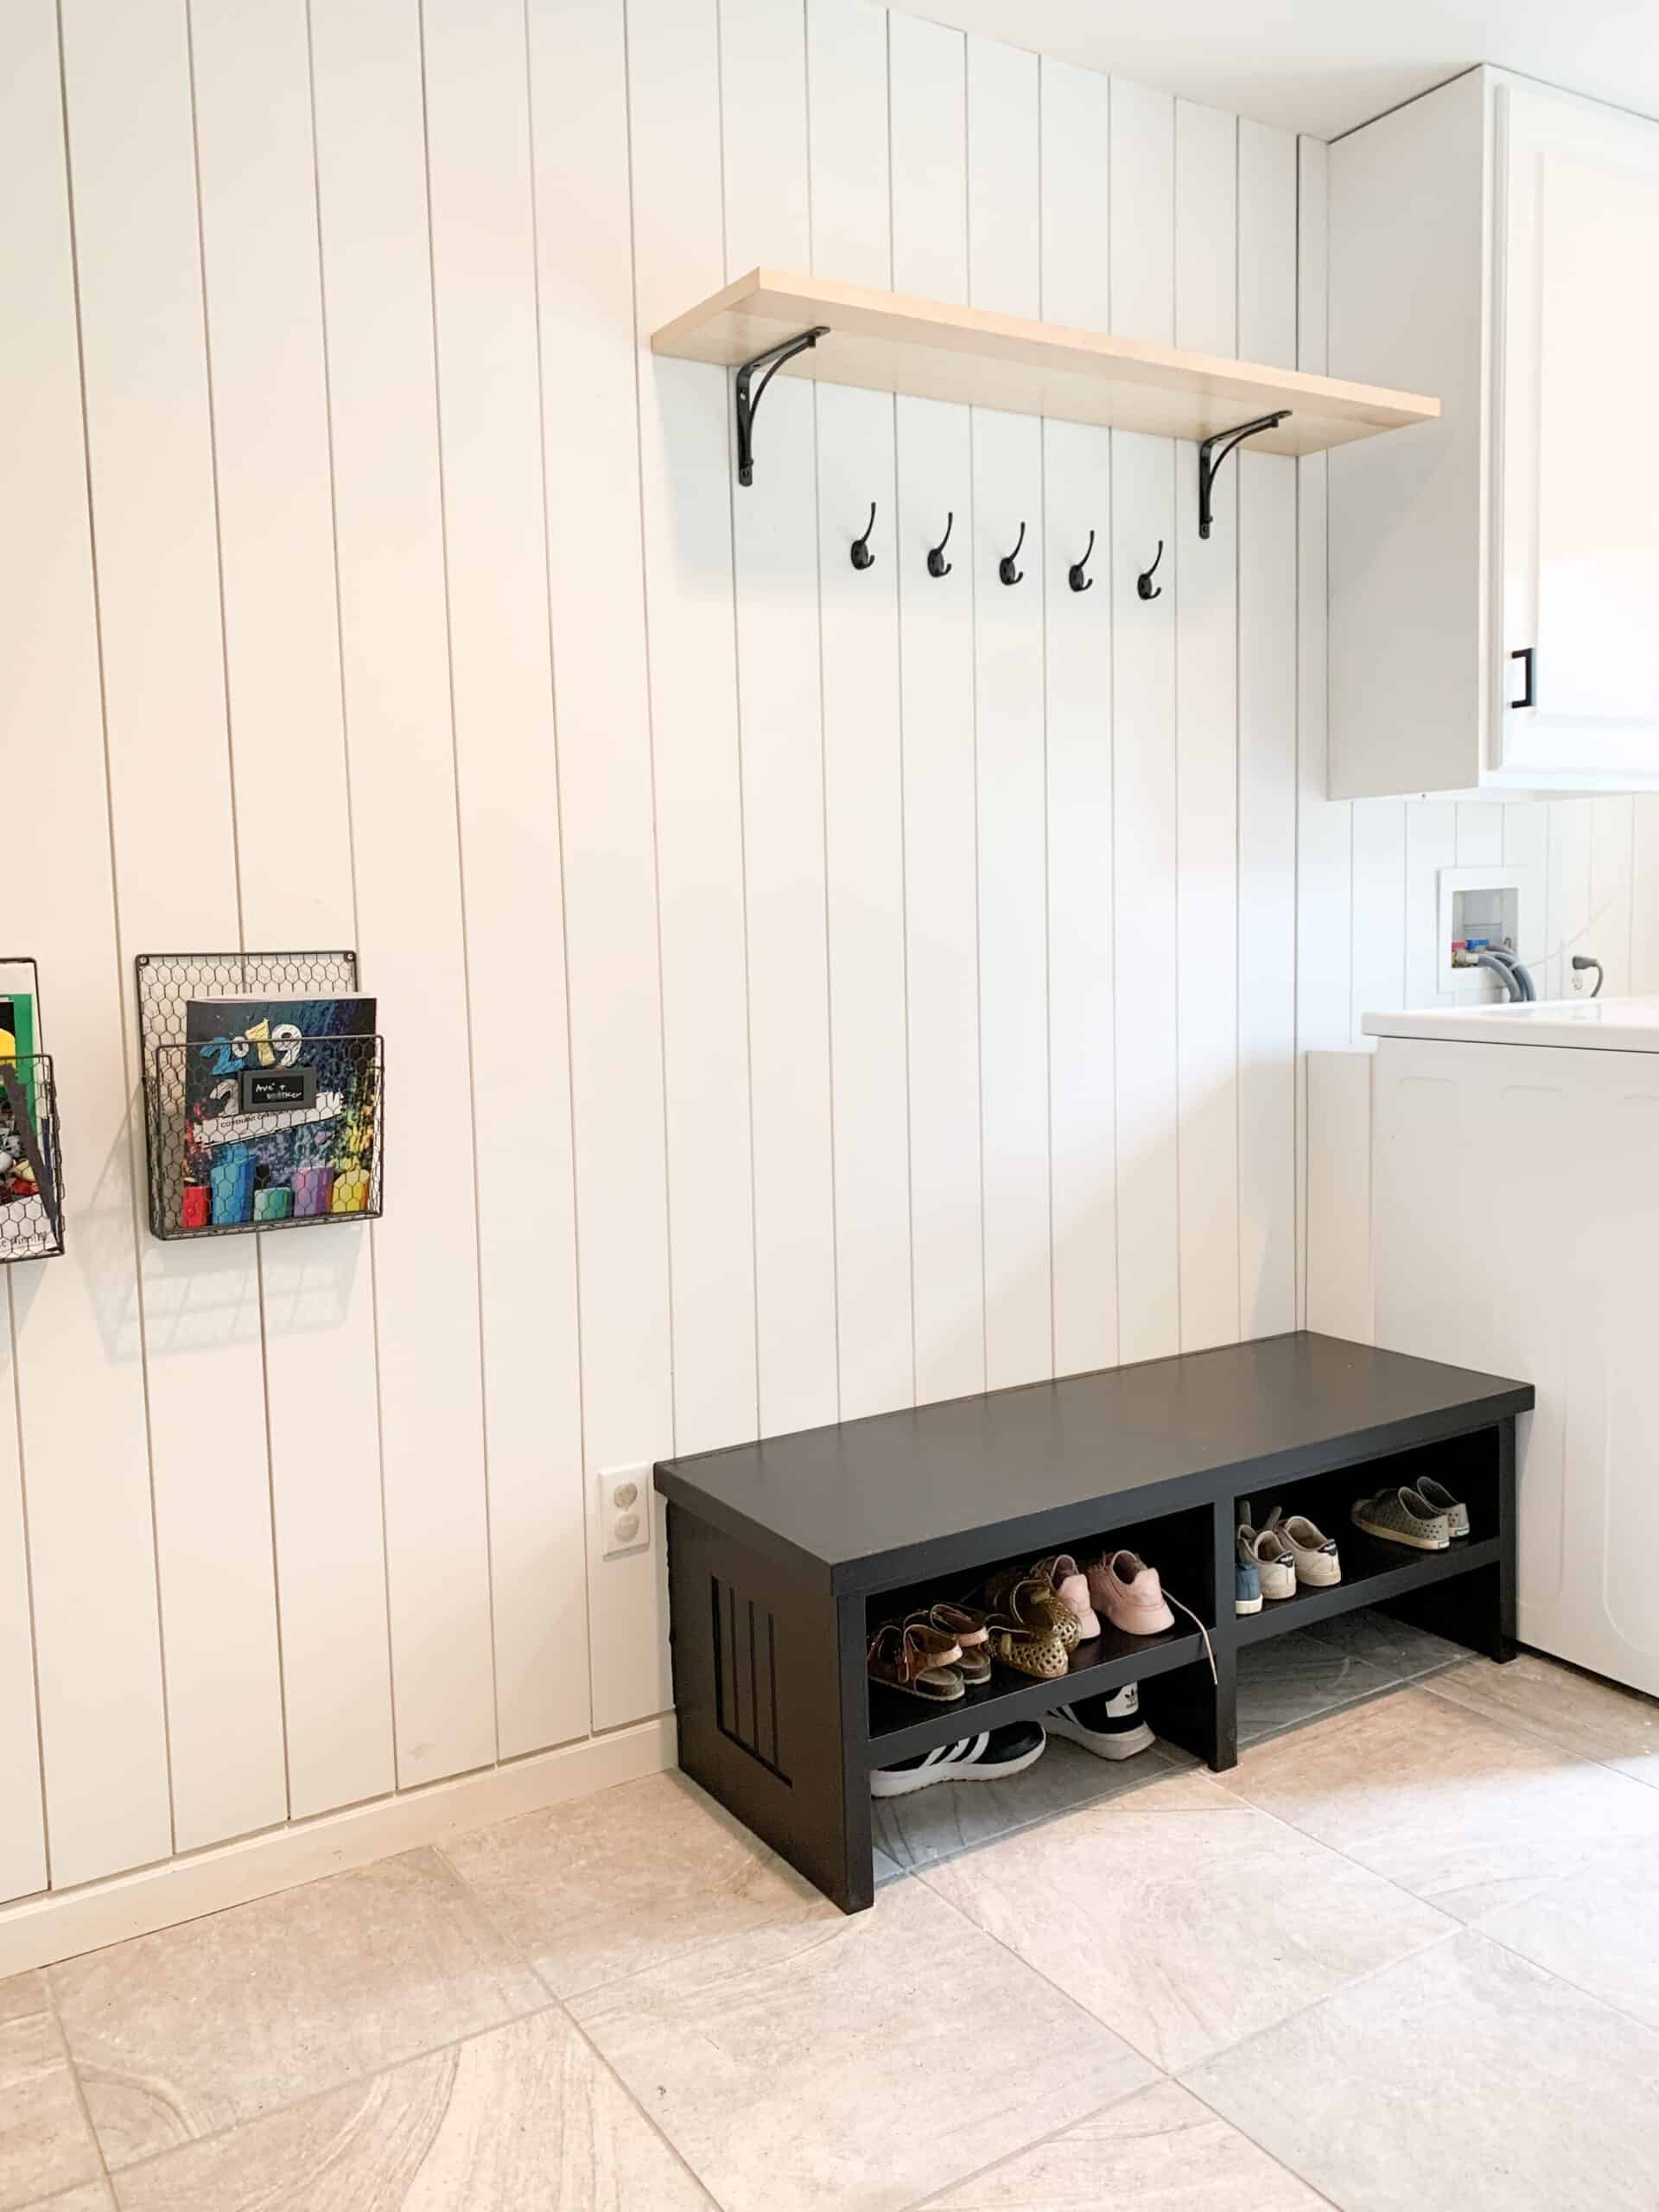
I hung THESE hooks which were such a good deal – and I was able to hang several. I did them closer together because in the winter I like to be able to hang kids backpacks and coats.
We then mounted this shelf above. We already had both the shelf and the brackets – linked below, and I loved that it gave a good pop of natural wood in the room and allows me to store boots, lunch boxes, and whatever else my heart desires.
Overall – I actually am much happier with the easy function of the mudroom like this over the more ornate design of it in the before. It was a very affordable way to create a mudroom, and honestly something anyone could add to their laundry room if space permits.
Washer and Drier Area
With this being the laundry room – I do have to to touch on how we made it a more functional laundry room – because you know, as much as I would love to not ever visit that part of life, with 4 kids it’s also way too big a part of our day.
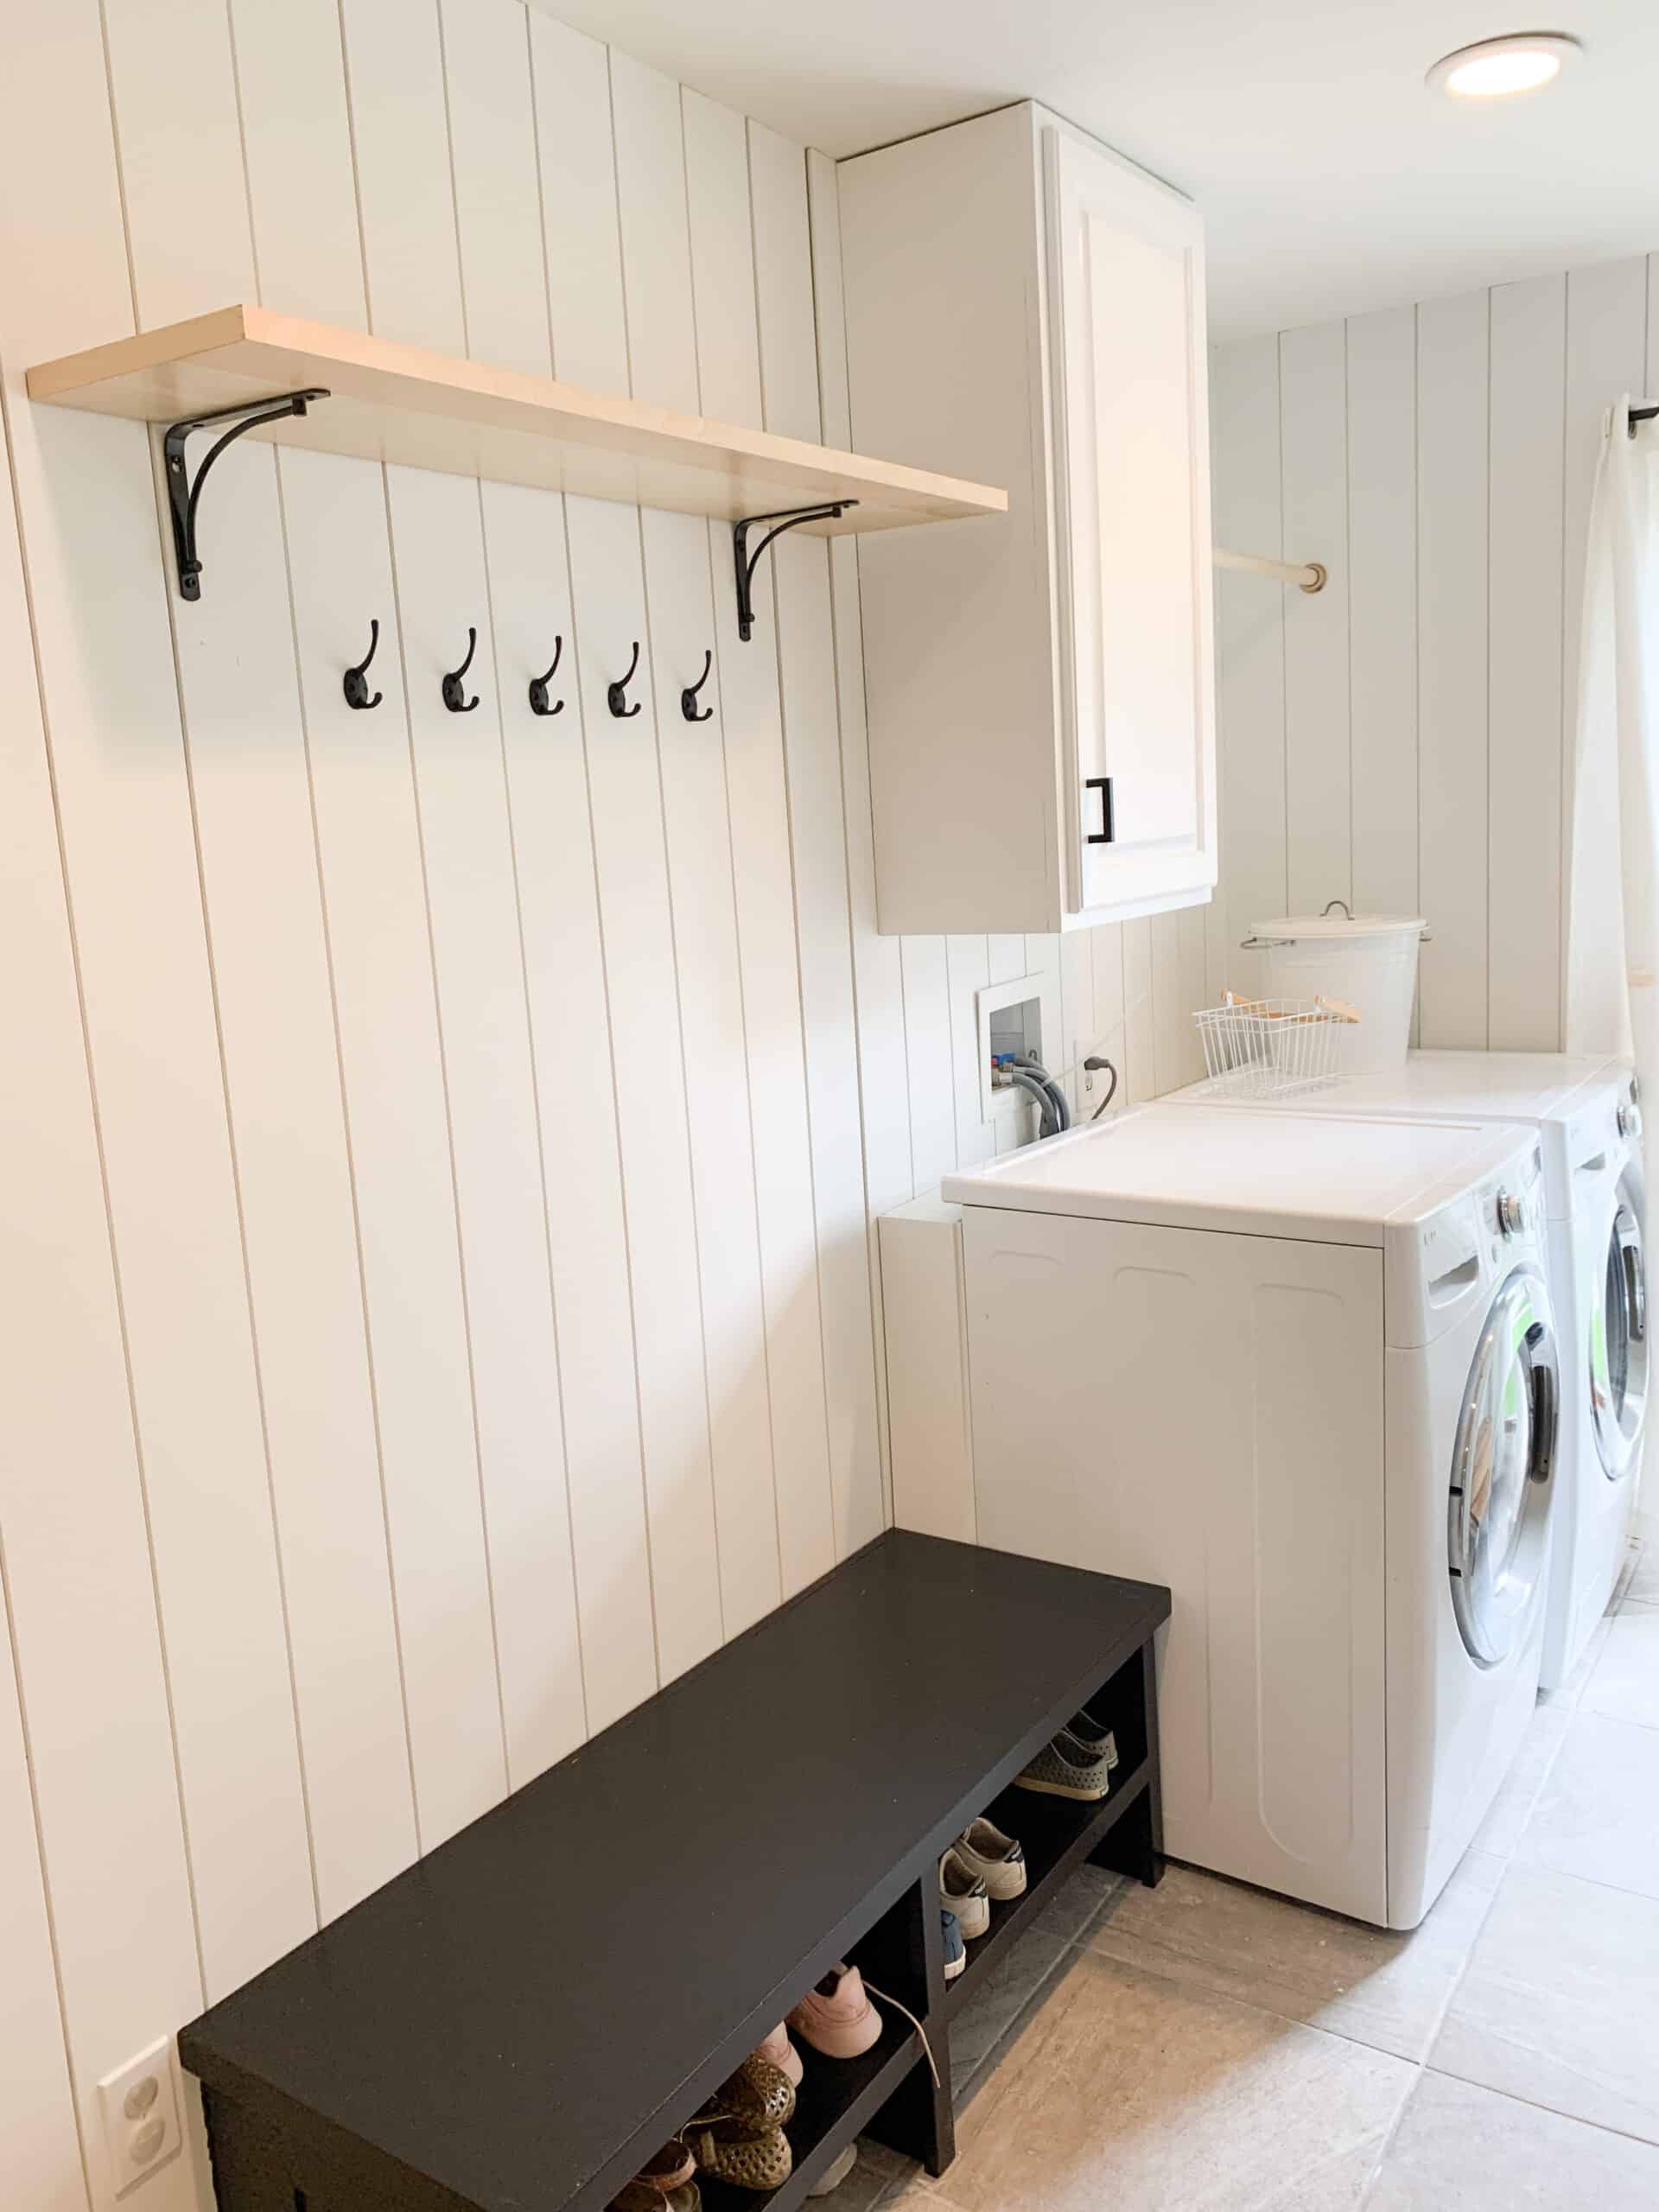
When we moved in there were cupboards over the washer and drier which I loved, but they were so tiny that the honestly basically stored nothing so I knew we needed to adjust that. It ended up being perfect because when we redid our kitchen last month we took down one cupboard, and decided that would work great.

We used the same paint and method for painting kitchen cabinets for that one as we did in our kitchen and we got to work. Once the cabinet was fully painted we used the same hardware from the kitchen as well and hung that over the drier so there was a big gap between the cabinet and the wall.
The gap was on purpose because we had also purchased a wood dowel for hanging clothes to dry that went from the cupboard to the wall. I was a little worried it would look off center, but I actually was so happy with the end outcome!

Another thing we did with the laundry area that I LOVE was used a little extra shiplap and built an N shaped piece to fit right in behind and under the washer and drier.
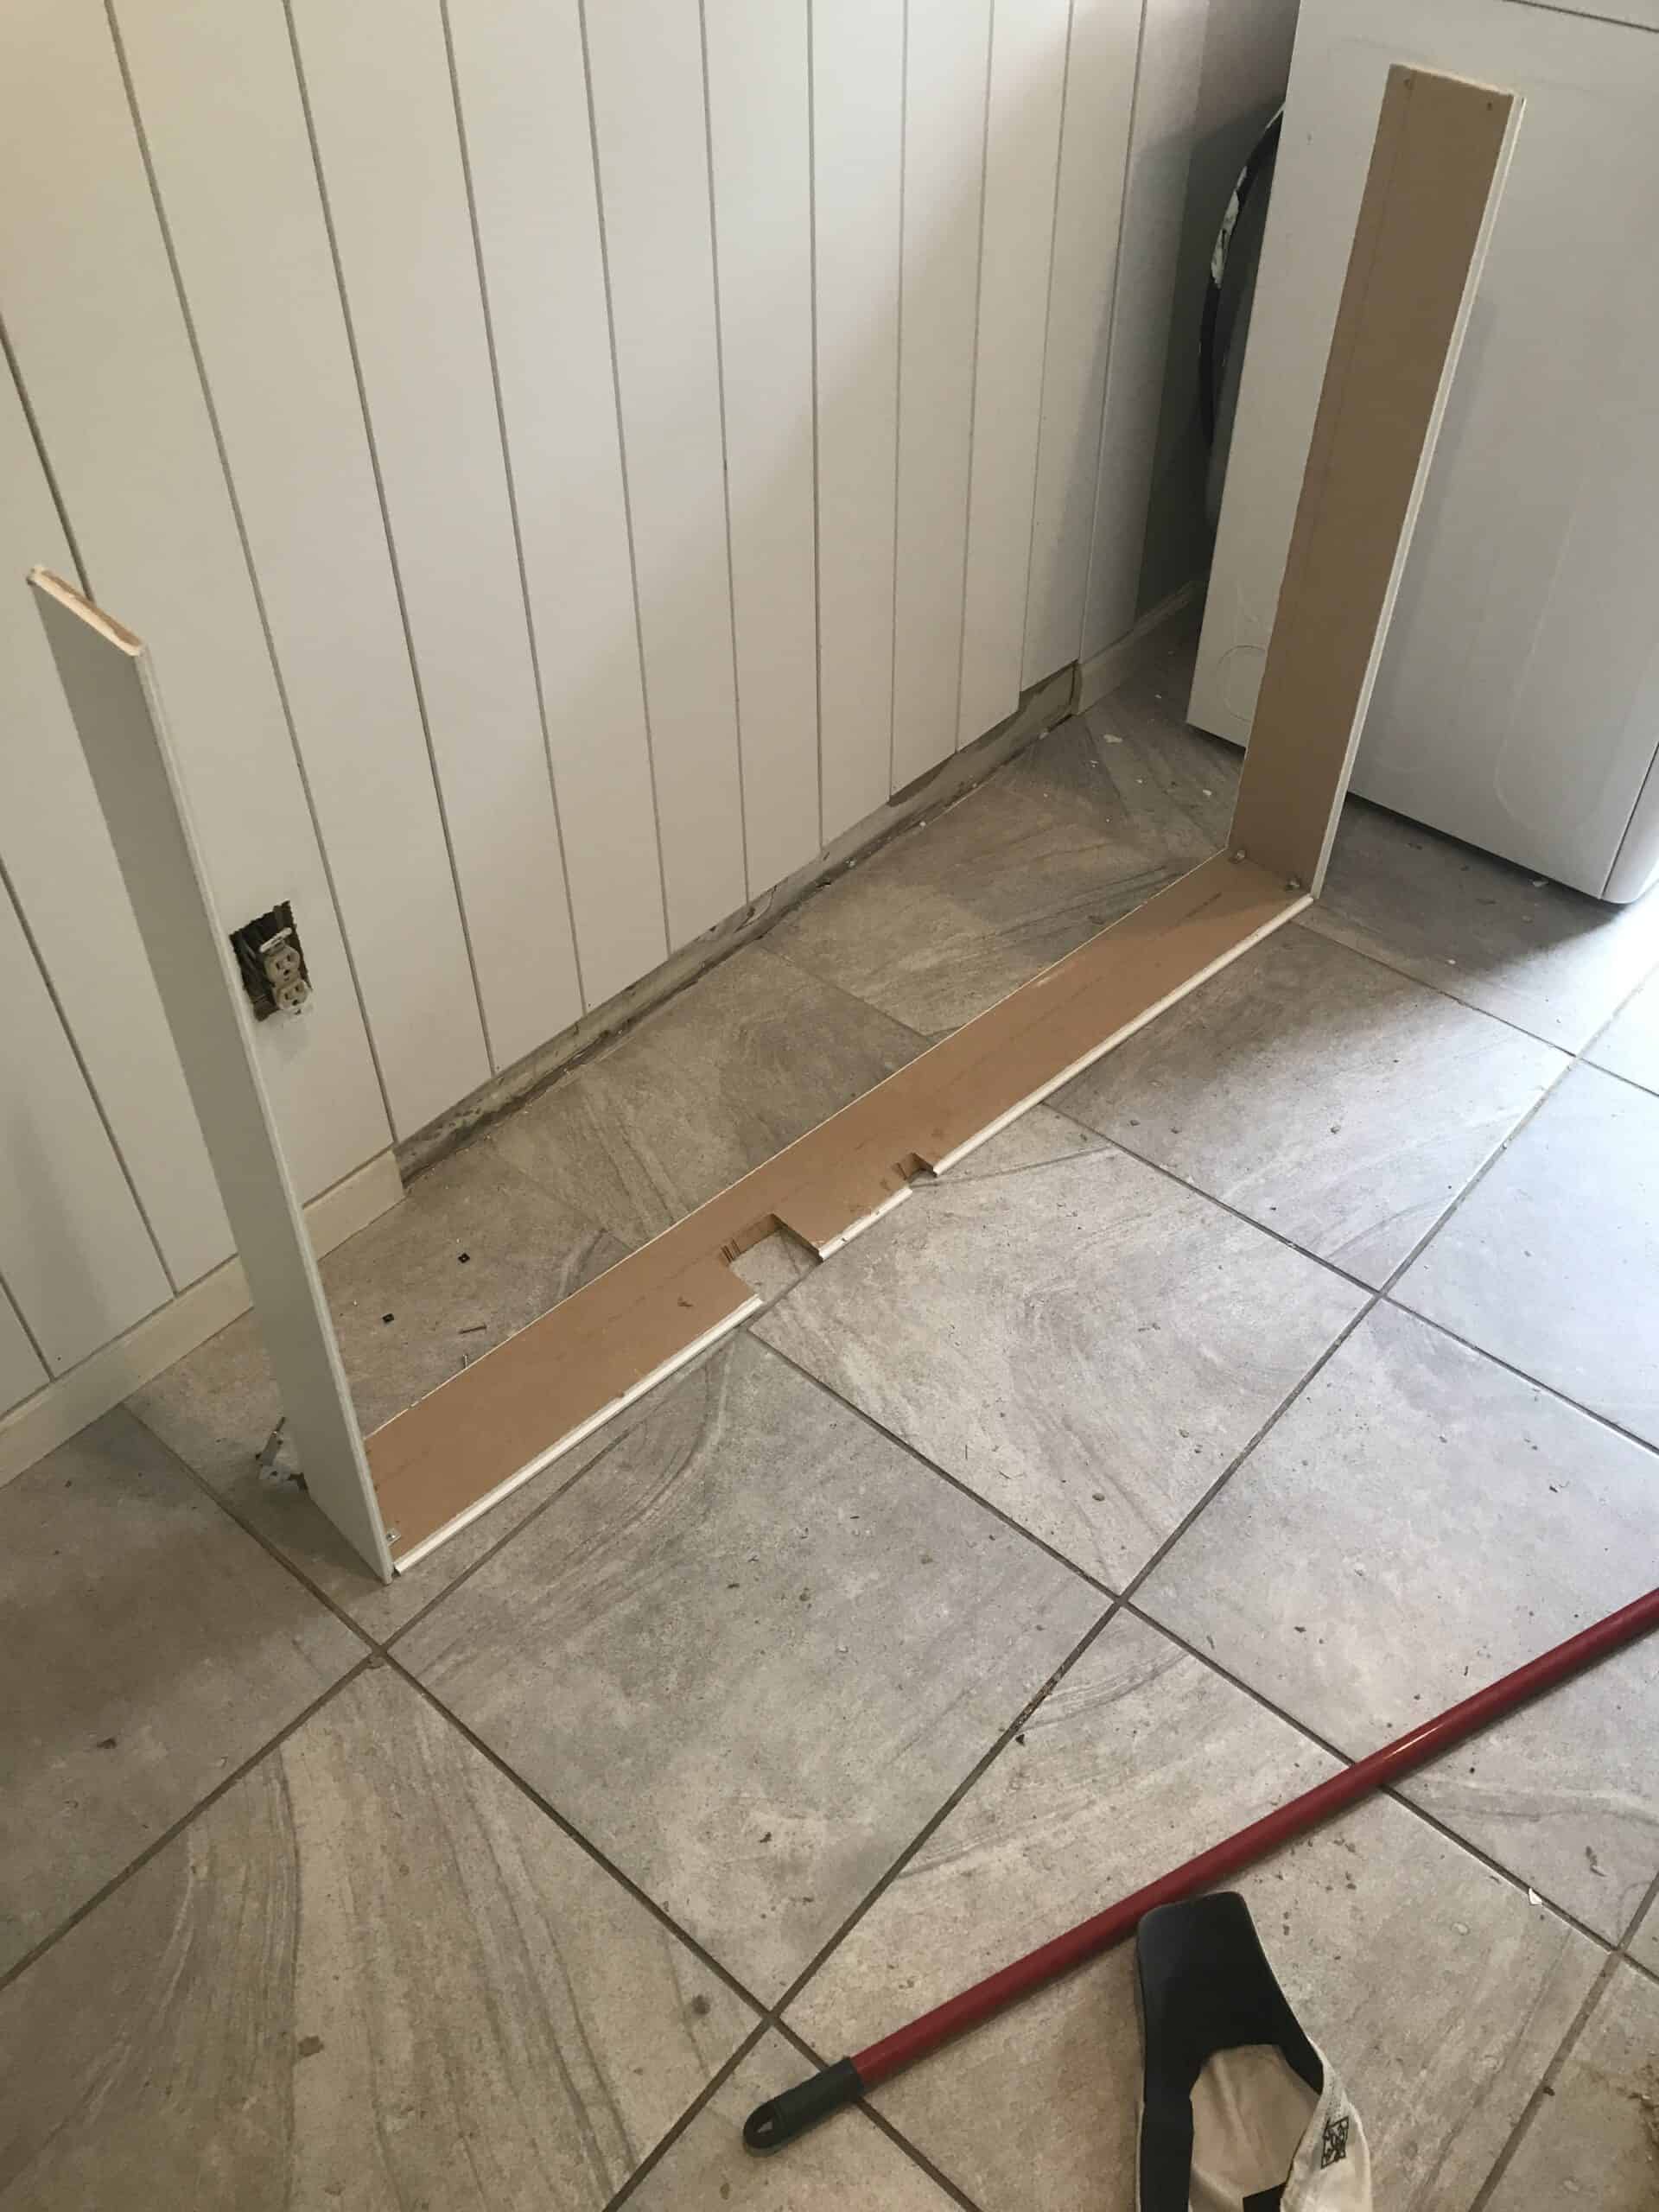
We drilled holes and cut outs for cords, but it keeps clothing from falling behind, and keeps the room looking a little more clean and put together. To connect those pieces we used small L brackets on the corners.
The Details
Those were really the big areas of the room, but there were still a couple of things I wanted to make more functional – 1 thing was that I liked to hang my ring slings, and baby carriers, as well as my diaper bag and purse away from the kids stuff.
I used to hang them on the wall right by the door but honestly it felt like PURE CHAOS in the area all the time, so I needed a better solution. We ended up using a leftover strip of trip and nailing it to the wall across from the washer and drier and put several more of the hooks we used on the mudroom area in that space.
It has been amazing to have a place to hang all of those things without them being in the way. I also used to have a homework bin on the wall by the door, and knew that wasn’t working well to just have one, so I ordered more from amazon with the intentions of being able to add 2 more, or a calendar over top of it for a command center as time went on.
Those two little changes made a huge overall change to the space without making it expensive or hard to maintain.
One other thing I did to the room was HEAVILY clean the grout and it was SO needed. I bought this little tool on Amazon and it was seriously LOVE!
Shop all the Details
Incase you missed any of the links mixed into this post, I figured I would list them all out below!
Hooks | Shelf | Shelf Brackets | Wooden Dowel | Dowel Holders | Shiplap |
Door Hardware | Wall Bins | Grout Cleaner | Laundry Basket | Step Stool
Overall – adding vertical shiplap to our laundry room increased the curb appeal, while adding so many little functional changes increased how it works for our family. Overall the entire update cost was only a couple hundred dollars which included the new laundry basket, paint for the whole room and ceiling and all the little details. It was a great budget way to bring the room up to the level of the rest of the house.
Pin the Picture Below for Later