We are over half way there for the One Room Challenge and I am busy doing more of the decor aspects of the room, and this week was chairs. The chairs have been my biggest up in the air item in the room, but I am so happy with where I landed. I decided on updating vintage cane dining chairs, and love the end results.
Vintage Cane Dining Chairs
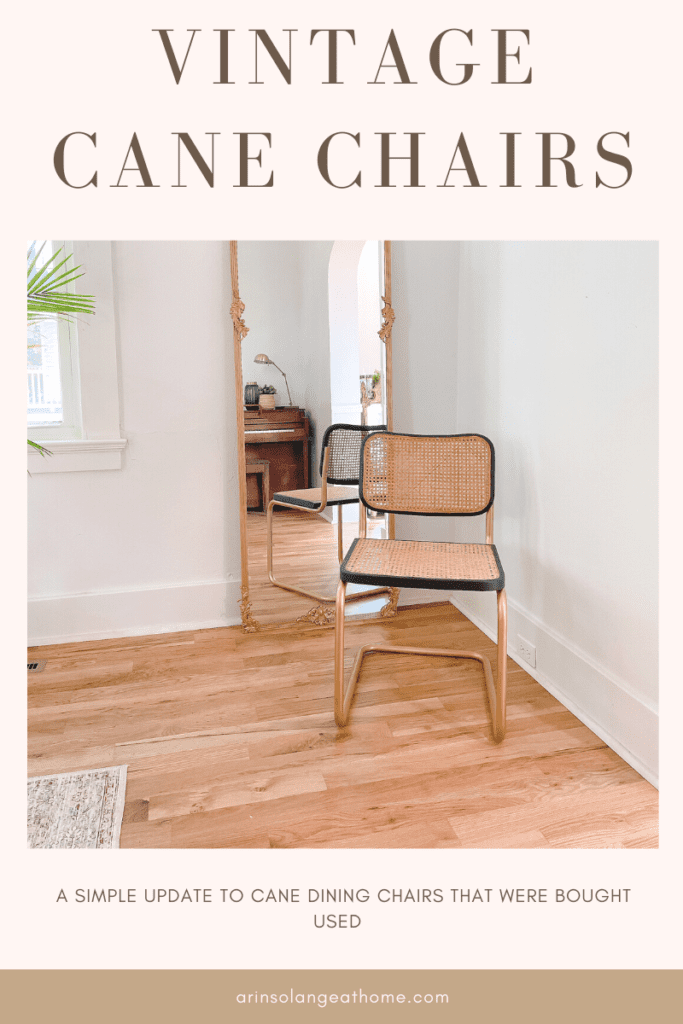
I love cane webbing and really wanted to tie it into this room somehow, and my initial thought was the chairs – but I wants affordable and something not everyone has, so I landed on some vintage cane dining chairs and LOVE them.
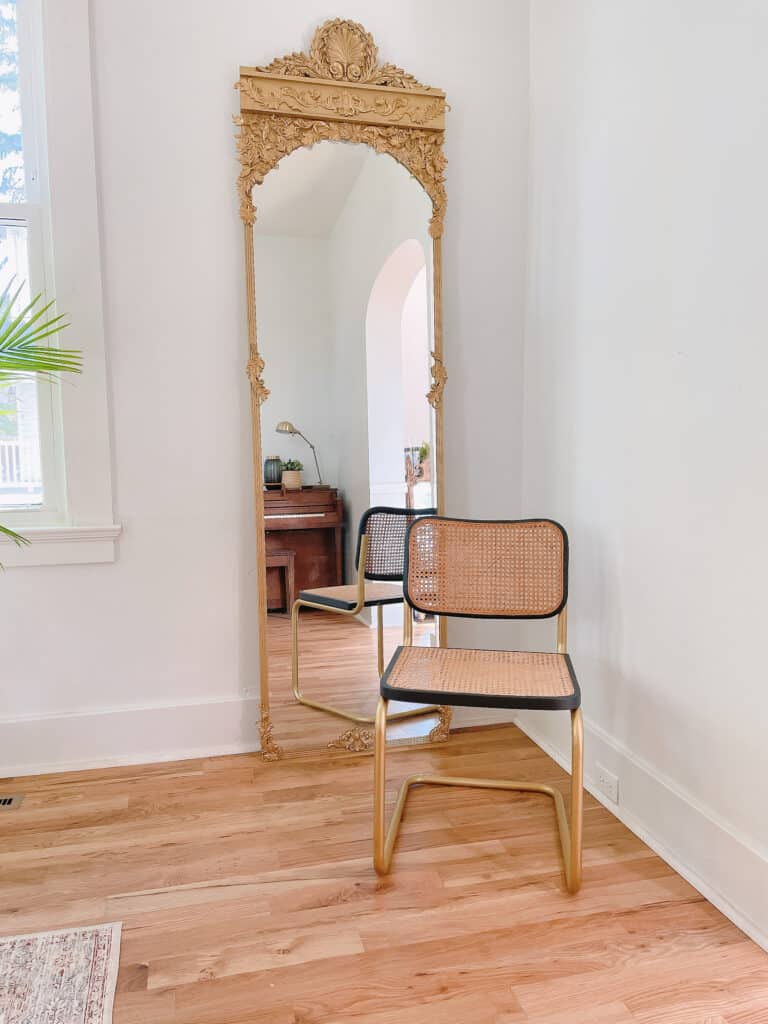
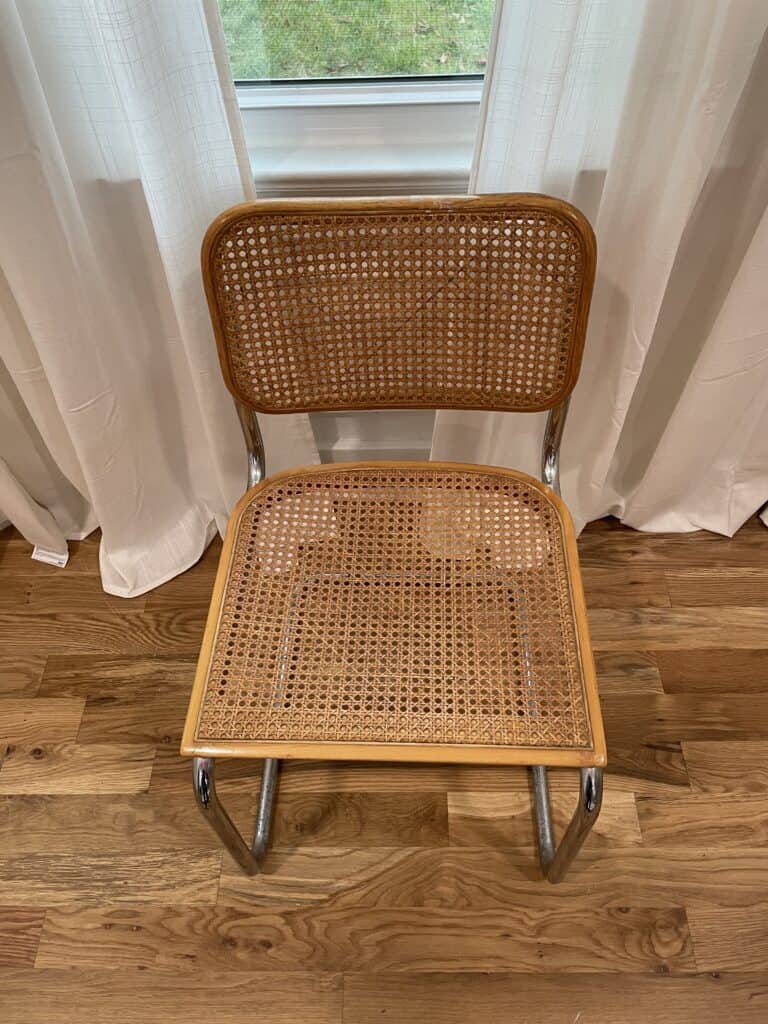
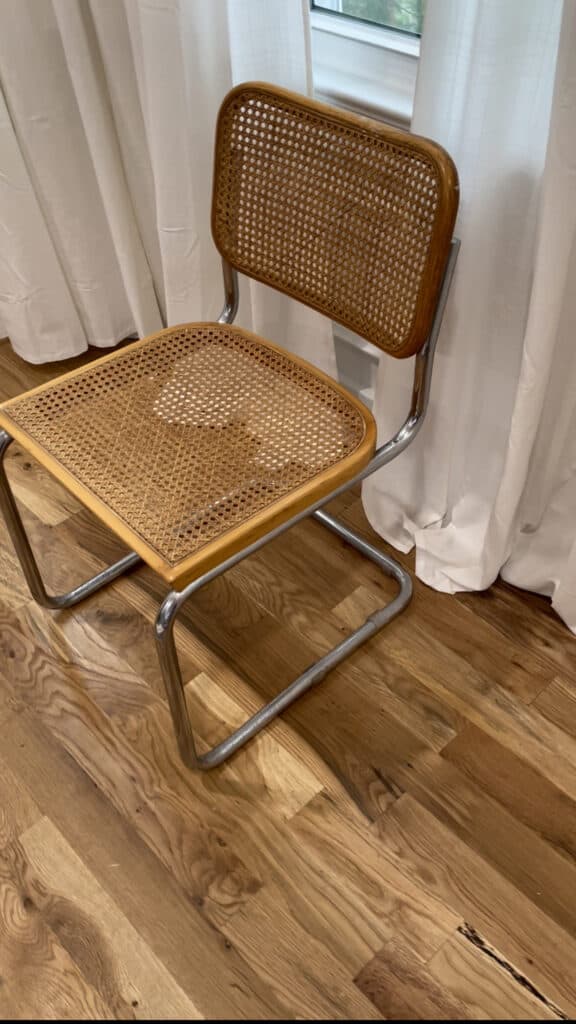
The chairs I bought to update are mid century modern cane back and seat chairs that have the most gorgeous metal frame. I LOVE the overall look to the chairs, but also had no interest in the chrome with the room I was doing. I knew that a small update could make them the chairs of my dreams, and I was RIGHT!
One Room Challenge – Week 5
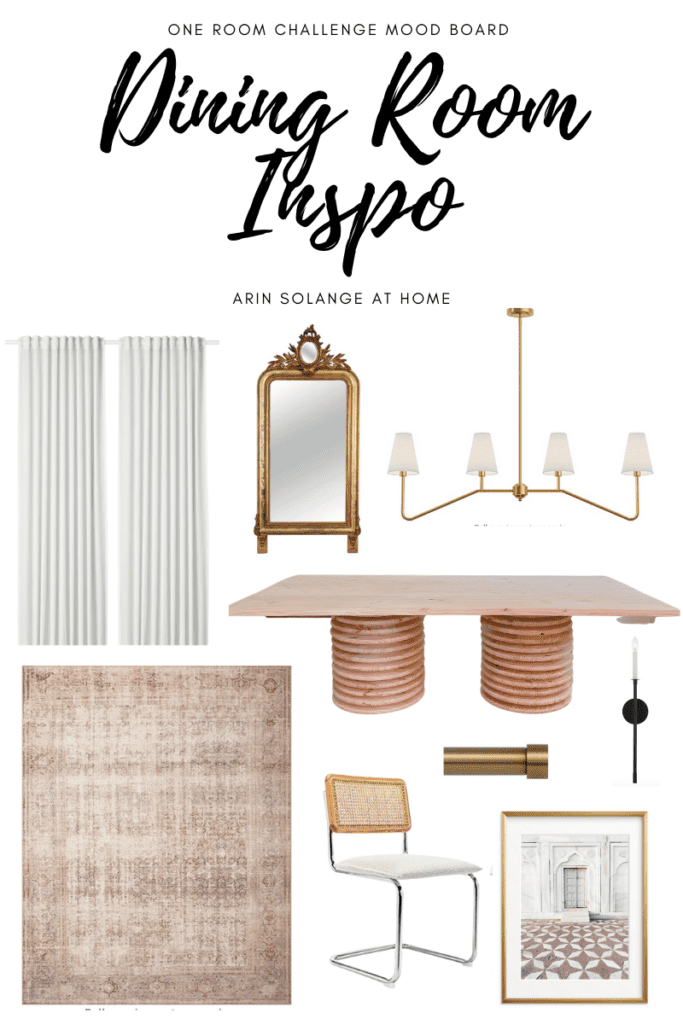
Before I get to the chair update, lets talk One Room Challenge. If you haven’t been following along – the One Room Challenge is essential a challenge for bloggers and influencers to finish a room in 8 weeks. Some are doing DIY, and some aren’t…but there are some pretty amazing spaces happening.
You can check out the other participants here, and check out my progress here, or on Instagram (@arinsolange) in my ORC highlight bubble.
Next week will be lighting, followed by 2 weeks of styling the space on the walls and the smaller aspects…and then I WILL BE DONE!
Updating Vintage Cane Dining Chairs
This was a super easy project….as long as you can find the chairs, BUT if you love the look I also found some great chairs you can buy new and give the same look to, so I will link those below.
Supplies:
Below is a list of the supplies you will need – it isn’t much!
- Chairs – clearly mine are vintage, but here are some very similar ones.
- Painters tape
- Rubnbuff in color Grecian Gold – you will need about a tube a chair
- Black spray paint. I used this one and HIGHLY recommend it. It is by far the best spray paint we have ever used.
Directions:
The directions for this are SO EASY. Because the paint is a chalk paint it takes a lot of the work of sanding out of things.
- Remove the seat back and seat from the chair.
- Using painters tape you need to cover ALL of the cane on the front and back, and top and bottom of the seats.
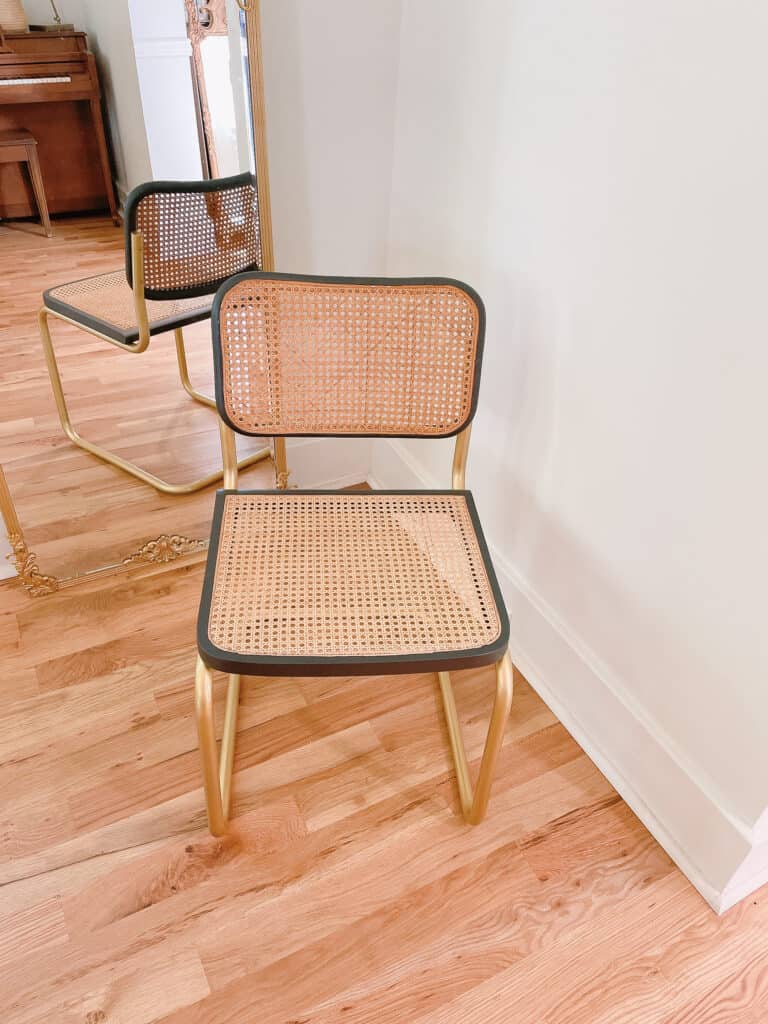
- Spray paint the wood portions of the seat and back, and while that is drying its time to rubnbuff.
- For the rub n buff – you have to do lots of thin coats. Using a paper towel rub in some of the rub n buff and let it sit. The first coat or two will look like you did NOTHING, but it will layer on. After 4 or so layers you will have perfect gold legs.
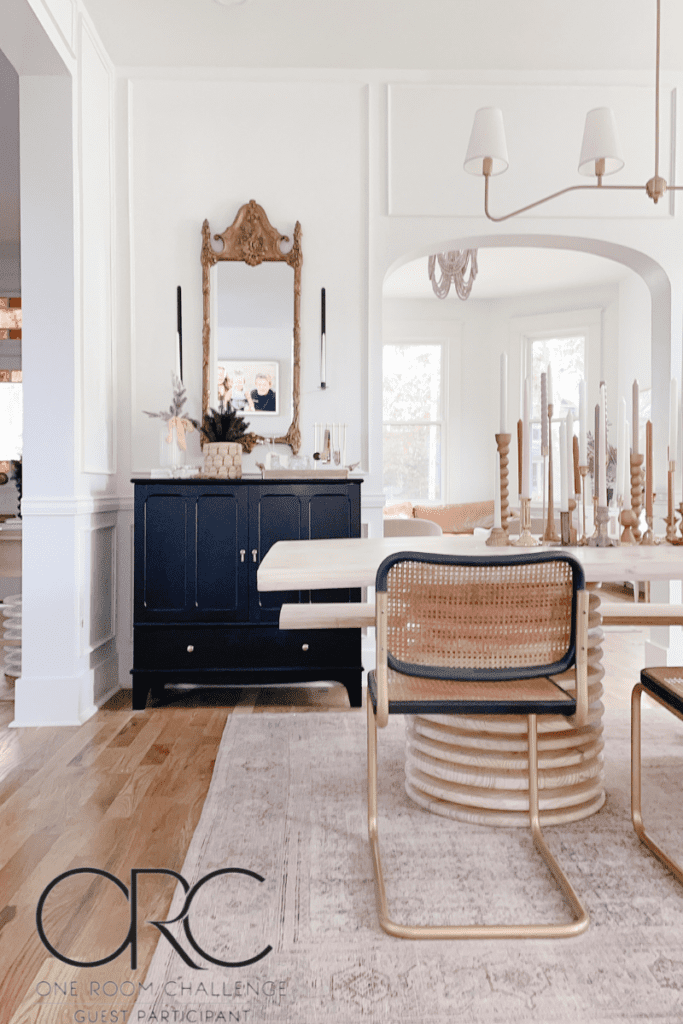
That is really it. This was a one day project for us, and the longest part of it was the painters tape. The end result was GORGEOUS and exactly what I was looking for in terms up updating something old to be more modern.
Other Posts You’ll Love
DIY Closet Shelves | Pergo Flooring | Boys Wallpaper Ideas | DIY Modern Table
Pin the Photo Below for Later
Hopefully you love our updated vintage cane chairs and feel ready to do the same to some chairs to make them perfect for you. Be sure to follow me on Instagram (@arinsolange) and leave any questions you have in the comments below.