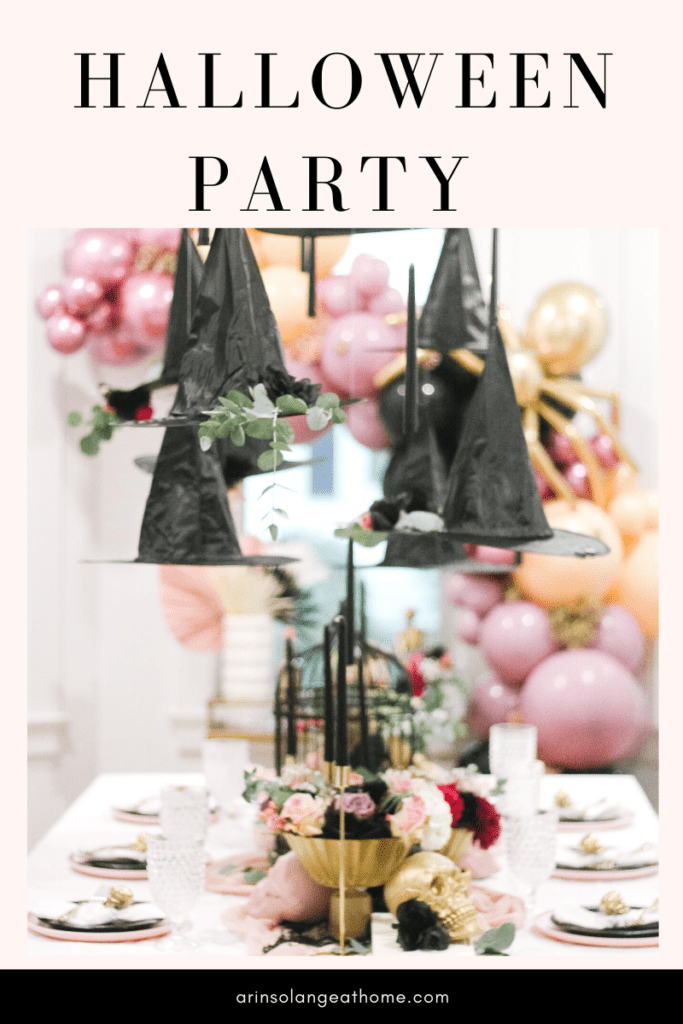
A couple of weeks ago my friends from The Party Hop Shop and I set out to create a gorgeous Halloween party tablescape that would give fun inspiration to anyone who was looking to host a Halloween Party this year. The end outcome was stunning, and I can’t wait to share all the details with you!
This post may contain affiliate links
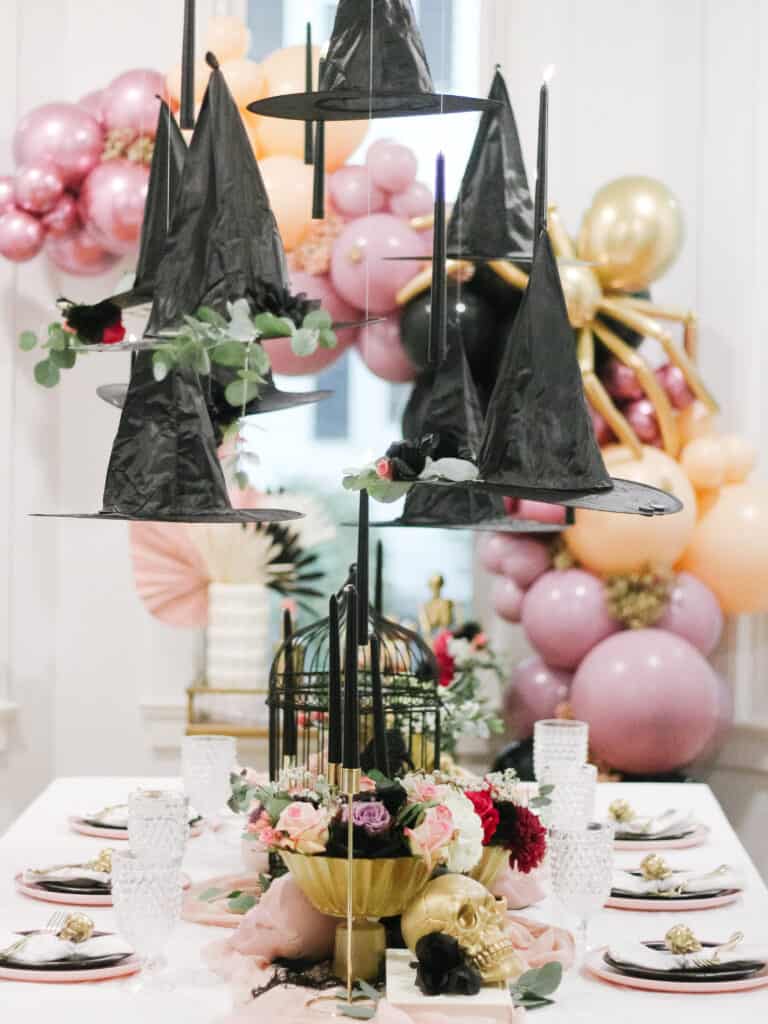
Halloween Party to Wow Your Guests
After a year off from Halloween and parties we are all a bit ready to make up for lost time, am I right? There is nothing better than throwing a party that feels elegant enough to leave the decor up for an extended time before the party.
When it came to this Halloween party set up (because I always feel it is worth noting – in many situations like this we are doing a mock up of a party to help give you inspiration), we were looking for a way to show an elevated, adult feel with a Halloween Party.
I think many times Halloween parties can feel kid centered or very horror movie-ish. That was in no way the feeling we were going for, but rather wanted to give the over all feeling of Halloween while still exuding elegance.
The Makings of A Great Tablescape
I have been meaning to do a blog post on this, but life has been hectic, and I don’t know if it will happen until after the holidays. In the mean time – I want to give you a little run down of how I create tables capes and where I spend my money and how.
I tend to share a tablescape set up every holiday, and it is normally jam packed with stuff…but it is not something I spend a lot of money on. By no means do I want to pour tons of money into a tablescape that in many instances is just being used to give inspiration.
Similarly – when you are hosting a dinner party the last thing you want to do is pour tons of money into the decor when you will likely be spending a lot on food. Before I get into my actual tablescape from this party, below is a good list of things to keep on hand to be able to throw together quick dinner party tables!
What to Keep On Hand
*interchange gold for silver if gold isn’t your thing
- Plain white plates – we have these, but if you don’t want daily white plates you can keep a set on hand from the dollar store
- White cloth napkins
- White Table cloth
- Gold or black Silverware can be a really nice touch
- Gold Candle holders
- White Candles both these and these
- Small gold candle votives
- White Vases in Various shapes and sizes
- Gold Chargers – Dollar store tends to have these
- Fun glasses – these are my favorite
Creating our Halloween Party
I am going to walk you through each part of the Halloween Party so you can recreate it for your own home.
The Ceiling
You’ll need:
- Candles
- Fishing Wire
- Fresh flowers and greenery
- Witch Hats
- Gaffers Tape or Small Command Hooks
- Magnets
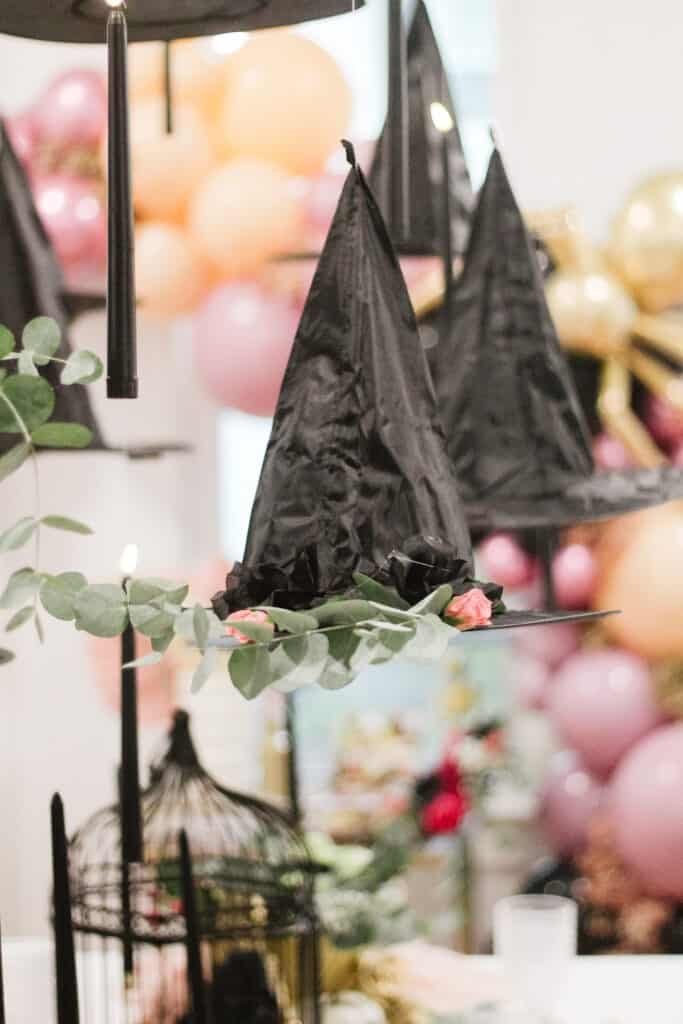
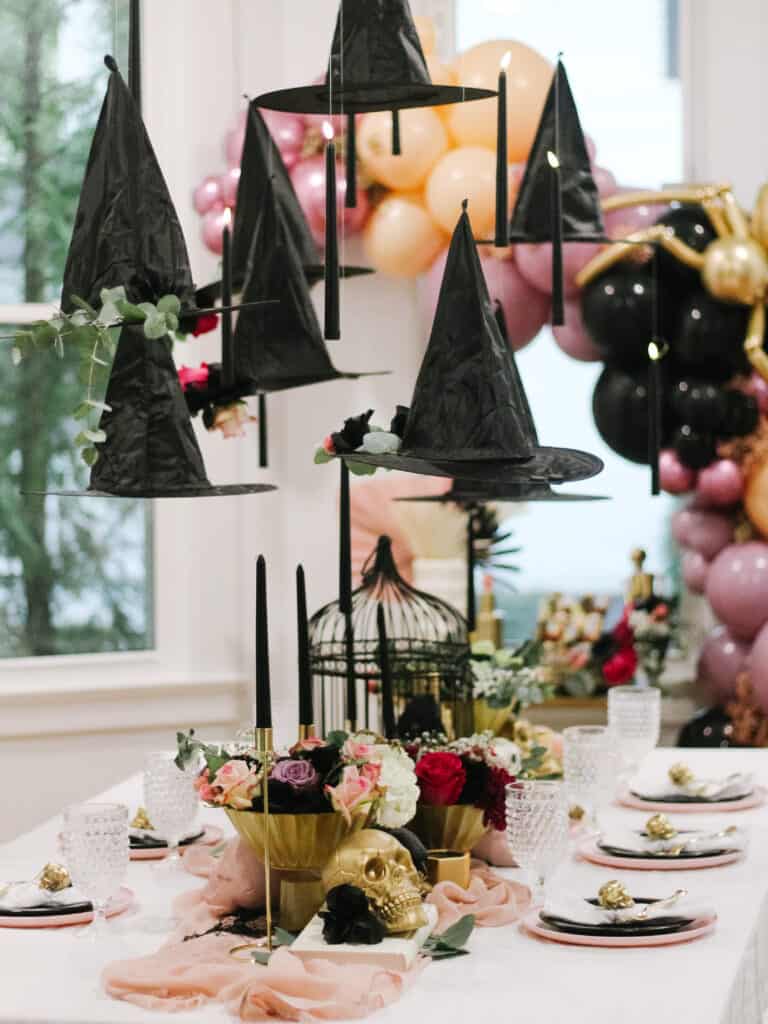
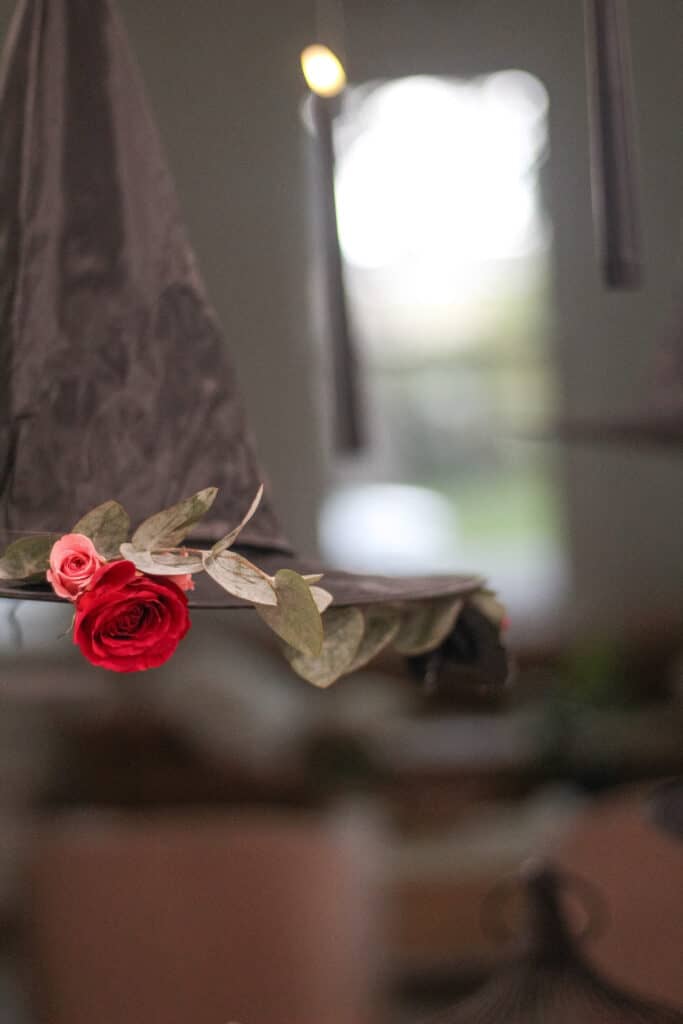
First things first – you will want to execute the ceiling before the table is set. For our ceiling we went with hanging witch hats, and candles and I LOVED the end outcome for. To elevate the look of the hats we decided to add some fresh flowers and greenery to tie into the table.
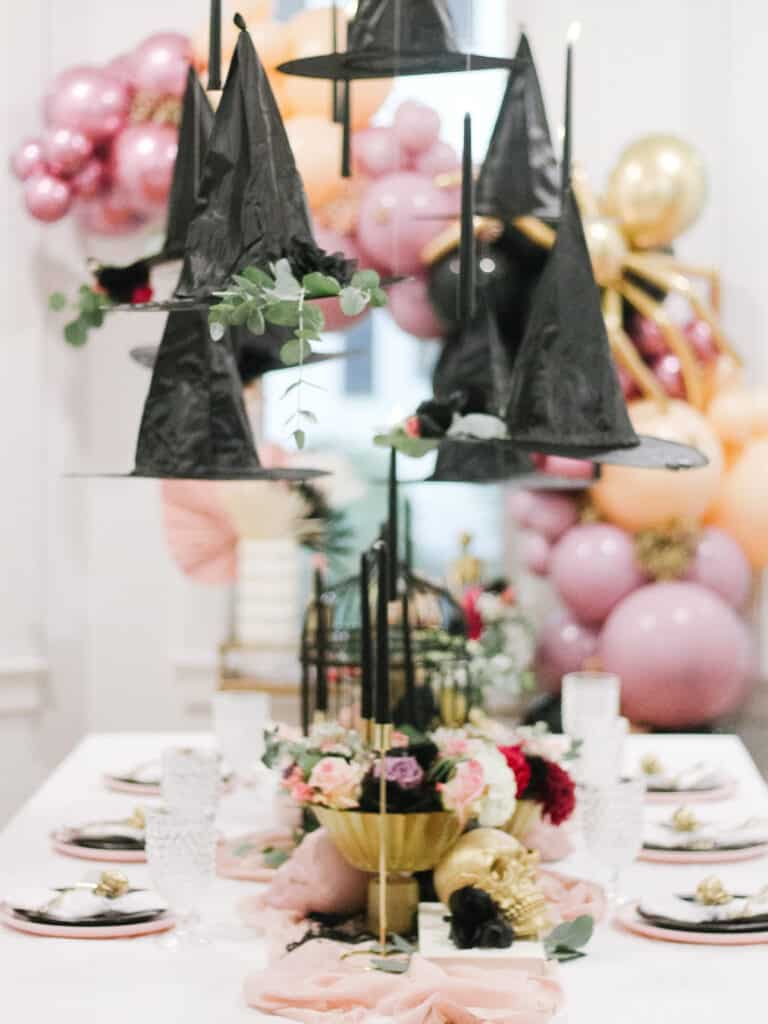
Before you hang the hats – add the flowers with hot glue to portions of some of the hats. Be careful not to add too much weight to them, so if you want a lot of added floral I would lean towards more greenery than flowers.
You will then use fishing wire and either choose to tie it around the tip of the hat or string it through the top of the hat using a needle. Honestly we went with tying it around the top, and it worked great, but you can string it through too.
You will want to hang the hats using gaffers tape or small command hooks, and make them hang at varying heights with the candles. We chose to hang all the hats first, then all the candles.
Once all your hats are hung you will need to add magnets to the hats to level them if you added flowers and greenery. Your easiest method of doing this is to take two magnets – one on the top and one on the bottom of the brim of the hat. For some hats we needed 2 or 3 sets of magnets, and for others we needed 0 tor 1.
Once all your hats and candles are up it is time to tackle your tabletop.
Halloween Party Tablescape
Now onto the fun stuff. The biggest thing I want to stress when it comes to a tablescape is that you shouldn’t get caught up in my details. Find items around your home, and aim for the overall vibe, not the exact look! Below is what I used!
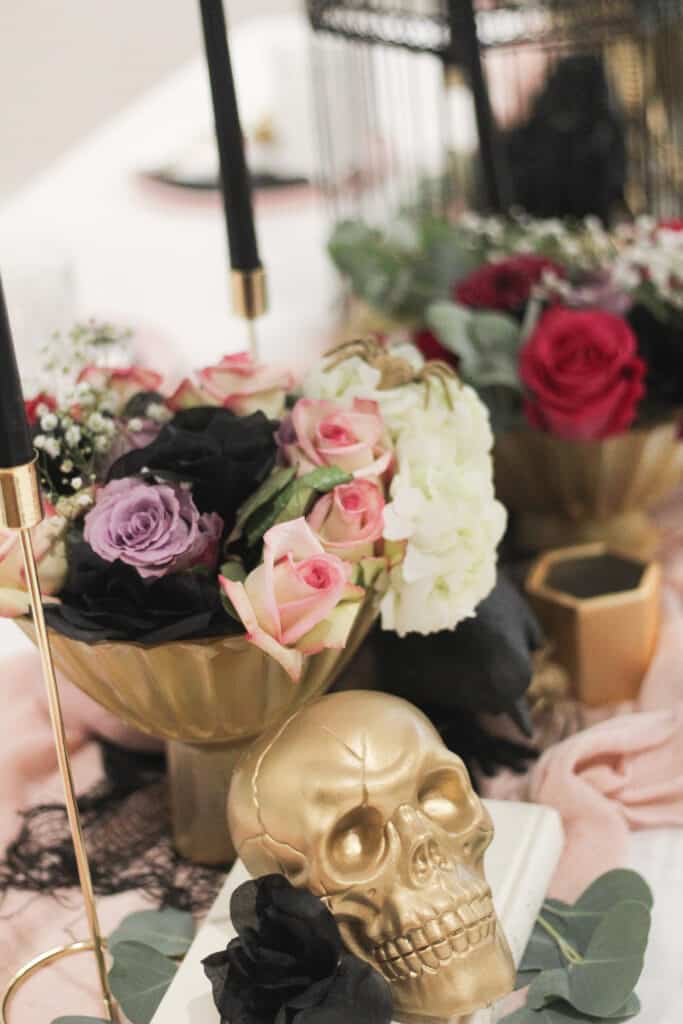
- White Books – I use these for decor a lot and find the best way to find them is going to a thrift store and finding white books under the dust cover.
- Skulls – Dollar Tree (paint them white or pink)
- Bird Cage (similar)
- Birds
- Gold vases – for these I actually took plastic cups and bowls from the dollar store and glued and painted! See how here.
- White Tablecloth
- Pink Table runner – I actually used 2 pink scarfs from the Target dollar spot (you can see how I used them in this Fall/Thanksgiving tablescape here)
- White plates – Like I said, we have these, but if you don’t own some you could grab some from the dollar store
- Black Salad Plates
- Gold silverware
- White cloth napkins
- Glasses – these are my favorite!
- Pumpkins
- Candle holders
- Black Candles
- Flowers – I think Trader Joes is your best choice for this.
- Black Net Table Runner
Steps for the Table
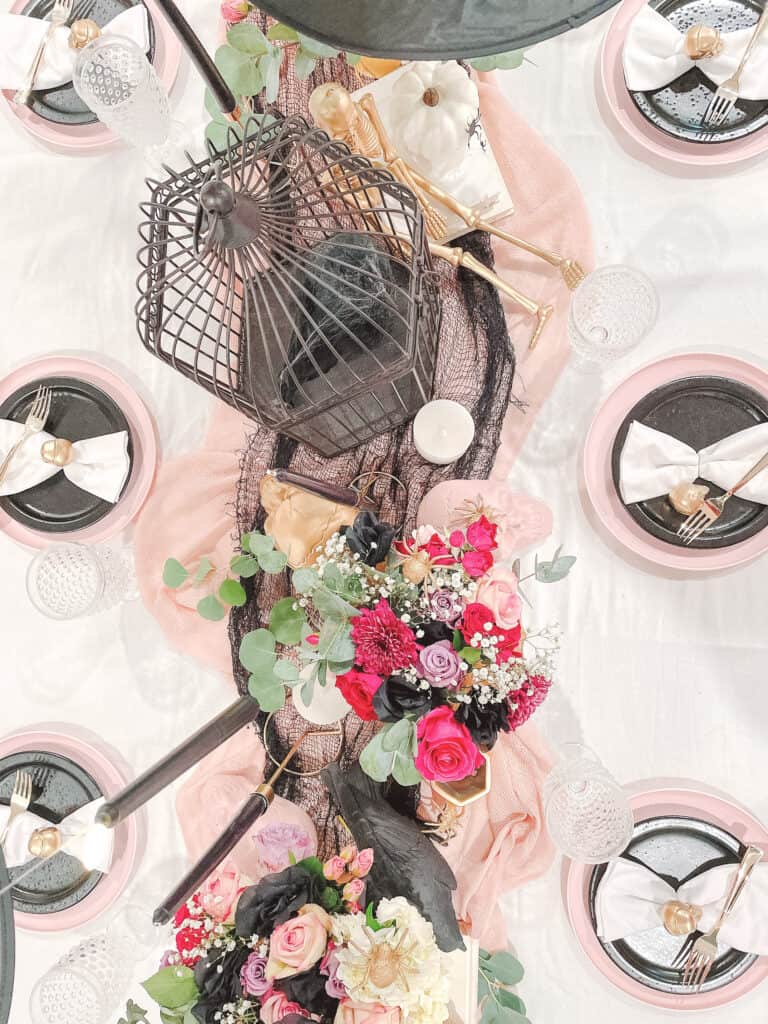
The first thing will be your table cloth and runners. For our runners we decided to go sort of ‘messy’ with them which I loved. I had the pink run the whole length, then the black netting run more towards the center.
Once those are down, add your bird cage off center because it is your largest item, and slowly work your way out. I added flowers after the birdcage, then I filled in around them.
You want to add different heights and different colors and textures together. This will take some playing with things to get the right look, so be okay with swapping spots and places.
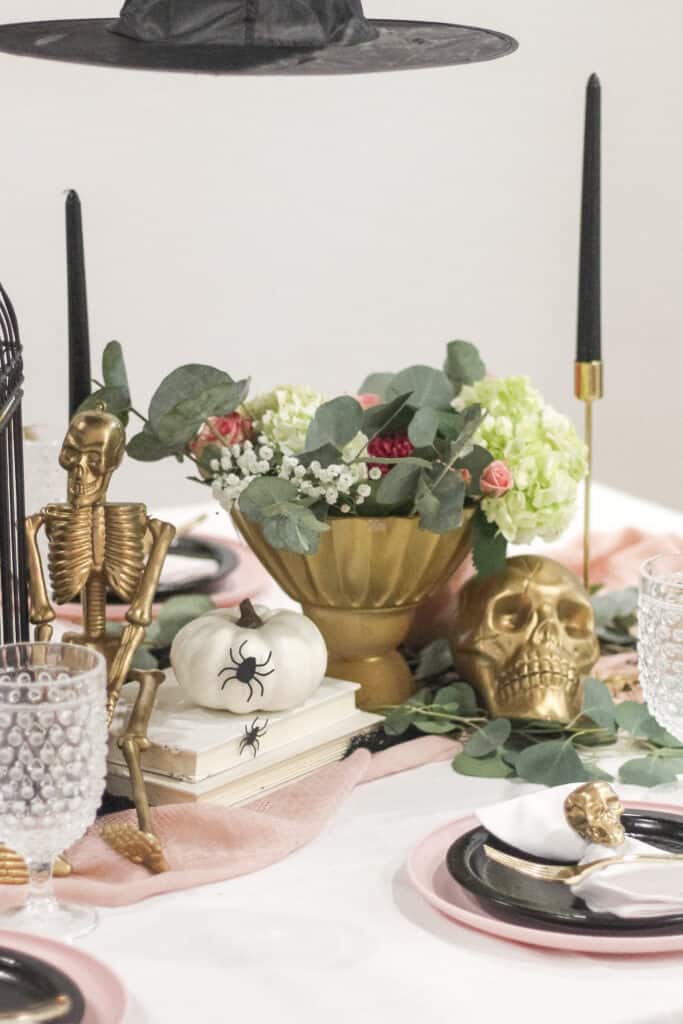
Last – once your table runner is fully done, it is time to set the table. I went really simple with white plates, black salad plates, white napkins, and gold silverware.
For the ‘napkin rings’ I used floral wire and glued gold dollar store skeletons to glue to the floral wire to appear to be just sitting there. It was a fun pop on the place settings.
The Bar Cart
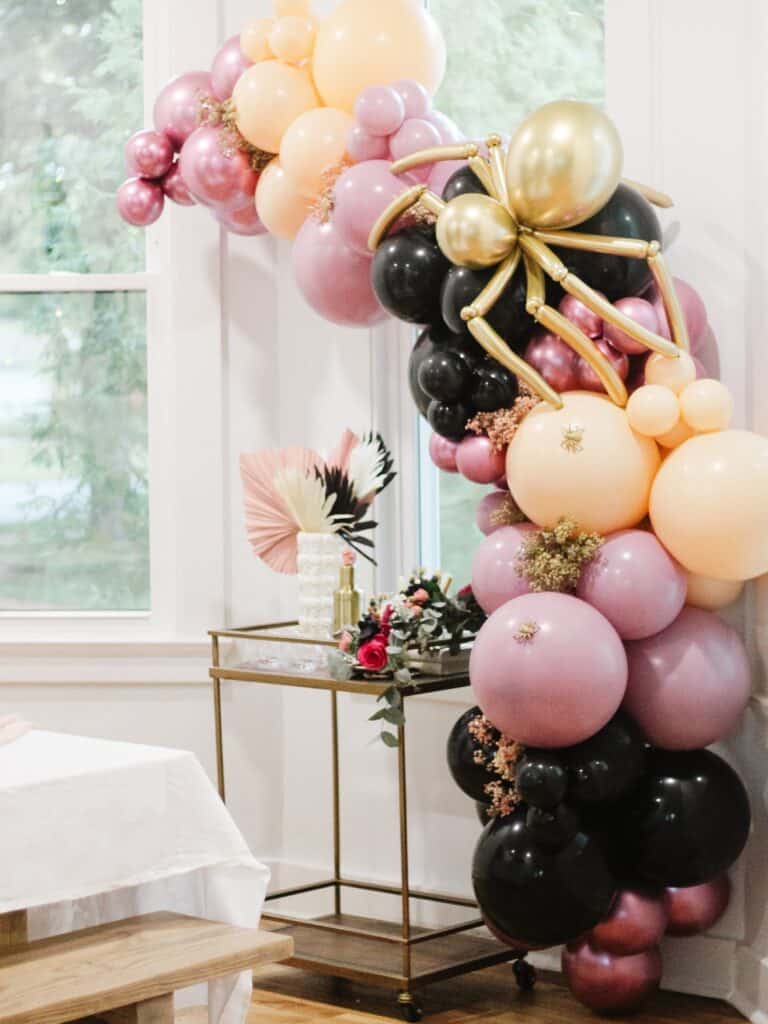
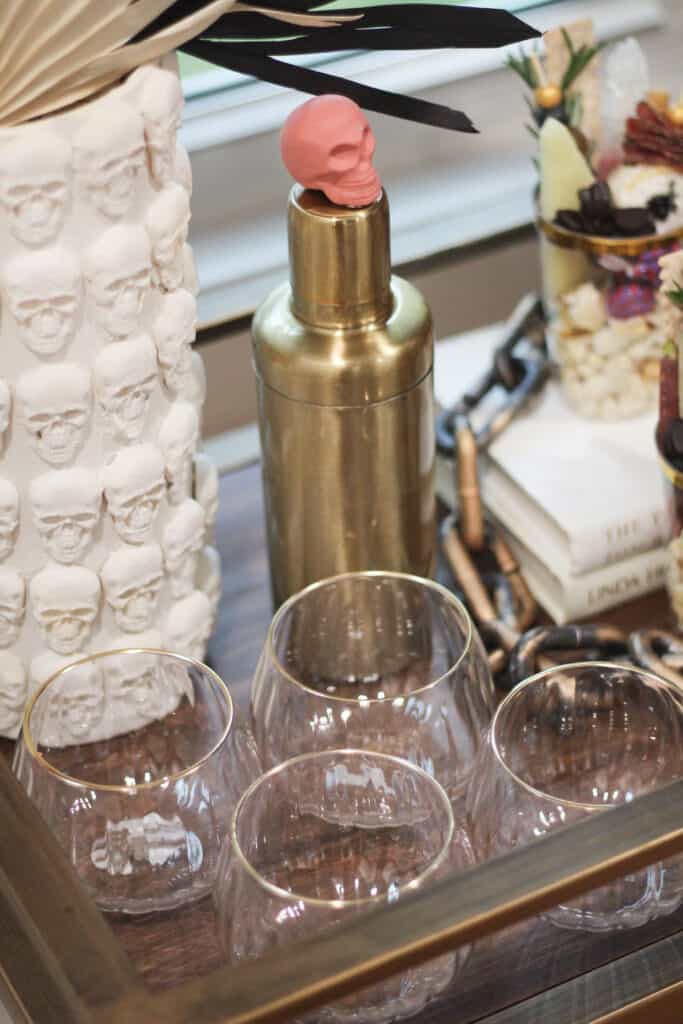
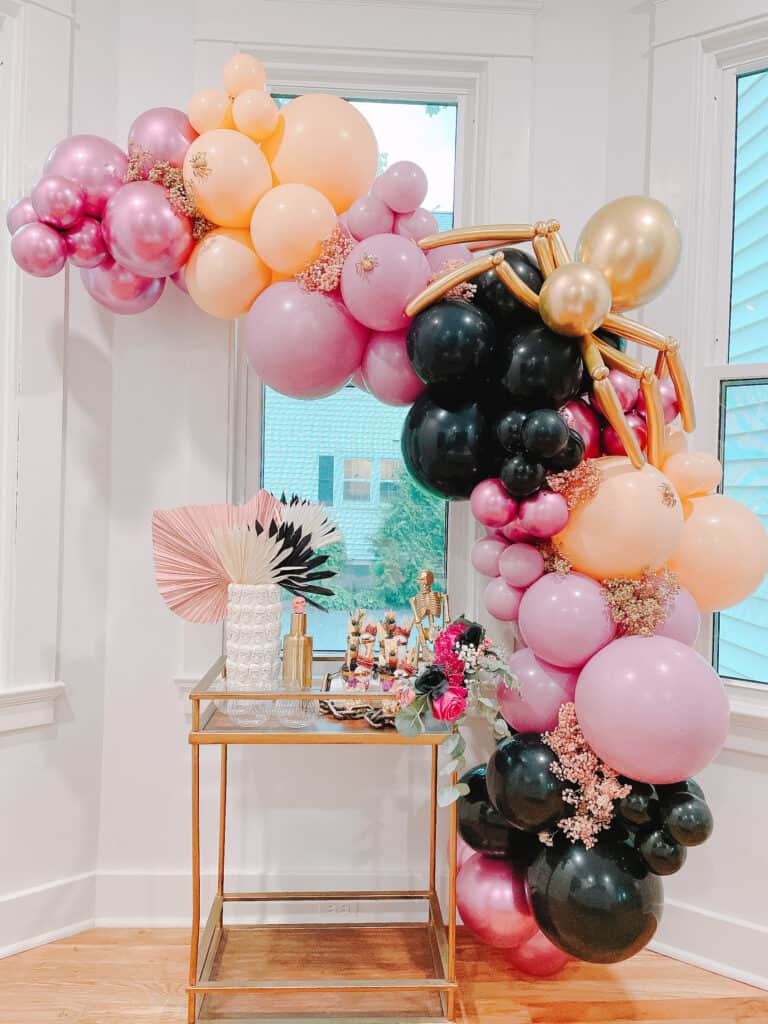
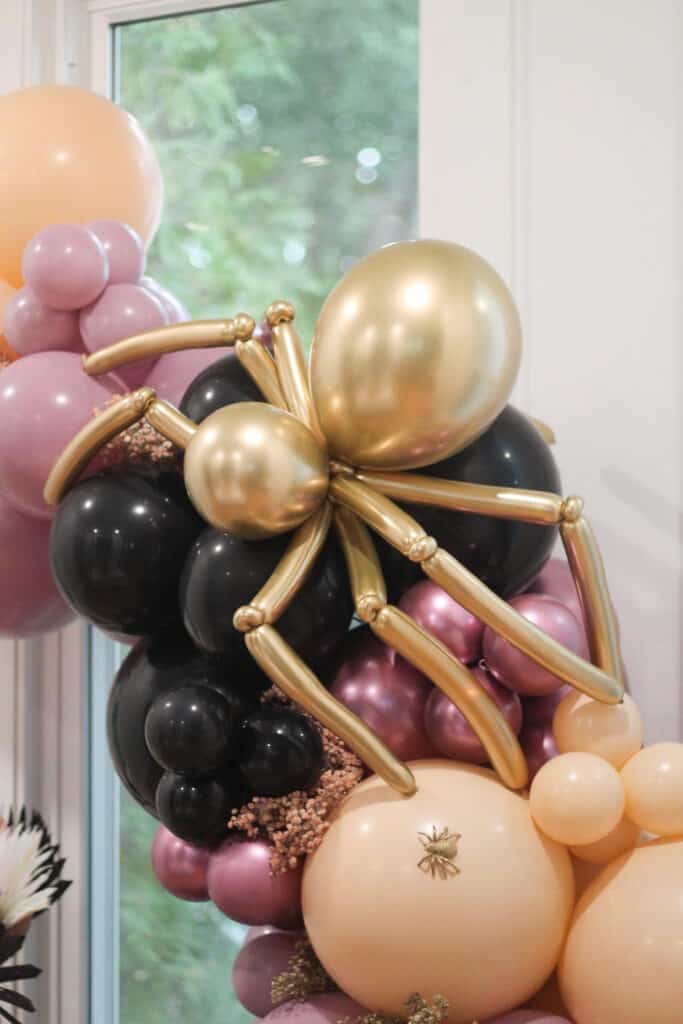
The last area we tackled was the bar cart and GORGEOUS balloon garland. This area was so simple yet packed so much impact!
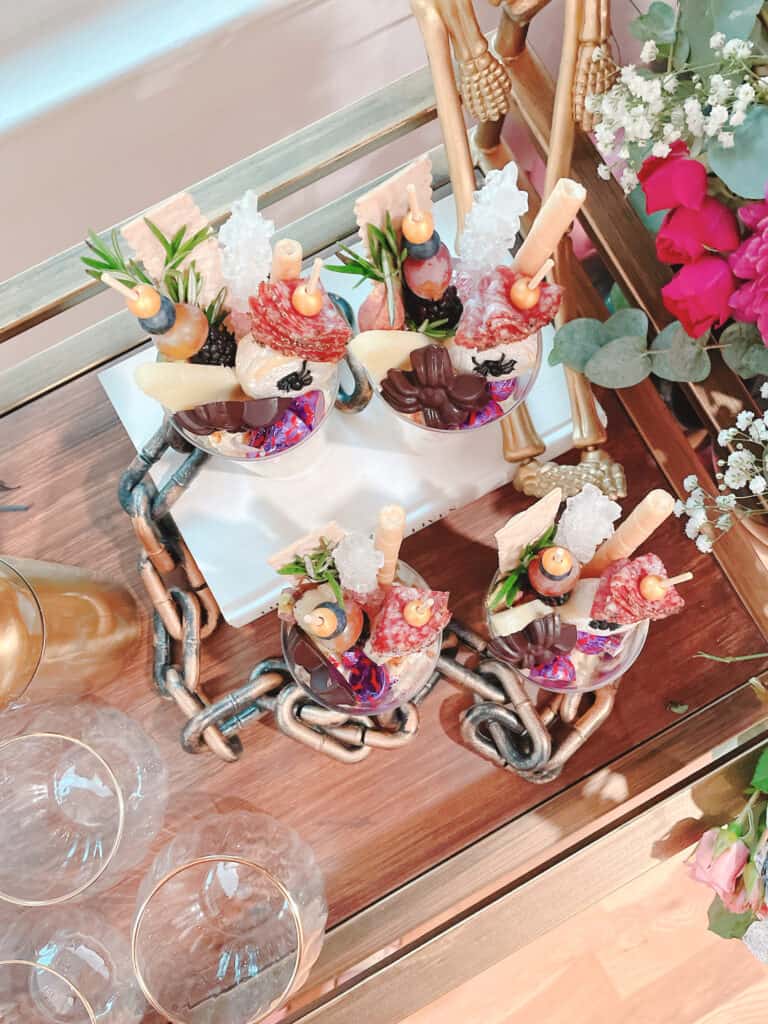
What you need:
- Balloon Garland – Party Hop Shop does mine (St. Louis local), but if you decide to make one because you aren’t local, check out my friend Jen’s tutorial.
- Bar Cart
- Wine glasses – I found these pumpkin ones and LOVE them.
- Shaker
- Charcuterie Cups – we decided to add Charcuterie cups to the bar cart – if you are local to STL Charcu in the Lou is my go to!
- Florals
- Skull Vase was a DIY found here
- Dried palms – found here.
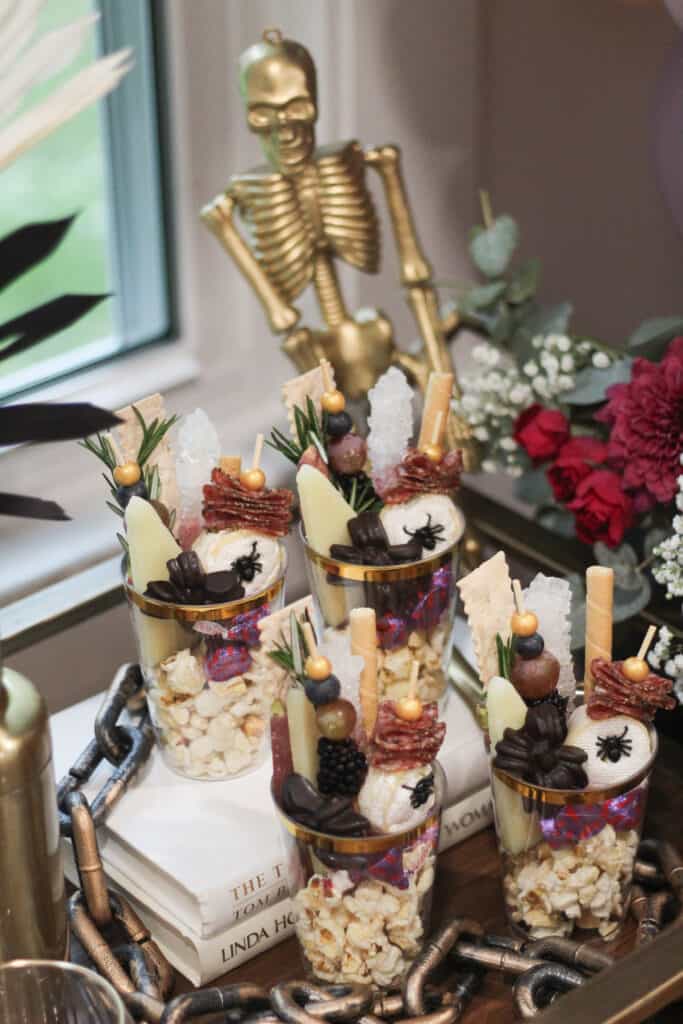
We used some of the extra florals and floral wire to add some flowers to the bar cart which I think was really impactful! Aside from that it was just adding everything to the bar cart. We used books to add height and just organized things in the best way we could!
That is it! This seems more complicated than it is, but honestly was so pretty that leaving it up all October would have been amazing!
Other Posts You’ll Love
If this Halloween Party set up was something you loved, be sure to check out these other blog posts below for more inspiration.
Kids Halloween Party | Fall Tablescape | Spooky Basket Fillers | Easy Halloween Costumes
Pin the Photo Below for Later
Hopefully you feel more prepared to throw your own Halloween Party after this post, and you know how easy it can be to make something so gorgeous! If you have any questions, leave them in the comments below, and be sure to follow me on Instagram (@arinsolange) for more fun and inspiration.
