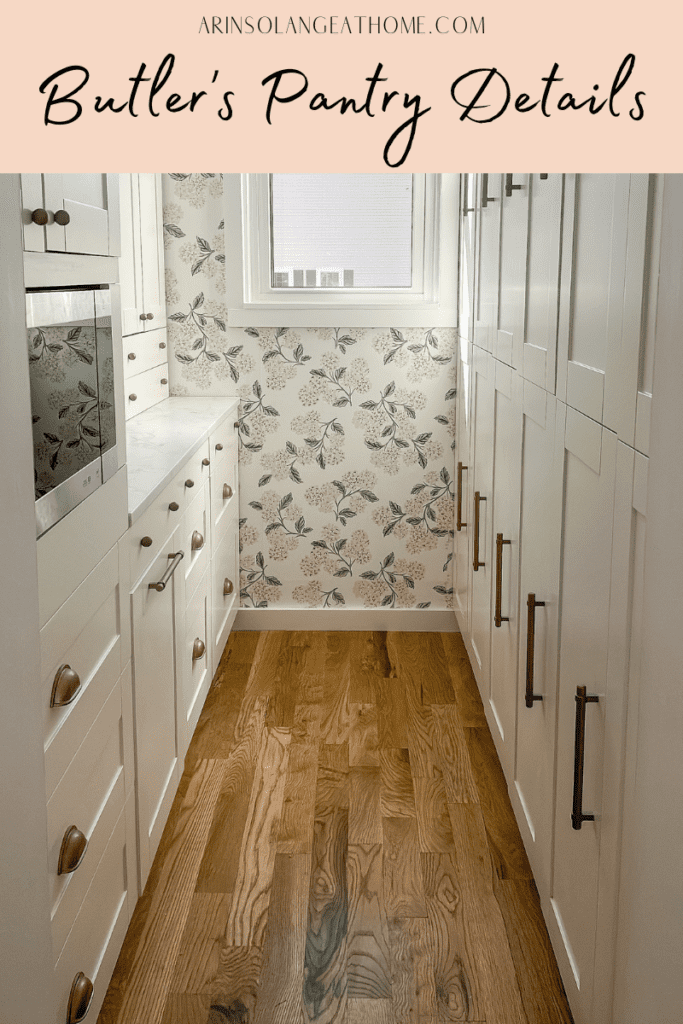
It has been a long time since I was this excited for a room reveal here on my blog, but our super functional butlers pantry reveal and it is LOVE on my end. We have been in our home for almost 2 years and this space has been high on my priority list, however I truly took my time planning the space to make sure it would function well for our family of 6. The space is done, and I hope you guys love it as much as I do!
This post may contain affiliate links
Functional Butlers Pantry Reveal
2 years ago my husband and I purchased a home built in 1866 and renovated with HGTV (this sounds more glamorous than it was ha). During that process I worked on a floor-plan that included space for a butlers pantry. I am very big on organization and knew that with 4 kids we needed a large space that was well organized.
The butler’s pantries I have seen have really appealed to to me for hidden food storage as the main priority, but I also wanted to function as a space off the main kitchen for some of our smaller appliances.
I spent months planning and tweaking our overall butler’s pantry layout and plan so that we could transform our galley shaped walk-in pantry into something that felt like a beautiful part of the ktichen.
What is a Butler’s Pantry?
Before I get to the overall layout and all the details of our pantry i wanted to touch on what a Butler’s Pantry is.
Traditionally a Butler’s Pantry was a prep space between the kitchen and dining room for prep work to be done behind the scenes. Although it still can very much so be that, it is has increasingly grown in popularity for smart storage with added staging in newer homes.
Due to the layout of our home, out pantry is not in a traditional butler’s pantry location, but definitely fits the more modern feel and definition.
Planning, Cost, and Layout
Like I said at the start of this post – our home is very old, and although we did add the butler’s pantry into the layout during the renovation, we are still dealing with a unique floor plan in this old house.
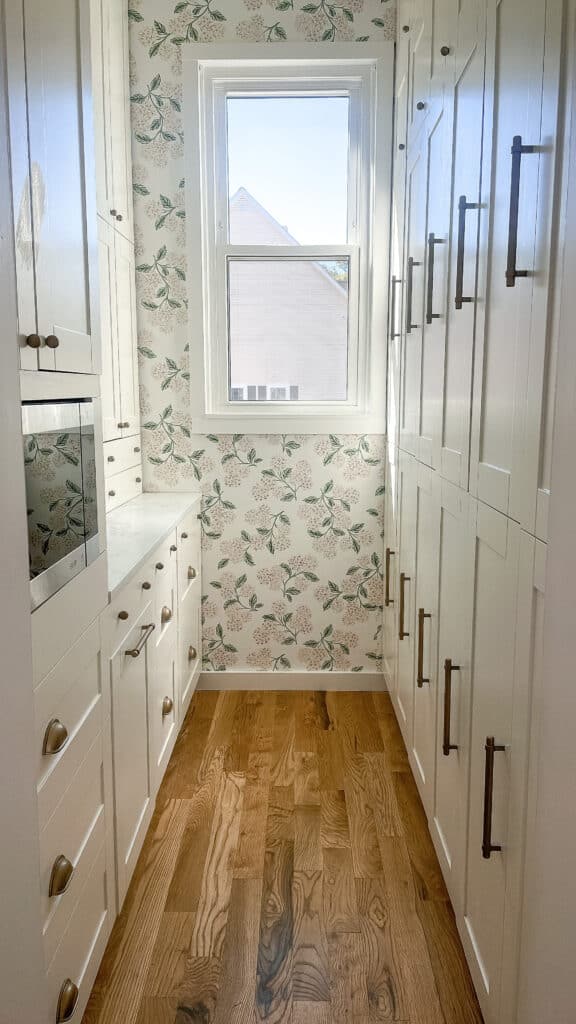
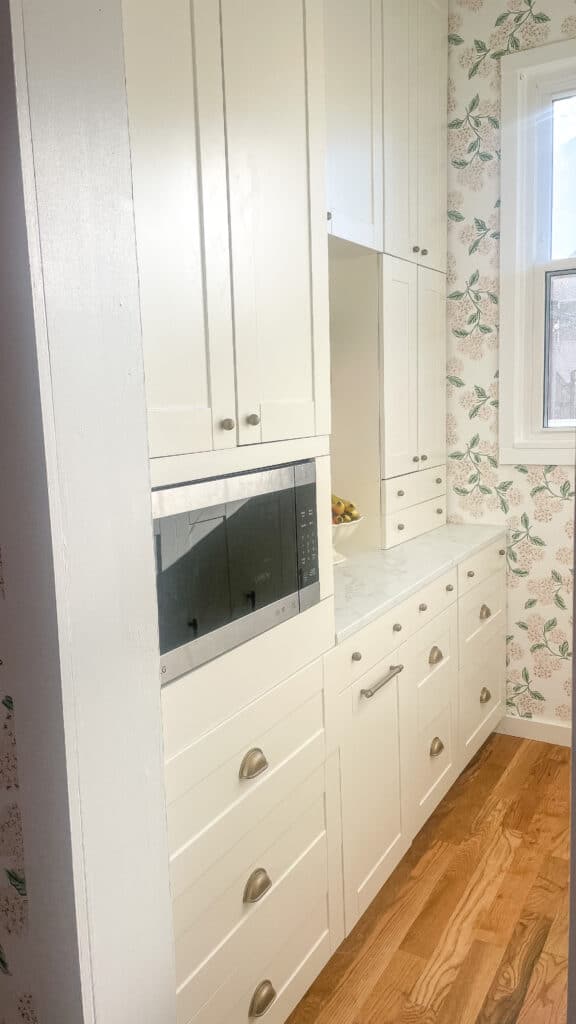
Our layout ended up being much like a galley kitchen – long and skinny with storage and cabinets on each side. Narrow rooms are not always super easy to work with because you do need to take into consideration door openings and space to move, so there were several considerations I made.
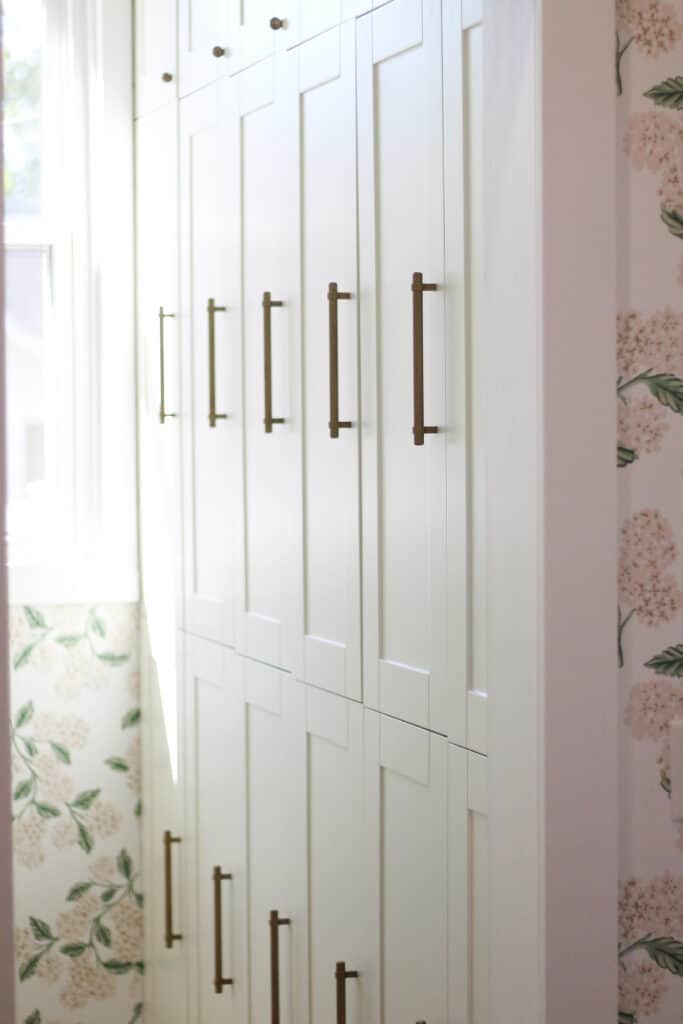
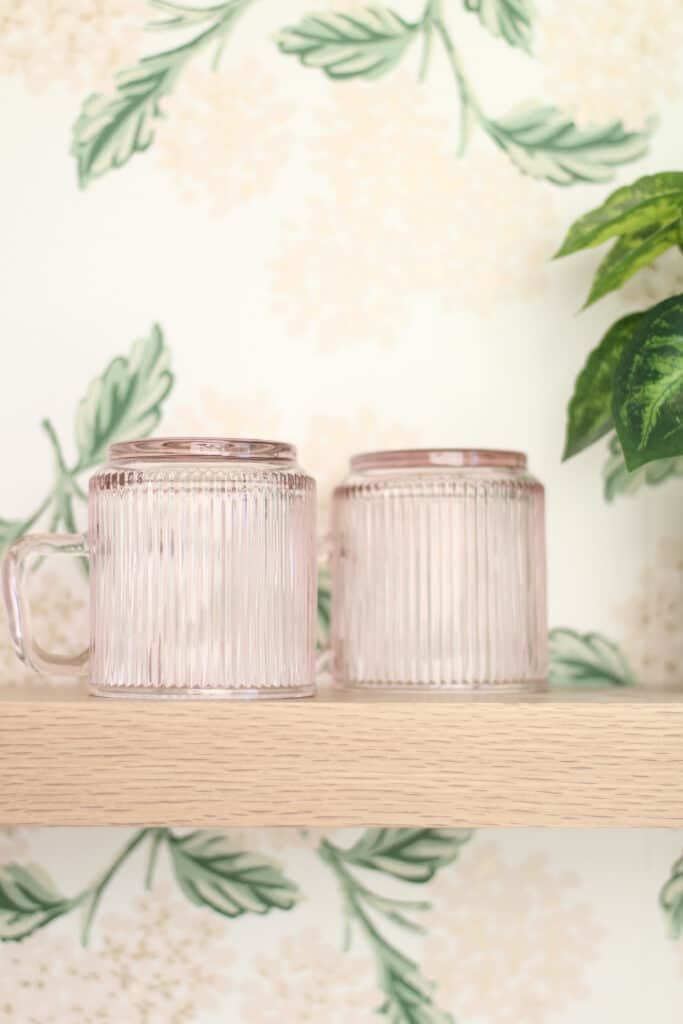
We opted for all closed cabinetry instead of open shelving because I knew it would be more easily maintained in an organized way with young kids at home. I did add one floating shelf for glassware and decor so that the countertop can serve a bit as a bar when we are entertaining.
When we originally renovated the space we opted for pocket doors on the room which are a popular choice in terms of butler’s pantries, but during this remodel we took the pocket door off to leave the space open as more of a true extension to our kitchen.
We opted to use Klearvue cabinetry from Menards for our cabinets – just like we did in my home office. They are really DIY friendly and I love the planning tool, so we went with what we know. To see my full review on the Klearvue cabinetry system, check out my post here.
Total cost of the pantry was around $10,000 with $8,500 of that being spent on cabinetry alone.
Working in a narrow Space
Like I said, and you can likely tell from photos – the space is narrow in our pantry so below are a few things to consider if you are in the same boat:
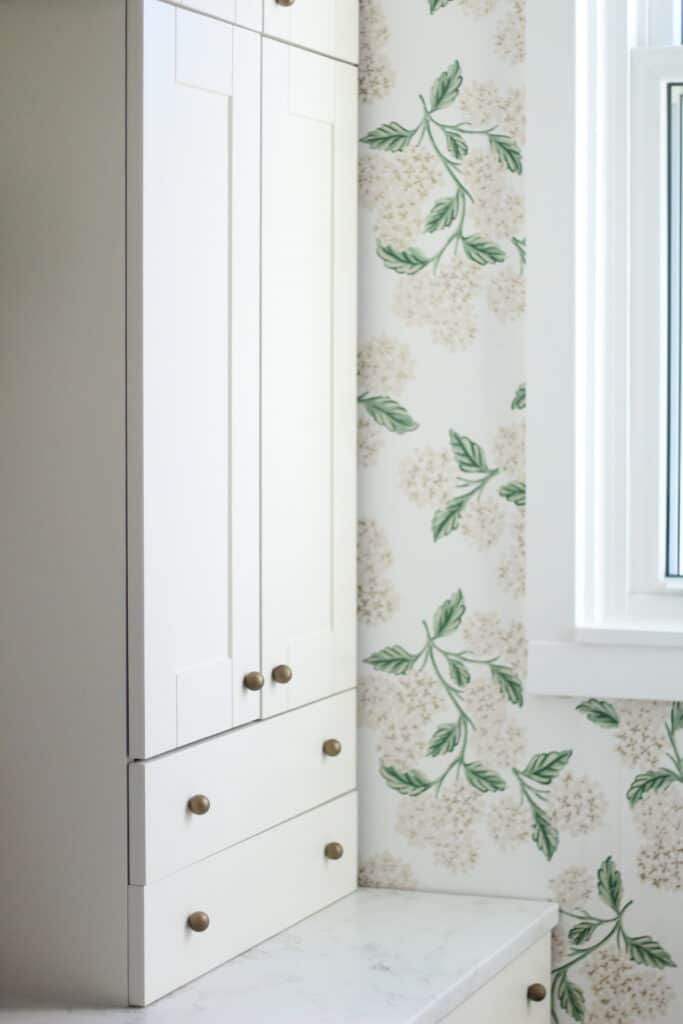
- We went with narrow cabinets on the floor to ceiling cabinet side. I knew I wanted one side to be cabinetry only, and could have done 15 inch, 18 inch, or 30 inch cabinets and it would have worked. I went with 15 inch because that meant I had smaller doors to open into the narrow walkway.
- We kept things bright and airy, and did no cabinets on the end of the pantry (window wall) so that it felt a bit more open on that end.
- Keep things uniform because too much variation in a small space is hard on the eyes.
Our Storage Needs
I wanted the right side of our pantry to work as bulk storage. Think canned foods, boxed goods, paper goods, and baking items. I wanted everything to be very easy to see and access which does take up a lot of space, but it was worth it for me.
I had extra small appliances I wanted stored away, but also several appliances that I wanted plugged in and ready to be used that would no longer take up space on my kitchen counter tops. We also moved our microwave to the pantry to free up space in our island when we redo that. This also makes our kitchen feel less chaotic when doing meal prep – our previous layout had the stove, and microwave too close together.
I also wanted a spot for our toaster oven/air fryer. We actually had our toaster oven/air fryer in our pantry prior to the this overhaul, so I knew that funcitoned well for us, and was a great way for me to test going in the pantry on a daily basis for ‘cooking’ type things.
We also have a nugget ice machine and went back and forth on if that needed to be in a cabinet, but ultimately decided to have it sitting on the counter top in there because the kids use it a lot, and it is a machine that needs GREAT ventilation if you are going to put it in a cabinet.
Last we opted to move the coffee station we had in the kitchen into the pantyry. I loved the idea of having that off my counter top and am so happy with the end result of doing so.
The last big choice I made was to convert one cabinet into a cleaning cabinet. I wanted a place to store our vacuum, broom and such. This choice as well as most of those above all required an electrician to come in and place outlets, but it was very worth that cost for us.
Overall Look and Design
I went back and forth on cabinet color because we have a lot of white in our house, but I ultimately felt it was timeless and made the space feel as open and airy as it could. I went with brass cabinet pulls in a mix of 3 different styles because I loved the variation in such a small way.
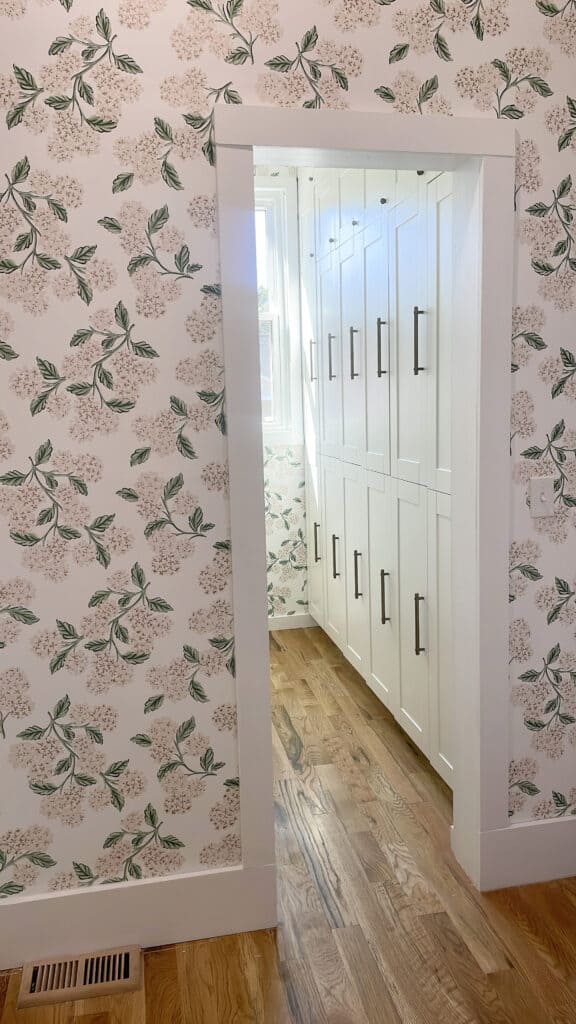
I wanted wallpaper on the back wall, and once we added it loved it so much I decided to do it on the wall outside of the pantry as well, and behind the opebing in our cabinets instead of a backsplash. In total we needed 3 rolls to complete these spaces and I couldn’t love the wallpaper more.
For the counter tops I originally wanted to do stone of some sort, but honestly cost and time were factors and we decided to go with laminate due to having no sink in the space. We know this is something we could change later, but it was a great decision based on budget. They look awesome in the space!
Shop all Bulter’s Pantry Details
I will have a follow up post on butler’s pantry organization tomorrow, but in the mean time you can shop the wallpaper, cabinet pulls, and other items seen in this post here.
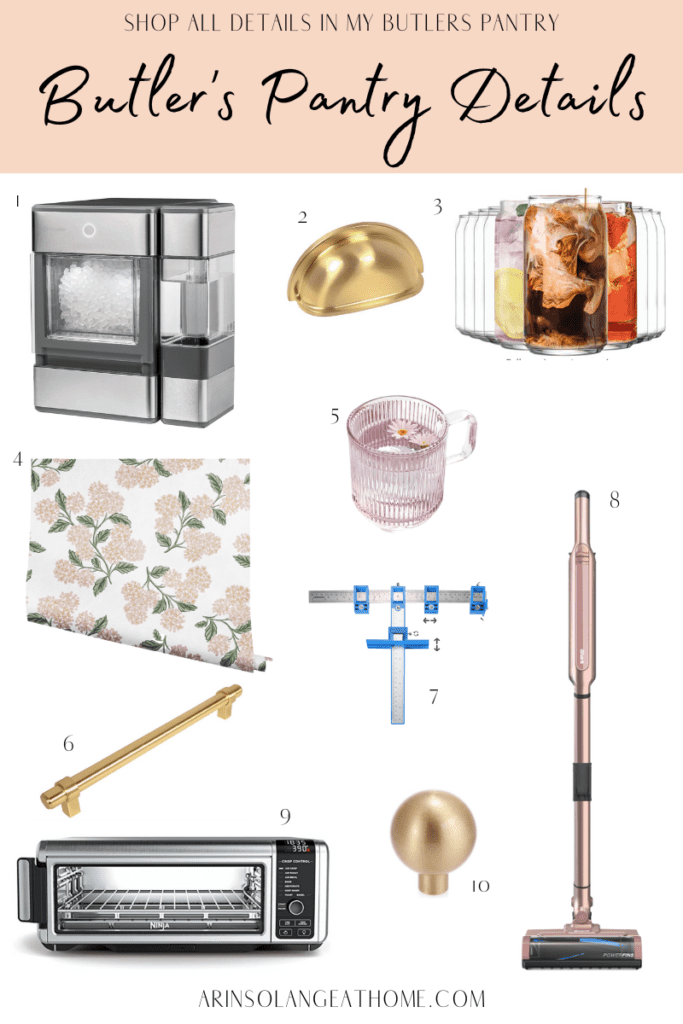
1 | 2 | 3 | 4 | 5 | 6 | 7 | 8 | 9 | 10
- Nugget Ice machine – this is seriously one of our favorite items!
- Cup Drawer Pulls
- Glasses on Shelves – See a full blog post on the shelves here.
- Wallpaper
- Coffee Cups
- Long Drawer Pulls
- Guide for making drawer Pull holes
- Vacuum
- Toaster Oven
- Ball Drawer Pulls
Overall our functional butler’s pantry has quickly become one of my favorite spaces in the house. It gave us so much additional space and extra storage space which has been the best thing for us. If you have any additional questions on creating a more modern-day butler’s pantry feel free to let me know on social or in the comments.
Other Posts You’ll Love
Painting Cabinets White – full tutorial | Butler’s Pantry Organization | Klearvue Cabinetry Review | Best Paint for Cabinets | Small Home Office Makeover
Pin the Photo Below for Later
I have a full highlight and video on Instagram showing our butler’s pantry and all of its components so if you want to see more be sure to follow me there. I will also be sharing lots more of the organization inside outs on both Instagram and Tiktok (@arinsolange). Leave any questions you have below!
