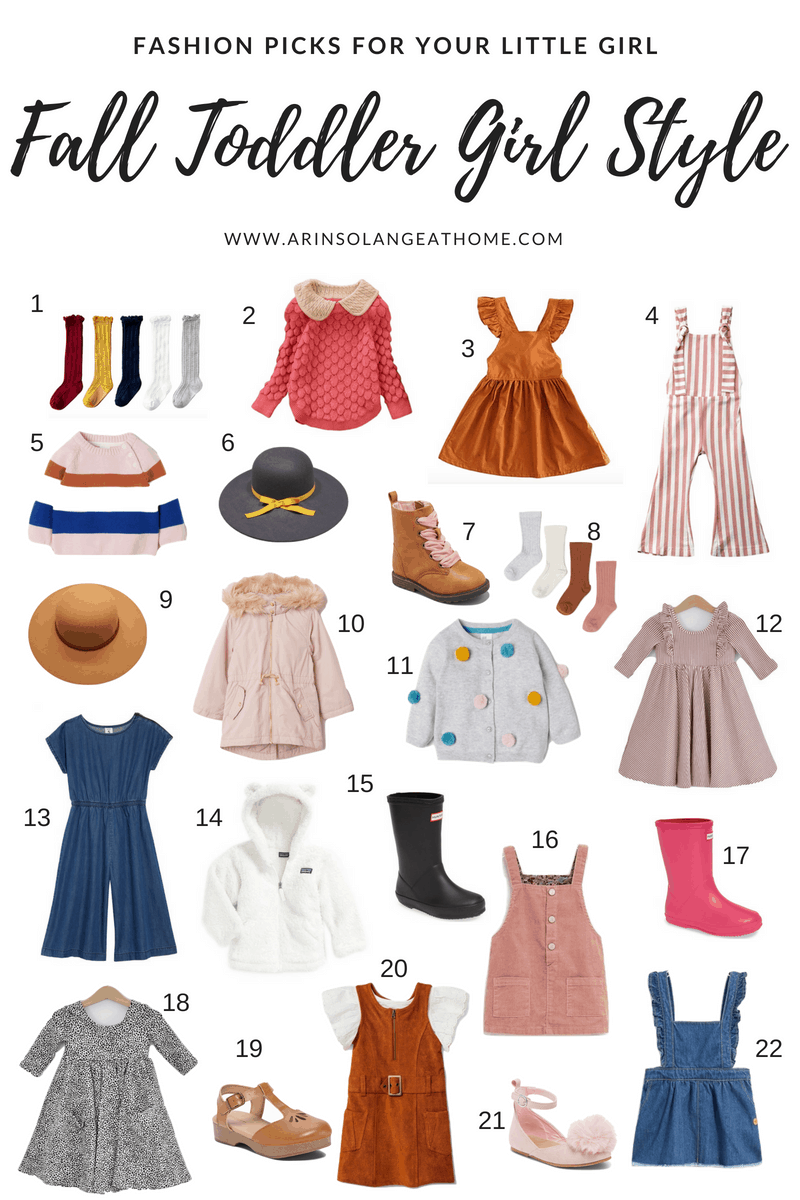
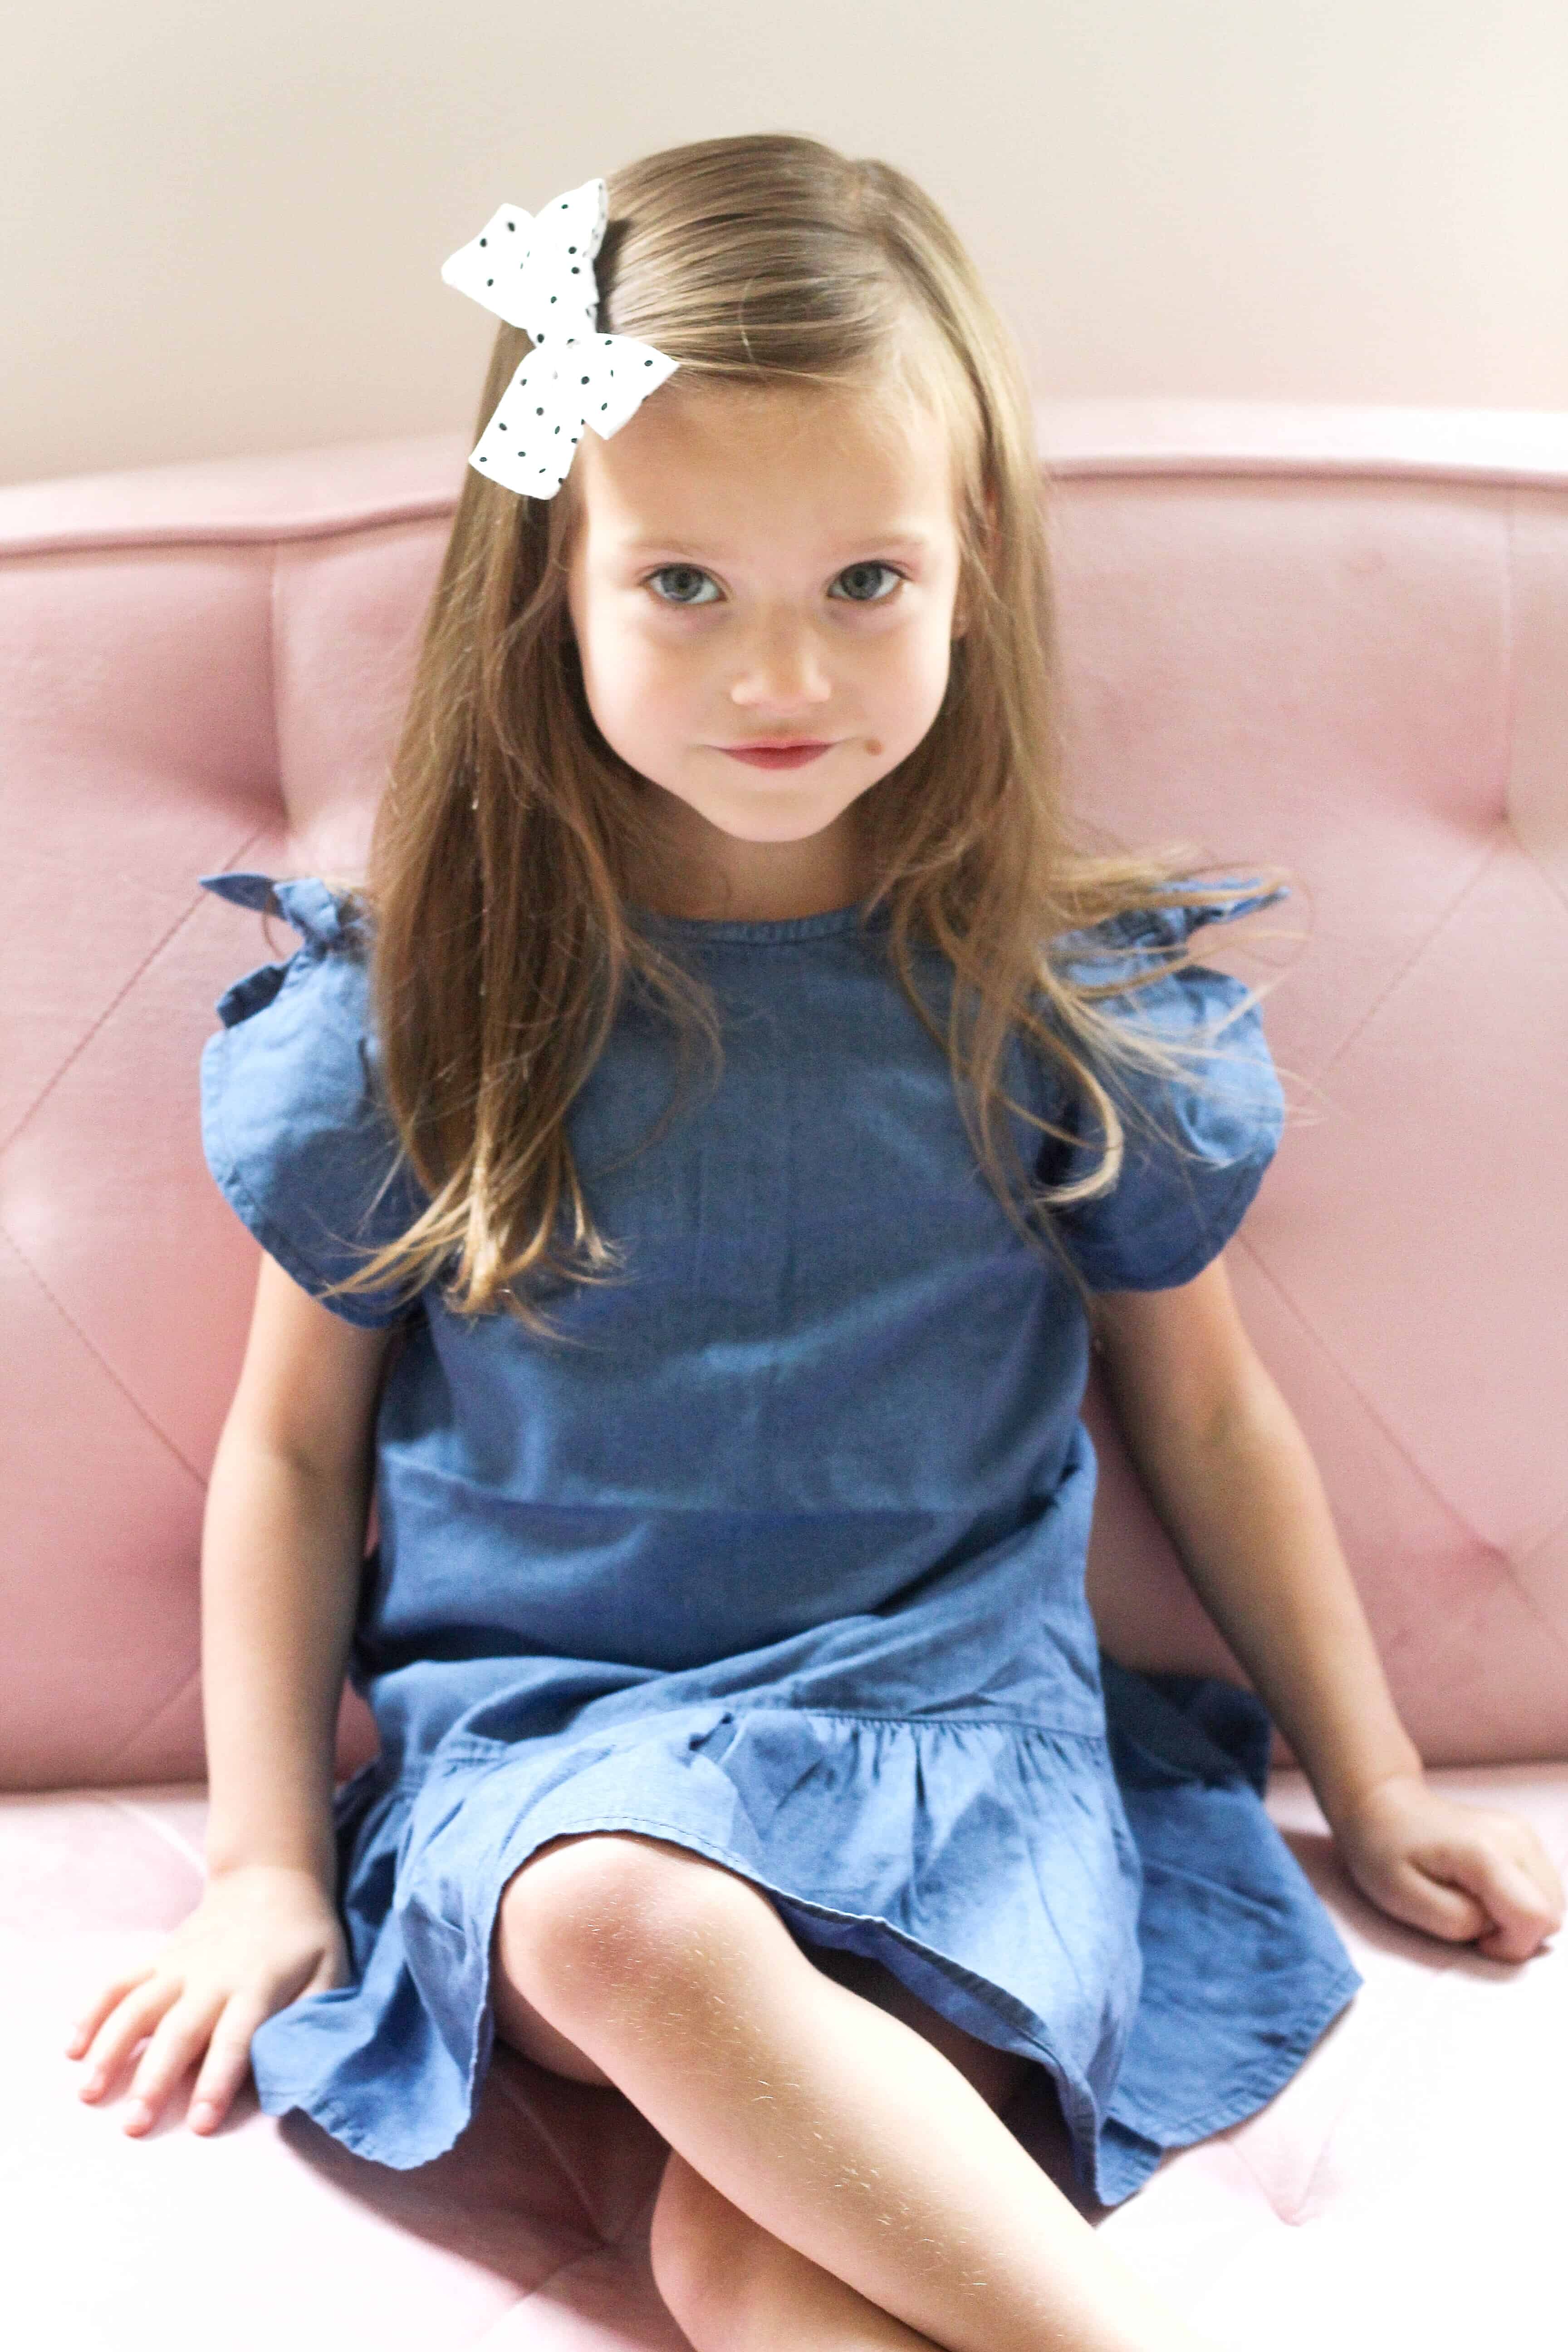
Incase you missed my post last week on fall baby boy clothes, I am teaming up with my girl Navy on our favorite picks for fall fashion for the family. Today we will both be doing fall toddler girl fashion so it will be really fun to see the differences in our selections (for being such close friends we are equal pats exactly alike and totally opposite!!). Read below to see my picks for Avé, and don’t forget to see what she picked out for Posy when you’re done!
Fall is such a fun time for little girls. I love dressing Avé cute and stylish with mixtures of what you would traditionally wear as a toddler paired with mini adult clothes. I tend to mix colors that pair well with pink because that is what she likes, and I still want to enjoy dressing her like the 3 year old she is. We personally did a lot of our school clothes shopping at Oshkosh this year – you can see that post here, but I love mixing in some more unique items too. The two twirl dresses are a brand you see me post about all the time on here and that is because I truly think they are the best. They are quality and the length works for a couple of years! Be sure to check back for some little boy fashion as well as what I am stocking up on for fall fashion for myself!
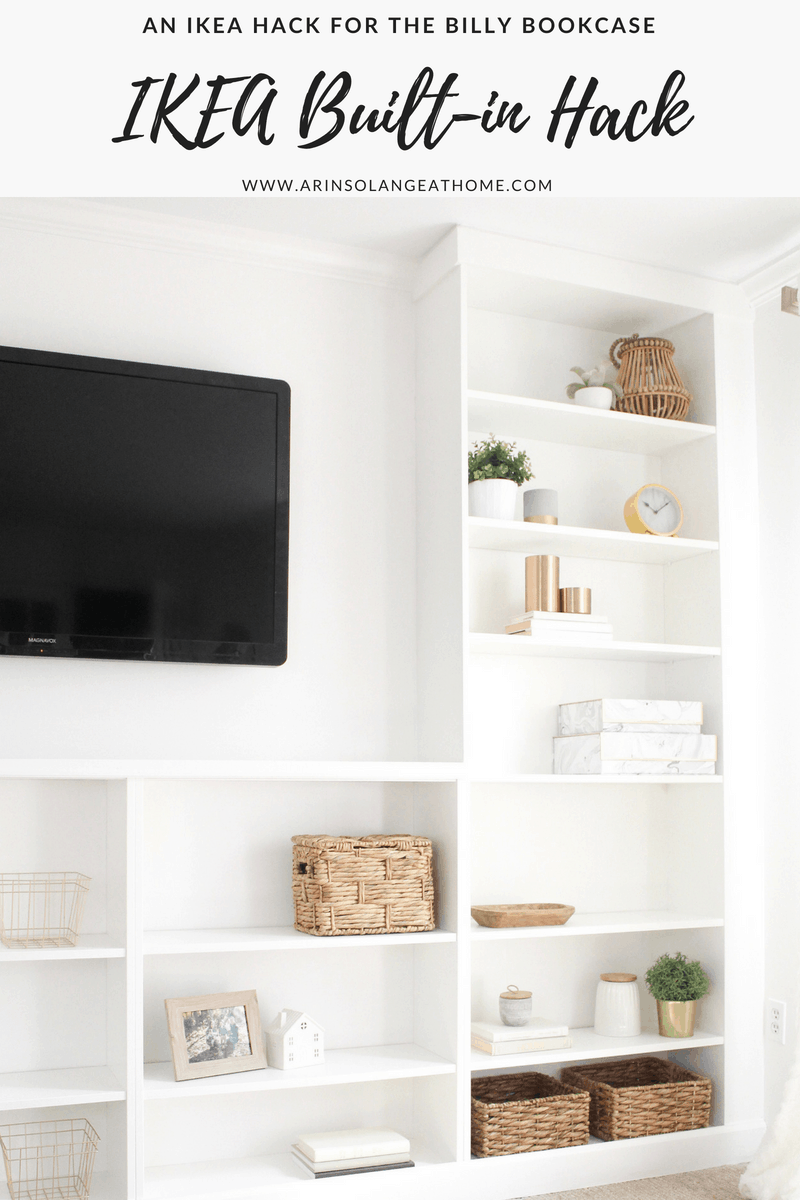
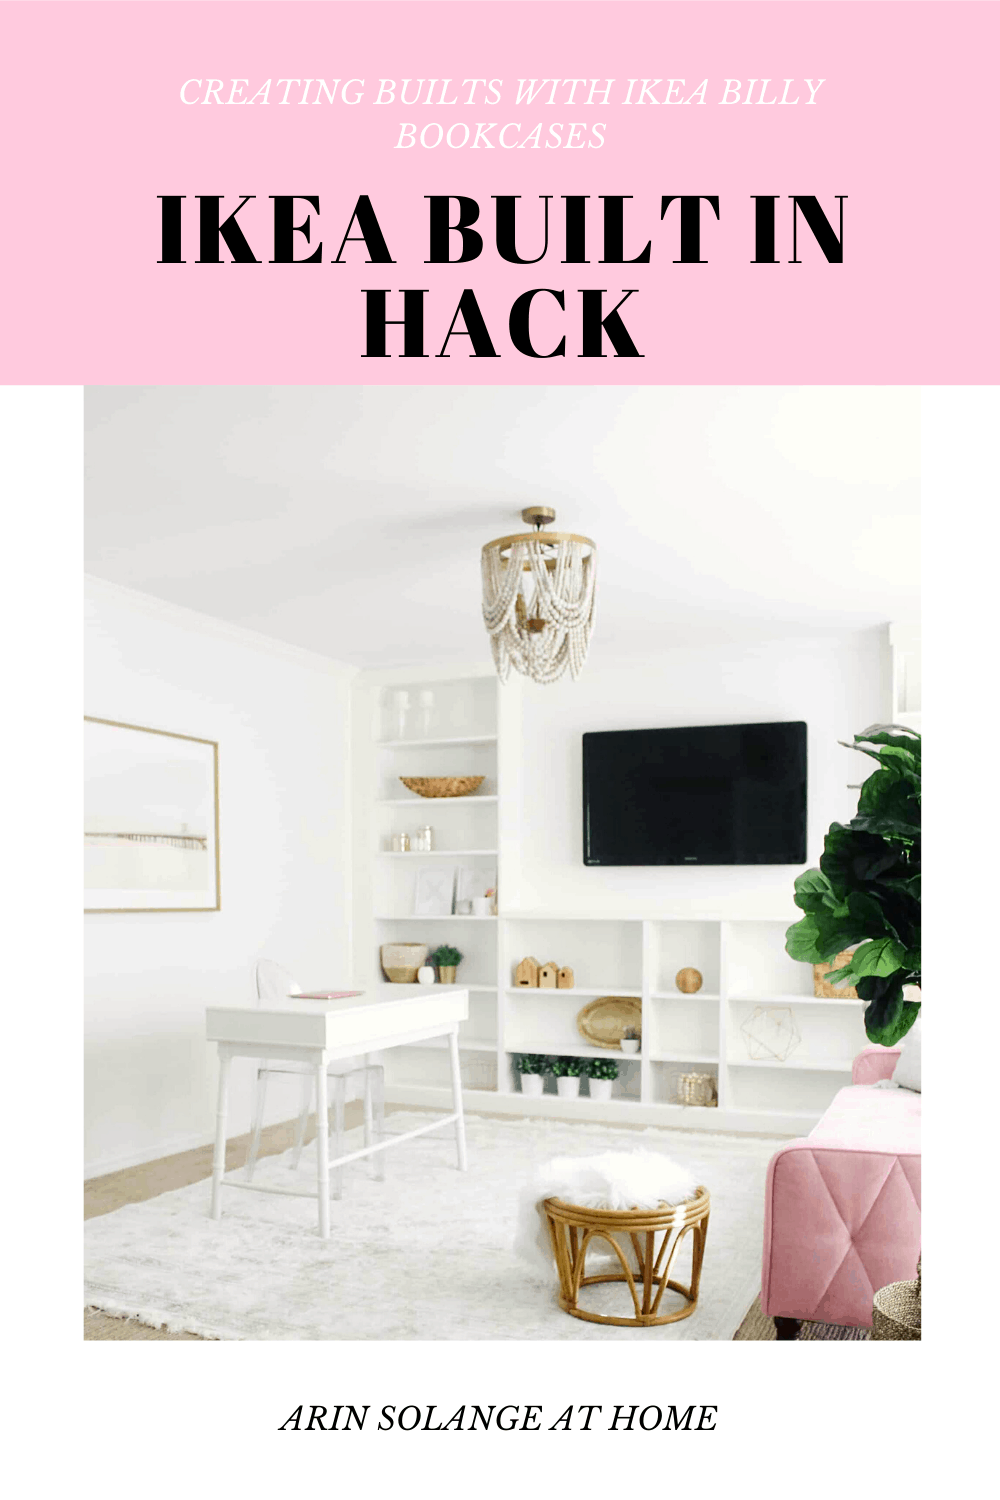
I am SUPER excited to finally share this post with you all. I have been talking this IKEA Billy Bookcase built-in hack using the IKEA Billy Bookcases on my Instagram stories for the past few weeks, and from the response on there, you guys are excited too!
Sam and I are in the middle of converting his old office to be my home office which will hopefully be revealed in the next couple of weeks, but until then I wanted to share hands down my favorite DIY to date for this IKEA built-in hack.
I will break down the steps and price in this post, but be sure to leave me any questions in the comments or send me an email! Once you’re done with this be sure to check out the rest of my IKEA hacks in one post here!
Before you get started I want to be very clear to state that this will likely not look the exact same for any two houses. You want to measure your space first to see how many IKEA Billy Bookcase units will fit with some wiggle room and then start your math. My exact breakdown is for my space.
We knew based on where my office is (right off the front door) that we wanted it to really mesh with the rest of our house, and for us that means bright and clean. I had a vision for the office, but contracting out built ins is crazy expensive.
(incase any of you have similar 1980’s/90’s homes, our home office was once the formal living room. When we moved in we had French doors added to make it more of an official office, and it has gone on from there.)
I knew there had to be a way to do built-ins ourselves with our limited knowledge on DIY if we took our time. The end outcome was more than we could have asked for, and is something we will probably recreate slightly differently in another area of the house down the road.
Ikea Billy Bookcase Built-in Hack Materials
Again I will do my disclaimer here. Do your math on your wall. For us the best fit with some extra room was to do 4 full width billy bookcases and 1 skinny billy bookcase. That may not be the case for your space.
You also could definitely do this floor to ceiling all the wall through, but we chose to hang a tv!
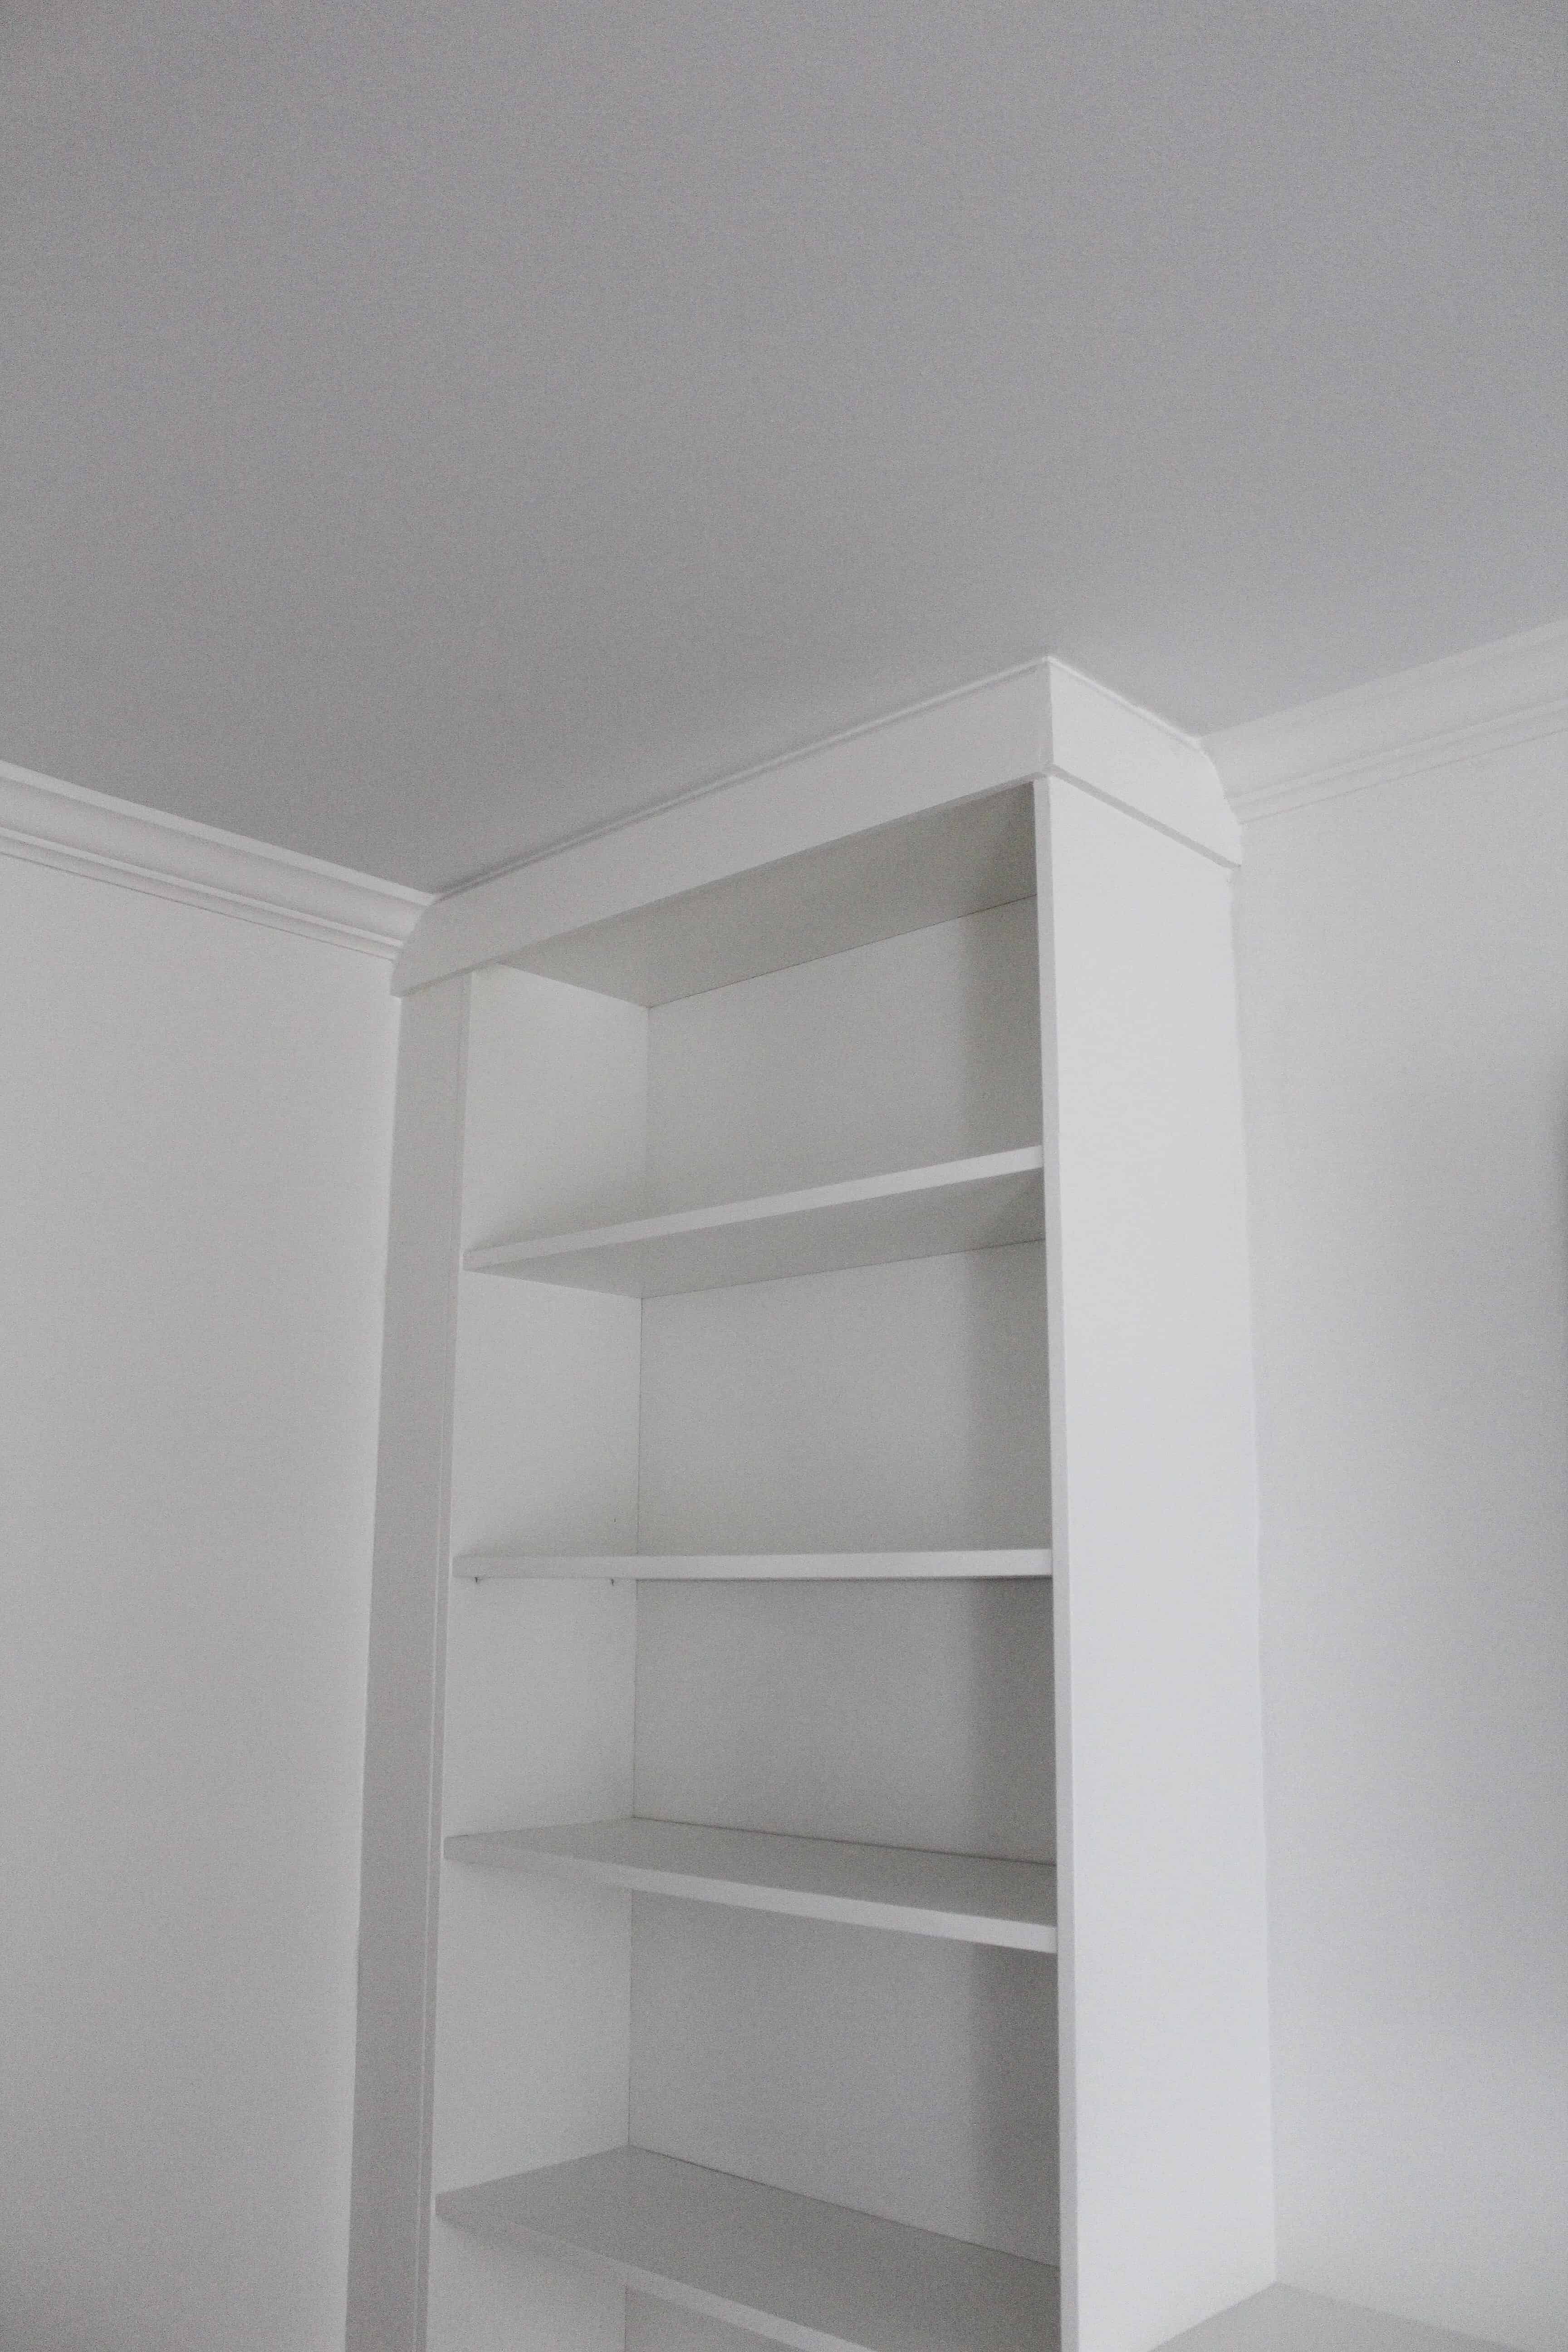
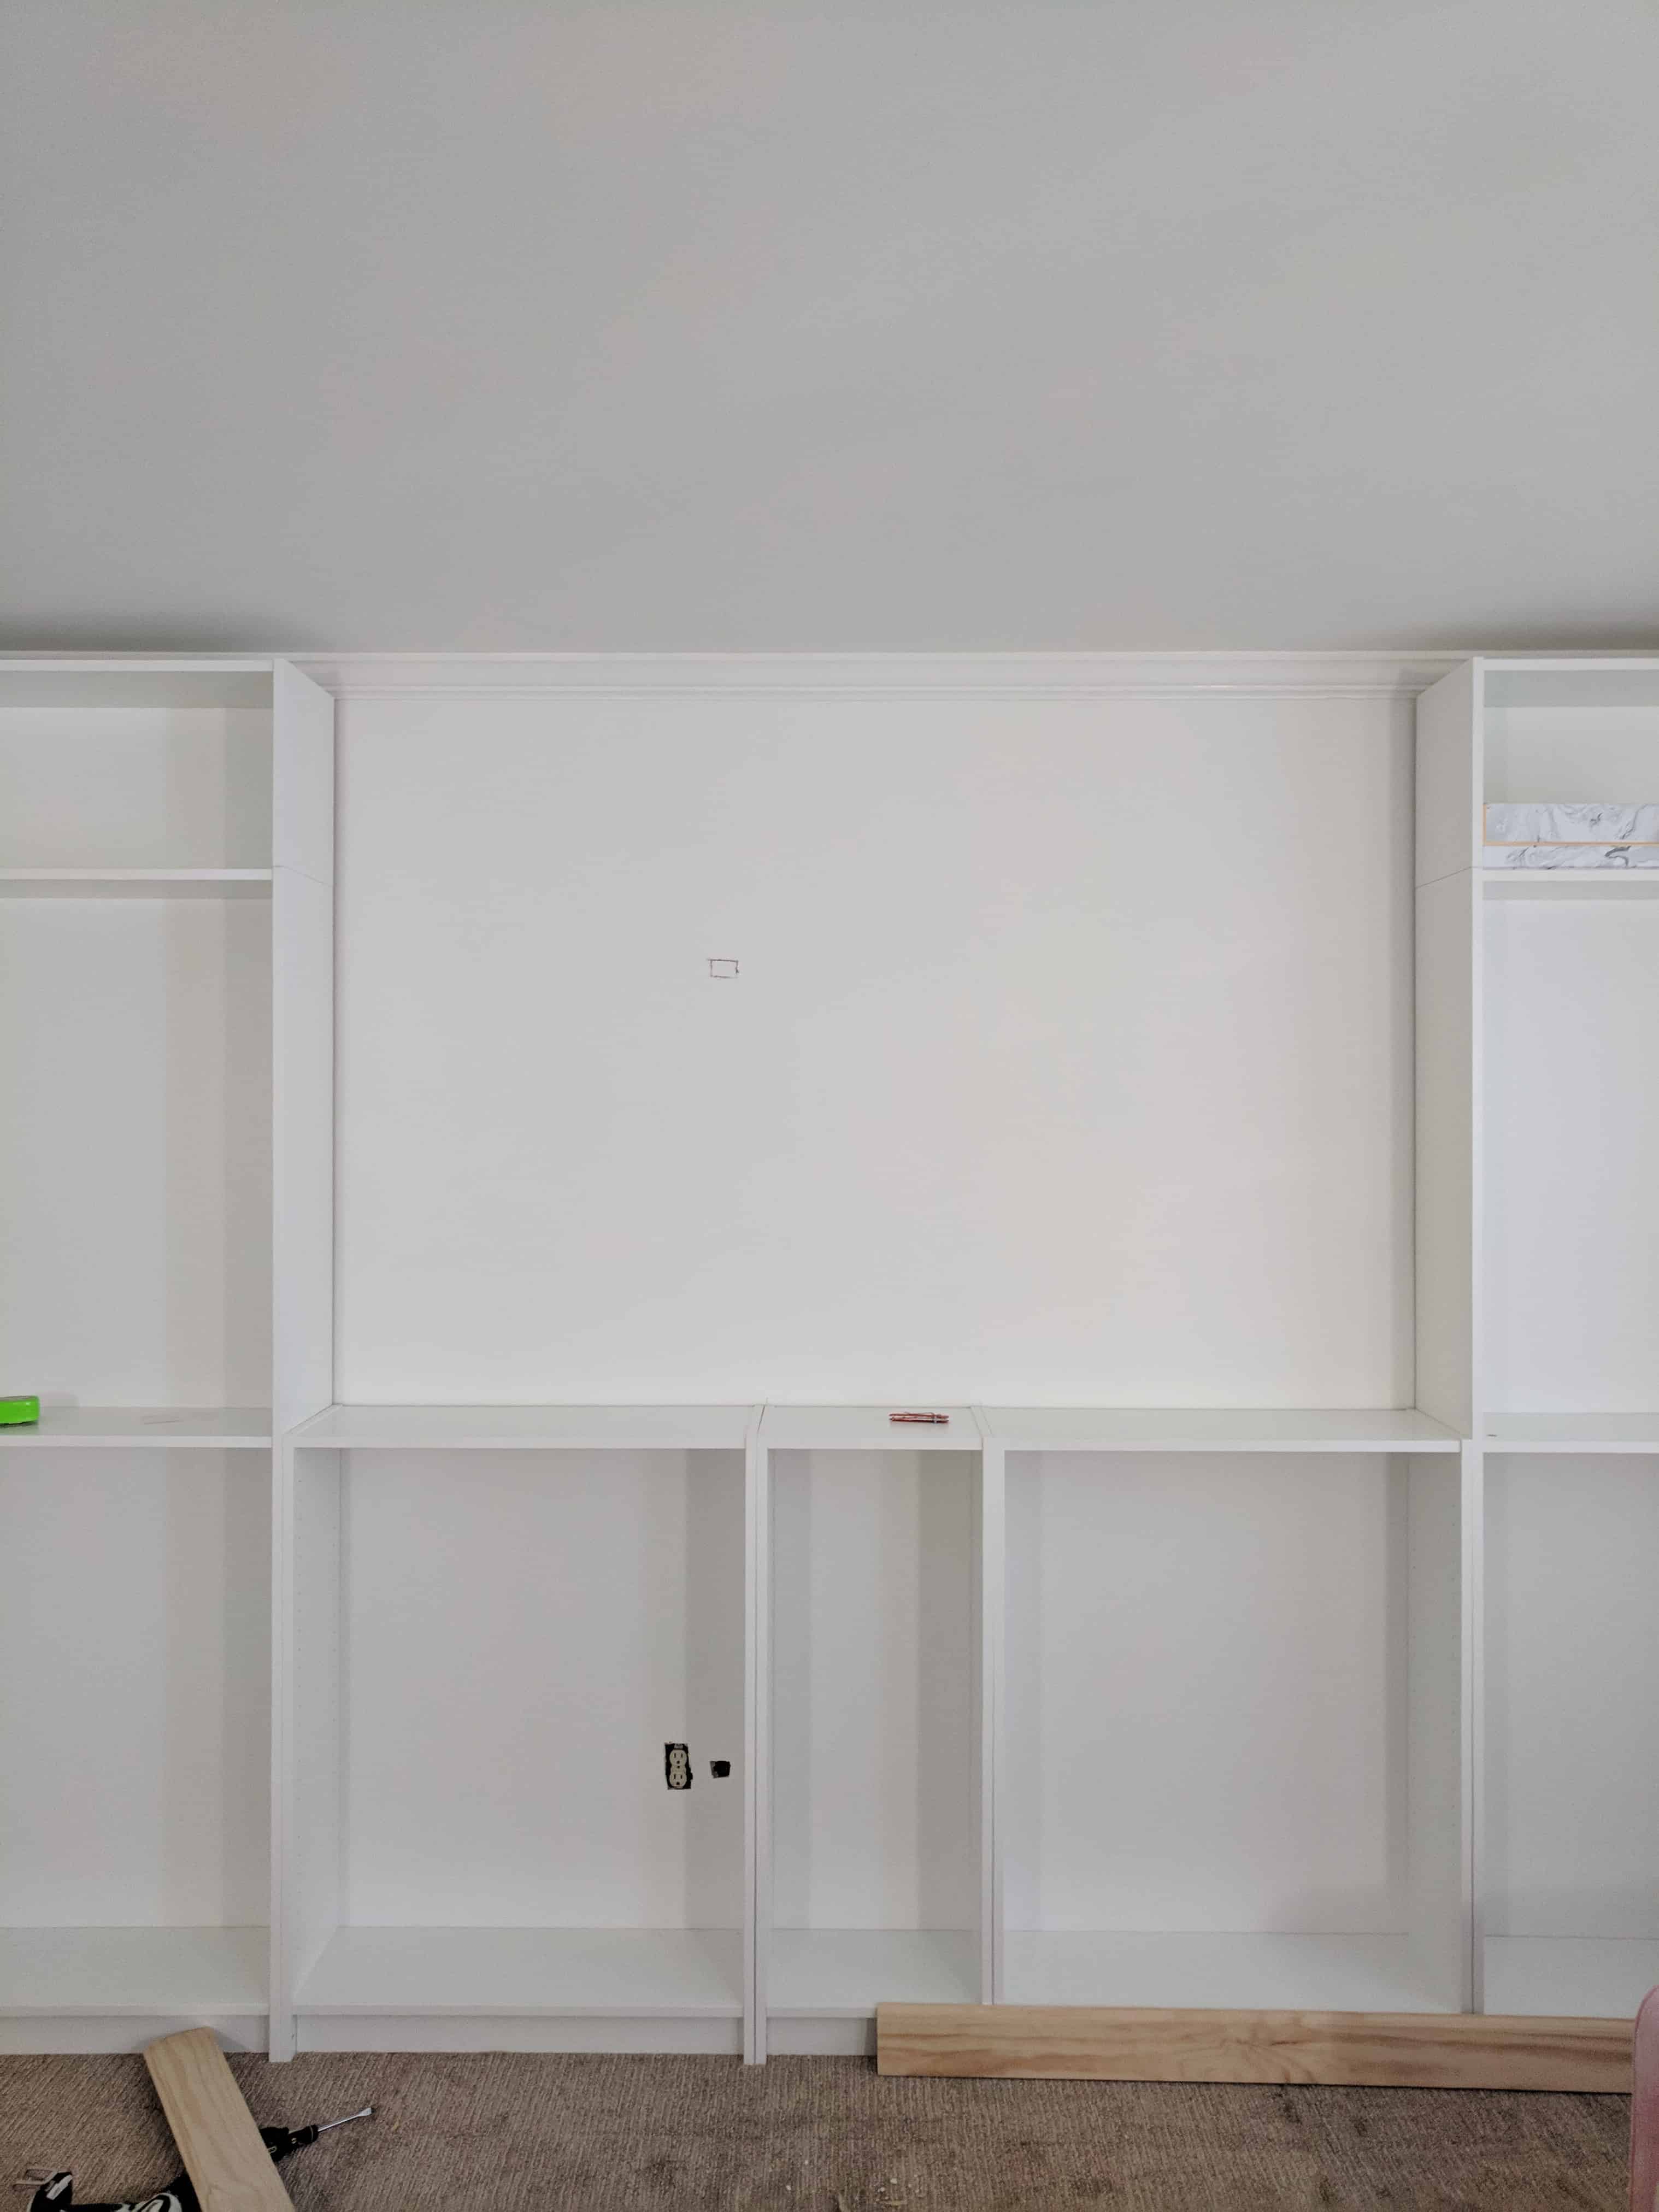
First things first – you need to assemble each of your Billy bookcase’s and add any height extenders. As you can see we purchased height extenders for both the taller ones to get them closer to the ceiling. (essentially, these are additional height you can order for the Billy Bookcase that adds 1 shelf).
Leave the backs off during assembly until the next step!
I would guess that for most homes if you are doing the taller sides or tall Billys through the full thing you will need the height extenders!
In the image below – the original billy goes to the top shelf. The Extender makes the original top a shelf and adds that top area!
Next – Before you slide on your back pieces you need to measure where your outlets are going to be so you can cut holes for those. We had one outlet against that wall and knew it would be needed, so it could not be hidden!
THIS IS YOUR ONLY CHANCE TO DO THIS.
We didn’t have proper tools, so our final look was not perfect on these holes, but we we able to sort of fix the issue with a piece when the built ins were done.
The reason for the 2 holes was that we knew we were mounting a TV over our middle section, so we put an access hole to be able to cut a hole for the TV plug in to go through the wall, then pop out by the outlet. We actually do this when we mount any of our TV’s over a dresser, but again – if that is your plan, plan ahead so you can have your hole in the wall and the back of the built in before it is secured in place!
Securing The Bookcases
Now starts the assembly. Measure the center of your wall, and place your center built in against the wall exactly centered. You will then start adding built ins to the sides of that one.
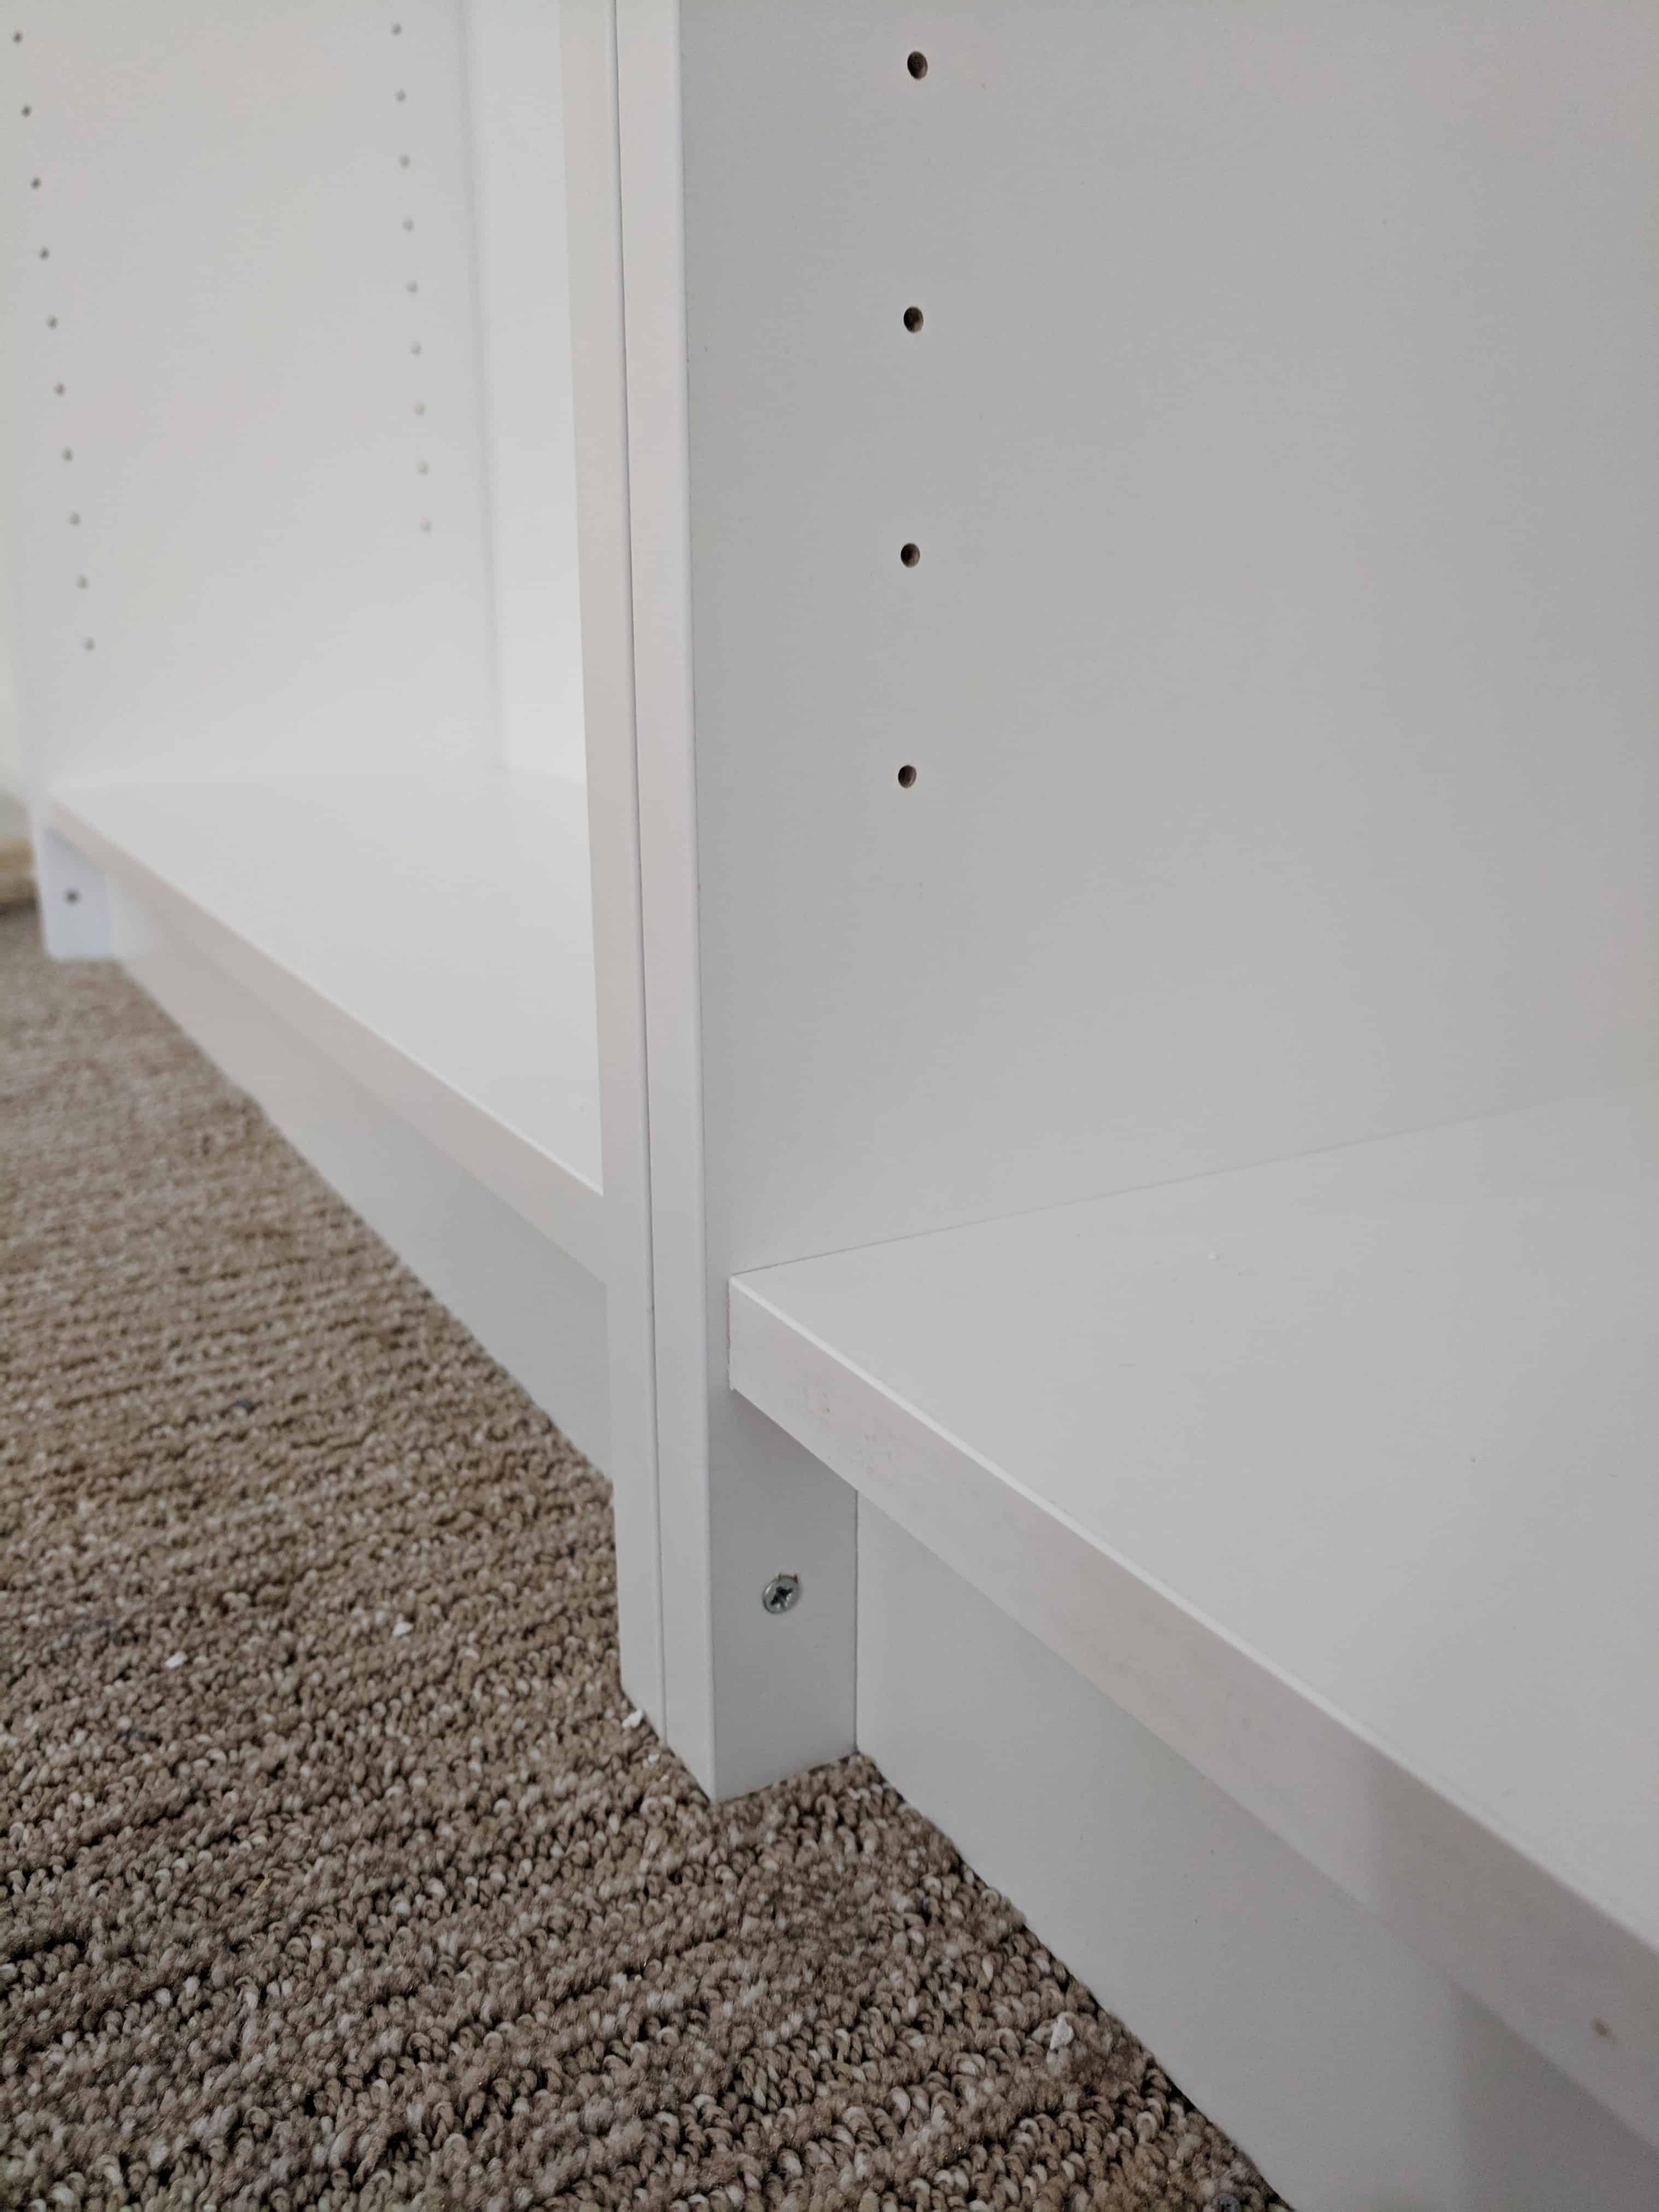
Once they are all slid into place and butted up against one another its time to attach them to each other.
You can see in the photo below – if you screw the built ins together via the bottom portion of the bookcases that will end up being hidden! Use substantial screws here, because as they will be hidden you want them well connected!
At the end of that step all of your built ins should be connected in one big long piece. They are at this point all connected length wise, but in no way connected to the wall, so we need to now make the happen.
Next it is time to attach them to the walls! You are going to use L brackets (like these) and attach your built ins to back walls. If you have a gap on each side of the built ins thats a perfect place to attach these L brackets, because again they will be covered when finishings start being added!
We added a total of 6 L brackets between the walls and the built ins to fully secure them to the back wall. One on top, one in the middle, and one at the bottom.
You bracket will get screwed into the side of the built in and the back wall.
We also added L brackets on the top of the built-ins going into the back wall. This was trickier for us due to the crown moulding, but if you don’t have that it will be just as easy as the sides, and again those brackets will be hidden with finish work.
So now your built ins are one long piece and bracketed to the wall. It’s time to start finishing them out to make them look built in.
The finishings – making them look built in
So now that you need to start making these Billy Bookcases look built in. One thing to note is our measurements will almost certainly not be yours in this step, and that this will likely work slightly differently in each space. Be patient and flexible!!
This step is all about finding where you have gaps, and things showing that wouldn’t be on a typical built in, and hiding them with trim and lumber.
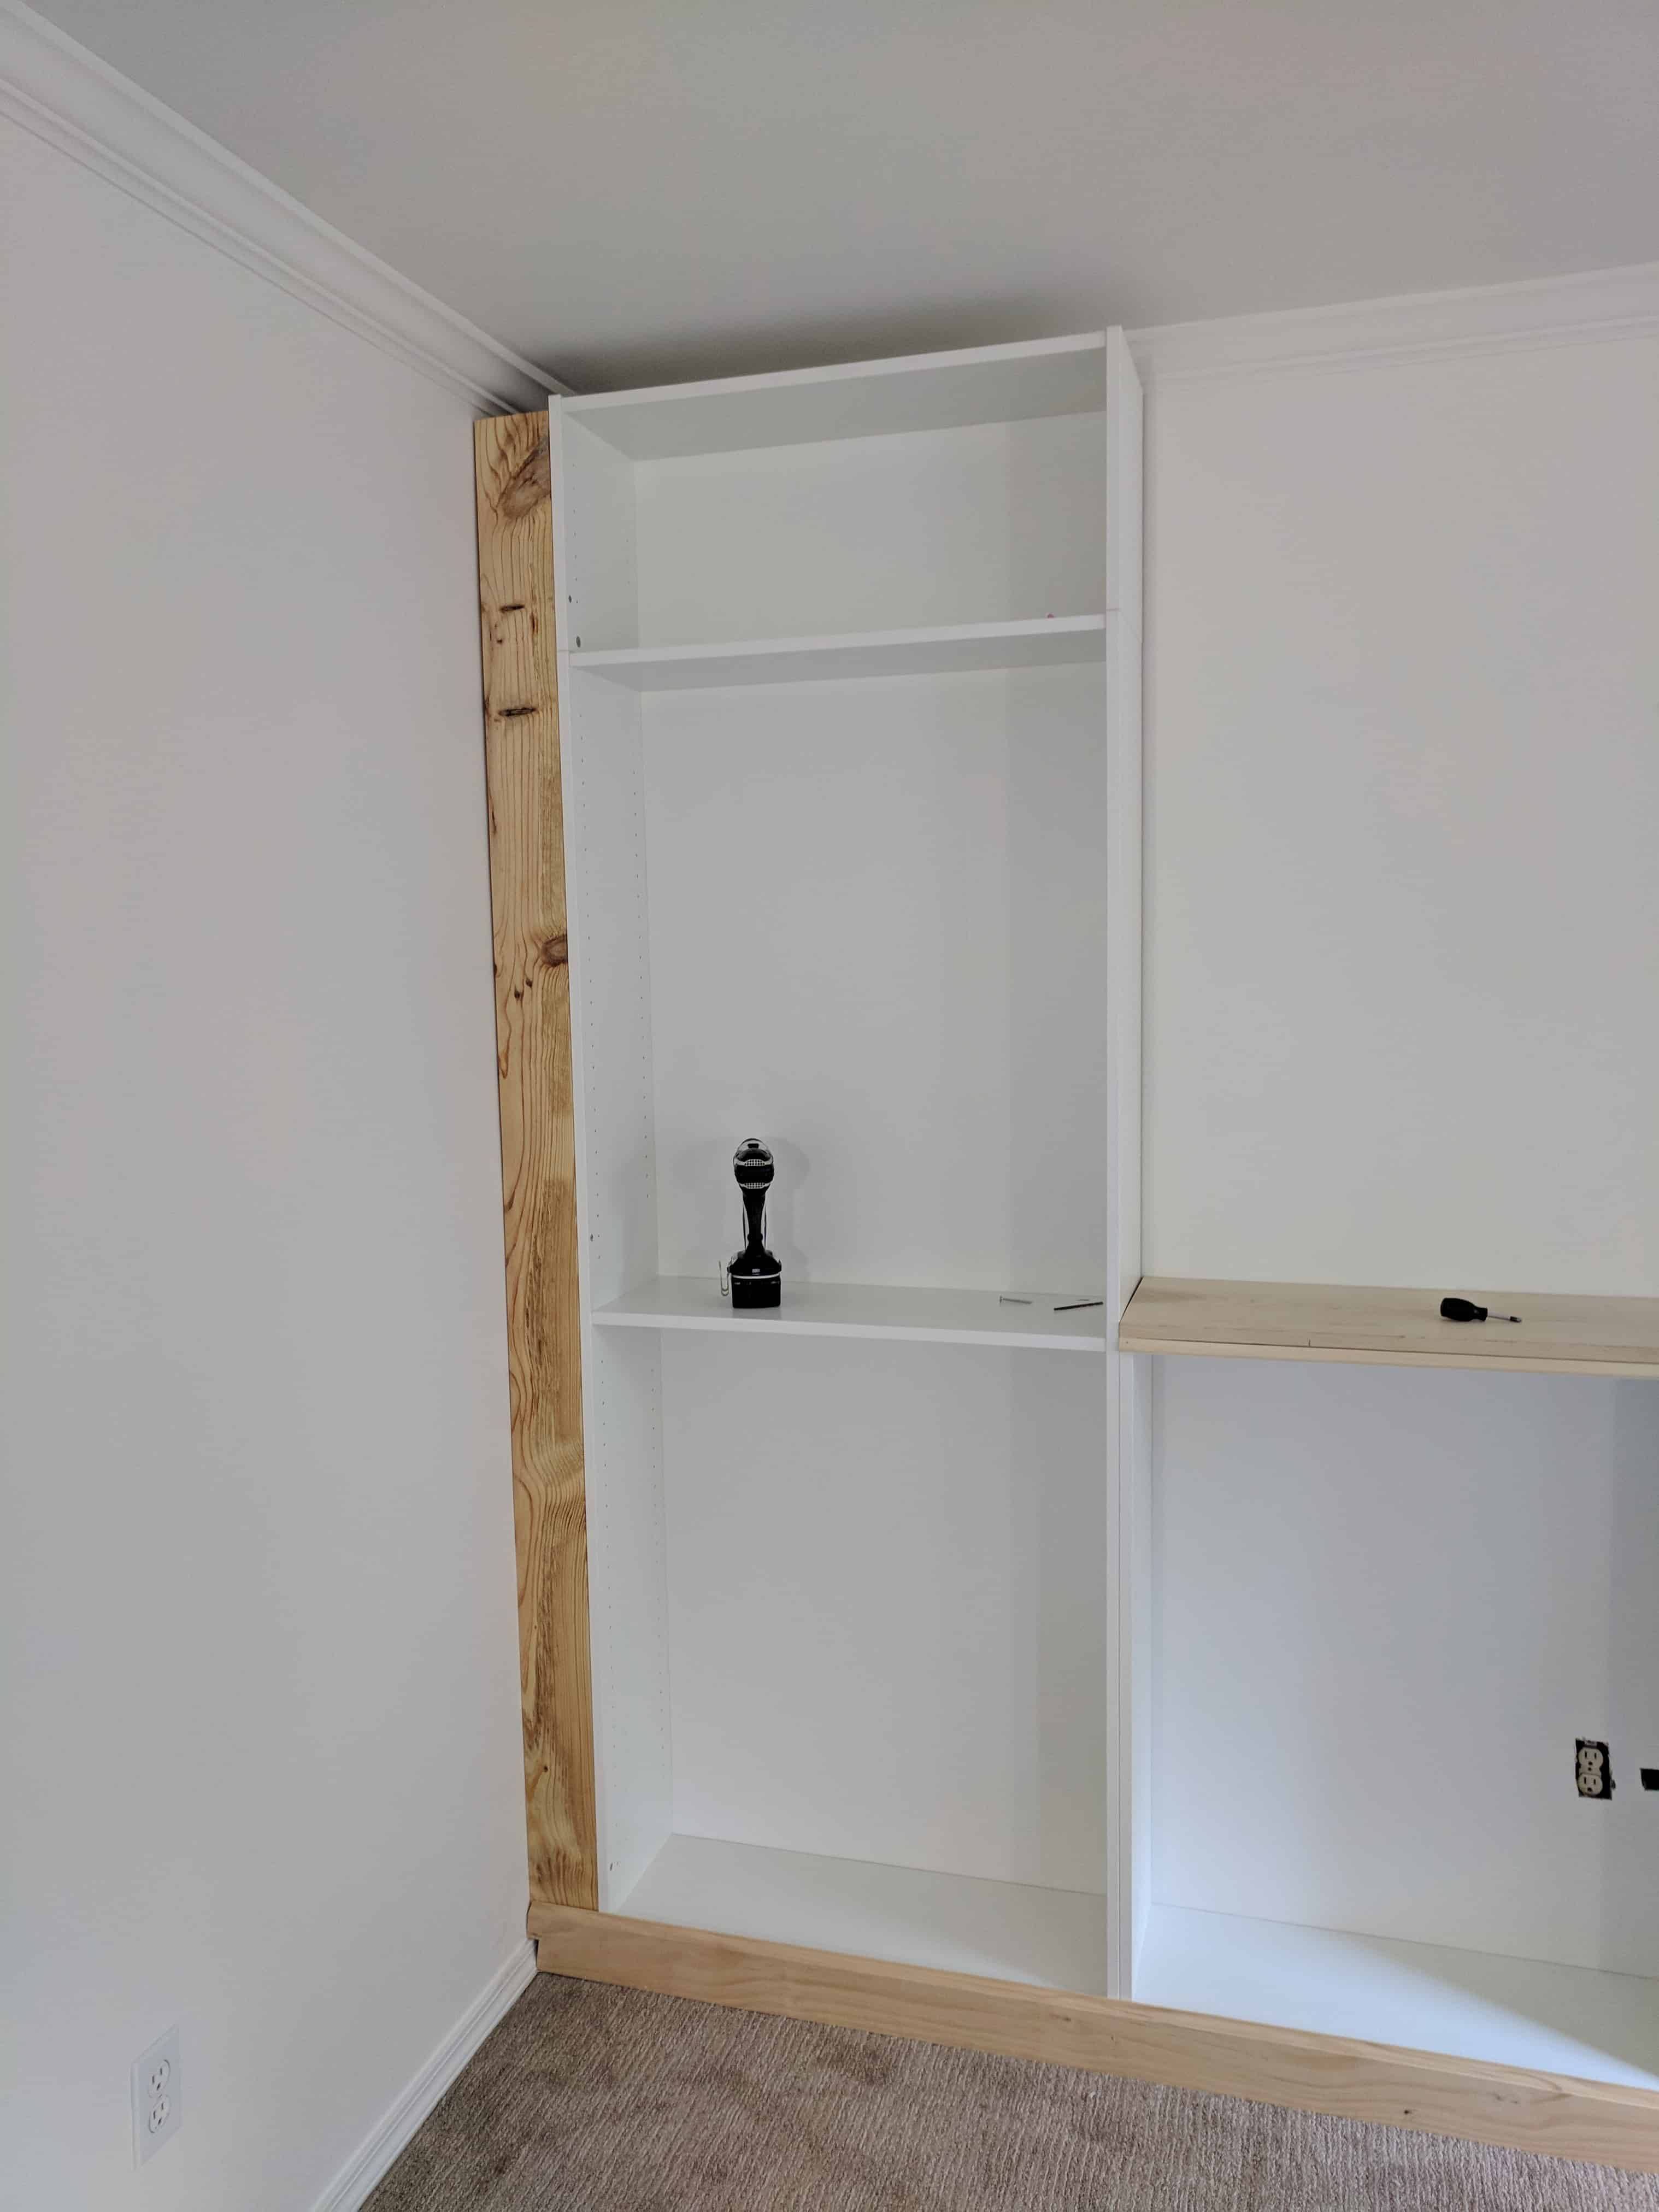
First you need to add your side boards. AKA – the boards that will go alongside your built in and fill the gap between them and the other walls. (ours were the 9×2 boards that were 90 inches long).
We had them halved at the store so each side was fit with a board that was 4.5 inches wide and 90 inches tall.
We basically wedged them in to fit along the sides of the bookcases and the wall. (notice your L brackets are now hidden!) They fit SNUG and we screwed them into the built ins (coming in from the side of the bookcase into the board)
A few extra screws wont matter due to all the filling you will do later.
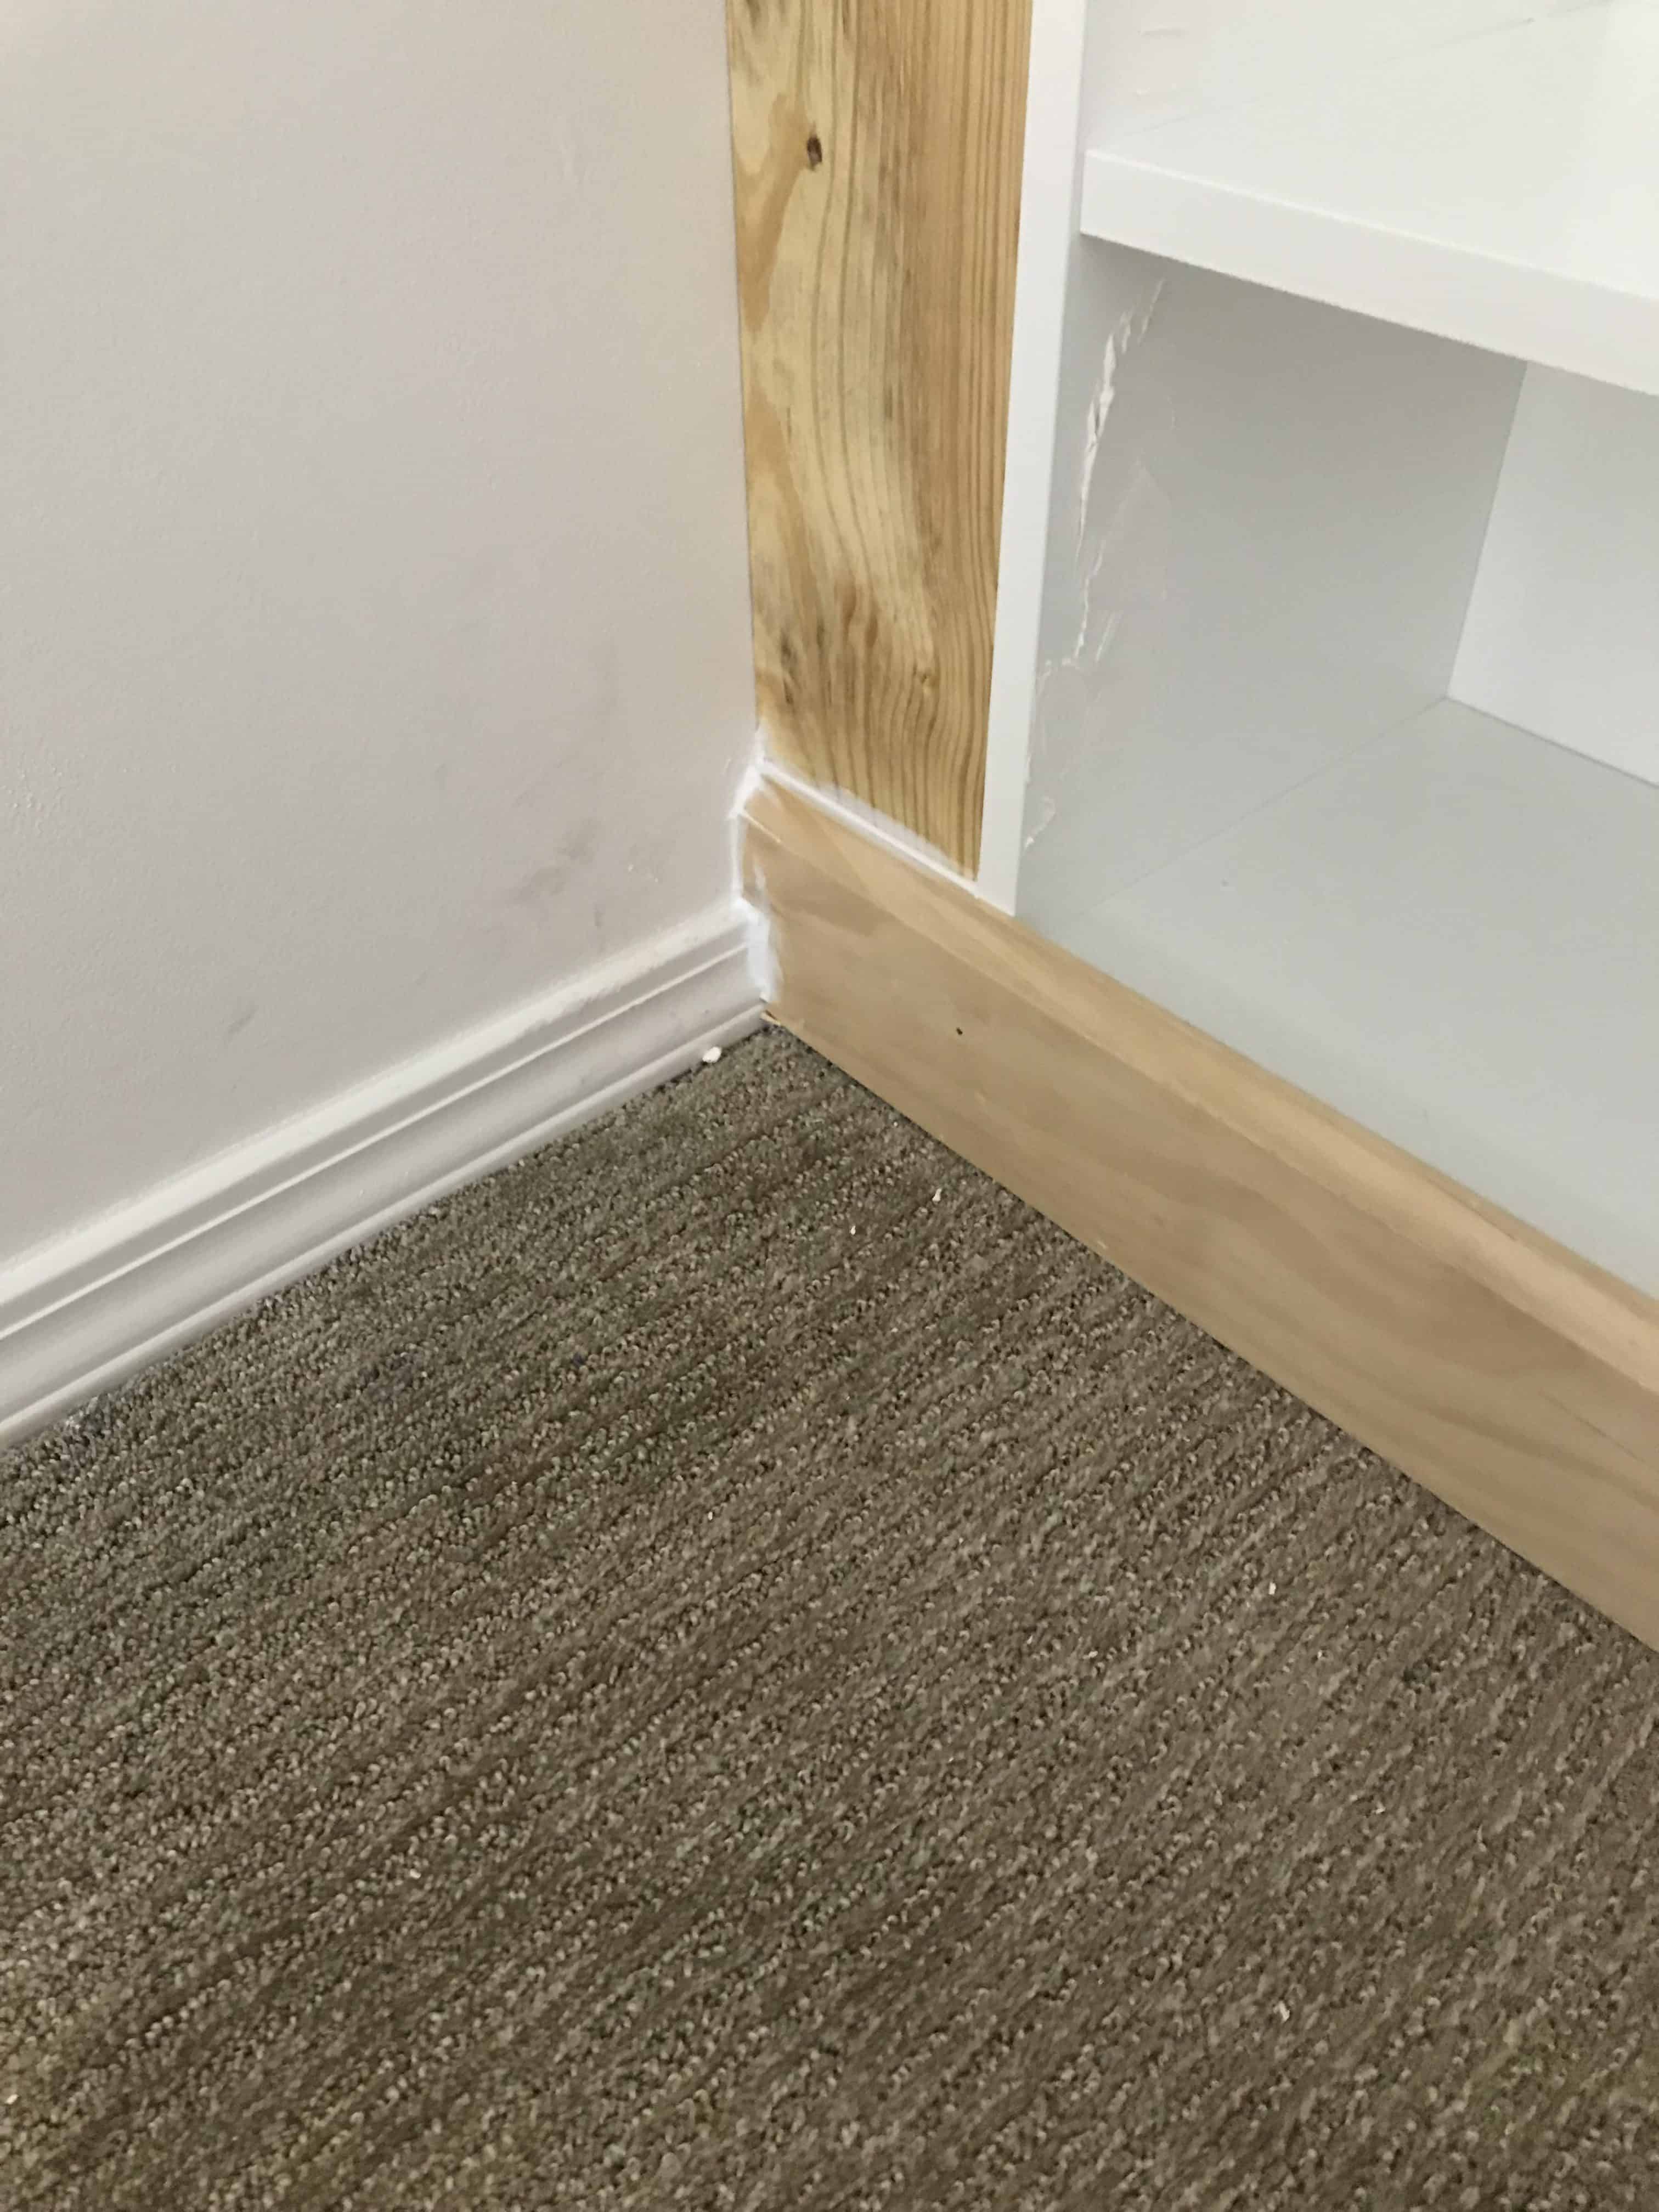
Next you will attach your bottom trim.
You need to cut it to fit around your baseboards like you see in our photo, but you will use caulk to perfect it when you’re done. Don’t worry that it isn’t a perfect fit – we are not professionals so ours was not great, but paintable caulk made it look like we have been doing this our whole lives.
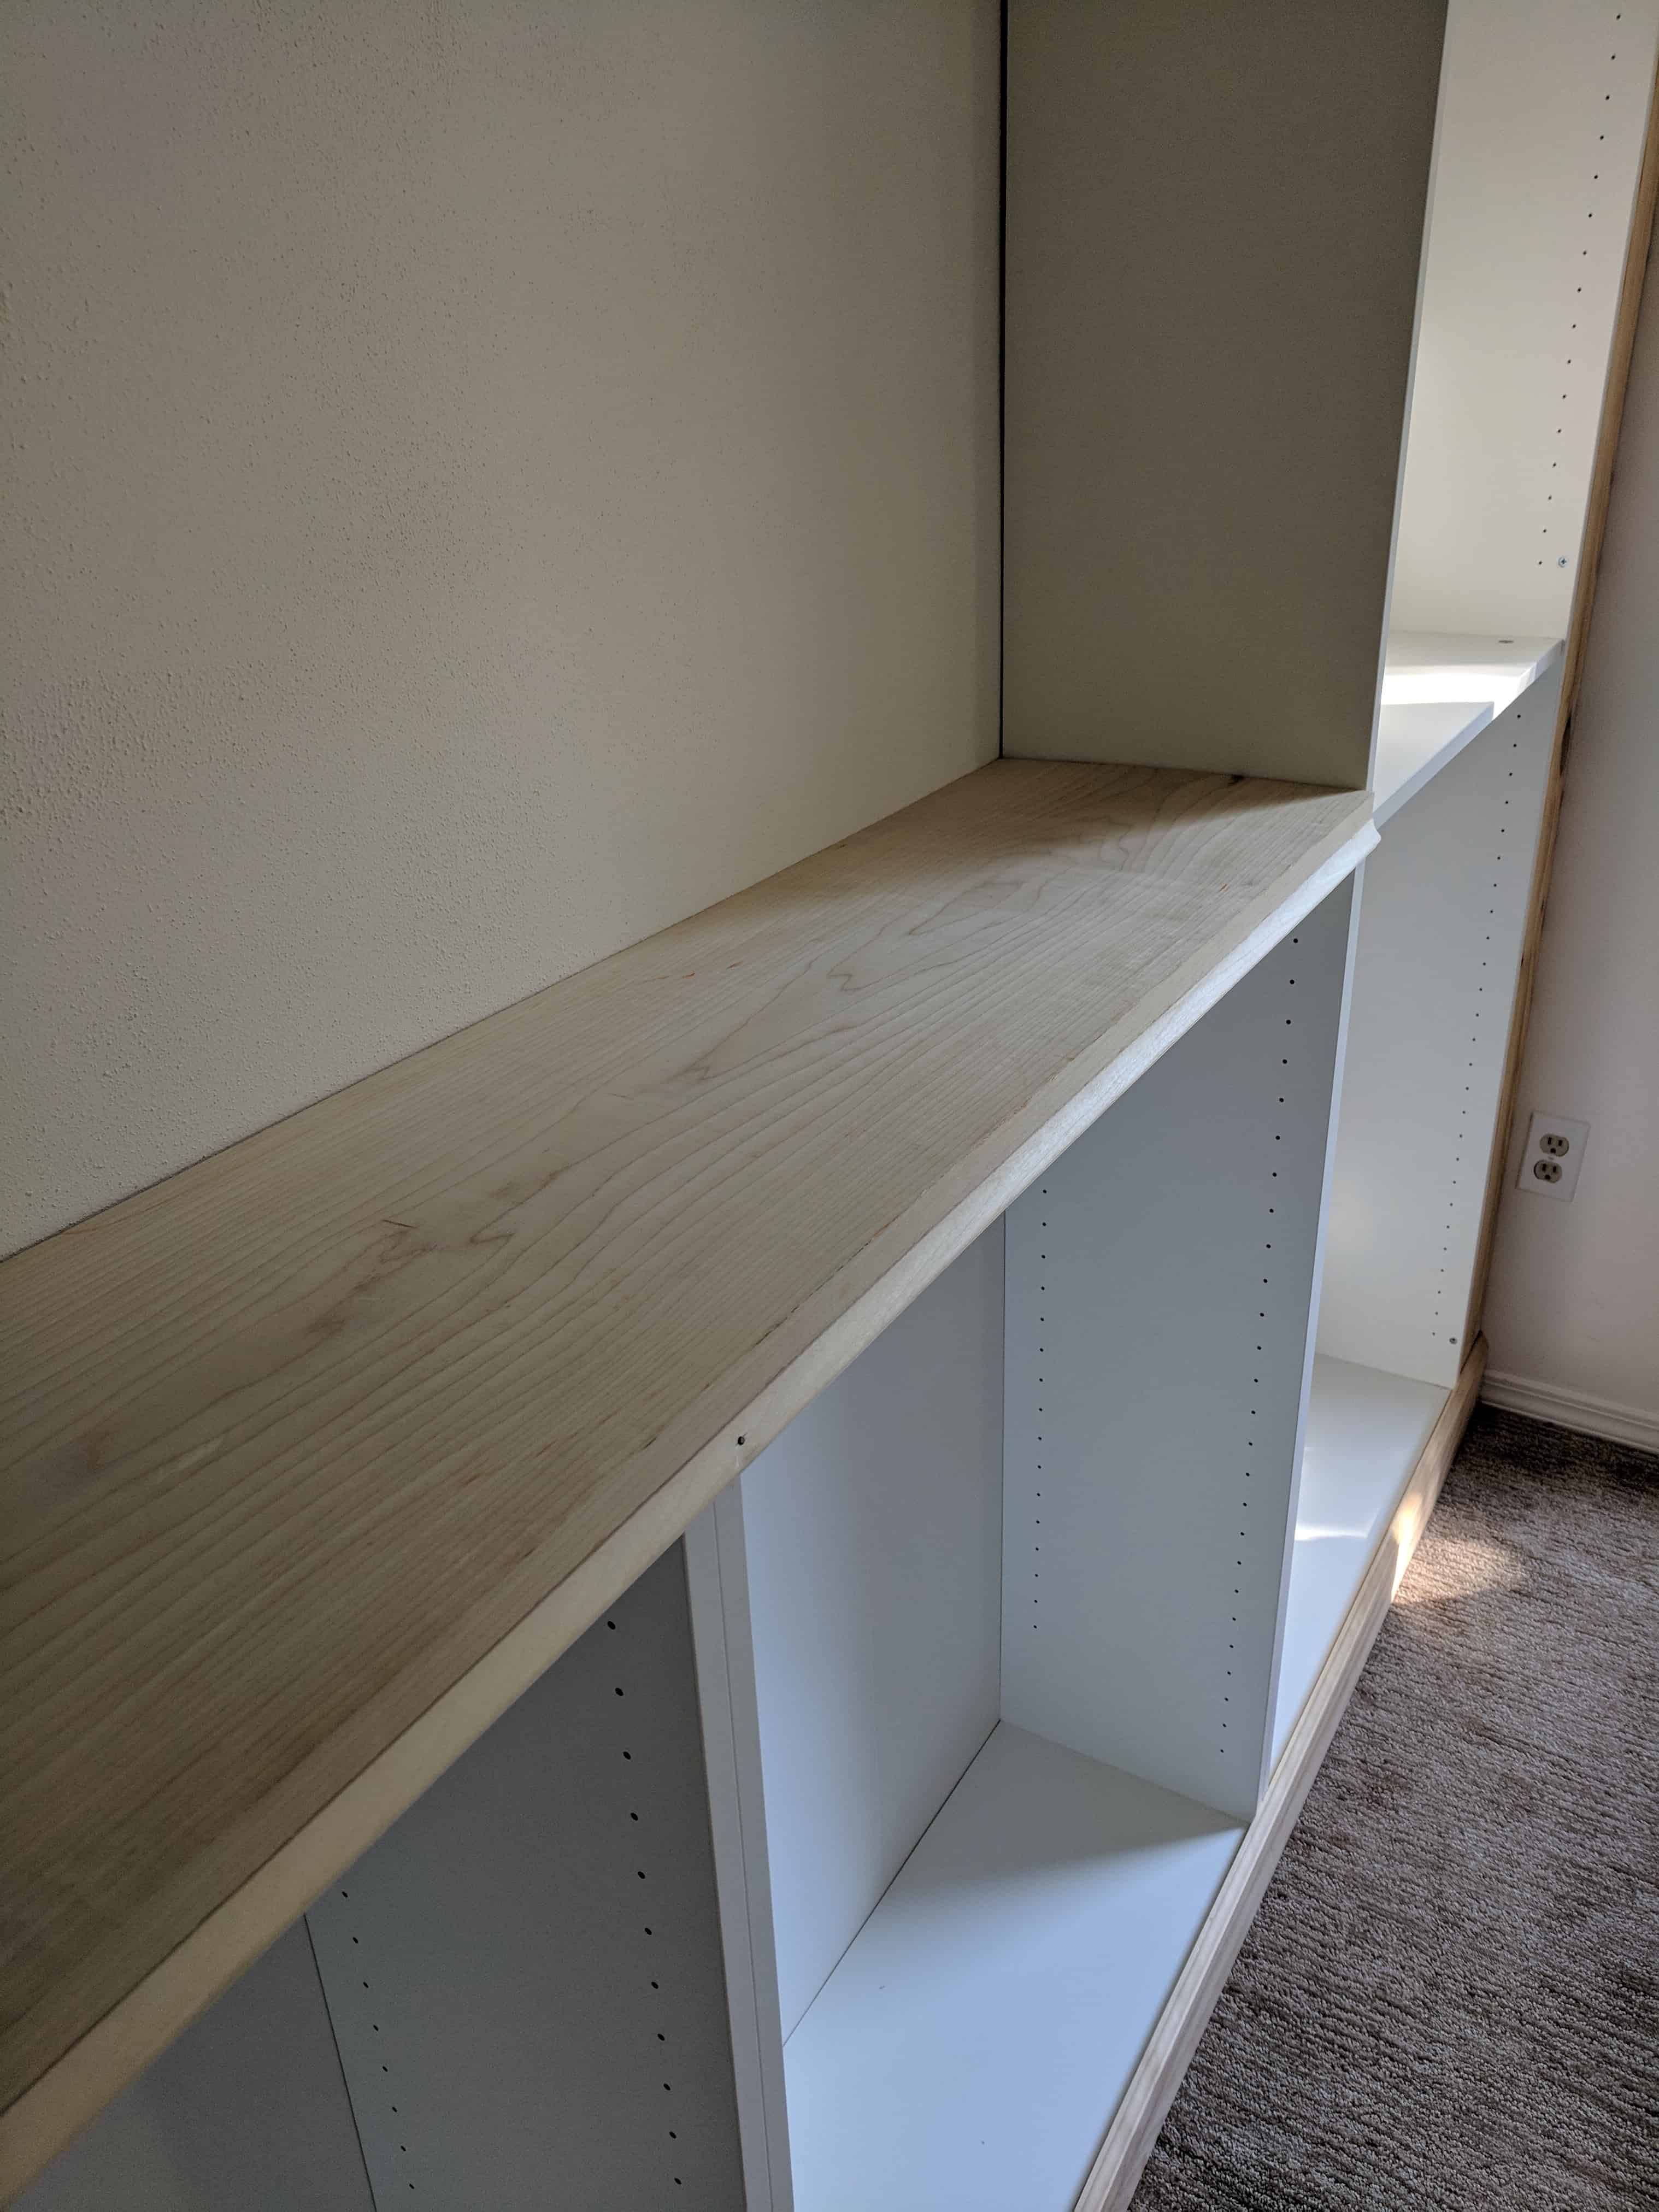
Now you can attach your table top board to the shorter, center Billy bookcases.
Simply lay your board on top (this was our 11.5 inch deep board). Screw in from the top of the Billy’s, going into the bottom of the new board. This now makes for 1 flat table top instead of the divided look with the multiple Billy Bookcases.
Attach the 1 inch trim to the front of that board, as seen in the photo using nails to hide the breaks between each bookcase. (if you have a nail gun this would be a perfect step for a nail gun to make things much more seamless.
We have since gotten THIS nailgun from Amazon and it makes things work so much smoother)
The last big piece is to attach trim to the top of the Billy in a similar fashion as you did on the bottom.
This will be more straight forward if you don’t have crown molding. We personally do in this room so we cut the edges in a similar way to how we cut the bottom trim for the baseboards.
Congratulations – the structural portion of this is done!
NOW onto the finish work
Place your shelves if you haven’t already. Due to the finish work, you need to make a placement decision and stick with it. – I say this because your built ins will look so much more finished if you don’t have small holes left to move the shelves around.
Once your shelves are in place, spackle all the other holes as well as over any nails or screws and nails you added. Take your time and get all of them so the finished product looks nice!
Caulk between wall and boards and at any seams between boards you added and billy bookcases. Use your best judgement on which spaces need to need Caulk. It is very important you are using paintable caulk for this step!
SAND all that spackle off
Clean the shelves very well
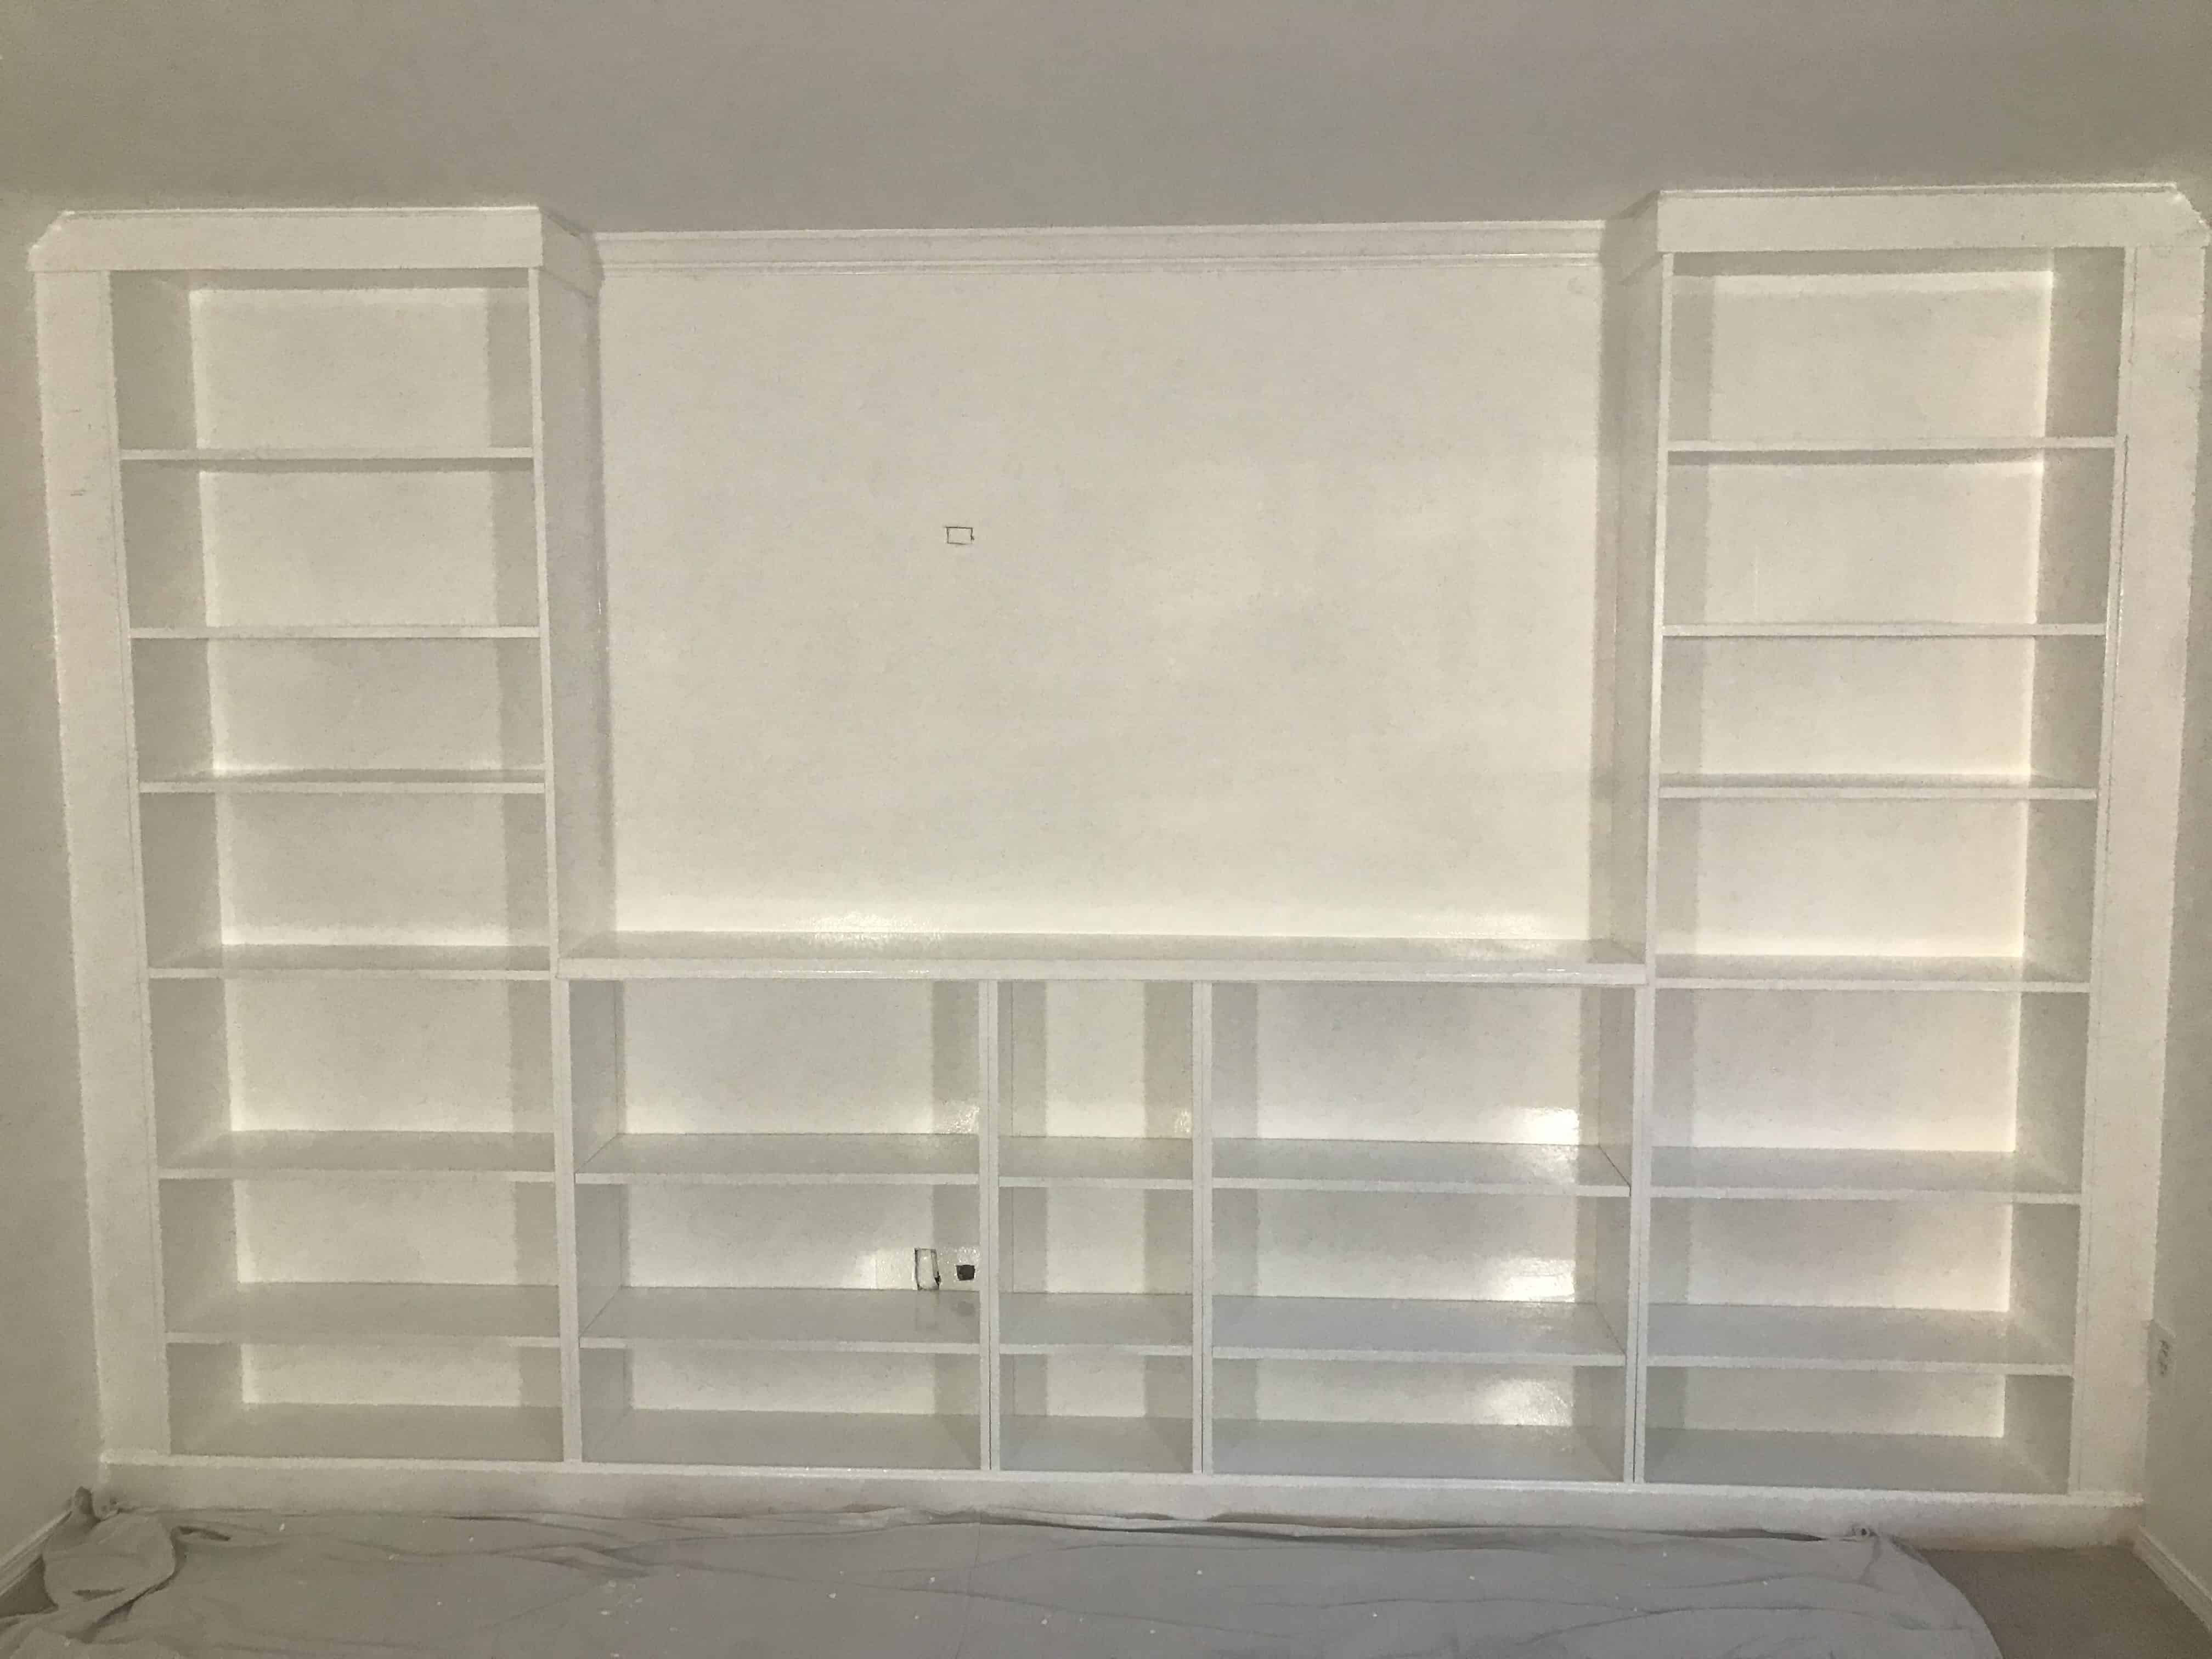
Now it’s time to paint! Use a paint Sprayer to paint (or hand paint if you choose) the whole built in set. This is one project where the end outcome might not be much different if you roll, but it will take A LOT LONGER. I would personally invest in the sprayer or rent one.
If you follow along on my projects then I will give you lots more reasons to own the paint sprayer we have.
Below is one quick coat with the paint sprayer. We painted ours in Valspar Du Jour because that is what our doors and trim are throughout our home, so it made the most sense to just stick with one color.
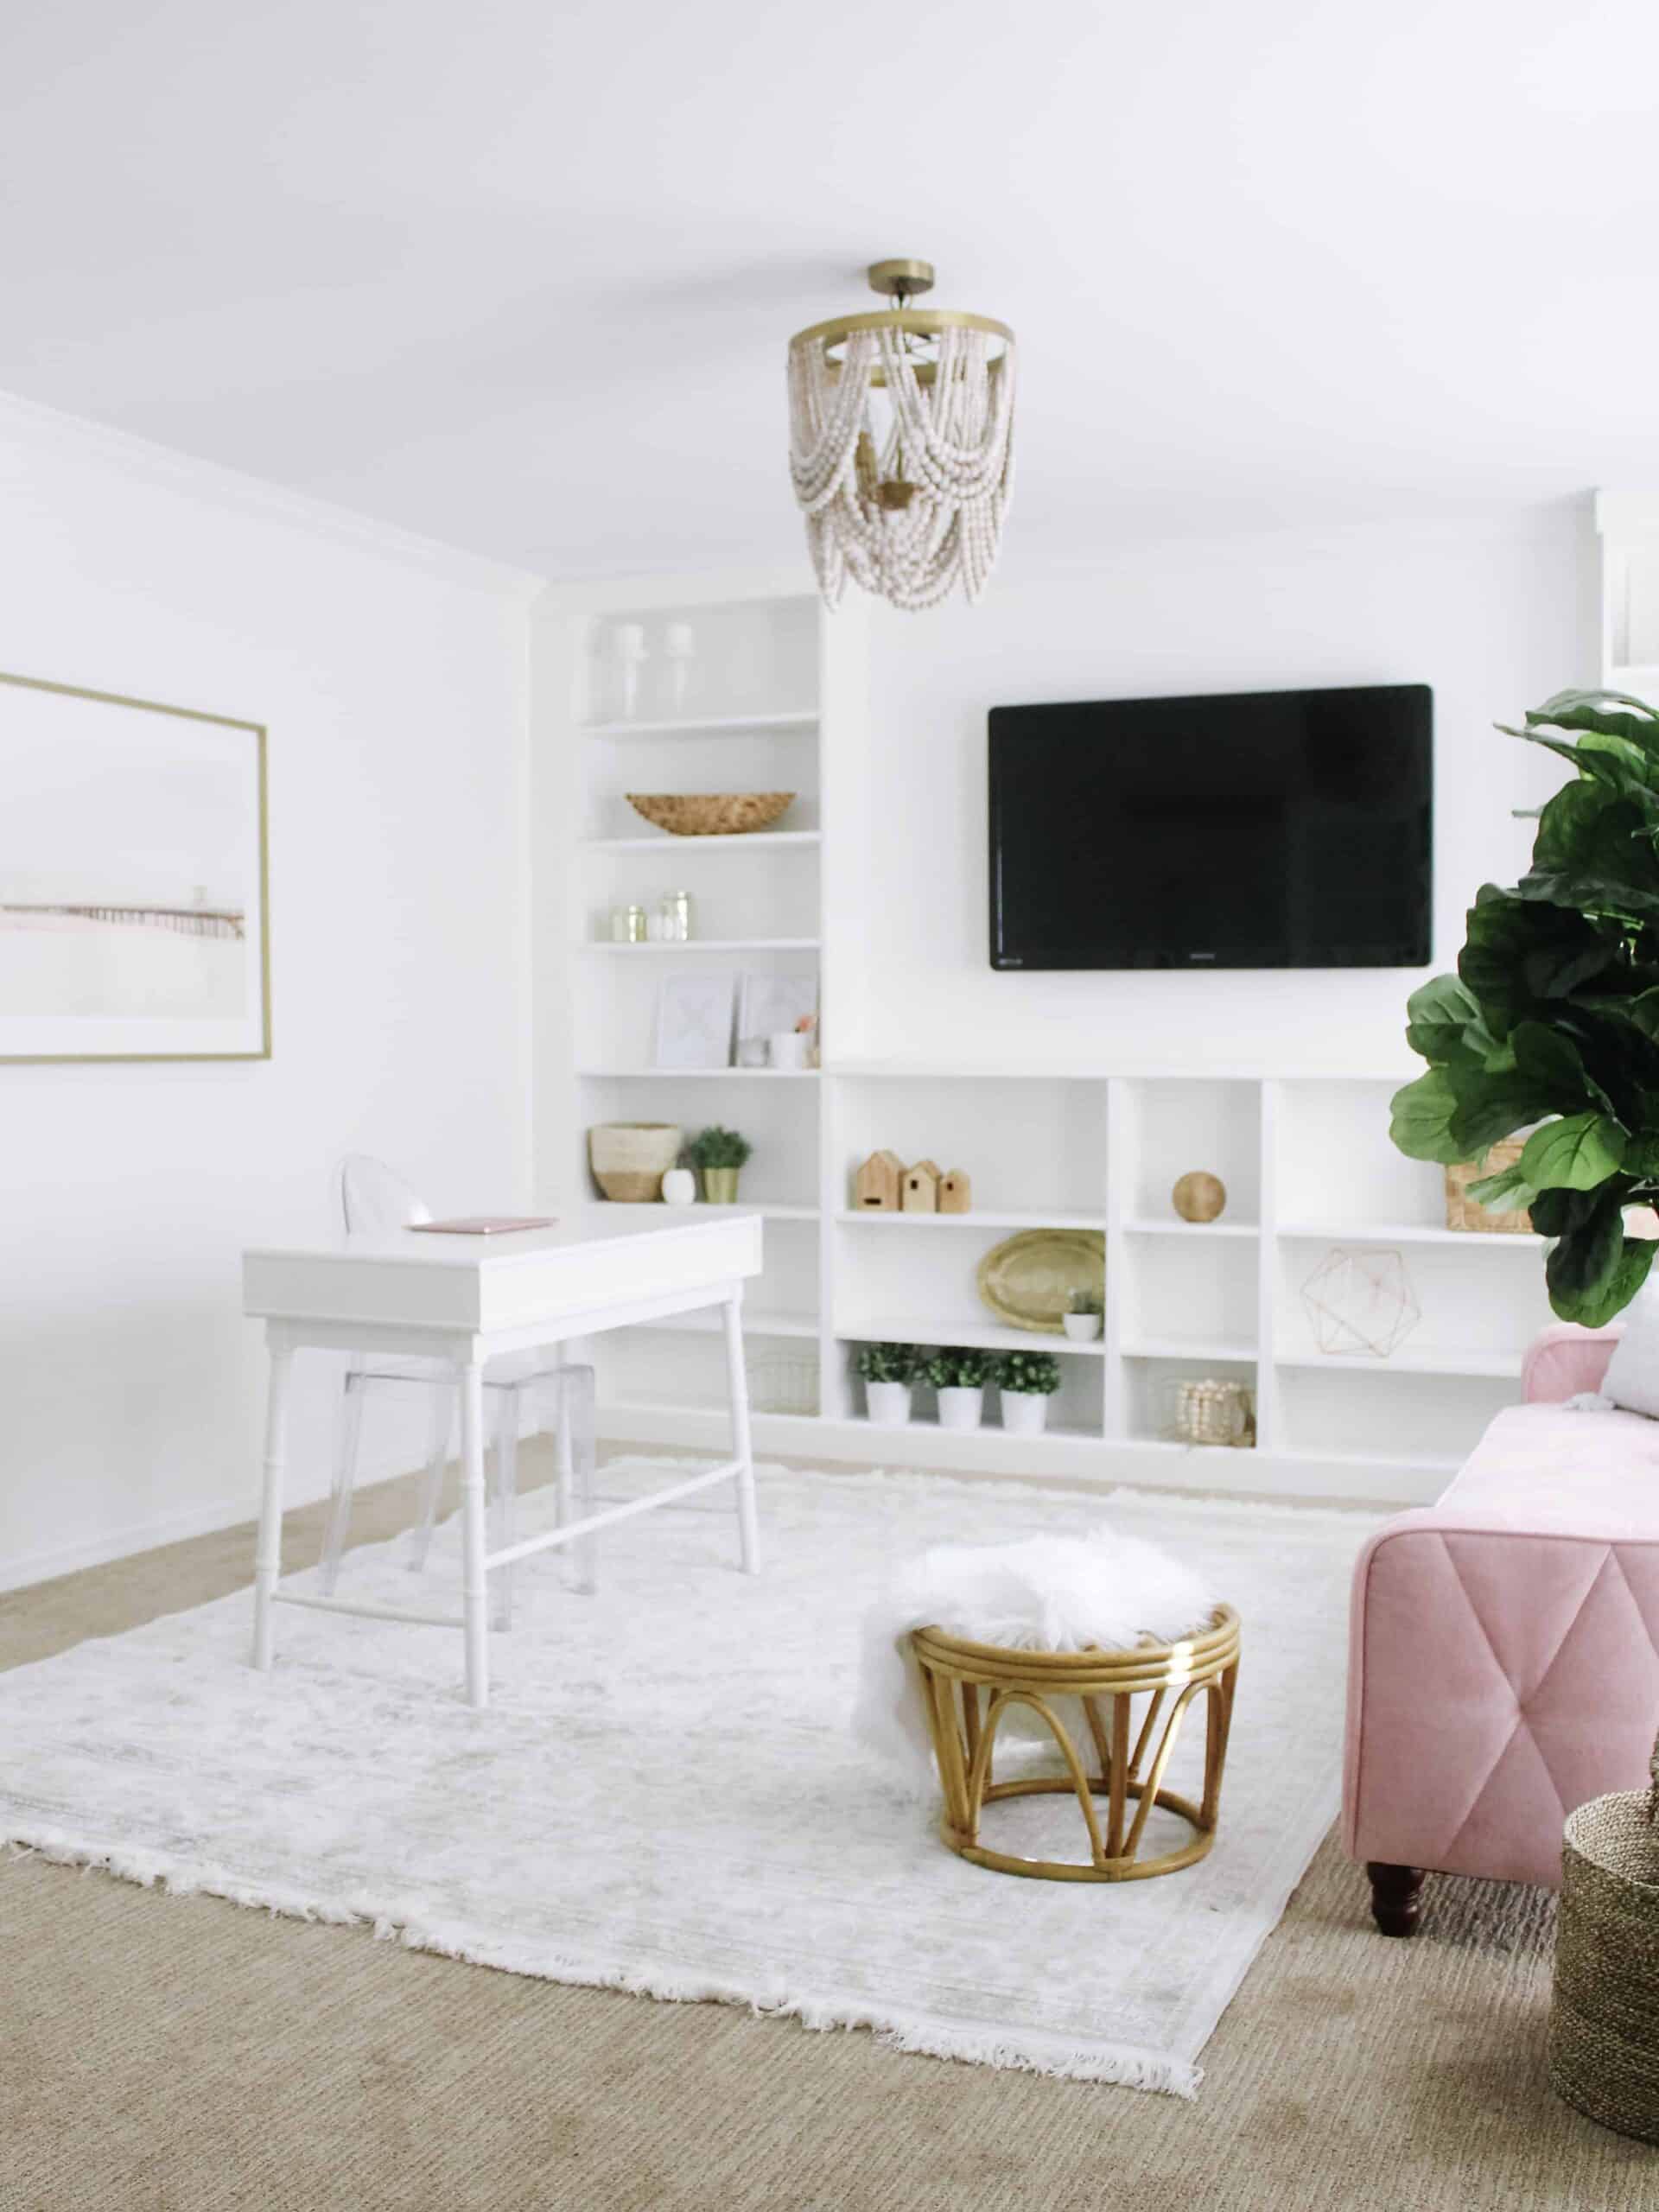
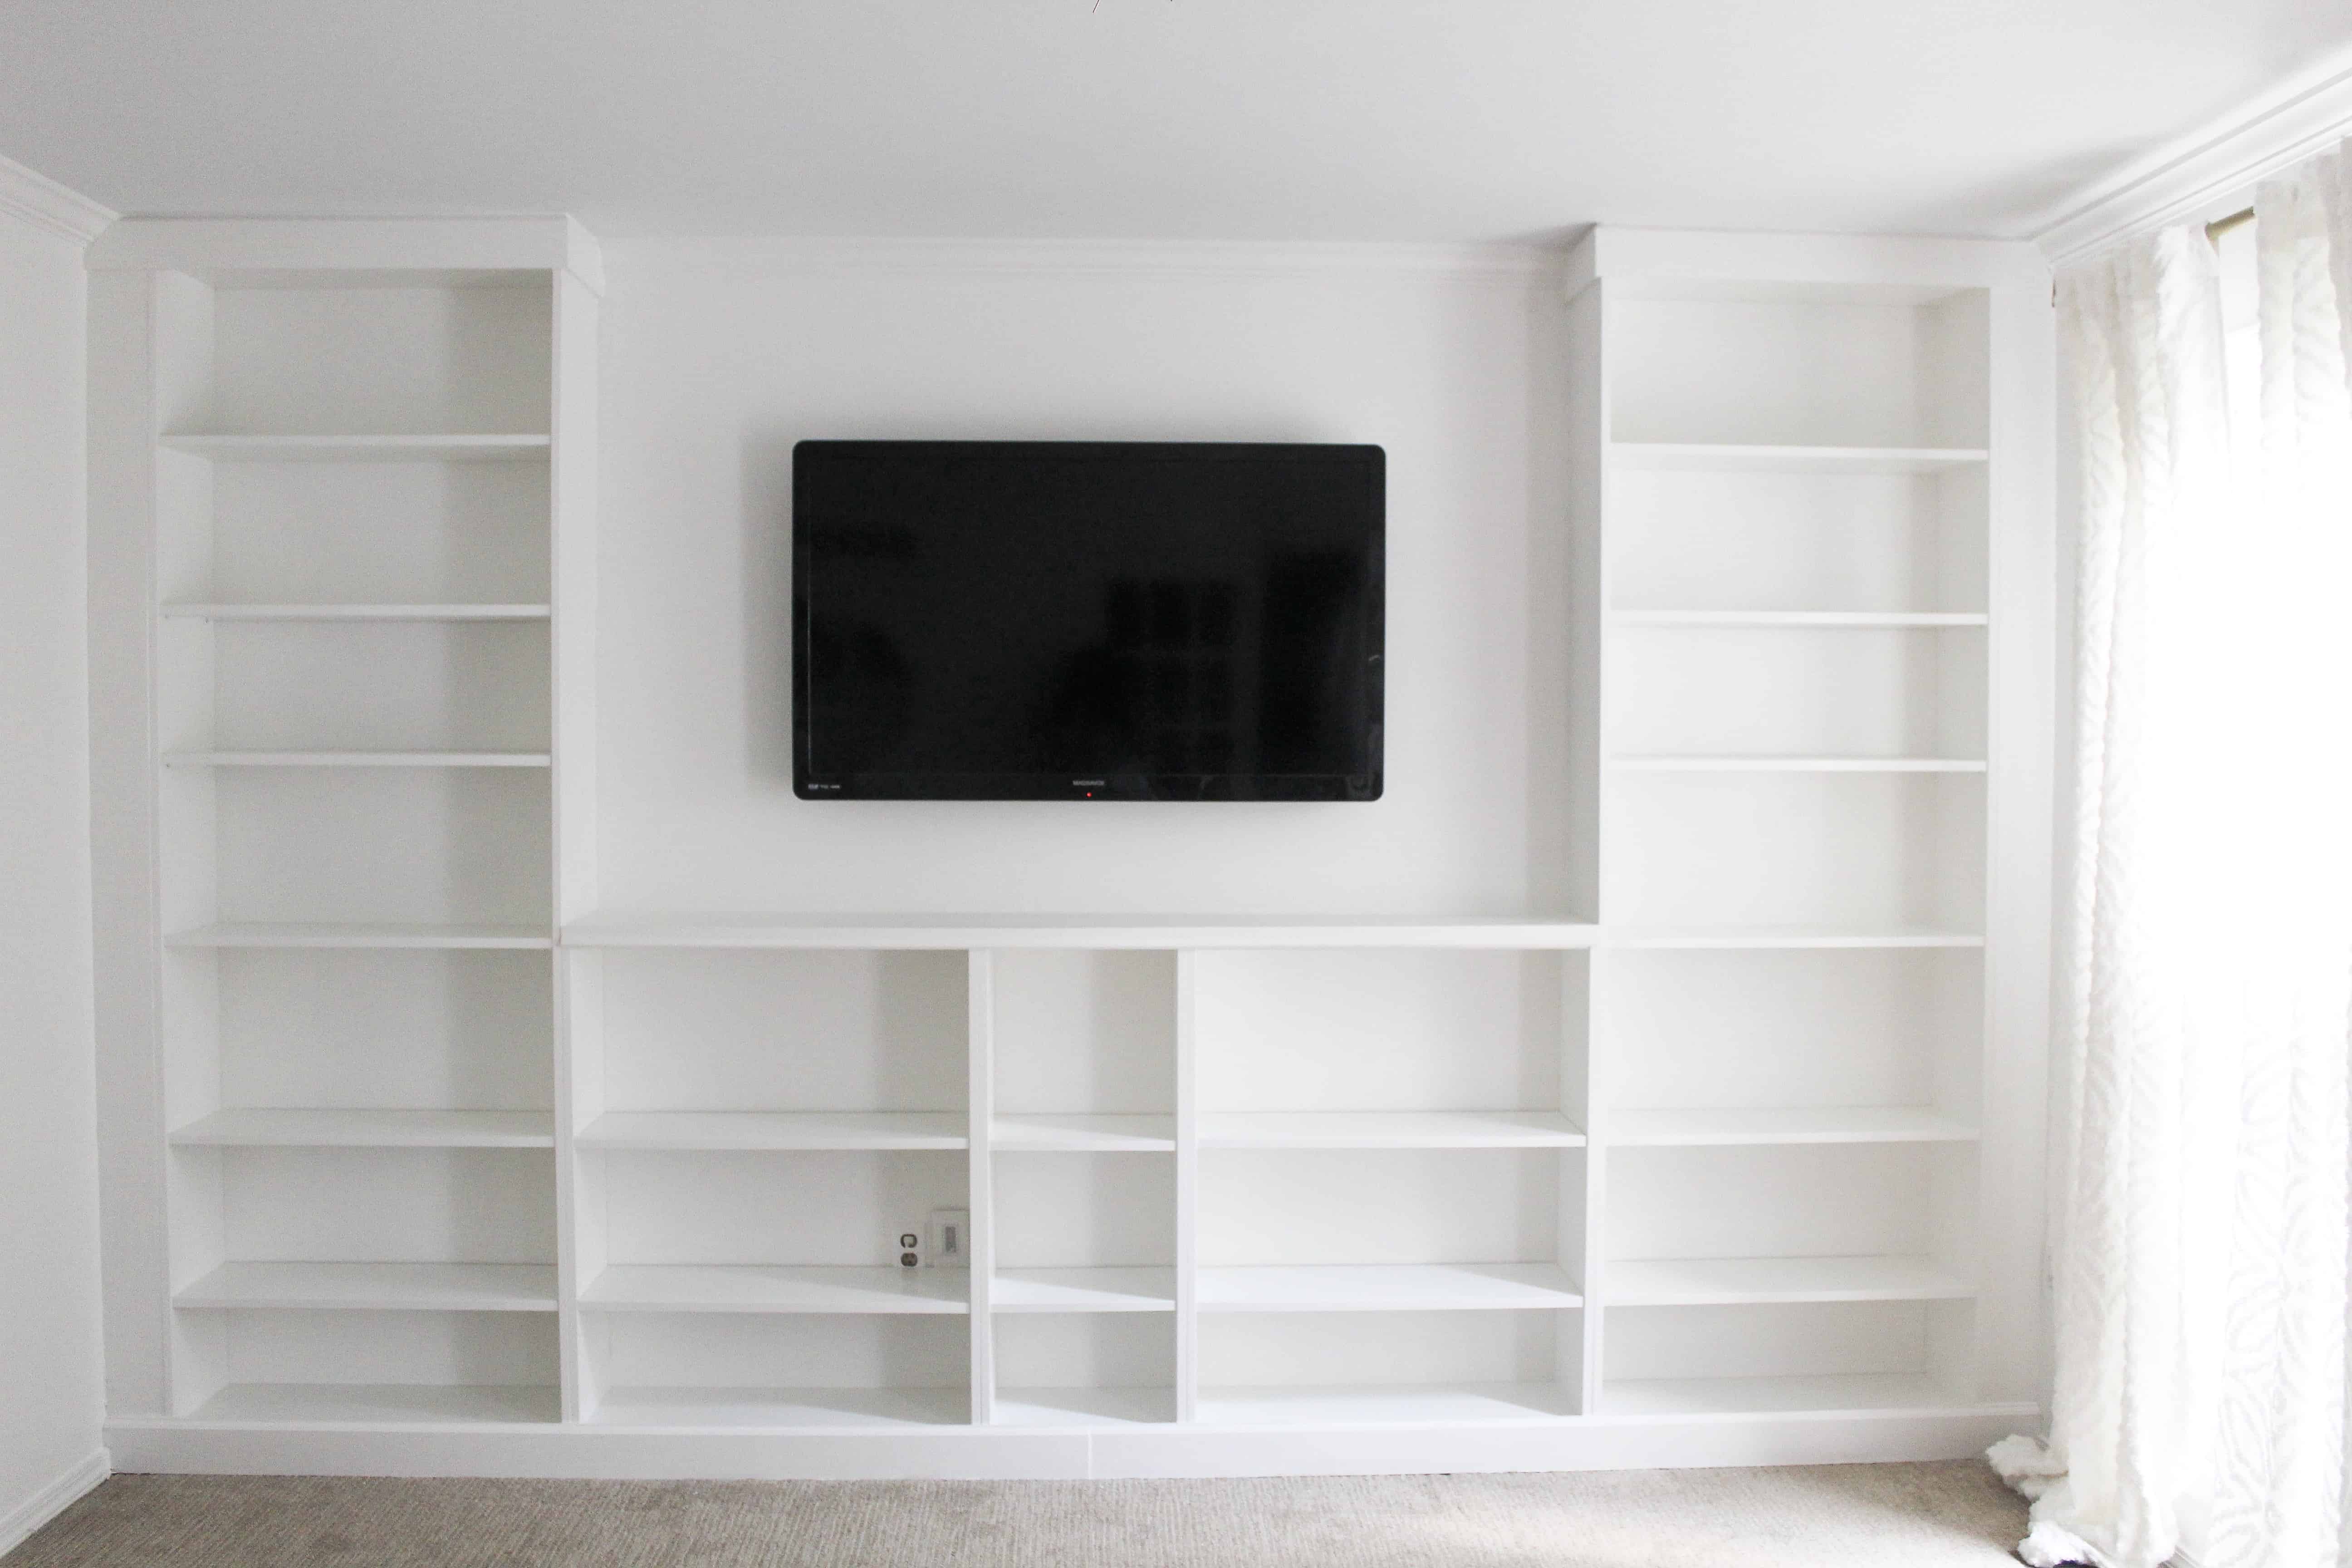
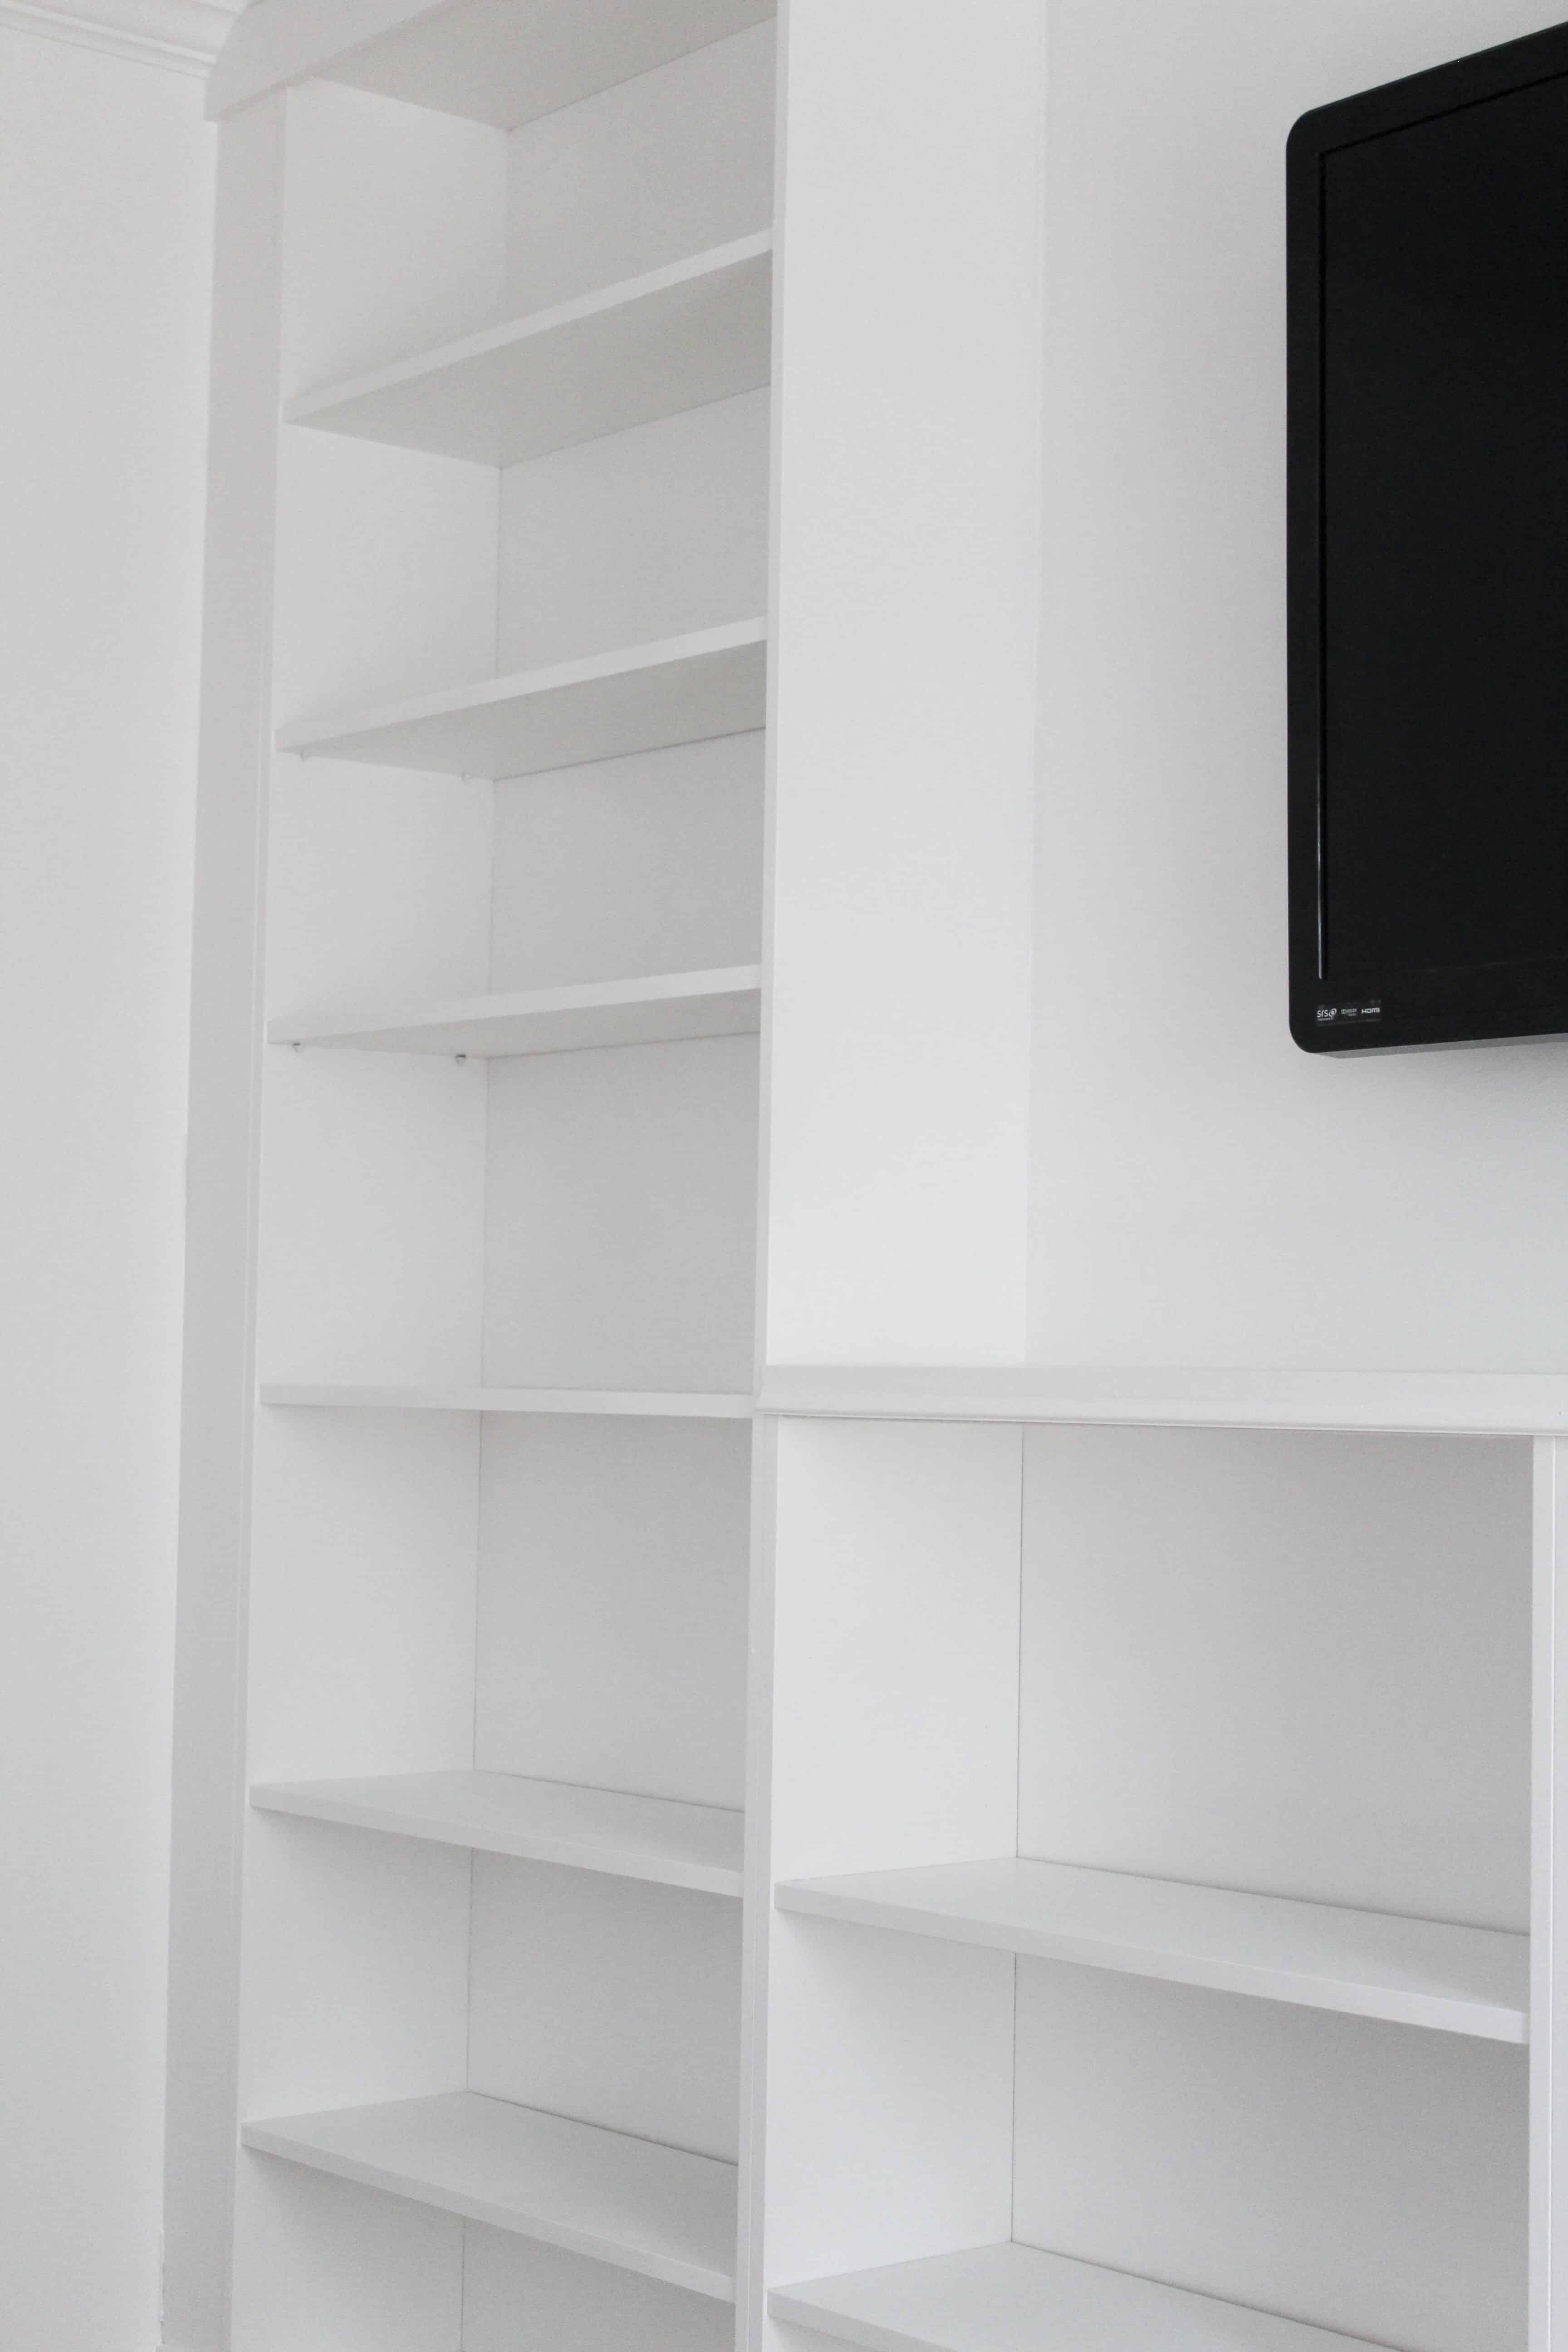
IKEA Billy Bookcase Built-in Hack Finished Photos
This remains a favorite project for us in our house. It was such a game changer in terms of esthetic and storage, and truly turns heads when people come in. No one would be any the wiser that it started out in IKEA boxes.
It has held up beautifully and the only thing we have had to do over time was add a bit of additional caulk between the end walls and the boards after the first winter, which is not uncommon for a home as old as ours!
I would love to see finished product if you try this IKEA Billy Bookcase built-in hack yourself, and again please feel free to leave me any questions or comments below!
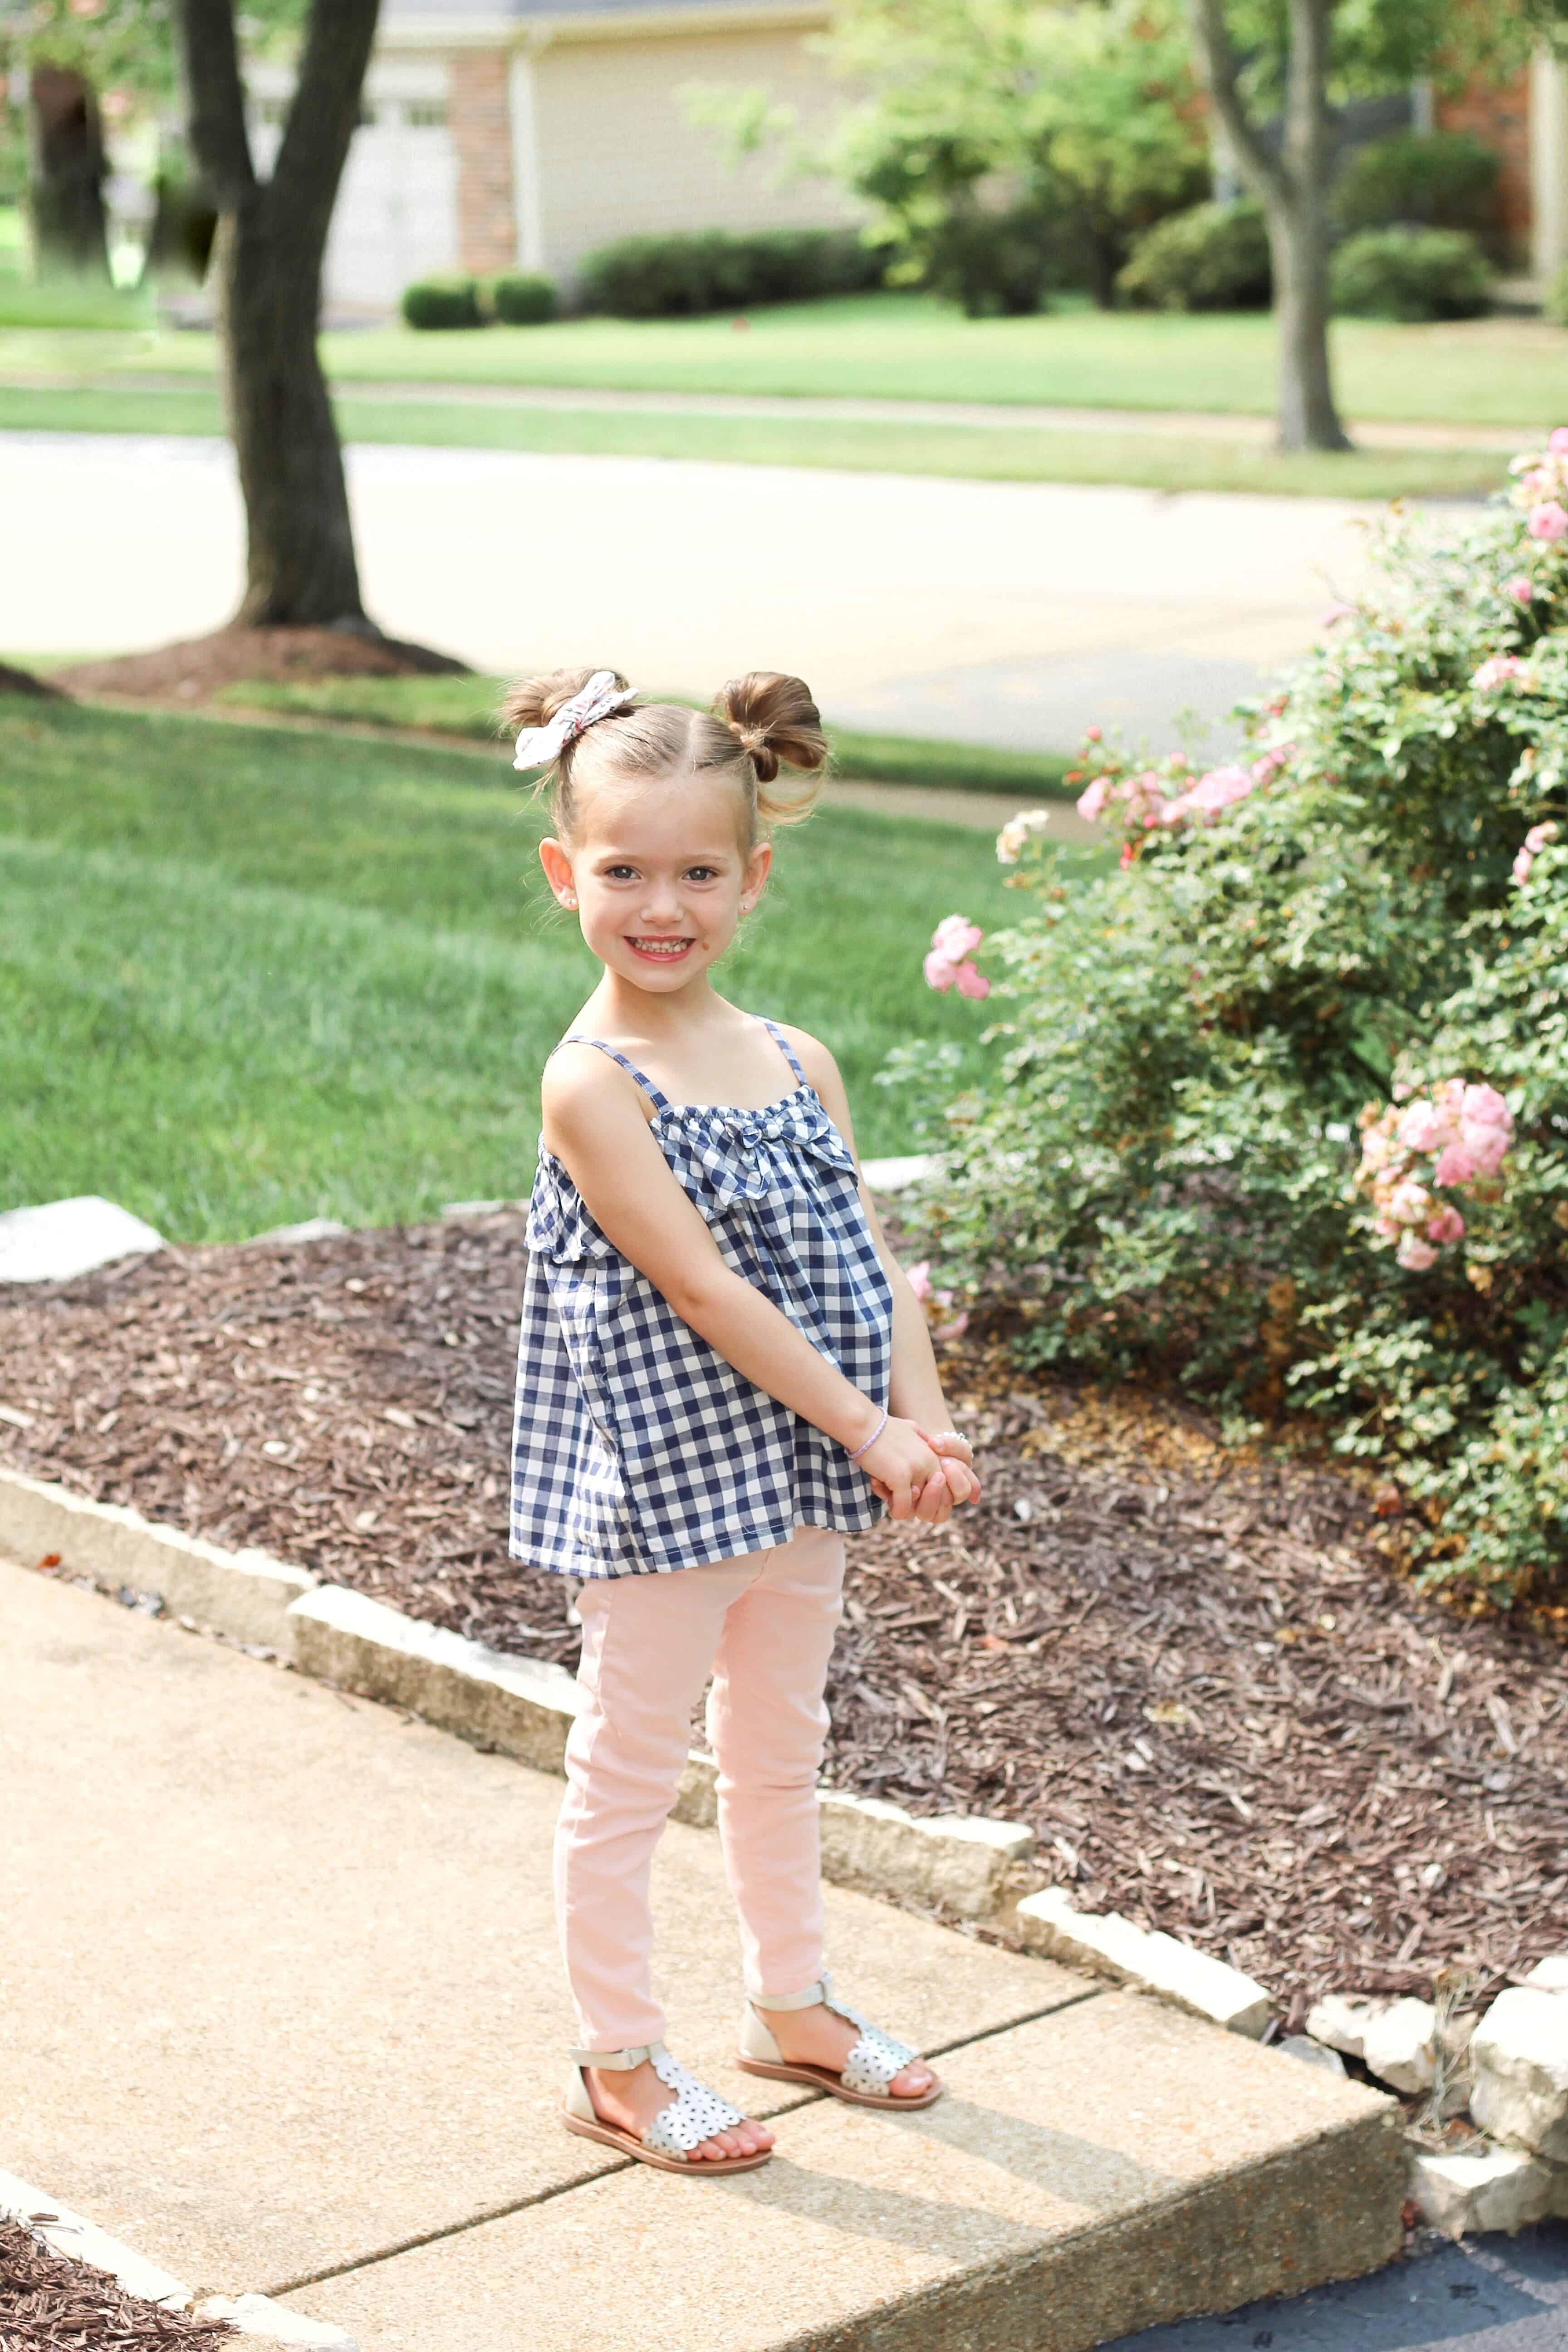
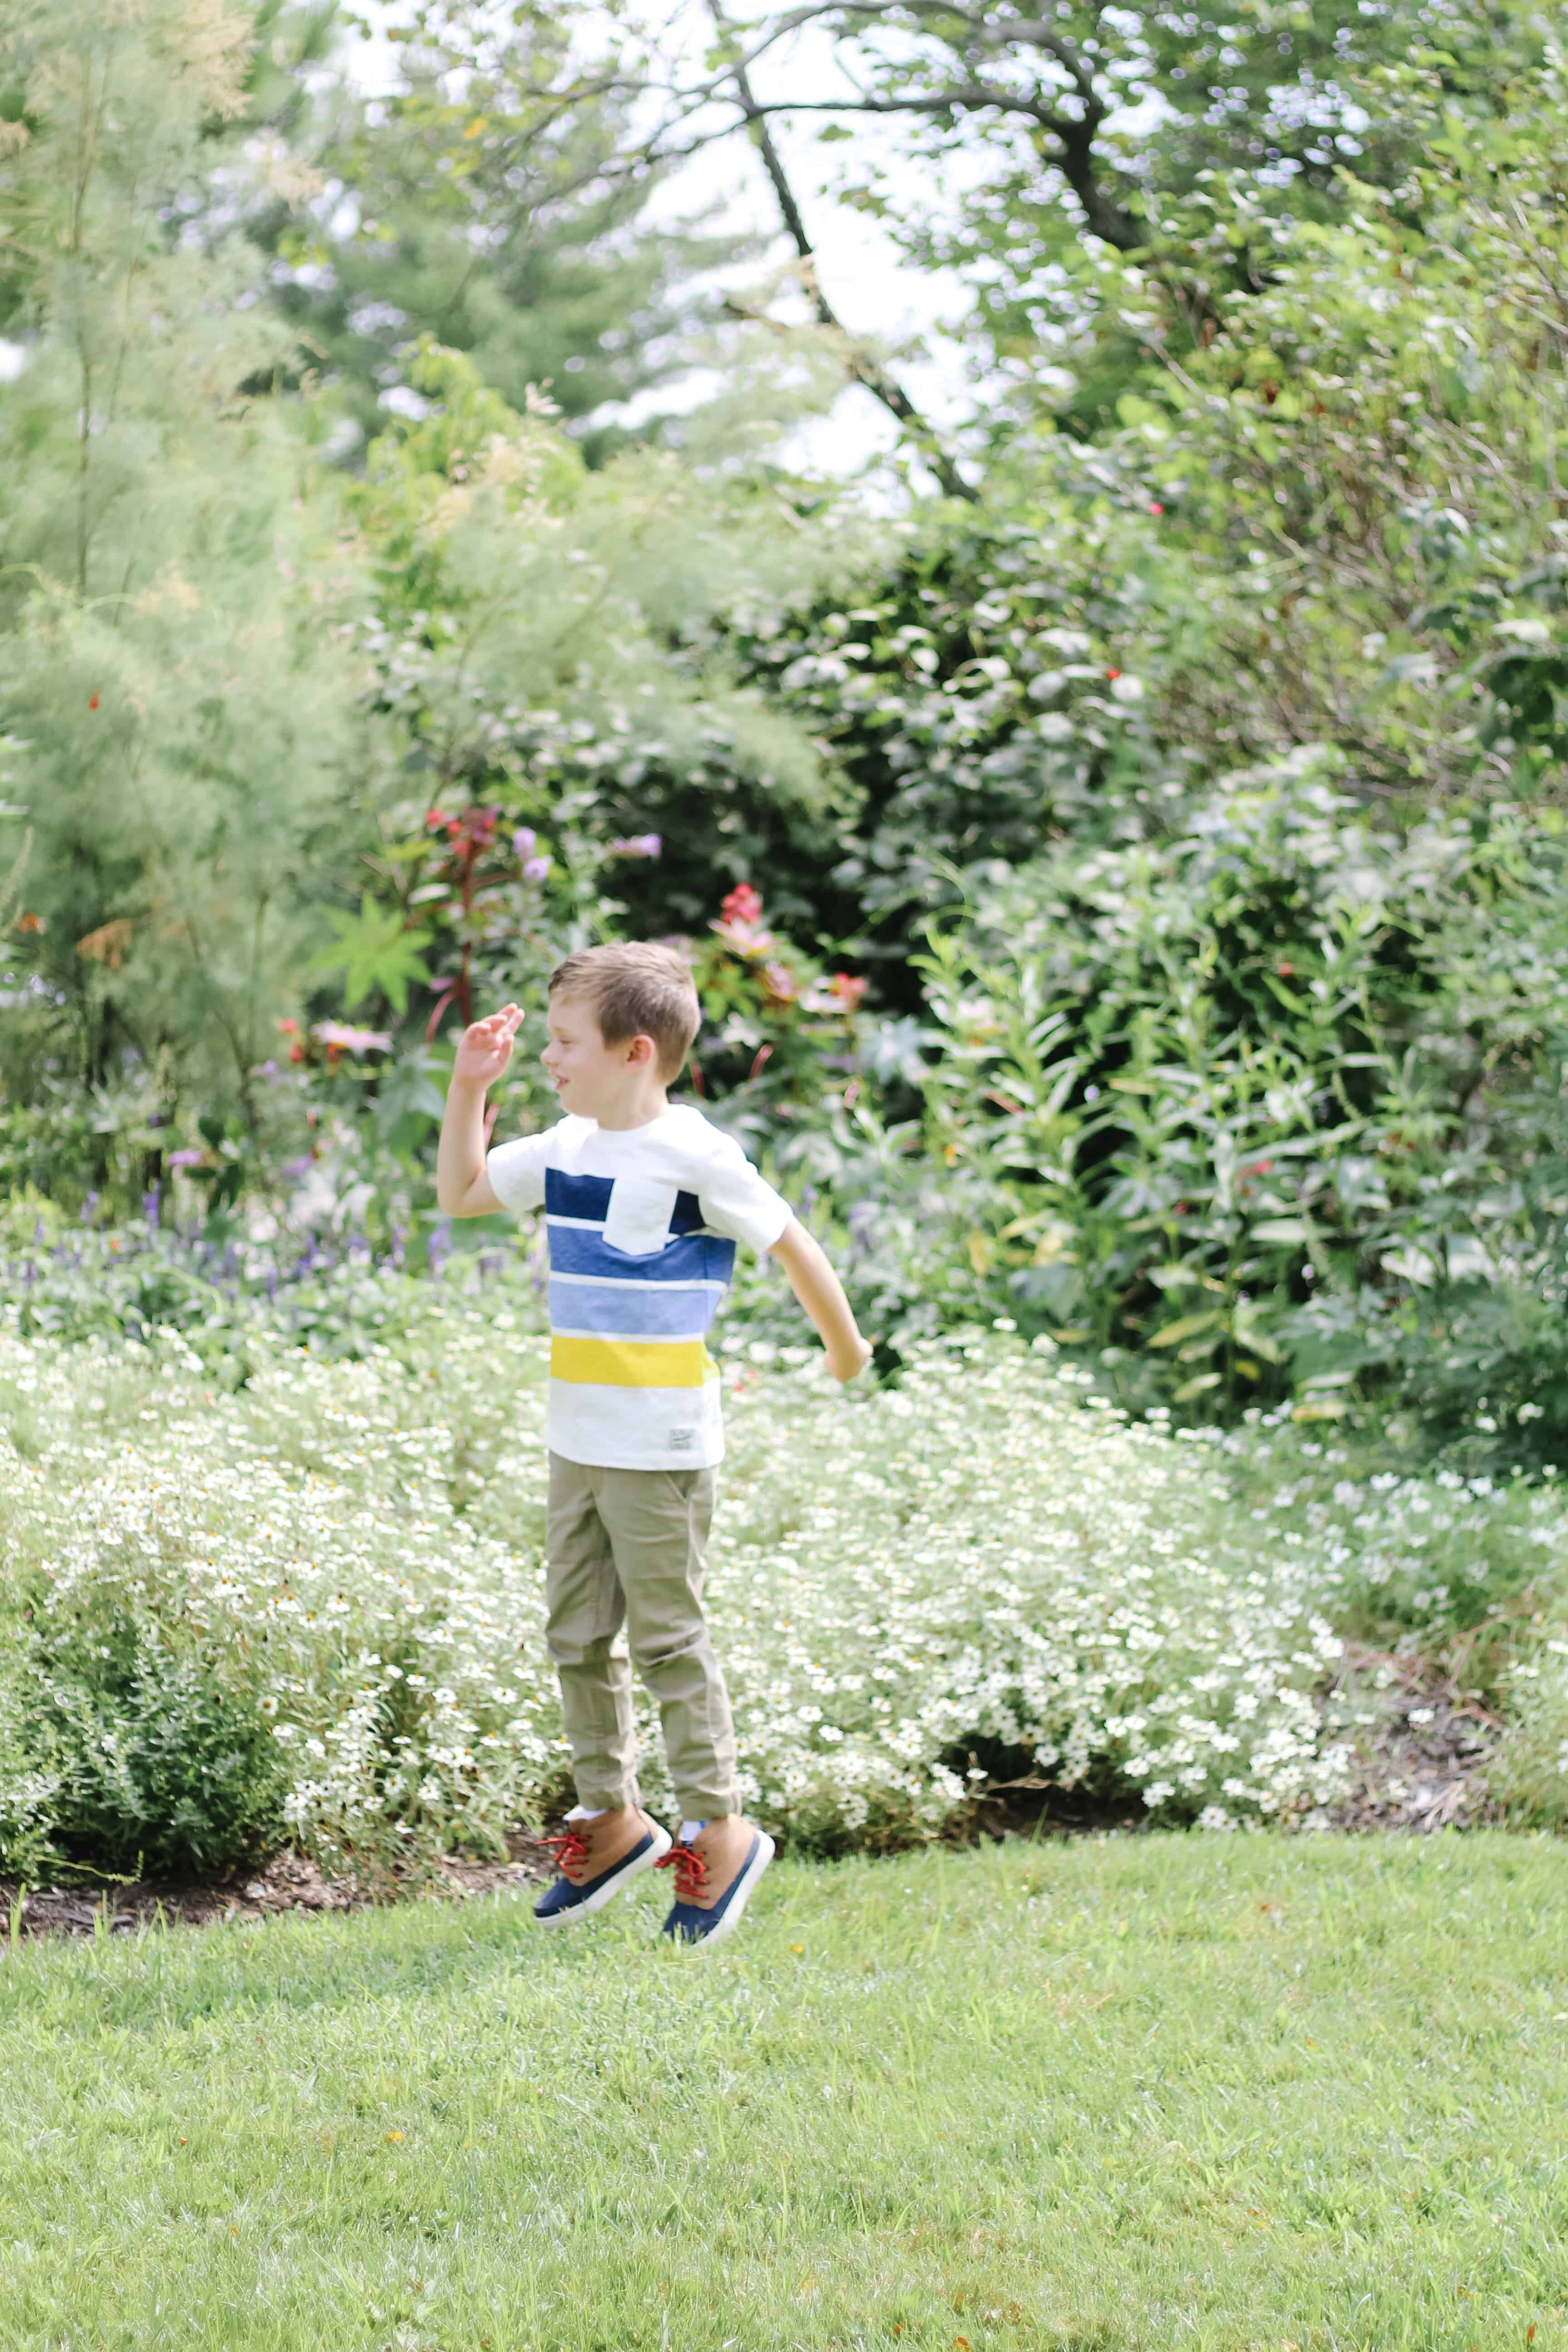
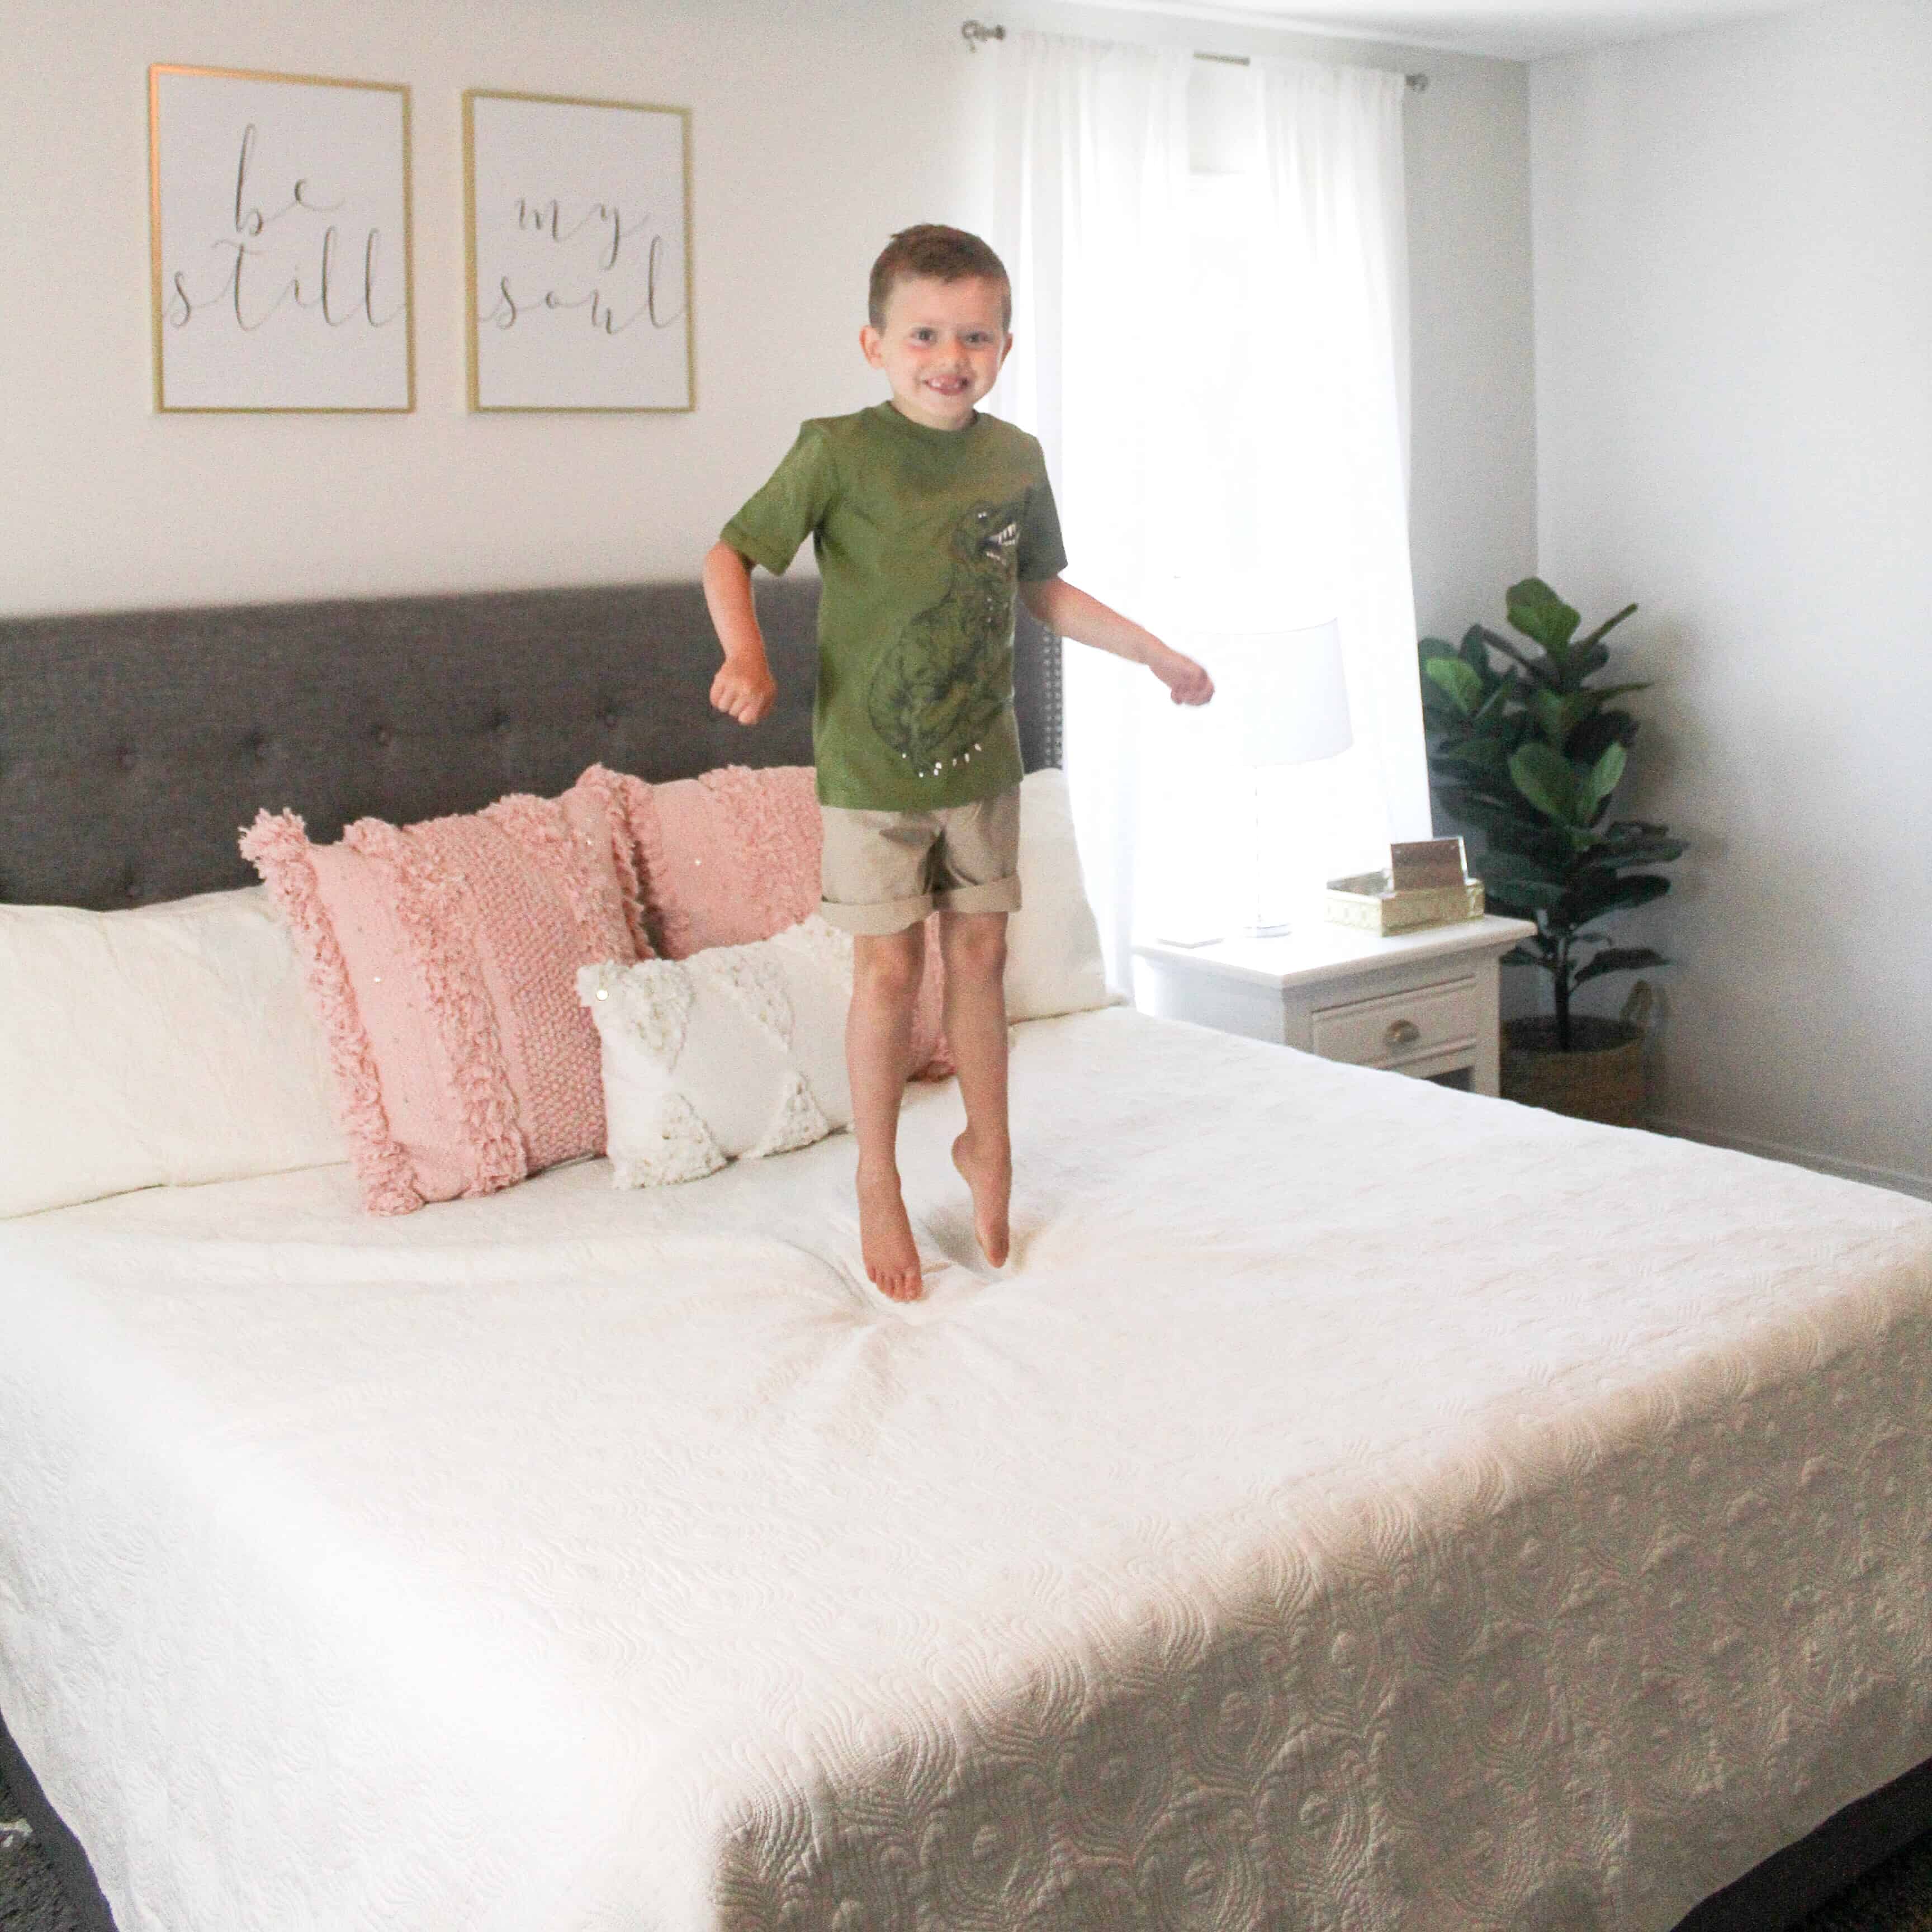
I can’t even believe its been a week since my kids went back to school! As much as I wasn’t fully ready for back to school, one thing I can’t wait to do each year is take the kids back to school shopping. I remember that being such a fun part of fall with my mom growing up, and hope my kids remember the same thing. This year we were so excited to partner with OshKosh B’Gosh for a comfortable back to school wardrobe. I wanted the kids to be stylish, express themselves, but still be able to run and play. And as a MAJOR bonus, Jack moved to uniforms this year so the fact that his bottoms could be from their uniform line was amazing!
This post is sponsored by Everywhere Agency on behalf of OshKosh B’gosh; however, all thoughts and opinions expressed are my own.
Comfortable Back to School Wardrobe
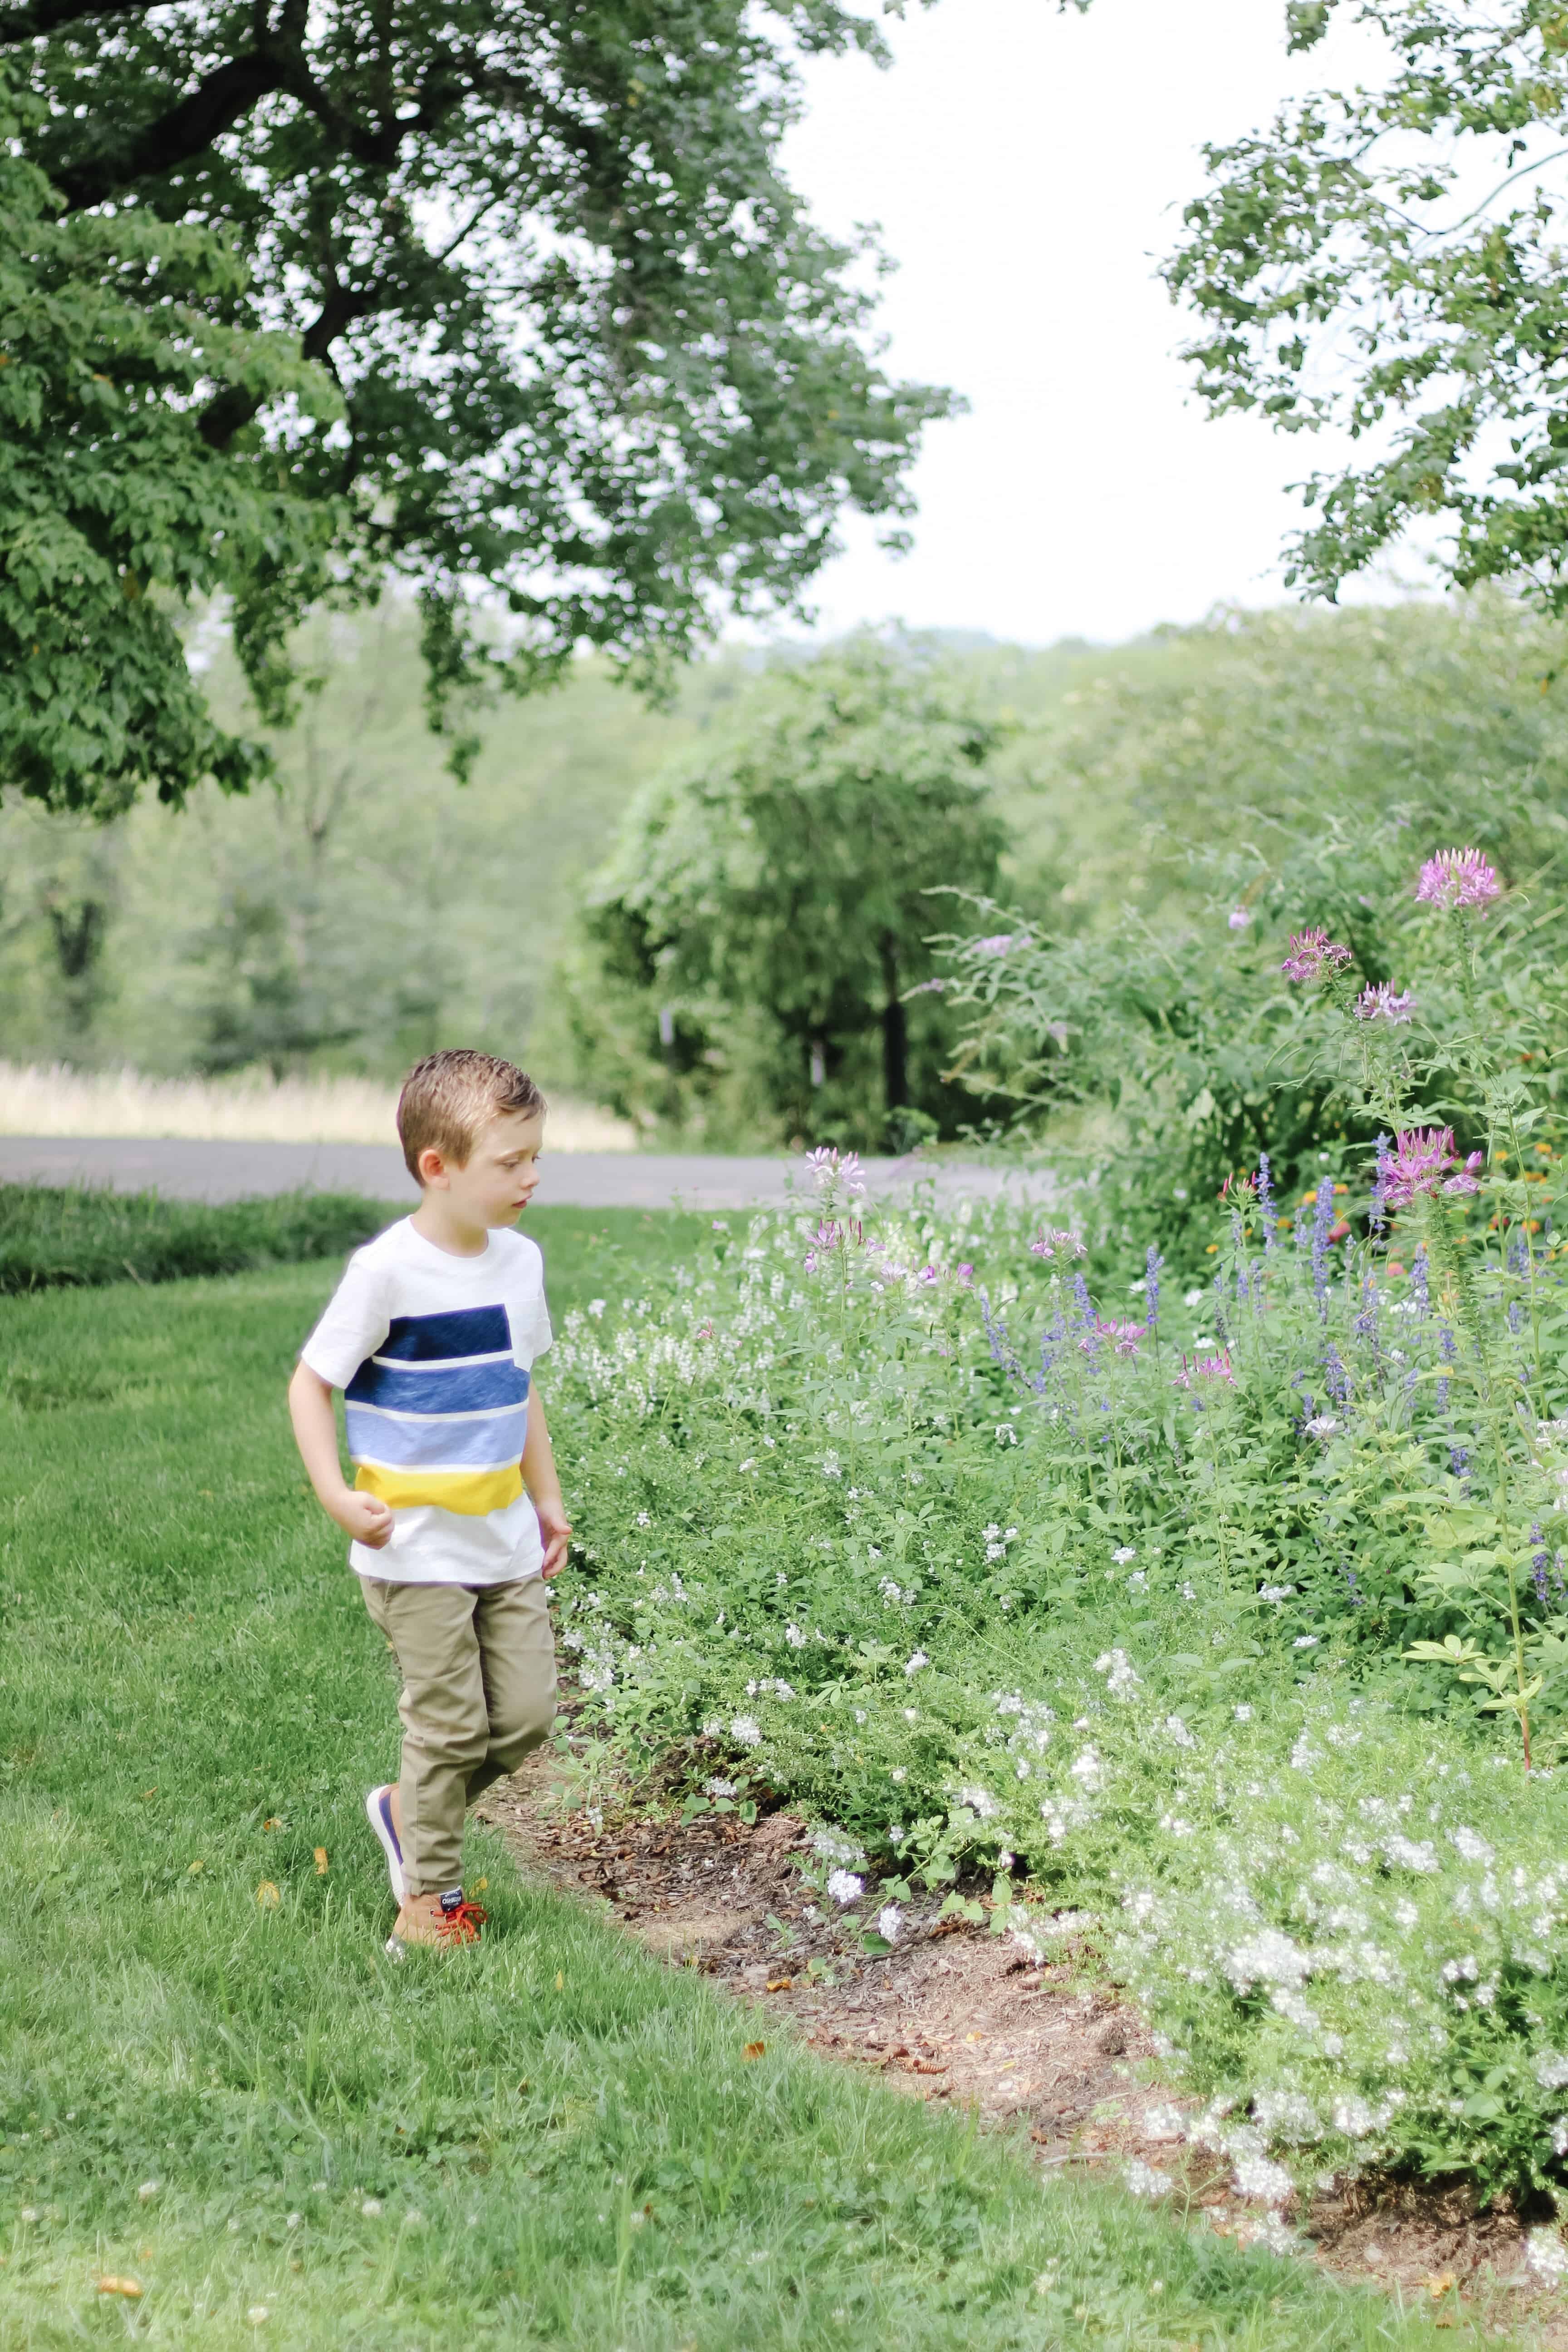
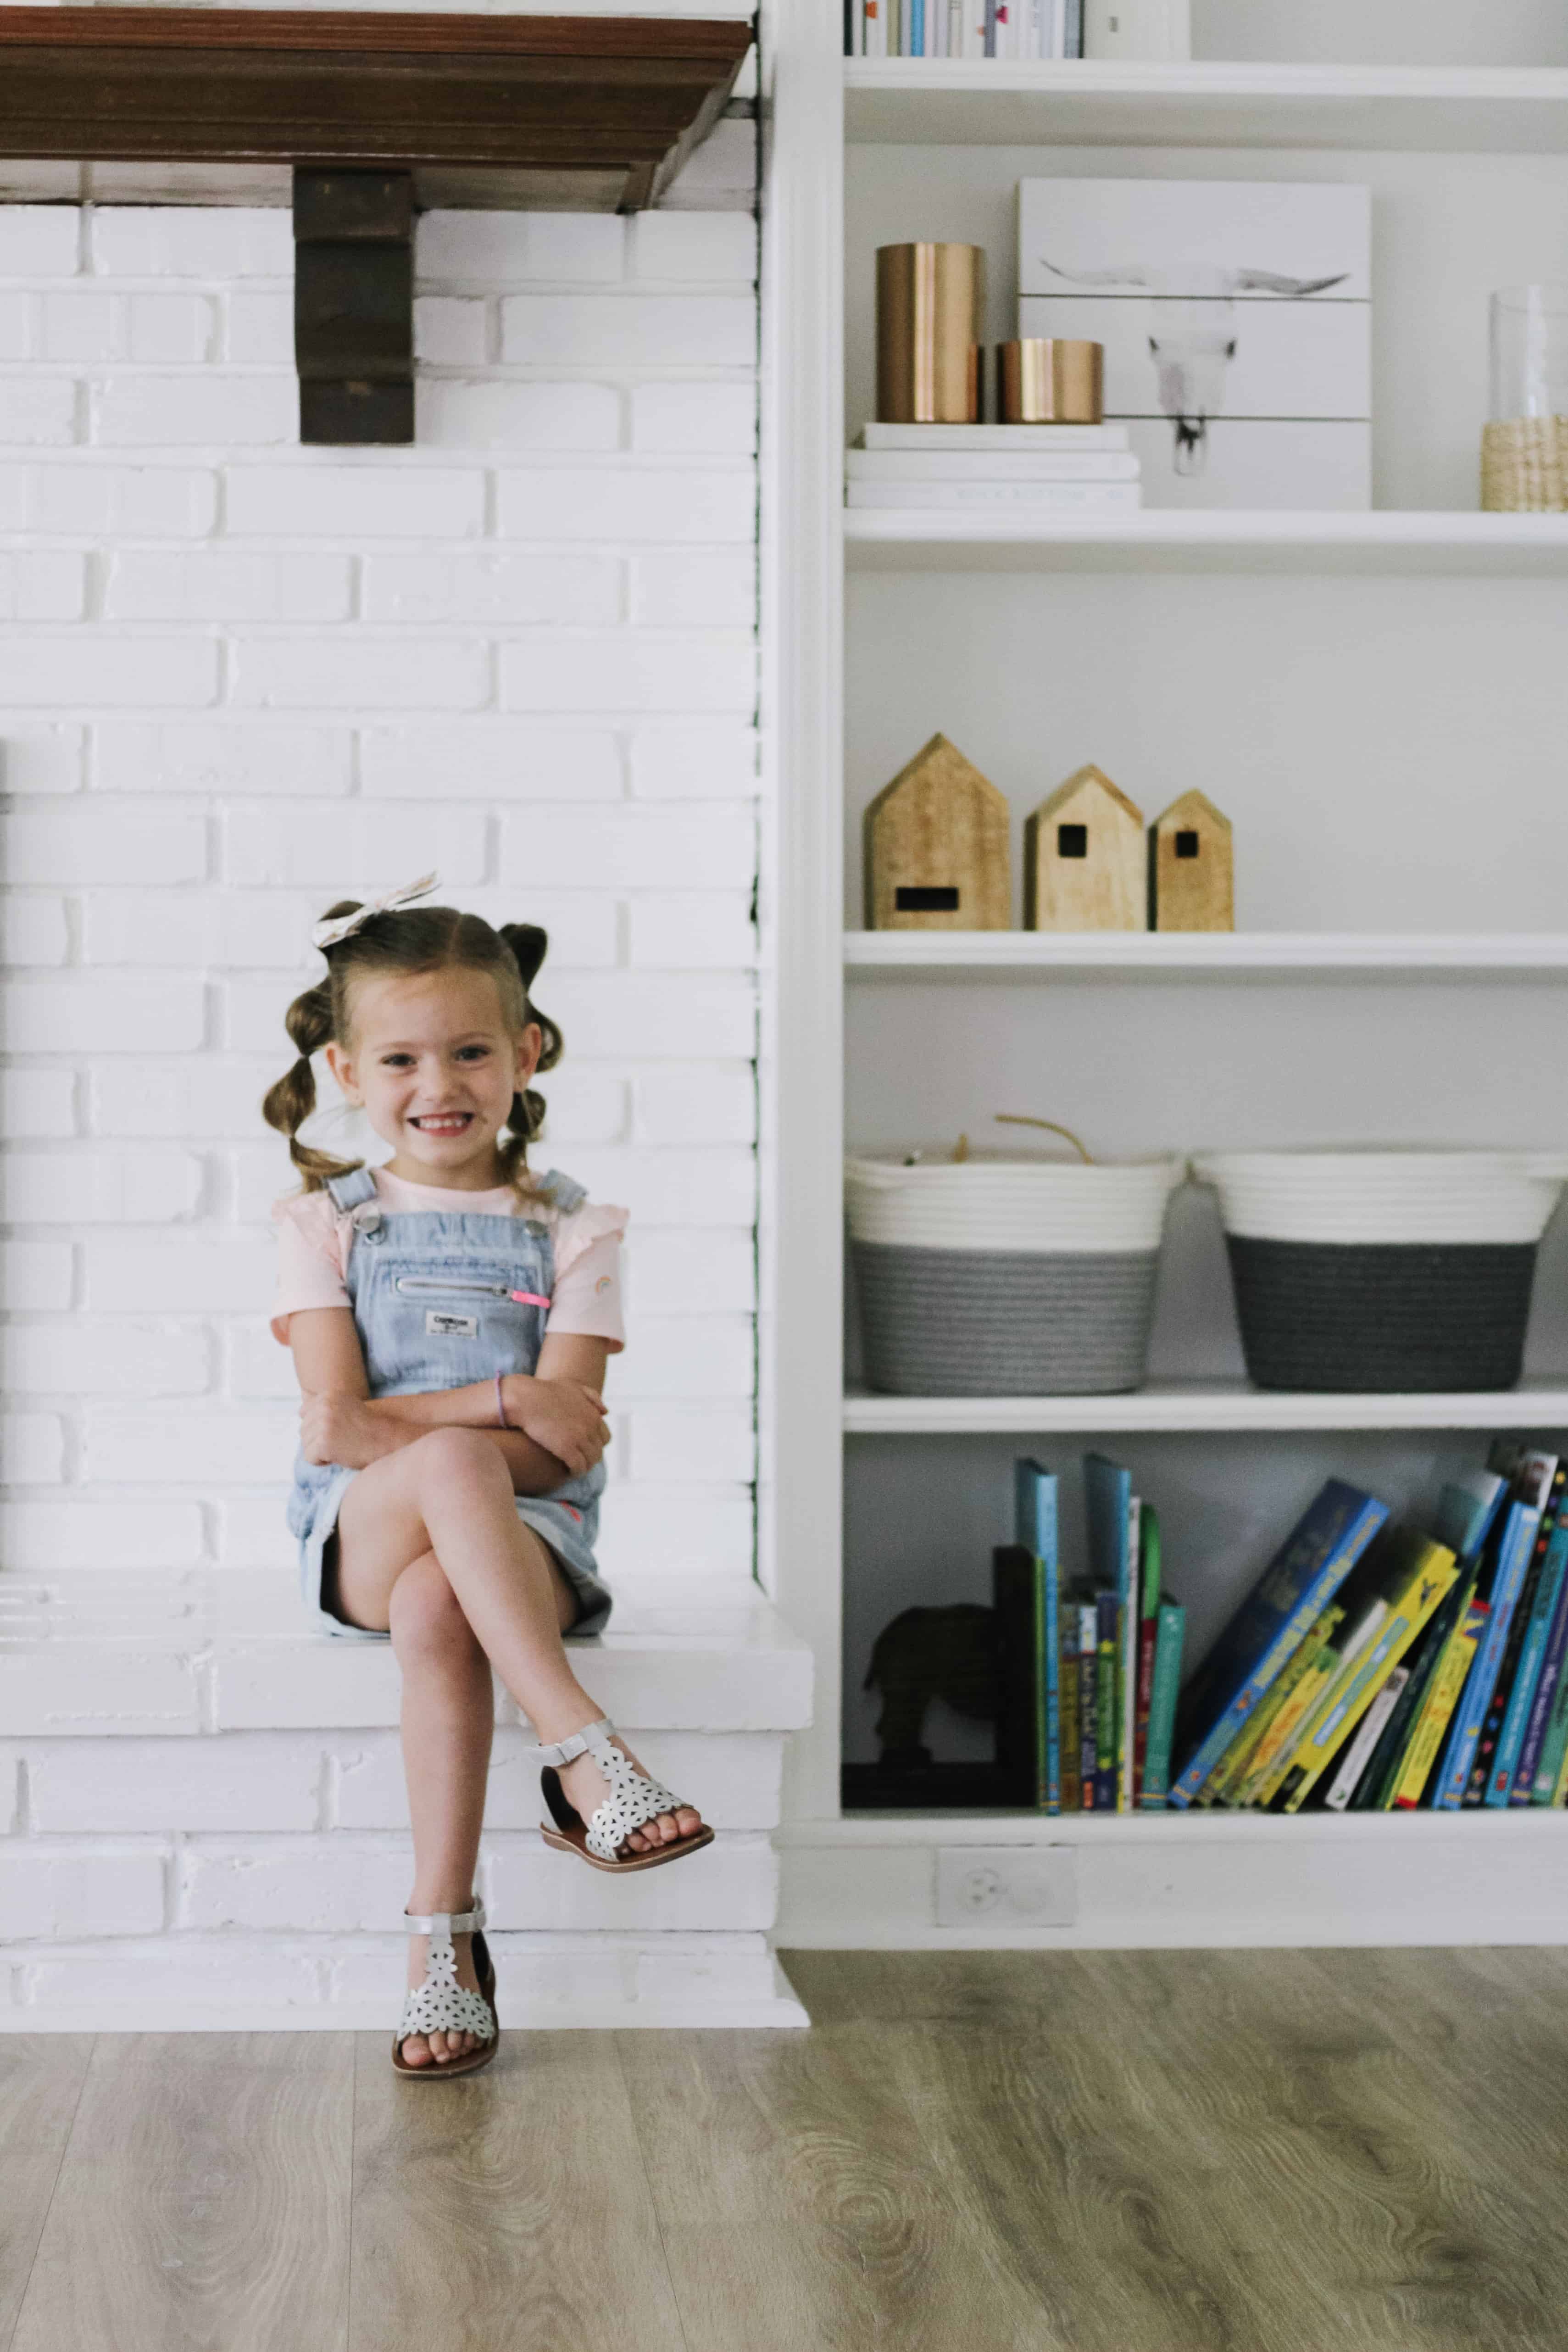
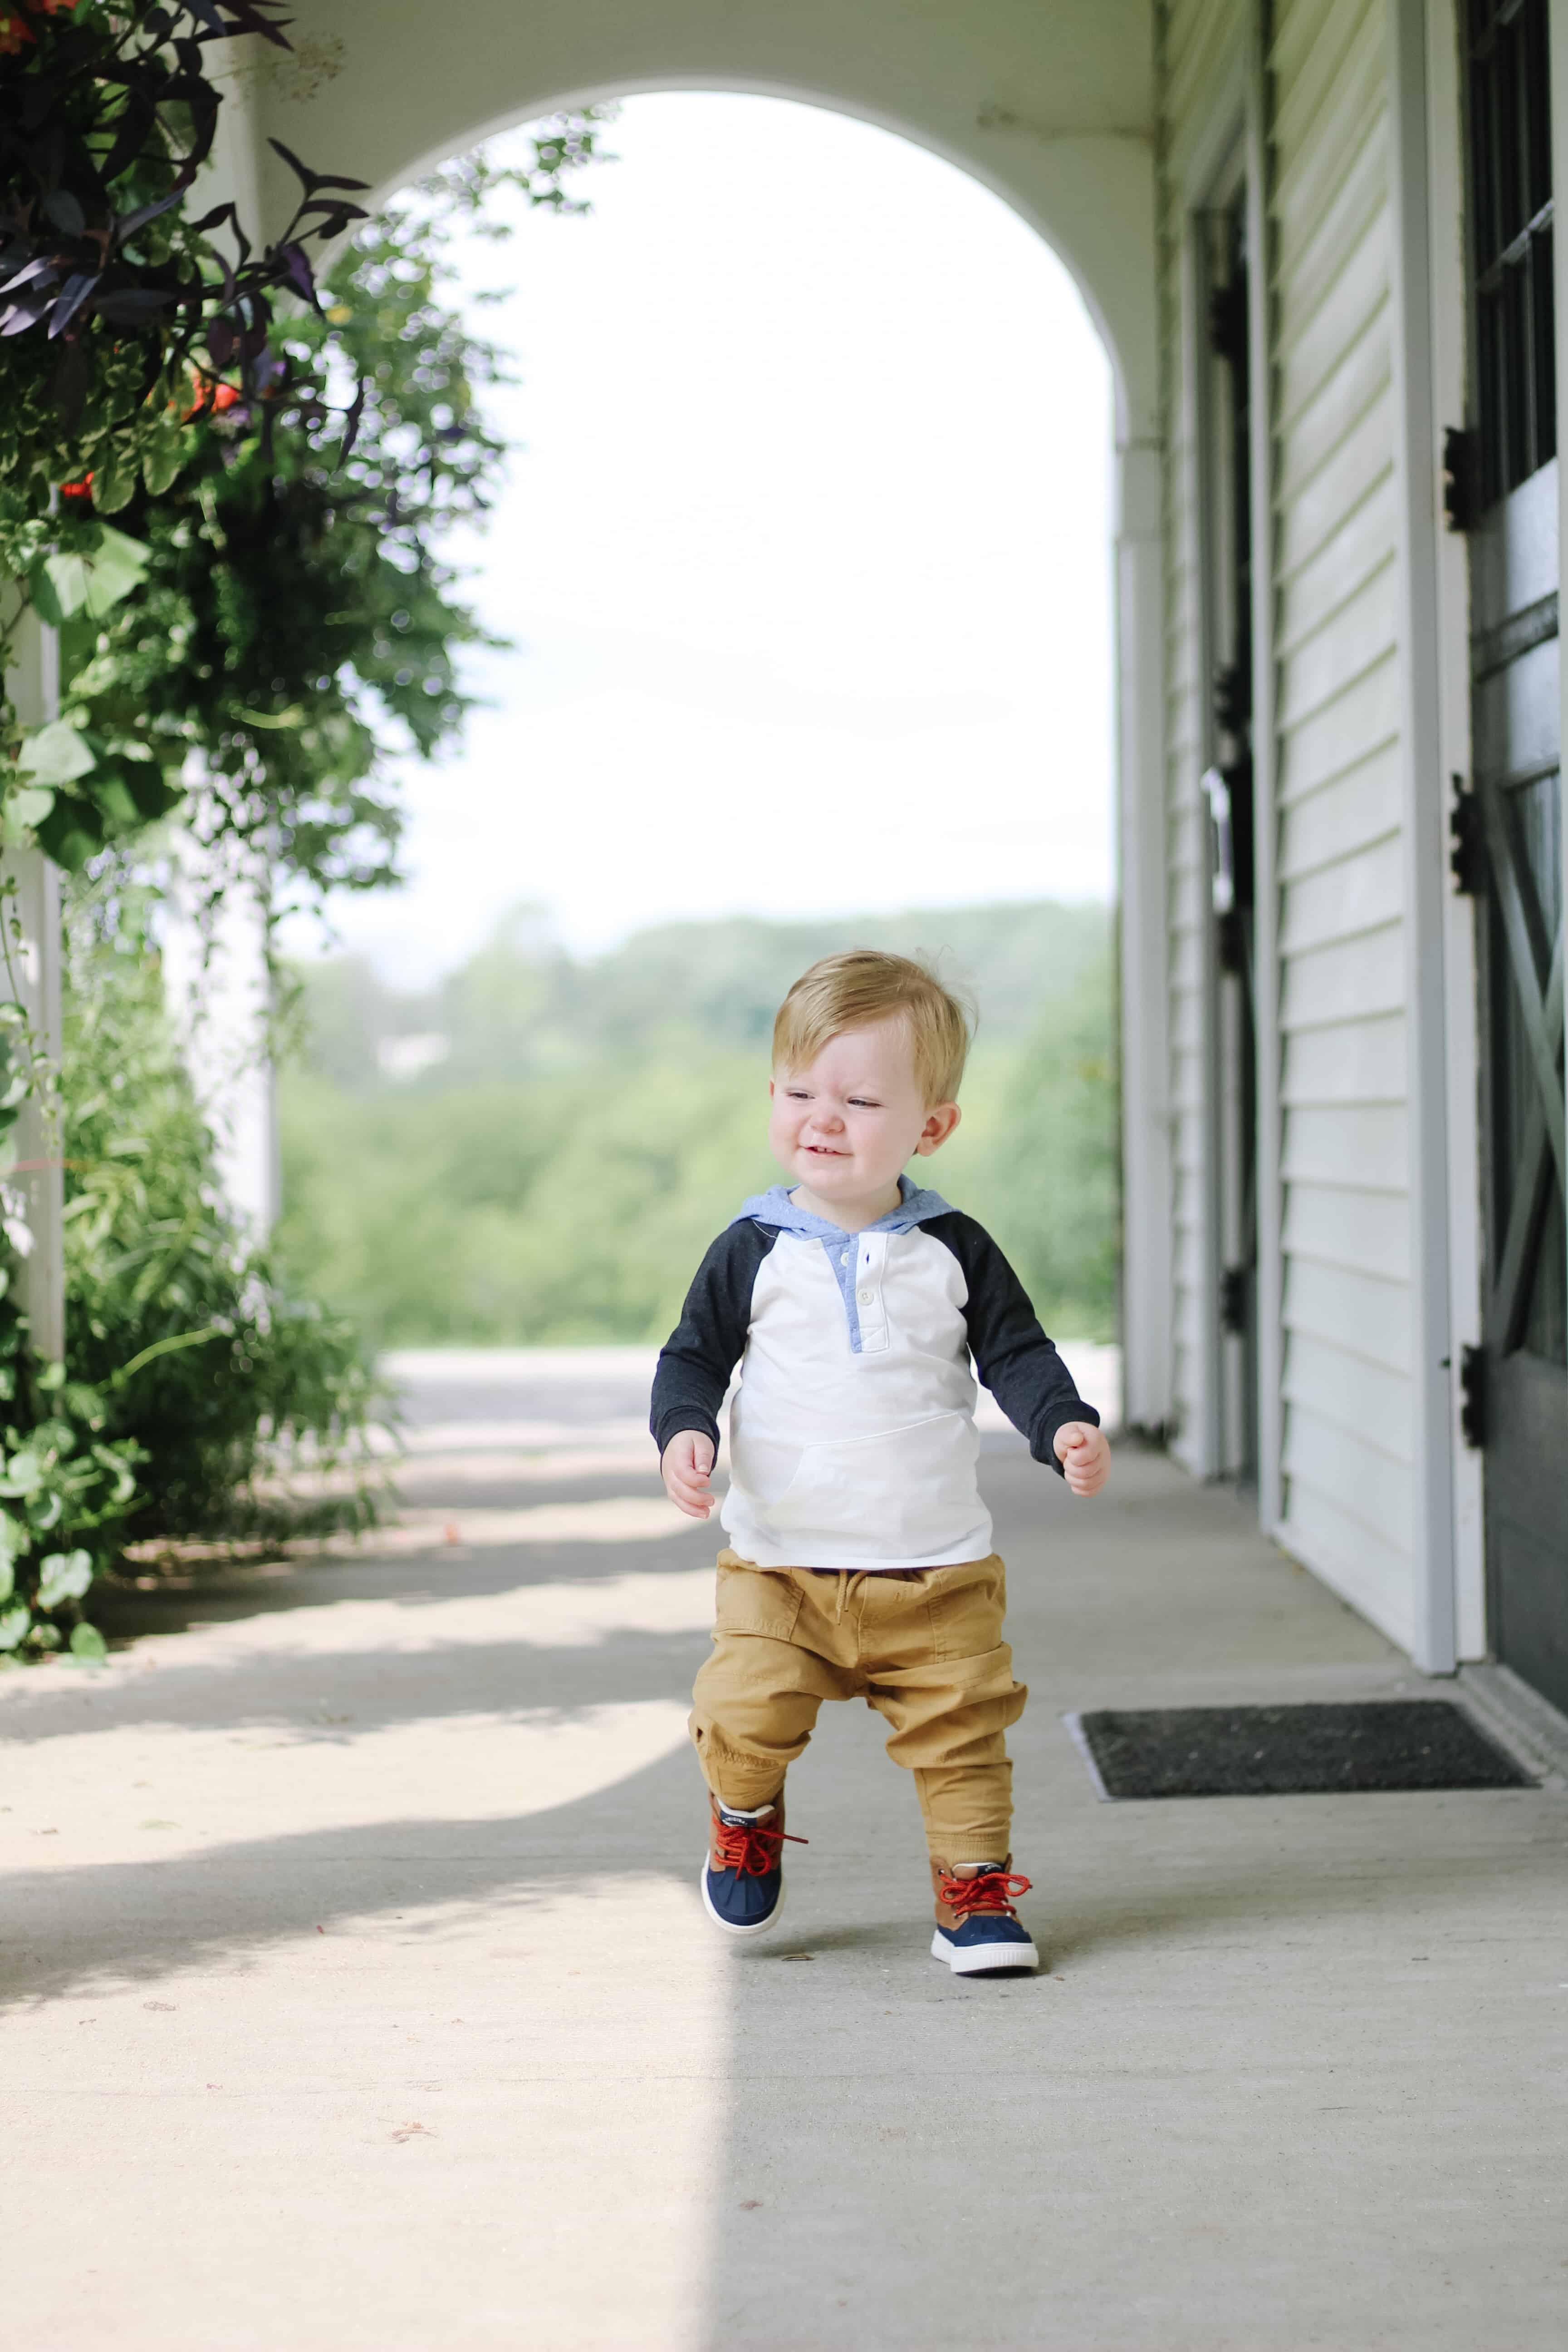
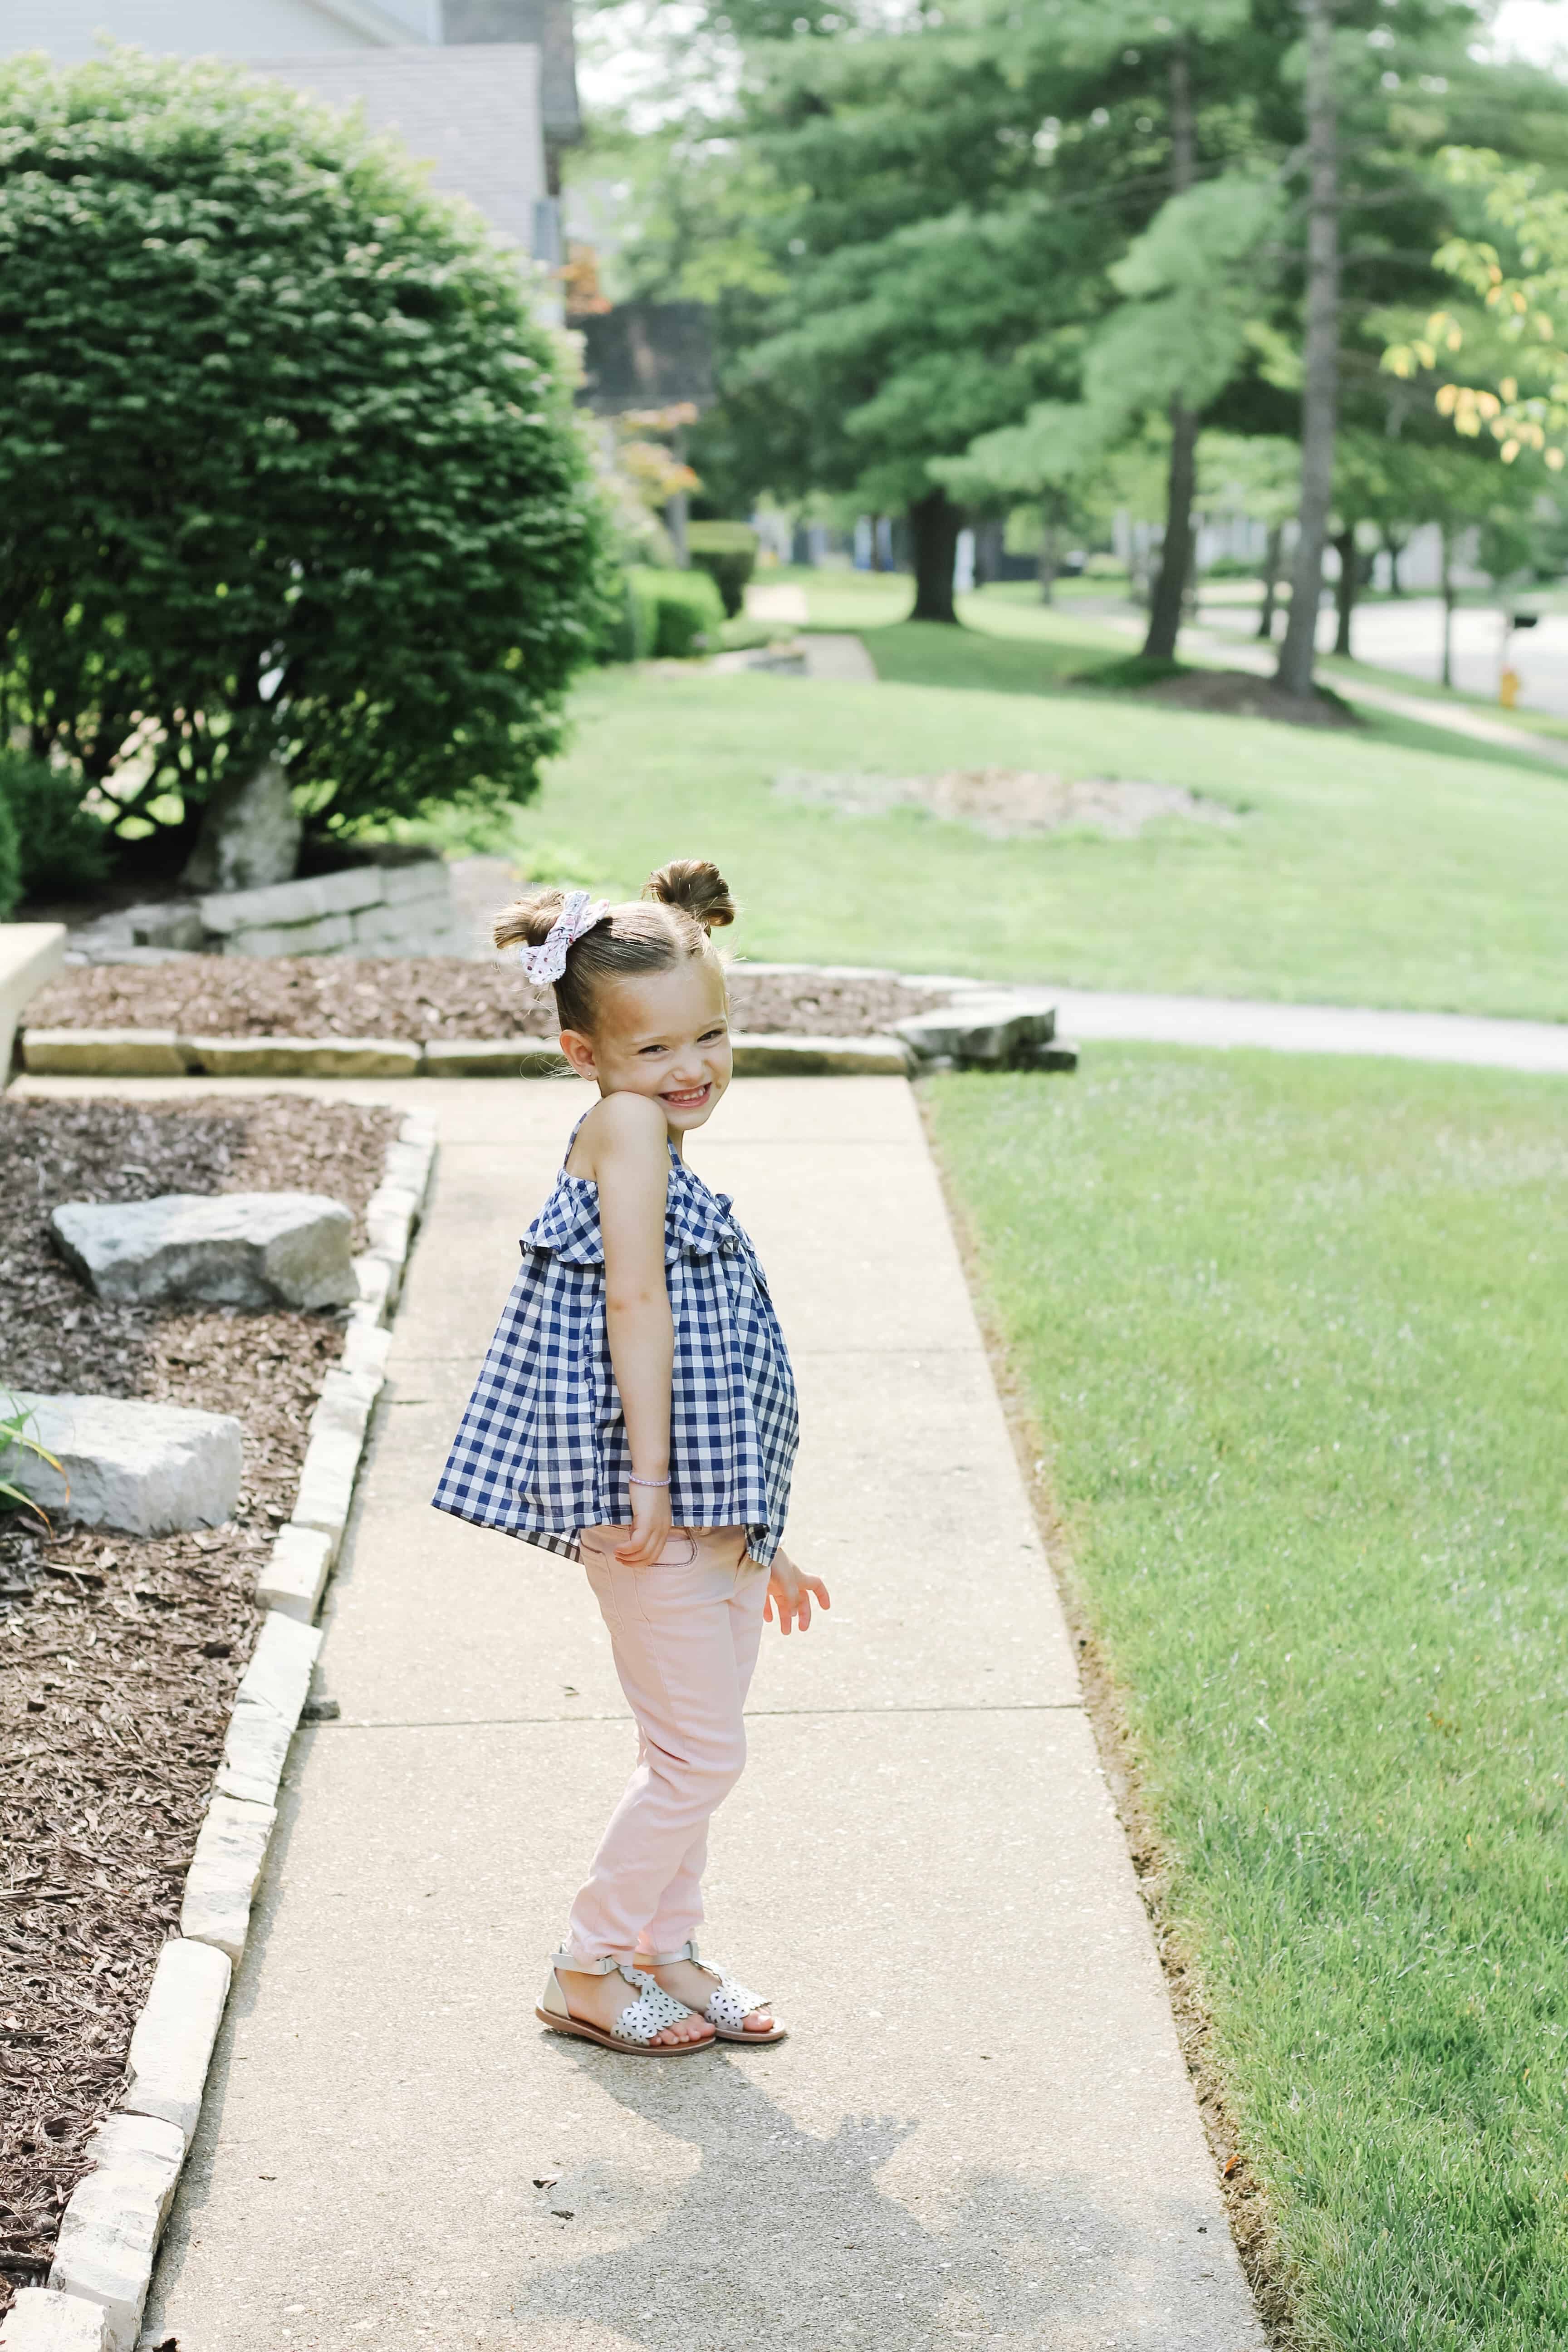
If you follow me on Instagram you know that my kids being dressed well and put together matters to me, HOWEVER, I also have learned over the past few years that if they aren’t comfortable and able to run around on the playground they won’t get everything out of their time there. I loved watching the kids pick items that fit their personality and still allowed for them to run and play. Jack loved the bright stripes on his shirt, and really loves matching Walker, so they loved the boots for the boys! And Avé as no surprise went with lots of pink, roses, and rainbows. Her outfits were darling and totally expressed her little personality! I probably could have left with the entire OshKosh store if I weren’t careful. Everything was darling!!
First Day Photo Sweeps
Because we all know we have to post that obligatory back to school photo, OshKosh is doing a fun Back to school photo sweepstakes this year. The winner will win supplies for their classroom and school, and all you have to do is post your back to school photo featuring your kiddos dressed in OshKosh, tag the photo and use the hashtag #firstdaysweepstakes. Make sure you check the the website for all the details, and the sweepstakes runs 8/22 – 9/4!
Shopping for Back to School
I will attach a coupon at the end of this post to grab some OshKosh goodies for your kids this year when they are shopping. I can’t tell you enough how fun it was to really watch them express themselves in their selections. (Ok obviously mom still gets to pick for Walker!) I loved how Jacks choices were so close to what I typically dress him in, and his shoes he picked for him and Walker look just like some of Sam’s. Watching them grow and learn and express themselves is so much fun..and a cute comfortable back to school wardrobe outcome doesn’t hurt either!! If you need help finding an OshKosh store near you use this store locator to head to your closest store! You can use the following coupon in store (code 037958) or the code online (OKBG3478) to save some extra money on your back to school purchases!
What do you look for when you’re shopping for back to school clothes? Do you look for comfortable back to school wardrobe items, or just fashion? I can’t wait to see what you all find when you head to Oshkosh for your kiddos!
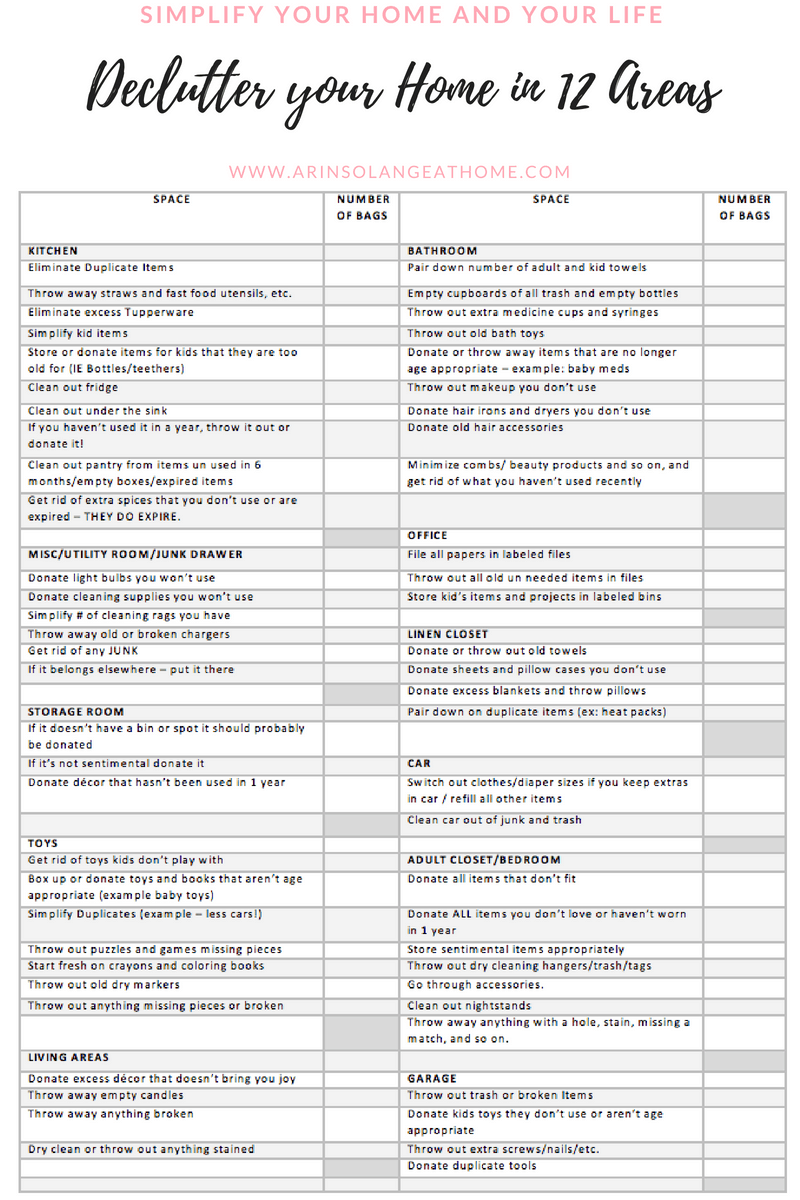
I am asked ALL the time for help with organization on Instagram and here on my blog, so I really wanted to find a way to help my readers and followers work through the first step of that – which is to really purge your home and start with less. It is almost impossible to organize your home when you have too much ‘stuff’. I will tell you my tips in this post, as well as give you a free printable declutter checklist to work through when you’re decluttering your home. There is a section to write down how many bags you have donated/thrown away, and for me that is really gratifying. If that doesn’t matter to you just skip it!
Tips While Using your Printable Decluttering Checklist
Donate somewhere that means something to you – it will help you get rid of those on the fence items
Sell items online or at a yard sale. BUT if they don’t sell, donate them. I have a rule that once they go in the sell pile they aren’t allowed back into my home.
Don’t over think things. If you’re really thinking about it you probably don’t need it.
Try to work through the list as quickly as you can. I find that if I don’t do it in a week or two I lost steam and half the house wasn’t tackled.
Clothing that doesn’t fit but you’re saving for someday – I am a firm believer that if you lose the weight you will want to reward yourself with new anyway! If you’re holding onto it because of memories store it with keep sakes.
If you have questions or want to follow along with me doing my fall declutter please feel free to reach out to me by leaving a comment, sending an email, or contacting me on Instagram. I am excited to see how many bags we can all donate. Oh and for those of you who asked I do all of the sections on this printable declutter checklist in both the fall and the spring. I find that I like to get rid of items in preparation for being stuck inside all winter, and then get rid of everything that multiplied over the winter!
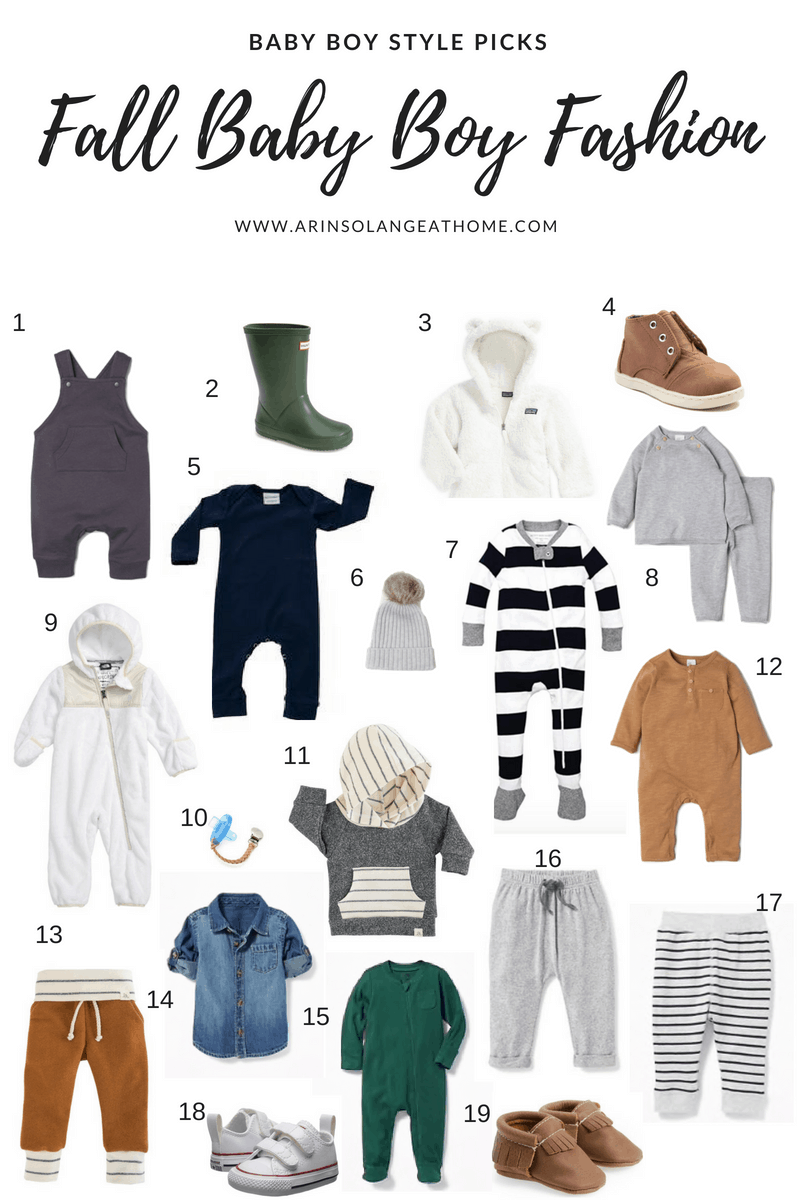
Can you believe its almost fall? I am equal parts sad to see the summer go, and SO excited for a little cooler temps, and all things fall scent! Just like all moms, a change in season means filling up kiddos closets, so my friend Navy and I are teaming up to show you our fall fashion favorites for our kids over the next week. Make sure to check out her post for today at the end of this post, and let me know if you have any questions! First up for today is my fall baby boy fashion picks!
I hope you loved these fall baby boy fashion picks, and make sure you head over to Navy’s blog to see baby girl picks! Stop by next week and you can see what I am getting for Avé and Jack to fill their little closets!
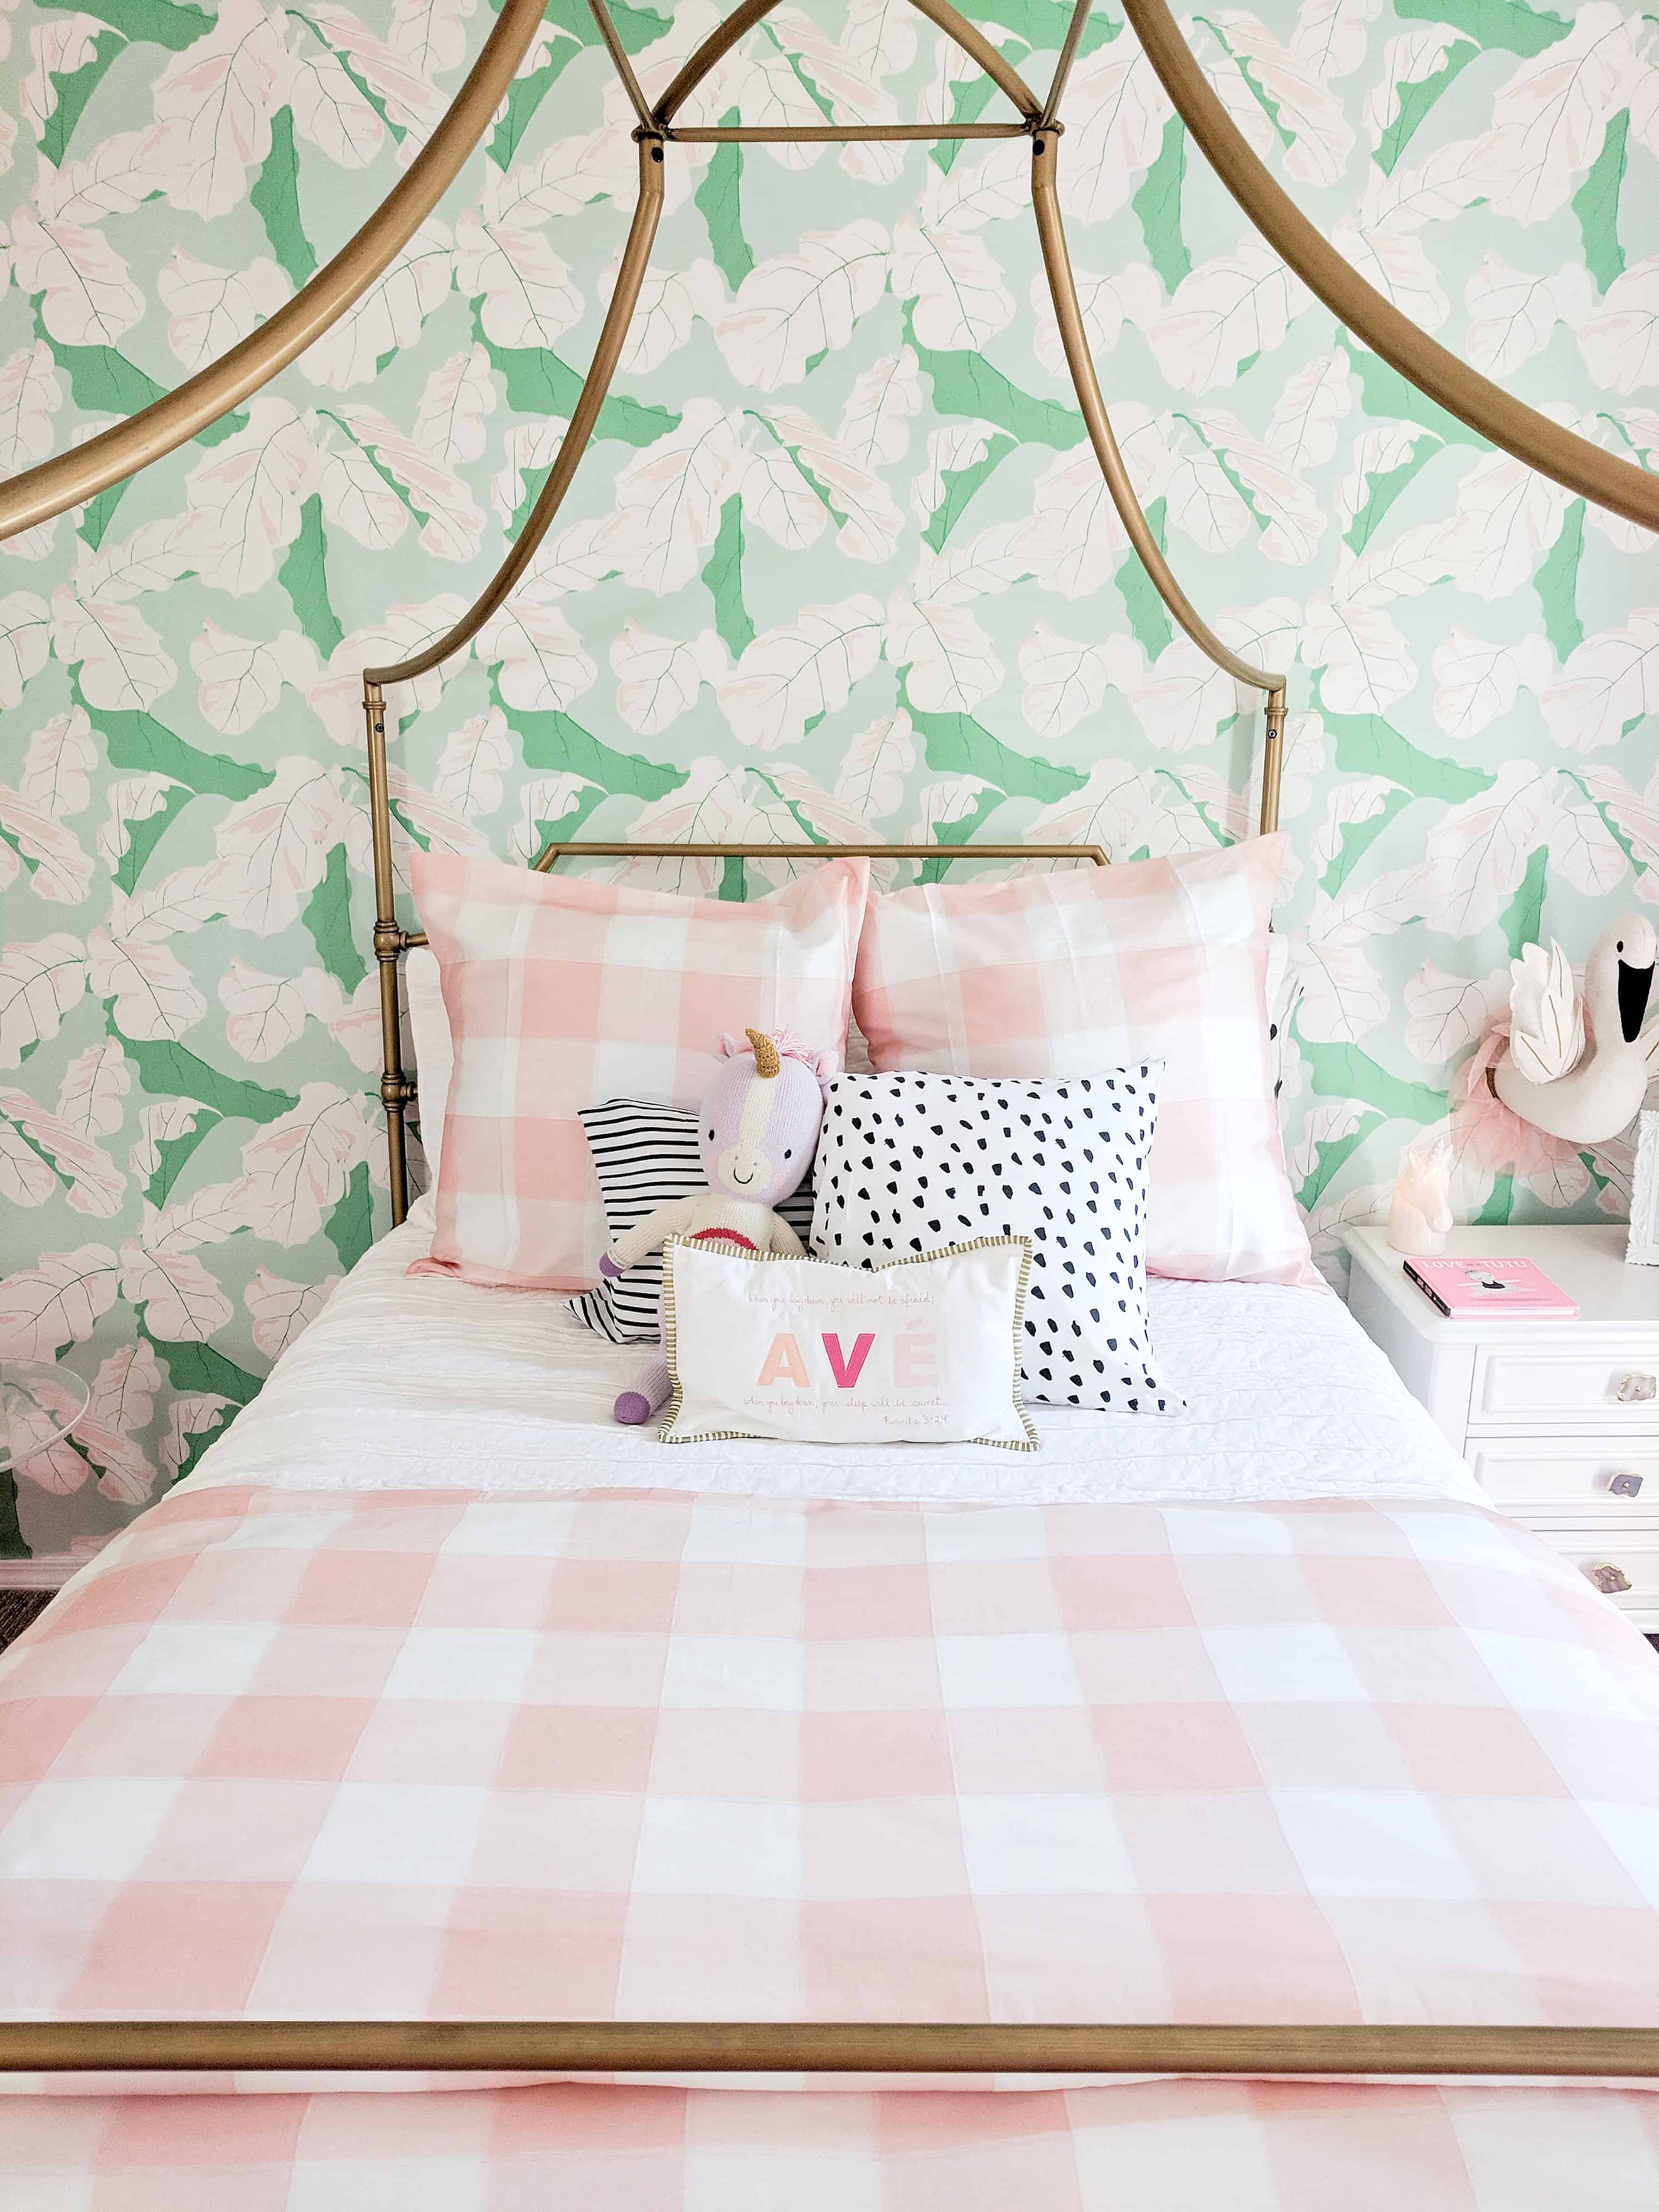
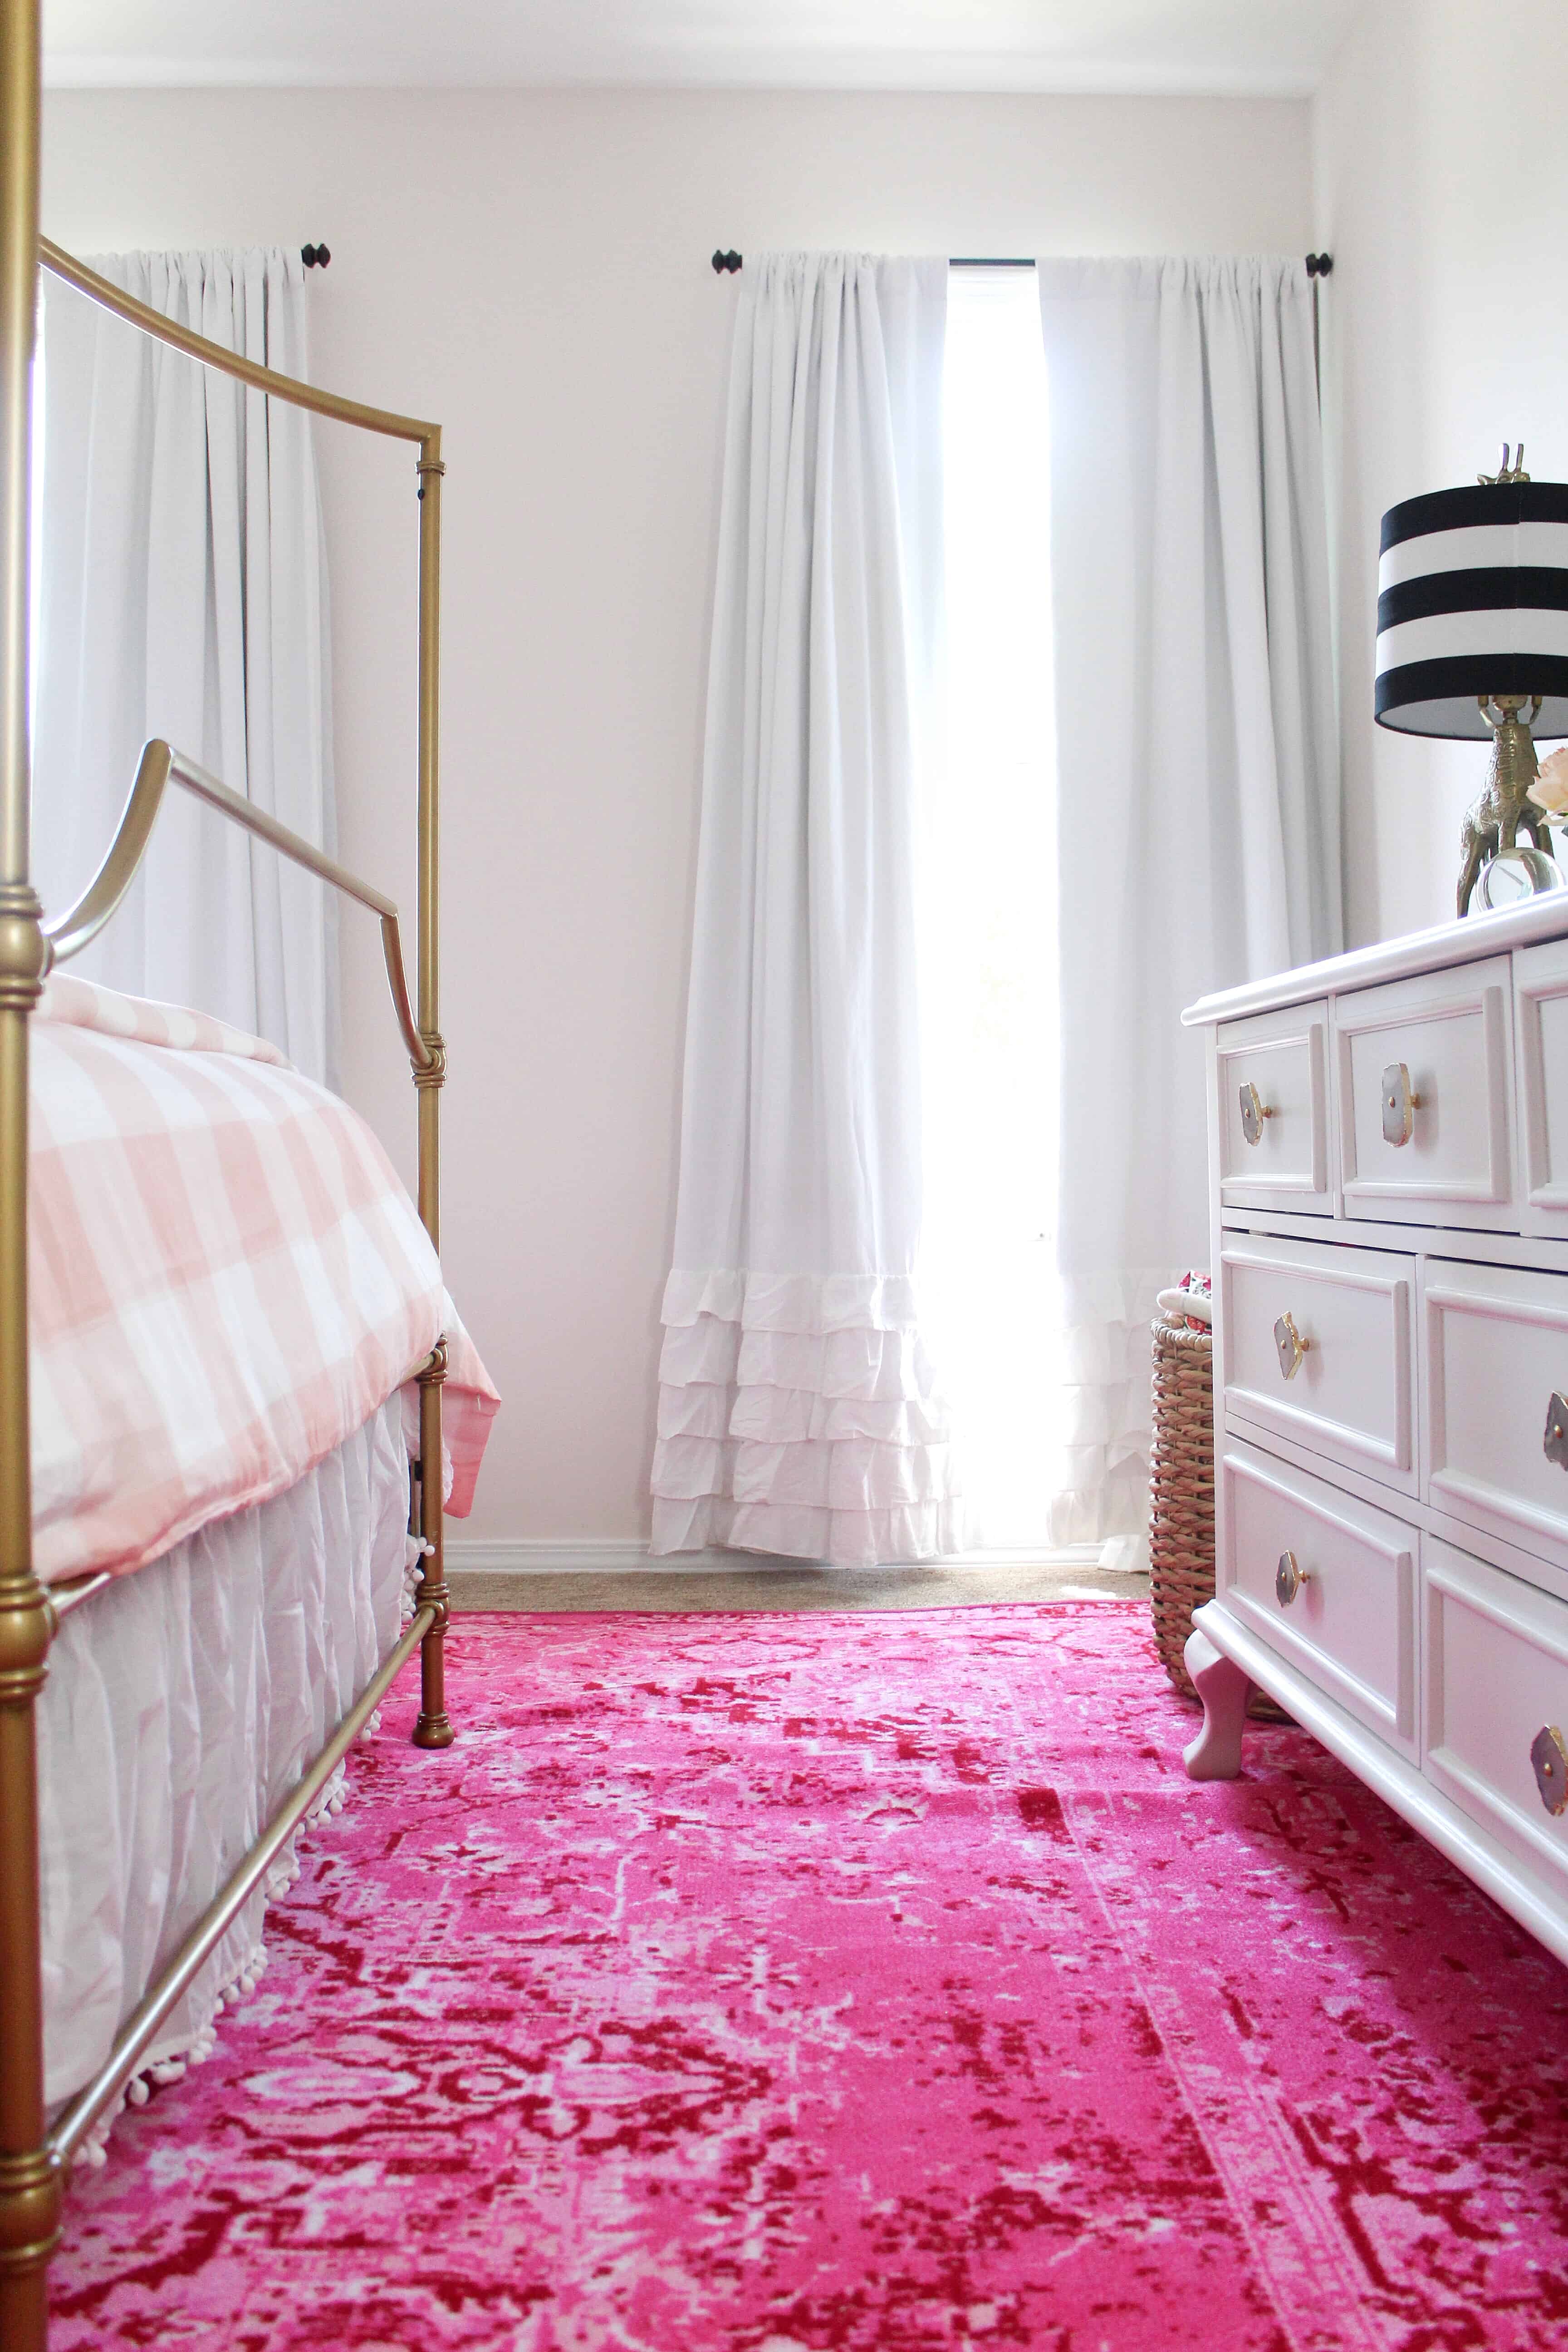
I am SO excited for this post you guys! I have been wanting to finish Avé’s room for a while. We moved her to a big girl room right after she turned two, and the older she is getting the more I felt like her room needed a bit more ‘wow’ to match her big personality. Picking Spoonflower wallpaper was SO MUCH FUN but also so hard because of all of the fun possibilities, so I can’t wait to show you what I ended up with!
This post contains affiliate links and products in exchange for post. As always all opinions are my own.
Toddler Girl Room with Spoonflower Wallpaper
Like I said above, wallpapering Avé’s room has been on my priority list for some time now, but I had the hardest time finding something that really sold me. Something that was unique, playful, and fun.
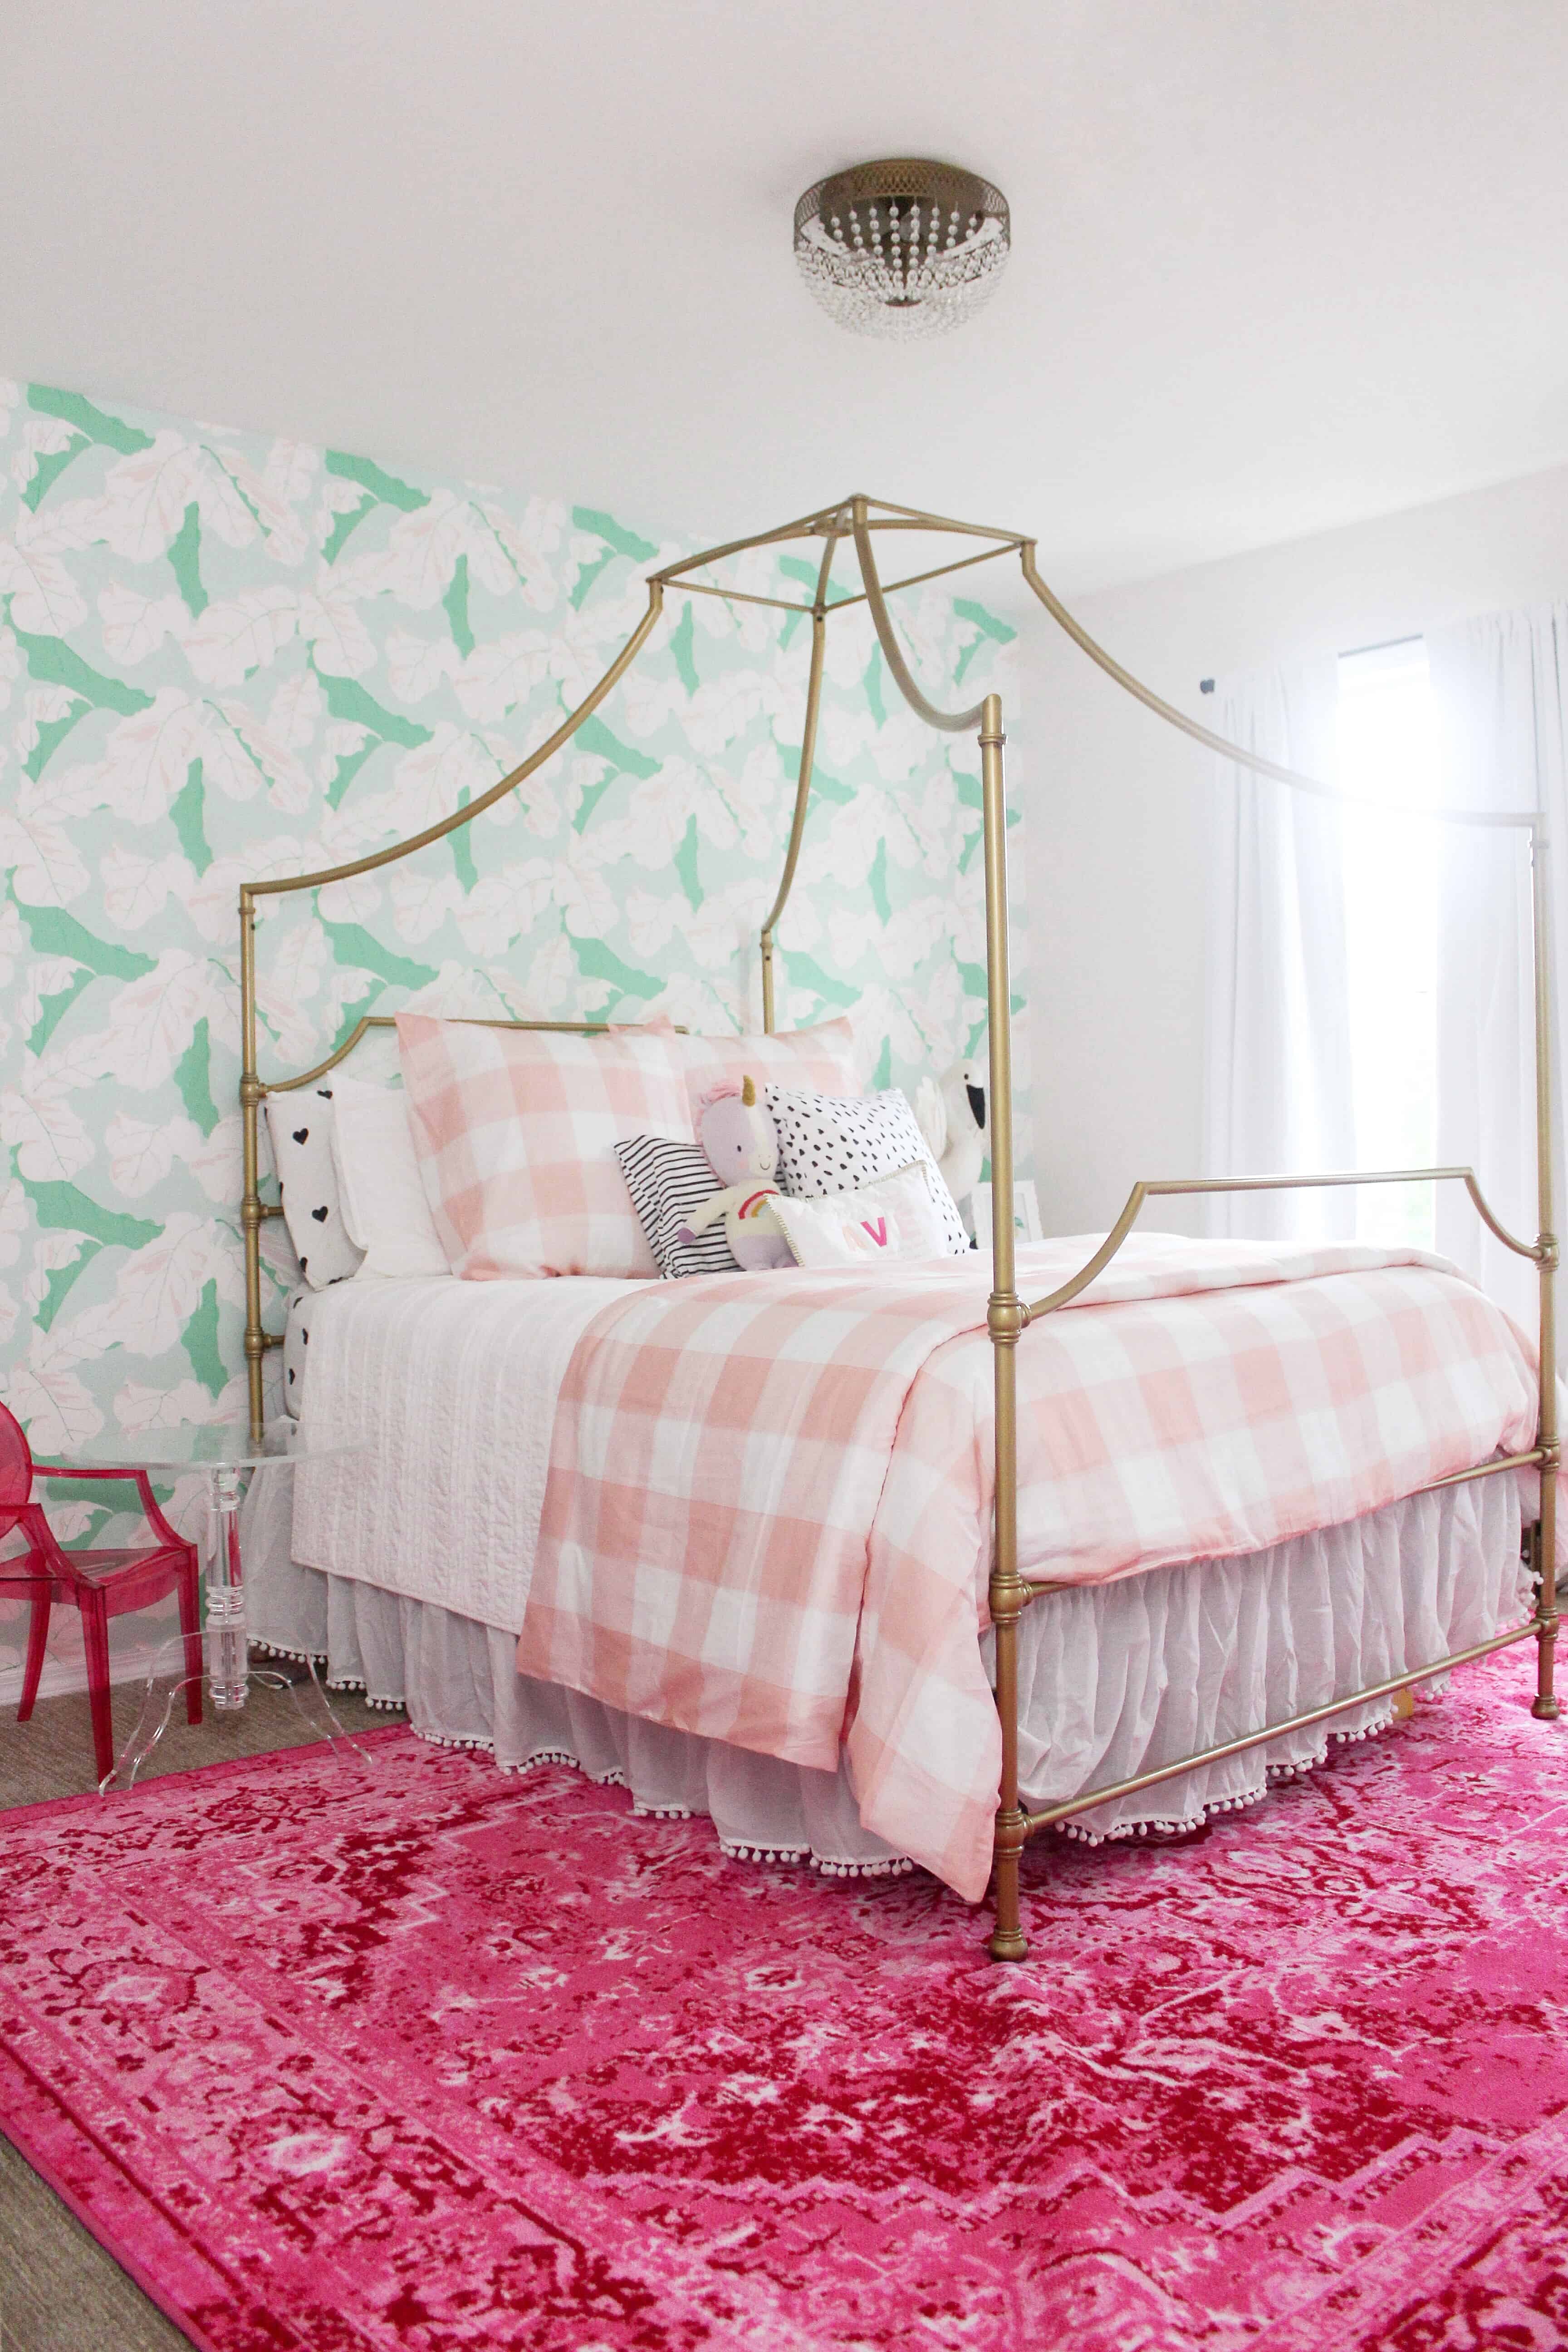
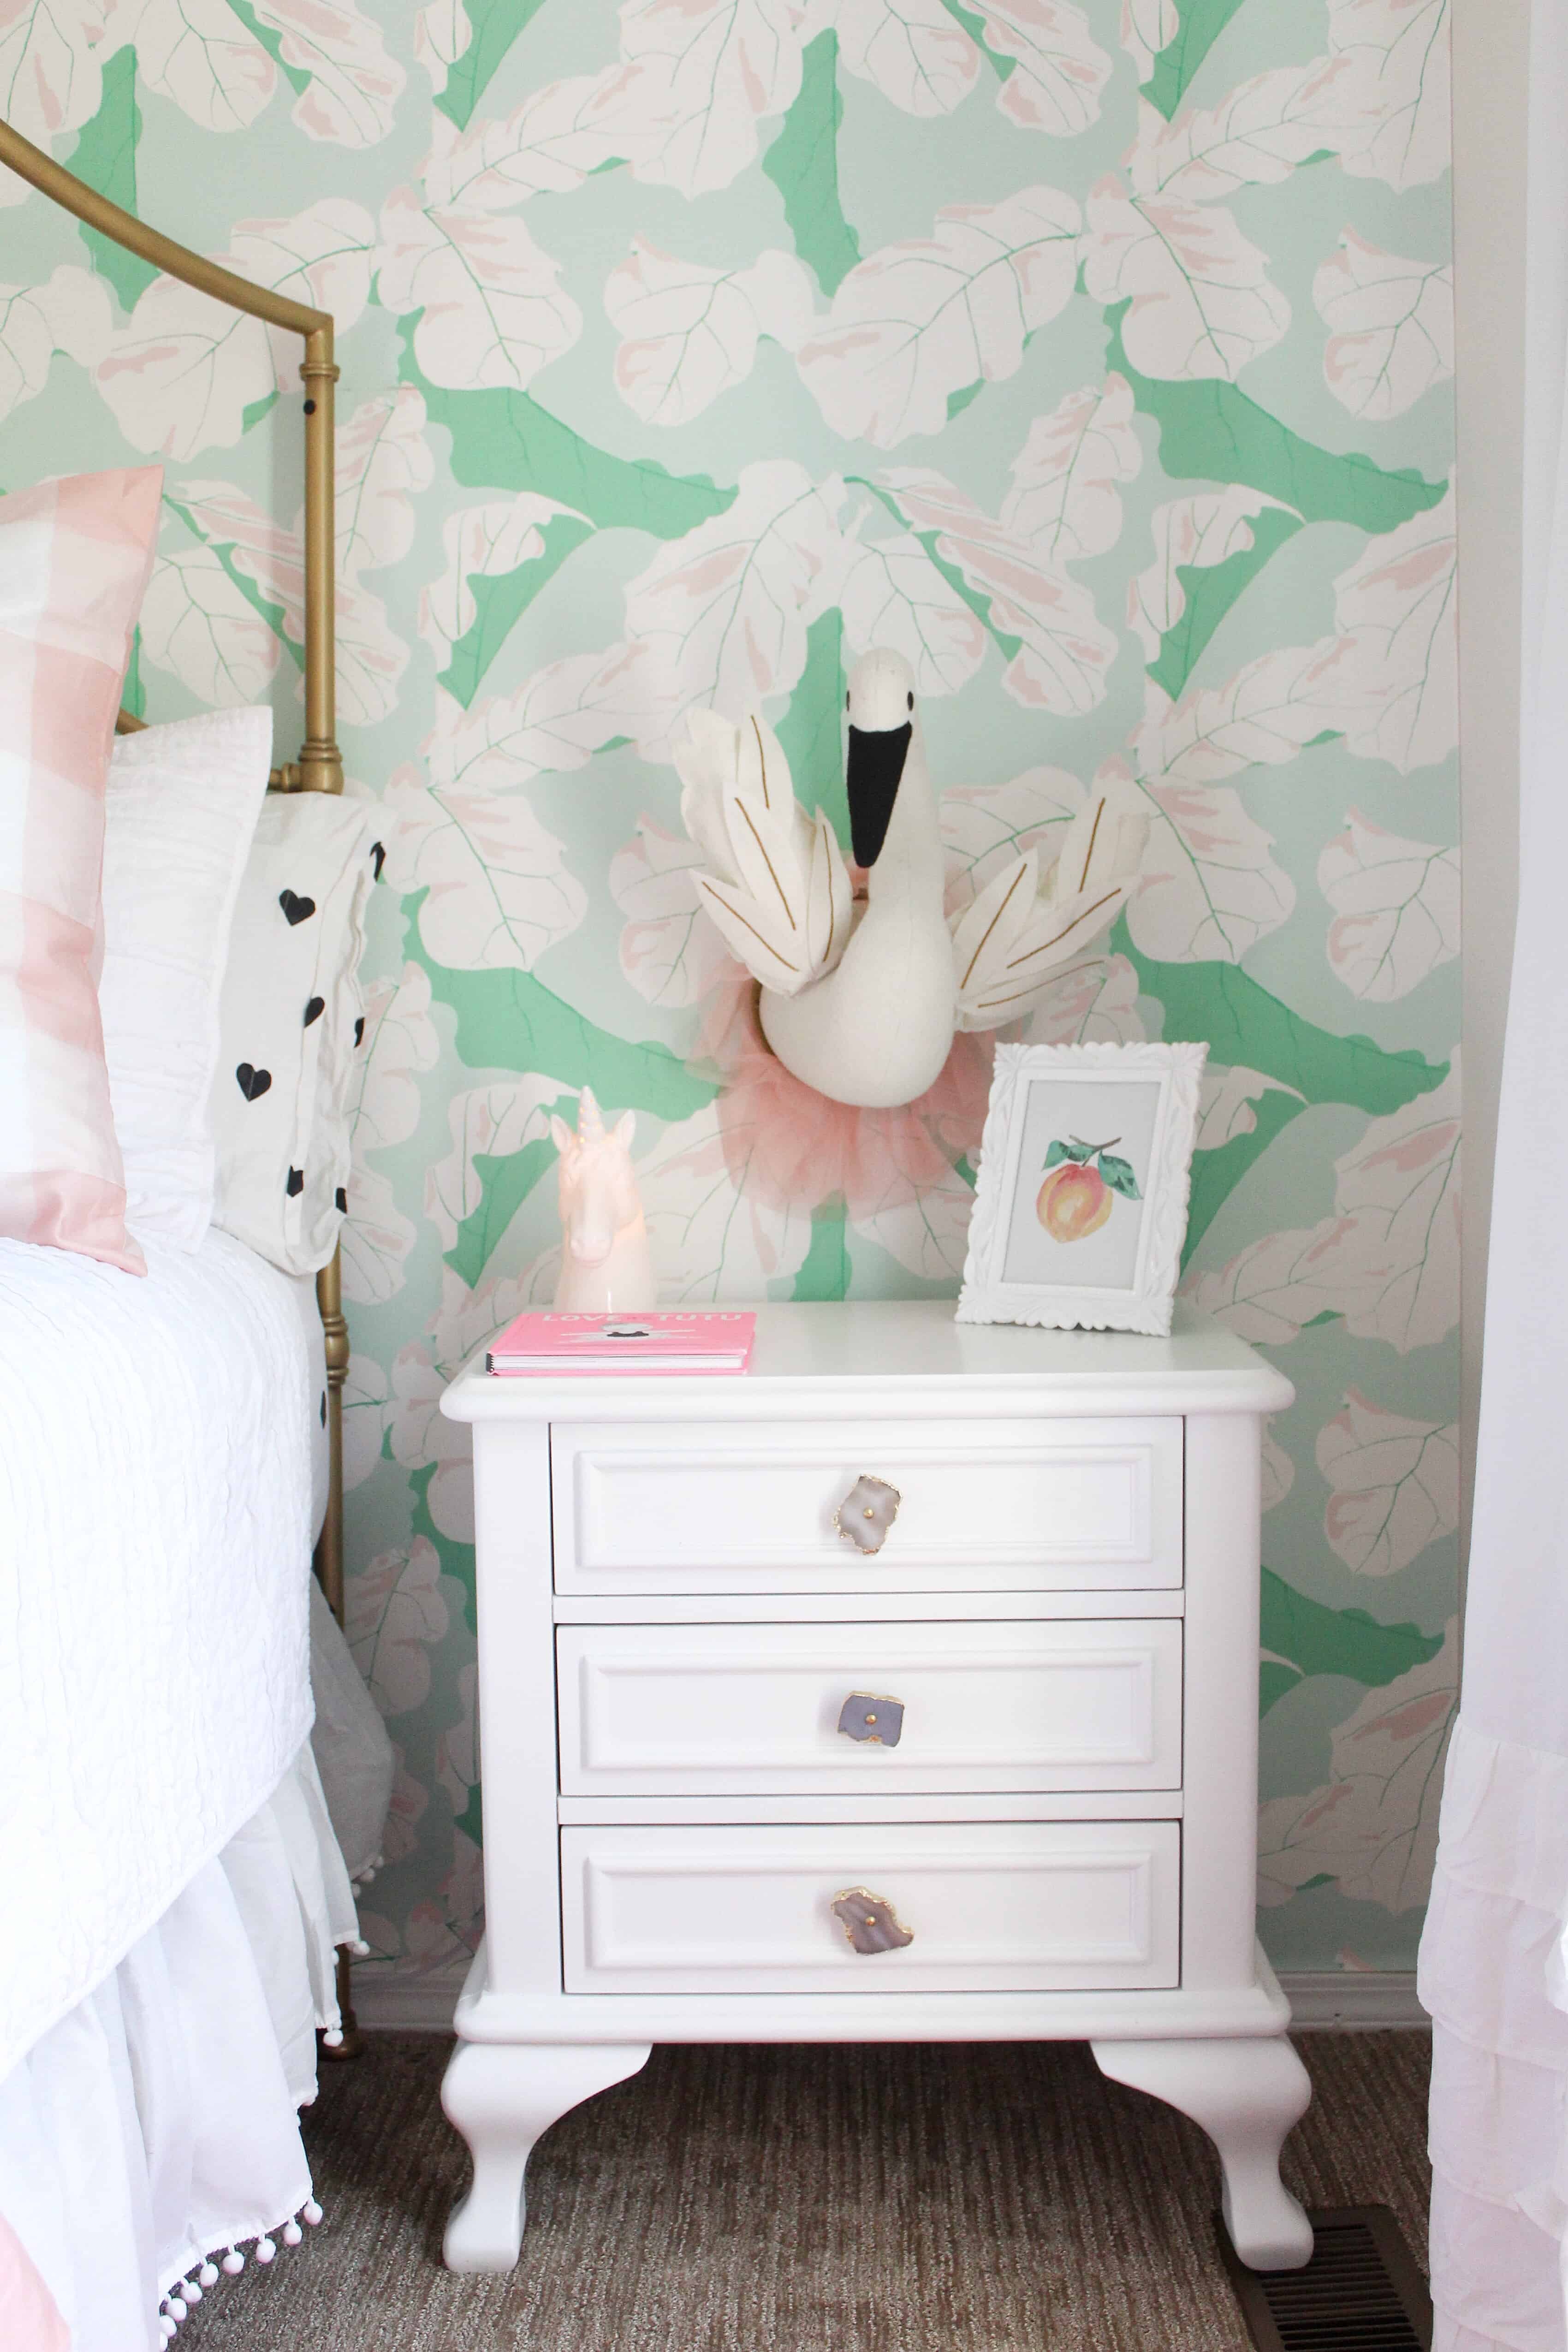
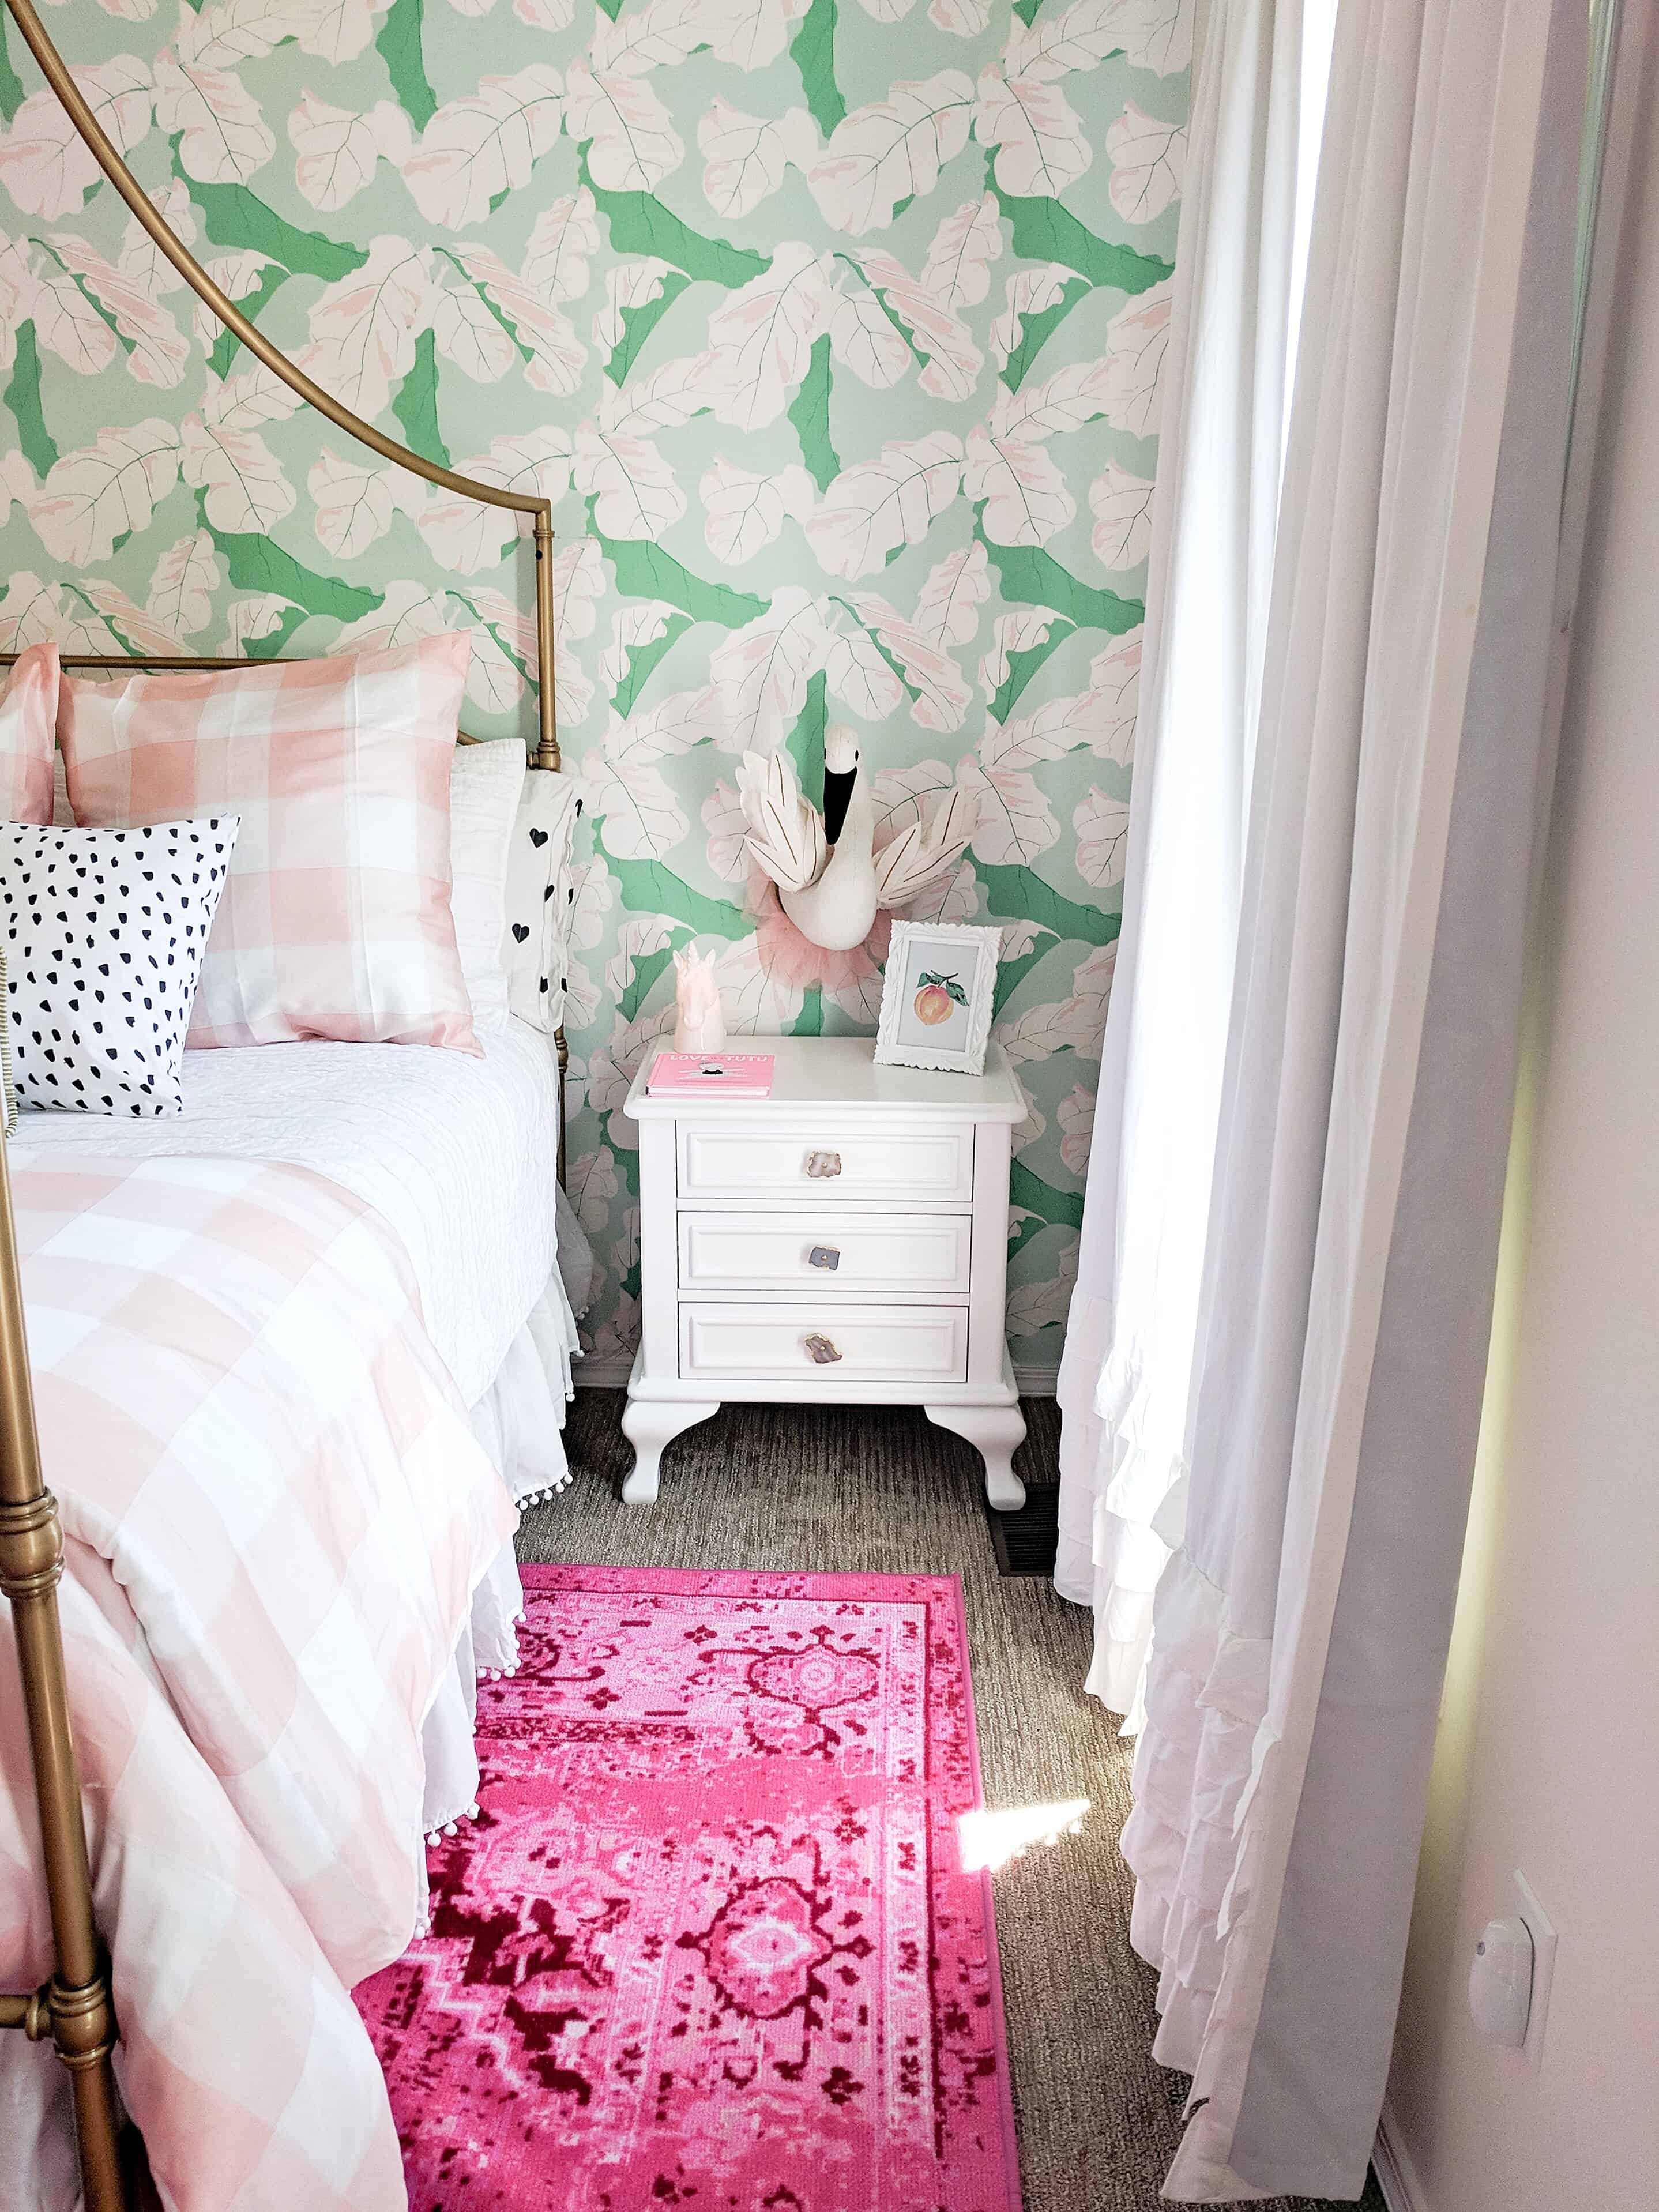
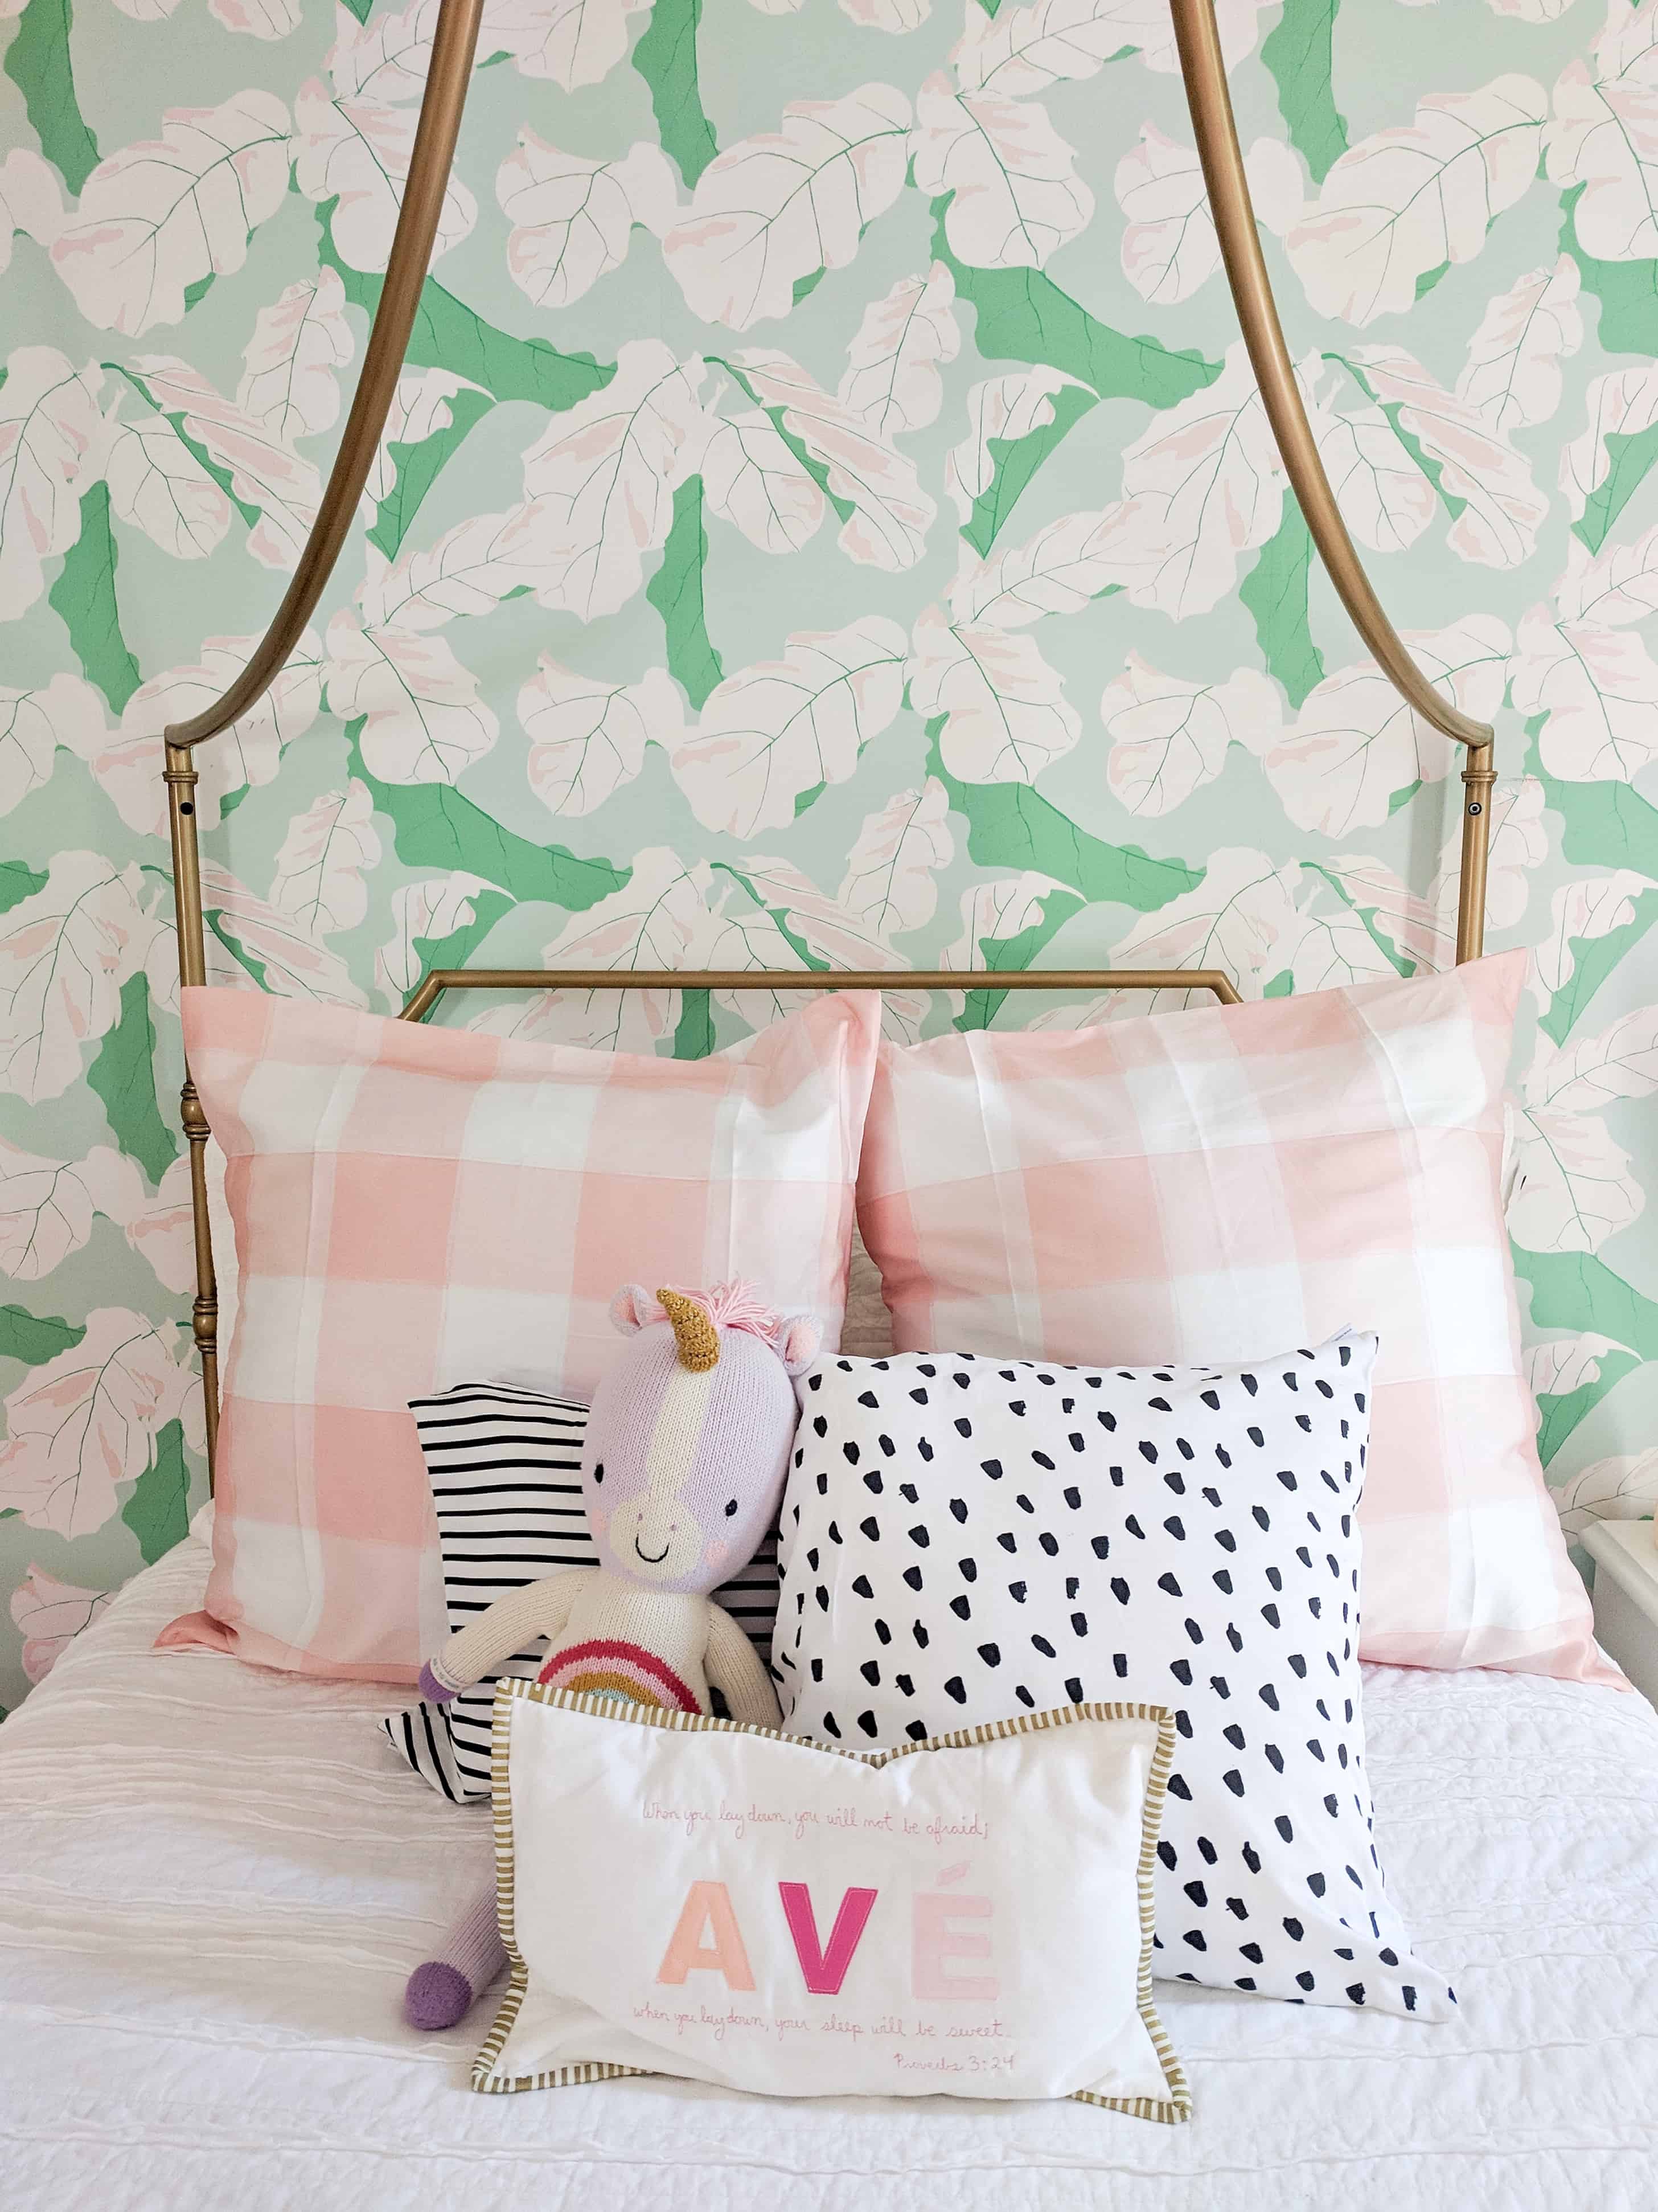
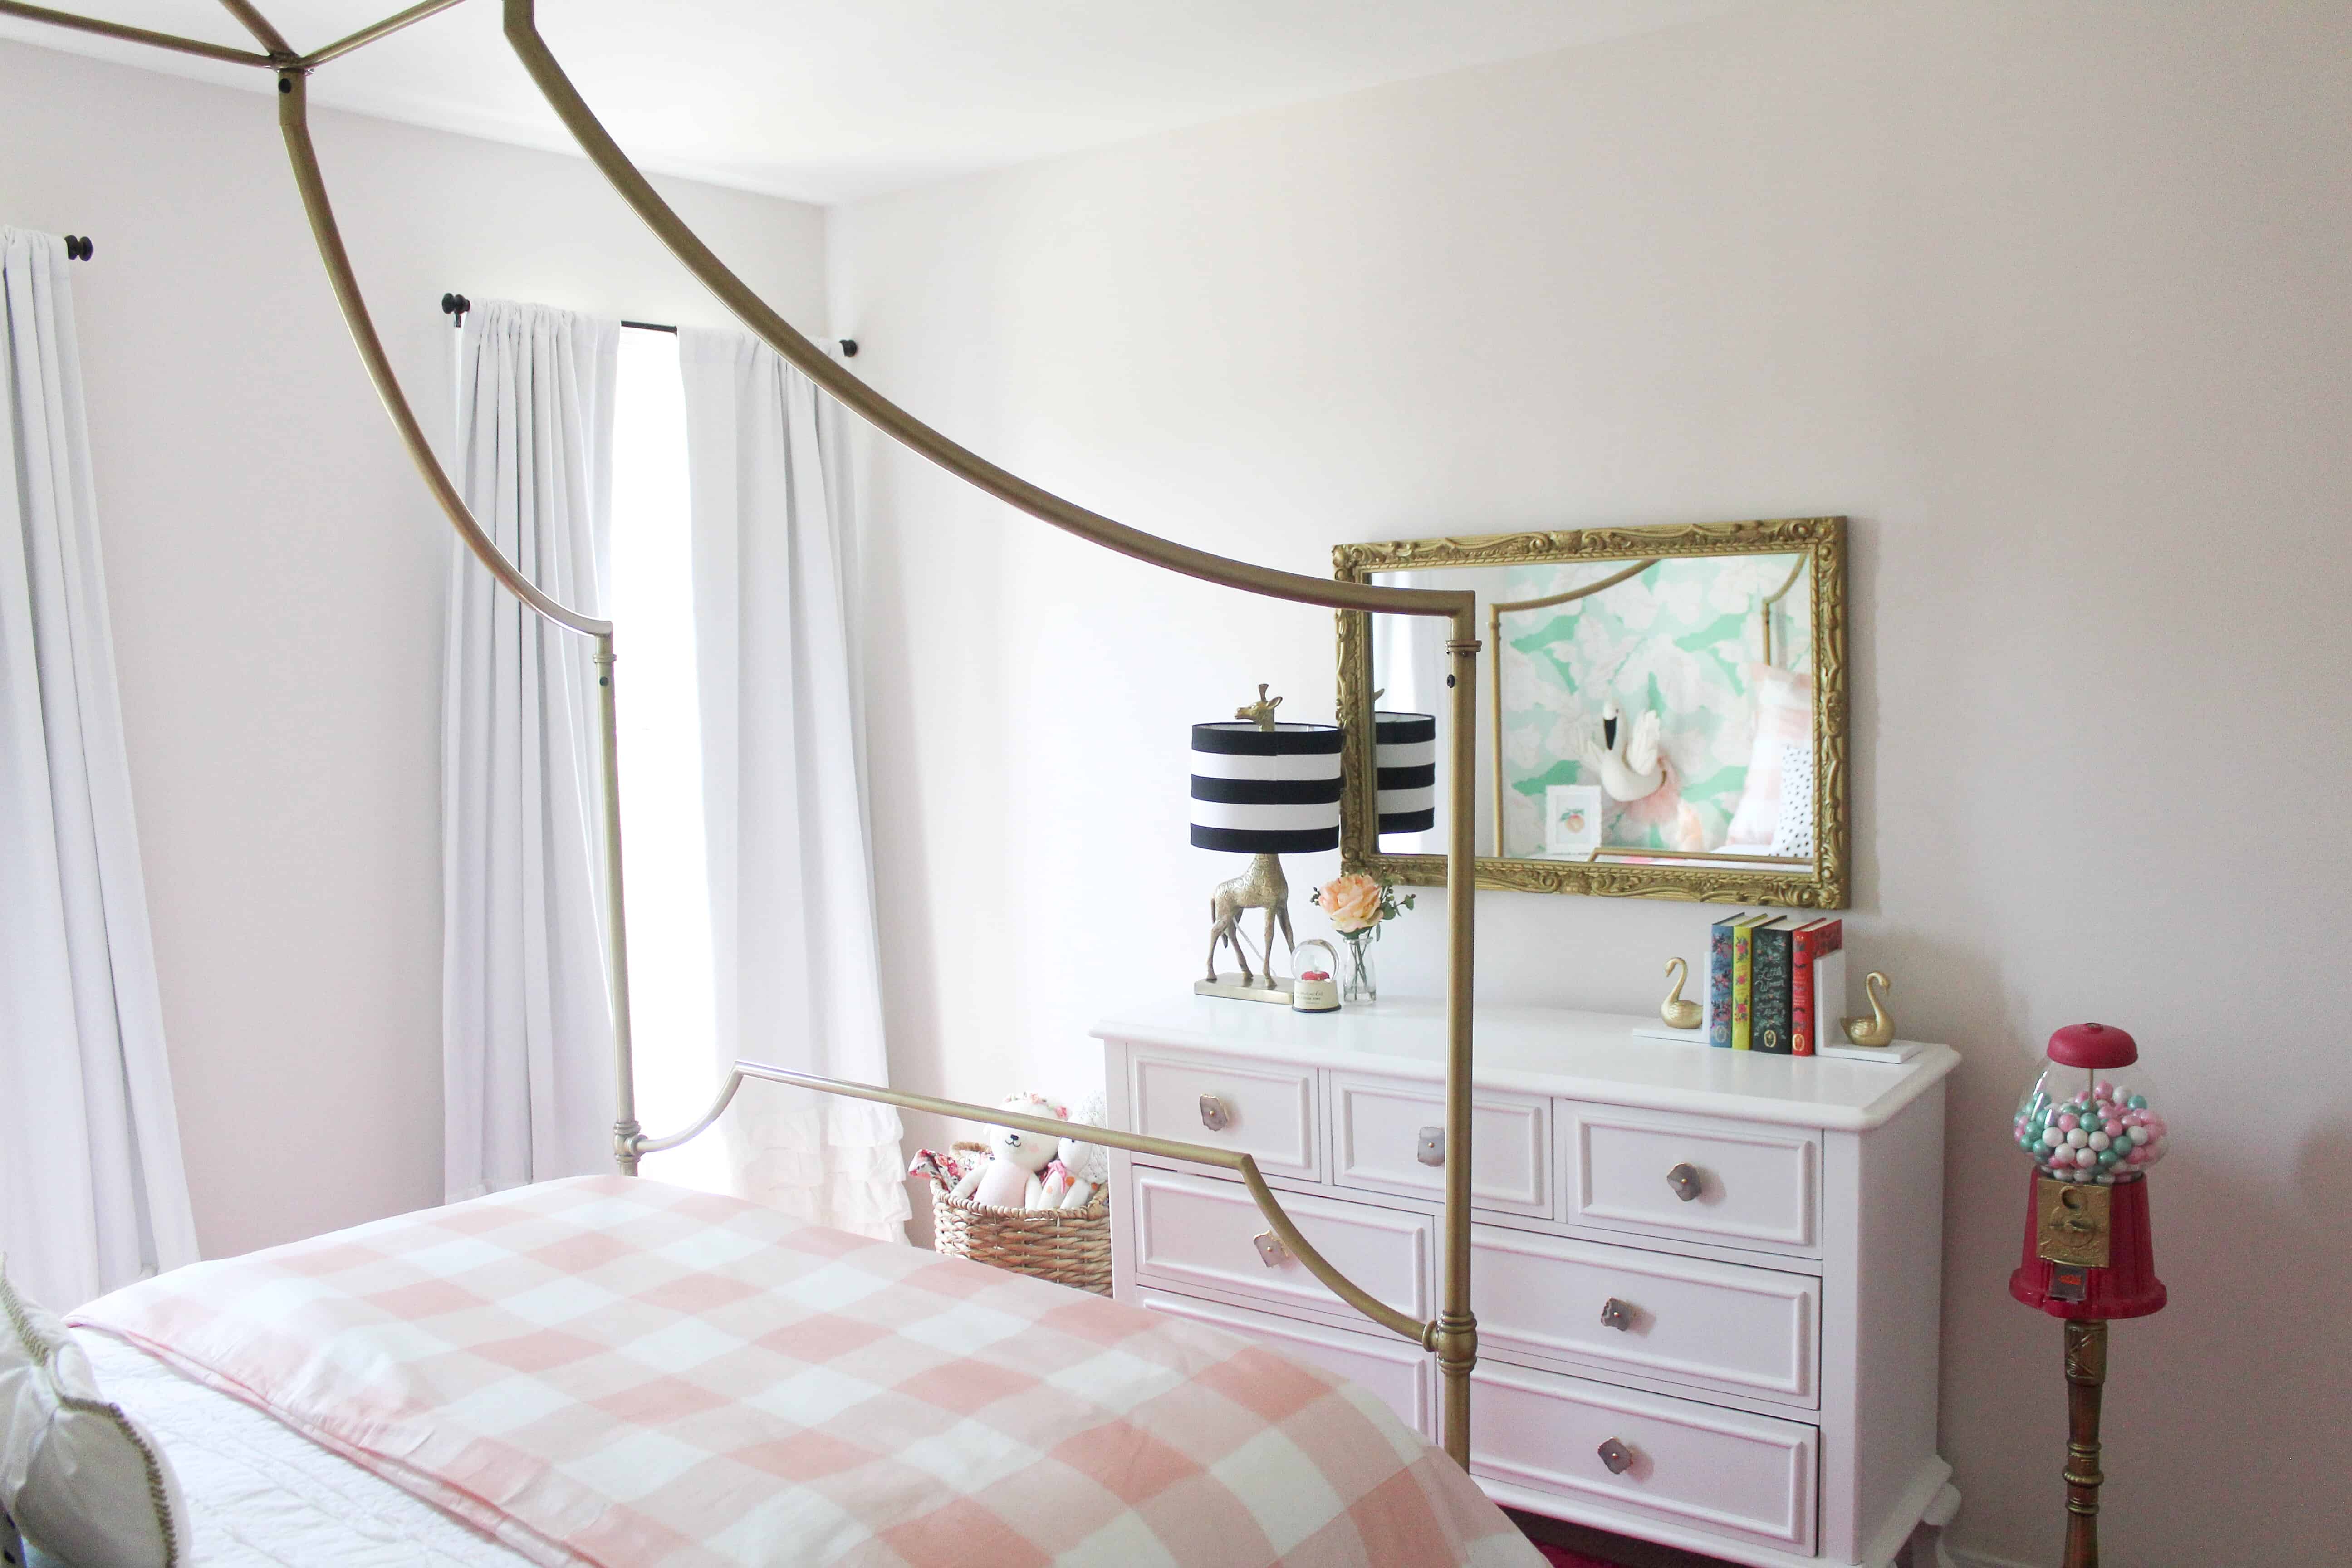
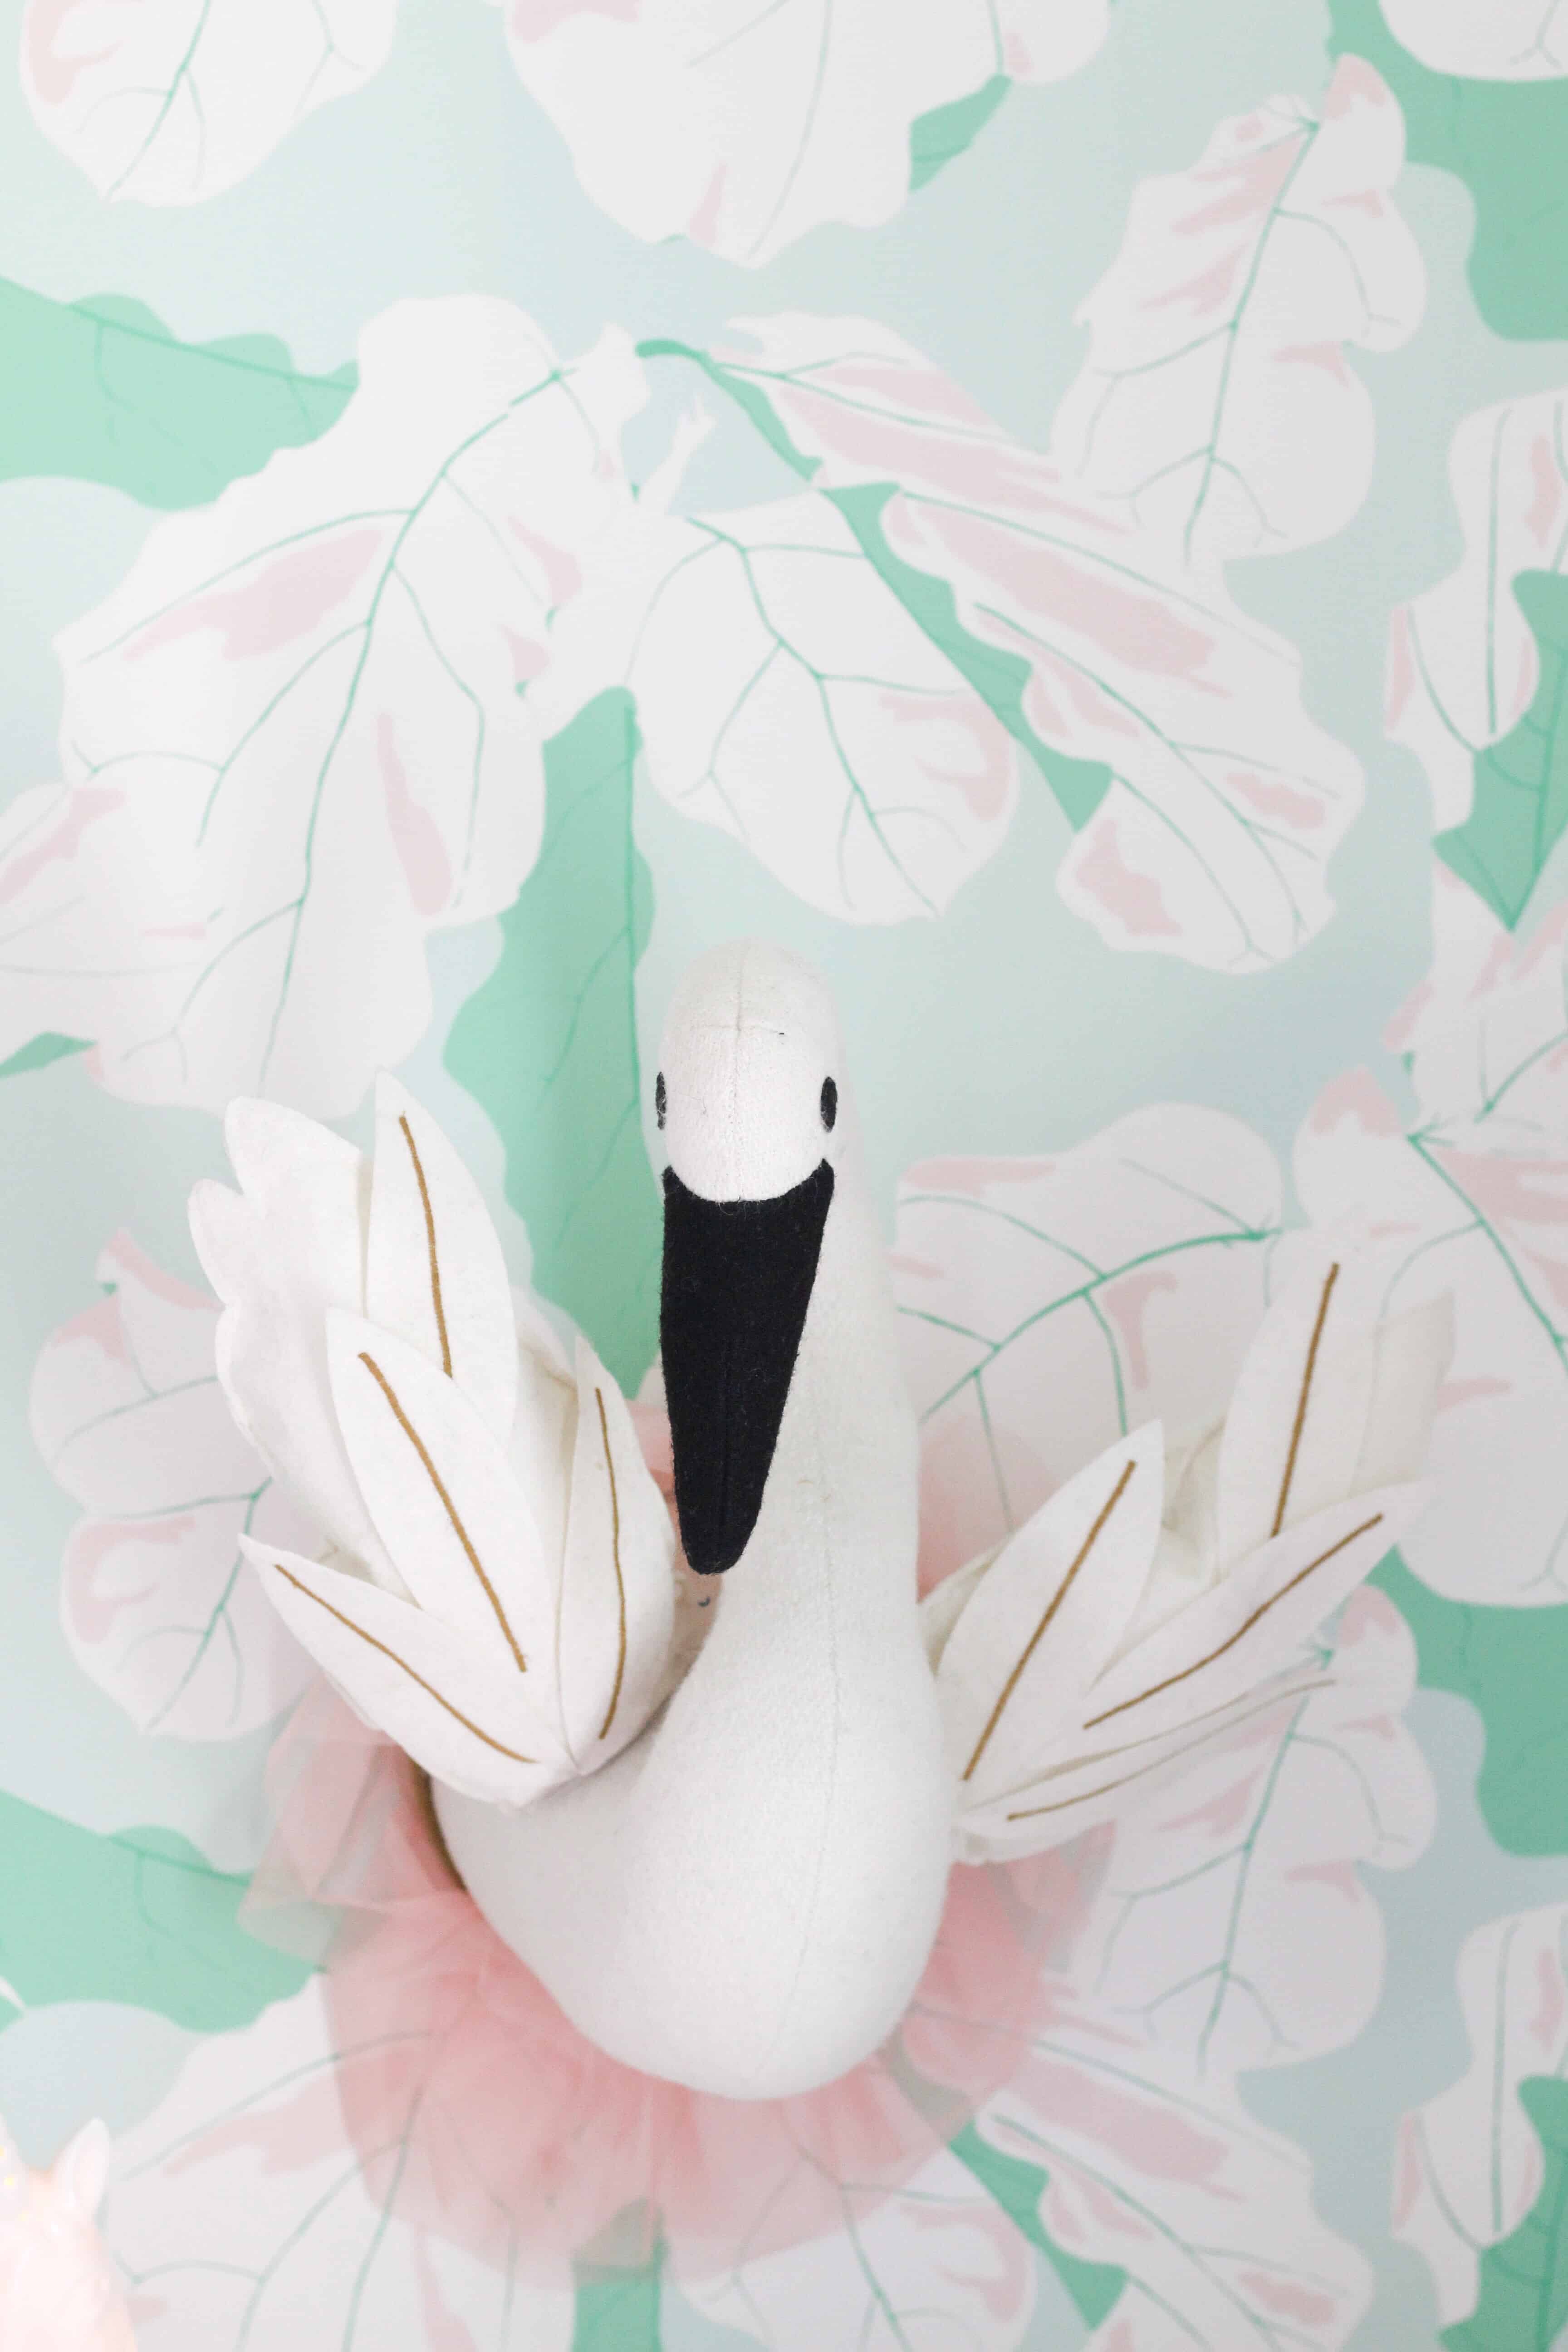
I have loved Spoonflower for years for their fabric, so when I got the opportunity to work with them and select a wallpaper for Avé’s room, it was a dream come true. I went with Tropicali in South Beach wallpaper.
I loved that it was fun and bright, but still not overwhelming. It had the perfect amount of pink to tie into the room without being overwhelming.
I was a little nervous about using water activated wallpaper instead of the peel and stick, however loved that it still was removable and damage free, and honestly it was a breeze to install, and Spoonflower had amazing videos to walk us through it.
I plan on doing a post in the next week or two talking about my tips for Install, so be sure to subscribe to my blog so you don’t miss that!
Bedding
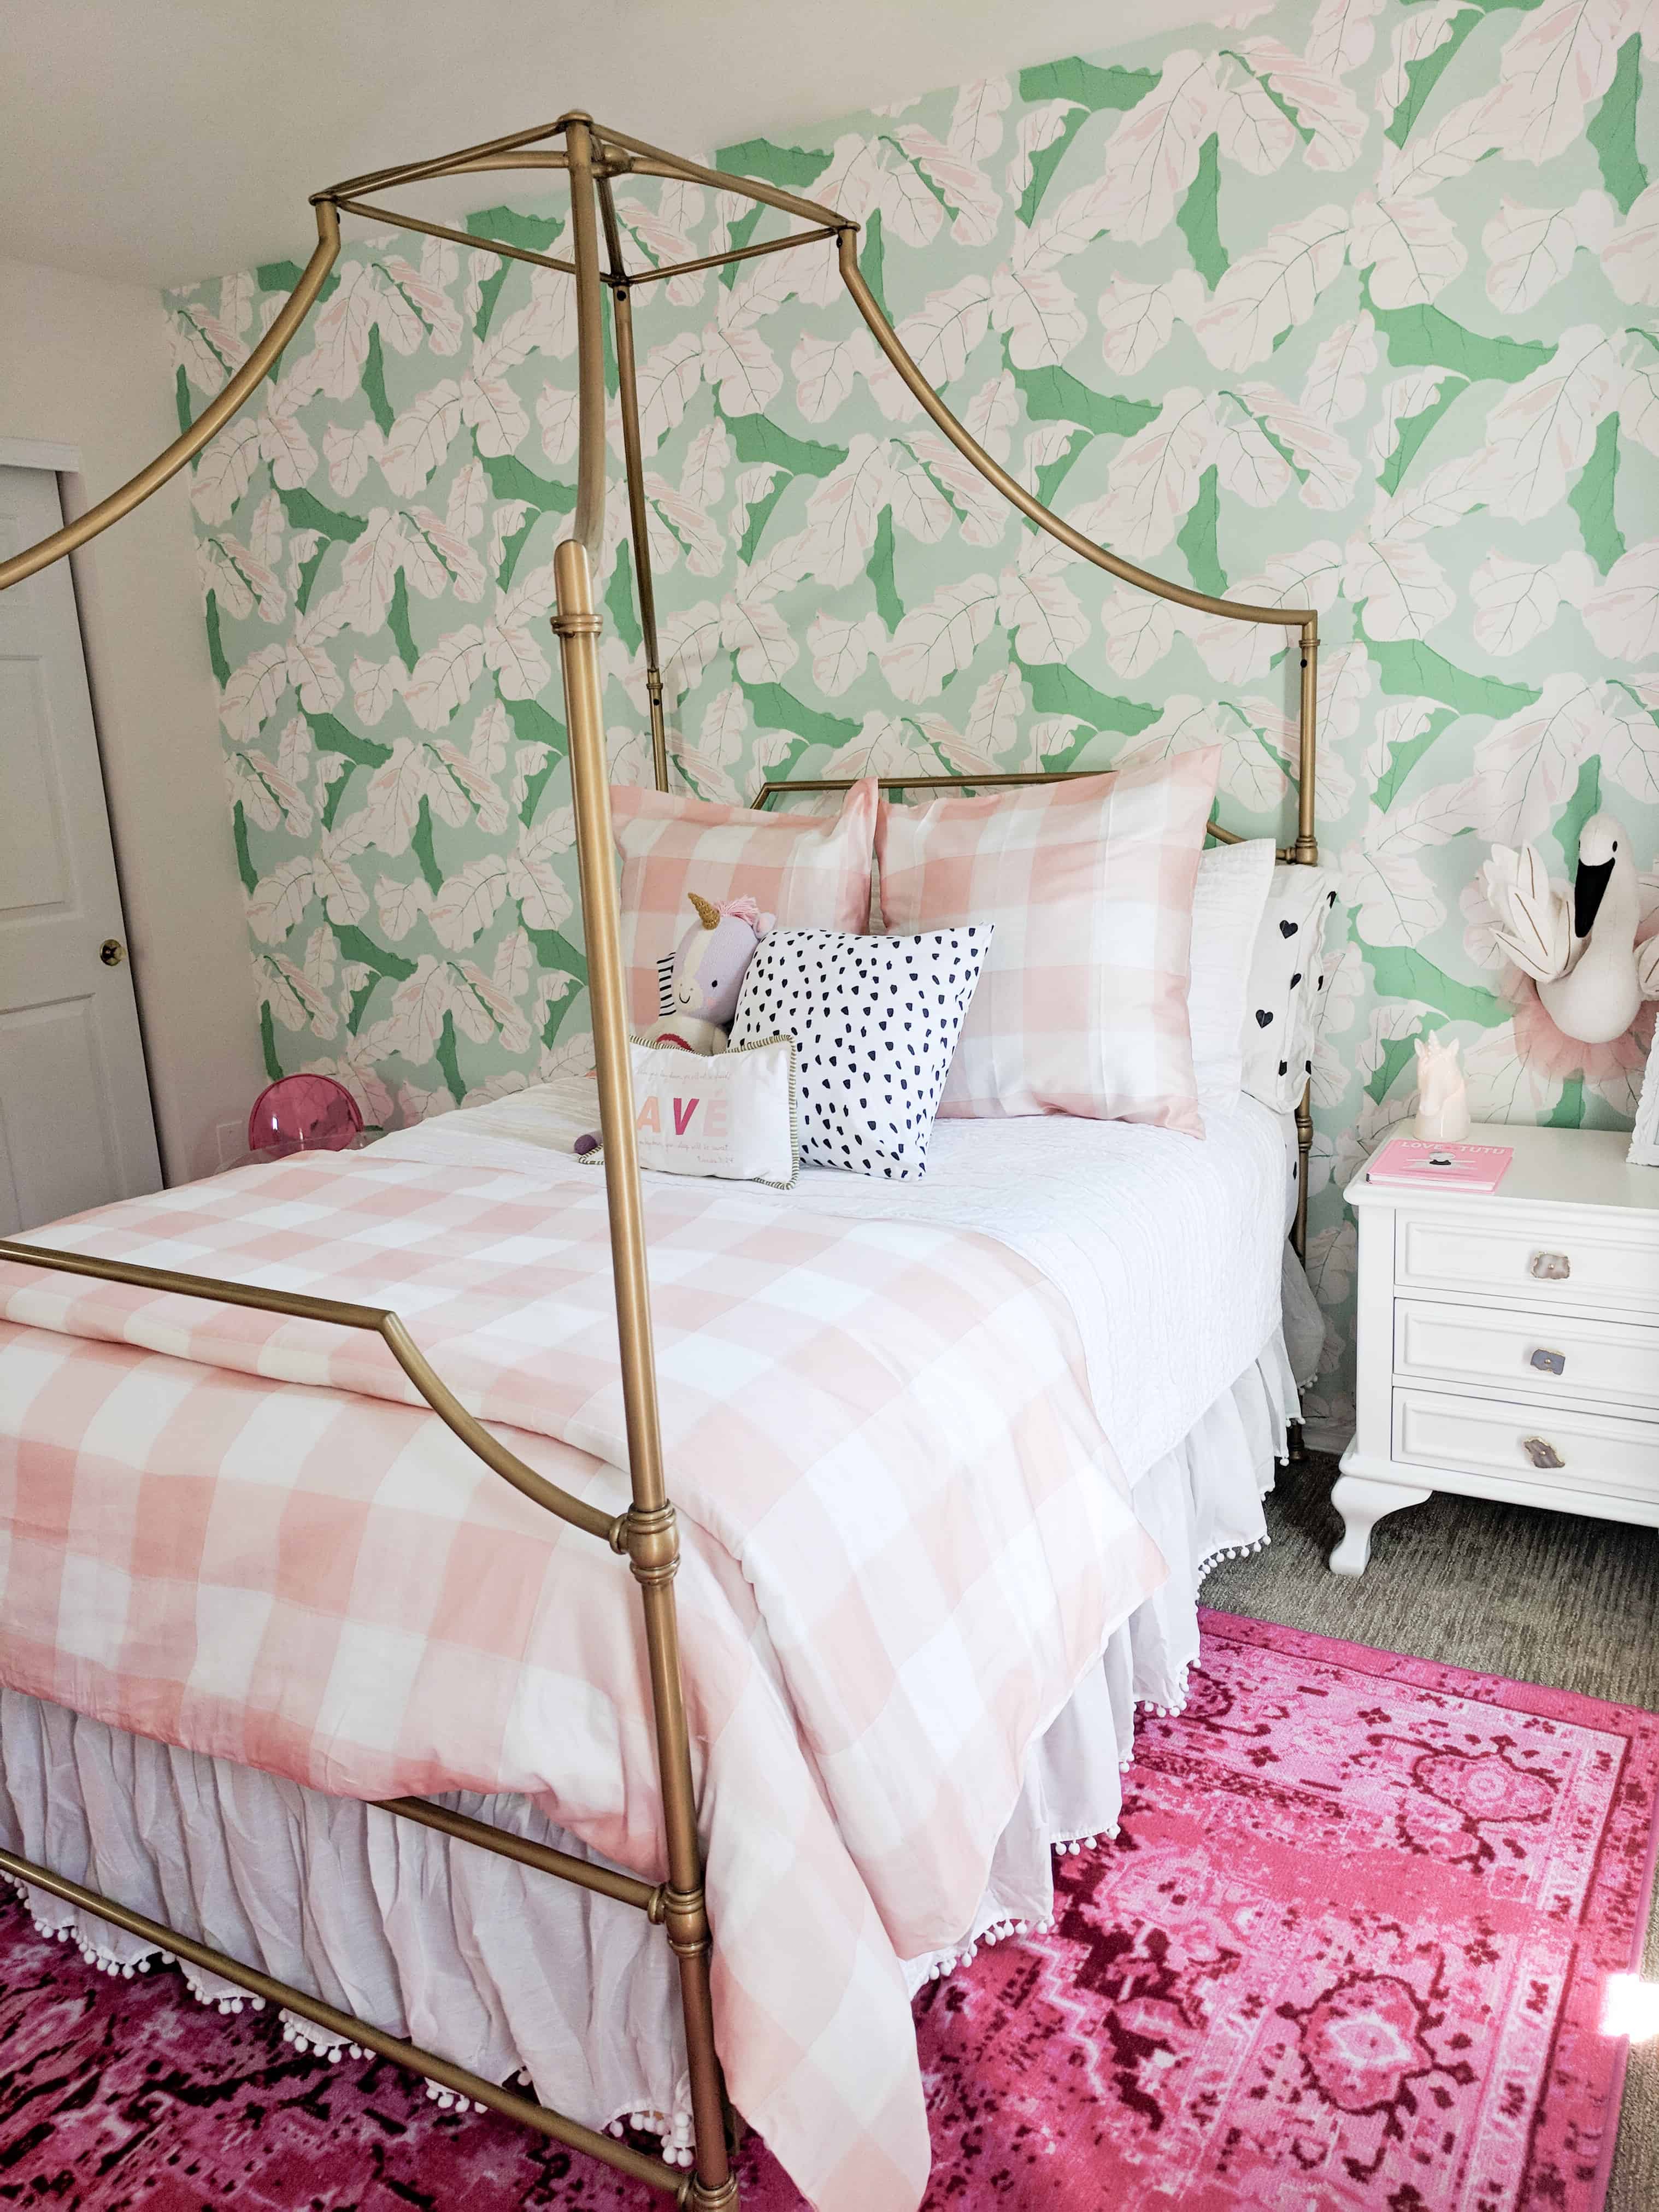
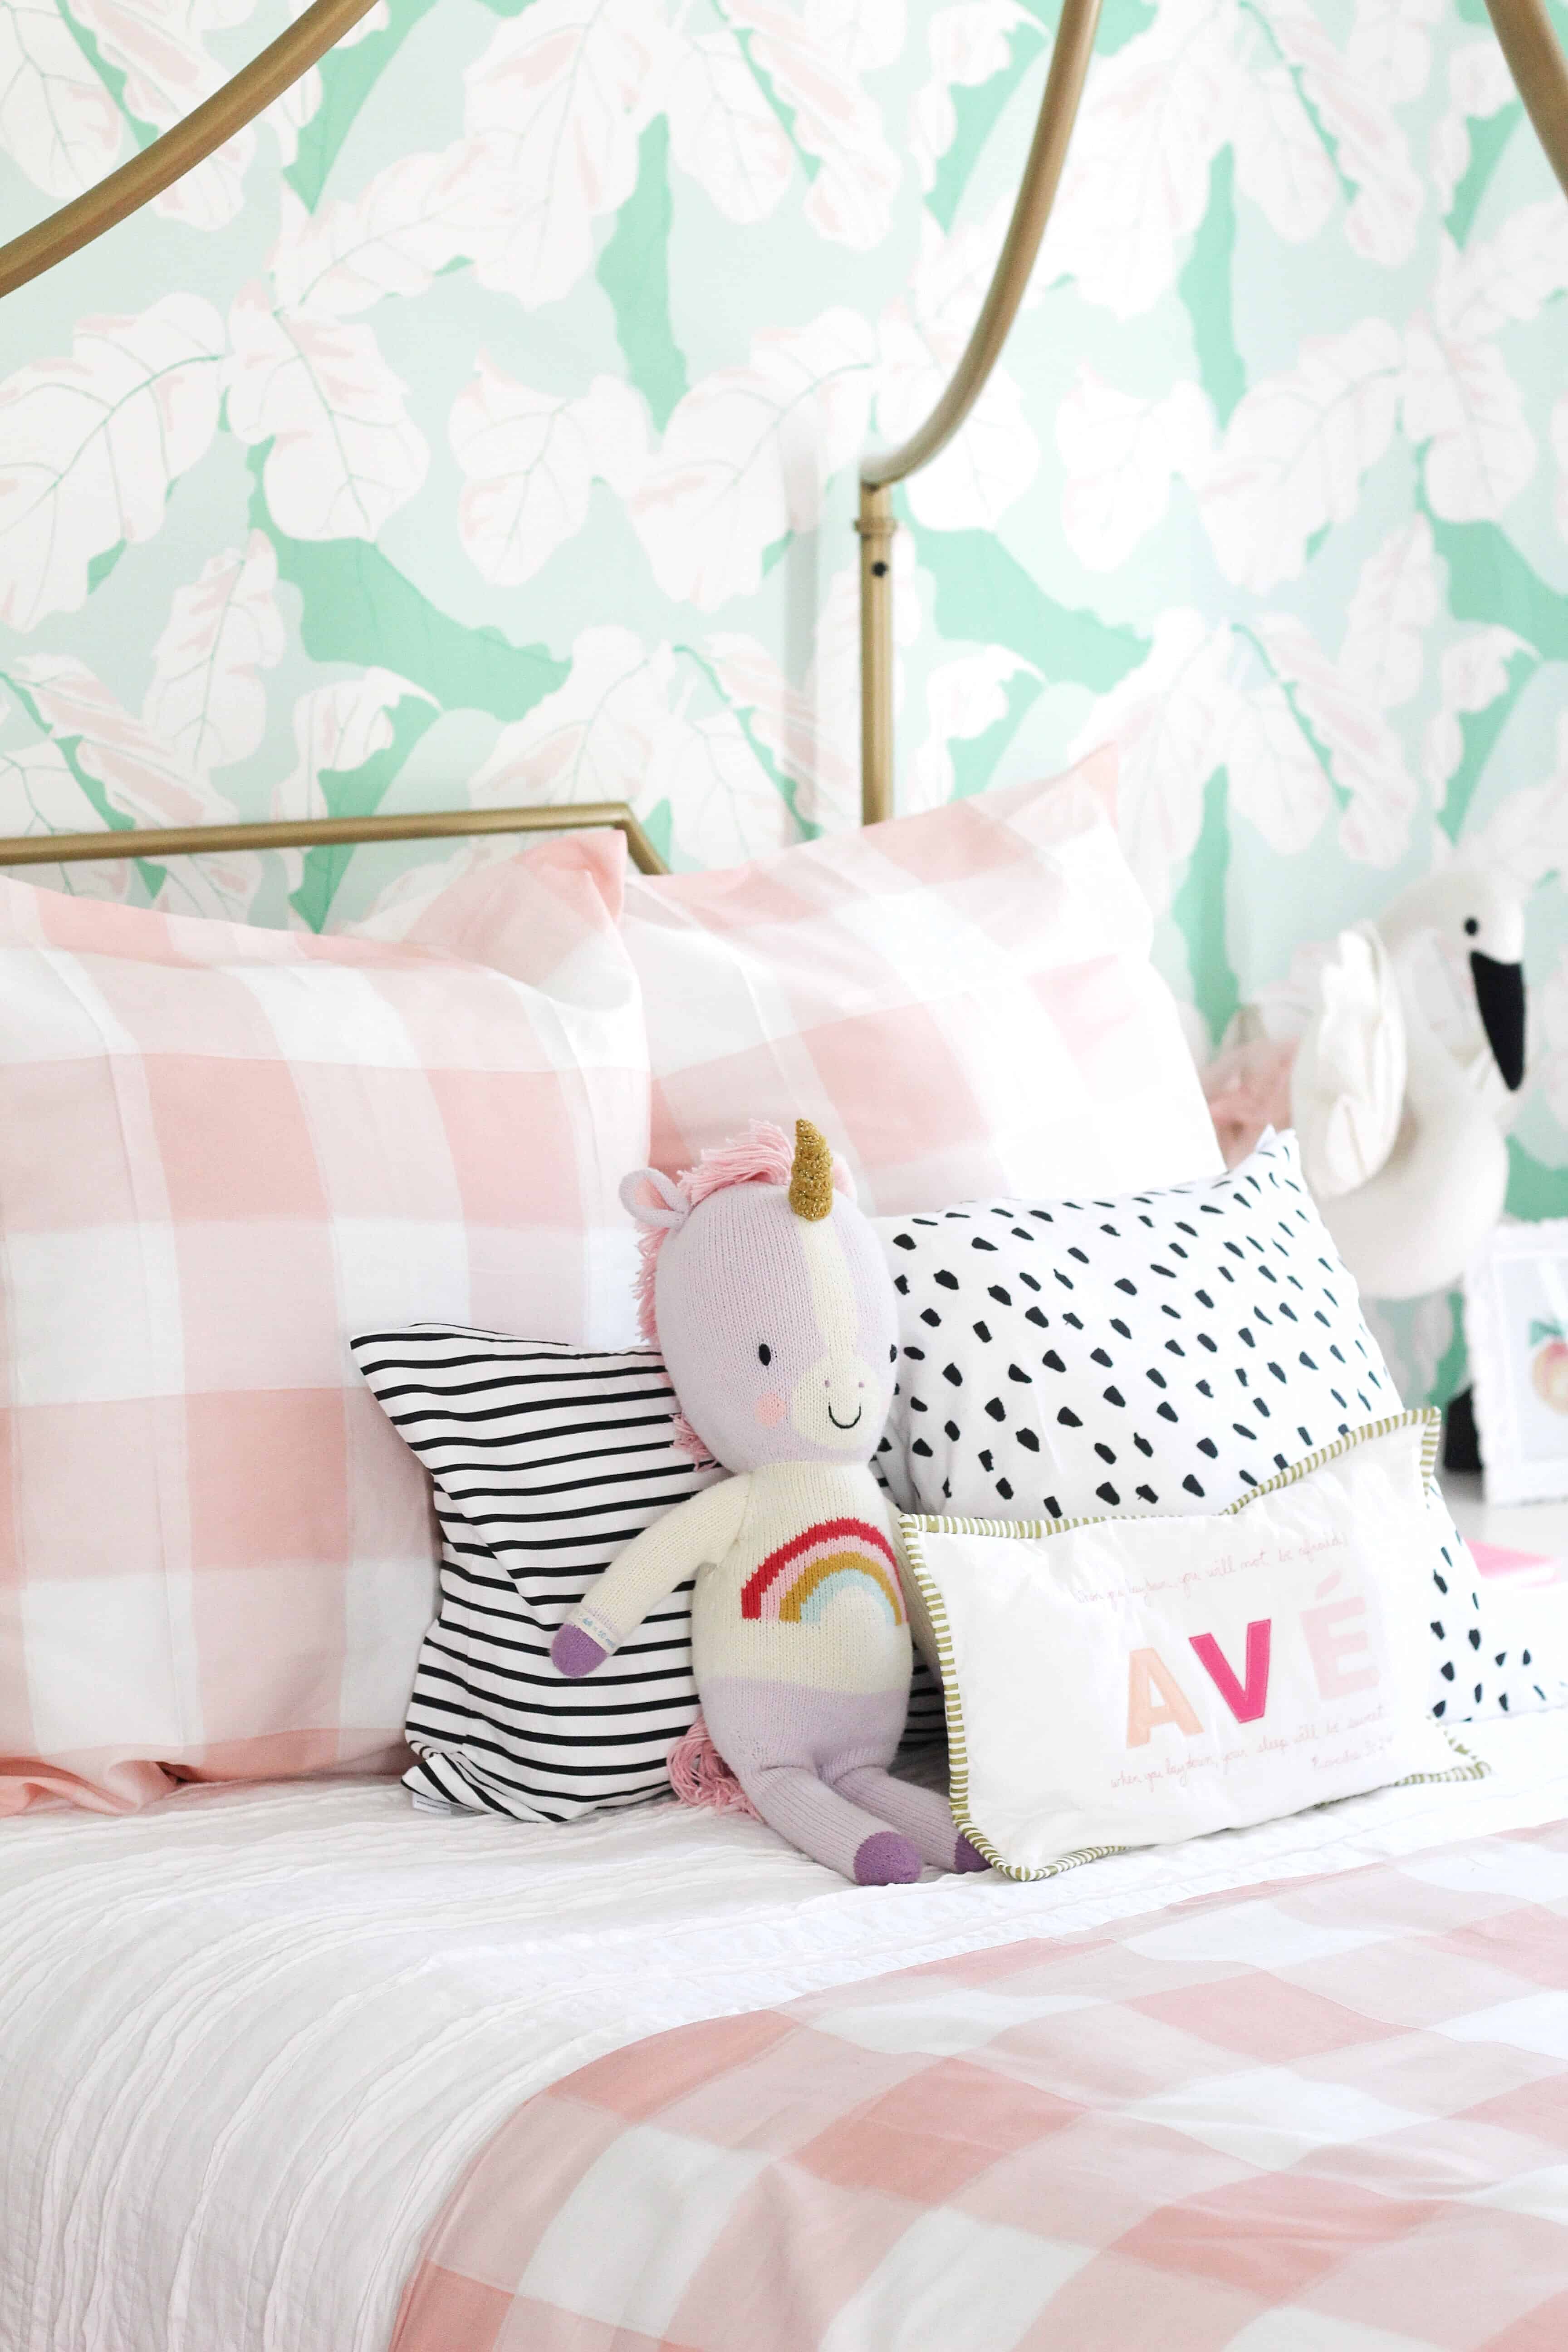
I had my HEART SET on blush gingham somewhere in Avé’s room, but everywhere I looked I couldn’t seem to find the right shade of pink for her bedding, so when I found out about Roostery I was SO EXCITED.
If you have ever shopped Spoonflower, you know the endless possibility, including turning prints into all sorts of textiles.
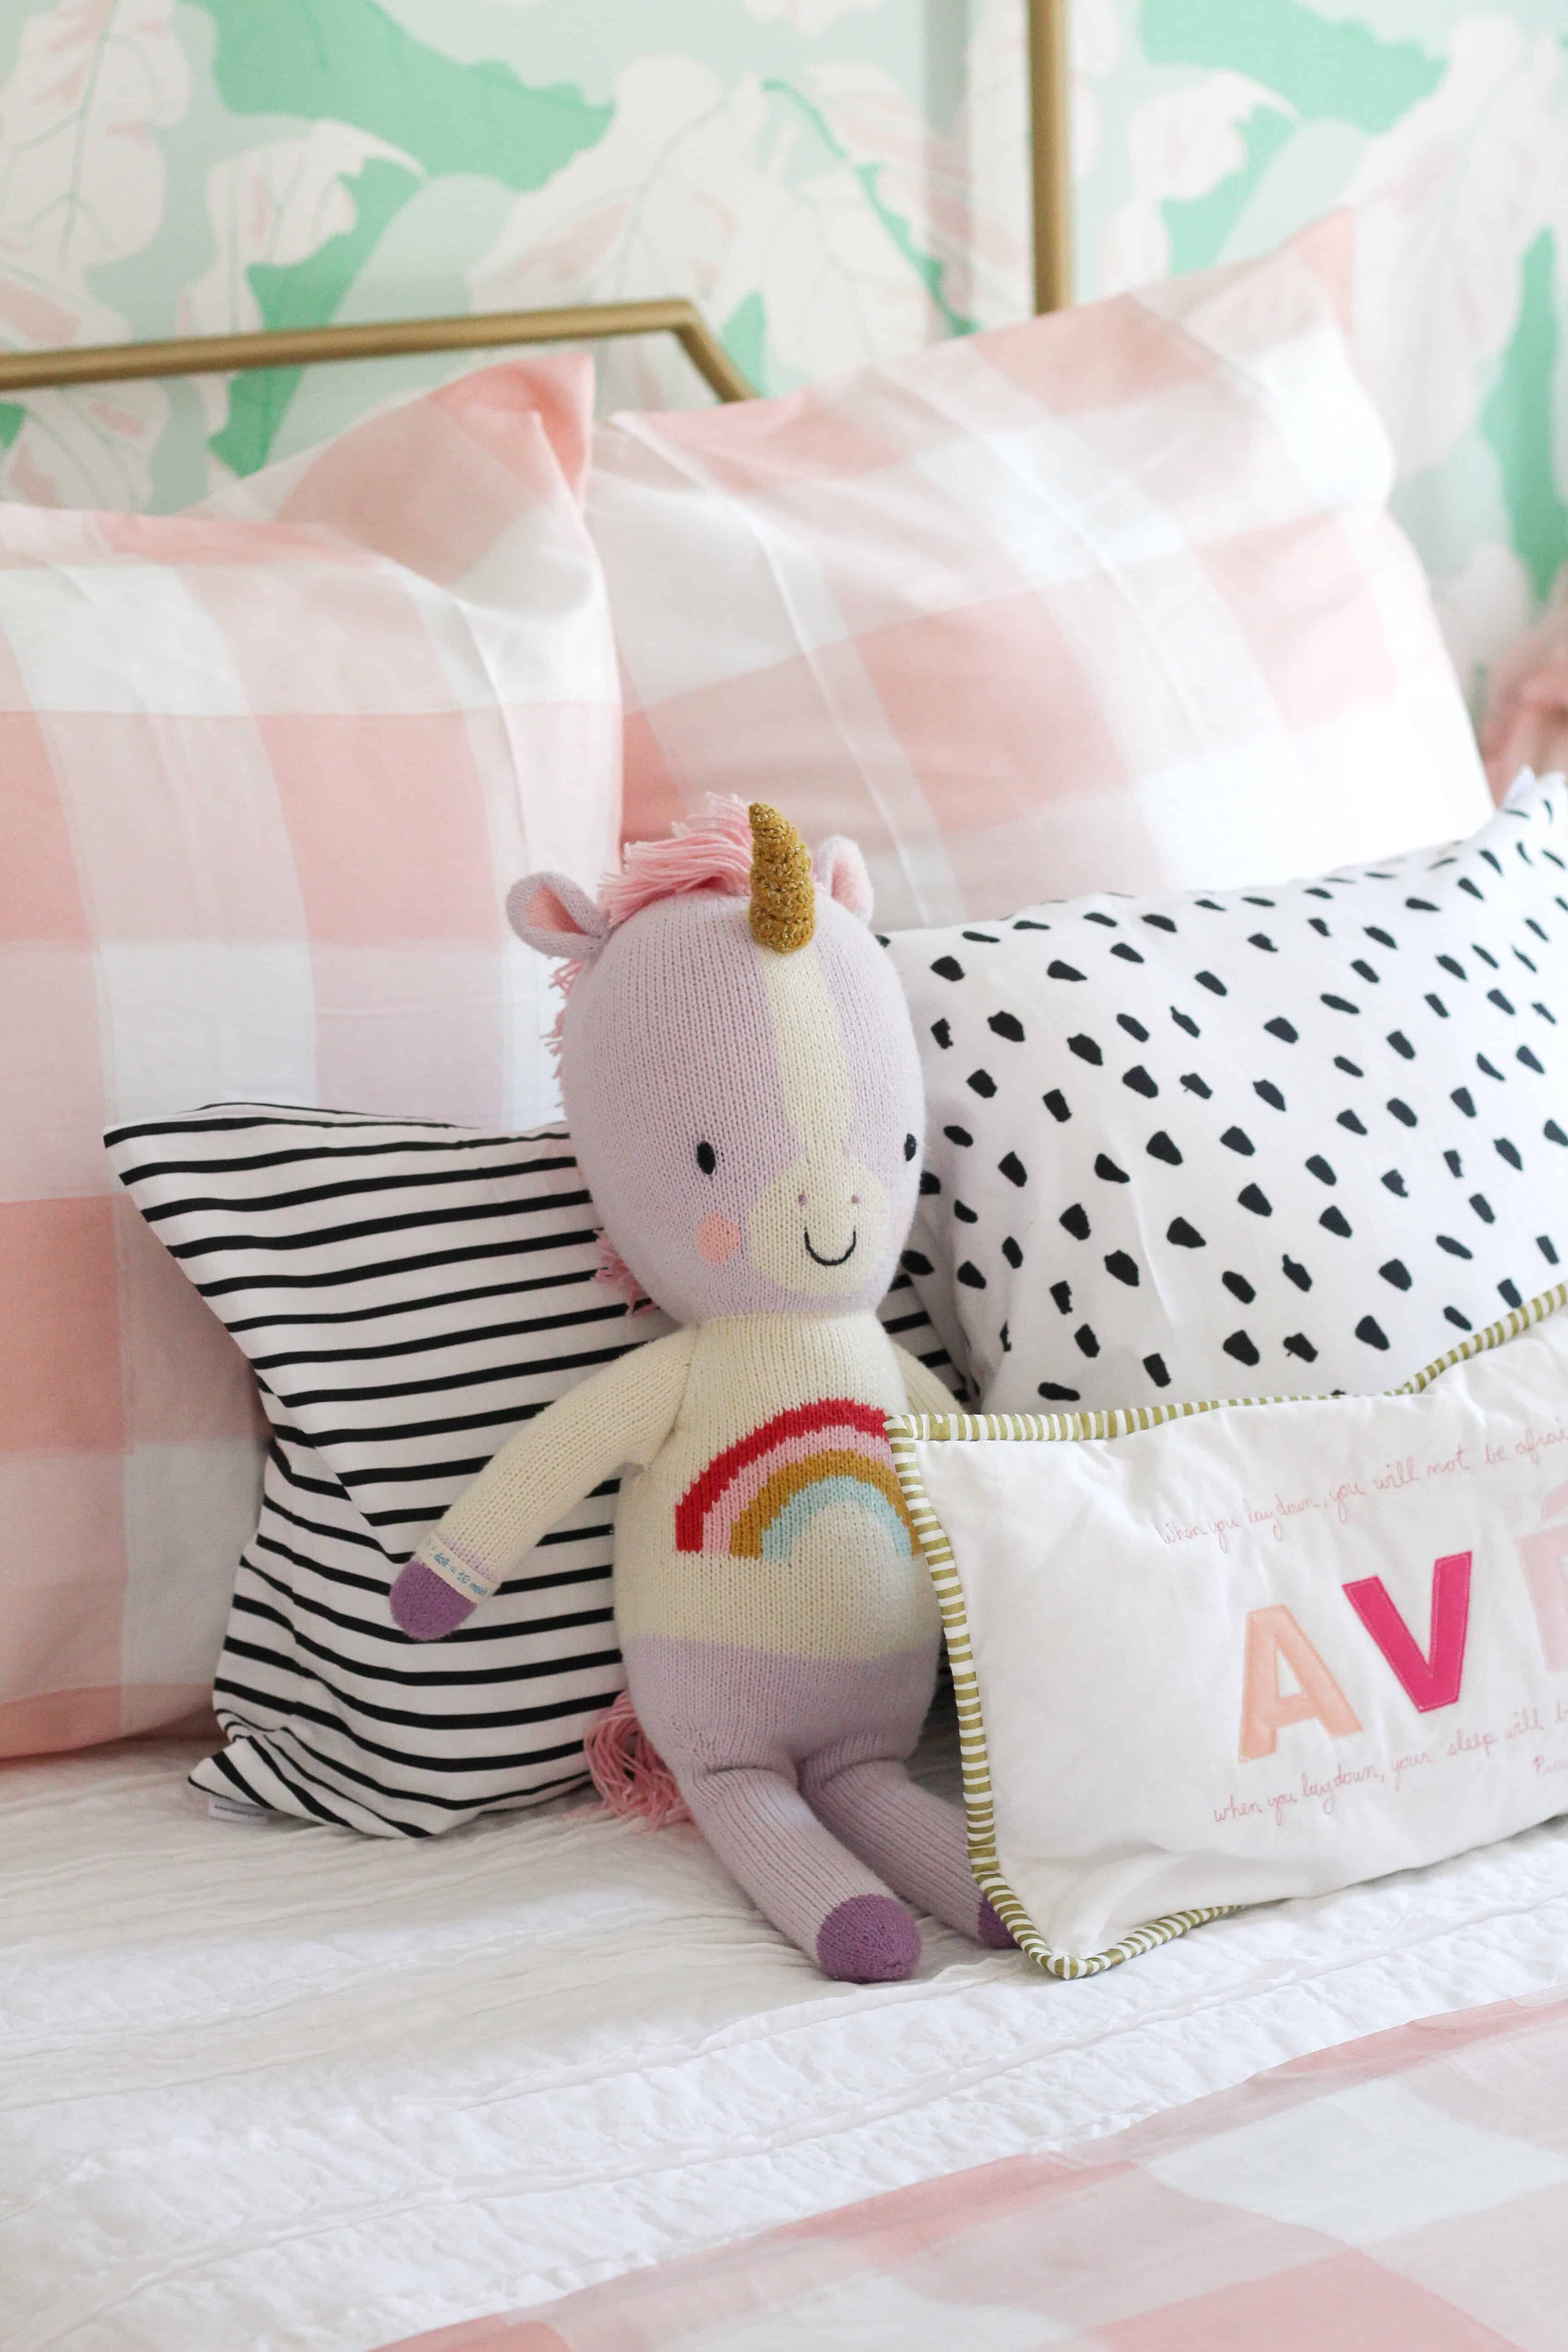
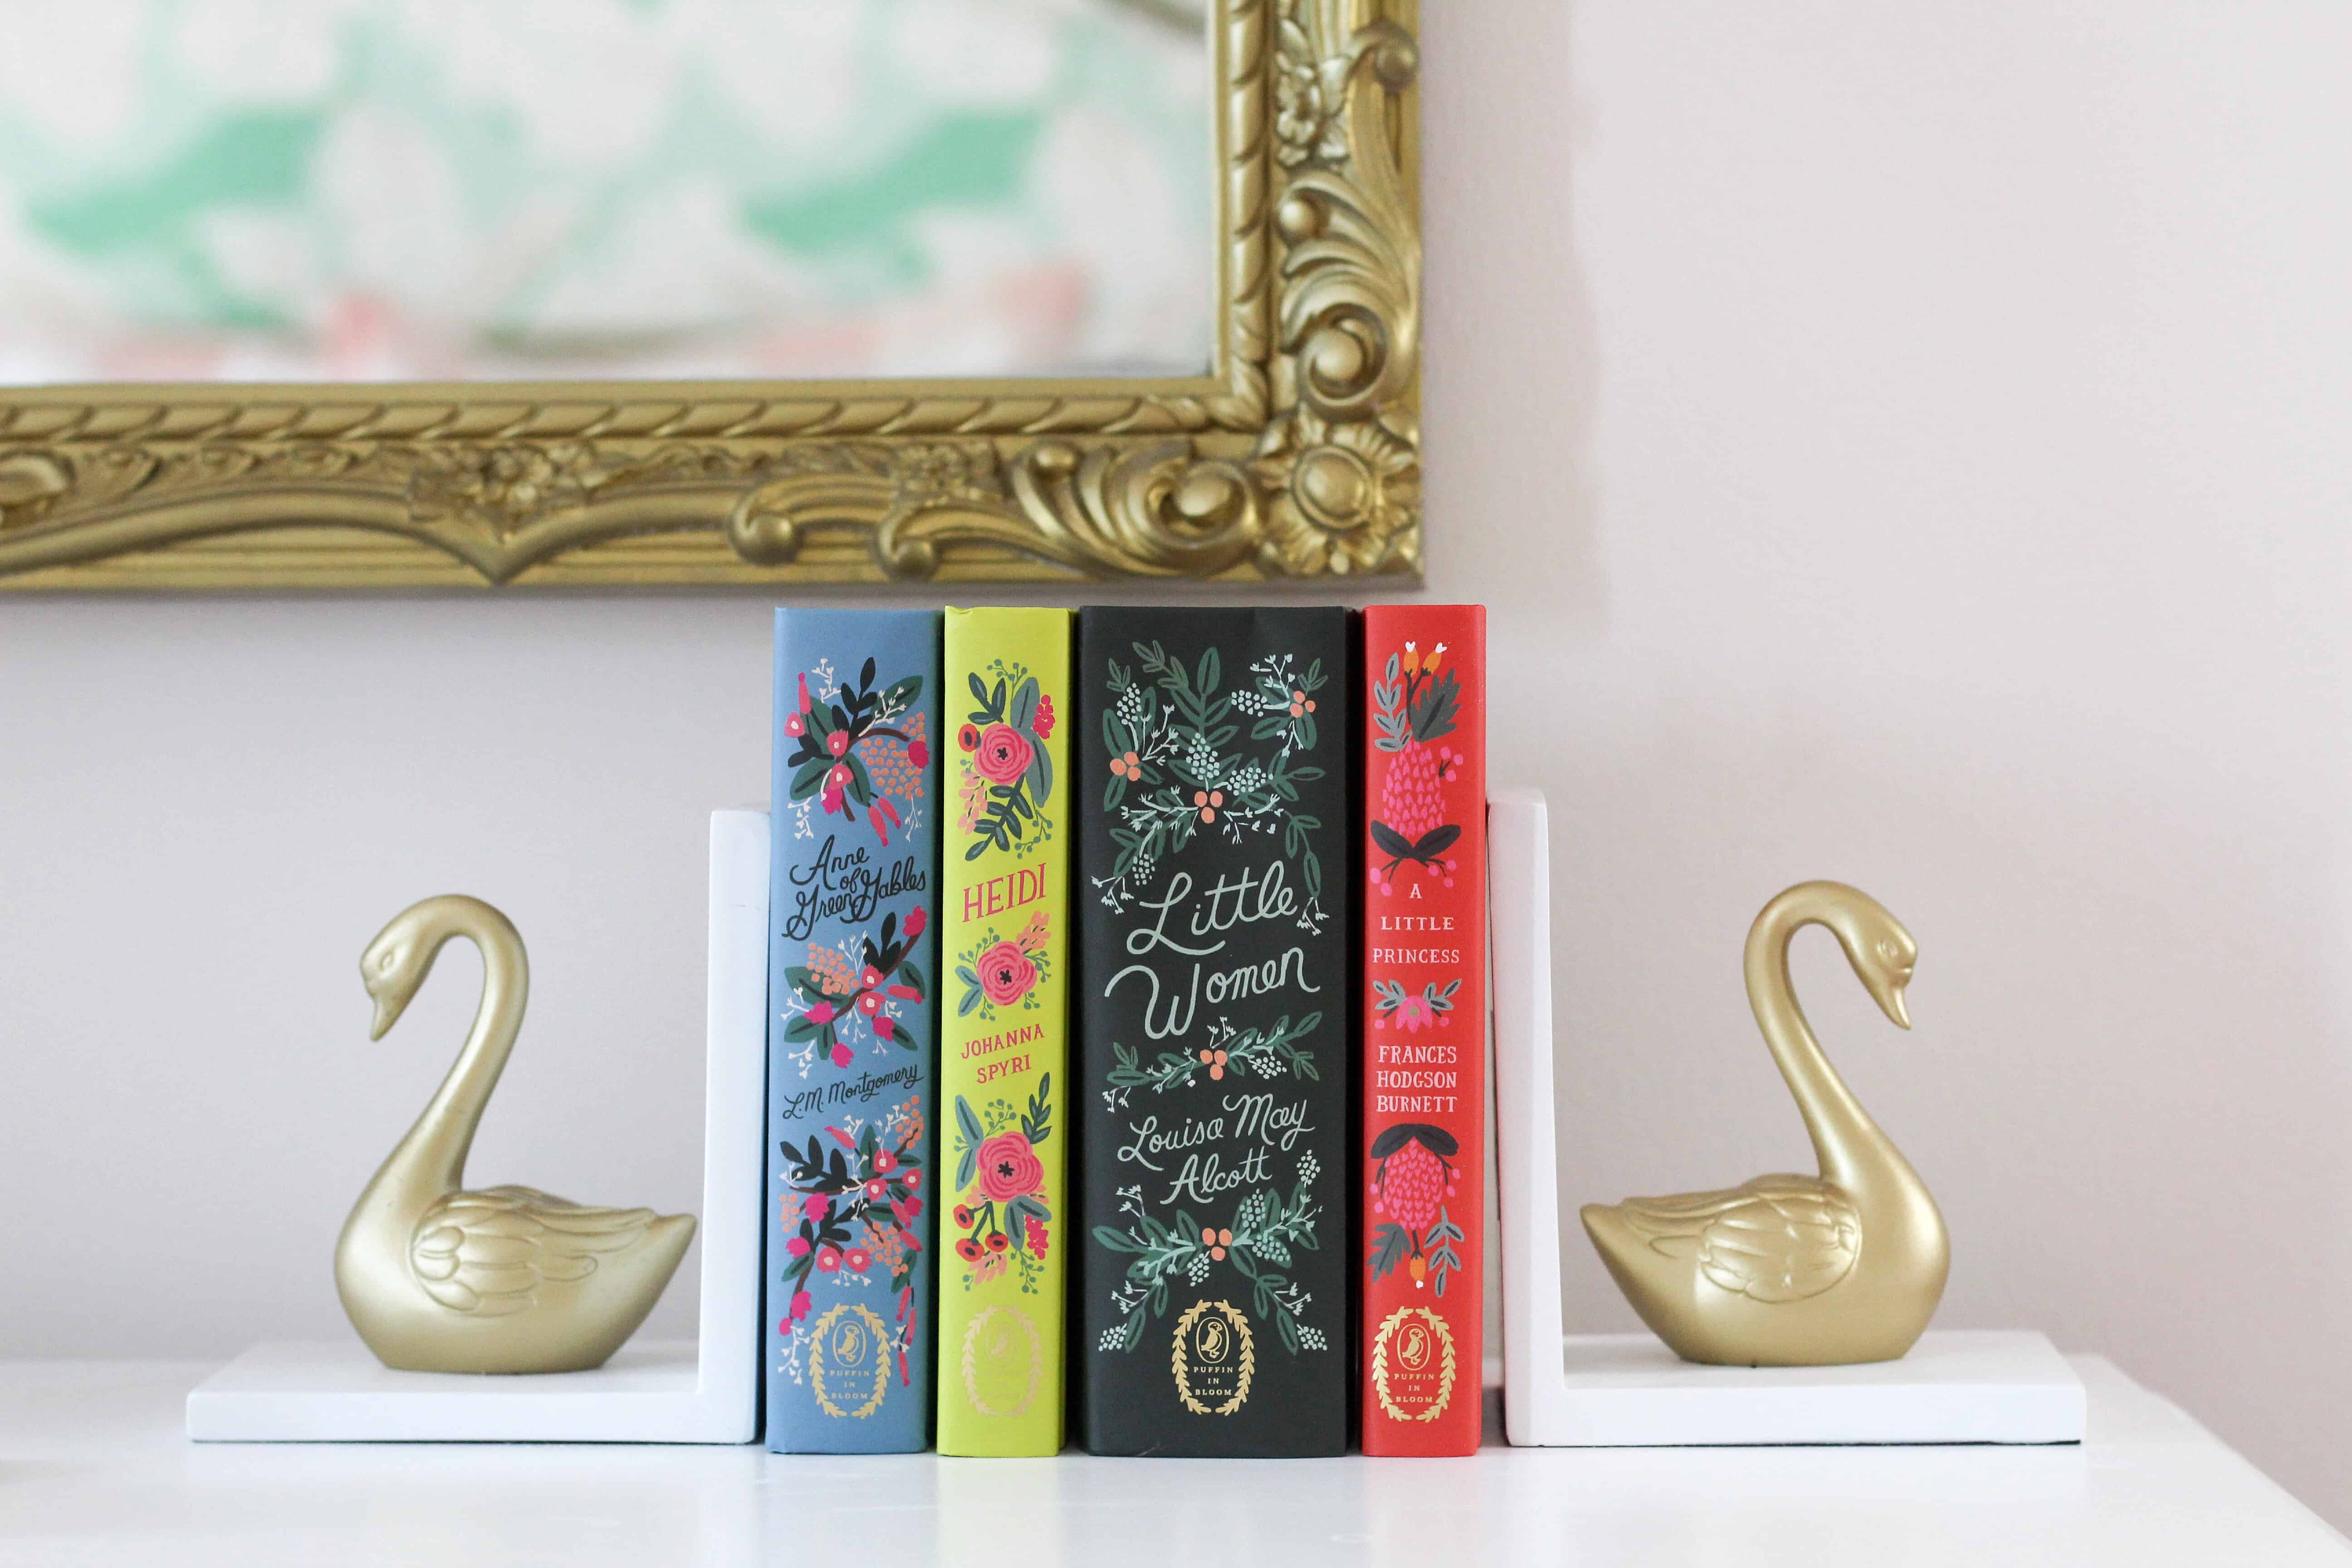
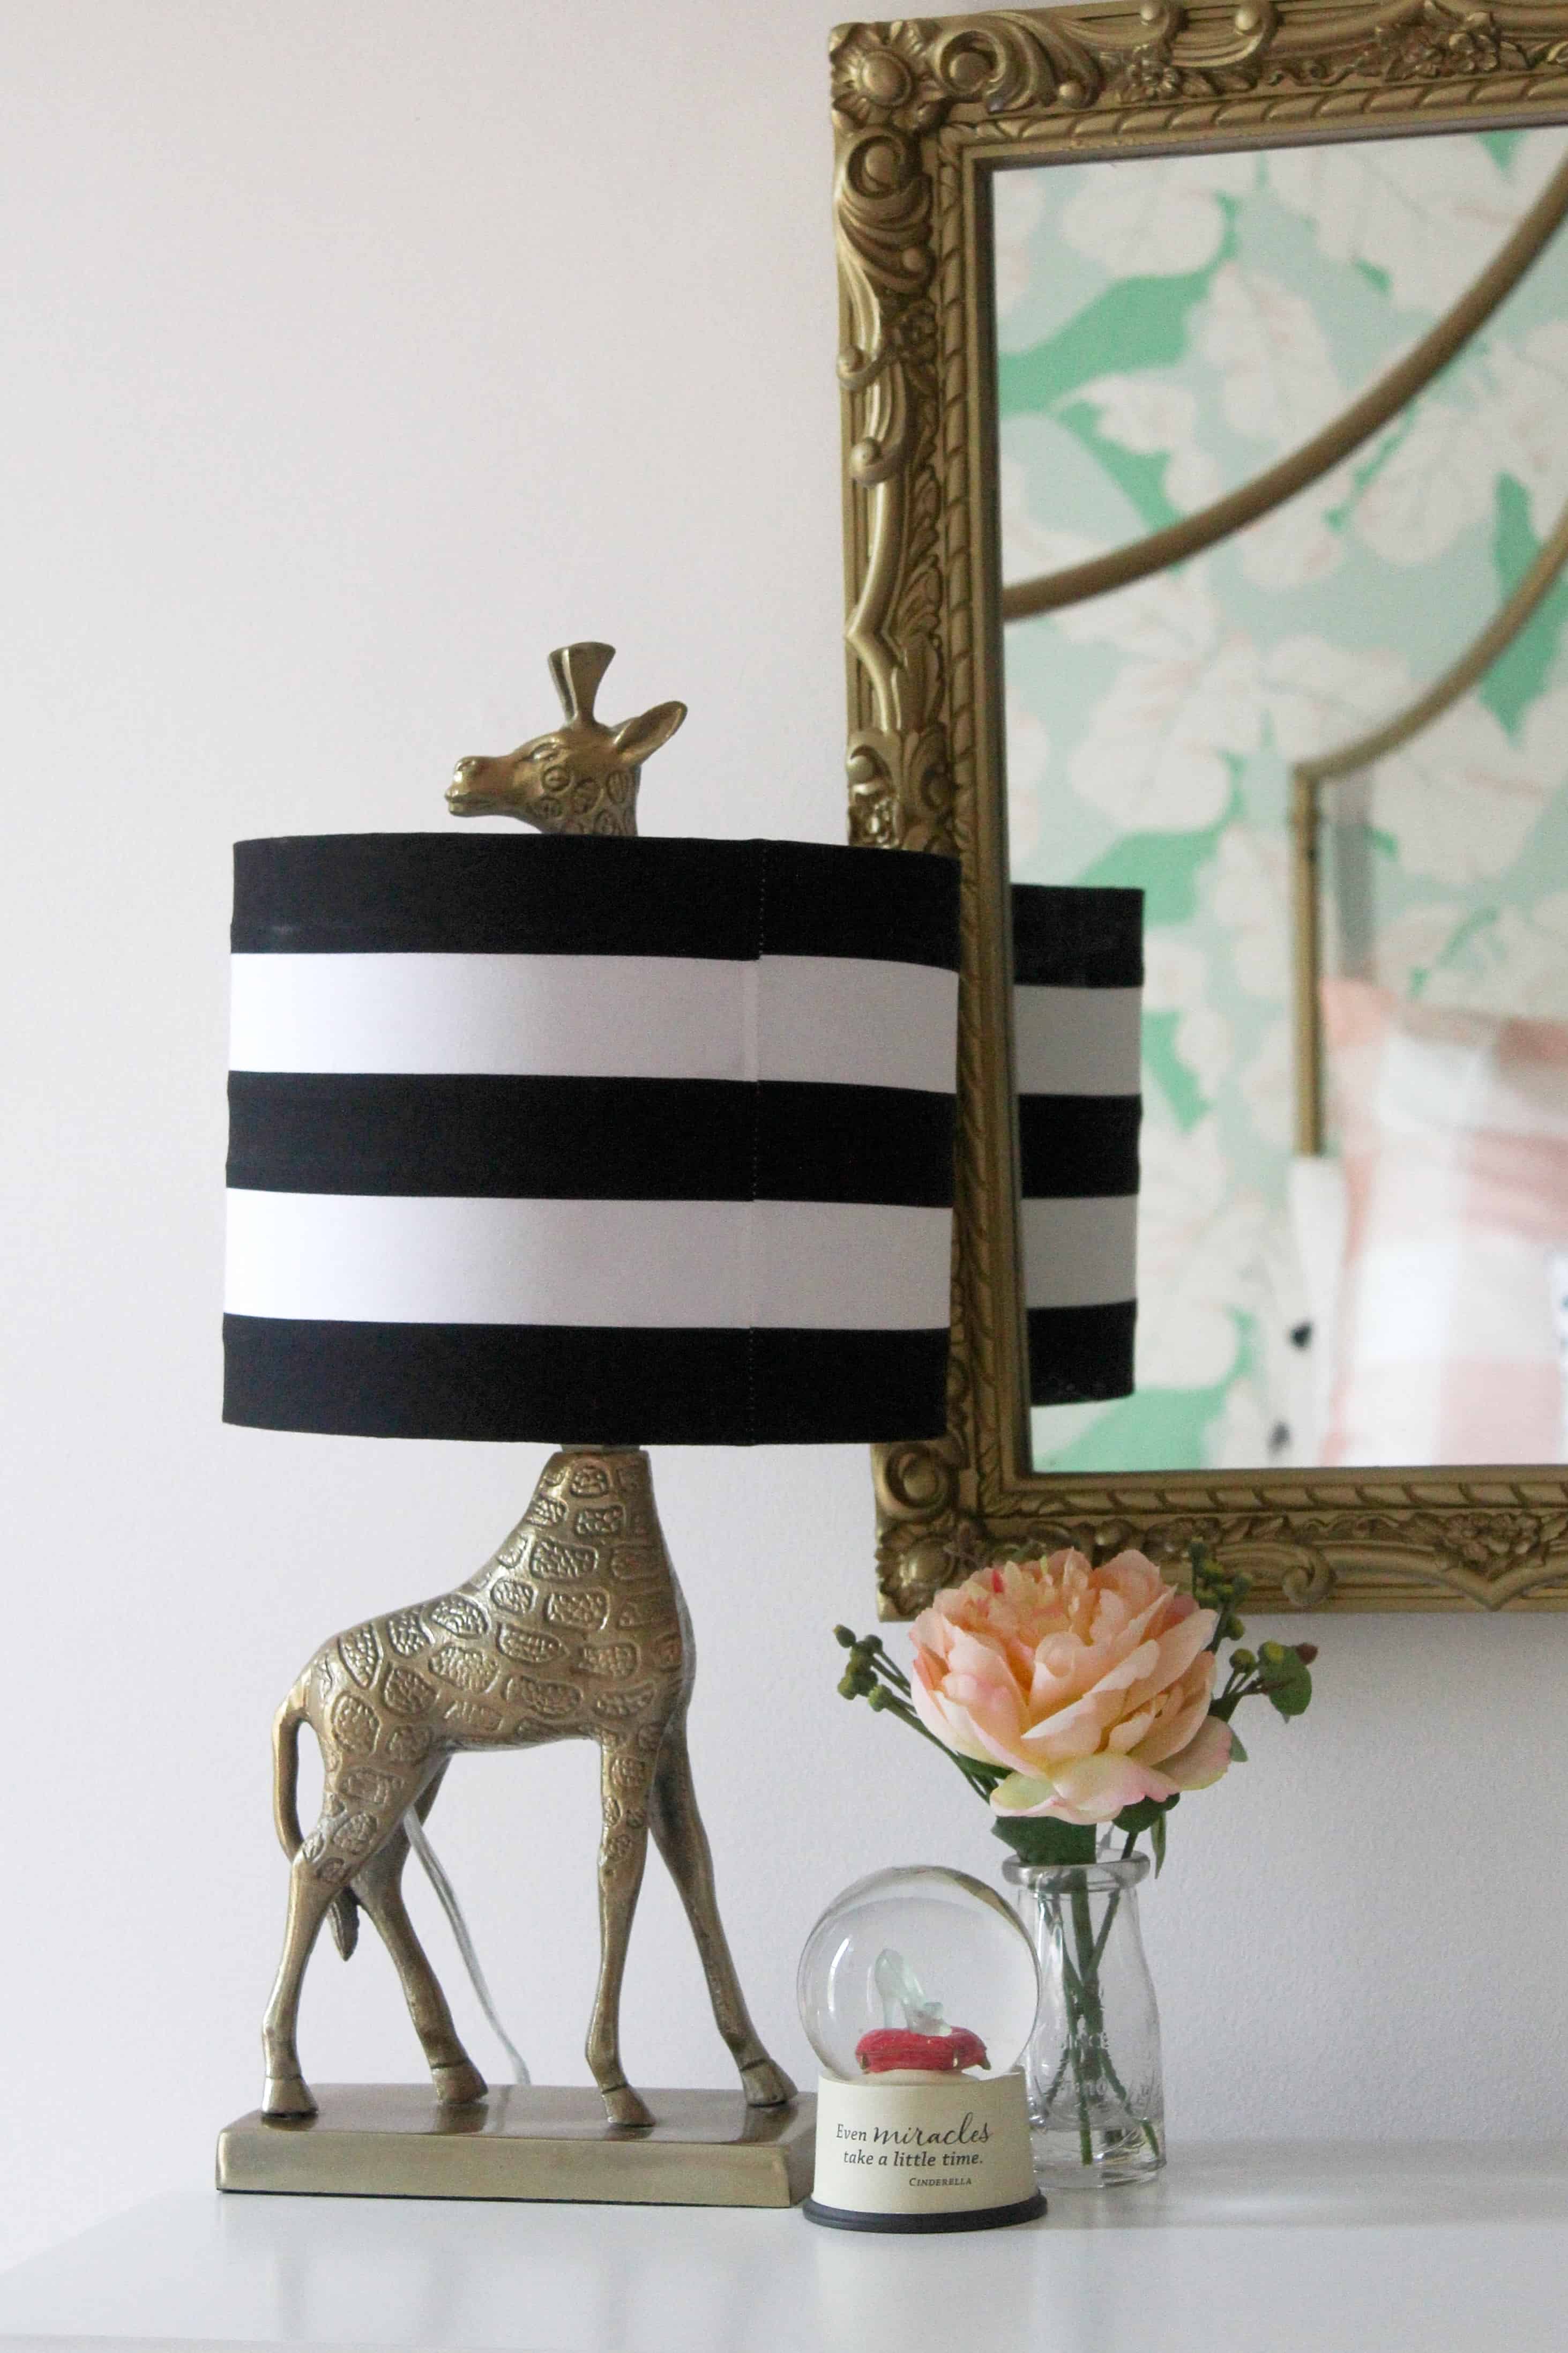
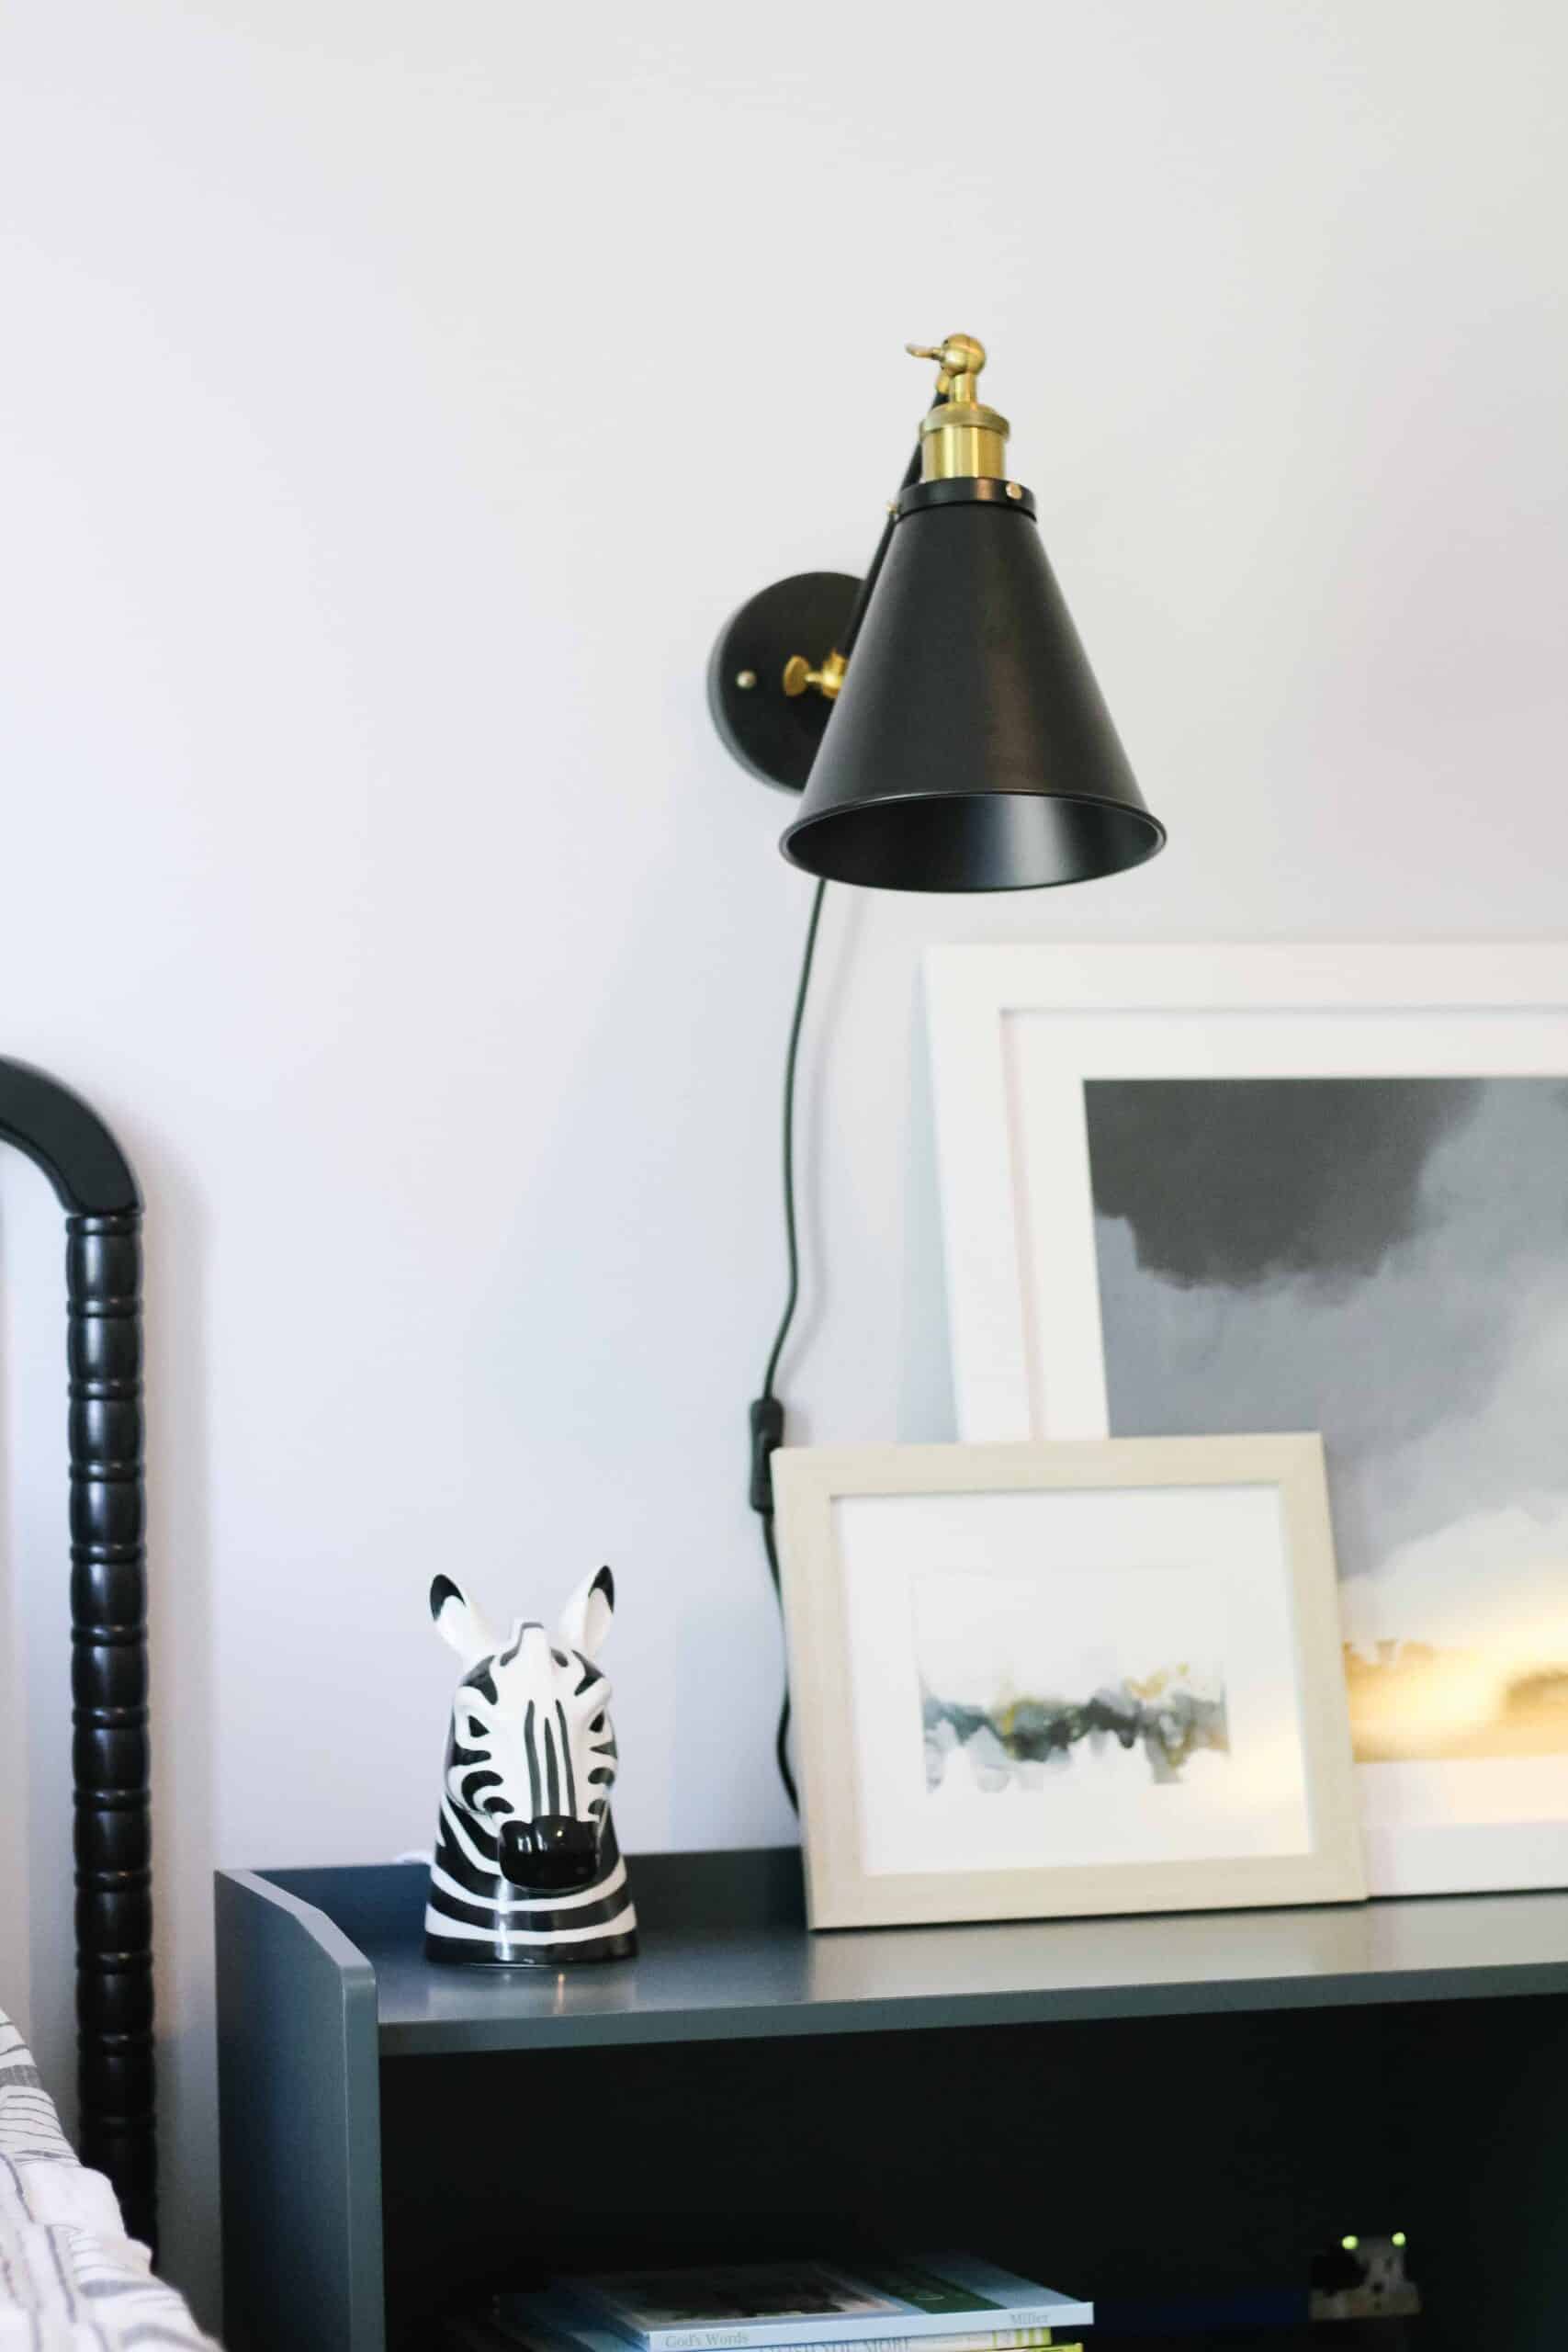
I loved the pairing of the blush gingham duvet and euro shams with the black and white pillows to tie in the bits of black throughout the room.
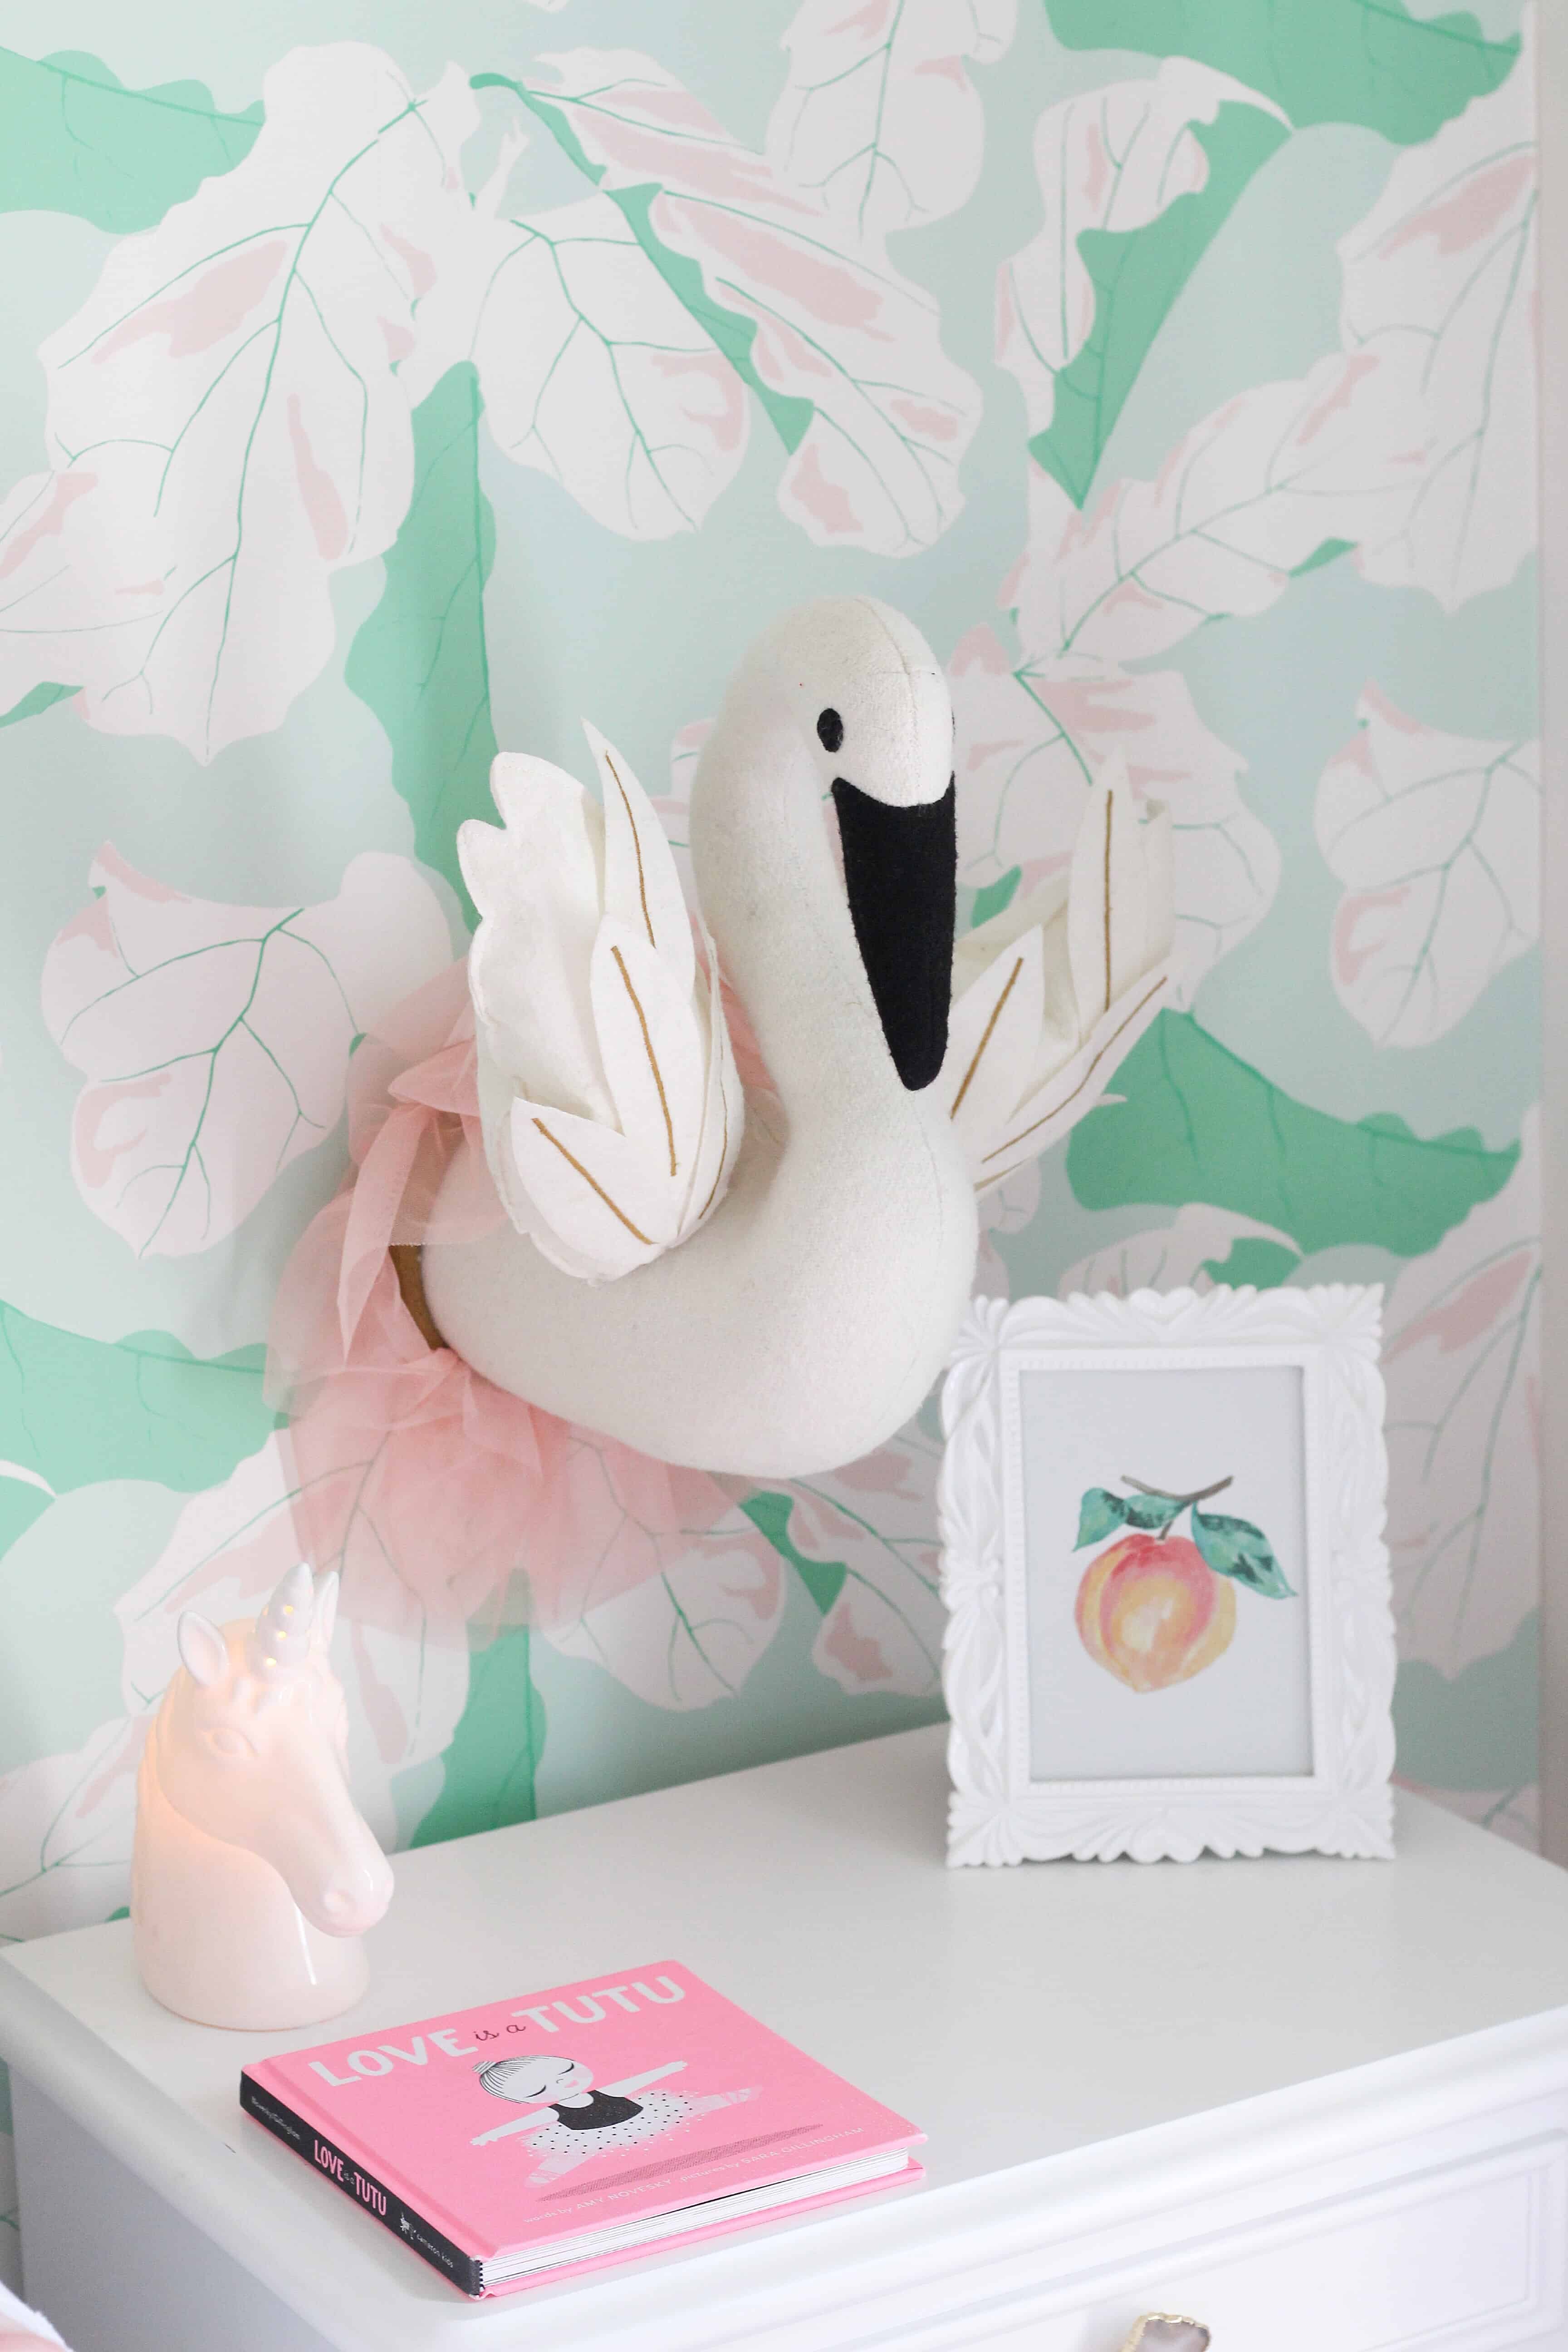
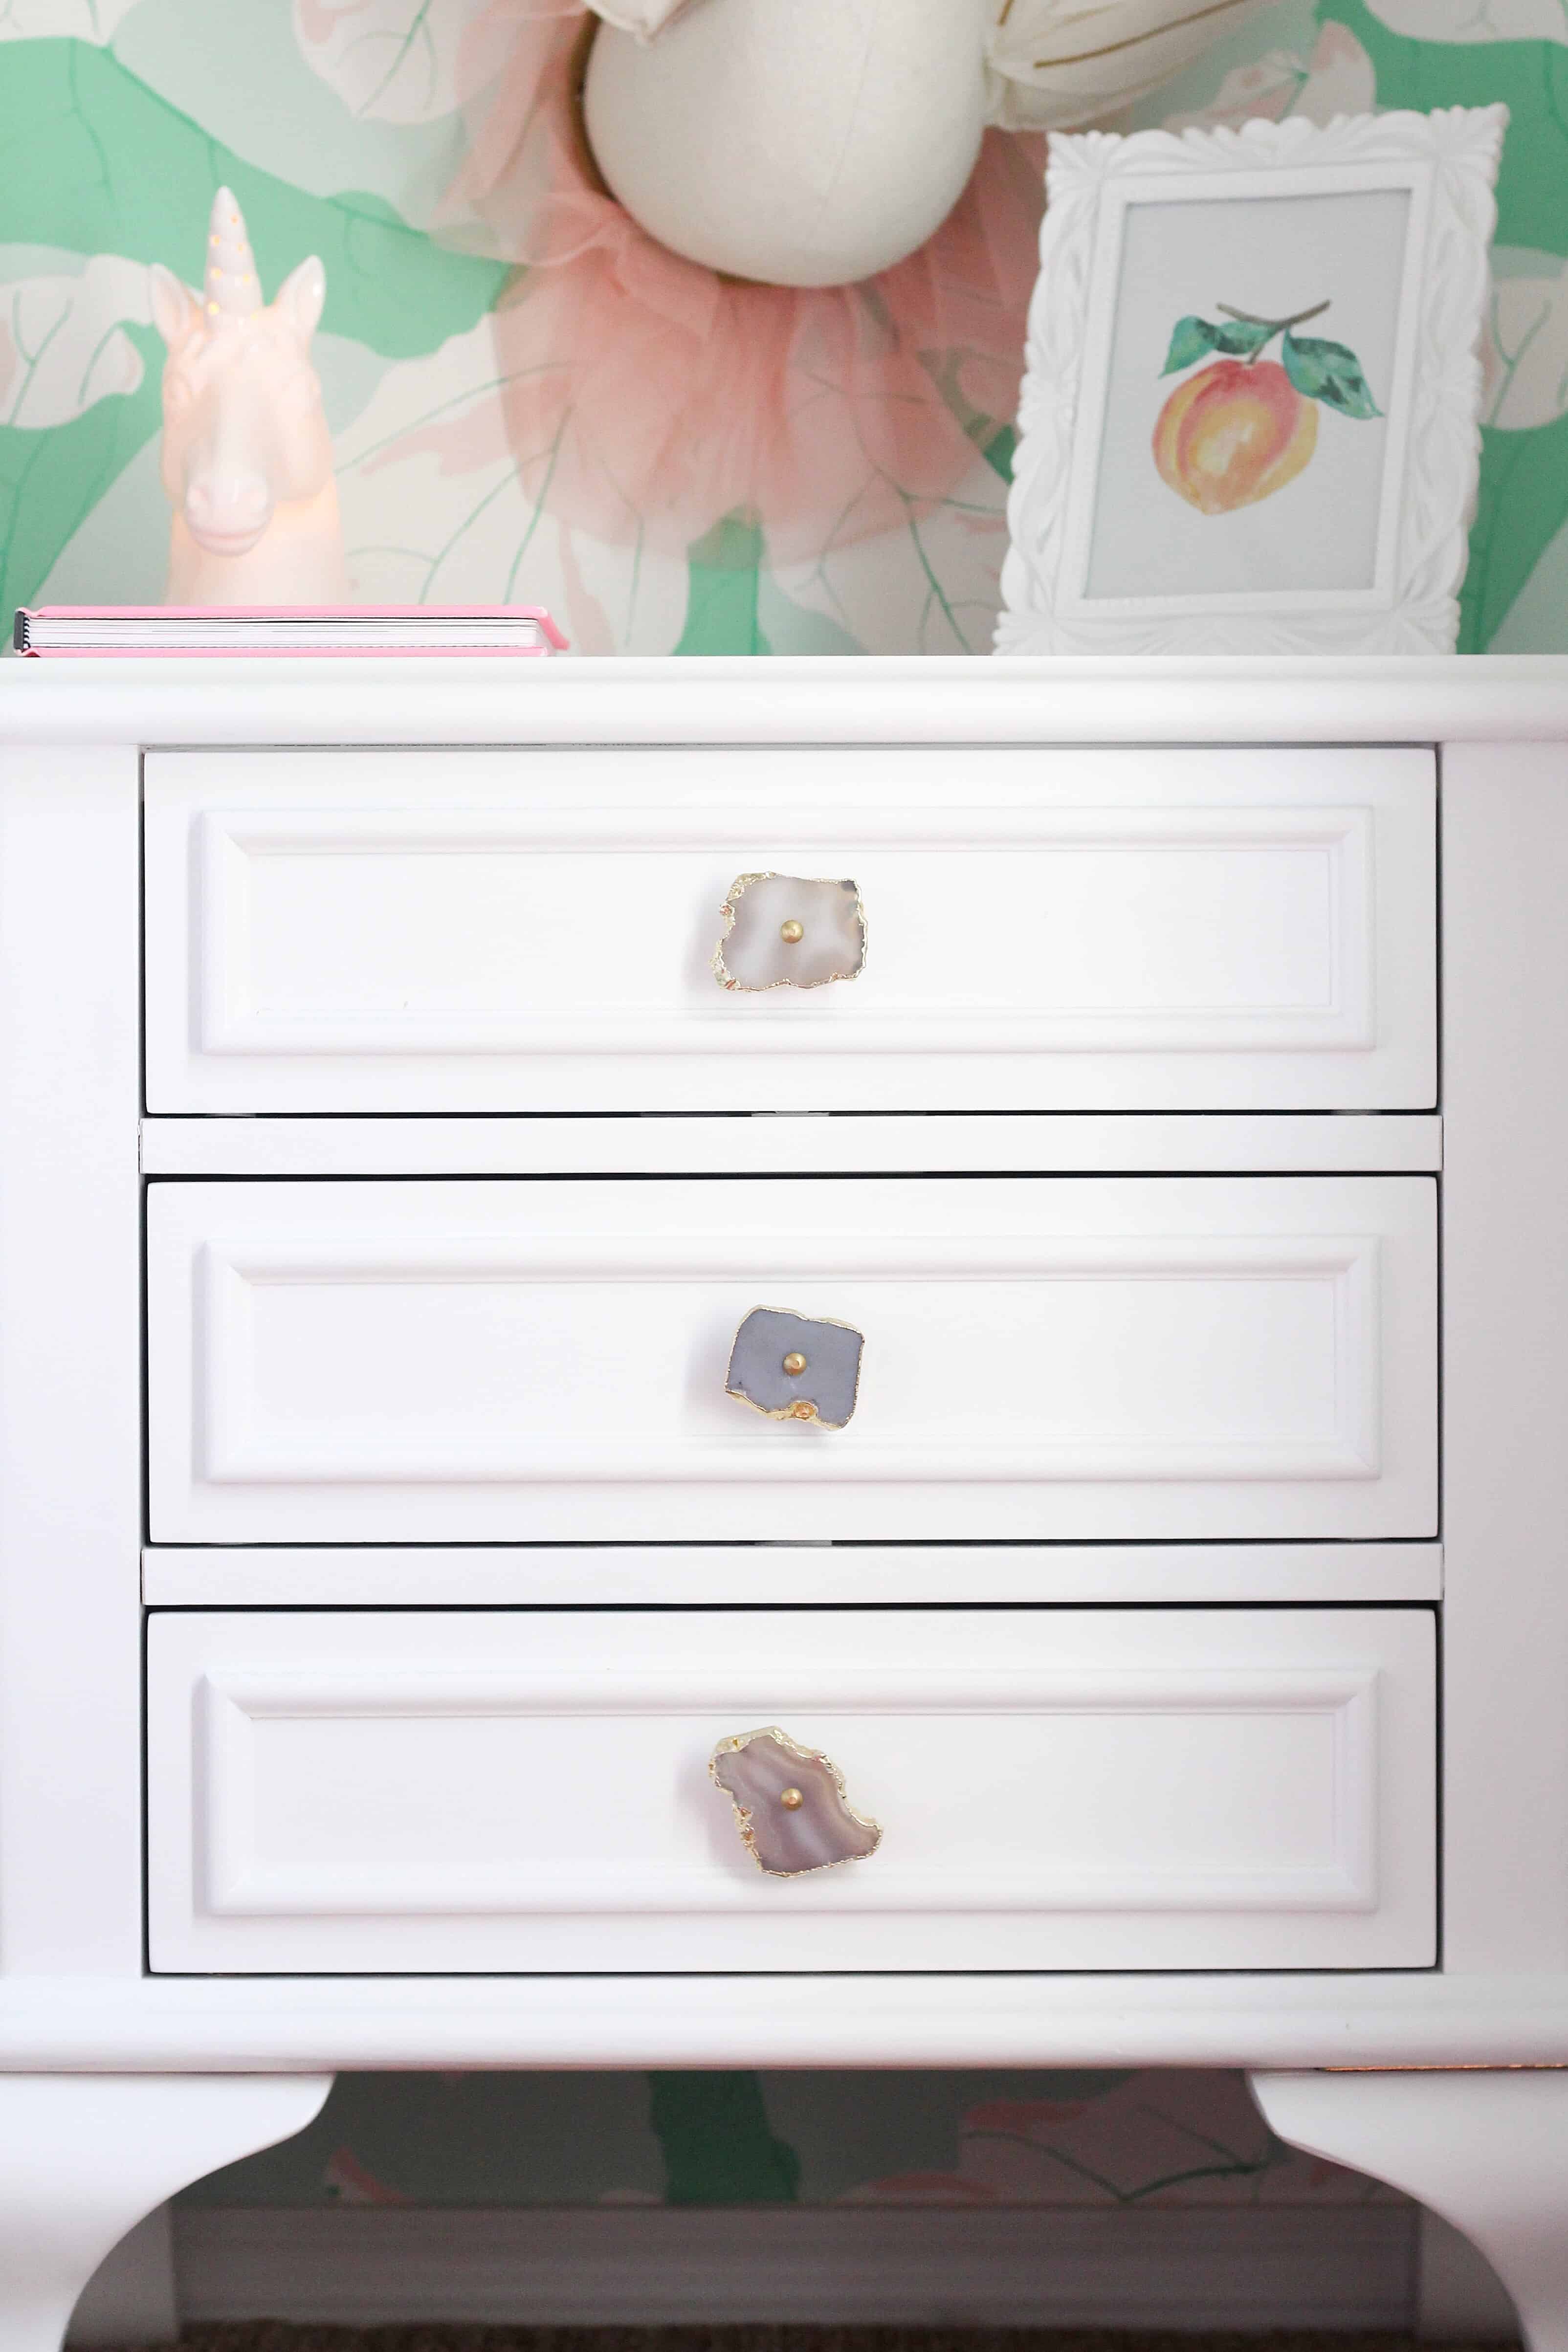
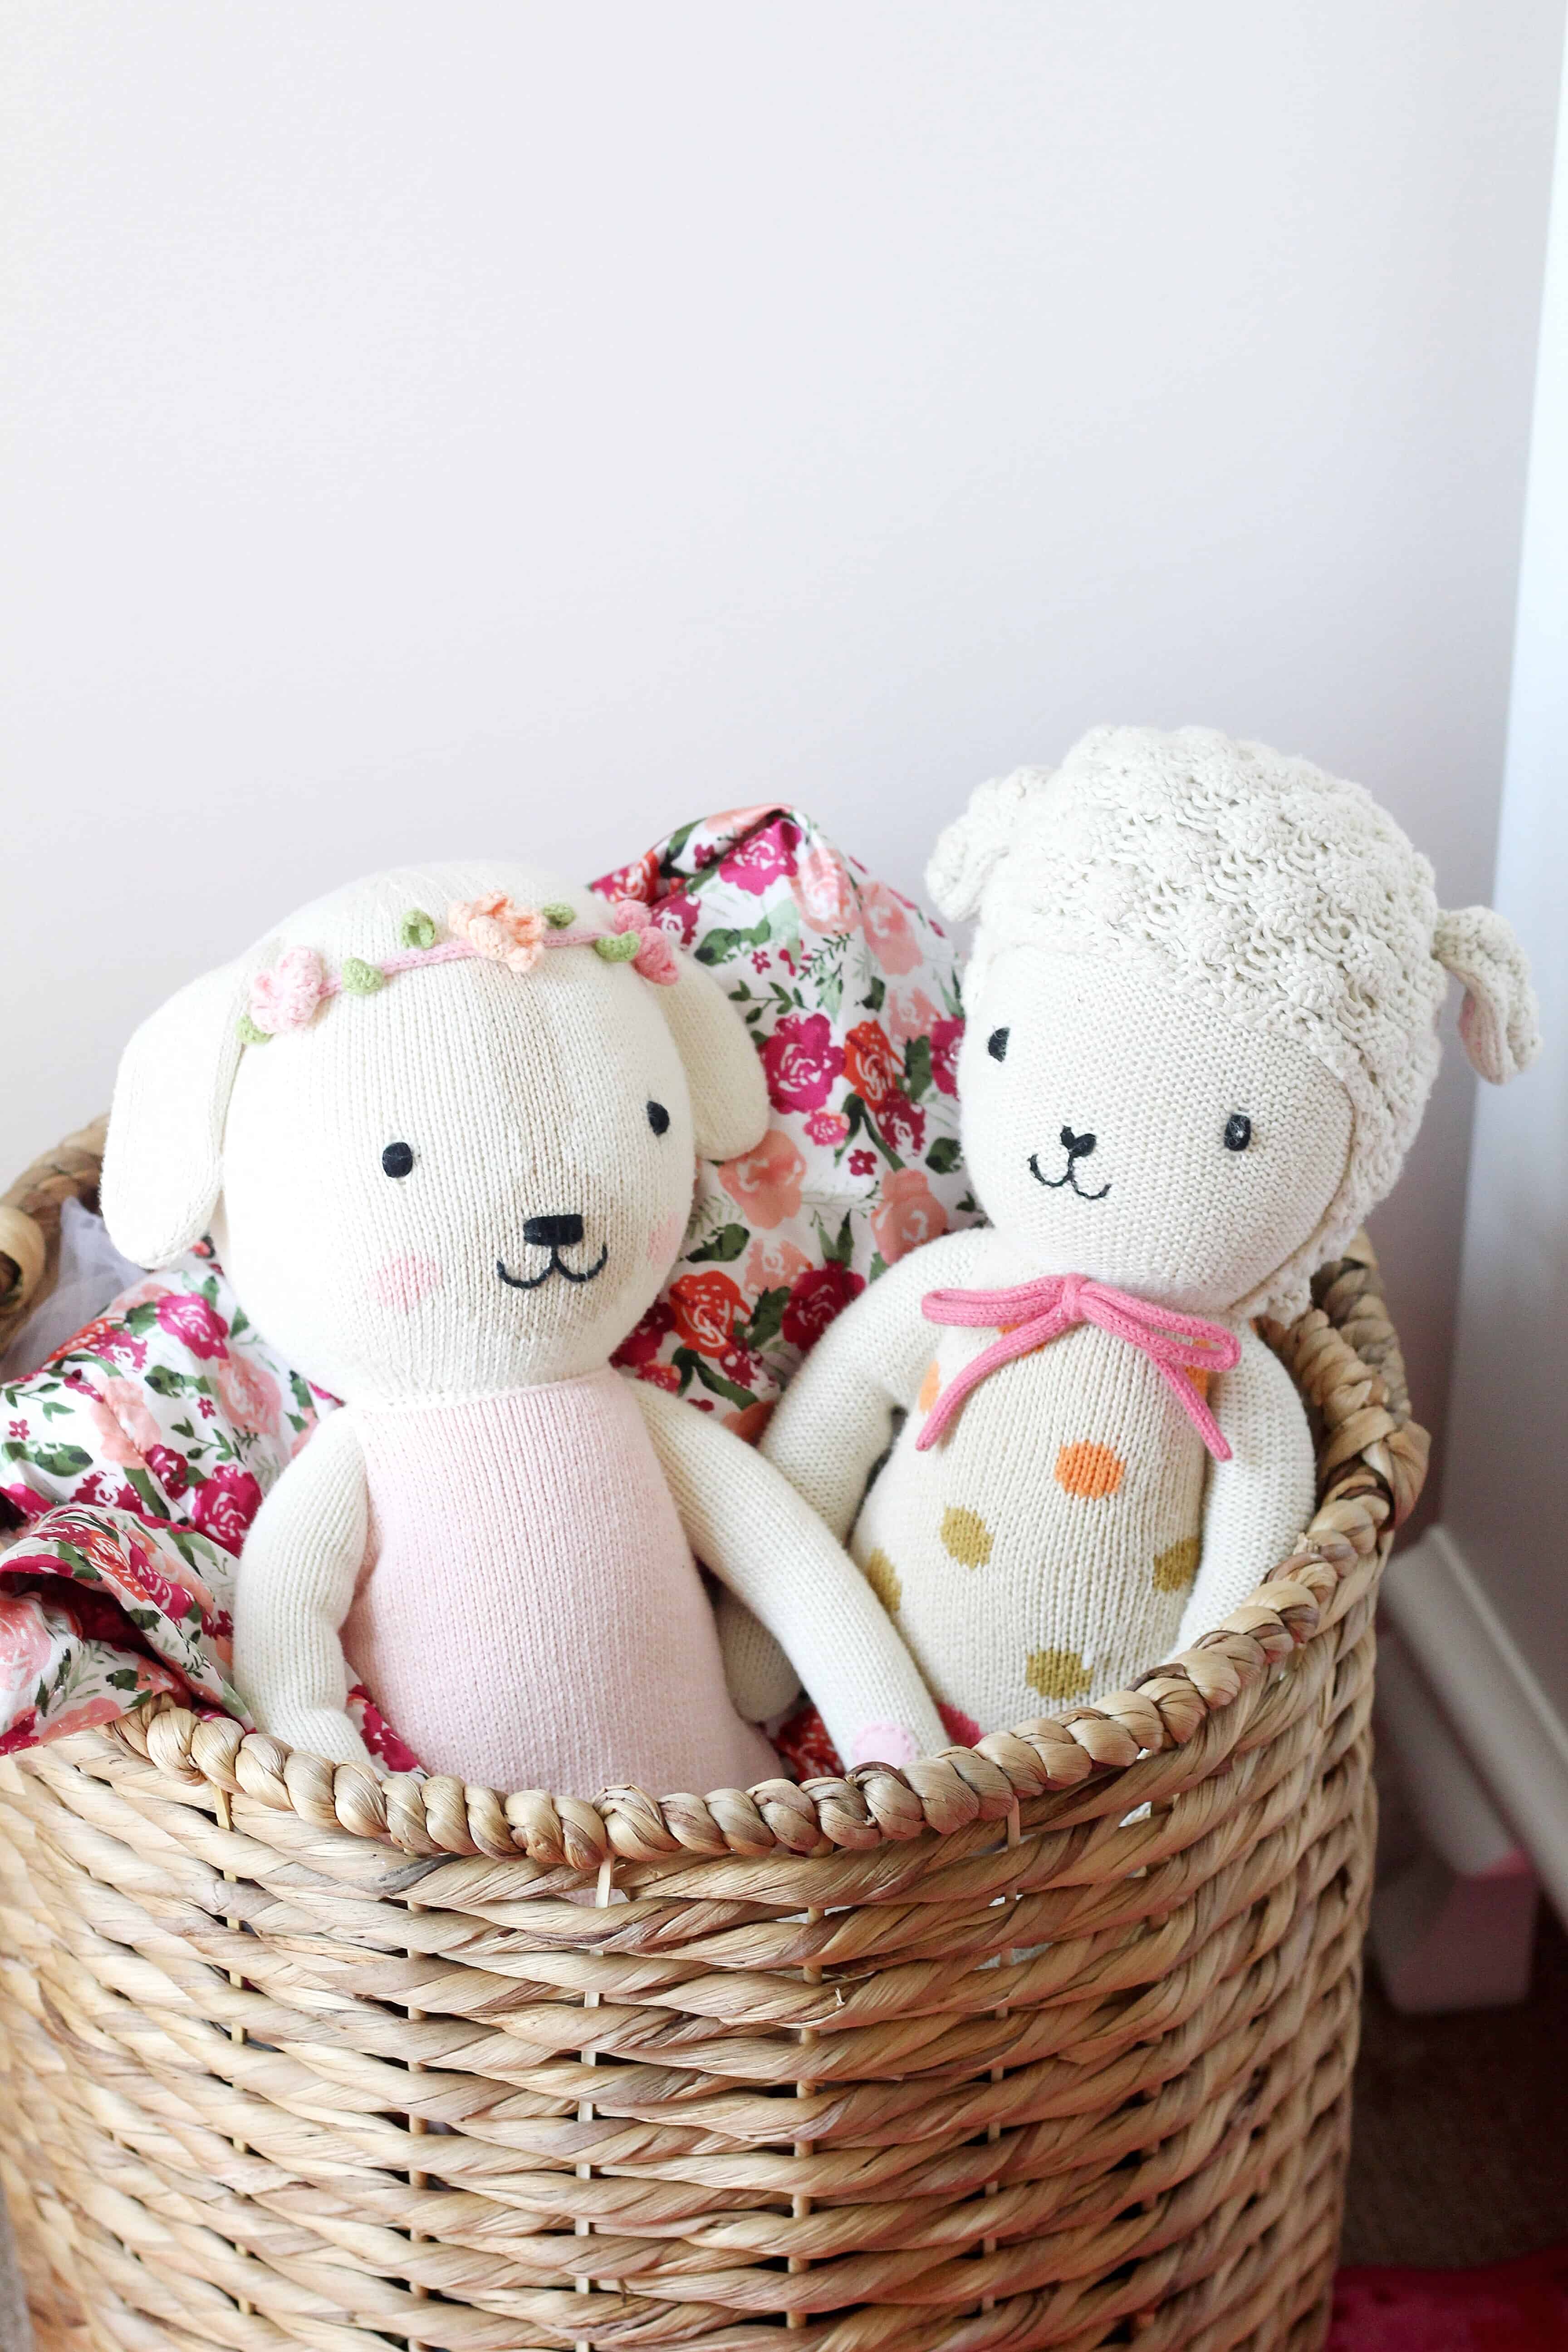
The Details
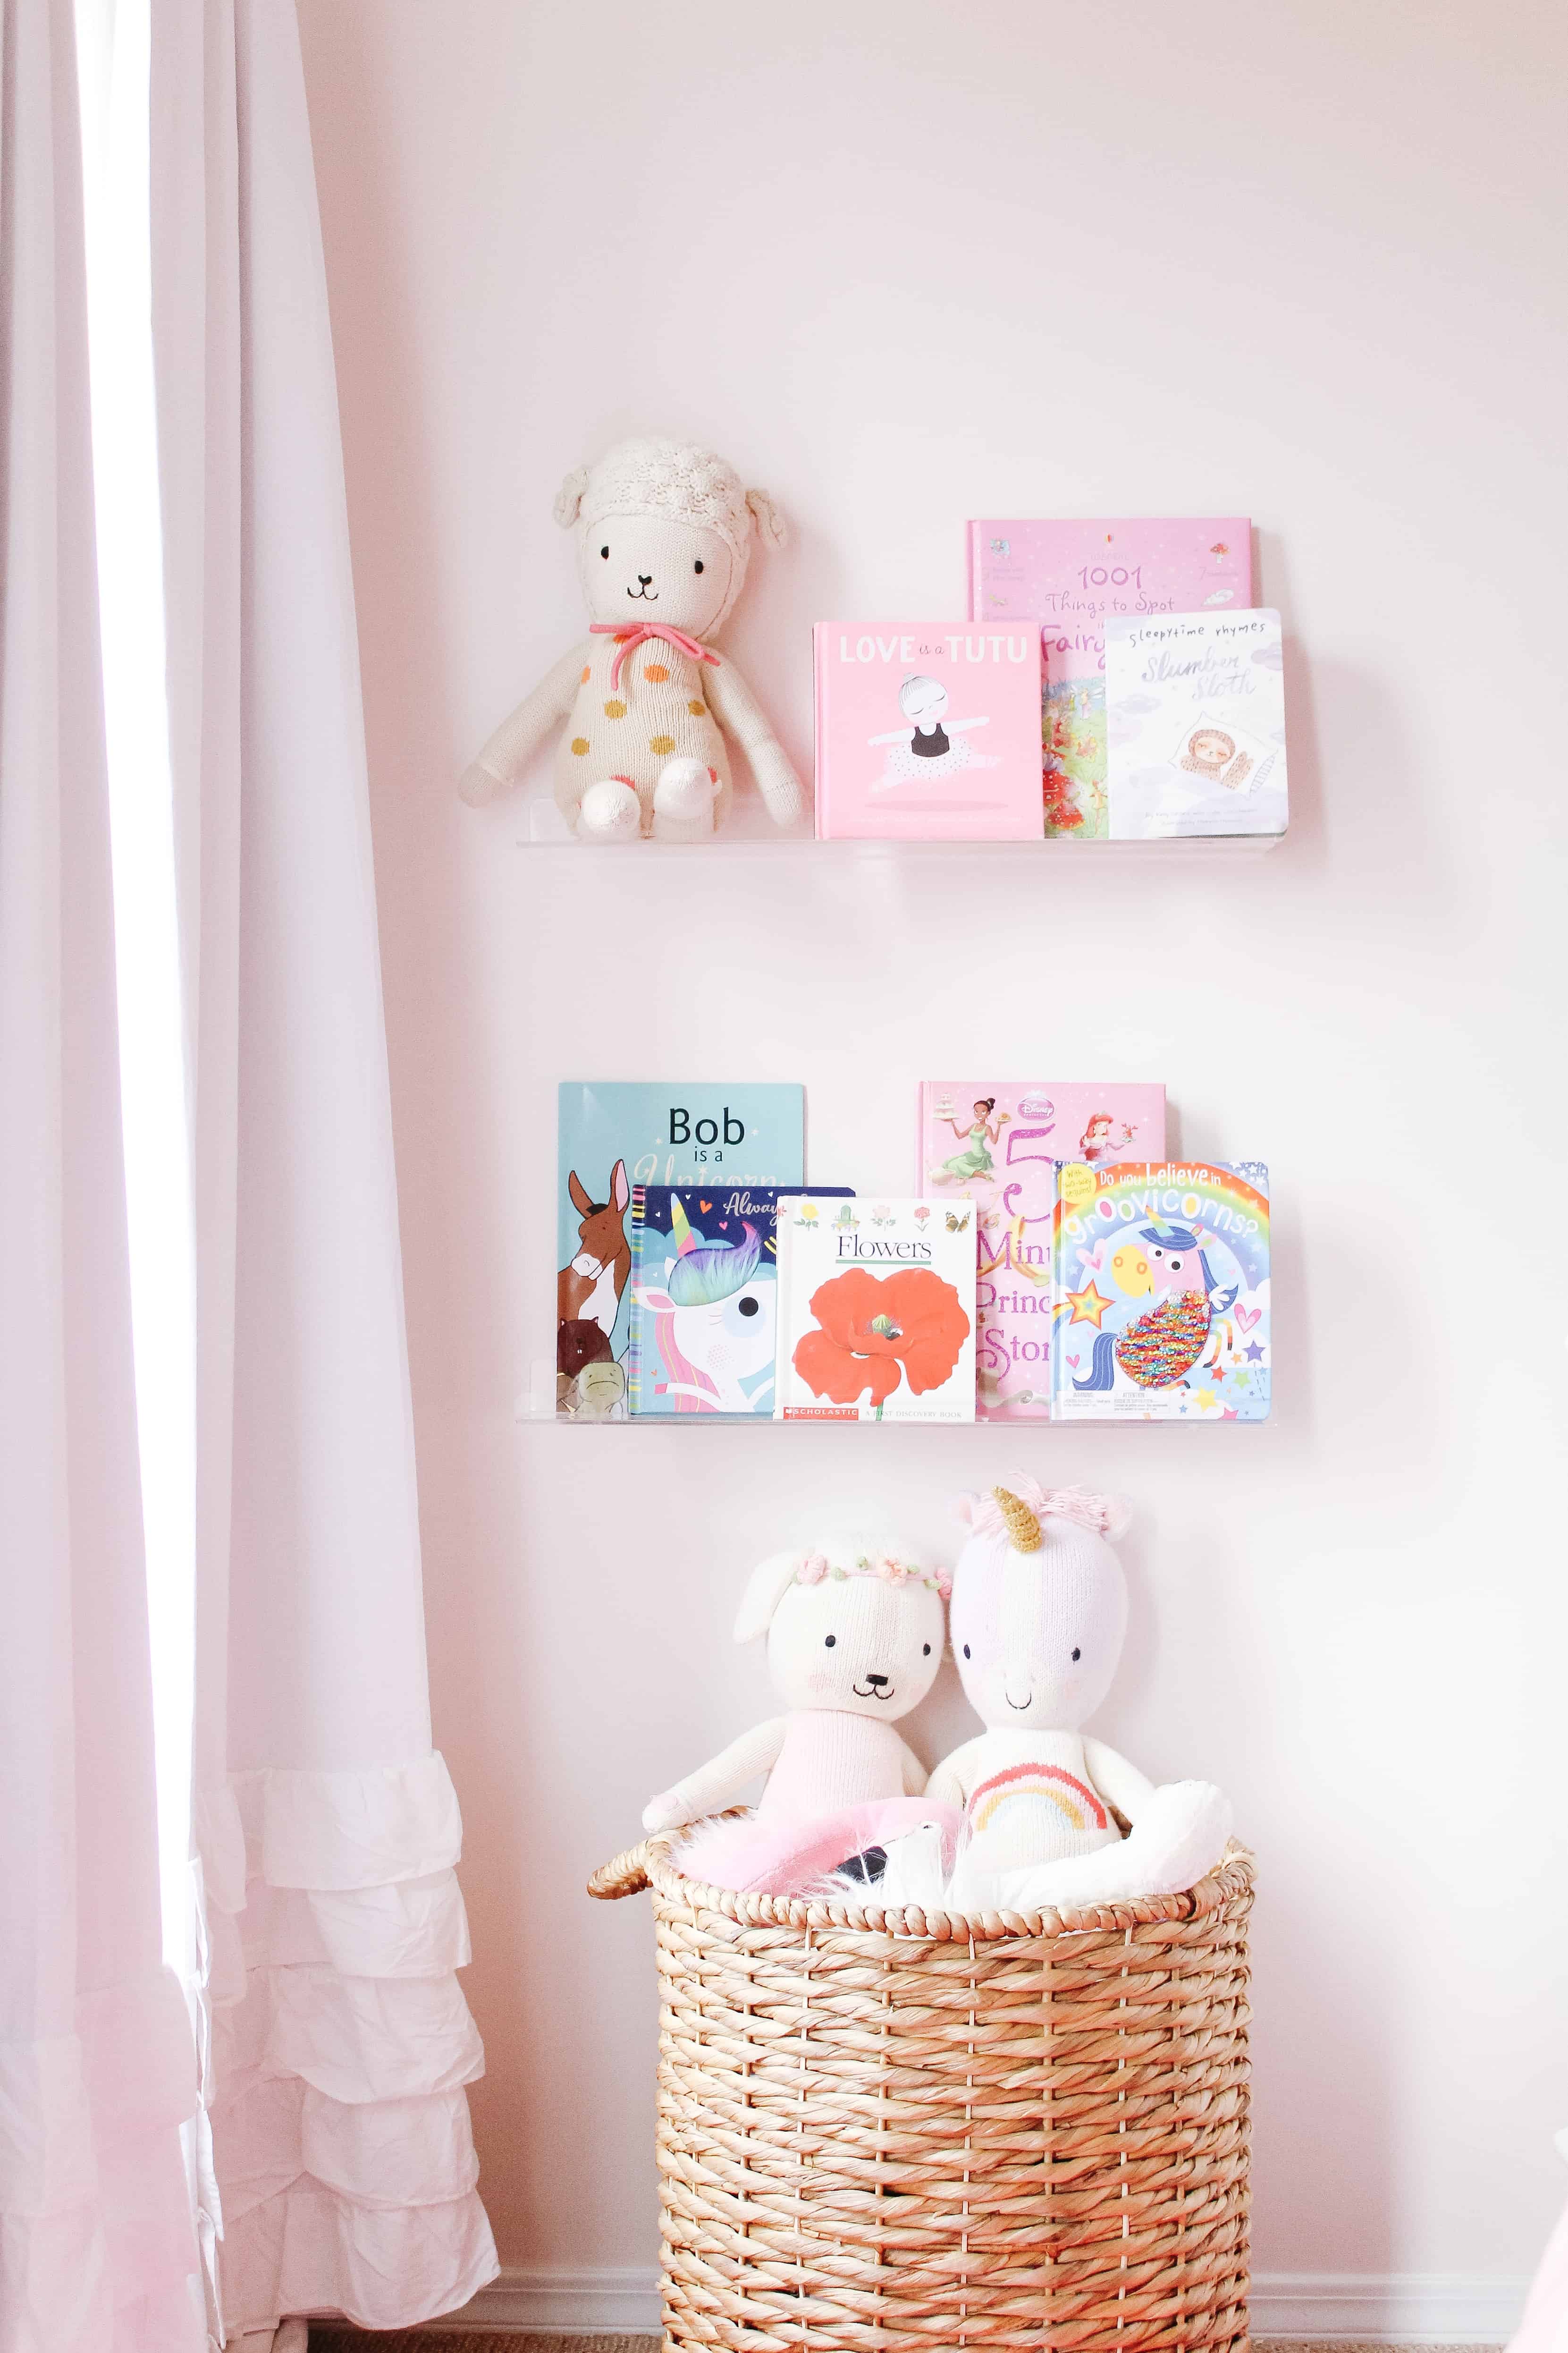
Its no secret that a room is made in the details. I will link all items at the end of this post, but I went with a bit of fun and whimsy to really fit Avé’s personality in the details. She loves Unicorns, so her Cuddle and Kind doll was perfect on her bed, and the name pillow has been in her room since she was born and is so special to us.
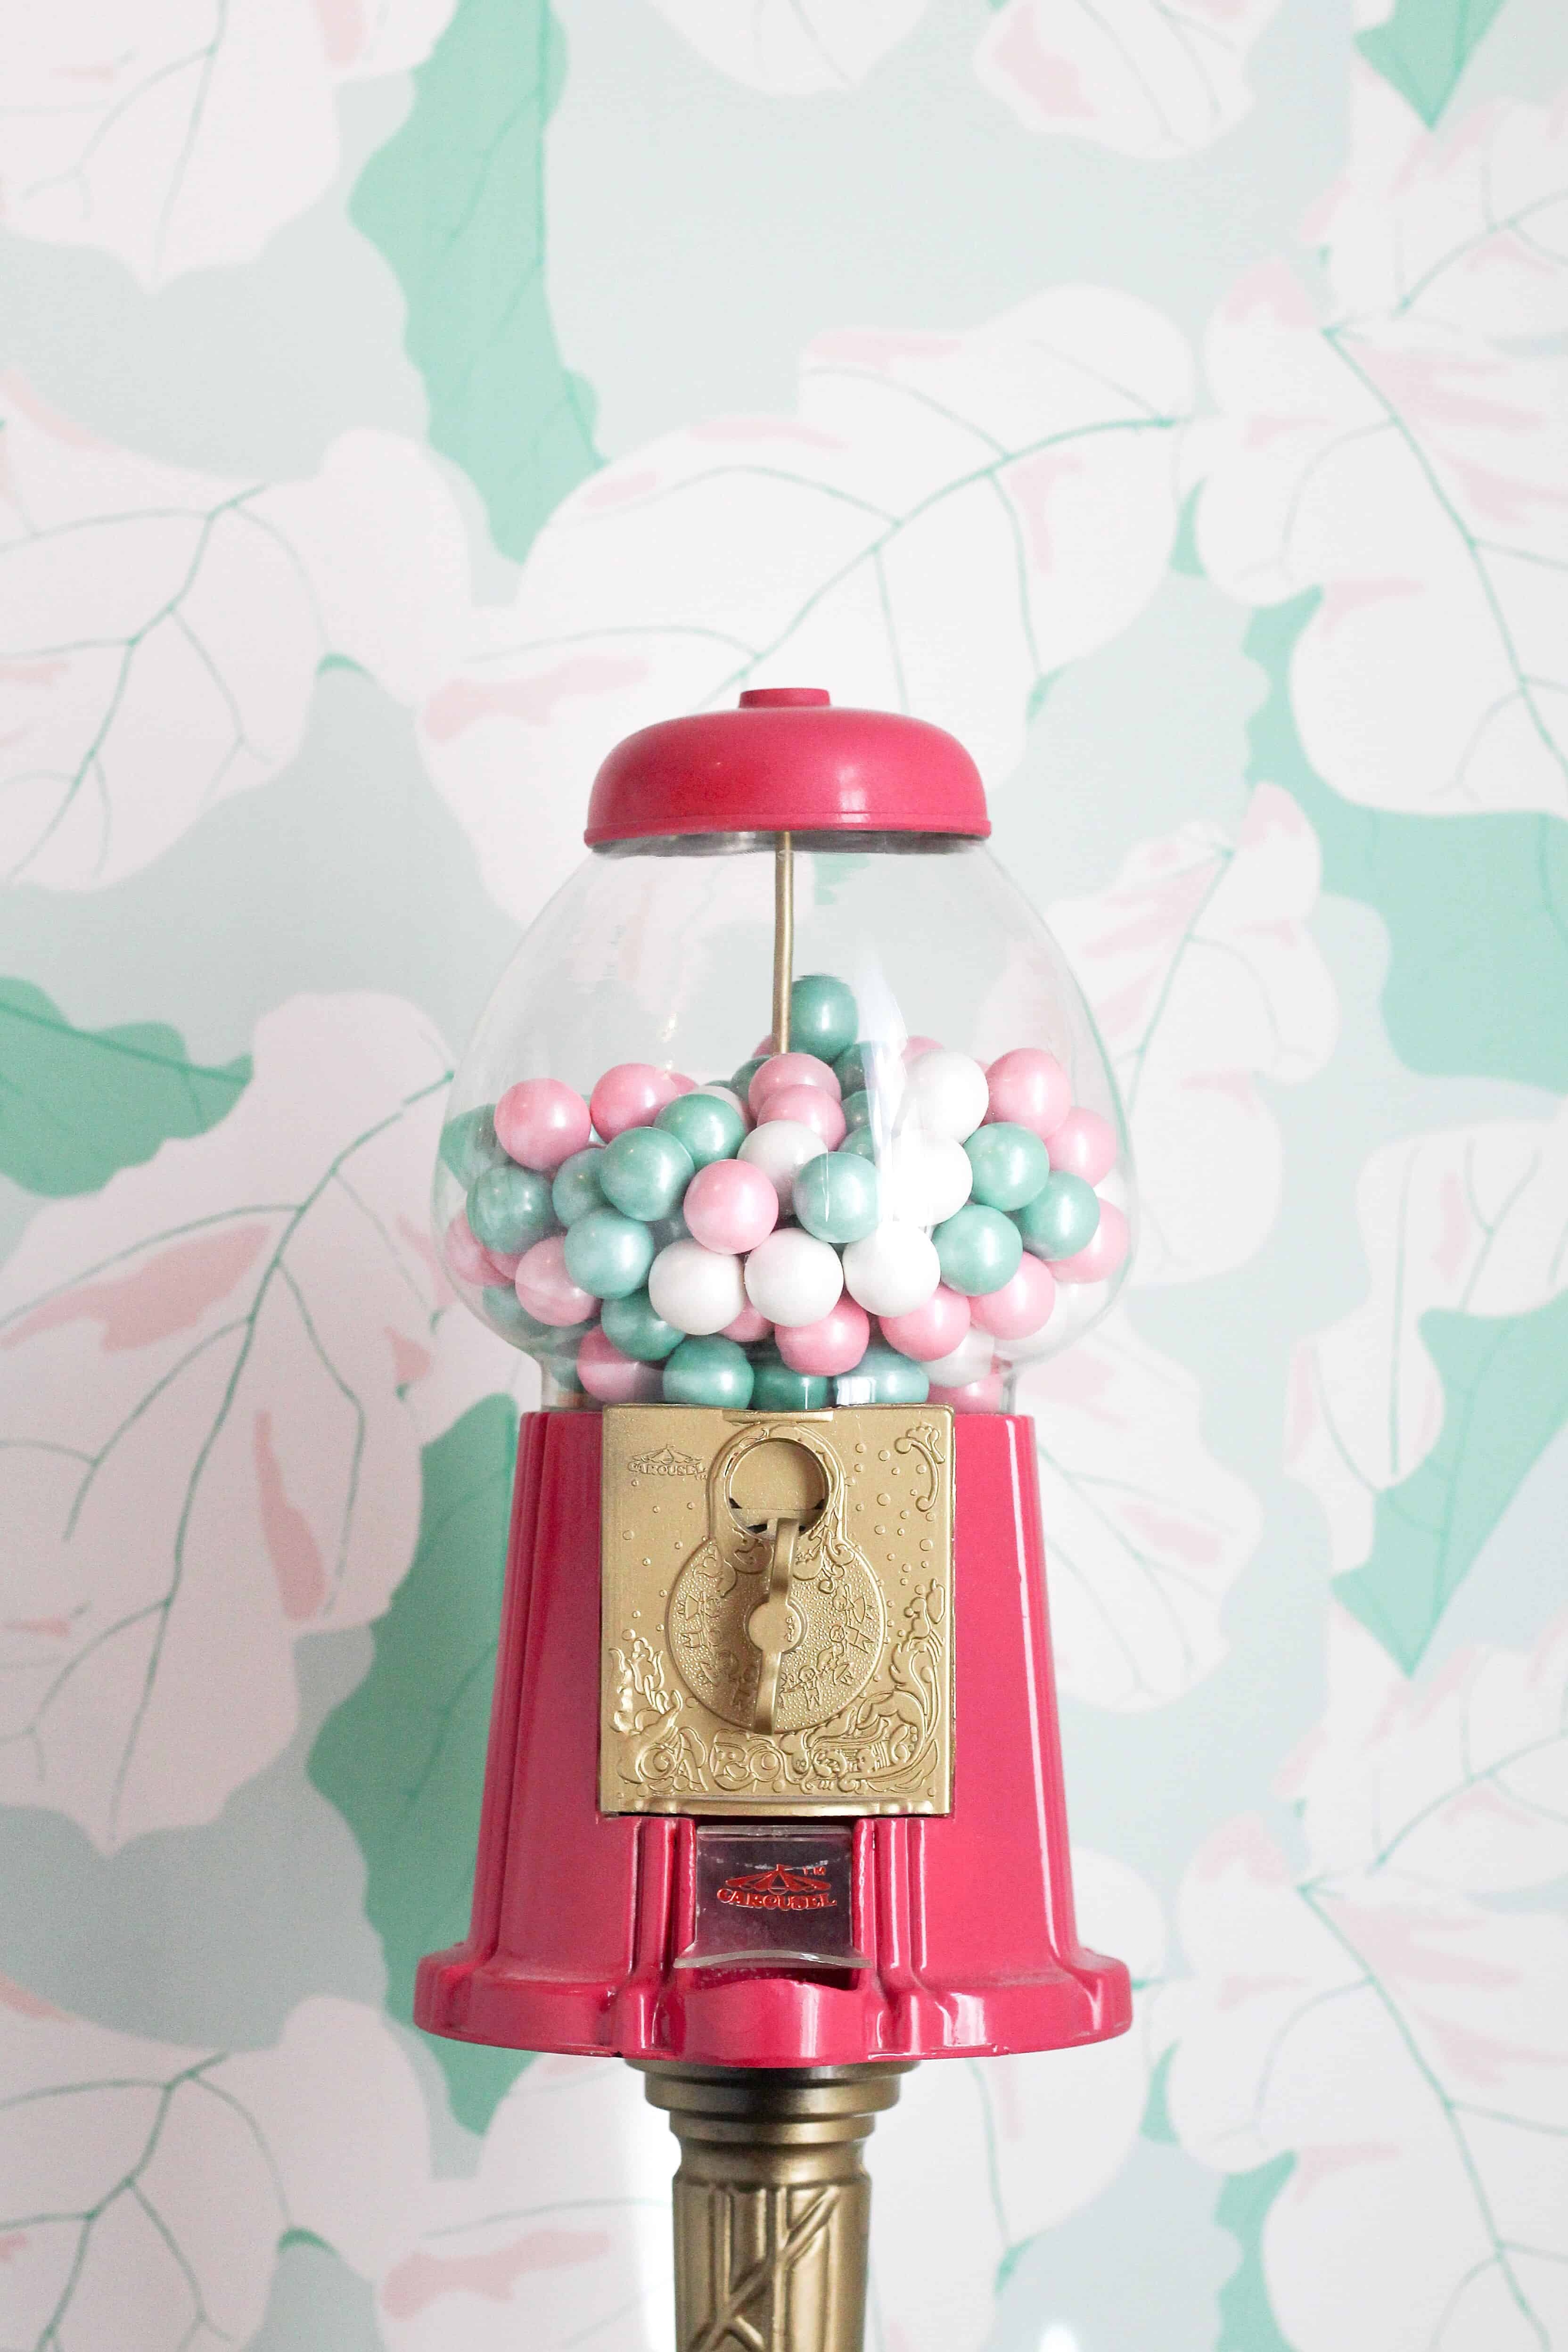
Some of the details have been in her room for a while and some were small. The gumball machine was my favorite aspect of her Nursery, and I hope I’m able to keep it in her room until she’s grown!
Jack has a little table and chair space in his room which has been so nice (see that here), so when we were finishing her room we knew we wanted to try to add a space like that for Avé, but her room doesn’t have a ton of space.
We ended up going with this acrylic table and chair to not feel too heavy, and we LOVE IT!
The other big addition was a larger rug. This one from Joss and Main is so gorgeous and it was definitely the icing on the cake!
If you have any questions about picking out toddler girl room wallpaper from Spoonflower be sure to let me know in the comments below, or send me an email! I am always happy to help.
Who is ready for some light fixtures from Amazon? I have been a little quiet on here the past week or so because of a fun family vacation (stay tuned for that post this week). Also, sometimes those big blog projects just take more time behind the scenes.
We are working on a pretty big DIY for our office as well as finishing up Avé’s room, so there has been lots of actual decorating happening, and thus LESS blogging about it. Part of the office remodel area is to add a light fixture because right now there is not one.
I wanted to show you guys some of my favorite light fixtures from Amazon I found while I was looking.
This post contains affiliate links
Light Fixtures from Amazon
When you are decorating, or updating a room, sometimes you don’t realize that lighting can make such an insane change. We have been in our home for roughy 4 years now, and I am still shocked every time I change out a light fixture.
My goal is to always find affordable, easily accessible items for you all to find, and Amazon is just that. I think it’s important to know that you don’t always have to spend a fortune to make a room look great.
This post shows several amazing lighting options from Amazon that will change your space in one move. I am also including links to a few rooms in my home where I have included lighting from Amazon that you will love.
Shop the Light Fixtures Below
Some links are to similar as some items sell out – I will do my best to keep all links up to date to something similar and equally as great!
We have been wanting to change out a lot of the more flush mount type lights through our house, and I am thinking this would be a great option in some of our hallways and such!
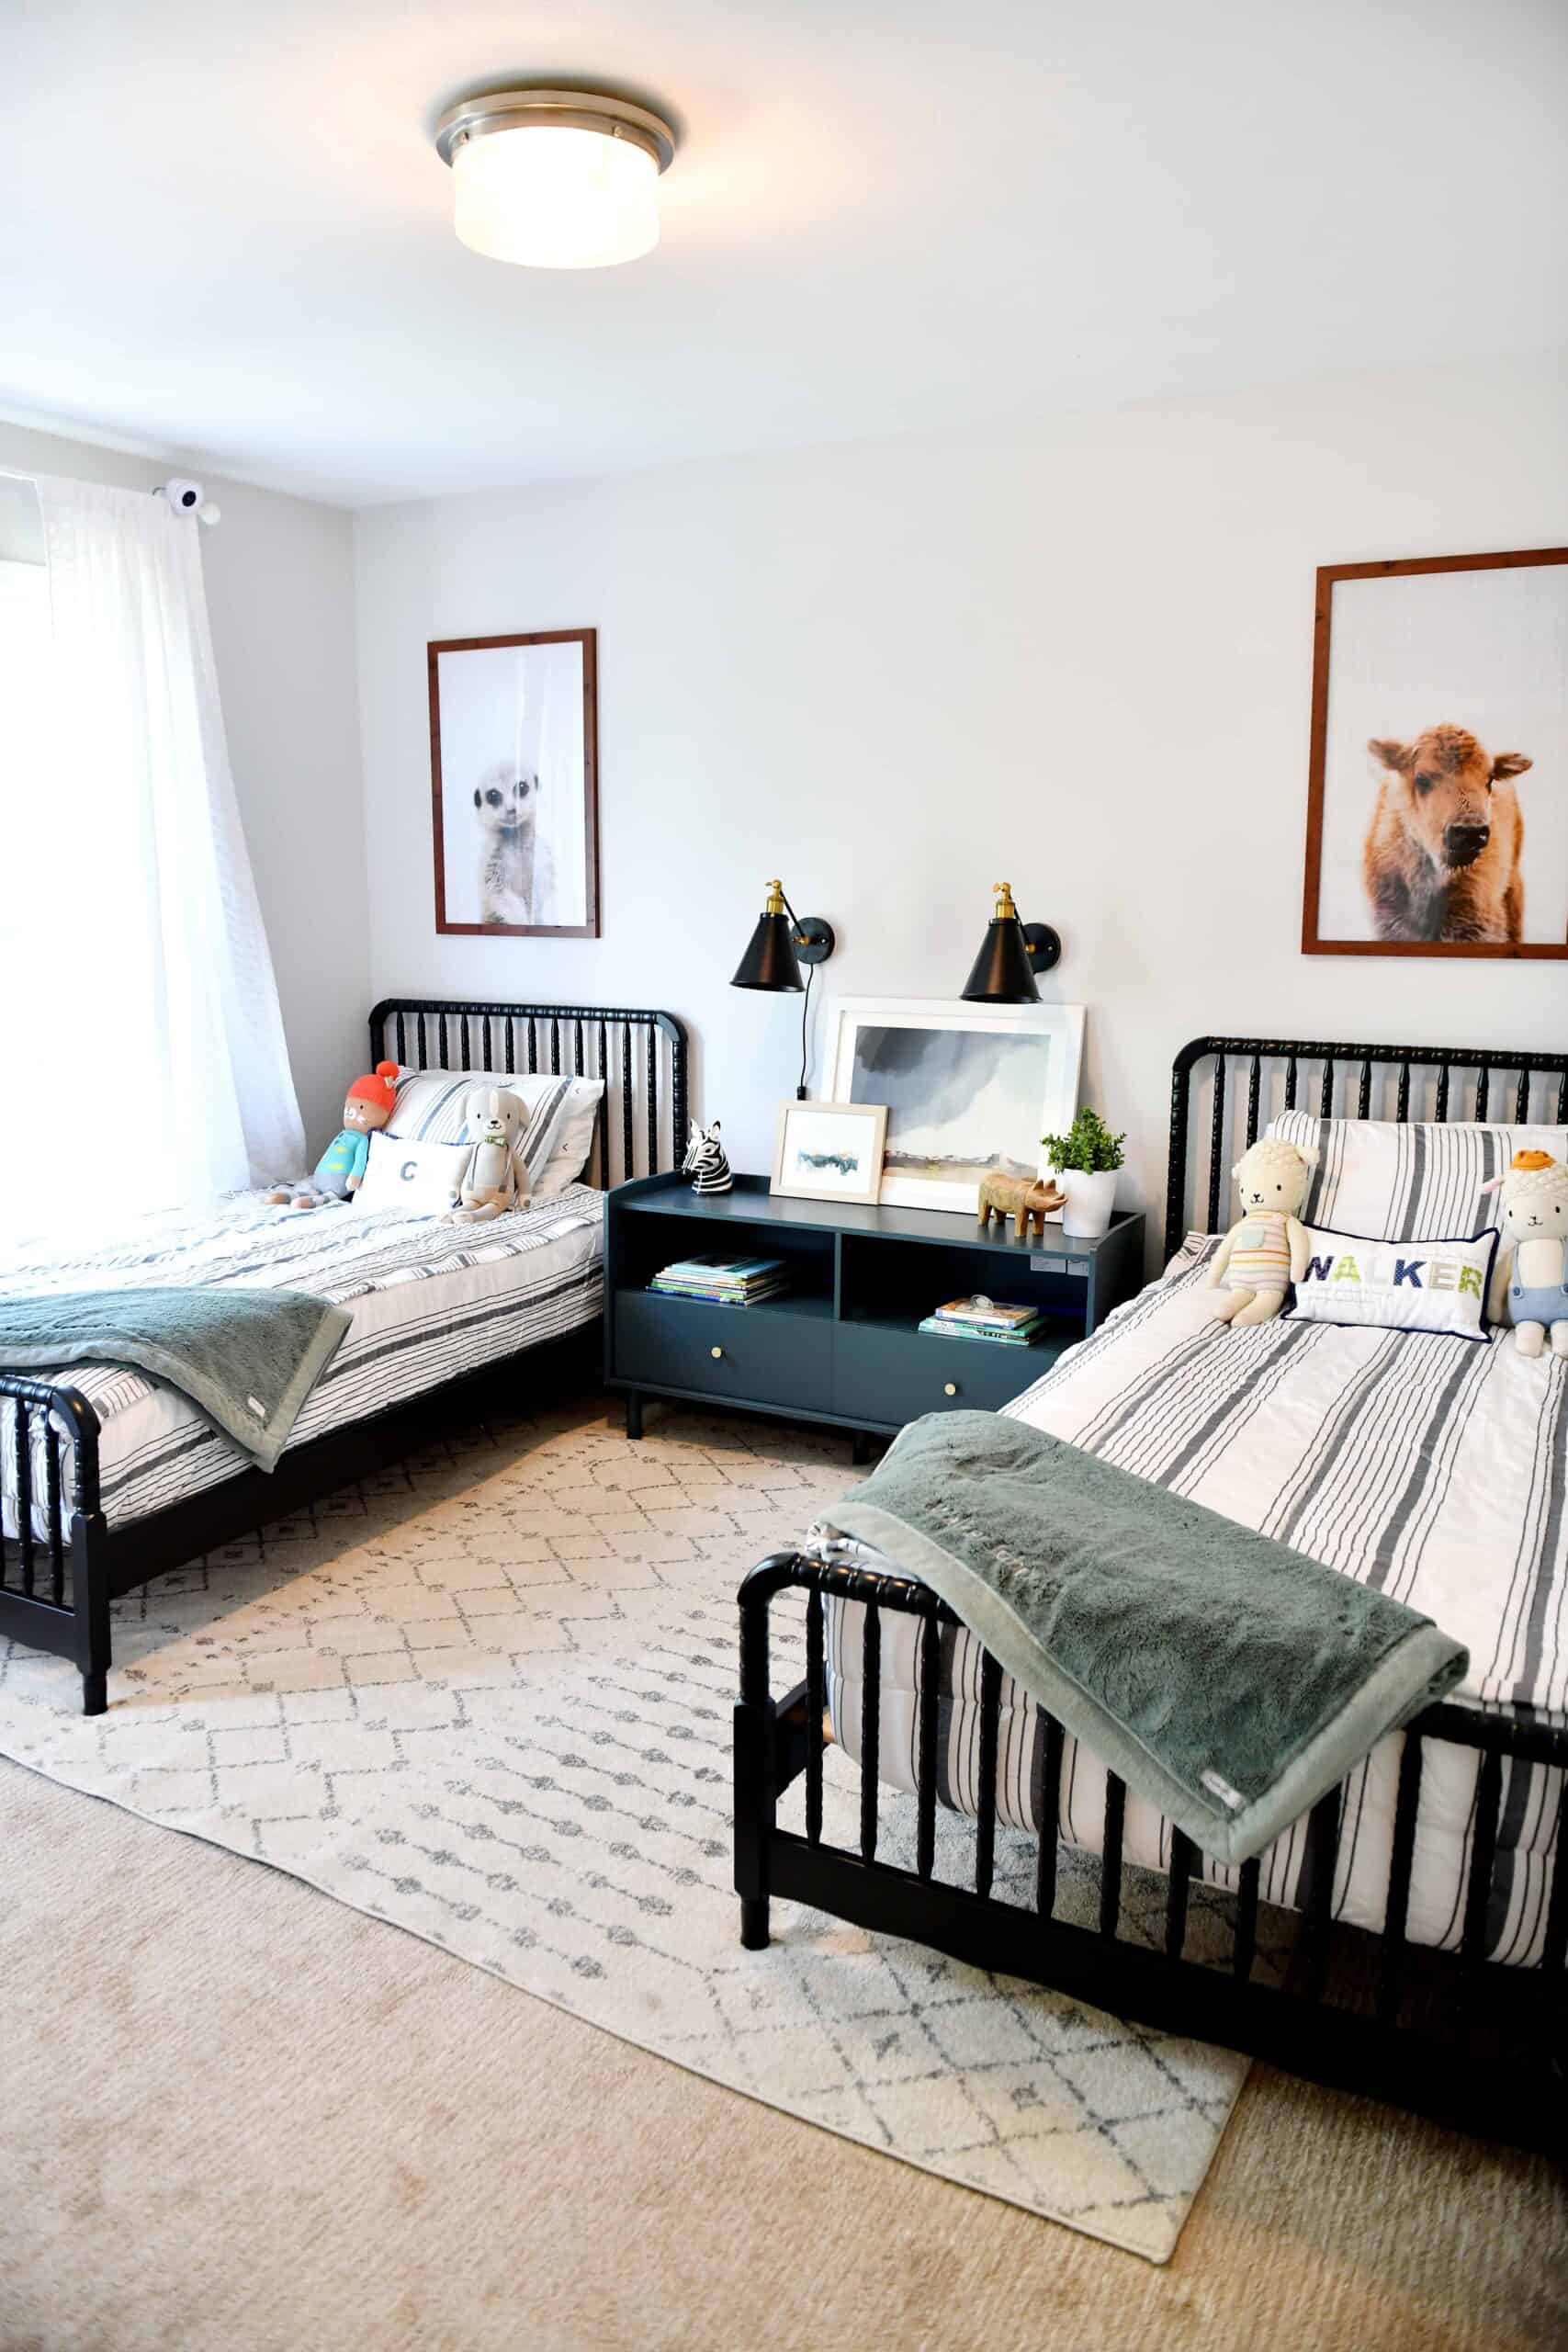
Like I stated above, there are some fun options for basically any room in your house. I personally think that affordable flush mounts are especially hard. I love the one that is in Walker and Jacks’s rooms but these are seriously making me want to change out some others in our house!
If you’re looking for dining room lighting be sure you check out this post with my favorite dining room lighting too.
If you have any questions on these light fixtures from Amazon, be sure to leave me a comment below or DM on Instagram. I love connecting with all of you from my blog on social, so hope you will pop in and say hi!
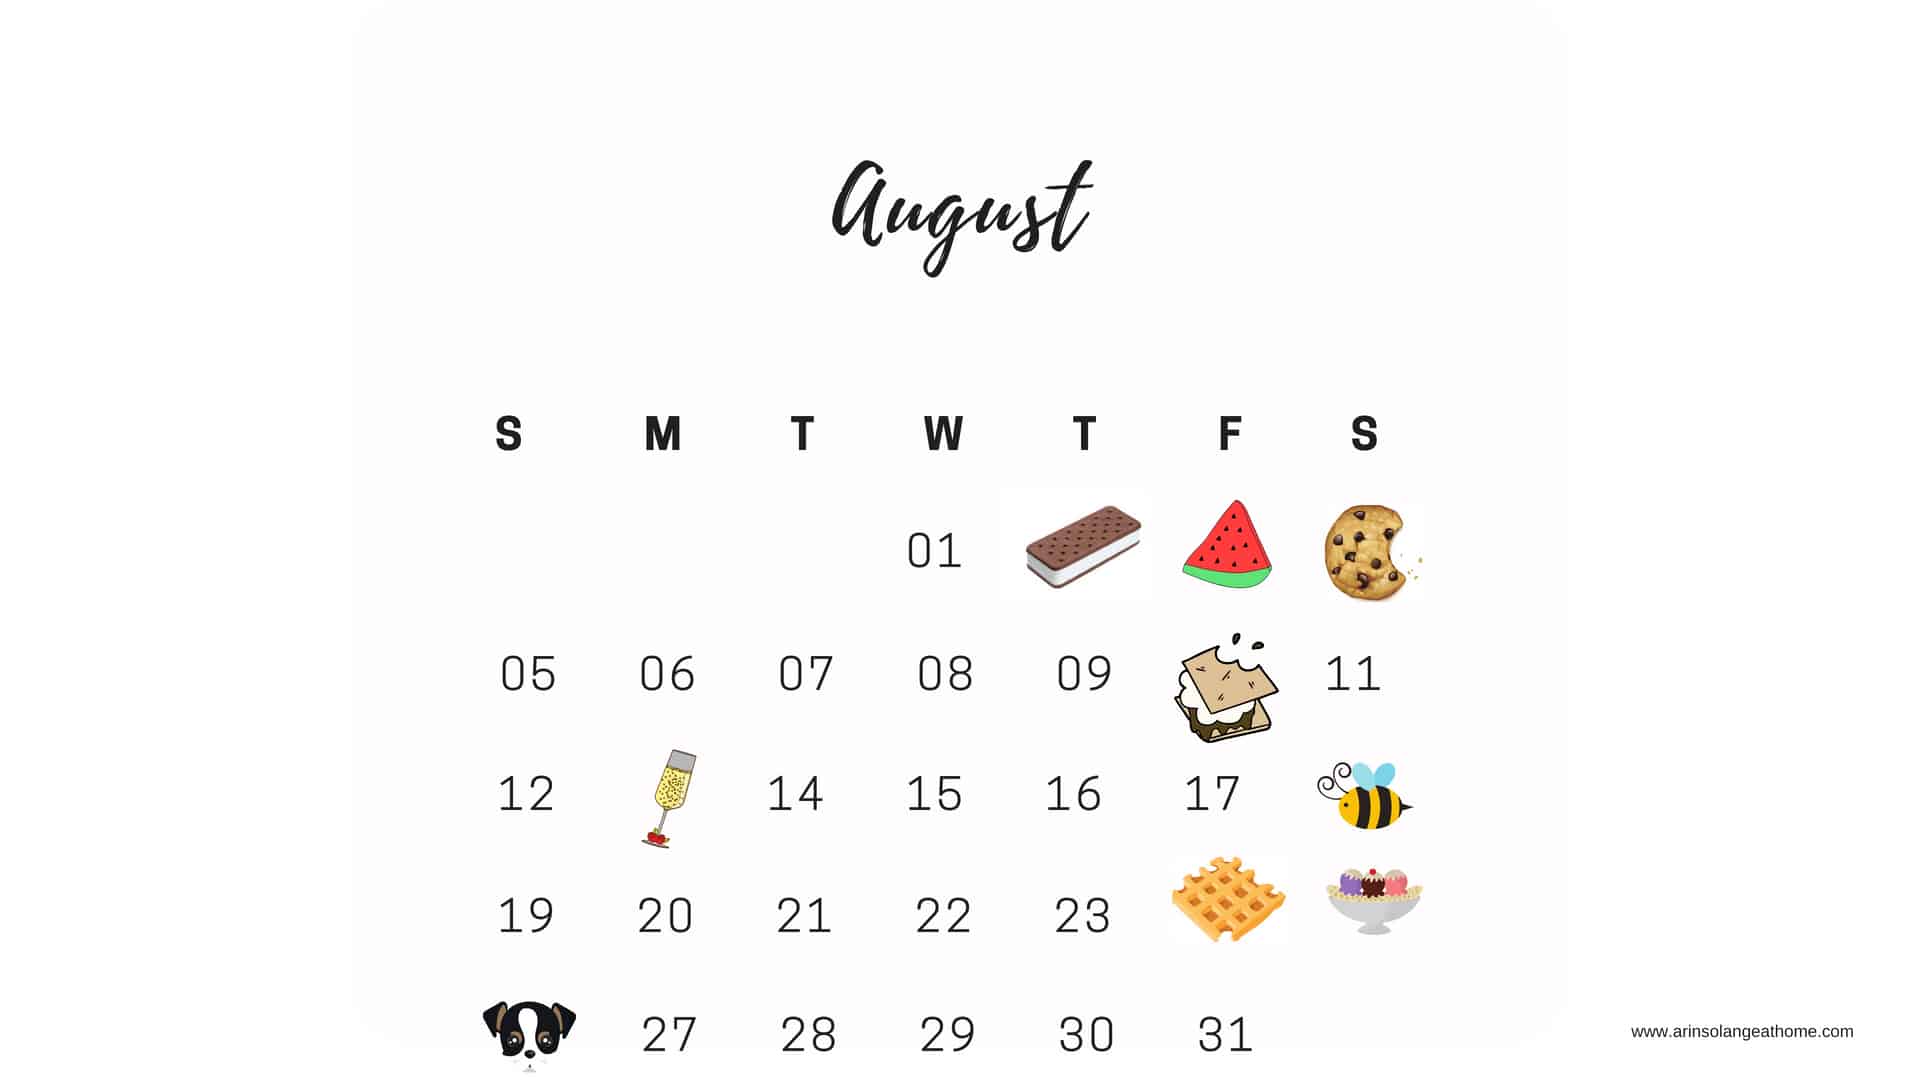
I can’t believe we are in the last couple of days of July, and its already time for the August National Days Calendar. Like I said last month, these will be done monthly this year, but make sure you are signed up for my emails because I will send out the free download at the end of the year with the full 2019 version this fall.
The Calendar is available in several formats, so feel free to save and print it out or save it for use on your devices!!
Save the image below for your phones lock screen August National Days Calendar
This post is post is sponsored by Carter’s; however, all thoughts and opinions expressed are my own.
If you have been following along for very long on my blog or Instagram, you probably know that Carter’s is one of our go to stores when we are shopping for the kids. We fell in love with them when Jack was a baby and have been dressing our kids in their clothing ever since. Now that Jack is almost 6 and hitting school age I was a little sad that he would be sizing out of Carters, and my one stop shop would no longer be a part of our shopping. Luckily Carter’s recently released their Carter’s KID line, so now all three kids can continue to dress in Carter’s clothes for years to come. Make sure you grab your Carter’s Coupon Code at the end of this post!
Shopping for the Whole Family
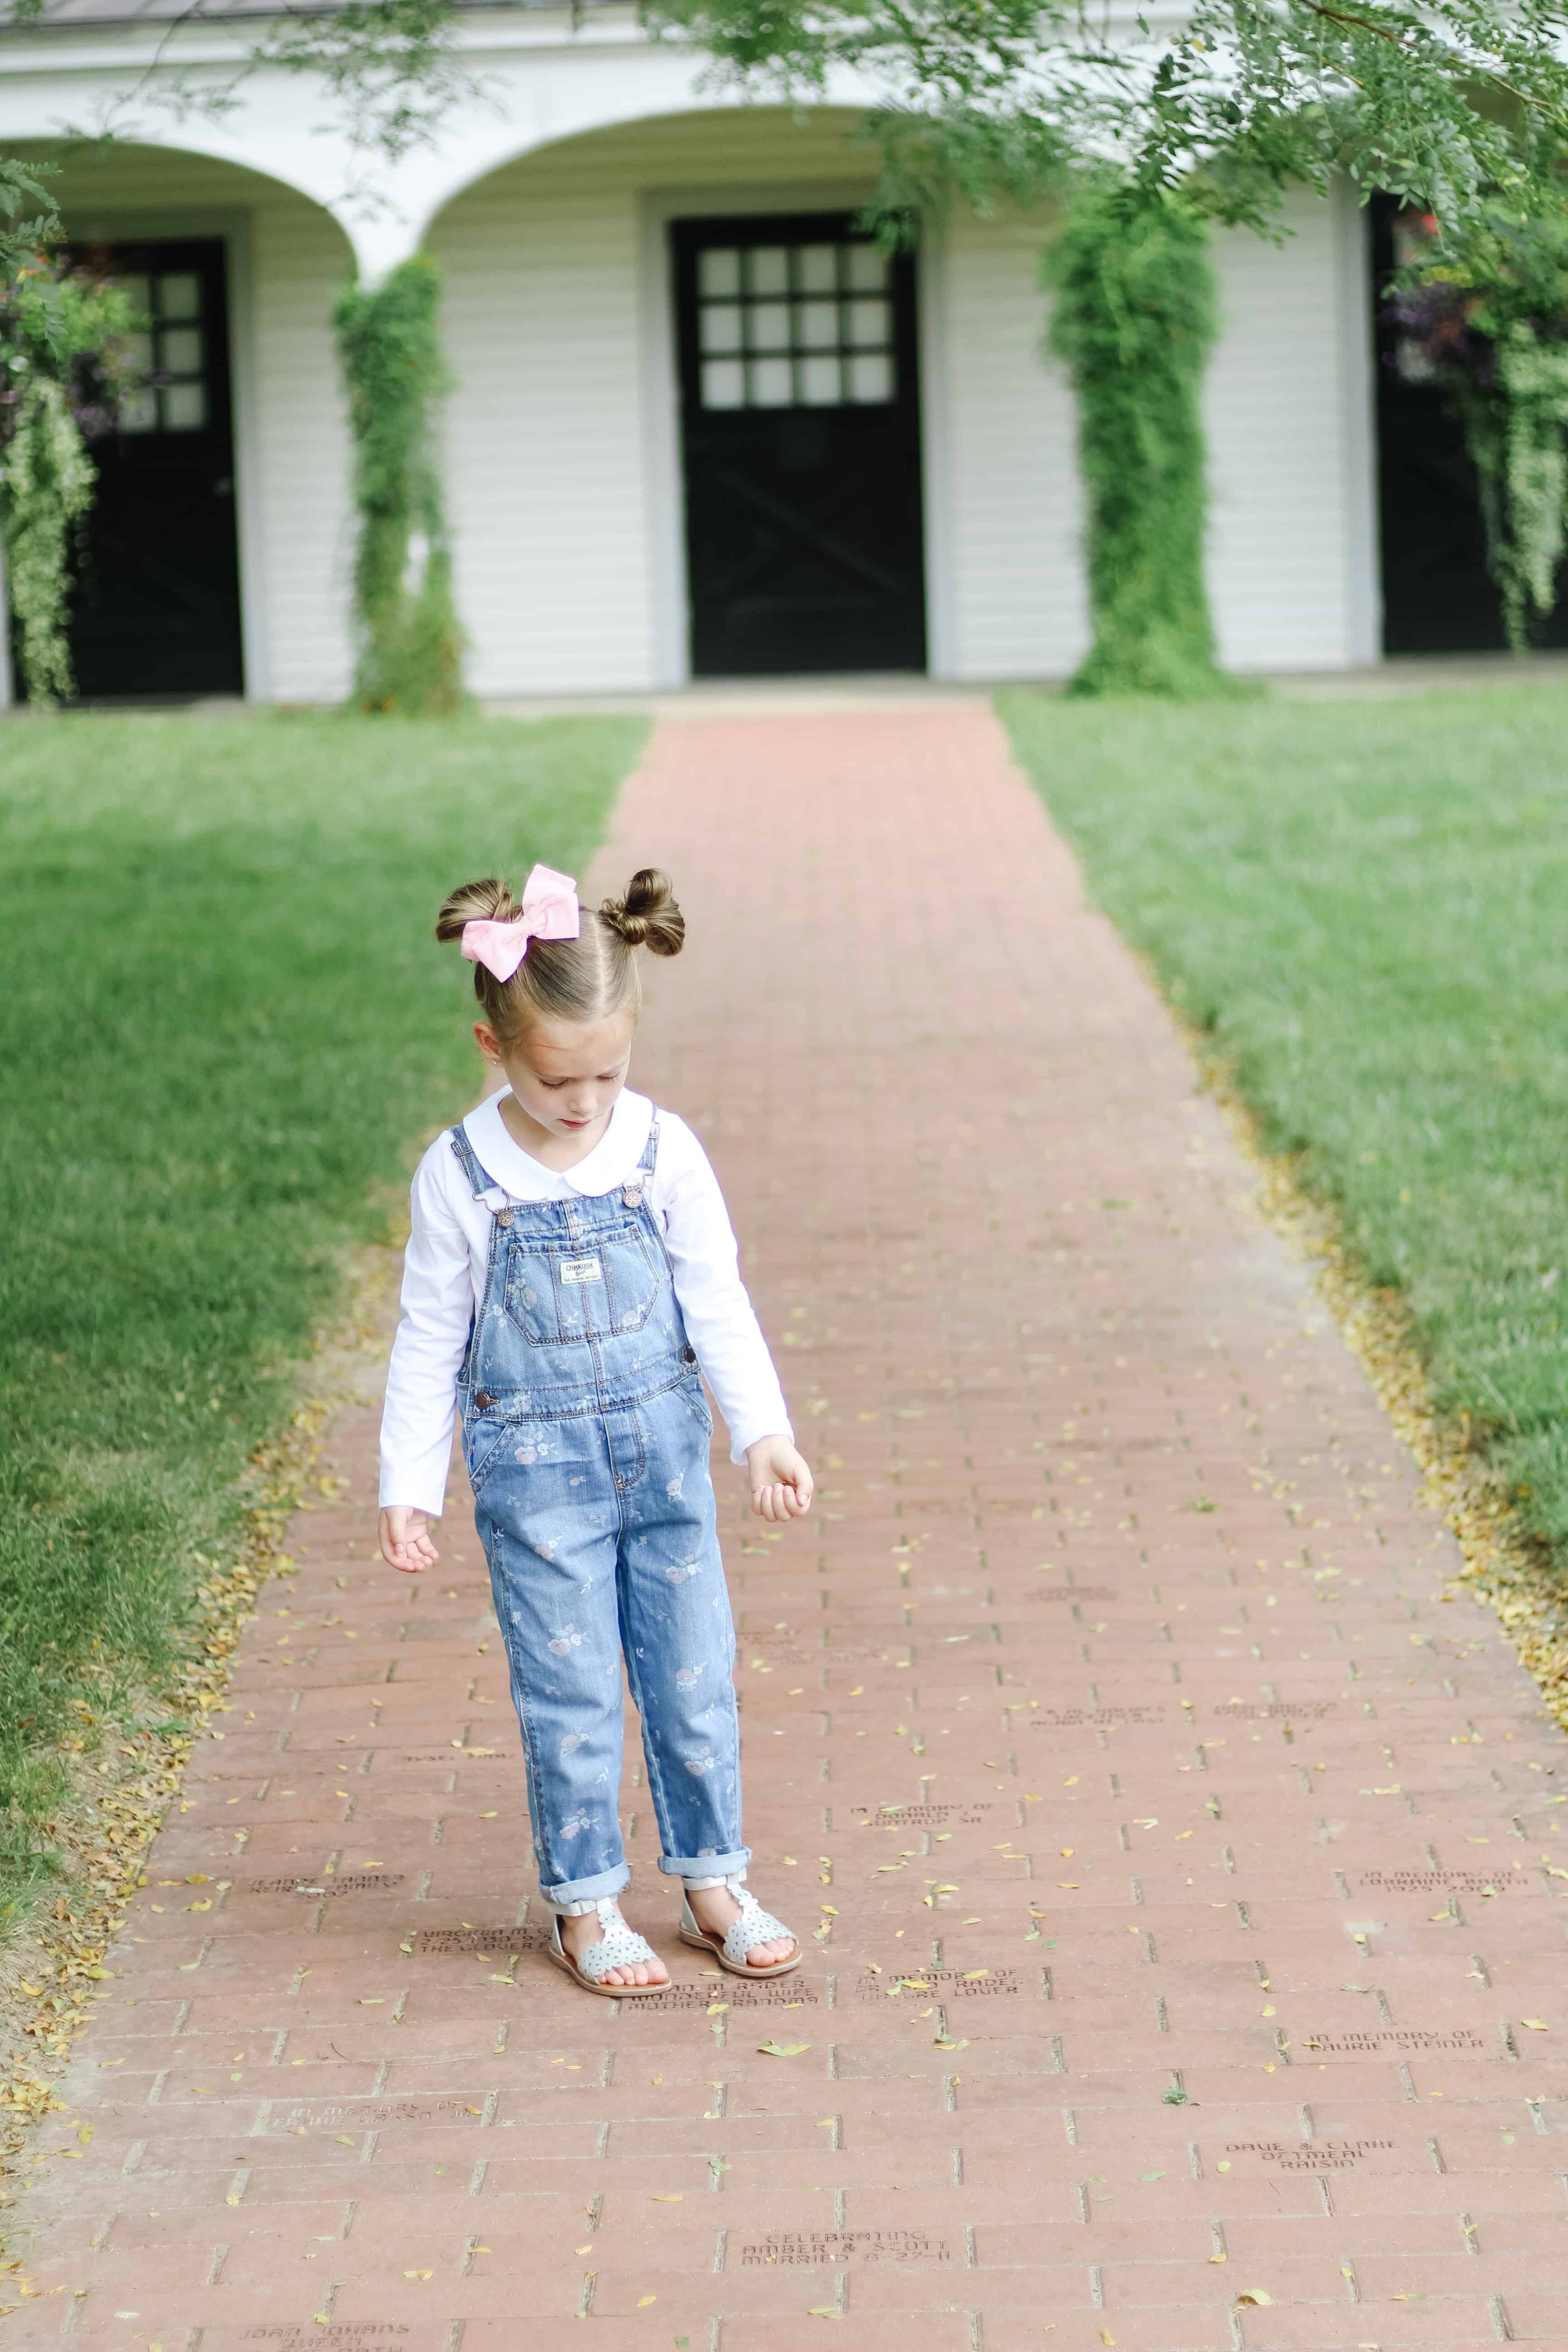
I love to coordinate the kids when I am dressing them so the fact that Carter’s KID goes from sizes 4-14, means I can coordinate all three of my kids for years to come, and it is such a great option for families with larger age gaps, where that is typically hard! We had to do some back to school shopping for all the kids a couple of weeks ago and I am a pretty ‘plain Jane’ shopper when it comes to the boys, but I loved how this shirt for Jack coordinated so well with this one for Walker. I also stocked up on some basic shorts for both boys, a cute denim dress that will work all seasons for Avé, and some basic school tops and bottoms for Avé as well.
Back to School Shopping with Carter’s KID
My main priority when shopping for my kids is finding good quality clothing at a great price. With three kids at home I love to shop sales, grab pieces that mix and match, and look for quality that can be passed down as well as worn until its outgrown without looking worn out! Carter’s clothing has always met those standards for me, so now being aging to shop Carter’s KID for Jack and Avé while they are in school years will be even better.
ITS PRIME DAY!! I don’t know what I love more, the Nordstrom Sale, or Amazon Prime day. (My credit card and husband however hate that they fall at the same time!!). I know I could just link items in my stories all day, but I felt like the easiest way for you all to shop the deals would be if I did a mix of both strategies – blog and Instagram stories. In order to help you find the best Prime Day Deals, I am going to add to THIS blog post today. I will add to my Instagram stories each time I do and swipe up to my post, that way if you are more of a desktop shopper (like myself) you can still shop the deals. Make sure to bookmark this page for easier shopping all day long, and I will do my best to add my favorites as the day goes on! Happy shopping!
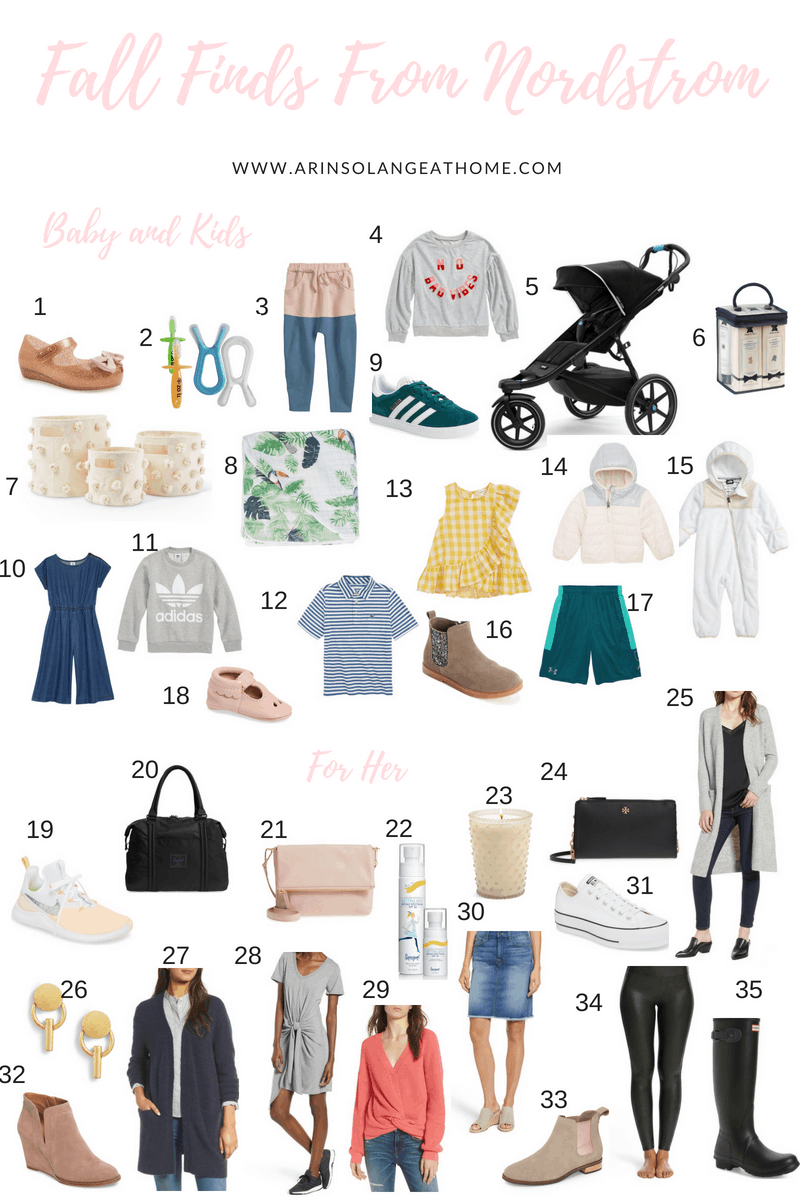
Incase you missed round one of my Nordstrom Anniversary Sale picks, be sure to check them out because they had a lot of my initial purchases and more staple items that I think are always great buys on the sale (such as tennis shoes and denim!!). But as promised I did a second round up. I had a little more time to go back into the store and wander around as well as shop online so after a weekend of shopping here is ROUND TWO of my Nordstrom Fall Finds.
Let me know if you want me to do weekly round ups until the sale is over? I know that once it is open to the public some things are sold out, so if you would like a consolidated favorites that are still in stock let me know, or I can always just add them to my Instagram Stories. Make sure to follow me there, and check out the “style picks” highlight for all my saved fashion stories and links!
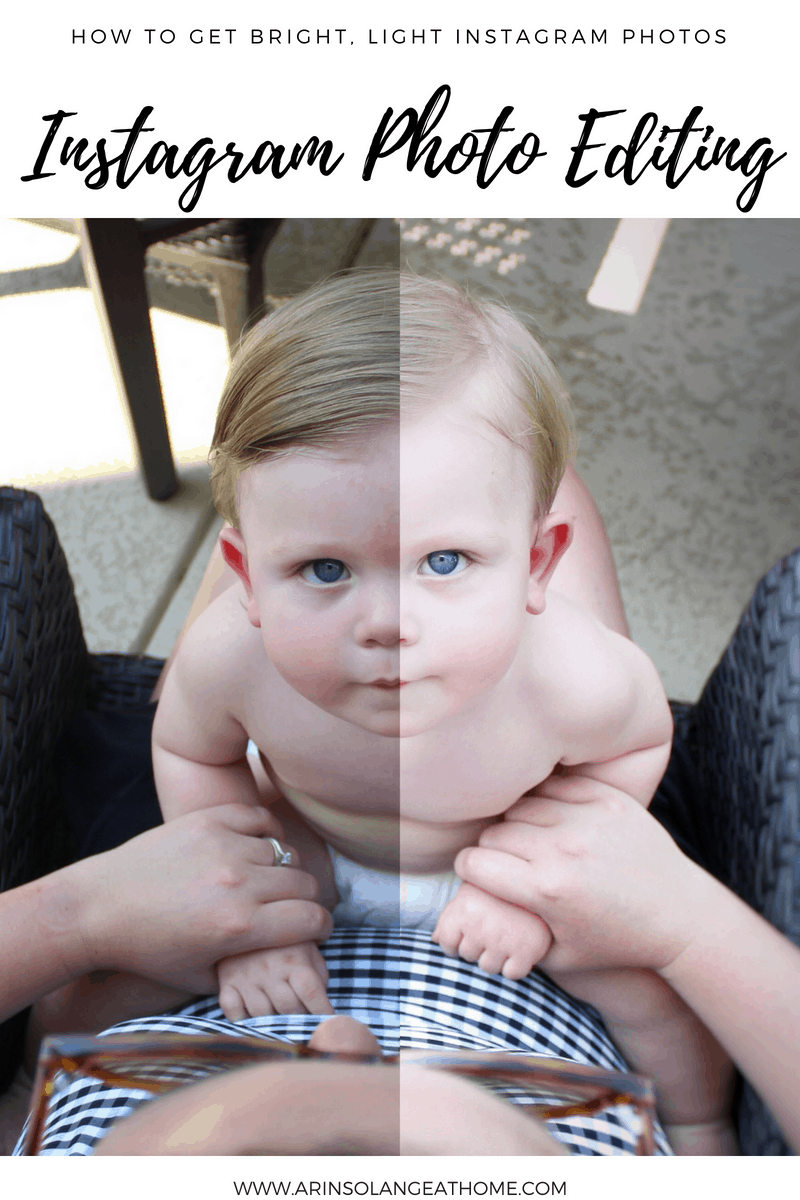
Editing pictures for Instagram and my blog is a huge part of this business, and likewise, is something I am asked about very frequently. I decided to break down what apps I use, and what I use on a typical post. I haven’t jumped on the preset wagon yet, however I love some of them, and who knows, maybe i’ll report back in a month and say that I have added that to my list of apps. So read on to see how I edit my photos for Instagram.
this post contains affiliate links
Before we get started
The biggest thing I want to say before I lead anyone on with this post is that: A – most of my Instagram photos are taken on my Canon camera (I use the lens it comes with and this lens for most of my photos). and B – good lighting and a good photo has to be the starting point. You can’t turn a bad photo into a great one typically. If I am indoors I either wait for good lighting or I use these photo lights to brighten the space up.
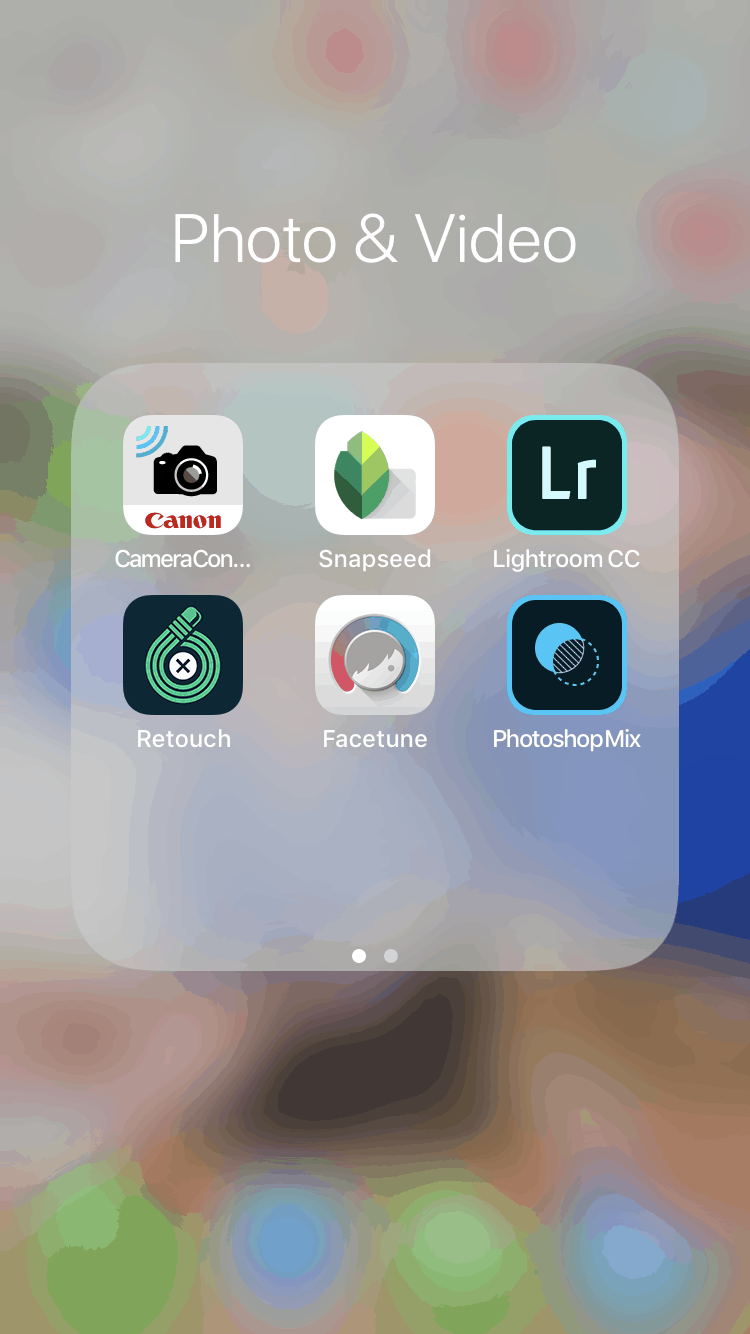
Apps
The above folder on my phone is a photo of the apps I personally have. I do not use all of them for every photo, but I will show you examples of when each one has come in handy.
Adobe Lightroom
Snapseed
Facetune
Retouch
PhotoShopMix
Canon Camera Connect
My Process in Editing Pictures for Instagram
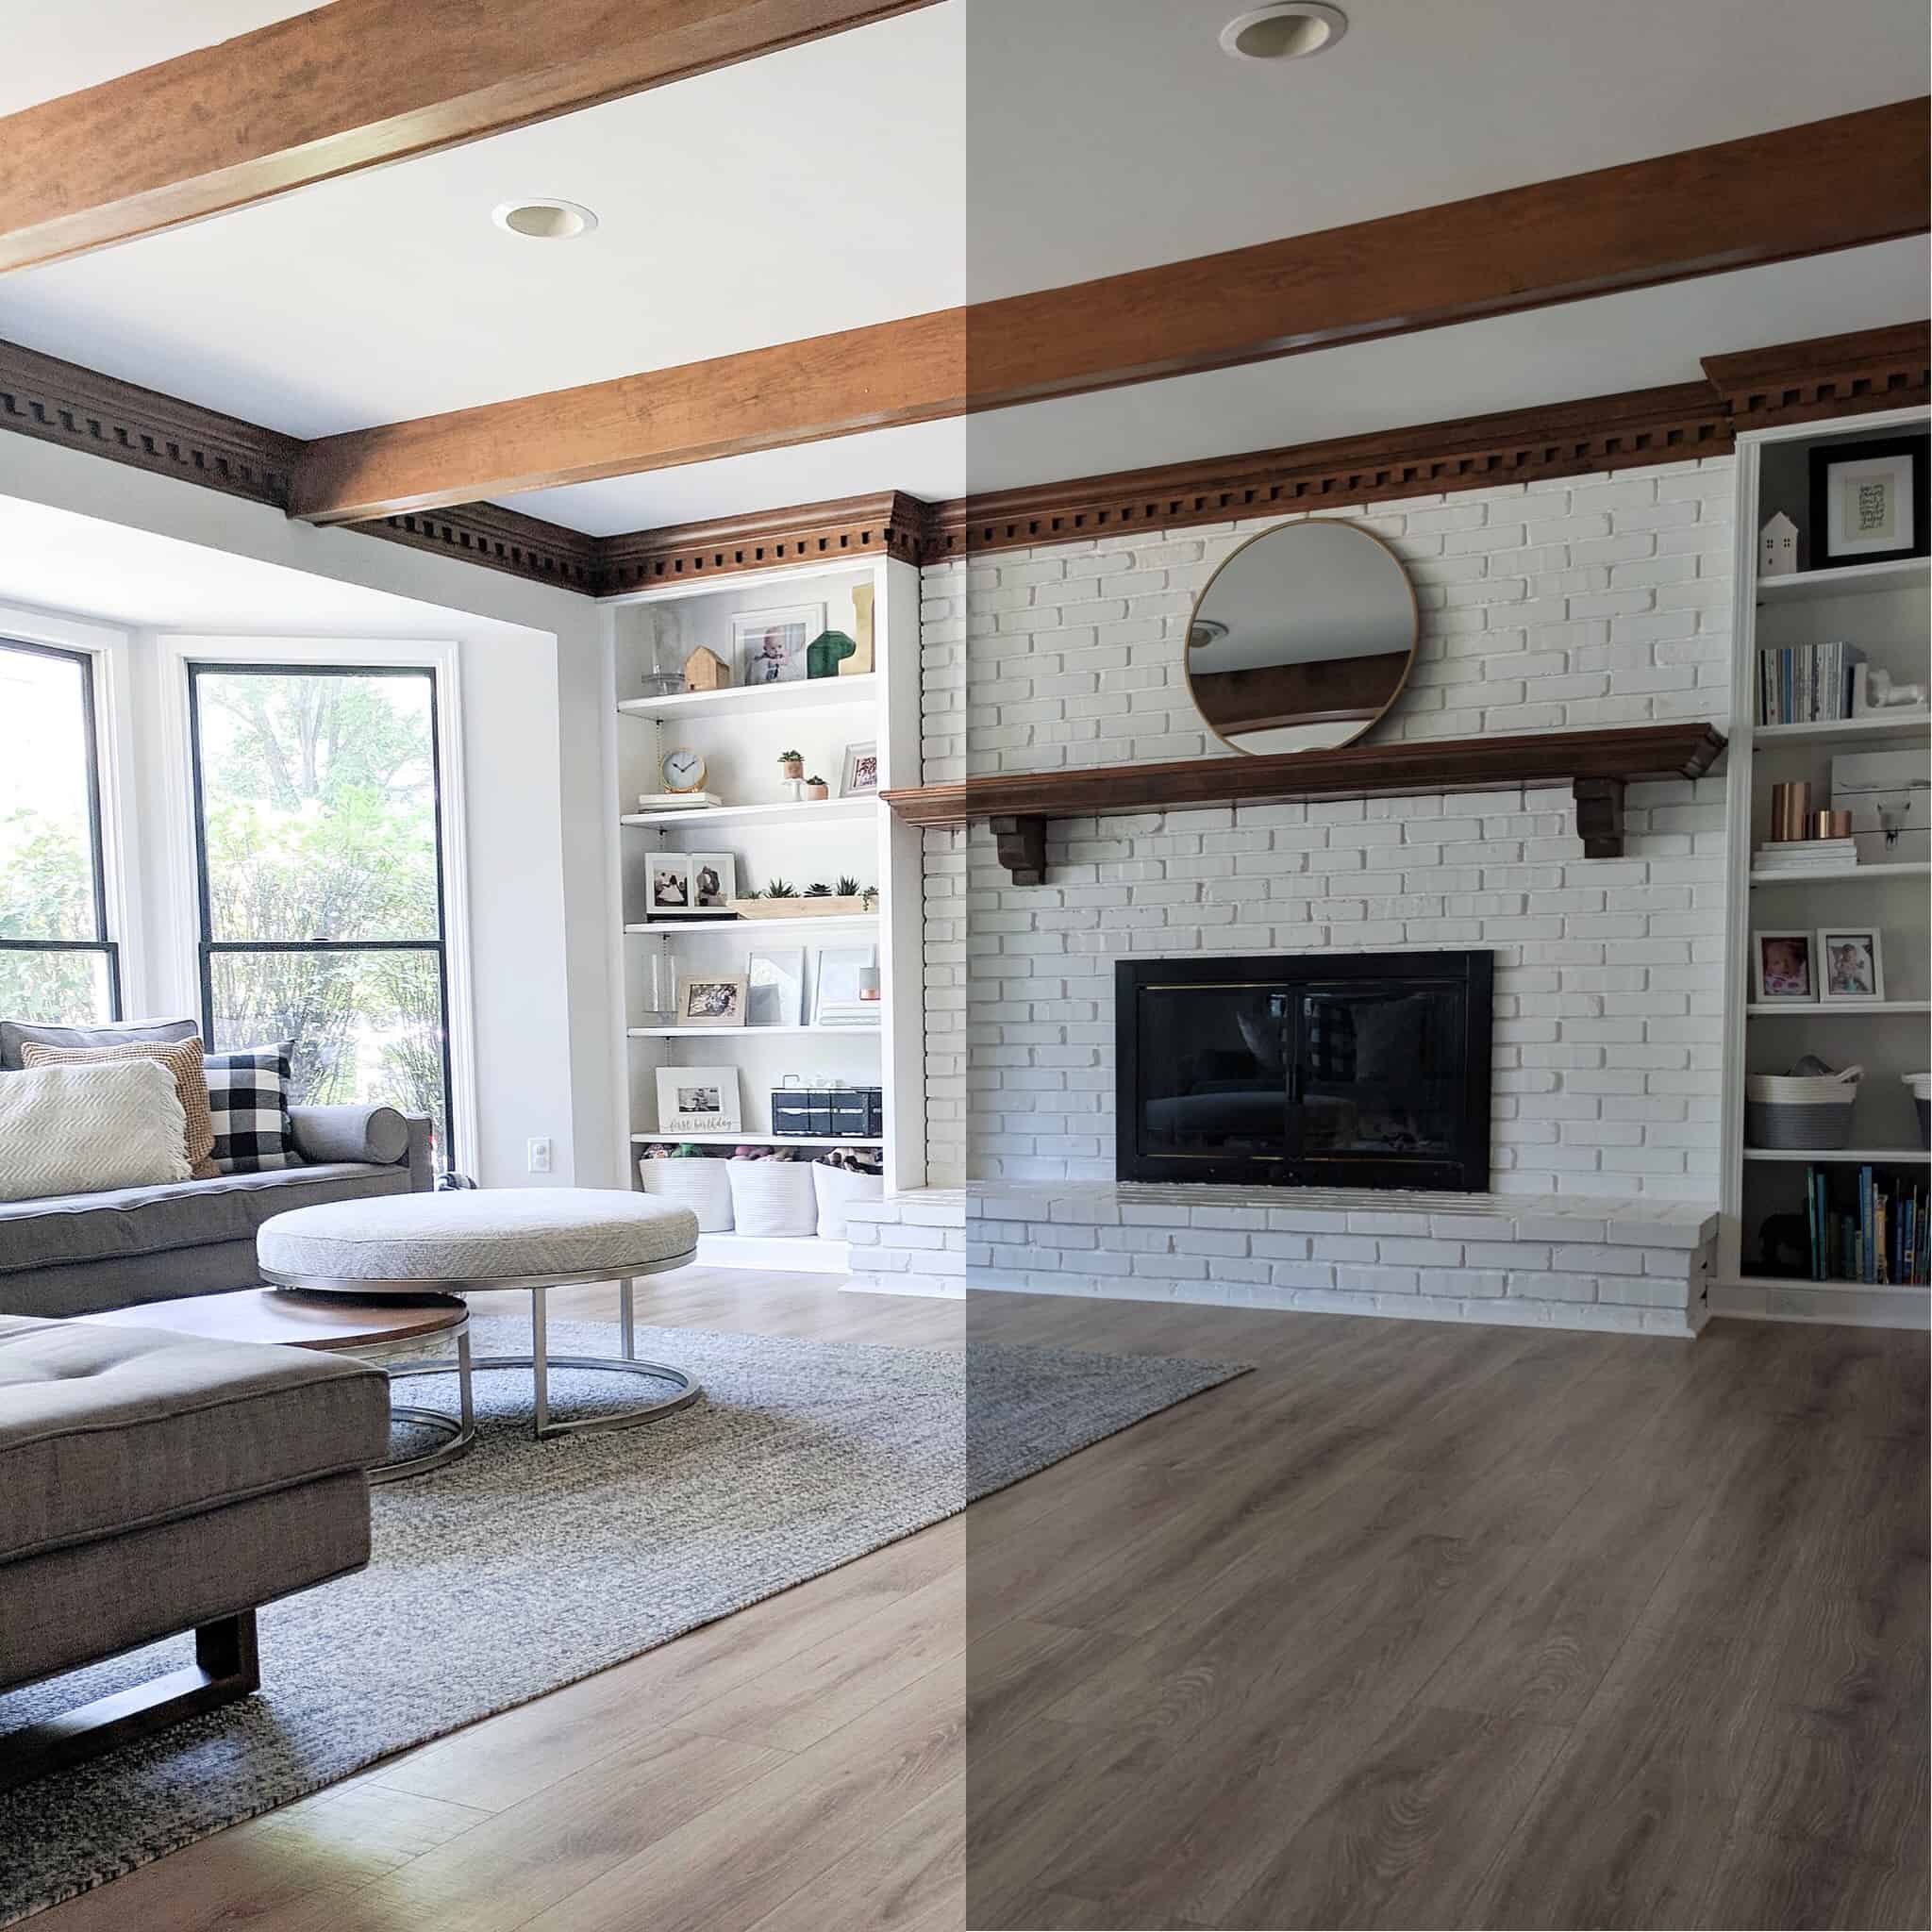
I am going to go through my INITIAL process on my photos first. Here are a couple before and afters of photos using the process I use on 99% of my photos.
Step 1 (Lightroom) – Adjust light by increasing the exposure, increasing the highlights and increasing the whites. I also decrease the Black a bit in this so the black stays more crisp.
Step 2 (Lightroom) – Rotate and crop. I personally like to crop In Lightroom because you can rotate and crop in one setting so I can line things up.
Step 3 (Lightroom) – Save to Camera then open in Snapseed.
Step 4 (Snapseed) – Adjust light by increasing brightness and highlights a bit more.
Step 5 (Snapseed) – If your photo has a person use the portrait mode.
Step 6 (Snapseed) – Increase sharpness – I typically go pretty high but don’t over sharpen!
Optional
Lightroom – I sometimes will go into the individual colors and adjust them. If it is looking washed out, or too green, or something play around with the colors. You will be amazed at what you can do (shown in last step of my Lightroom Video!)
Snapseed – there is a selective tool ( that can brighten just areas of your photo. This has been especially helpful to me in flatly (Shown in last step of my Snapseed video)
Other Apps
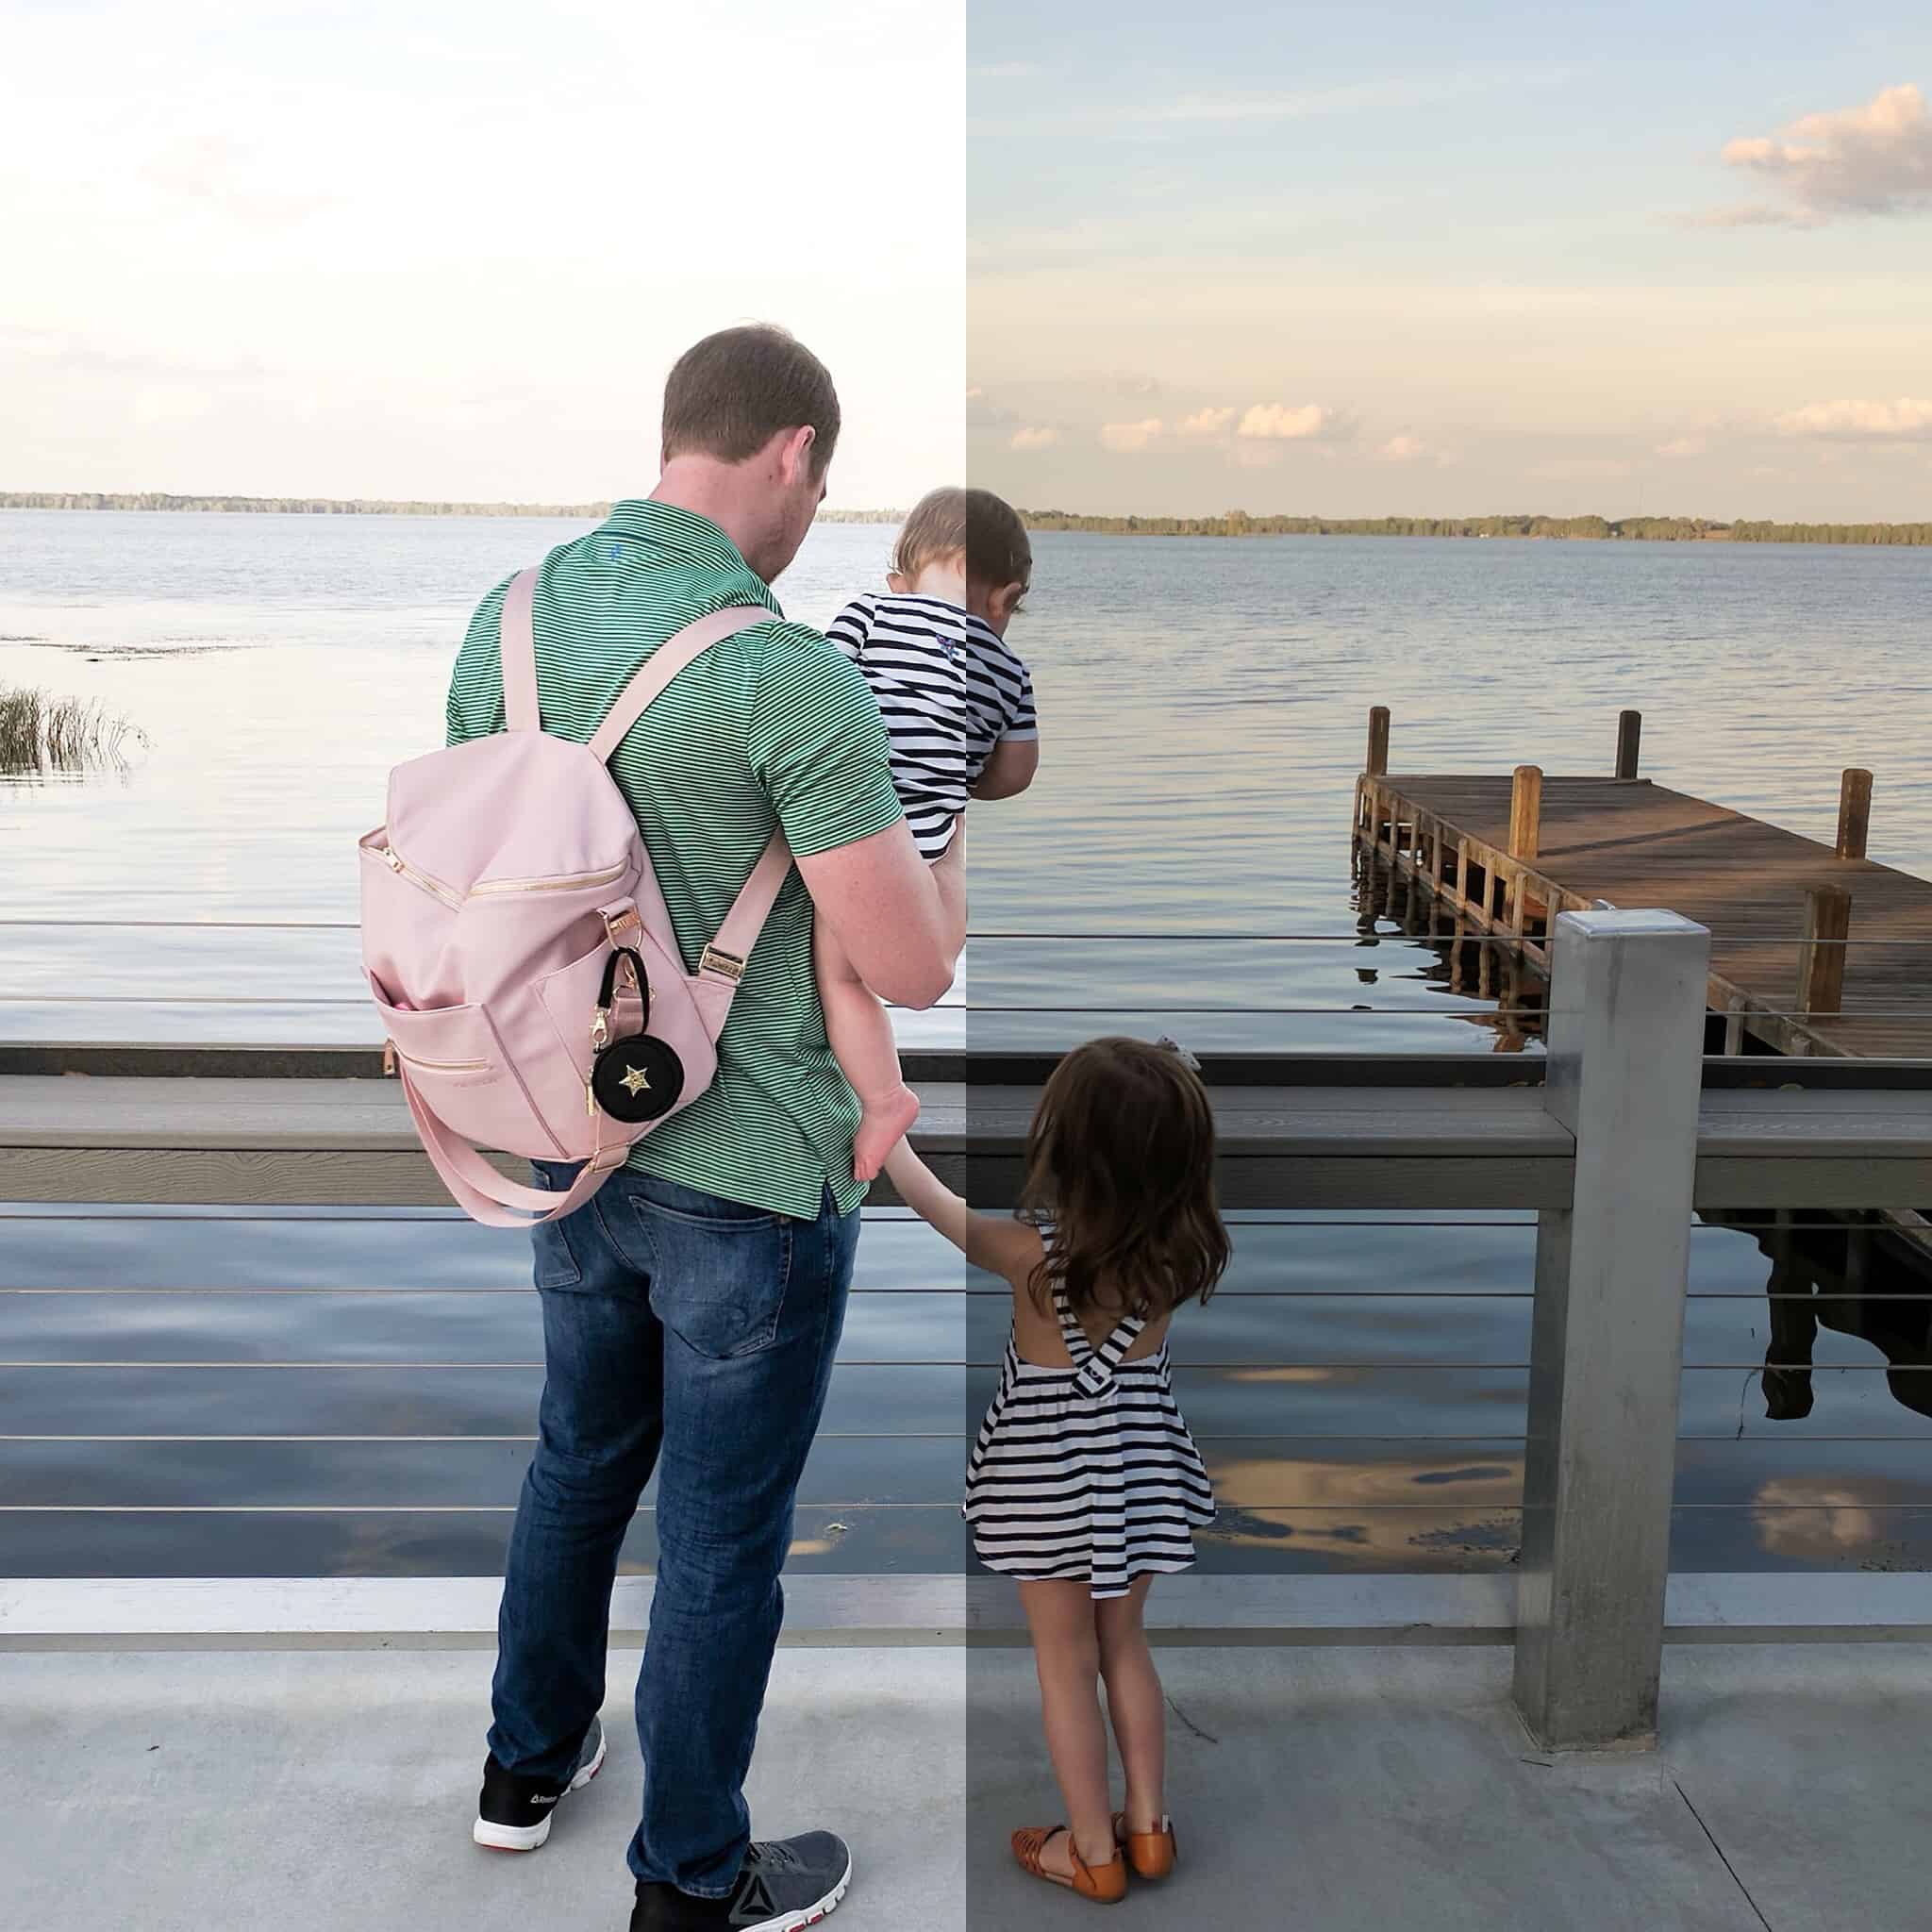
Retouch – Retouch can do amazing things to photos. Erasing and using the clone stamp can really change a photo. Check out some of these before and afters.
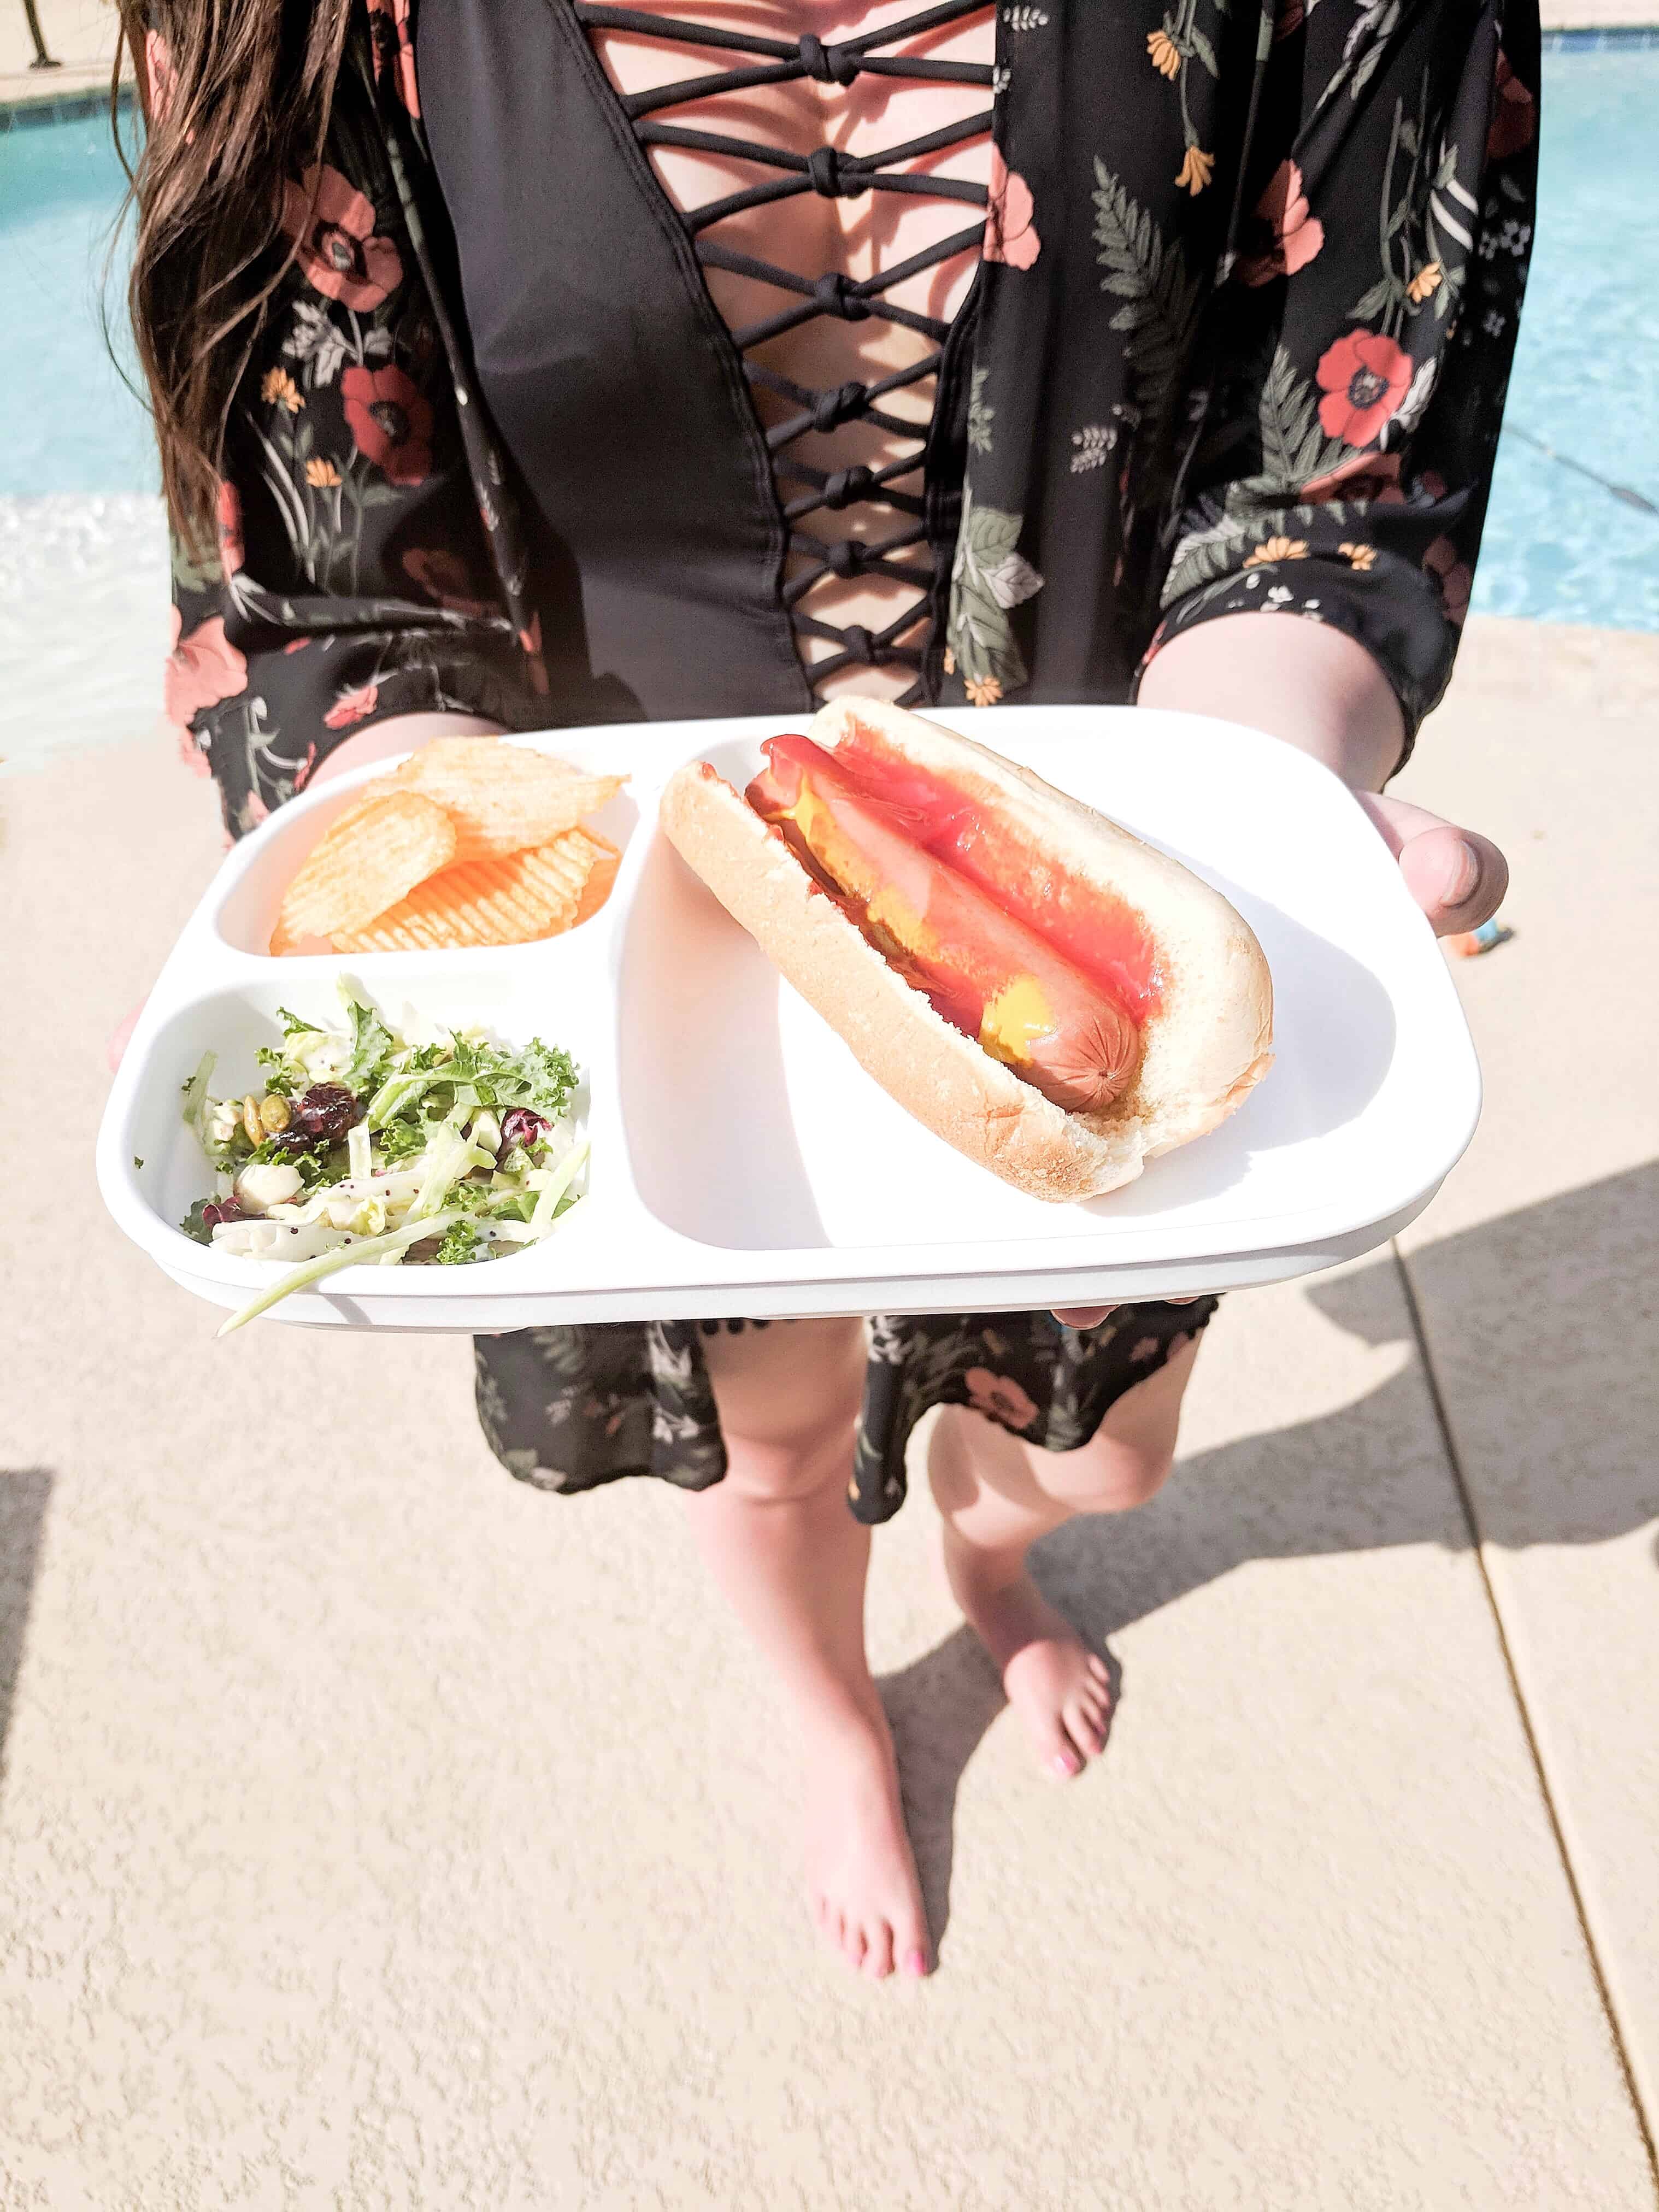
This is a before – notice that I took out the puddle jumper in the after.
After Puddle jumper was removed
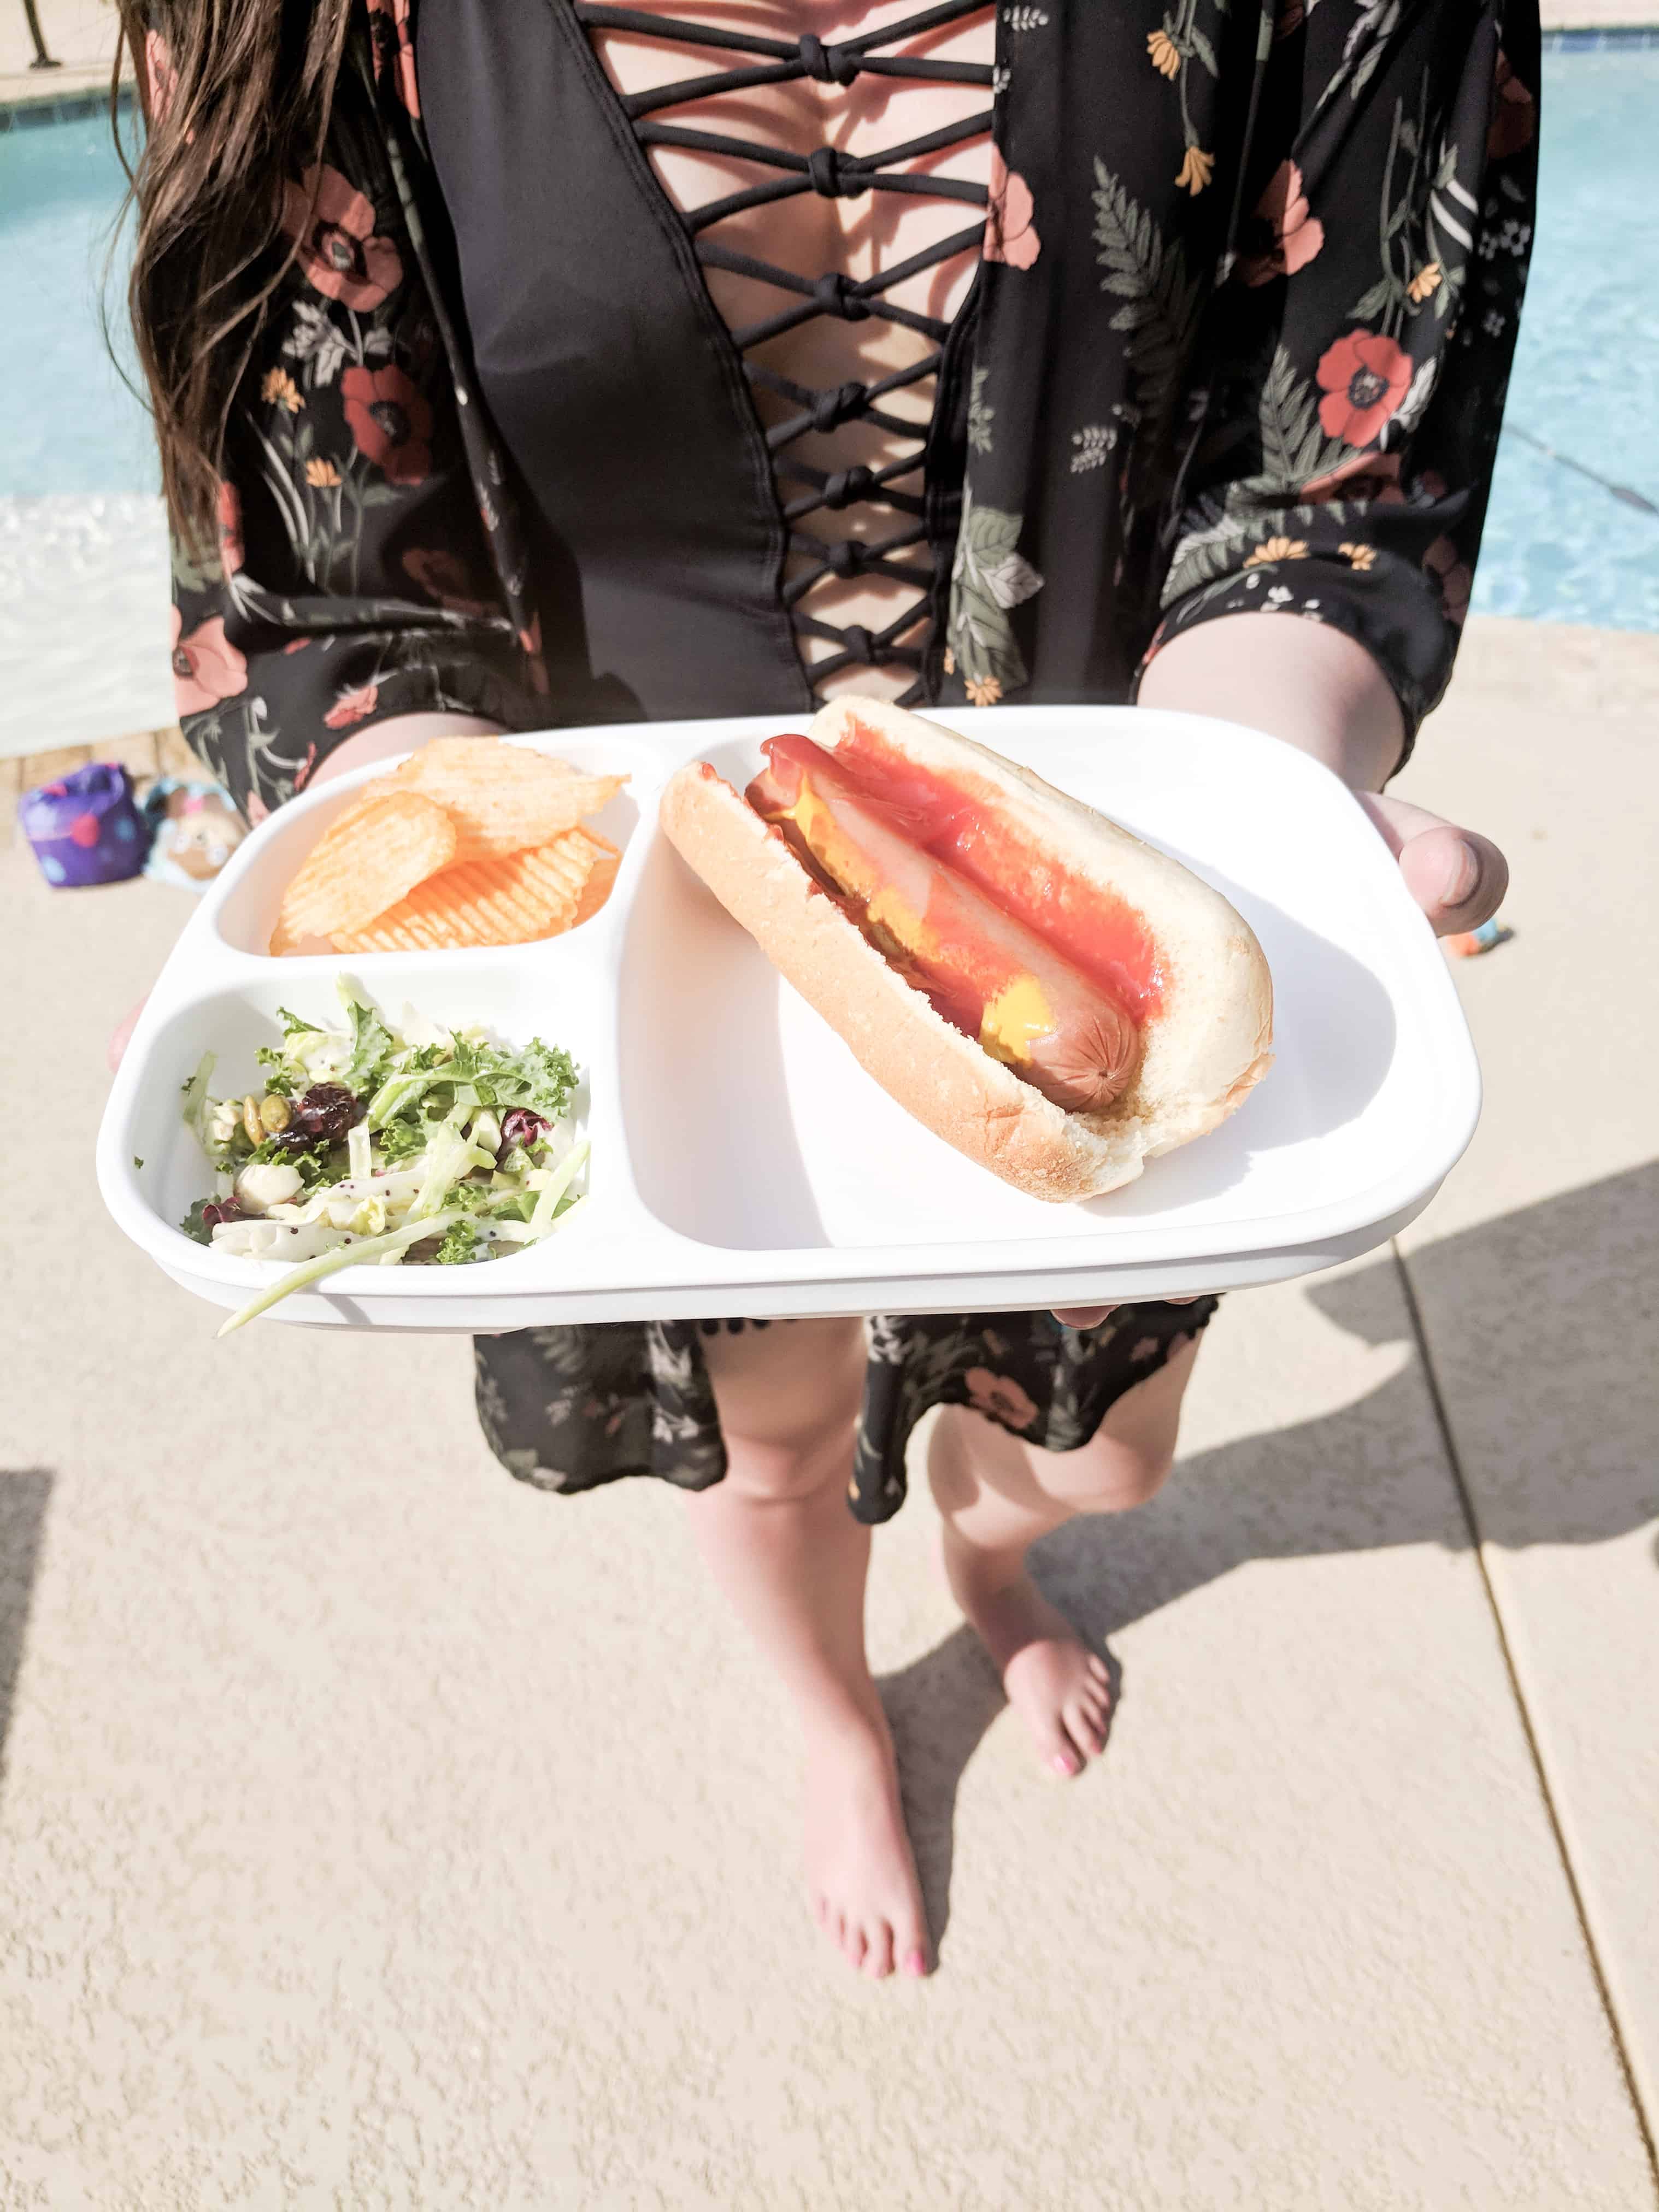
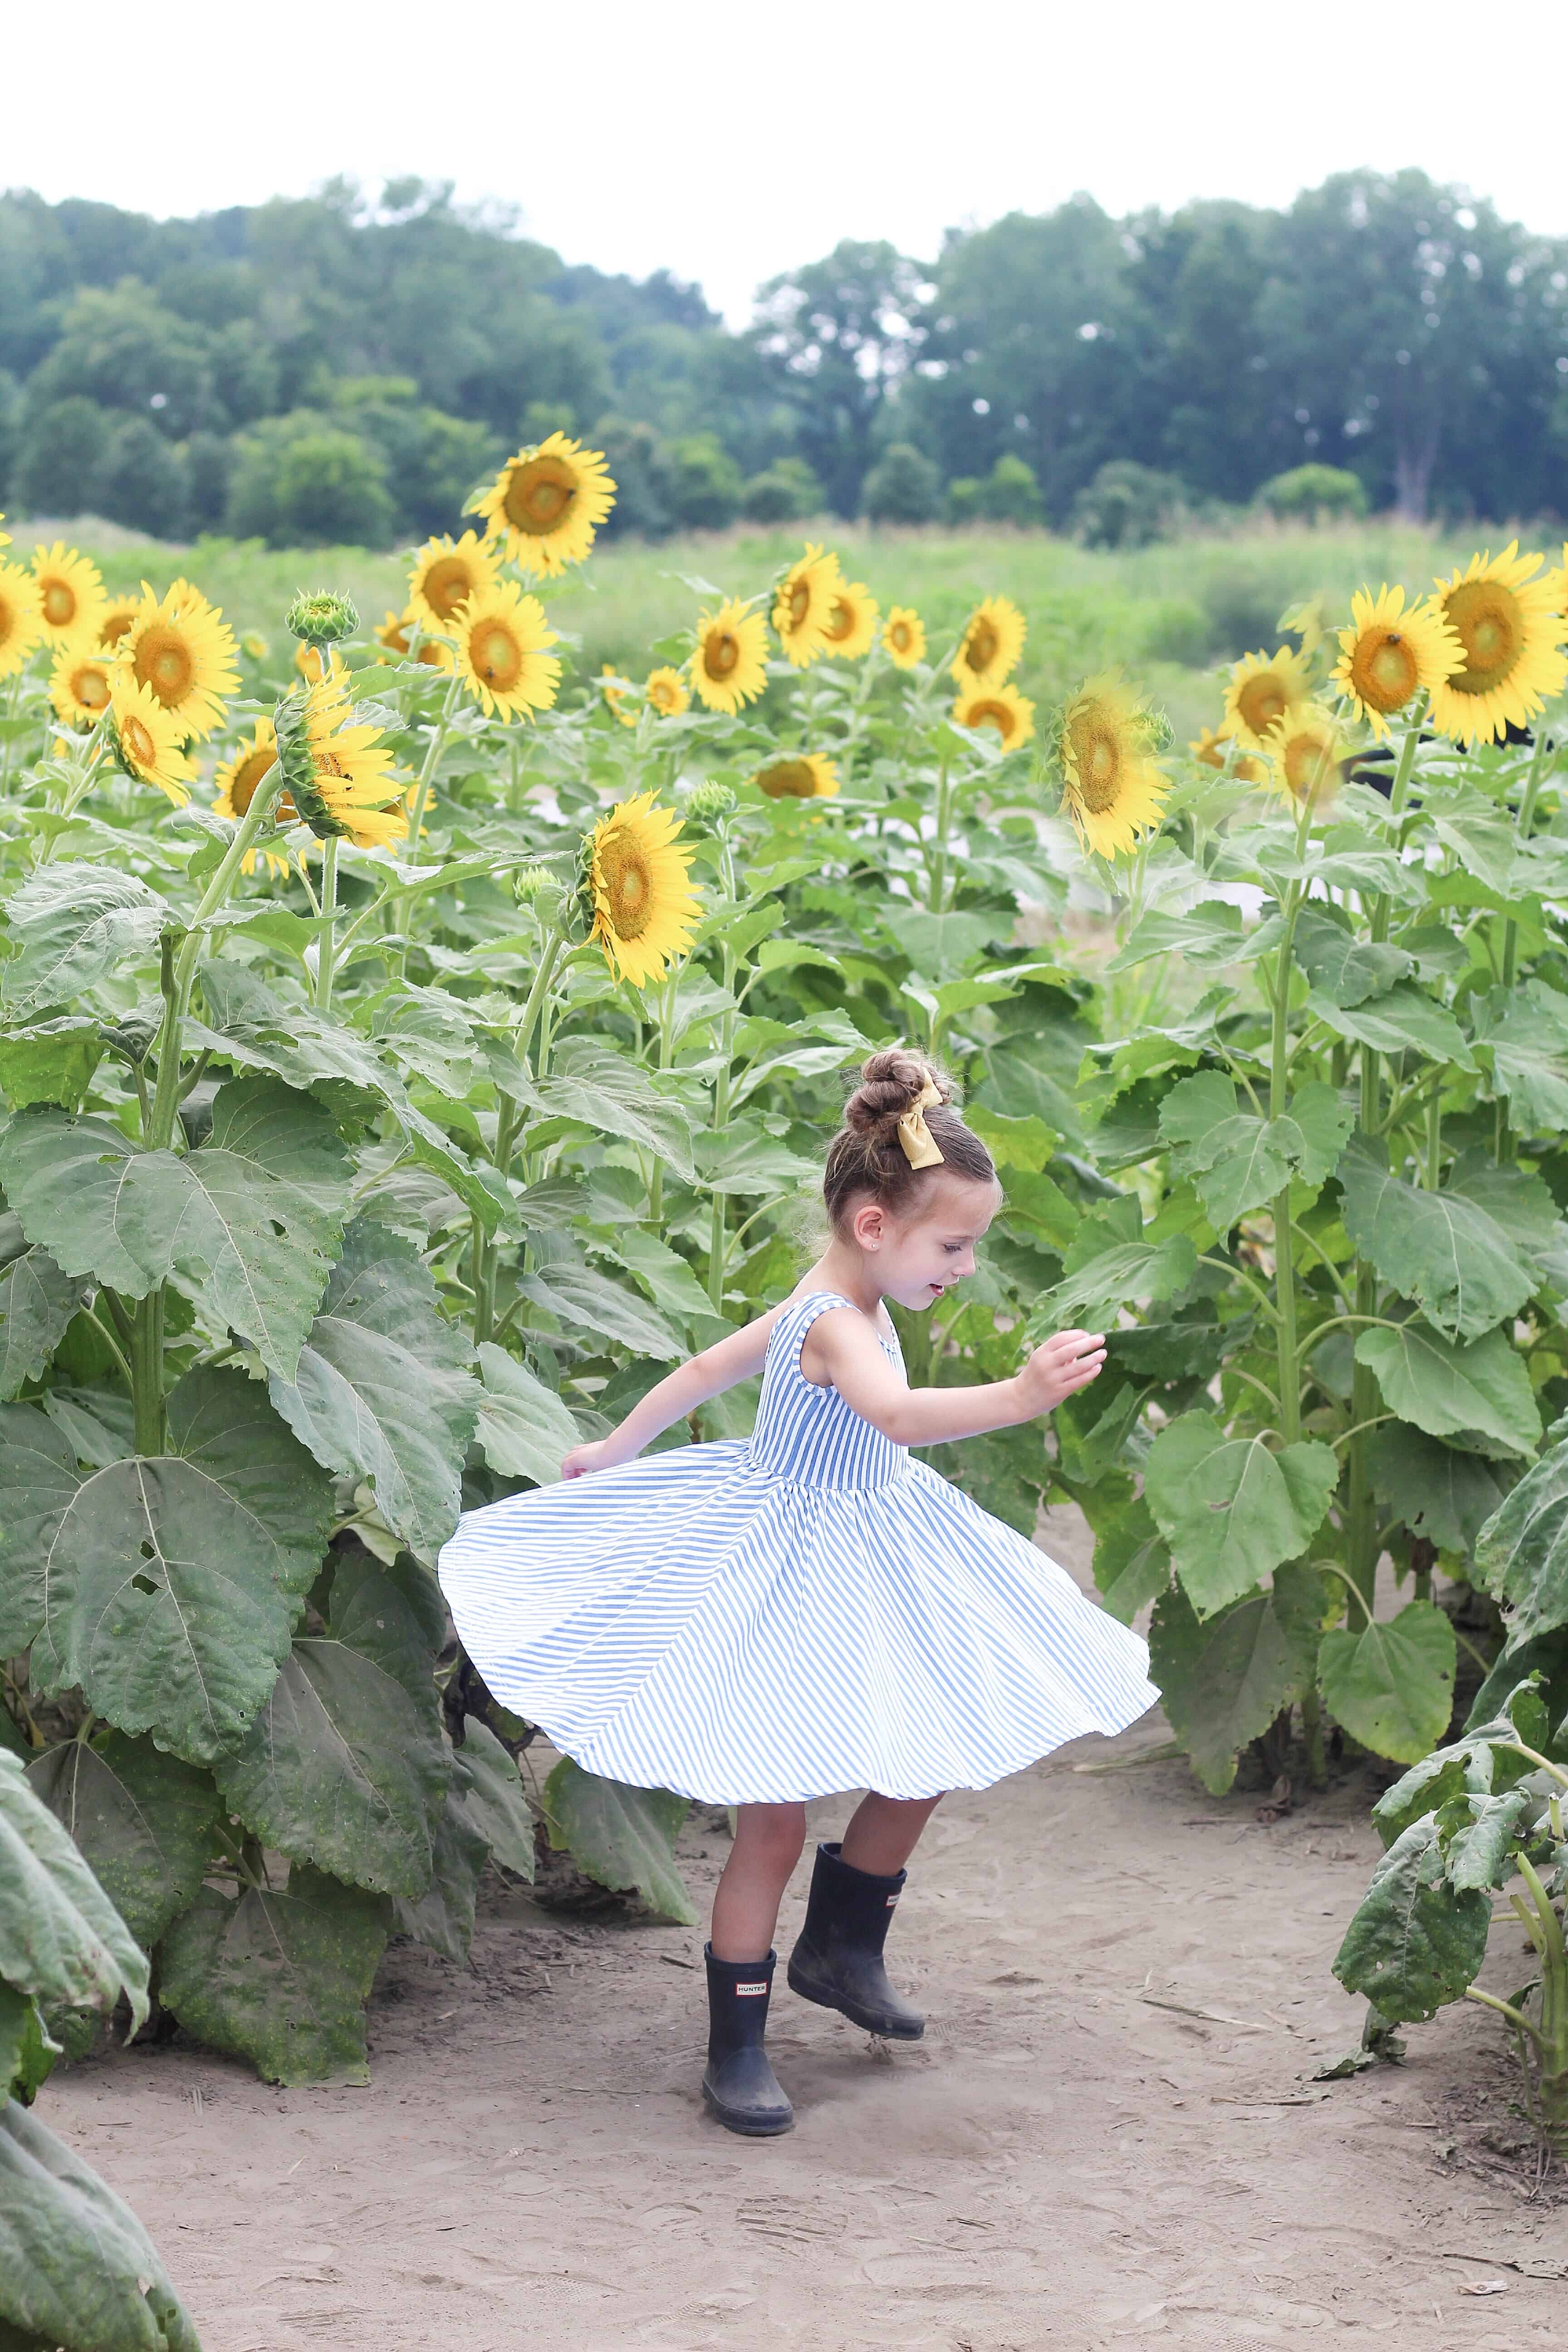
Before all editing on this photo
After all photo edits. I followed my above steps, then I used the clone stamp on retouch to add sunflowers to the gap!
Facetune – I love this for selfies if I want to make my skin a bit clearer or teeth whiter, or anything of that sort. I recently took a selfie and had one hair going across my forehead that looked like a horrible wrinkle, so I used it to remove that. I have also used it to remove fly away hairs. I know there is MUCH more you can do with Facetune, I just haven’t figured anything more out yet.
I hope this helps so many of you who have asked for how I go about editing pictures for Instagram, and please feel free to email, comment, or message me on Instagram if you have any questions on these steps!