How to Make Simple and Inexpensive DIY Closet Shelves
I have been so excited to install wood closet shelves DIY style! We could have opted for closet shelves from Lowes or Home Depot, but closet shelving we decided to do DIY closet shelves to kick off week 3 of my 30 Day Declutter challenge. When it came to tackling our bathrooms and linen closets I was slightly uninspired, because we HATE all the closets in our house. So instead of just organizing and decluttering we decided to do some DIY wood closet shelves.
This DIY wood closet shelves post contains affiliate links
Closet Organization – Wood Closet Shelves
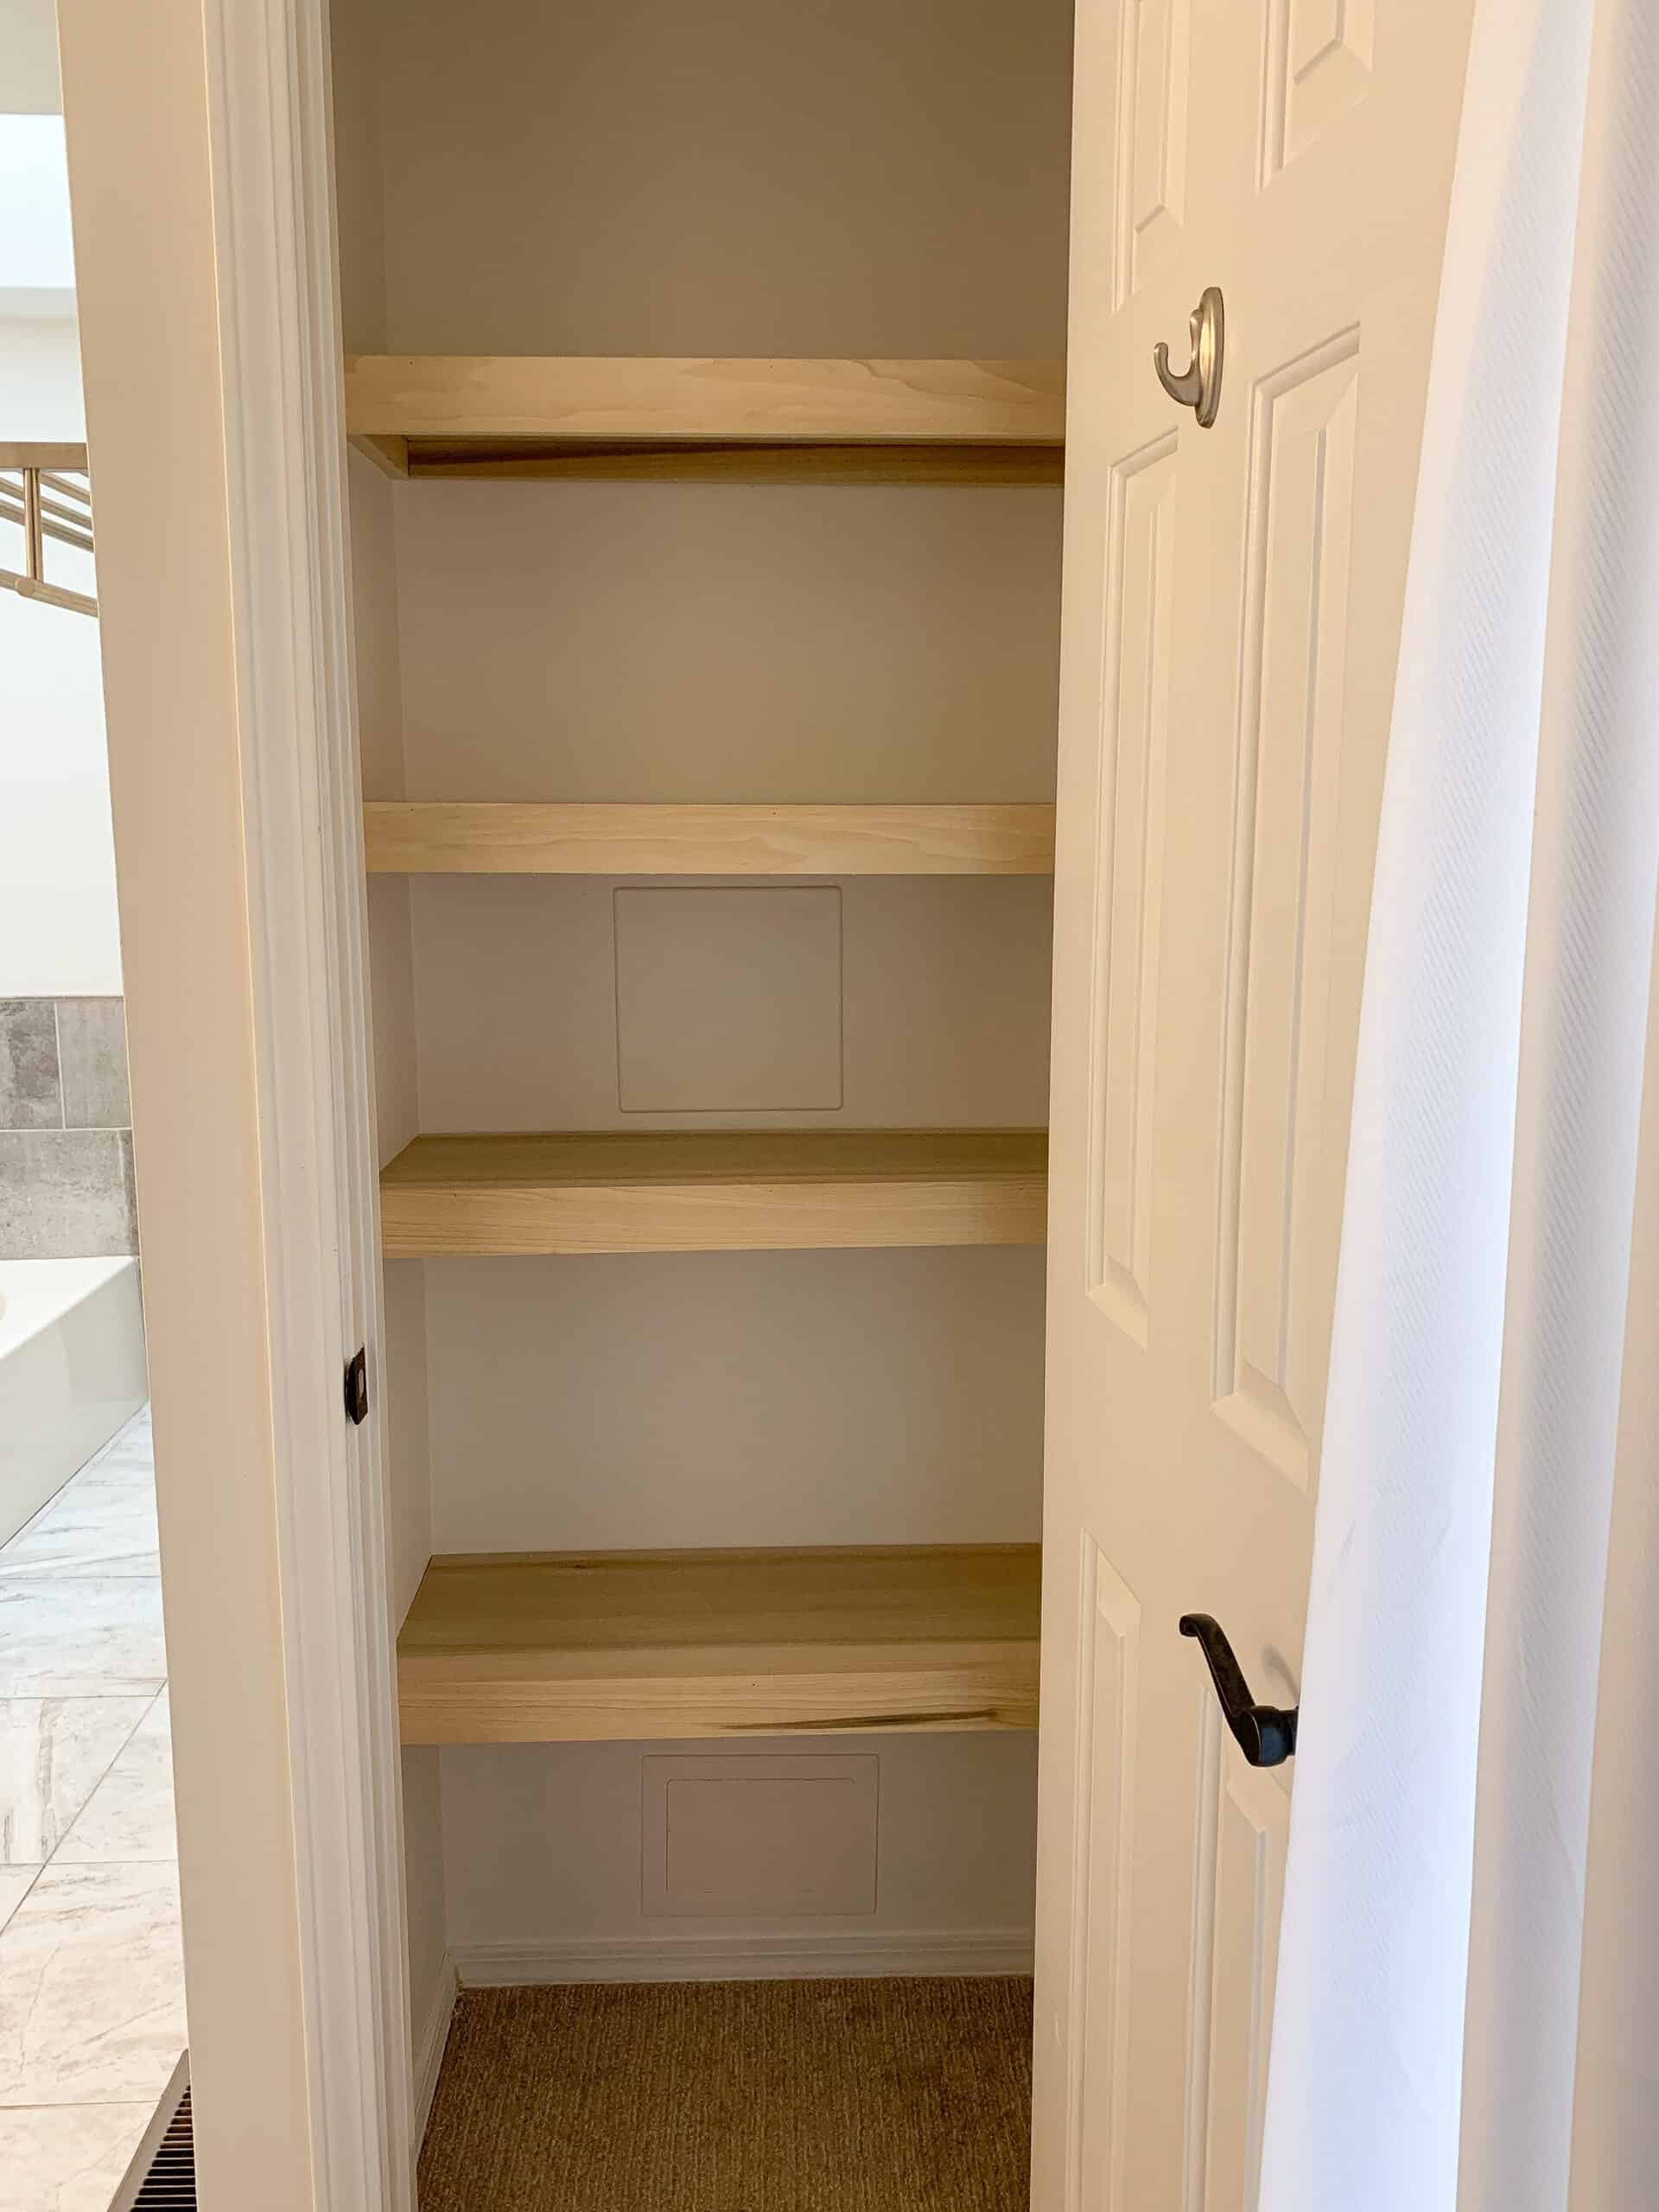
The linen closet we tackled first is right outside our master bathroom in our bedroom and we are in it every day, so I really wanted to see it more functional and give it an update that looked nicer. It ended up being a really easy DIY and we are already at the ‘assembly’ step for the kids linen closet too.
Home Declutter Challenge
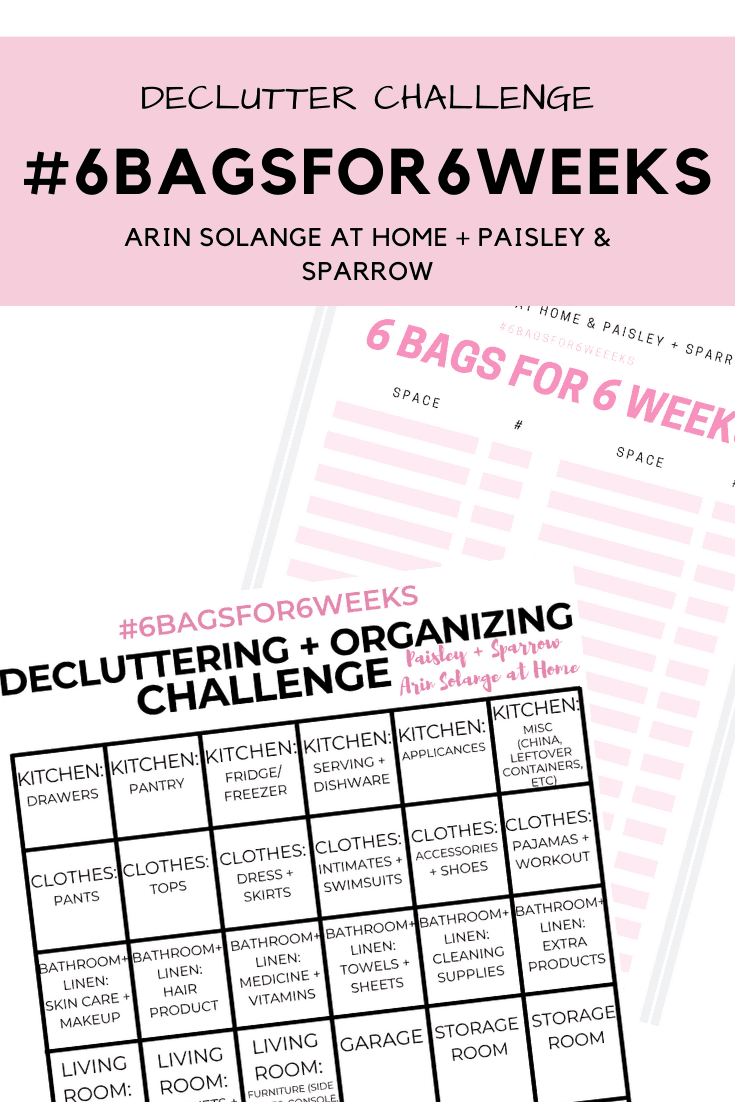
Before I get started on this DIY let me recap why I did it and what I’m talking about when I say ‘6 bags for 6 weeks’. My friend Jen and I are on 30 day declutter journey and taking you all along with us.
During the 6 weeks you will declutter every area of your home with a helpful chart to remind you of all you need to purge, as well as a chart to track how much you have actually gotten rid of. The end goal is a minimum of 36 bags of items OUT OF YOUR HOUSE. This can mean donate, sell, trash, whatever works!
This week we are tackling bathrooms and linen closets. I talk at the end of this post a bit about how I organized ours, but Jen did a full blog post on organizing bathrooms, so she will be your resource this week!
DIY Closet Shelves-How to Make Simple Shelves
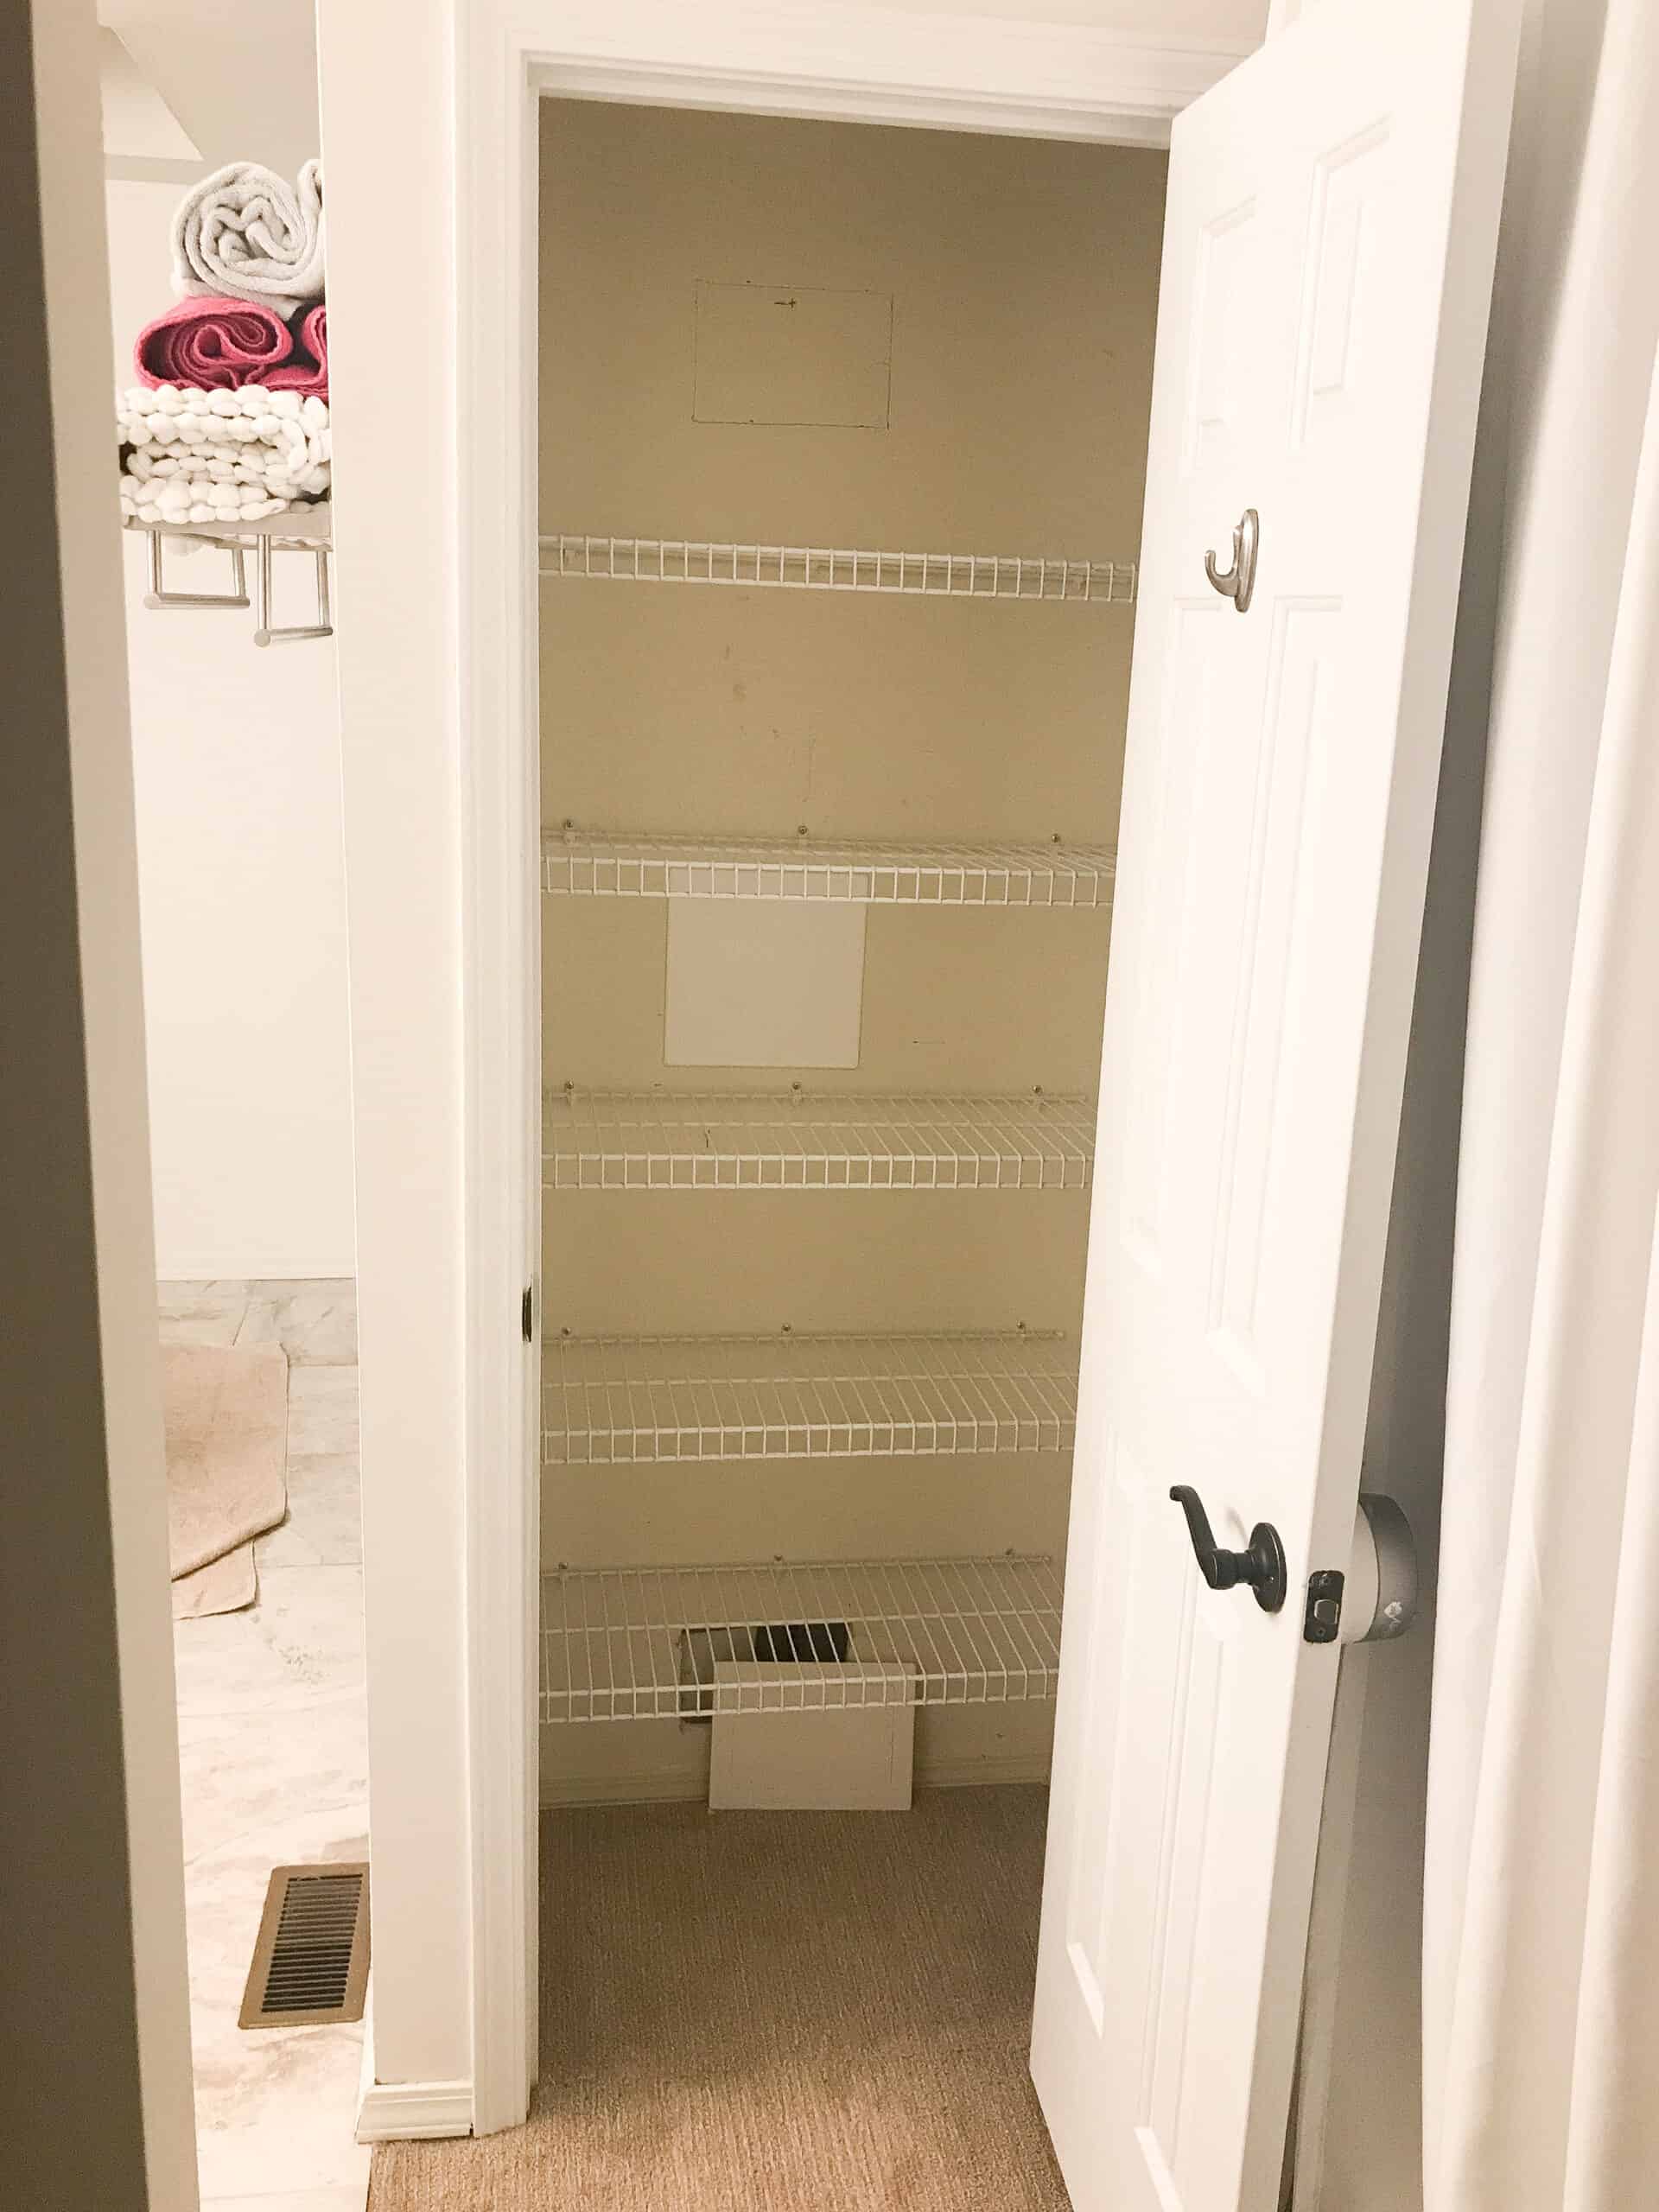
Okay now onto the closet shelves DIY! Like I said at the start of this post – our shelves in this house in EVERY closet drive me mad. They are all wire, and our house is from the late 80s, so many of them just are not in good shape at this point. When it came to organizing closets, it made sense to get things in better shape.
We are on a mission this year to really tackle some projects around our house in DIY style and can’t wait to have you all along with us, so if easy, LIKE ONLY REALLY EASY, DIY is your thing make sure you subscribe to my blog and follow along on Instagram to see more of these projects.
Total Breakdown:
Cost: Lumber was $100 but we purchased for 5 shelves and decided to do 4. We personally owned everything else! So it was VERY inexpensive. (editing to add – I just did these again 3 years later and again the lumber was roughly $100)
Time: Disassembly – 10 min, Putty and paint – 1 hour (that doesn’t include waiting time), Cutting and Assembly – 1 hour. TOTAL – 2 ish hours!
What You Need:
Lumber amounts will differ based on your shelves, but I will give you a breakdown. ALSO, we used tools you may not have. I will share the tools we are using, in case you want to slowly invest in them and join us in the coming DIYs.
We have found that projects just get so much easier and go so much faster with the right tools.
Lumber: What Kind of Wood Is Used For Closet Shelves?
How thick should wood be for shelves?
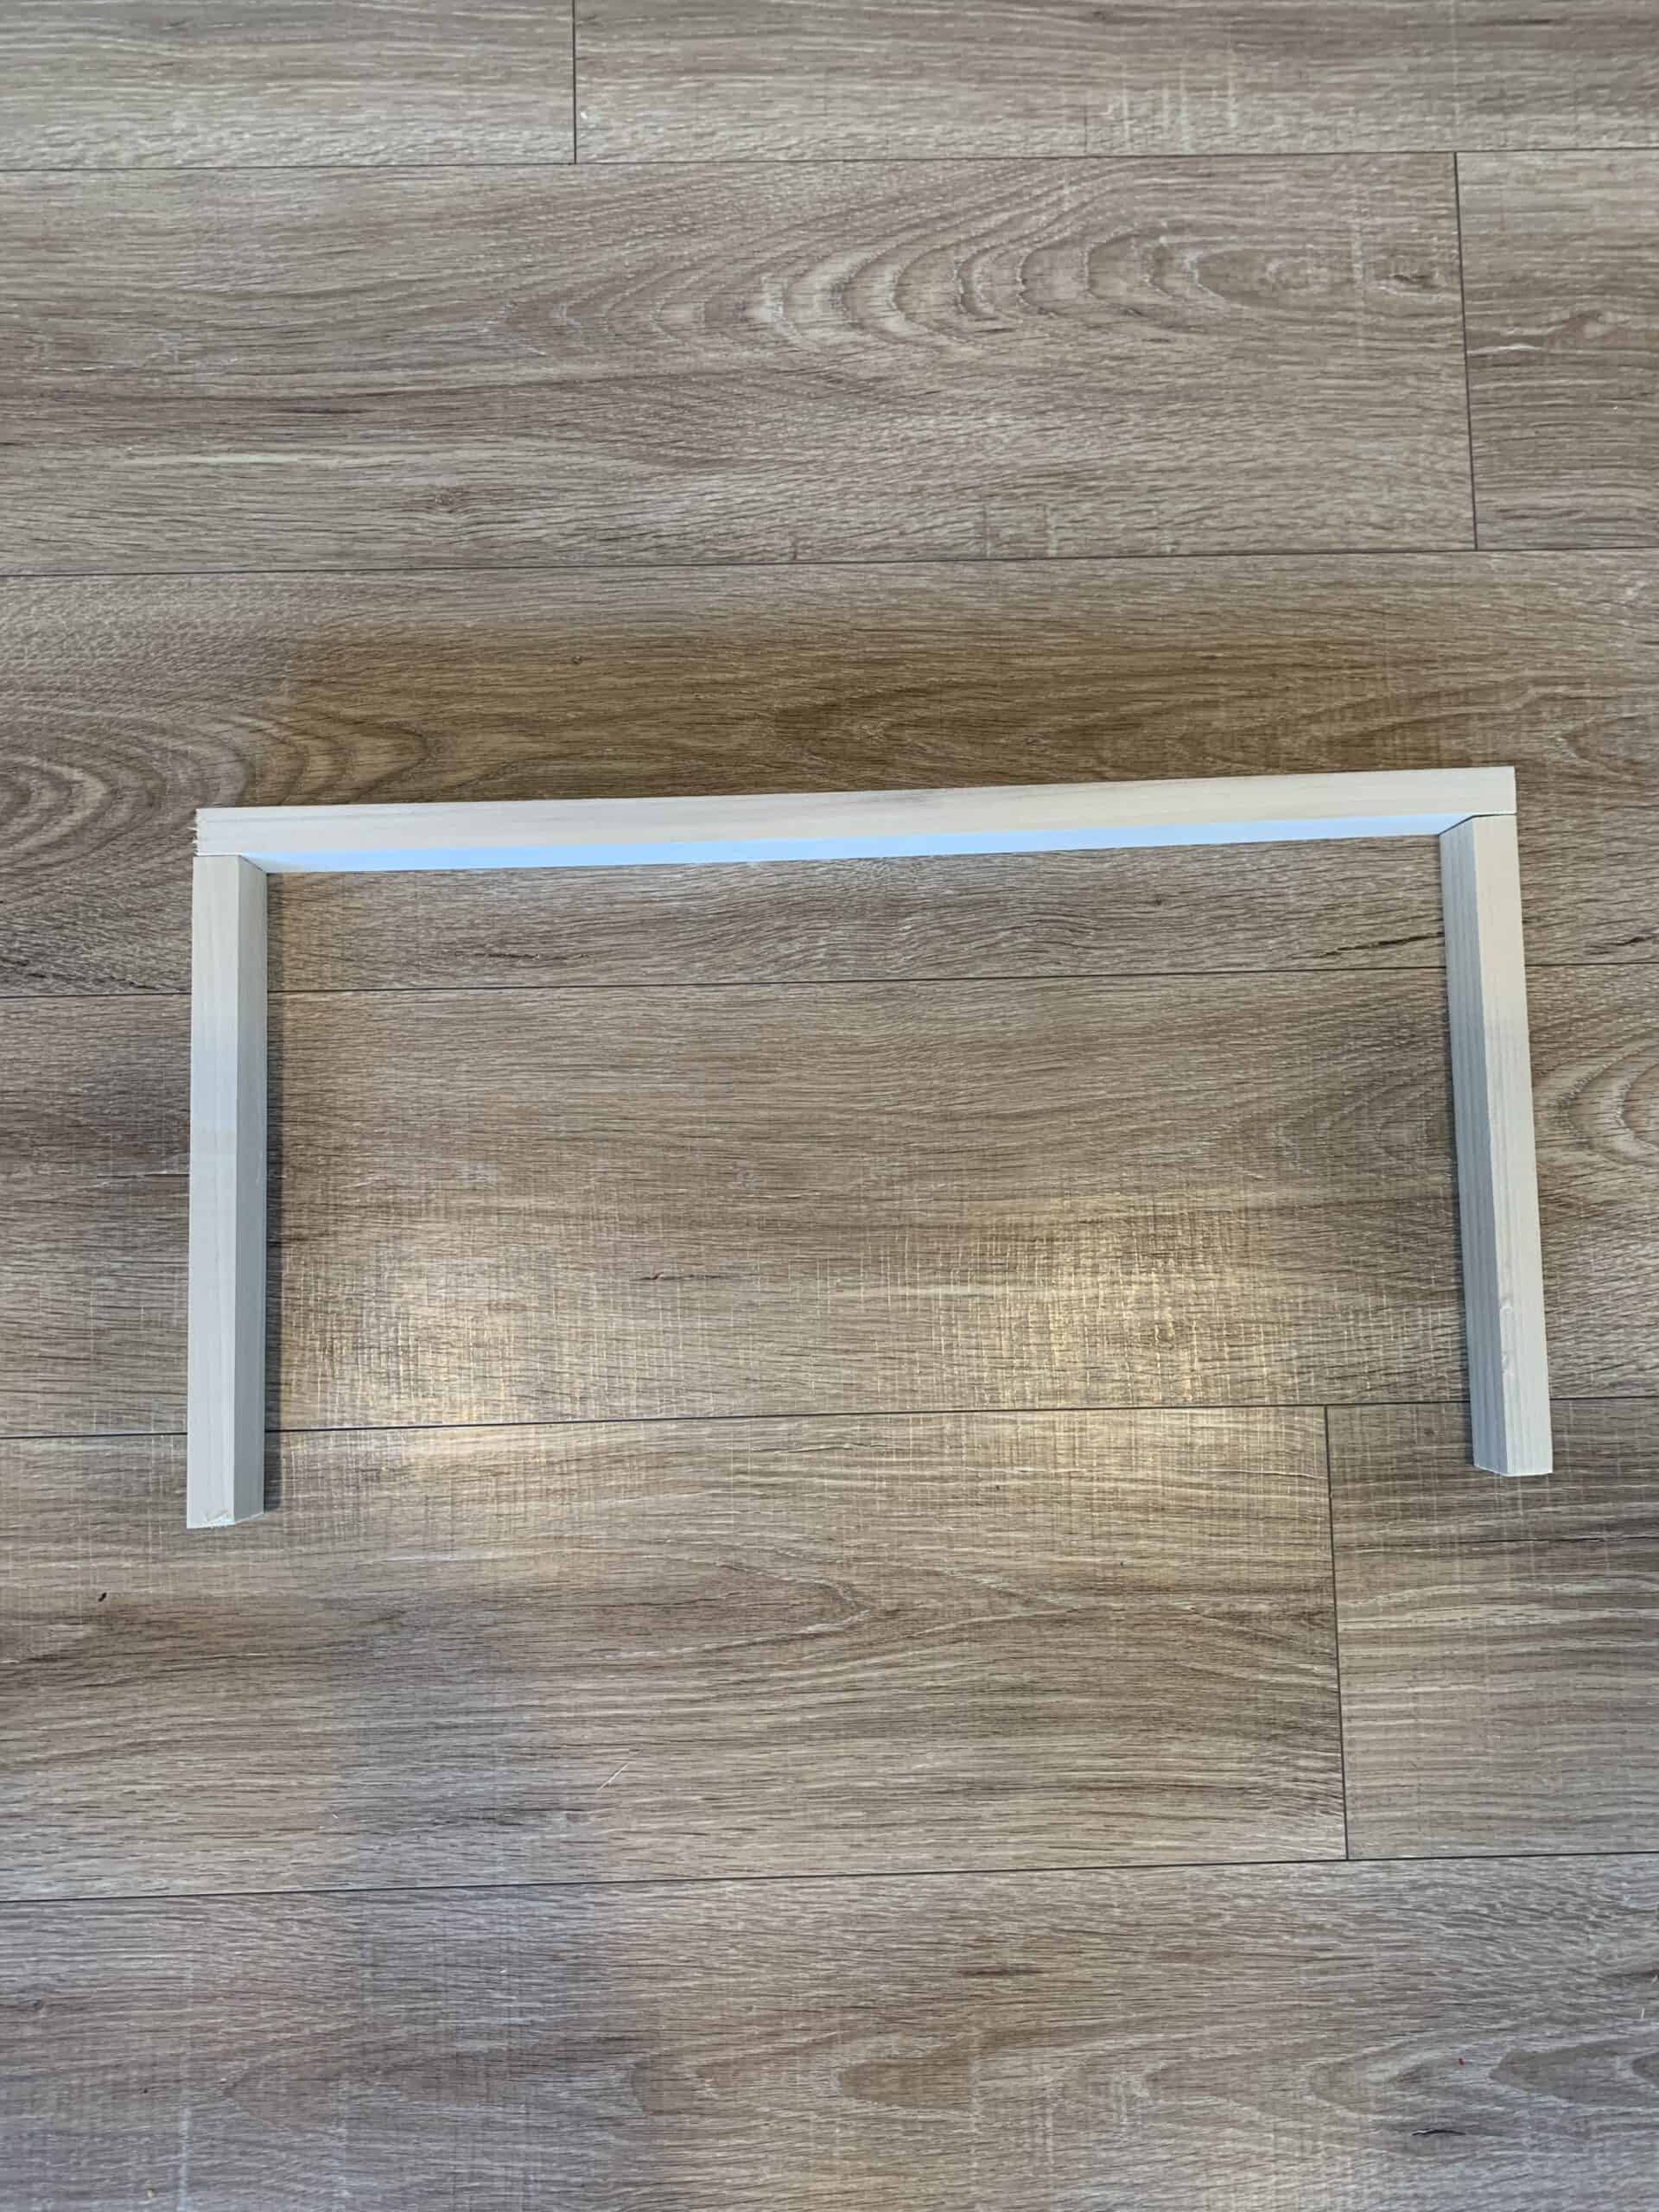
1×2 Poplar Board – this will be your frame. You will need enough to go along the two sides and back for each closet shelf. Our shelf top was going to be 30.5 x12. So we needed 30.5 inches + 10 inches for each side (take 2 inches off your side pieces, so for us 12- 2 = 10).
To try to make that more clear. Our table top was 30.5 x12
Our frame pieces were cut for each shelf at 30.5 + 10 + 10
Total amount of 1×2 we used was 142 inches.
1×12 Poplar Board – This is your shelf top! For us we went with these boards that were already 12 inches. BUT if you have much deeper closets or want a deeper shelf you will buy 1x_ poplar boards for your shelf top. We were able to ask the men at Home Depot to cut the boards to length so each ended up being 12×30.5.
1×3 Poplar Board – This will be your face piece to make your shelves look pretty. You need the length of your shelf (for us 30.5 inches) x the number of shelves!
Tools:
We used a nail gun for this whole project. We personally have this one from Amazon and love it, but you could also use a drill and drywall screws as well as a hammer and nails.
A saw of some sort – this is up to you. We personally have the following 3 tools that would all work, but for this project used the miter saw option as it tends to be the easiest.
Table Saw | Circular Saw | Miter Saw
Drill for attaching support pieces – we have this drill.
Other:
Wood Glue
Paint if you plan to repaint the closet before install (highly recommend)
Sand paper
wood filler
Level
Stud finder (optional if you are trying to get nails or screws into studs)
How to Build your DIY Wood Closet Shelves
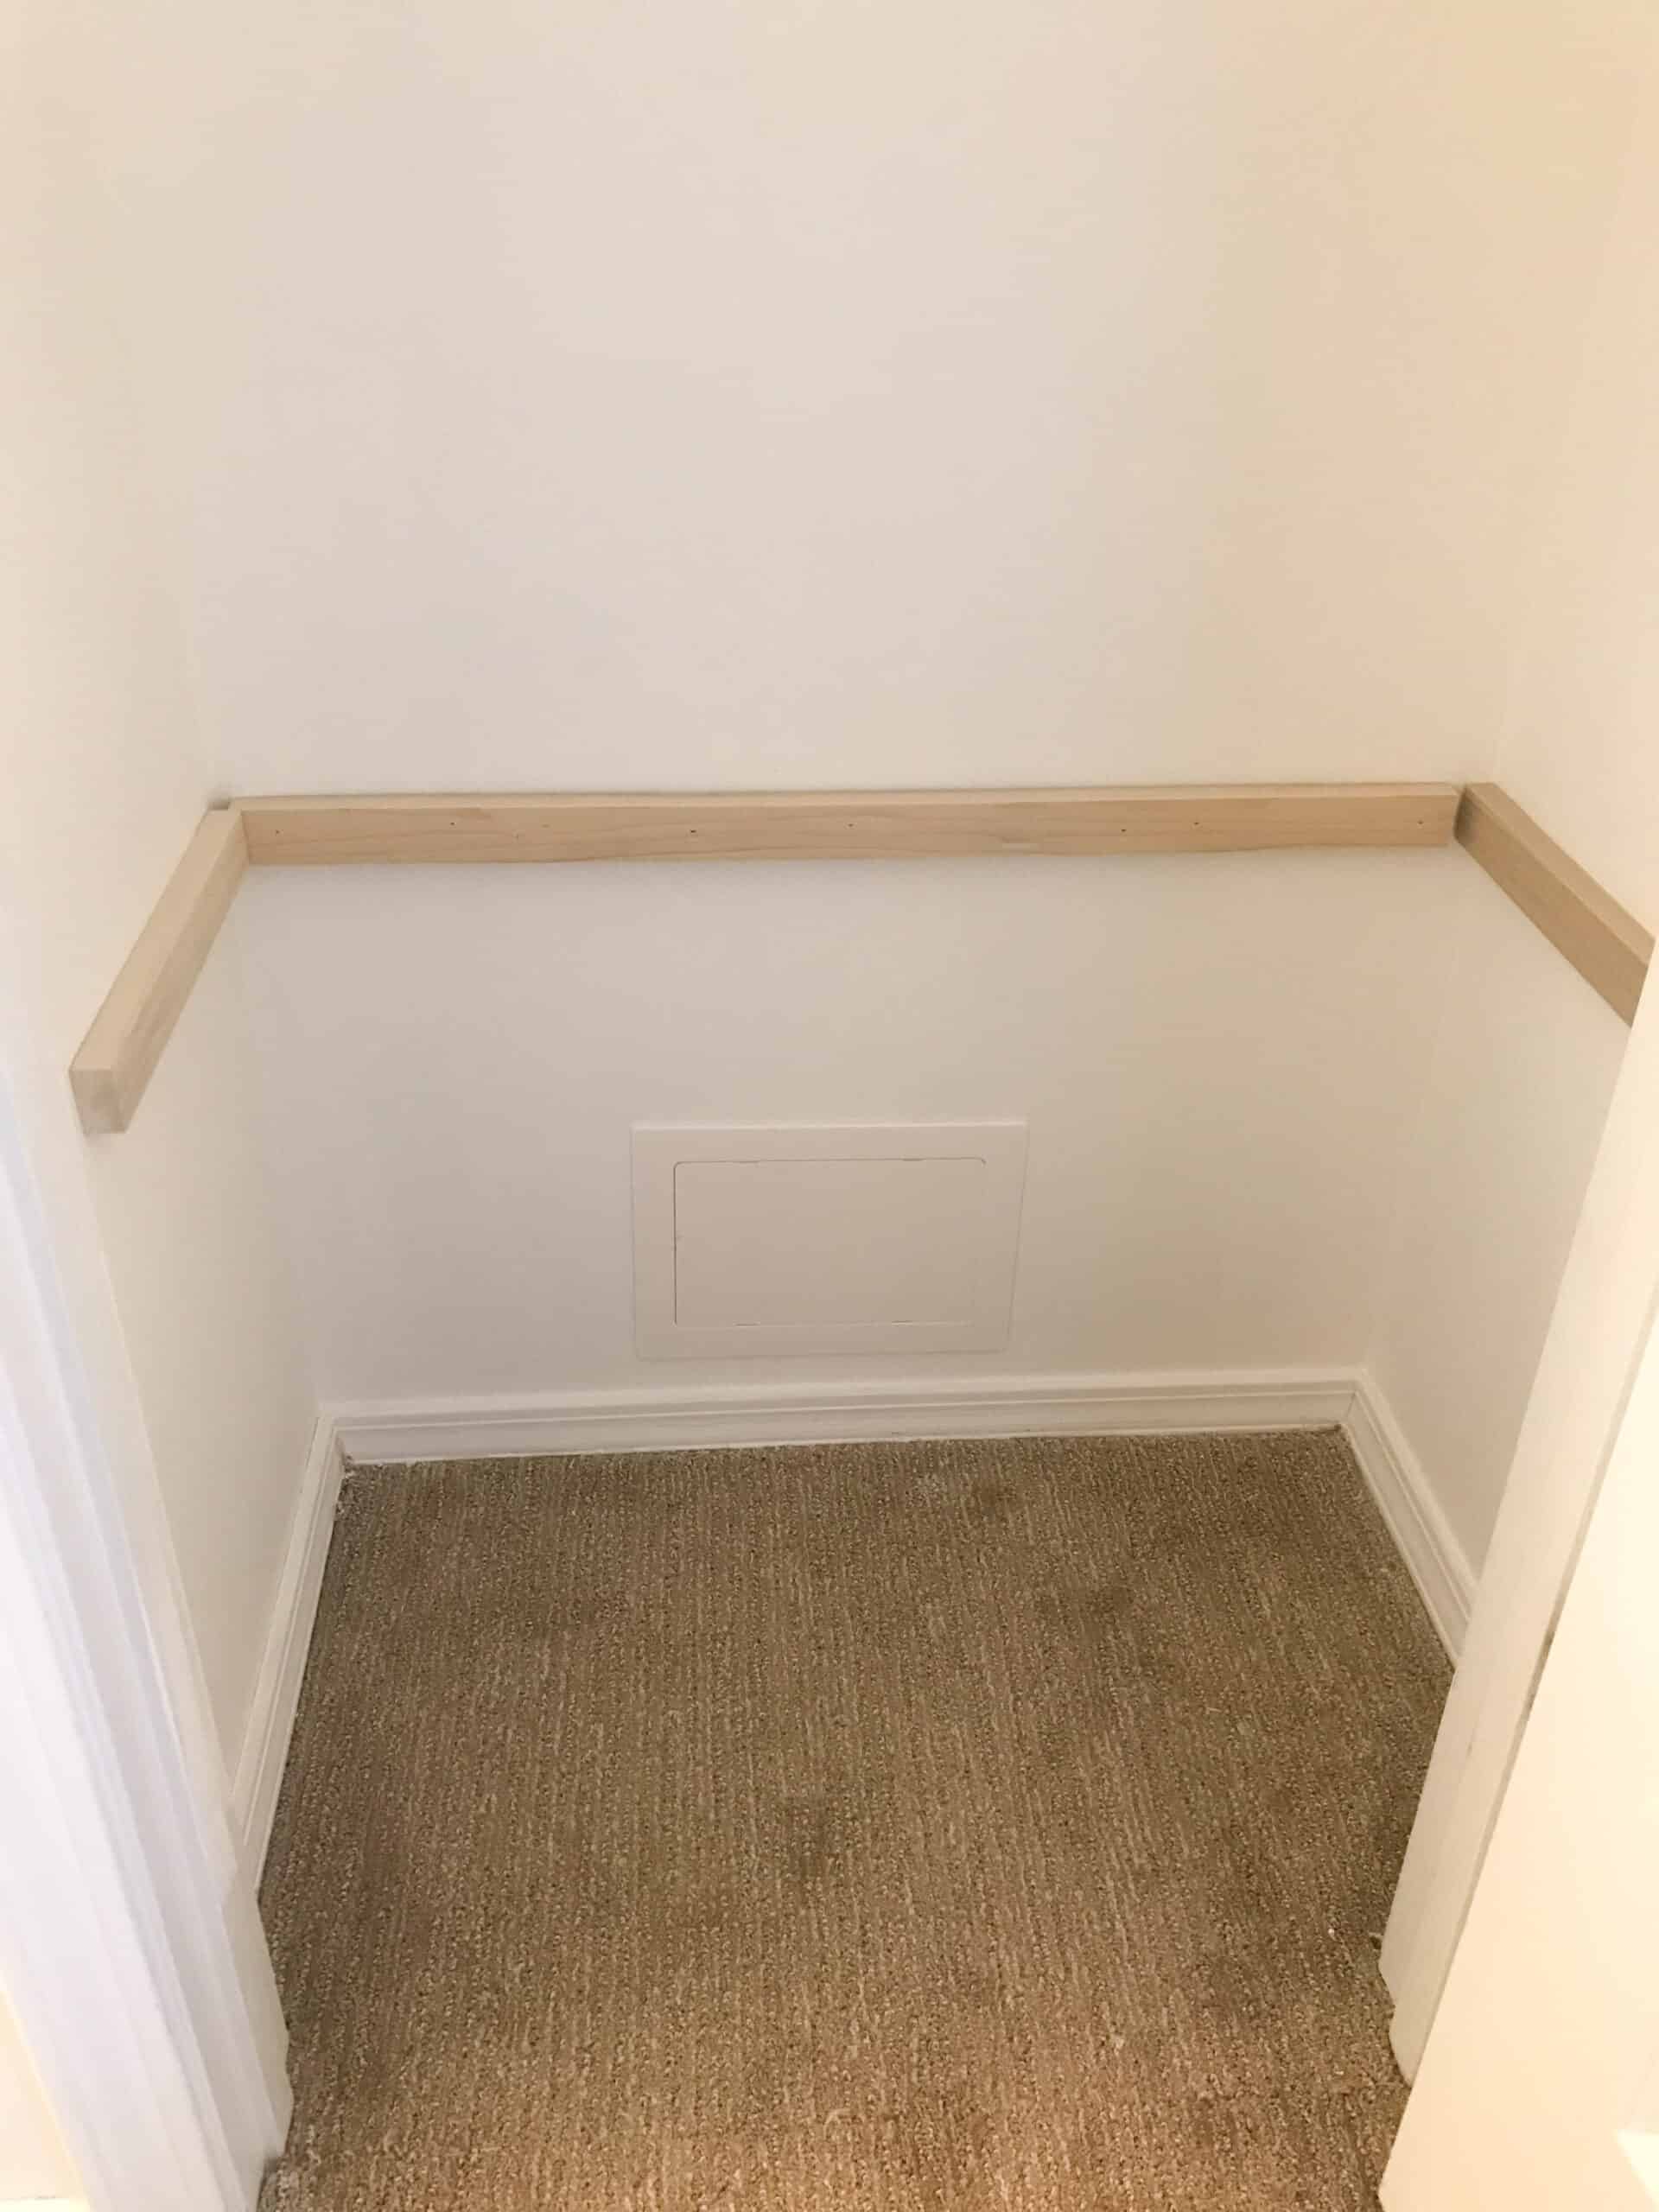
- First things first – dismantle your current shelving. Patch any holes with spackle, then when that is dry sand and fully clean the walls.
2. Next you want to paint the closet fully. We used paint we had on hand, and personally did each of these steps a night.
3. Cut your lumber – If you are personally cutting this at home, cut your lumber for ONE CLOSET SHELF to make sure your measurements were right. If they were great then it’s time to cut the lumber for all remaining shelves.
DIY Closet Shelves Assembly
Assembly was CRAZY easy with our nail gun, but will take a bit longer without.
worth nothing – the photo of our frame, we did our cuts slightly differently due to trial and error. I am giving you the directions to do it how we will on closets going forward as far as the longer back piece and shorter side pieces!
4. First attach your 1×2 against the back wall where you want your shelf. Make sure it is level as this is how you will support your closet shelf, and remember your shelf is 1 inch tall and will sit ON TOP of this, so if that matters in terms of your placement be aware. Use your drill to attach this piece – if possible putting into the studs.
5. Next you will do your side pieces of 1×2. Same height and push them as far back and close to the back piece as you can. It’s fine if there are gaps, but the biggest thing to remember is it can’t hang in front of your top board. Use your drill to attach these to the walls – and if you can get them into the studs.
6. Once all your frames are up, it’s time to put on the shelf tops. Take your top board (this is your 1×12) and place it on your frame all the way into the back corners then use your nail gun or a hammer and nails to secure it. Adding wood glue will also keep it more secure.
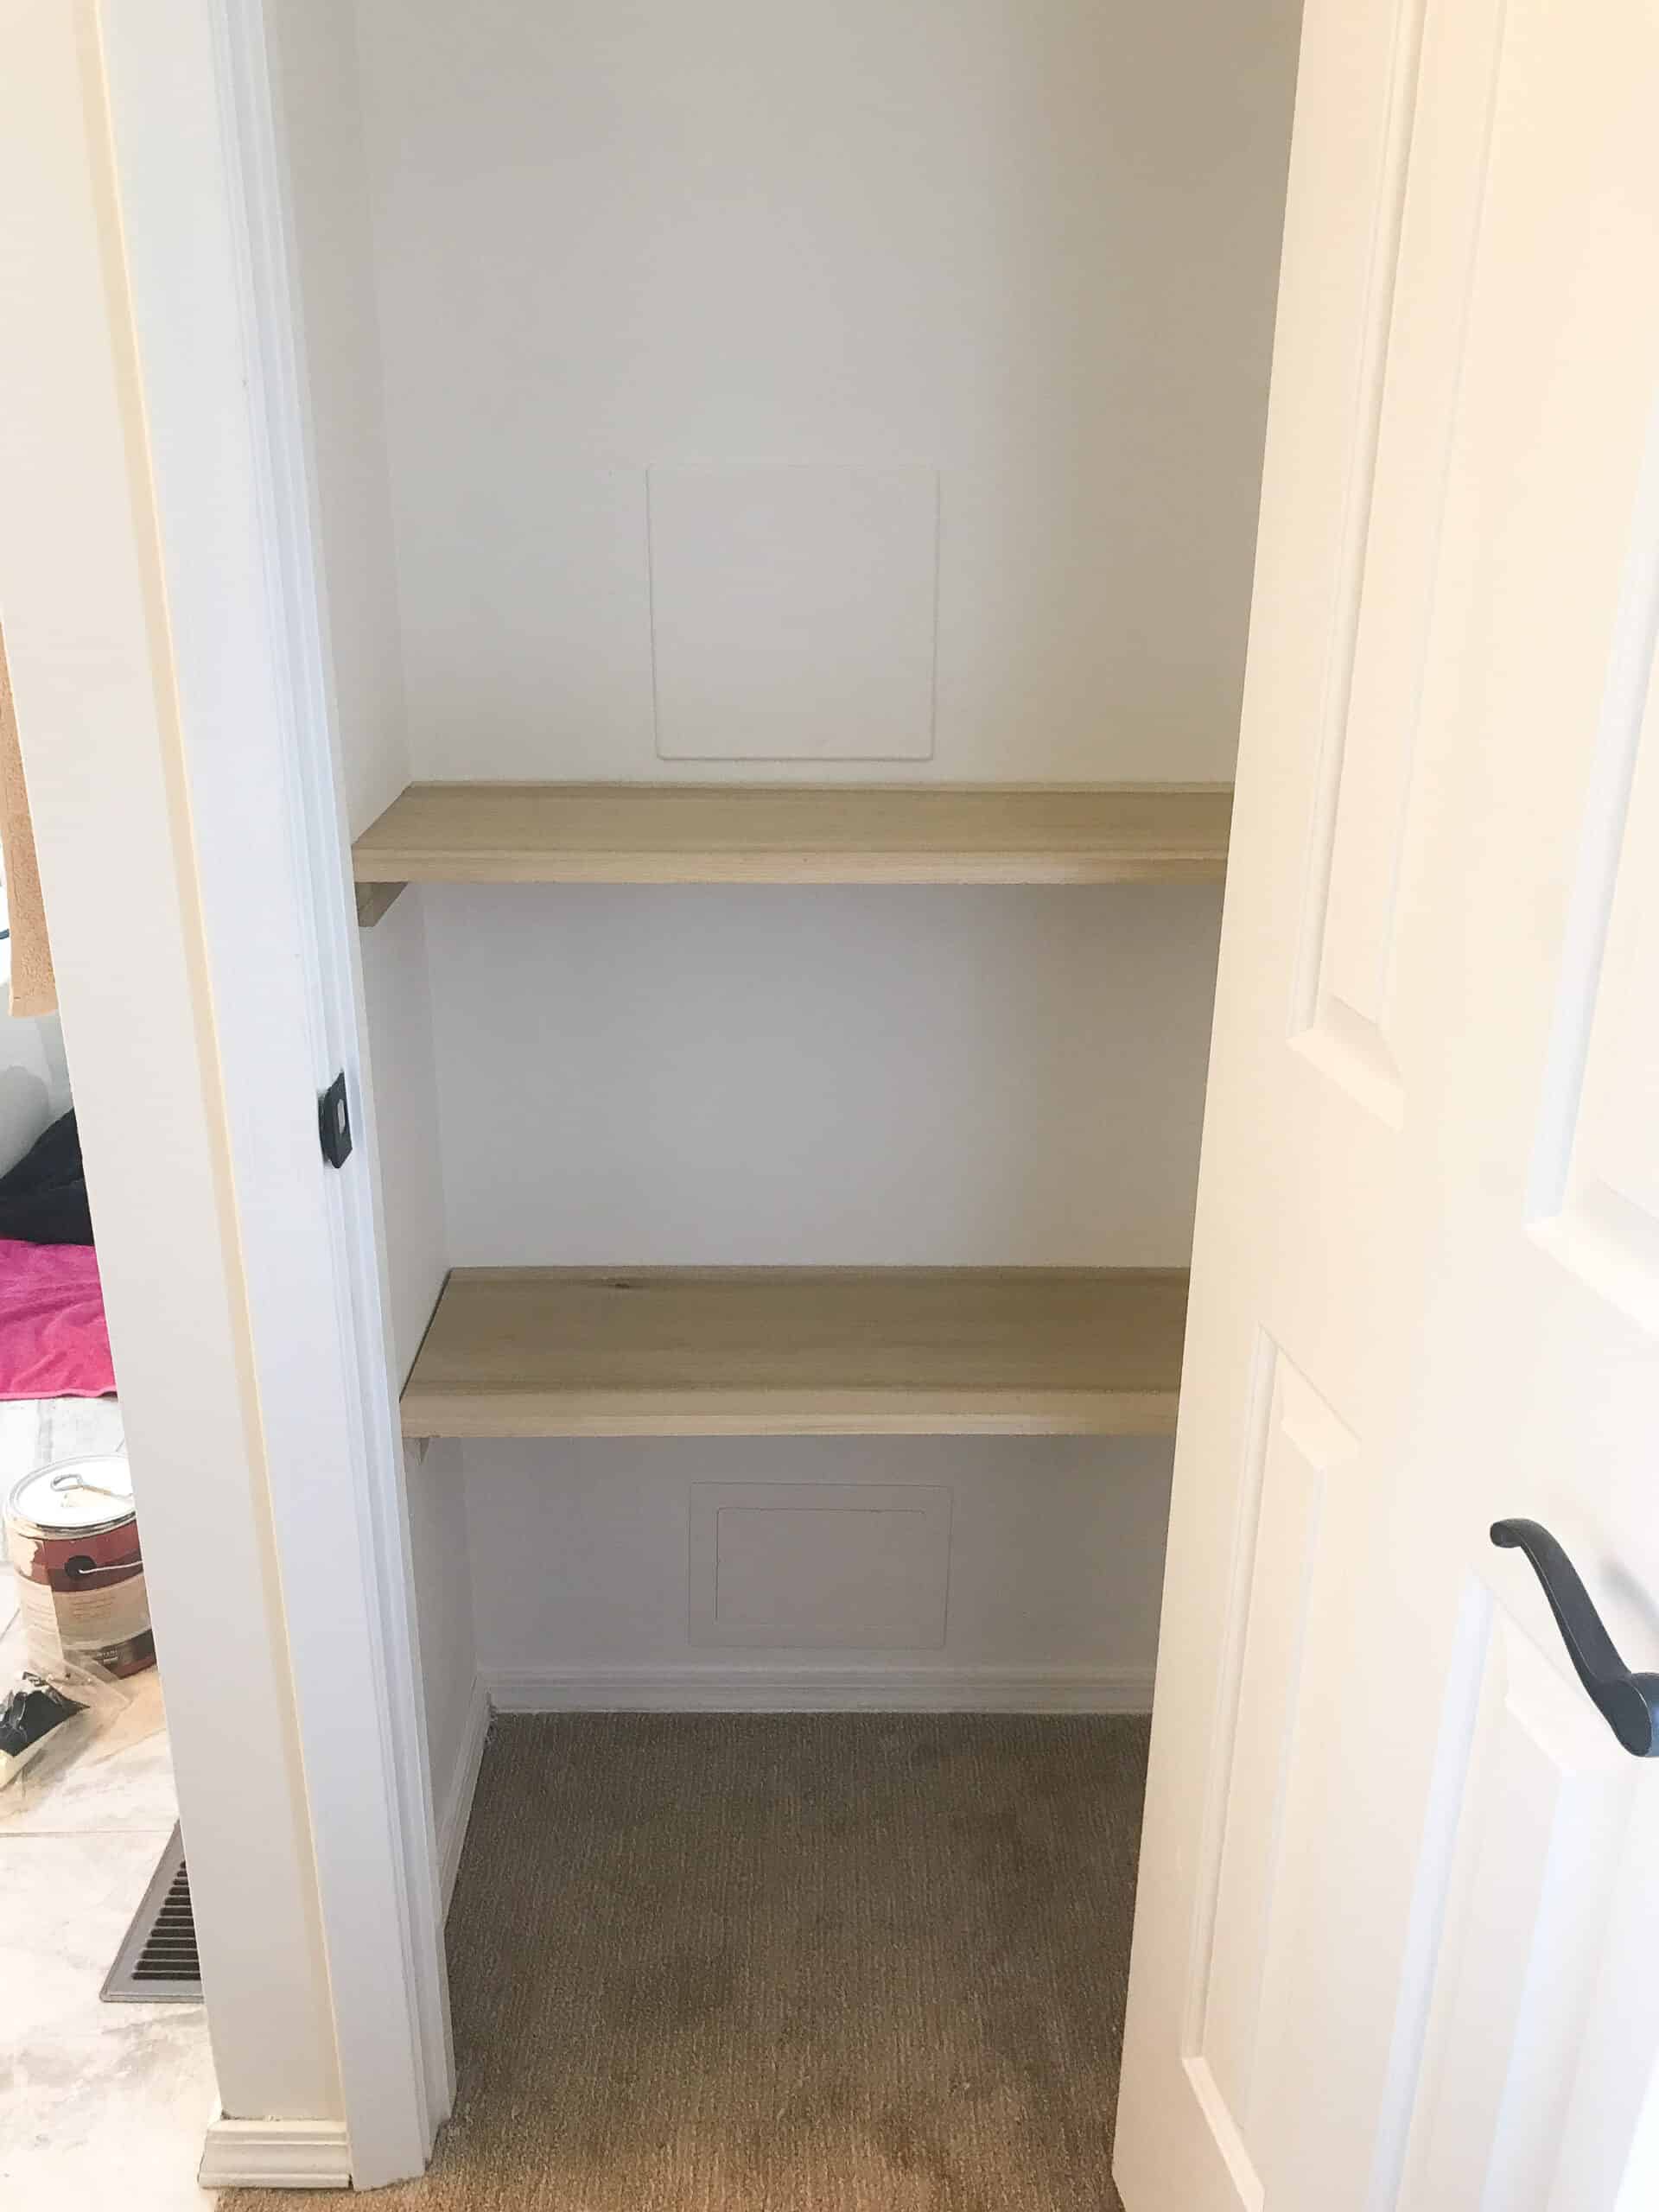
7. The last step to assembly is to nail the 1×3 to the front. Take your time and line it up well so you don’t have a lip! This piece simply makes it look more finished. Again we used a nail gun, and wood glue, but a hammer and nails will work too. Just be careful not to dent your boards.
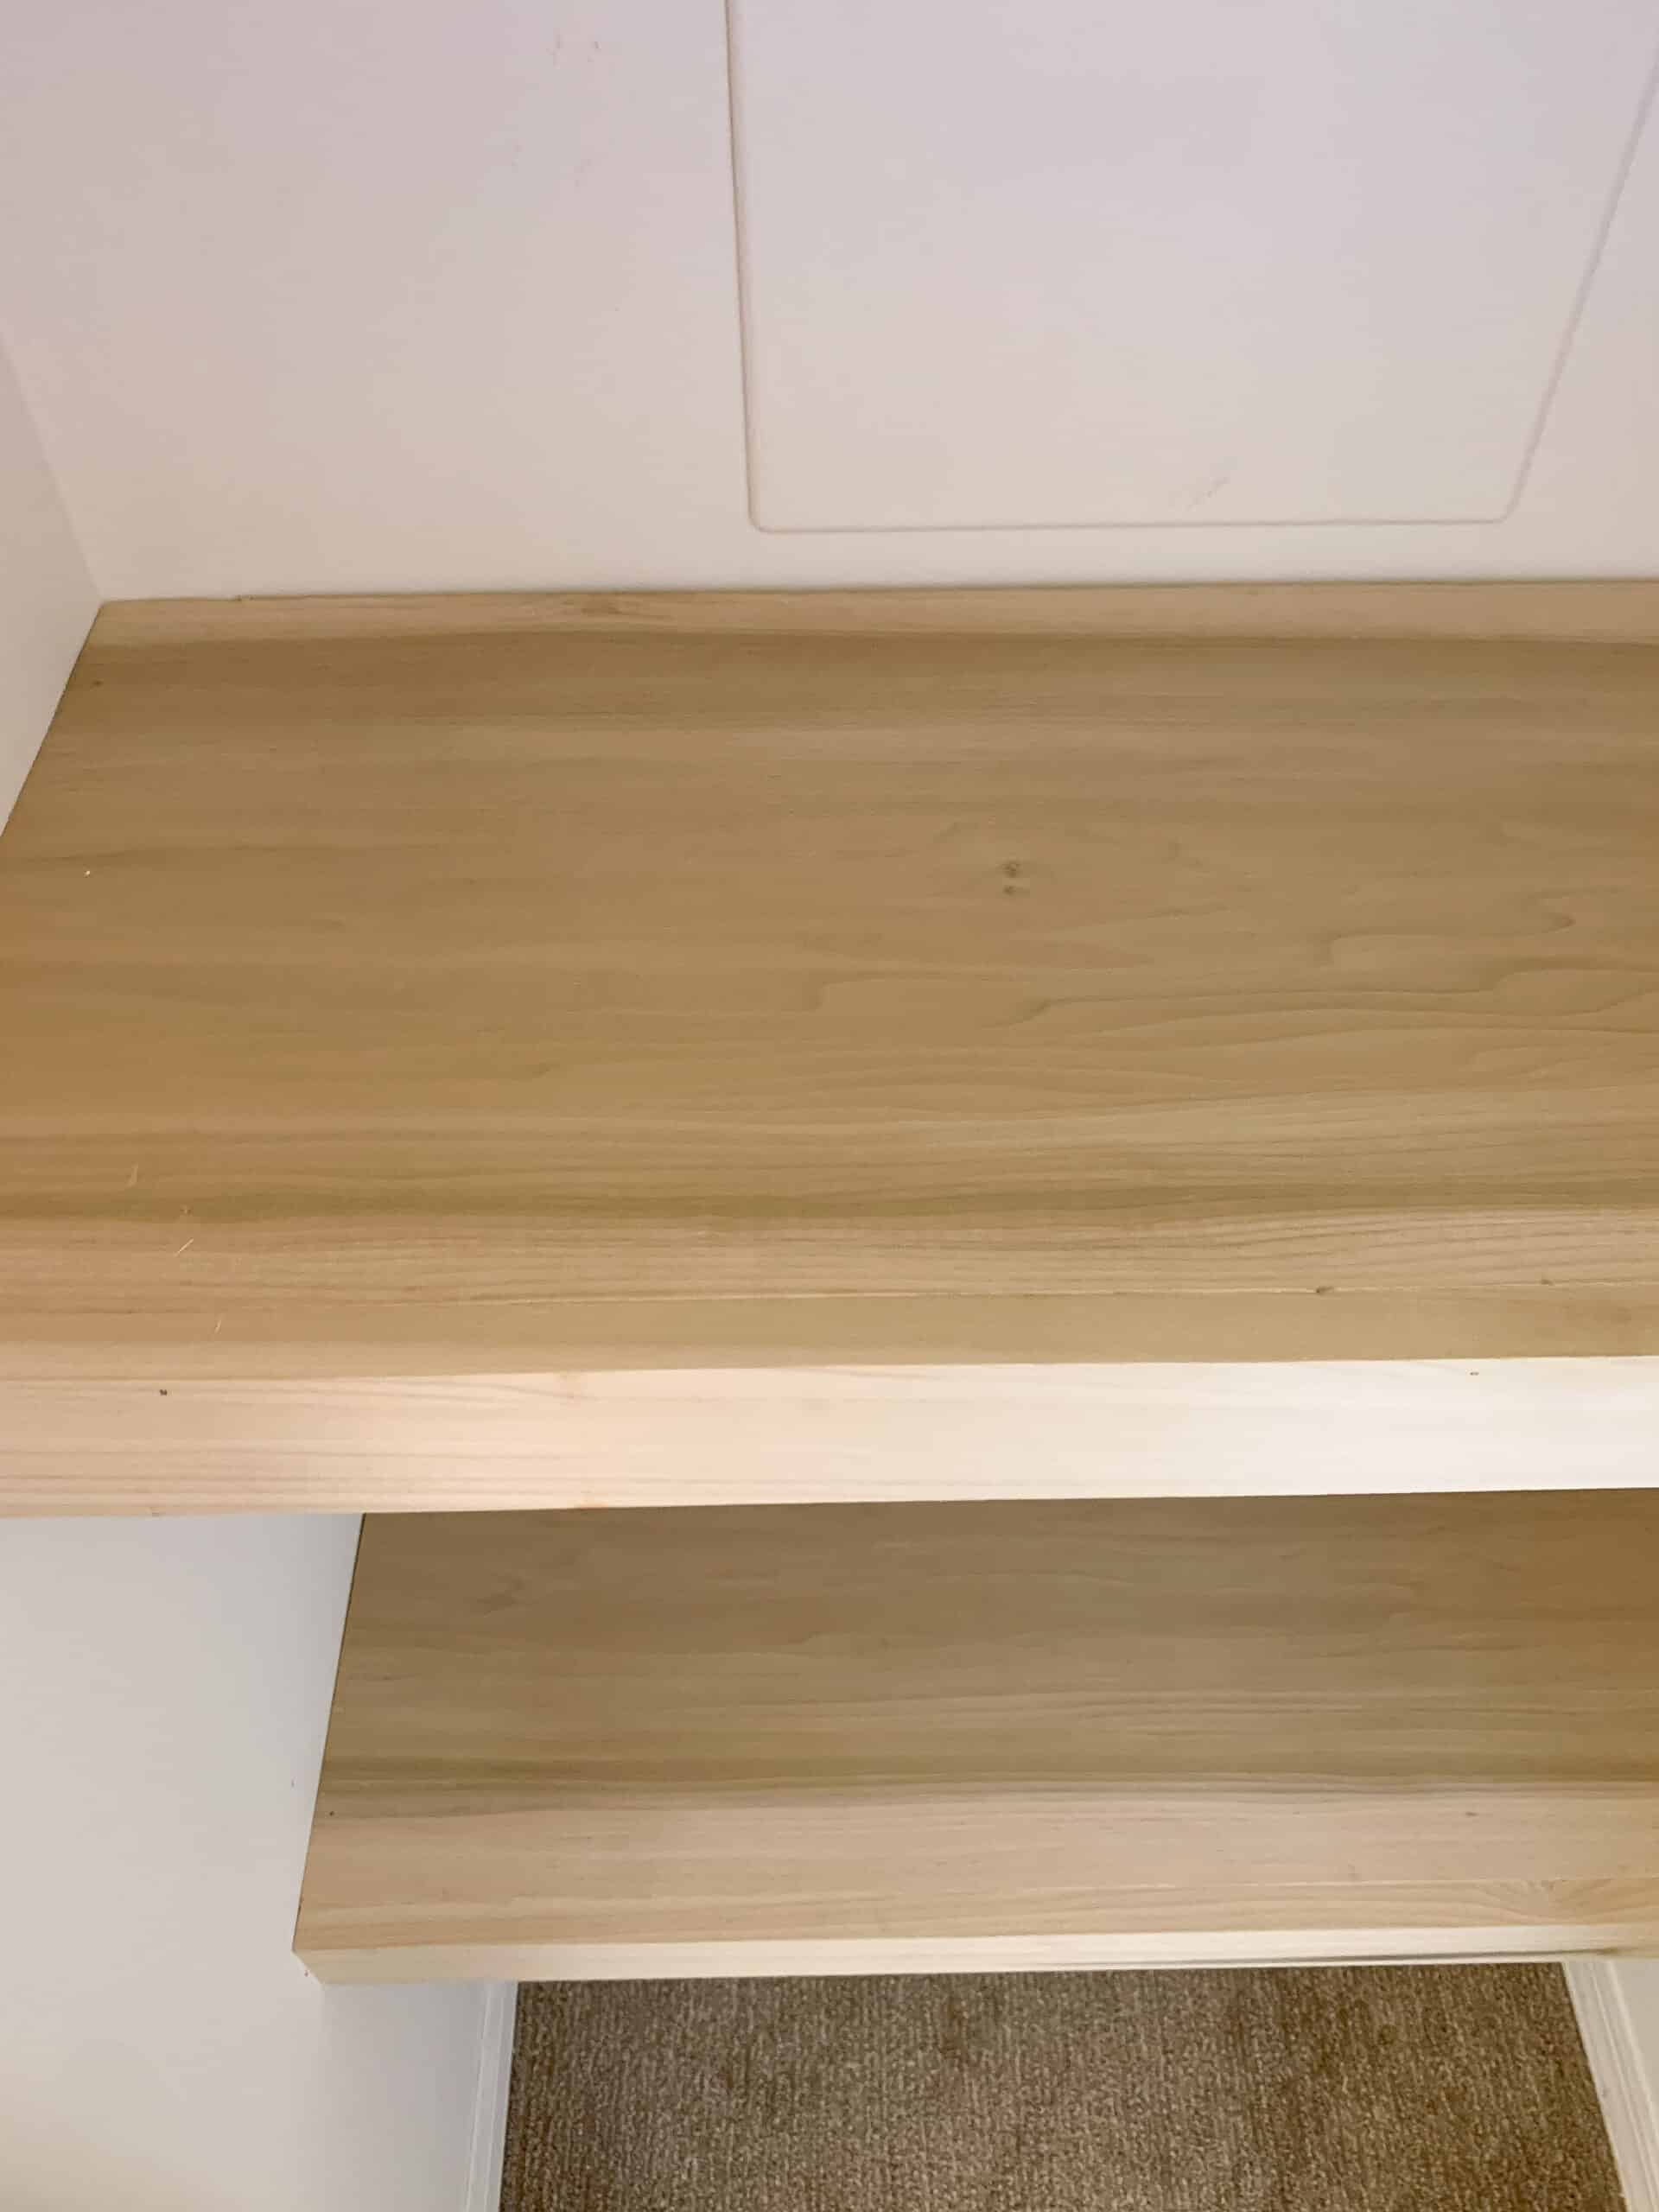
Finishing Your DIY Closet Shelves
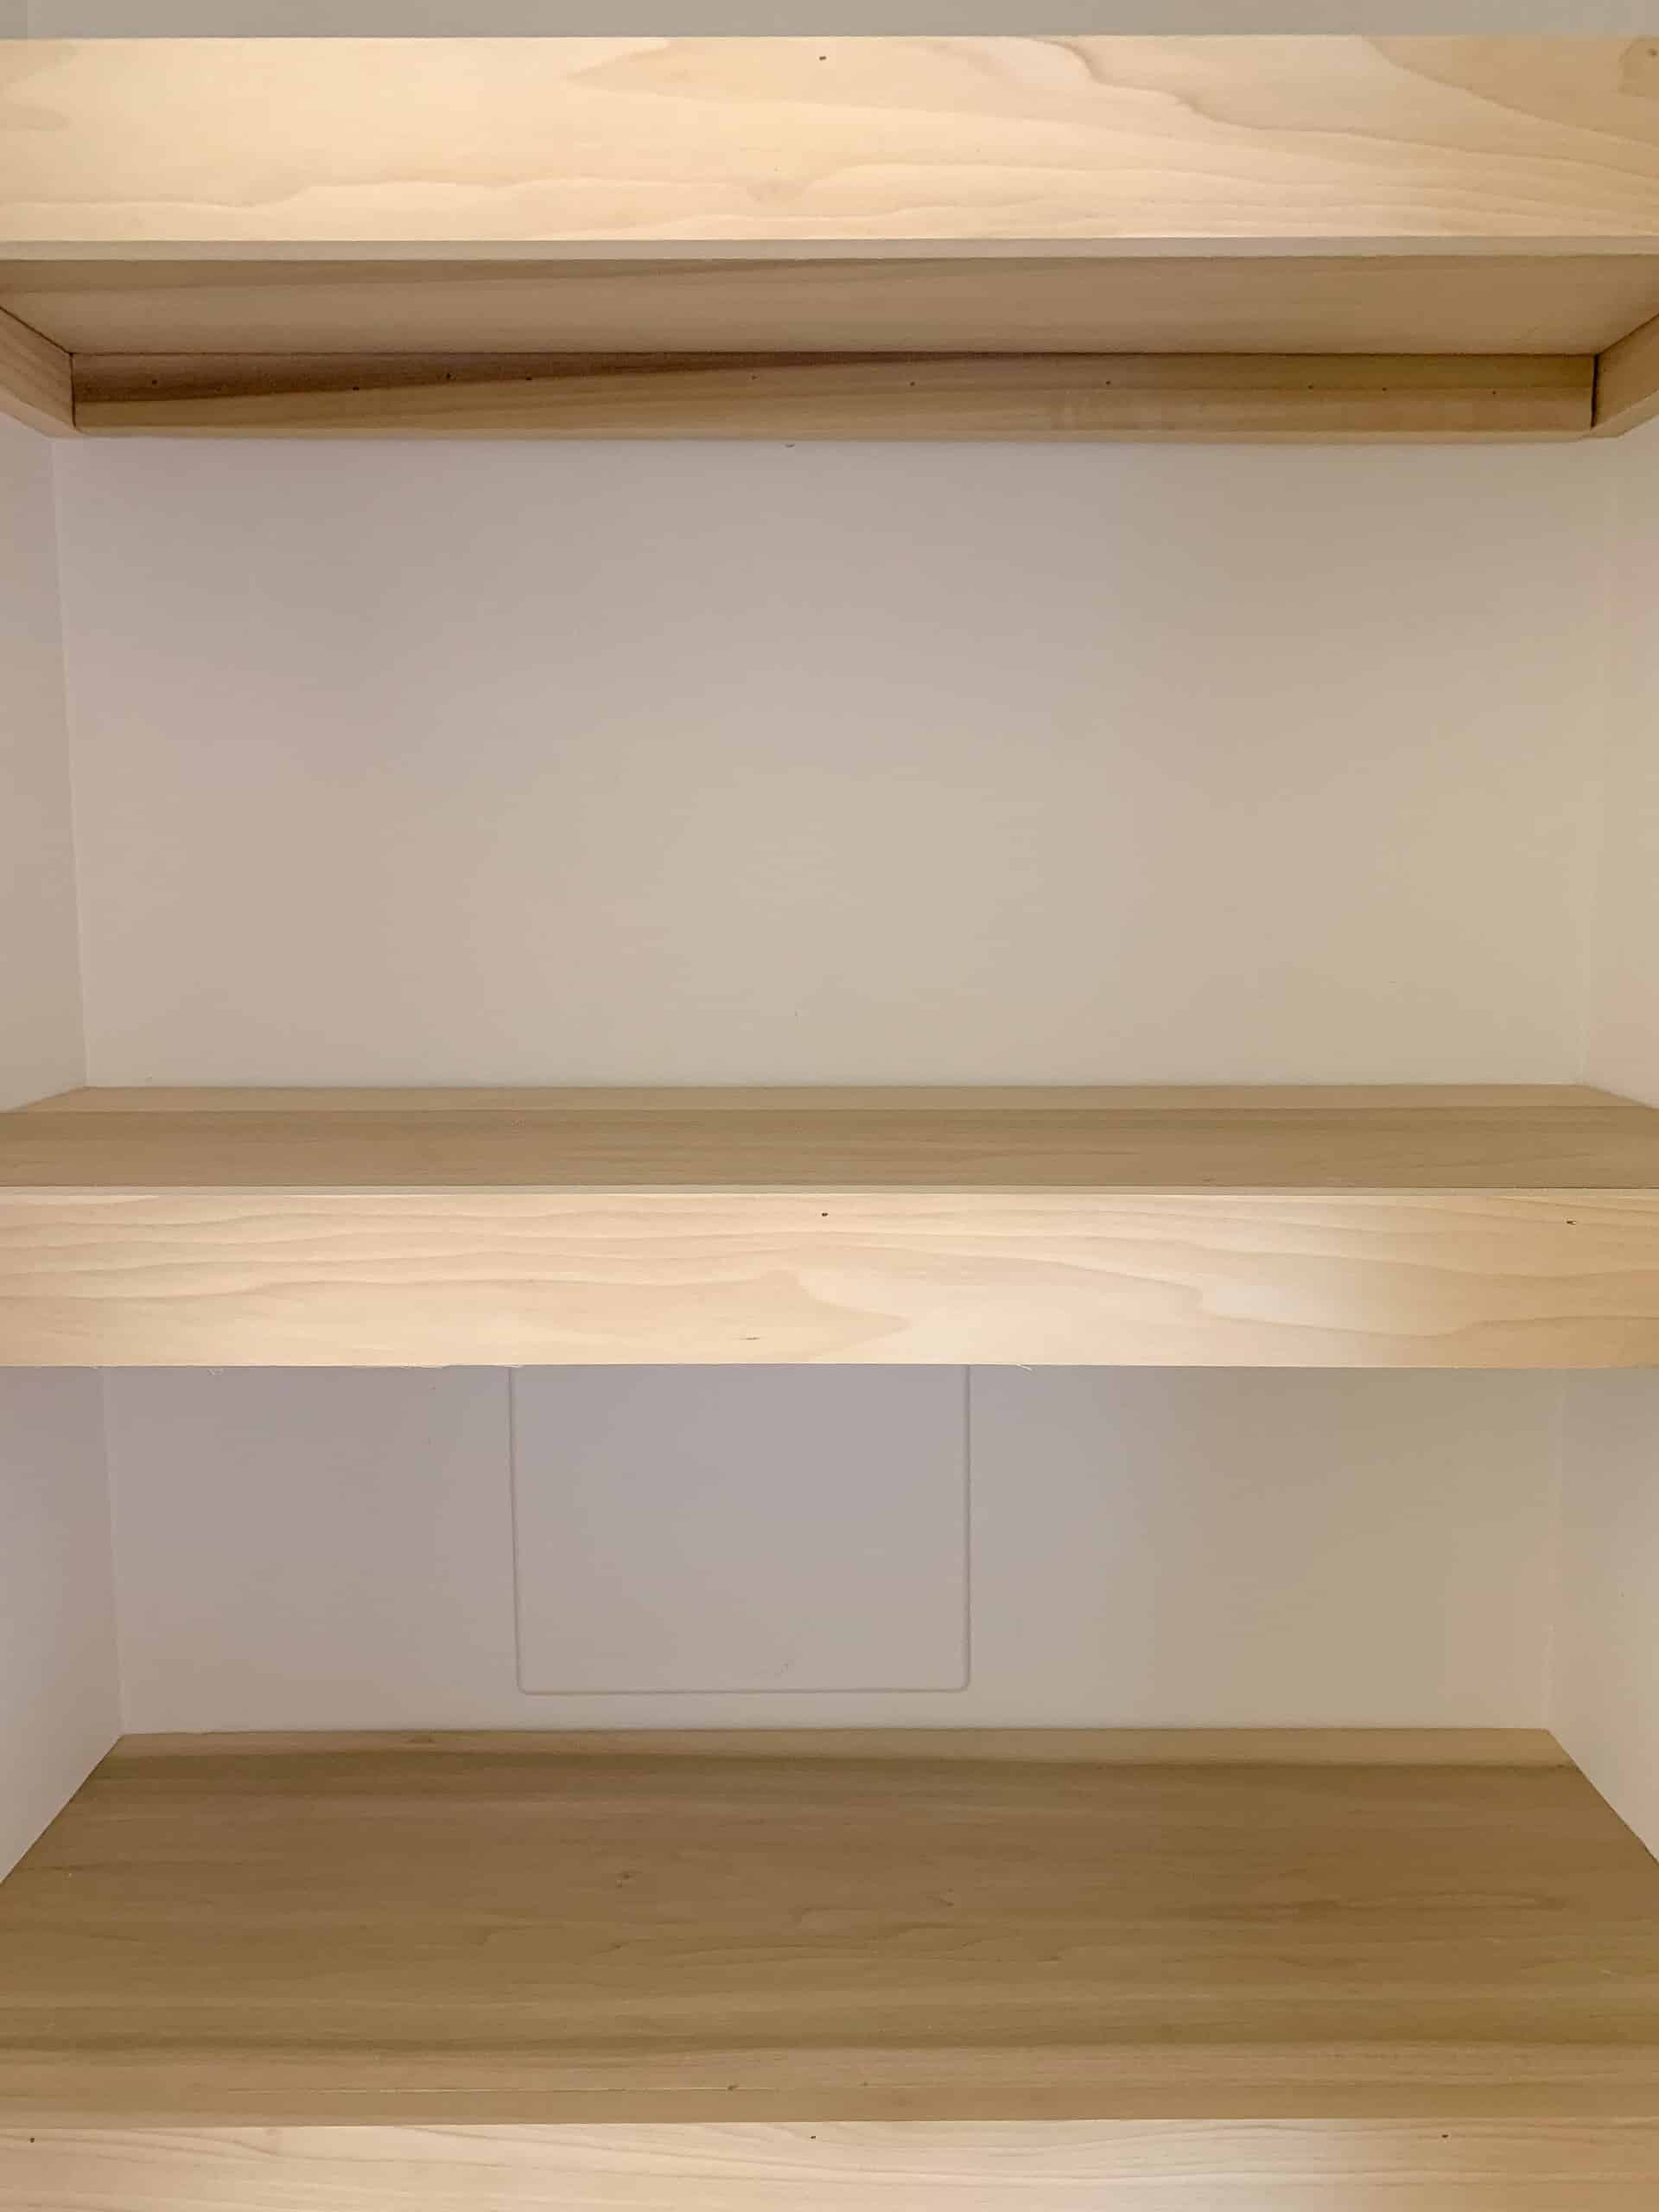
You will have some tiny nails to cover on your closet shelves if you used a nail gun. Use a TINY spot of wood filler and allow it to dry. Once it is dry sand your boards then wipe them fully.
After you have many options – you could stain the boards and then seal them, but we personally loved the natural look so just sealed the boards by rolling the sealer on with a foam roller.
Allow the shelve to fully dry before loading them up.
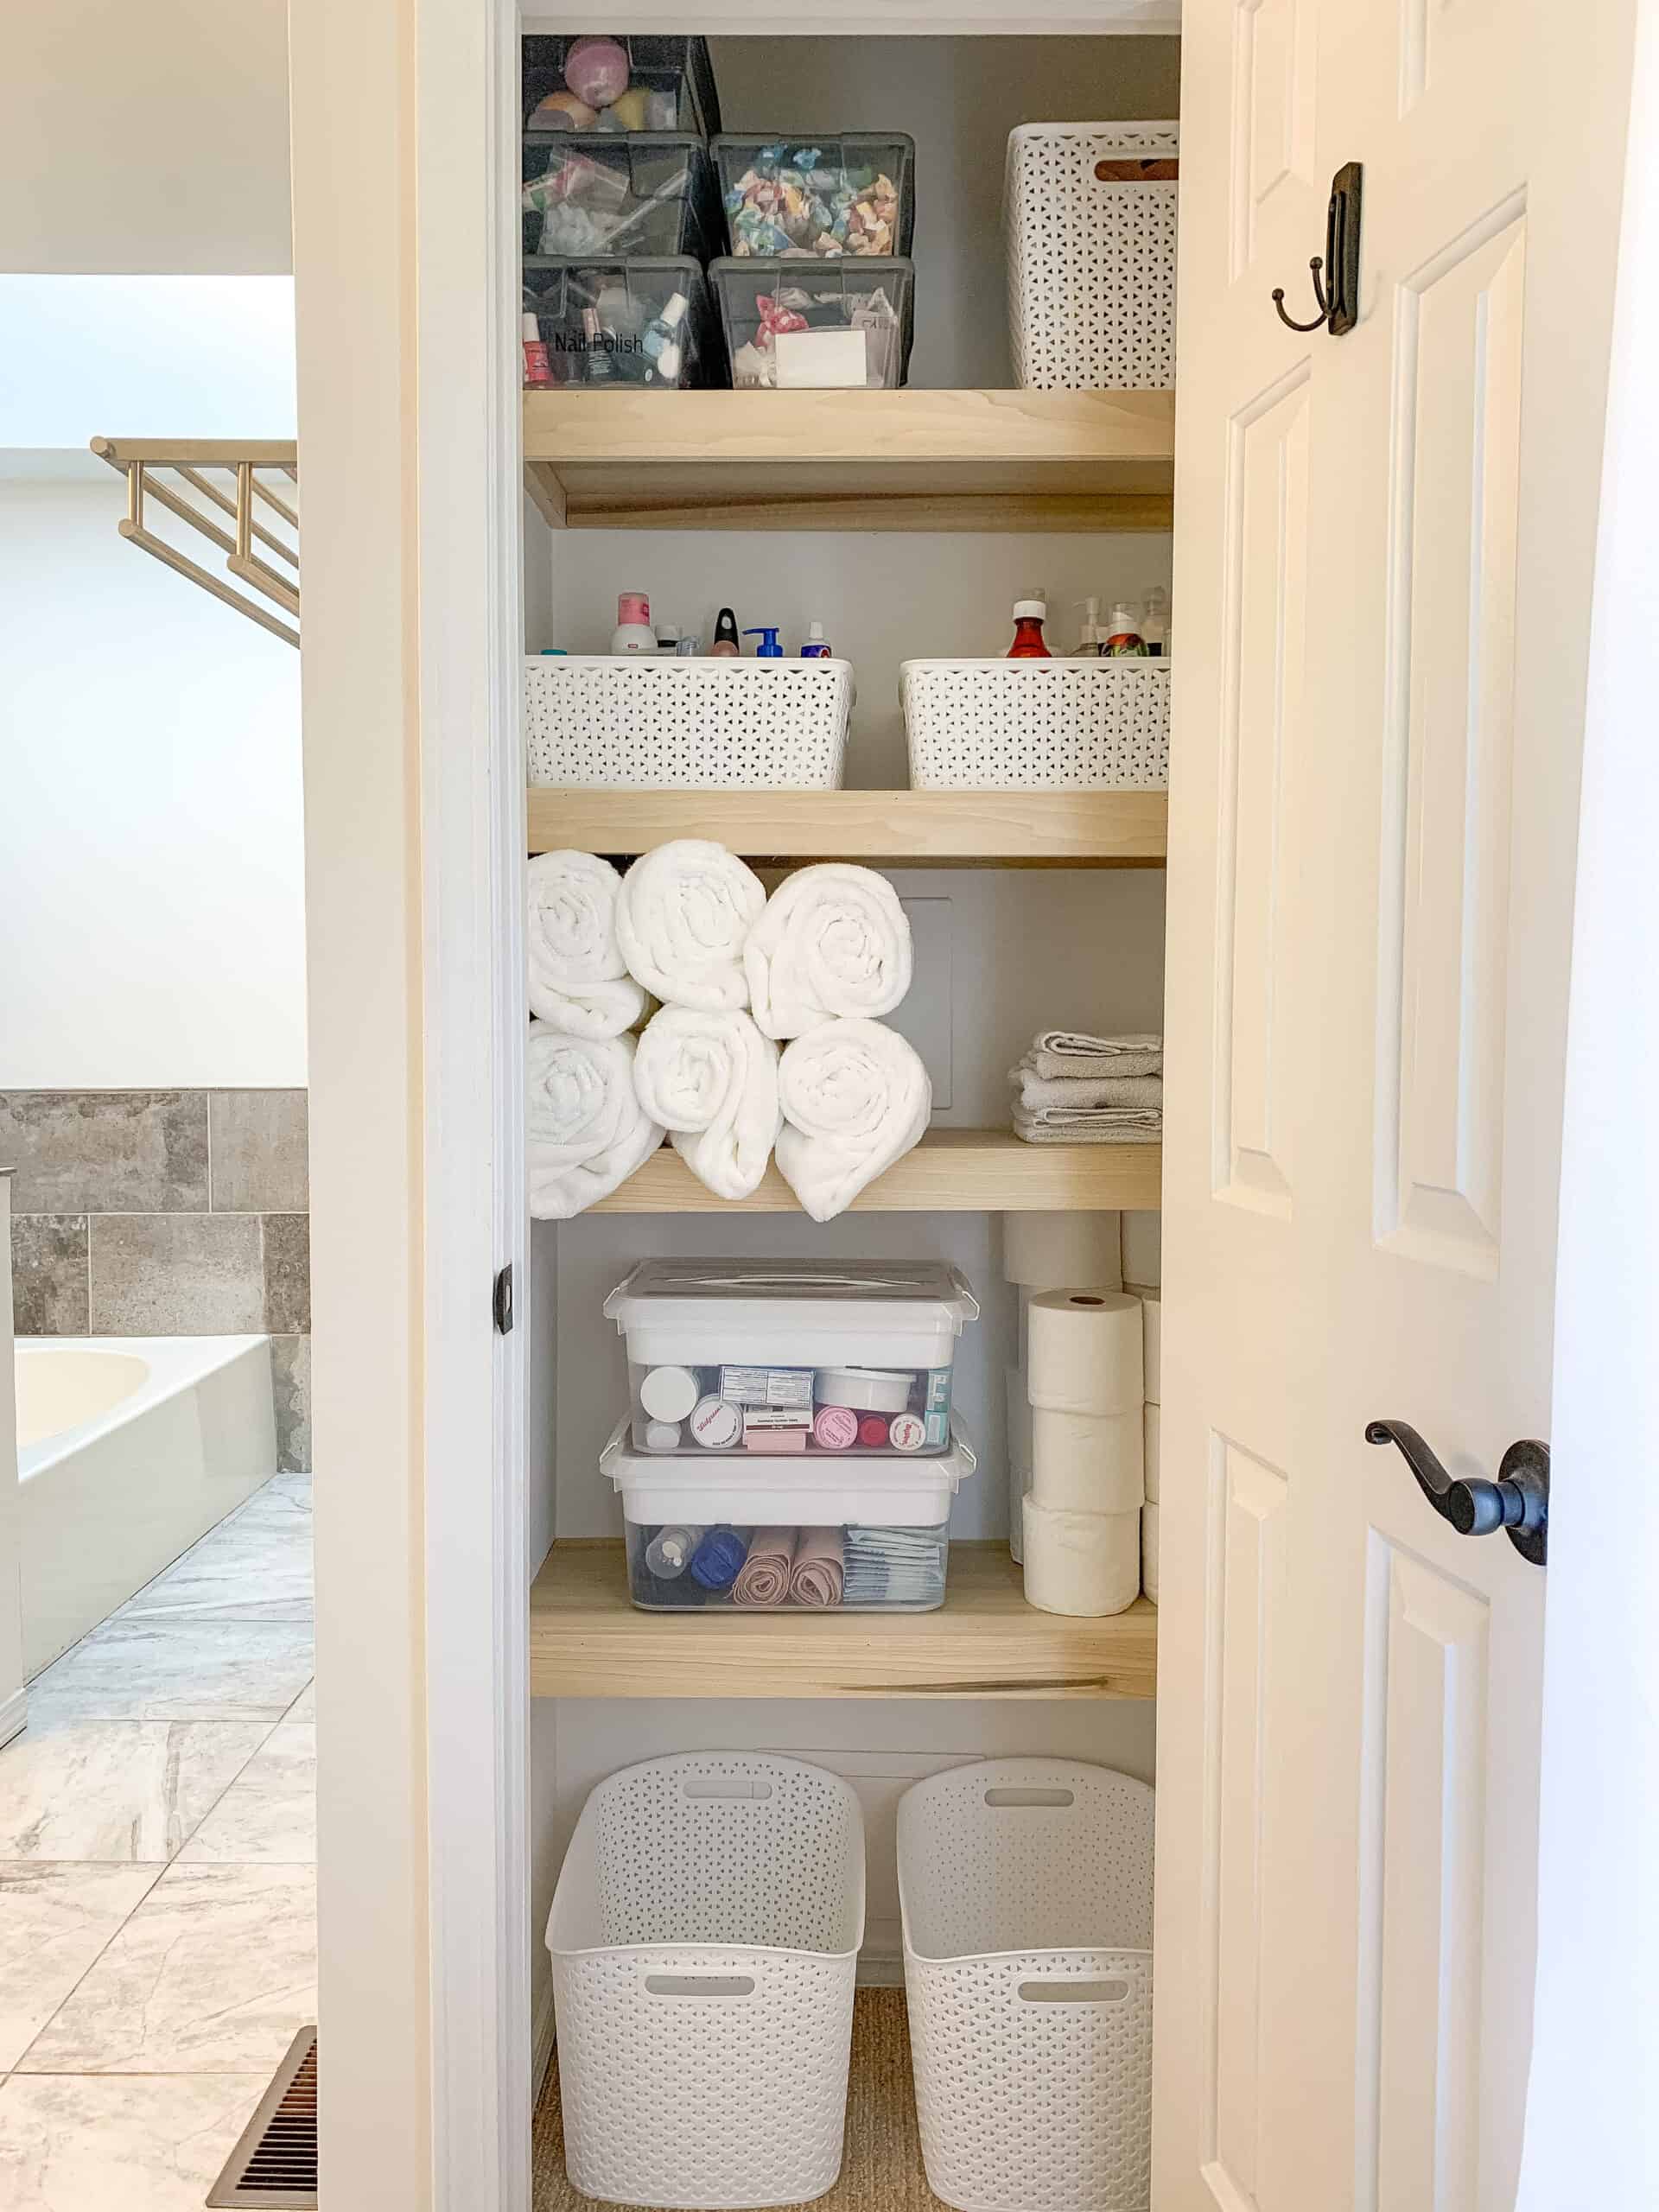
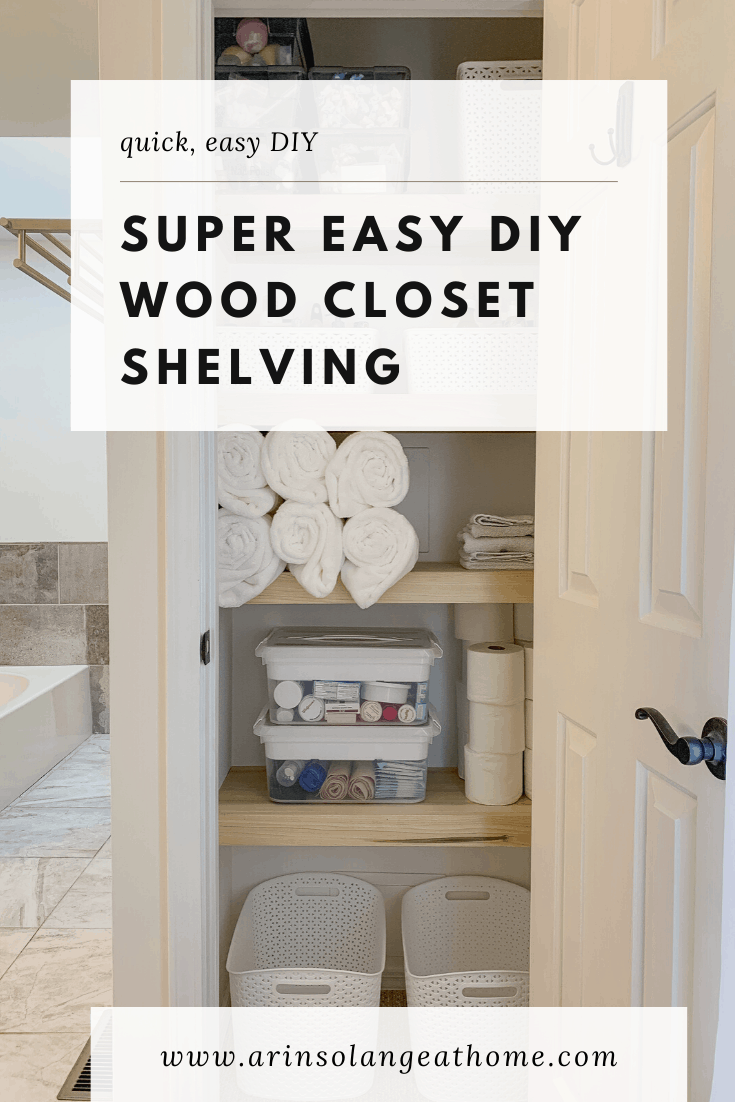
Details on my Styling and Organization
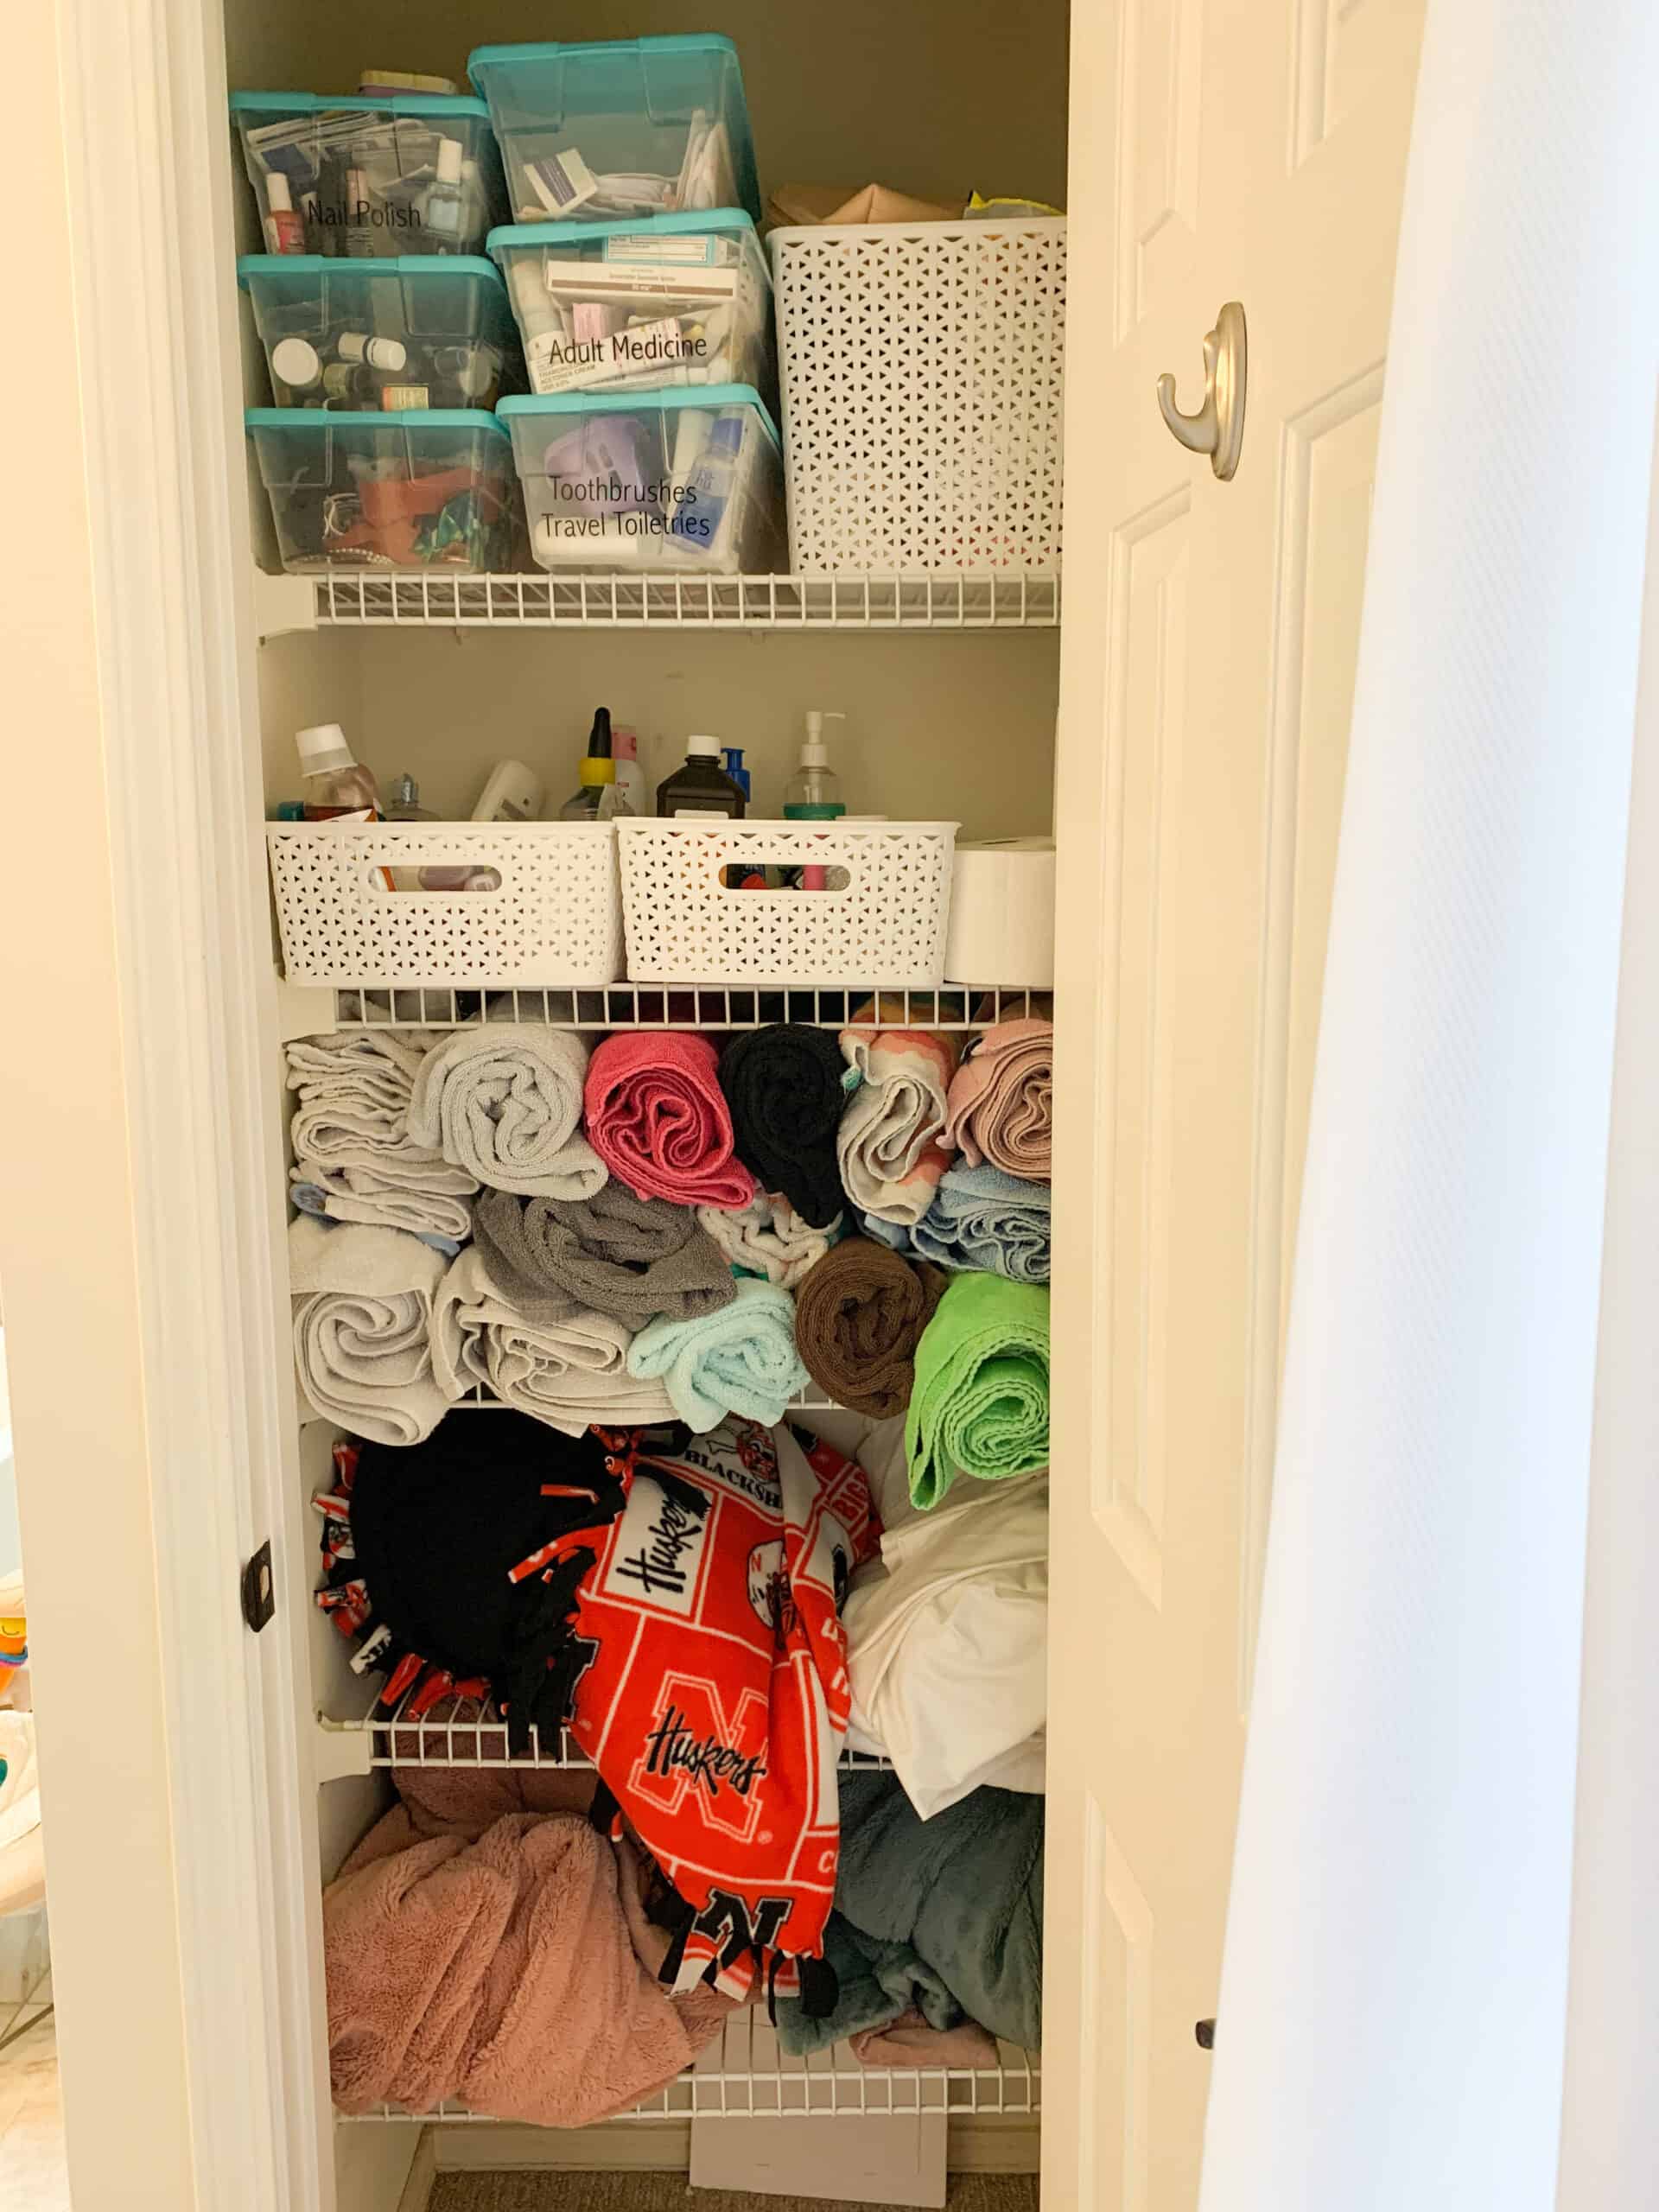
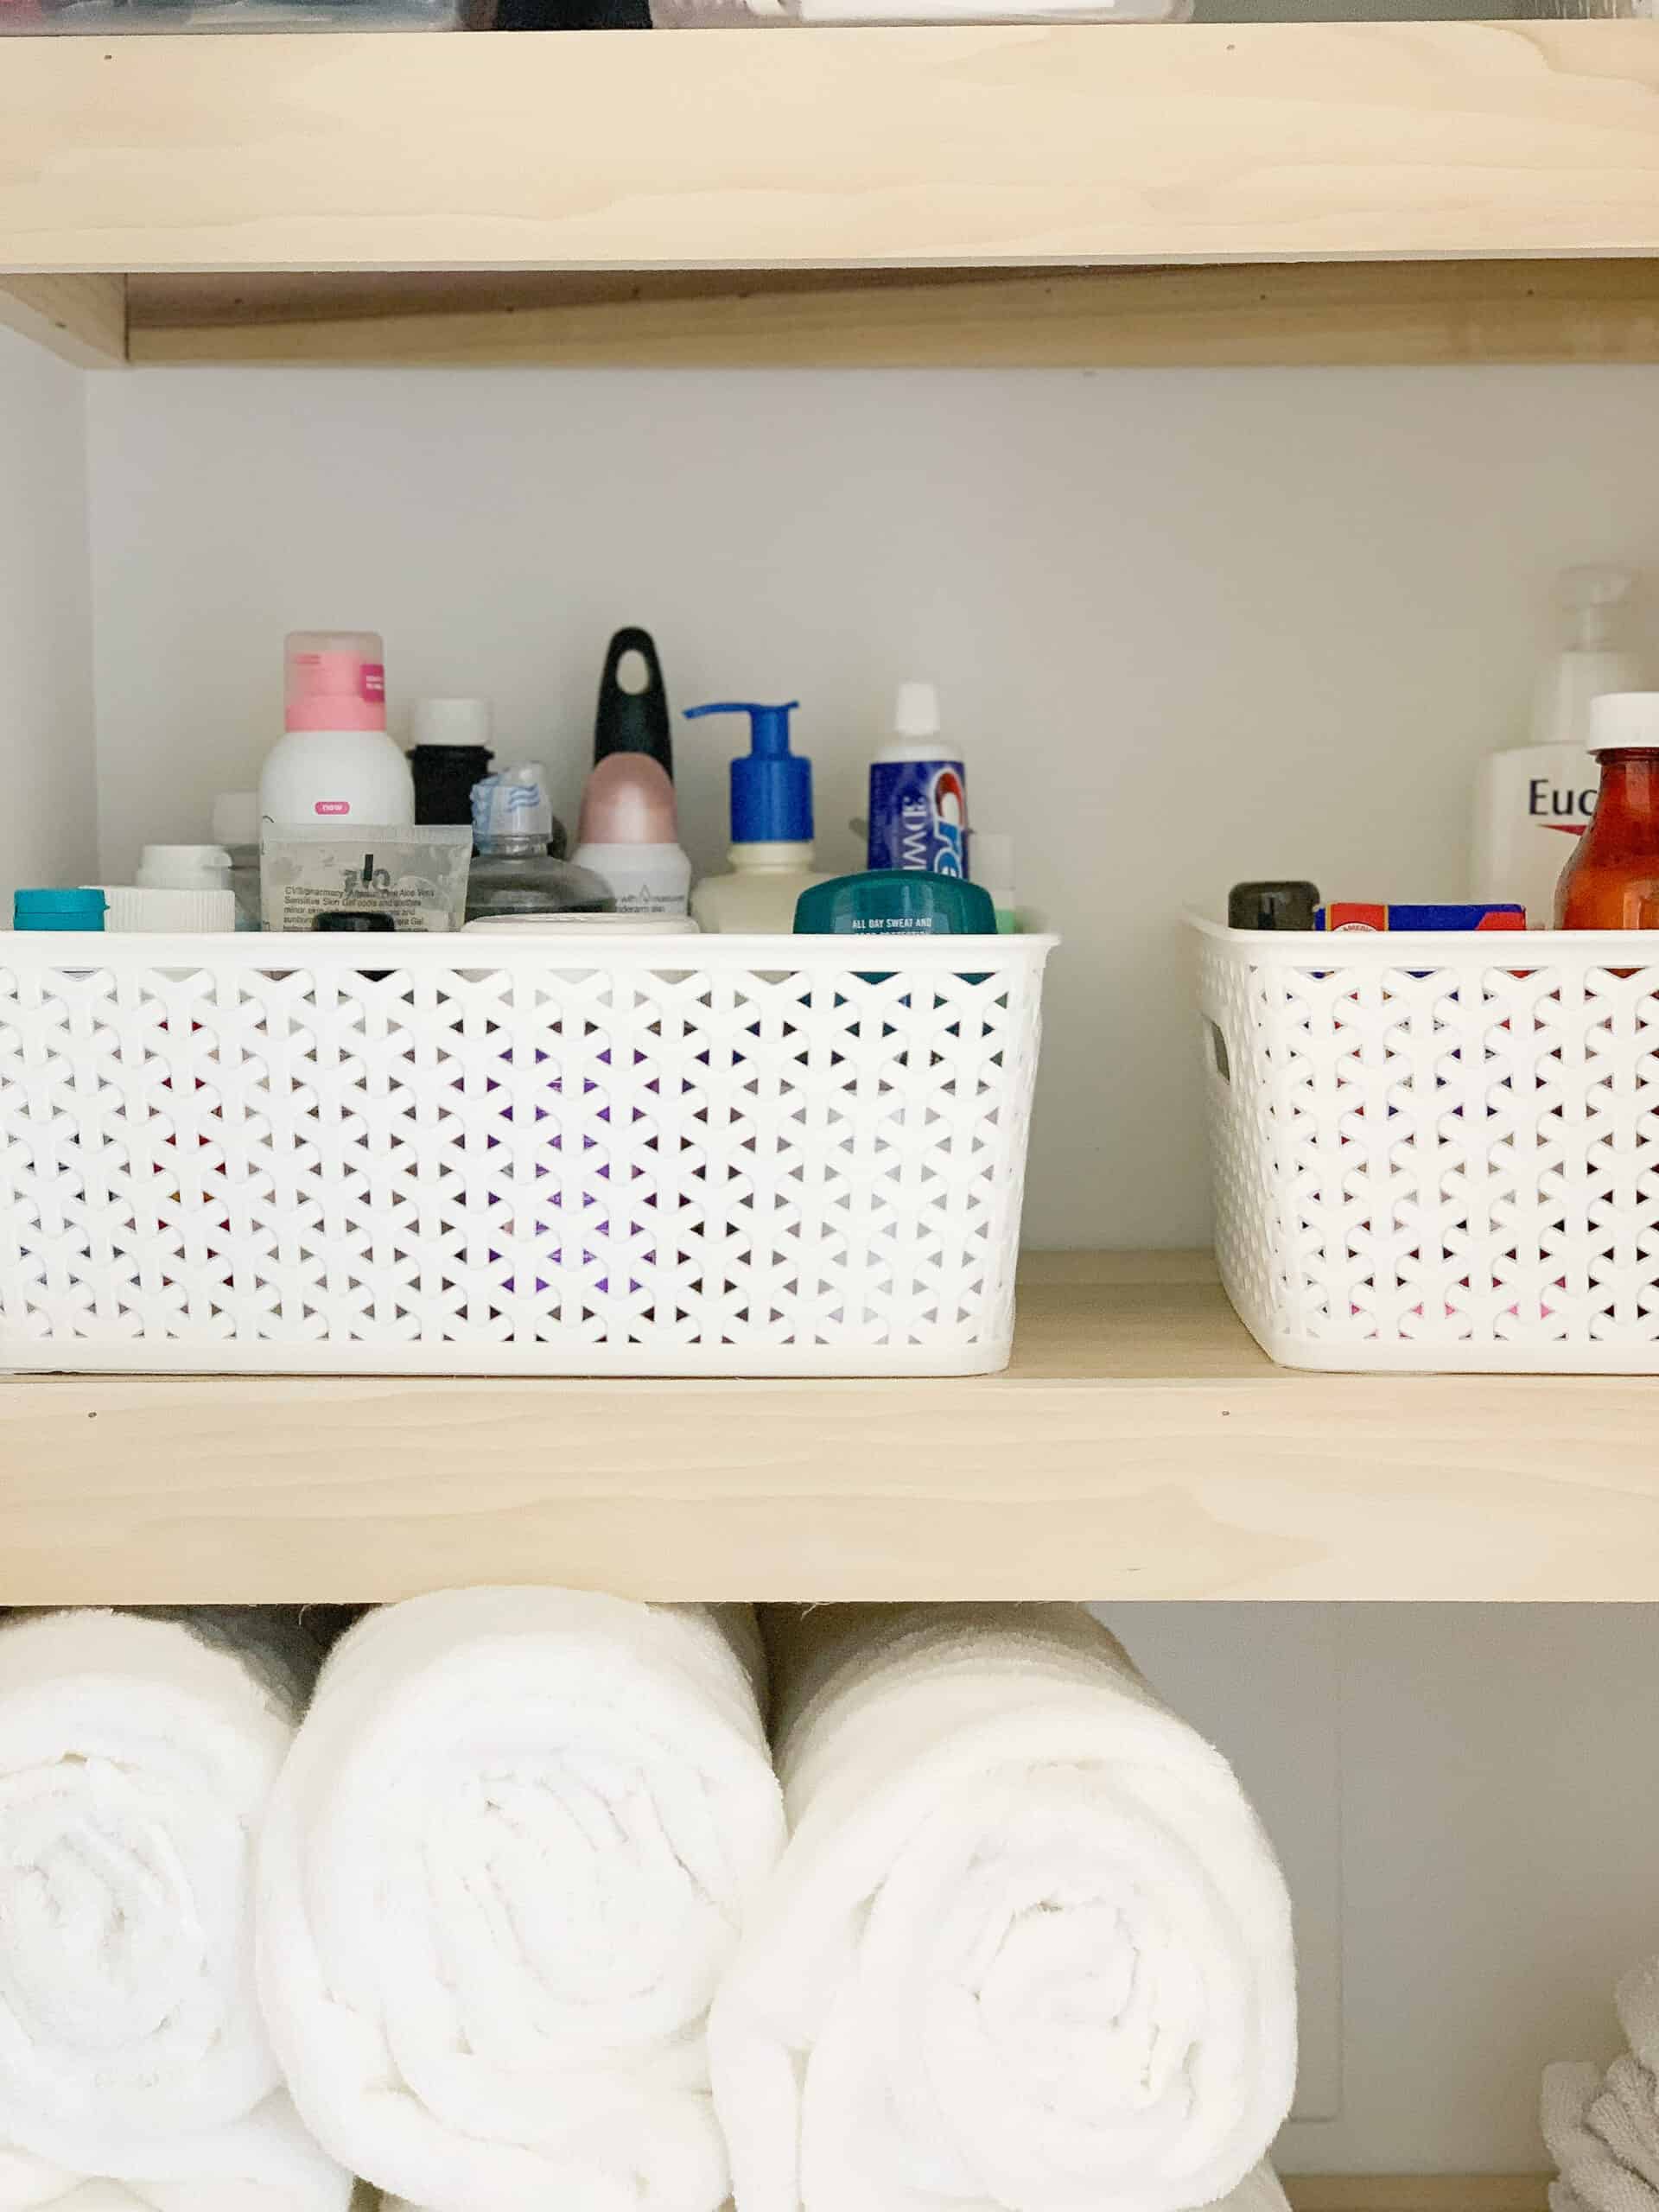
And since this was a part of our organization, I wanted to talk a bit about how I organized my closet shelves once they were in. I have been using the white bins throughout the house recently and love using those for extra products. Some of them are products we use only once in a while, or backups.
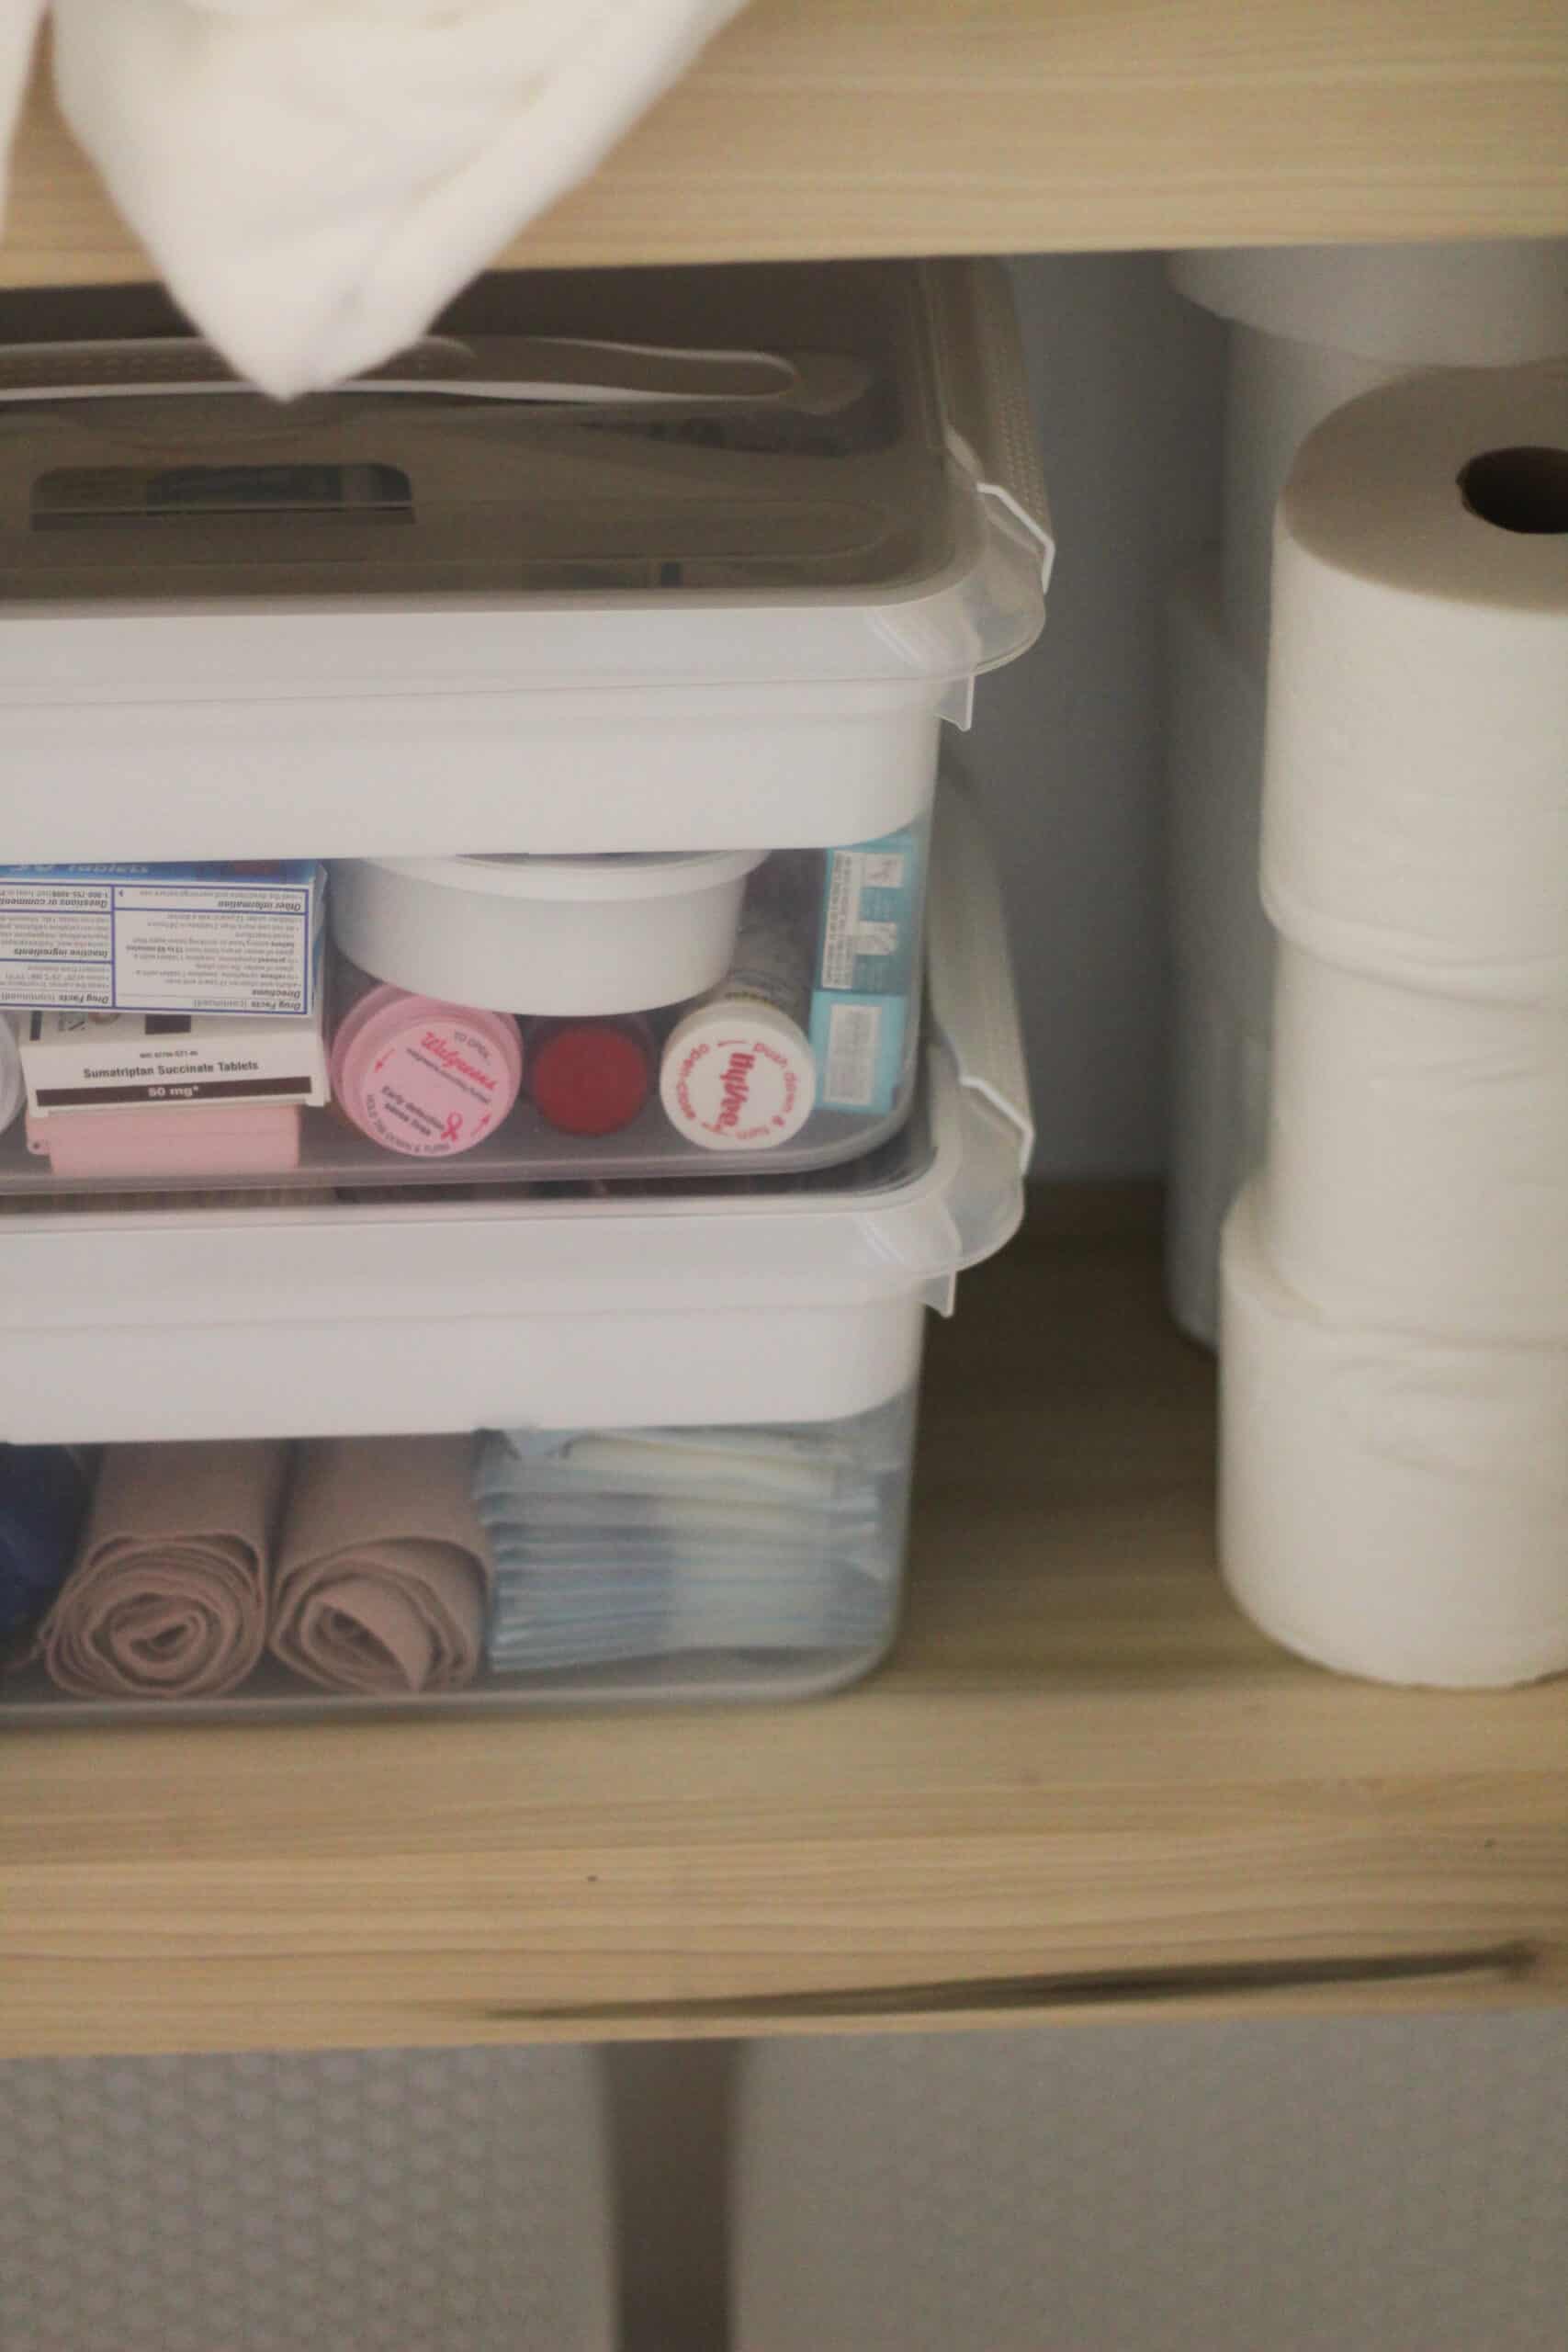
The two clear bins with white lids on the bottom shelf are a favorite. I originally wrote about how I used those for my kids craft bins, and they went crazy in Instagram land. I ended up using one for all our medicine and one for all first aid. It worked so well to keep things together and organized!
The bins on the top closet shelves contain things like nail polish, oils, and stuff. Things I don’t use daily at all but want organized.
For towels we always roll our towels. You can fit way more on a shelf, and its easier to keep them uniform. We donated all our old towels and are updating them, so if they look new and white – it’s because they are ha!

If you liked this post, check out my Kitchen Update that we did in one week for $200
Hopefully this post was helpful and you feel ready to tackle DIY closet shelves. My husband and I are learning as we go on DIY – and I would definitely say this fits into the beginner level of projects, so if wood closet shelving has been on your list to try, definitely give it a go! If you have questions leave a comment below or DM on Instagram.
Other Posts You’ll Love
DIY Floating Shelves | How to Organize a Linen Closet | Best Items for Organizing a Closet
Pin the Picture Below for the DIY Wood Closet Shelves tutorial later
Hopefully you feel ready to tackle your DIY shelves and if you have any questions be sure to leave them in the comments below. Don’t forget to pin the photo below before you leave and follow me on Tik Tok and Instagram (@arinsolange) for DIYs.
What a difference that makes. I love them!!!
It doesn’t look the table saw you linked to is available anymore. Would you be able to link a similar one or let me know how many amps yours is? Thanks
Hi! Yes – I just updated the blog post!
Curious why the side pieces are two inches shorter than top piece. I get the back board is an inch in the back but what’s the other inch for?
Hi Jennifer – they don’t have to be. You can cut them to the length of of the shelf if you want.
Hi! Did you assemble the shelves before you put them in or did you assemble in steps in closet? Probably a silly question but I want to try this and be sure right way to perform. Thanks for sharing, this looks amazing and my closet looks today like what your old closet looked like before!
Hi Cynthia –
We did not. We added the supports, then the top, then the front piece all within the closet. I hope you try it and love it! It was such a great affordable update!
You said you redid these three years in – why? Did you want to make them different in some way, or did you need to reseal or something?
We redid them in a new house.
Looks really nice!! I am looking to redo my linen closet that currently has old painted wooden shelves and brackets, so I was browsing for ideas. I am definitely going to replace it all with new wood. Love the natural! I am a tool girl, so it’s all good. Also, I have some leftover wallpaper that I’m going to use for the back wall. This project is perfect. Thank you!