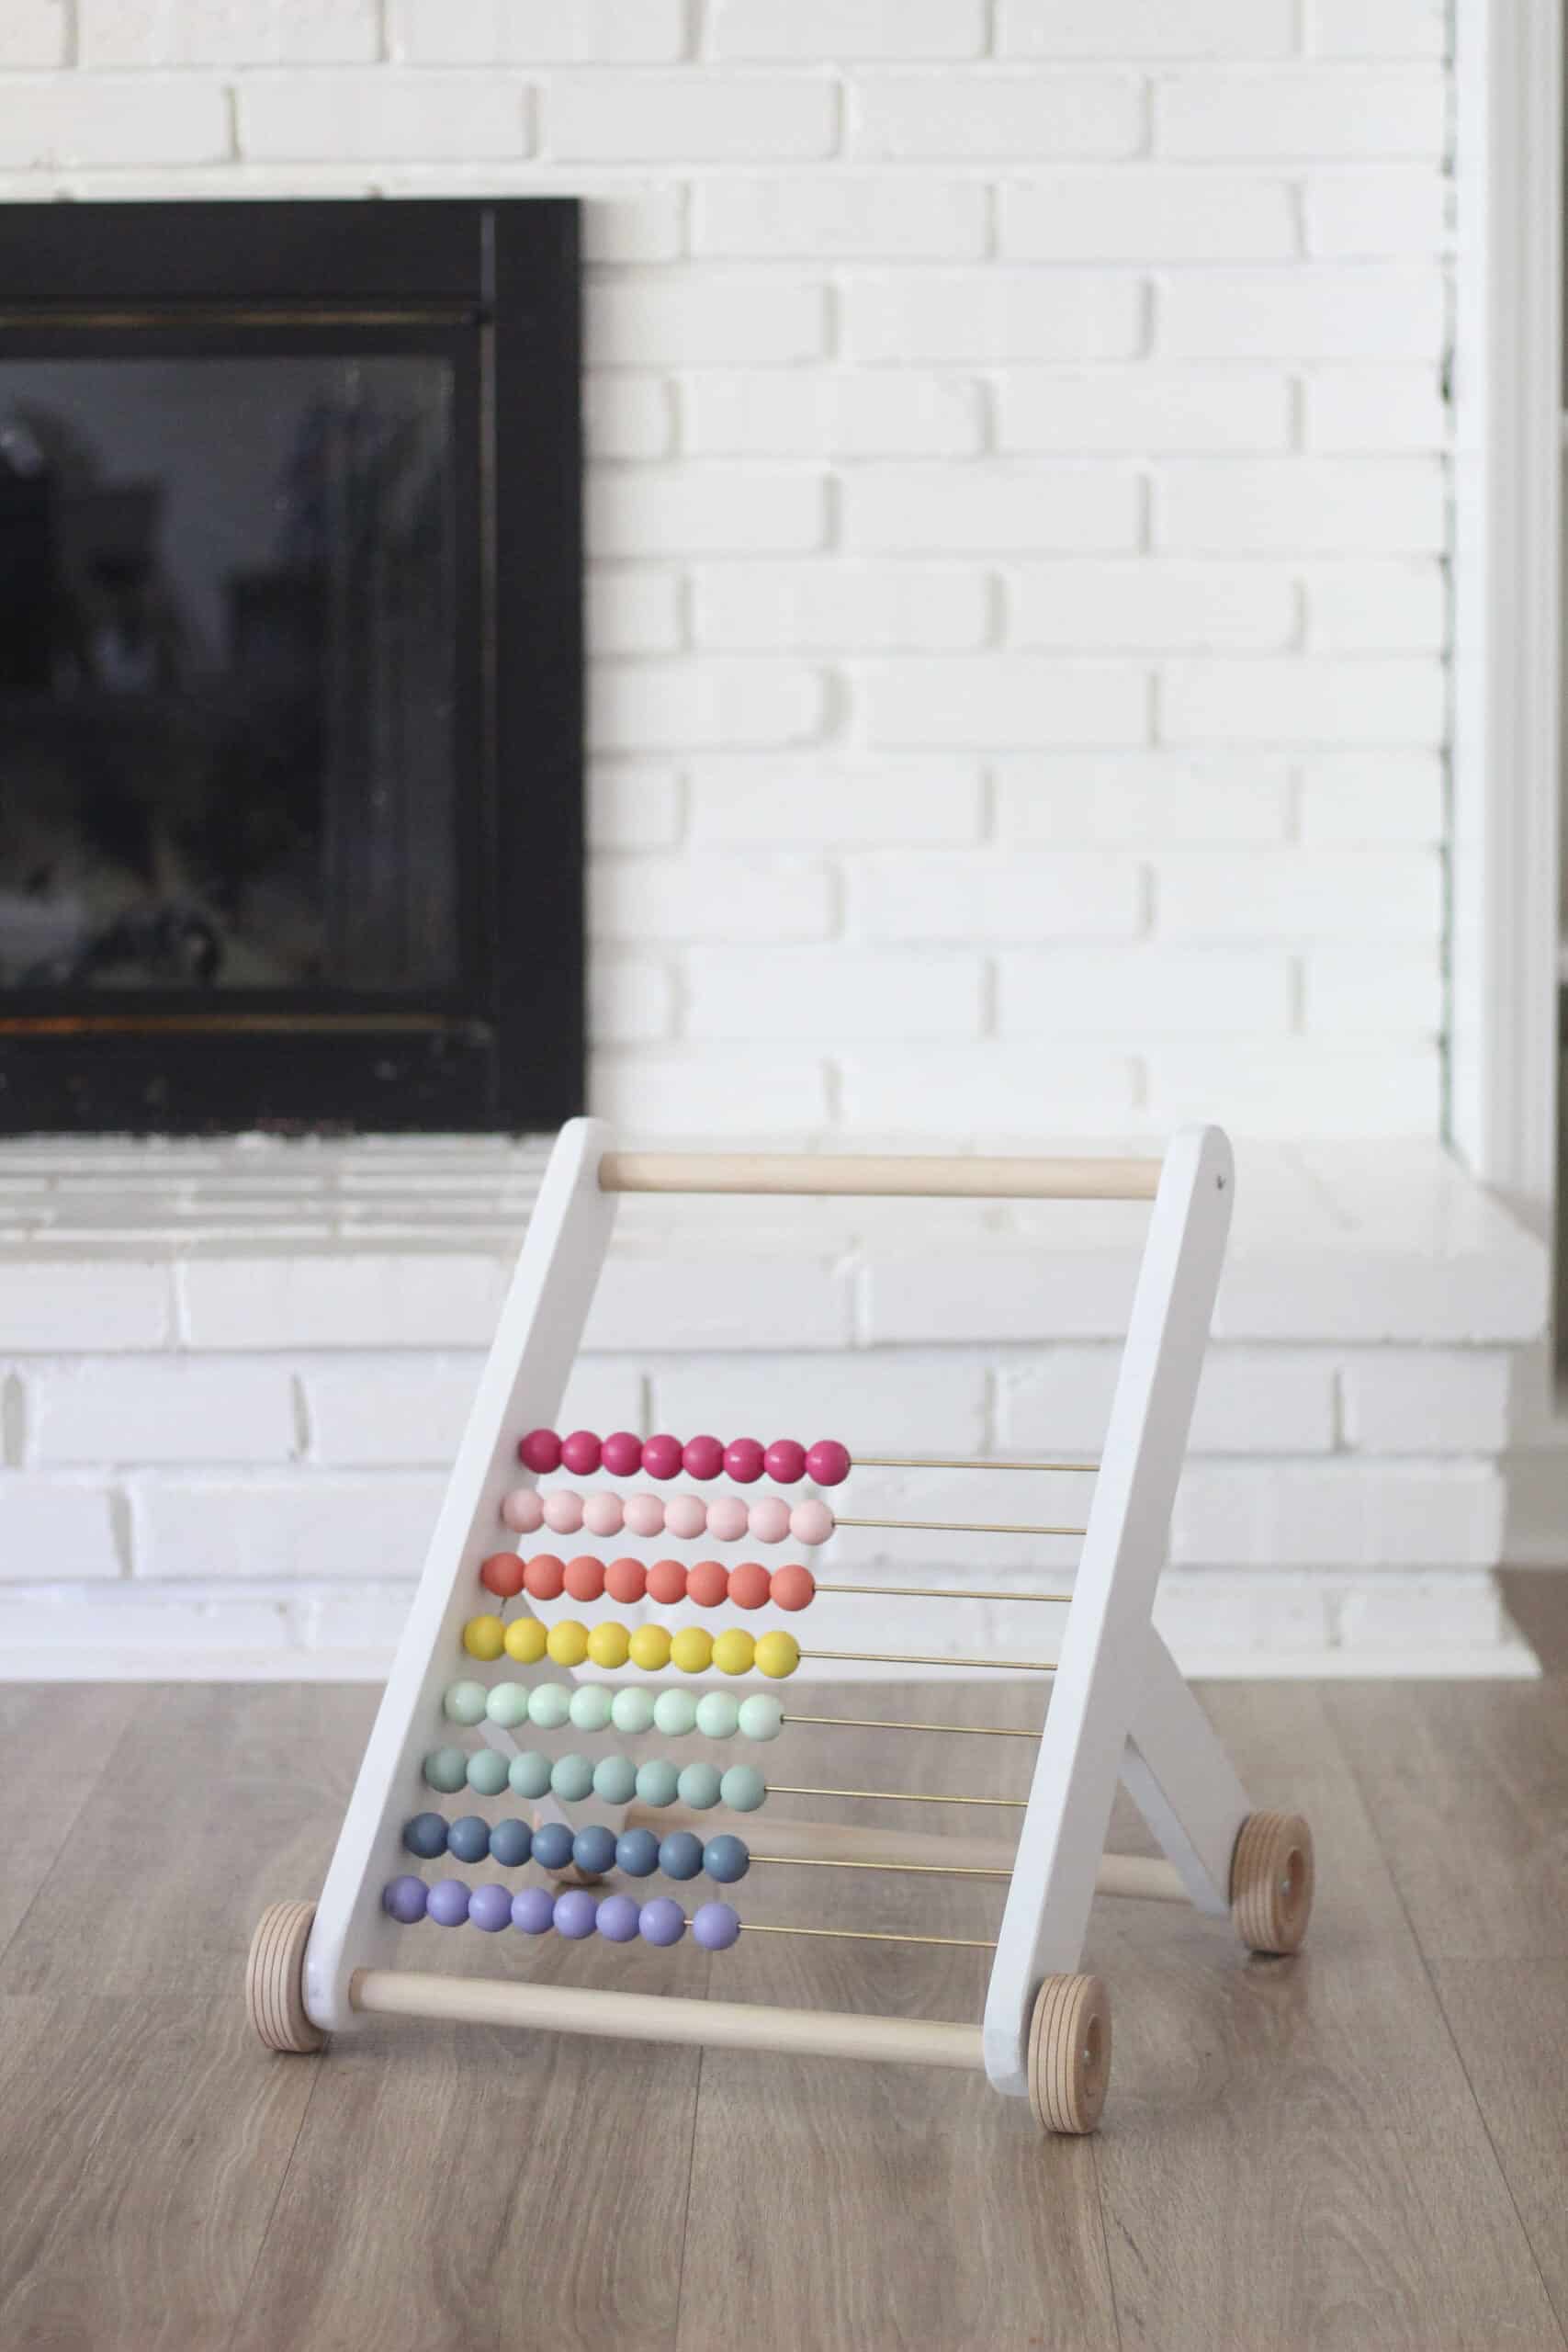
I think every baby has an abacus toy in some fashion, right? They are a timeless toy (and historically a great learning tool), so I wanted to make one for our baby girl.
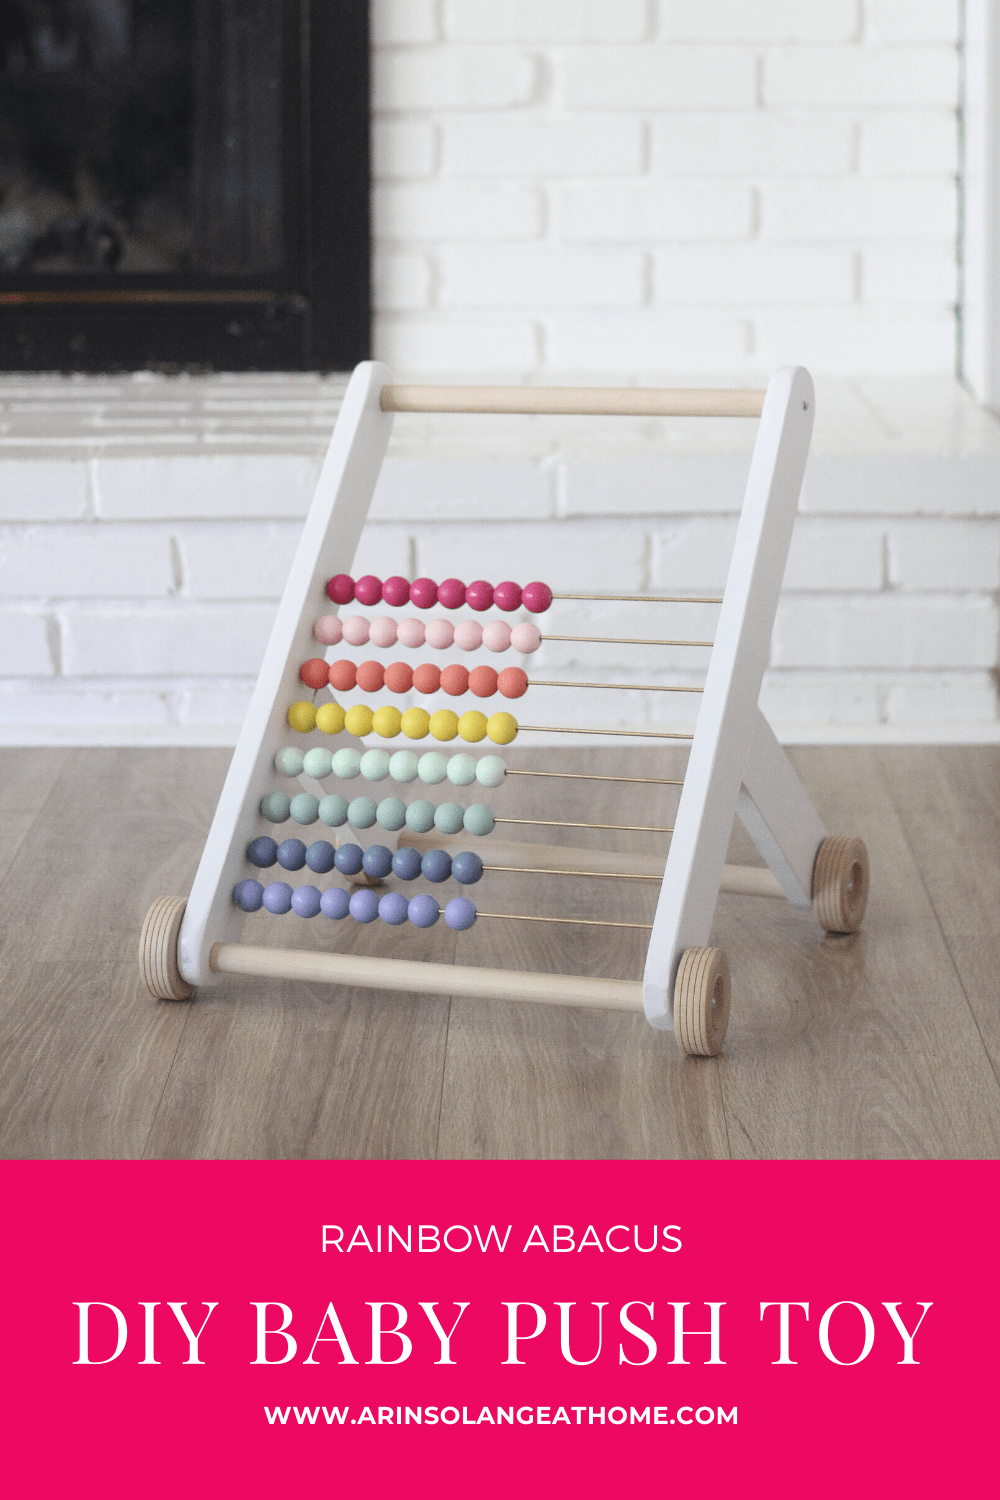
I went back and forth on what I wanted to make, but ended up deciding I was up for the challenge of an Easy DIY abacus push toy. The end results were so much better than I anticipated and I can’t wait to share how you can make one yourself!
this post may contain affiliate links
Easy DIY Abacus Baby Toy
Have you had dreams of making your baby something that they can pass down to their babies? My grandpa was the most amazing wood worker and made me so many toys that are still in our family, so the idea of us being able to do something have that amazing for our kids is something we have wanted to do.
I actually initially was going to make a rainbow abacus – which I still think I will do with my leftover beads, but wanted to do something more ‘useful’ for Goldie, which is where the push toy version of this was born.
Let me tell you – this was not the most simple project we have done. Not because it was necessarily cray hard, but because we really had to do the thinking and math to figure it out. It took some learning and playing to figure out, but in the end I am so happy with it.
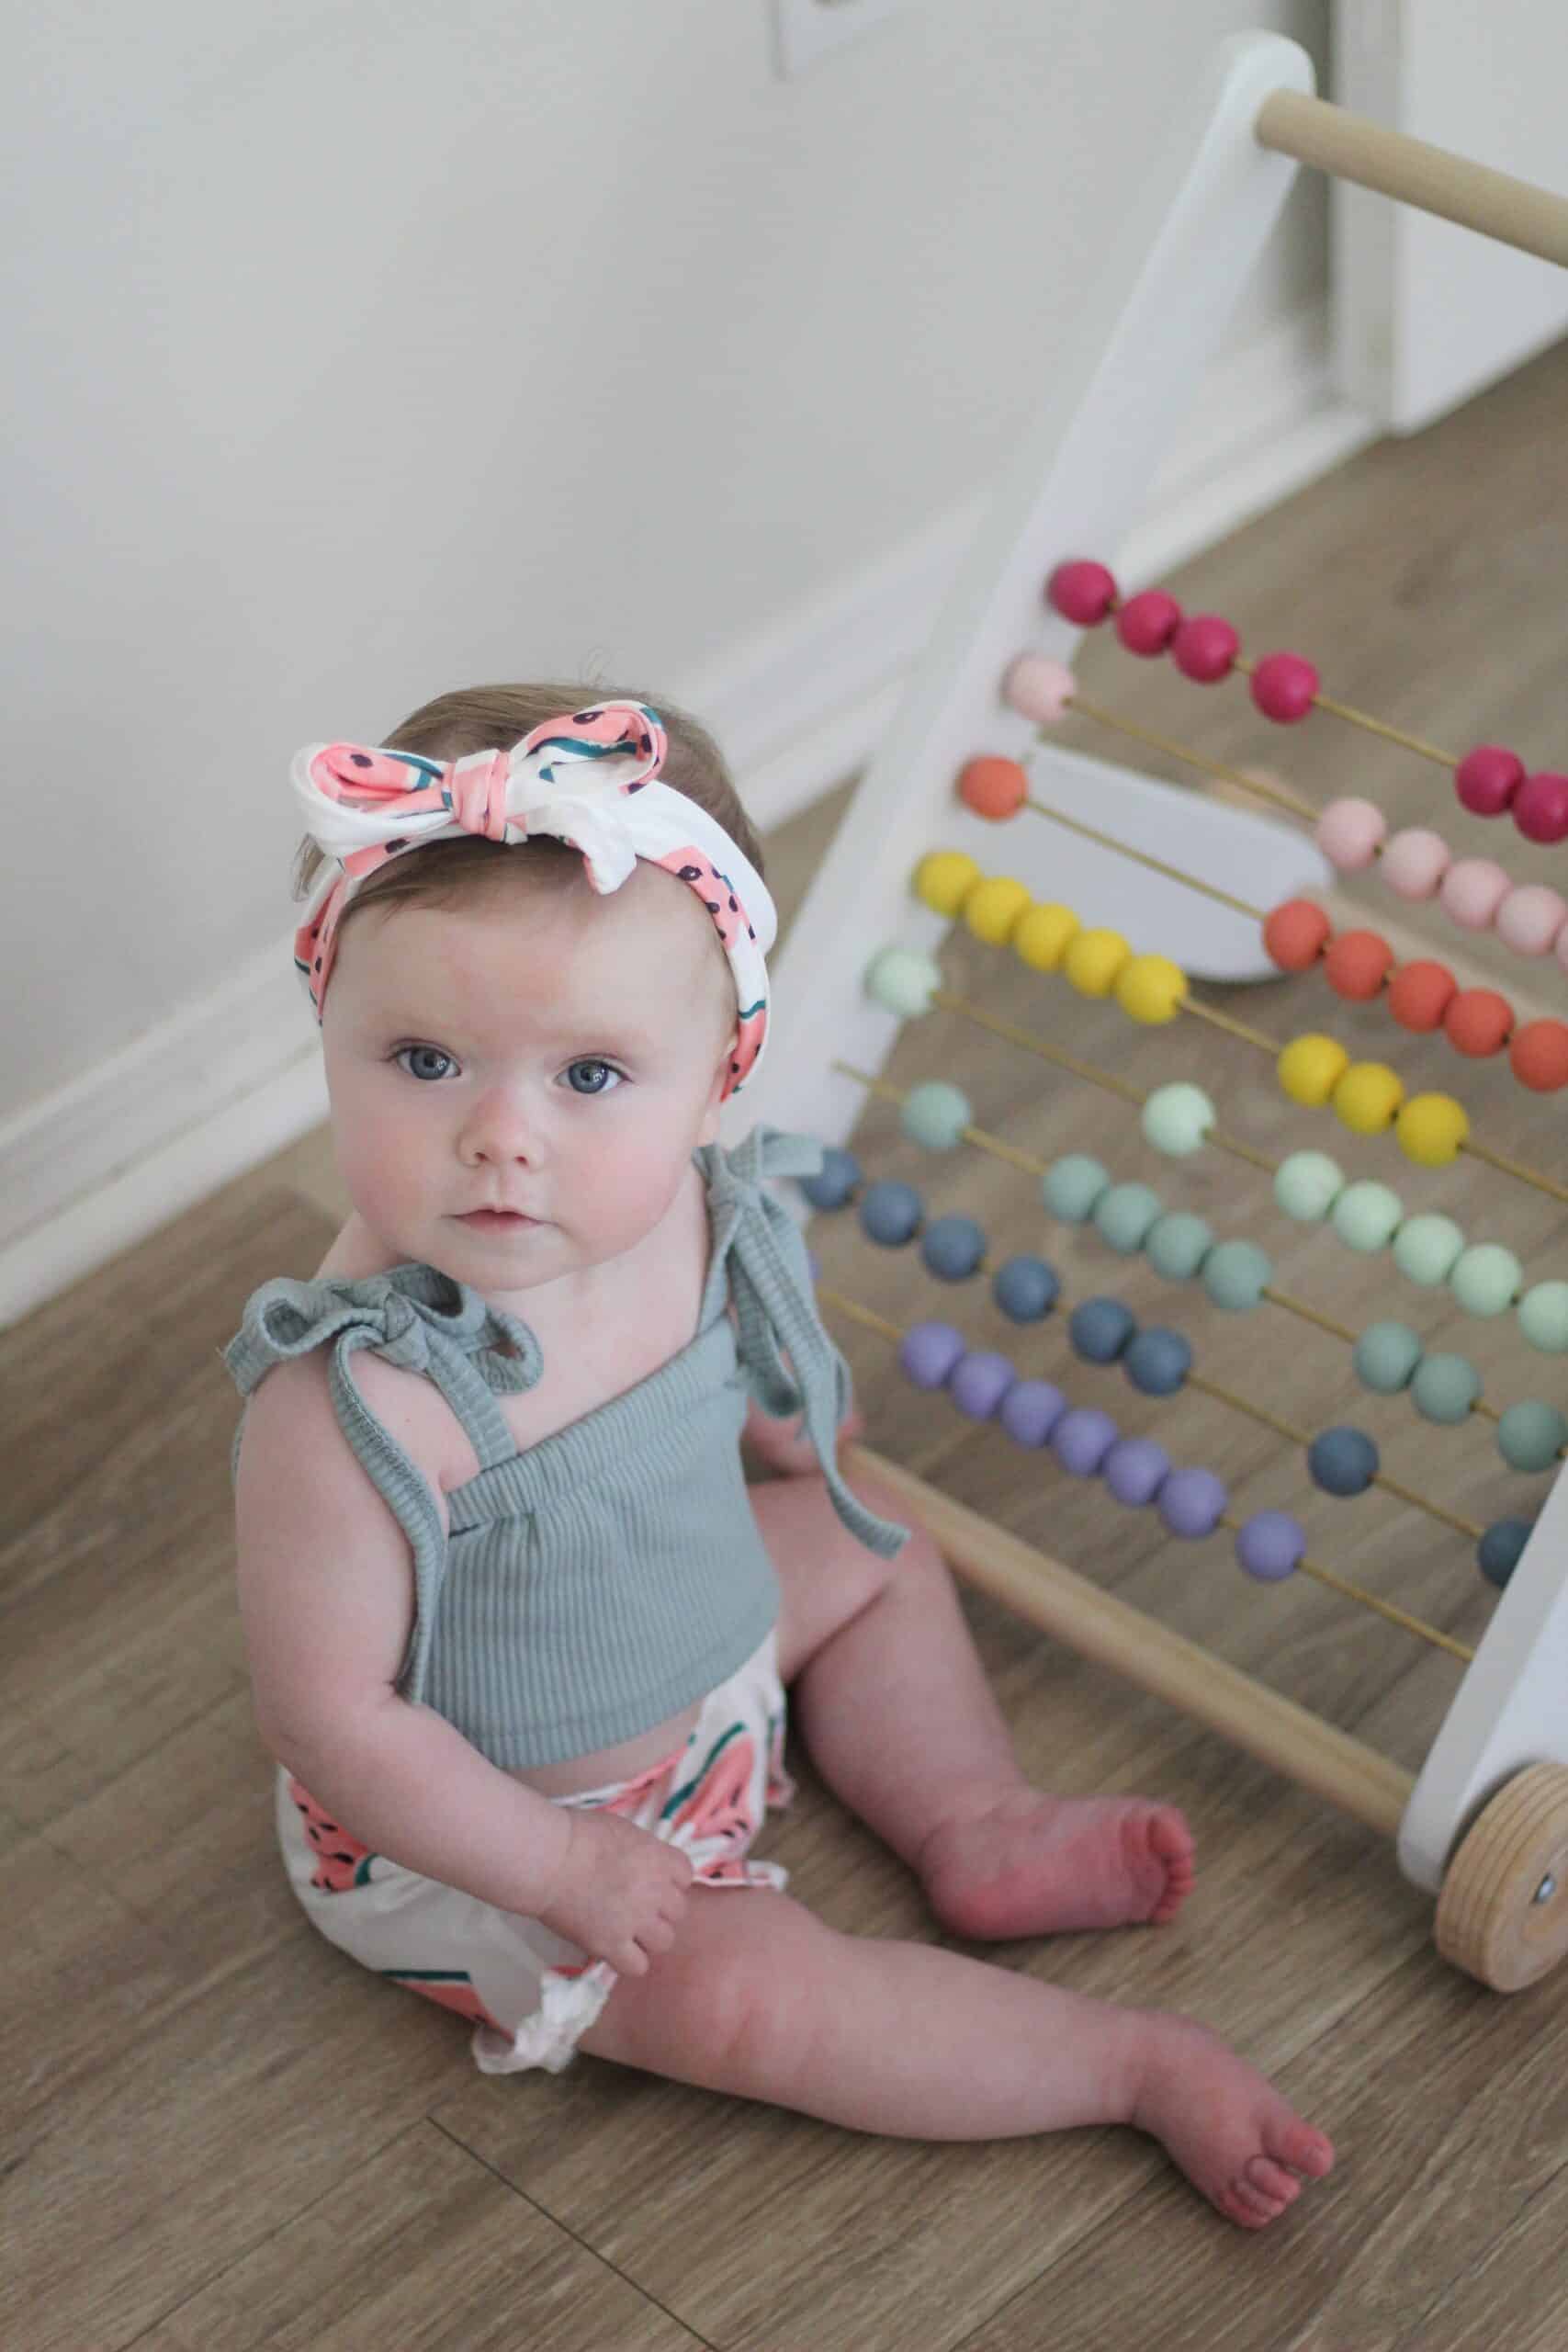
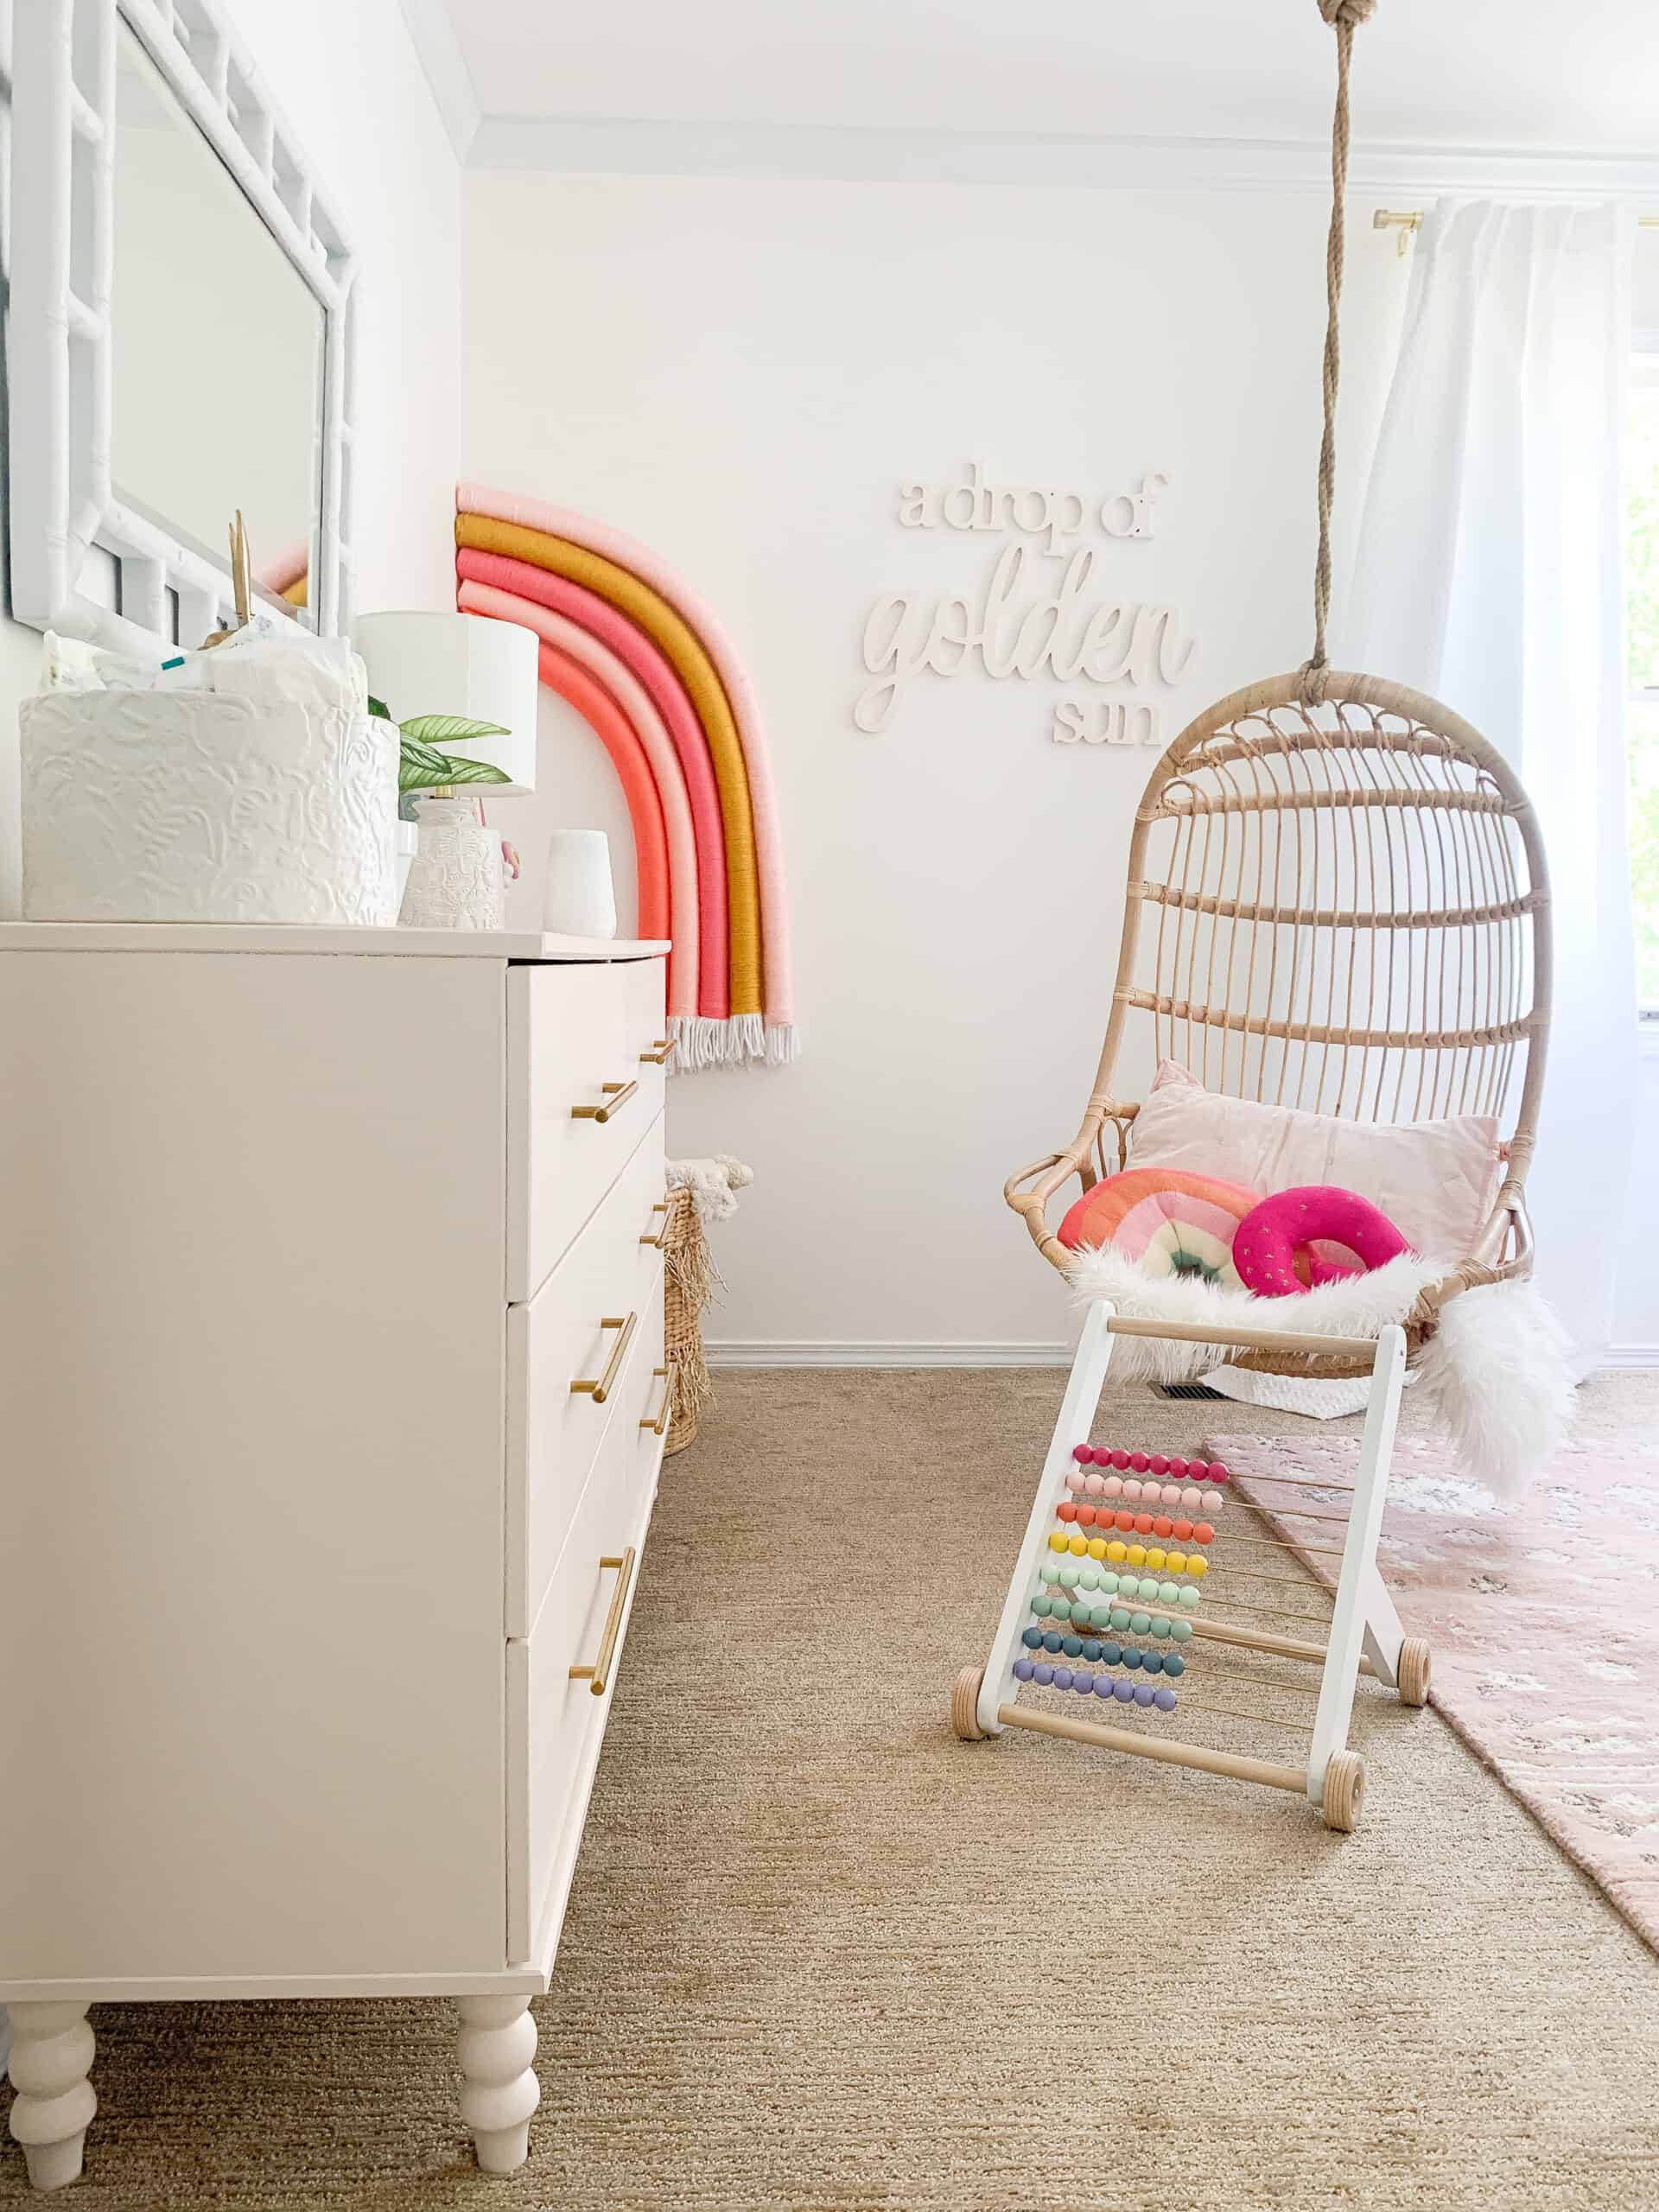
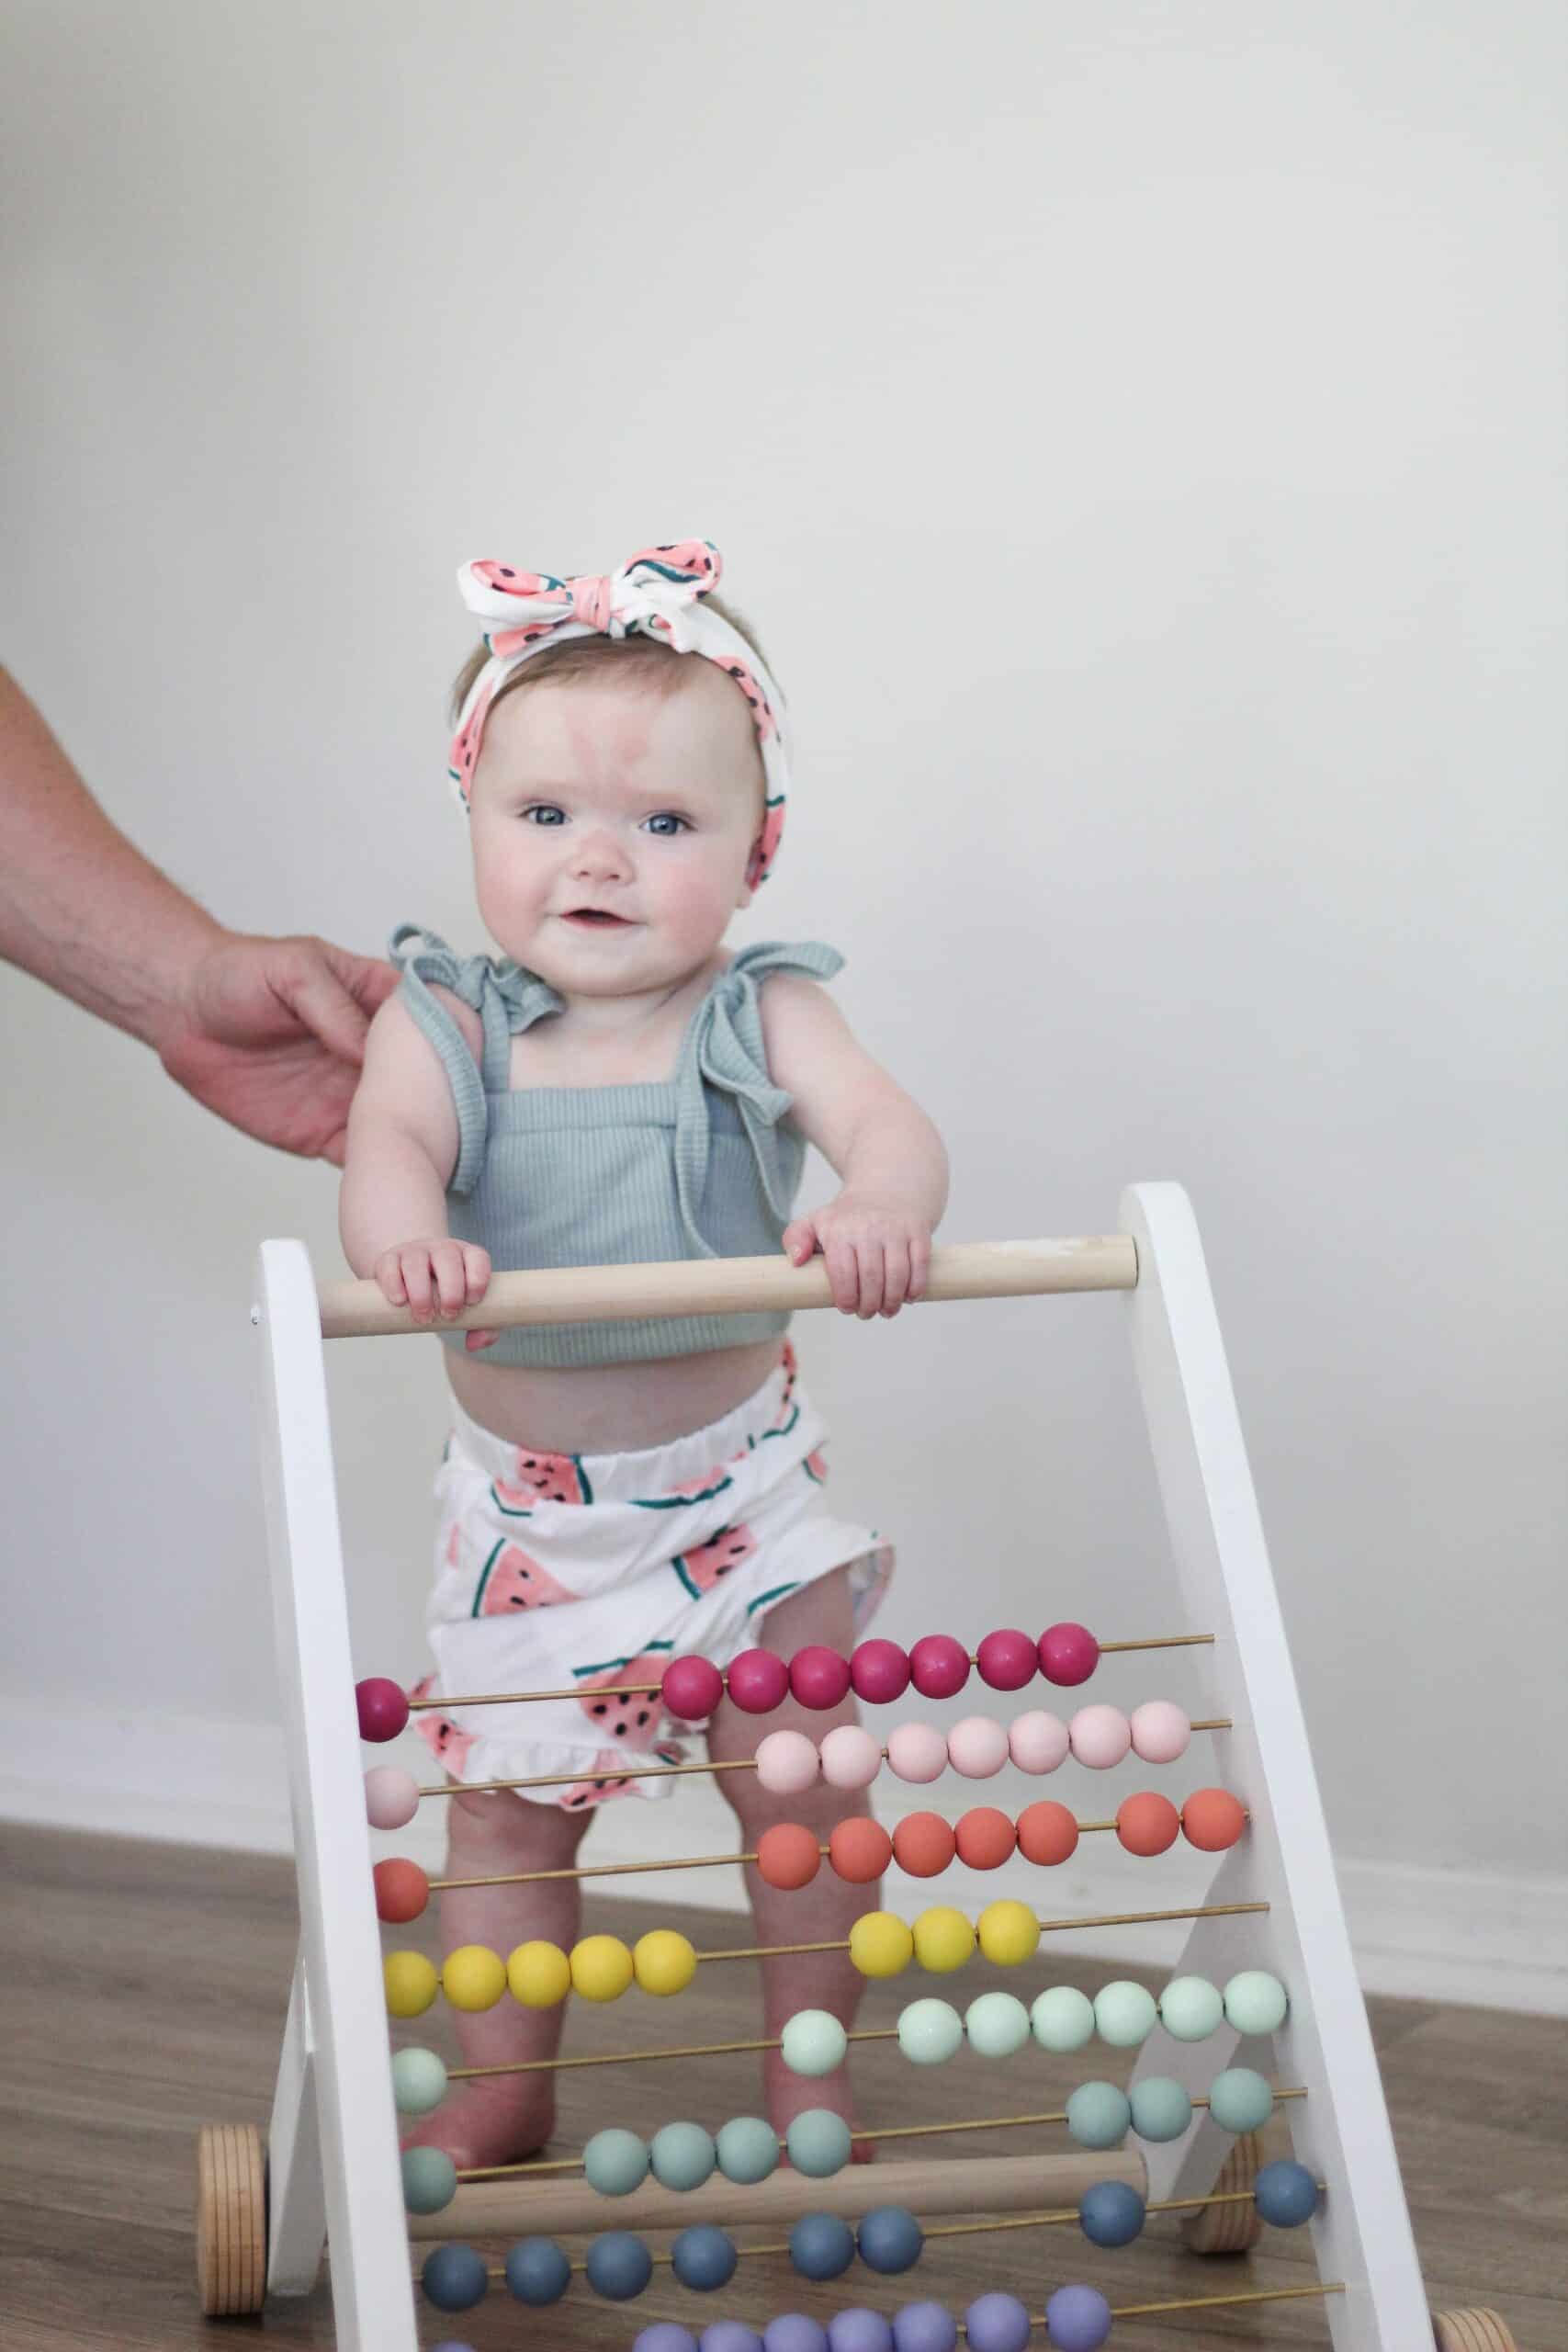
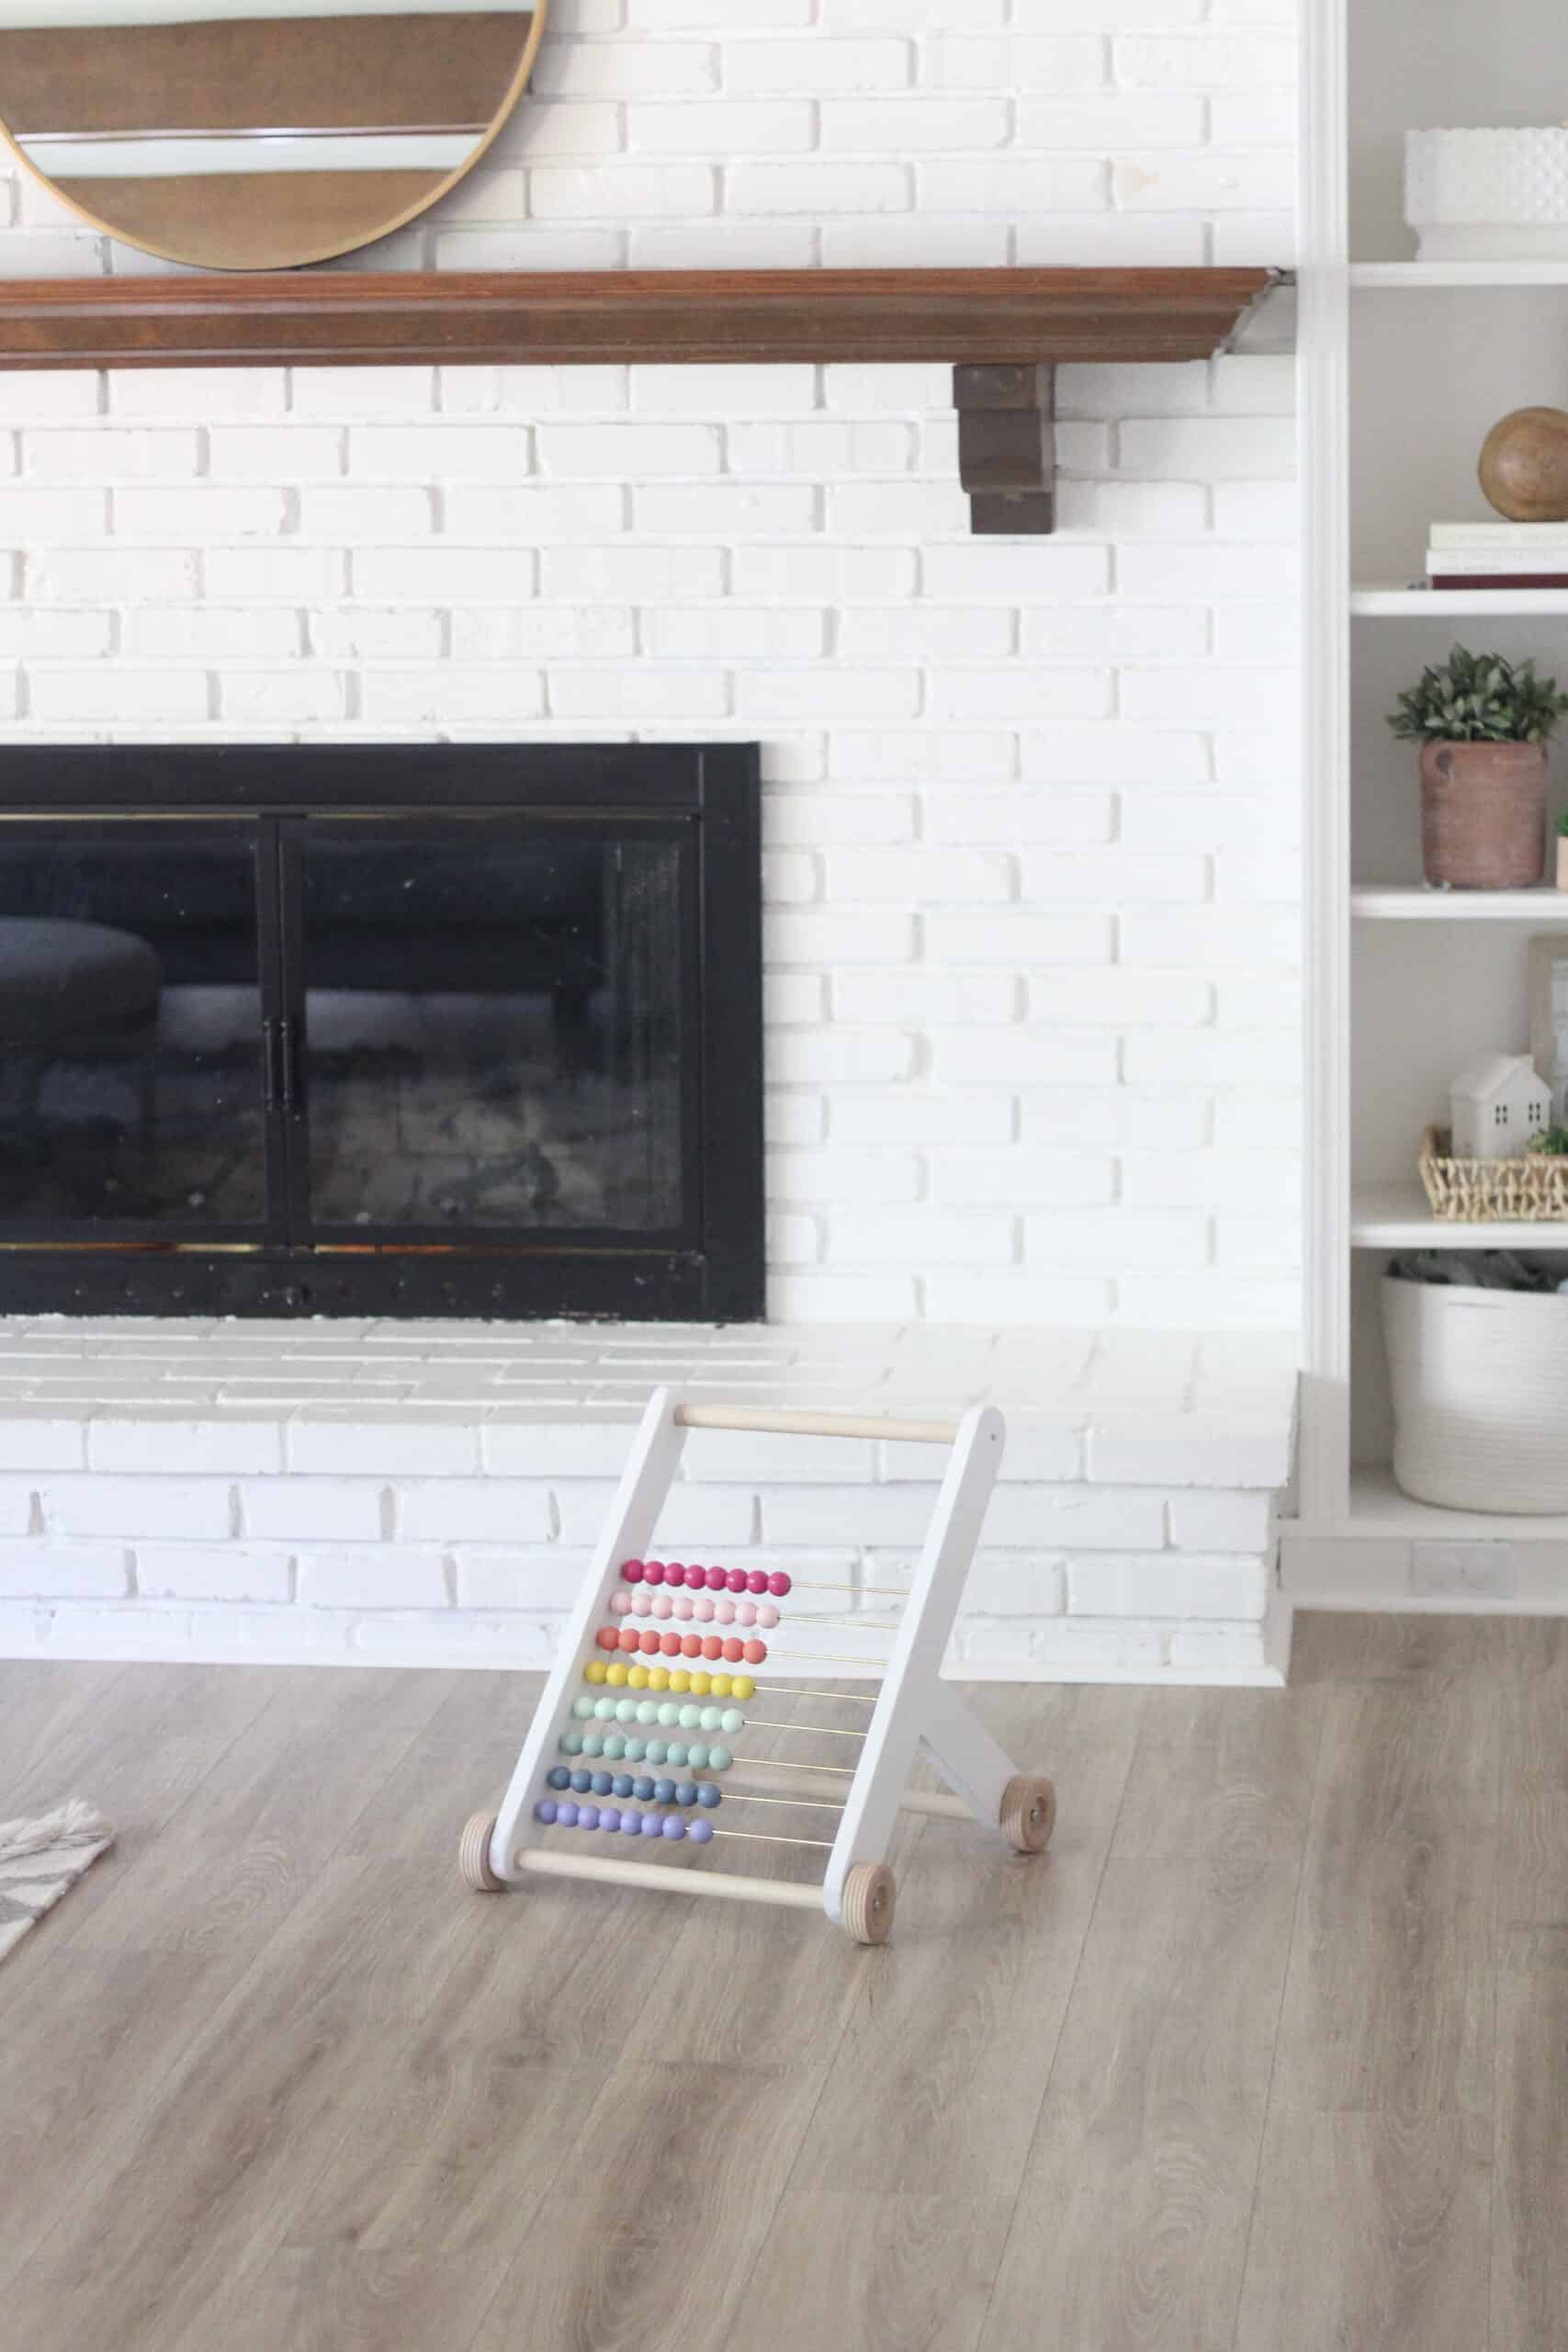
Like I stated above, we made this for our 4th baby. I LOVE when baby gear and toys can be both pretty and functional, and this one totally fits that bill. I love the look of it, and Goldie can’t get enough.
I will talk about some things you could do differently to make this your own as I walk you through it, but hopefully you are able to accomplish a toy that you will love for years to come with the help of this tutorial.

Supplies and Tools for the Abacus Push Toy
Below are the tools and supplies I personally used for this project. – I will also let you know if a tool could be skipped to keep costs down if you are not an avid DIYer.
Tools:
- Saw – We used a Table Saw. A table saw or miter saw will make this a lot easier, but if need be you could go with a hand saw.
- Sander or Sand paper – again we used a sander but you could use sanding blocks or sand paper if needed.
- Jigsaw – This is used to make the curved look. You don’t have to do this, but if you don’t you need to use an electric sander and really take down the corners for safety!
- Drill
Supplies:
Spray paint – for mine I used white for the frame and 8 different colors for the beads. you could also do this with craft paint but I found it to be much easier to use spray paint. Most craft stores sell the mini sizes which are a great choice for this!
- 2 Packs of these metal dowels (8 total dowels)
- Wood Beads
- Wheels
- 1 x 3 poplar board – 1 board is enough
- 1 dowel somewhere between 1 and 2 inches
- Screws
- wood glue
- 2 fluted dowel pins
- super glue
- ruler
- foam and q tips for painting the beads – optional but makes it easier
- 9/64 inch drill bit
- 6 Screws – 4 of them need to have a head larger than 3/8 of an inch.
- optional – wood filler
- spray paint in colors you want for the project
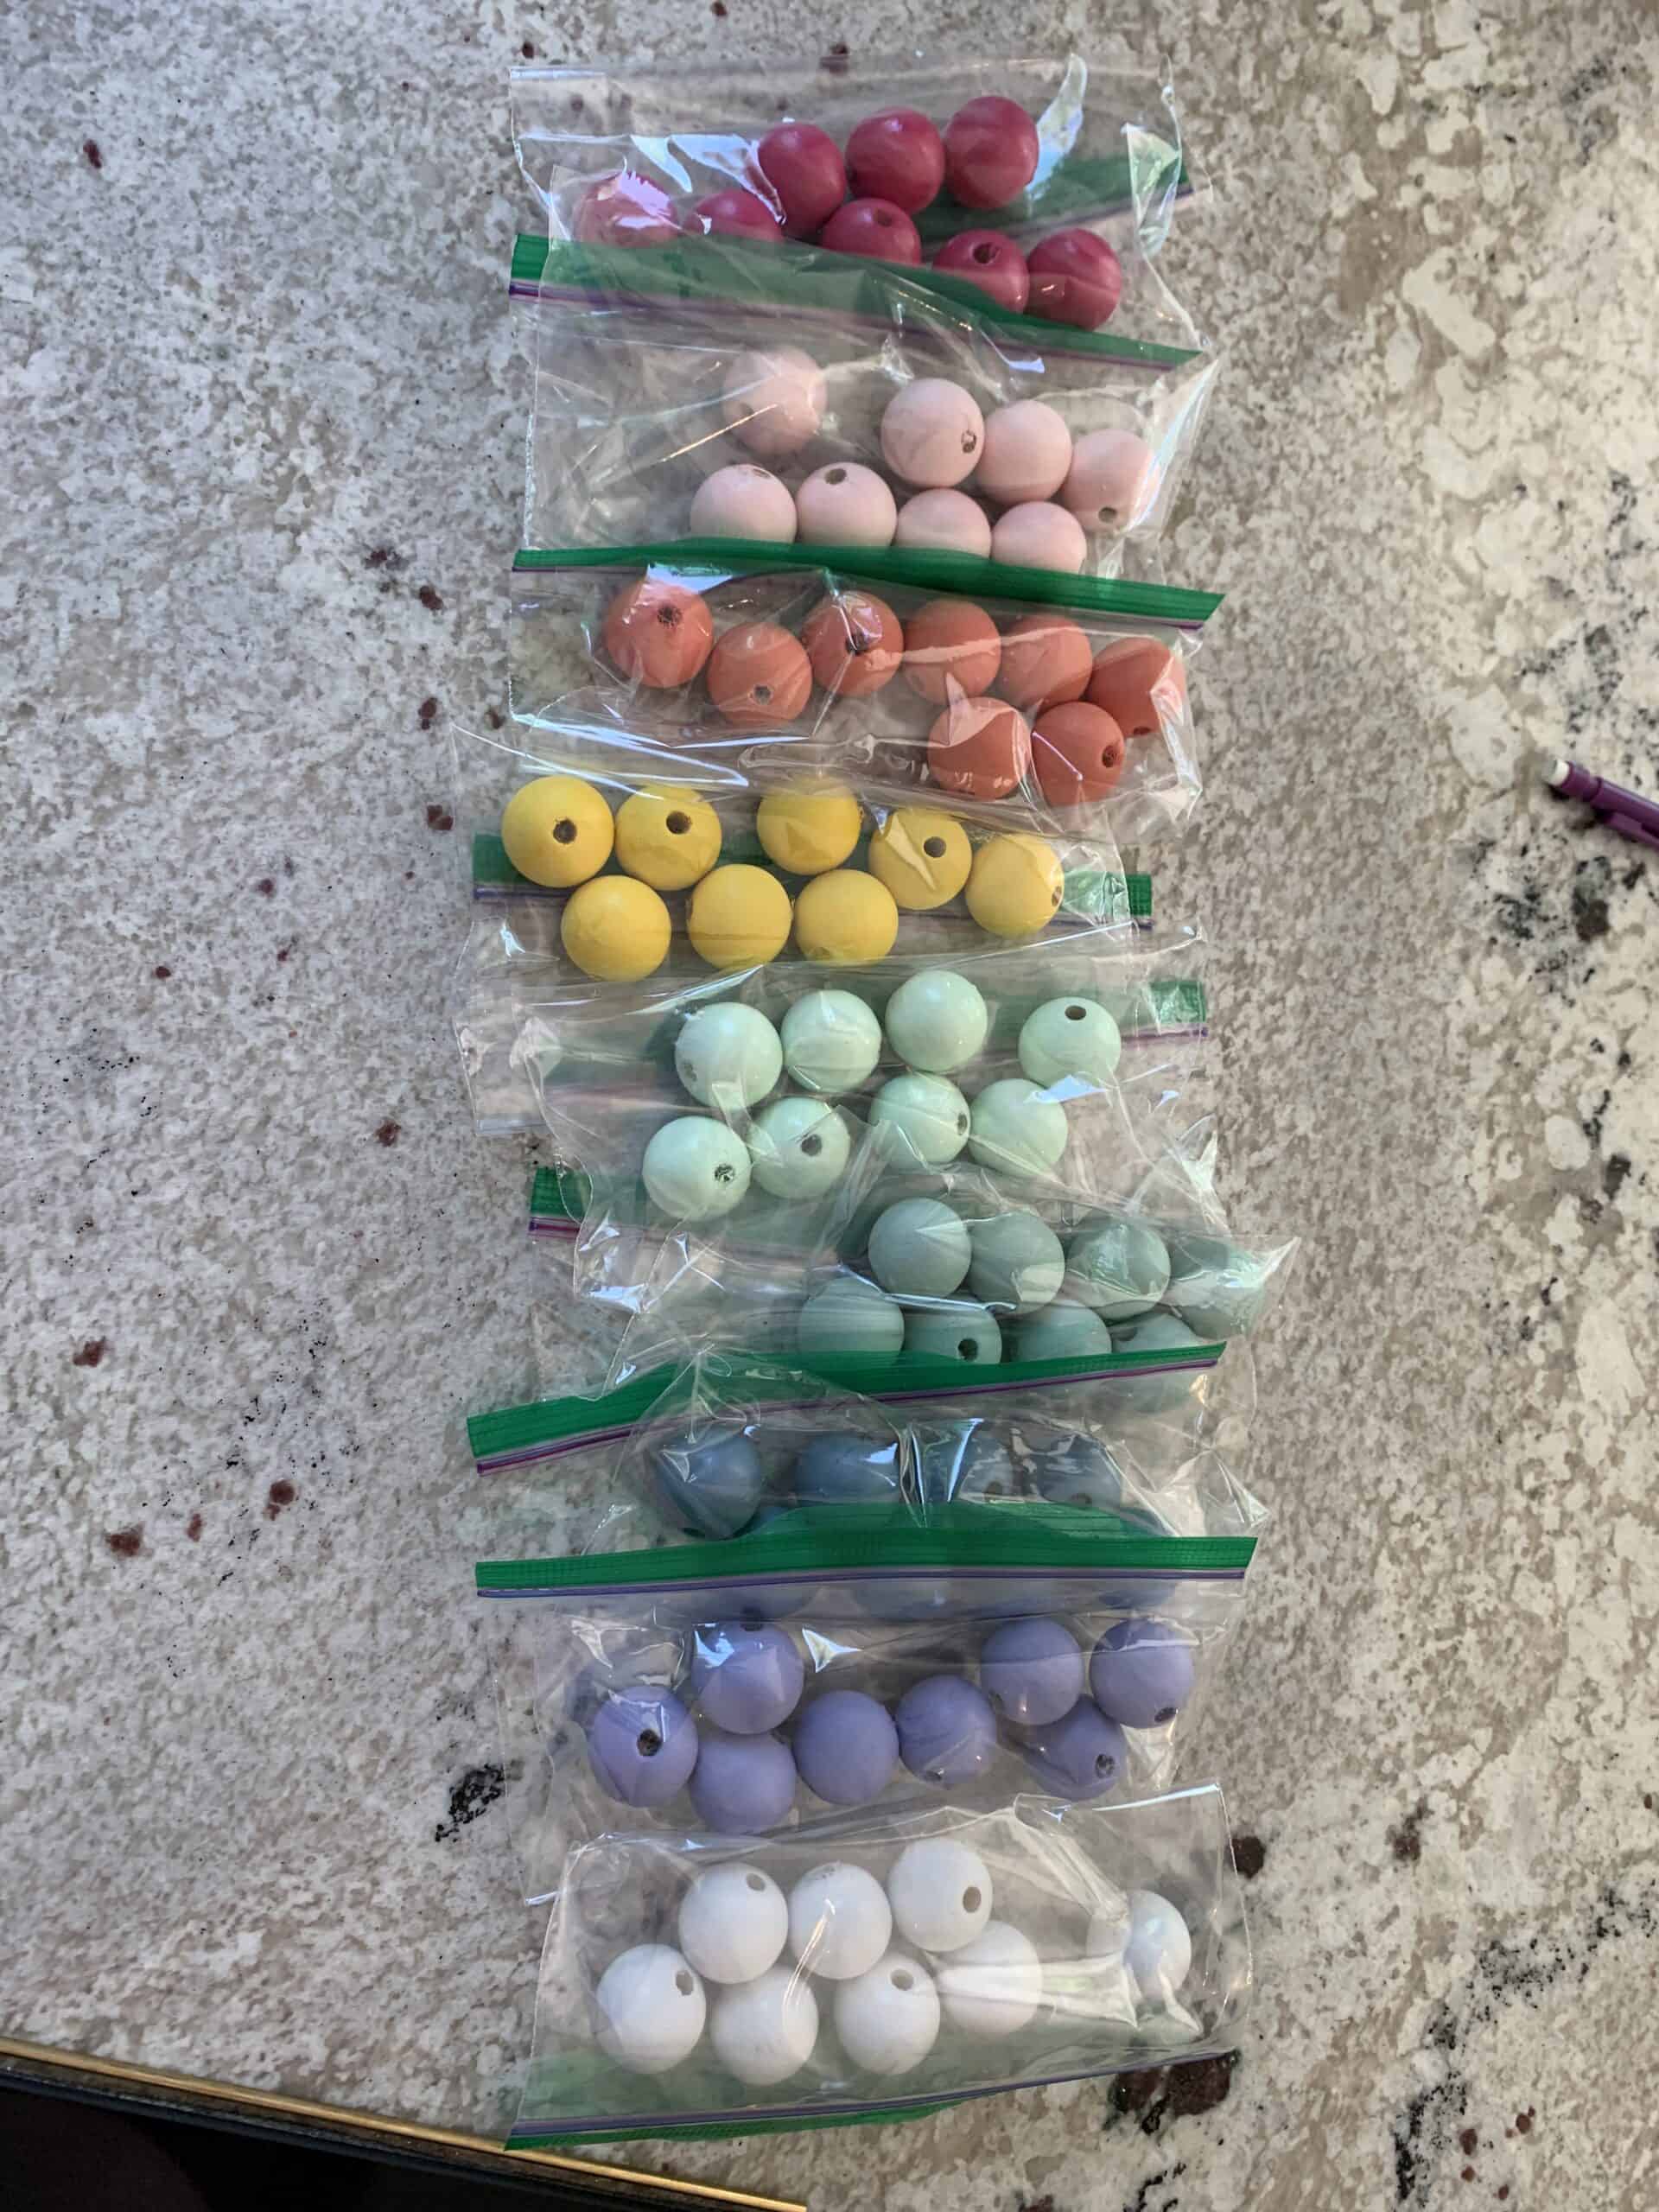
Prepping the Beads
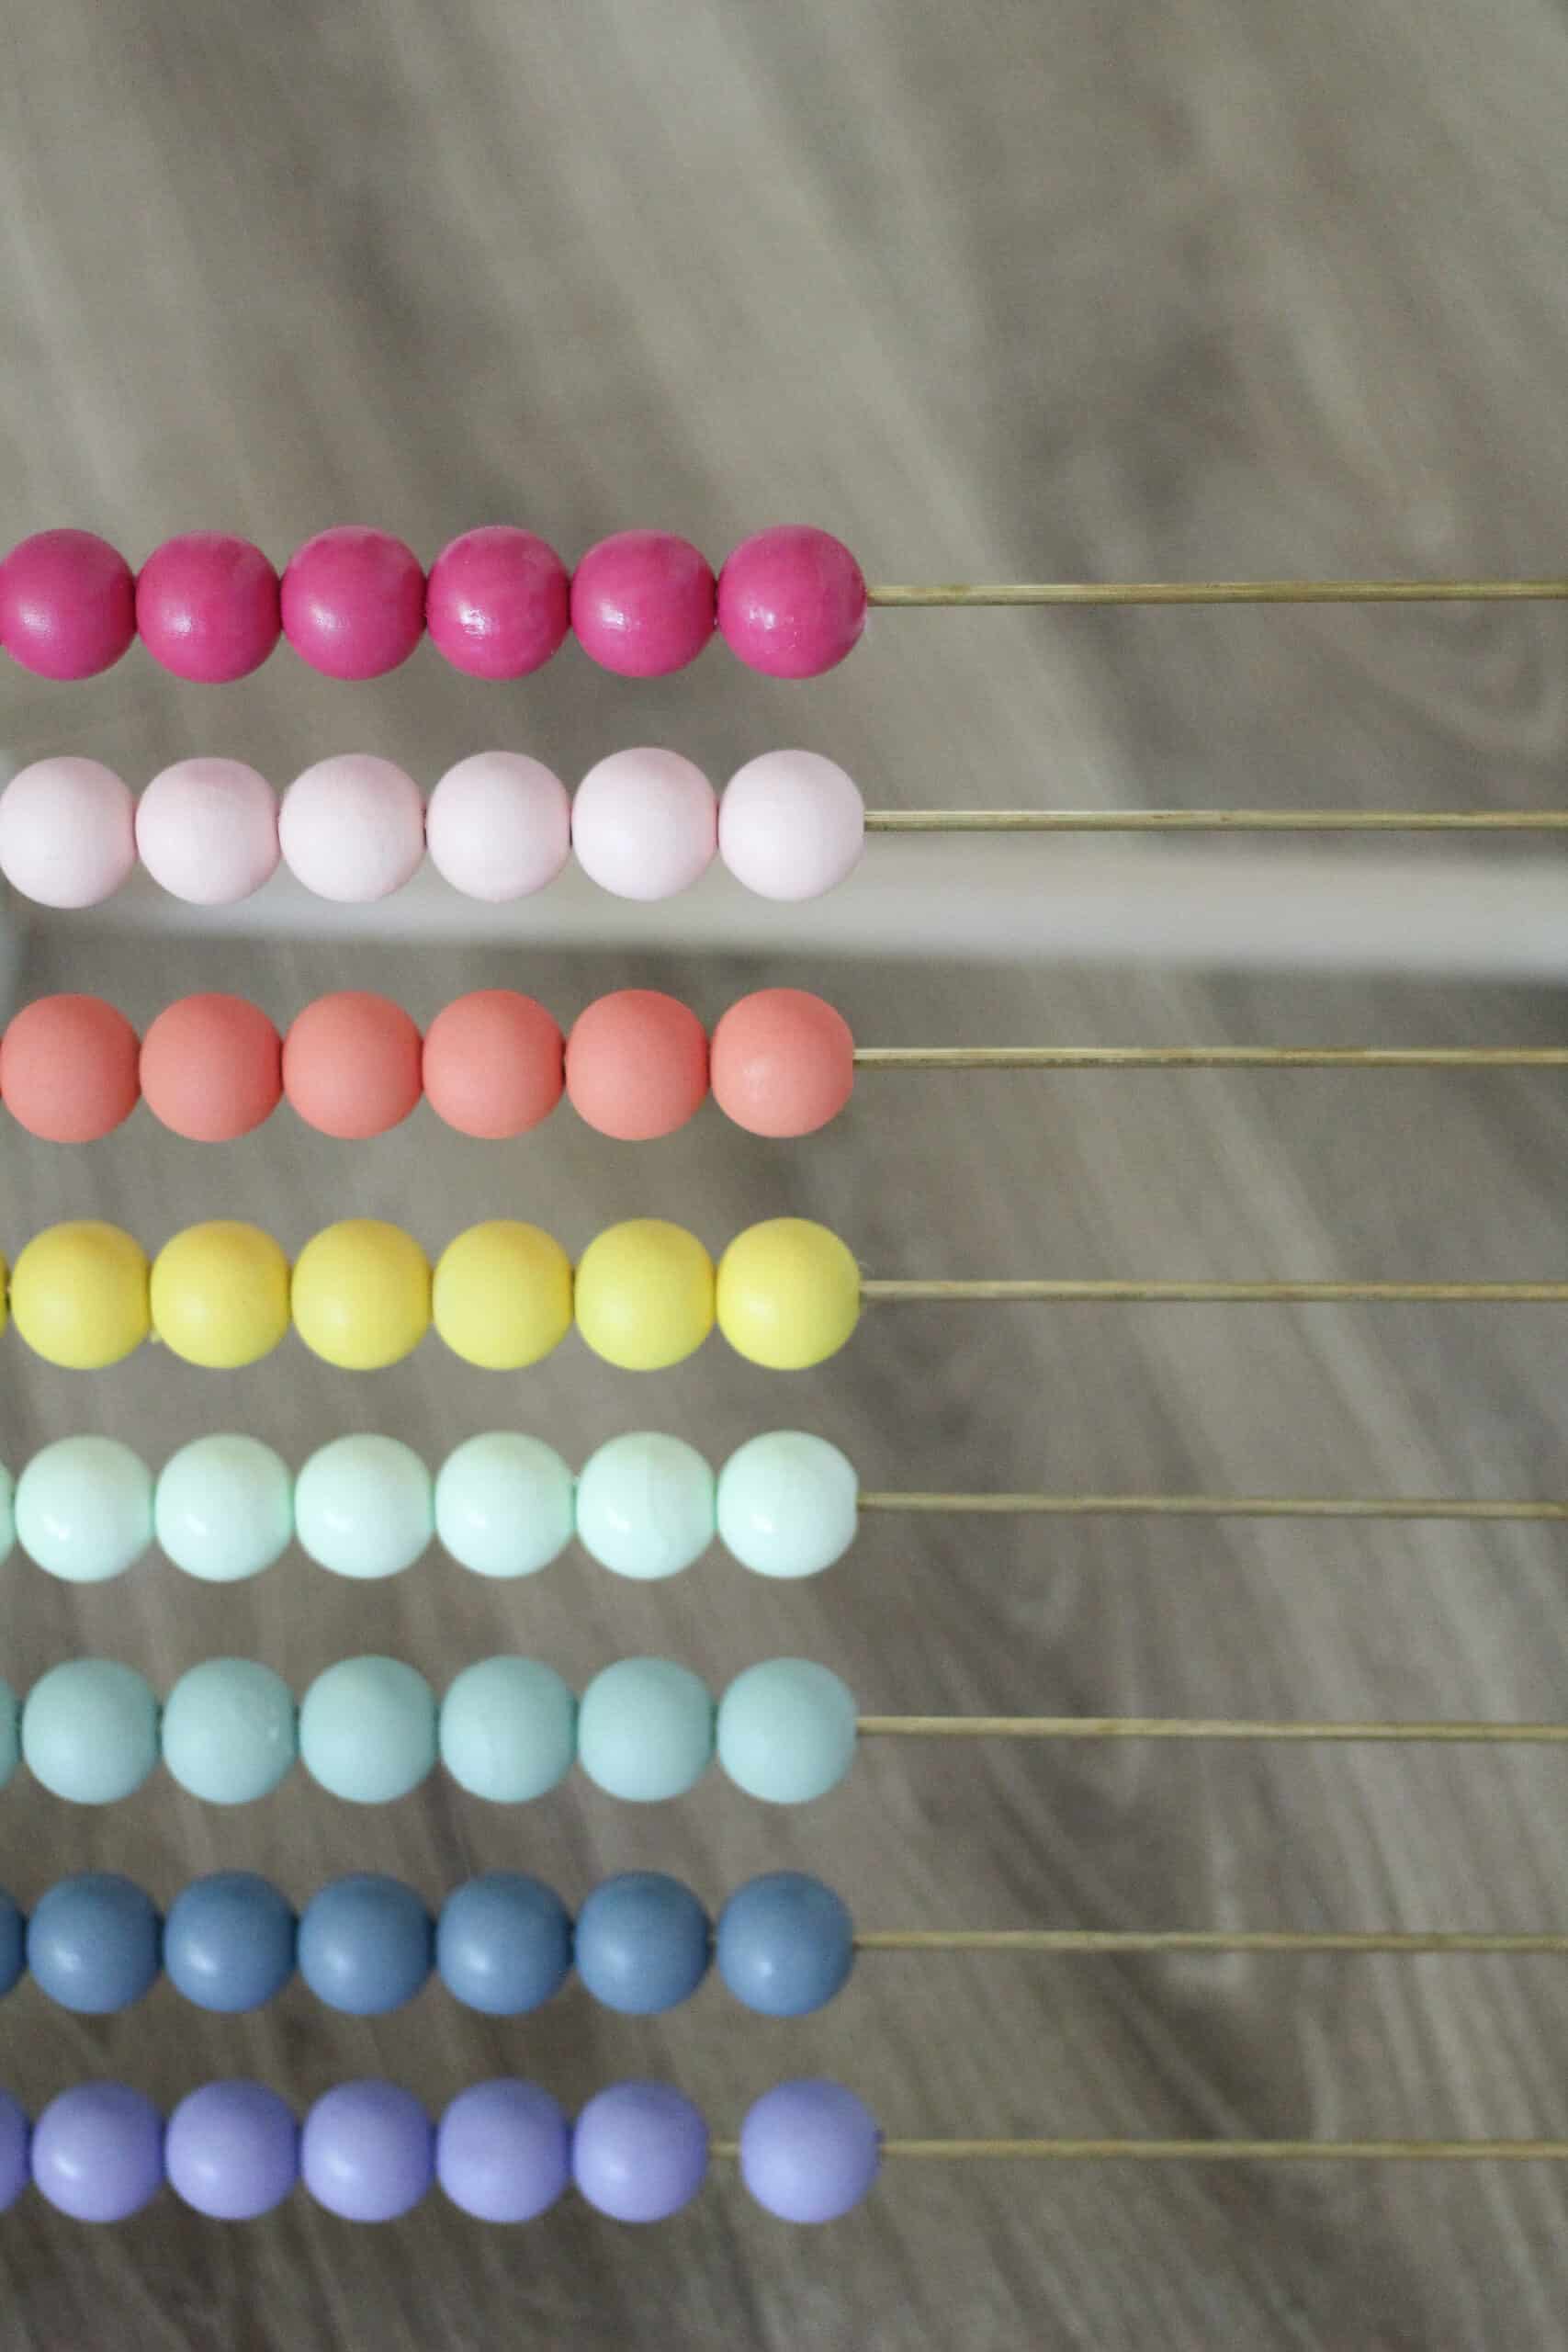
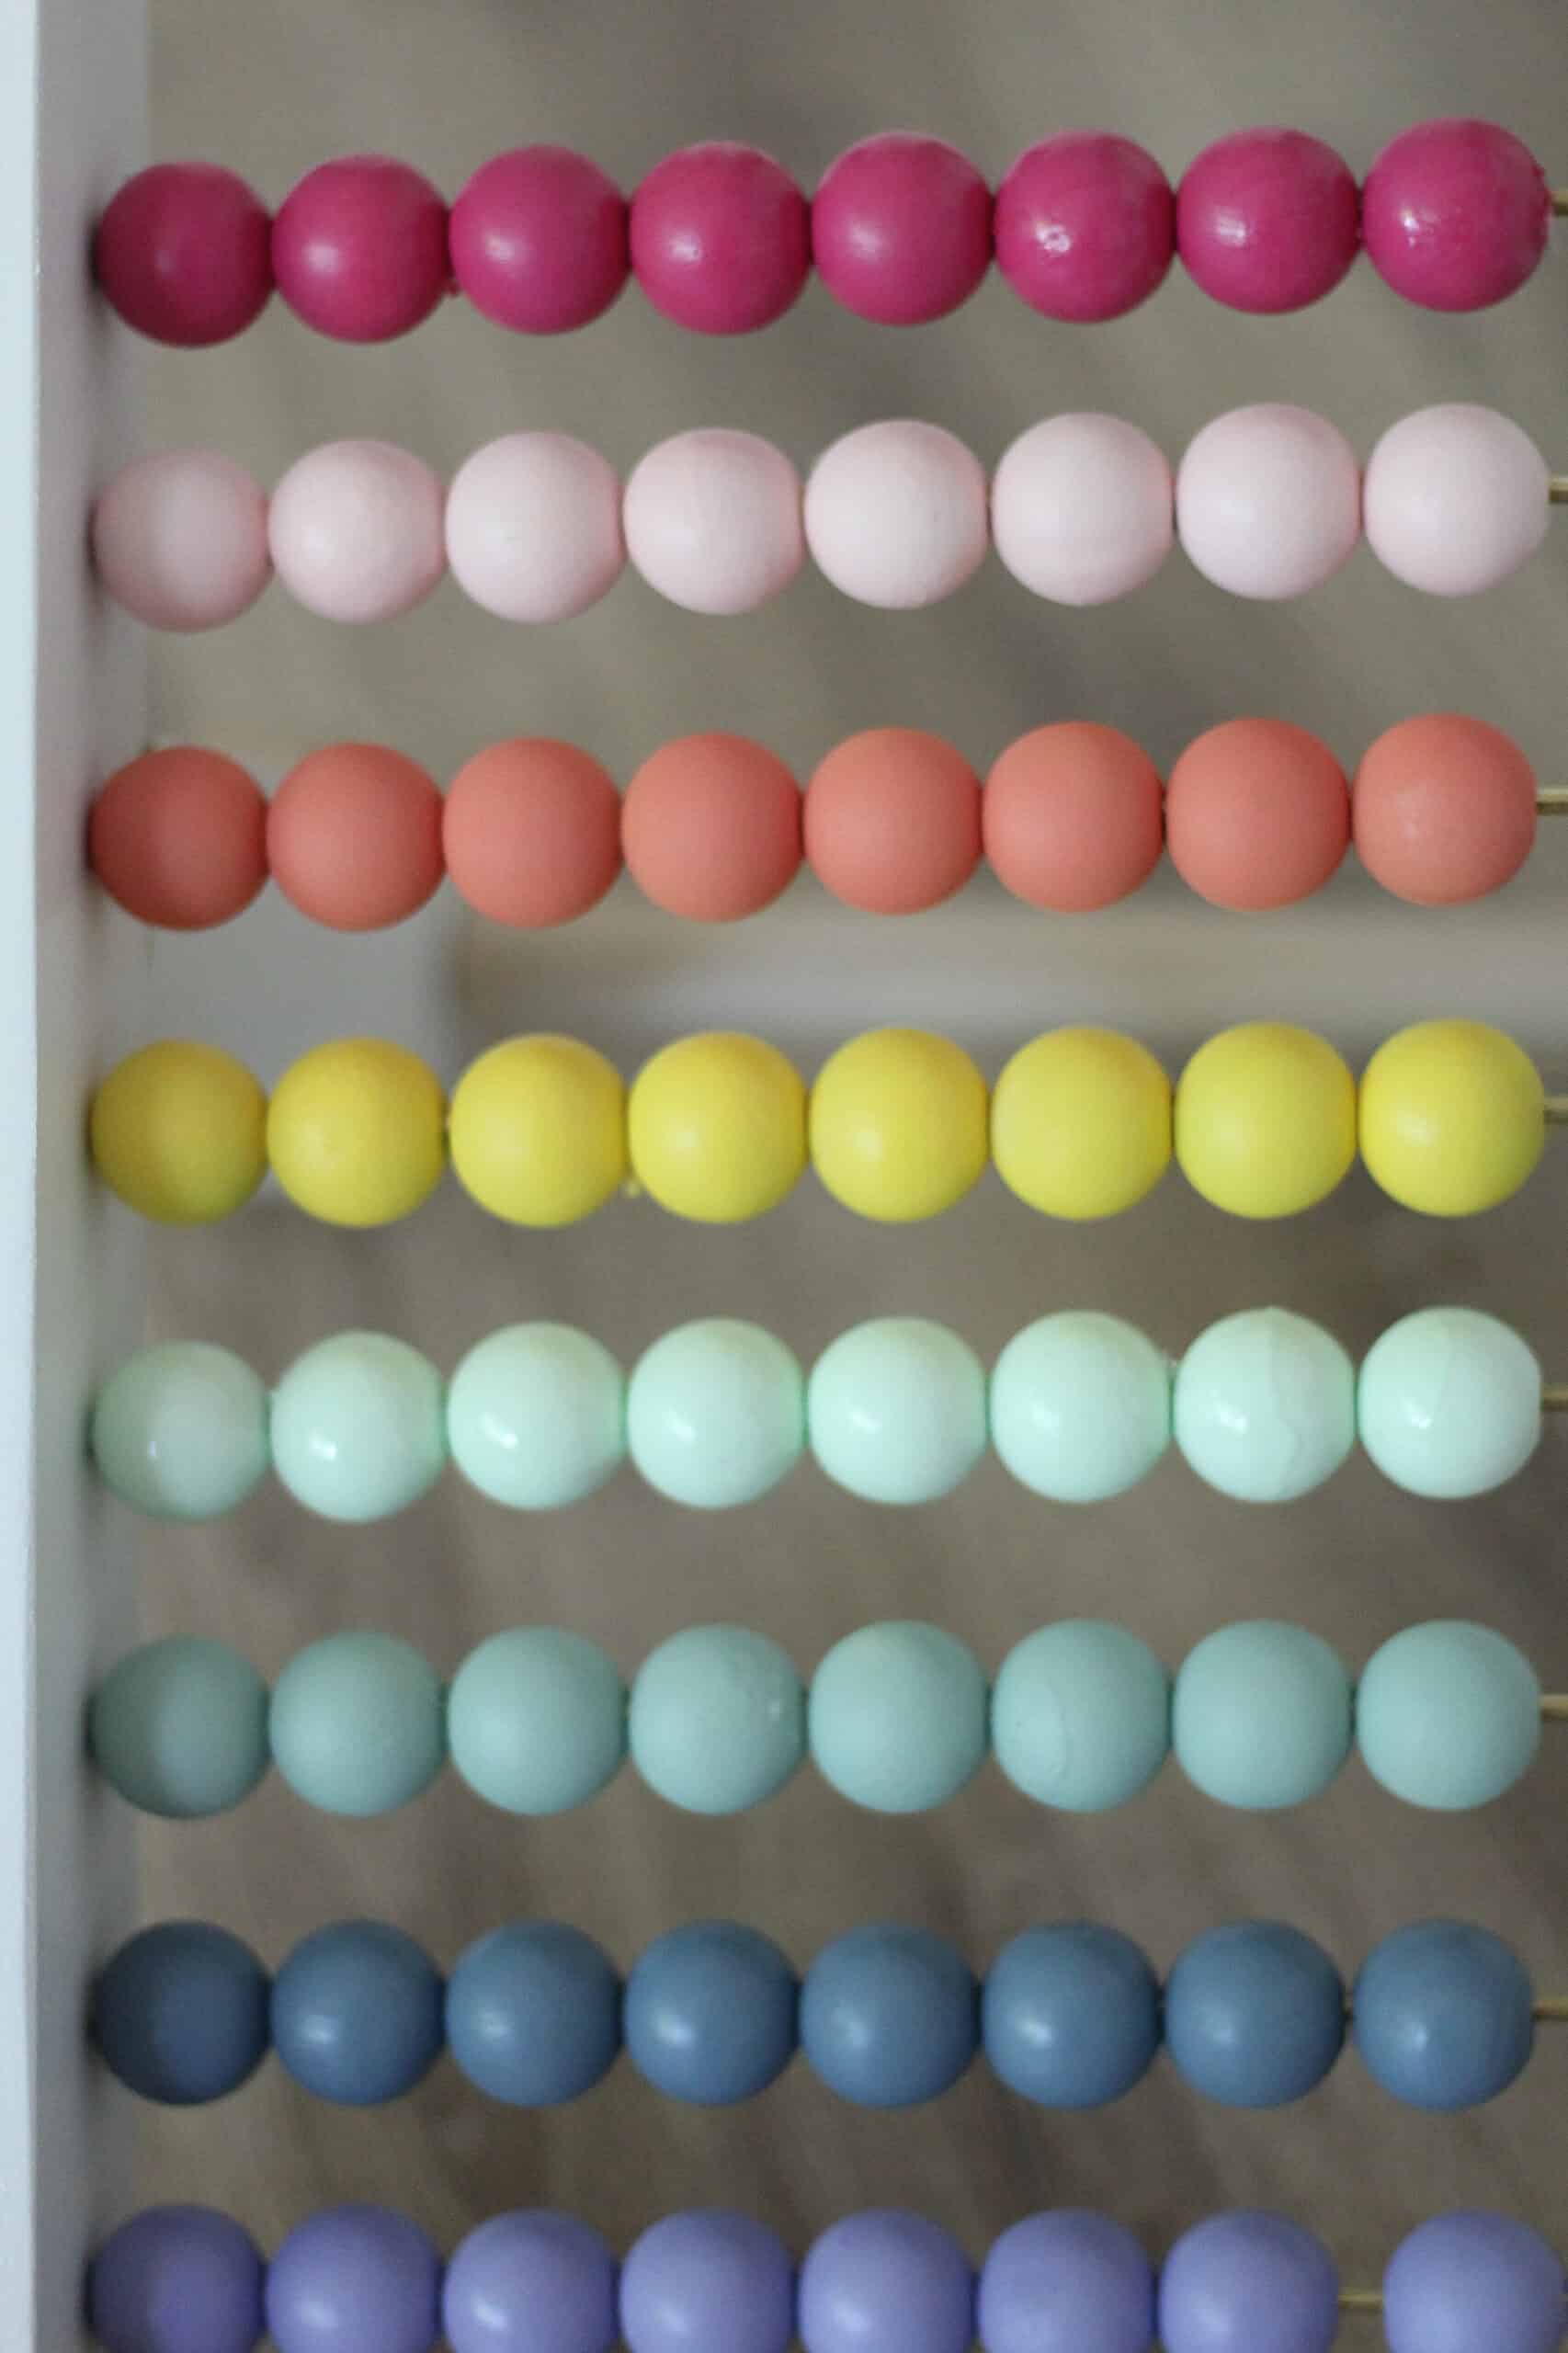
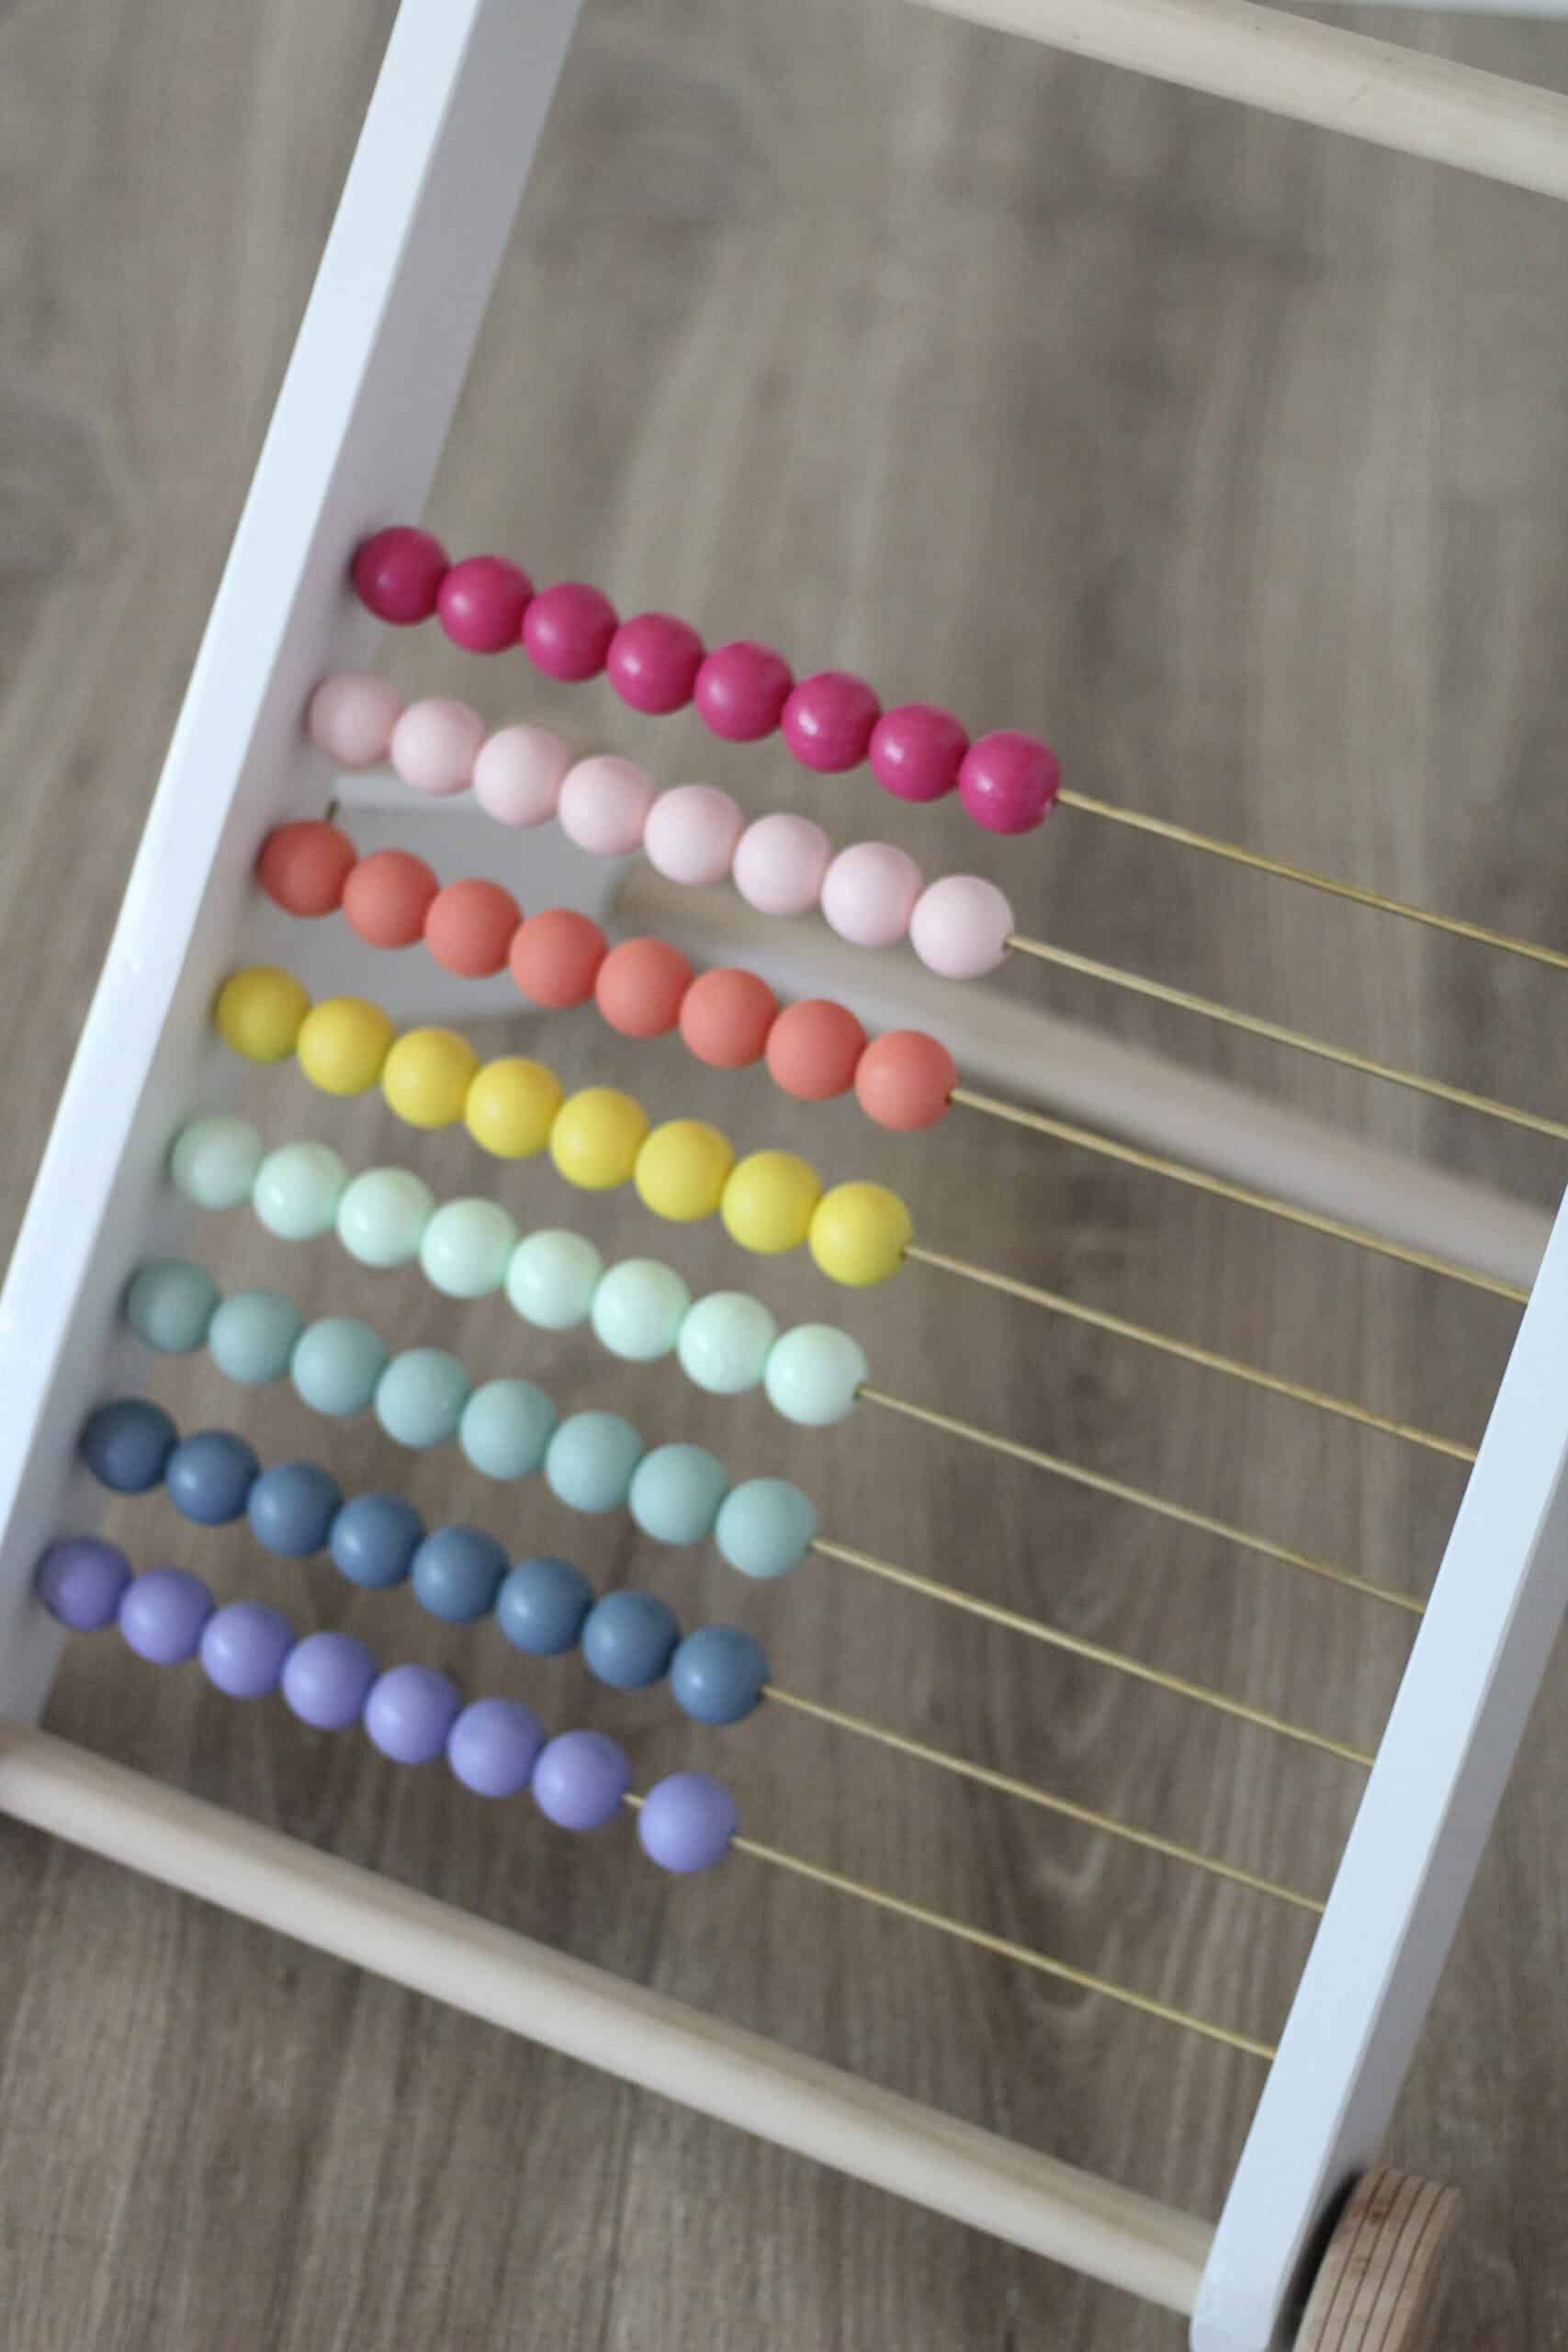
Before I started on anything else I worked on painting the beads. I personally used 8 beads per row and did 8 colors.
Set up a block of foam. For me this was just scrap foam that had come in a box with a coffee pot. I then took q tips and broke the cotton off one end. Stick the side WITH the cotton inside the wooden balls and stick the other side in the foam and you are ready to paint.
You will have to flip the balls and do this again, so what I did was had 3 total foam blocks. 2 for painting and one to transfer over q tips while they were drying.
I did the balls in my free time over the course of a few days, but take it as fast or as slow as you would like. The goal is just to get all your balls done and ready then set aside.
We obviously did ours in a rainbow color scheme – but this is completely customizable and could even be done with the natural wood beads to match the dowels. I love the idea of doing a really similar color scheme to this pillow for a boy!
Creating the Legs/ Cutting Dowels
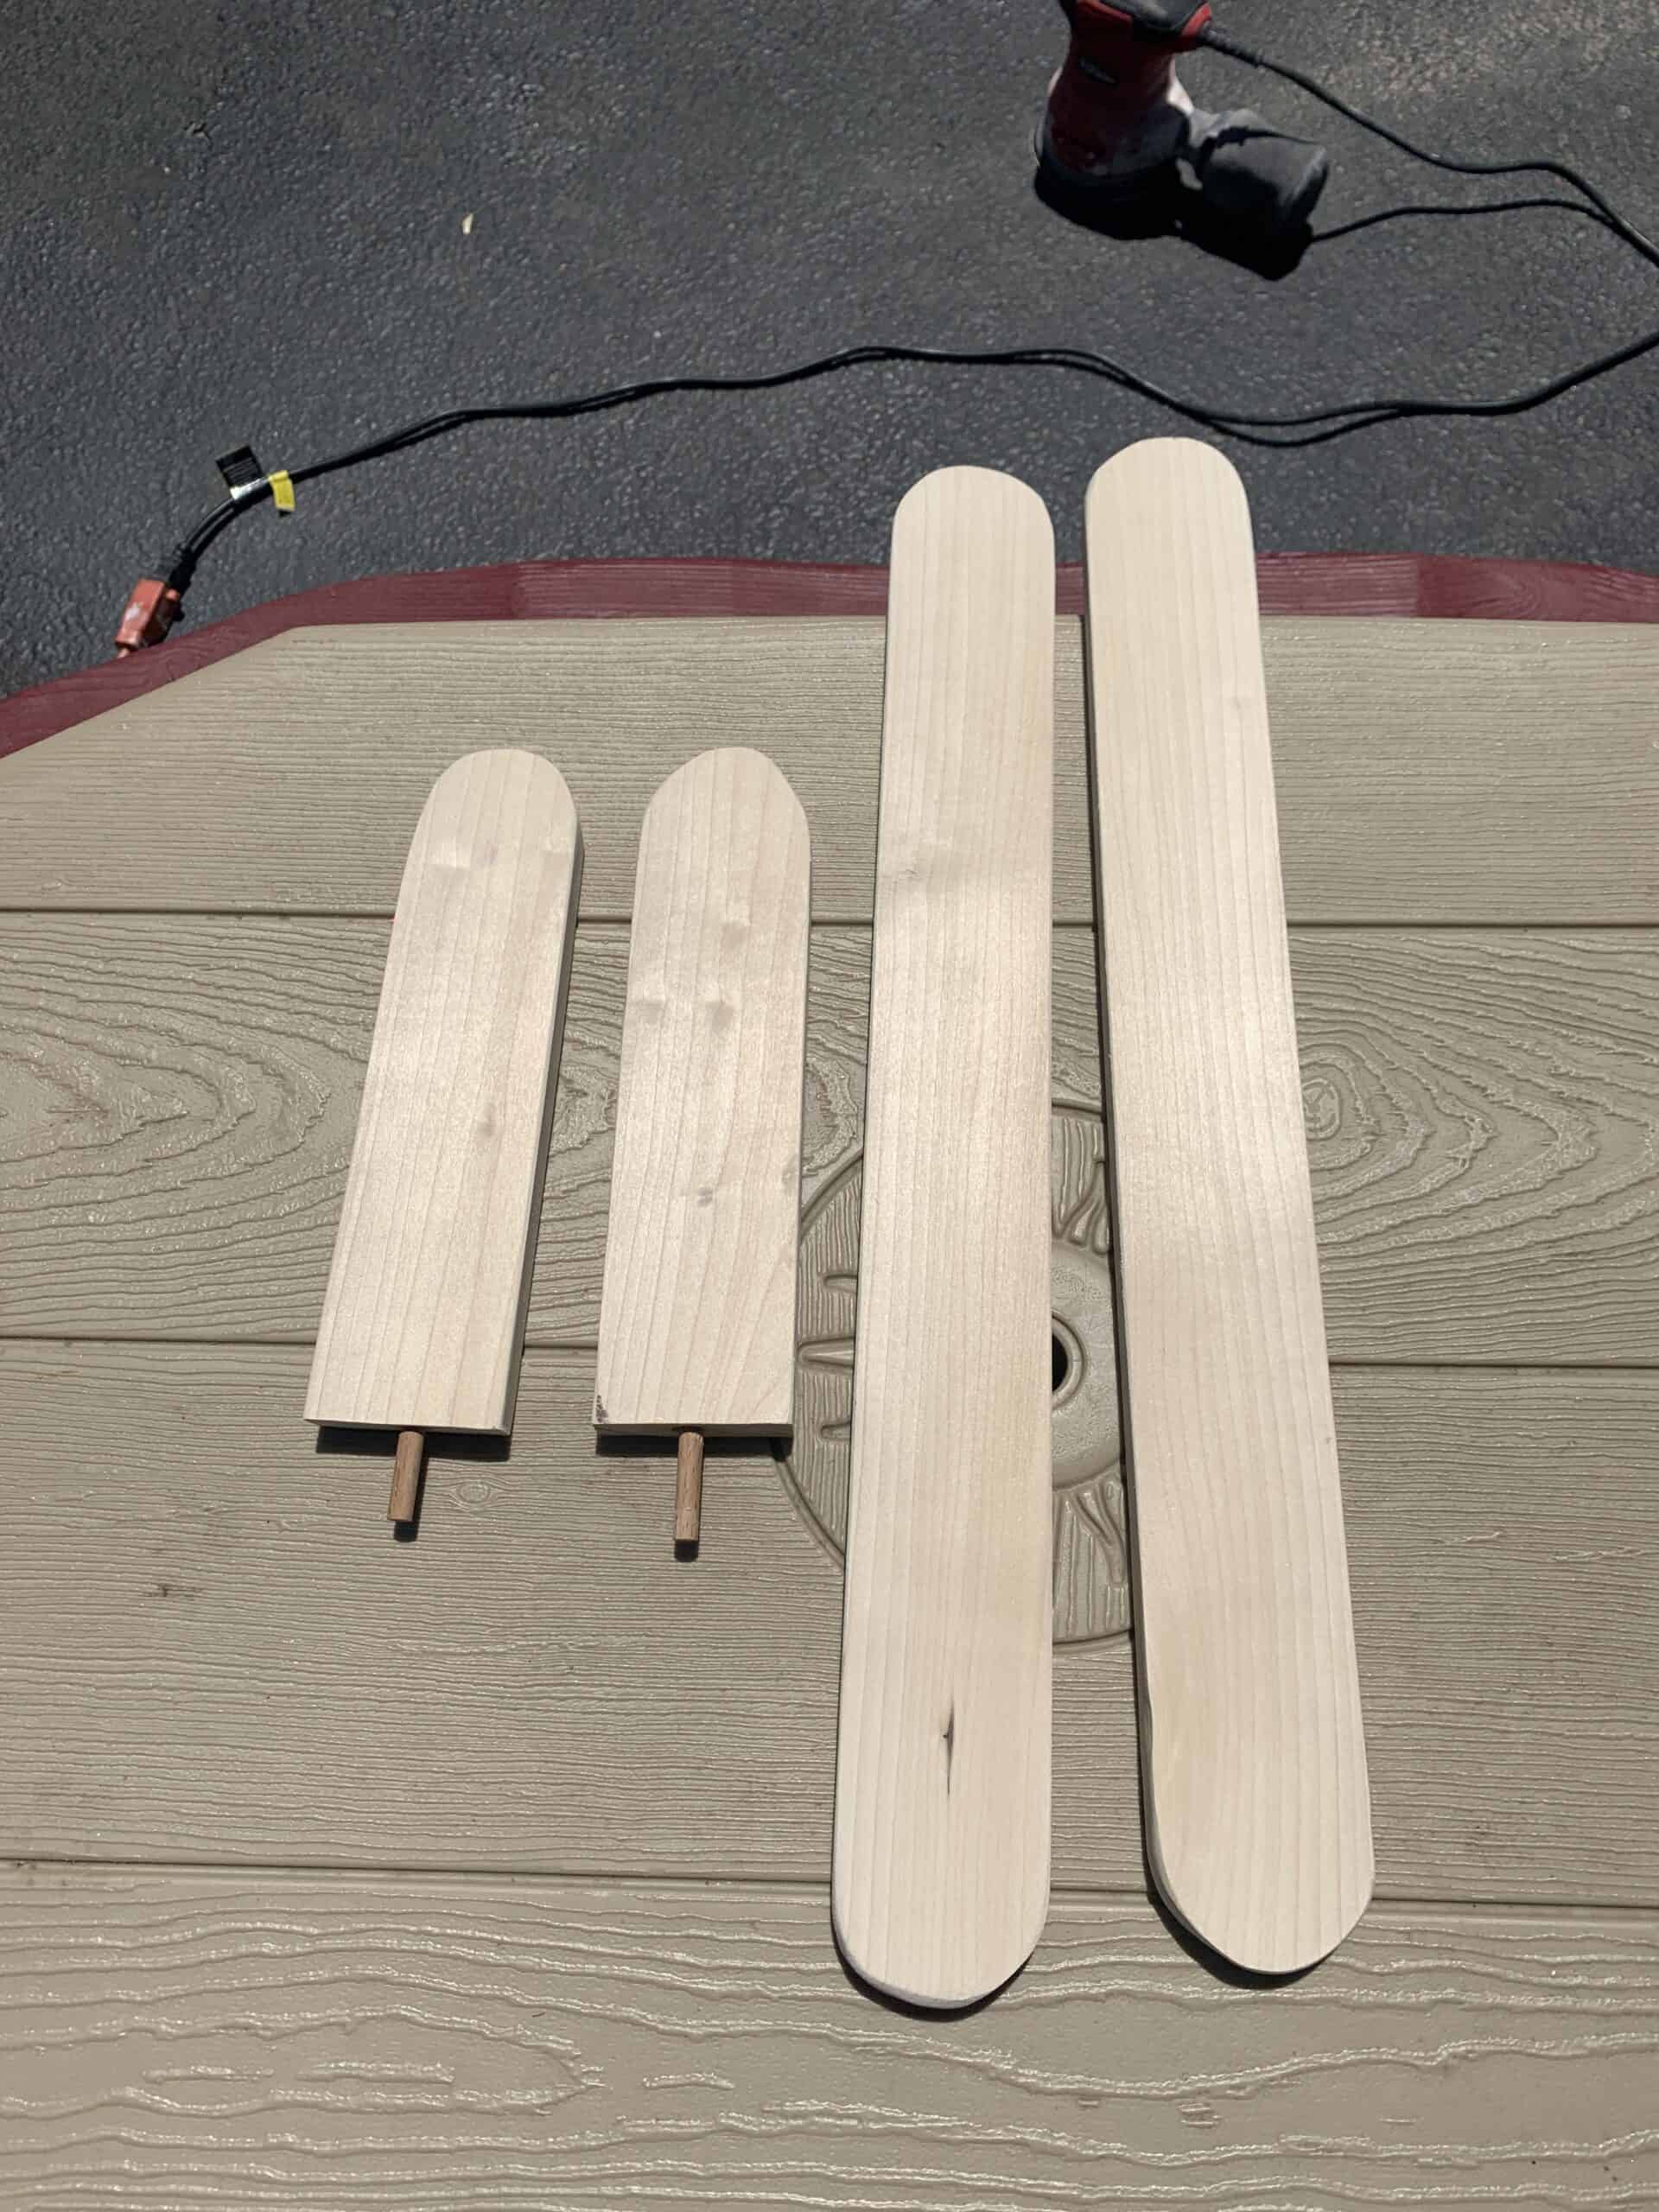
First – cut your poplar boards. You need 2 boards 21.5 inches long and 2 boards 1o inches long.
Then if you are rounding your corners like we did, on both ends of the 21.5 inch boards and 1 end of the 10 inch boards you need to draw a curved line ( I made a little template on paper to keep them uniform), then use your jigsaw to cut the corners.
All in all that means 6 ends cut with the jig saw, and 2 ends should still be flat.
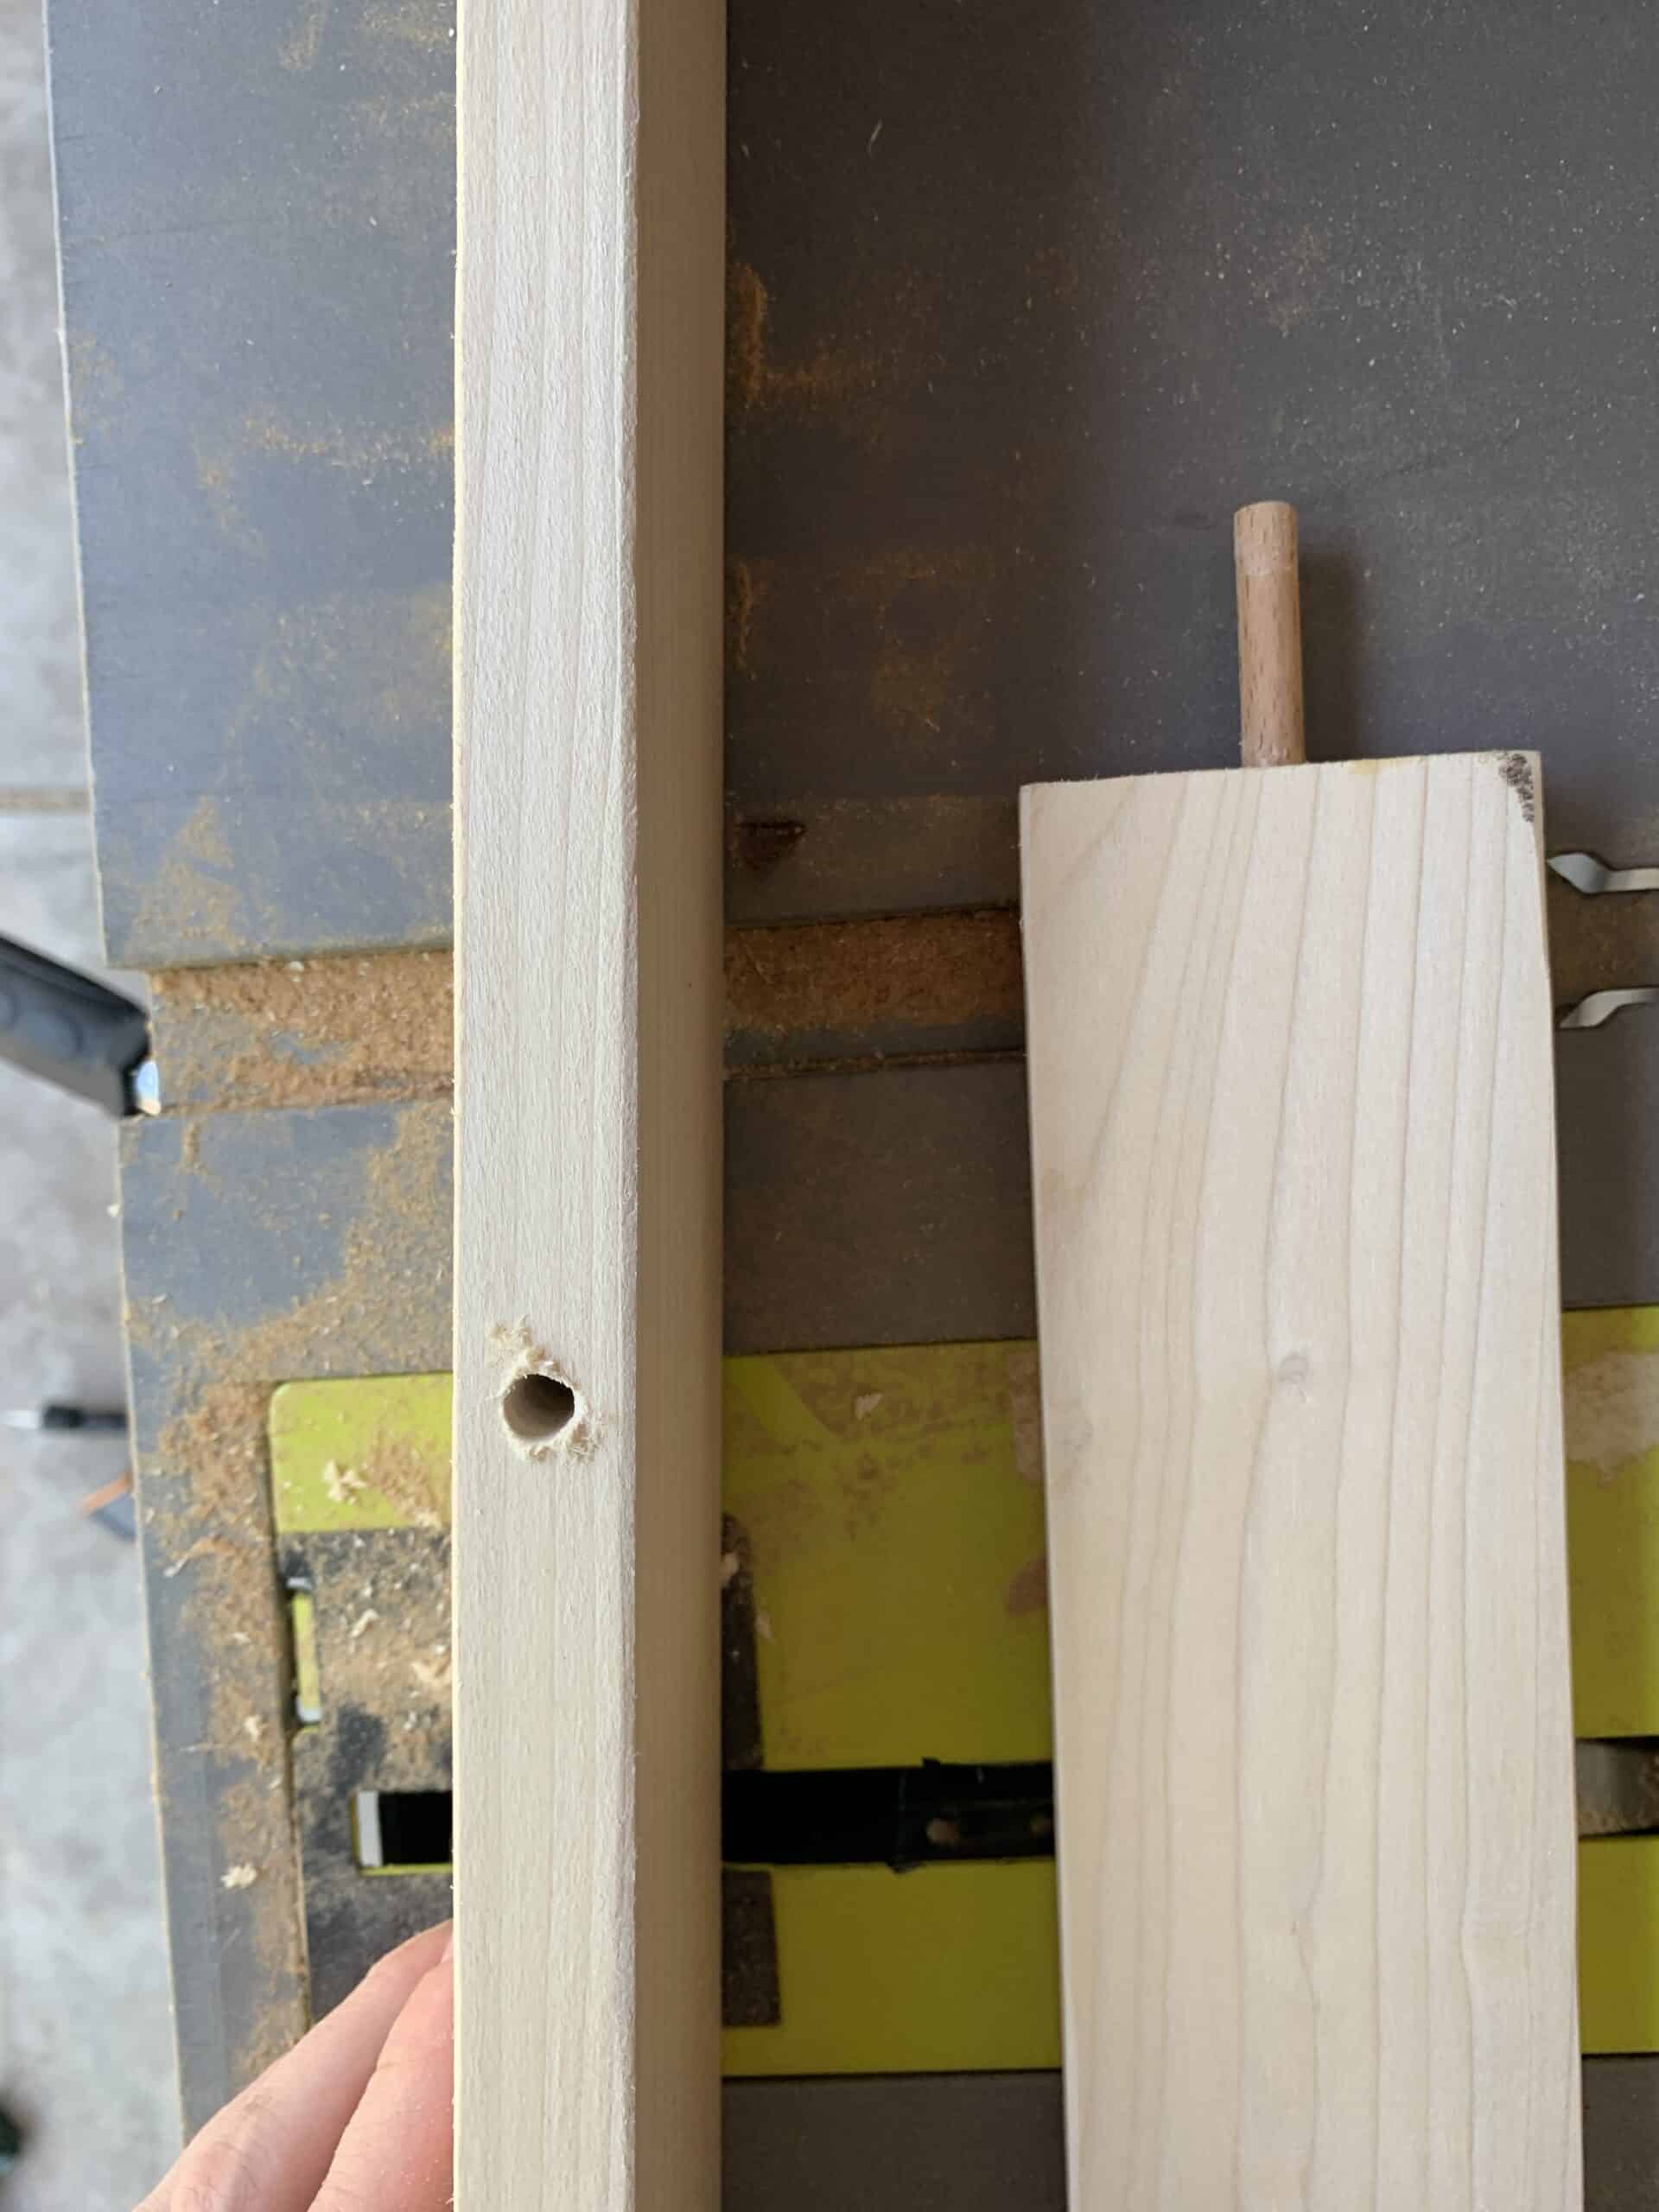
Next – use your drill to drill a hole for your dowel pin in the flat end of the 10 inch boards. You need to drill enough to snuggly fit your dowel pin in halfway. We also used wood glue in the hole for extra stability. Do this on both 10 inch boards then let them fully dry for 24 hours.
Now you should have 2 21.5 inch boards that are curved on each end and 2 10 inch boards with a dowel pin coming out of the middle of the flat end!
Now its time to make each side. Your dowel pins may not be EXACTLY in the same spot on each of your shorter boards so its important that when you’re attaching your legs you measure from the bottom of the board.
The BOTTOM side of our 10 inch boards hit 8.75 inches up from the bottom of the 21.5 inch boards. We laid the shorter boards on top of the 21.5 inch boards to find the exact heigh for the dowel pin hole and drilled a female hole into the under side of the 21.5 inch board.
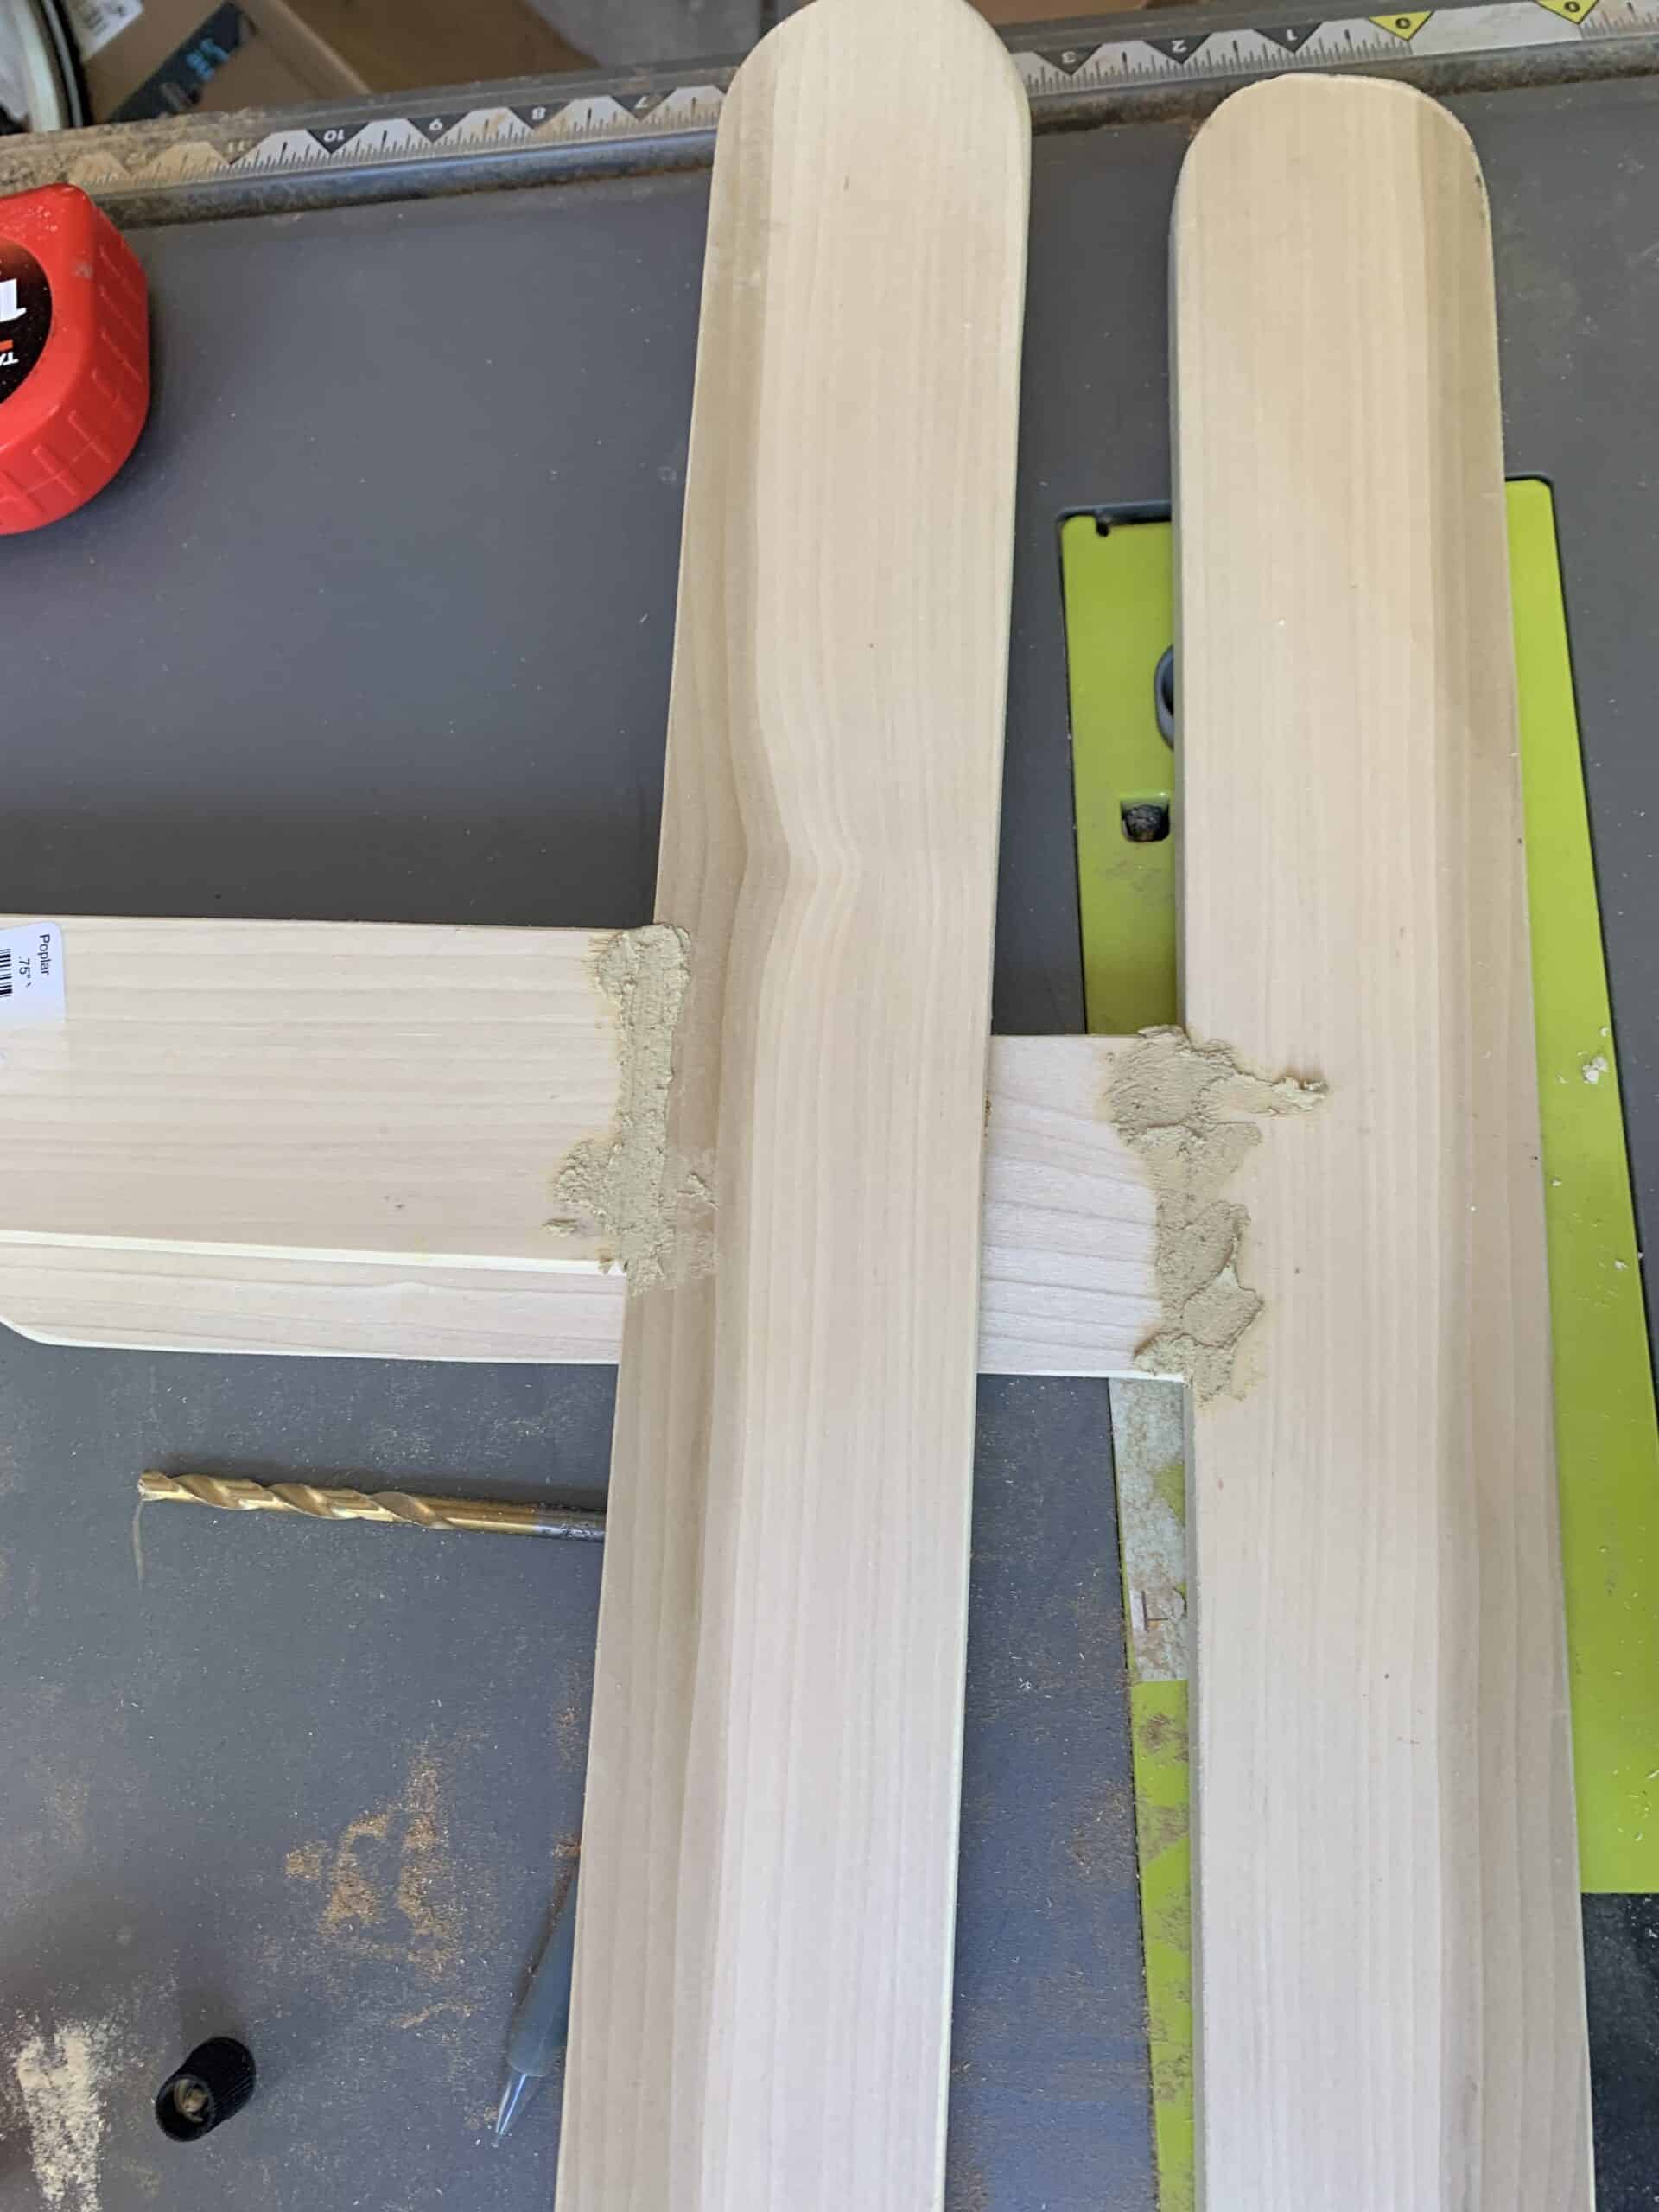
Then using a small amount of wood glue put the dowel pin in that board and again let it fully dry. Do this for both legs. I personally used wood filler on the seams – but if I weren’t painting this I would have skipped that.
Once the legs have fully dried its time to paint them if you want. I personally painted ours with white spray paint.
You also want to cut your dowels during this step for the handle and the other connectors. You need 3 dowels 13 inches long.
Creating the Abacus
Once your legs are done you have 2 lopsided ‘t’ pieces. The shorter sides are your bottom, and the longer sides are your top. This is important when it comes to the next step.
You will lay your ‘t’ let on the side and measure up from the bottom 3 inches and make a dot in the middle of the leg. You need to make sure these are centered and straight going up – for me my ruler was exactly half the width of the leg so I aligned it on the side.
From the bottom dot make seven more dots 1.5 inches apart each going up.
Now into those holes you will drill using a 9/64 inch drill bit to make a tiny hole to stick your metal dowels into.
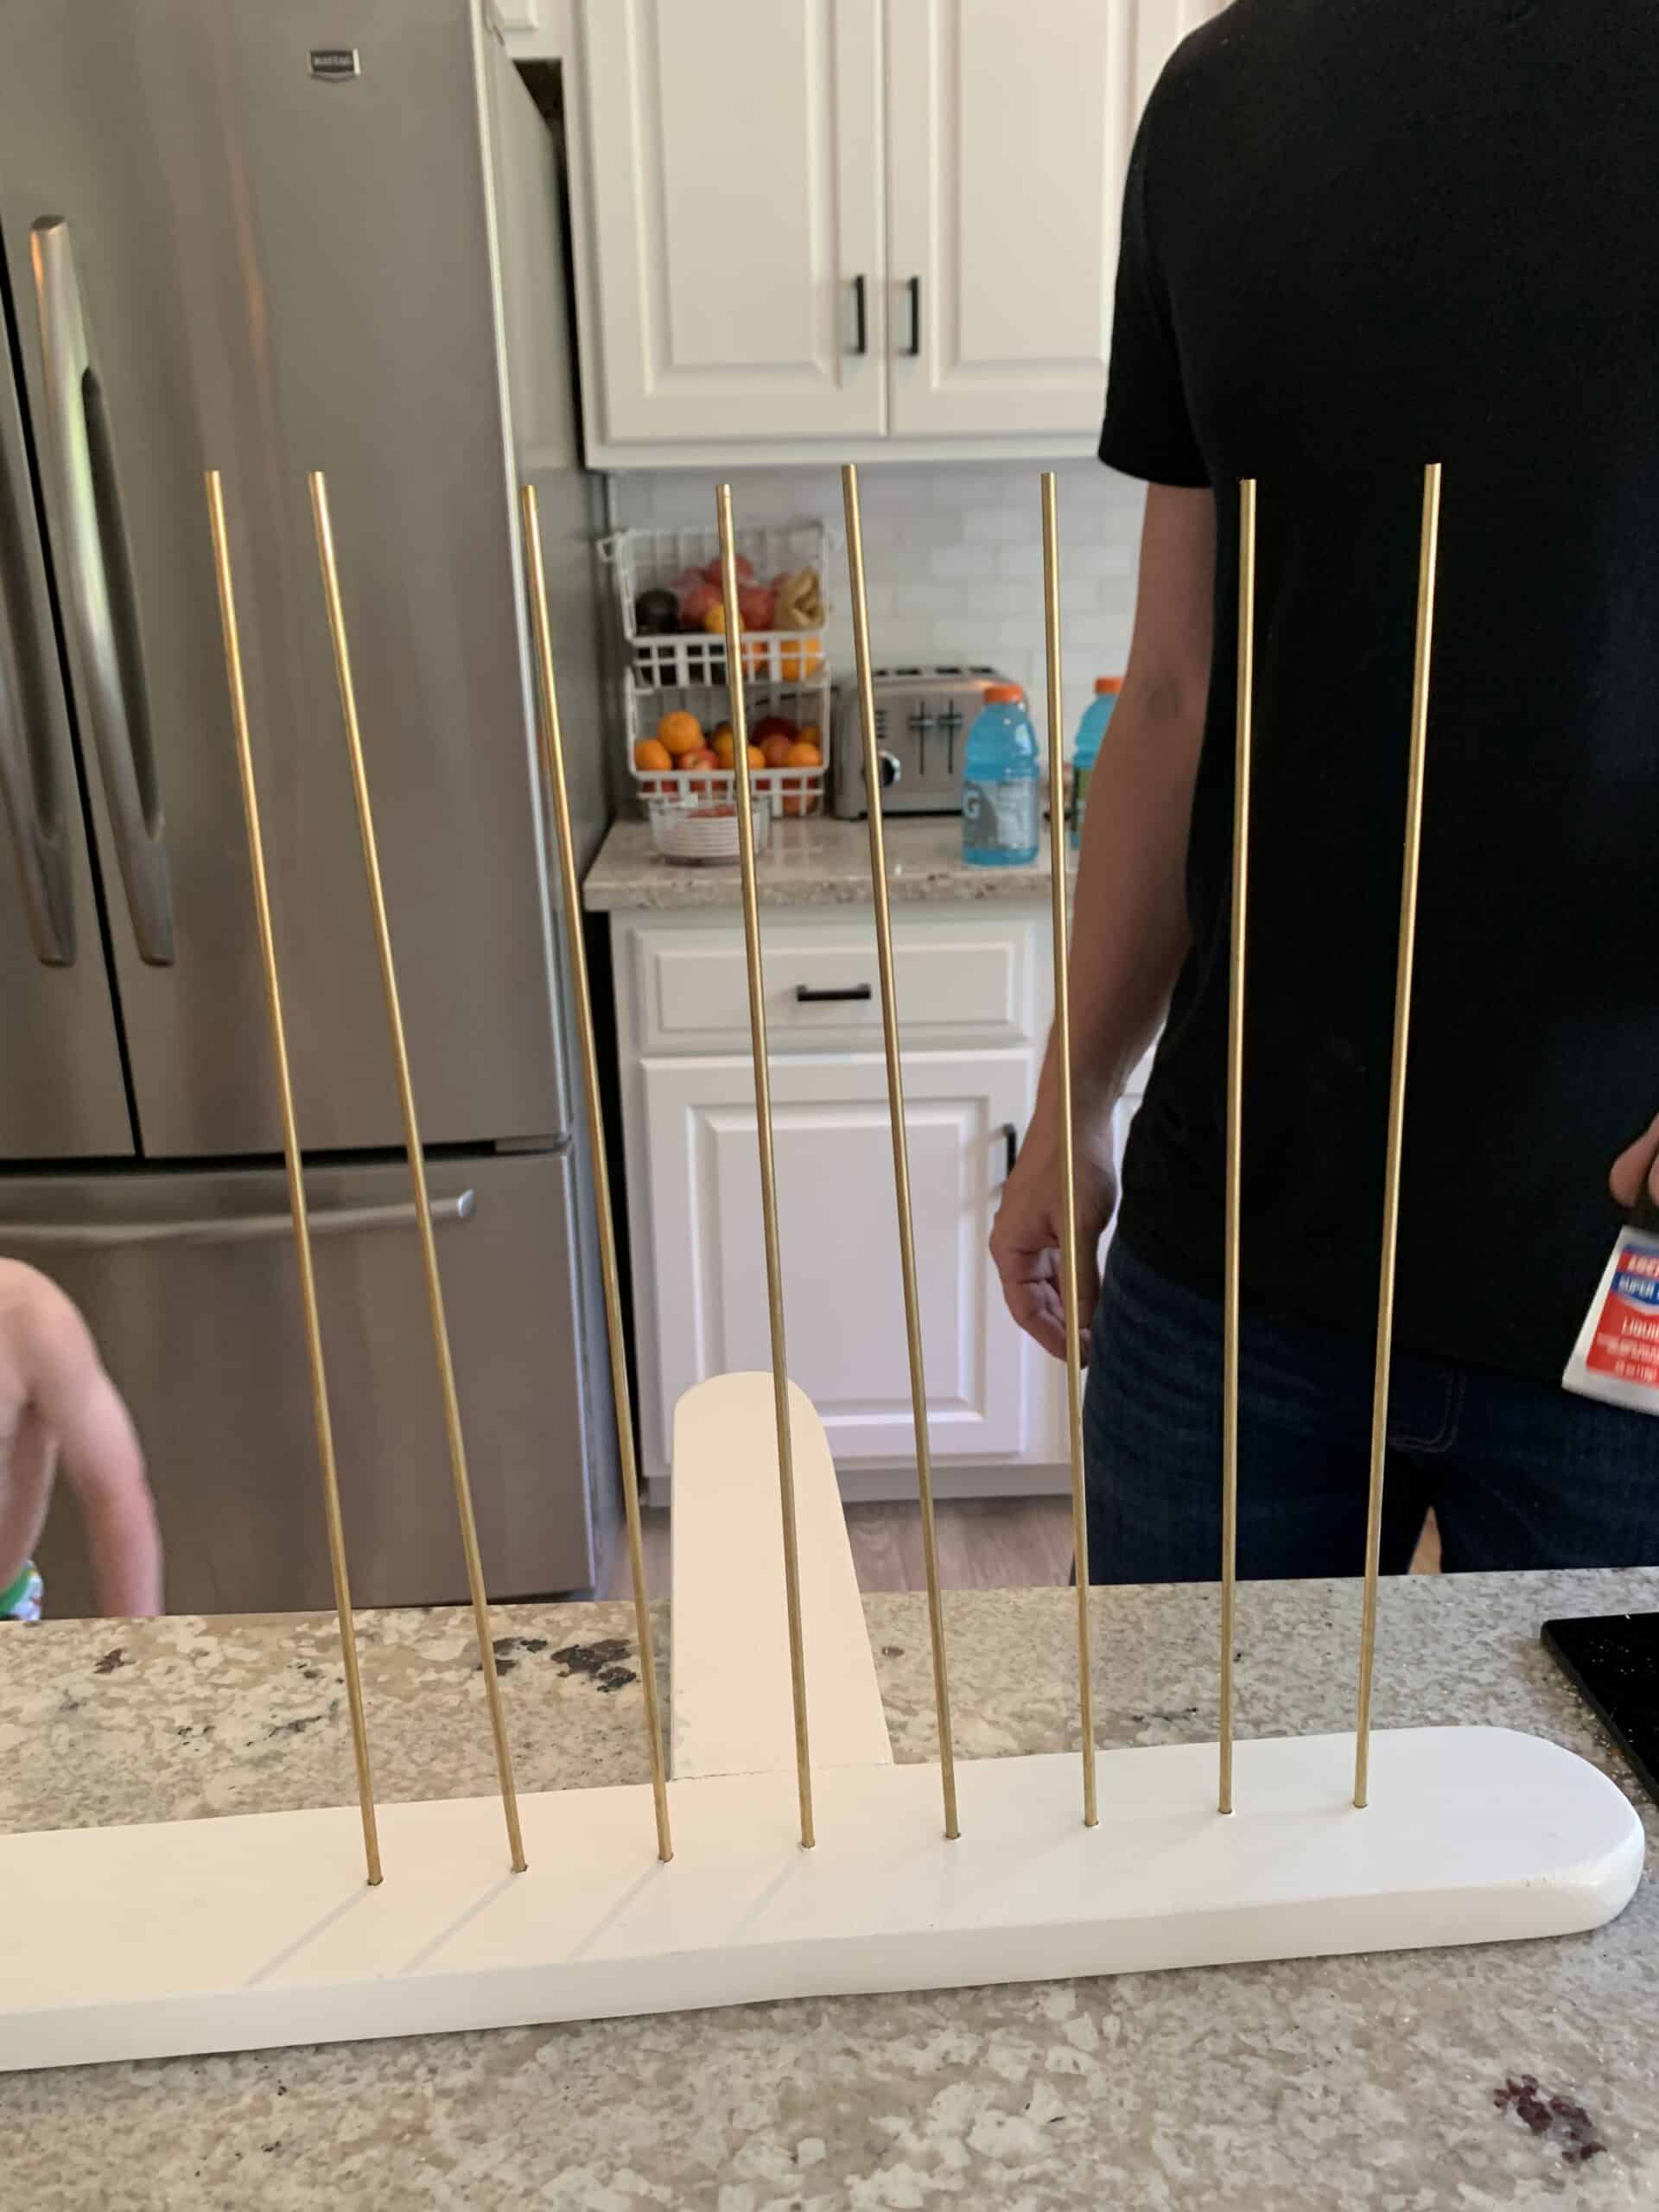
You can also drill the pilot hole for your wheels and the bottom dowel. 1 inch from the bottom of each leg, and 1 inch from the top drill a small pilot hole all the way through each leg.
Repeat the same steps on the inside of the other leg. Remember you need it to be ON THE INSIDE AND THE BOTTOM HALF.
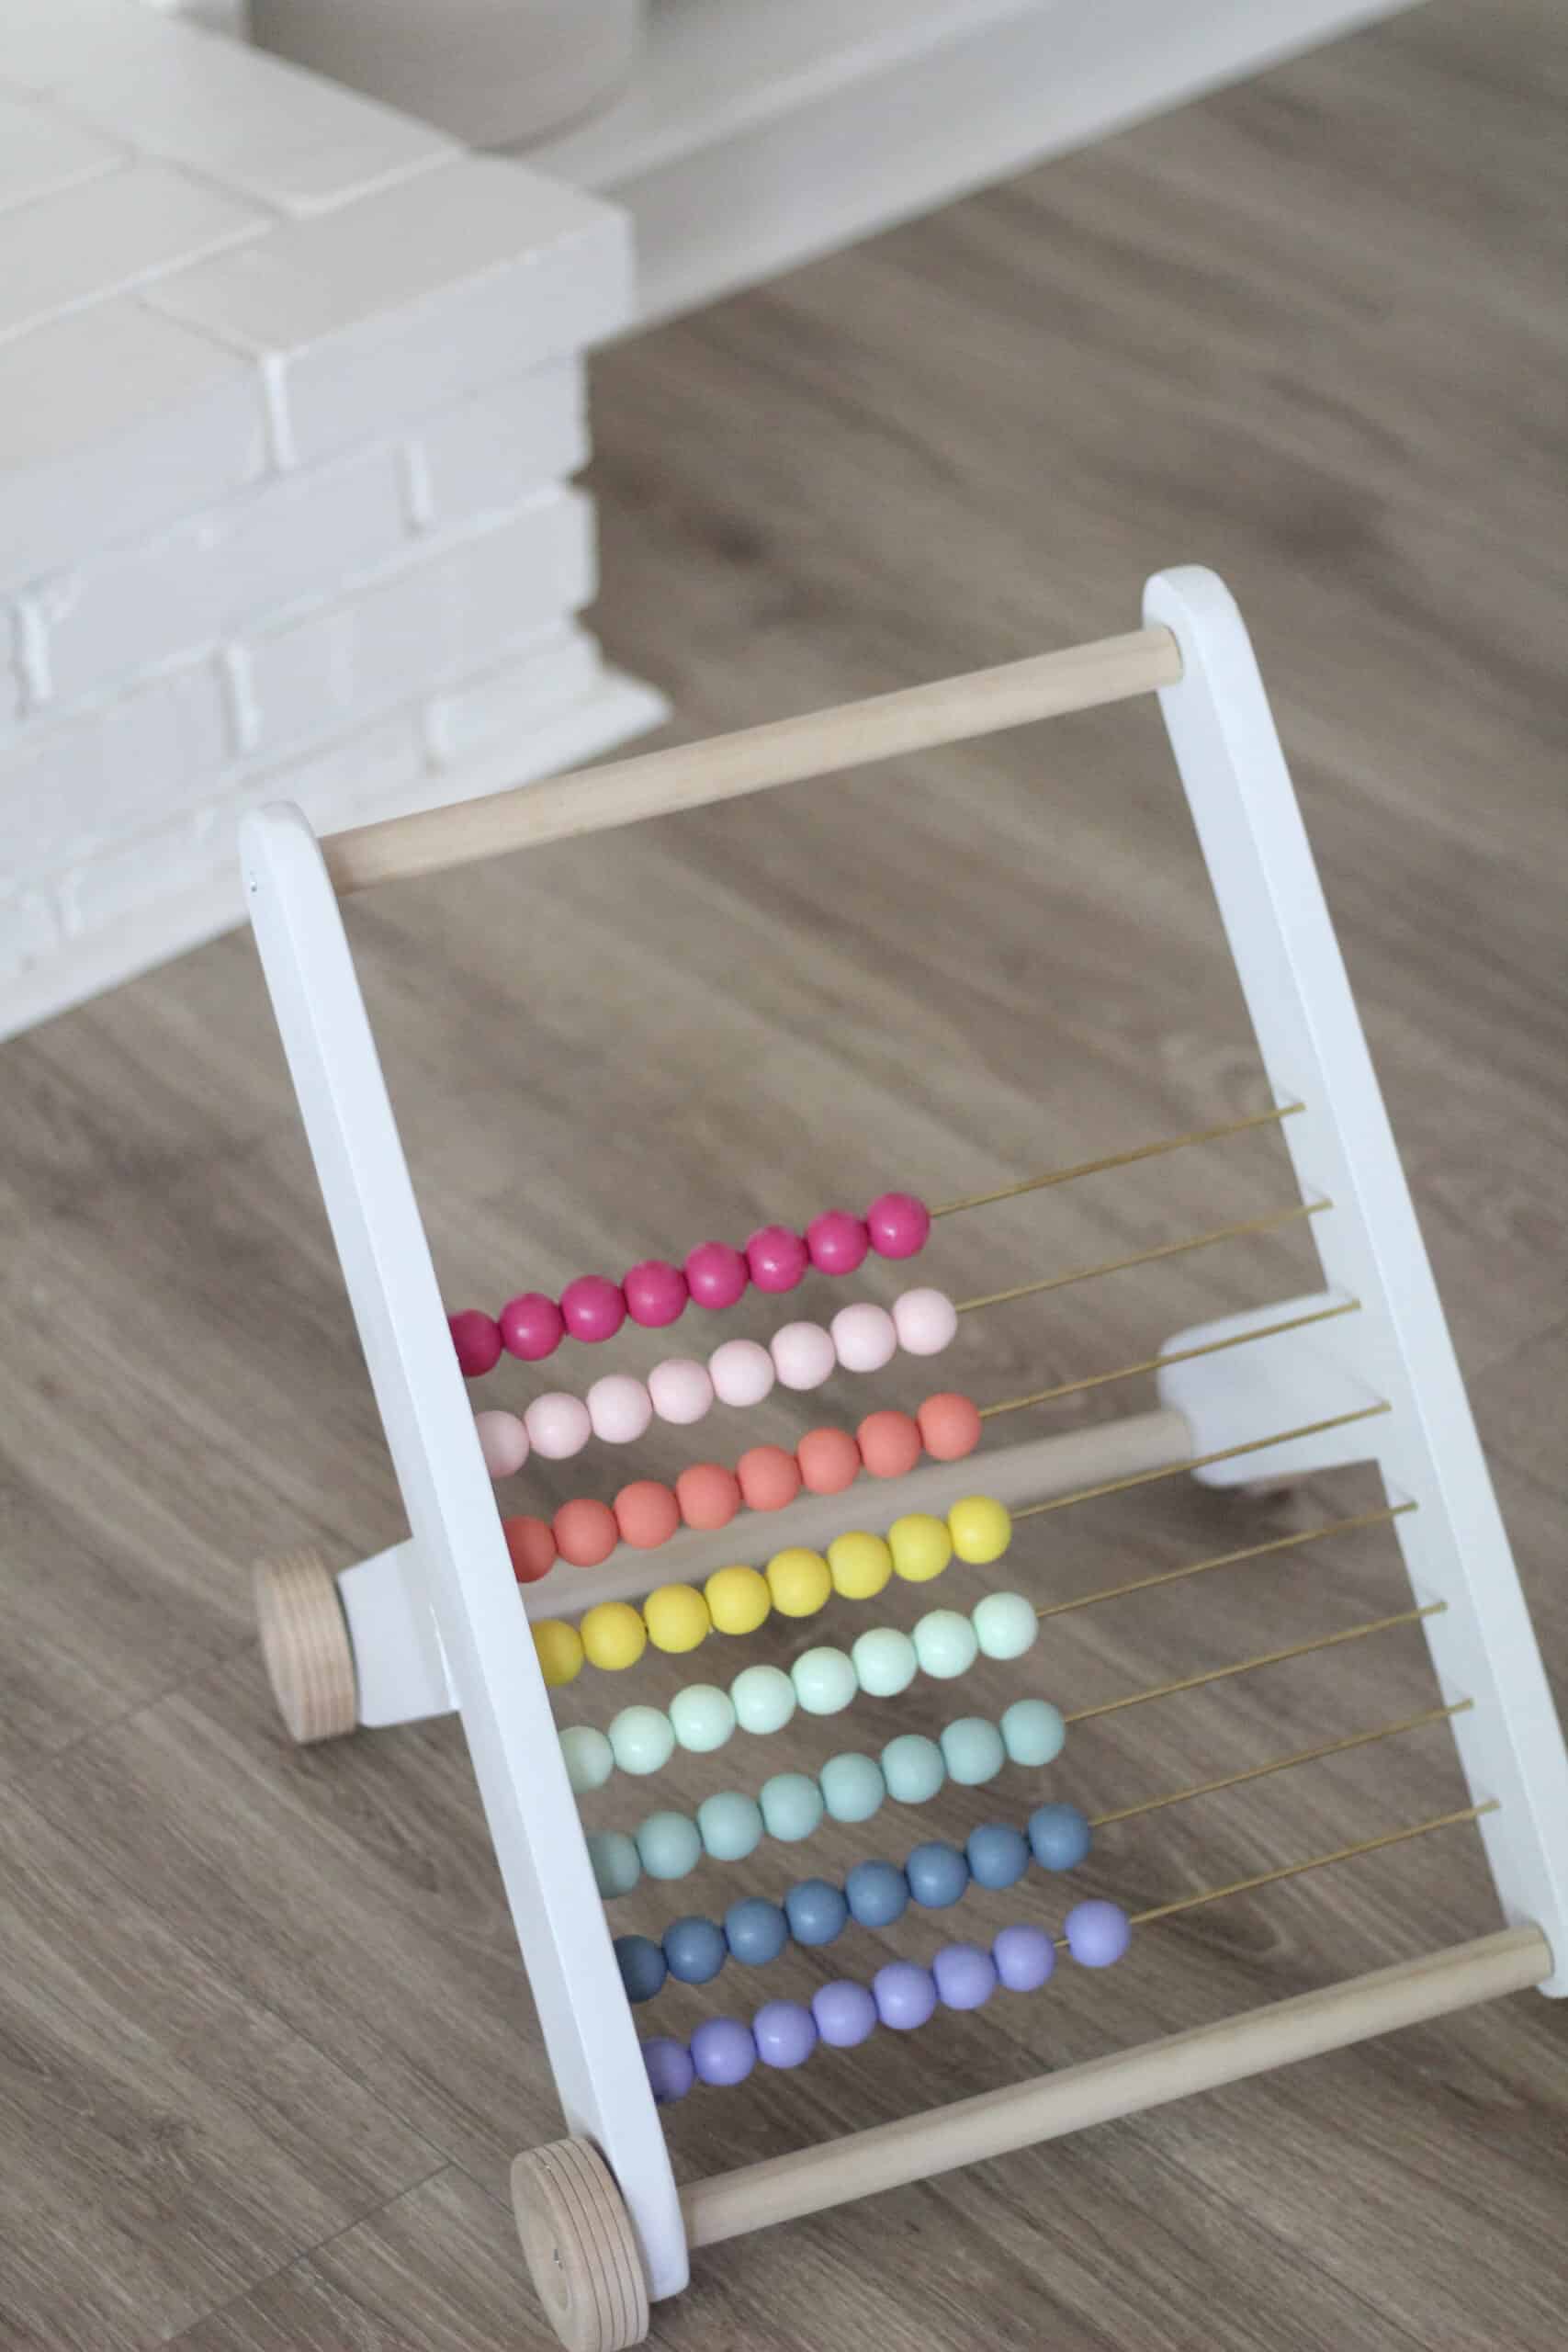
Now lay your first side down with the small holes facing up and put your dowels into the holes after first dipping them into a tiny dot of super glue. Now you can drop your beads on – I show this whole step in the video in this post, incase that would be helpful. For me I worked from the bottom in a true ‘rainbow’ ish order going – purple, blue, blue green, mint green, yellow, orange, light pink, hot pink.
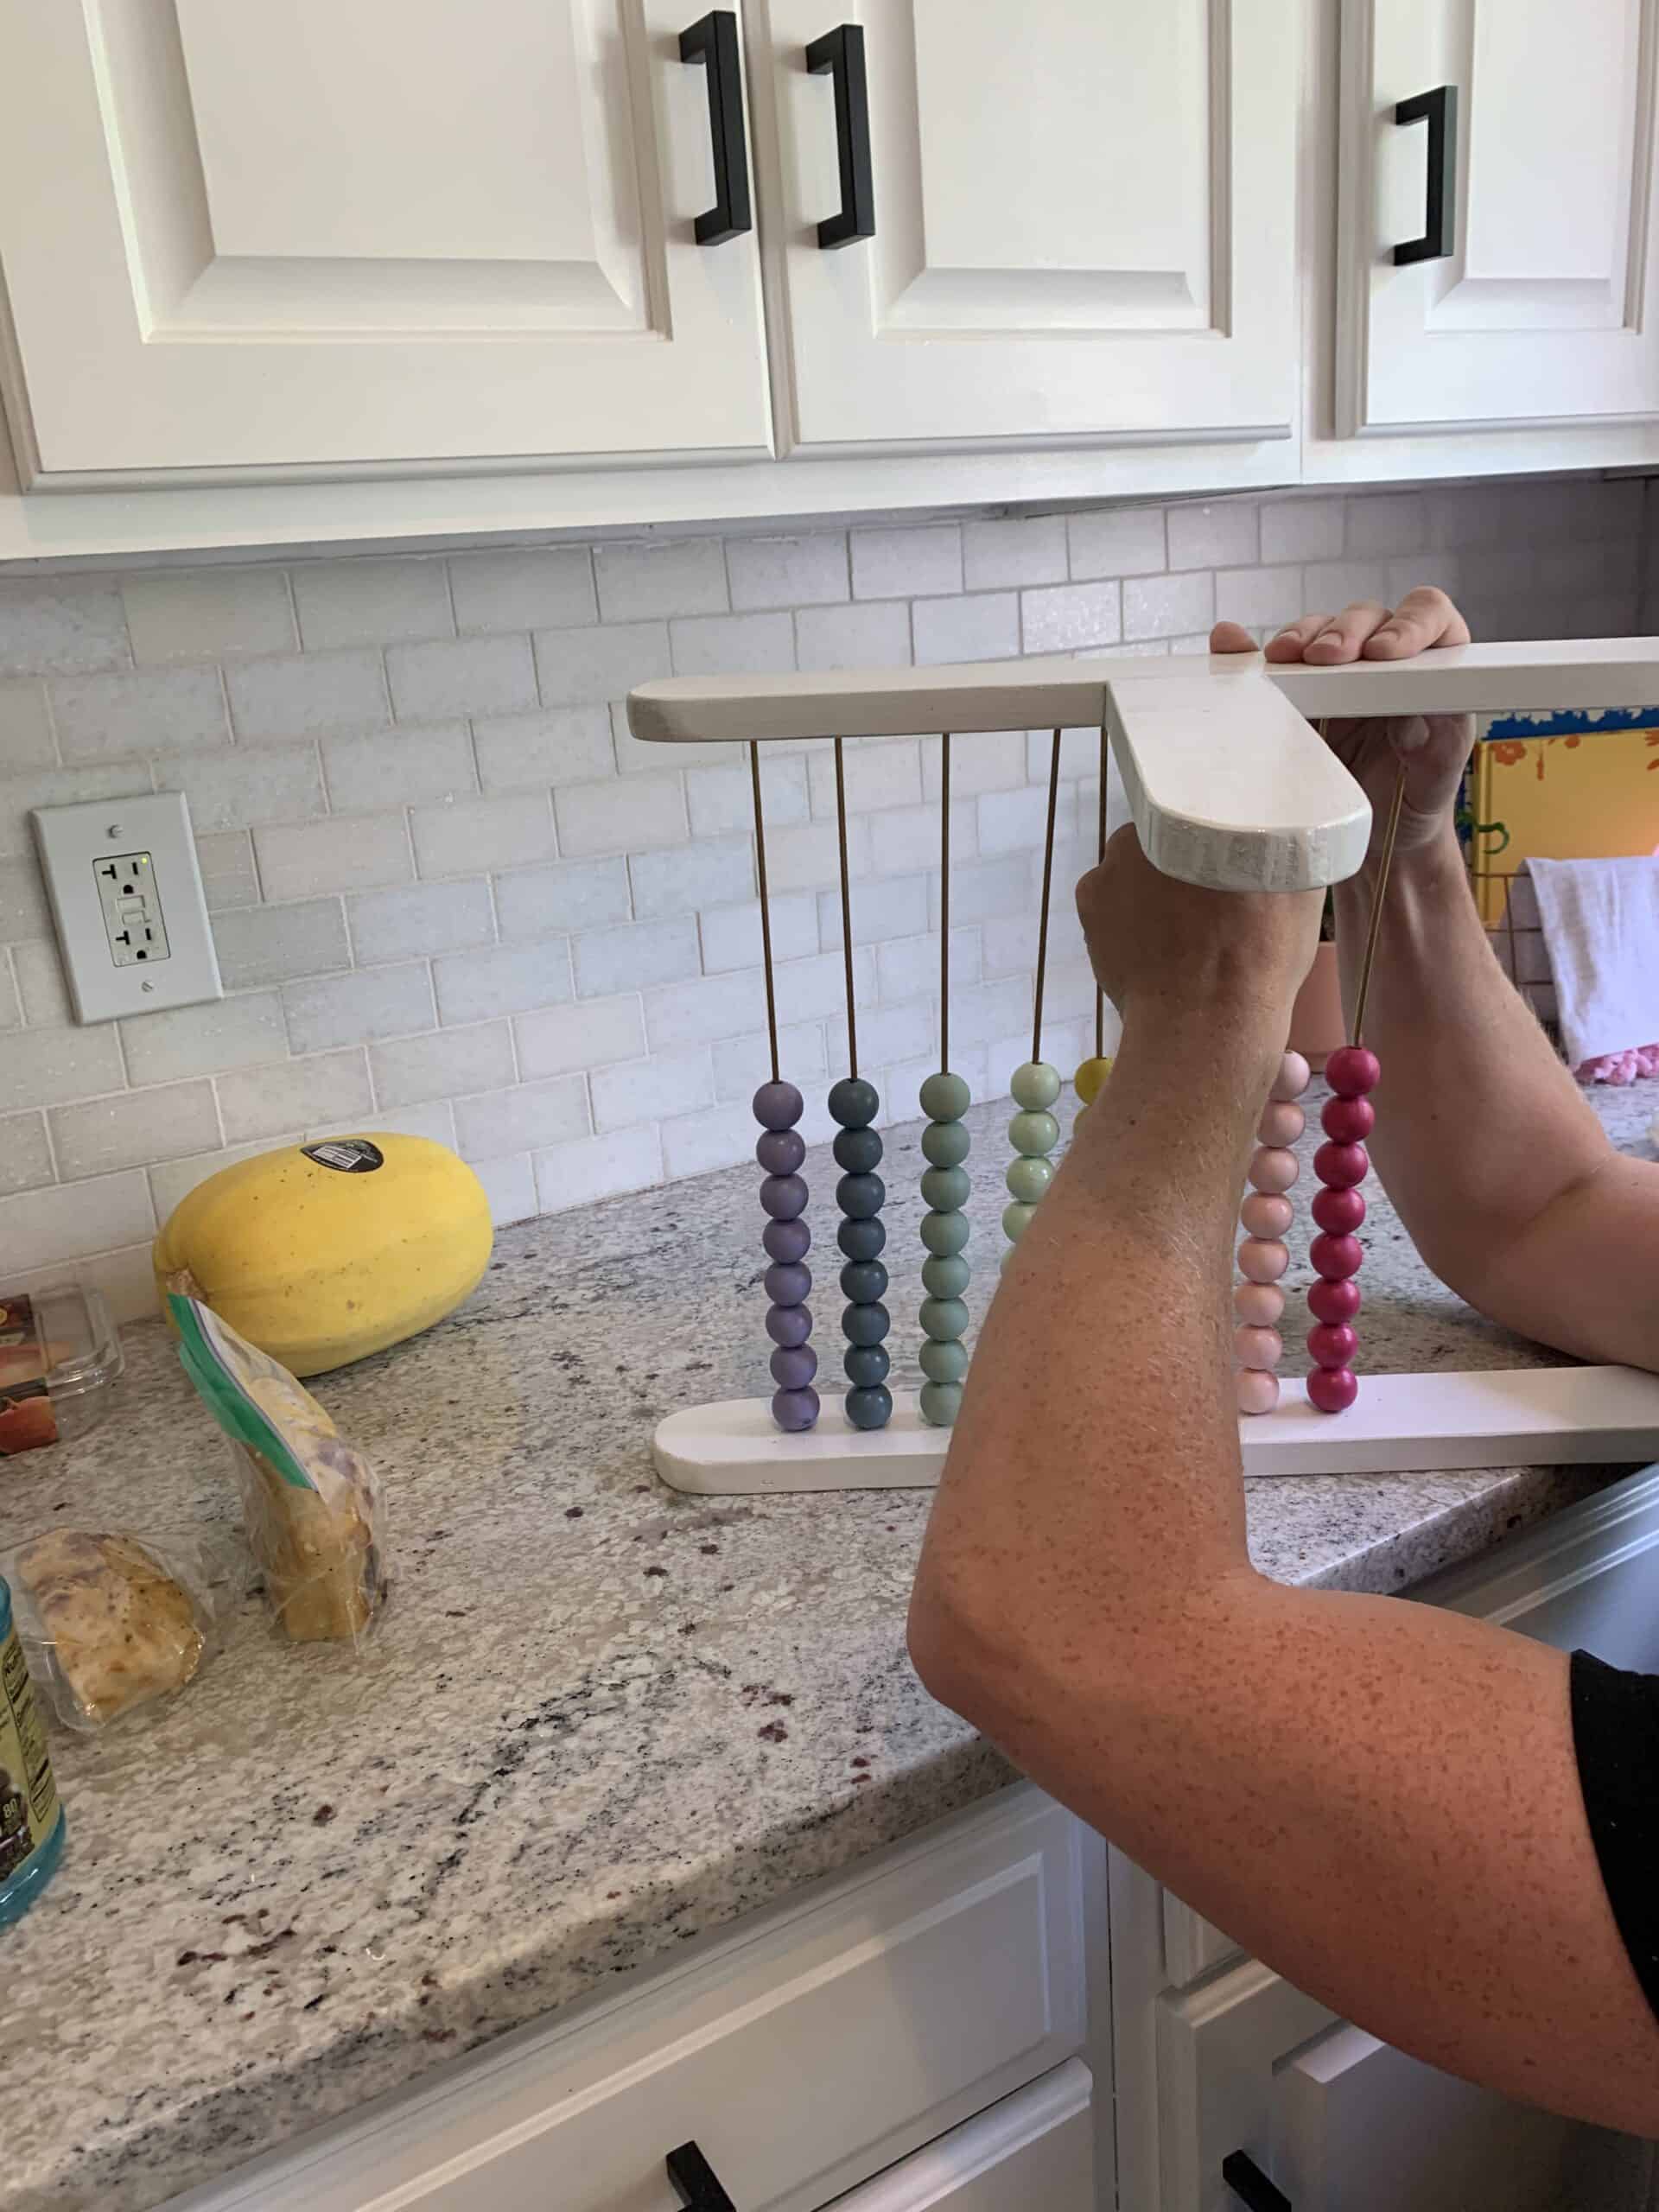
Once they are all on carefully place your top piece on getting all 8 dowels in their holes. One thing to remember is that some of the dowels may be further down into the bottom piece than others because of how far you drilled in, so this can take a minute to get it just right.
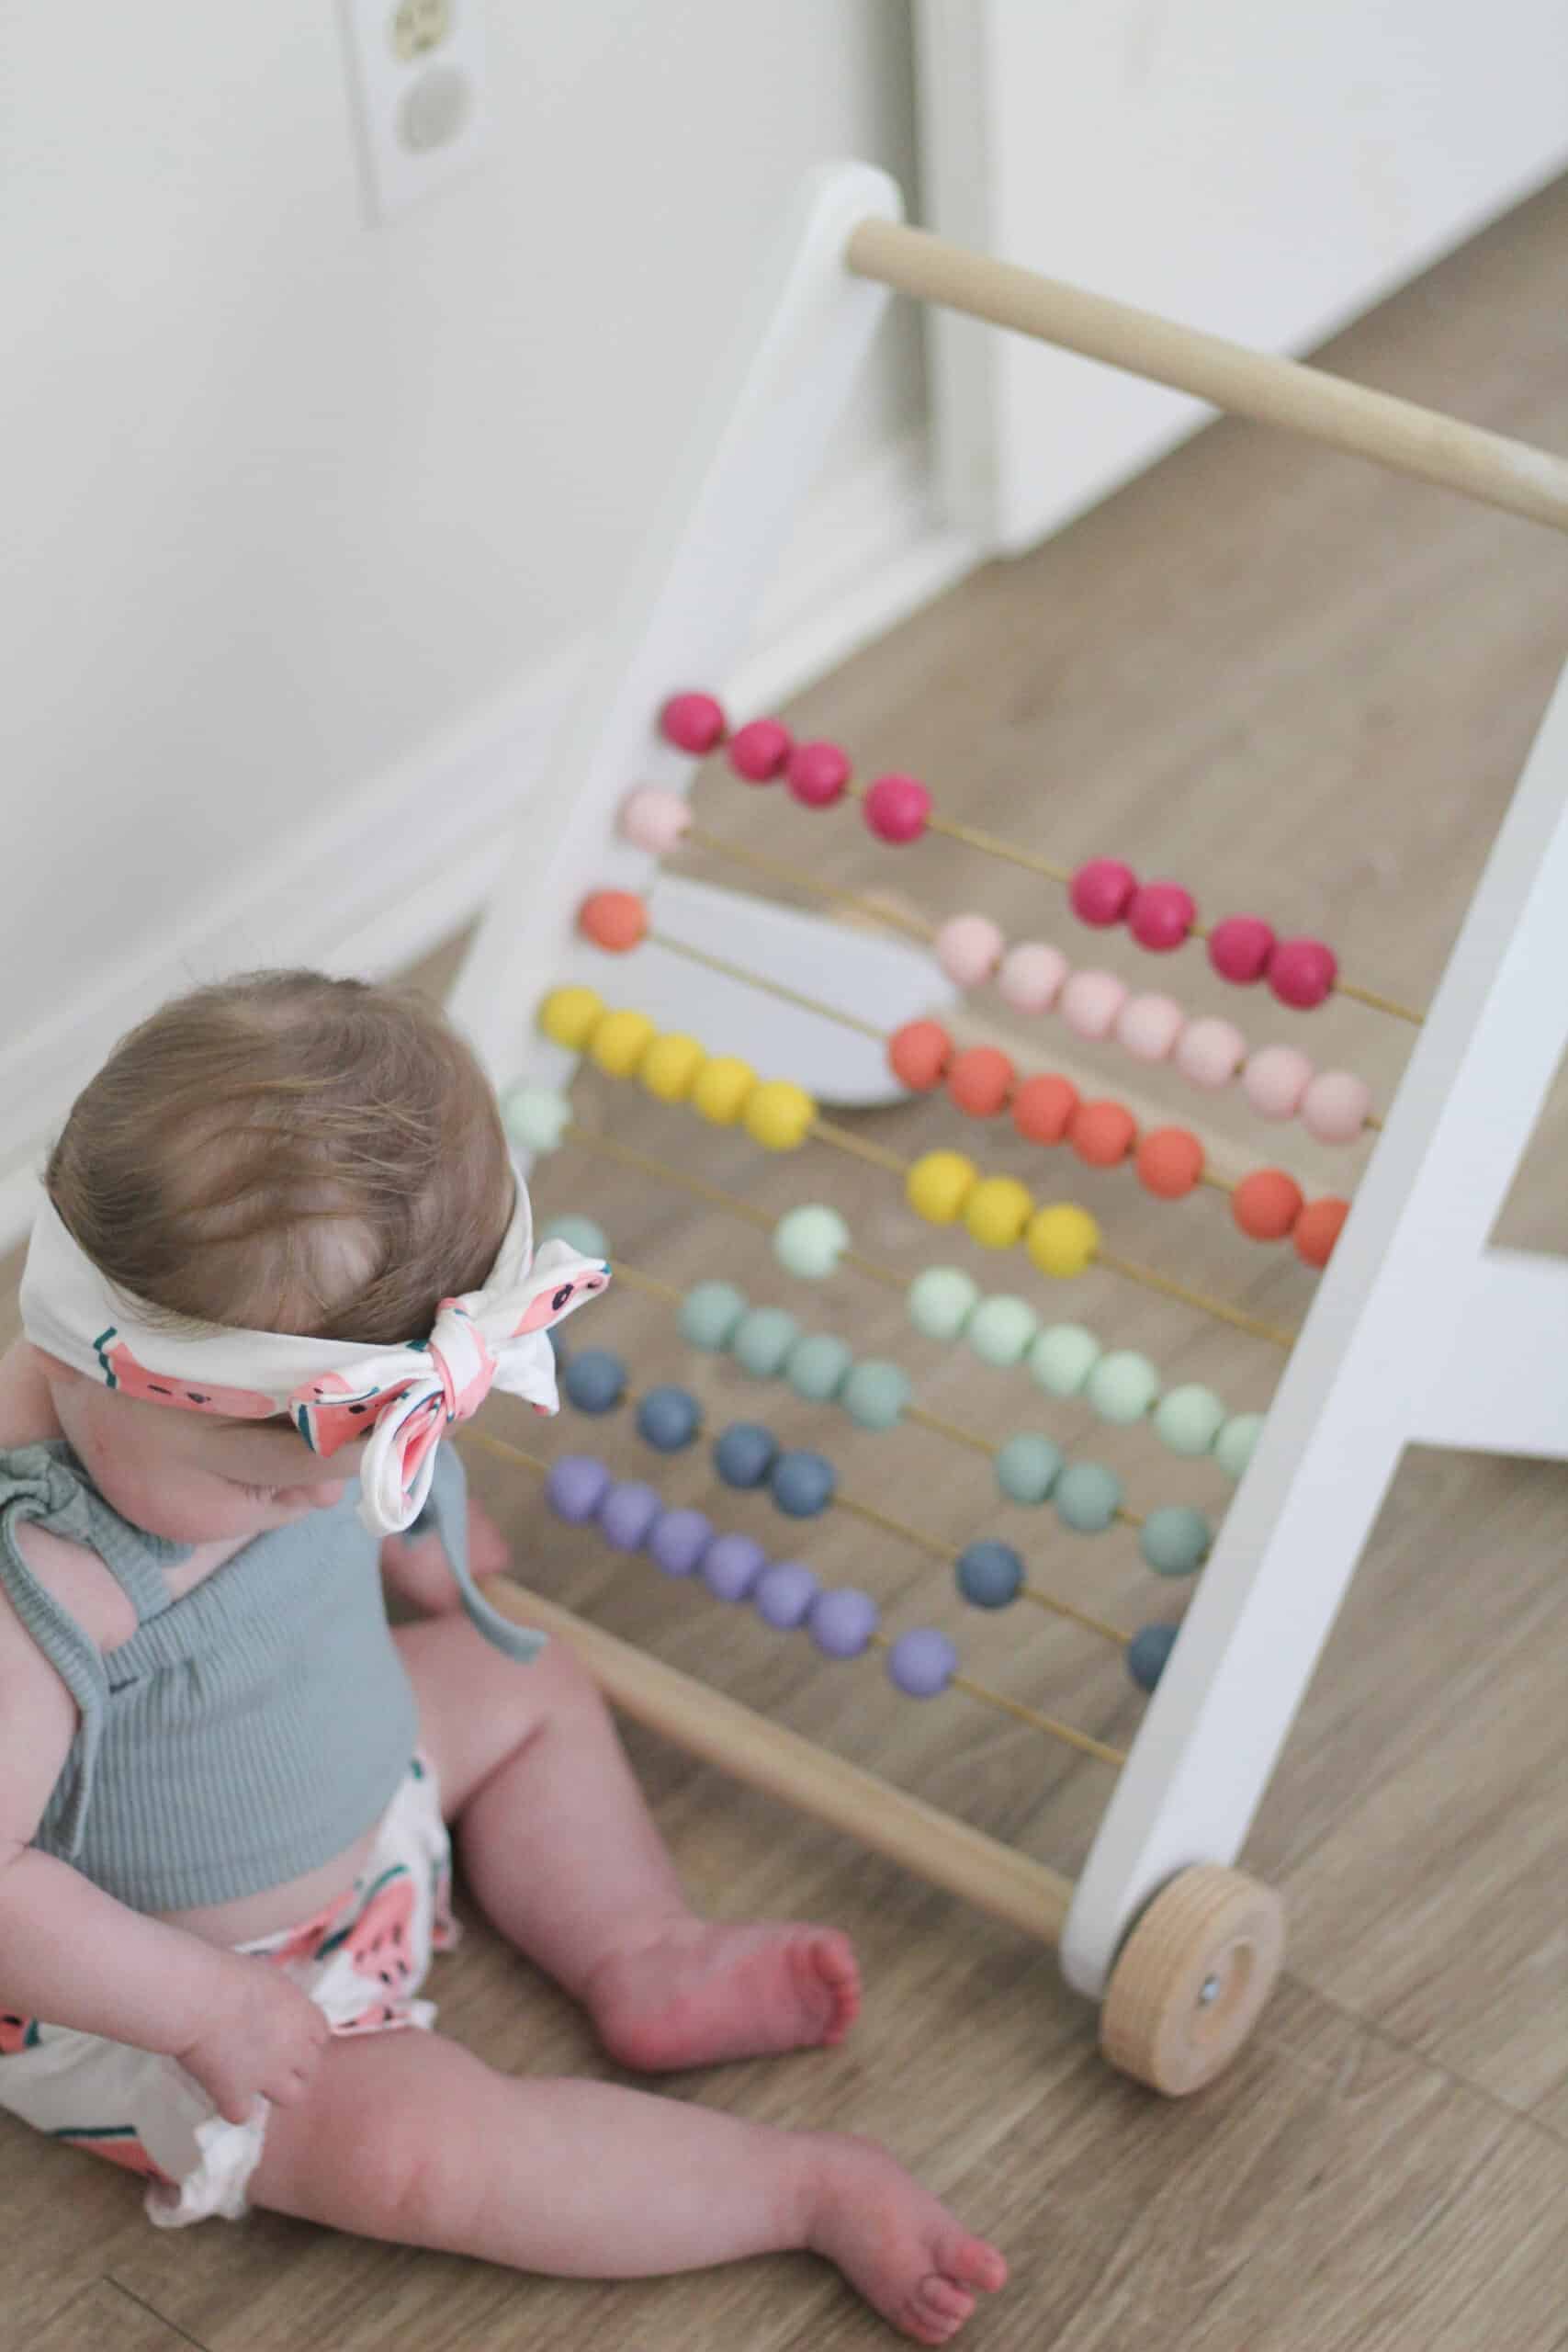
At this point your abacus is on its side with all 8 metal dowels in place with the beads. You will place 1 of your wooden dowels carefully in the position below your gold dowels, and place the wheel on the outside. Screw through the wheel through the wood leg and into the wood dowel.
Flip to the other side and do the same, then repeat on the back wheels. Last you will drill the top dowel into place for the handle. Once they are all In place you may need to loosen the screws on the wheels a bit to make sure that they roll and things are feeling even.
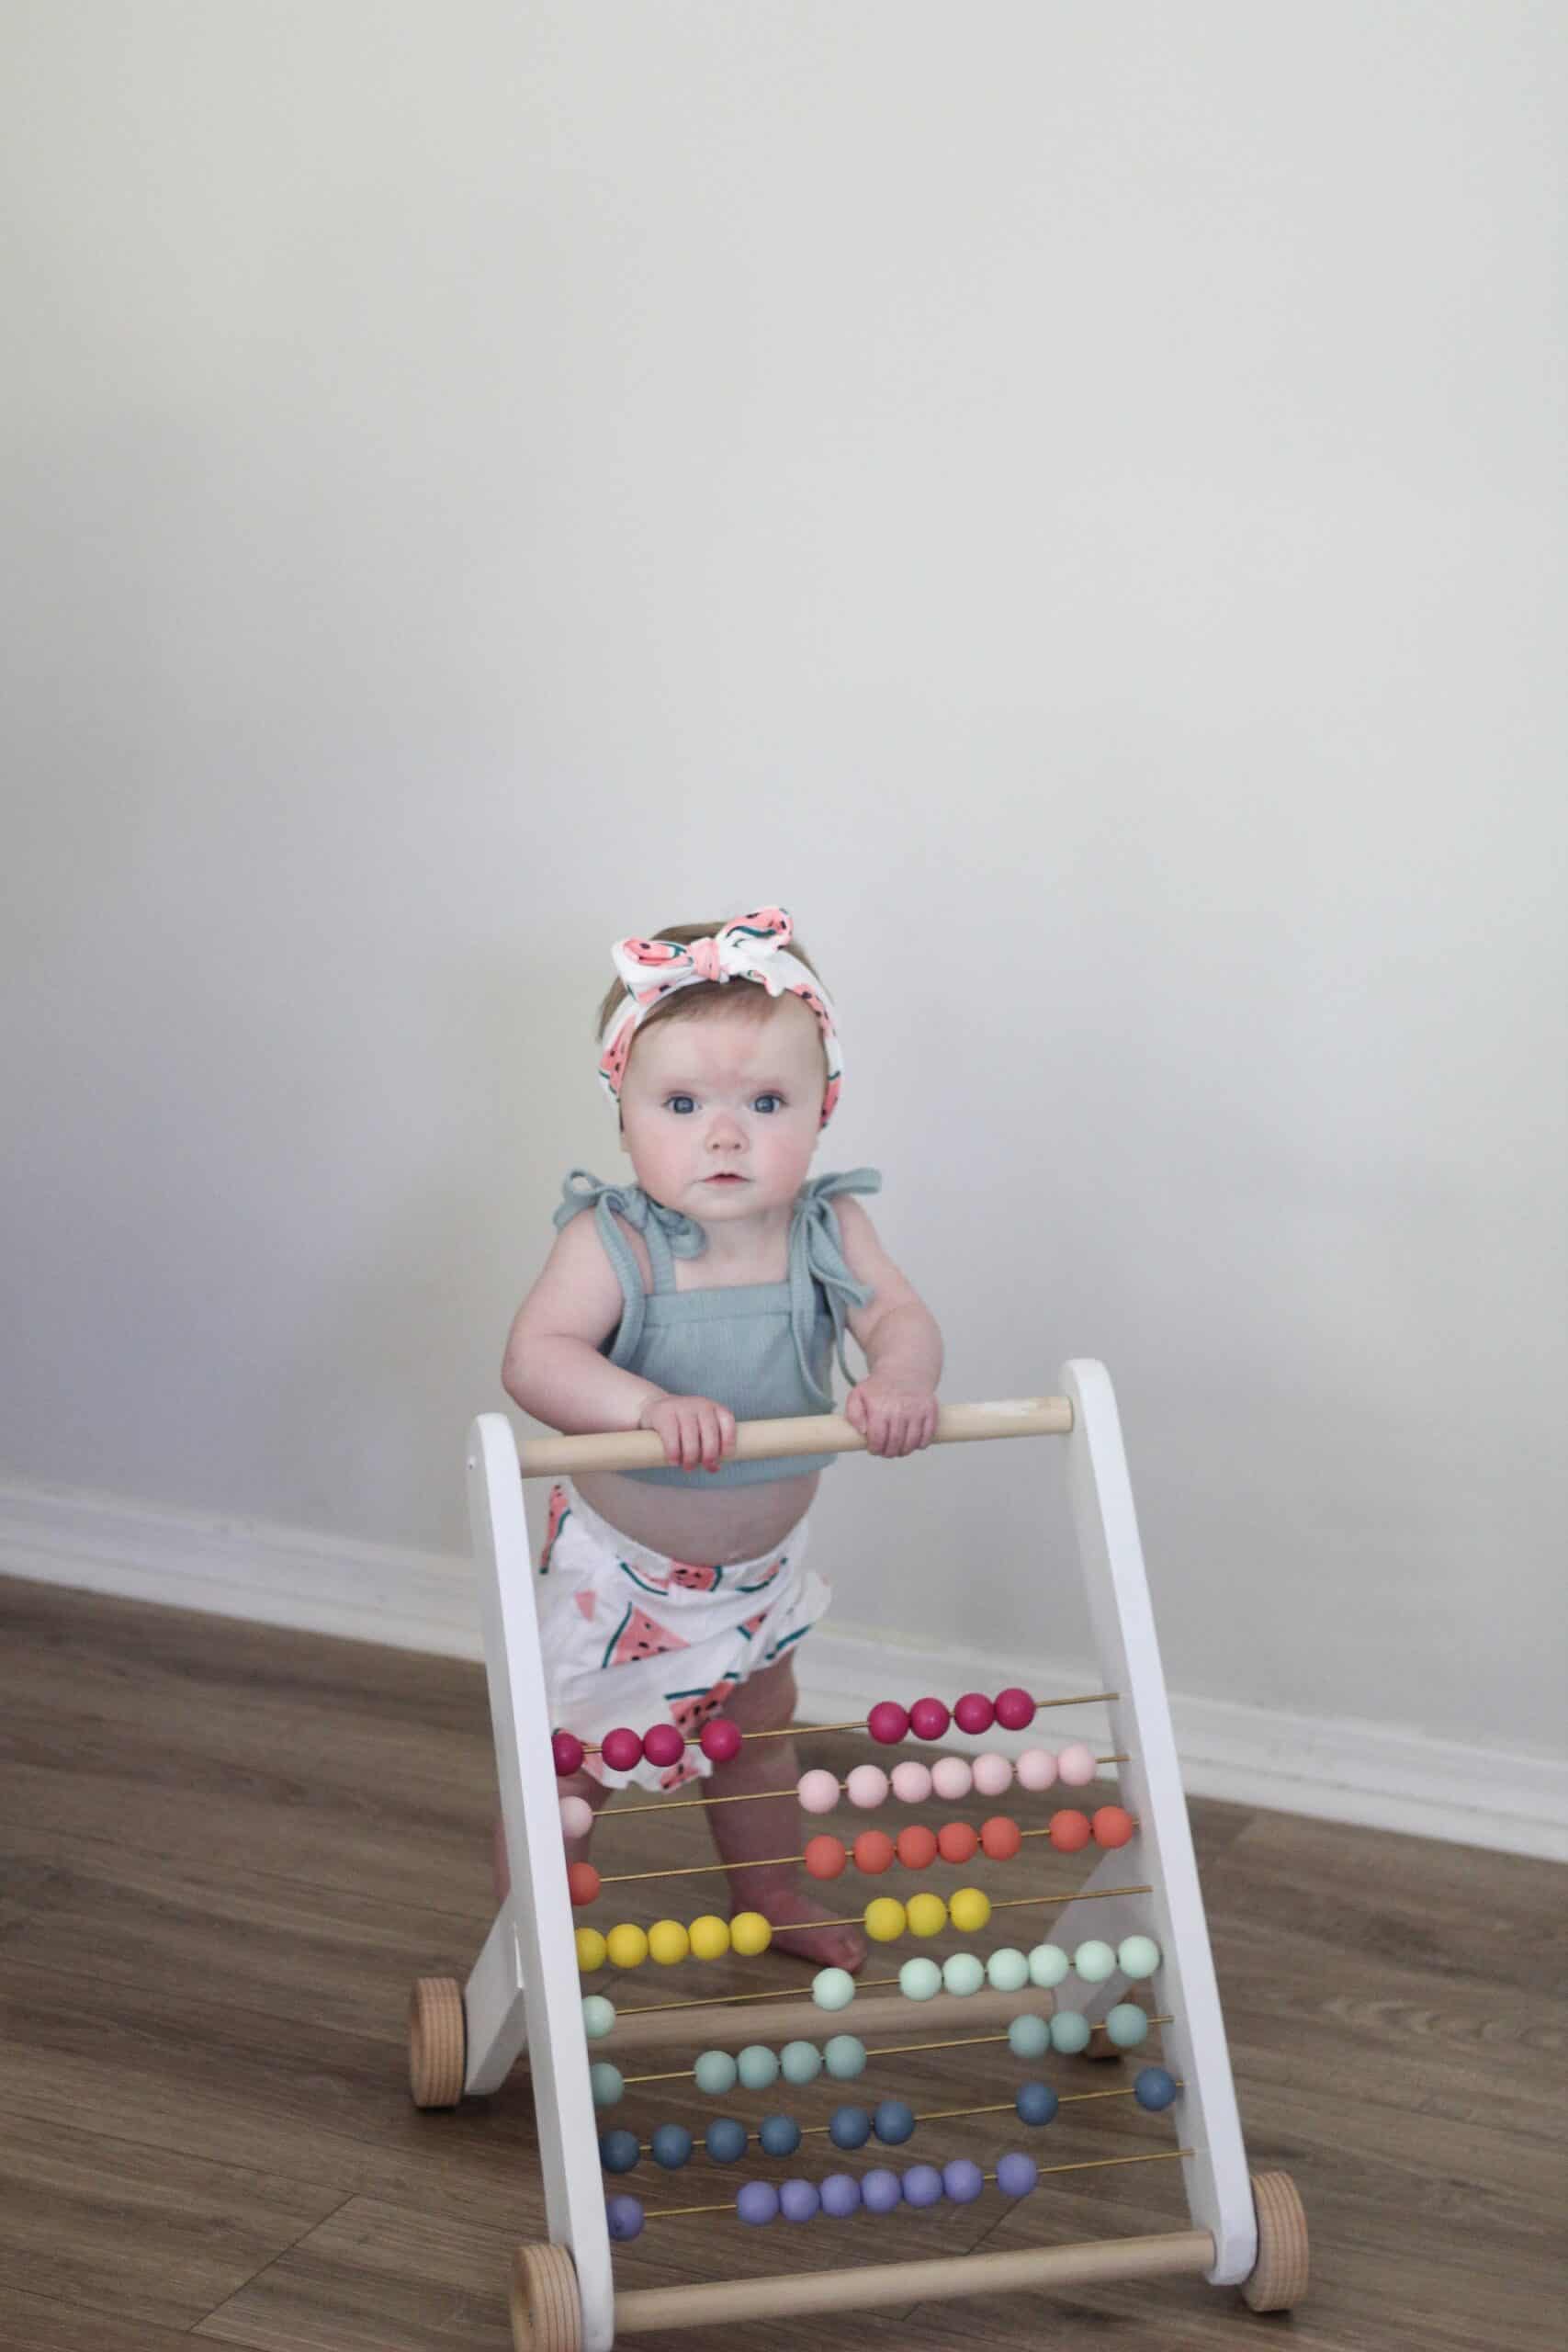
This little abacus push toy was by far one of my favorite projects we have ever done. It took a lot of thinking, math (and even a little geometry) to accomplish, but in the end it it turned out beyond darling.
If you are looking for an item that your baby will love, and you will keep for years to come make sure you try this out.
Other Posts You May Love
Goldie’s Rainbow Nursery | Monthly Baby Favorites | Amazon Nursery Favorites for Girls
You can customize the colors for the abacus (or leave them off fully) and make it suit your child however you see fit. I would love to see your finished DIY abacus push toy if you decide to make me. Feel free to leave any questions in the comments below or send me a DM on Instagram (@arinsolange).
This is so cute