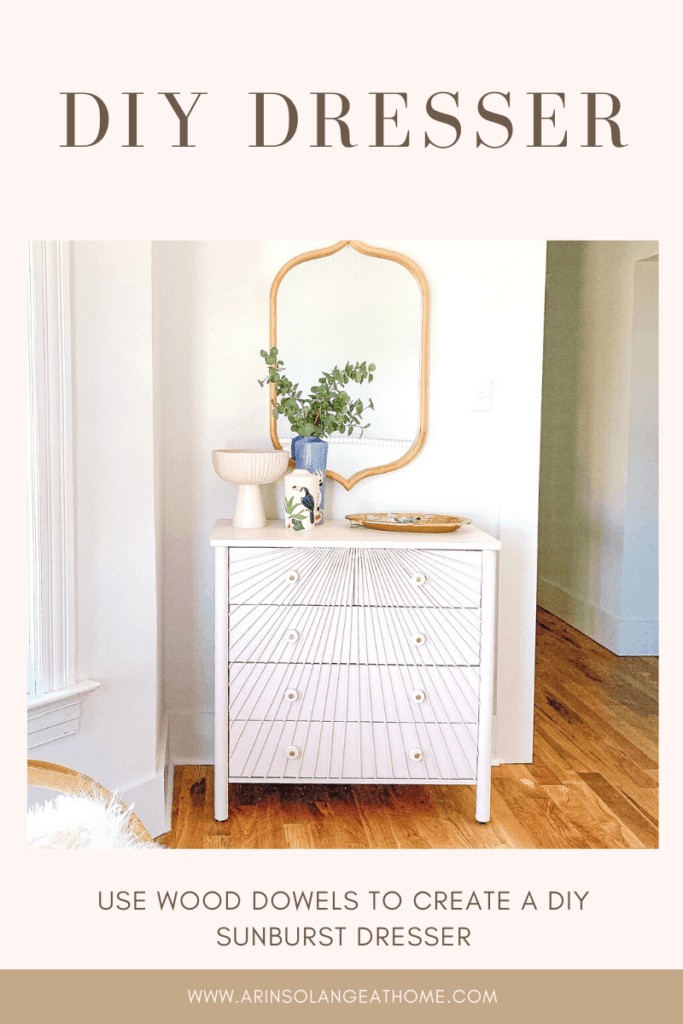
I have been DIYing this wood dowel dresser for MONTHS. If you follow me on Instagram you know that is no exaggeration. I finally came up with the perfect DIY sunburst dresser to make a unique spin on the wood dowel dresser trend, and I can’t wait to share it with you all.
This post may contain affiliate links
DIY Wood Dowel Dresser
Who knew when I started a simple DIY a few months ago that wood dowel dresser DIYs would become such a trend. I have seen them all over Instagram and Pinterest, and they are all just gorgeous.
I wanted to find a way to do a unique spin on this trend, while also walking you through ways to make it your own if you want to go more of the ‘traditional’ route.
So what is a wood dowel dresser? Basically it is a trend where you use wood dowels in whatever size you prefer and glue them to all of part of the front of your dresser drawers to add dimension.
I actually originally got the idea from Peony and Honey’s gorgeous dresser that truly can’t be topped.
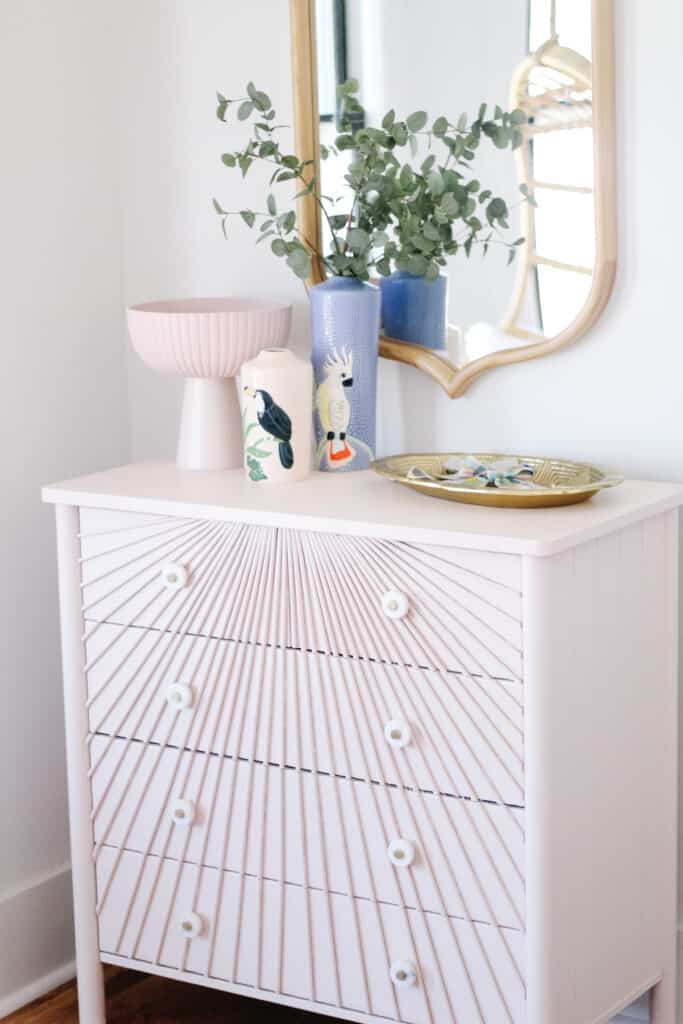
Sunburst Dresser
Now like I said I have been working on this dresser for MONTHS – but that shouldn’t scare you. It has been about 400 different styles leading to this one, and this one was actually pretty simple.
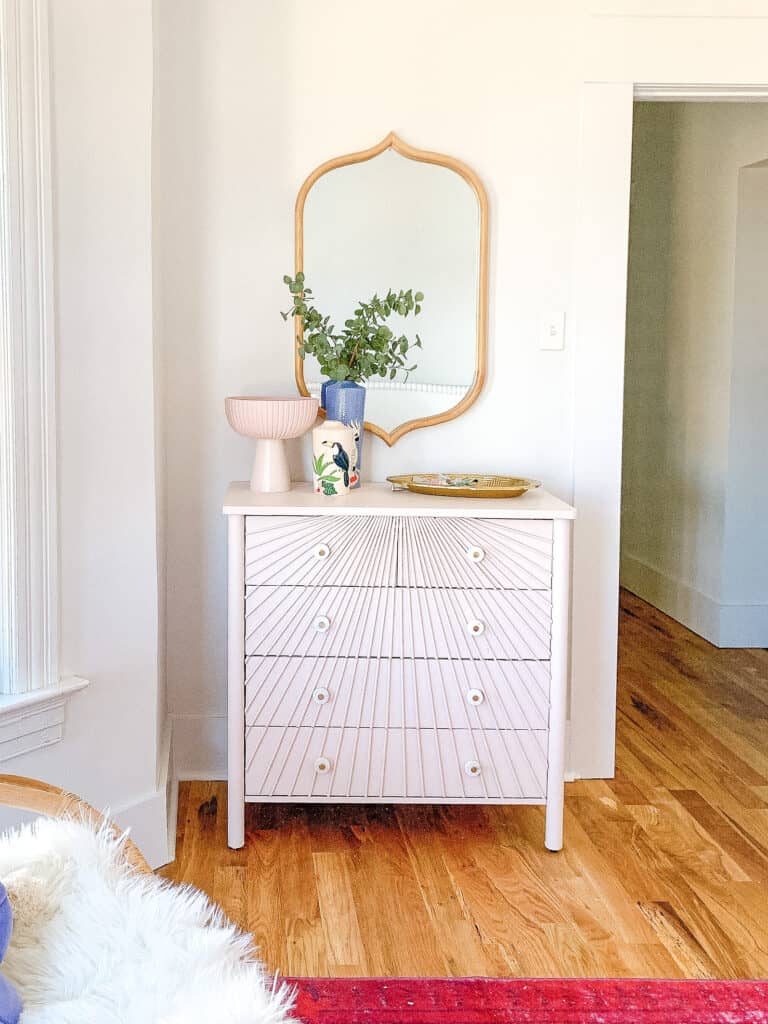
I originally was planning to do sort of a rainbow look, then did two rounds around straight up and down, and landed on a sunburst style that I hadn’t seen DIYed yet.
I have been obsessed with suns since having my youngest daughter, Goldie, so loved the idea of tying that in, because this will actually eventually likely be her dresser.
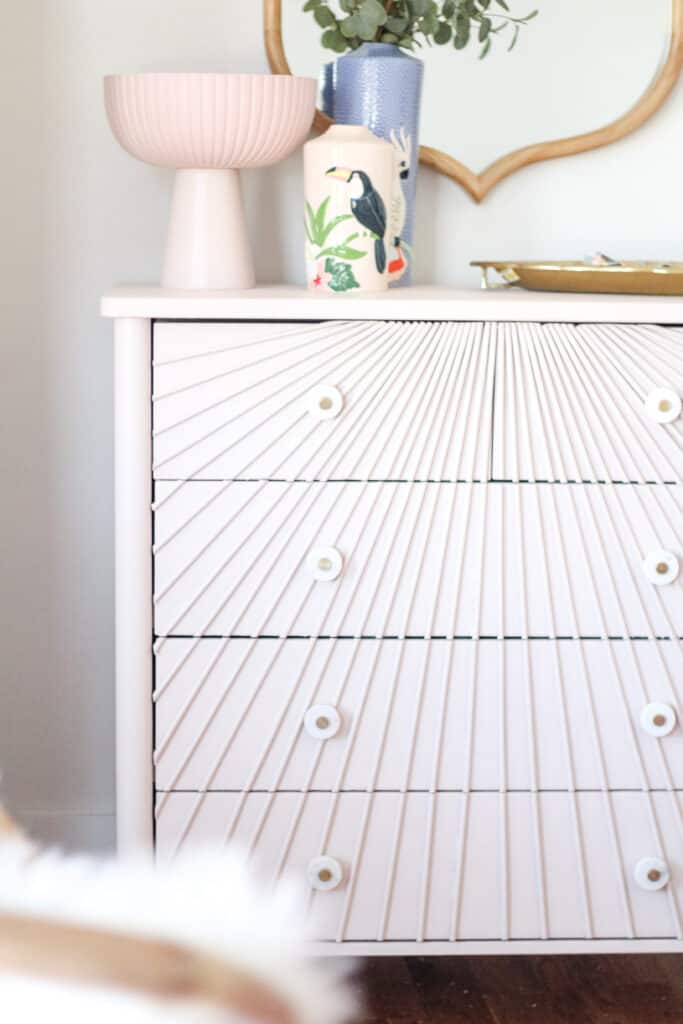
The idea is that the wood dowels in my DIY form a sunburst effect while still being simple and understated with the single color.
Picking a Dresser
No matter if you are going with a traditional design or the sunburst design your supplies and planning will be about the same. One thing to keep in mind is the dresser itself – you will want fully flat drawer fronts to make this work.
You can either use an old dresser/buy an old dresser, or do as I did and make it an IKEA hack. If you have been around for very long you know that is kind of my thing. I did an IKEA hack on Goldie’s dresser for her nursery and LOVE it, so was excited to do it again with this one.
If you want to see the dresser as is – head to this blog post and see it in my oldest sons room. We went with the same dresser from Ikea for both kids because I loved the size in their rooms. ( It is a gorgeous dresser as is and probably my favorite one from IKEA if left as is.)
What you need for a Wood Dowel Dresser
Below is what you need no matter what you decide to do for a dresser – Keep in mind the fully covered look will require many more dowels. There are lots of tips on getting the dowels from places like the dollar store and such for the fully covered look as well.
I went with 1/4 inch wide dowels by 36 inches long and that was long enough even for the longest pieces.

Supplies:
- E6000 Glue
- Dresser
- Multi Tool cutting tool
- Paint
- 1/4 inch dowels
- Wood filler if you want to move the drawer pull locations like I did)
- Drawer pulls if you want new ones
- Painters Tape
- Trim Scissors
- Optional – paint sprayer
- Optional – extra blades for multi-tool (these will cut much better than the ones it comes with)
Gluing on the Sunburst Pattern
Getting started on this you need to have all your supplies and your dresser fully put together.
As I stated in the optional supplies we used wood filler and filled the original holes for the drawer pulls prior to starting and drilled new holes. If that is something you want to do you should do it before starting.
For the first few dowels you will also need to work on the dresser while it is standing up so the drawers are in their places.
Start with your center pieces that are going straight down. If your dresser doesn’t have any smaller drawers (mine has 2 small drawers that split the middle on the top drawer) put your first piece RIGHT in the center going all the way down.
Using your E6000 you will glue it down, but be careful not to get much extra glue on the dresser. If you are using the same dresser as I did you will need to do your first two pieces just off center barely going outward so you can open that top drawer.
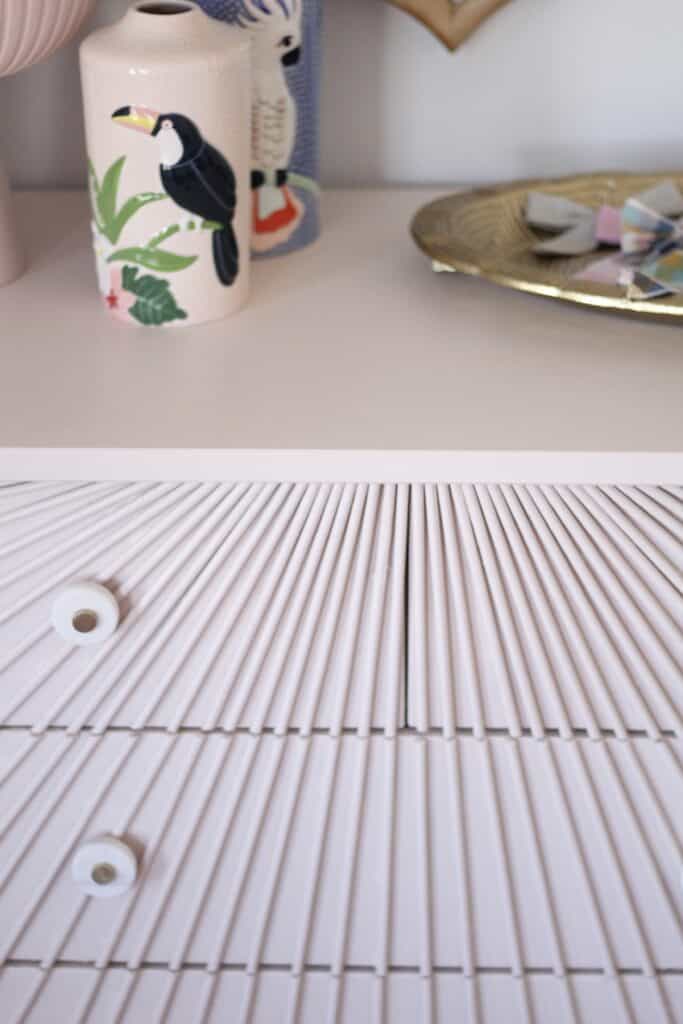
Now to continue gluing. I personally didn’t measure anything – but one thing I would have done in hind sight was I would paid more attention to the spacing with the drawer pulls so that they wouldn’t go over those holes – that will make your life easier.
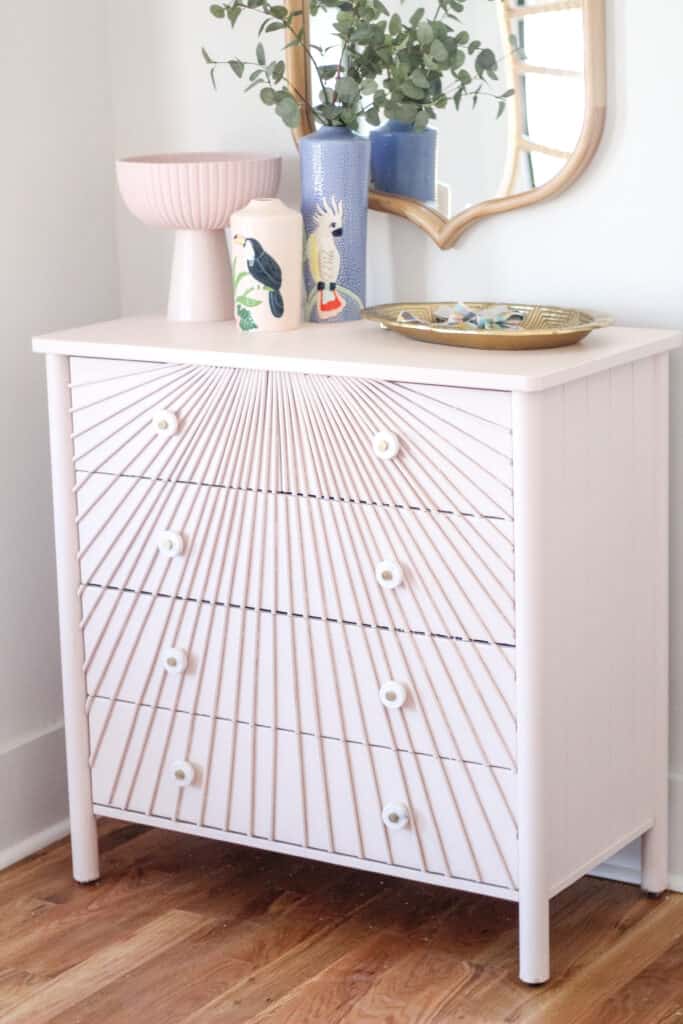
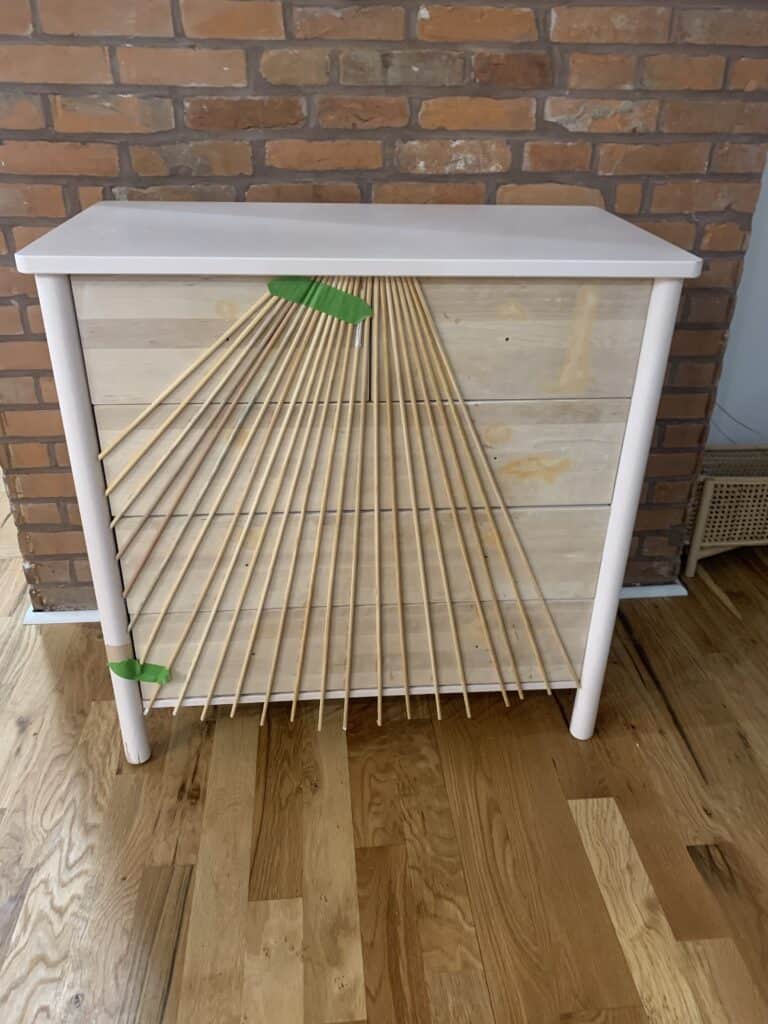
Your goal is to have the dowels as close as possible at the top grouped together, and spread out towards the bottom.
Once you have about 4 total dowels on – use painters tape to tape them in place while the glue dries.
Once your first few dowels are fully dry, remove your painters tape and lay the dresser on its back – now you can work more quickly and won’t have to tape any pieces.
When you get to the sides you will have to cut the dowels in order to glue them on. I personally used a pencil and made a mark then cut. Some of them took a few cuts to get just right.
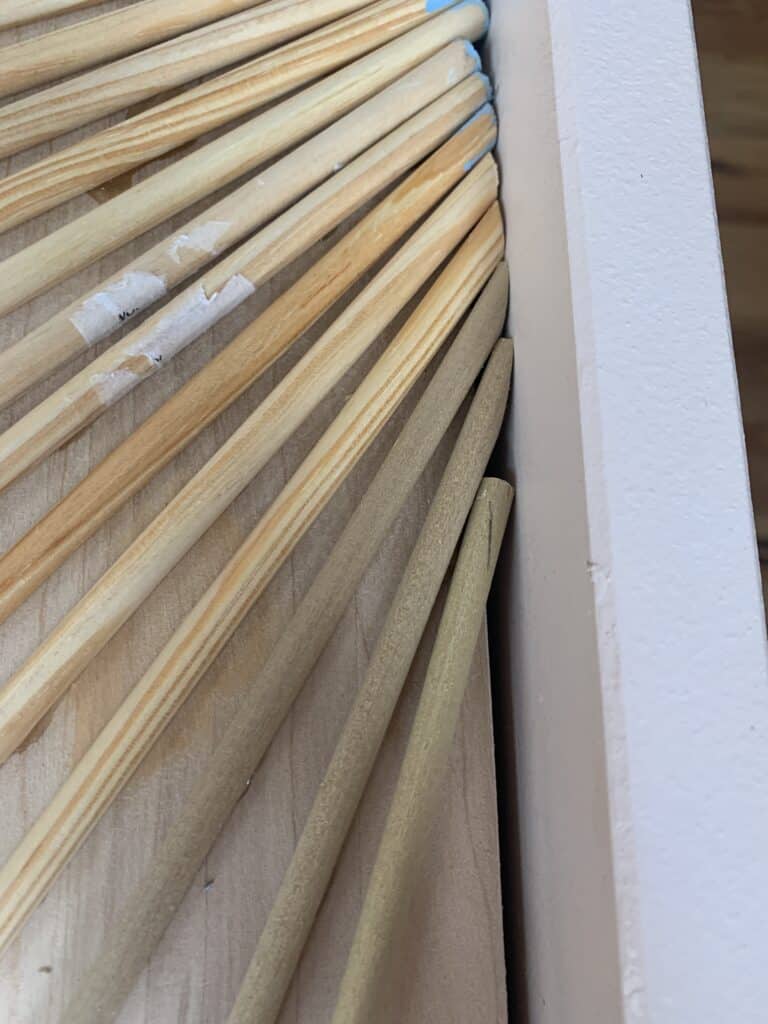
At the top you will also start to notice that it looks a bit weird when they are going more horizontal so cut the top piece at an angle with the cutters (watch in the video) to give it a better look at the top. You will also end up sanding and trimming so it isn’t a huge deal!
Once you are done – let the entire dresser dry fully before moving on to cutting.
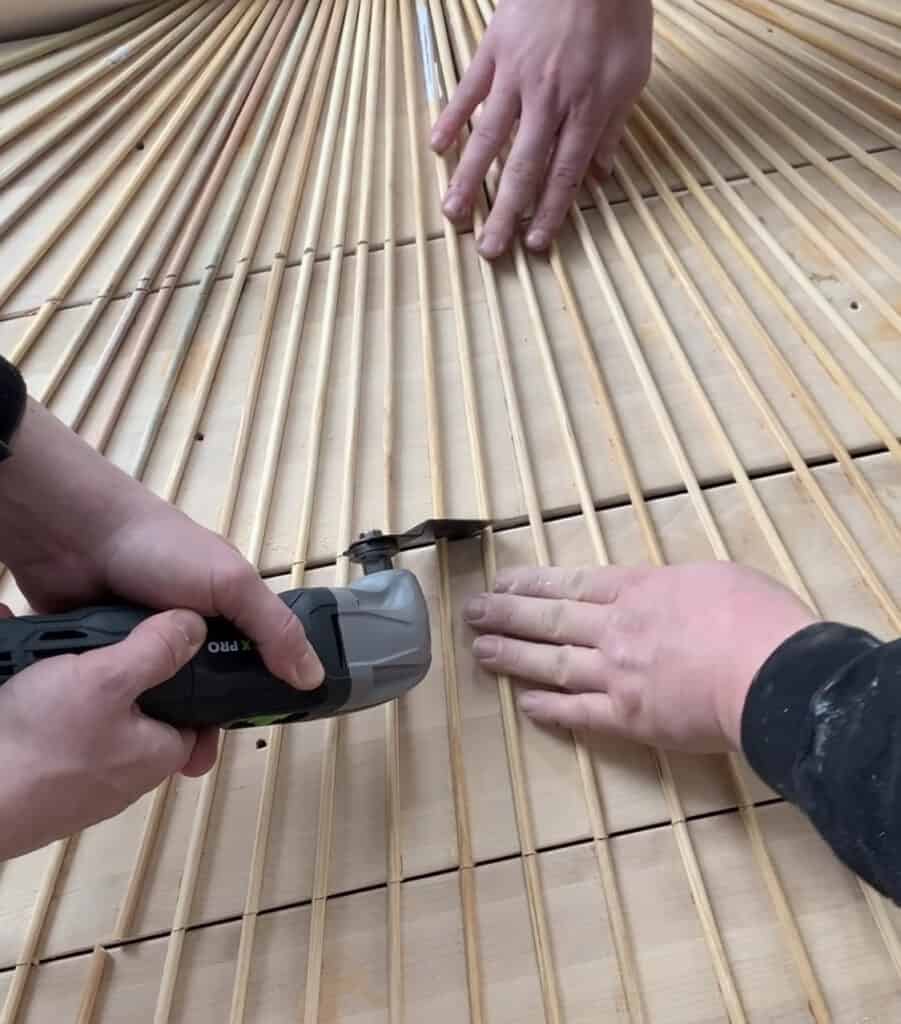
Cutting The Dowel Dresser Drawers
Once your dresser is fully dry it is time to cut the drawers apart so you can actually use it.
Using your multi tool and 2 people have one person carefully hold the dowels in place as extra security and run the multi tool between the drawers.
Once they are all separated if anything popped off just reglue them on and let those dry fully again.
Simply cutting it that one time won’t be fully sufficient – you have 2 options on the next step. you can either run the multi tool through again on the tops and bottoms for a bigger gap between the drawers, or you can carefully sand every dowel down a bit. This allows for easier opening and closing.
We went with sanding, and I think if I were to do it again I would have possible done a second pass on each dowel with the multi tool. Don’t forget the edges as well so the drawers don’t catch on the sides.
You can also use that small sanding head on the multi tool to get any extra glue off which will not look great with the paint.
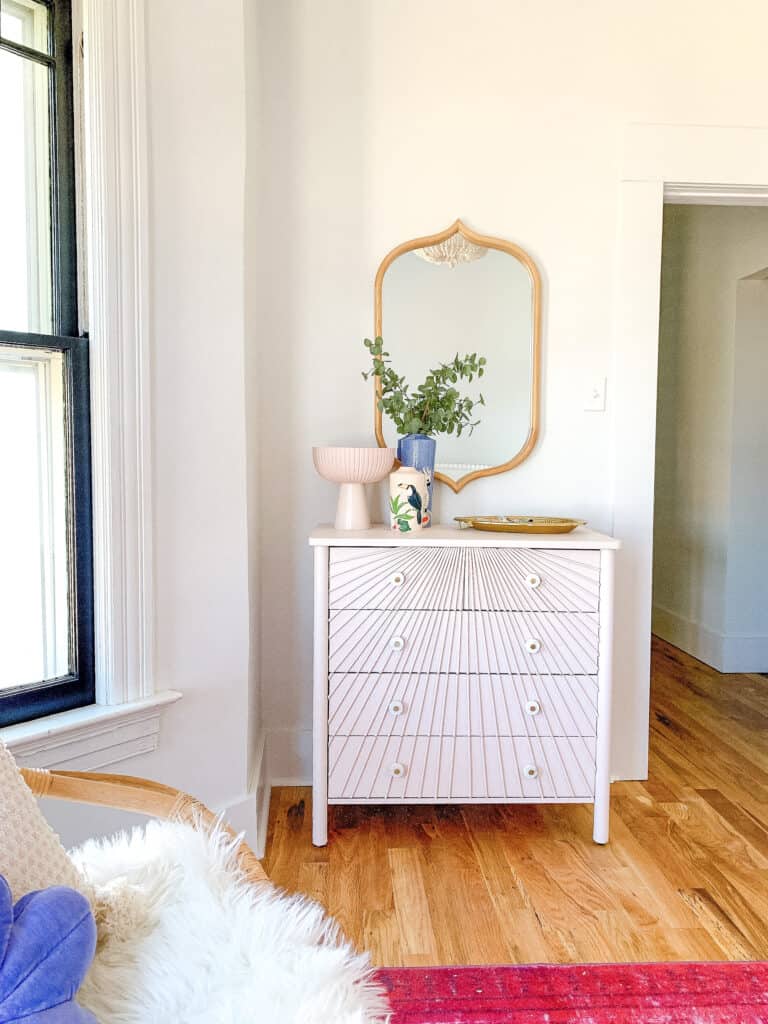
Painting and Assembling
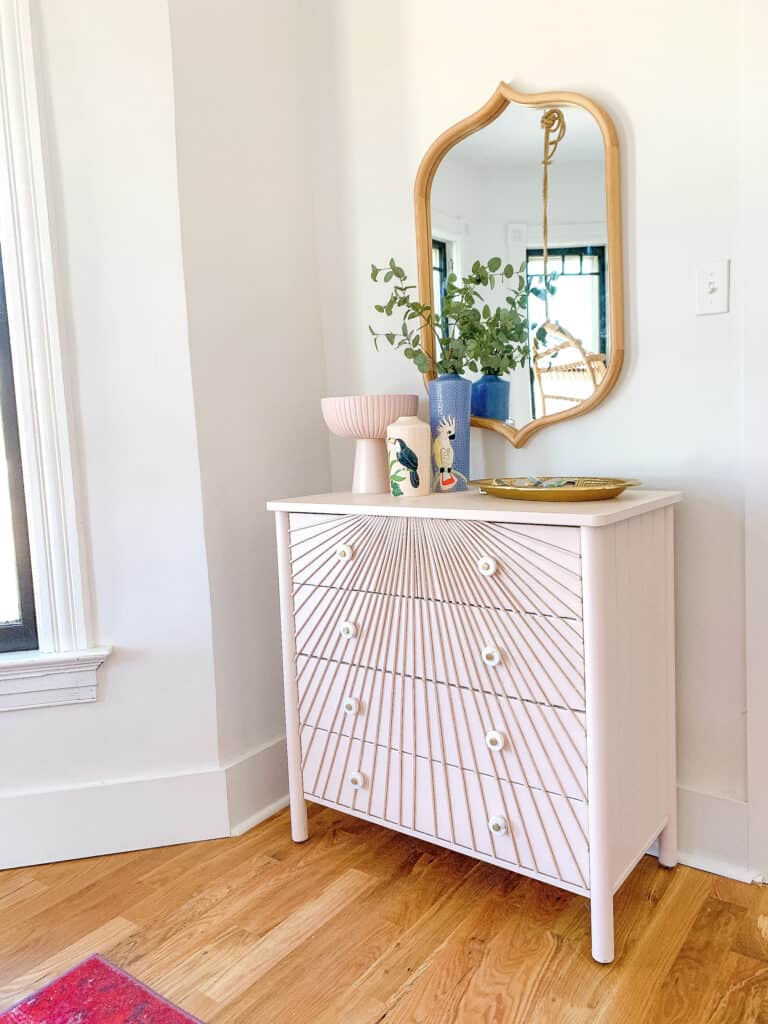
Now to paint and do the finishing touches. We personally used a paint sprayer and painted our dresser.
We went with – Behr Seaside Villa
And as a side note – if you are doing the same, getting a painting tent was a game changer for us! Just set it up and do your painting in the tent!
Add in your drawer pulls and TADA!
This was honestly not a horribly difficult project, but you expect some hiccups and hard work on sanding and cutting. Getting the 1 piece look while still having the drawers work smoothly. Expect to give it some time and love, but in the end it was VERY worth it.
Other Posts You’ll Love
Jack’s room (shows this dresser in its naked form) | Goldie’s DIY pink dresser | All my IKEA Hacks | IKEA play kitchen | IKEA Cane Cabinet Hack
Pin the Photo Below for Later
Hopefully this inspired you to update a dresser of yours and tackle a DIY Dowel dresser hack. If you have any questions while you are doing your sunburst dresser leave me a comment below, and be sure to follow me on Instagram (@arinsolange) for more fun DIY inspiration.