Potty training boys advice coming in hot. When I originally wrote this post, I had just had potty training success after spending time training Walker. If you follow me on Instagram then you are very aware that we have now begun the potty training journey yet again with Goldie.
Anytime I start potty training with one of my kids, I feel like we are taking a big step. Obviously it is a whole process and let me tell you, I can have some stubborn children. Ultimately, the same plan I followed with the older siblings worked great for Walker, and for Goldie- well, only time will tell. I’ll give you all my tips and tricks for little boy potty training advice in this post. But let’s be honest, these potty training tips work great for any young children, girls included.
This post could contain affiliate links. Post updated in 2022.
Potty Training Boys
Walker was right at 2.5 years old when we set out to begin the potty training process. He is my 3rd child, so I have successfully completed toilet training methods used in this post with his older brother and sister.
With my oldest son (Jack) and oldest daughter (Ave), I had to adapt to their different learning methods, social skills, and growth and child development. While everything in this post is my opinion and used entirely from our own experiences, this popular method has worked now 3 times.
So no, I’m no expert, but at the end of the day, I am a mom who has gotten the hang of potty training her very different kids. So while this post may focus on training boys, this post is helpful for training girls too!
Potty Training Boys – Timing is Everything
Potty training is a big deal and you can have an amazing experience with your little ones, but you need a game plan.
So what exactly is the best age to begin this process? There is no right or wrong answer for this. But let me be very clear. Your little guy or girl should be showing signs of readiness and have the necessary skills to actually use the restroom.
Most kids can learn to use the potty anywhere from 18 months of age to 3 years olds. If you start too early, your child may not have the appropriate physical and emotional development to accomplish this ultimately, leading to frustration. If you wait too long to potty train, you may have a power struggle on your hands.
So when is the best time to start? Is it somewhere between their second and third birthday? Or, does age have anything to do with it? Ultimately, both you and your child should be willing and able to complete potty training together.
A good idea is to look for signs of readiness in your child. Signs of readiness include developmental milestones such as sitting still, ability to communicate, ability to walk and run well (hello quick bathroom trips), and ability to undress.
Your child should also be able to follow directions fairly well. If your toddler boy is waking up in the morning with a dry diaper, then this is a big indication that physiologically, he is ready. If your little guy is alerting you to when he has gone to the bathroom or hiding to have a bowel movement, this is another great sign of readiness.
So while there is never a right time to potty train, there are some instances where you would want to wait for a better time. If you are about to undertake any major life transitions such as a new baby or arrival of a new sibling, moving, divorce, or death in the family- all of these are examples of major life changes.
During major life changes, it is normal and expected to see some regression in children. As a result, some little children who were potty trained can revert back to having accidents as a result of the transition.
Not to say that if you are pregnant and don’t want to have 2 kids in diapers (ahem, me) then you shouldn’t do it, but keep in mind that you may see some regression once there’s a new family member.
Planning for Potty Training Boys
Now that we’ve talked about potty training readiness in little kids, let’s turn our focus to the planning phase.
I want to be clear – plan ahead. This is no easy task and isn’t something to decide on spontaneously. It should be carefully thought through and discussed with your child beforehand.
Positive reinforcement goes a long way. To get a head start, you should be hyping up potty training a few weeks before you actually start. Get your child excited to begin! An easy way to get their excitement up is to find something that will motivate your child. For us, that was school. Walker knew he couldn’t go to the big kids school next year without being potty trained.
Next, you’ll need to make sure you have time. Set aside a long weekend (that’s 3 days minimum) to potty train your child. When I say 3 days, I don’t mean any less time. Not 2 days, not 2.5 days. You need 3 days minimum.
Remember how I said earlier that both you and your child had to be willing to participate? There is never a good time to do this. Who wants to spend 3 days of chaos, but you CAN DO THIS.
Plan to spend the next 3 days watching your child like a hawk. That’s right, they get your undivided attention. So if you have other children close in age to your child you may need to make sure your partner is home. For us we had to do a 3 day weekend when both my husband and I could be home. One of us manned the other three and one was on Walker THE WHOLE TIME.
Potty Training Boys Supplies
While you are playing hype man to your toddler, you’ll also need to collect your supplies. I mean you can always potty train without supplies…but potty training boys can be messy, so added items can save sanity. This is a great way to include your child in the planning and get them excited at the same time.
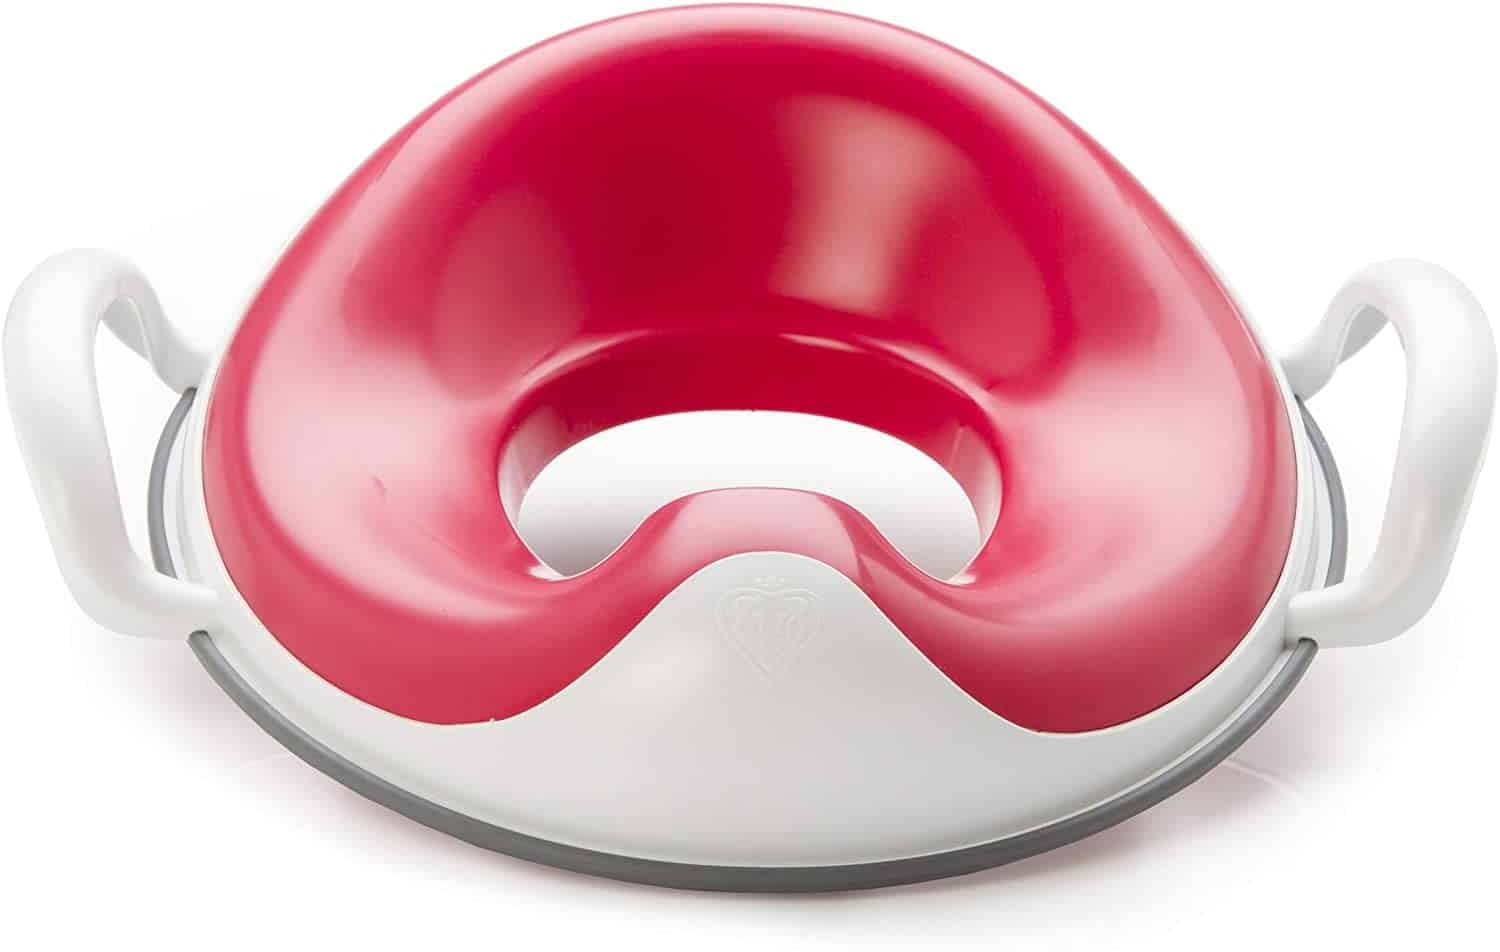
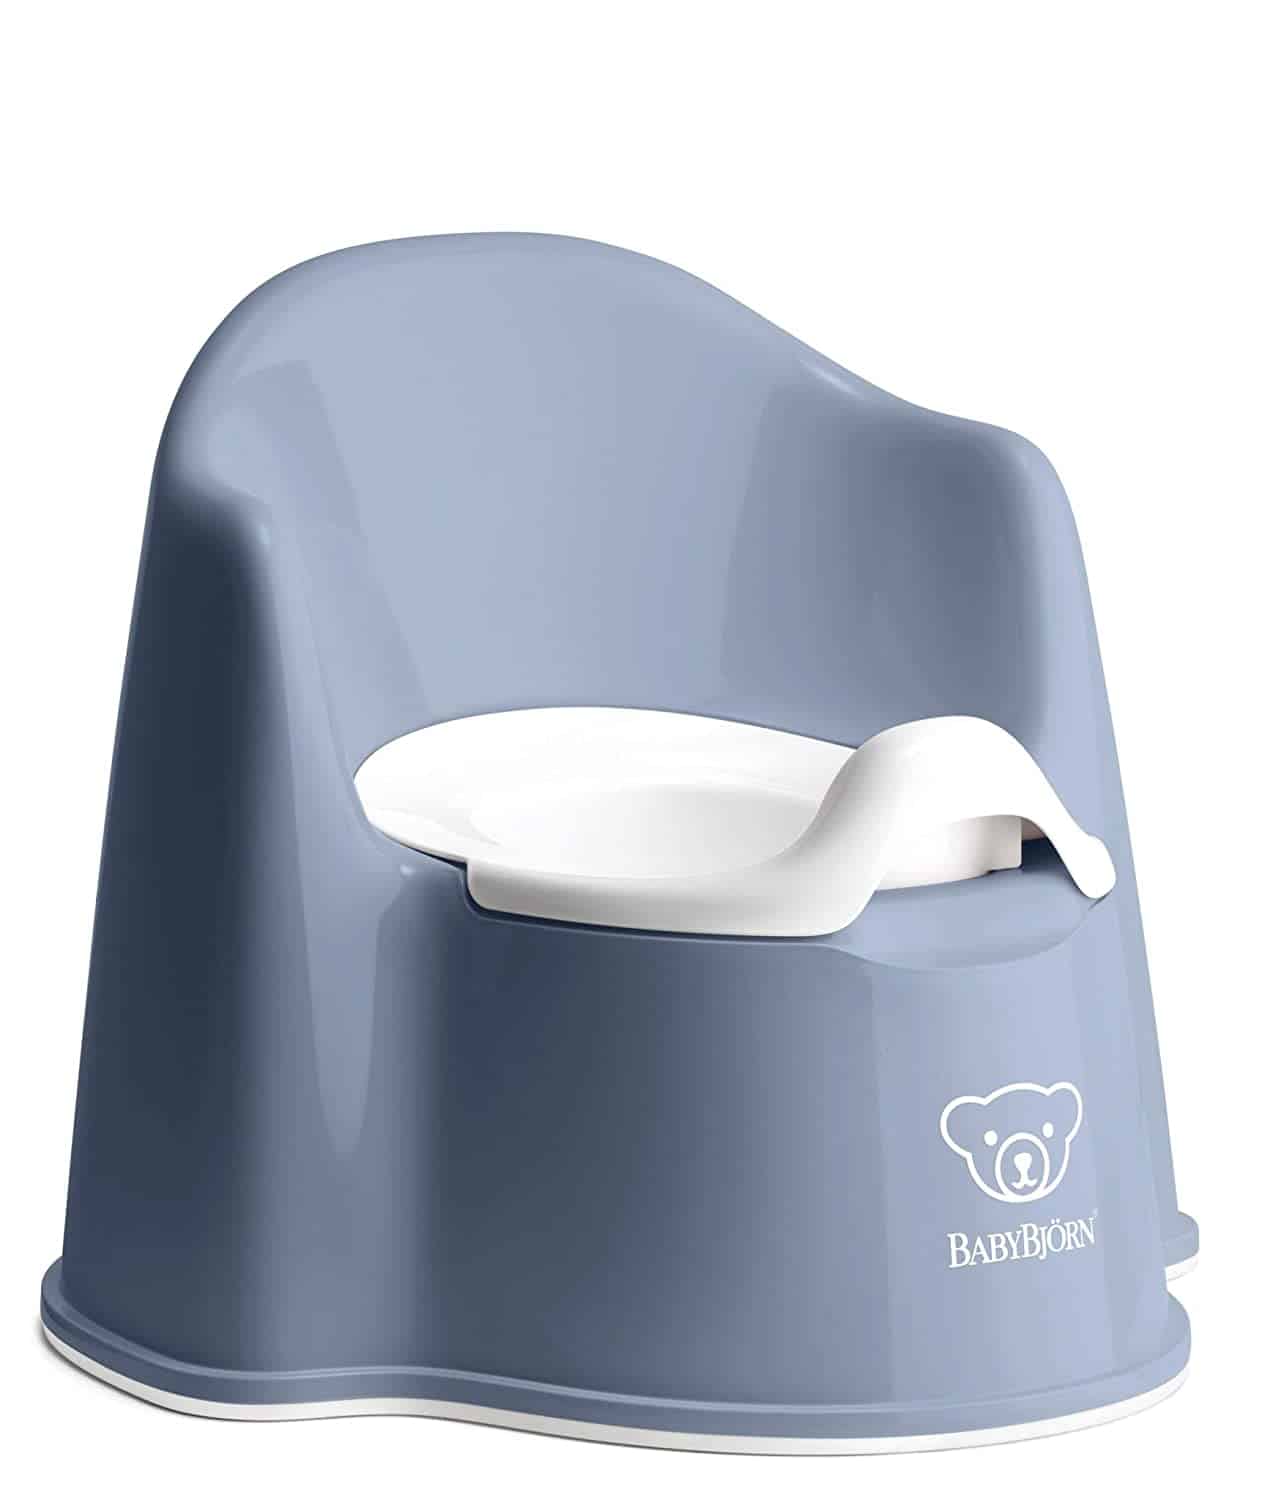
You need to have a potty chair or potty seat– I prefer to have both. I will link my favorites below, but you do what is best for you and your family.
For our family, we like to include a child-size potty and a potty seat that sits on the regular toilet. Having both options allows them to practice and get comfortable on both. The toilet bowl can be scary for some kids and having the right equipment will set you up for success. Depending on the age of your child, a smaller potty may work better first.
Favorite Potty Seat for on Toilet (actually my favorite is from IKEA, but thats not something most people want to make a special trip for!)
Favorite Floor Potty (how many times can I say ‘potty’ in this post! haha)
You will also need underwear. I personally think you should stock up on the character undies of their choice. Buy big boy underwear that excites them in your son’s favorite characters!
I’d also recommend grabbing some training underwear too.
This is one of my biggest tips for moms when potty training boys. Once you are past the first 3 days and starting to venture out for a quick road trip, the training underwear will give you peace of mind. While they won’t save you from an all out accident, they will help contain it somewhat.
Favorite Training Underwear (buy your normal size – not the size by weight on the chart!)
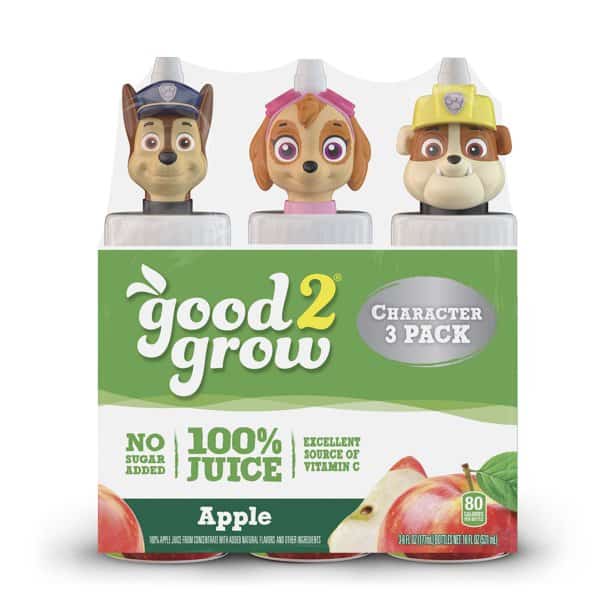
Aside from those bigger items you need lots of liquids and bribe treats. I personally always try to push some apple juice to keep things moving and easier to poop during the first week or so. Have a lot, and have variety so they can keep drinking. (these apple juices are my fav!)
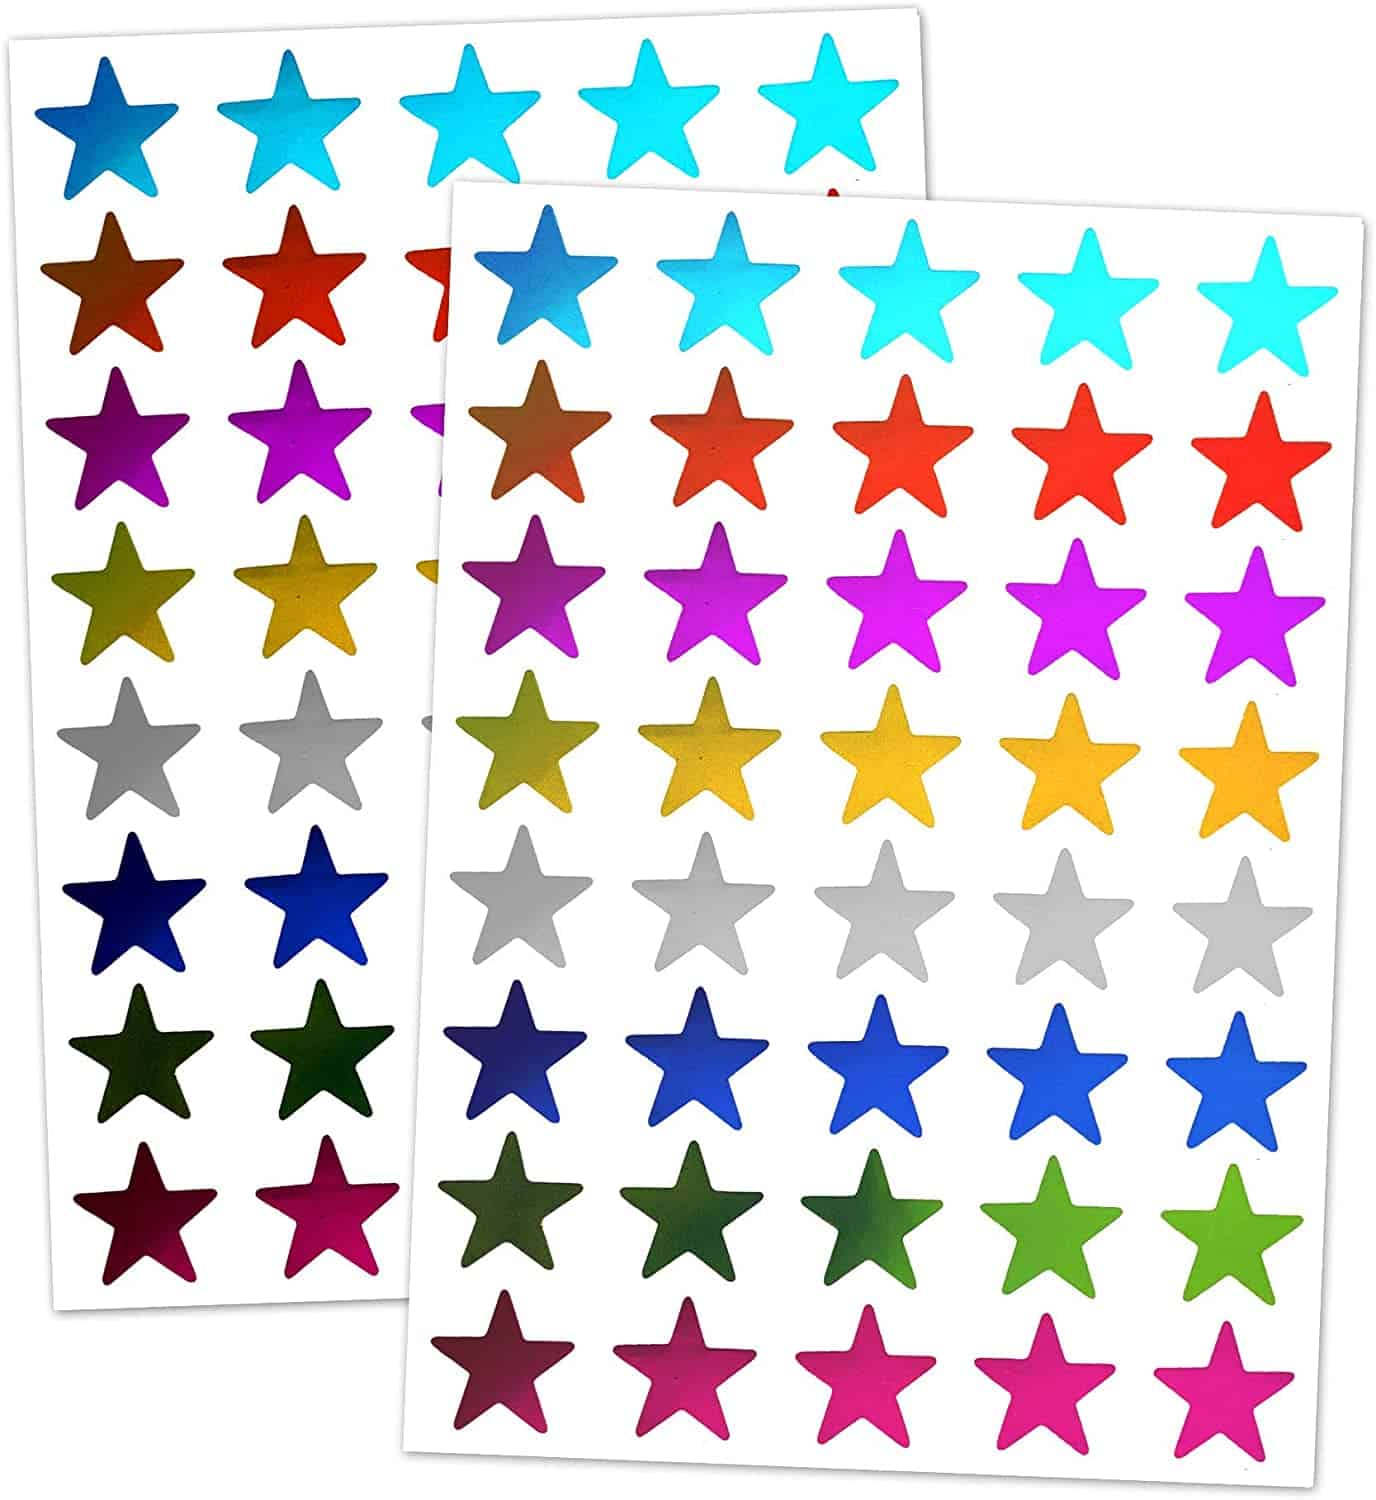
Candy prizes for successes can be as small an an M&M or something bigger. Base it on your child. My oldest two were fine with M&Ms, where as Walker wouldn’t have seen that as enough of a motivator. Some families may prefer to have a potty chart.
Everytime your child uses the potty successfully they get a sticker. Sticker charts are a great way for your child to visually see their success.
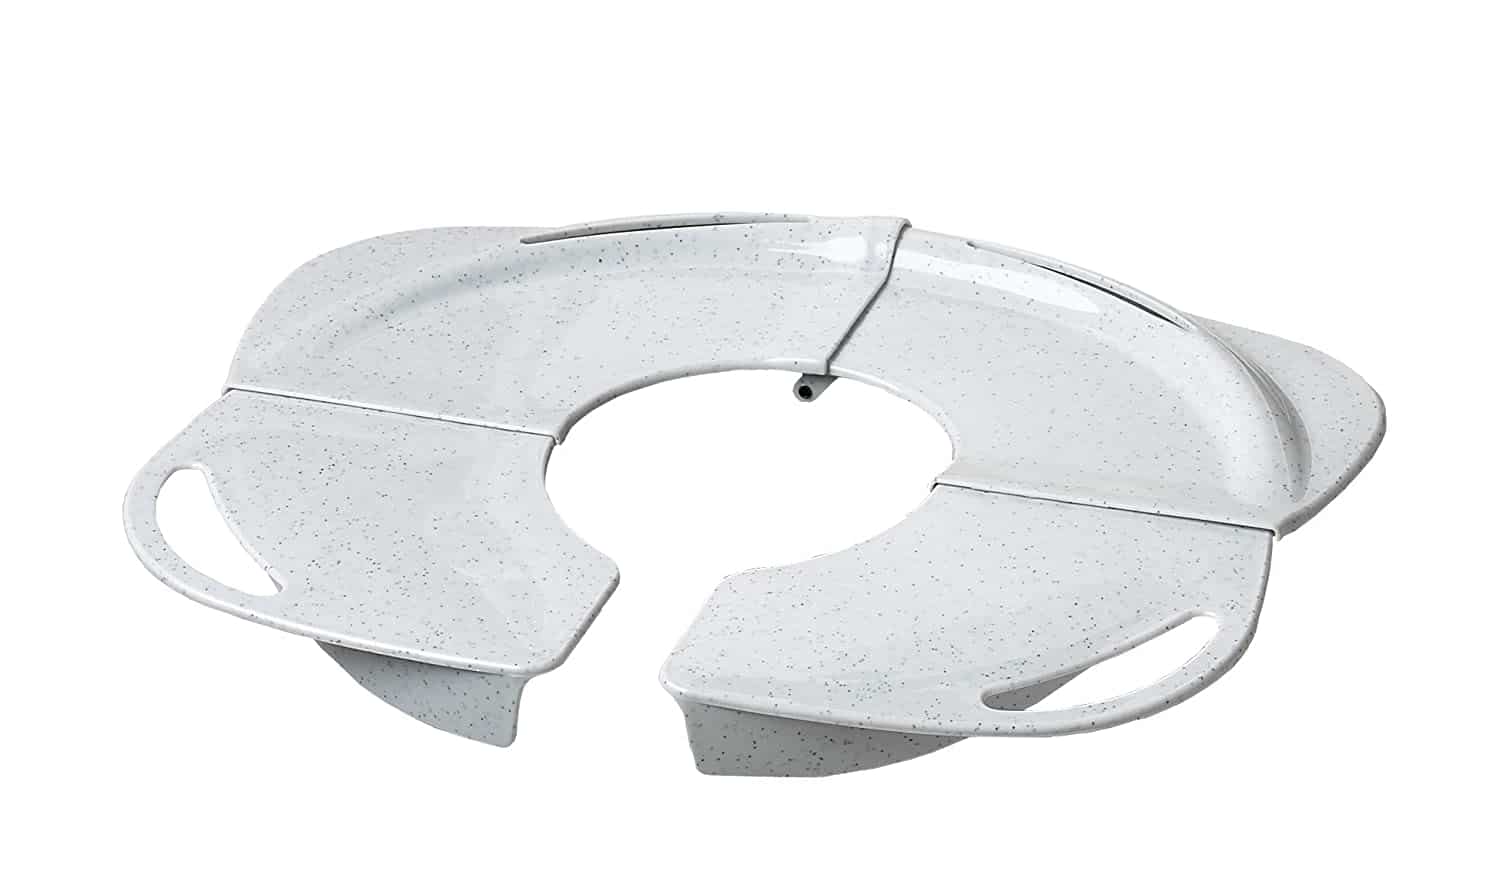
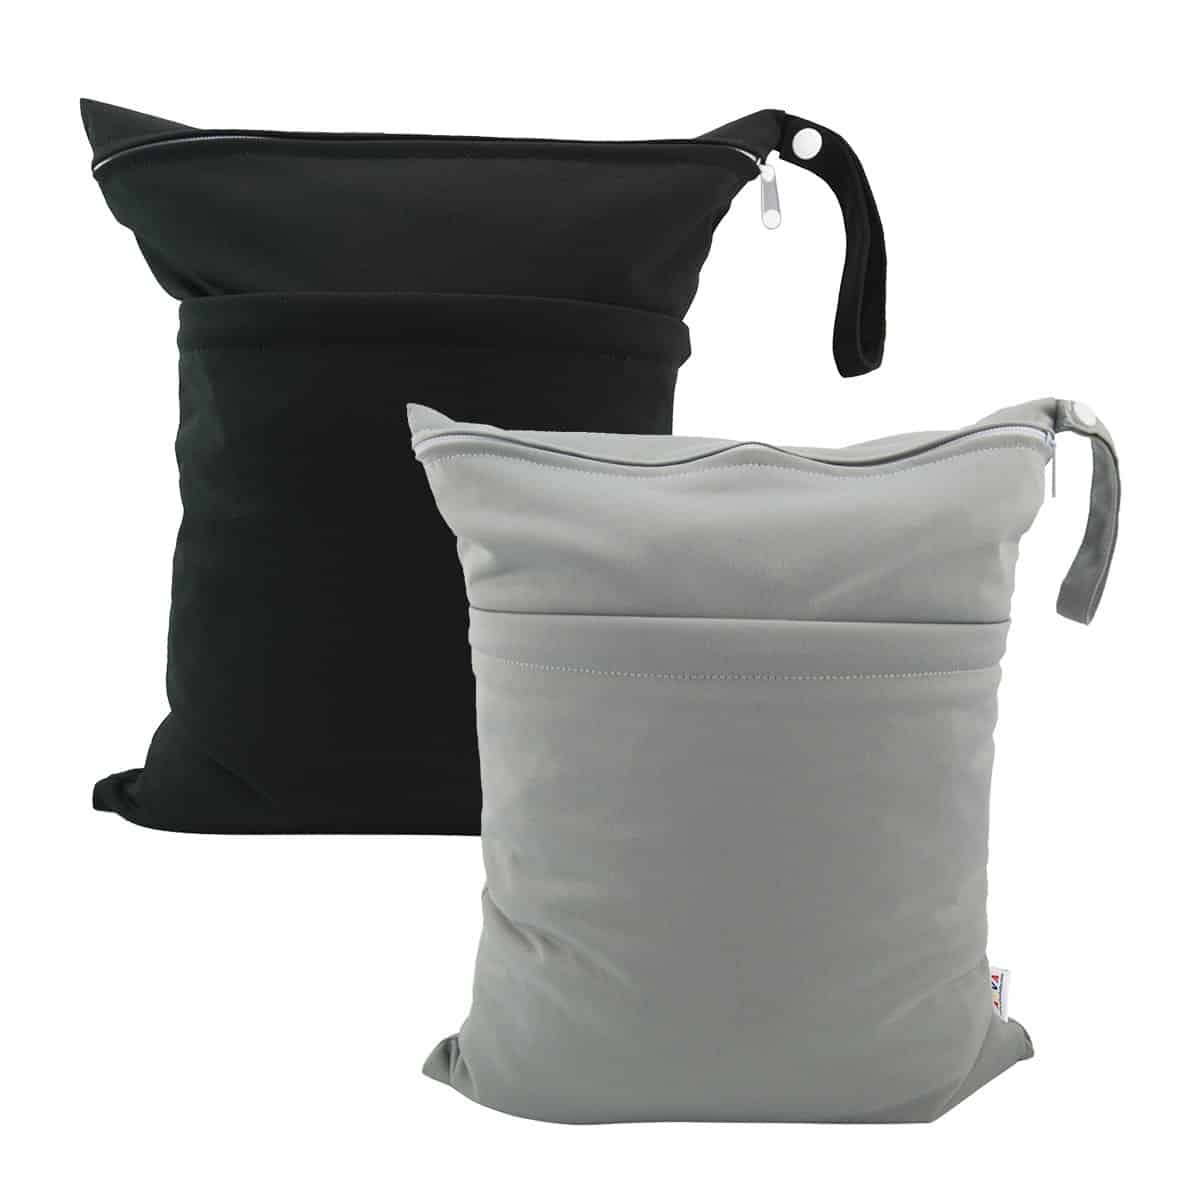
And don’t forget things like a fold up potty seat (life saver) and wet bags – because if an accident happens you want to have them!
This fold up potty seat is perfect for trips in the car. It has non-skid pads on the bottom that allow you to put it on top of a public toilet without the fear of it sliding and your child landing on the questionable rest stop bathroom floor! Plus, it folds up compactly to fit in most diaper bags.
Of course, accidents will happen. These wet bags, which come in 11 color ways, are great to have in your diaper bag at all times. I even keep them after I’m done potty training for trips to the splash pads or spills while we’re out to eat.
Potty Training Boys – The Three Day Method
I potty train all of my kids in 3 days. If you haven’t heard of this method, let me give you a little overview.
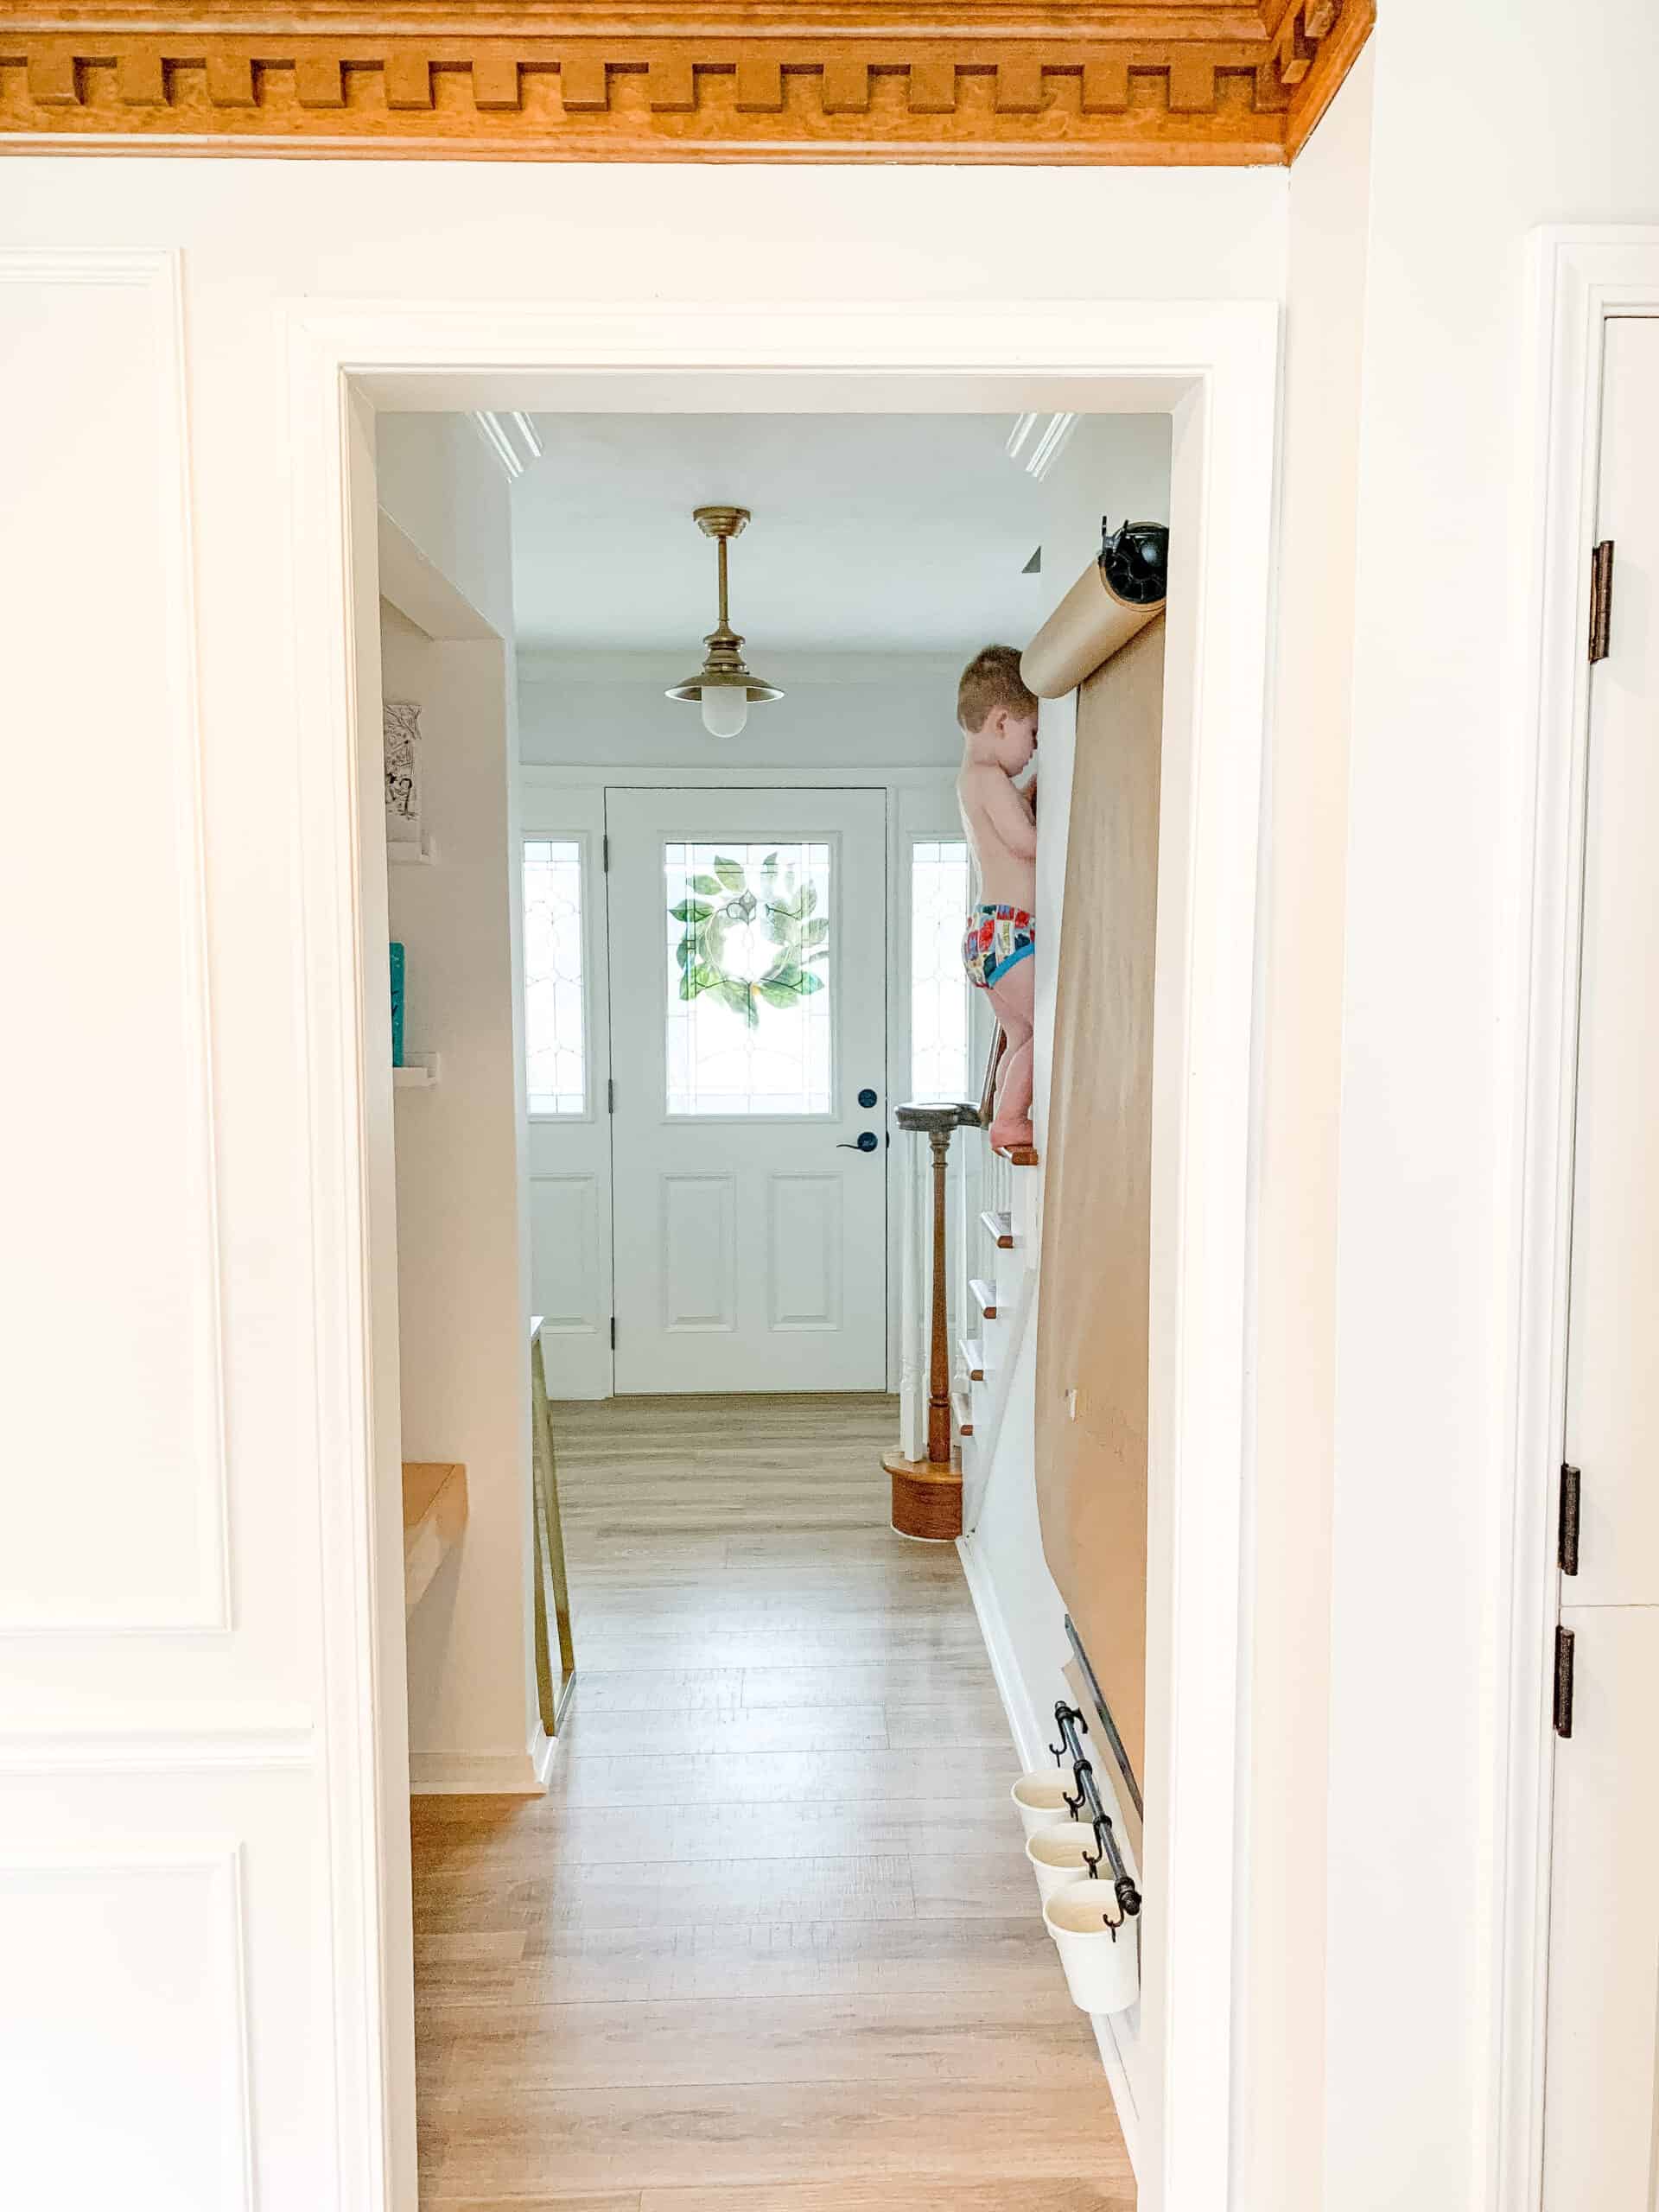
Instead of slow rolling potty training by easing into it, you rip the bandaid. You ditch diapers, encourage fluids, and deal with lots of pee for a few days, while your child learns from both successes and failures. I also call this naked time. You will want to strip your child down to their birthday suit. In those first few days, make it as easy as possible on you. You don’t want to be struggling with pants and a button while your child is peeing all over the place.
You are condensing the stress and hell that comes with potty training into just a few days. Notice, I said condensing, not lessening. I fully believe these three days are horrible, and the first couple are some of the most frustrating of parenting, but for us it is worth it! Again, this is why I say that both you and your child need to be willing to participate.
With my three oldest kids, we have been able to successfully get through the three days with only a couple of accidents in the coming months. At the time of this update, we are on day 1 of training Goldie. I am surprisingly optimistic that she can make it without many accidents too.
Day 1
Once you are up for the day, and you have chugged a cup of coffee, it is time to get to it. If you have non carpeted floors, I definitely recommend staying on those as much as possible. We have a NO furniture rule for the first few days.
One thing you will be doing this whole time is PUSHING THE LIQUIDS. Lots of water and juice for the next few days, because for them to learn they need to pee a lot!
Once you take off the last diaper you will have your child sit on the potty. The chances that they will go this first time is slim to none. Have them try, then when they want up let them get up.
NOW SET YOUR TIMER – THIS IS IMPORTANT
For the next 3 days they only get off the potty in 10 – 15 min increments. I started with 15 min off for Walker, and noticed accidents were happening at 12 min, so I dropped down to 10 min then back on the potty.
We bring our small potty to the living room so that as parents we don’t spend an entire day in the bathroom.
At the 10 min mark he would sit and have to STAY SITTING until he went potty. You guys – this is what gets brutal. There were some realllllly long times sitting on the potty. And I had to remind myself so many times that as mean as I felt, and as much as he hated it, it was short term loss, long term gain.
I have had people tell me “my child will be sitting there all day”, and honestly it’s sort of true. But it is truly worth it to do it this way. They have to learn to pee sitting in that position. If you let them off when they ask they will have an accident.
Eventually there is success that is caught. YOU NEED TO CELEBRATE. Then you can give them a treat – which you need to decide what that looks like based on your child.
For nap and bed we still do pull ups, and the first day normally looks like very little progress. Mostly accidents, and little success.
Day 2 and 3
Day 2 is very similar to day 1, but pending how it is going you may get to start spreading the time OFF the potty a little bit if they seem to be getting it. You have to tread lightly with that because you don’t want to get over confident.
It is also really normal to make 10 steps forward on Day 1, then wake up and feel like they took 5 steps back. Remind yourself that they are still up 5 steps. Naps and bedtime can derail things a little, and that’s okay.
This is literally how the first 3 days go all day long. As he was doing much better I started letting him go slightly longer between sitting, and eventually you kind of know they are ‘getting it’ when they learn to push a little out on demand to get out of sitting for long.
After Day 3
Hopefully on day 4 you woke up and feel pretty good about things. Hopefully you feel like you can step away from your child a bit, and start easing into normal life again.
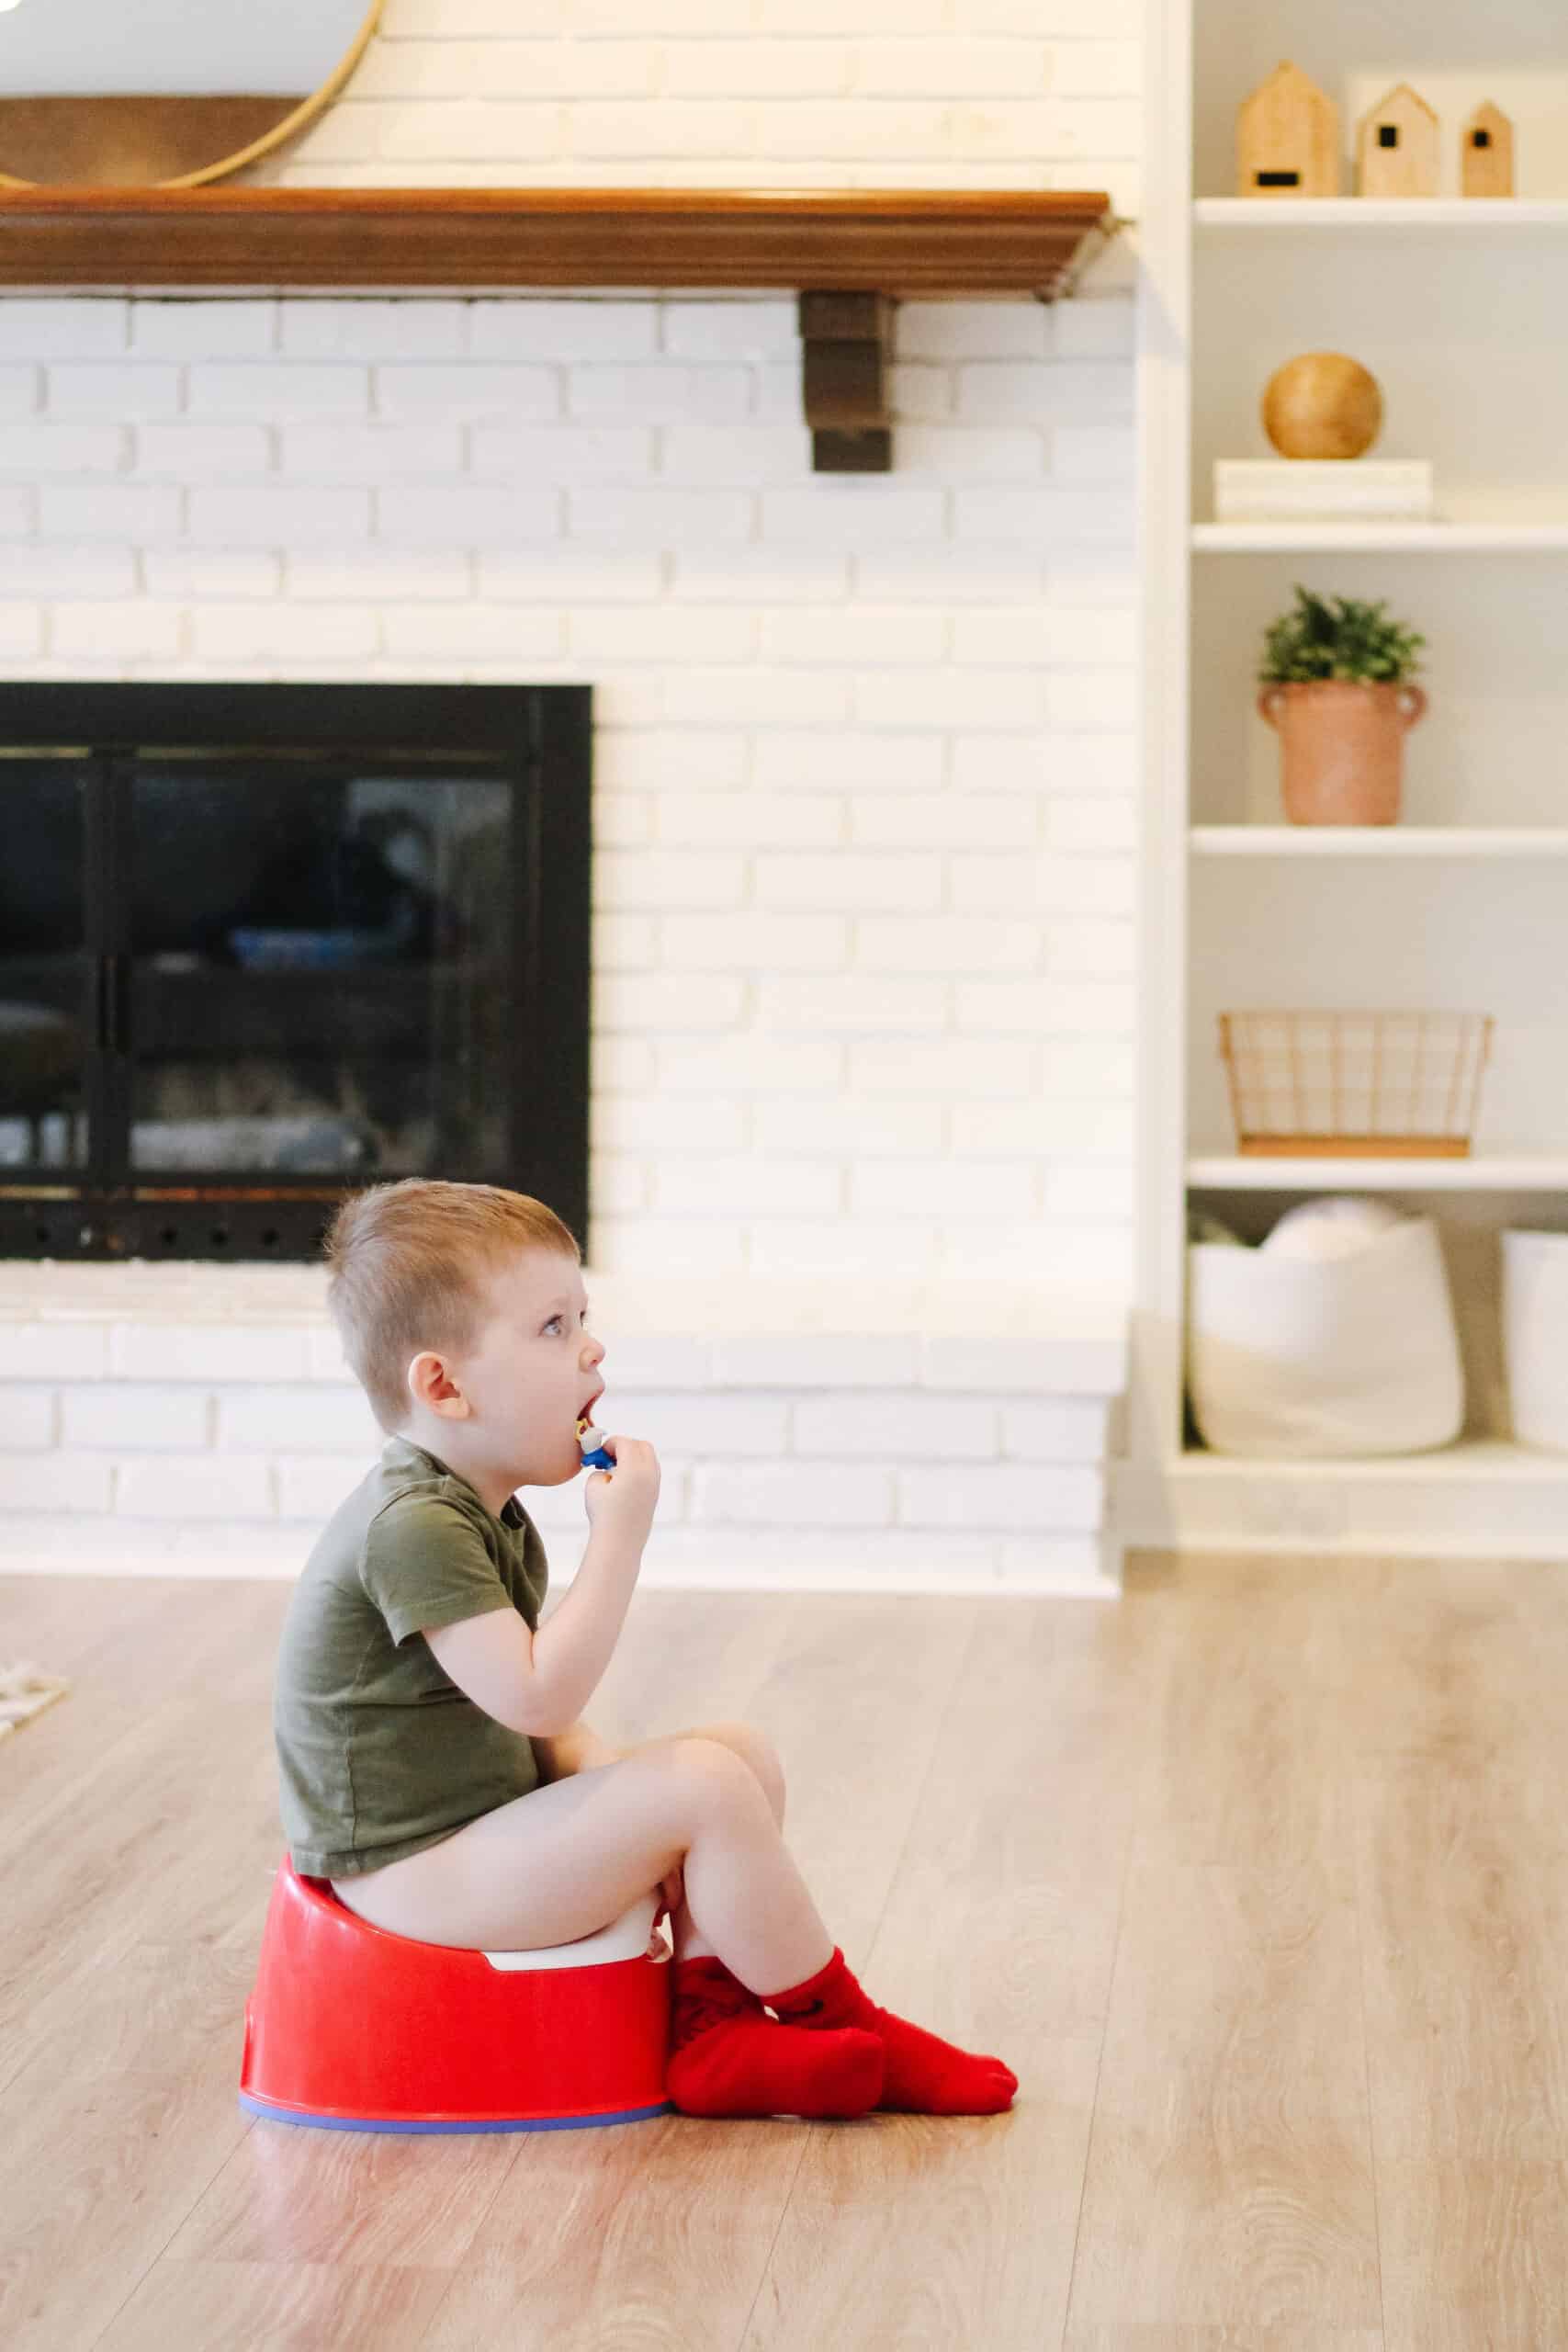
The big things to remember are this is new for them. Watch for potty dances, or signs of poop and remind them to go to the potty. For Walker he always liked to stand right by the TV stand to poop, and I noticed when he would gravitate over there to stand still. This is when I would remind him to sit down.
Pooping remained harder for Walker so we really had to up the prizes for this, and we have continued only for poops. After the first three days I start to taper down the pee prizes. You can either get rid of prizes all together, or utilize a chart. Decide what works best for your child.
Walker didn’t really care, so a chart wasn’t needed. Ave and Jack benefited from a chart where after x number of days with no accidents they could get a small prize.
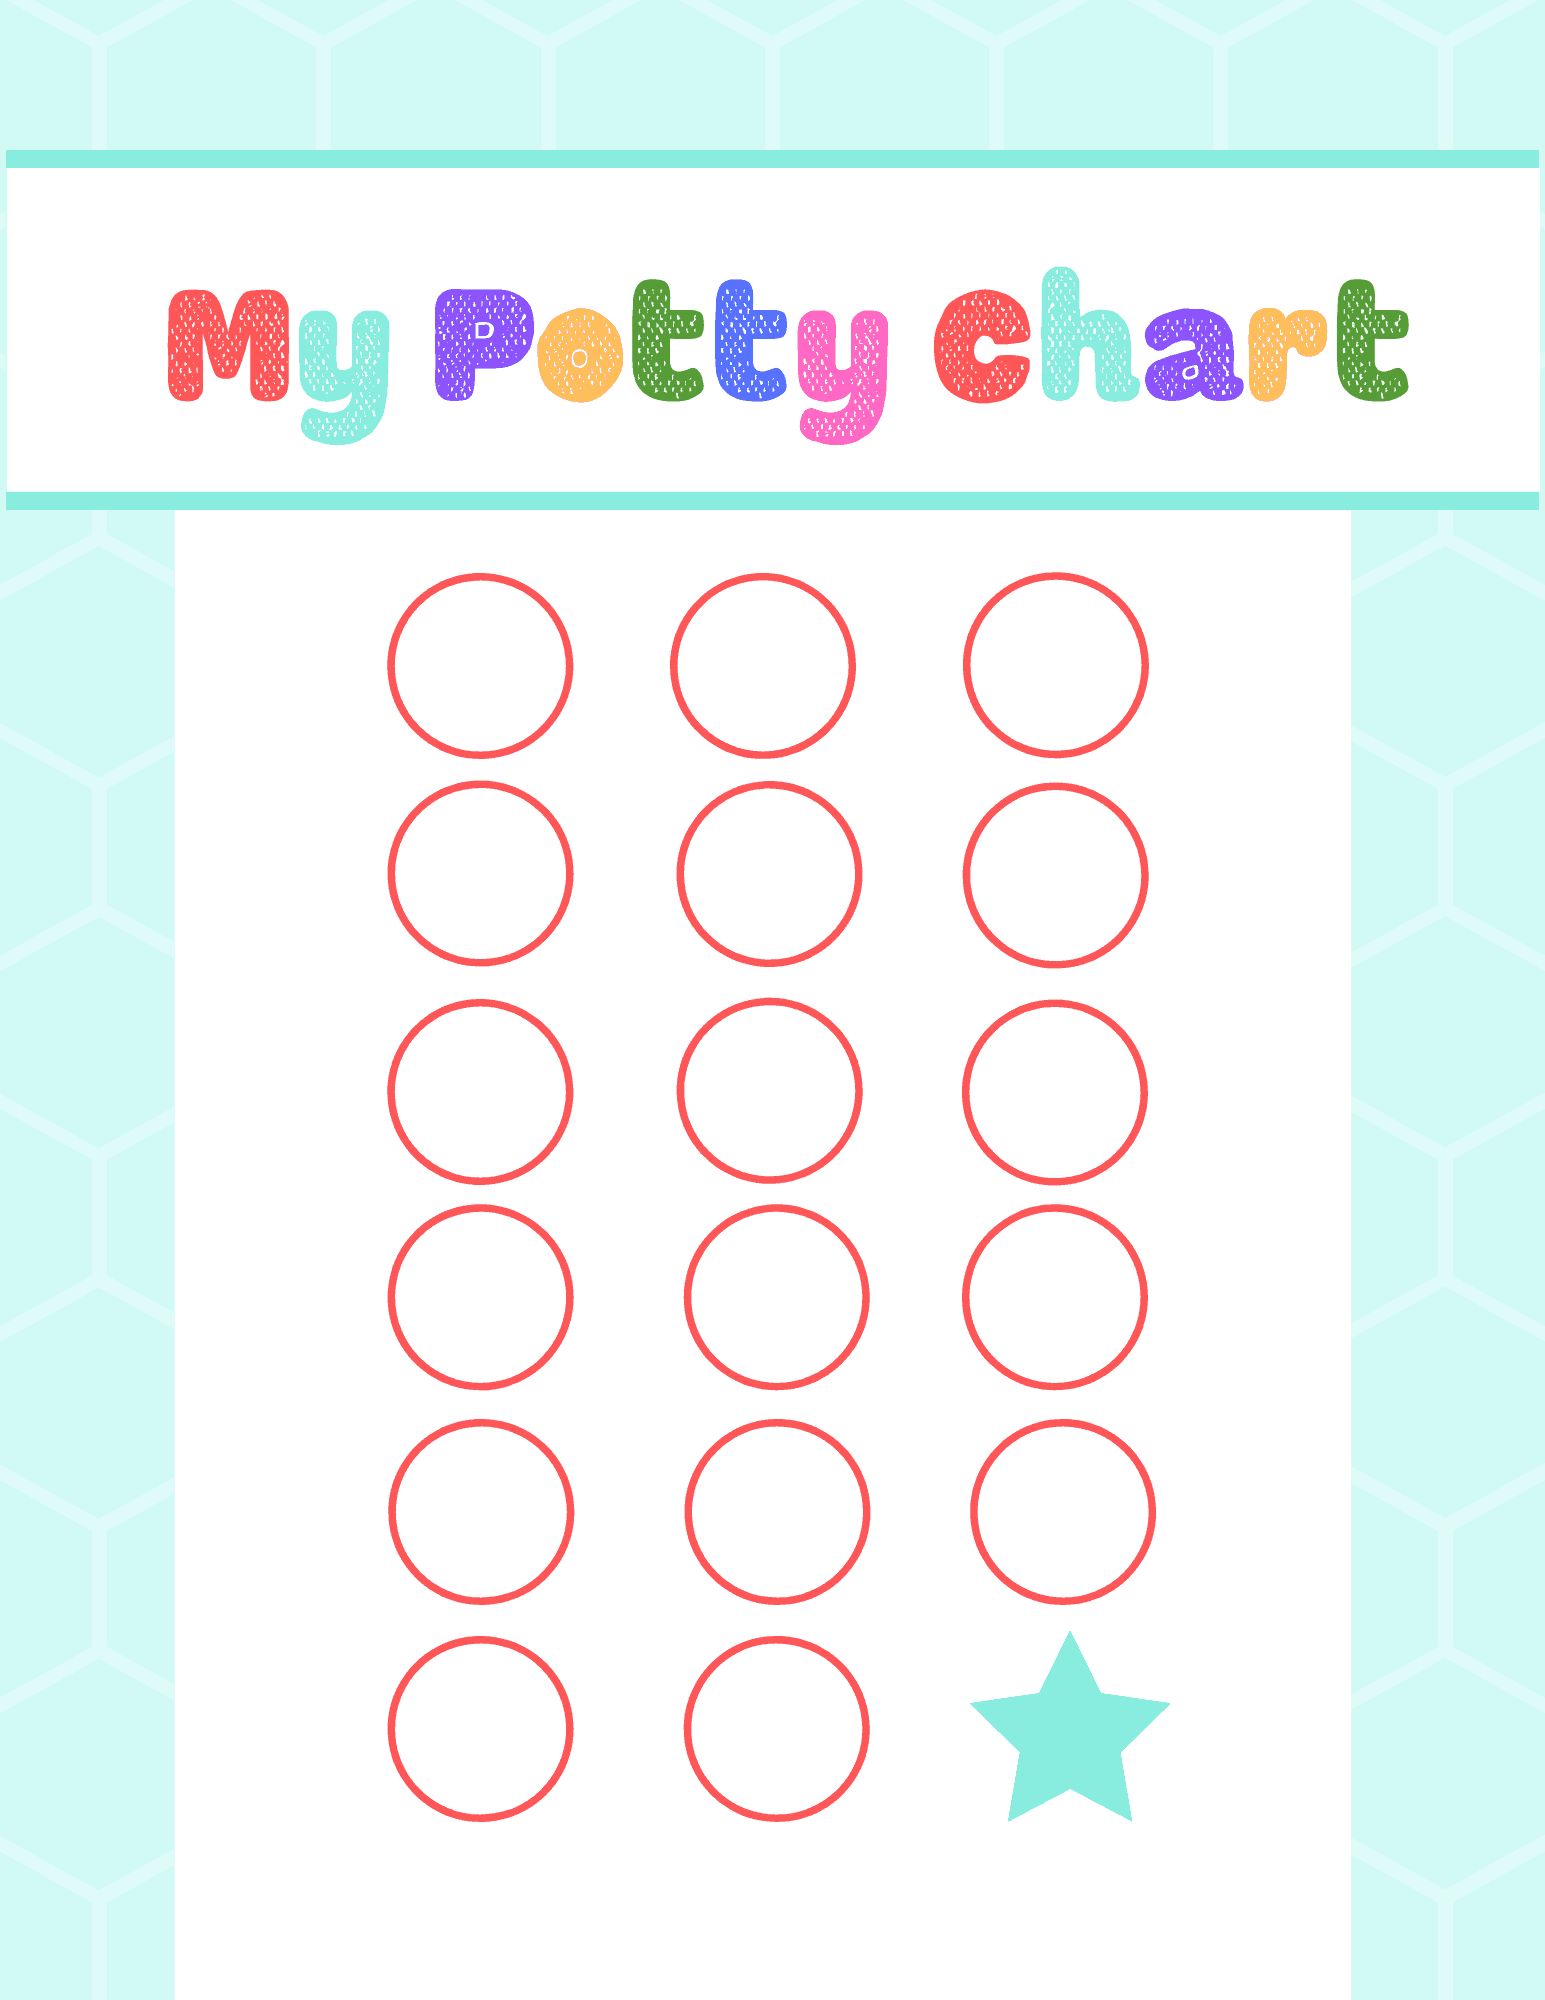
In case your child would do well with that as well, I have put together a free Printable Chart below for use during your potty training.
Grab the Free Printable Chart Below
Free Printable Potty Training Chart
Little Boy Potty Training Advice
Okay – that is the general idea, but below is some advice that REALLY helped us. Remember – you know your child the best, so tailor this to make sure you’re helping them the best way you can.
1. Start with sitting – Everyone can show them how that works, where as with standing only dad or brothers can show them
2. If you notice they are clenching their knees, encourage them to open them. Walker did not want to do that, and it took me coming up with a sweet way to put it to encourage that. I eventually told him he needed to do “peekaboo knees”, which worked and I still remind him when he is trying to poop.
3. Don’t stress poop the first day or two. If they aren’t going poop they may just need to get pee down first.
4. Make sure you buy a potty with a high enough front – the little potty’s I had from Avé didn’t work for Walker because he kept just peeing right over them. You can look into getting a urine guard if that helps.
5. Have a few things on hand that can REALLY push them. For Walker his motivator was school. So I had some pictures of kids playing “on the big playground” and the school video ready to show him. That really helped when he was getting frustrated.
6. Make sure some of the liquids are sugary juices – keeping things moving for the #2’s are so much easier with juice in their system. We made this mistake this time with sugar free gatorade.
7. If possible – do this during a less busy time of the year for you and your family. For us that normally is winter because I know we won’t be trying to go do fun things as much, and gives them longer to fully master it.
8. Wait on night time until they are showing signs that they are ready. I have heard (and seen with my kids) that their bodies have to be ready for that!
You Got This!
Understand you will want to give up. You will think they weren’t ready. You will think they aren’t getting it. But unless you have tried for the full three days I wouldn’t throw in the towel. Jack ‘got it’ in about 3 hours, where Walker didn’t get it until the third day.
It is called the three day method for a reason – the first day or two can seem like they will NEVER get it.
We personally don’t monitor screen time at all for the days of potty training. We don’t monitor sugar, and so on. It is a hard day for everyone, and you are in survival mode. It just isn’t the weekend to work on those things. You have to keep your eye on the prize.
Remember that some accidents will likely happen the first week or so. But if they are happening a ton, be sure you are doing a less harsh version of the 3 days for a bit longer. With Walker we did very little outside of the house for about a week to really give him time to have instant access to the potty with tons of reminders for a week.
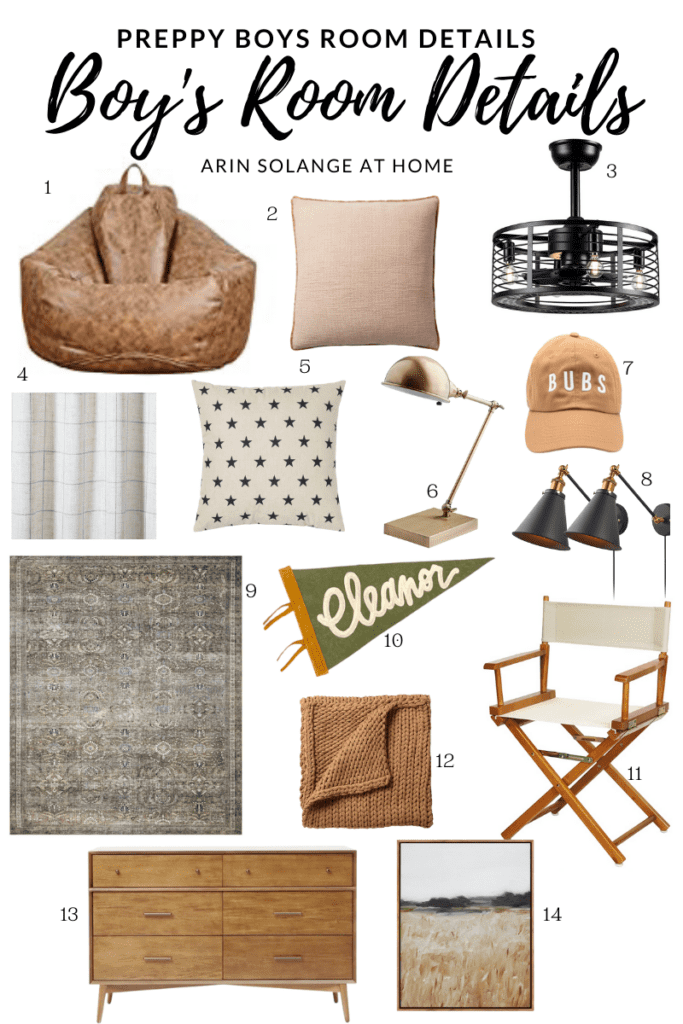
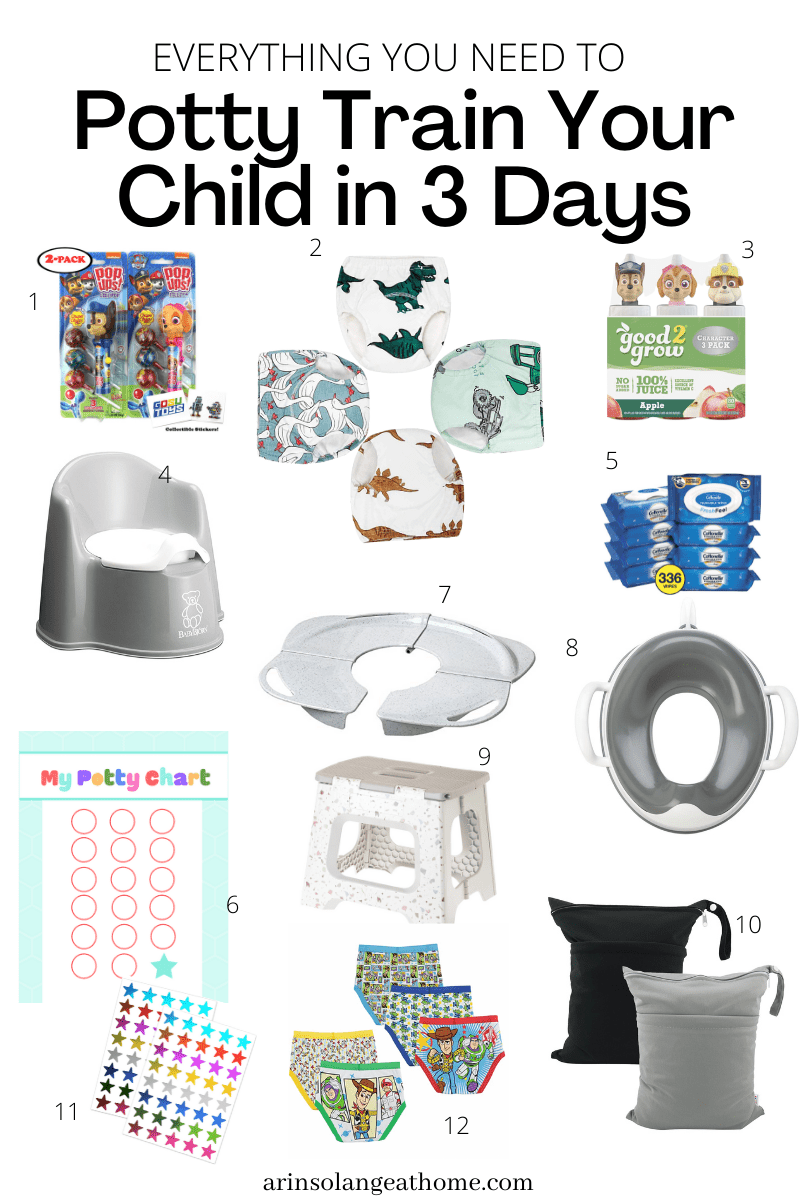
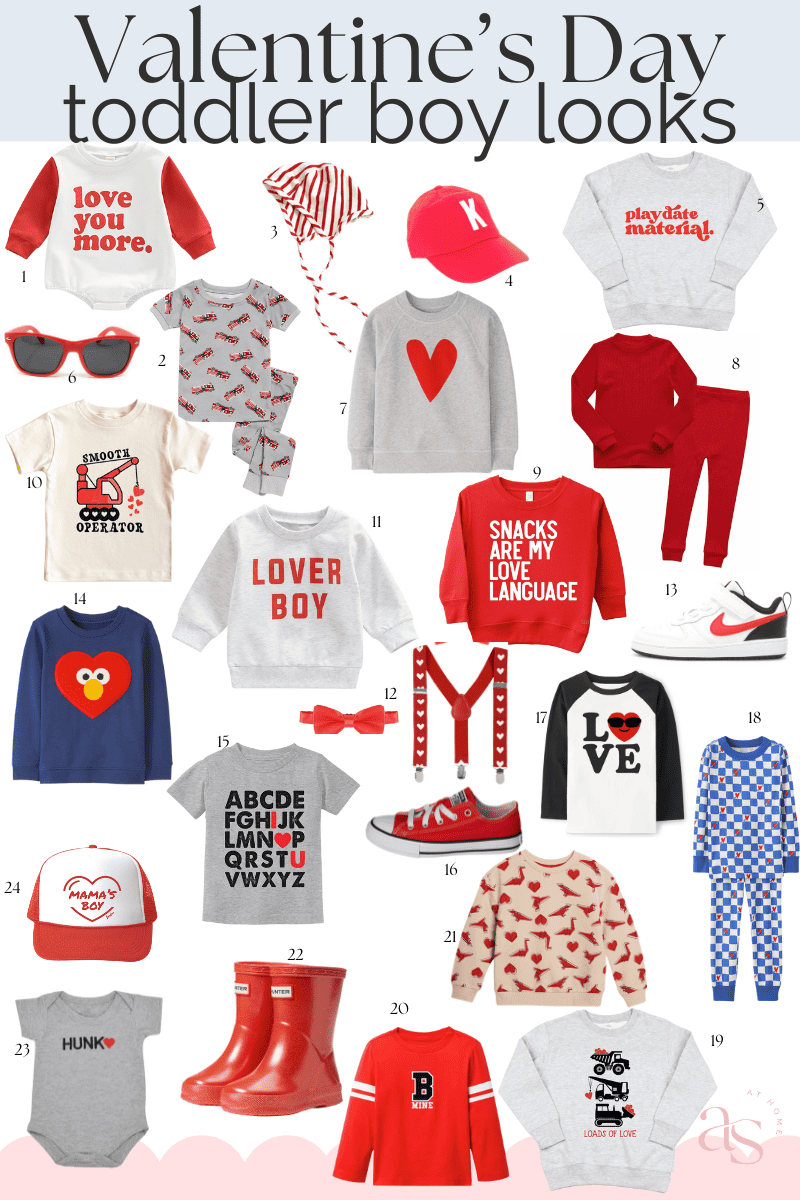
Shop all the items you saw in this post
1 | 2 | 3 | 4 | 5 | 6 | 7 | 8 | 9 | 10 | 11 | 12
Other Posts you May Love
Favorite Items for a day out with kids | All my Favorite Kid Items | Best Steam Mop for Tile Floors
Pin the Photo Below for Later
Hopefully you feel confident on potty training boys after reading this post, but just try to remember not to stress. If you are reading this and want to tackle potty training later, pin the photo below, and be sure to follow me on Instagram (@arinsolange) and TikTok (@arinsolange) for more fun and advice! My DM’s are always open.