If you are in the market for a new dining room table, chances are you are trying to decide what will work best for your space. While style is important, don’t underestimate the type of material you choose for your dining space. This piece of furniture will not only be a focal point for your home, but it will also be where you gather with your loved ones for years to come. There are many different materials when it comes to tables, but the best dining table is a solid wood dining table. This post will explore the different types of wood for your dining table and ultimately the best wood for dining table.
This post may contain affiliate links.

What To Consider In A Dining Table
Whether you intend to purchase a new dining table or build your own dining table, you’ll want to consider several important factors. There are many important considerations to take into account before spending money on your dining area.
For the amount of money you’ll be spending on a high quality table that will withstand heavy use, you’ll need to ensure that you are spending your money on a piece of furniture that will last you for years to come. For high-use furniture, durability and practicality is key. Ideally, you’ll need to anticipate your needs for not only the present, but also your future.
Consider the Size
Consider the size of the table. You’ll want your table to fit in the space without overcrowding or being too underwhelming. Try measuring the space for your dining table (length times width). From there, as a general rule of thumb, you need 3 feet of passing space on all sides of your table for a comfortable fit.
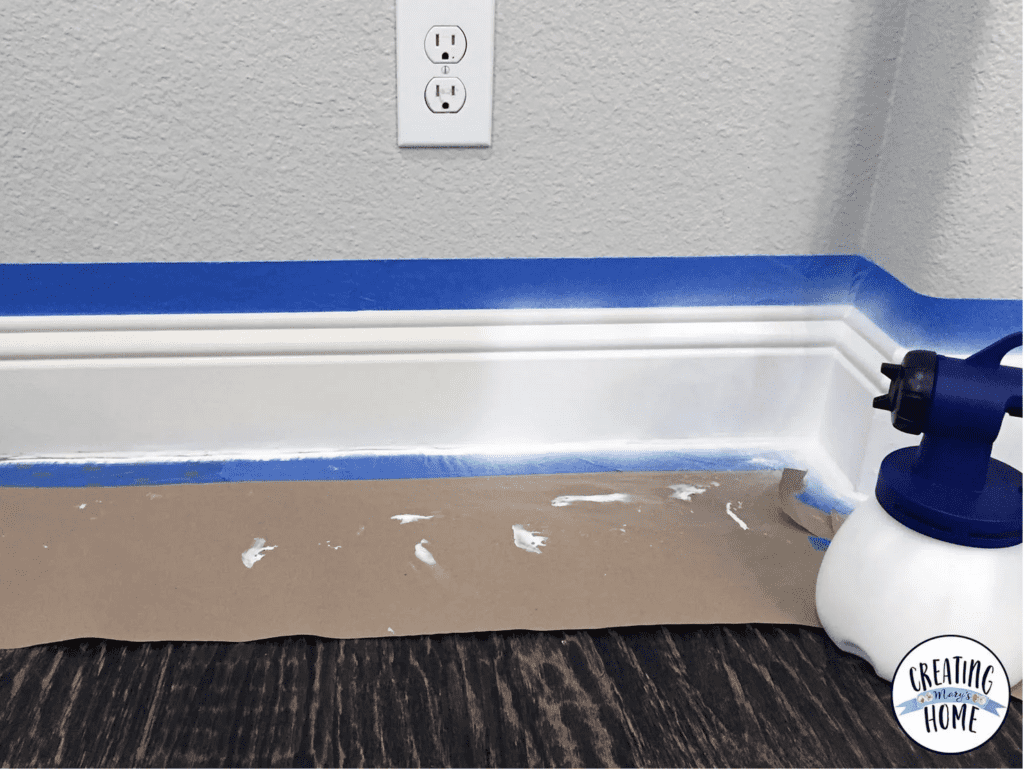
Consider mapping out your potential new table with painter’s tape to give you a good idea of how it will look in your space.
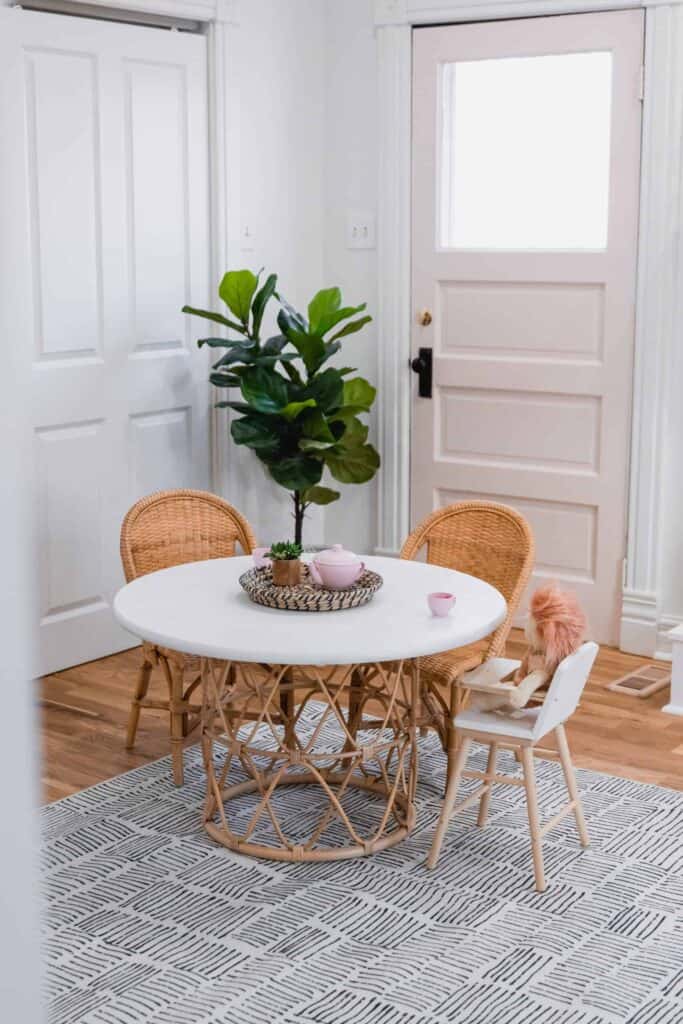
Once you determine the approximate size, you can consider the overall shape of the furniture piece. While rectangular tables are what you commonly see in dining rooms, an oval or round table is also a good fit for tighter spaces.
An important thing to remember is that your table’s leg supports will also impact the number of people who can be seated. For example, pedestal bases are a popular choice with round tables. Because this support is in the middle, people’s knees are less likely to hit the base, which allows more chairs to be placed around the table comfortably.
This type of configuration gives you more options to fit more people at your table. A trestle table has more open space along the inside of the table, but is limited at the ends of the table, which may limit the number of people that can be seated.
How will you Use your Table?
When you are considering the size and shape of your table, consider your use for your table top. Is this a space where you intend to entertain large family gatherings? Or, do you plan on keeping this for immediate family only? Your intentions for your dining table will help you narrow down the perfect choice for your shape and size.
When it comes to choosing a table, you’ll always want to go with something that is both quality construction and within your budget. The type of material your table is made out of will have a direct impact on your table’s quality and cost.

Check out how to make this DIY Dining Table.
The Best Wood for Dining Table
There are many types of materials when it comes to dining tables. Common materials you may see include metal tables (more common in restaurant tables like diners), glass dining tables, veneer wood dining tables, stone, and plastic.
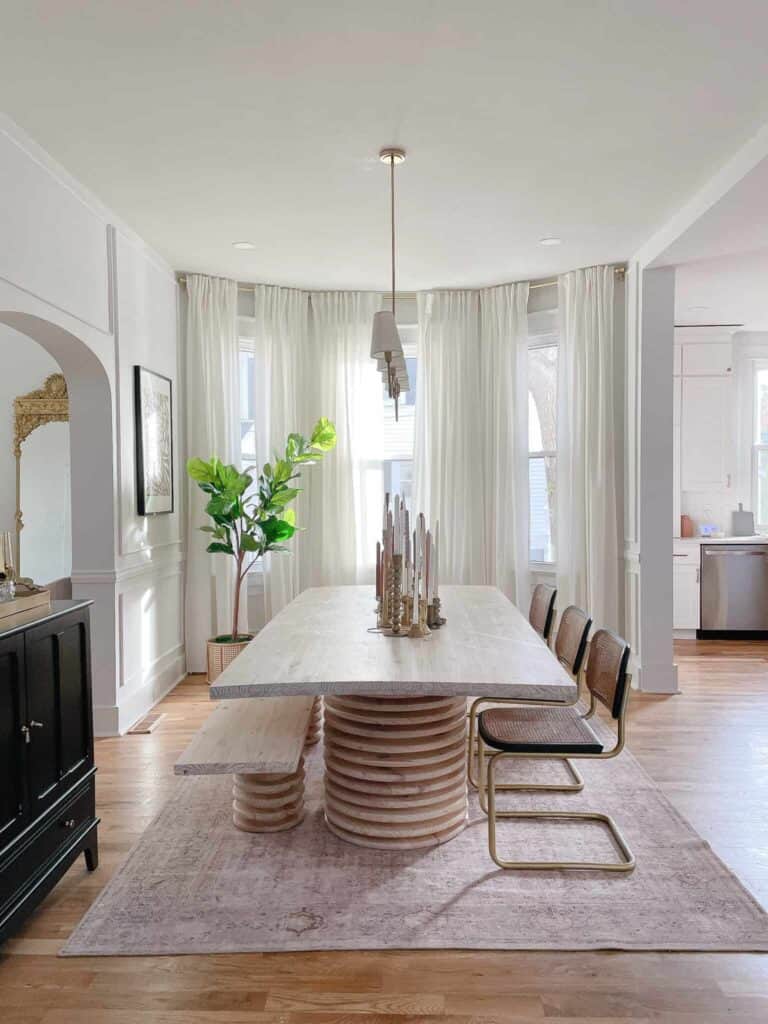
All of these materials have pros and cons. However, solid wood table tops are by far the best option for a sophisticated look with durability, practicality, and quality craftsmanship.
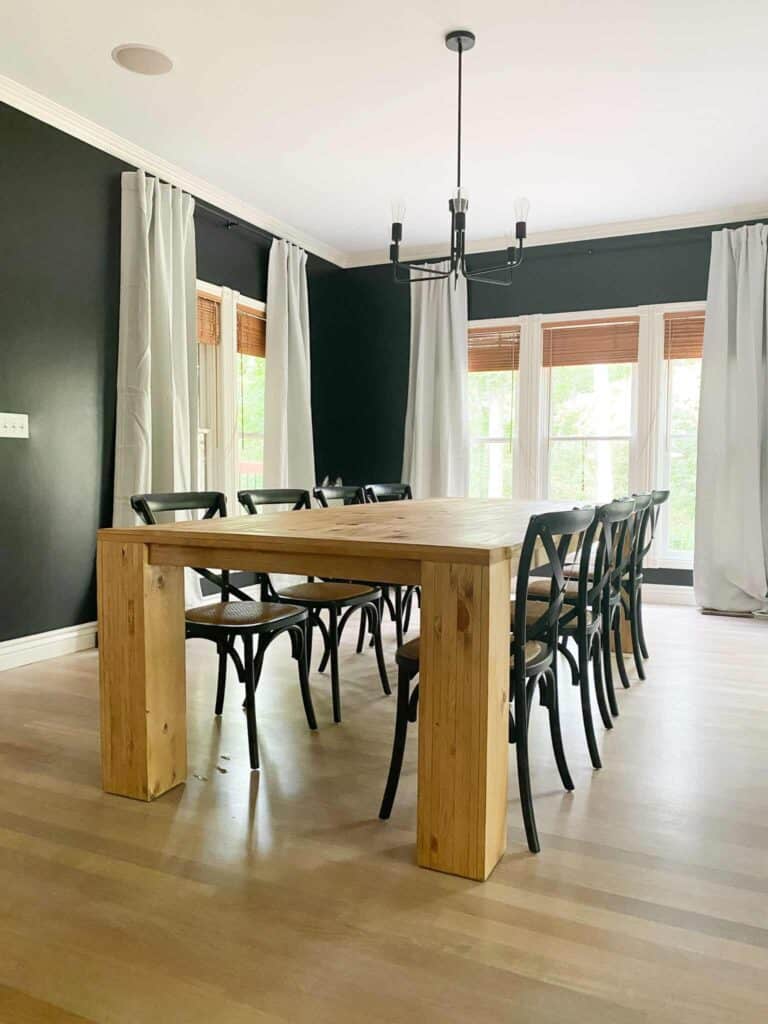
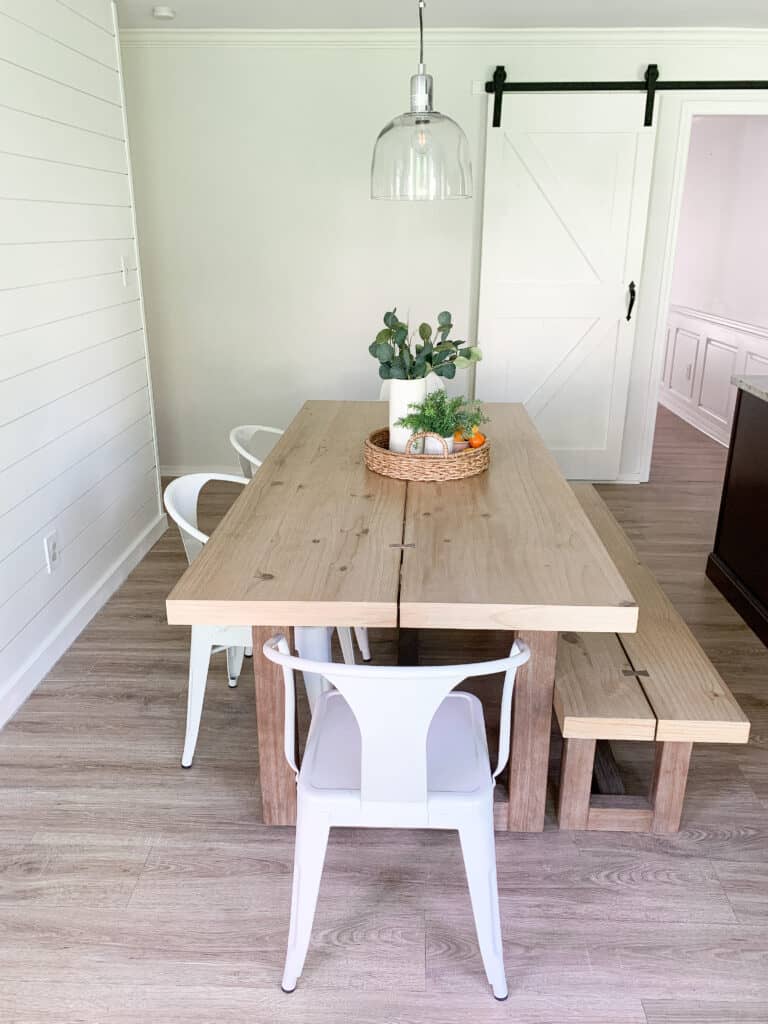
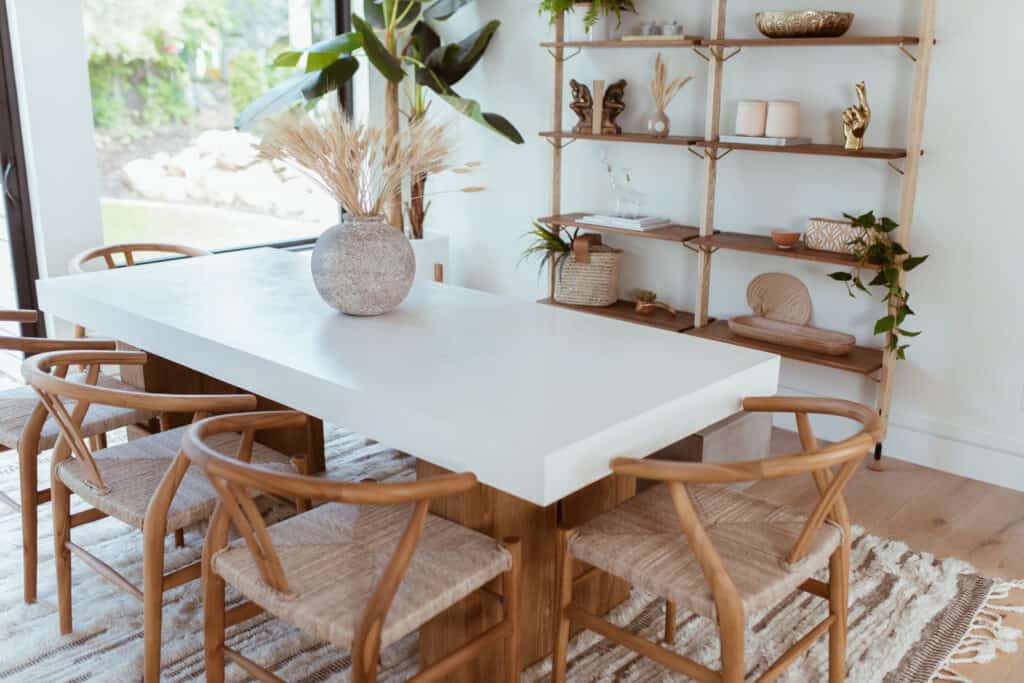
We sanded and restained our original custom made dining table for a brand new look.
Hard Wood vs. Soft Wood
Not all wood is created equally. If you intend to buy a wooden table, you’ll want to keep in mind that the type of wood you choose will impact the overall durability of your table.
Solid wood furniture is a great option for not only durability, but also practicality. Well constructed wood furniture will last for years and have a sophisticated look. But how do you know what wood choice is right for you? There are many options when it comes to wood type.
The hardness of the wood is measured by the Janka Scale of Hardness, which starts from about 500 and going upwards of 3,000. Each wood species is given a rating on the Janka Hardness Scale based on the wood’s ability to resist indentation by a steel ball with a controlled force.
This provides clues to which is the more durable wood by way of a rating. The hardest woods (higher ratings) are less likely to get scratches and banged up from constant use and every day wear and tear.
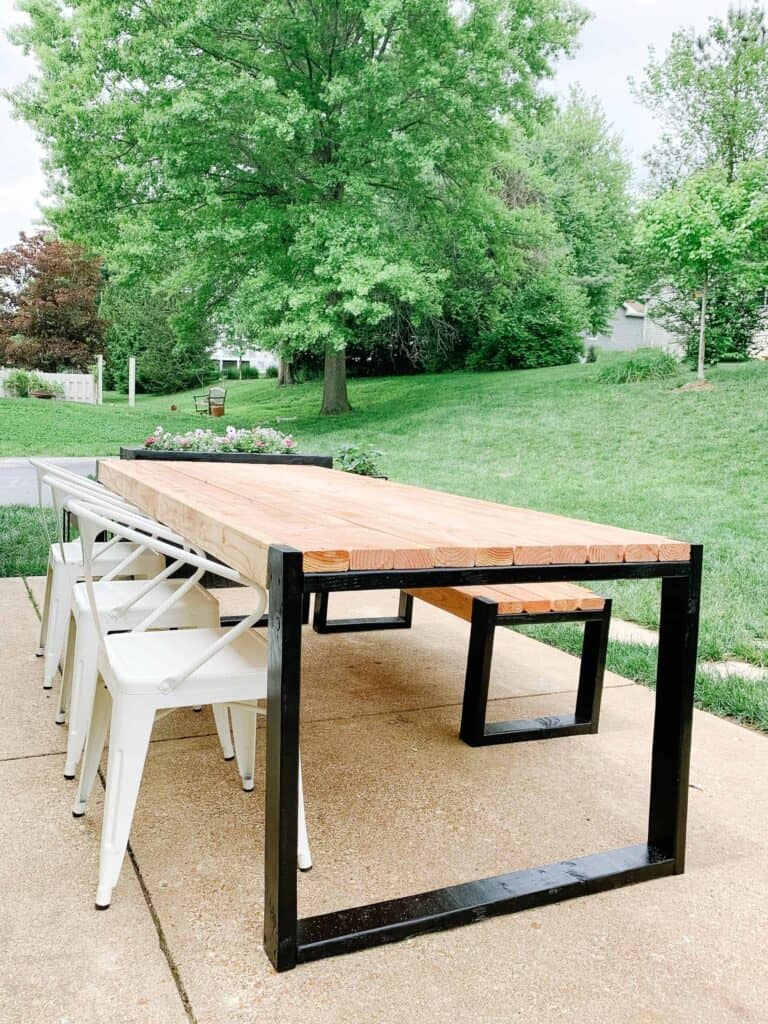
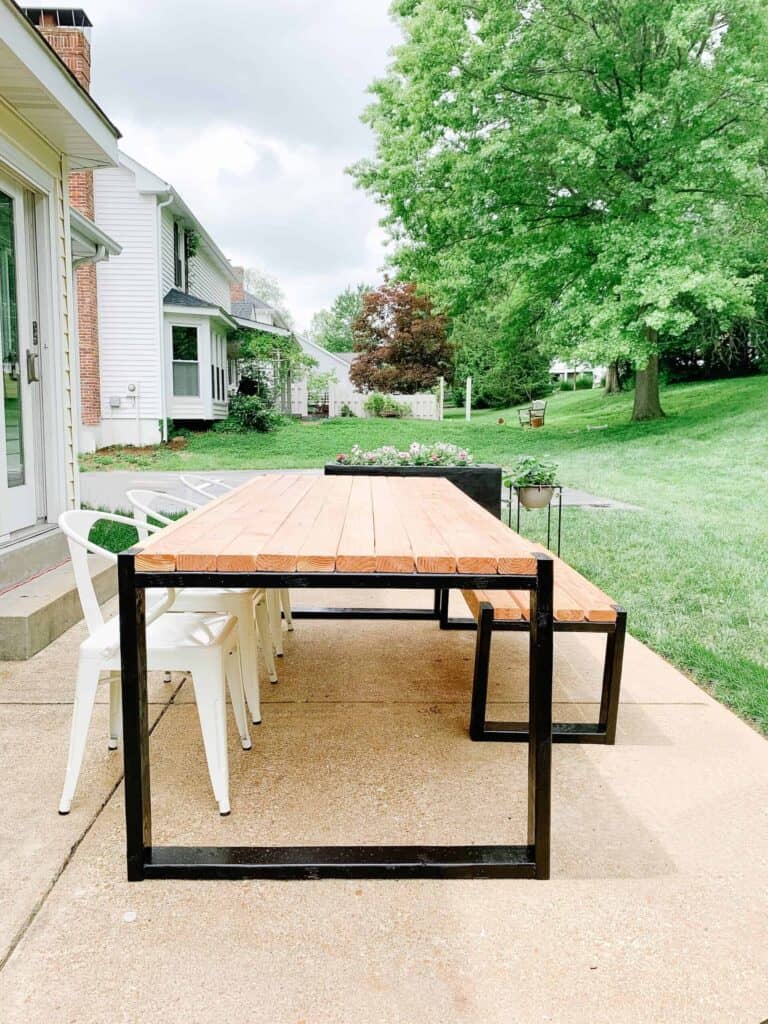
This table is a diy outdoor table made only of 2×4’s for under $50.
On the chance that you may want a more rustic table that has dings and scratches in it, then the Janka Hardness test rating may not be something you spend too much time worrying about. Softer woods (like pine wood) are easier to work with for any DIY tables you plan to do.
They are a good choice if your budget is more limited and you plan on tackling your own DIY kitchen table. The harder the wood, the more durable, fire resistant, and more difficult it is to work with. If you plan on making your own wood surface from a hardwood, you’ll likely need to be well versed in wood-working and understand how to safely use different power tools. Additionally, be prepared to have a larger budget for these more expensive woods.
Consider the Style of the Wood
The durability and hardness rating is not the only consideration to take into account when choosing the type of wood you want for a table. Keep in mind that many companies build tables that are not only solid wood but some may be made of composite wood.
Solid wood tables are more durable and are more expensive. Composite wood is more budget friendly but will also show more wear and tear.
It is a common material found in commercial products to help maintain costs. In these tables, you may see a wooden base, but instead of wood tabletops, the table top is made from layers of laminate or veneer.
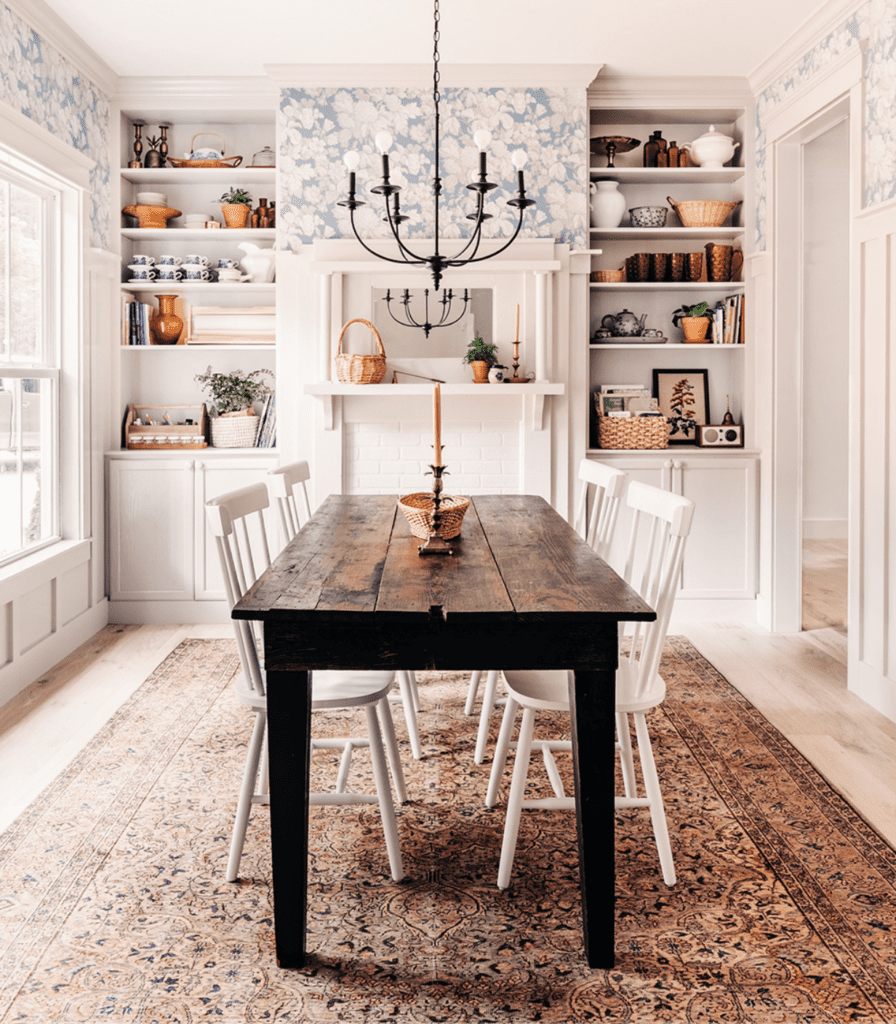
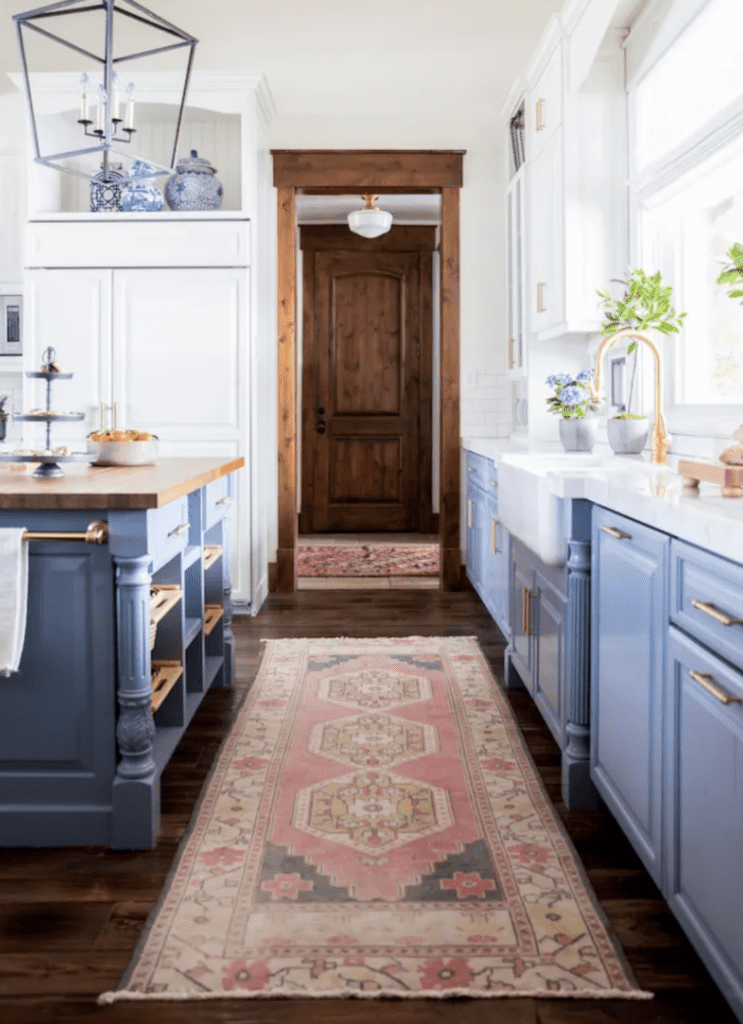
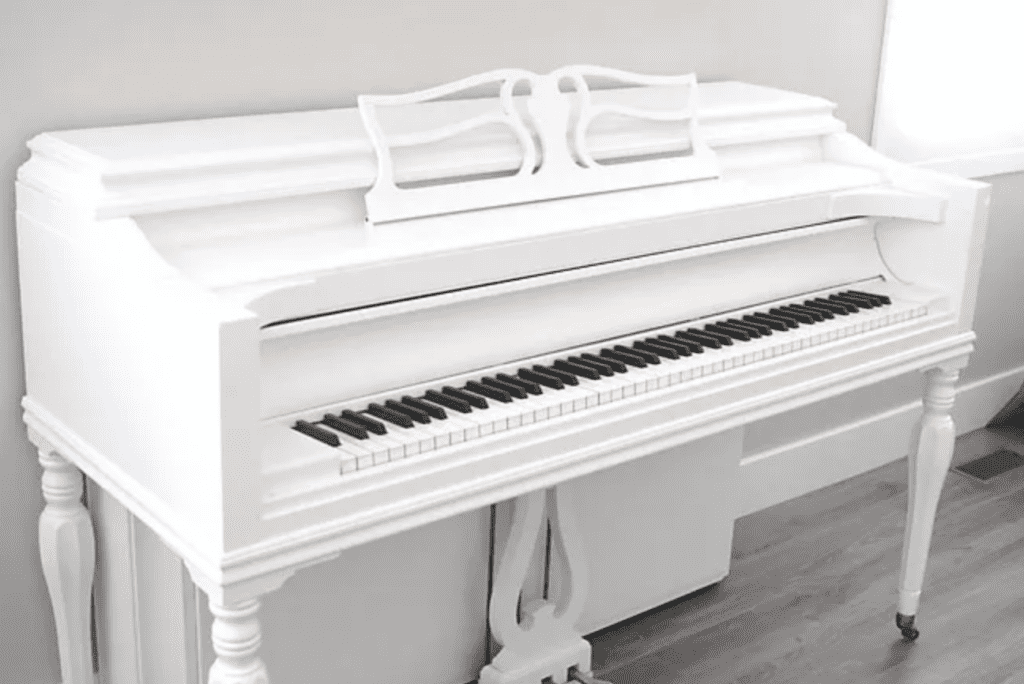
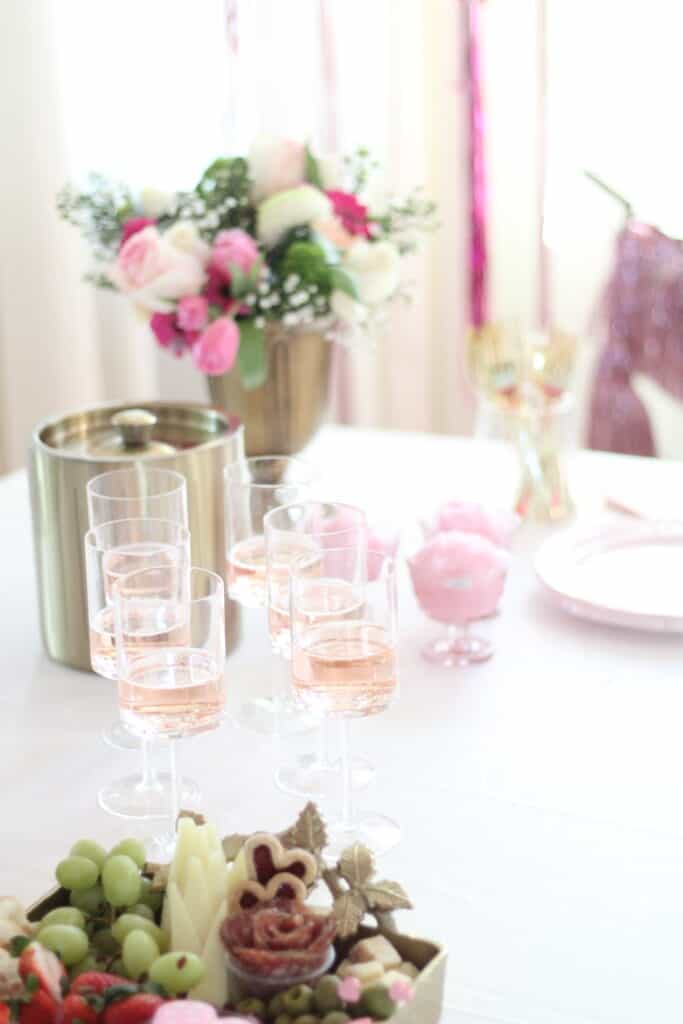
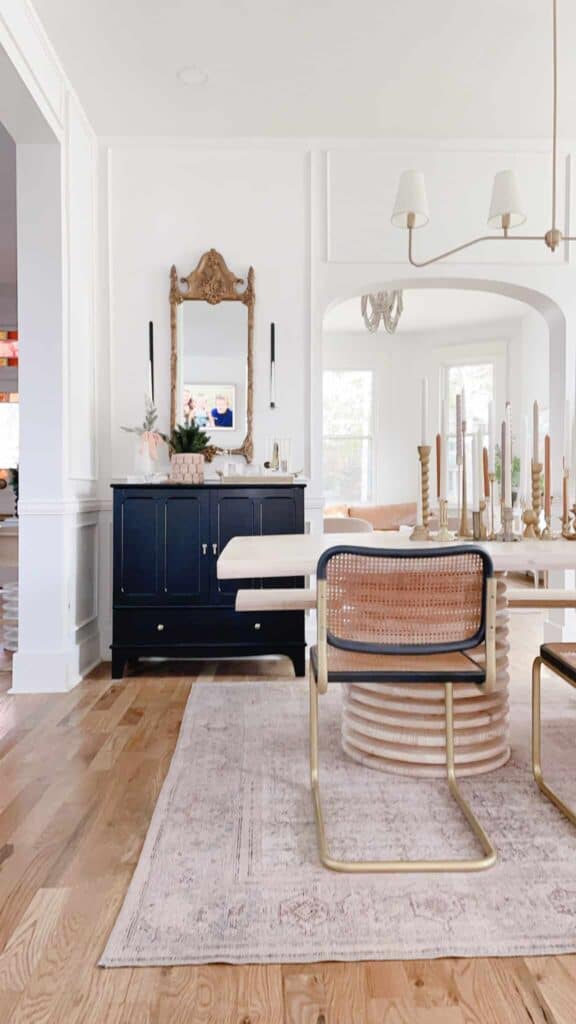
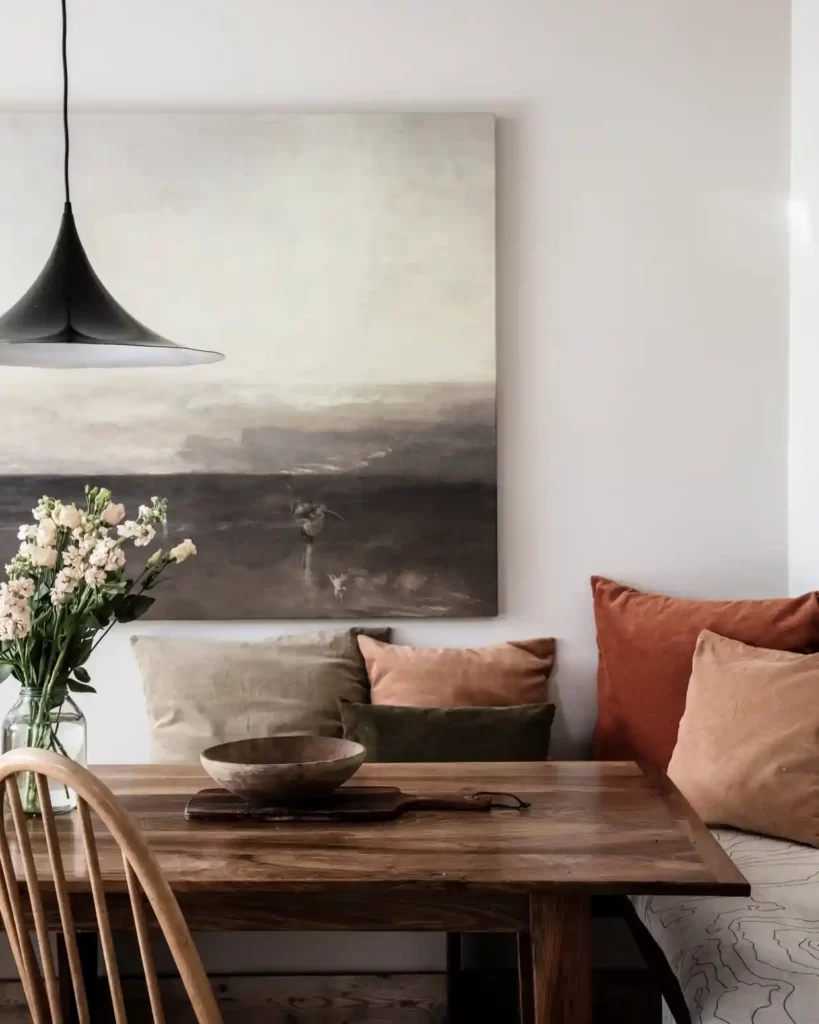
Beautiful vintage wood table
One of the reasons to buy a solid wood table, besides the durability factor, is for the overall color of the wood. Different types of wood give off different shades of colors, from red, cherry, blonde, to mahogany and grays with a beautiful grain pattern. Each wood has a unique grain pattern that provides depth, texture, and intensity to the design.
The style of your table is directly related to the type of wood you choose to build with or purchase. Farmhouse tables have a rustic look with darker stains and open grain that showcases the natural beauty of the wood. This would require a wood that is more expensive and has a harder rating on the Janka Scale. More modern styles of tables have clean lines, smooth texture, and a straight grain. These types of tables could get by with using a more inexpensive wood, such as pine.
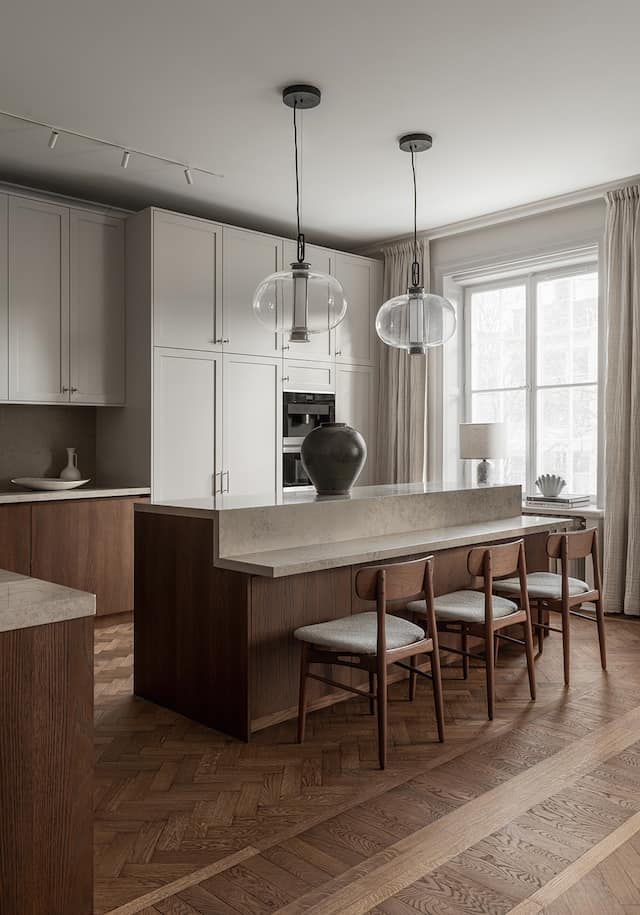
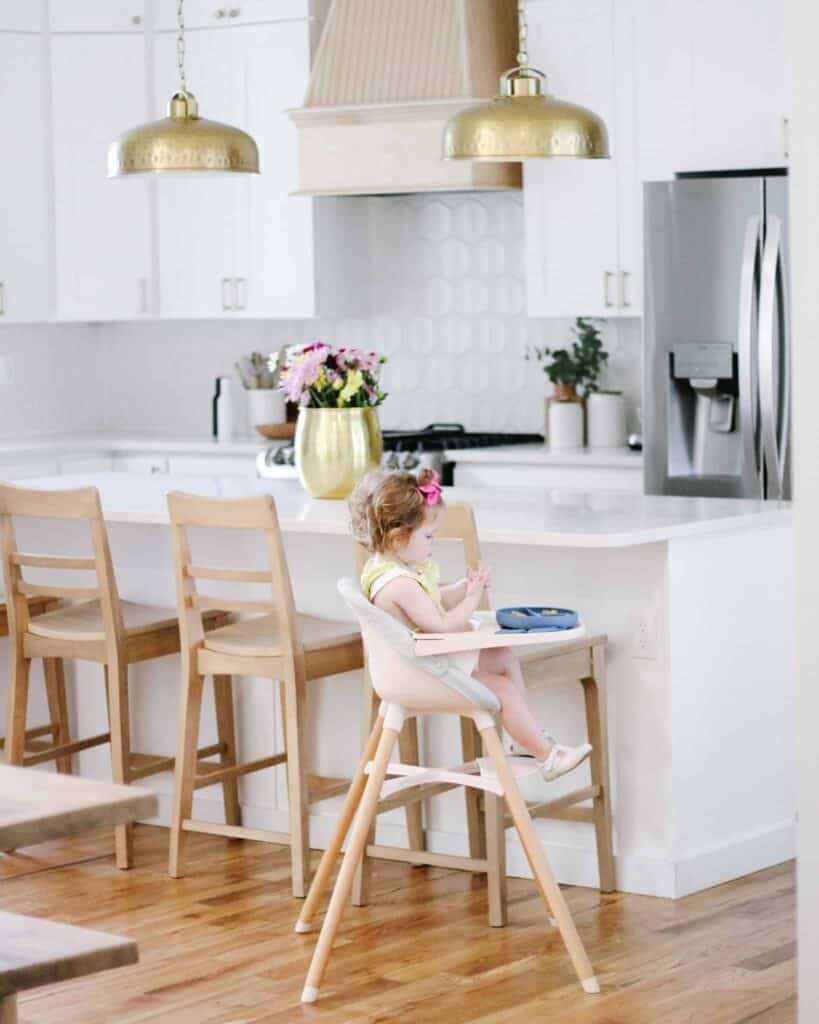
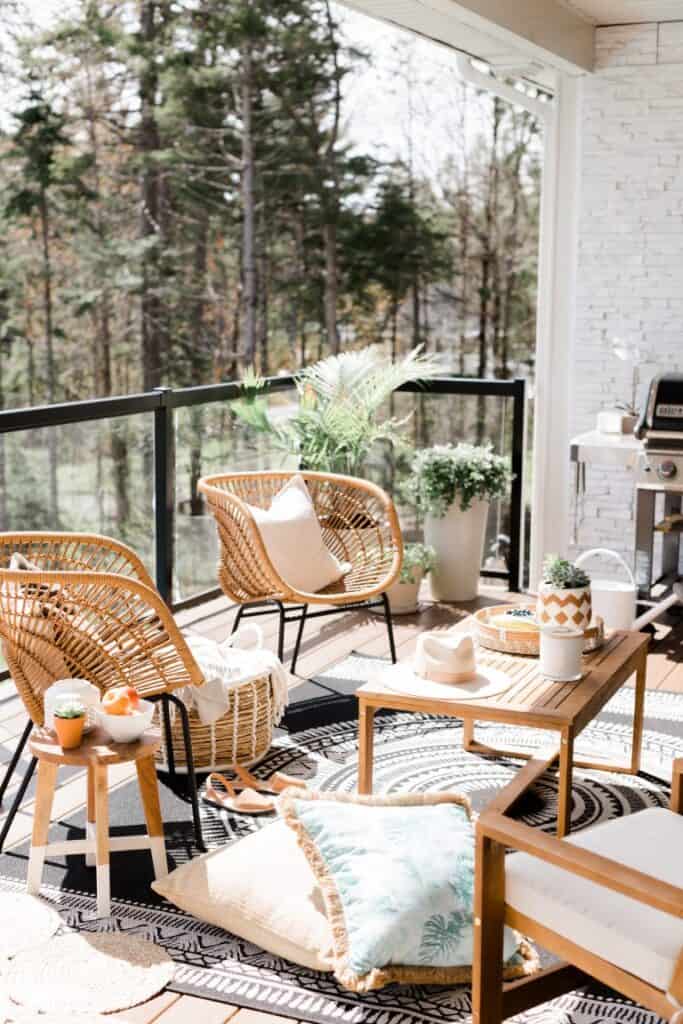
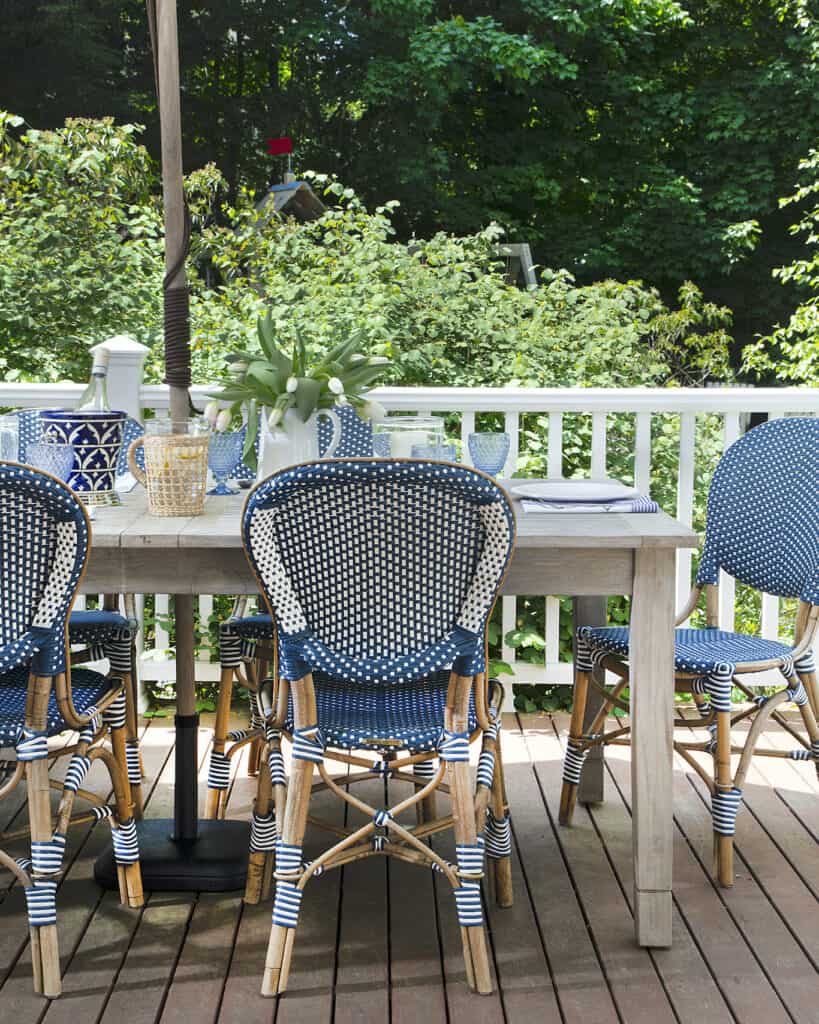
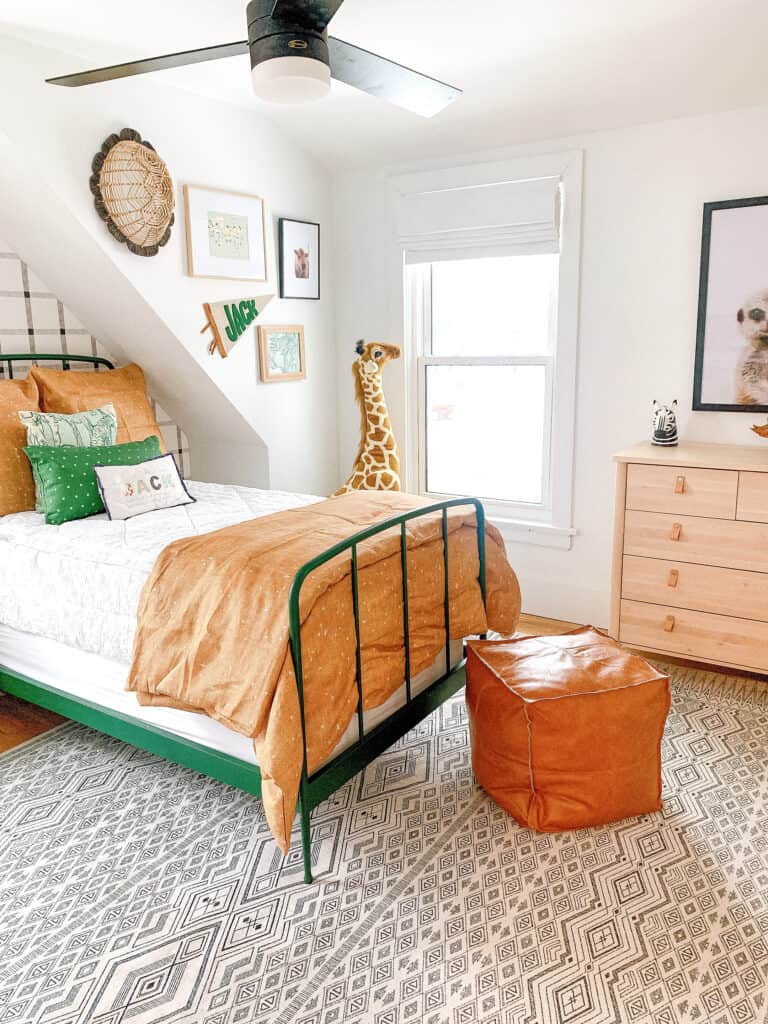
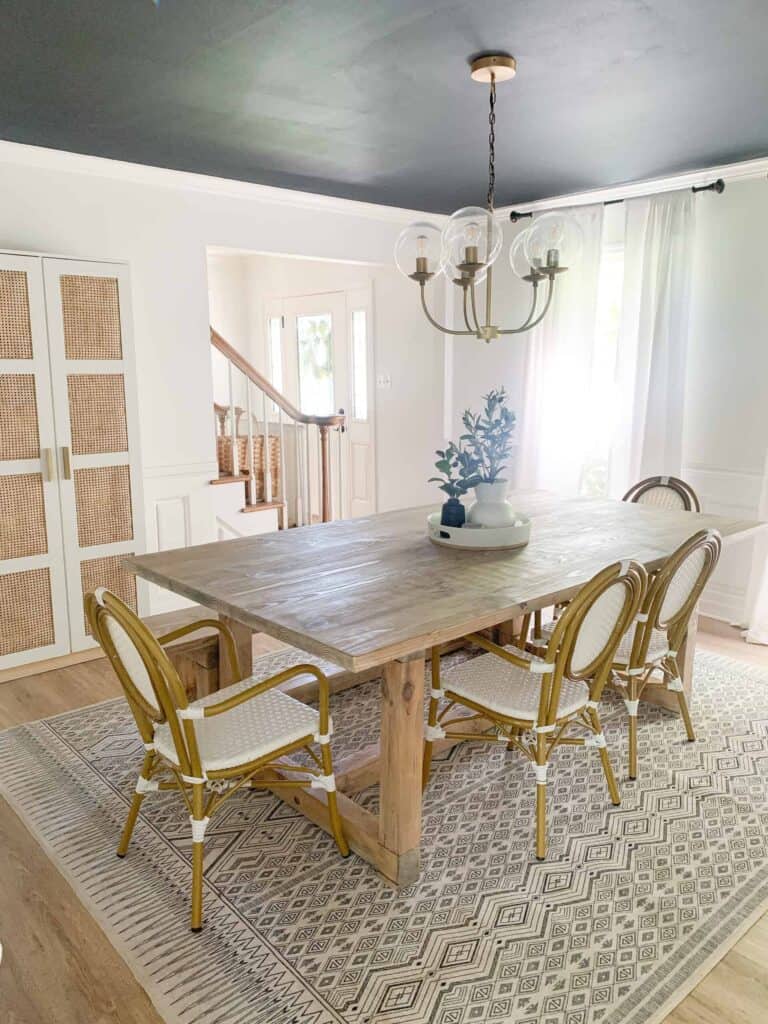
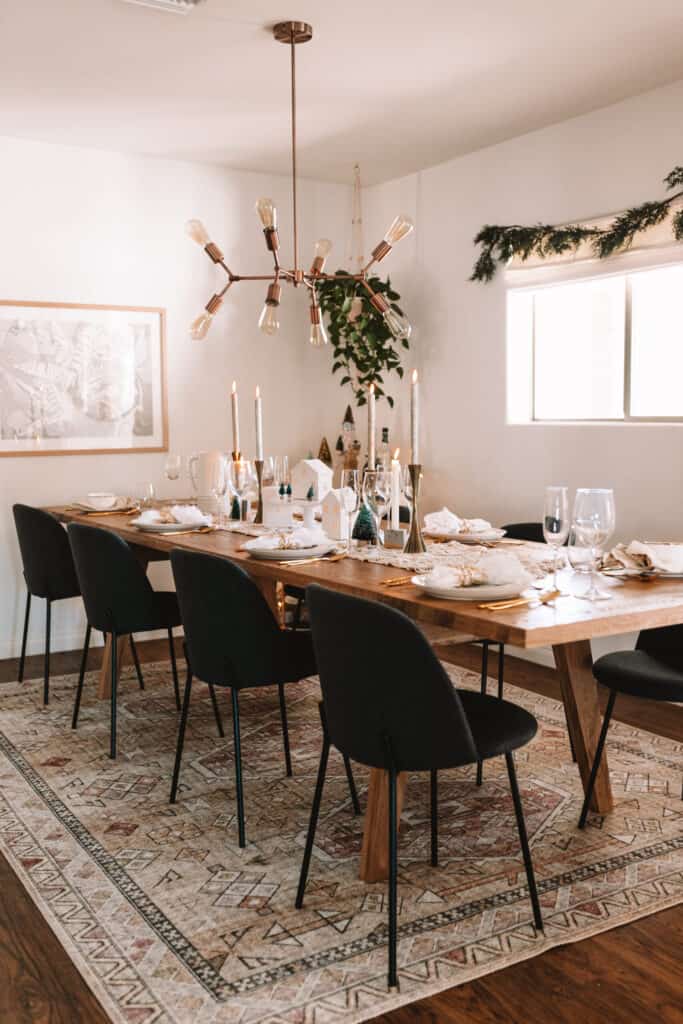
This Scandinavian inspired dining table is beautiful in this space.
Best Wood For Dining Table – Types of Wood Broken Down
The best wood for your dining table comes down to what you want in style, durability, and budget. Whether you intend to build your own table or purchase your table from a store front, these are some of the best woods used in creating wood tables.
Walnut Wood
Walnut wood is a beautiful hardwood that makes for a stunning dining table. With a hardness rating of 1010, this is a durable wood that will stand up to everyday use. Not only is this wood durable, but it also can be styled into more traditional, rustic, and modern styles. The wood lends itself to shapeshift into various tones from deep espresso to light brown with stunning visible grain patterns.
This wood will cost you. It is one of the most expensive woods due to its low supply and high demand.
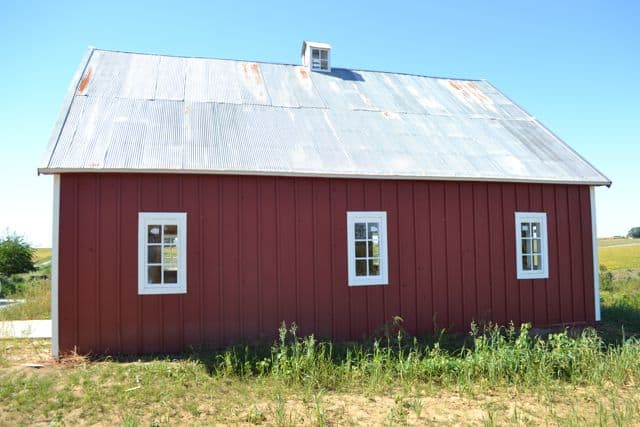
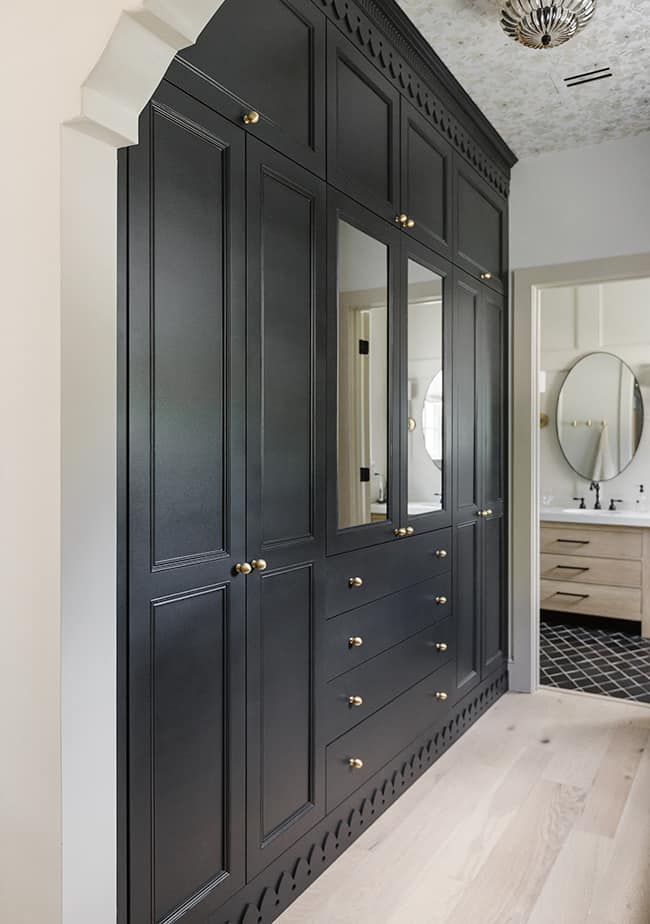
Check out the story behind this amazing home where this beautiful walnut dining table lives.
Oak Wood
Even stronger than walnut wood is oak wood. Ranging from 1290 to 1360 on the Janka scale, this wood is durable and a great choice for people with young kids. There are two main types of oak wood: red oak and white oak.
Red oak is commonly found in homes today from trim to floors to doors and tables. You’ll find that this type of wood has a natural open grain with lighter tones. This wood can also be transformed by absorbing dark stains easily. From an affordability standpoint, this is much easier on the pocketbook than walnut.
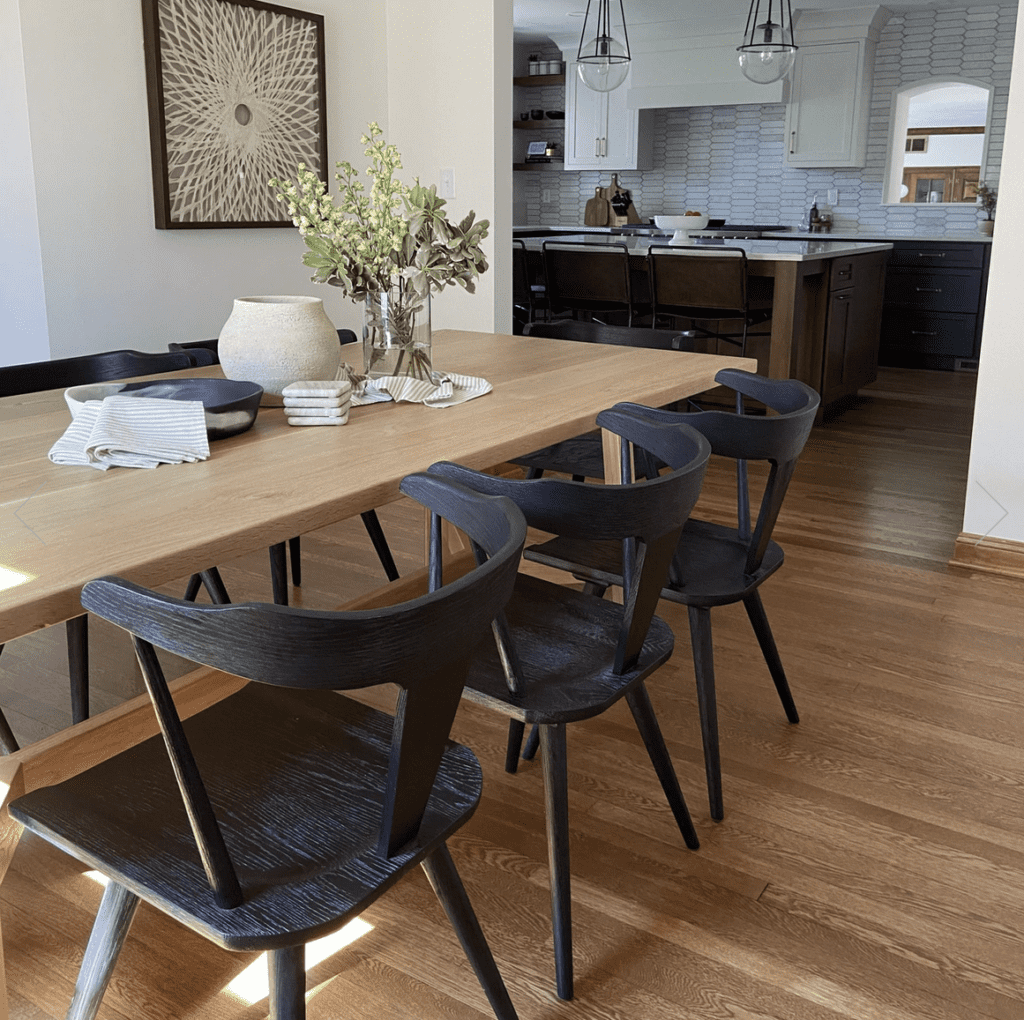
Check out this white oak dining room table.
White oak, also known as Quatersawn oak, has been used for years by woodworkers and carpenters alike. This wood is a bit harder than red oak and has tones that are more neutral and beige. This wood is best kept au naturale as it does not absorb stains easily. If you intend to stain your piece, I’d recommend sticking with a red oak. Otherwise, allow the natural beauty of the white oak to shine.
Mango Wood
Mango wood has a comparable hardness rating to that of oak. It has naturally beautiful grain patterns that are only further noticeable when finished. With hues that are more golden brown, this wood is a great wood to use for traditional furniture pieces for a classic look.
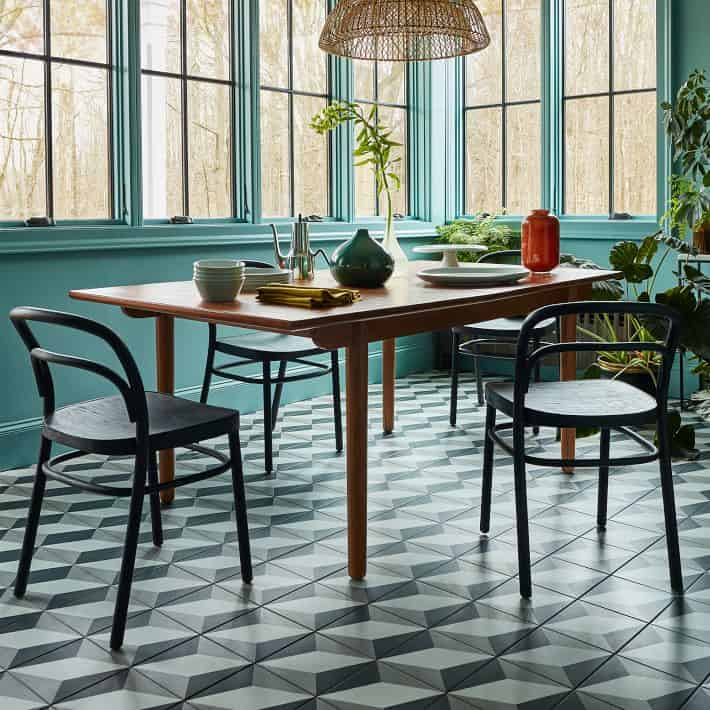
This beautiful West Elm mango wood table is featured here.
Acacia Wood
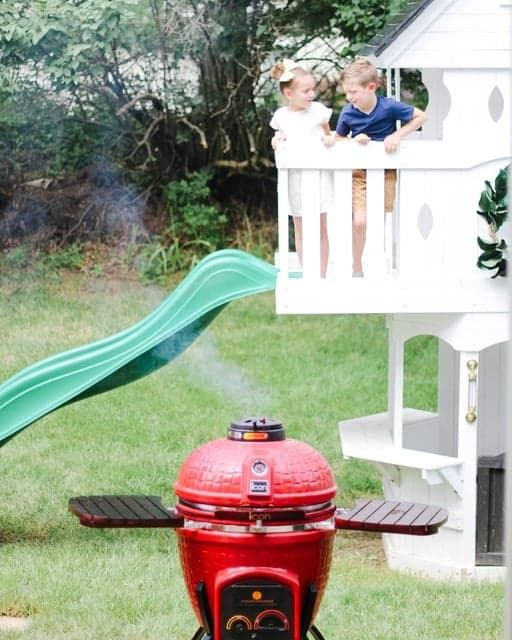
Acacia wood is a versatile wood that is commonly found in outdoor furniture. I love that this wood can be used in both indoor and outdoor settings. It is an extremely hard wood that is even stronger than hickory wood (1820 on the Janka scale).
As a result, this wood is extremely durable, but not necessarily a wood your average DIYer would be able to handle for a project.
On the other hand, if you have four kids like I do, this would be a great wood to have on hand throughout your home. Kids can wreak havoc on furniture and I have no doubt this wood could withstand all four of my kids!
West Elm’s Keira solid wood acacia table is stunning.
This wood has beautiful grain patterns and distinct coloring that is perfect for a farmhouse or rustic feel.
Cherry Wood
Rustic cherry wood is a great option for an affordable wood that can be easily purchased commercially or purchased to use in a DIY project. Cherry is a softer hardwood with a 950 rating on the Janka scale. This wood can be less durable and show dings more easily than other hardwoods.
The tones of cherry wood range from red, brown, and even white tones with visible knots and grains for a unique piece of furniture.
Maple Wood
Maple wood ranges from a soft hardwood (950 Janka scale) to a more hardwood (1450 Janka scale) depending on the species used. Brown maple is a soft maple with a 950 Janka score. This score is the same rating as cherry wood and is less durable than its counterpart, the hard maple. Soft maple wood has a smooth texture with light tones to dark tones and can be easily stained. This is a great wood to use for DIY projects.
Gorgeous maple table
Hard maple on the other hand is much more durable and more difficult to use for DIY projects. This maple has beautiful tones and unique grain patterns. Stain does not take to it easily, so it is best to let its natural lines show.
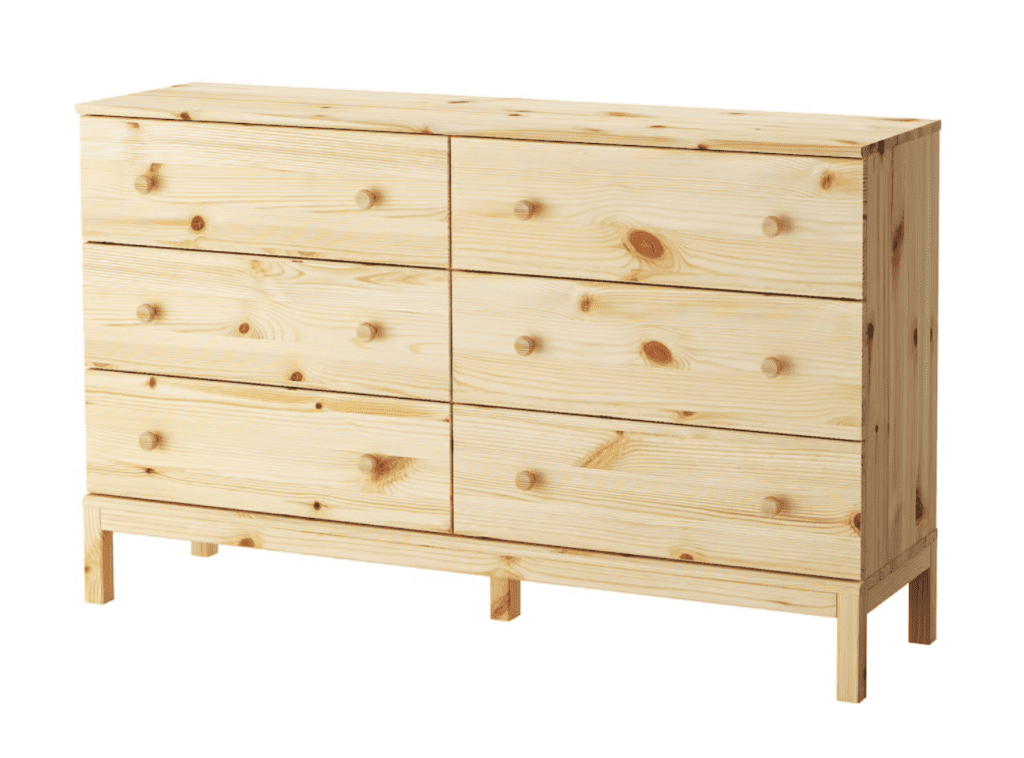
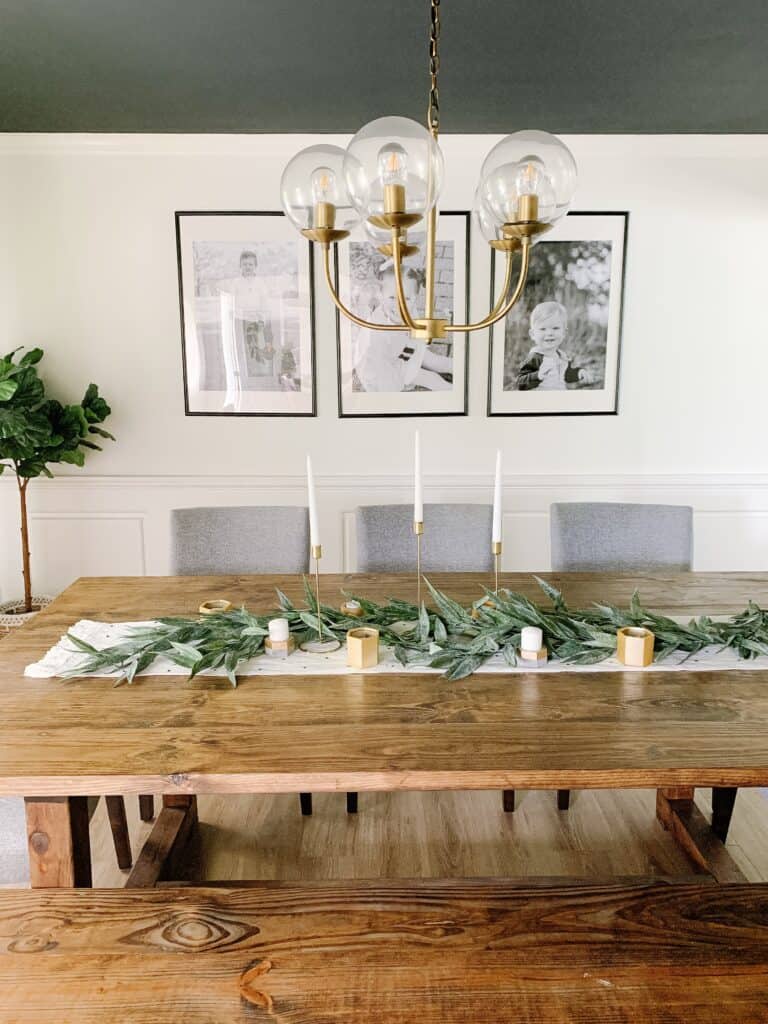
Pine Wood
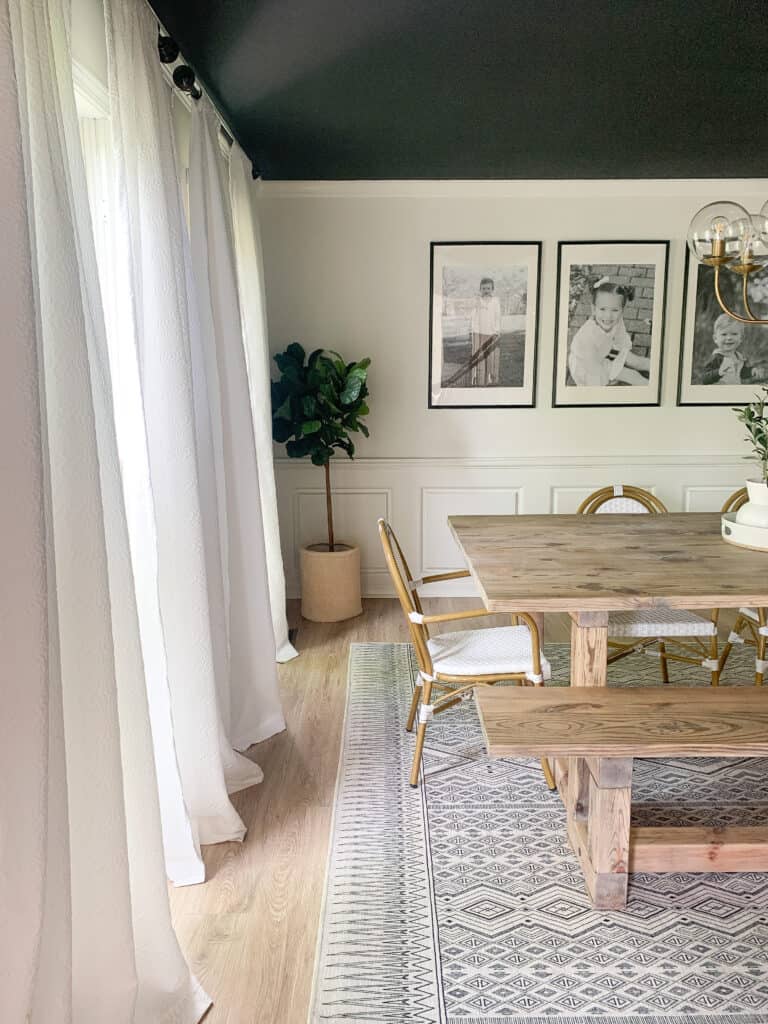
Pine wood is readily available and is a popular wood used in DIY projects. This is the type of wood we used in our modern DIY dining table and for our friend’s DIY dining table. We also used pine on our outdoor DIY dining table.
If you can’t tell, we love using pine wood for our DIYs. It is softer at only 350 on the Janka scale, but that makes it easy to work with and it can handle screws and nails. Plus, stain takes to it easily. It also has beautiful knots and a unique grain that comes through when stained.
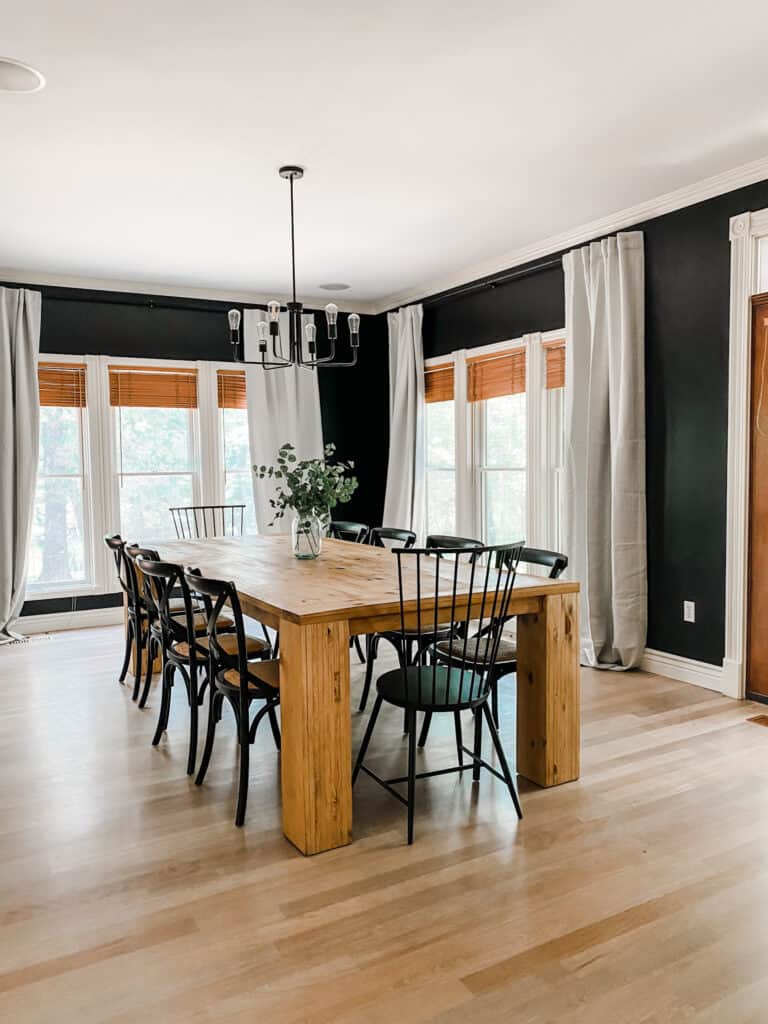
The amazing diy dining table I made for my friend Val’s lakehouse is a high end dupe.
Other Posts You’ll Love
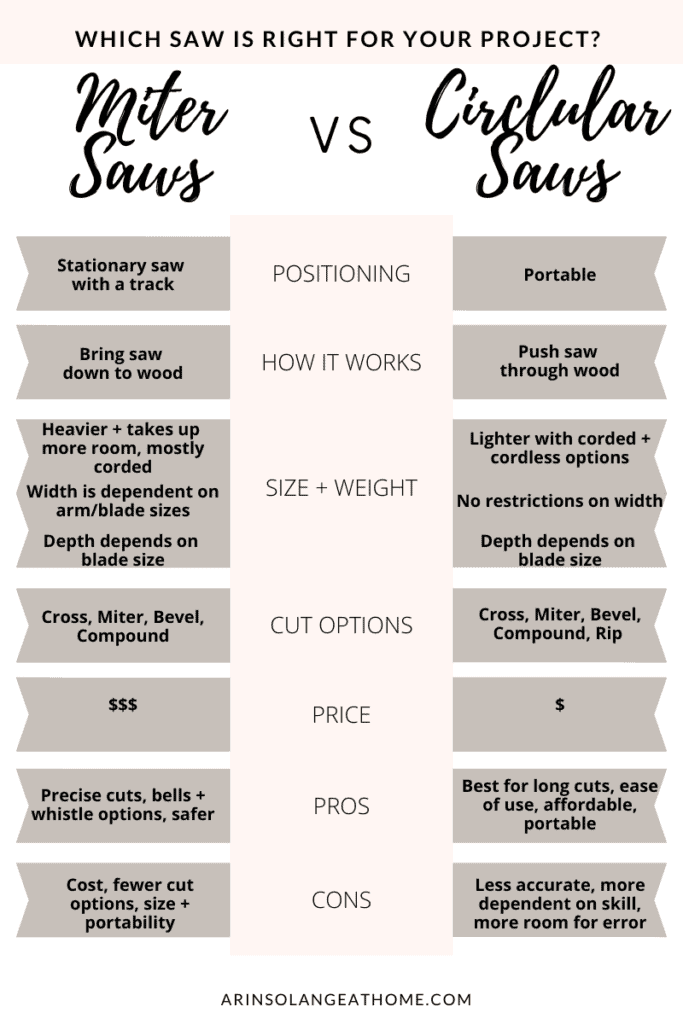
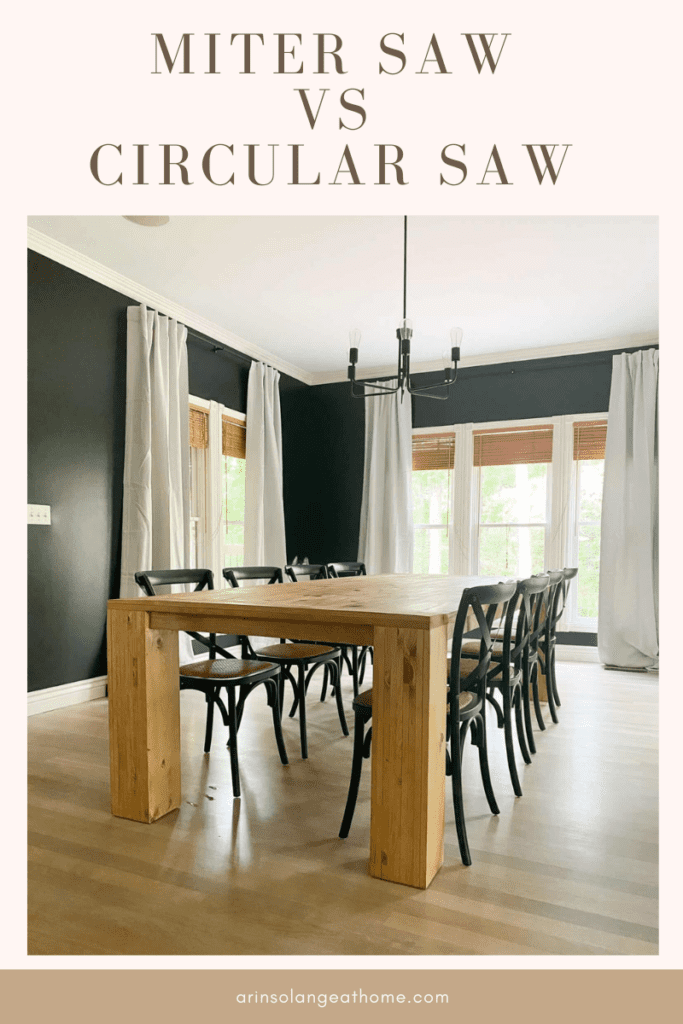
Round table table runners | Miter Saw vs Circular Saw | DIY Dining Table | DIY Outdoor table
Pin This Photo Below For Later
I hope this post helped you make your dining room table decisions a bit less stressful, and you feel confident in what the best wood for dining table is in your home! Whether you intend to build your own table or purchase one from a store, the wood you pick is important. Make sure you are getting a wood that not only fits your lifestyle, but will also allow you to have the style and durability you need. If you have any questions feel free to leave them in the comments section, and follow me on Instagram @arinsolange and TikTok for more home, decor, and DIY.